Community Brag Posts

Chick Brood Box Enclosure & Steps

Submitted by Anonymous (not verified) on Sun, 04/30/2023 - 11:28

We have our new chicks in a 2’x4’ stock tank as a brooder. Since it’s outside on a covered porch, I wanted something to keep predators out, but also to allow our kids to reach in and hold the chicks—they love holding them! I built the 32”x54”x32” enclosure with 2x4s and hardware cloth. The bottom and sides are sealed with wire and the top has a lid that closes securely with a latch on either side. The steps are perfect for our kids to stand on so they can reach in to refill the food and water and pet or hold the chicks.

Comments

Marlee's Kitchen "Just Like Grammie's"

Submitted by Laura Fama on Mon, 01/02/2012 - 06:05

I started this project months ago... hoping to give this to Marlee for her 3rd birthday... that was September. Here it is... 99.99% complete... 3.5 months past the deadline... Just in time for Christmas. I used the plans for Grace's Kitchen pieces with some modifications. I extended the cabinet for the sink... gave her a farmer's sink... and extra counter space. What kitchen doesn't need additional counter space??? I left it open storage for now... I wanted to add doors... but ran out of time... ha ha... The oven I added the drop down door below the oven compartment for additional storage. I painted the burners on her cooktop.. just like Grammie's... I couldn't find the handles I wanted in black... I had to buy the stainless ones and prime and spray them black... that was pricey ... The fridge has 5+ coats of magnetic primer under the stainless steel paint. I got a pic of an icemaker/water dispenser from the web and Mod Podged it to the freezer door. I had just as much fun shopping for her supplies as I did making the kitchen. Most of the food products are from Melissa & Doug... and mostly all made of wood!! Too bad she's only here a couple nights a month.... maybe I might have to have my own friends over to play when she's not here!!! Thank you Ana... once again I owe it all to you!!!!

Estimated Cost
$150-$200
Finish Used
Rustoleum Magnetic Primer
Rustoleum Stainless Steel Paint
Sherwin Williams Caviar paint
Recommended Skill Level
Beginner

Comments

laurakc181

Mon, 01/02/2012 - 08:31

This is probably the best one I have seen! Honestly - the fridge is fantastic and that sink is insanely awesome! I am jealous now lol....I am sure she loves it and who says YOU aren't allowed to play with it while she is not there ;)

Laura Fama

Mon, 01/02/2012 - 19:12

Thank you. That's very nice of you to say, there are many beautiful sets on here. Yours is very nice too. I love the grill on your stove. That's a great addition.

Jaque (not verified)

Wed, 01/04/2012 - 21:06

THAT IS AMAZING I LOVE IT!! I may take some ideas for myself I have 2 little girls and I think the extra space would be perfect for them so they dont fight over a little space. I JUST LOVE THIS!!!

Laura Fama

Thu, 01/05/2012 - 18:31

I think the extra space is going to work out well. My granddaughter is already using it and if she didn't have it, I suspect she'd make my play sandwich on the floor!! I would like to make another piece, for additional storage and maybe a microwave, but I'm running out of space in her room!!!

Guest (not verified)

Mon, 02/06/2012 - 19:08

Could you please tell me the dimensions of your sink & counter? Thanks,

Lotus (not verified)

Sun, 08/19/2012 - 10:30

Where did you find that cute sink? Id love to make this for my daughter, you did a great job.

Laura Fama

Sun, 08/19/2012 - 18:35

Thank you, I built the sink. Just made a box and painted it with stainless steel paint. I really winged it with the sink. The counter top is two boards that were scrap from the fridge joined with pocket holes. I splurged and bought the faucet.

DSalvagni

Fri, 08/23/2013 - 09:22

I love your kitchen set at first i thought it was the real deal. the stainless on black looks amazing what paint did you use to get the stainless color? also what did you use for the stove knobs they look real Great job.

Laura Fama

Thu, 01/08/2015 - 07:20

Sorry this reply is so late...I used Rustoleum stainless steel paint. It's awesome. The knobs are real. They're replacement knobs for a range, sold at Lowe's. I was able to work with them and they actually turn.

Farmhouse Storage Bed = Amazing

Submitted by hechoenwi on Tue, 11/19/2013 - 15:18

We bought our first home this year and I wanted a new bed frame for my new home. This plan was perfect for our narrow bedroom in our small 100+ year old home. It fits right in with the character of the home and provides a lot of needed extra storage. I did try to make the drawers but as the instructions state drawers are tricky for beginners! So for now I will leave the drawers off. This bed is very sturdy. No one can believe I made it all by myself!

Estimated Cost
$200
Estimated Time Investment
Week Long Project (20 Hours or More)
Finish Used
Behr Ultra Swiss Coffee with antiqued edges
Recommended Skill Level
Beginner

Comments

Farmhouse Table

Submitted by upsidedown on Fri, 02/05/2016 - 07:21

This version of the Farmhouse Table was made with fir and finished with Varathane Early American stain. It is by far my favorite item in the house! Love it!

Estimated Cost
$250
Estimated Time Investment
Weekend Project (10-20 Hours)
Finish Used
I stained the table with Varathane Early American, and then finished it up with 3 coats of Minwax Polycrylic (gloss).
Recommended Skill Level
Intermediate

Comments

Shaunnyp

Sat, 02/06/2016 - 08:25

I absolutely love this table.  I have a small kitchen and would like to build it counter height (36 inches...including the casters) measuring 30x54 inches. This will allow me to move the table as needed to get it out of the way or move closer to my stove and use as additional prep space as needed. Any recommendations or suggestions to make a safe, sturdy, movable table would be greatly appreciated.  Also any warnings if you see any potential pitfalls I should be concerned with. Thanks in advance.

Hanging bed

Submitted by Anonymous (not verified) on Wed, 08/14/2019 - 18:32

I used the hanging bed plans to do a hanging bed that's attached on one side to the wall. Then created a ladder and side rail.

Built from Plan(s)

Squared2 Headboard

Submitted by amysparkie on Wed, 01/04/2012 - 16:24

I build Anna's version of this popular store's headboard. I love it! Cost includes wood and paint. I would have used poplar for the entire bed but my hardware store only had 2x2s and 2x4s in white wood.

Estimated Cost
$75
Estimated Time Investment
Day Project (6-9 Hours)
Finish Used
The paint color is pond by eddie bauer color matched at benjamin moore. I used a HVLP paint sprayer to paint and a semi gloss paint thinned with a water based product (you can just use water and floetrol).
Recommended Skill Level
Beginner

Jordan's Sandbox

Submitted by TeeCeeTx on Thu, 11/21/2013 - 12:48

This is the first project of any kind I have built from the Ana White website. It is for my grand daughter (her 1 year birthday present)I built this project from the large covered sandbox plan. I followed it pretty close to the original plan. Cut the wood at my home and then packed it in my SUV to be assembled at the grand daughter's home 30 miles away. It turned out great. Mom and Dad just need to get the sand out there now and we are set to go...

Built from Plan(s)
Estimated Cost
$100-$125
Estimated Time Investment
Weekend Project (10-20 Hours)
Finish Used
A walnut stain from Home Depot.
Recommended Skill Level
Beginner

Greenhouse, Ontario

Submitted by Anonymous (not verified) on Sun, 09/01/2019 - 14:54

Hi Ana,

I got your plans online as I always wanted to build a small, simple greenhouse - these plans were excellent, easy to follow and the job went way quicker than I thought. I did the work myself, so, even though 2 people would have really helped, some judicious use of clamps did the job.

I used deck blocks and standard deck flooring. This raised the structure up, as the low lying ground has a tendency to flood in the spring melt and I used old metal baseboards and leftover flashing to fasten a metal skirt to the structure to keep animals out. A bit of spaypaint to match the metal to the gravel. The wire shelving was inexpensive and I managed to get all of it from a local Habitat for Humanity store. The door I made from leftover wood from another project and some leftover cuts from the metal siding. I didn't need any special tools, but did use the project as an excuse to buy a Kreg Jig, which turned out to be really useful.

Estimated Cost
$3000
Estimated Time Investment
Weekend Project (10-20 Hours)
Finish Used
Some flashing to finish off the edges and leftover hardware for handles.
Recommended Skill Level
Intermediate

Comments

Ana White

Mon, 09/02/2019 - 10:51

Wow, this is an amazing greenhouse!  Everything about it, from the gravel pad with retaining wall blocks, to the finished door, is just spectacular.  Thank you so much for sharing a brag post!

Brian Famous

Mon, 09/02/2019 - 18:43

This is amazing, which plans did you use?  I'm getting ready to build a greenhouse early next year, and was thinking of doing a pvc pipe structure with the panels like you have, but your post is inspiring me to go with the wood frame.

All cedar bunk bed

Submitted by Anonymous (not verified) on Thu, 05/11/2023 - 12:26

Loved this plan from Ana. Easy to follow and looks great. 100% reclaimed cedar.

Built from Plan(s)

Comments

Playhouse with Steps and Slides

Submitted by Hafidz on Fri, 01/06/2012 - 14:06

It's my first woodwork project and I went ahead on building a slide with a playhouse underneath. Took some of the ideas from Ana's playhouse deck plan. It took me awhile to figure out how to build the slides and steps though. The project is intended to cater for my 1 year old daughter. As you can see, the playhouse is not "there" yet as there's no wall surrounding the structure beneath the slides (there will be some soon enough). As this playhouse will someday be put under direct sunlight and heavy rain, choice of wood takes into account the tropical weather that we have here in Malaysia (I might have to put some heavy coating on that Meranti though).

Dimension wise it's a 4'X4'X4' structure with 1.5' steps attached at the side. The railing are about 1.5' high.

Built from Plan(s)
Estimated Cost
MYR 700
Estimated Time Investment
Week Long Project (20 Hours or More)
Finish Used
No finish applied yet.
Recommended Skill Level
Starter Project

Comments

Simple Faux Fireplace

Submitted by ksmith311 on Sun, 11/24/2013 - 11:43

I was drooling over Ana's Faux Fireplace plan and it was perfect! Low profile, beautiful, and I knew I had to have it. We had a bunch of leftover 3/4" MDF and didn't want to spend any money on this project so we constructed the Faux Fireplace out of ripped MDF, a leftover 1x6, 1x2 and some quarter round! We made the faux beam top out of 1x4s as a slip cover that mounts to the wall.

We painted it with the off the shelf antique white paint by valspar that I had leftover and some "American Walnut" stain for the top. I painted the wall behind it in black chalkboard paint. This is the first piece of furniture we've made that pretty much serves NO function but I love it sooo much.

I put a basket in the opening with some christmas lights, burlap and chunks of 2x2s (I want some birch logs in there!) and they look pretty lovely when plugged in.

Built from Plan(s)
Estimated Time Investment
Day Project (6-9 Hours)
Finish Used
American walnut for top, Antique white and black chalkboard paint.
Recommended Skill Level
Intermediate

Comments

Gray Grandy Console Table

Submitted by Anonymous (not verified) on Tue, 02/09/2016 - 11:43

The plan was cut down to 6ft.  This took a few weekends, in order for all the parts to come together (waiting for the hardware, waiting for someone to cut track, etc).  


Bought a double door hardware set on eBay for $120 (including spacers and bolts), without the track included.  If buying the hardware, consider the size of the hardware you are buying in the overall design! 

Built from Plan(s)
Estimated Time Investment
Week Long Project (20 Hours or More)
Finish Used
Intellectual - Behr Paint (Home Depot)
Walnut Stain
Recommended Skill Level
Intermediate

Comments

Codding58

Tue, 02/09/2016 - 14:33

Very nice work!! I was eyeballing this project myself a week ago, yours came out very clean!

Three story American Girl Dollhouse

Submitted by MattS78 on Thu, 09/19/2019 - 12:12

I built this using the plans from here as a base and then made some alterations and added things i saw from different builds and added my taste to a few things. 

Shou sugi ban burning of the pine roof and then a cherry stain.   I added much more trim than the original plans called for. I put baseboard and trim in each sections of every room. This added about 30 hours to the build.  Then the difficulty trying to use painters tape on such small trim. Took about another 5 hours.      I used birch plywood with the intention of staining but only decided to stain the outside and the floors and then polyurethaned the floors to look like hardwood floors.  Touch lights added to each room.    Each room was primed white and then painted a different color per the kids request.   We spent about 700$ on the nicer plywood and all supplies when all was said and done. Another $300 to furnish the rooms.  I would estimate over a hundred hours spent over four months of work on this project.   

Estimated Cost
$700 unfurnished and $1000 furnished
Estimated Time Investment
Week Long Project (20 Hours or More)
Finish Used
Cherry stain, shou sugi ban burning of the roof pieces and polyurethaned floors and then primer and paint for interior and exterior trim.
Recommended Skill Level
Intermediate

Mothers Day

Submitted by Anonymous (not verified) on Wed, 05/17/2023 - 20:20

I made this tall planter for my Mom for Mothers Day. She loves it!

Built from Plan(s)

Comments

Ella's Loft Bed

Submitted by natehu on Sun, 01/08/2012 - 20:46

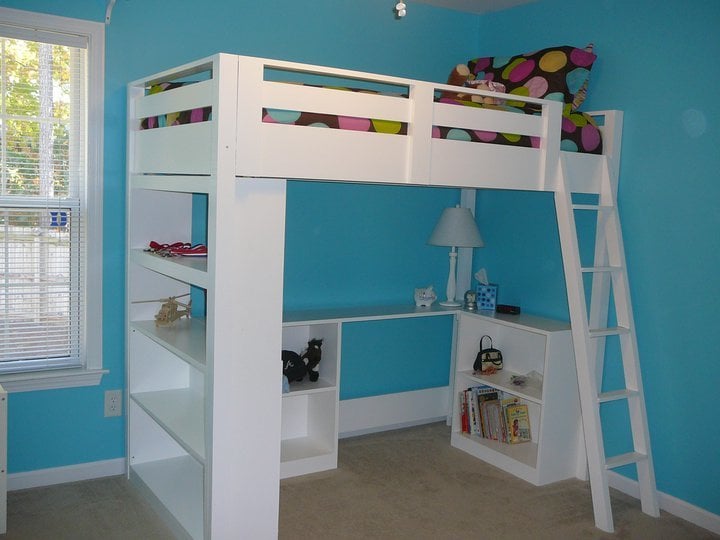
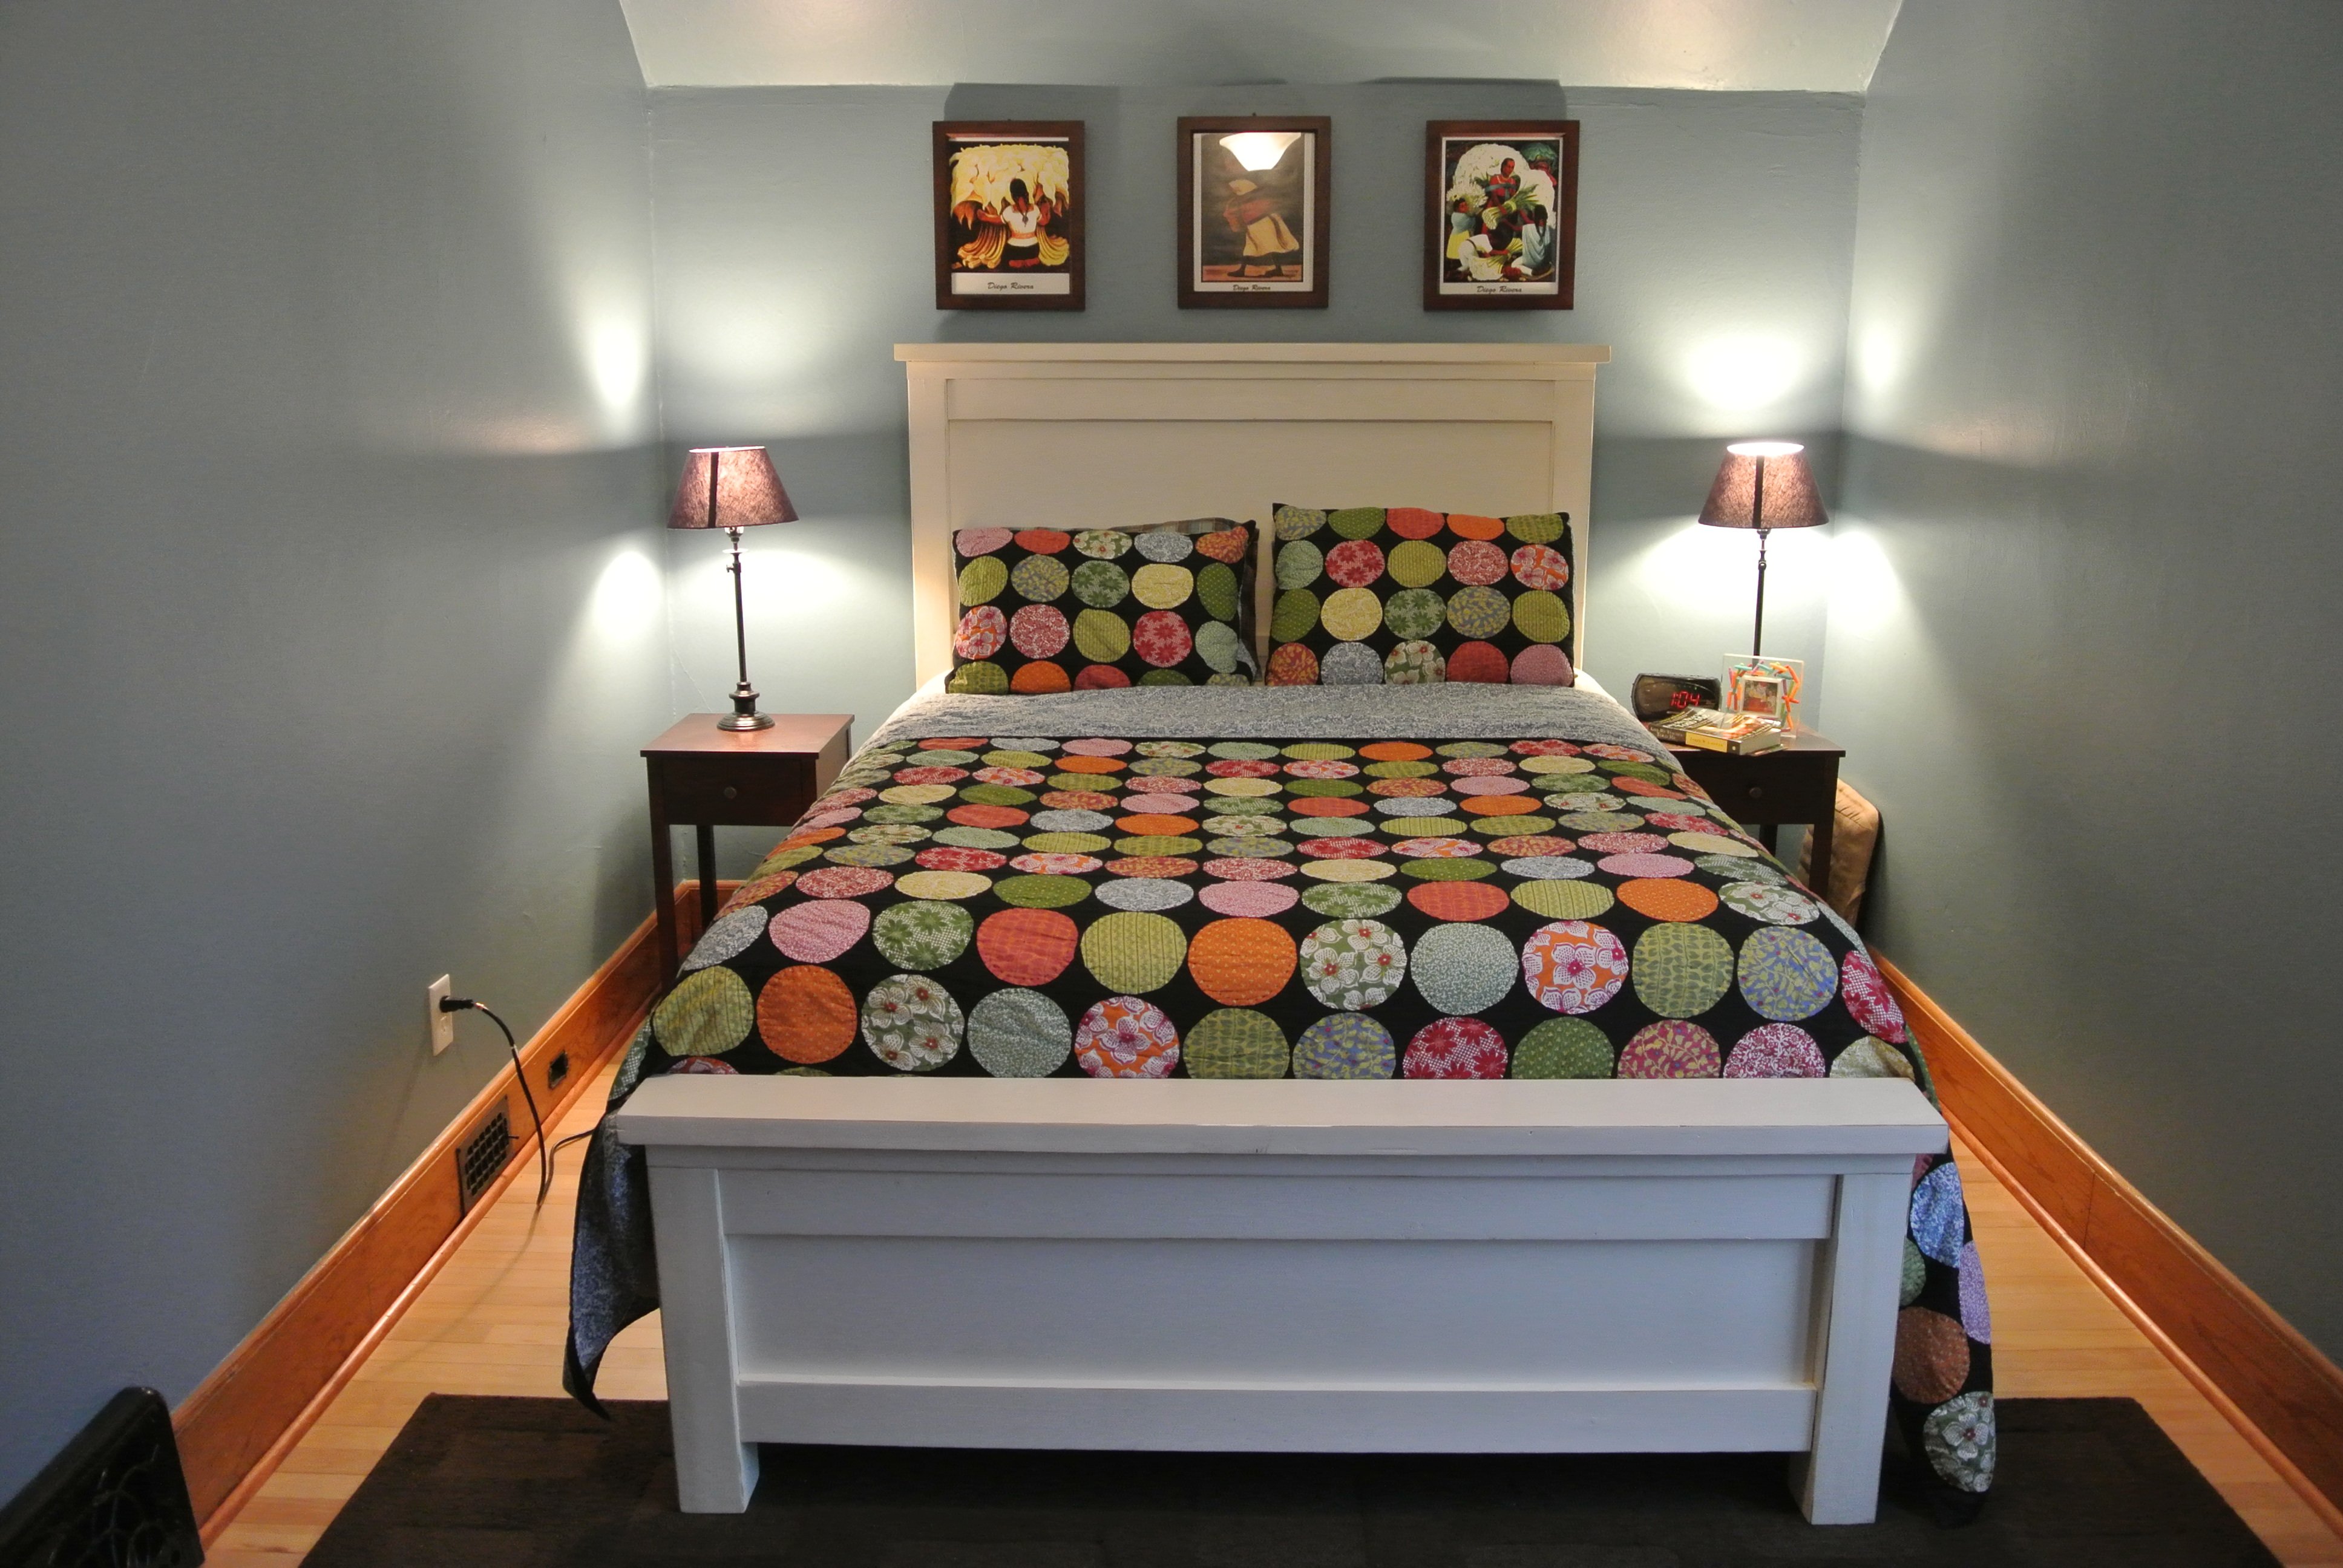
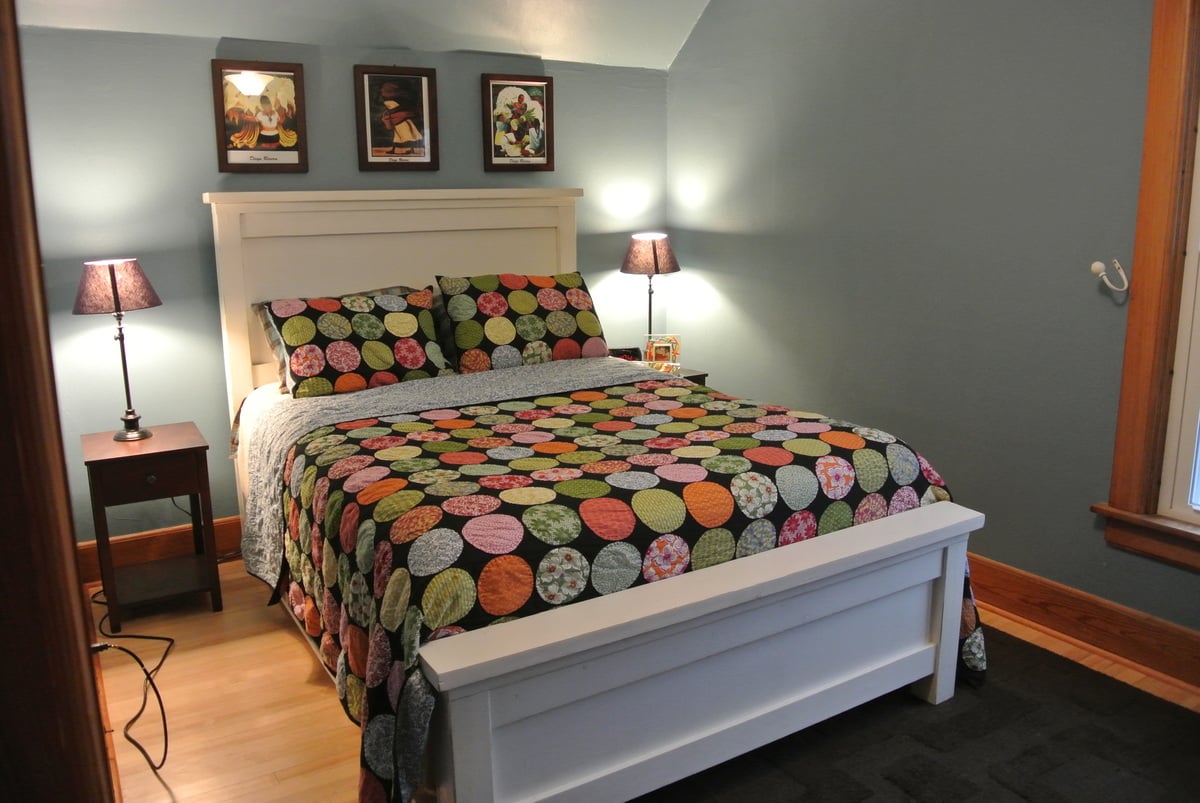
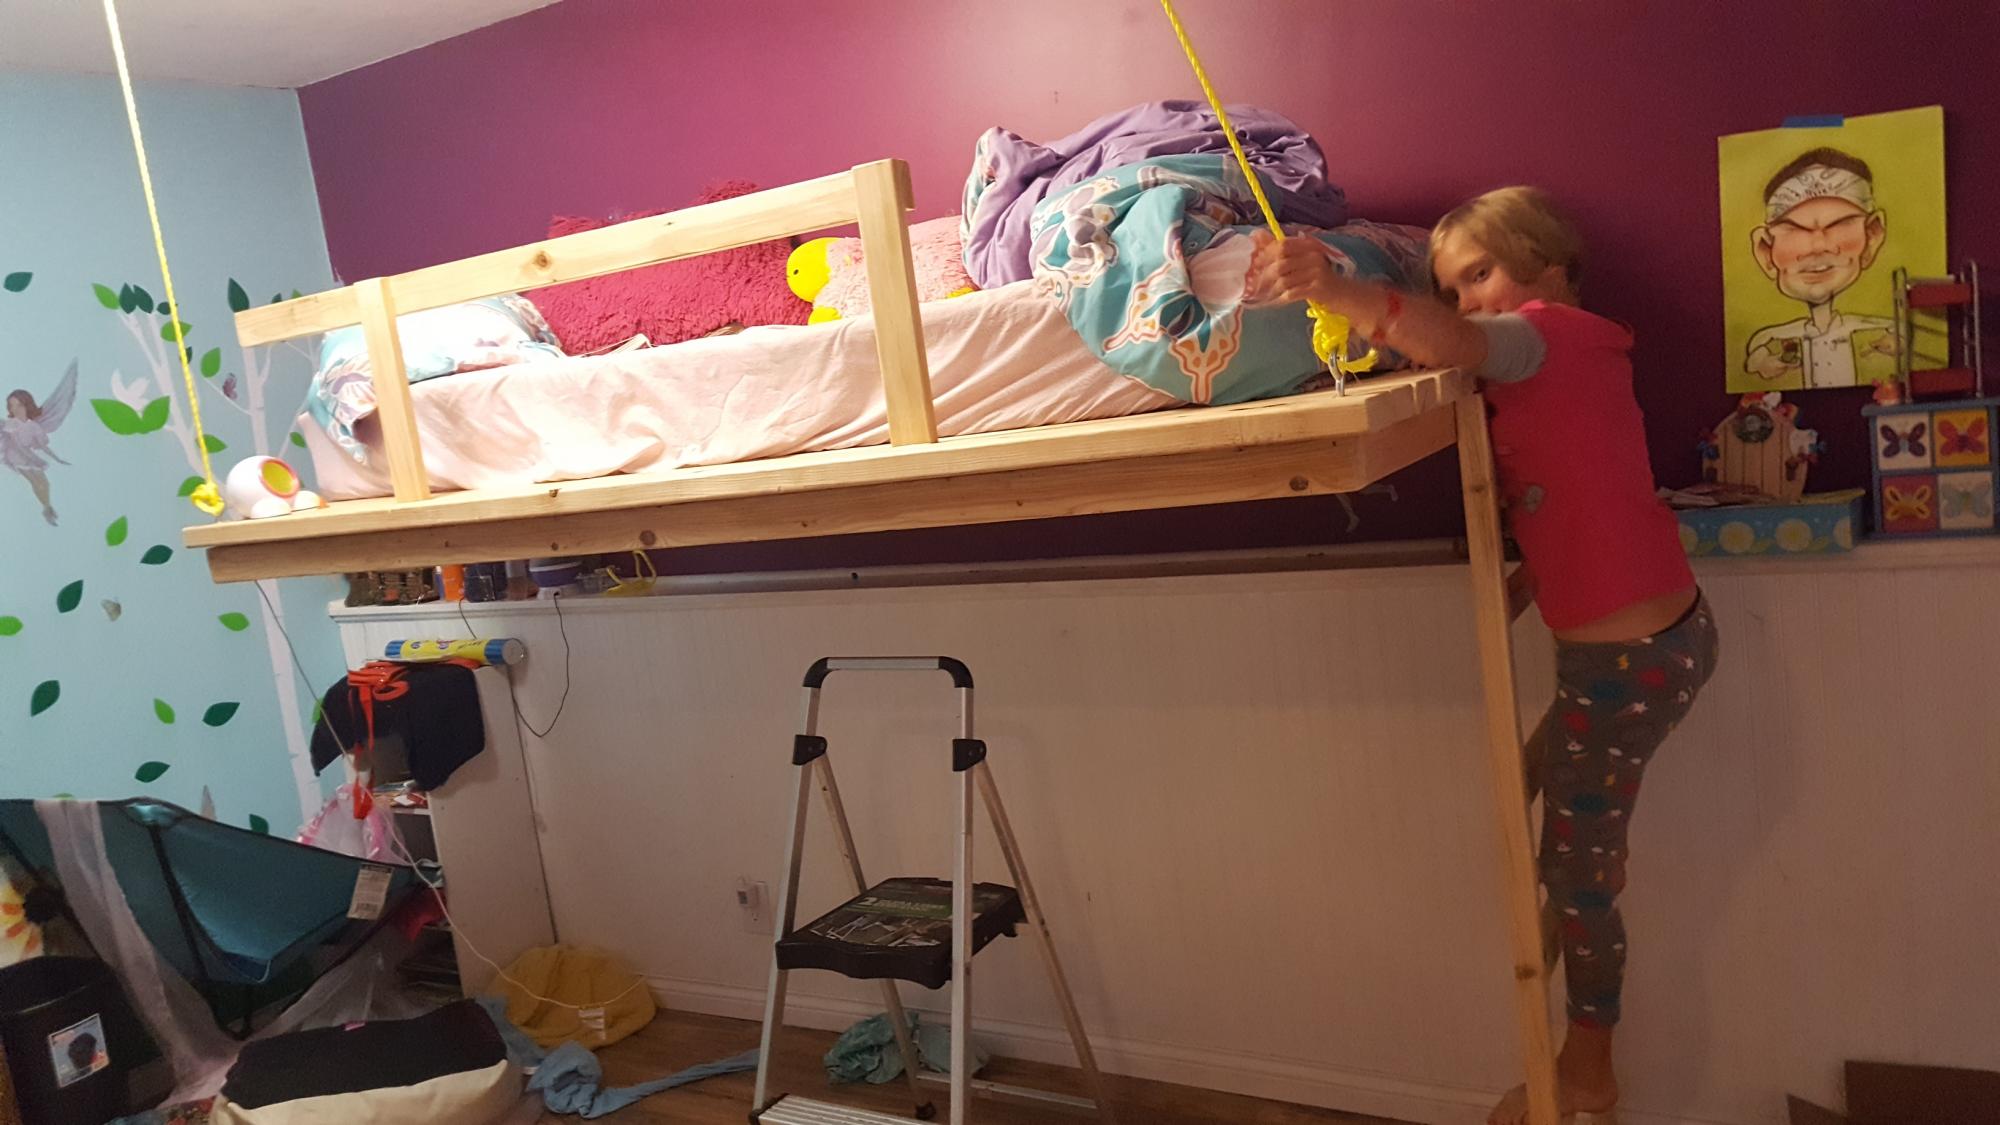
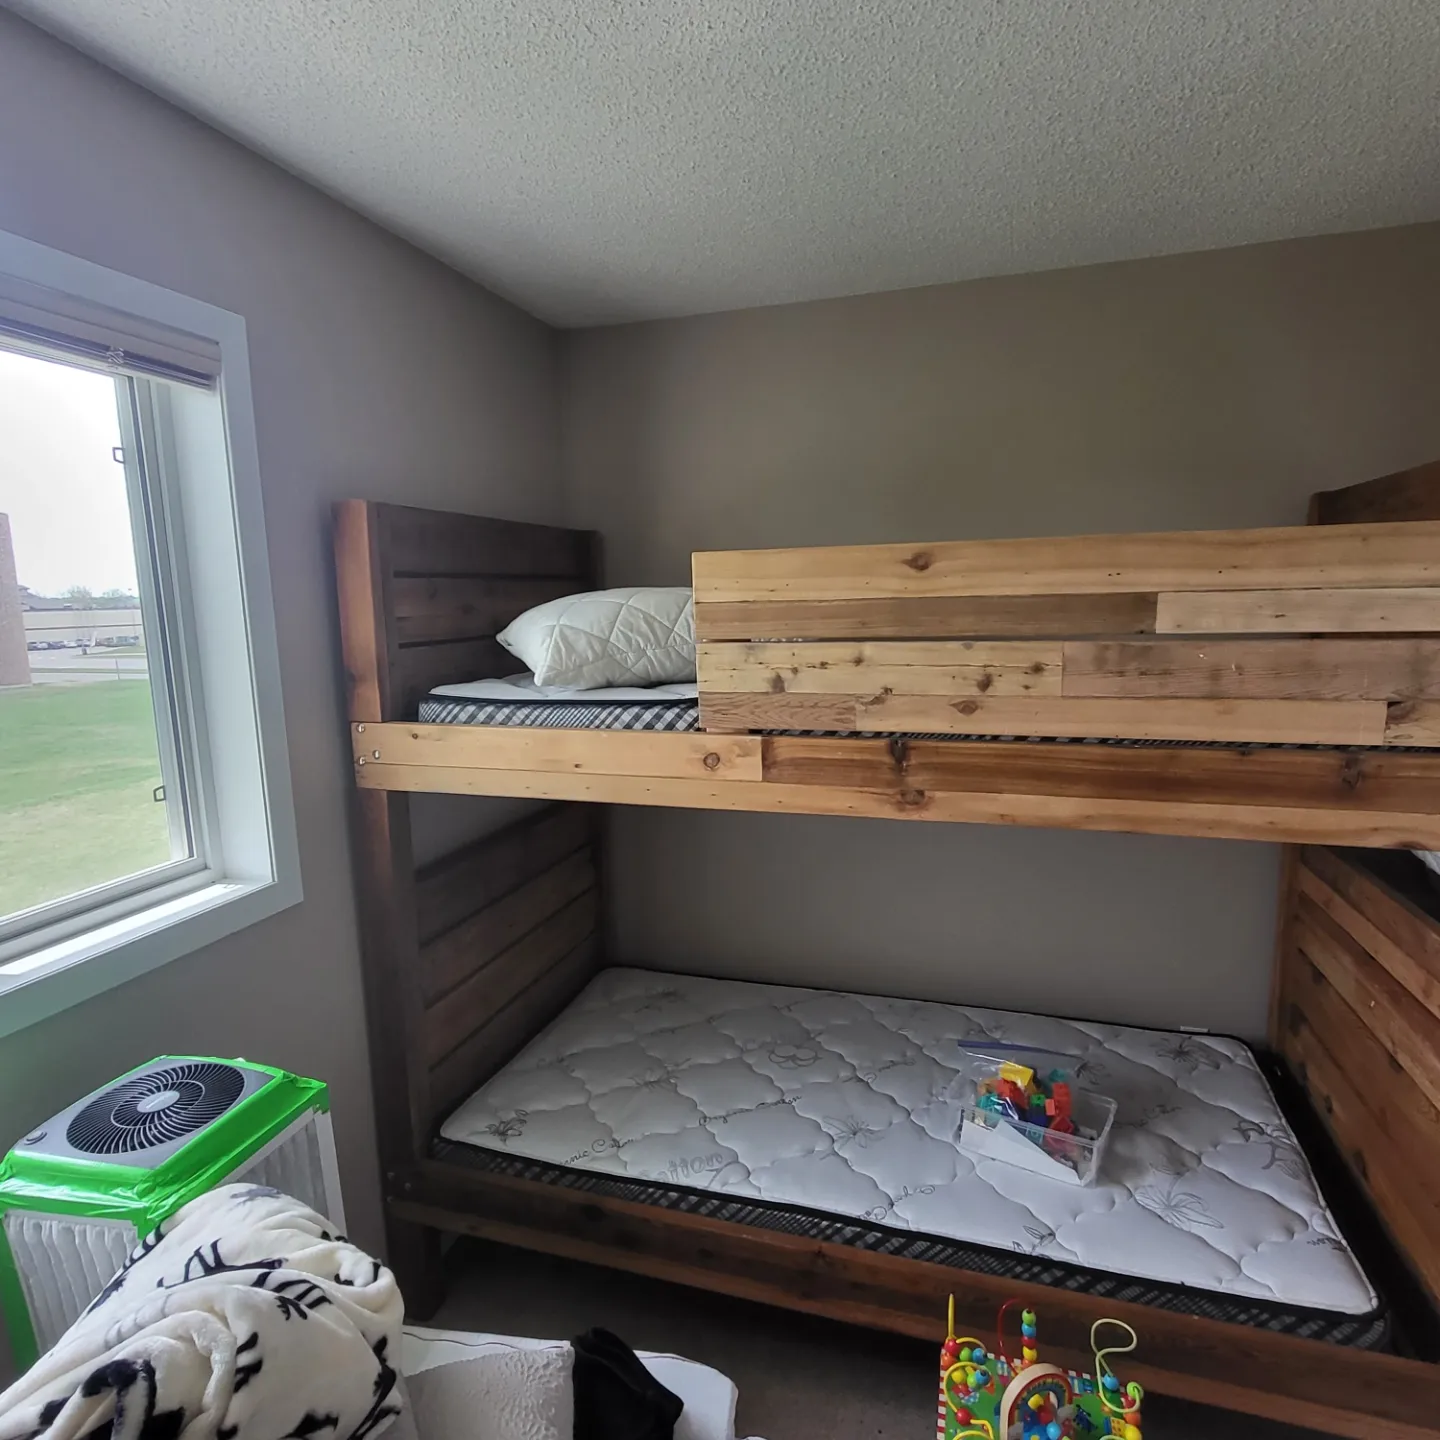
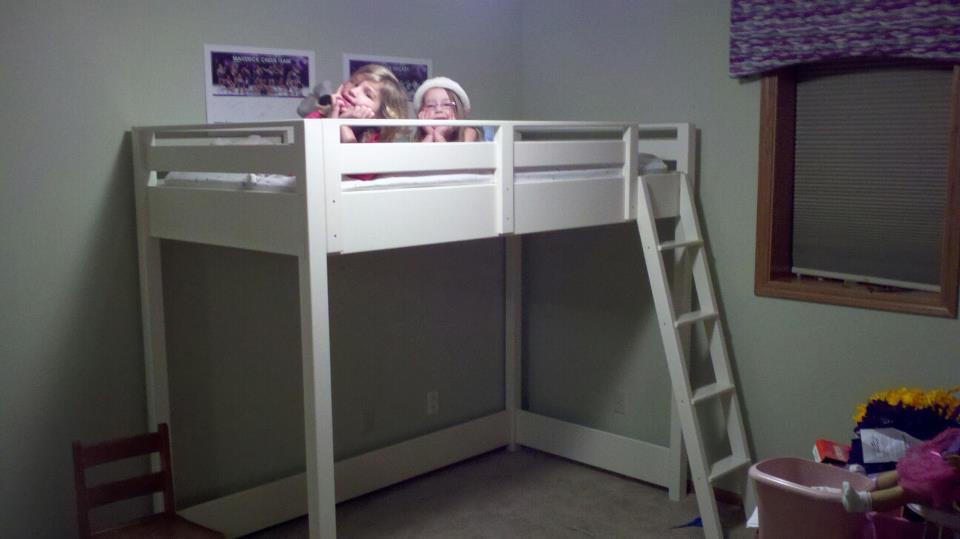
My daughter loves her new bed, thanks Ana!

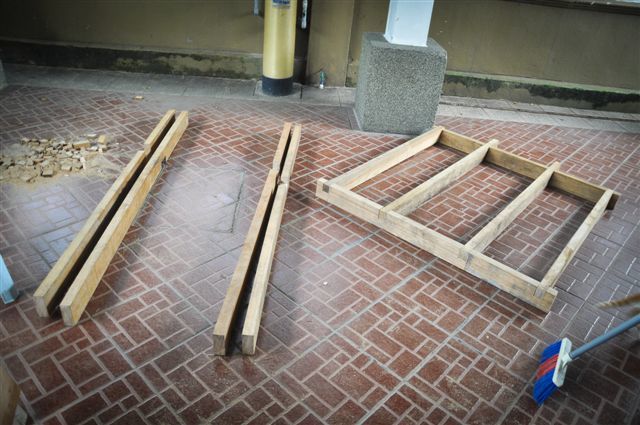
The plans were well thought out and very easy to follow. I did make a few changes/modifications that others might want to consider.

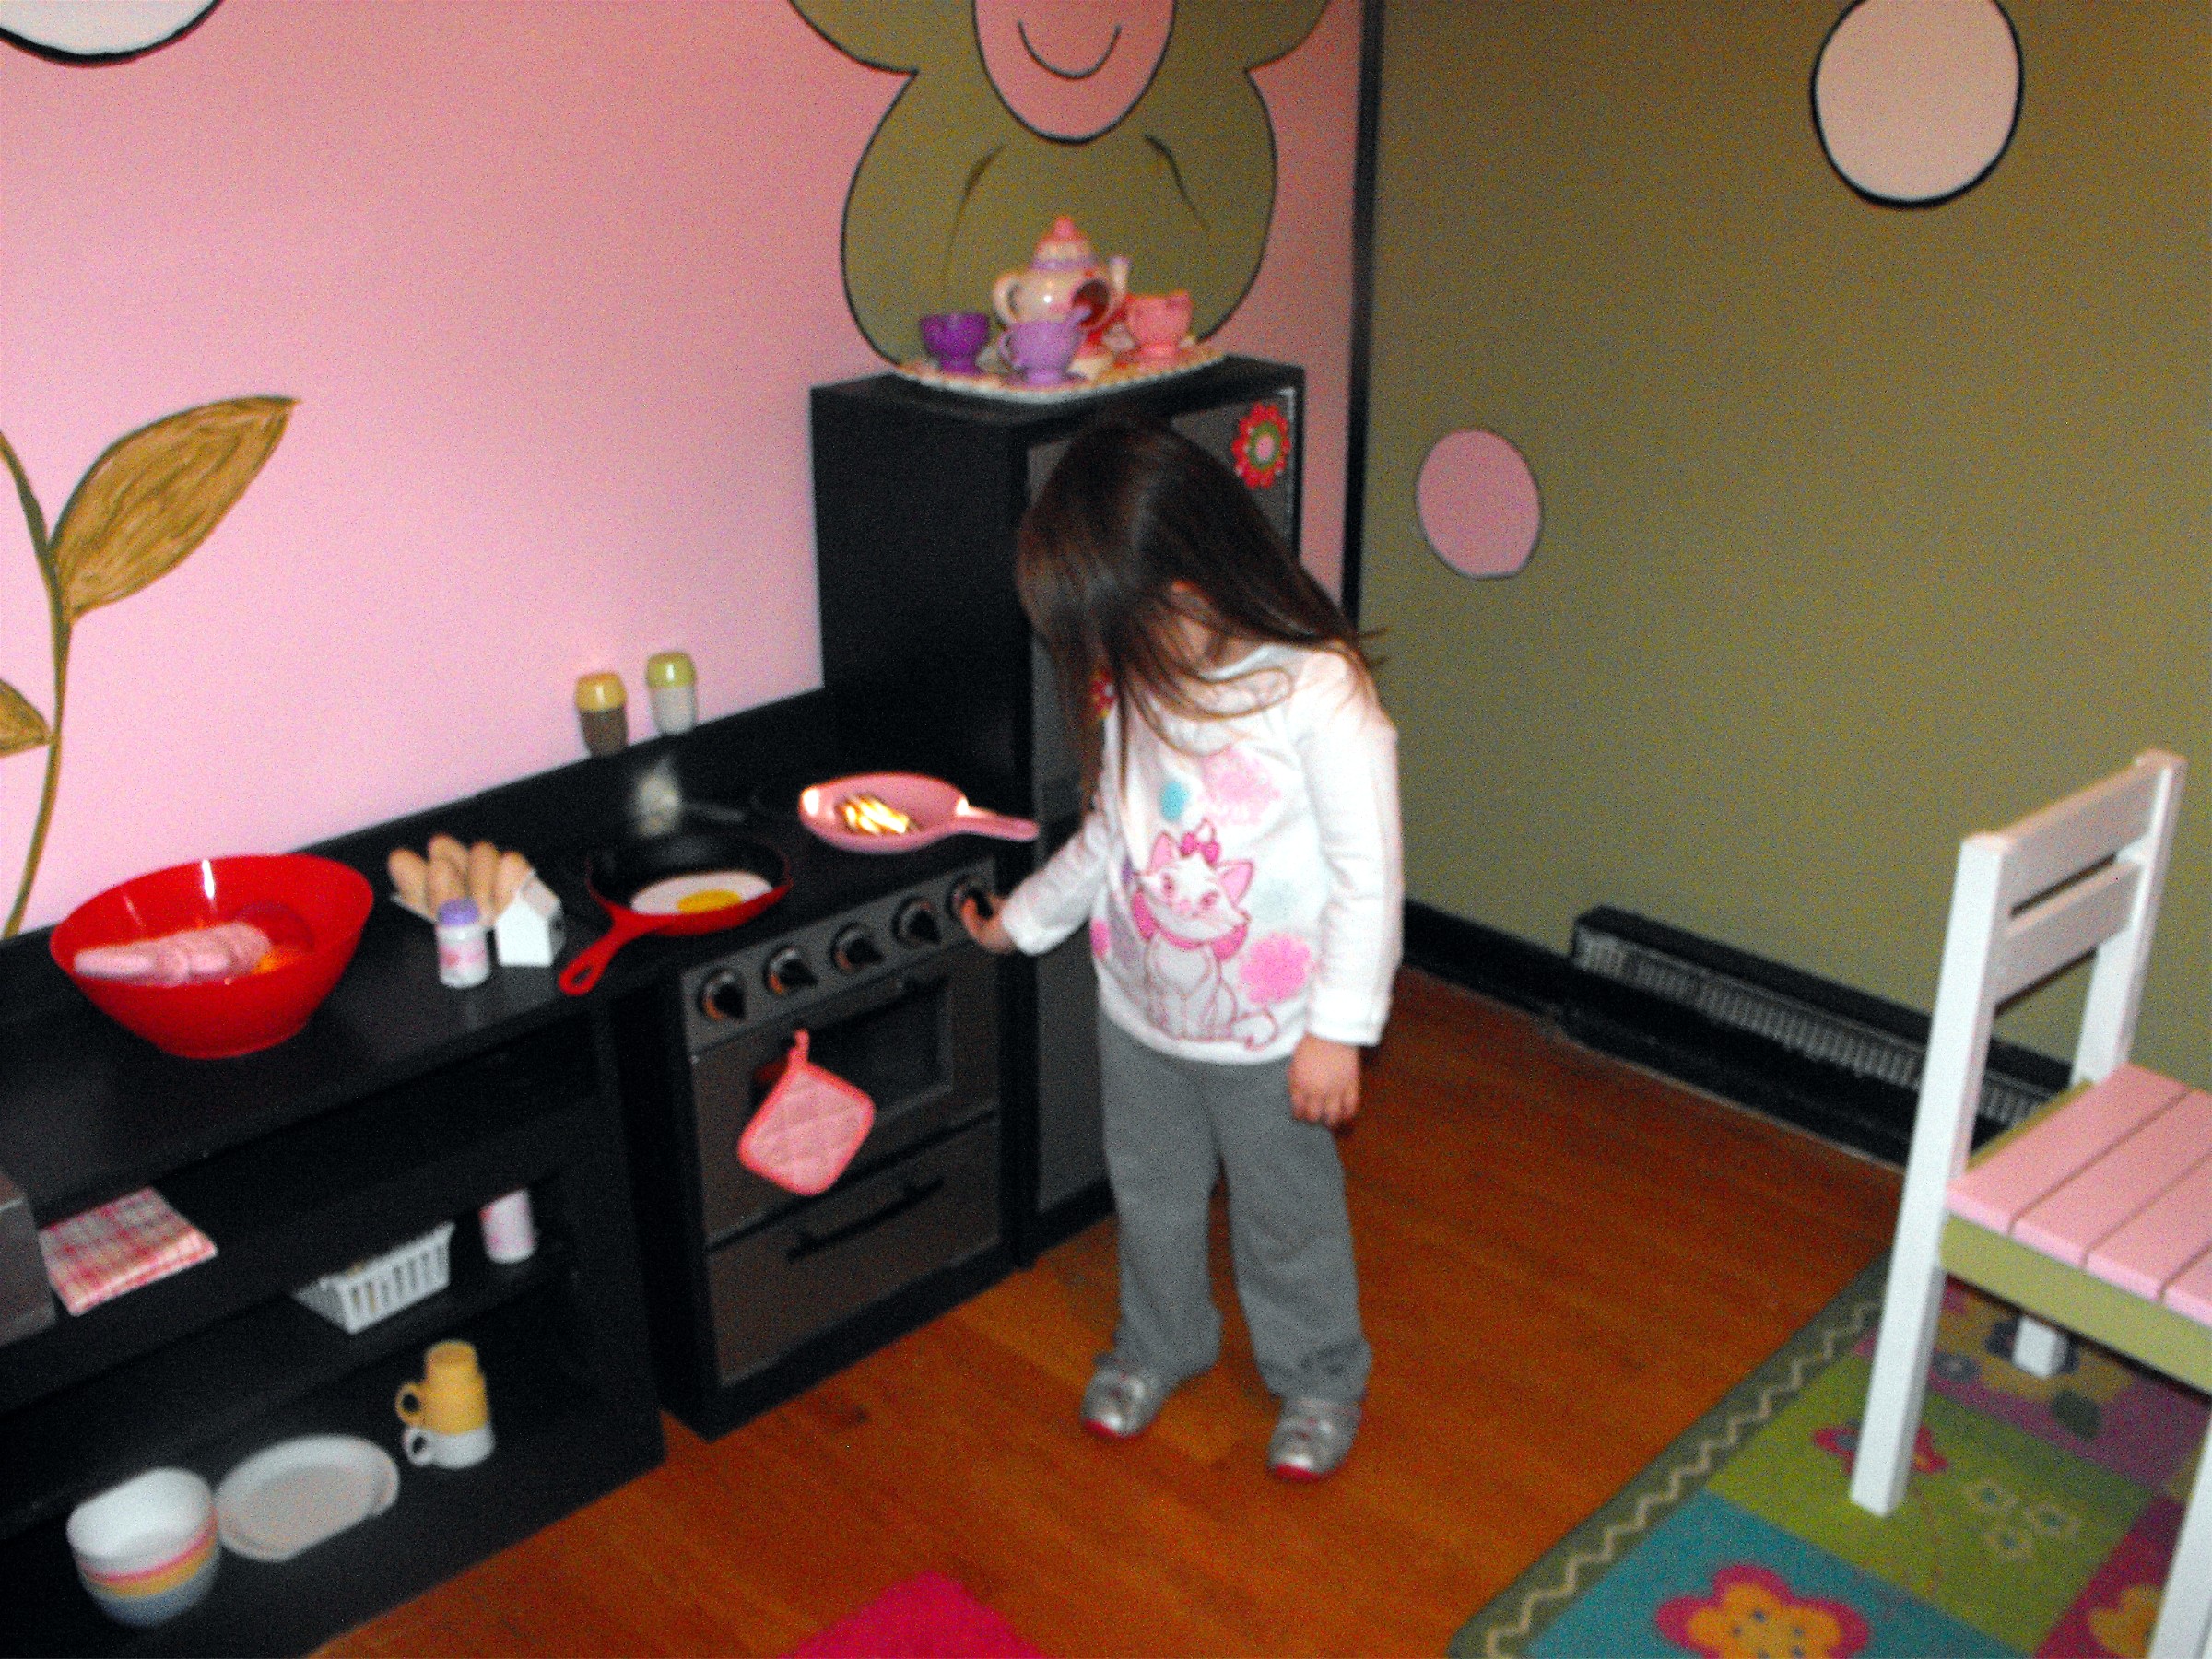
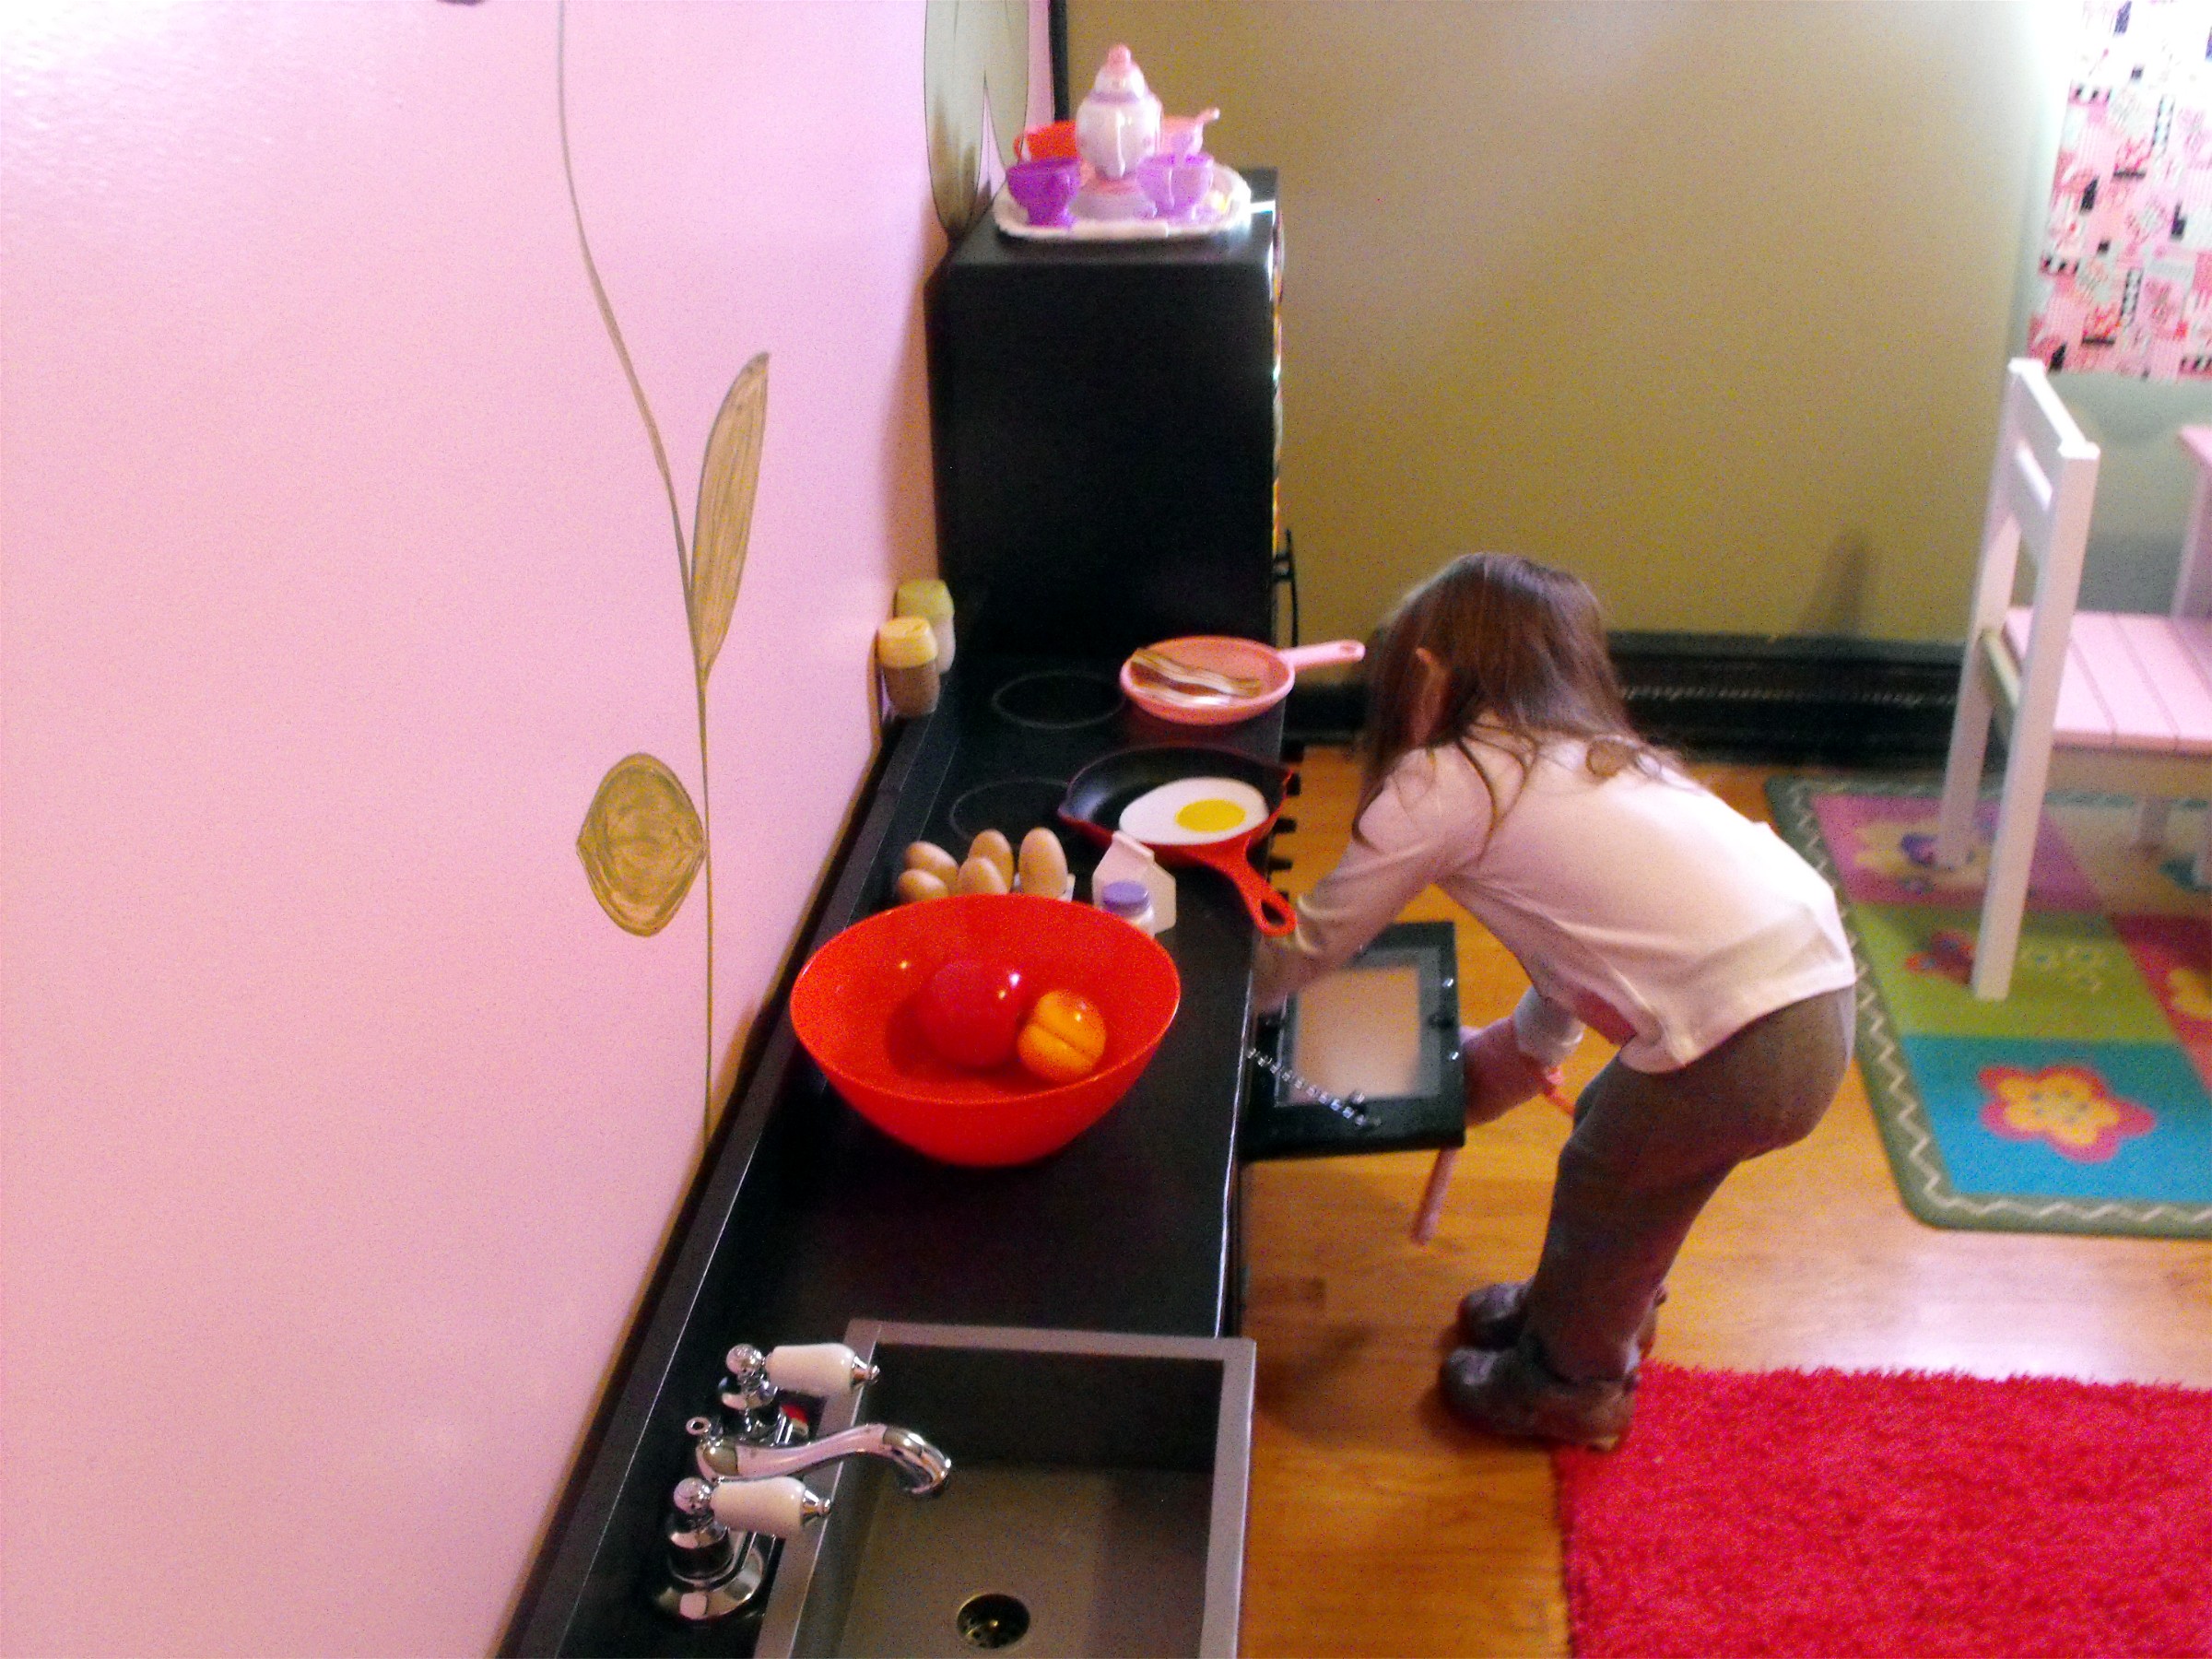
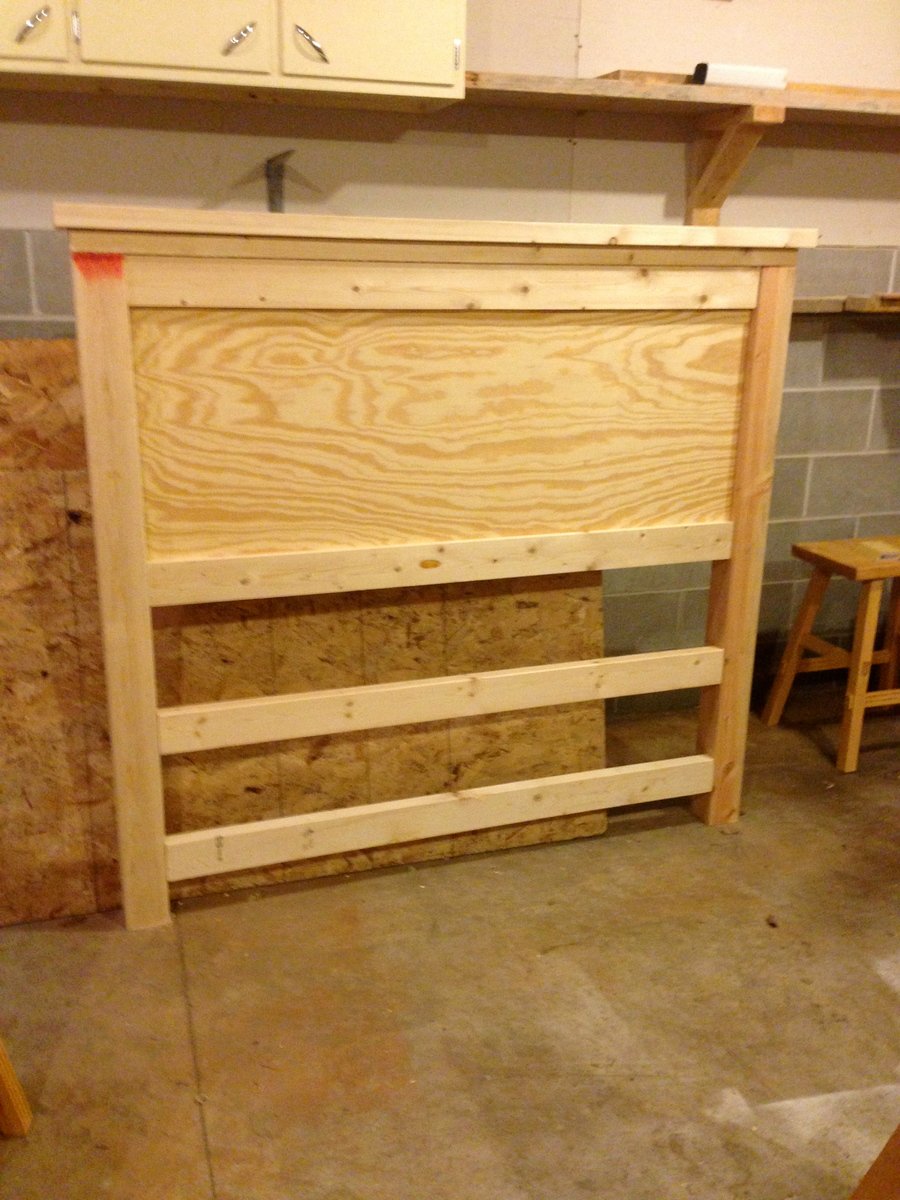
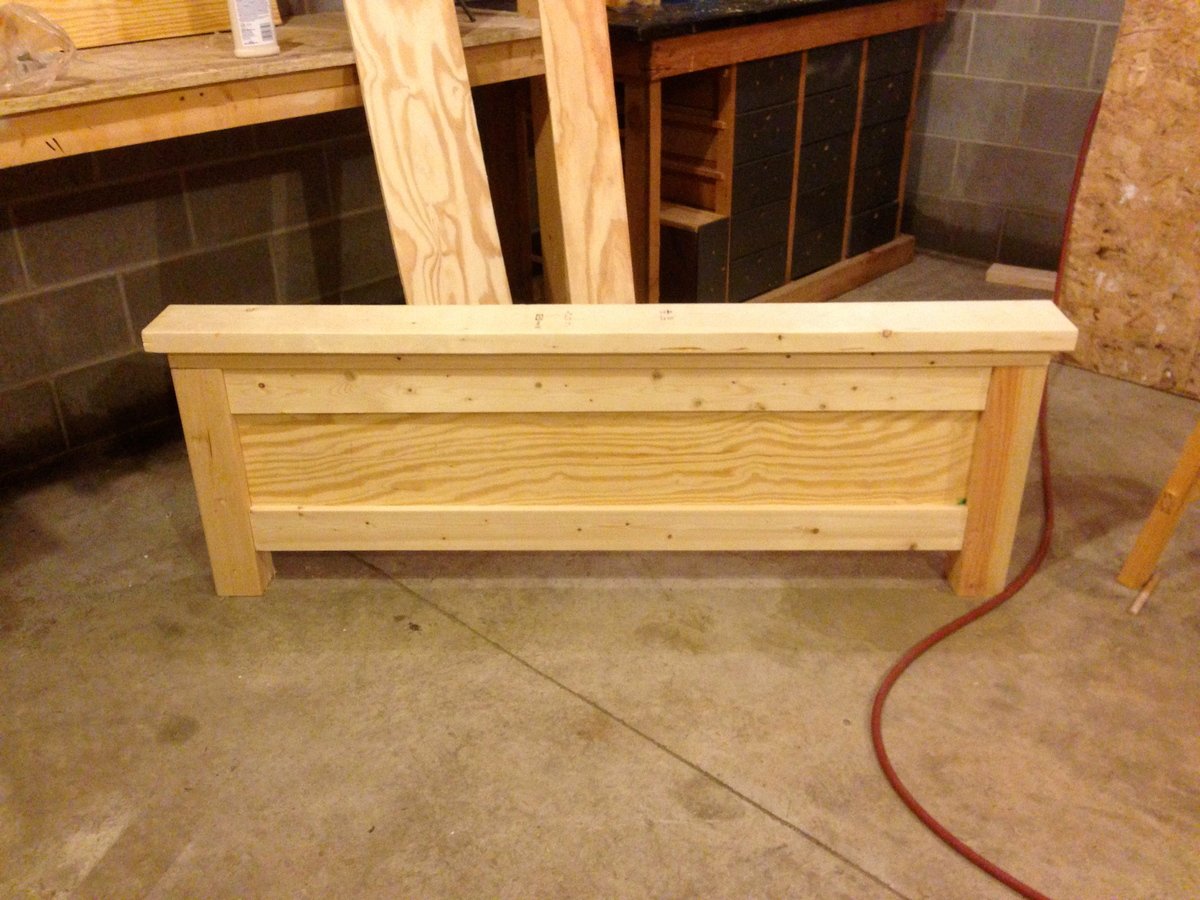
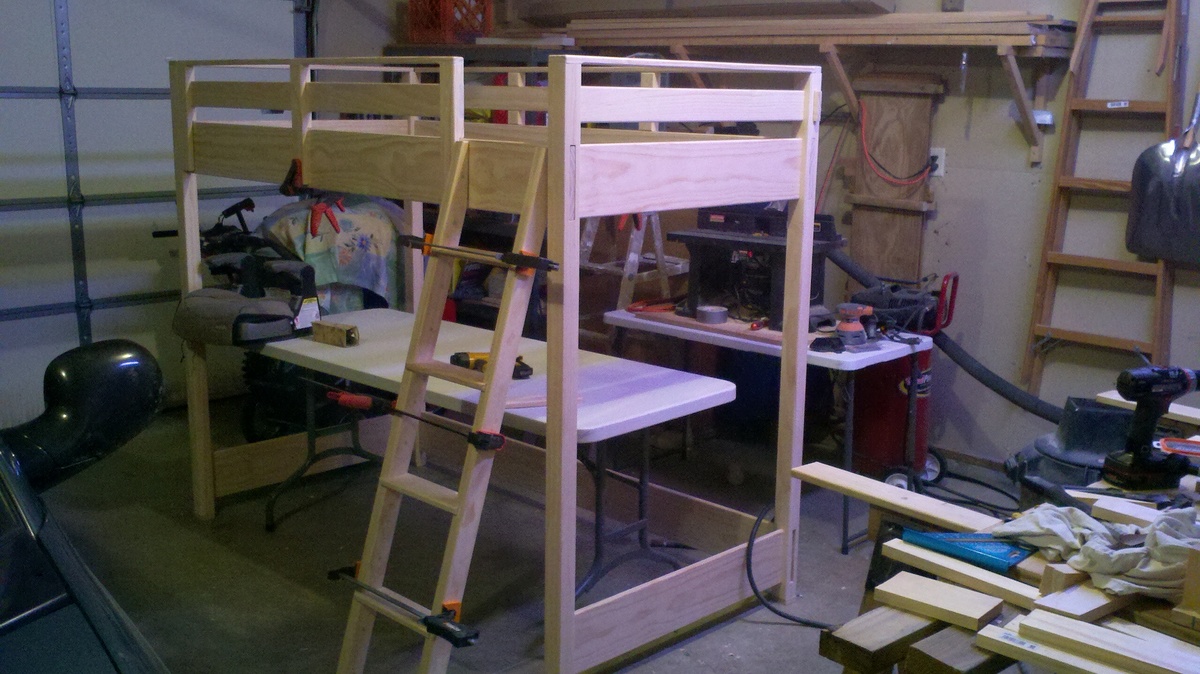
I used select pine boards to cut down on the amount of sanding necessary prior to paining, however that boards have a fairly sharp edges. Because this is a kids bed and play area underneath I rounded off all the edges with a 1/4" round over bit in my router. I love how it turned out!

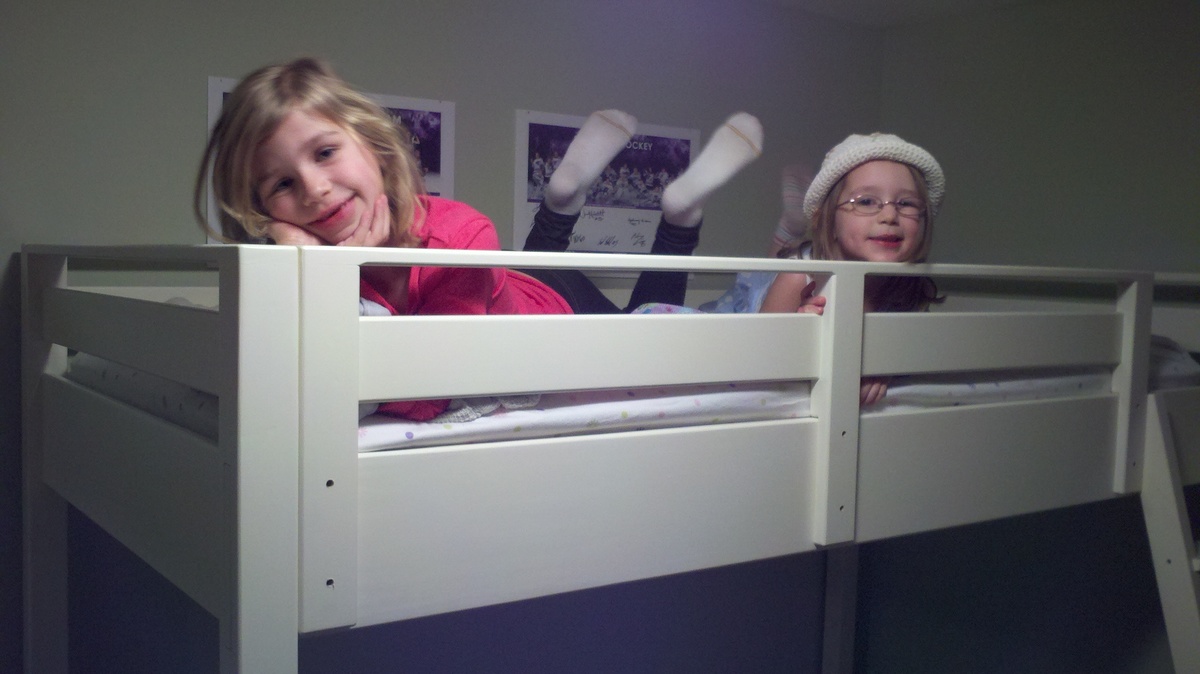
I also added two 1x3 supports to the long 1x2 top back rail. I did this for two reasons, first was the 1x2 seems a bit saggy and didn't seem like it would hold up too well to my 6 year old up there. Secondly, it match the front rail nicely. Speaking of the front rail, I also changed the vertical supports from 1x4s to 1x3s. The 1x3s match the 1x3 posts and look much better IMHO.

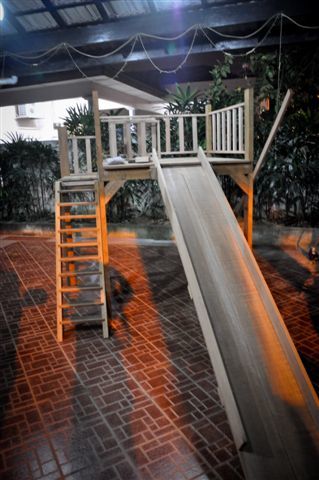
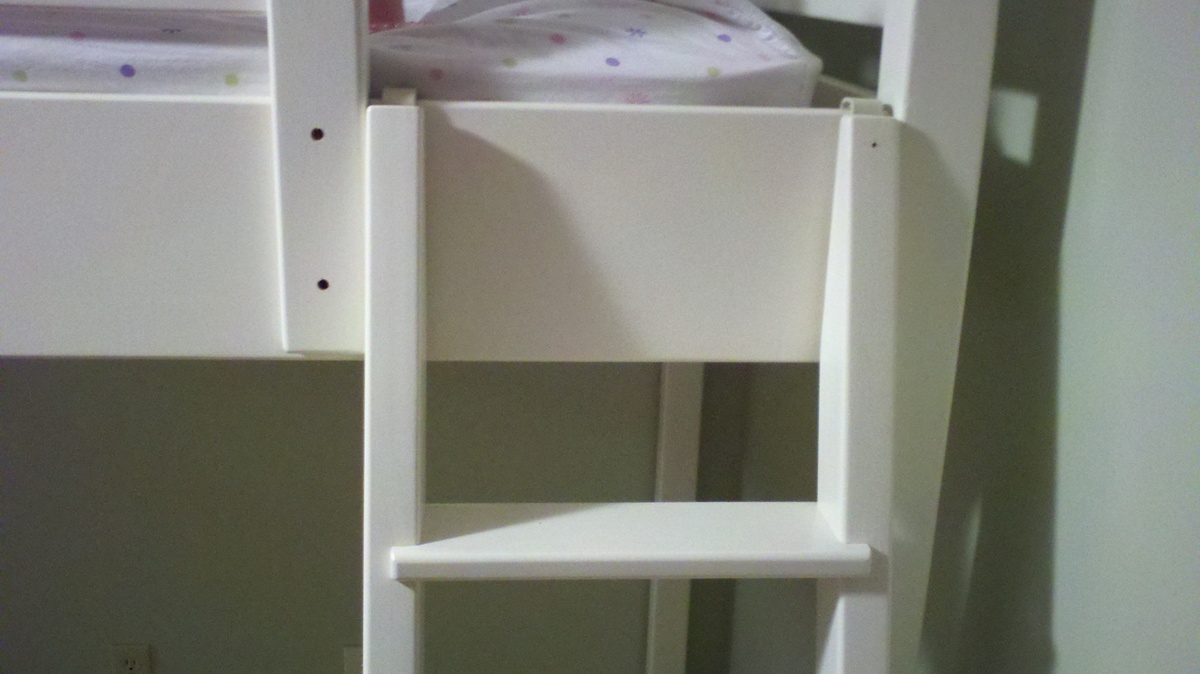
When I built the ladder I was struggling with the gaps left by the 1x3 stair treads when I placed them in the 1x3 sides. Finally I decided to use 1x4 treads, again rounded over with a 1/4" bit. These larger treads overhang the 1x3 sides by about 1/2-inch and look very nice.

Finally, instead of screwing the ladder to t 1x8 bed frame, I bent 5" corner brackets into a "J" shape and attached them upside down to the top of the ladder. The upside down "J's" hook over the top of the 1x8 bed rail and allows the ladder to be easily removable yet is still securely attached to the bed for use.

Built from Plan(s)
Estimated Cost
$300
Estimated Time Investment
Week Long Project (20 Hours or More)
Finish Used
I finished it with a coat of latex primer followed by a couple coats of an off-white latex paint.
Recommended Skill Level
Beginner

Comments

DanKaren

Mon, 01/23/2012 - 14:12

Wow!!!! Saw a similar bed at a kid's furniture store for about $2,500 in NYC. Thank God I came across this site before plunking down that amount of cash.

Well Done!

Mary - Scentsy… (not verified)

Sun, 02/26/2012 - 21:47

Is this bed as tall as the original design specified? For some reason it seems shorter to me. We have a ceiling fan in my childrens' rooms and average height ceilings. I am concerned with making something too tall.
Thanks.

natehu

Wed, 07/11/2012 - 07:59

Mary - No, I had to shorten the bed by about 3 or 4 inches because our ceilings are lower than 8' in the basement. The only real challenge with changing the height of the loft is re-working the step spacing on the ladder.

Scrap Lap Desk

Submitted by Marcie89 on Fri, 02/12/2016 - 14:46


This lap desk was easy to build, it took me less than 2 hrs.  The painting and finishing...um, a bit longer.  I really hate painting, and filling nail holes is not my favorite thing to do, either.  But overall I am glad I built this little desk, as it will keep all of my beads and jewelry-making stuff handy for when I am sitting in front of the tv at night.  The side storage compartments were omitted to keep it on the lighter side, and the front handle serves no purpose whatsoever, it is purely decorative.  I added my initials on the top, they are just fancy gold stickers I found at the craft store.

Built from Plan(s)
Estimated Cost
$25.00
Estimated Time Investment
Afternoon Project (3-6 Hours)
Finish Used
Black gloss enamel paint
General Finishes Gel Stain in Prairie Wheat
Semi-gloss polyurethane clear finish
Recommended Skill Level
Starter Project

Rustic Farm House Table

Submitted by Scotto on Mon, 09/30/2019 - 22:00

First Crack at any wood work since high school. All timber used was reclaimed hard wood, hours of

planing,sanding and clamping (its heavy). A few mistakes but that's learning.

Estimated Cost
$300 Australian
Estimated Time Investment
Week Long Project (20 Hours or More)
Finish Used
Estapol - Tung oil
Recommended Skill Level
Intermediate

chicken coop

Submitted by Anonymous (not verified) on Tue, 05/23/2023 - 19:14

I've wanted chickens for a long time and loved this chicken coop plan. I used lots of salvaged materials so made minor changes in dimensions to use what I had and I absolutely love this! Probably took me longer to build than it should have but the Houston weather was not in my favor....

Comments