Indoor Outdoor Side Table
Used the table and cutout logo's and put back into the table using luan scraps. ;0)
Weather sealer
polycrilic
Used the table and cutout logo's and put back into the table using luan scraps. ;0)
This is the first furniture project I have built from a plan found on-line - at Ana's Website. The plan was very easy to follow and I thoroughly enjoyed building this piece of furniture. I made some alterations to the upper cabinet as per shelving. I used an antique finish to match my bed. The match and design is perfect!
Mon, 02/03/2014 - 08:38
This piece looks like it belongs with the rest of your bedroom set. Great work.
I saw this on Shanty2Chic and loved the plan. I had a friend that wanted me to build her two of these with tin in the door and back. The tin was a challenge but it all worked out. She loves them. Thank you for the plans. I could not have done this without them.
Storage box made from left over 1 by 4 and plywood from recent projects and a top I made for another cabinet but didn't use. All I bought was two 1 by 4s for the top trim and the hinges.
My first build! Didn't want the X's so I put a straight piece on each end.
This was my first time building furniture. I've restored and refurbished antique furniture for years and but never imagined building my own before. I have a small kitchen and had to modify the size to accommodate area space. I also added breadboard ends to the tabletop. I am now planning to build more furniture using your plans. Thank you Ana White for providing such a wonderful resource to help beginners build their own furniture!
Fri, 09/22/2023 - 08:01
WOW, you did such a great job! Love the finish choice and added breadboard ends. Thanks for sharing:)
Building an outside side table out of scrap pallets.
Video of the build:
https://www.youtube.com/watch?v=kVAYXVGiL_8
Drawing File
https://googledrive.com/host/0B21TbB8gGNQbX2dlNGdxR0NuOE0/end_table.pdf
I made this for my 3 kids for Christmas and I'm so glad I did! They have gotten so much use out of it and love to move it around to set up different "houses" and restuarants. Thanks so much for these plans! I made the pieces a little taller, and use the play stove as the sink base too so that it could double as a dishwasher :)
I'm really bad at making the X's, so I just added some straight pieces for decoration.
When I started my blog This Girls Life ( t-g-life.blogspot.com ) I knew I wanted to makeover my office to give me more room and storage. These bookcases were perfect for that.
My husband Chris and I have been planning for a few years now to build a farmhouse table for our home. Every year for christmas my mother-in-love (mother in law) gifts us a "must have" tool. We like to think of it as her investing in our home and quality time together. Last year she gave us the Kreg gig, holy cow, that sure is a must have!!! :) This year we received a hand sander. Needless to say we were motivated to start our farmhouse table journey.
We loved the table Ana built for her sister, so we followed the plans almost to a tee. We ordered the turned legs from Georgia. Let me also add that we try to buy everything we possibly can that is made in america, from paintbrushes on. I encourage everyone to take the a few seconds to look and spend an extra dollar or two to support america's economy.
The only modification we did to the plan was add a small strip of wood to the base layer for just a little extra touch of character. :)
Combined a few of your plans to make my wife a Workstation. Plans were easy to follow and there were no dimension errors.
This was made from Red Oak trees that were cut down to clear a lot to build our home. We saved the trees with plans of making a dining room table. I used the Triple Pedestal Farm House Table plan and modified it for the size that we wanted to fit our space. The end result was just want we wanted!
I used paint stir sticks as the front of my bins!
I wanted the "bead board" look but to still have a natural wood grain that I could stain for the rustic look. I also really like being "frugal"
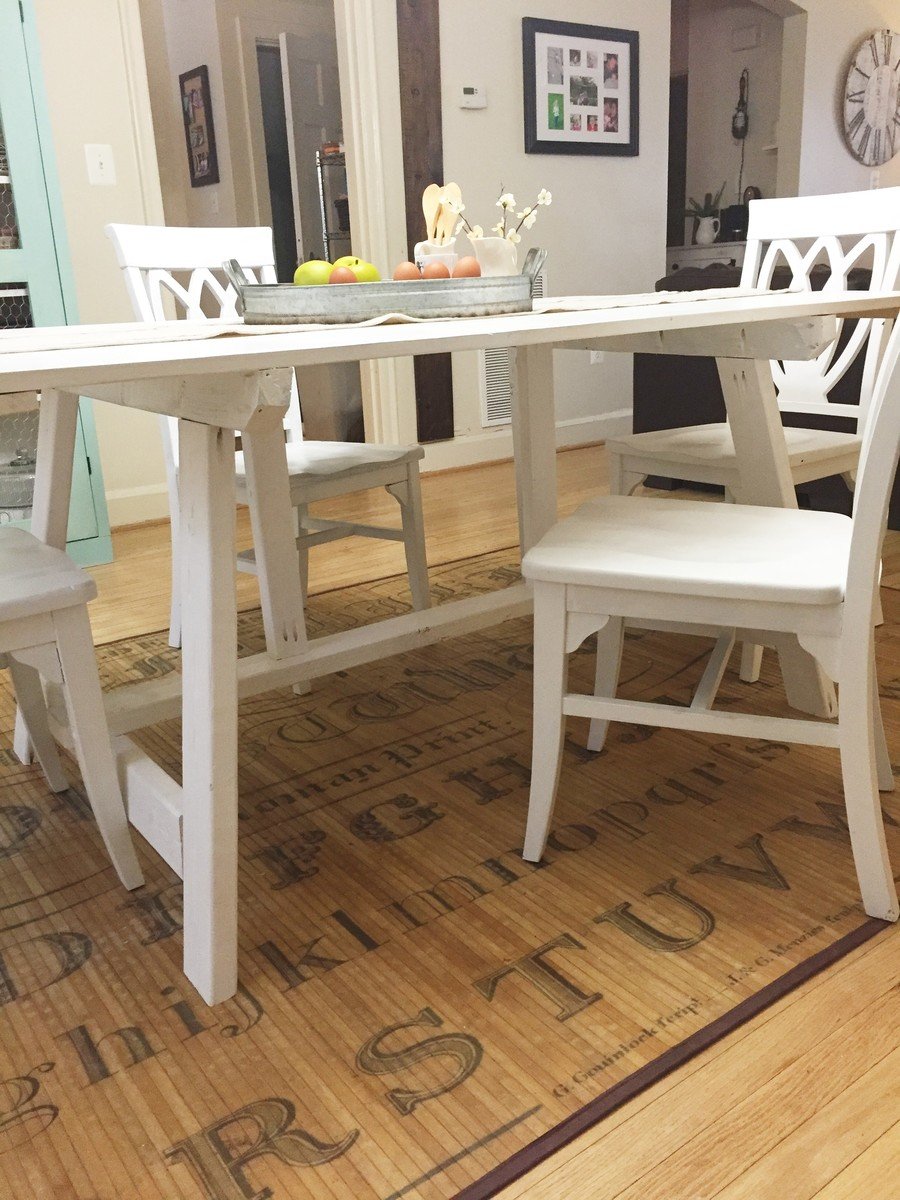
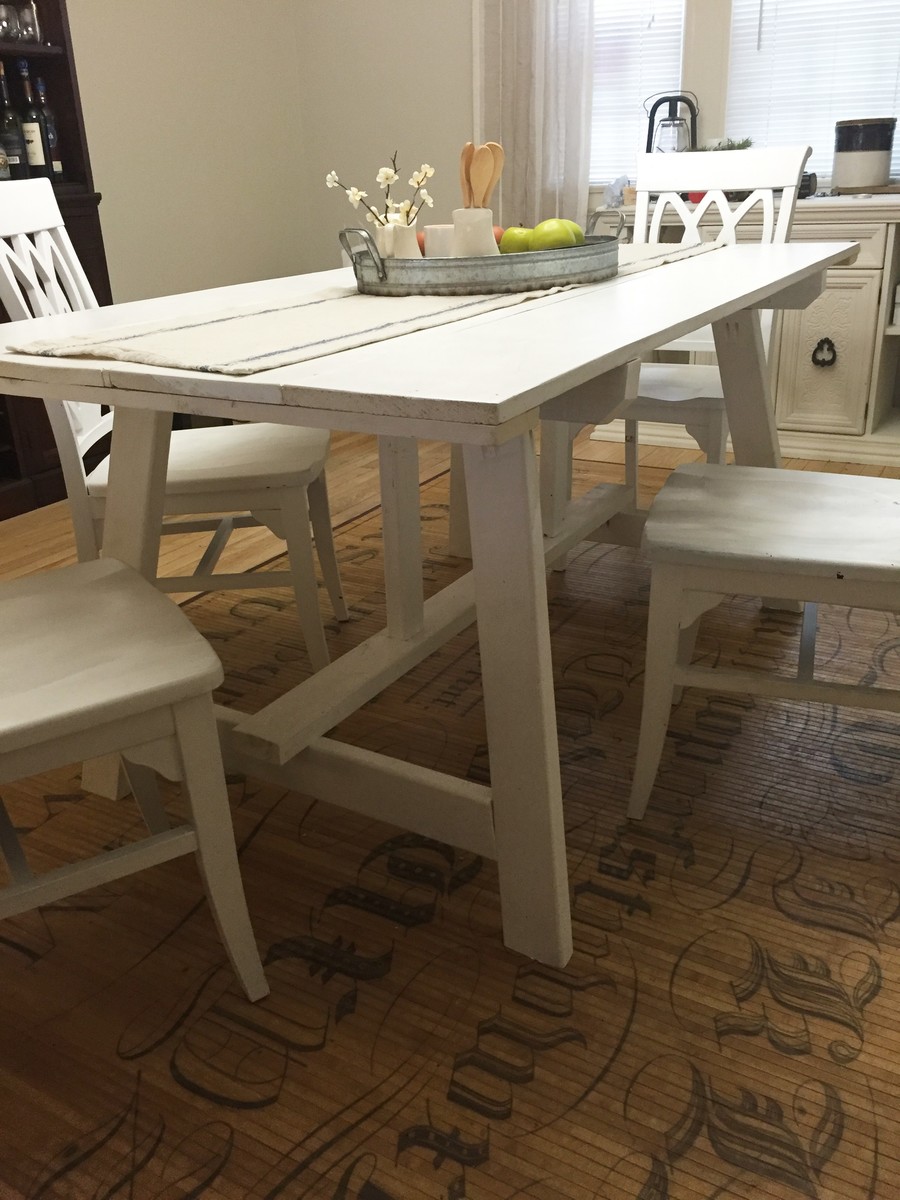
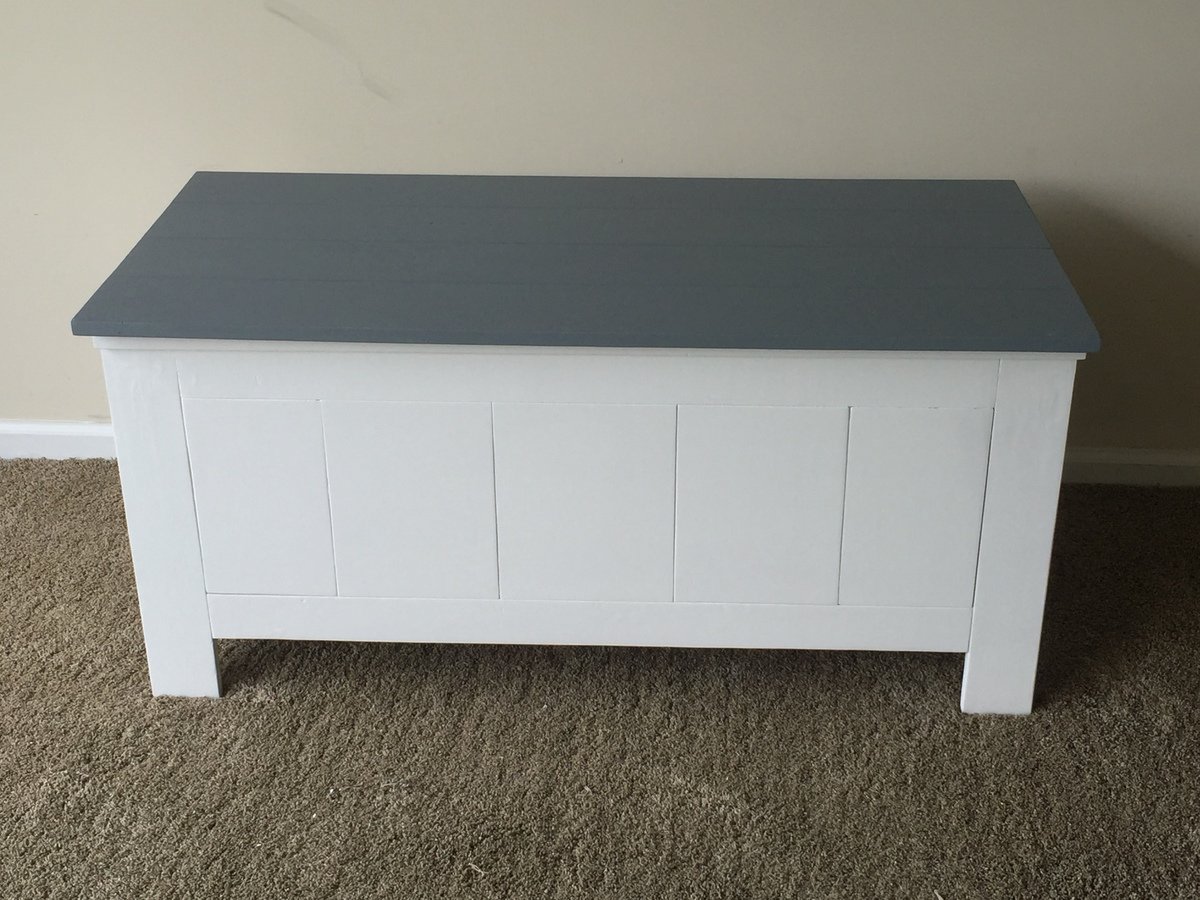
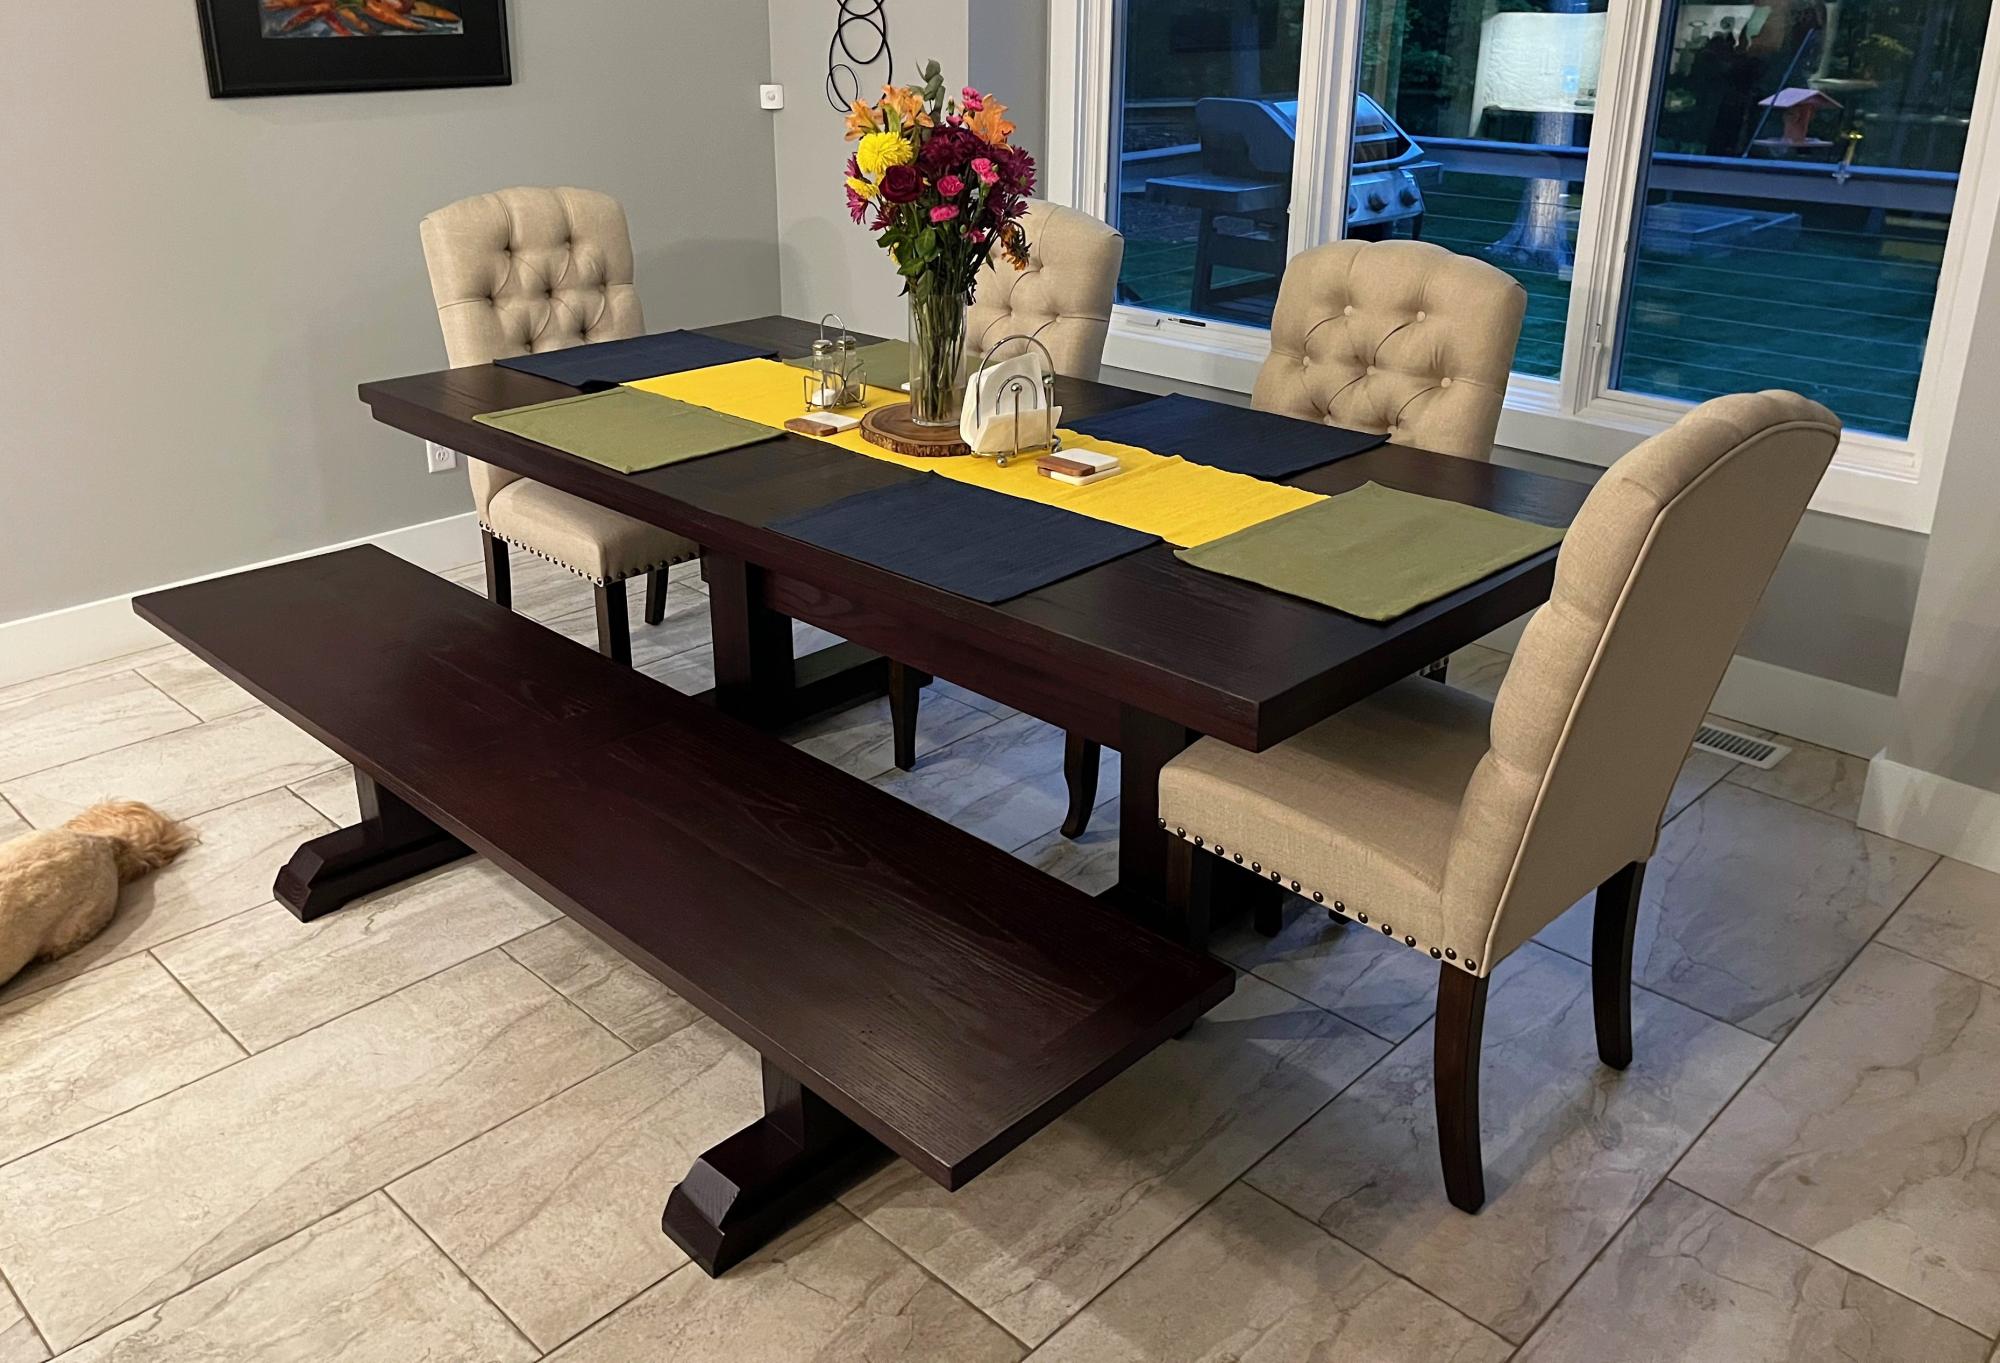
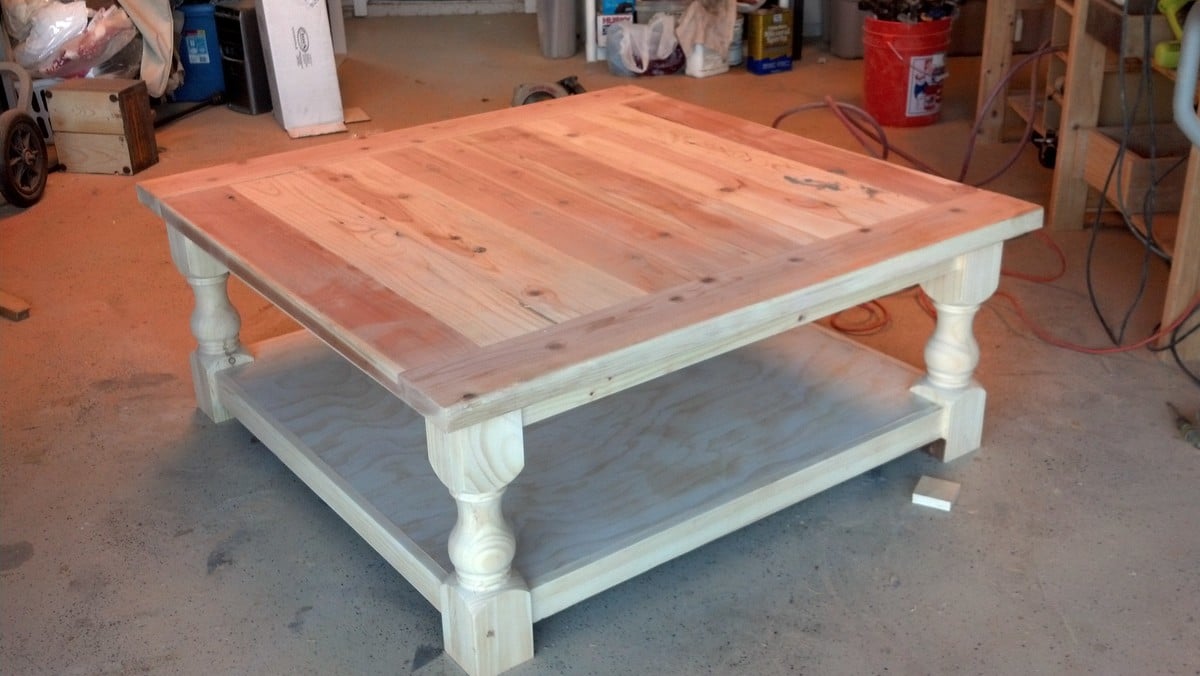
I'm still helping my kids furnish their new home. They "hired" me to build them a massive coffee table for their family room. They fell in love with the legs featured in a plan built by Shanty 2 Chic (http://www.shanty-2-chic.com/2013/11/diy-square-coffee-table.html). The legs definitely were the most expensive part of this table!
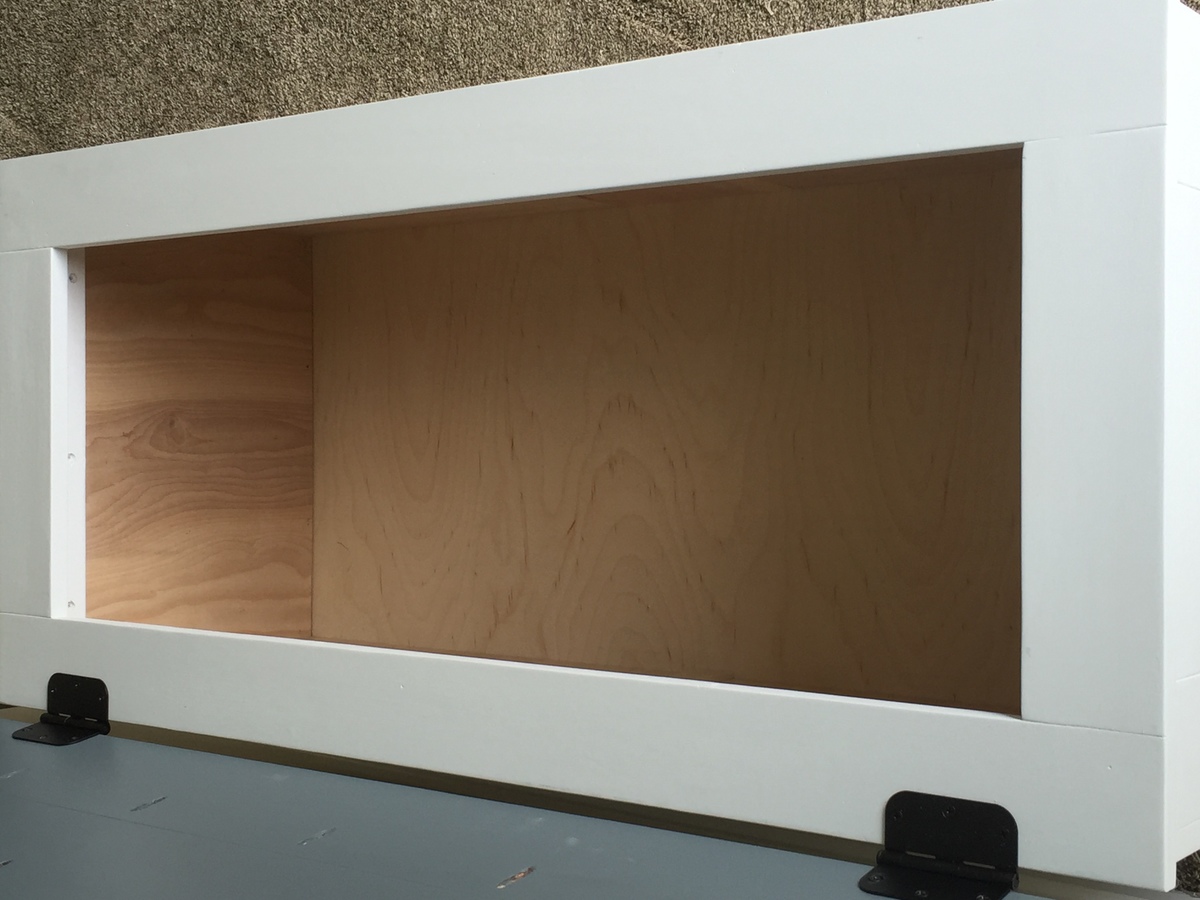
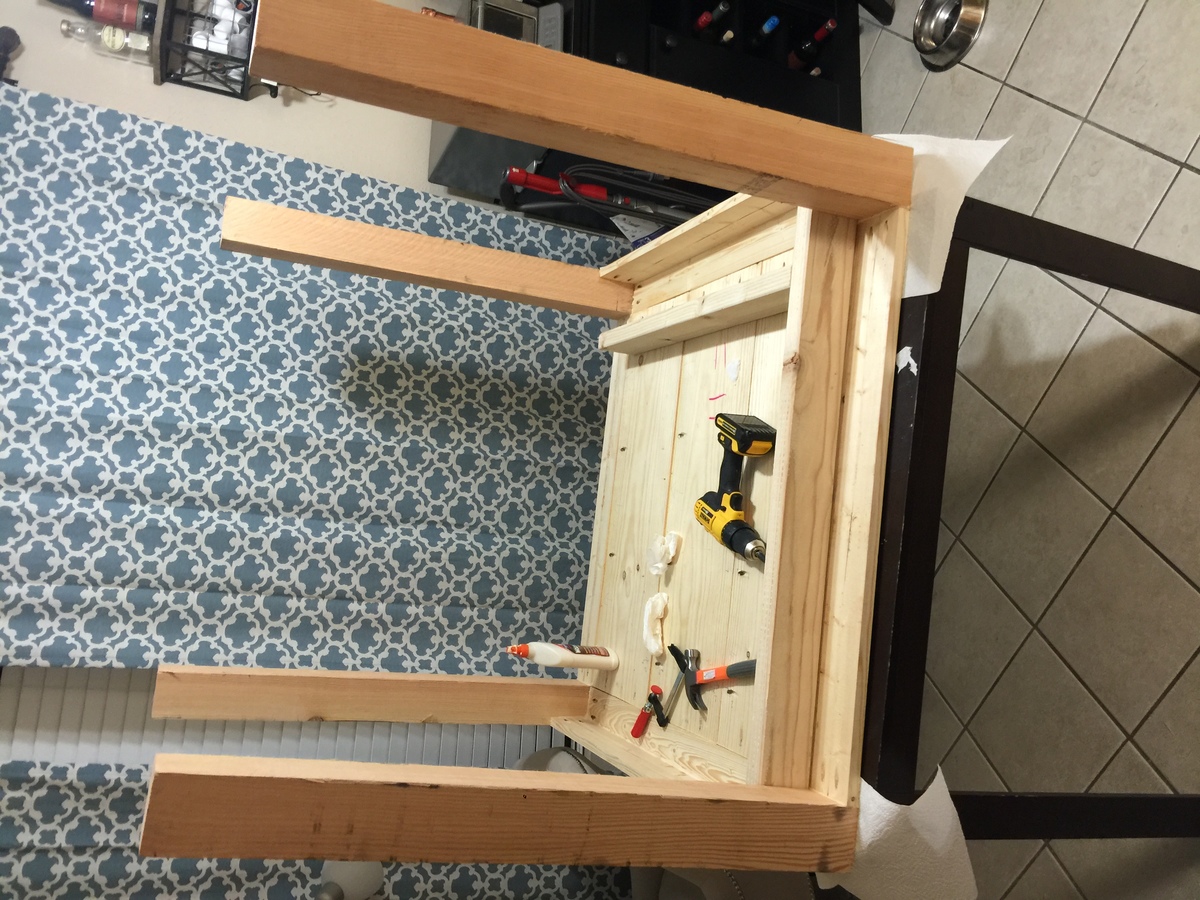
I made a couple of adjustments: because these kids of mine hope to have kids of their own soon, and the table measures 48x48, I reinforced the lower shelf of the table and the table top with support pieces. I picture babies crawling all over this and wanted to ensure that it would hold up!
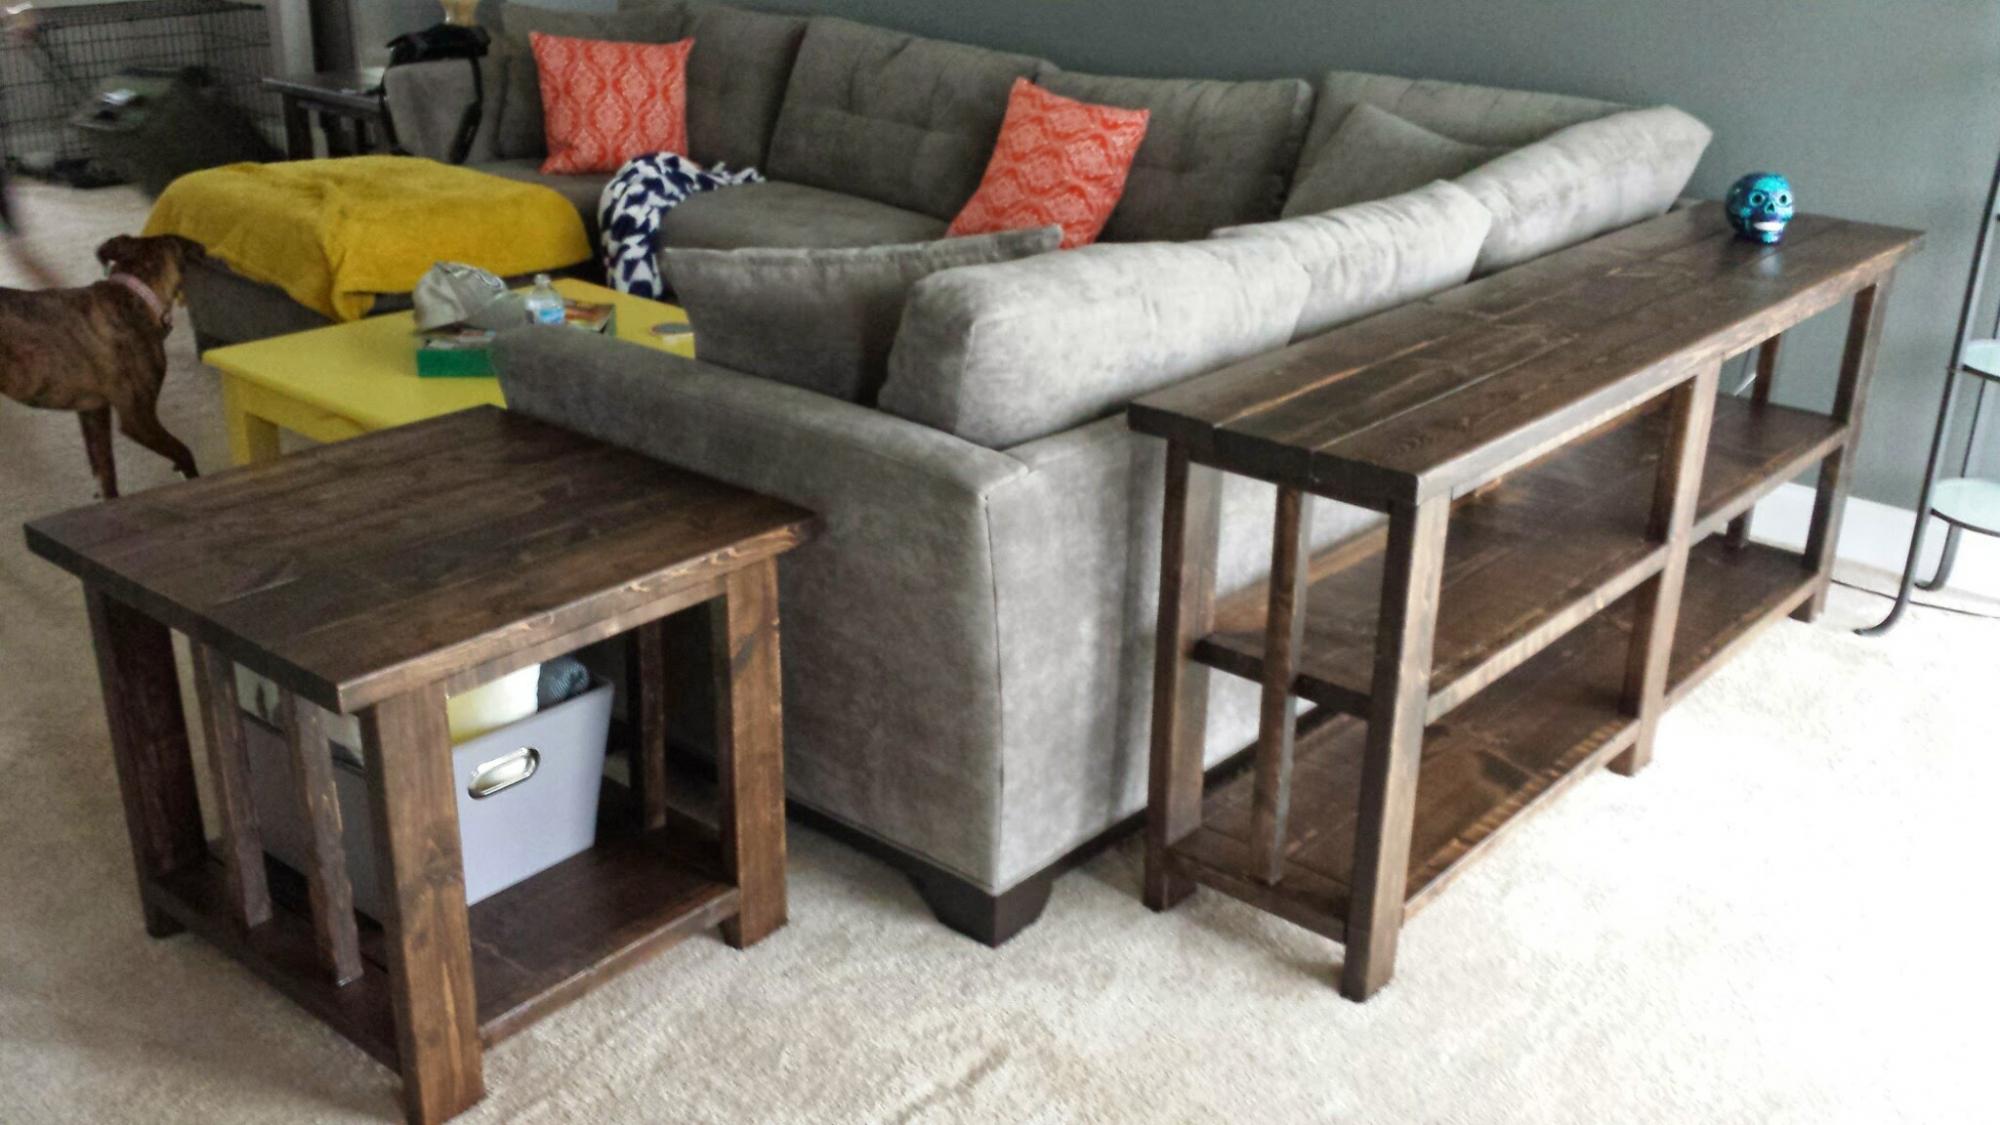
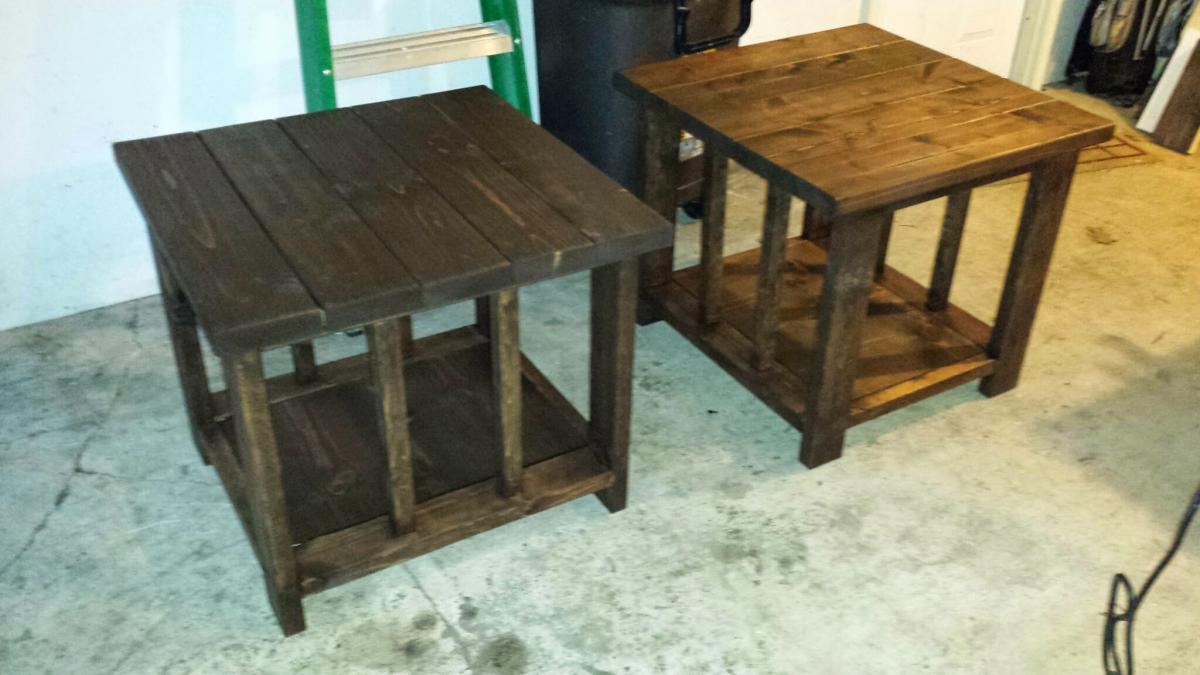
I finished with the same steps used by Jen of House of Wood's rustic yet refined finish, but used a dark walnut stain as the base.
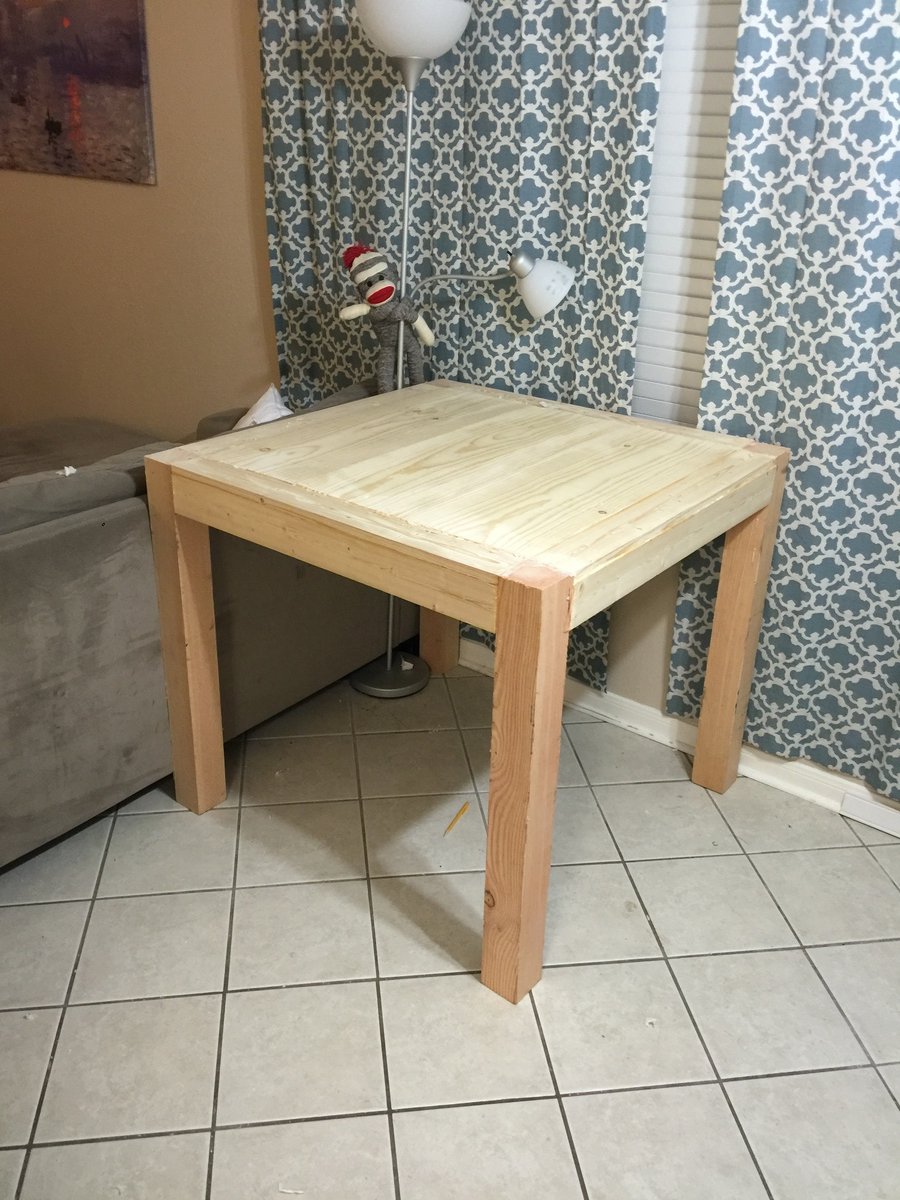
Another fun project for me, and they are very happy with it!
And, I just have to say that Osborne Wood products delivers a wonderful product with great follow up and customer service! http://www.osbornewood.com/
Ana, I really loved this design and was pretty easy to build! I like the way the finish turned out by painting it black and just a few coats of poly on top.
The benches are overbuilt with intention of converting 2 benches into 4 chairs in the future. I made them larger so I can simply just cut them in half and add two 4x4s 18 inches higher than the current bench legs at 24" and just deck it as a chair back, seems simple enough. One thing I would change in the design is eliminating the 3 1x12s and 2 of the 1x4s and just going with a solid table top at 33 3/4 x 40 3/4, similar to what I did on the benches.
Let me know what you think and if you have any questions.
My rendition of the baluster coffee table.
Wayne A.
My trash situation was pretty dire once my dogs figured out how to pop off the lid and dig into everything. Trash was everywhere! So to keep out prying paws, I built Ana's tilt-out trash cabinet to keep the can safe. But I didn't read the plan through before going shopping, and didn't get any plywood to make the door! So I used part of an old bifold door that looks like a shutter and cut it to fit. I also added a cabinet clasp inside the top so it can securely shut. Now we don't have any trouble with my dogs dragging trash through the house!
Wed, 05/02/2012 - 11:26
I love the shutter style door! I'd say you improved the plan out of necessity. Good Job!
Fri, 09/28/2012 - 07:14
I too think you have given us another idea with this plan, it's wonderful!
Comments
Colonel (not verified)
Fri, 04/20/2012 - 18:53
How exactly did you get the
How exactly did you get the logos on the table? They look carved or burnt...they are really awesome!
jcrabb
Tue, 04/24/2012 - 13:28
Sweet!
I was wondering the same thing as Colonel.....How did you get the team logos on the table top? I love this!