As you know, we are busy DIYing our mom's a duplex to share, dubbed the Momplex ... and moving day for one mom is fast approaching!
We are in the trimming stage for one unit in the Momplex. We've already finished out the insides of the windows and closet openings with wood, then installed interior doors. Then we trimmed the sides of the doorways and windows with casing, and topped it off with custom made "cheater" headers.
Today, it's finally baseboard day!
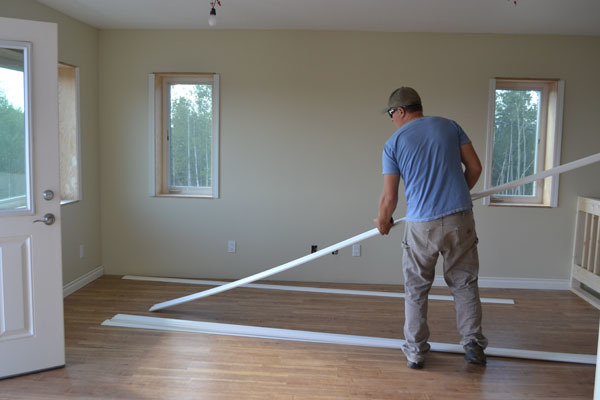
We bought the contractor 12' lengths of baseboard moulding, in the 5 1/4" widths. I love taller baseboards. If I had my way, we'd be half way up the wall with moulding :) .
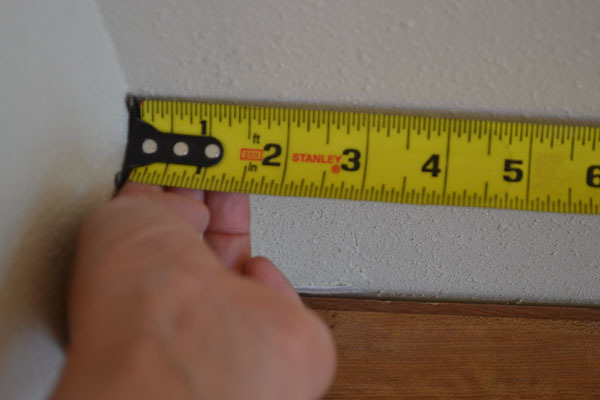
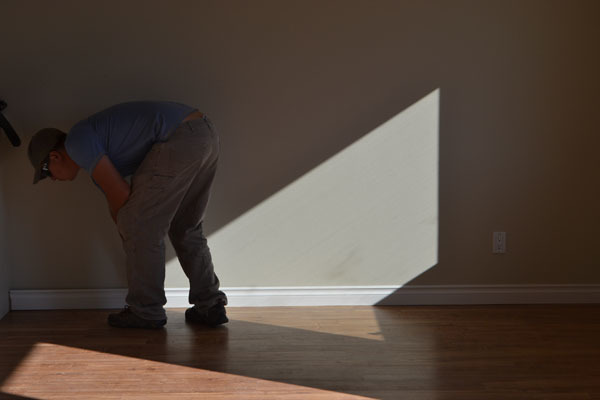
First, we take a measurement of the very longest wall. Our strategy is to cut the longest cuts first, and then use up the smaller scrap pieces in shorter spots.

And then it's saw time.
We cut all of the baseboard moulding just a tad long, then trimming it down for the most perfect fit. We can't afford to cut a piece short and run out of baseboard moulding - for us, it's a day trip to the nearest Home Depot.
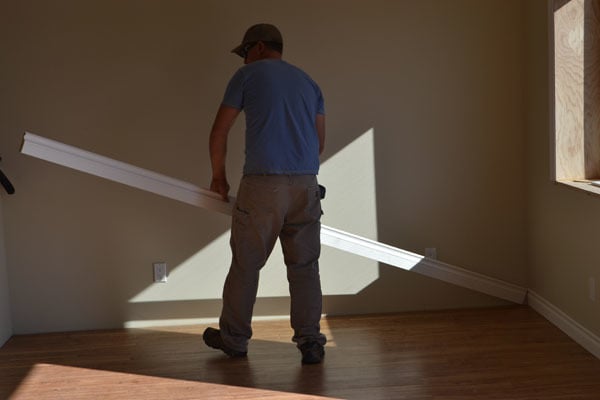
Then we just start laying the cut baseboards down, with the ends mitered at 45 degrees for 90 degree corners.
It takes us at least two cuts every time to get it right. The first cut is a smidge long, then we go shave a tiny bit off, fit it again and so on until the baseboard is PERFECT. I know, totally unreasonable, but you tend to go the extra mile when Mom's the boss.
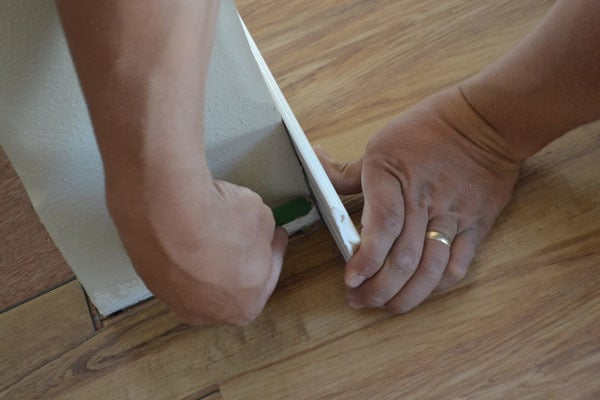
For outside corners, we simply mark the length instead of measuring, and cut the mitered corner,

Perfect fit!

For walls longer than 12 feet, we take an overall measurment,

And the splice two shorter pieces together with a 45 degree bevel cut.

We only had to do this in one spot in the living room.
We had the side that you are more likely to see overlap the side that you are less likely to see so the joint is pretty much invisible.

That, and the media console will sit right in front of it.
But just in case Mom did decide to look behind her tv, she'd never know we spliced baseboard trim together there.

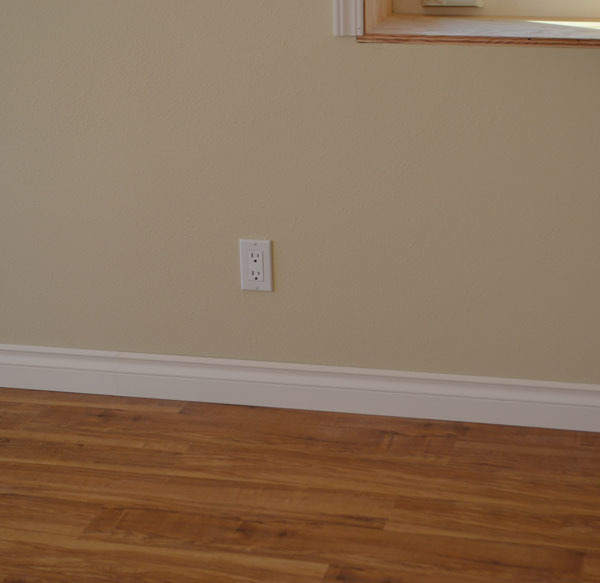
Once we got all the long pieces cut, we started the smaller pieces. These guys are easy, no mitered joints required - just measure, cut,
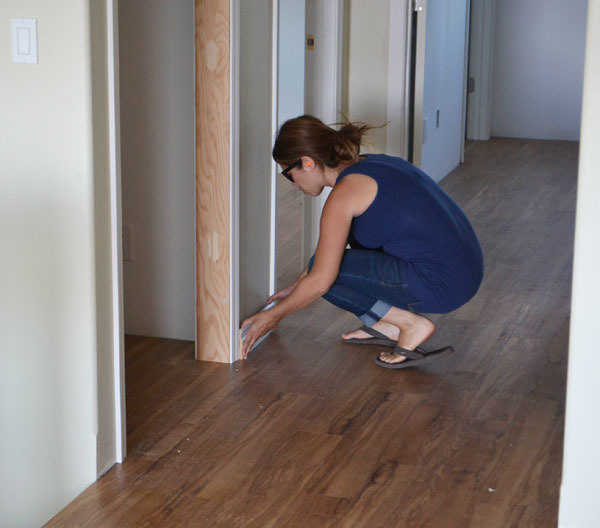
and fit in place.

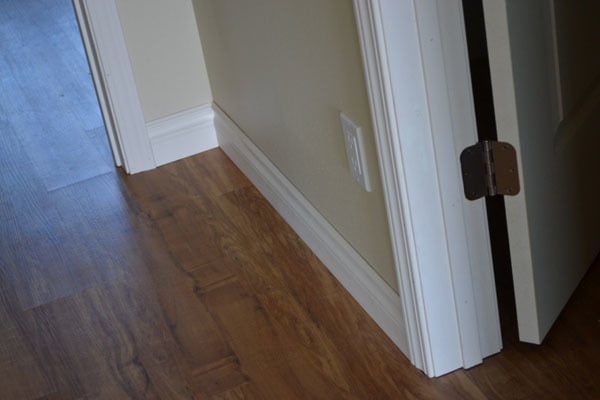
I just love how this hallway looks with the baseboard moulding!
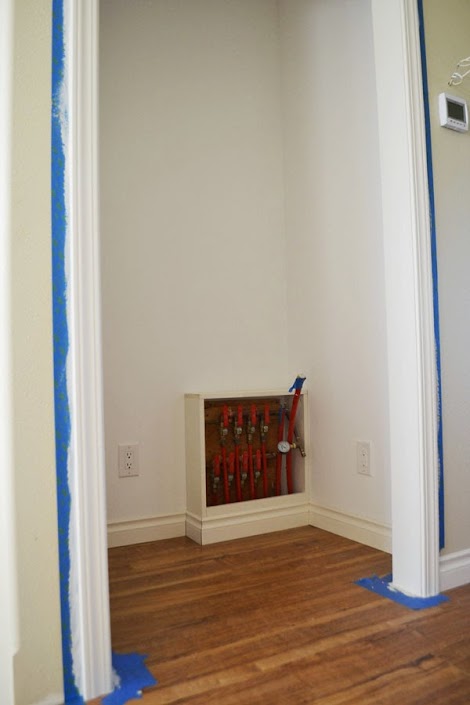
We ran the baseboard moulding right into the closets, and around. Remember the $5 manifold cover Grace and I built? We painted it white and ran the baseboard right around it. Now we just gotta build a door for it.
With all the baseboard cut and fit, it's time to nail it to the walls. We'll be nailing it into the studs in the walls,
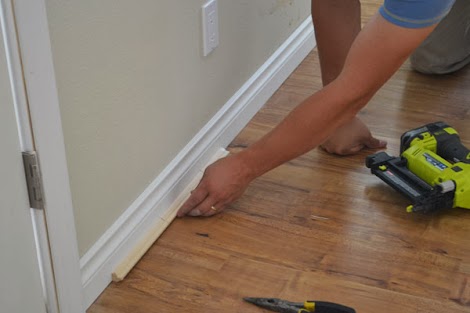
So we cut a board and marked it with the wall stud pattern. That way we don't have to measure out each and every stud or use a stud finder to find each and every stud.

I don't think I'm ever getting my nailer back.
It sure is handy to not have to worry about compressors and greasy hoses, dragging a pneumatic nailer from room to room.
We set the nailer so the nail head is just below the surface of the trim,
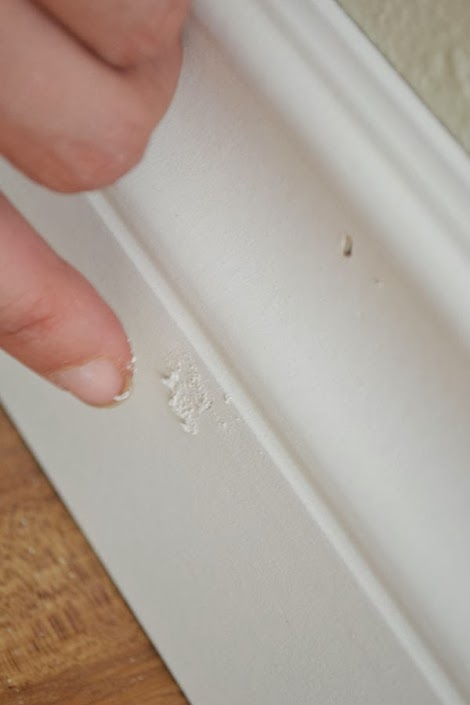
So we can fill the holes with wood filler. I always overfill the holes because wood filler shrinks when it dries, and then go back and lightly sand the excess off.
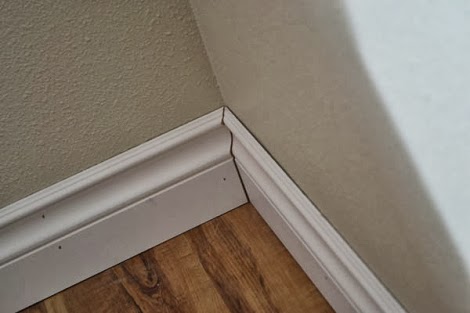
Despite our meticulous efforts to get the trim perfect, there were a few spots that just weren't cutting it (pun not intended)
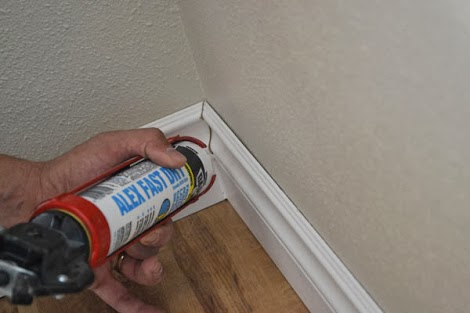
Nothing a little caulking can't fix!

Now you are the only one that knows about that corner. Don't tell our Mom's on us, okay?
Sometimes walls can be out of square or have a curve to them, or your drywall texture more significant than ours, and you can also finish off the wall to baseboard joint with caulking, but we didn't find it necessary at the Momplex.
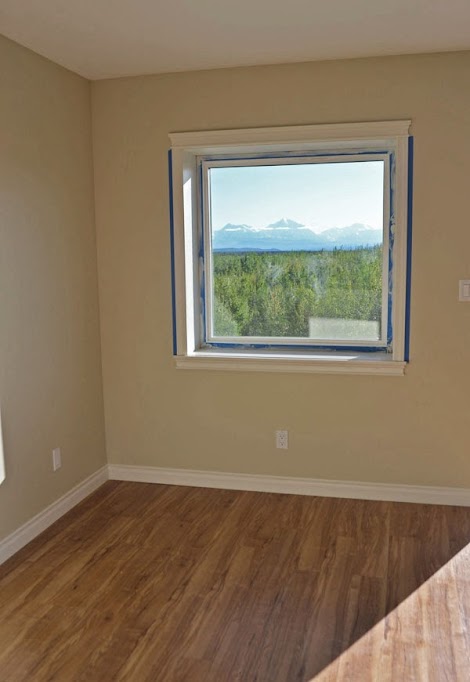
Just need a table now!
Well, after we paint all the trim .... and maybe add crown moulding.
Have done baseboard? Did you find it as easy to install as we did? We'd love to hear your side too!
Comments
Pam the Goatherd
Tue, 08/27/2013 - 17:31
Lookin' good!
JoanneS
Tue, 08/27/2013 - 17:41
Beautiful!
birdsandsoap
Tue, 08/27/2013 - 19:20
It looks like you are almost
brookifer86
Tue, 08/27/2013 - 21:20
Sharp!
Jake
Wed, 08/28/2013 - 04:23
Withdrawal
spiceylg
Wed, 08/28/2013 - 05:03
End in sight
Darkness748
Wed, 08/28/2013 - 12:01
Baseboard Trim
Huthbert
Wed, 08/28/2013 - 21:39
Awesome!
patbrandon1
Sat, 08/31/2013 - 14:03
Fantastic
LeeS
Sun, 09/15/2013 - 08:44
baseboard looks great!