


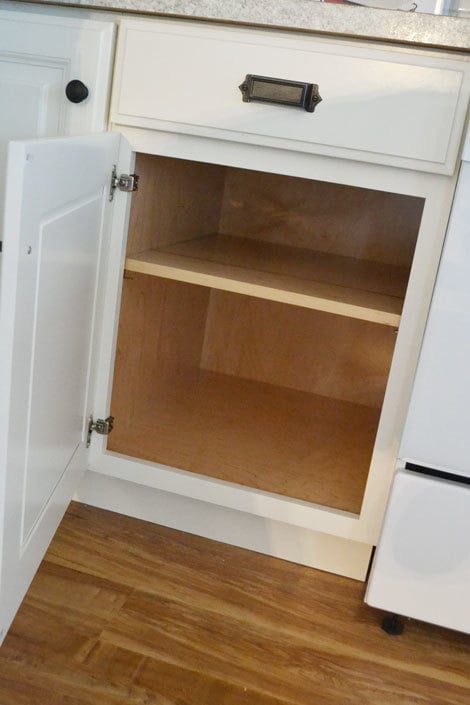
21" DIY Kitchen base cabinet plans with full overlay door - Momplex White kitchen cabients.


I'll be the first to admit, I felt super intimidated when we first started working on the Momplex kitchen.
It's a big project for sure, and when you look at a finished kitchen, it can be overwhelming.

But what we did was to just focus on building one cabinet at a time, breaking a big project down into little manageable projects, and that made a huge difference in tackling this giant build.

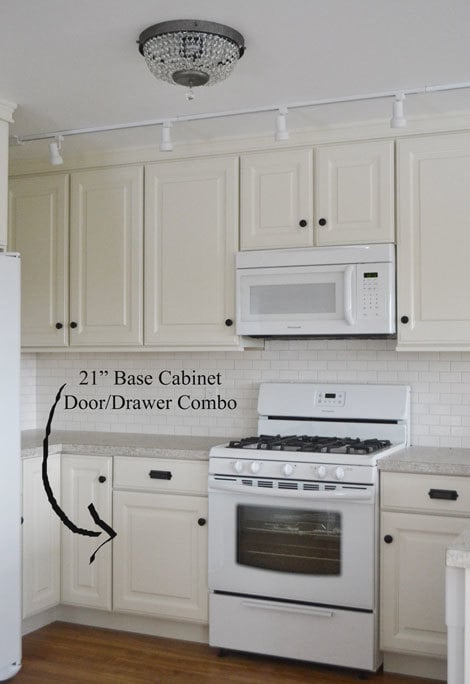
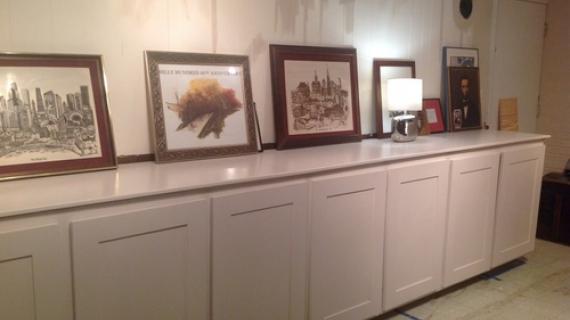
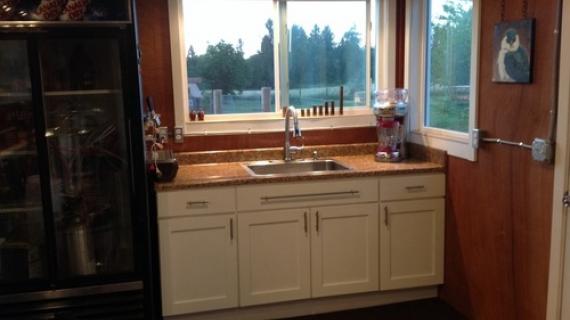
We recently shared with you the step by step plans for building the 12" base cabinet (far left and hidden by fridge) and the 36" lazy susan pie cut corner base cabinet, so today, I want to share with you plans for the next cabinet in line - a 21" base kitchen cabinet with a door/drawer combo.

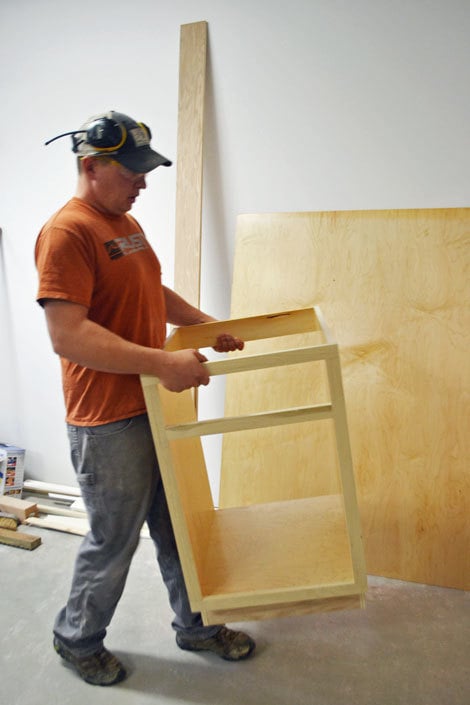
This was actually one of the easiest base cabinets tp build in this kitchen, because it's still small enough to be manageable, but not so tiny it's hard to get a drill in tight spots.

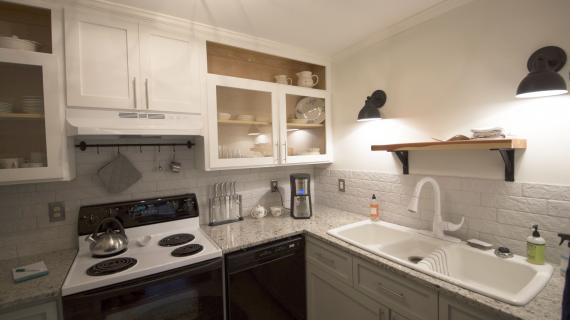
We again used PureBond Formaldehyde Free Plywood for the interior, special ordering a prefinished maple plywood (check at your local Home Depot) - so the only finishing we had to do was paint the face frames and doors on this cabinet!!!
That was a huge time saver!!!
We used poplar for the face frames and ordered our doors (more info on that coming soon) through Cabinet Now.
The plans follow for the 21" base cabinet - so check them out!!
XO Ana
IMPORTANT: Please read through these posts before building, as I show you step by step in pictures how we built these cabinets.
Drawer Installation (coming soon)
Base Cabinet Installation (coming soon)
Cabinet Door Installation (coming soon)
Base Cabinet Finishing - Toekick, Trim Etc (coming soon)
IMPORTANT: There are many different kitchen cabinet plans on this site - please make sure you use the same collection of plans for all of your base cabinets. This plan is for the White Momplex Kitchen - with a plywood rip width of 22-1/4" and a toekick cutout of 4-1/2" x 2-1/2".

Preparation
3/4" plywood ripped into strips 22 1/4" long (for sides and shelves)
3/4" plywood scrap from ripping sides and shelves (for top supports)
3/4" plywood ripped into strips 5" long (for base supports - use cheaper plywood here)
1x2s for face frames
1/4" plywood (for backs)
1-1/4" pocket hole screws
3/4" finish nails
edge banding for shelves
CARCASS
2 - 3/4" plywood @ 22 1/4" x 34 1/2" (side panels)
1 - 3/4" plywood @ 22 1/4" x 19" (bottom shelf)
2 - 3/4" plywood @ 5" x 19" (bottom supports)
2 - 3/4" plywood @ 3 1/2" (can vary in rip width) x 19" (top supports)
1 - 1/4" plywood @ 32" x 20 1/2" (back)
FACE FRAME
2 - 1x2 @ 27"
2 - 1x2 @ 21"
1 - 1x2 @ 18"
SHELVES
3/4" plywood @ 22" x 18 3/4" (measure and adjust to fit shelf pins)
DOOR/DRAWER FACE for FULL OVERLAY (1-1/4")
5 1/2" x 20 1/2" (drawer face)
22-1/2" x 20-1/2" (door)


Please read through the entire plan and all comments before beginning this project. It is also advisable to review the Getting Started Section. Take all necessary precautions to build safely and smartly. Work on a clean level surface, free of imperfections or debris. Always use straight boards. Check for square after each step. Always predrill holes before attaching with screws. Use glue with finish nails for a stronger hold. Wipe excess glue off bare wood for stained projects, as dried glue will not take stain. Be safe, have fun, and ask for help if you need it. Good luck!
Instructions
Step 1
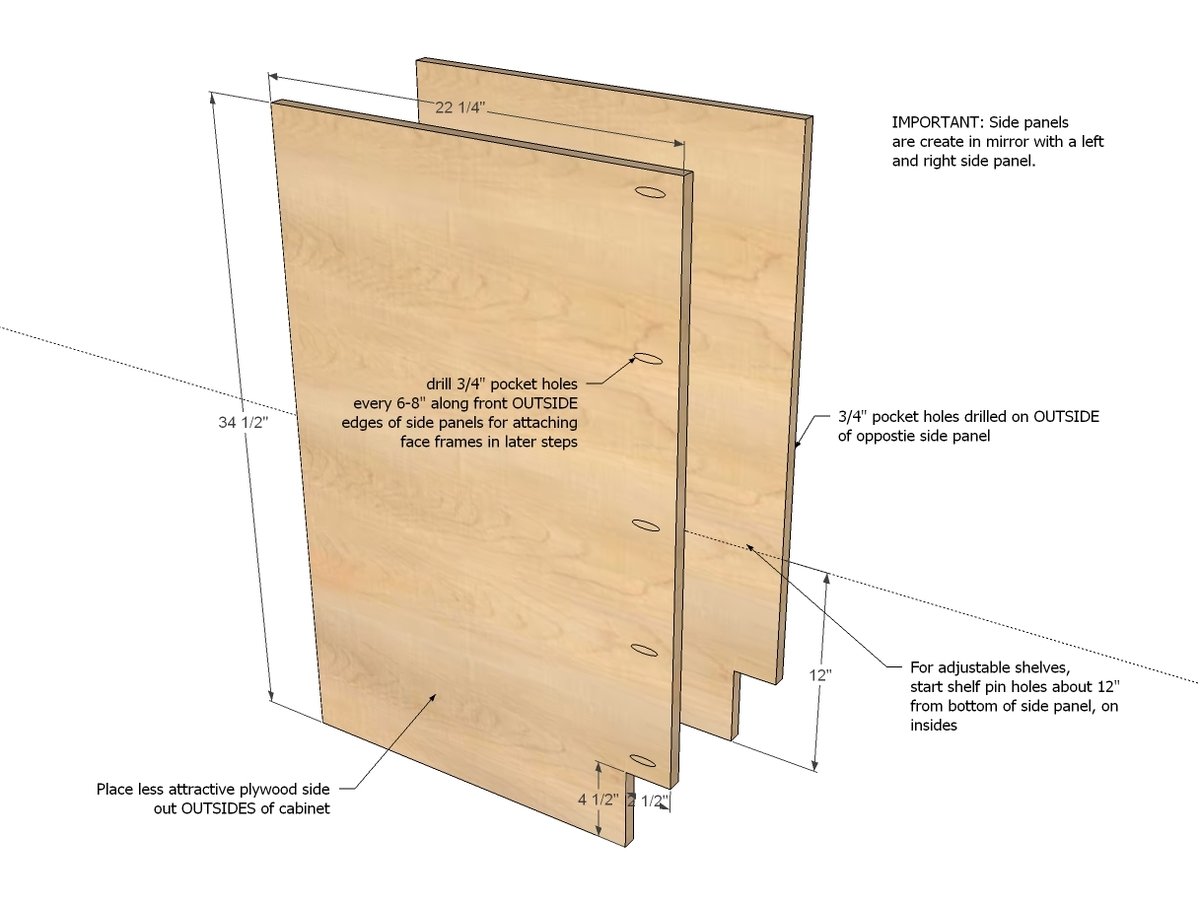
First, create the side panels - remember that the two side panels are mirrors of each other.
Step 2

The bottom shelf is attached 5" up from the bottom of the sides. We used 1-1/4" pocket hole screws (drilling pocket holes on the 3/4" setting) - spacing about ever 6-8".
Step 3

Back and front supports are attached to both the sides and the bottom shelf with 3/4" pocket holes and 1-1/4" pocket hole screws.
NOTE: Since these pieces of plywood will be hidden under cabinet and behind finished toekick, we opted to use a cheaper plywood than the prefinished stuff here.
Step 4

We cut our top supports from the leftover scrap from ripping plywood down to the side/shelf width (22-1/4"). This ended up being about 3-1/2" wide. Depending on the type of drawer slides you are using (we used Metabox drawer slides that mount to the top of the drawer so not a problem for us) you may wish to place extra support for mounting the drawer slides to the back or a larger back piece.
Step 5

Step 6

We built our face frames seperately on a clean table, clamping each joint. Then we attached the face frame (after painting it) to the front of the cabinet through the pocket holes drilled in the outsides of the sides and the top.
We did have to glue and nail the bottom of the face frame, as it is too tight to fit a drill in there to attach at the base.
Step 7

These cabinets would also work with partial overlay hinges, but we opted for full overlay doors. These are the door and drawer sizes we ordered for full overaly doors. We used 1-1/4" overlay hinges (concealed euro style - more on this later) for hinges.
It is always recommended to apply a test coat on a hidden area or scrap piece to ensure color evenness and adhesion. Use primer or wood conditioner as needed.

Comments
Tsu Dho Nimh
Wed, 11/27/2013 - 16:58
Shelf?
When does the shelf get installed?
JoanneS
Thu, 11/28/2013 - 07:02
Beautiful Cabinets!
I love getting all your details on how to do cabinets the right way! Having that full shelf for the top is a great use of limited cabinet space. I wonder why most ready made cabinets just have that shallow little back shelf for the top? It's really hard to get to, and you can't put much on it.. I like these so much better! Having the door sizes for the full overlay is great too. It's brilliant that you designed these so the drawer face can be done with a 1x6. It saves work not having to rip down boards, and saves tons of $$ when you DIY a drawer front! Thank you for sharing these wonderful plans! I'm saving all of them, because now I want to build new custom cabinets in our house. Happy Thanksgiving to you and your family!
Rosa R
Mon, 07/28/2014 - 13:52
Shelves
I found your site yesterday and my son already is pulling his hair because I want to build so many things from your site. LOL! I want to know if you're going to plan on making pull-out shelves for the kitchen cabinets? They look easy but having plans would help to know what to buy and how to put it together easier. Another project to put on our list. One of our first project is the miter table for the saw!
cameron1551
Wed, 05/18/2016 - 11:00
side panel
how do you hide the holes in the side if it will be seen
cameron1551
Wed, 05/18/2016 - 11:01
side panel
how do you hide the holes in the side if it will be seen
KenBrown
Mon, 01/15/2018 - 06:02
Hiding the holes
To hide the holes, say you wanted to leave this cabinet on the end. Use glue and your nail gun, then putty your holes and sand off the excess and paint the cabinet. Trying to putty the Kreg holes or putting inserts in there will cost you more money and be a pain. Just wood glue and some 2" finish nails.
BobwhiteMama
Thu, 10/06/2016 - 06:49
Metabox size
What size Metabox did you use?
wilsjay
Wed, 10/19/2016 - 06:27
Glue
Do you use wood glue on the joints of the prefinished plywood that gets pocket hole screwed together like the bottom of the cabinet?
hitch
Fri, 10/21/2016 - 09:03
Yes, use wood glue on all
Yes, use wood glue on all joints even with the pocket holes.
hatowek
Thu, 01/04/2018 - 16:47
Pocket hole vs strait screw
Hi,
Thanks for all these clear description, it's suprinsigly rare to find clear kitchen cabinet plan on the internet.
If there's another cabinets on both side;
for the back and front supports (step 2 and 3)
could we use strait screw from the outside (since they will be hidden anyway by the other cabinet) or it's better to use pocket holes?
Thanks