Hello, and Happy Monday! Jacob here today, with a new post on building our cabin.
We've been very busy working on our cabin, and are happy to share that we've got the roof dryed in. I'll be posting more about this later on, but wanted to share a quick photo update with you.

Shared via Instagram. Make sure you follow me on Instagram too - I'm sharing progress photos and other random Alaska building stuff over there too.
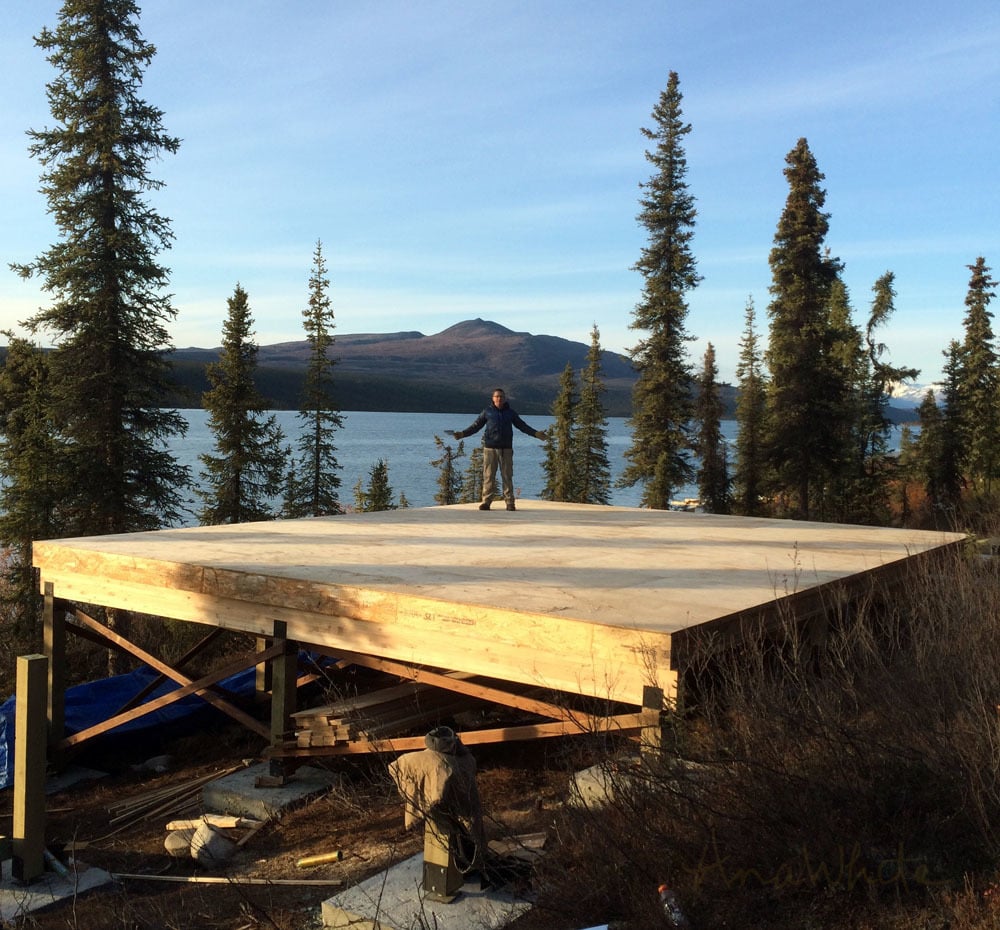
None of this work would have been possible if we hadn't spent last summer putting in a foundation.

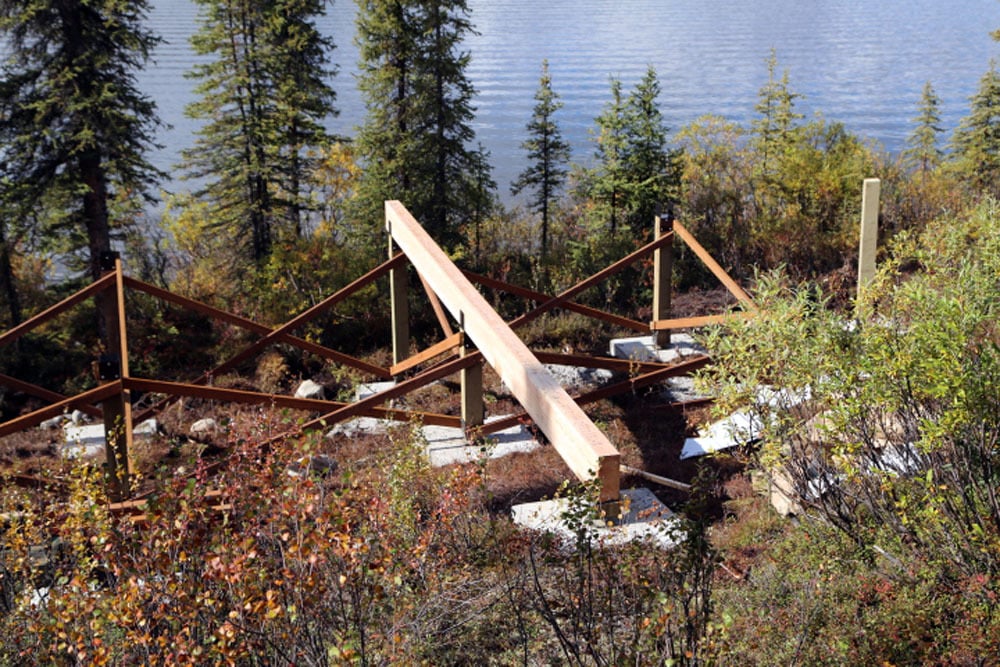
The big hurdle was hand digging out for a concrete post and pad foundation that will float on top of our mucky Alaska soil.

Then we went upright with 6x6 treated beams, cross braced with treated 2x4s to create a sturdy upright system ready for the main floor beams and floor joists.
Today I'll show you how we put the floor beams and joists in.
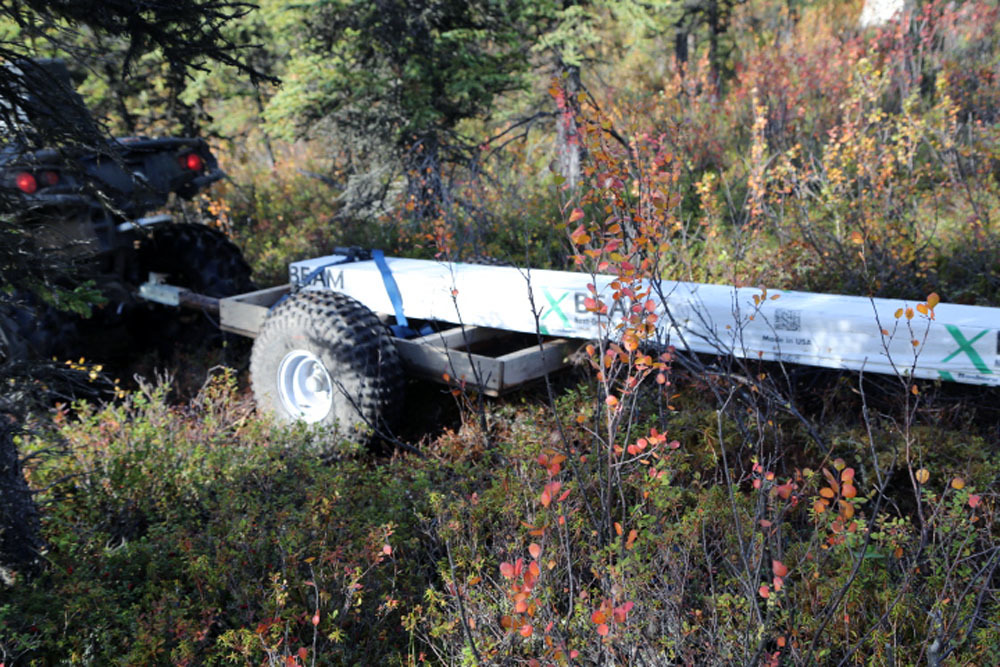
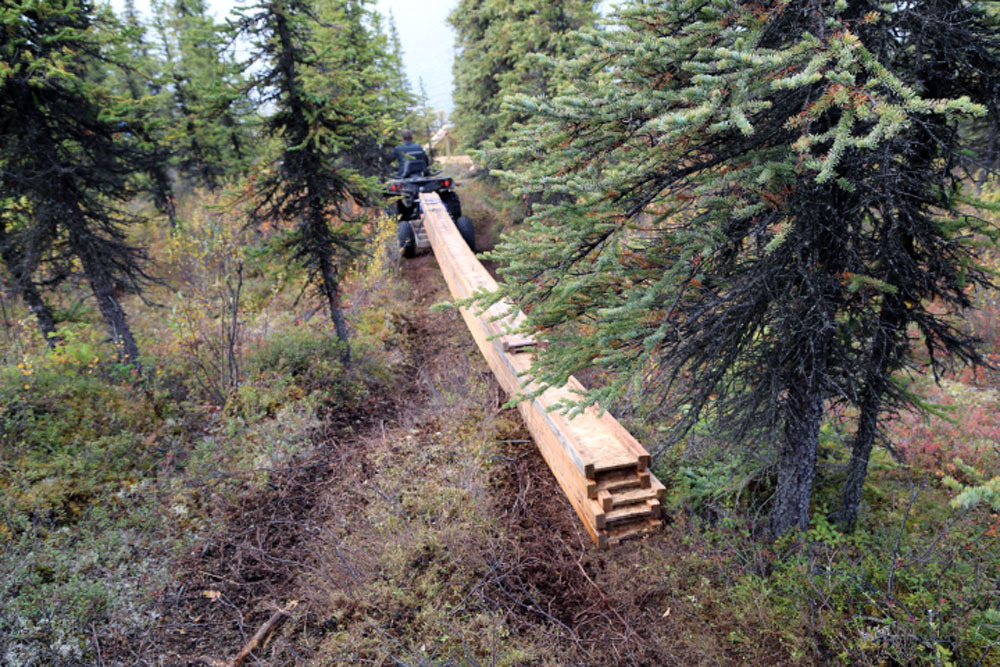
The big challenge with this project is just getting materials to the cabin site. The beams are 24 feet long, so I built this little trailer (also used for transporting five gallon buckets of gravel and concrete to the site), and strapped the beams to it.
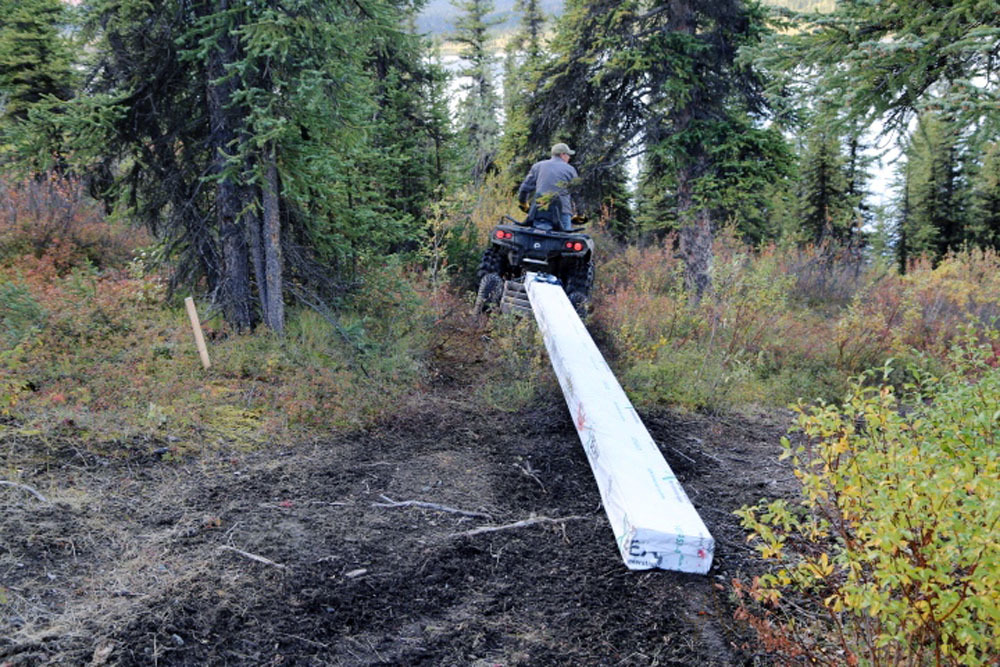
The beams are 24 feet long and very heavy. It is a good thing we are going down hill with this load.
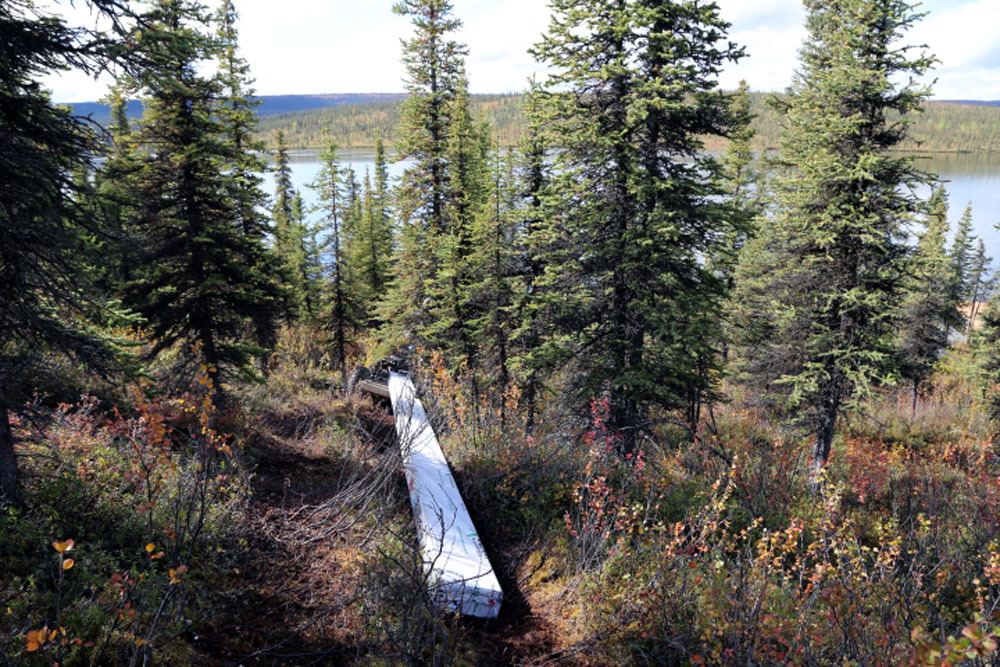
But it is very difficult to haul the beams through the woods, dragging on the ground, and forget about trying to turn with this long of a load. I'm glad we will wait until winter to haul in the rest of the material when we can snow machine materials in over the frozen lake.
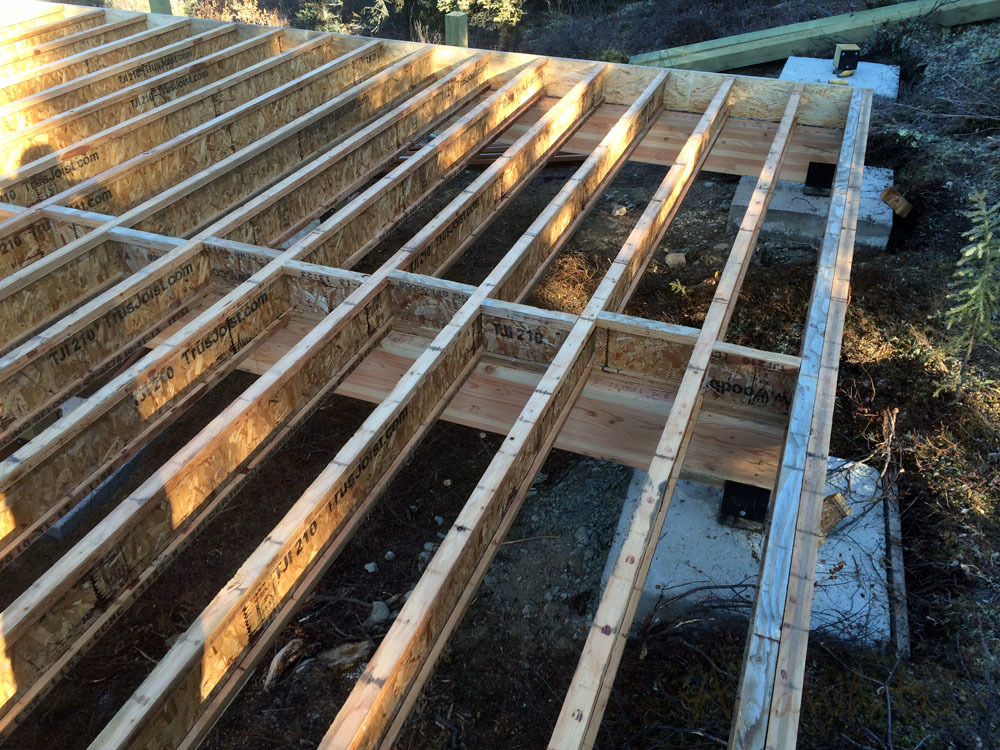
The beams are exactly 24 feet long and fit right into the brackets on top of the uprights.
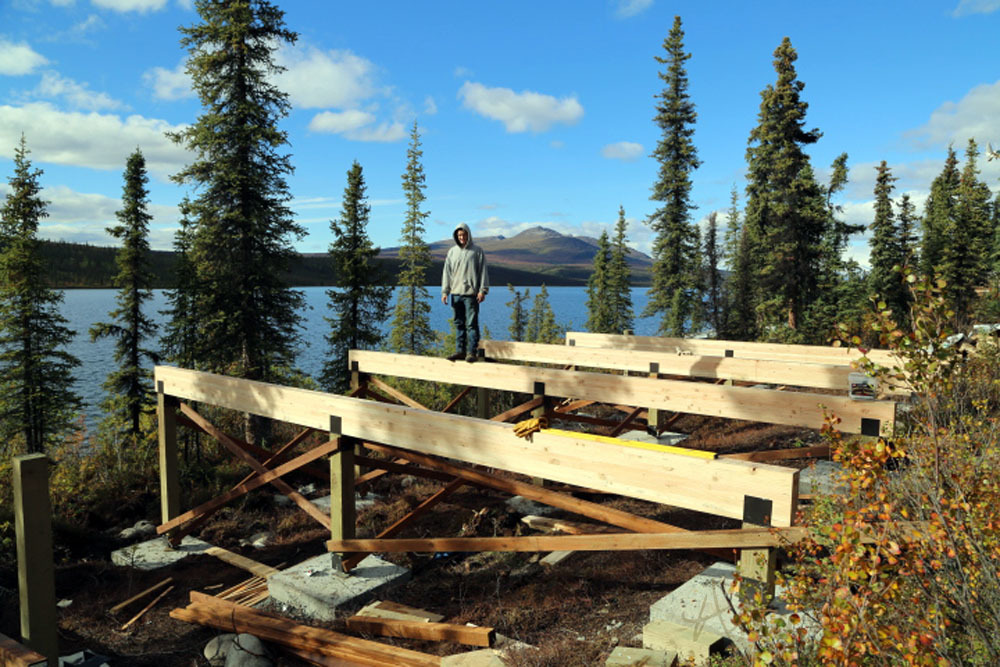
Here is the four beams on the uprights. Toliy helped us last summer on alot of projects and this floor system.
The beams are sized to fit the spans and the size of the cabin.
Once the beams were in, I started hauling the floor joists. The floor joists are not as sturdy and six feet longer than the beams, so even more of a challenge hauling in.
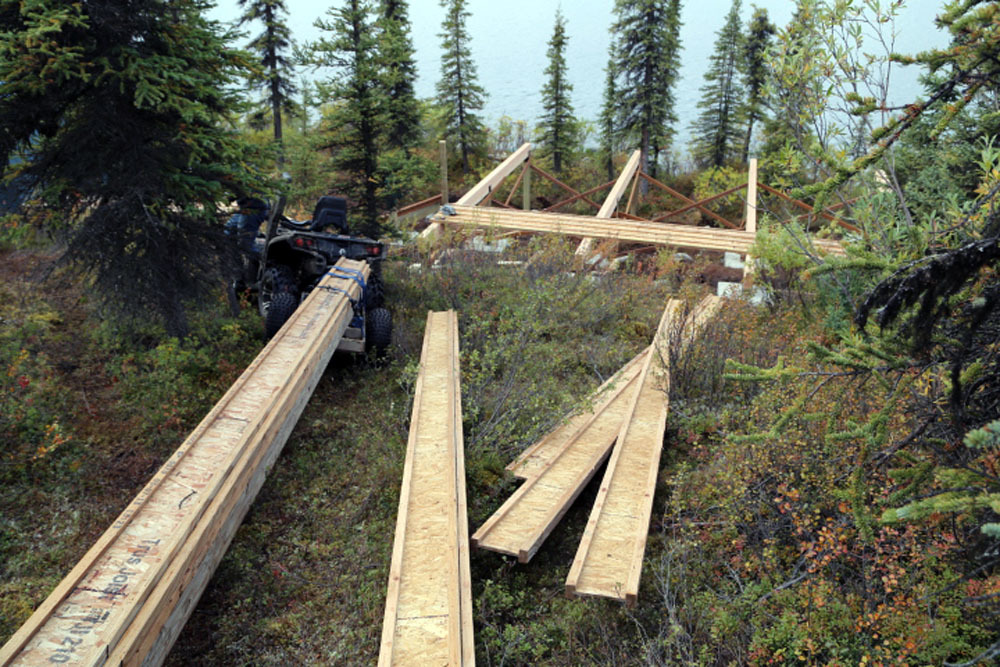
I unloaded them uphill of the cabin and then just began stacking them on the deck. One thing to always think about when building is material placement. You can waste alot of time moving and then moving again materials around.
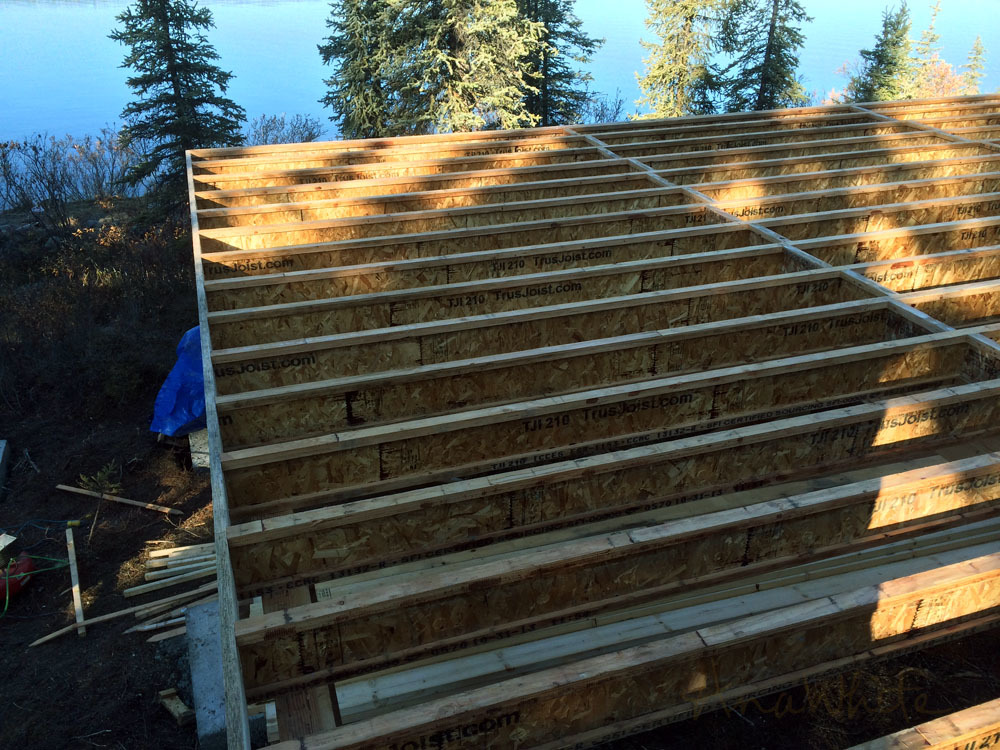
The floor joists get installed directly over the floor beams. I finished the ends with rim boards.
I like to overhang my deck past the foundation to hide the foundation a little.
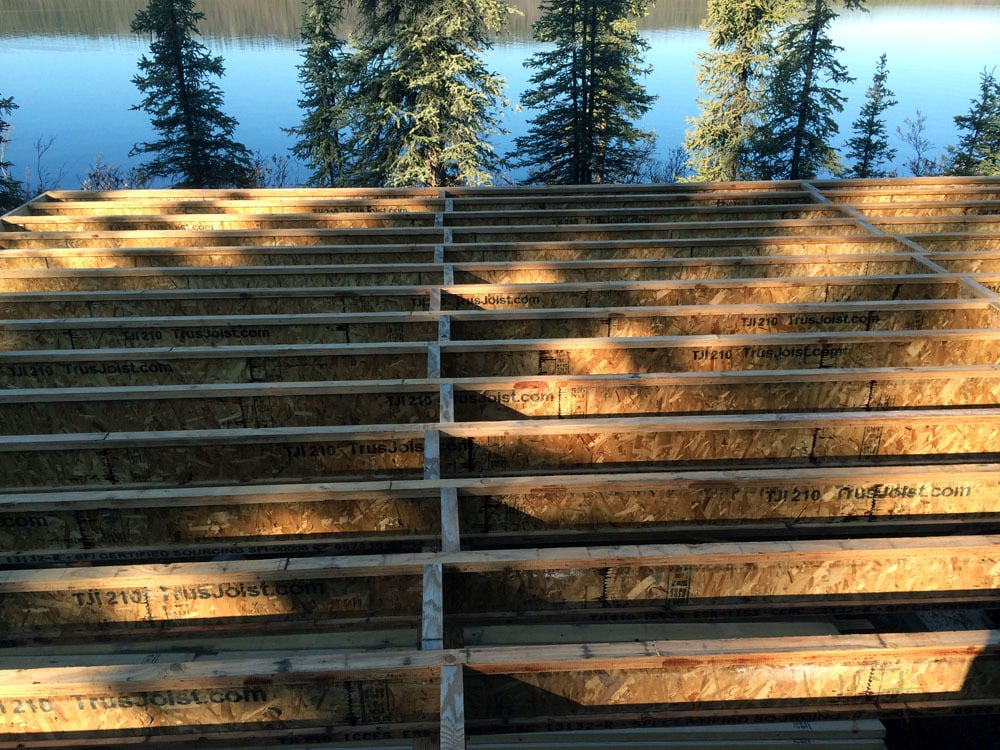
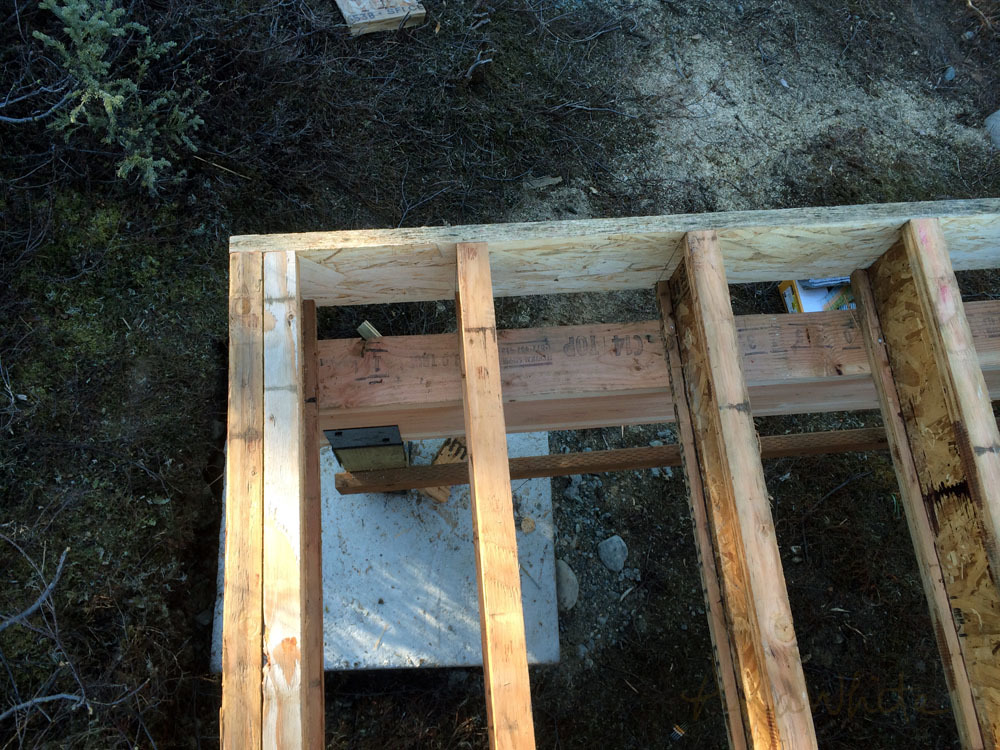
Over each beam I added blocking from scrap pieces.
Then ends where walls are placed get doubled up. Alot of weight will be put here so it's always better to be safe than sorry.
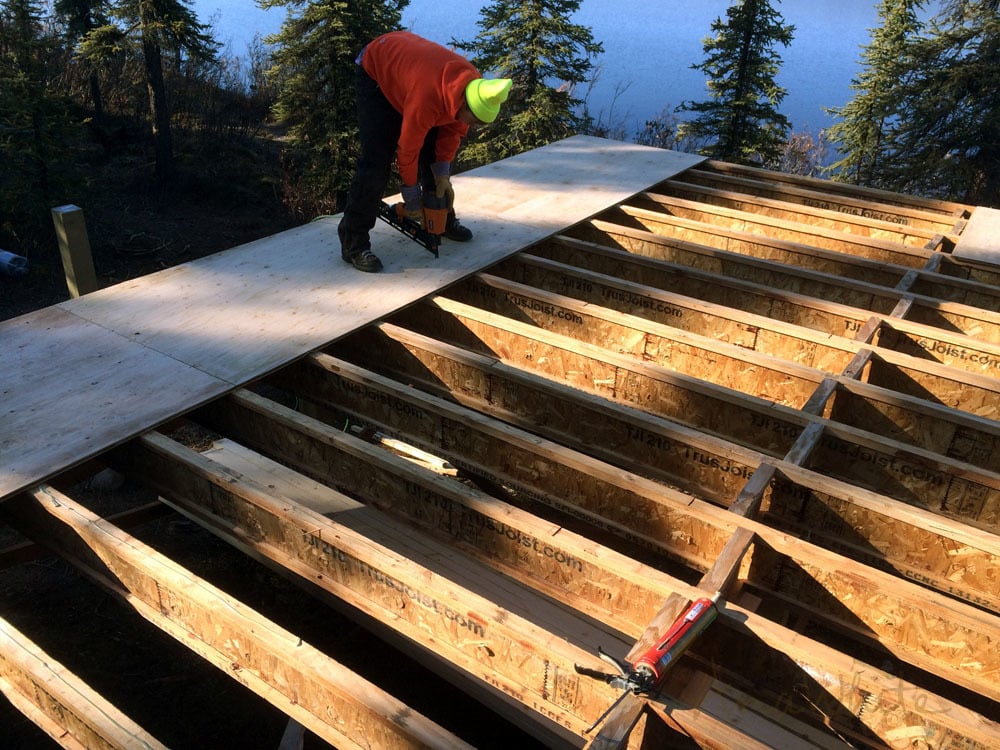
Now for plywood. I decked the joists with 3/4" tongue and groove plywood. I plan to put a real wood floor in (3/4" thickness) to strengthen up the floor a little, but if you are putting laminate over it or the like, I'd suggest thicker tongue and groove plywood or adding a subfloor later on to reduce bounce.
We nailed on the deck plywood with galvanized ring shank nails and floor glue.
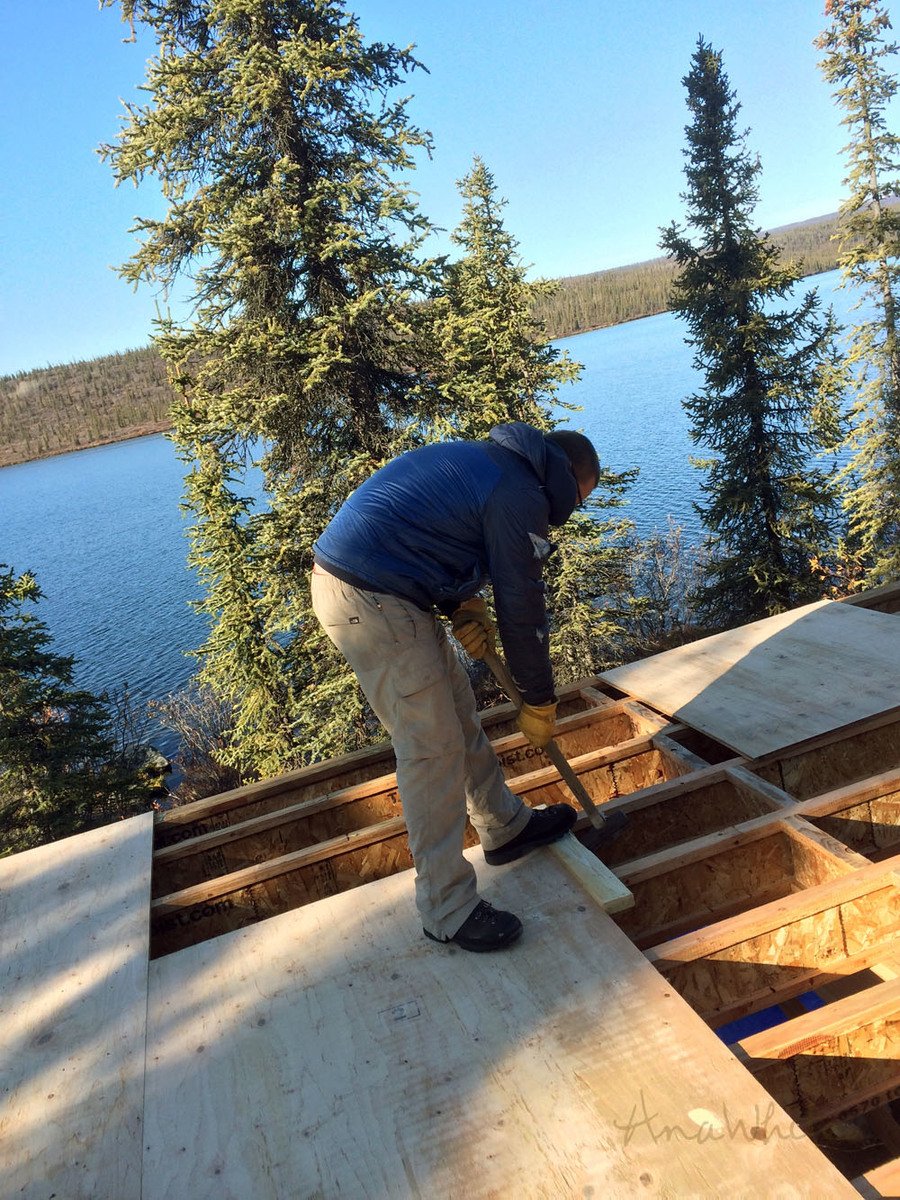
The tongue and groove has to get pounded in to fit. Always use a block to preven the edges of the plywood from getting damaged.
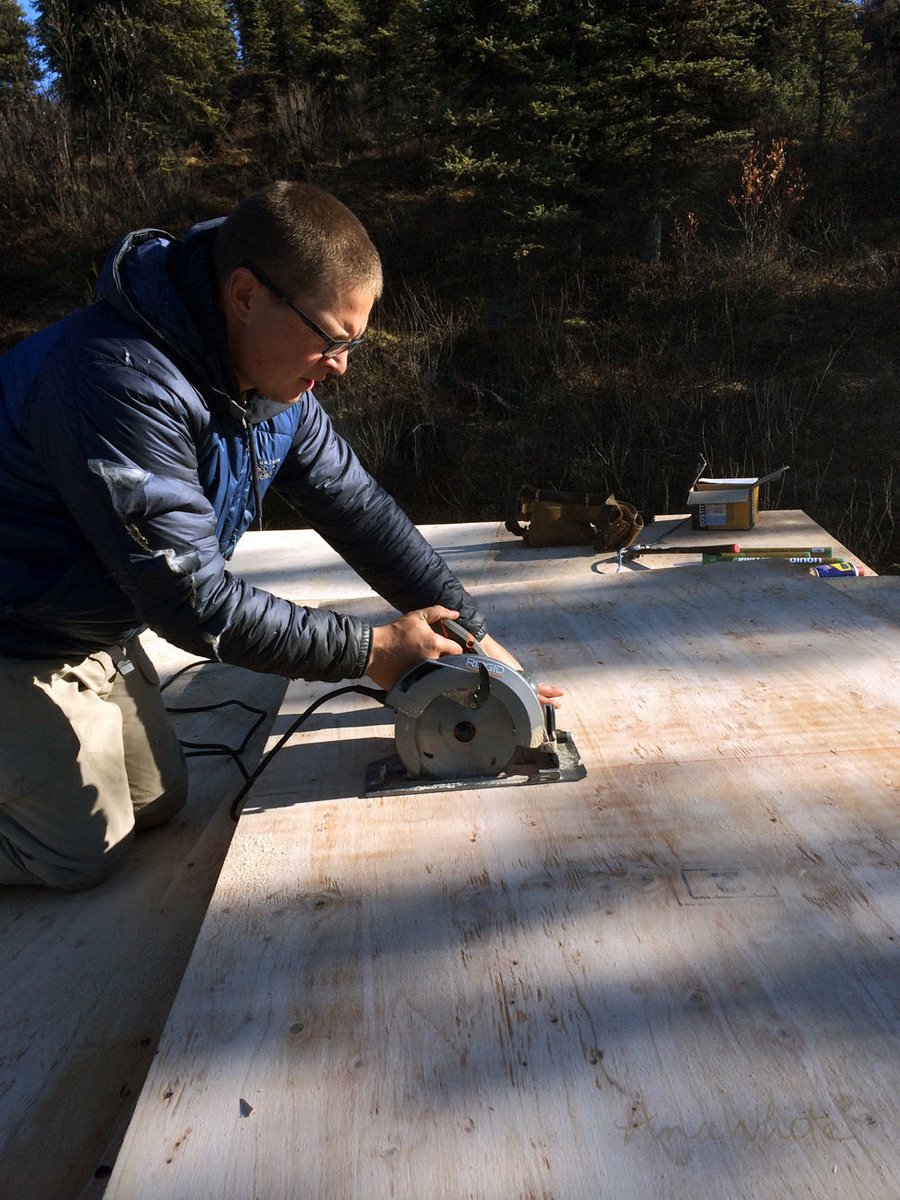
I staggered my seams so on every other row I started with a 4 foot piece. This helps stengthen the structure.

It was a huge relief getting the floor done before it snowed!
All ready to start on walls next spring! Will be posting about that soon.
Jacob