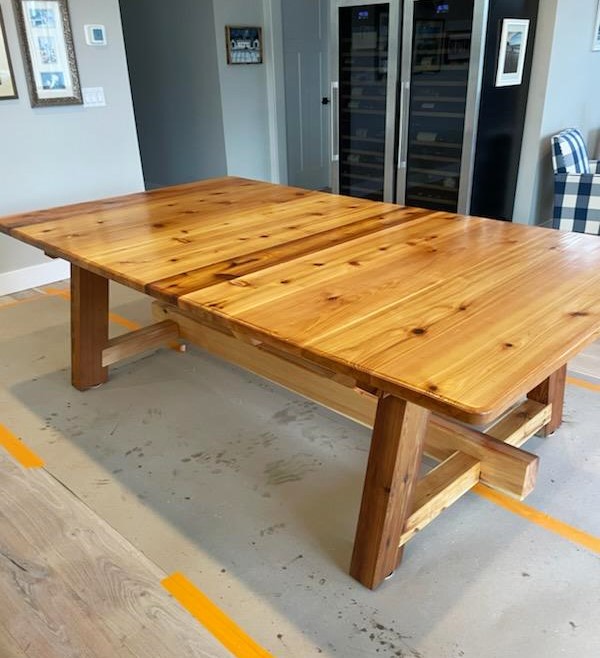
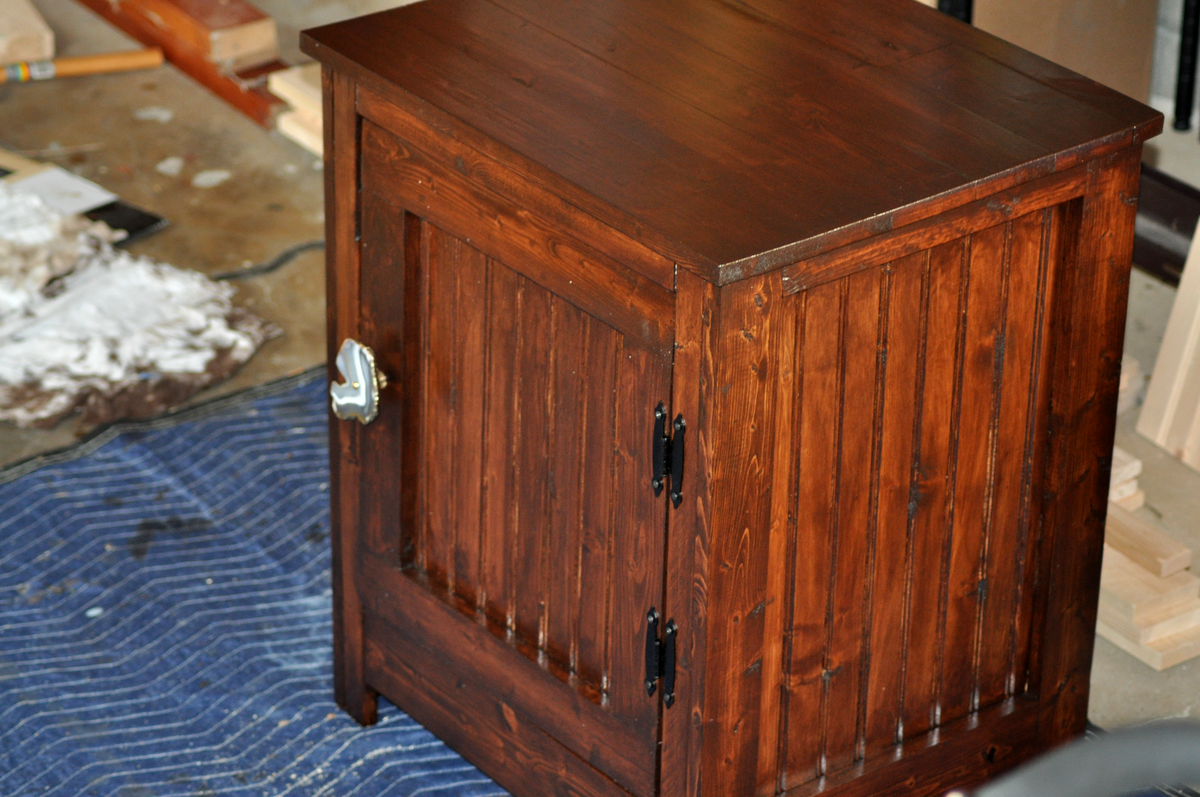
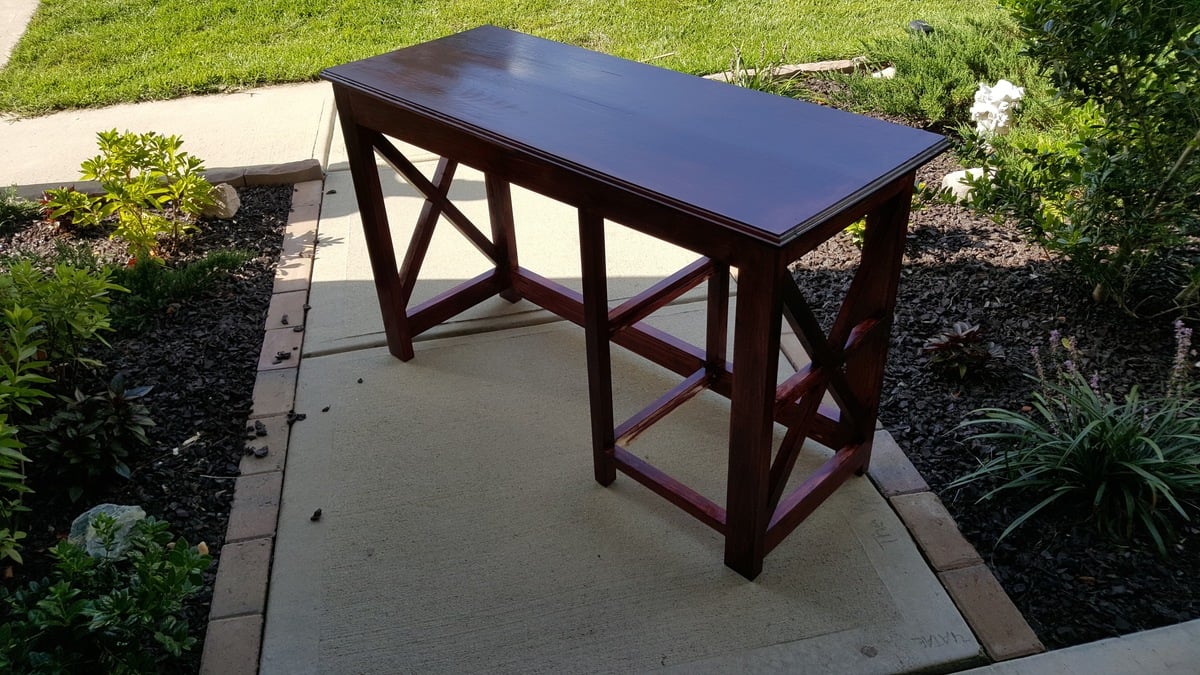
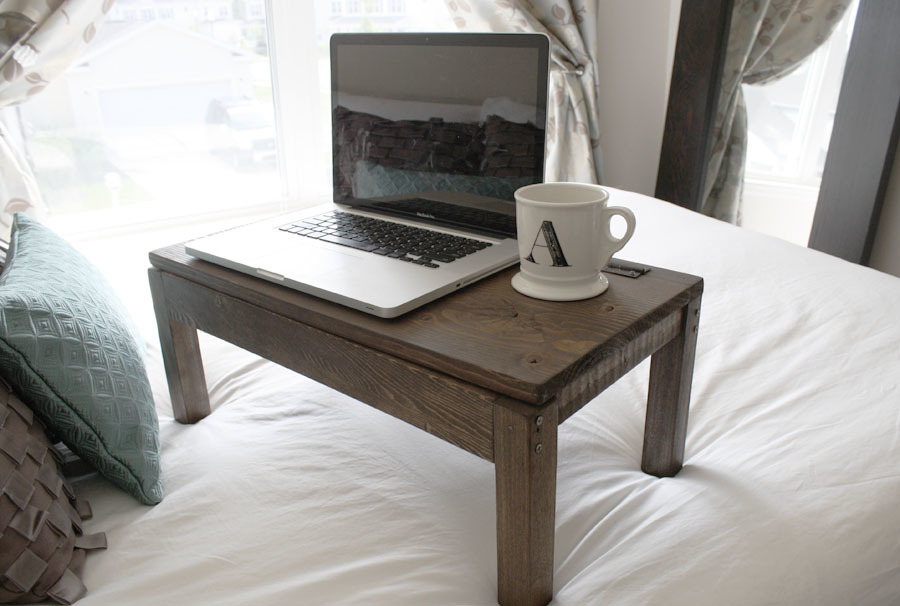
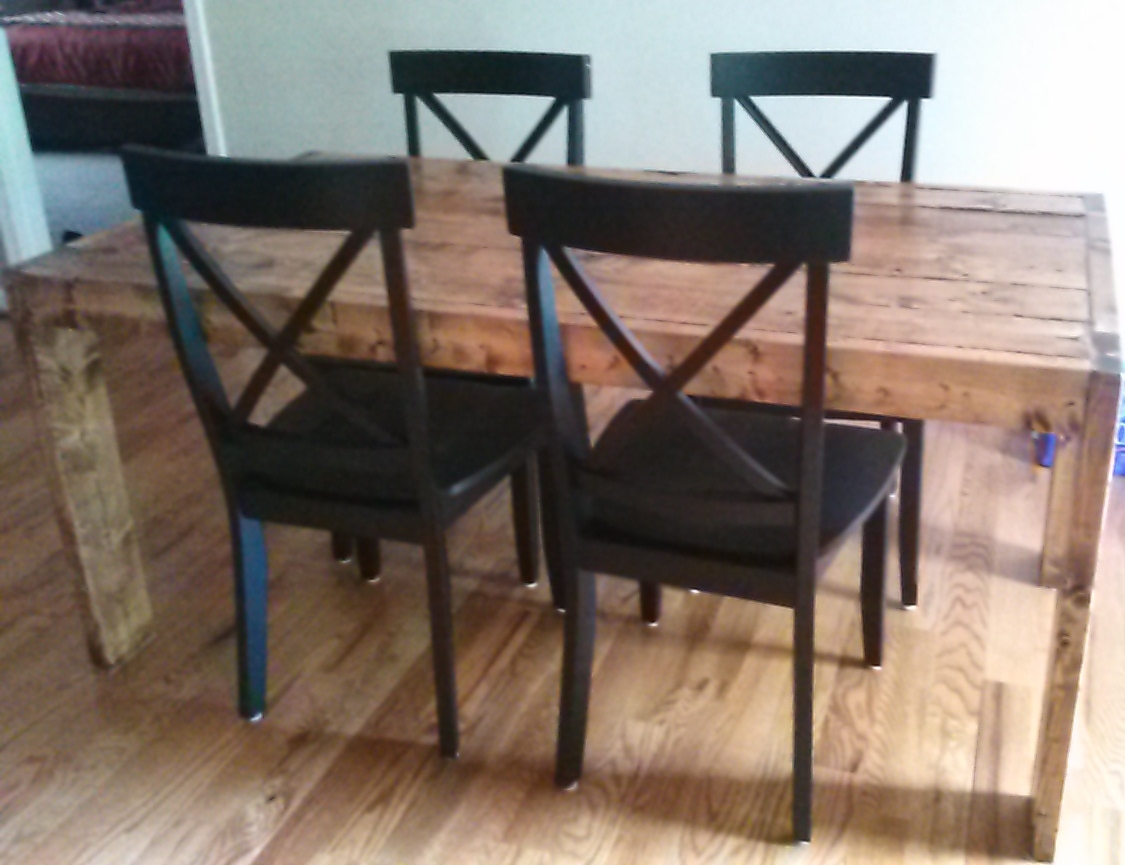
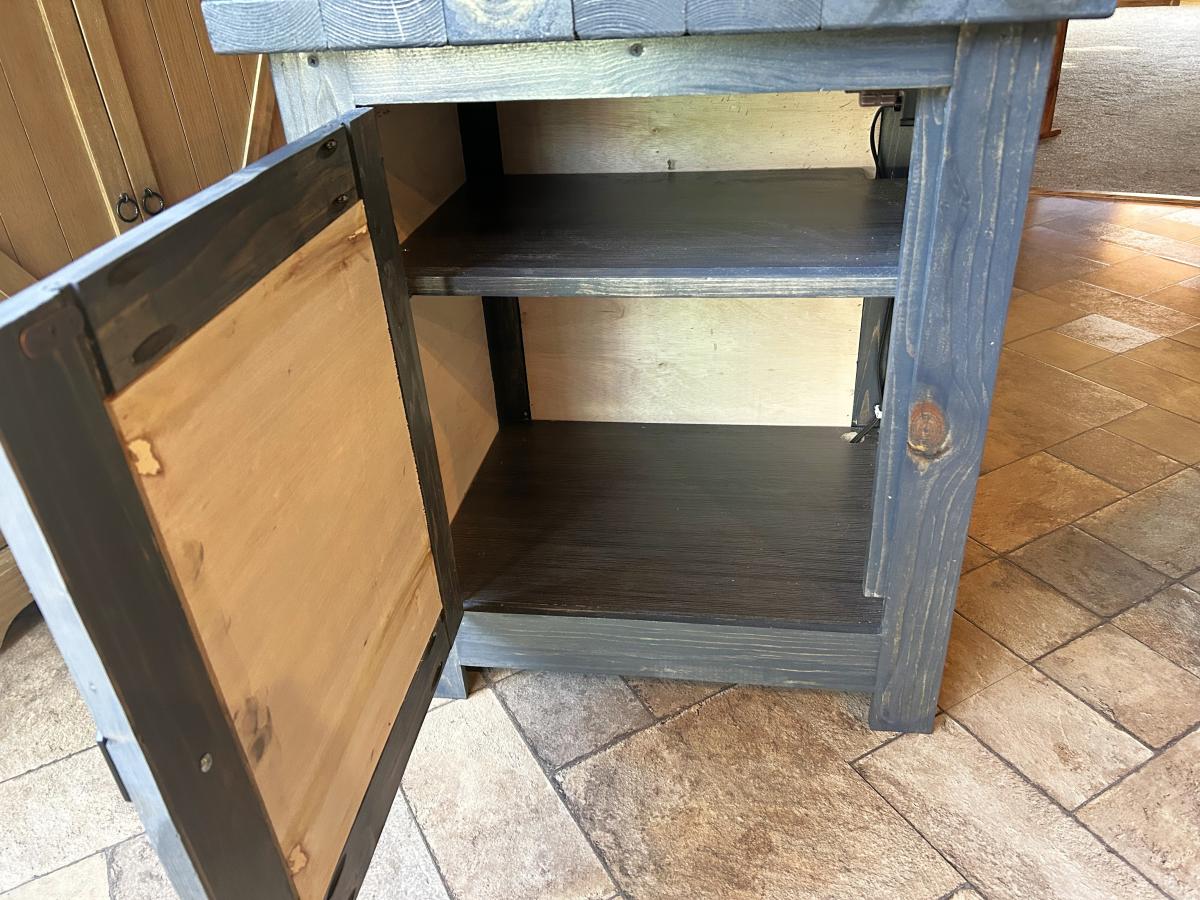
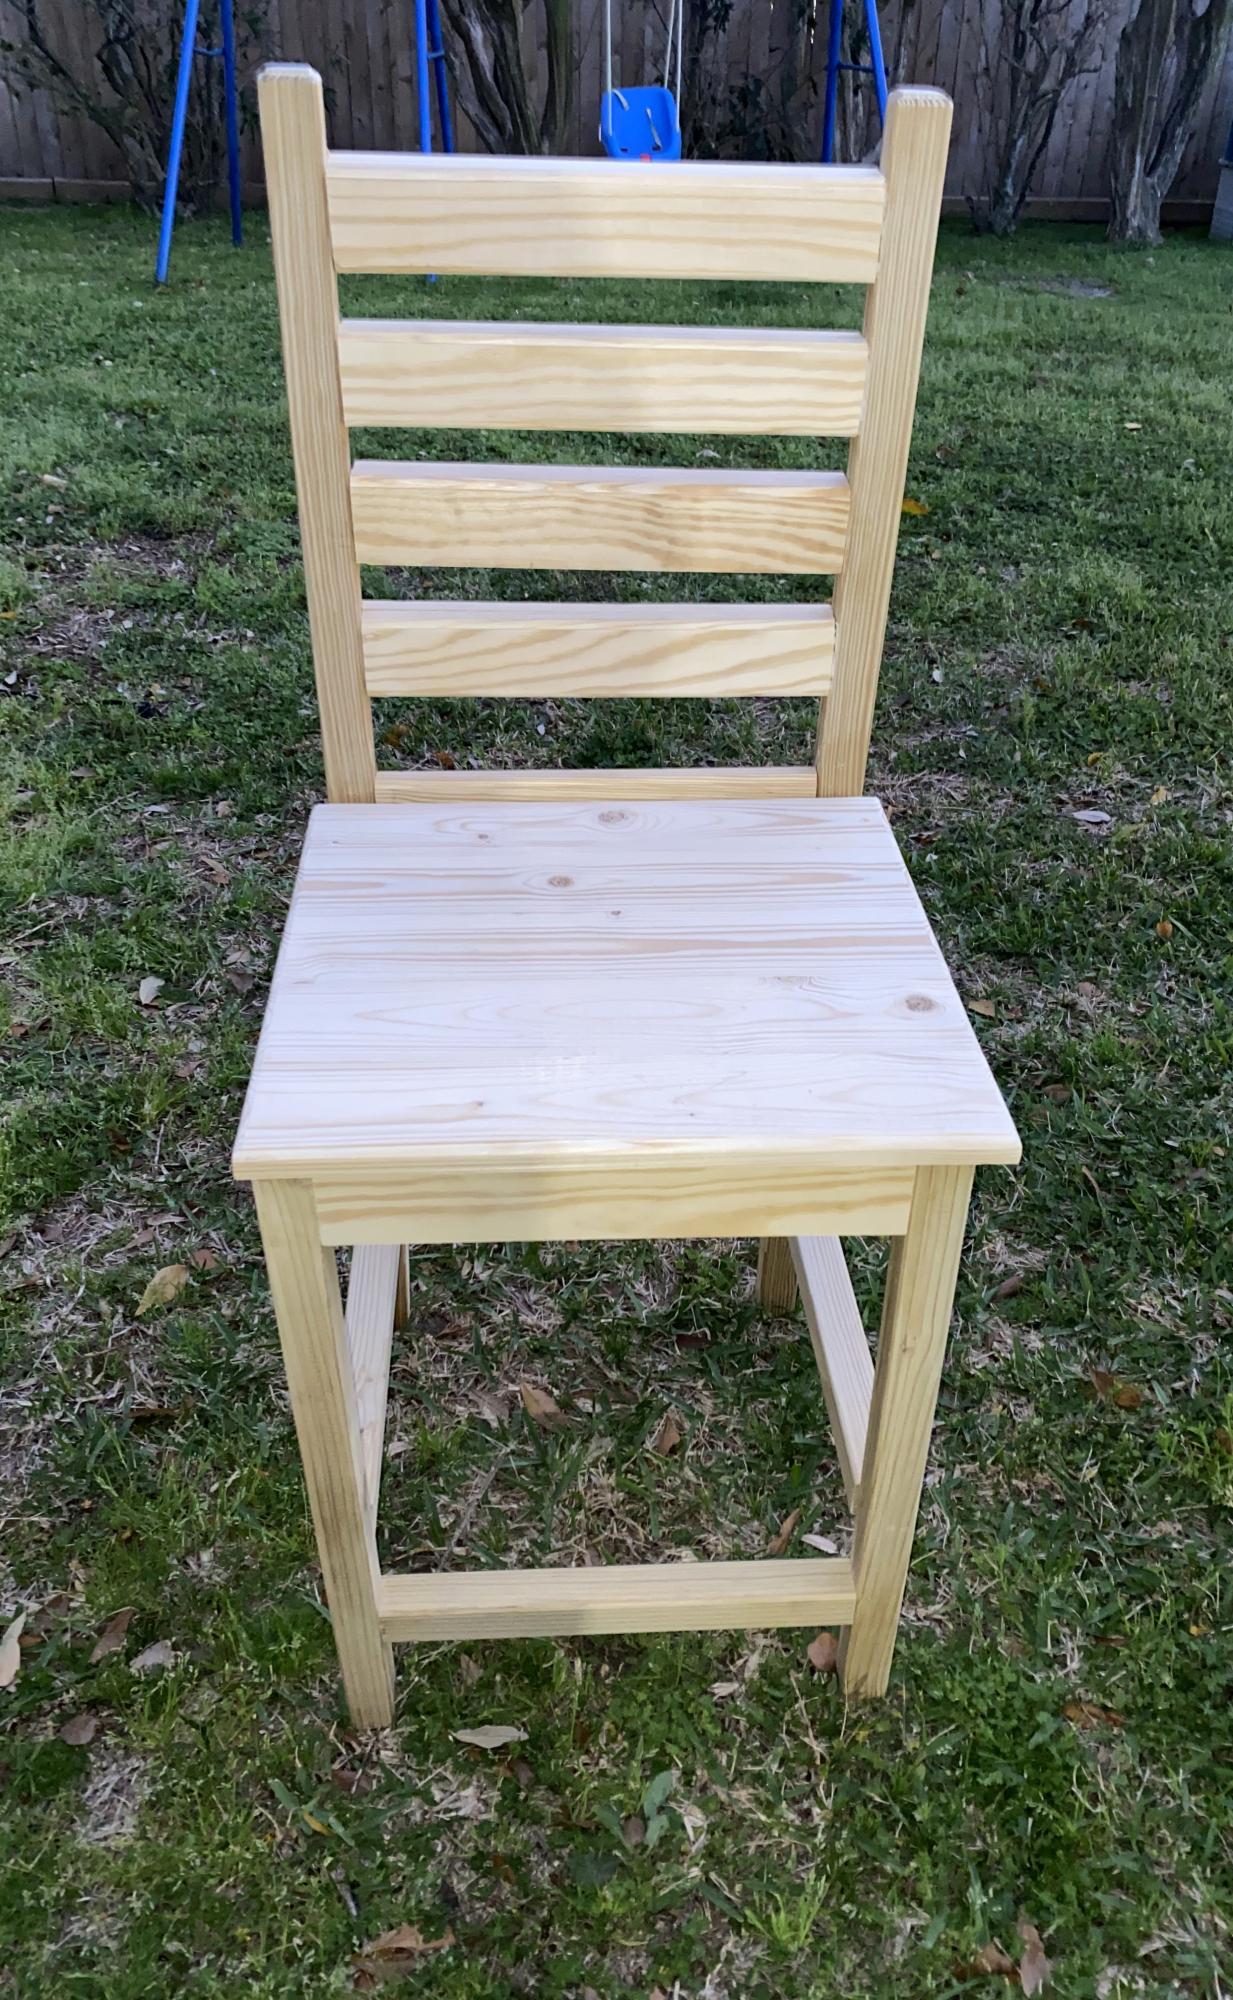
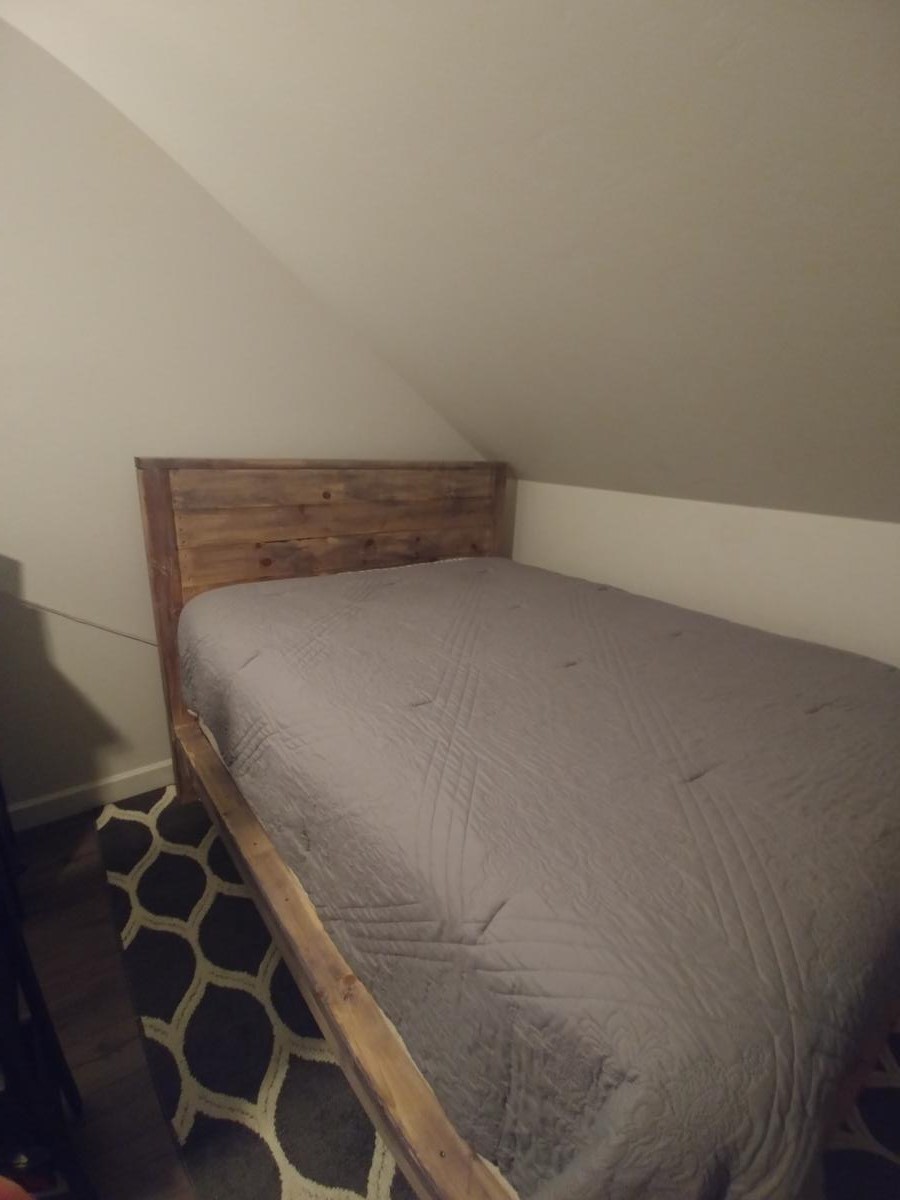
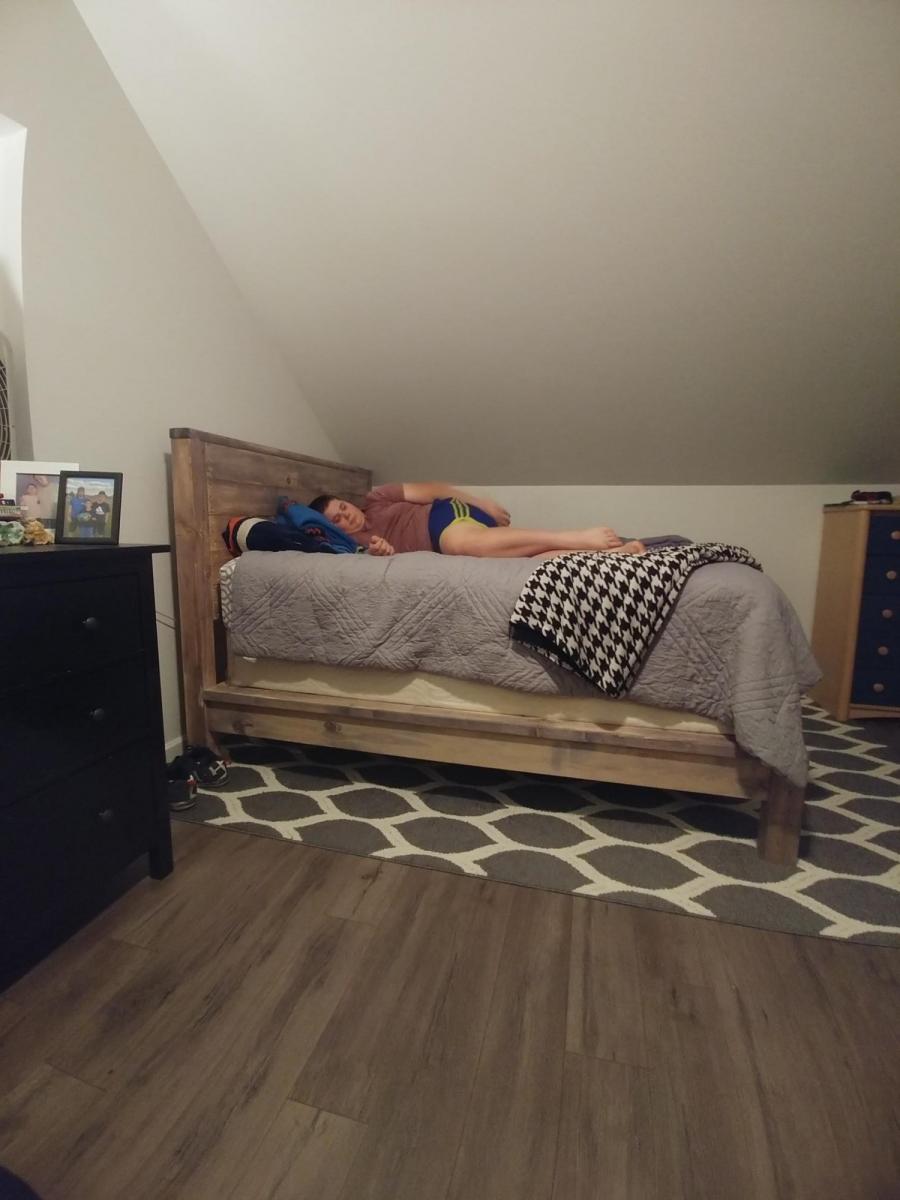
Bed for teen boy
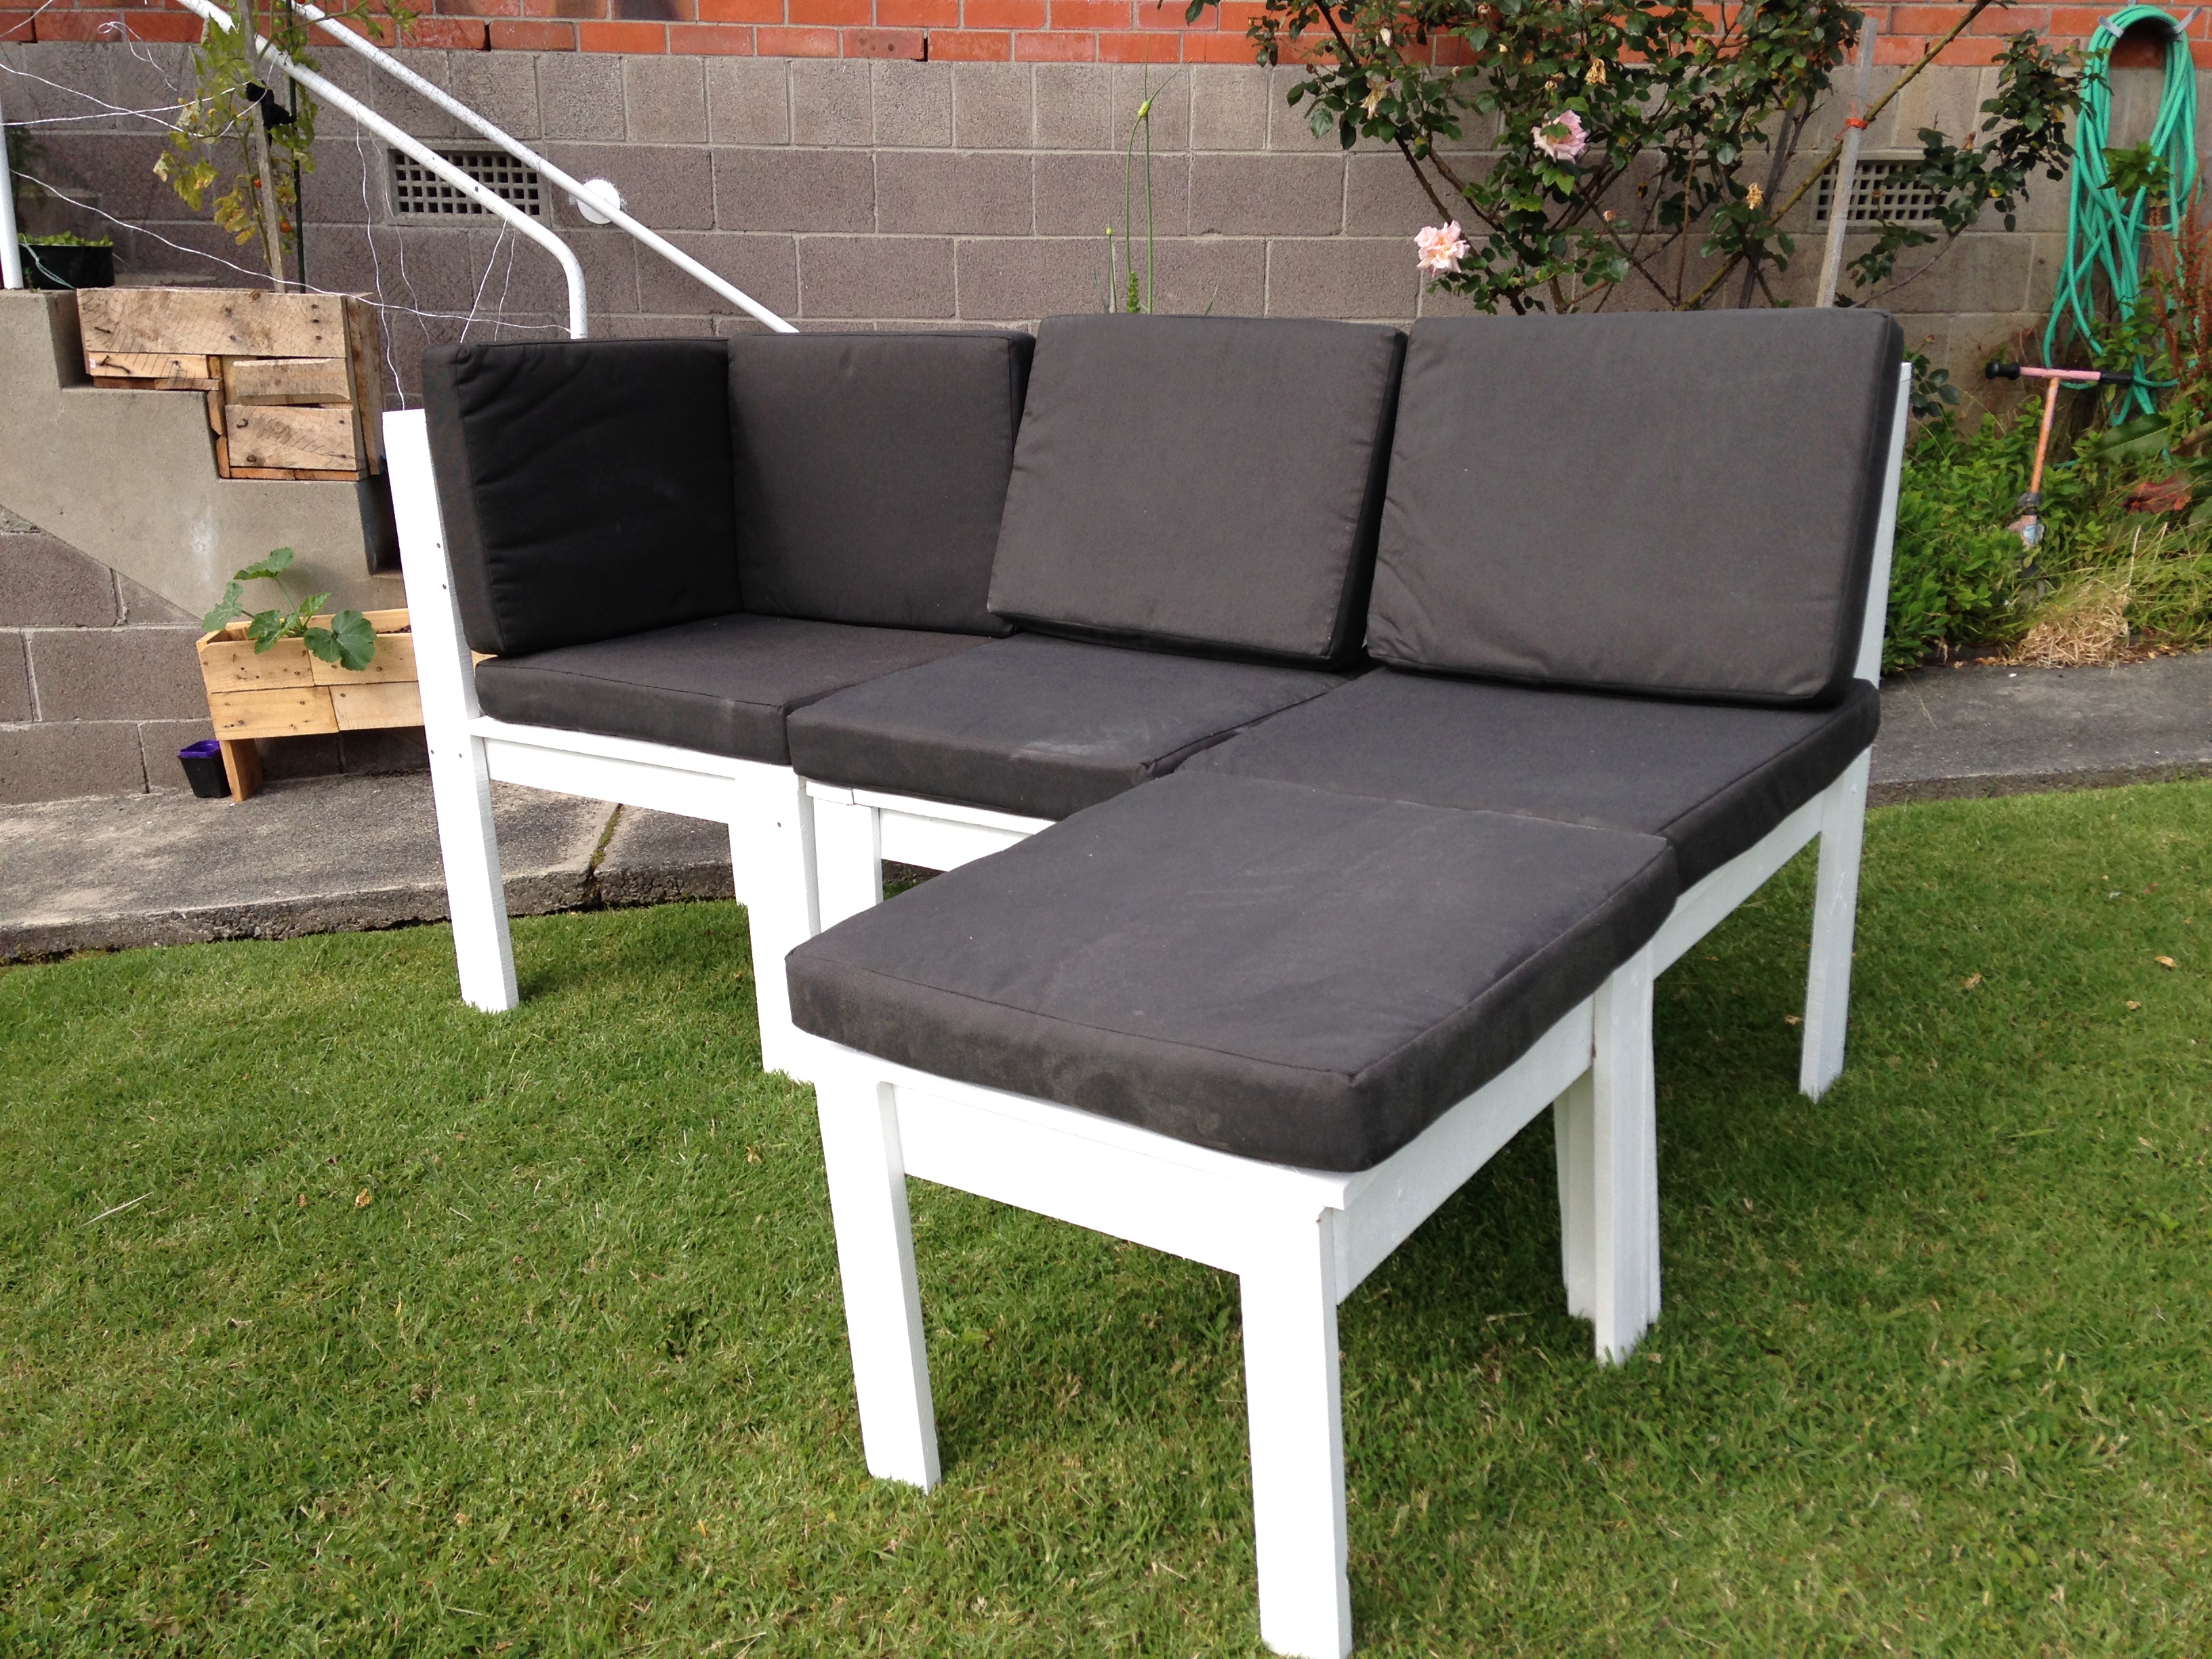
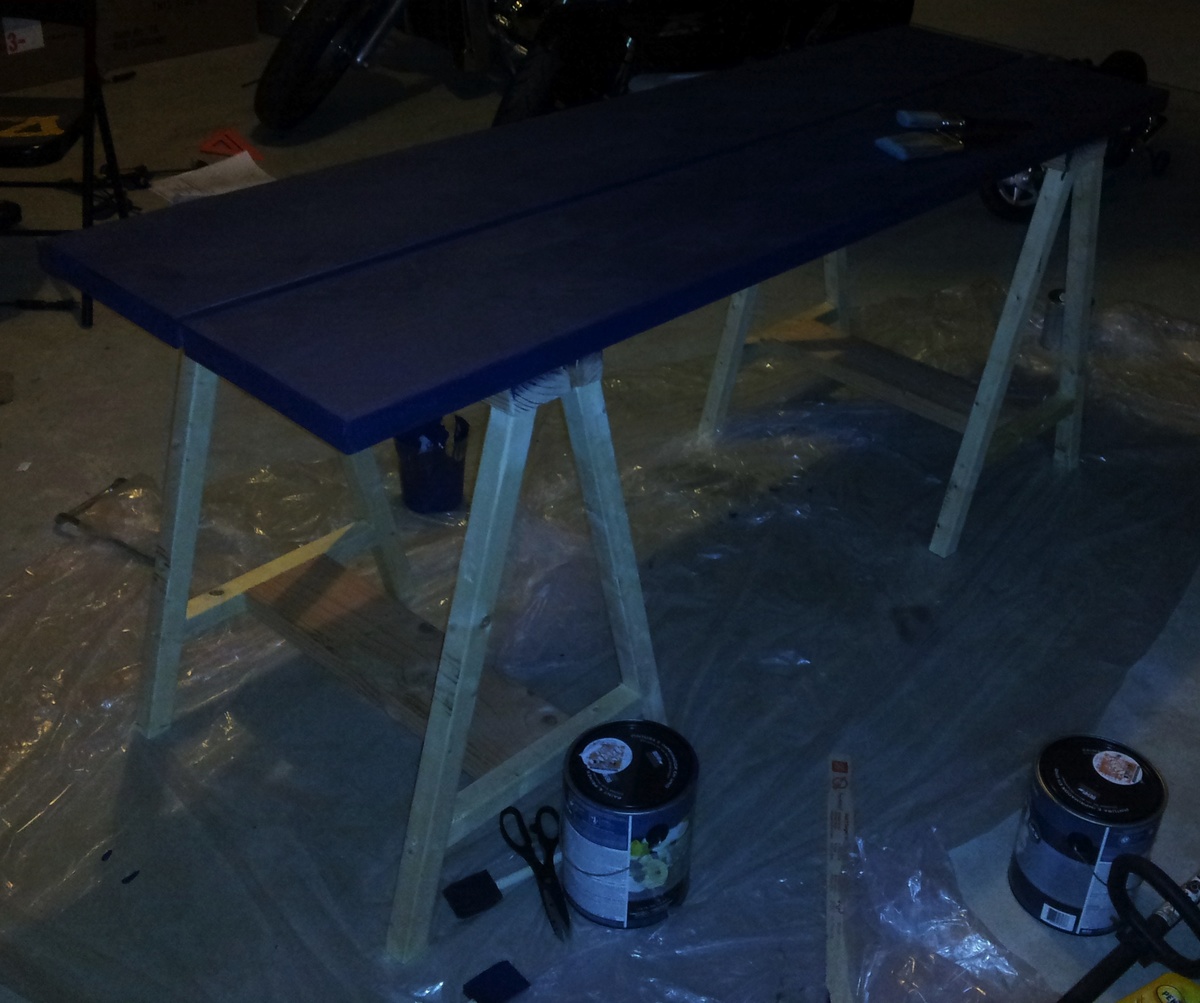
Went shopping Saturday, worked a few hours, then worked most of the day Sunday. Our boy is in heaven and everyone else wants one now.
Built from Plan(s)
Estimated Cost
$150-$175
Estimated Time Investment
Weekend Project (10-20 Hours)
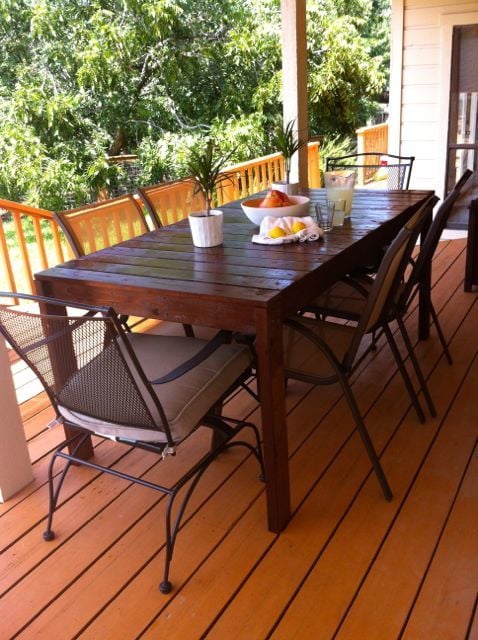
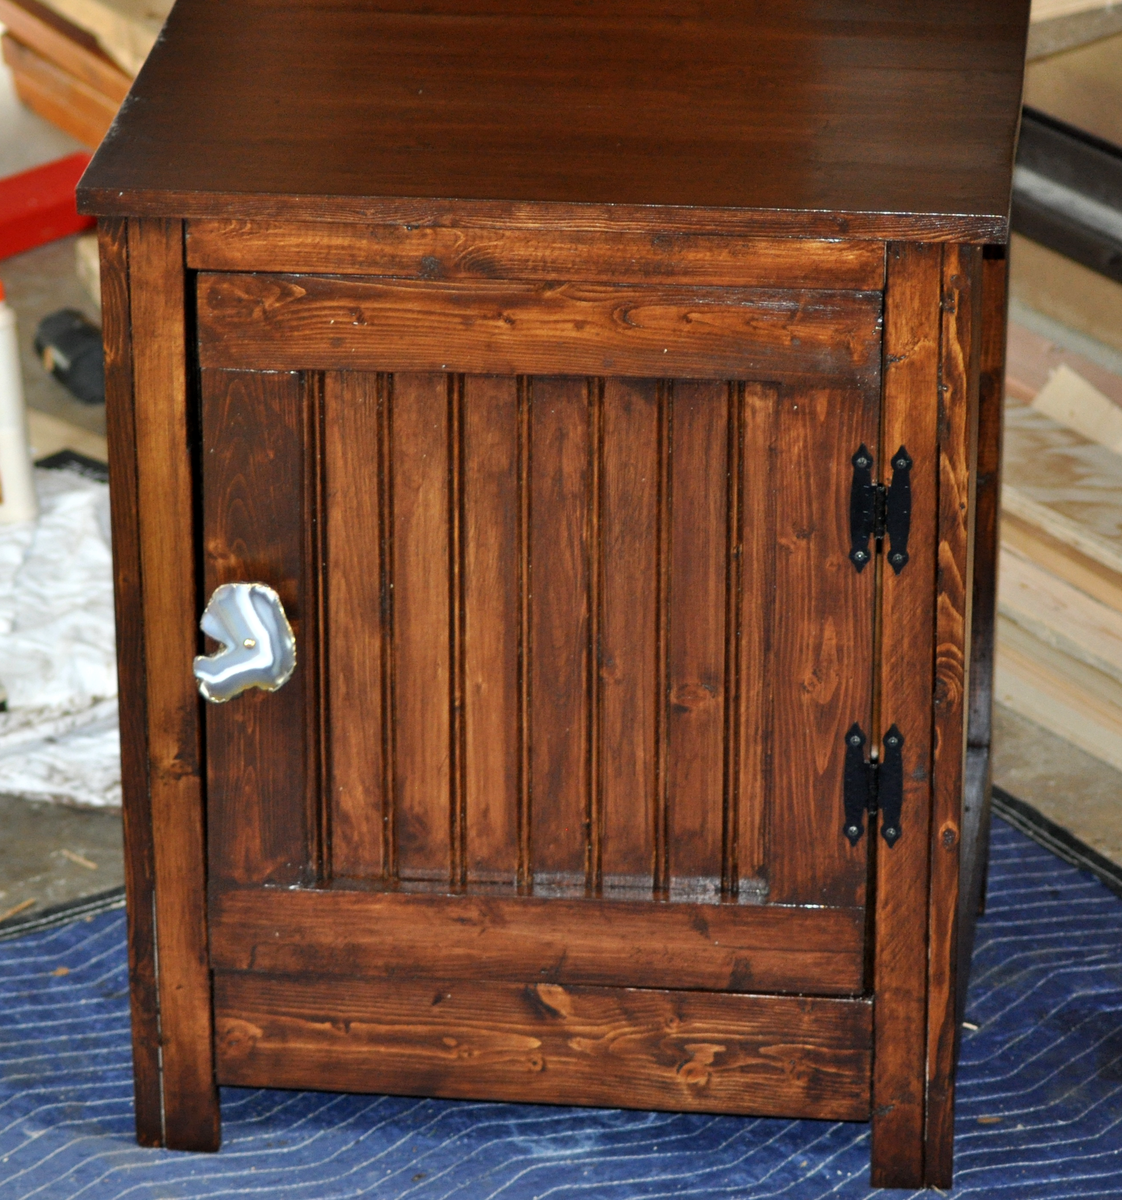
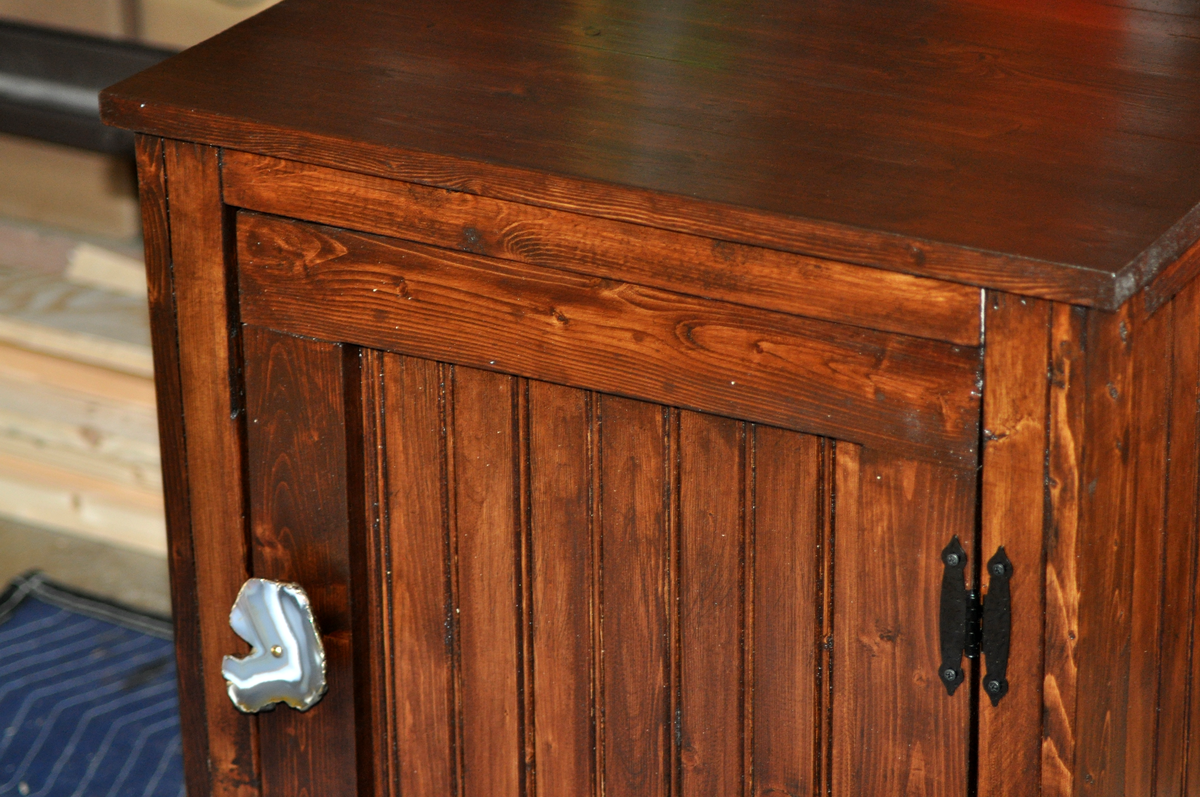
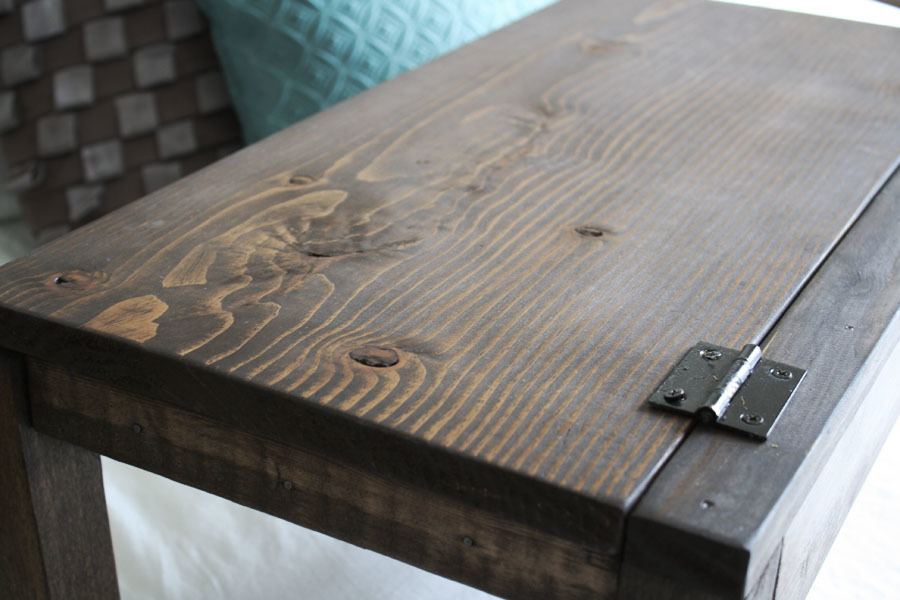
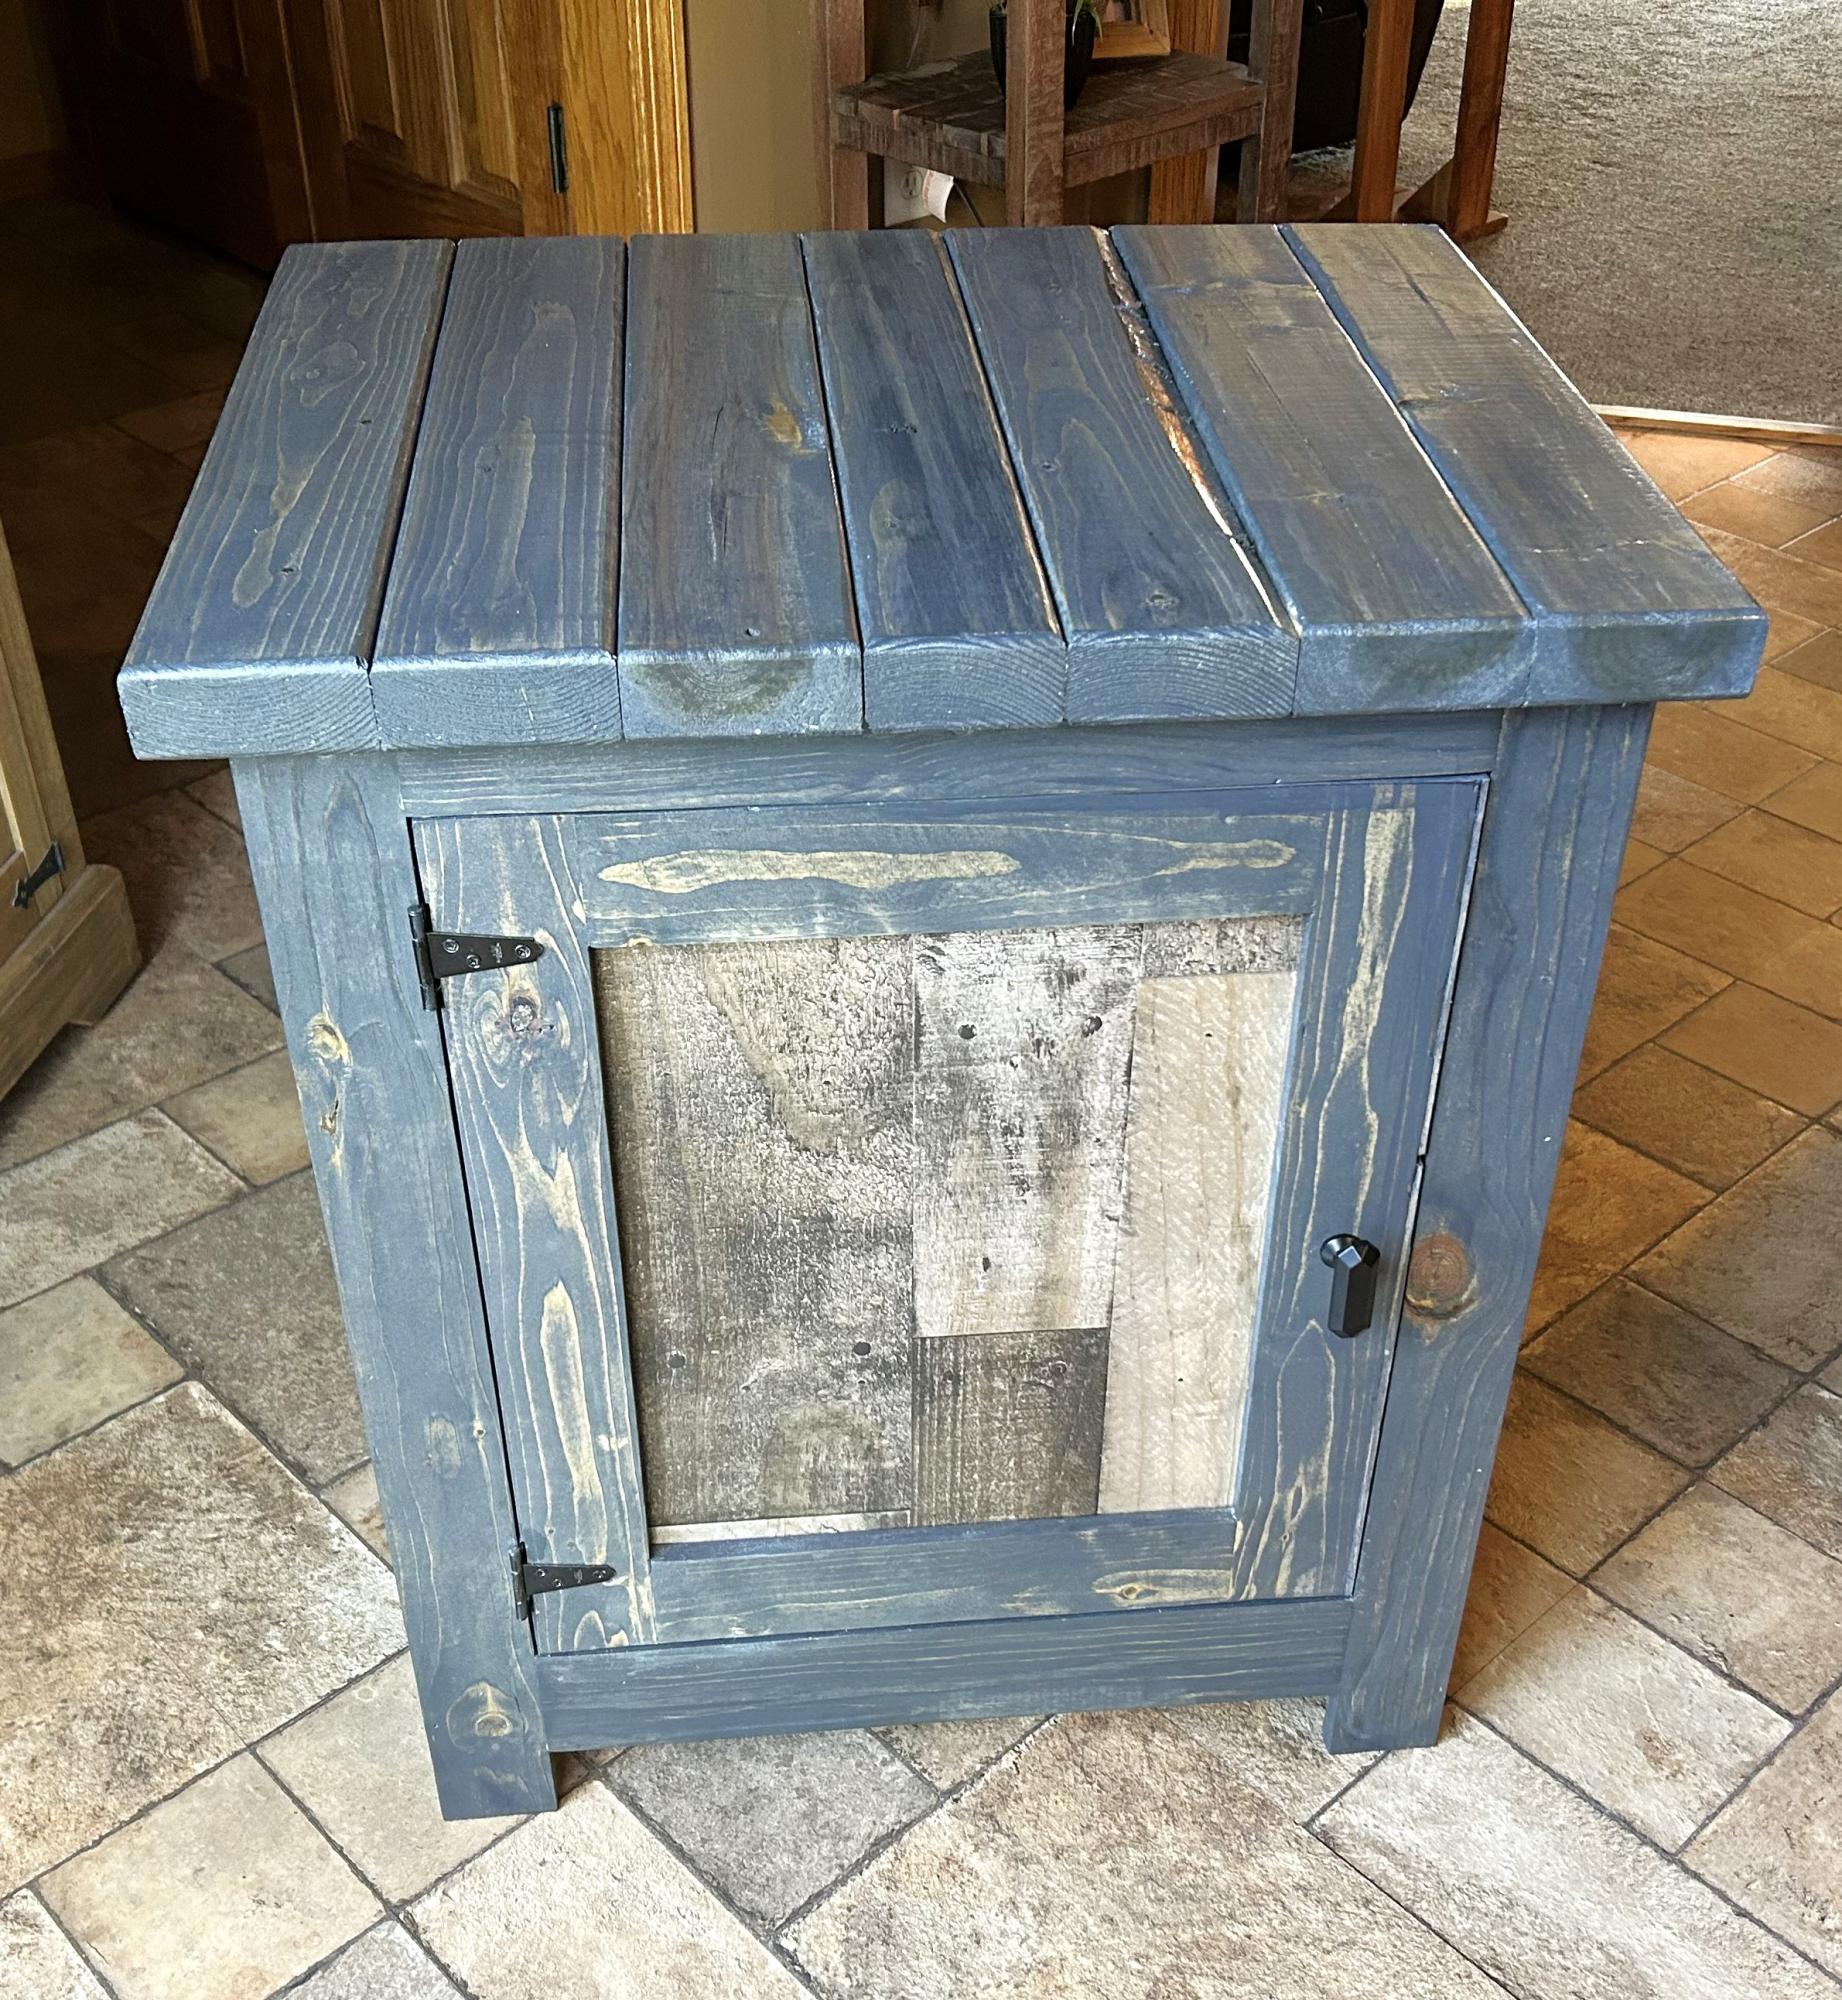
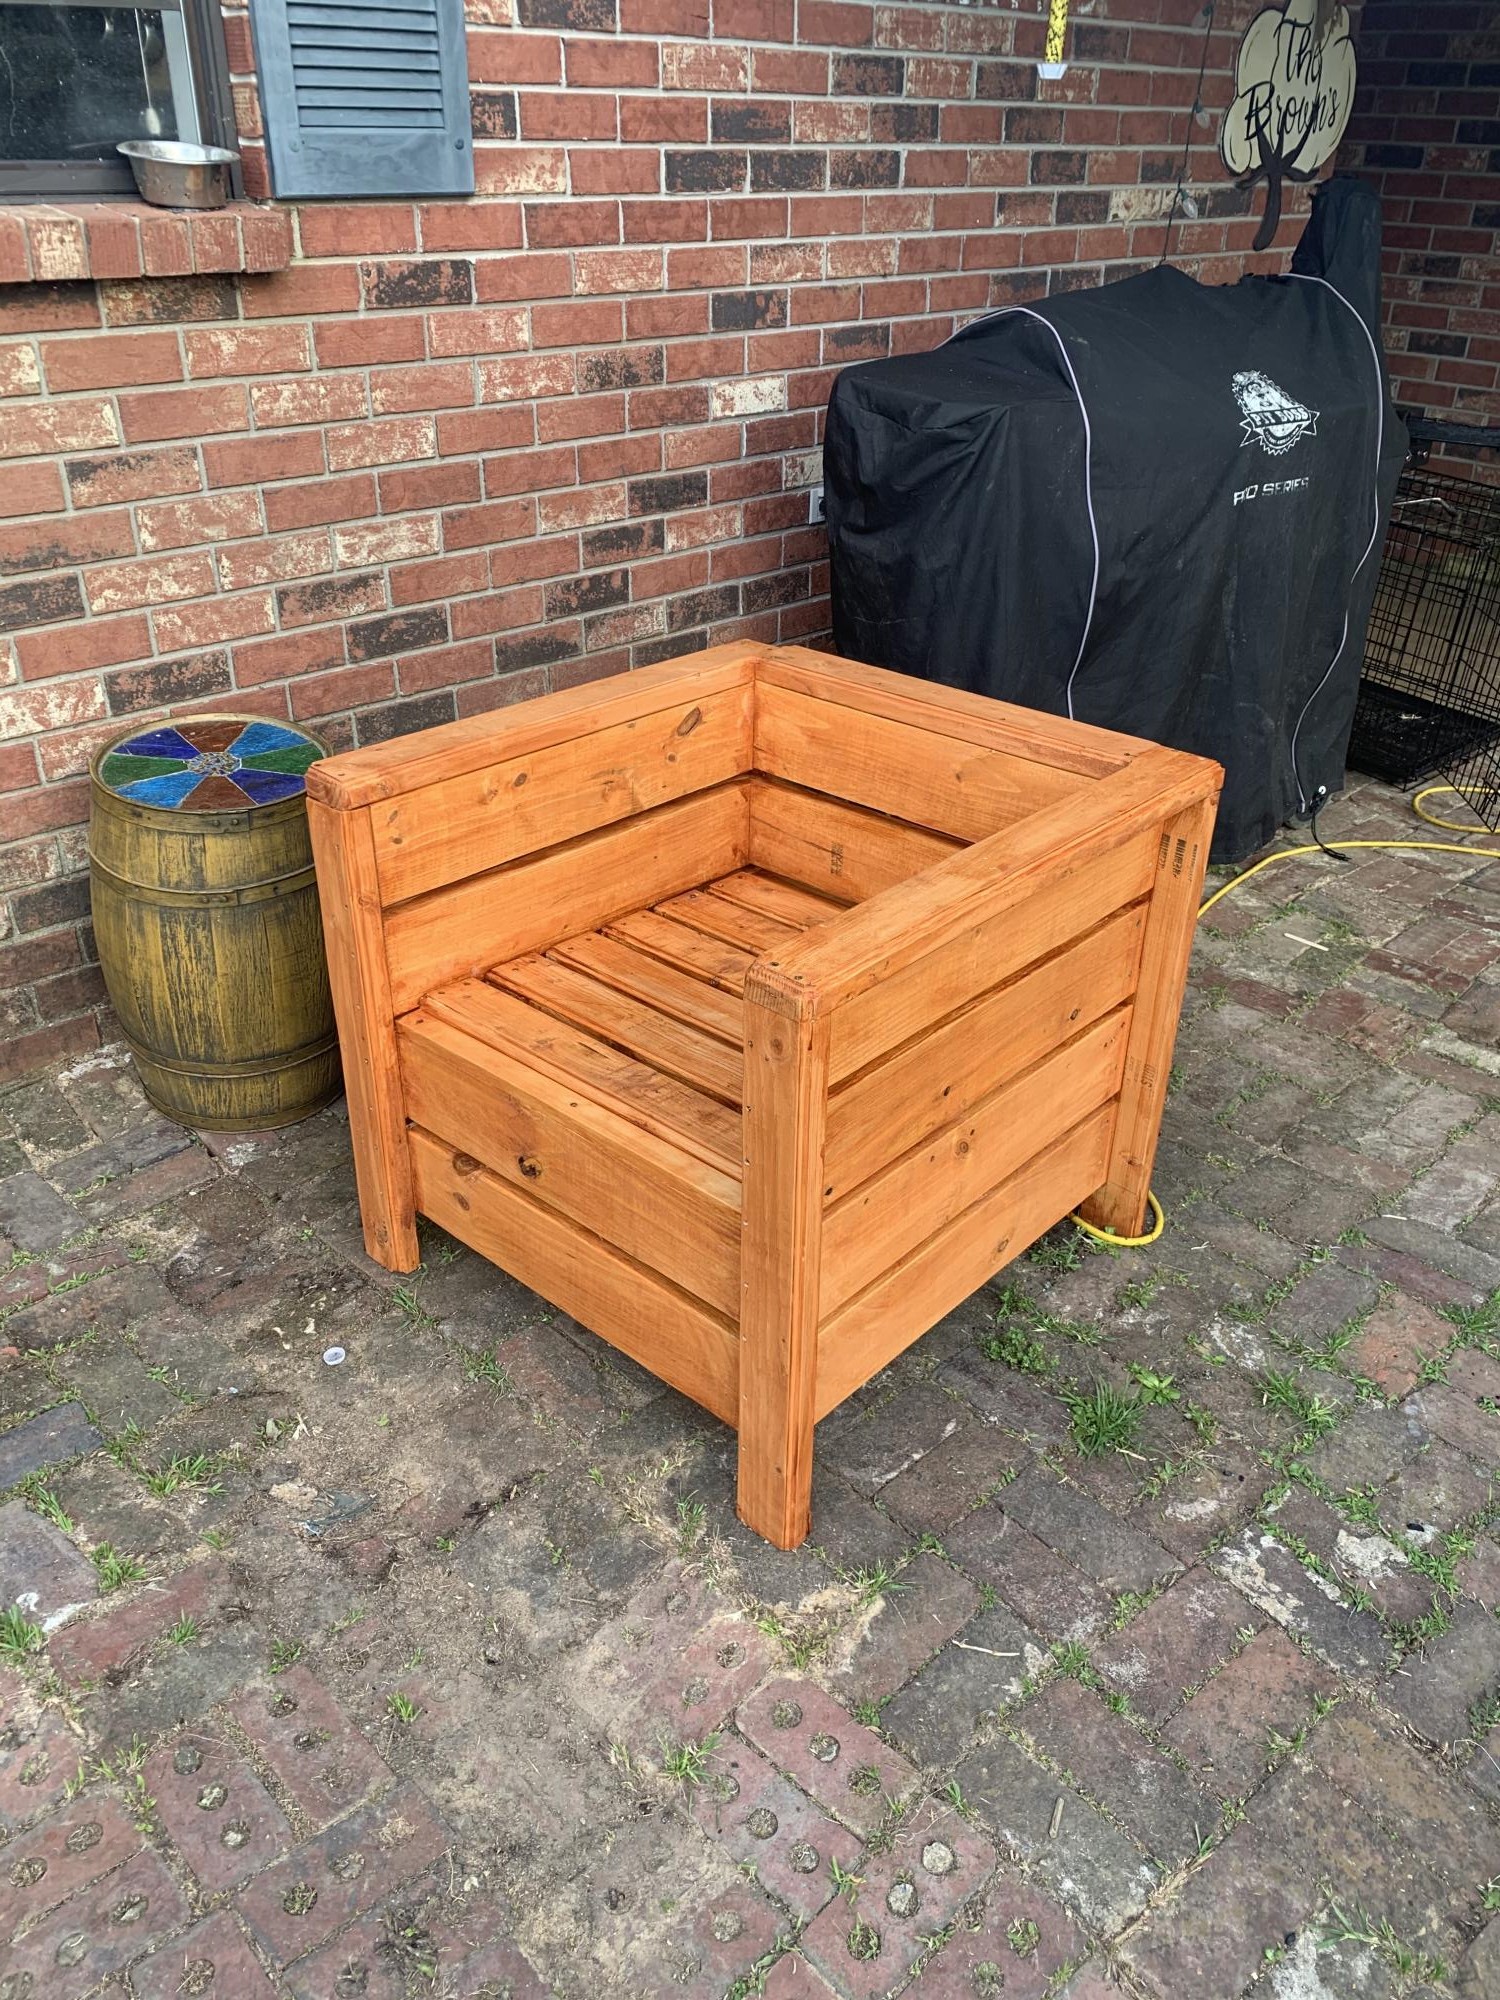
Finish Used
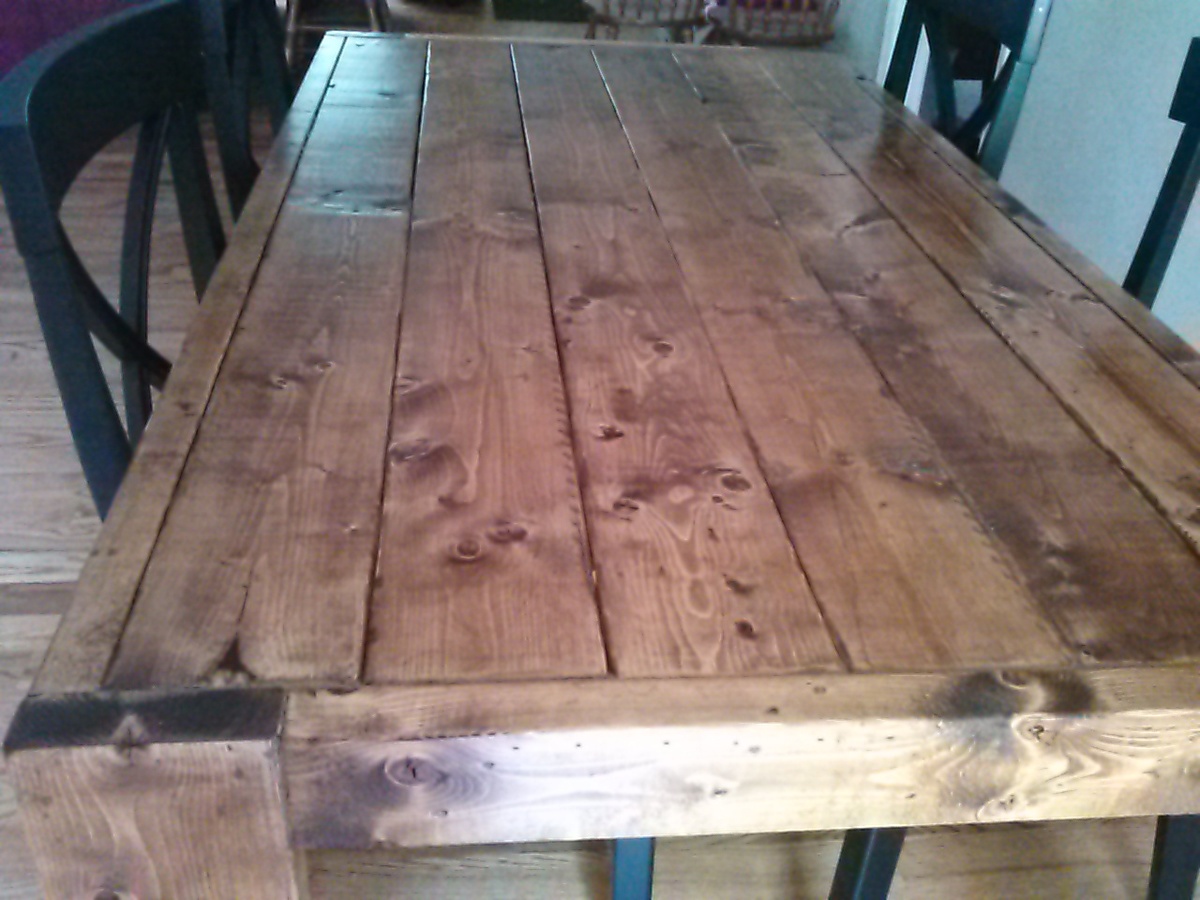
Weathered look, the same brand as recommended.
Recommended Skill Level
Intermediate