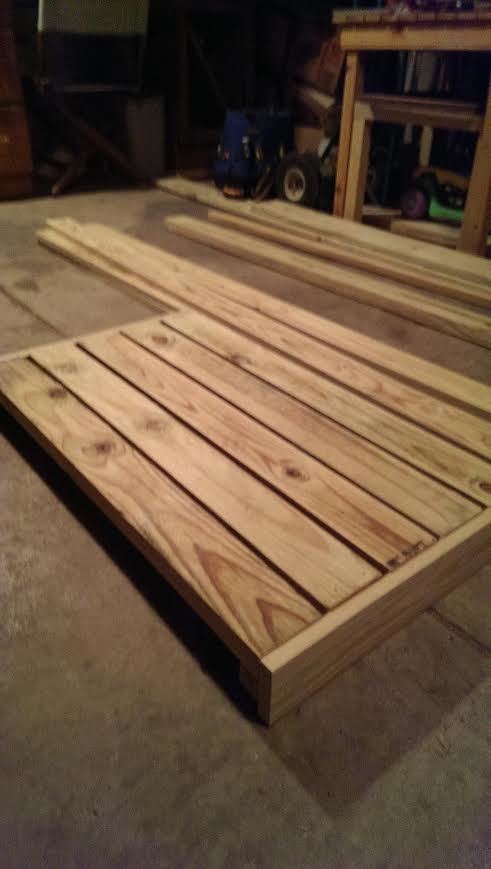
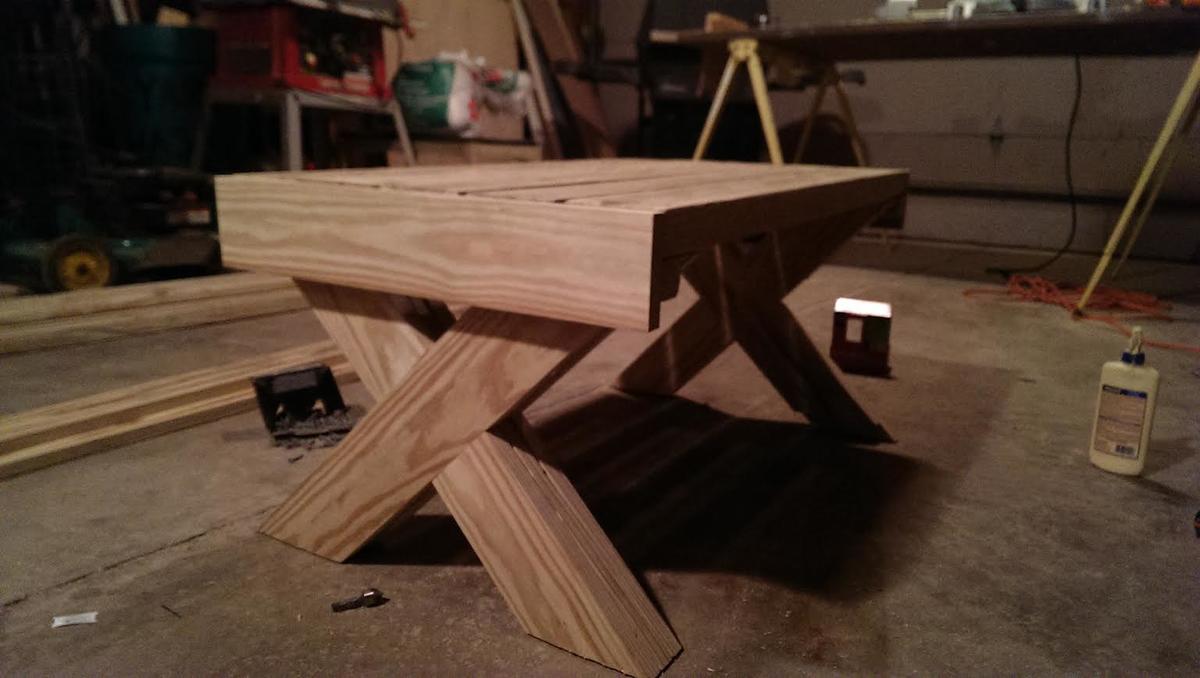
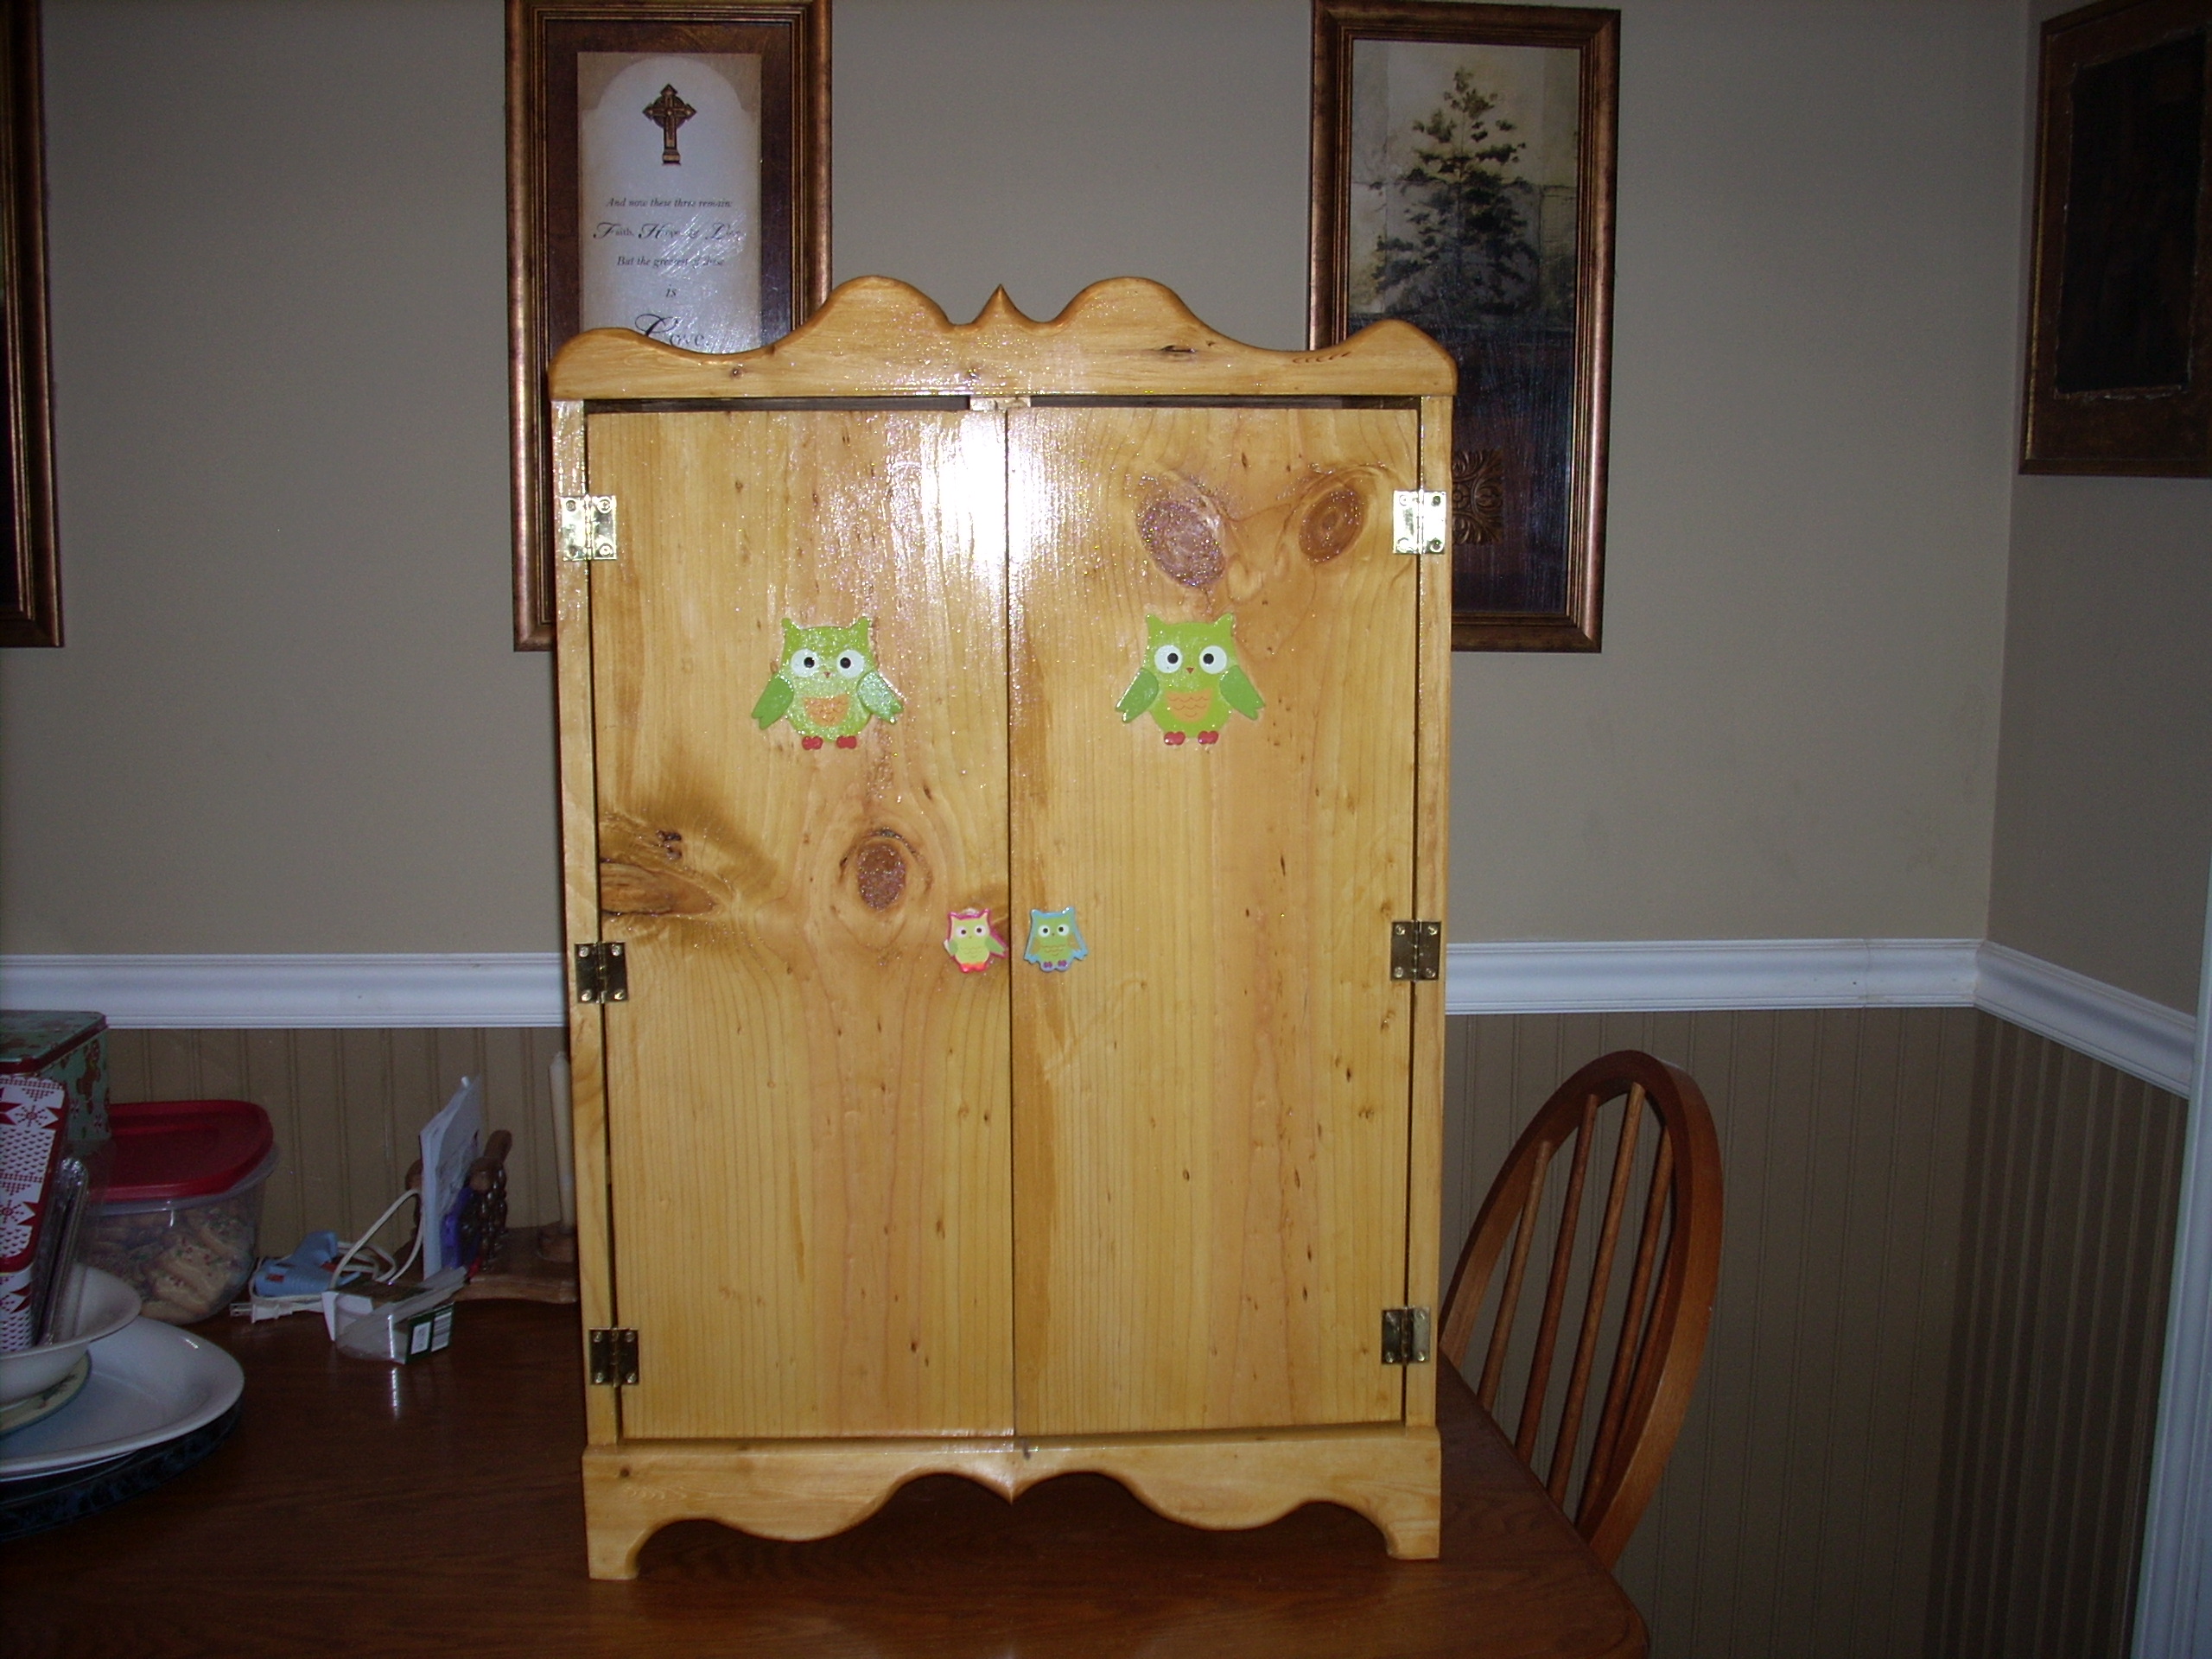
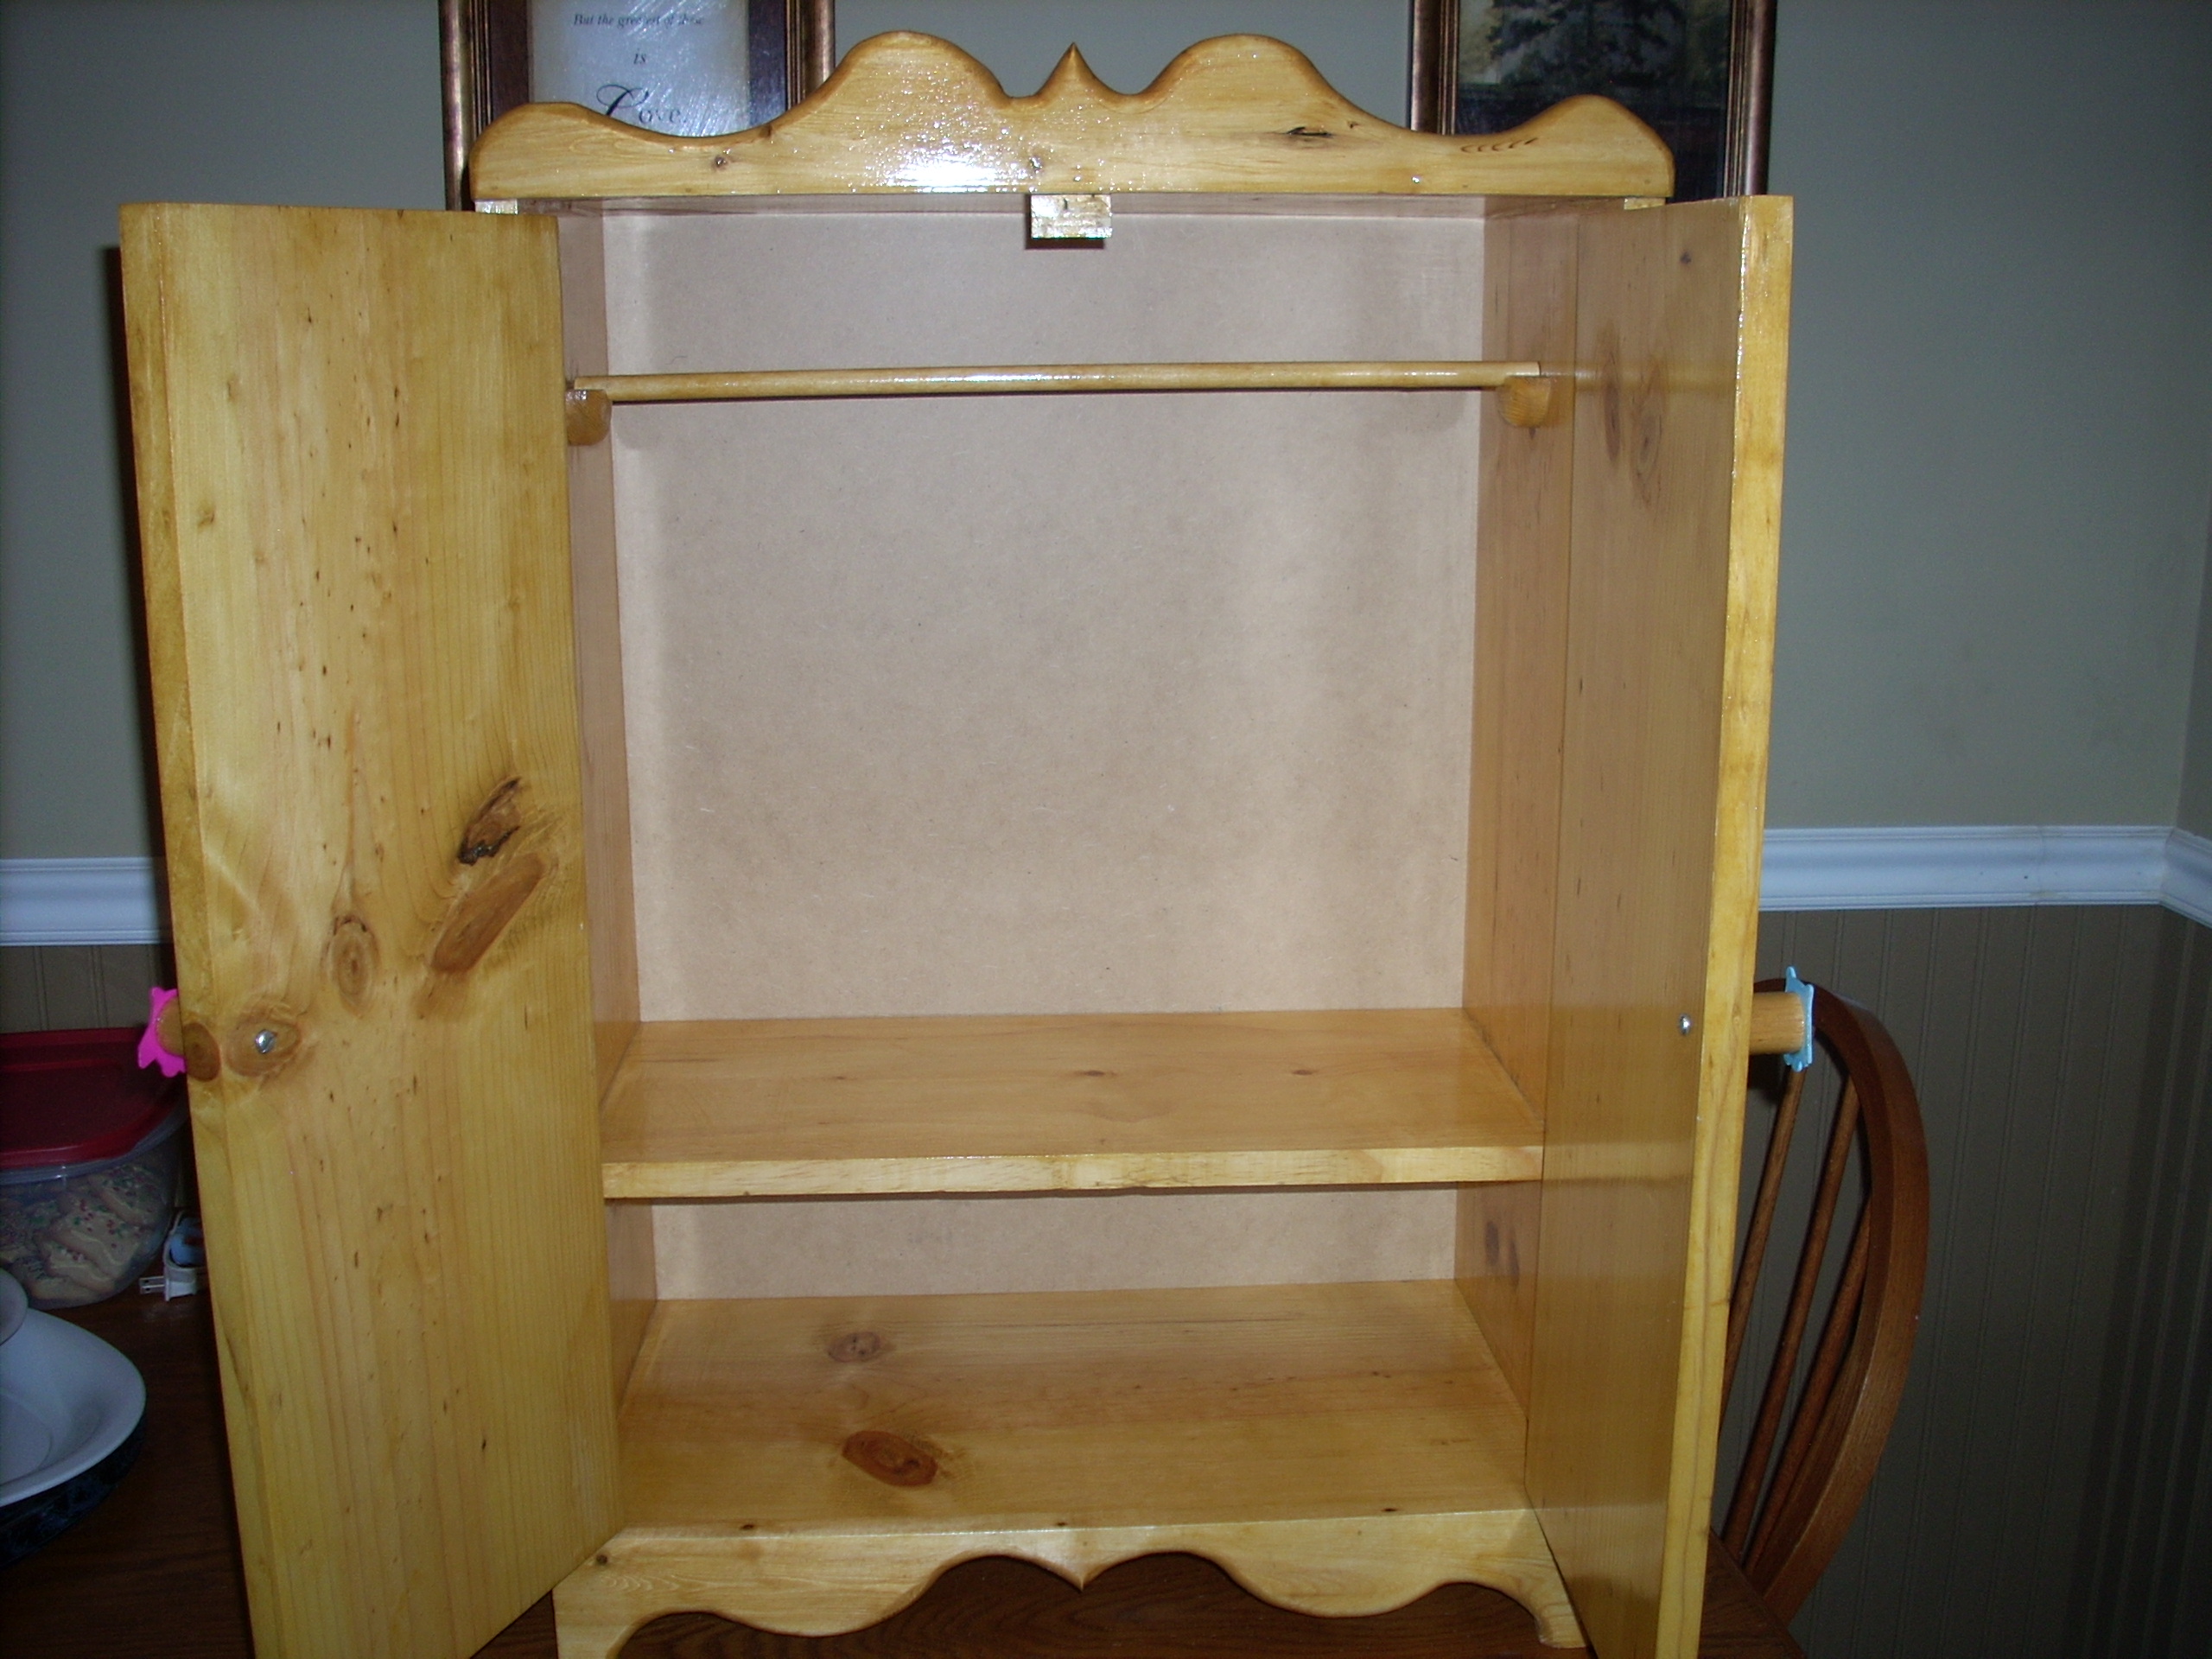
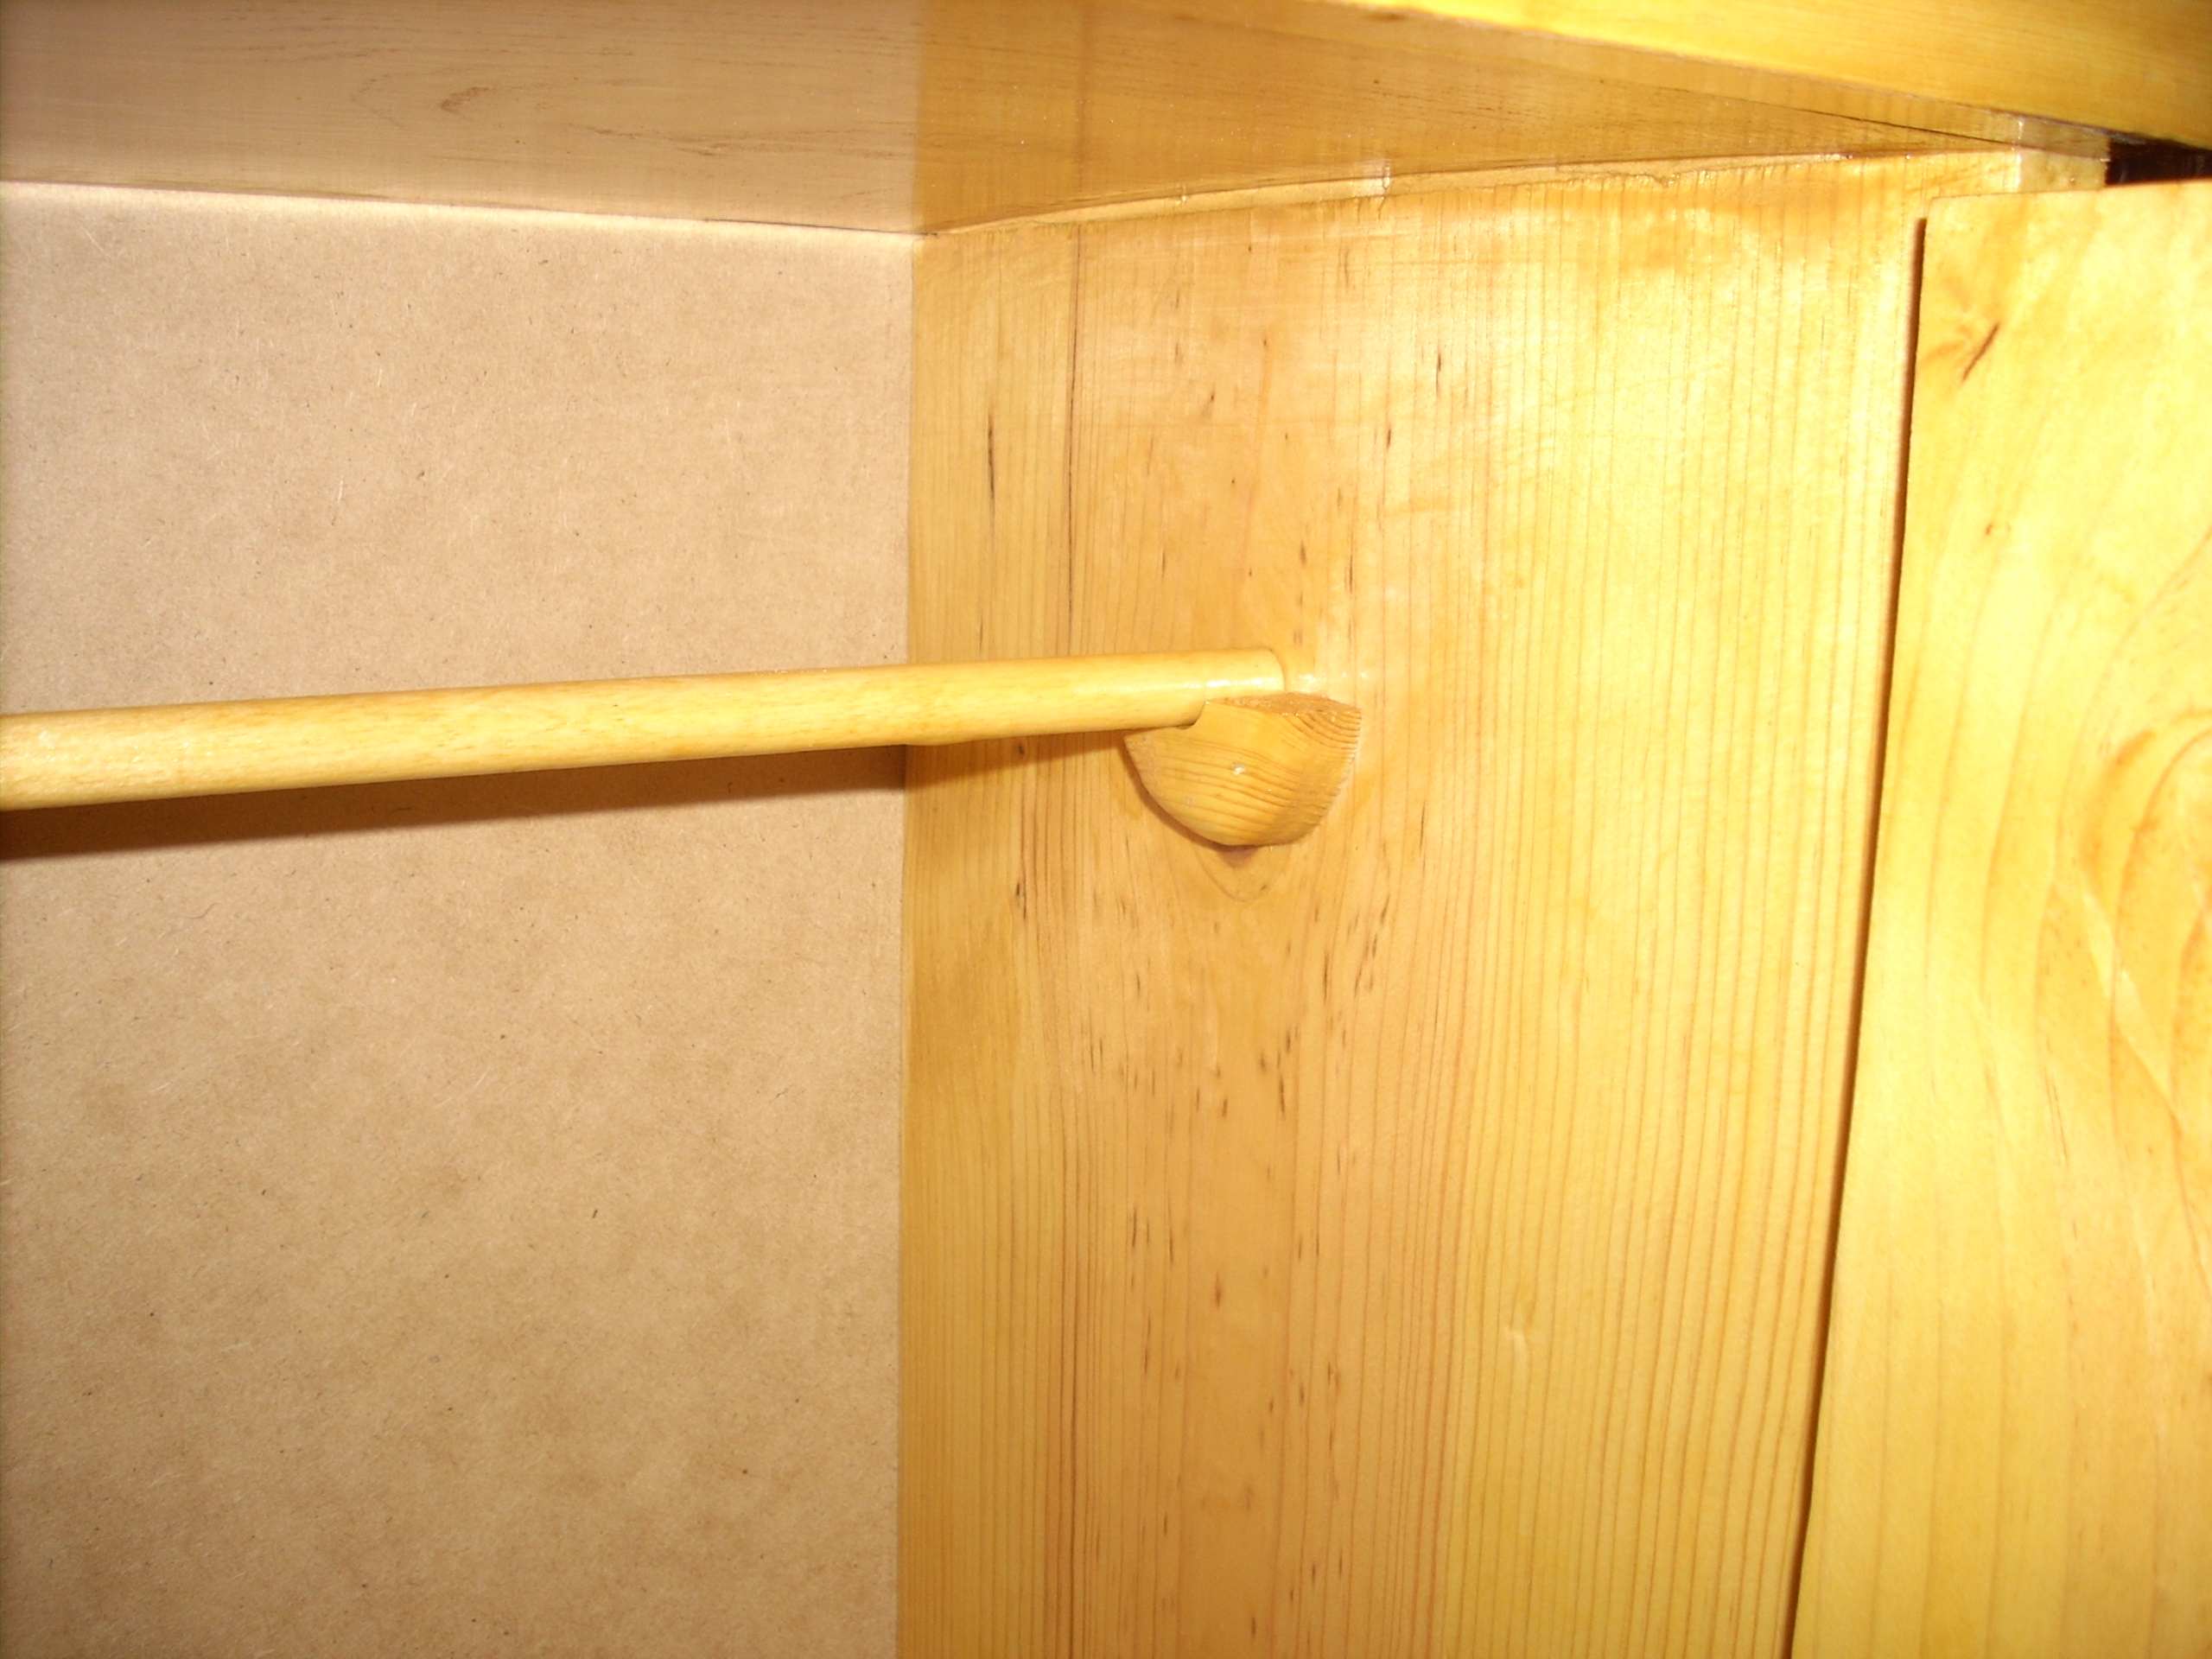
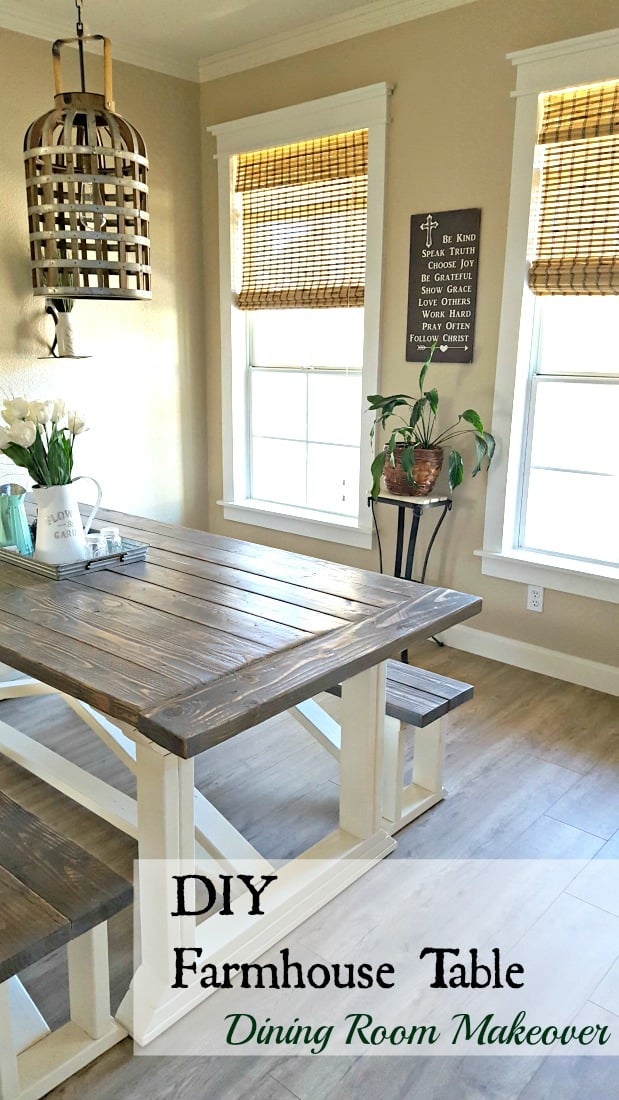
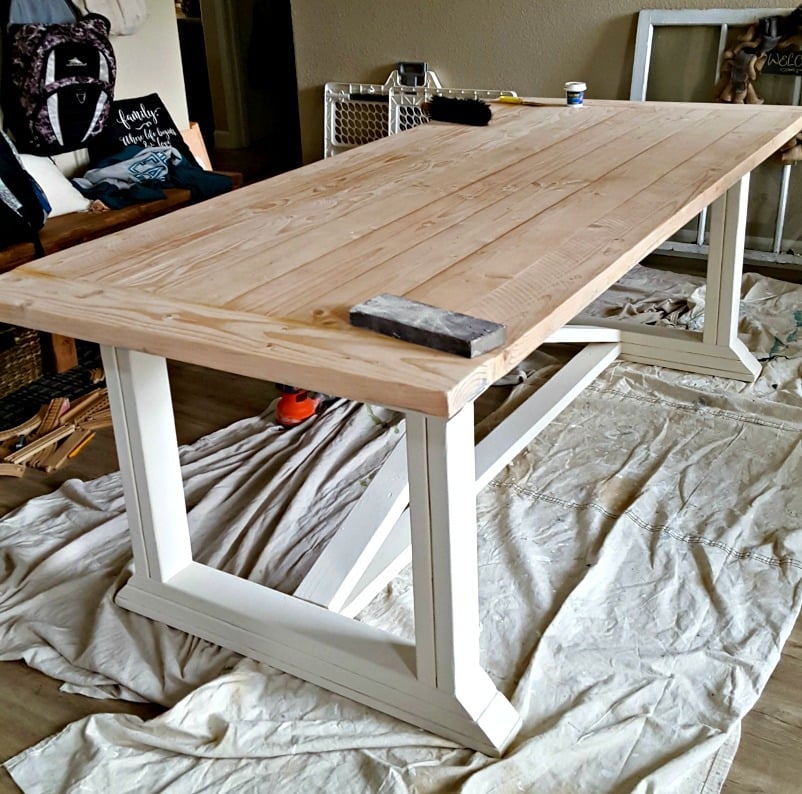
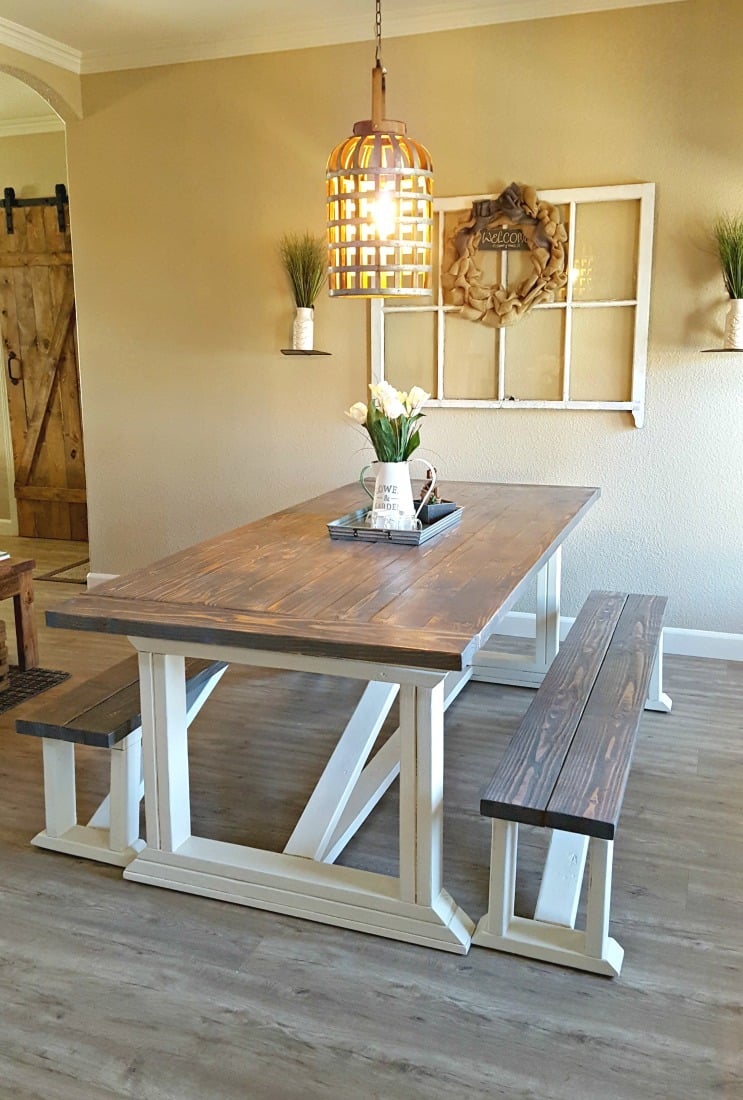
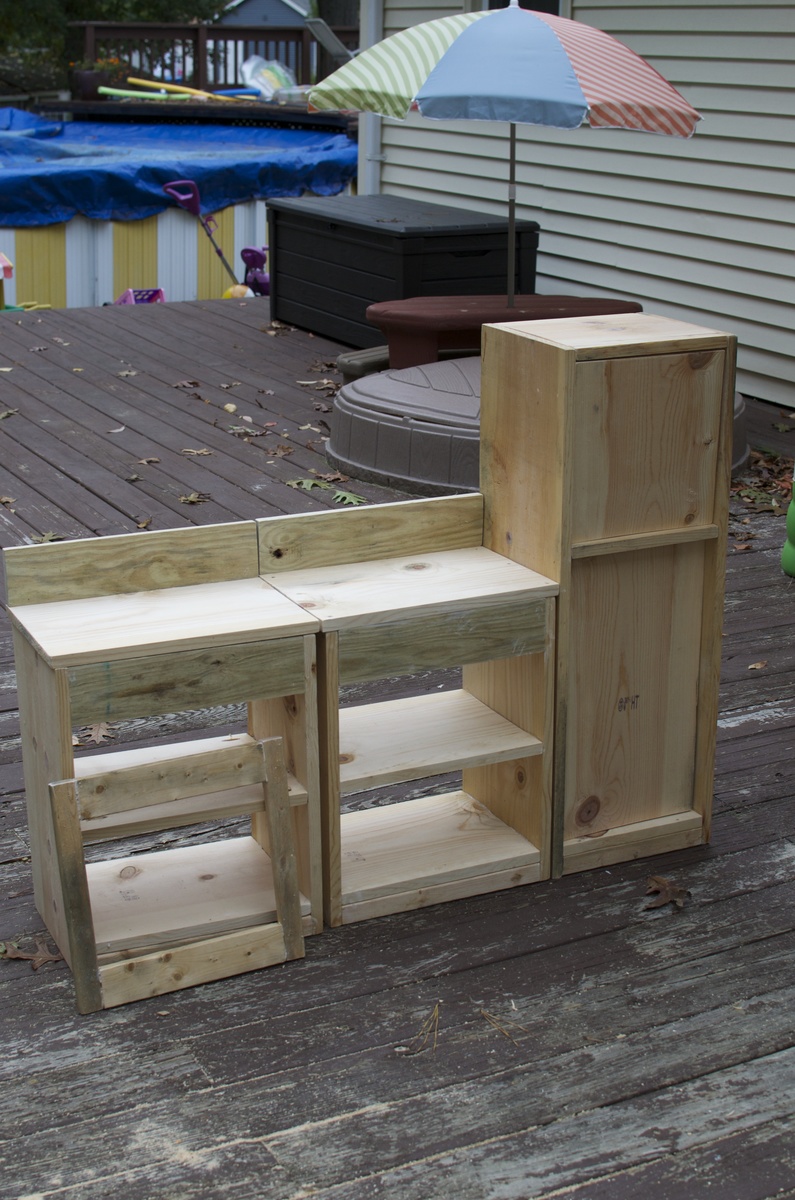
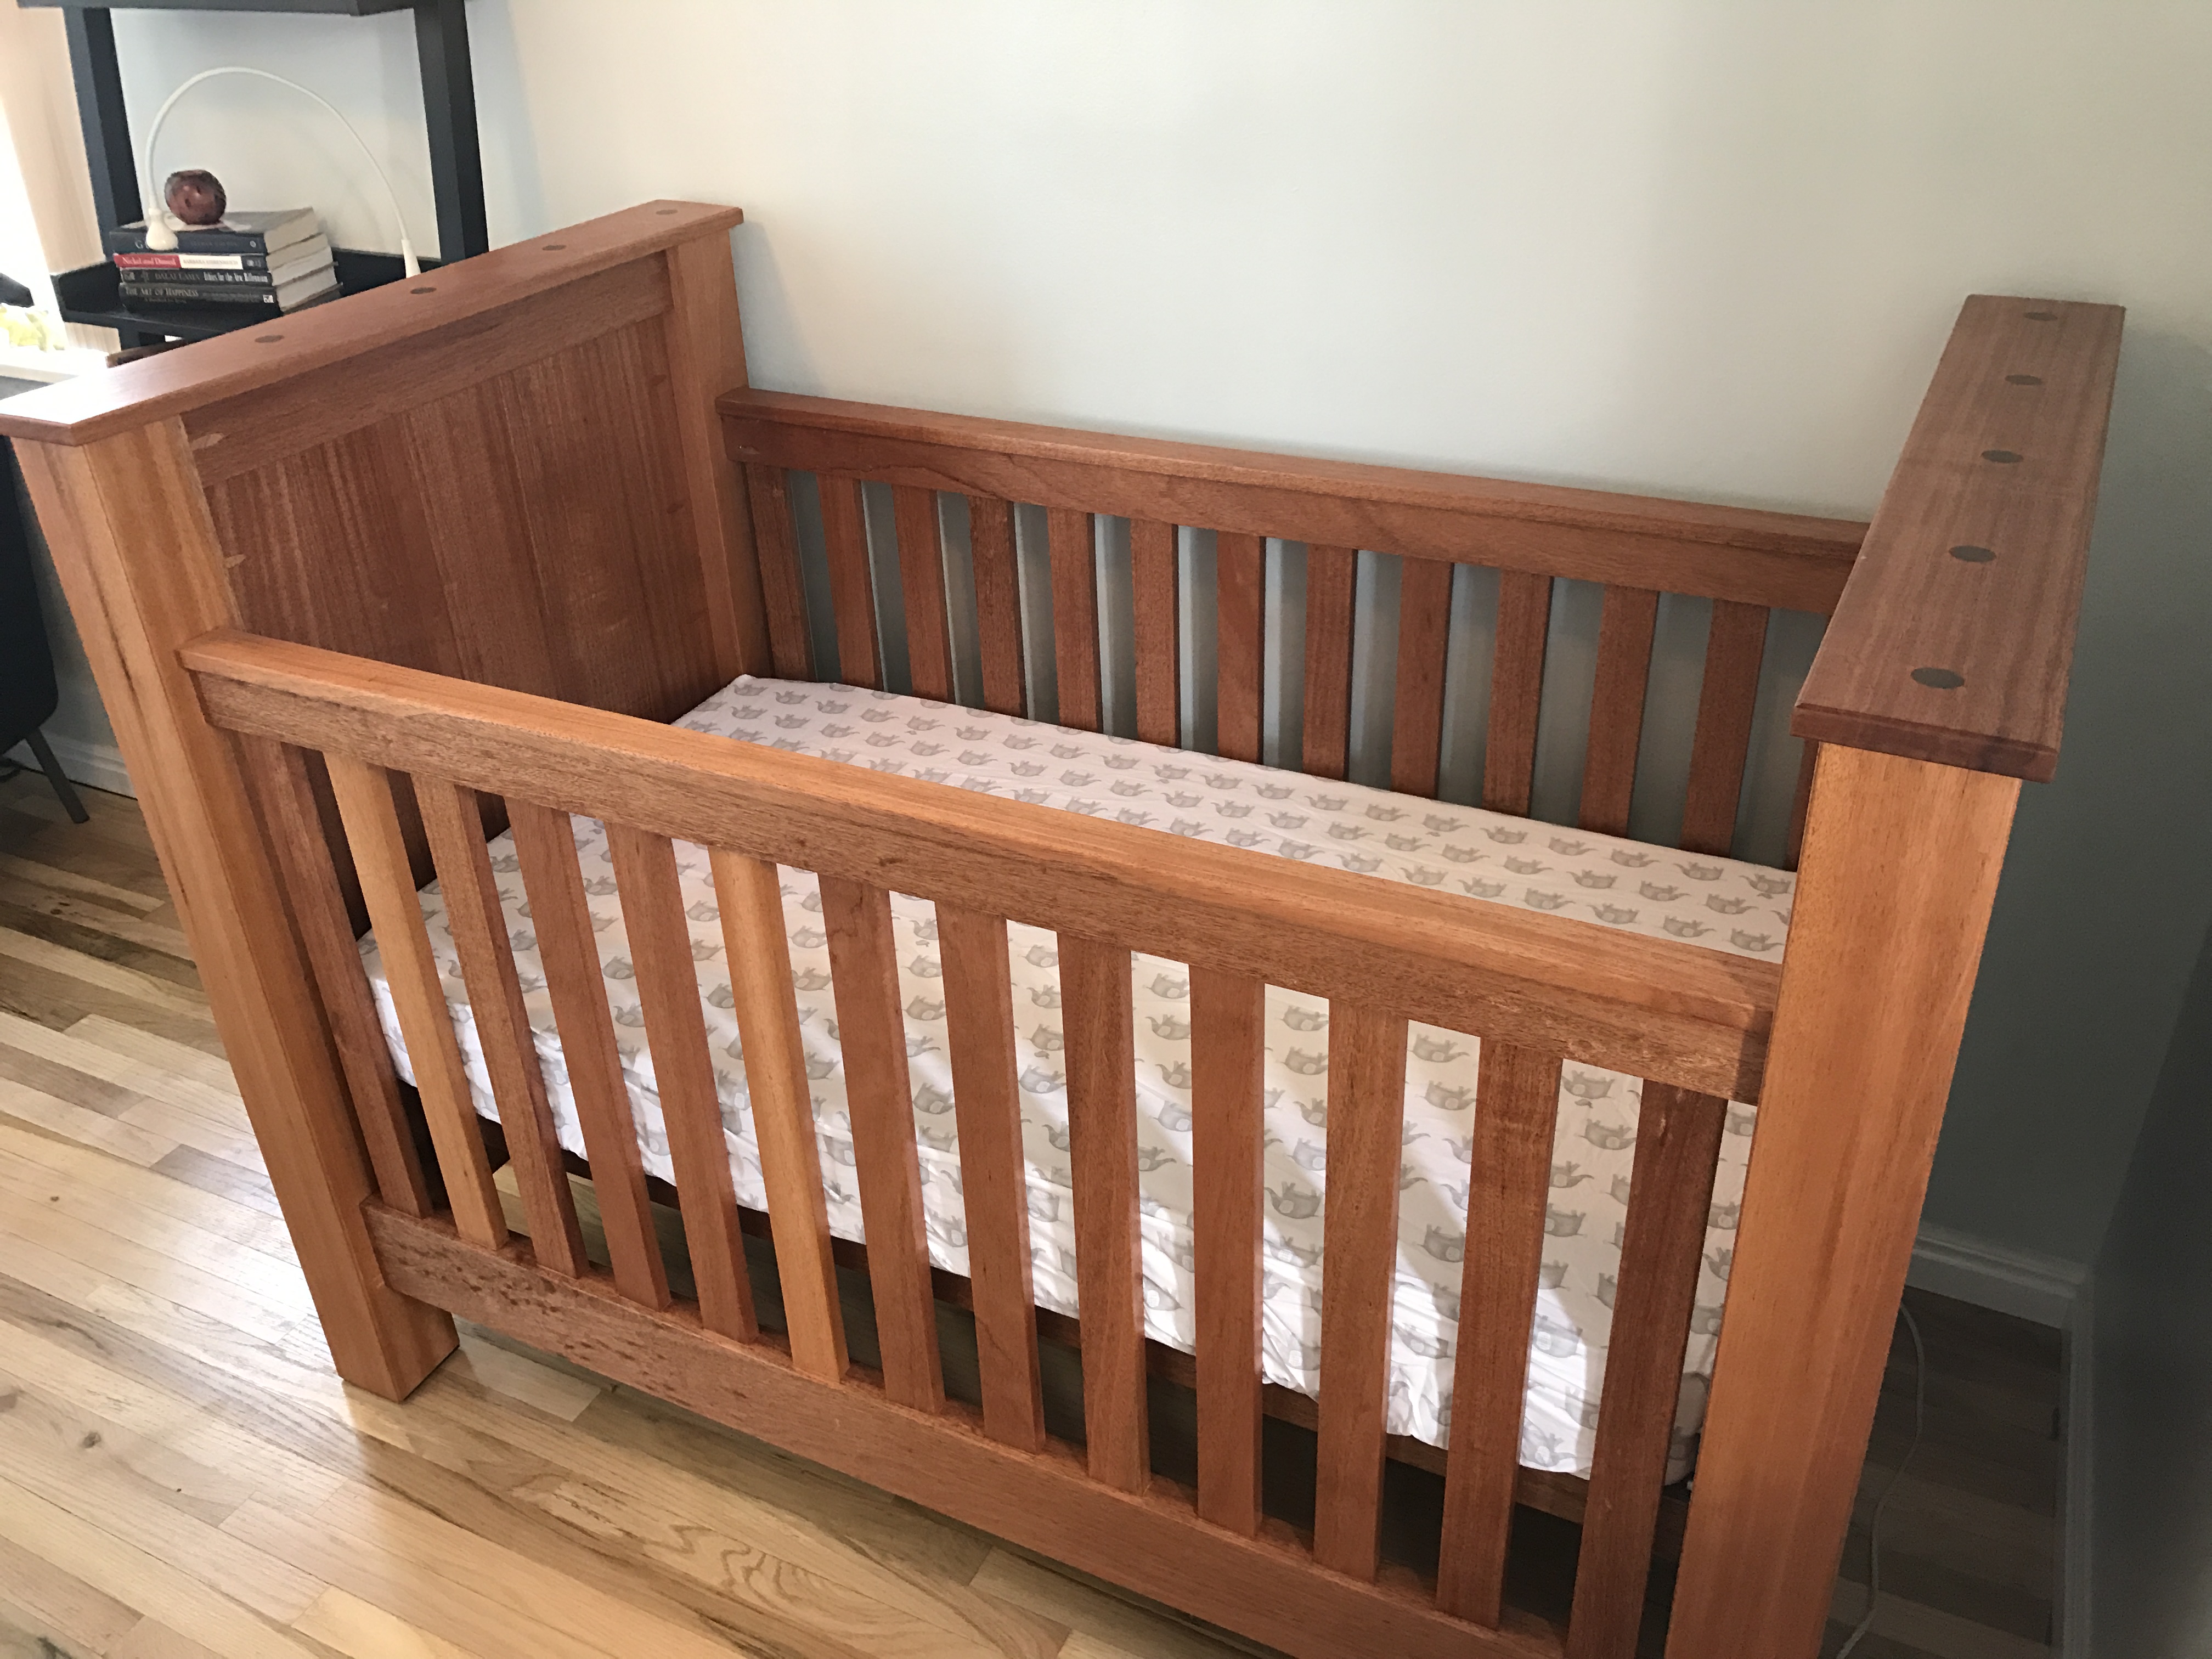
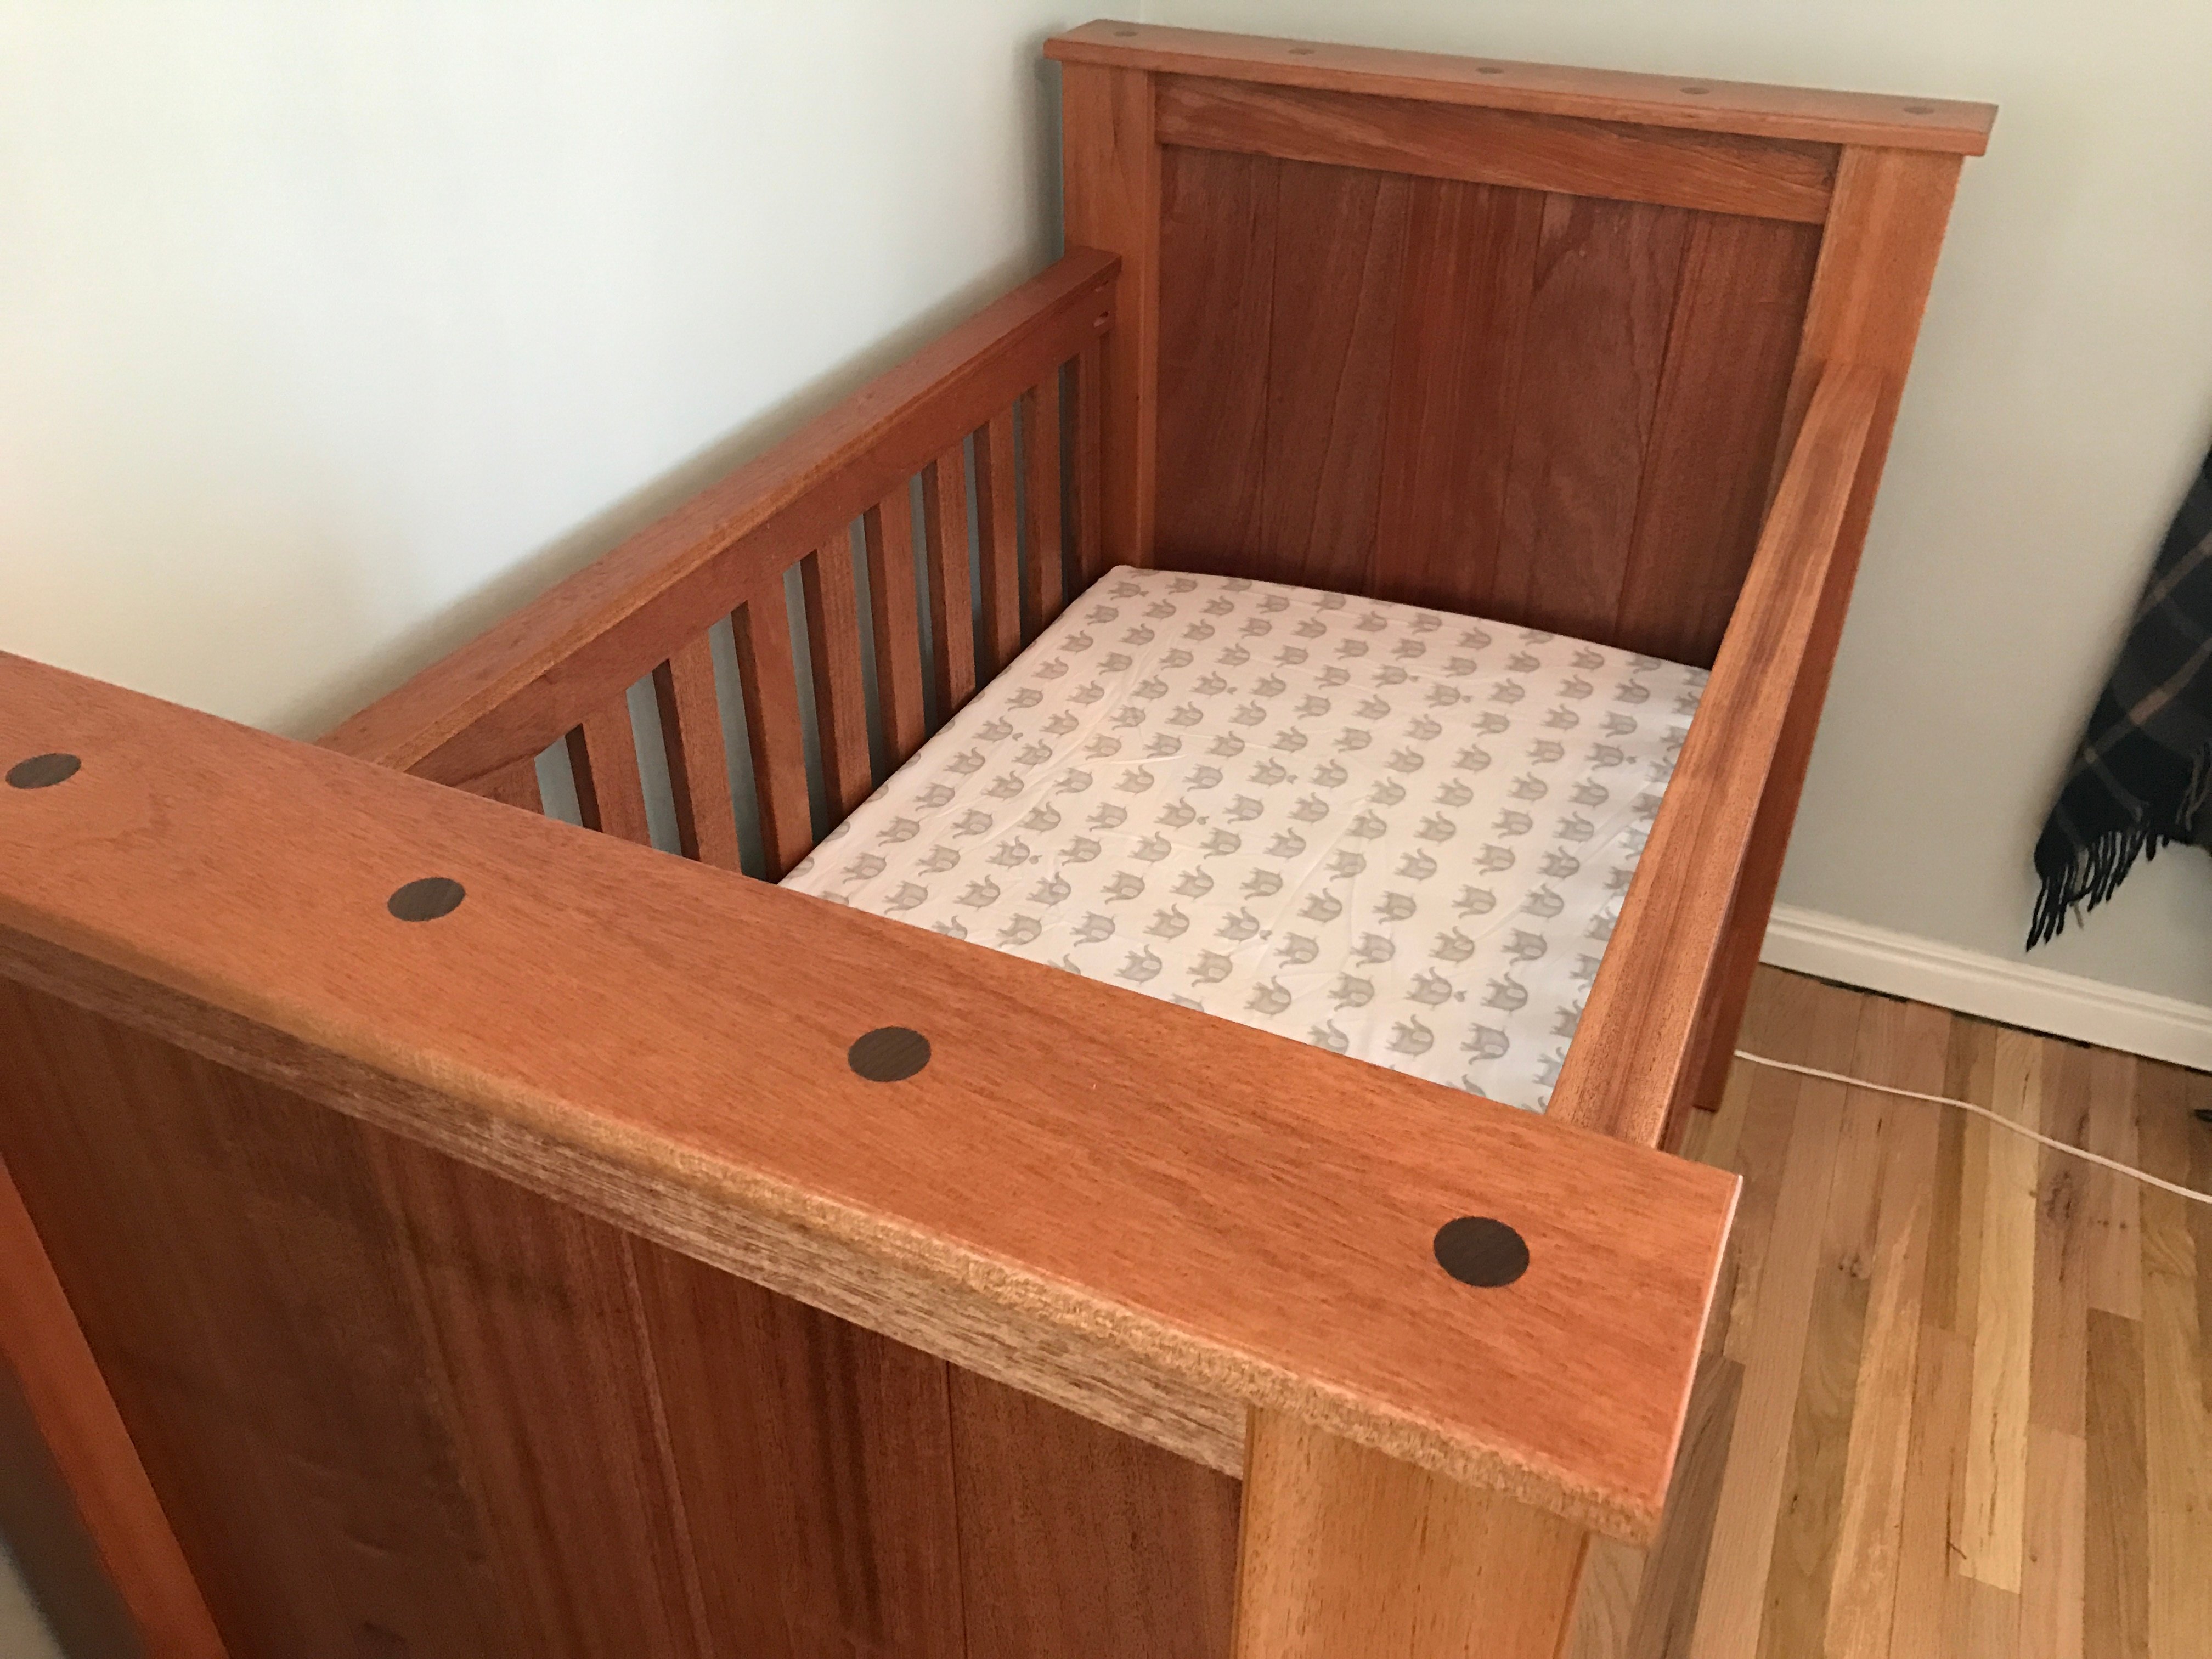
Mahogany Farmhouse Crib
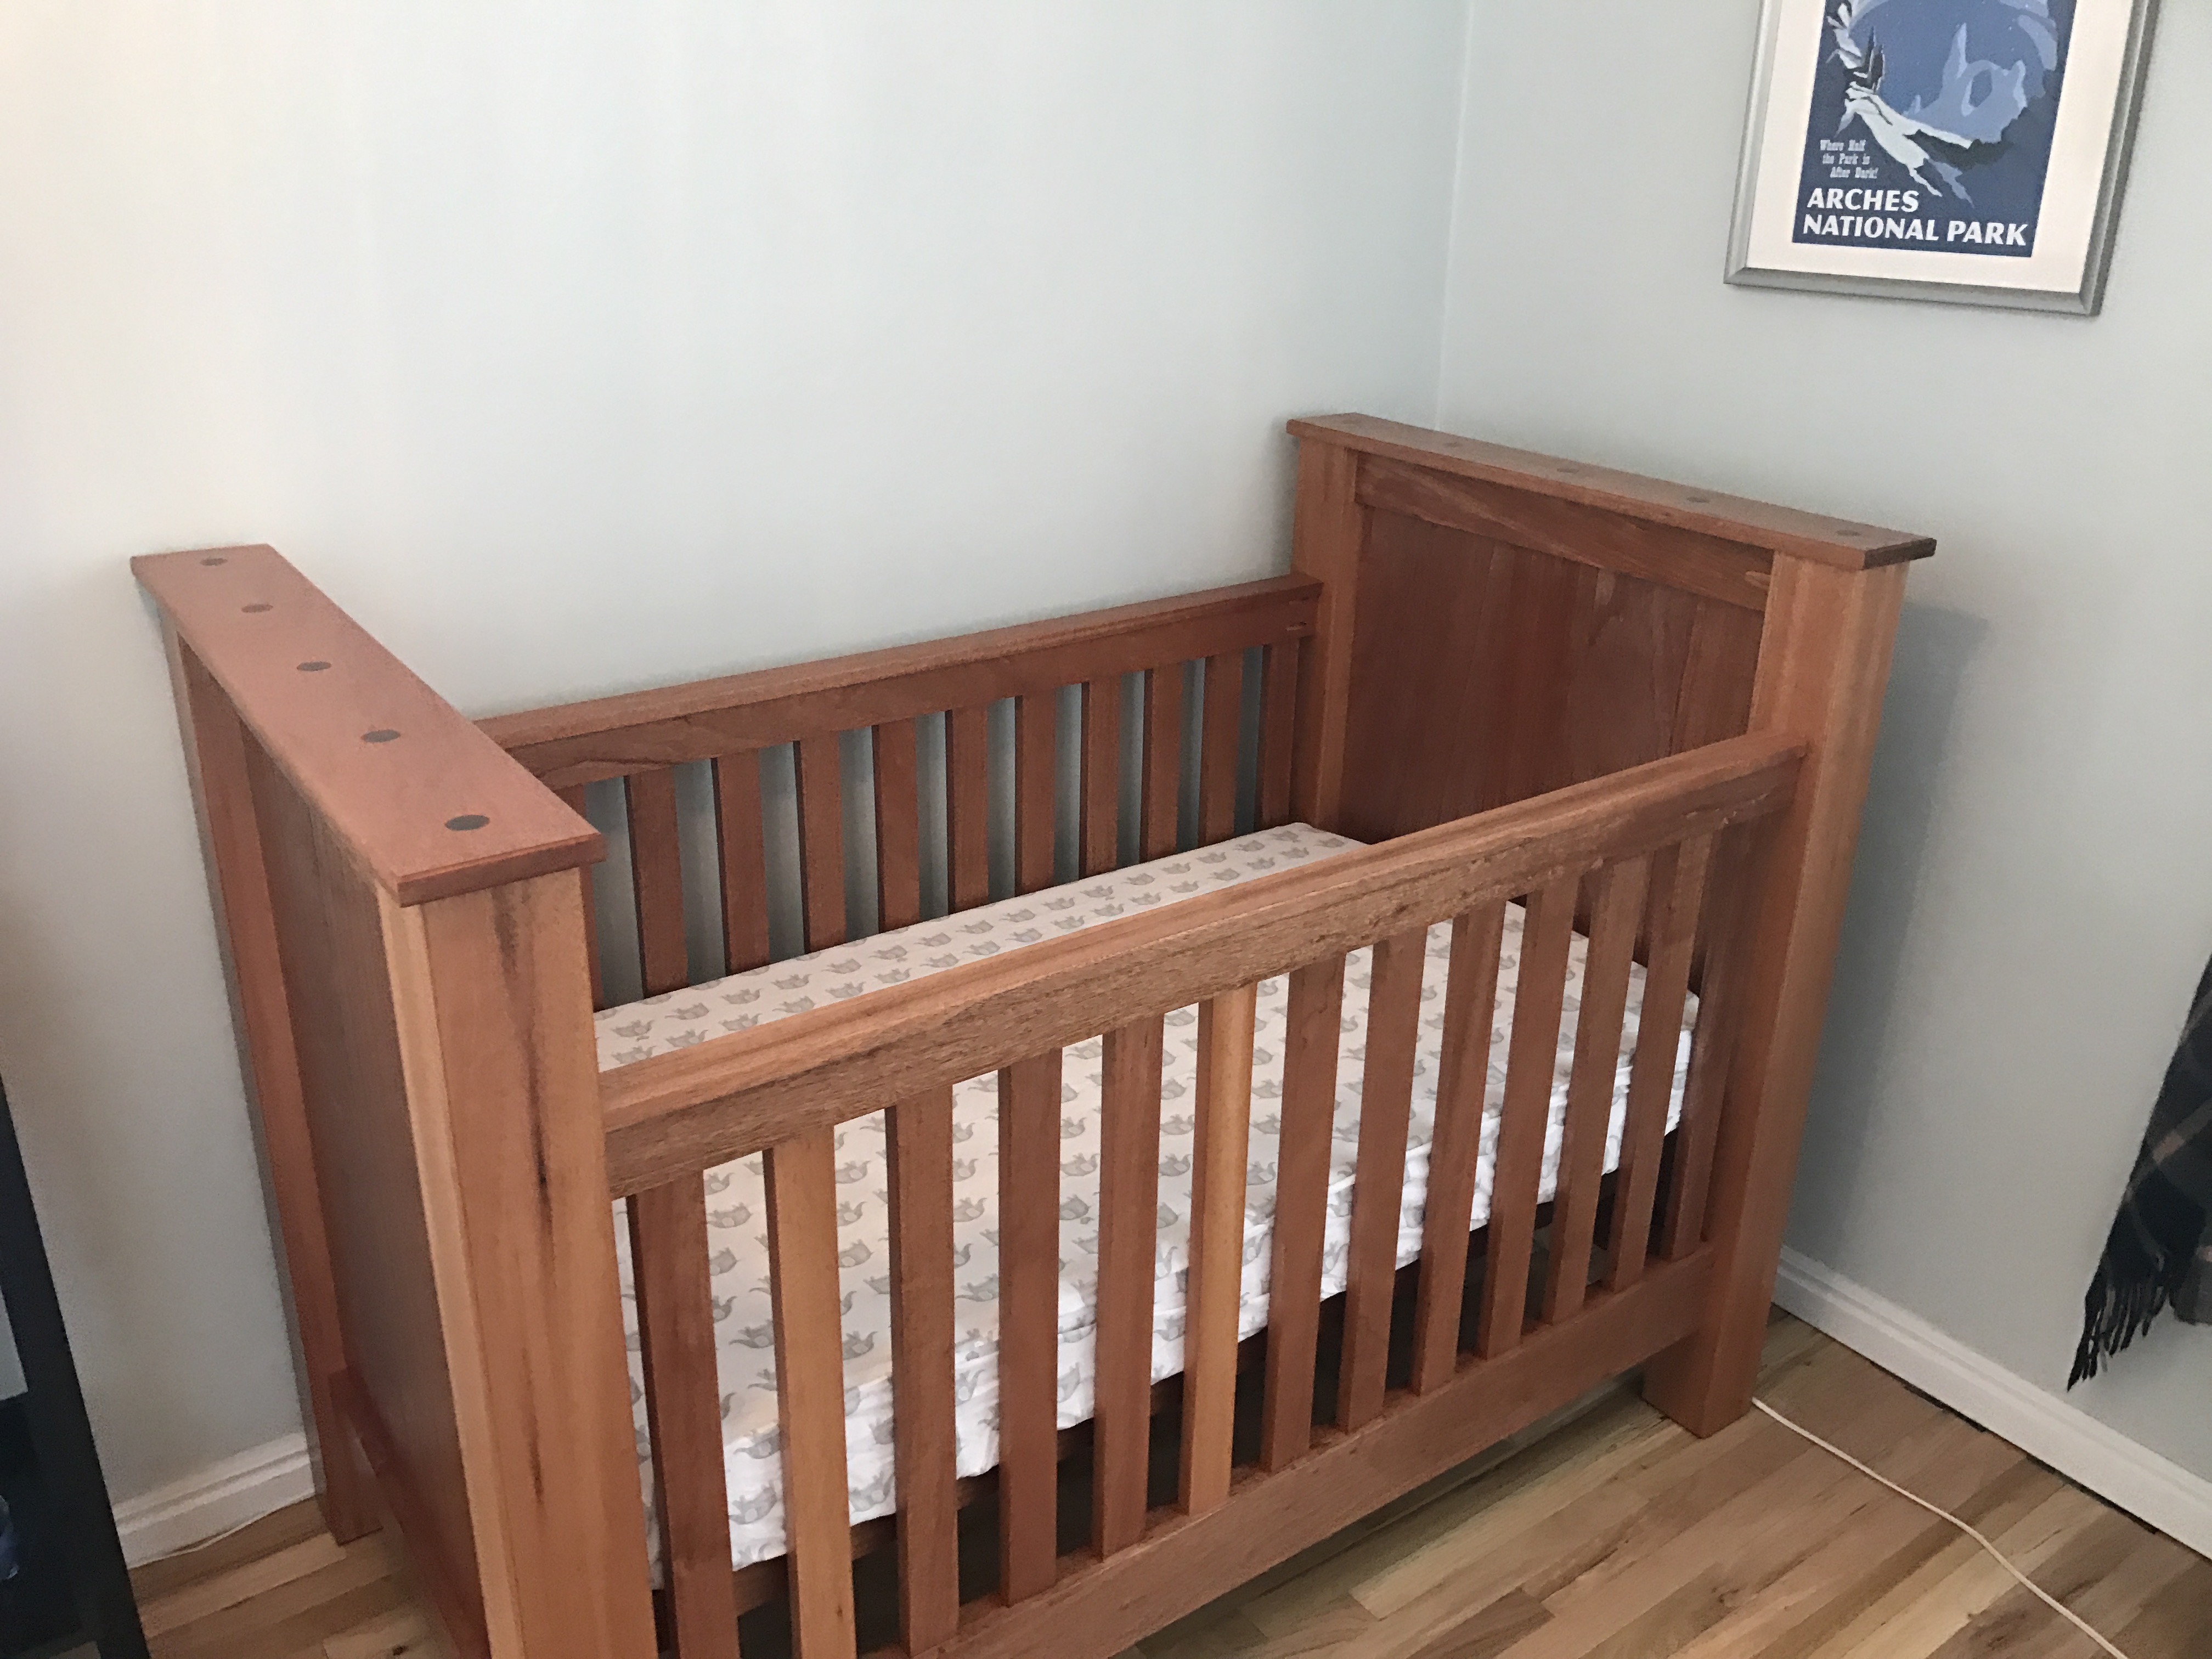
Tools you basic design, made some changes to how the sides were built. I also used Mahogany.
Built from Plan(s)
Estimated Time Investment
Week Long Project (20 Hours or More)
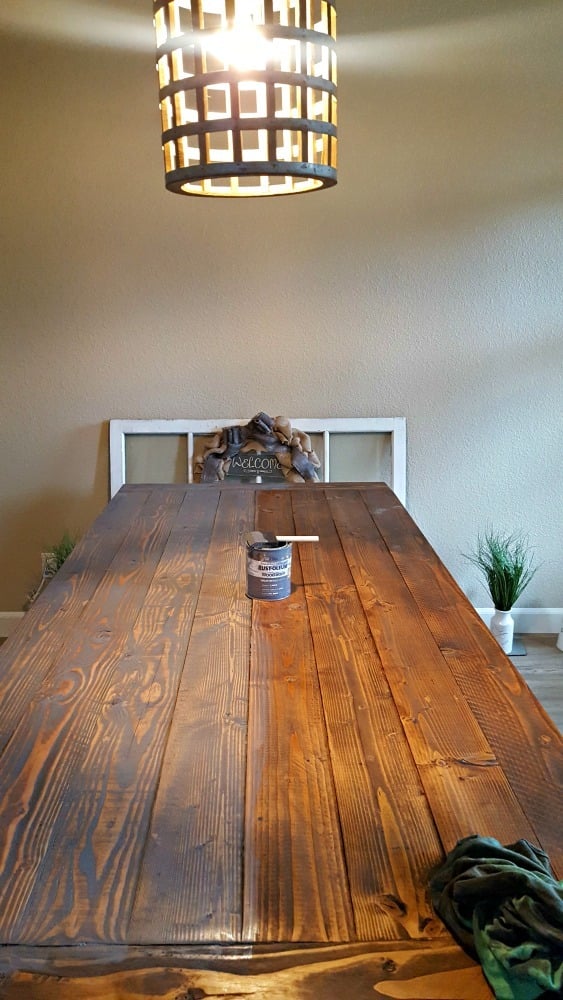
Finish Used
Laquer
Recommended Skill Level
Intermediate