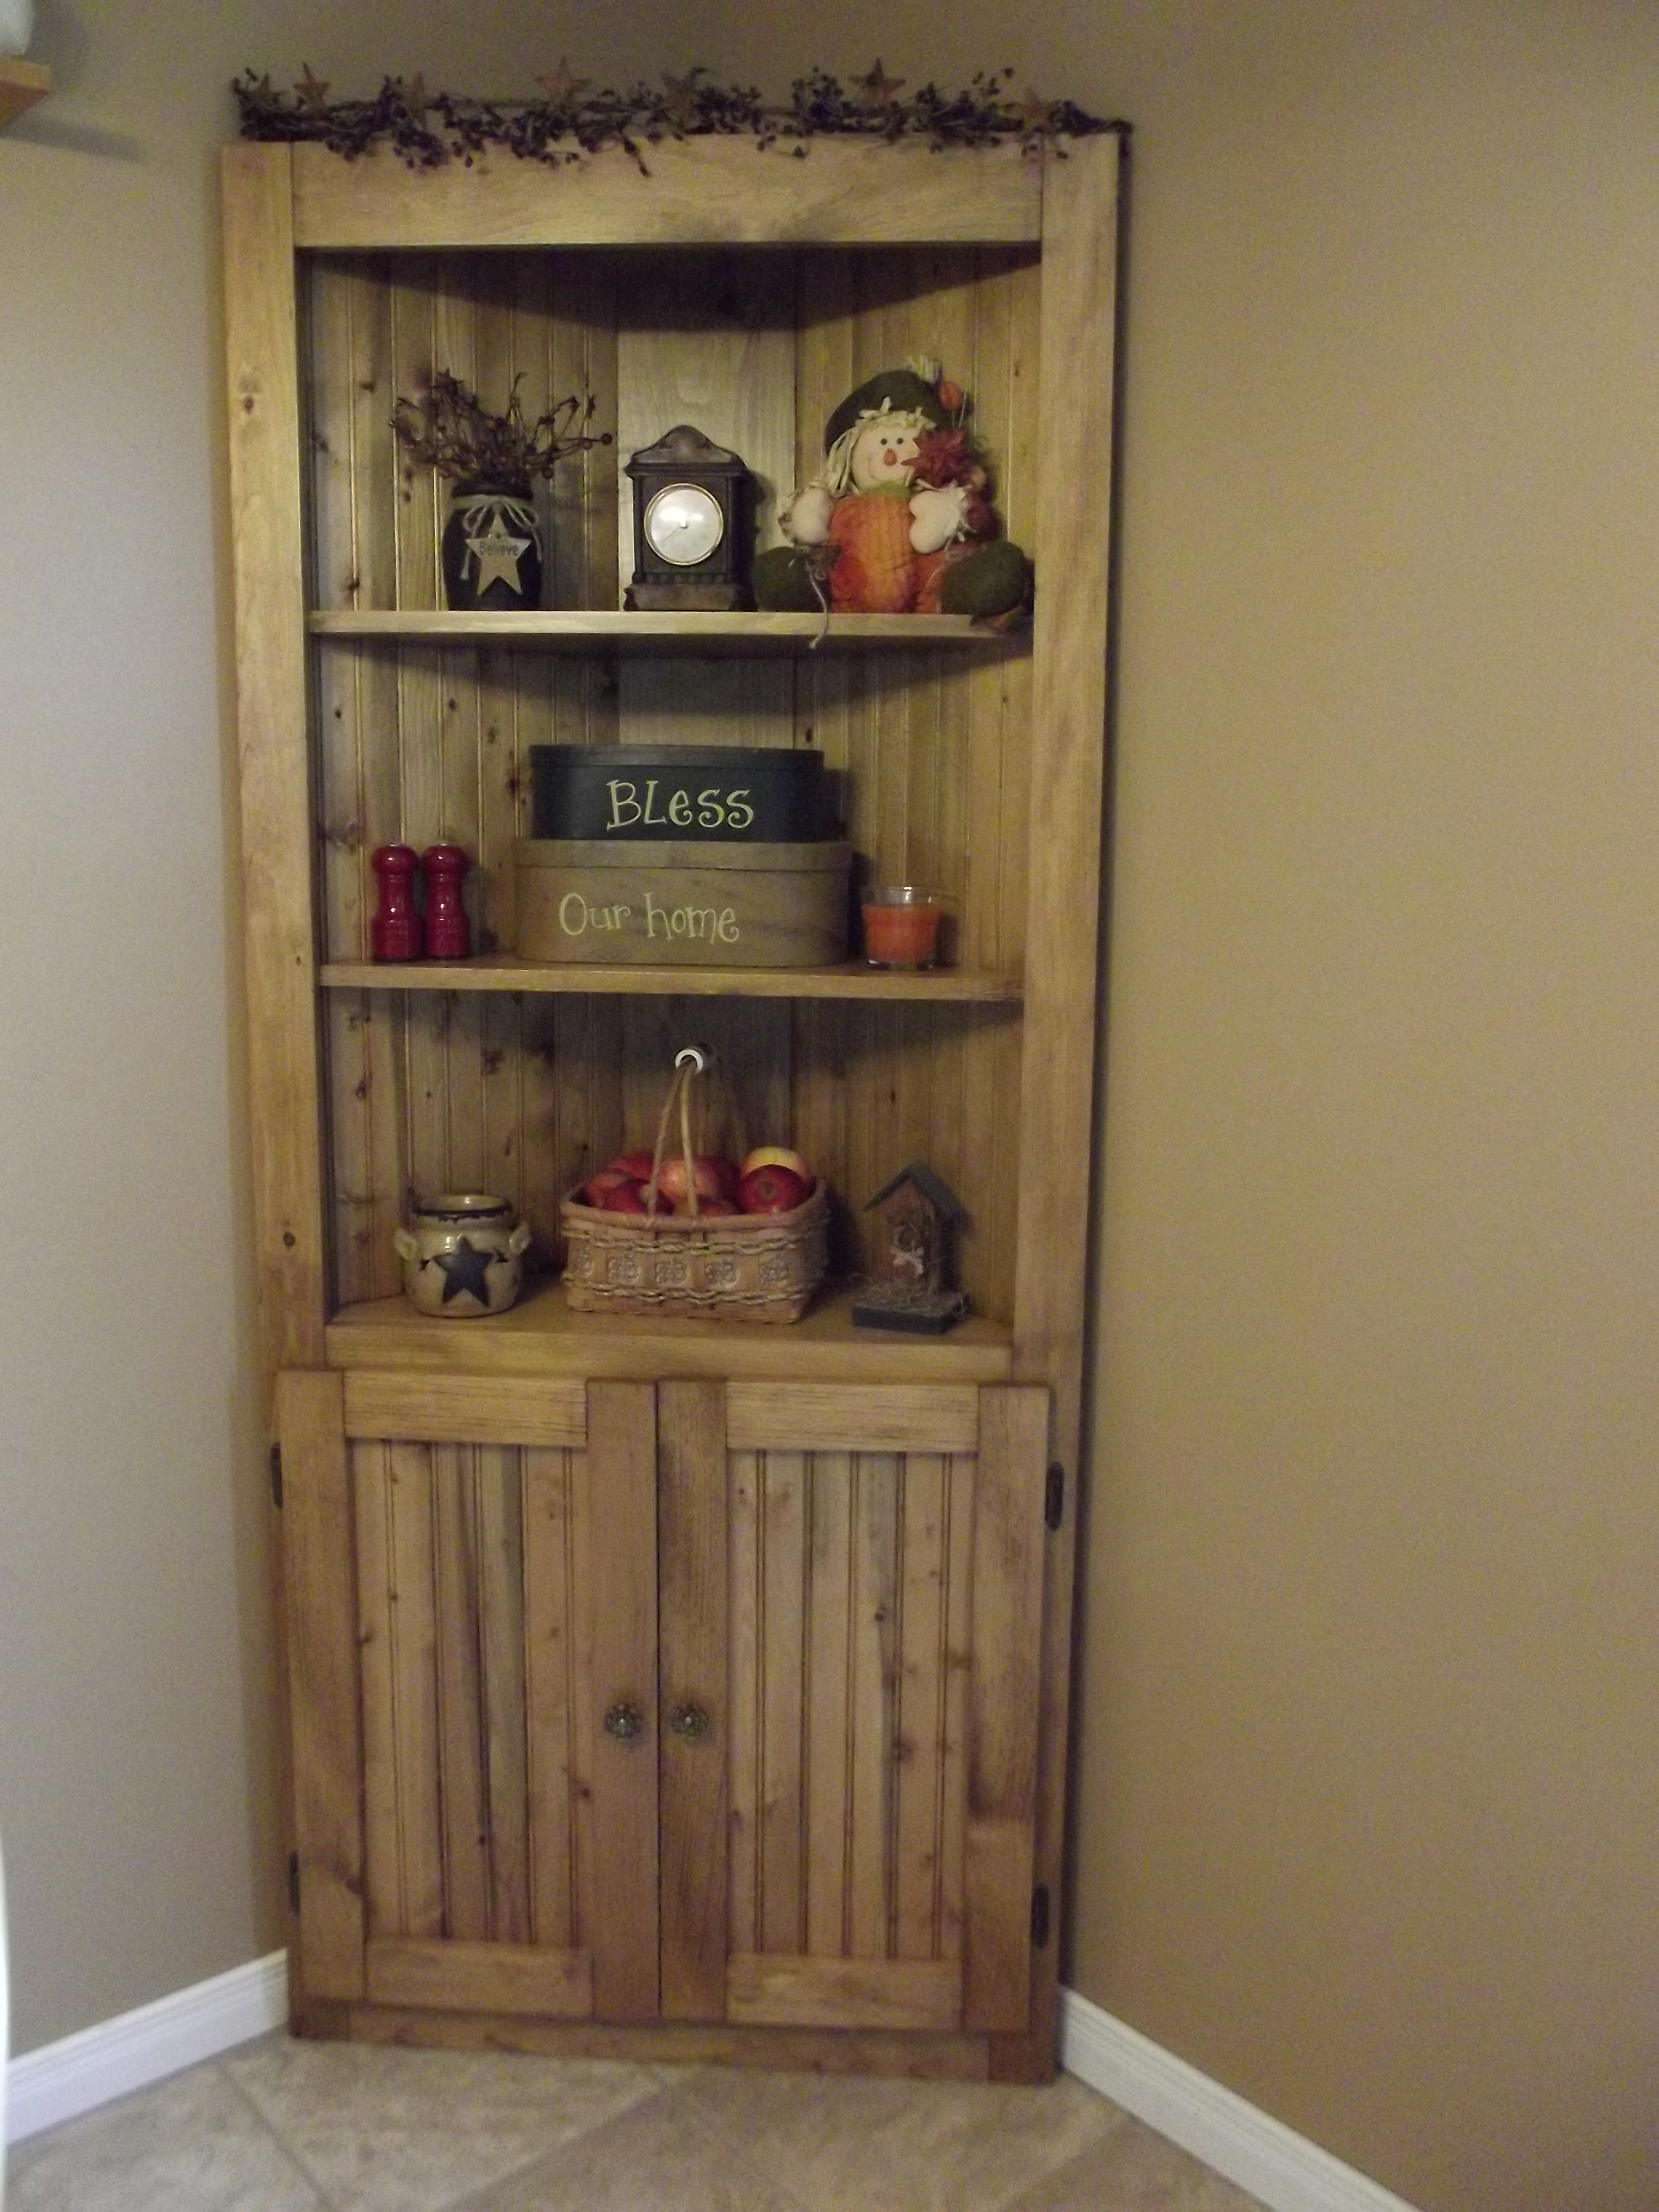
Community Brag Posts

Wooden Star

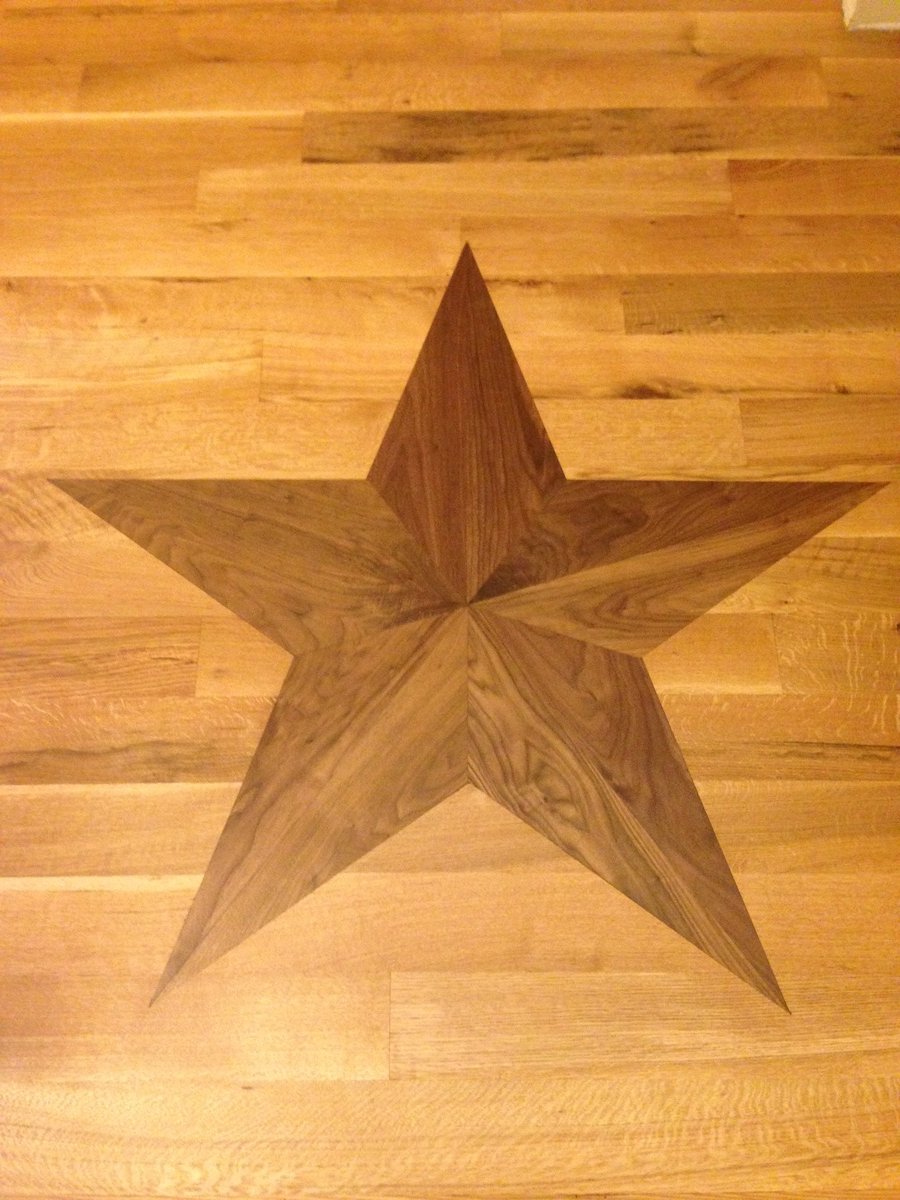
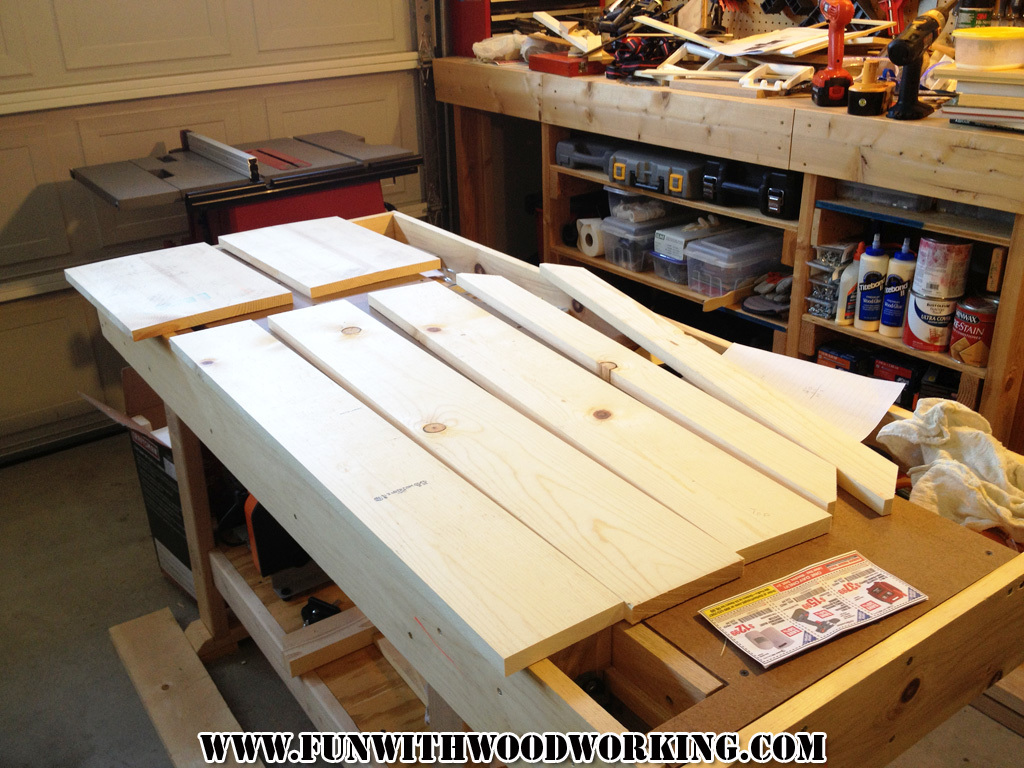
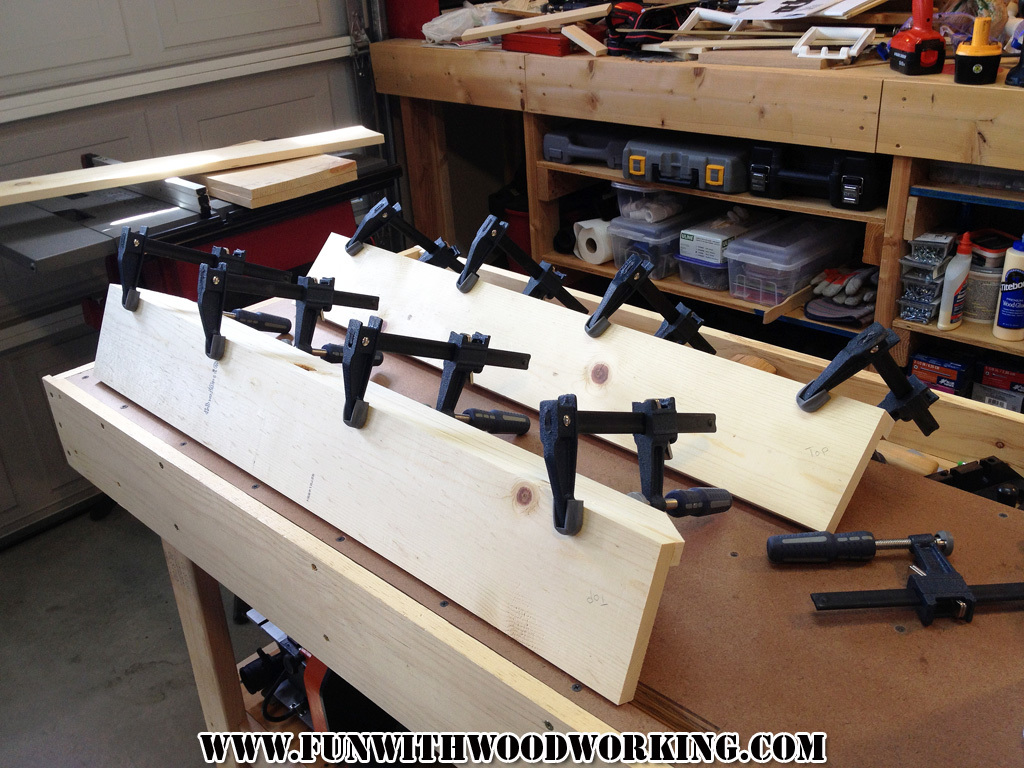
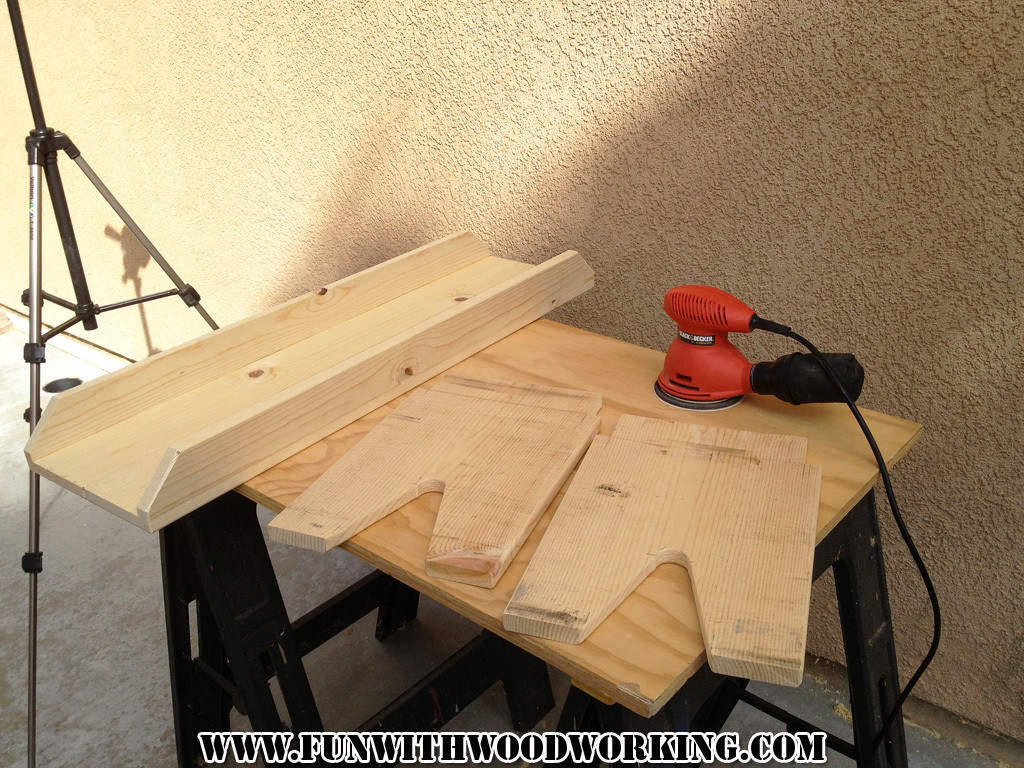
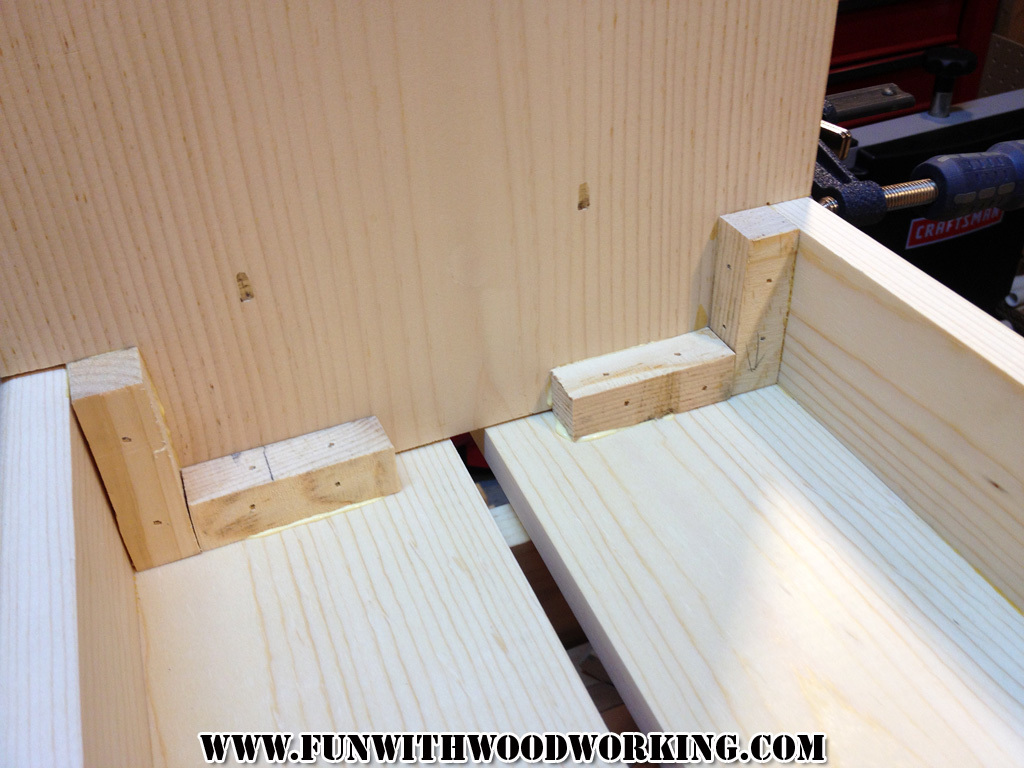
Used a compass to make my star as I wanted the points to be a little taller. 10 pieces of 8" walnut was used. And I used a table saw sled to cut the pieces. 

Built from Plan(s)
Estimated Time Investment
Afternoon Project (3-6 Hours)
Finish Used
Pallmann Magic Oil
Recommended Skill Level
Intermediate

Added some trim and everyone thinks it cost $1000

First piece of furniture every built. I added some quarter round and 1x4 blocks. Finished with a grey stain and paste wax. Everyone asks me is where did I buy it and how did I afford it.

Estimated Cost
$250
Estimated Time Investment
Weekend Project (10-20 Hours)
Finish Used
Minwax classic grey and Johnsons paste wax
Recommended Skill Level
Starter Project

Hockey Drying Rack

Submitted by Anonymous (not verified) on Tue, 09/27/2022 - 17:35

Love it so much! It holds every single piece of my husbands gear, and he finally keeps it all in the garage instead of dispersed on the ground around his office (gag). I’m currently making a vinyl sticker with his name and number to put on the front bottom piece! Thank you, Ana!

Built from Plan(s)

Comments

my IKEA knock-off Expedit 4-cube bookcase

Submitted by cbrowan on Sun, 08/21/2011 - 11:40

I had been eying the IKEA Expedit 4-cube bookcase and figured I could build it for cheaper and have lots of leftover plywood for some other projects. I was right!

Estimated Cost
$40 (but left enough wood to build a console table and flat bookcases)
Estimated Time Investment
Day Project (6-9 Hours)
Finish Used
2 coats of Valspar chocolate brown, eggshell
1 coat of Minwax Polyurethane, satin
Recommended Skill Level
Intermediate

Corner Cupboard

Submitted by REASMOM on Thu, 09/12/2013 - 11:54

I've been looking for a corner unit for my kitchen for a couple of years, but couldn't find anything that I liked that fit my budget. This corner cupboard was exactly what I've been looking for. My husband and I built this together and I've definately discovered a new hobby!

Built from Plan(s)
Estimated Cost
$140
Estimated Time Investment
Weekend Project (10-20 Hours)
Finish Used
Minwax Stain in Early American and 3 coats of Minwax Water Based Oil-Modified Polyurethane (Satin).
Recommended Skill Level
Intermediate

Comments

REASMOM

Tue, 09/17/2013 - 06:40

Thank you for choosing my corner cupboard as your featured brag post! I was so excited to see it on your facebook page last night :) I enjoy this website so much and can't thank you enough for sharing all these free and easy to follow plans! I love that reader's can share their builds and give tips and advice! Thank you for inspiring me to be creative!

Poplar toy chest

Submitted by Anonymous (not verified) on Sat, 01/05/2019 - 17:17

Toy chest for our daughter.

Built from Plan(s)
Finish Used
Walnut
Recommended Skill Level
Intermediate

Comments

Large Porch Bench with X backs

Submitted by Anonymous (not verified) on Wed, 10/05/2022 - 16:39

I have built 2 of the large porch bench with X backs - one was all black and the other stained & painted. The only thing I had trouble with was the X backs - but that was with me, not the plans. Lots of compliments on both of them!

Comments

Farmhouse Bench - fox.and.hammer

Submitted by tfox on Tue, 08/23/2011 - 11:27

I made a few changes to the Farmhouse Bench plans as I wanted to match the design of the table. Most notably, I lengthened the seat boards to replace the breadboard end caps. This made my total length 67″, the perfect size to fit under the table if needed. The width was changed to 15″ and the height remained 18″.

Estimated Cost
$100
Estimated Time Investment
Weekend Project (10-20 Hours)
Finish Used
Minwax Special Walnut stain with Minwax Wipe-On Poly finish.
Recommended Skill Level
Intermediate

Comments

suze (not verified)

Sun, 08/28/2011 - 11:05

loving your finish! Did you not use a pre-stain conditioner?

My creation

I've built 6 of these so far. They are fun to build. The # 1 request is for one that is bigger so I'm working on that next. A couple of things I changed iS the dowel rod from 1/2" to 7/8" and the body I thought wasn't rigid enough being cut from 1"x 10"x 10' and there wasn't sufficient room for screws and glue so I'm now using 2"x10"x10" it's working a lot better and is a lot more sturdy and easier to assemble. Another thing I have done is once assembled the the plans is I transcribed them to rigid cardboard so can use them over and over cuts the time down considerably. I'll post more pictures soon. I have named mine Lil' Moto

Built from Plan(s)
Estimated Cost
$12
Estimated Time Investment
Week Long Project (20 Hours or More)
Finish Used
I don't have a set plan for painting or a specialized finish. I just use what I have on hand or goto my local habitat for humanity repurpose store and pick up paint and stain for next to nothing. Also if you want a specialized color just go to Lowe's or Home Depot and pick out the cold you are looking for and just get sample jar for a couple of bucks it's enough to paint the whole ( at least it has been for me)
Recommended Skill Level
Beginner

Comments

X coffee table

Submitted by Anonymous (not verified) on Tue, 01/08/2019 - 18:13

Ran on the wood through planer to get rid of that rounded edge stud look on the wood. Fun little project.

Estimated Cost
$55
Estimated Time Investment
Afternoon Project (3-6 Hours)
Finish Used
Behr white veil base with gray paint brushed to distress on base. Miniwax jacobean with semi gloss waterbase on top
Recommended Skill Level
Intermediate

Coffee Table

Submitted by ccobb1612 on Mon, 10/17/2022 - 15:26

Fun weekend project with @kendrickcobb with our next #diyproject from #anawhitediy @anawhitediy . Precut the wood to do the project at sons home but sadly side X piece wasn’t right length and we also took 10 inches off the length to make 42 inches in order to fit perfectly. We added some decorative corner hardware from Lowe’s and two coats of antique walnut stain.

Comments

Step Stool

Submitted by stcarroll on Fri, 08/26/2011 - 10:25

I fell in love with Ana's plan for this vintage step stool. I made three, but one has already gone to a new home (my sister's house). I used all scraps, I didn't have 1x8 for the treads, so I slatted two 1x4s. Then behind my husbands pile of scrap wood in the shop I found two planks of 1x8 oak!!!! I made the second two stools with the oak for the tread, but didn't want to cover it with paint, so I stained the top treads. This also was my first build using a kreg jig, I borrowed my sister's 'kreg jig jr.' It made the assembly so simple and quick! These have been so nice to have around the house for the kids washing and brushing and helping in the kitchen!

Built from Plan(s)
Estimated Cost
Free!!!!
Estimated Time Investment
An Hour or Two (0-2 Hours)
Finish Used
Minwax polyshades 'antique chestnut' on the all doug-fir-slatted stool. And minwax 'ebony' on the oak-tread with a mix of left over paint on the bottom. Then I sanded the paint to distress and used the ebony stain over the paint. I put several coats of poly on both of them because they will be used in the bathrooms during potty training and I wanted them to be sealed well so they don't soak-in any spills or mishaps!
Recommended Skill Level
Starter Project

Comments

5 Board Bench

Submitted by truckrun on Tue, 09/17/2013 - 20:50

I was looking for a plan for a 5 board bench so naturally I came to your site. I made your basic design but made it a little bit smaller in all dimensions and I put a half inch split down the middle of the top. I built it out of pine and painted it flat black. I gave the legs and underneath 3 coats of satin polyurethane and the top and sides received 5.

You can follow the build on my blog at :
http://funwithwoodworkingtoo.blogspot.com/2013/09/project-how-to-build-…

You can also watch a video of the build on my YouTube page at:
http://youtu.be/1_hz2n7v9ss

Thanks for the free plans!

Estimated Time Investment
Day Project (6-9 Hours)
Finish Used
MINWAX water based satin polyurethane
Recommended Skill Level
Beginner

First project ever...and preparing for more

Submitted by Rentzm on Wed, 10/26/2022 - 18:45

For my first building project ever, I chose to tackle the Easy DIY Workbench. I am so thankful to Ana for putting together clear directions to walk users through every step of the process.

I added casters to the bottom of my cart. And since this photo, I've also mounted a power strip to the inside of one leg. This allows me to run an extension cord to the table and have multiple items plugged in.

I'm finding it's a great multi-use table. I use it for woodworking, grooming my dog, and stacking camping gear before heading out for a trip. I love this table!

Comments

Rustic Bench

Submitted by mom of 4 on Thu, 09/19/2013 - 21:53

I wanted a simple bench for my yard during the summer. This was a fun, simple build with a little bit of extra style. I used a fence picket for the seat and added a center support underneath, since it was a bit bendy. Sanded the top really well before finishing. Built with Kreg jig.

Built from Plan(s)
Estimated Cost
$20
Estimated Time Investment
Afternoon Project (3-6 Hours)
Finish Used
The finish takes way more time than the building. Sanded first with 60, then 150 grit paper. One coat water-based primer, two coats white Behr enamel, two coats clear spray-on lacquer.
Recommended Skill Level
Beginner

Kids table and chairs

Great little project. Finished just in time for Thanksgiving.

Andy

Estimated Cost
50
Estimated Time Investment
Day Project (6-9 Hours)
Finish Used
Mirrowax, polyurethane semi gloss
Recommended Skill Level
Beginner

Comments

JoanneS

Thu, 11/26/2015 - 07:14

You did a super job!  These are absolutely adorable!  Happy Thanksgiving!

Cedar Slat Top Bench

Submitted by Anonymous (not verified) on Tue, 01/15/2019 - 21:48

I really enjoy making this bench. I build them out of cedar and vary from 4’-6’. My customers love them. Simple prep work consisting of planing all boards to same dimensions can save a lot of time in sanding. Building 3 more this week. 

Estimated Time Investment
An Hour or Two (0-2 Hours)
Recommended Skill Level
Beginner

Comments

Farm house bed king

Submitted by Anonymous (not verified) on Tue, 11/15/2022 - 20:28

Easy to follow plans. This was only my second woodworking project so any beginner can do it. Thank you, Anna!

Comments

Extra Tall Upholstered Bar Stool

Submitted by LinzFritz on Thu, 09/01/2011 - 21:26

My sister needed an extra tall stool for the bar her husband built, so I adjusted the Parson Chair plans to make them fit. I included the Sketchup model that I used in my blog post.

Estimated Time Investment
Weekend Project (10-20 Hours)
Finish Used
Varathane Stain
Recommended Skill Level
Beginner

Comments

moosmani

Mon, 10/29/2012 - 14:15

I love this! I want to make 3 just like this, after I get a little better at the wood-working stuff!

Sarah's Room

Submitted by scokenour on Sun, 09/22/2013 - 19:45

I actually made this bed for my daughter about a year ago, but recently finished a few other projects in my daughter's room, so I wanted to share. Bed is Ana's "Mom's Fancy Headboard" and end tables are Farmhouse Bedside Tables (modified) and then I made a dresser, loosely based on the Hudson dresser, but utilizing as many scraps and free wood as I could.

Finish Used
Paint and slightly distressed
Recommended Skill Level
Intermediate

Comments

spiceylg

Mon, 09/23/2013 - 08:23

Beautiful room. Lucky daughter. Really nice job on the builds!