Community Brag Posts

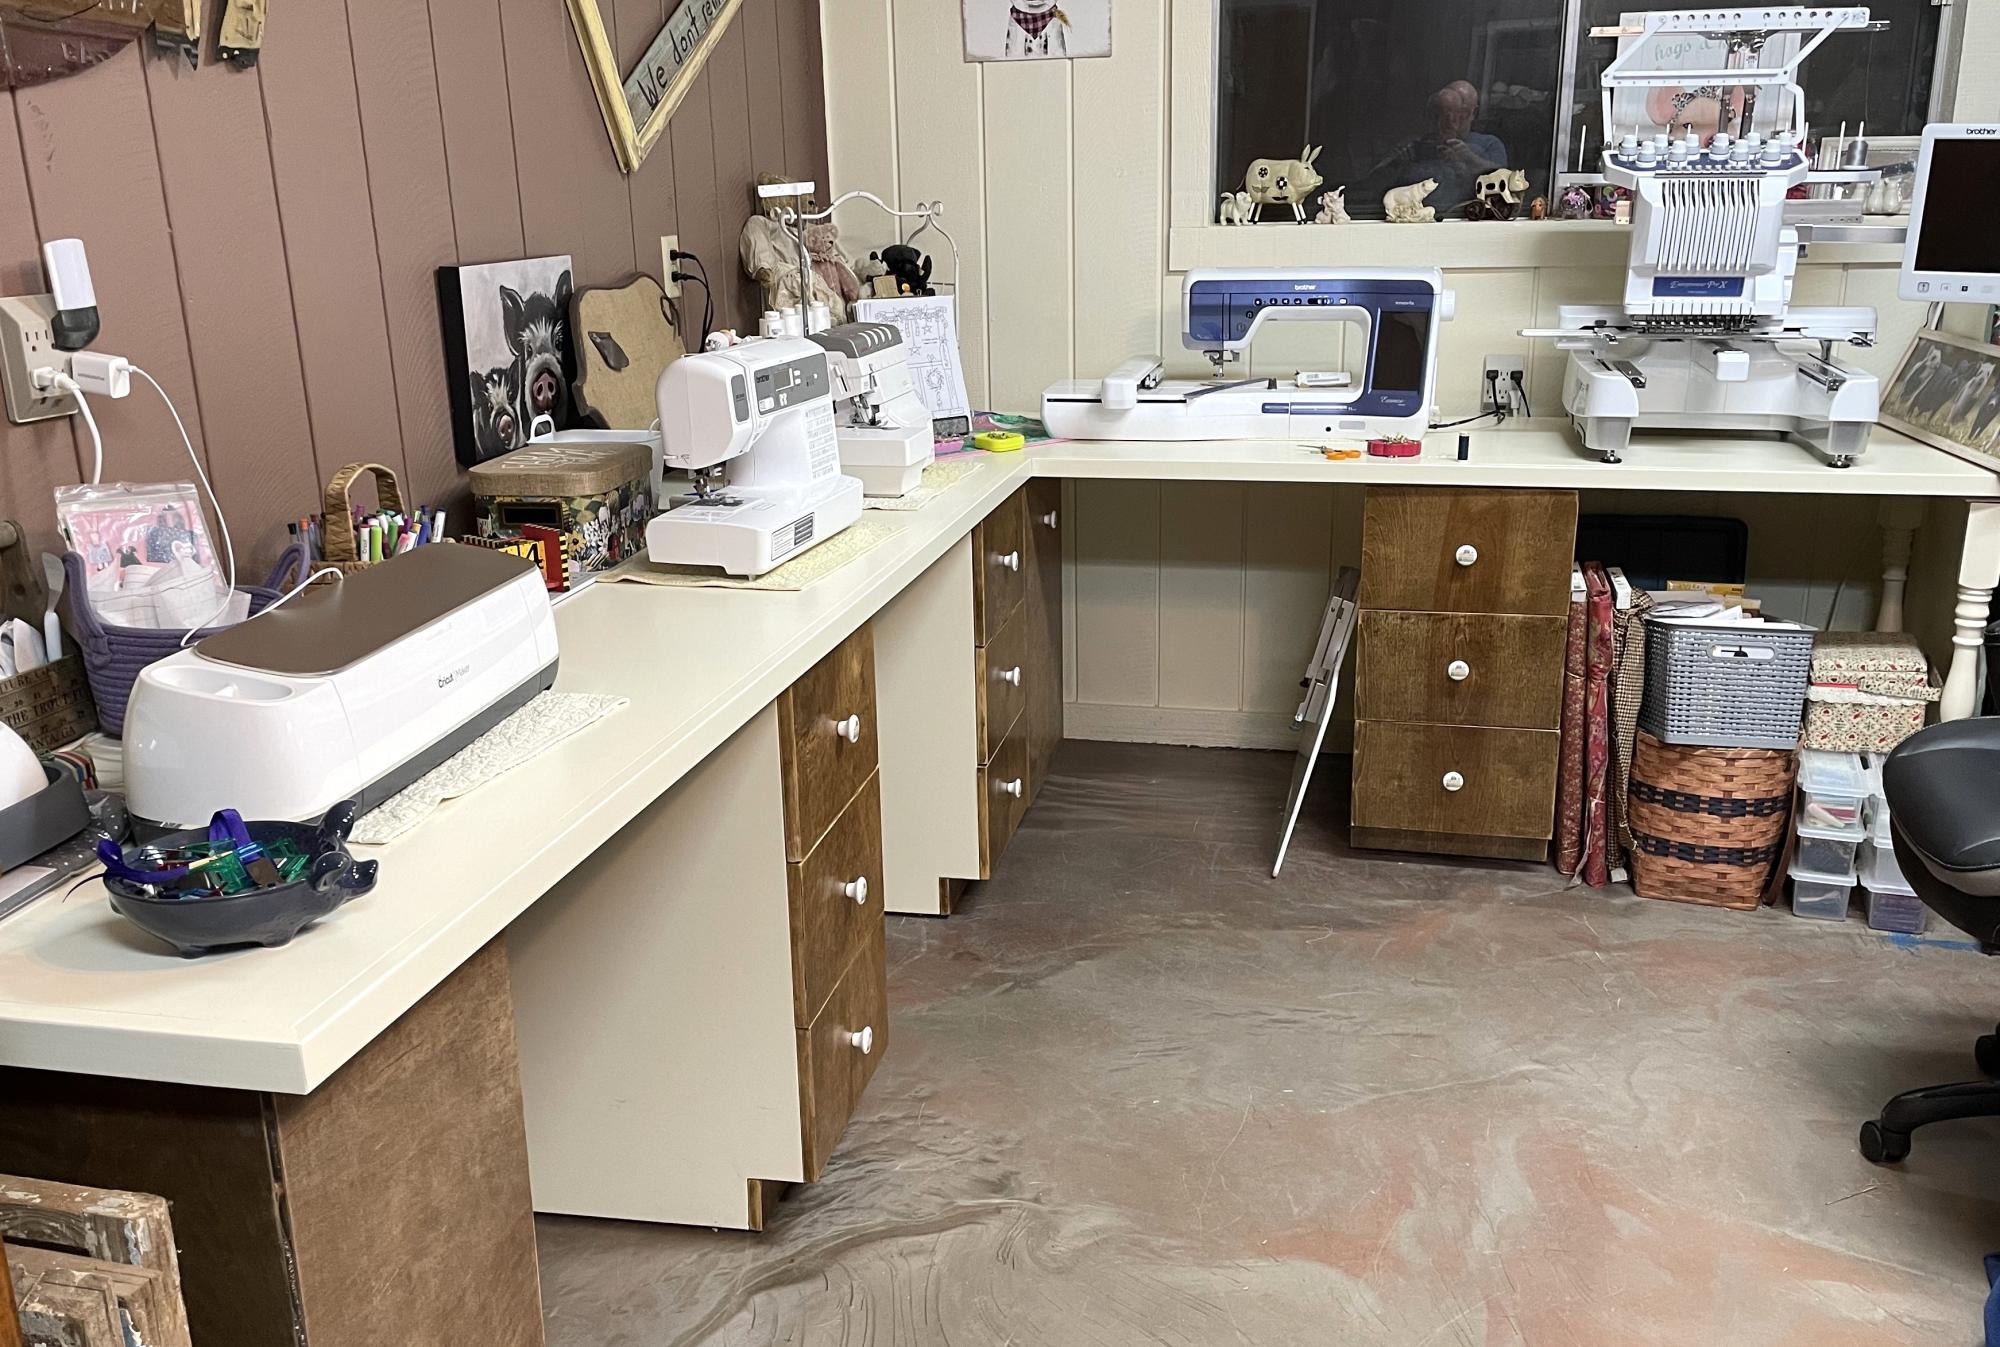
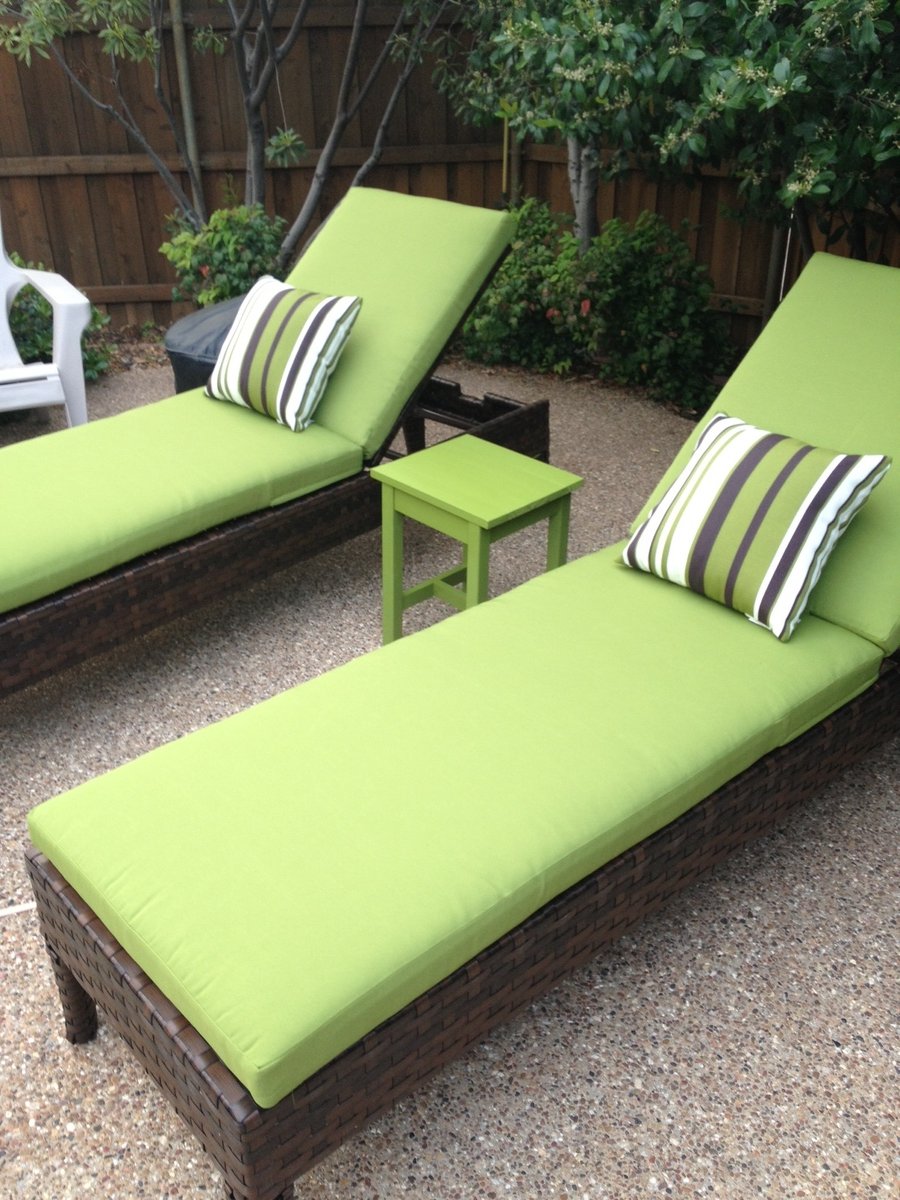
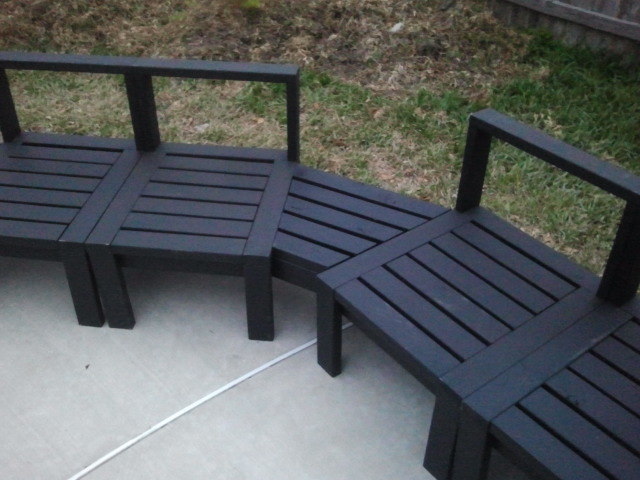
Semi circular sectional

Submitted by Anonymous (not verified) on Tue, 04/05/2016 - 12:34

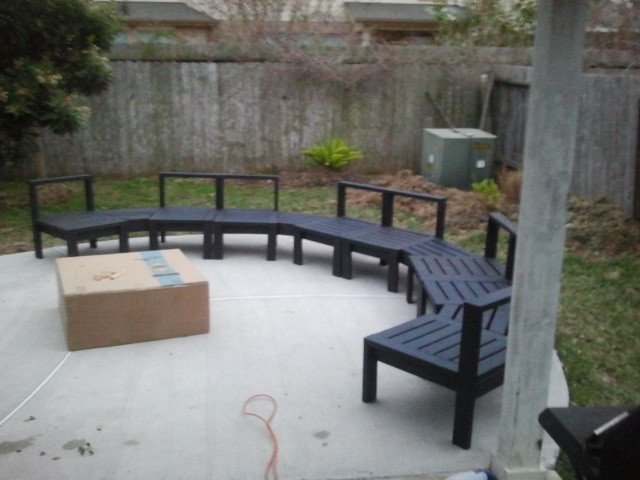
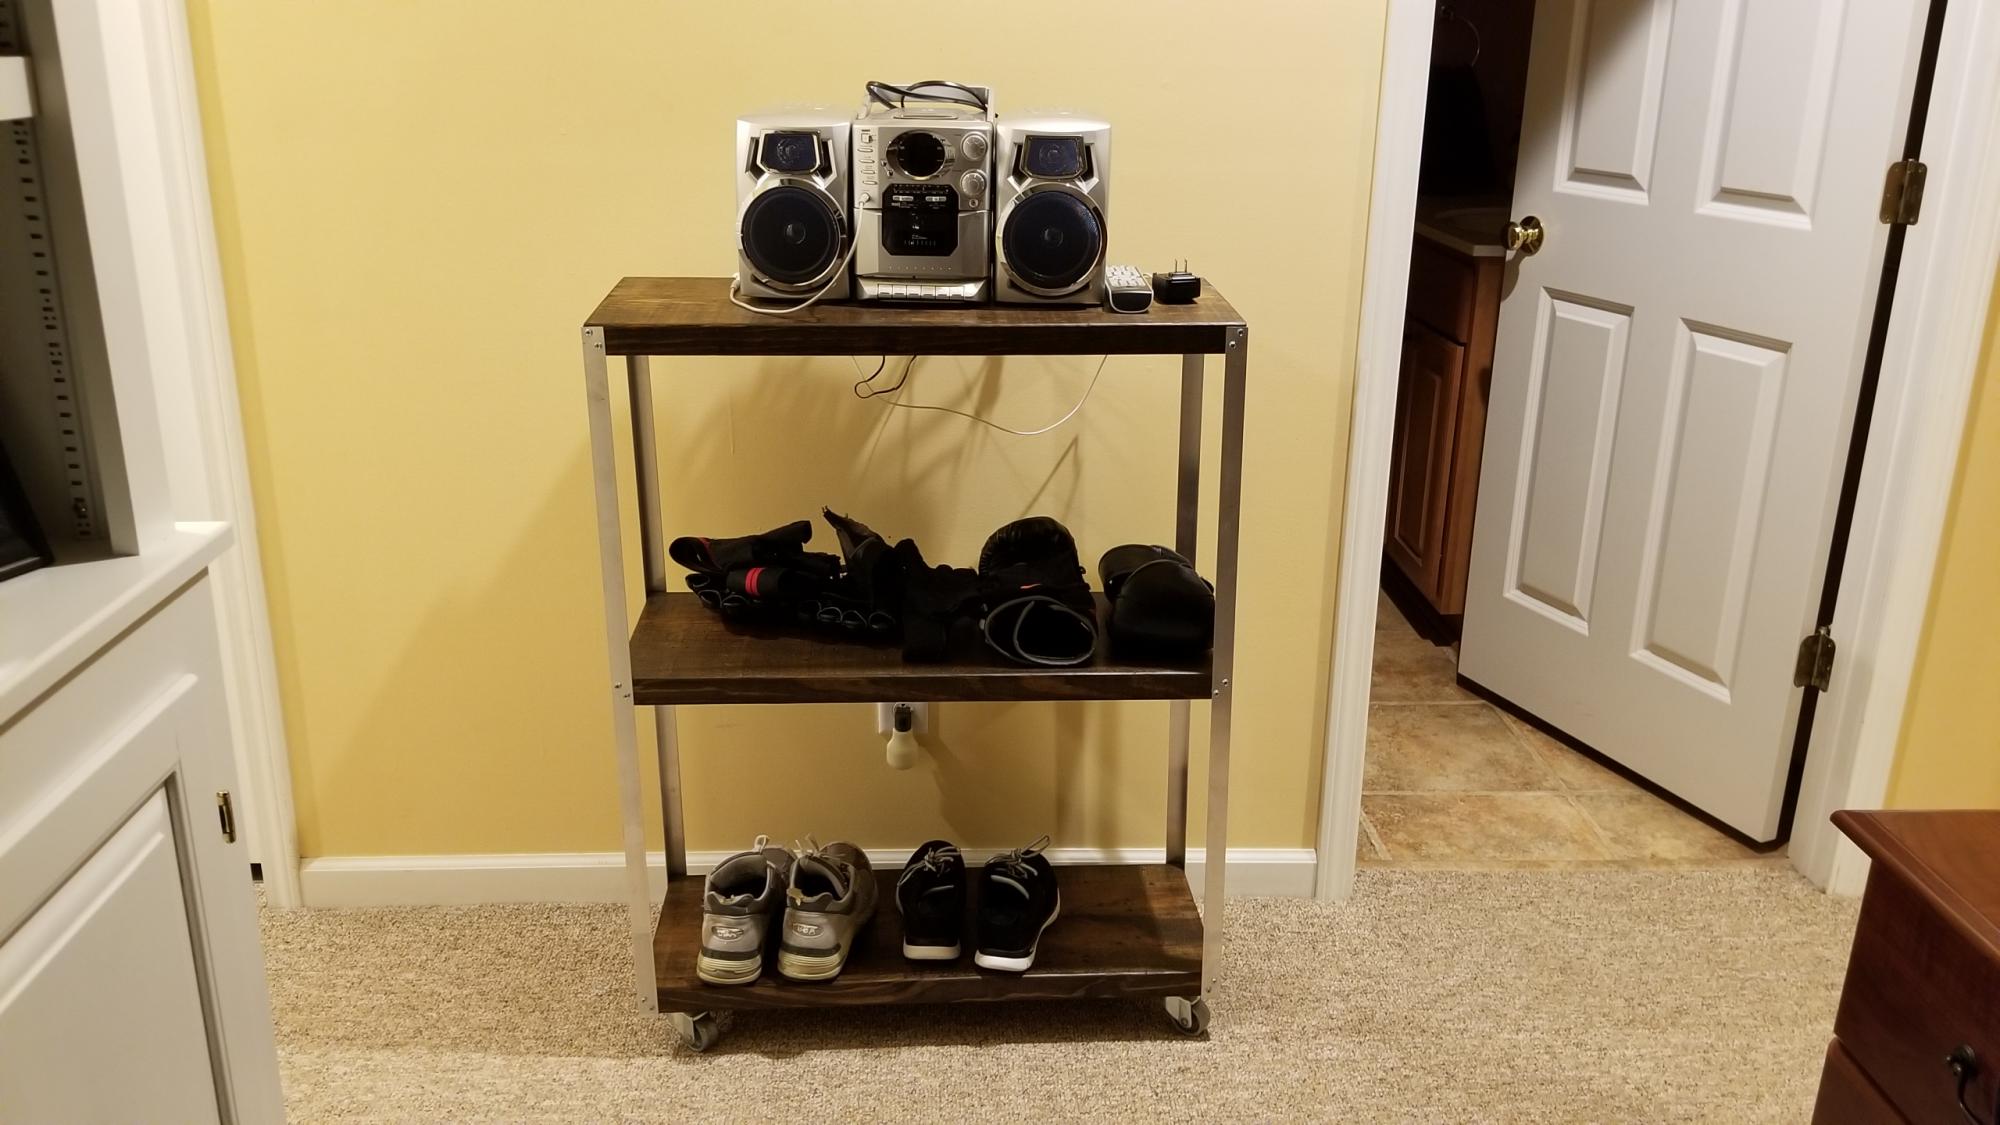
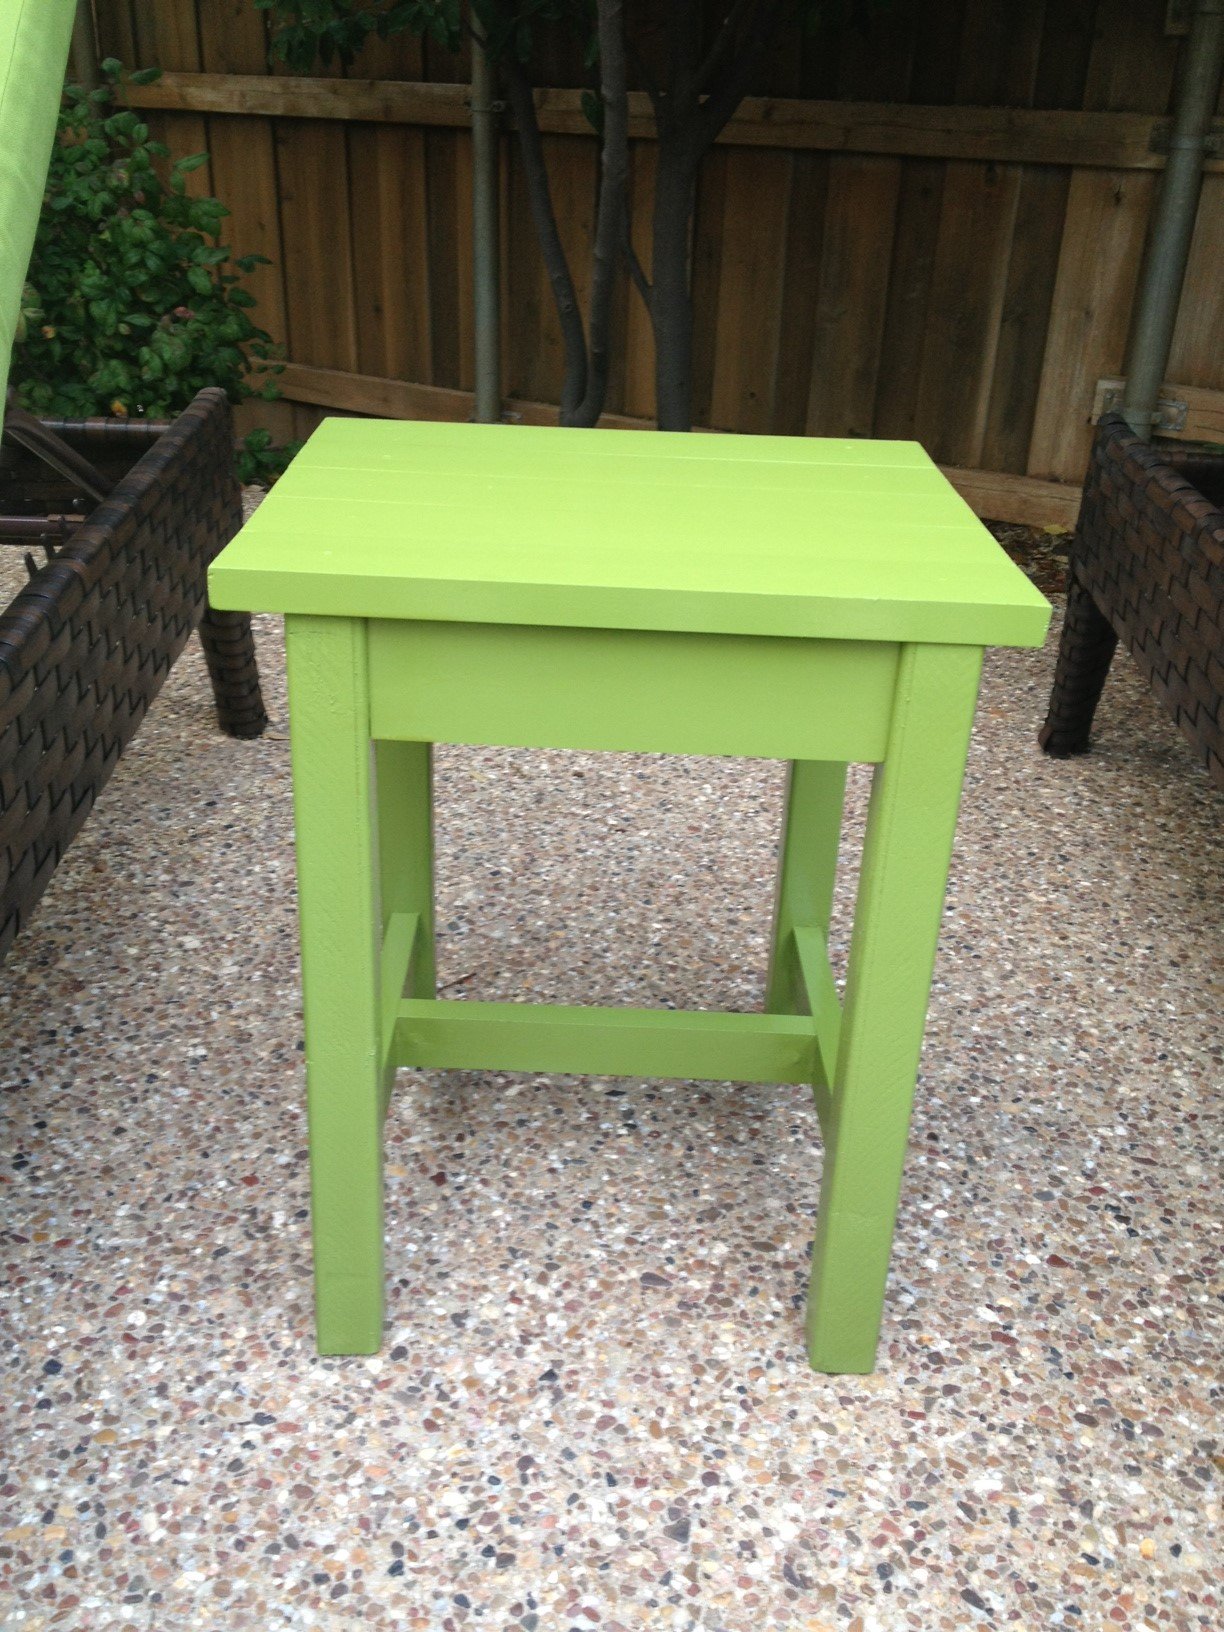
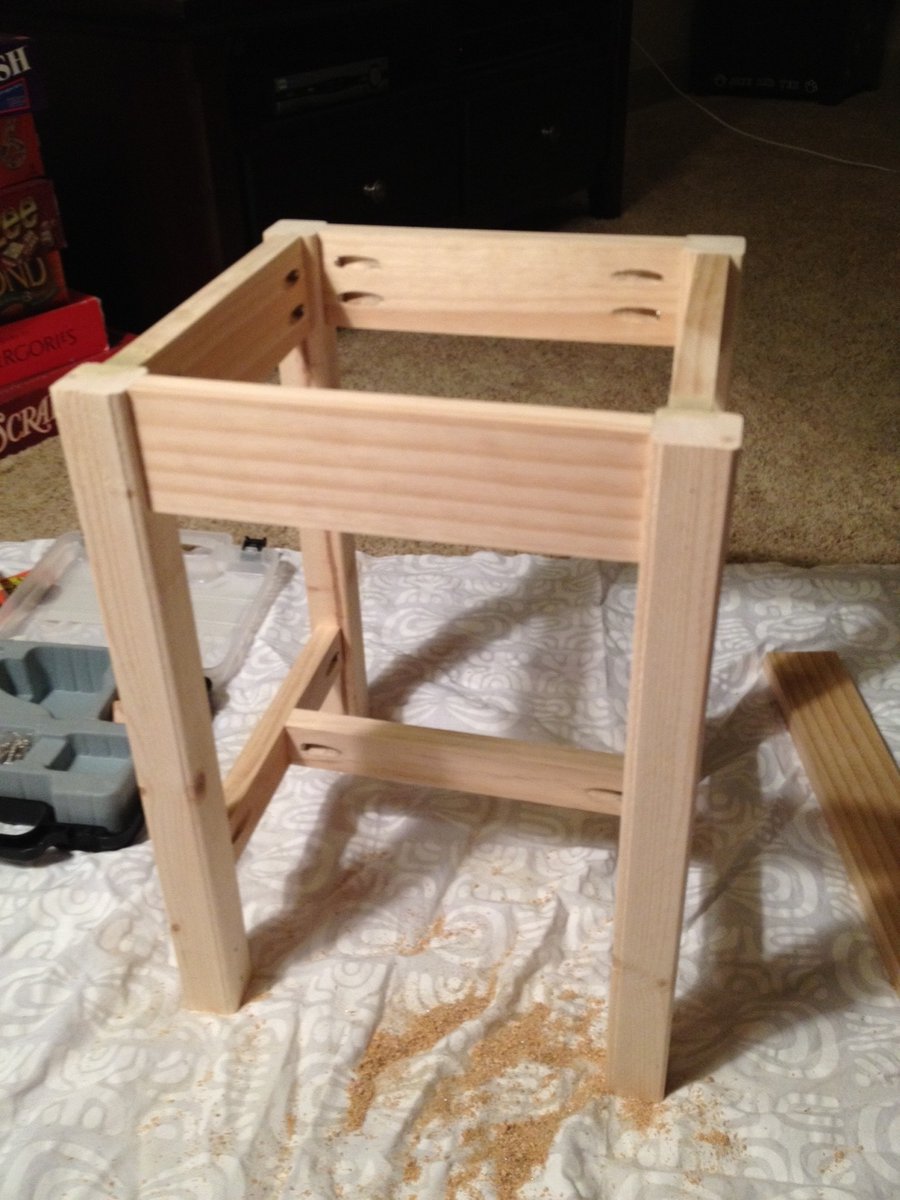
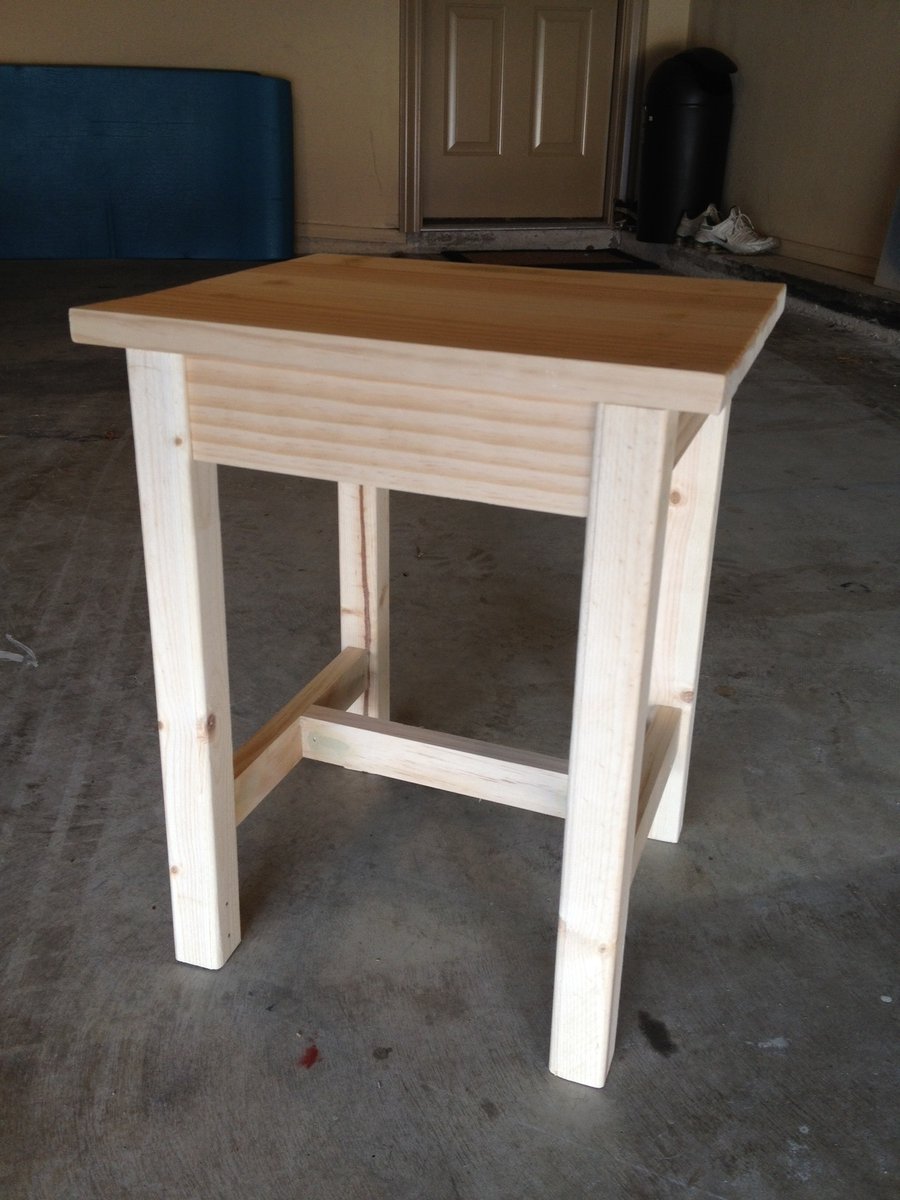
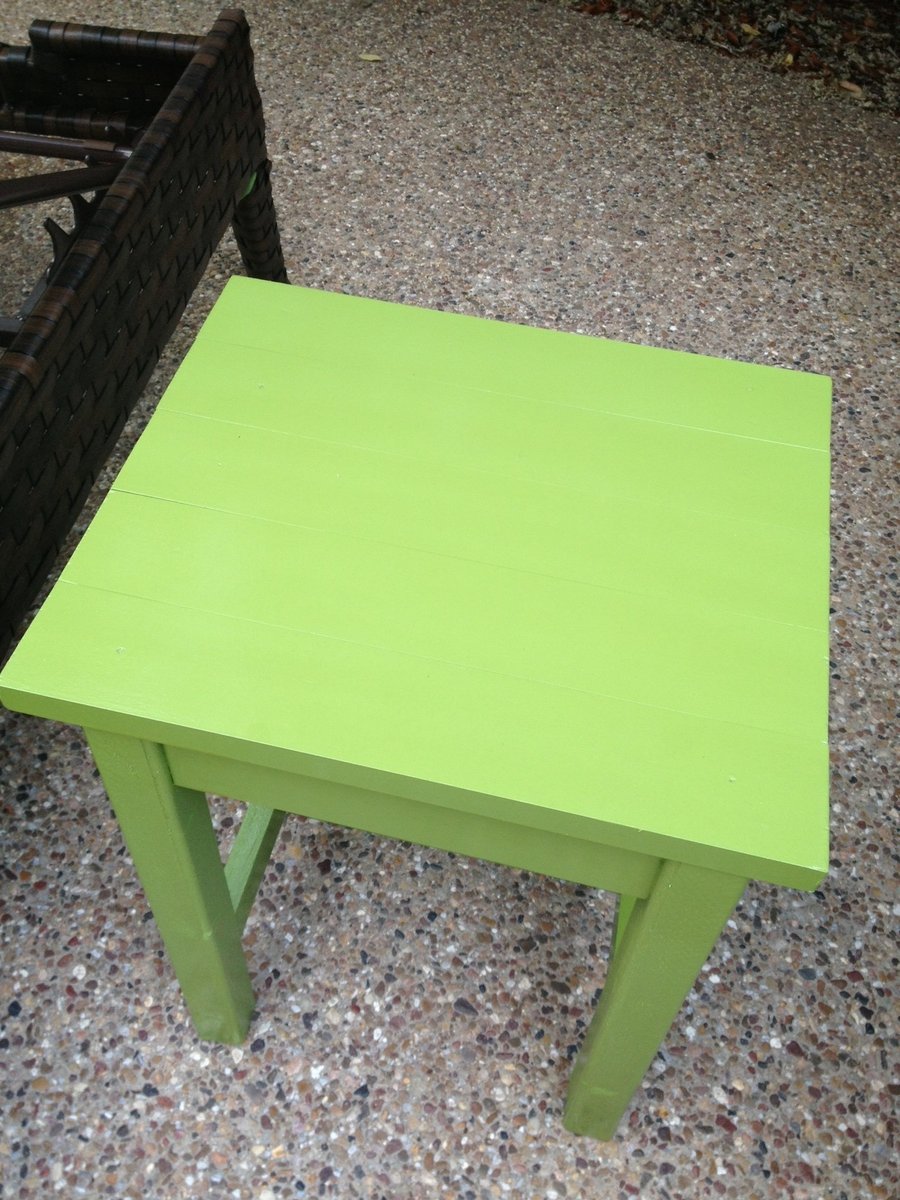
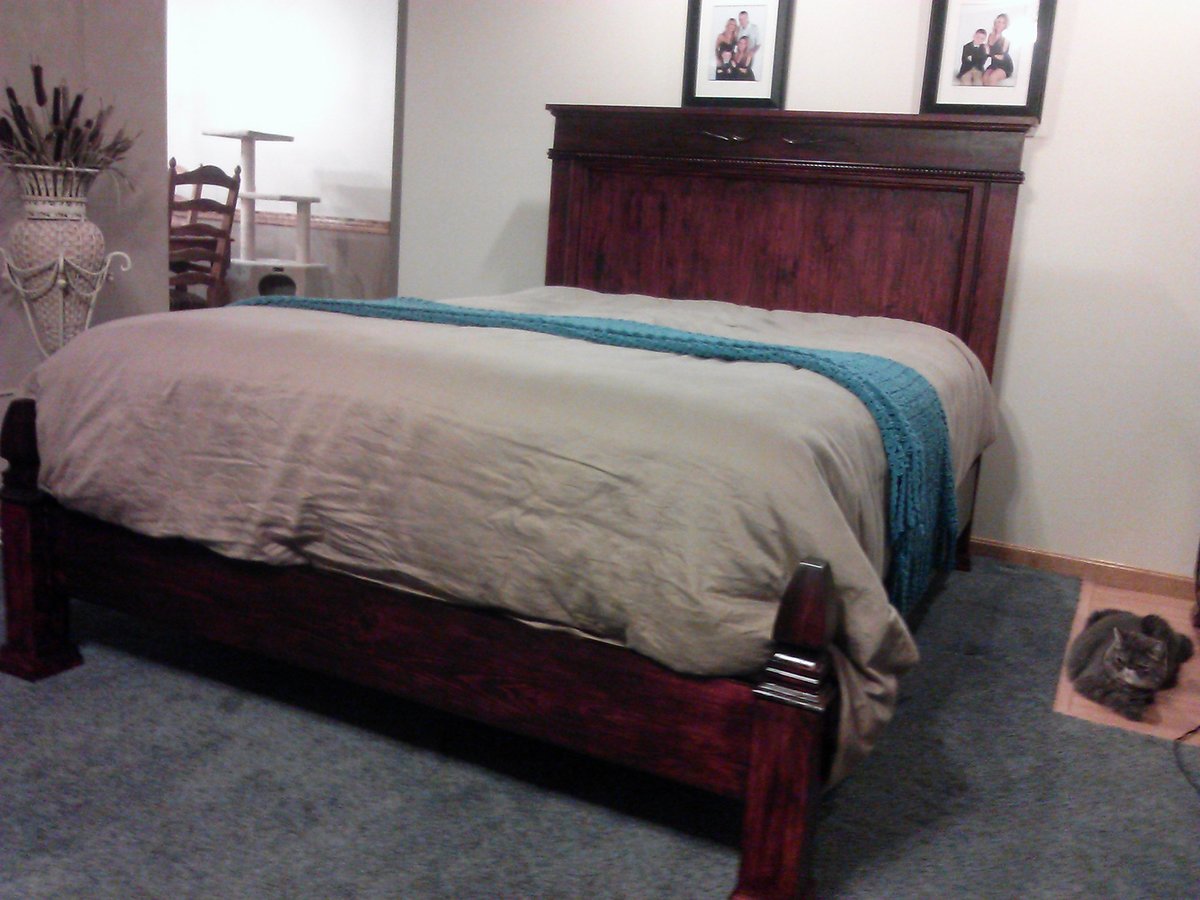
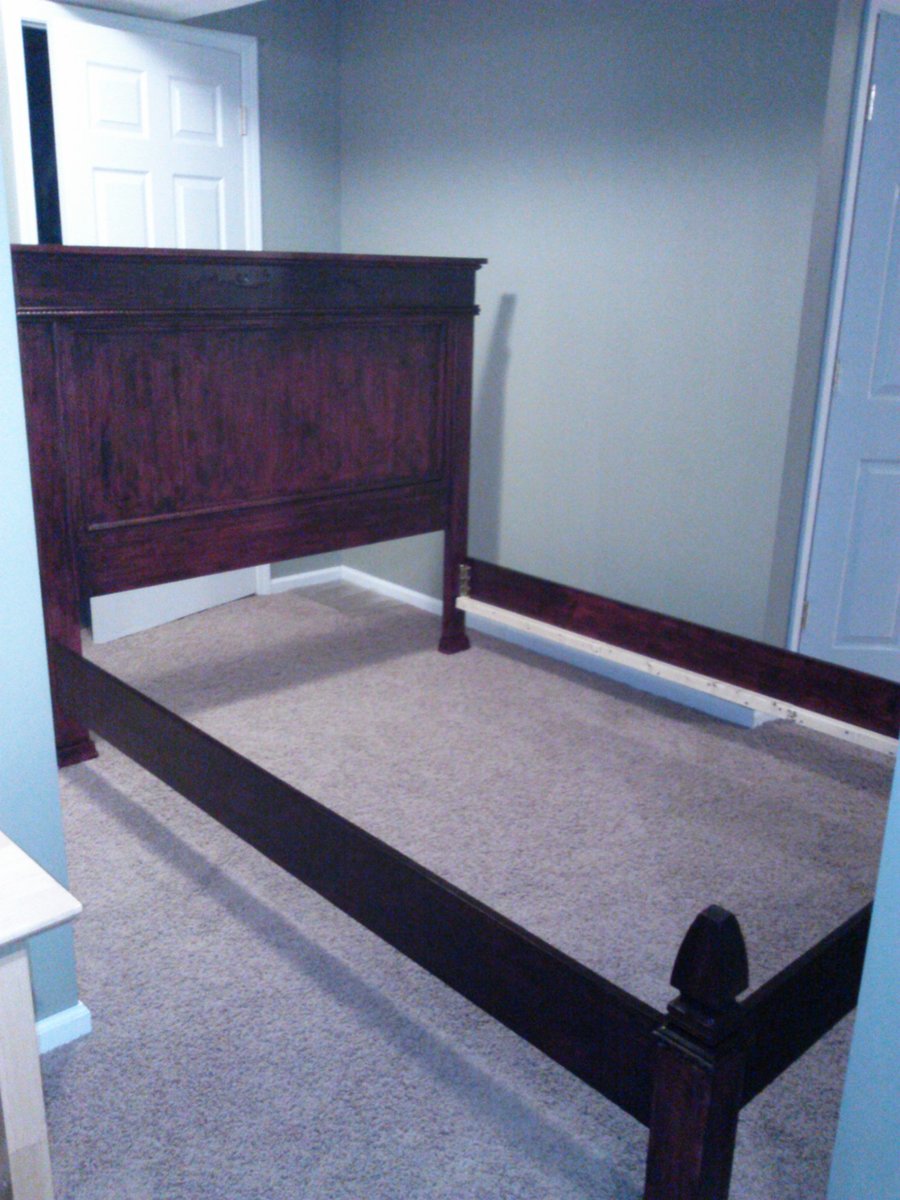
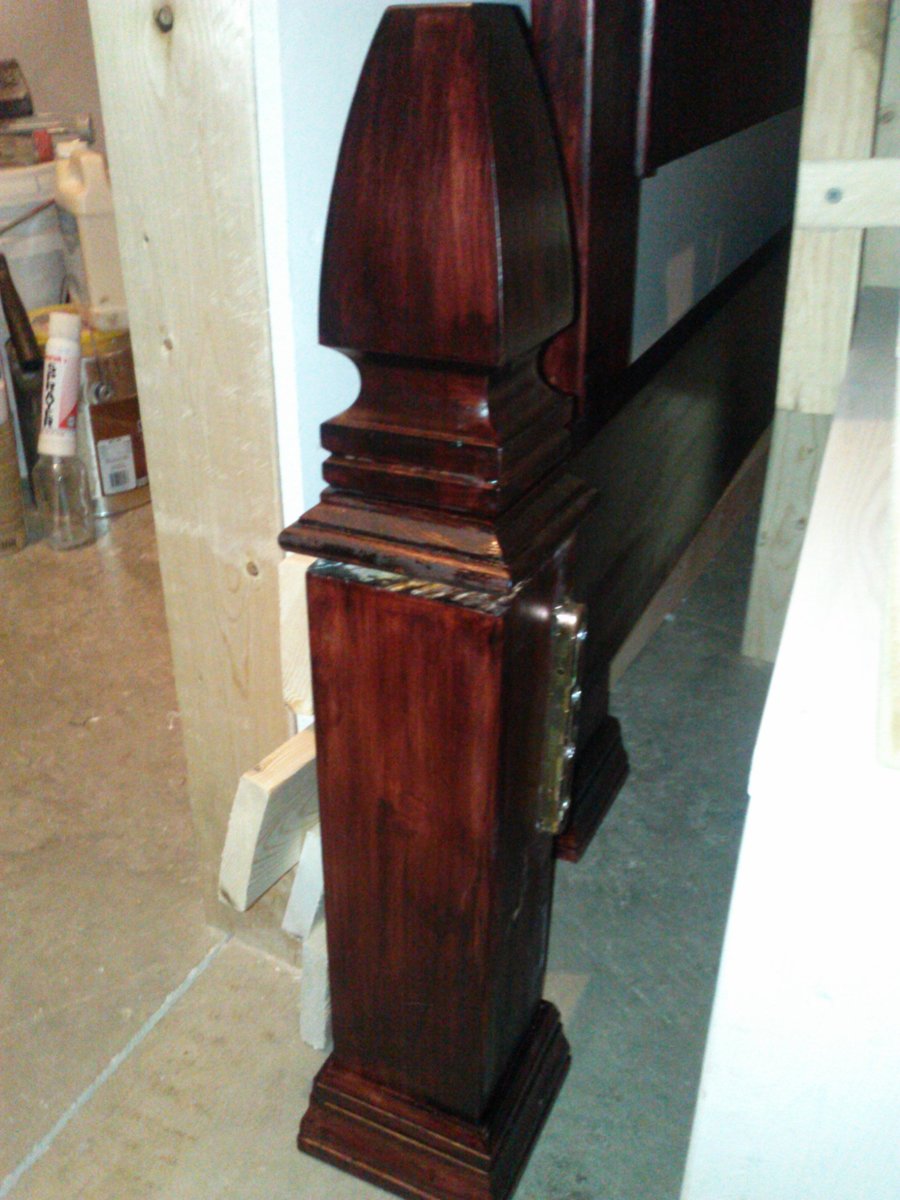
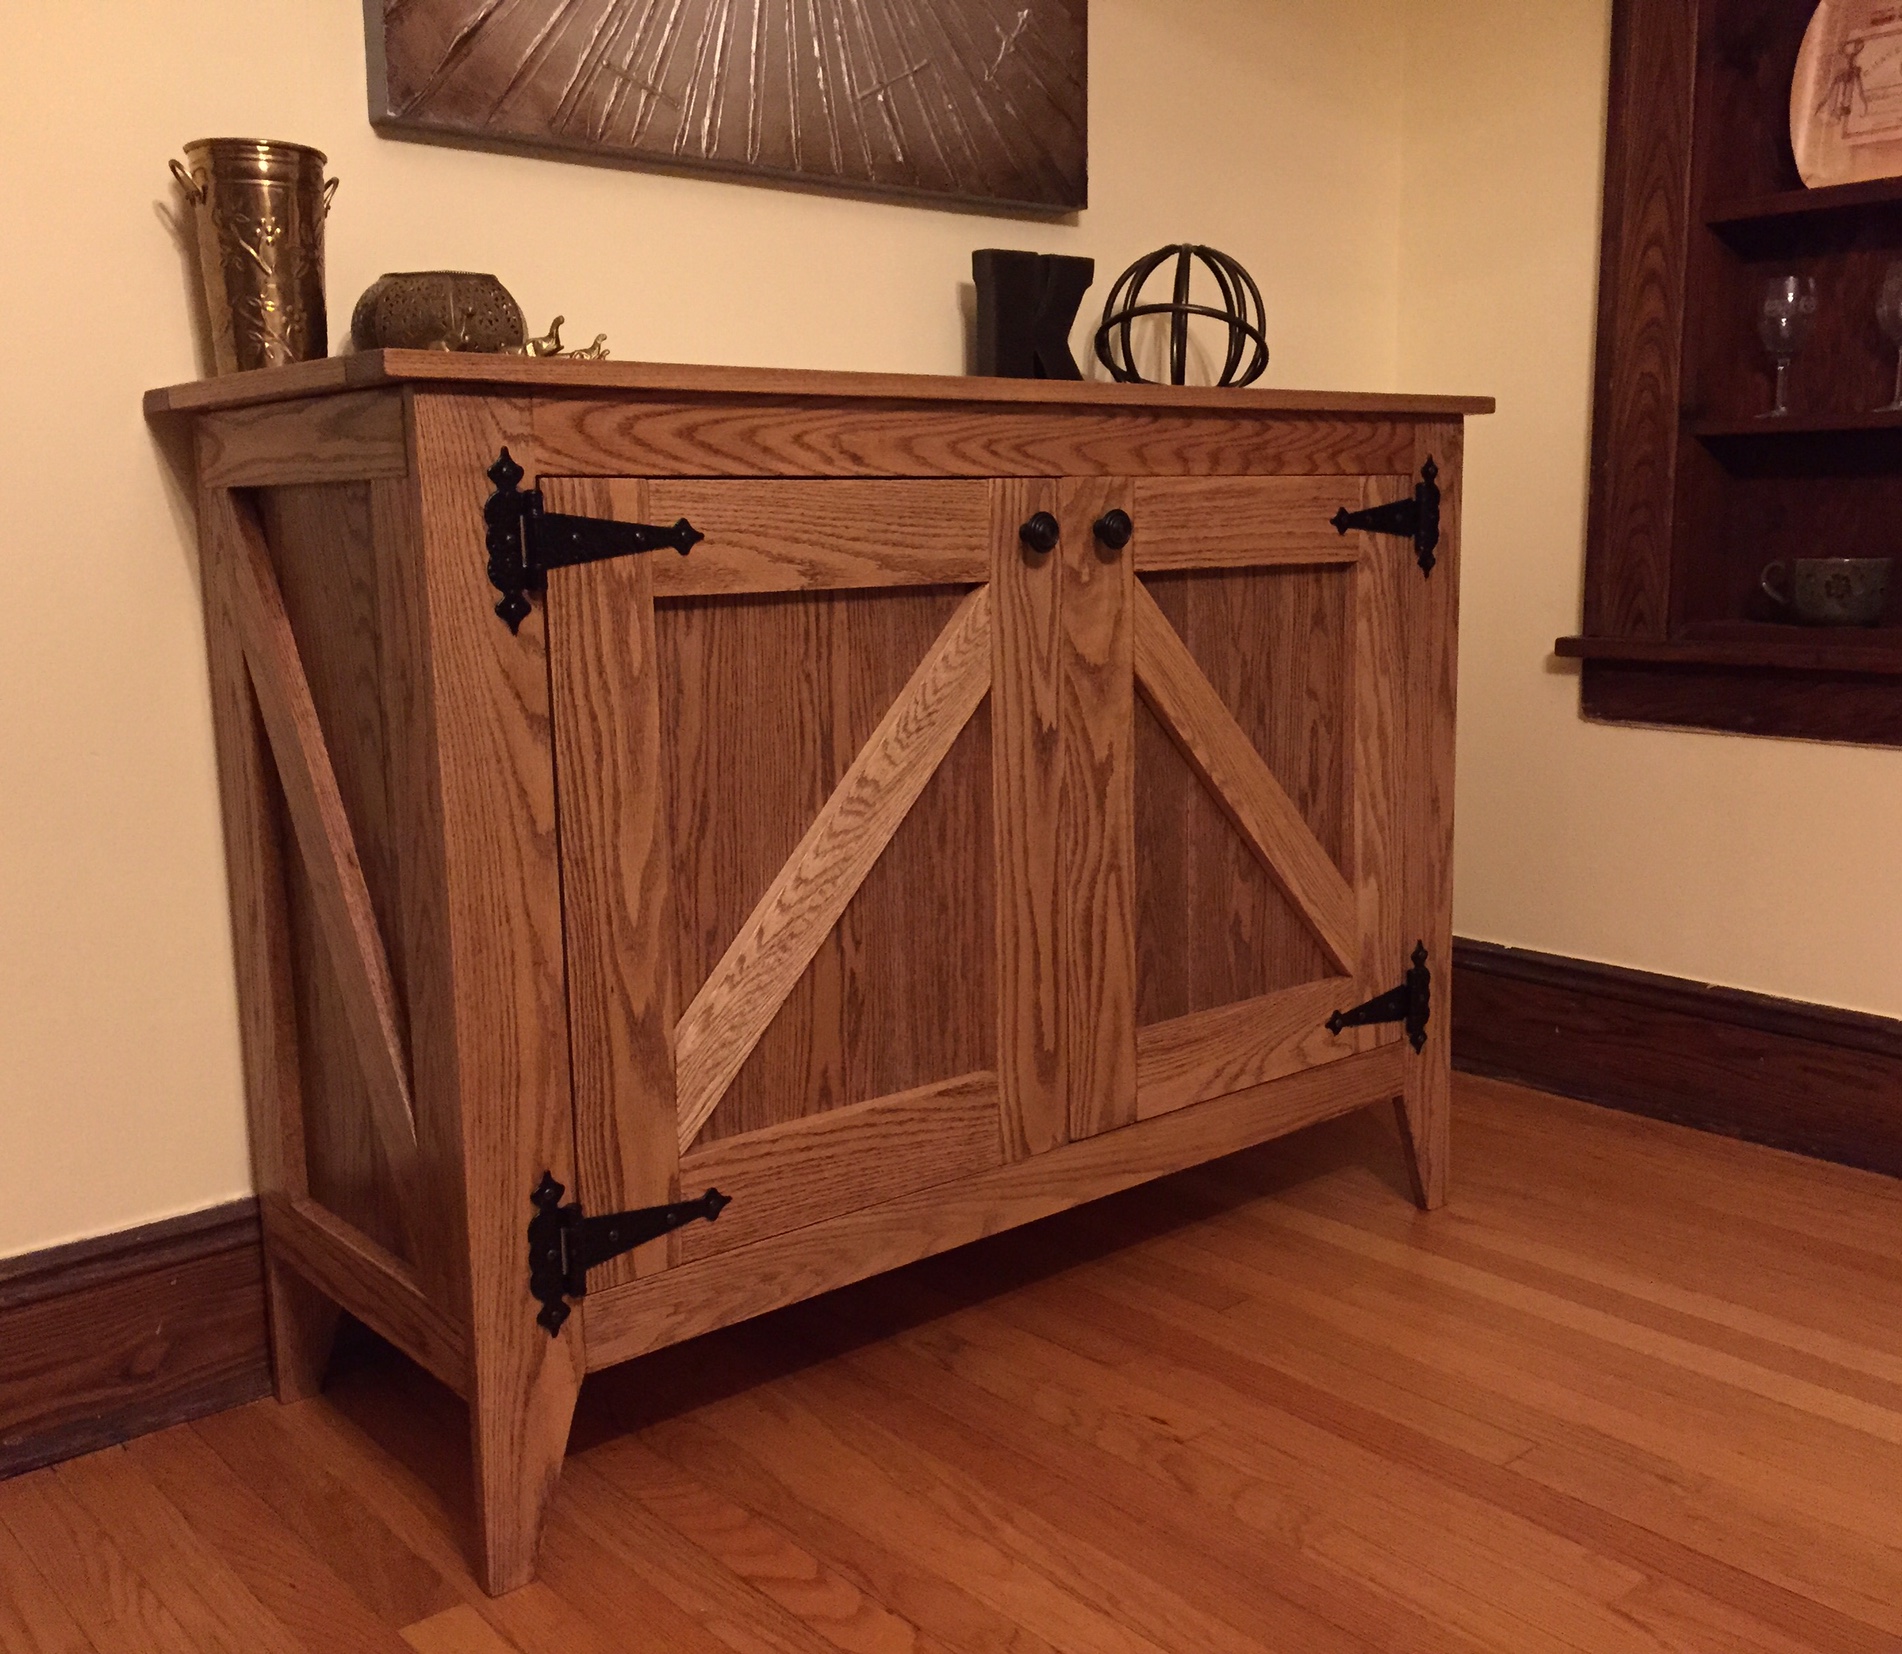
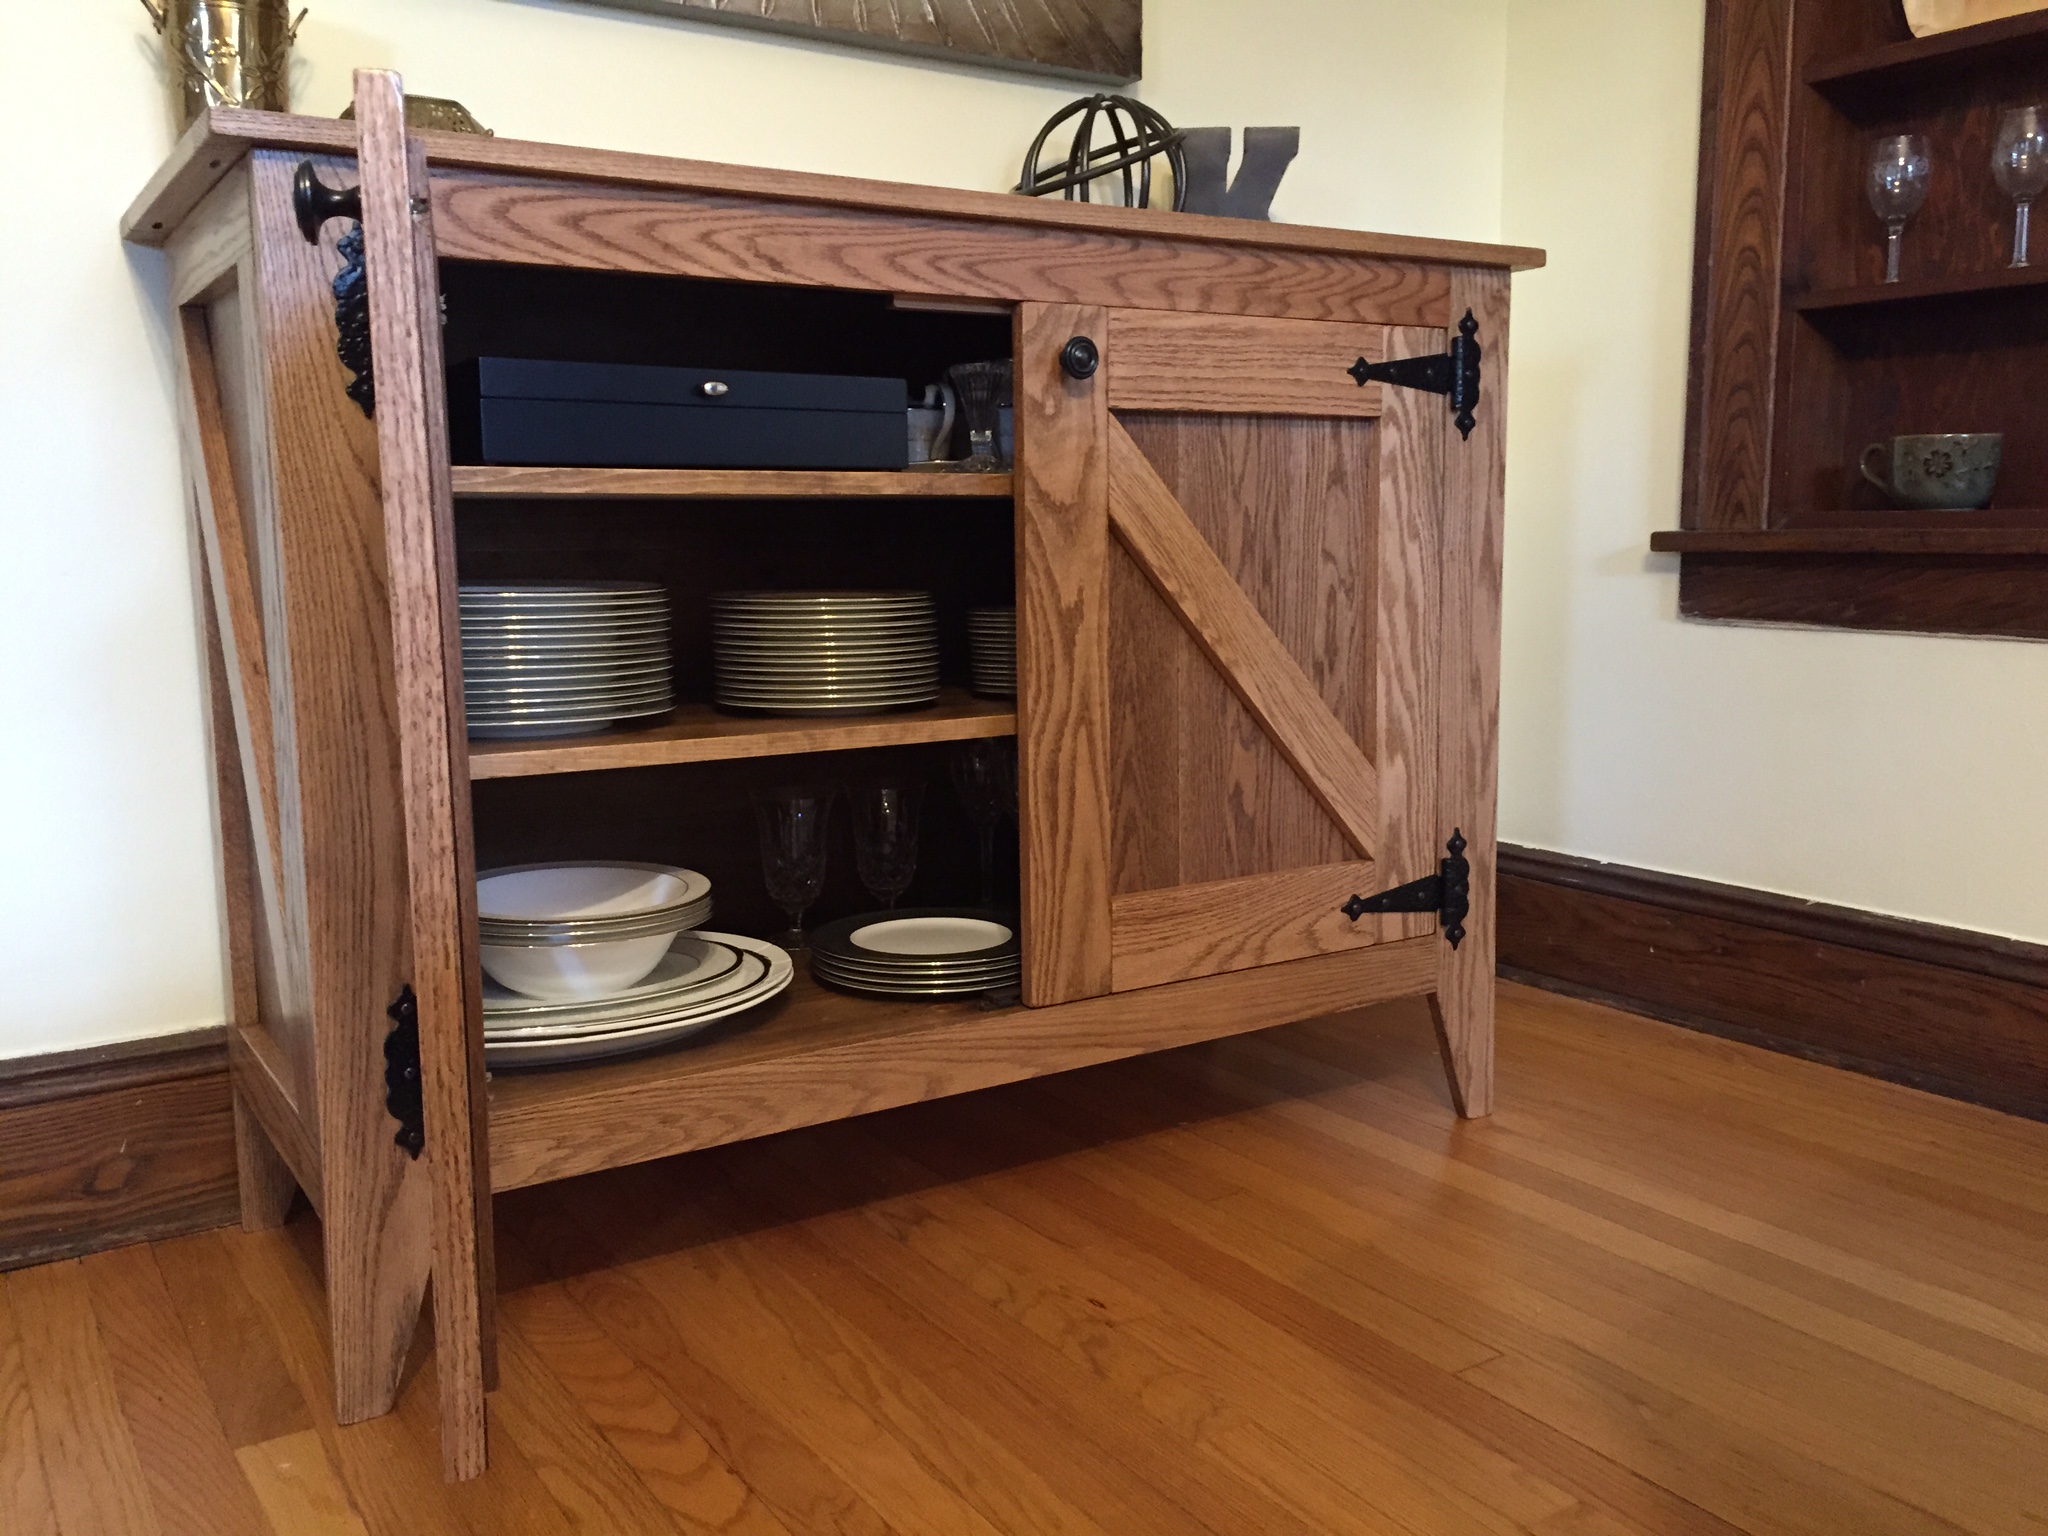
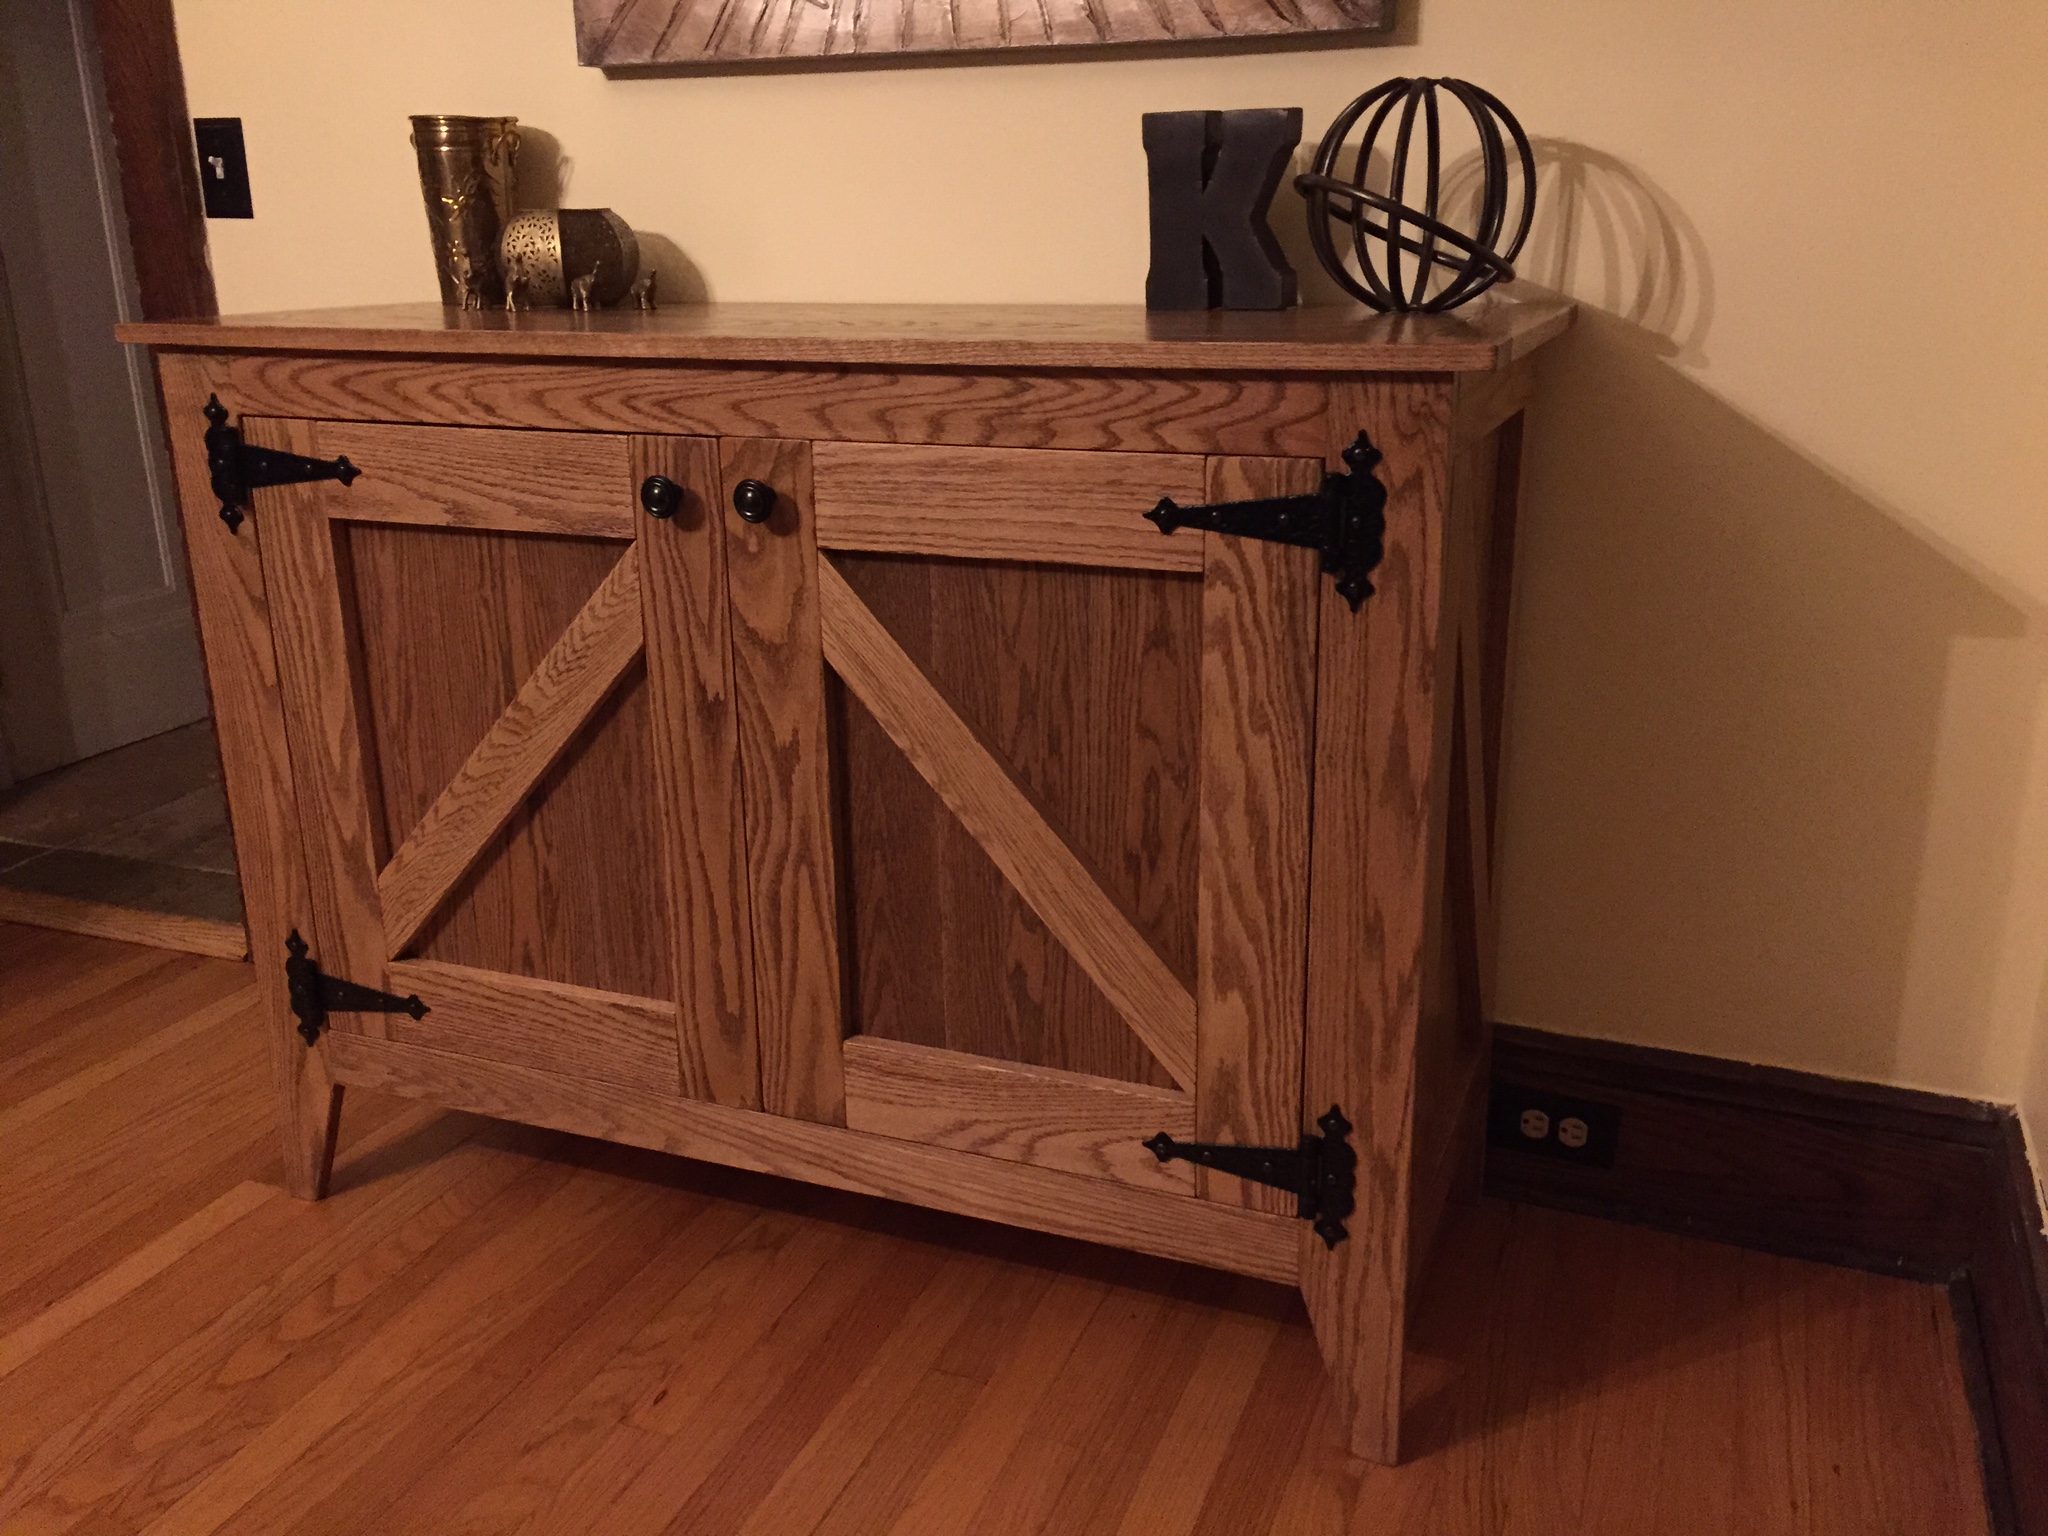
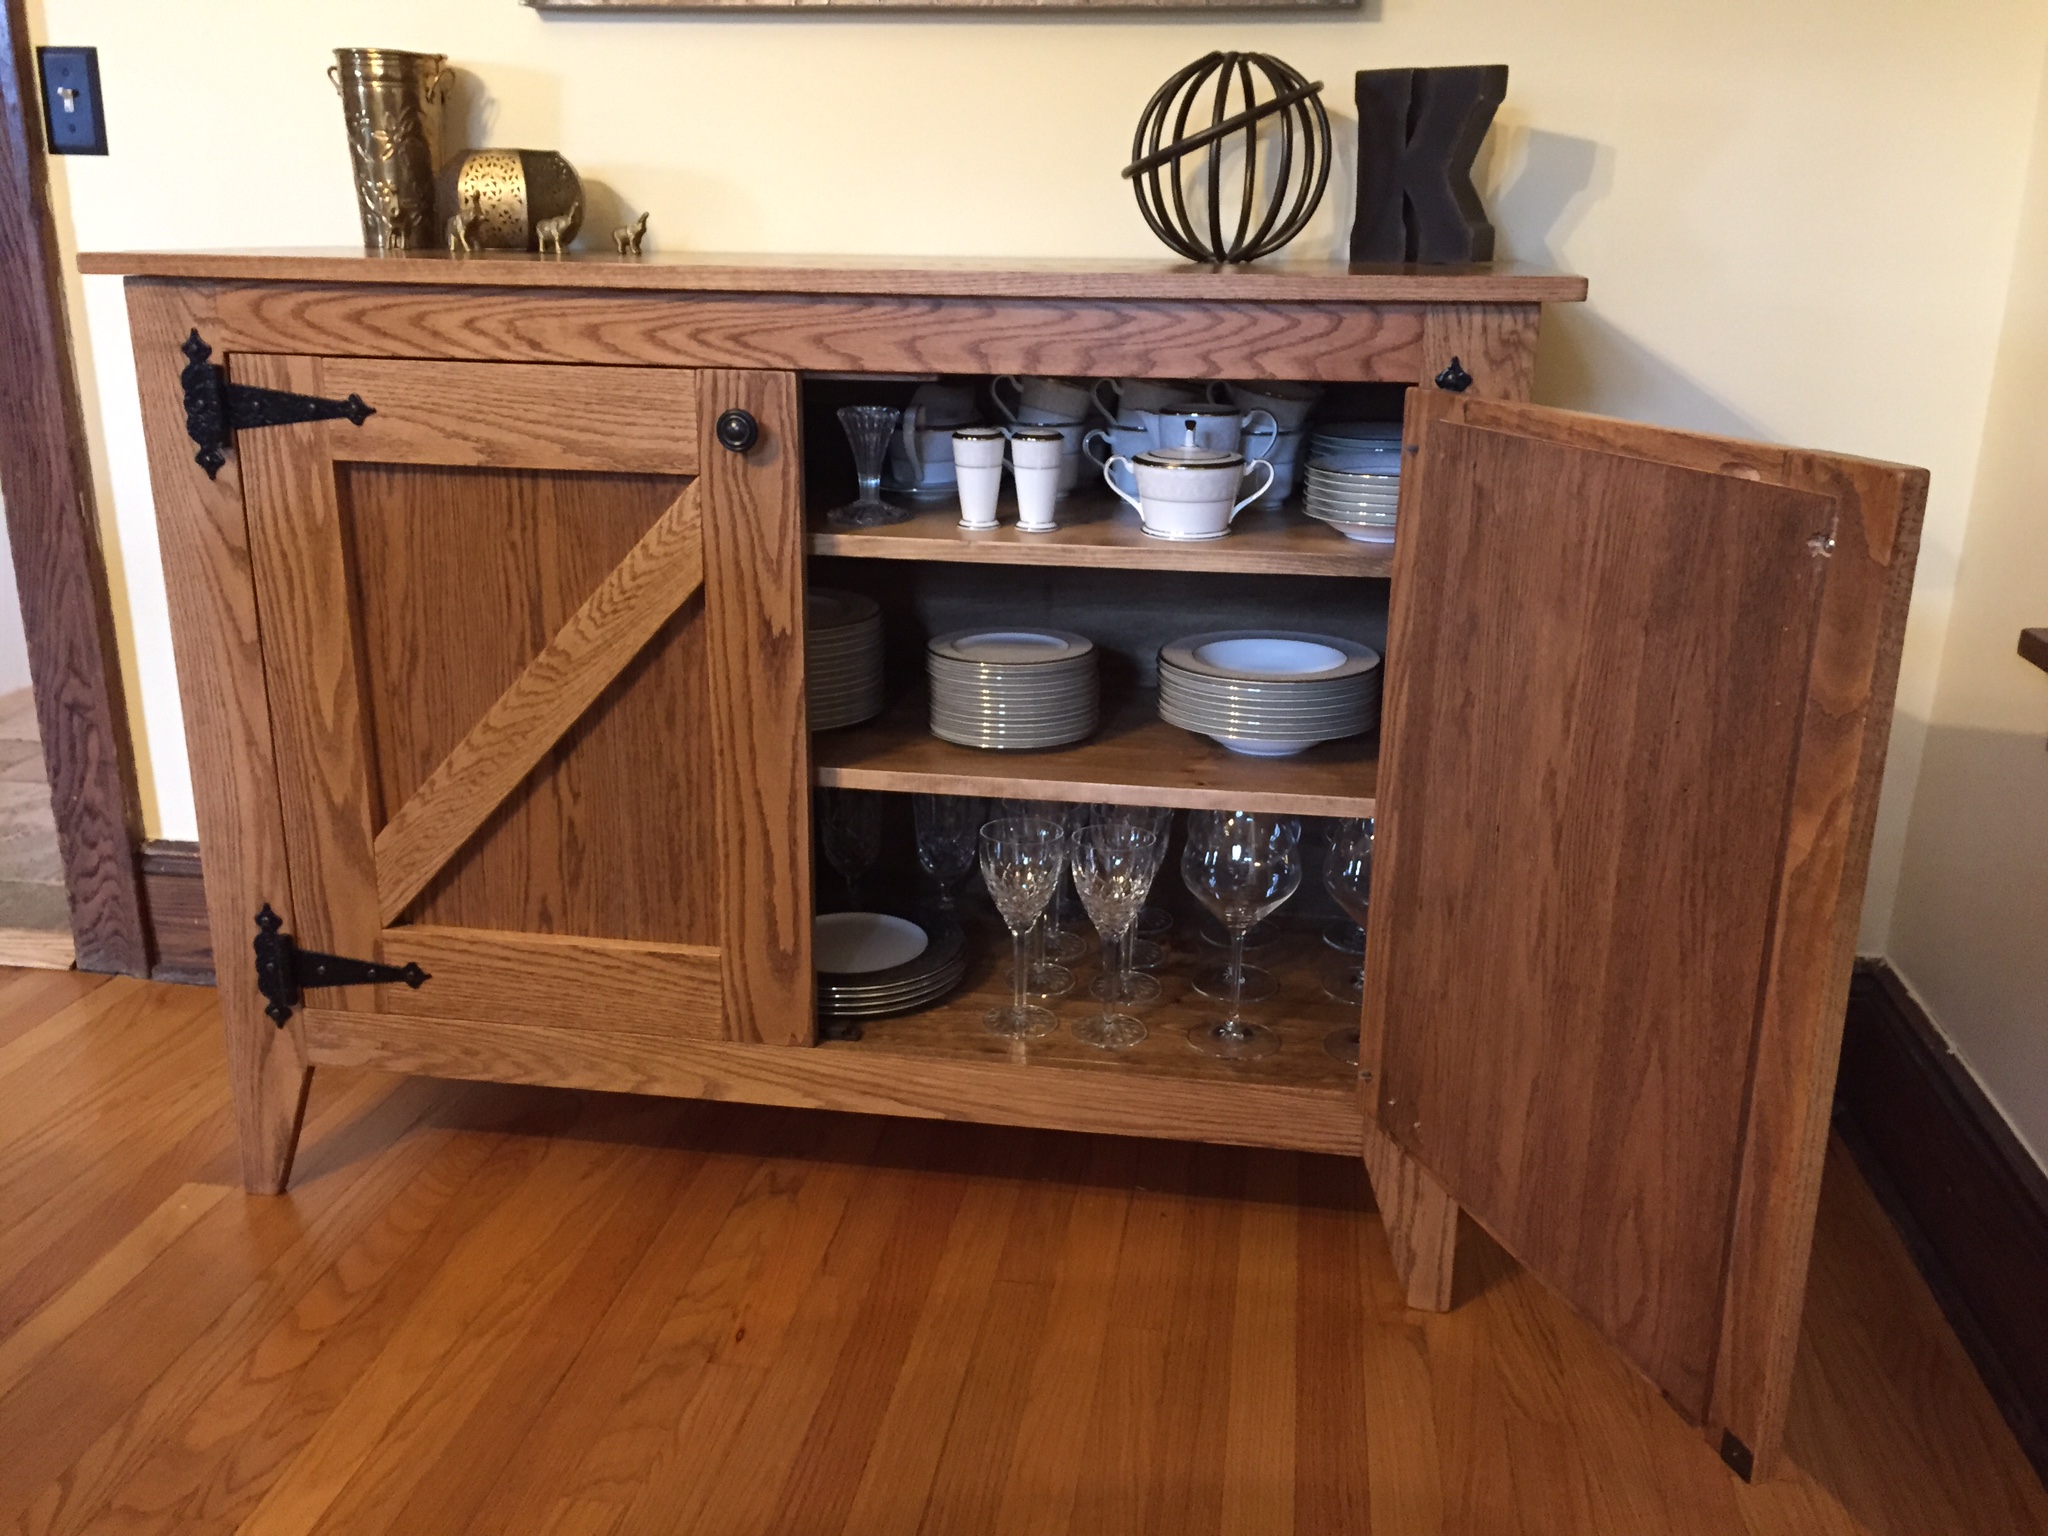
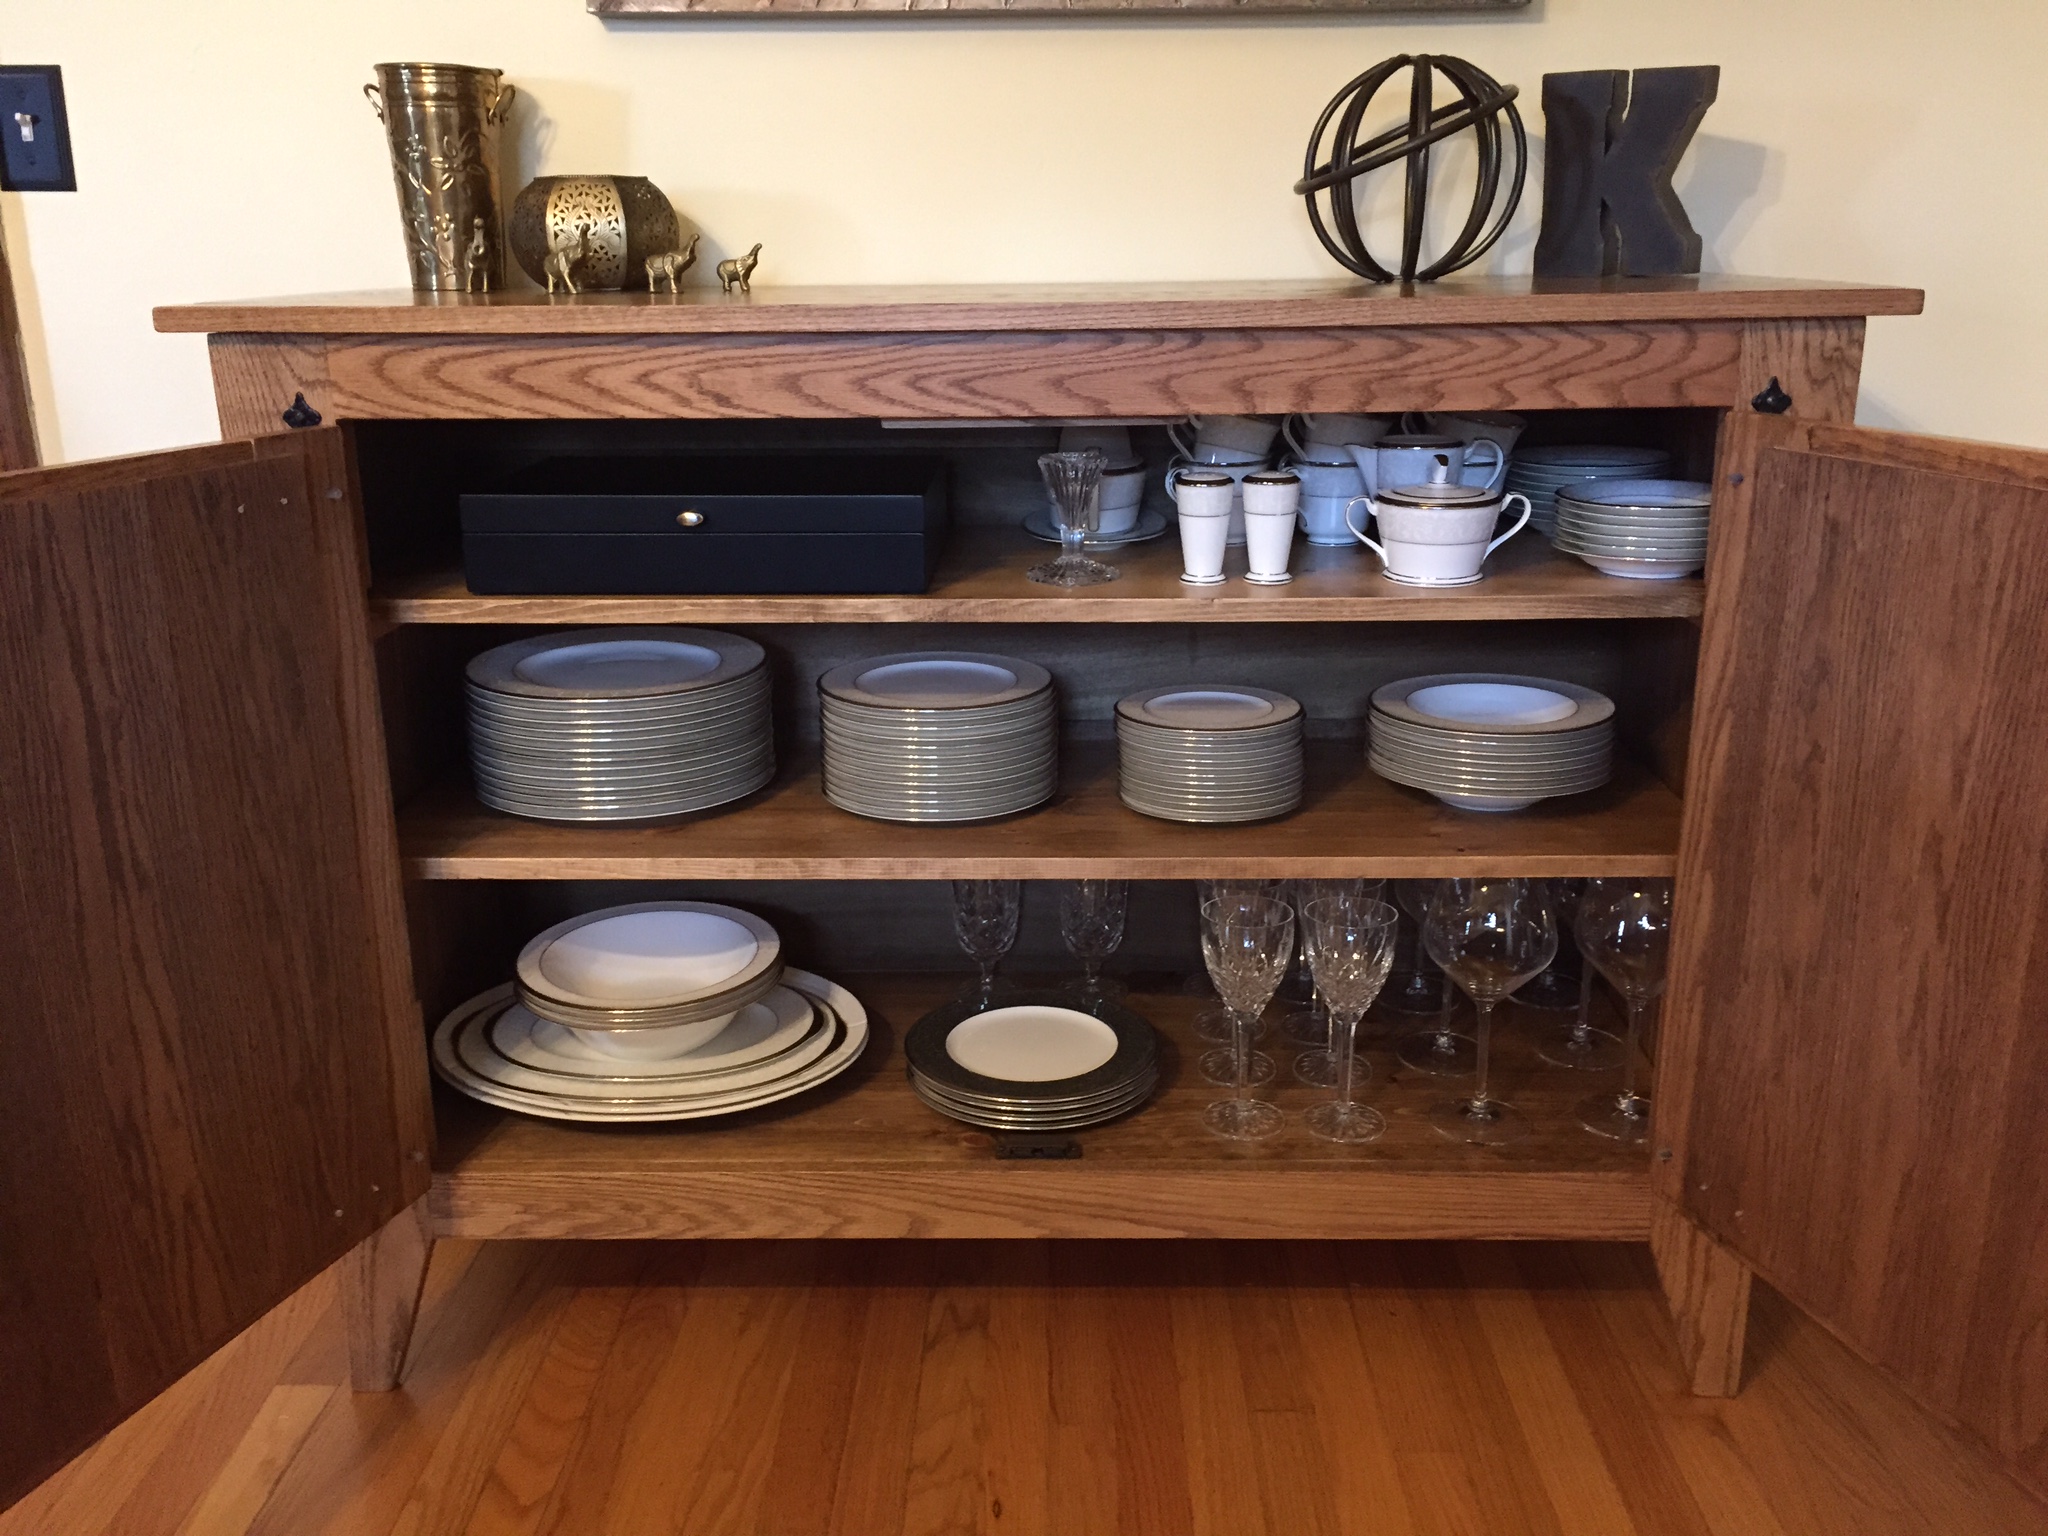
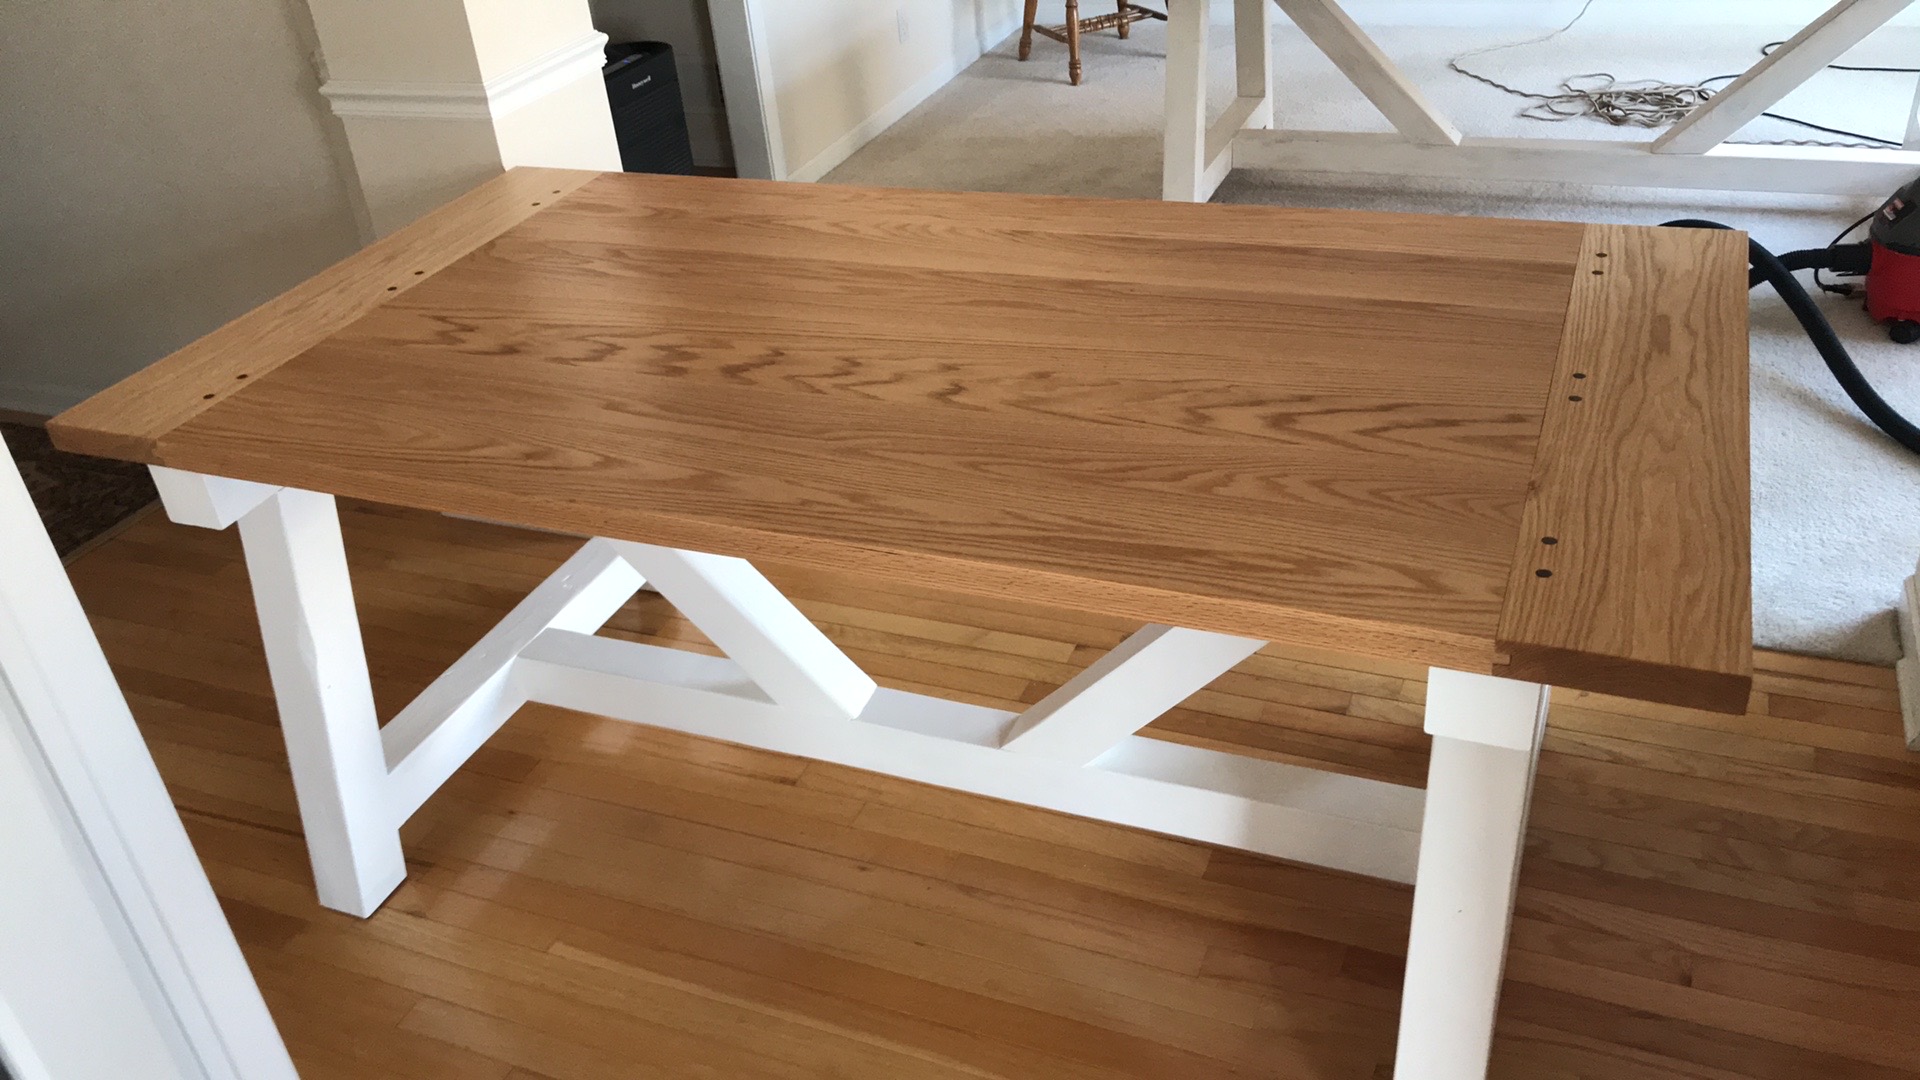
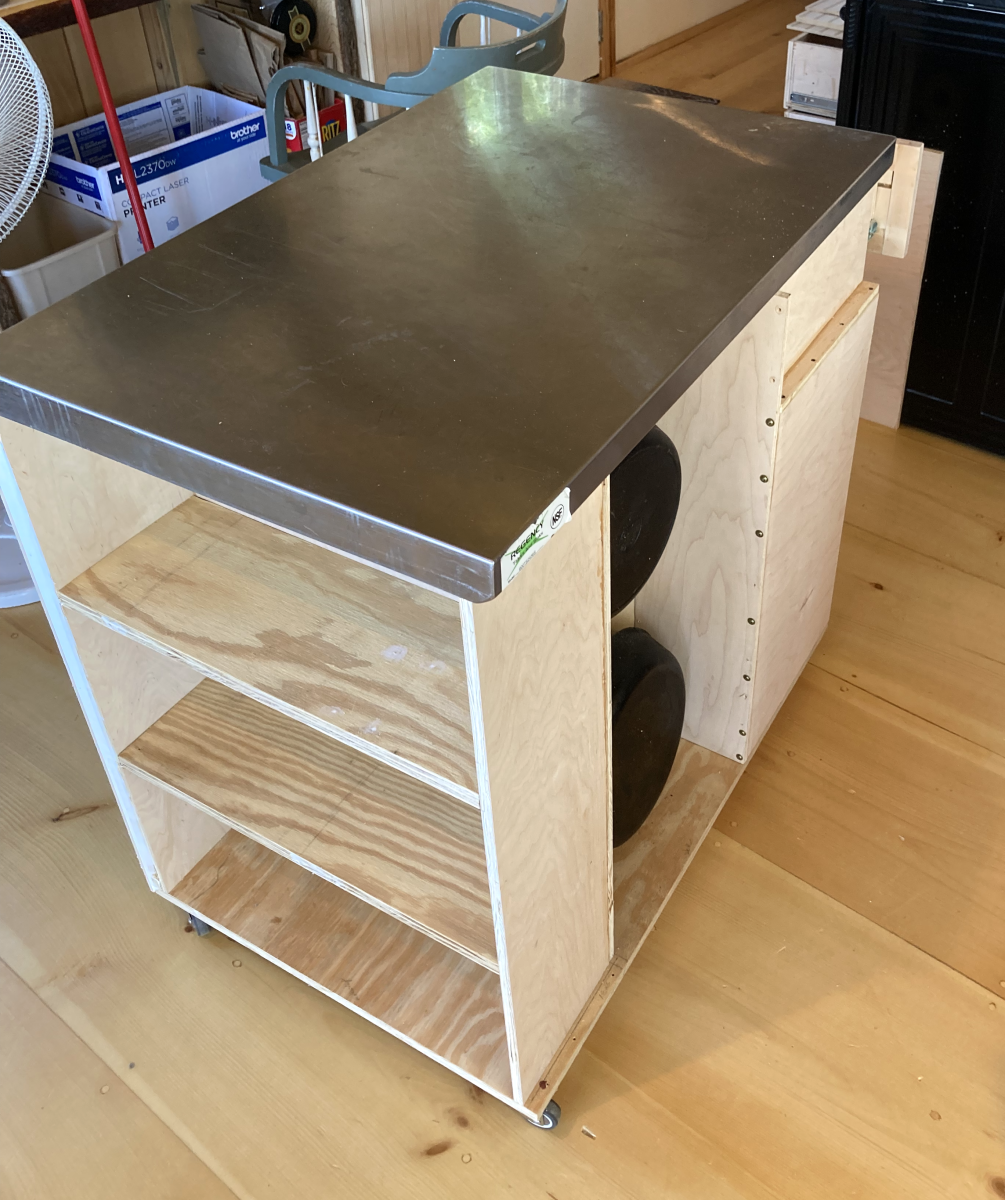
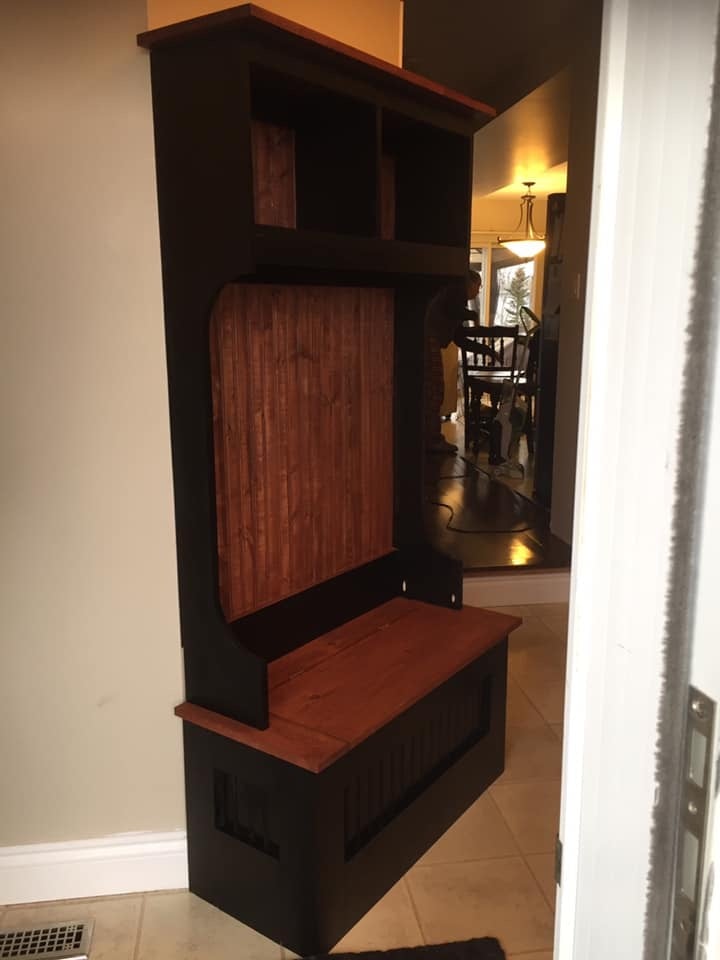
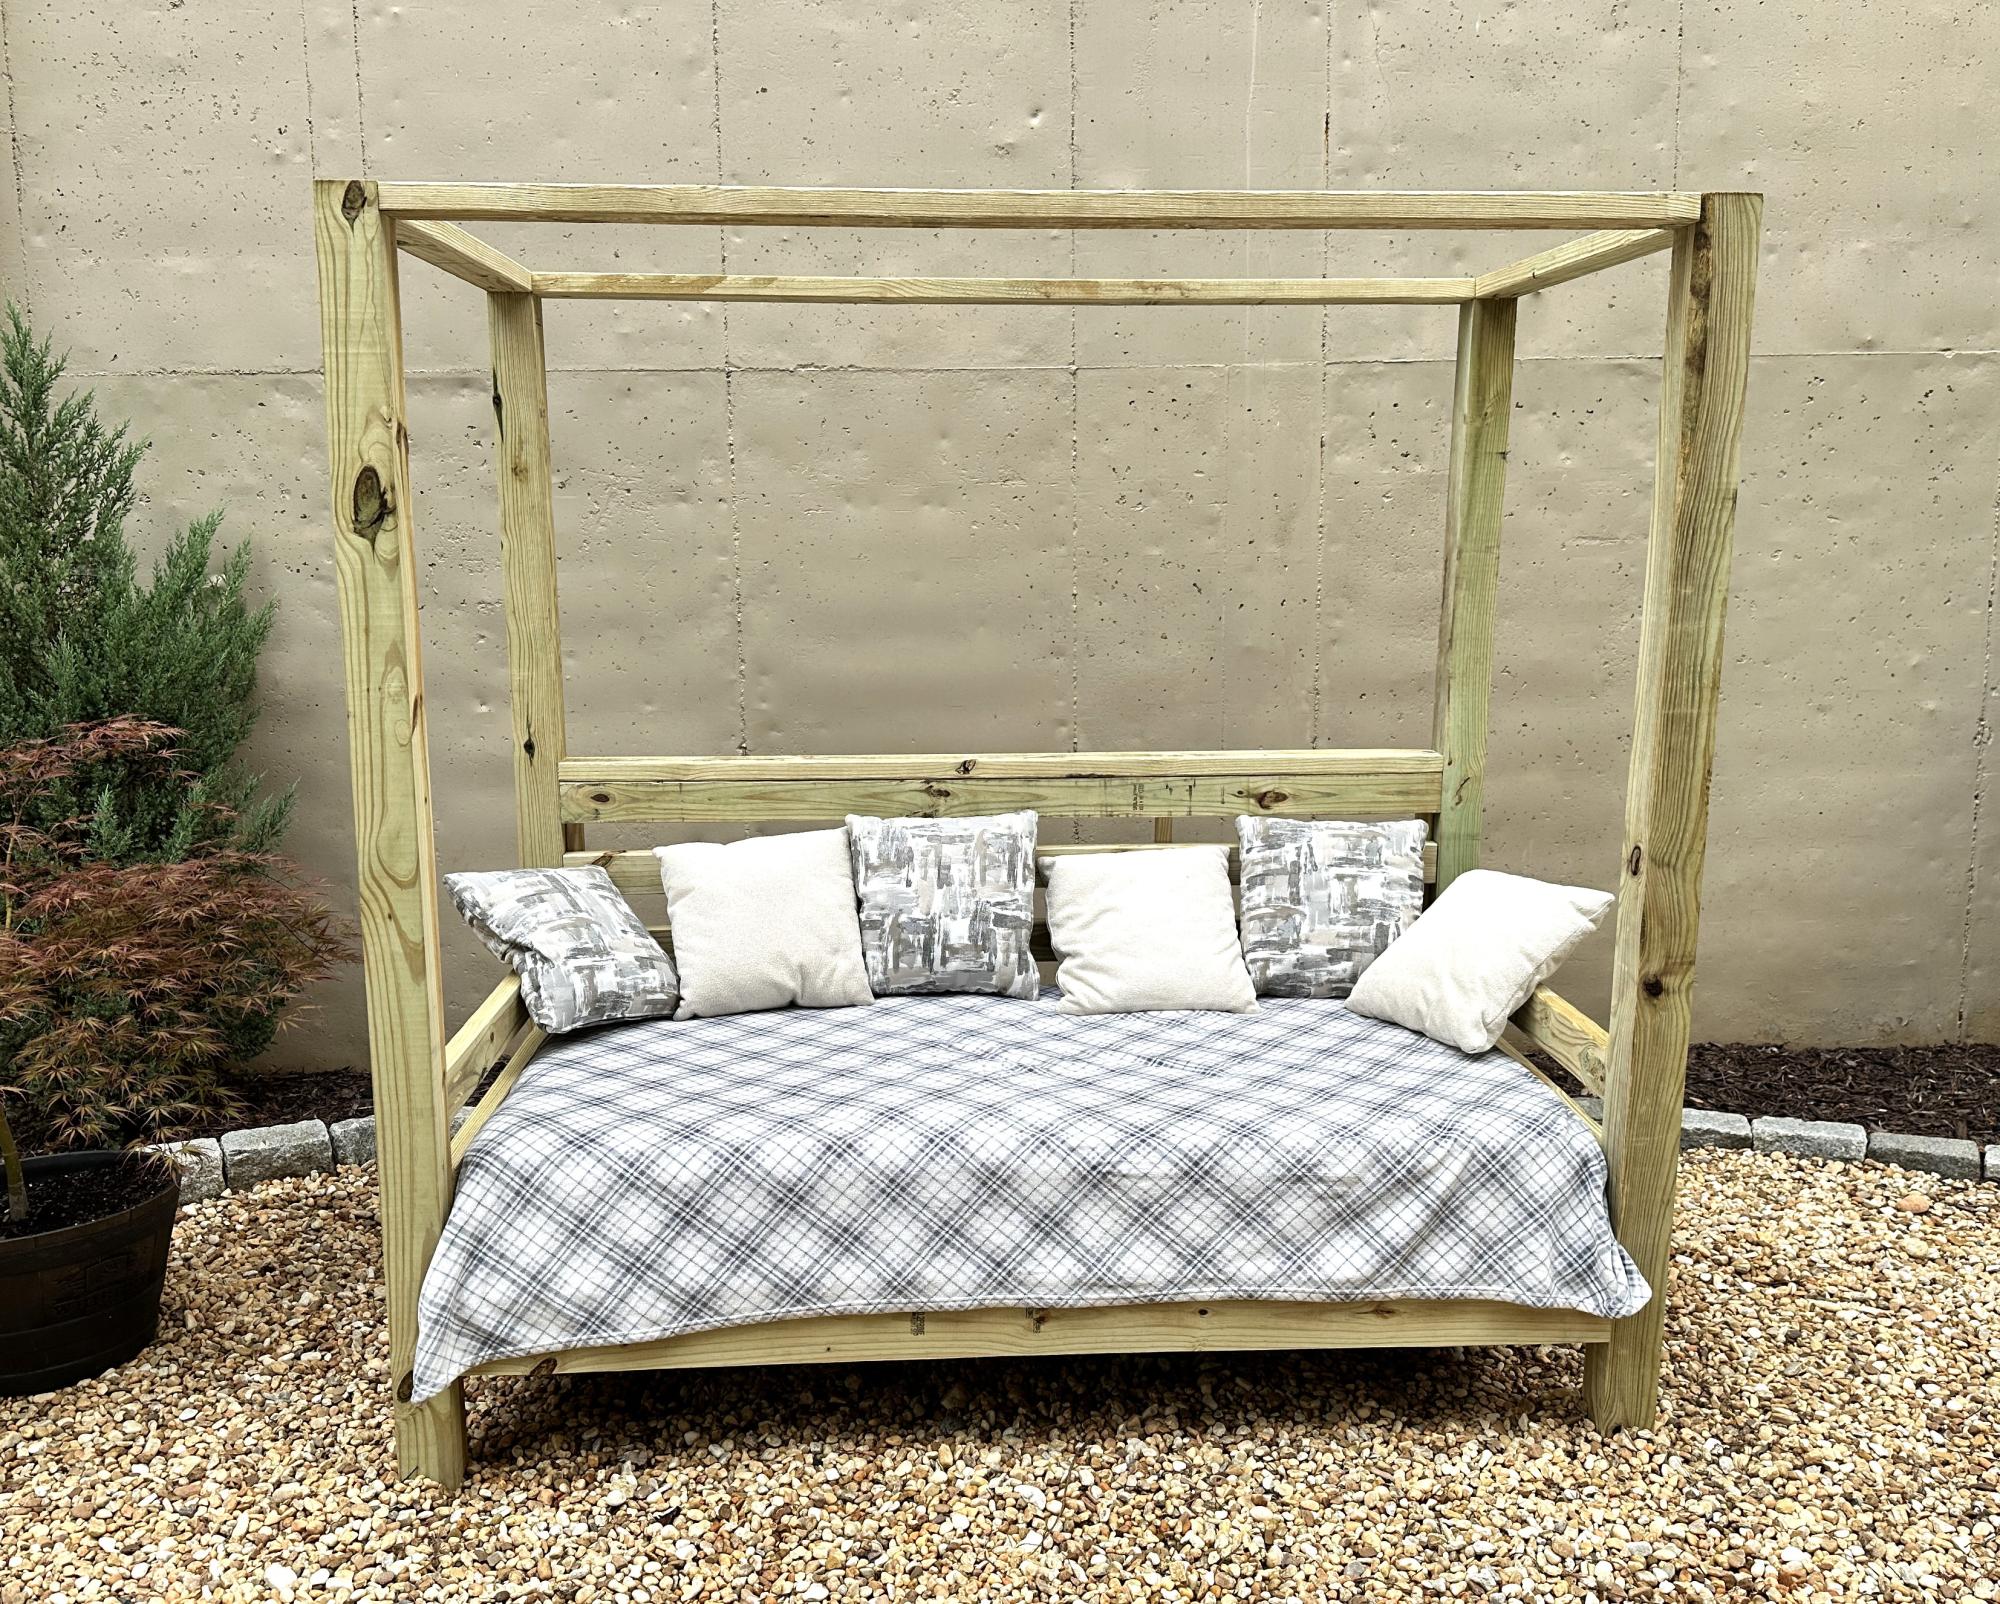
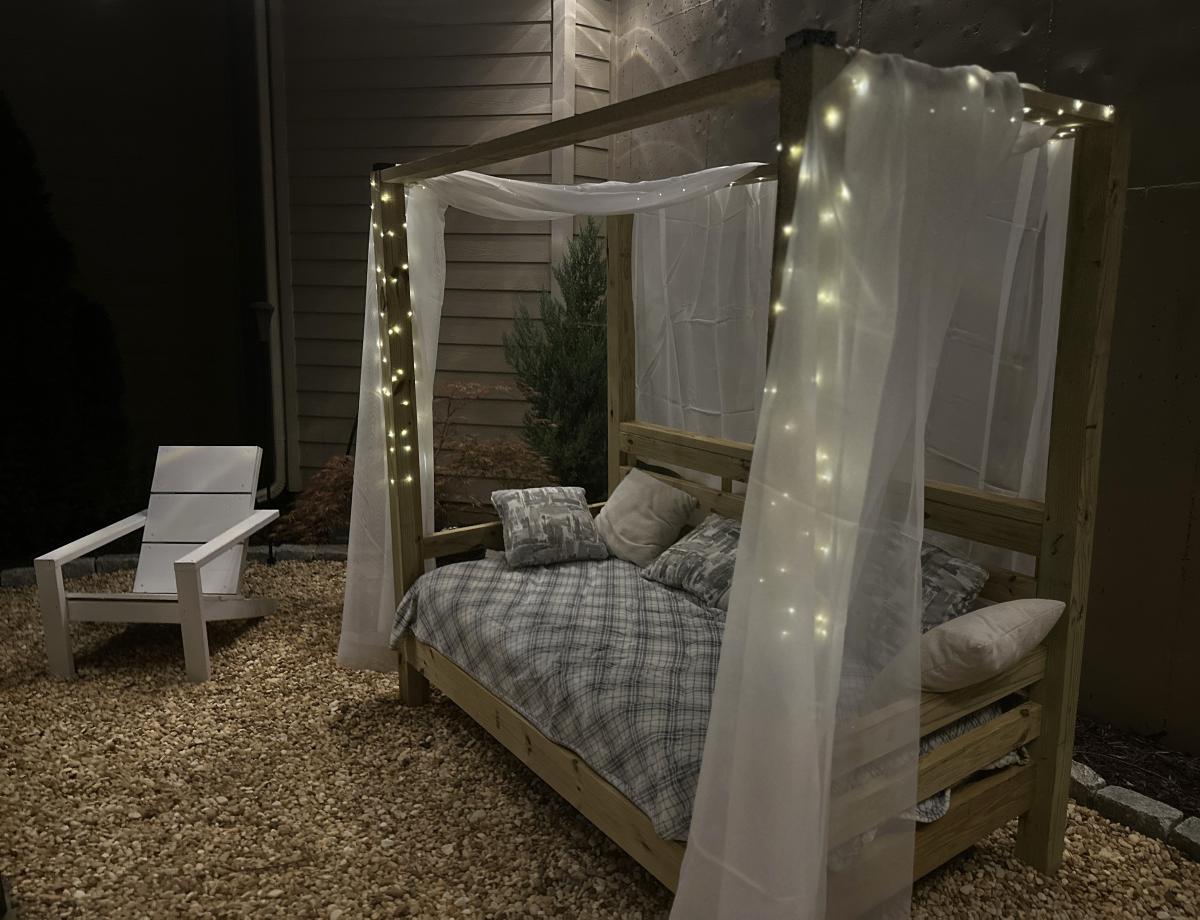
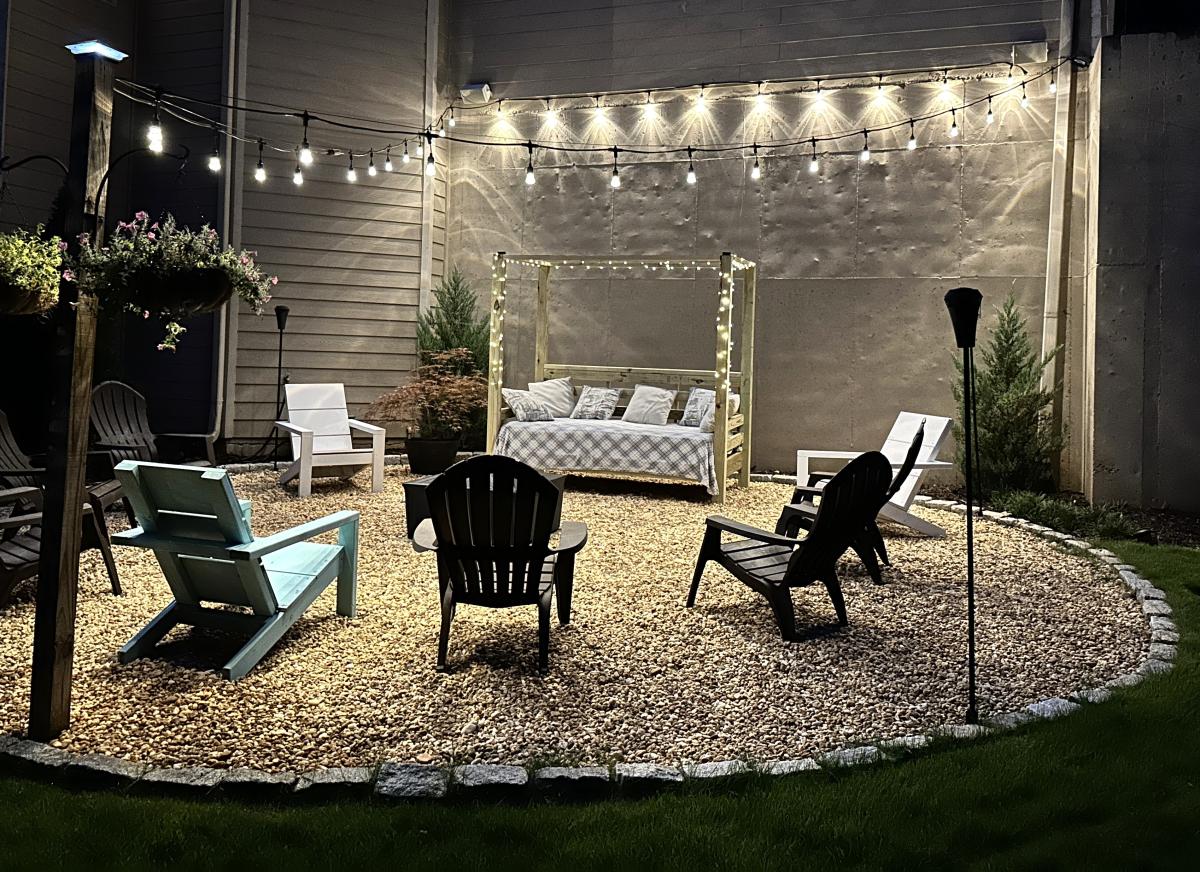
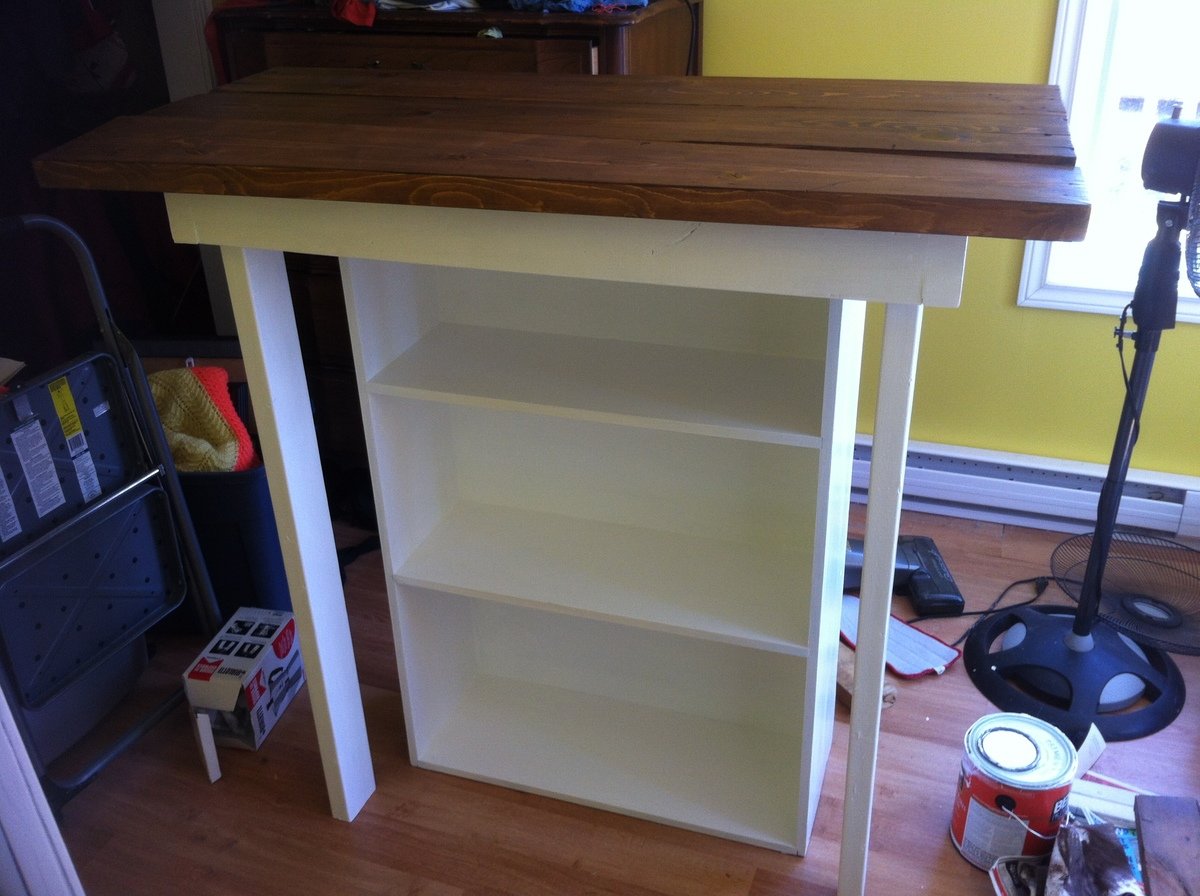
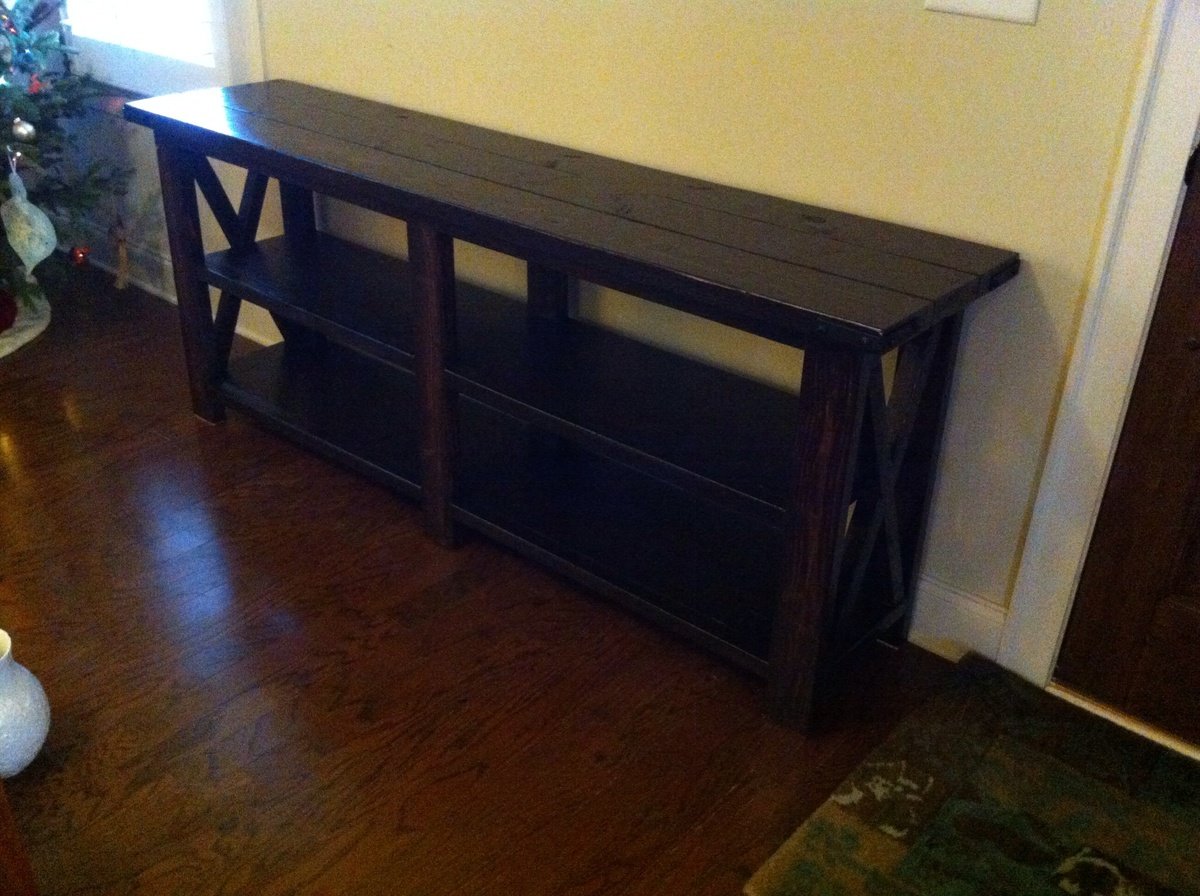
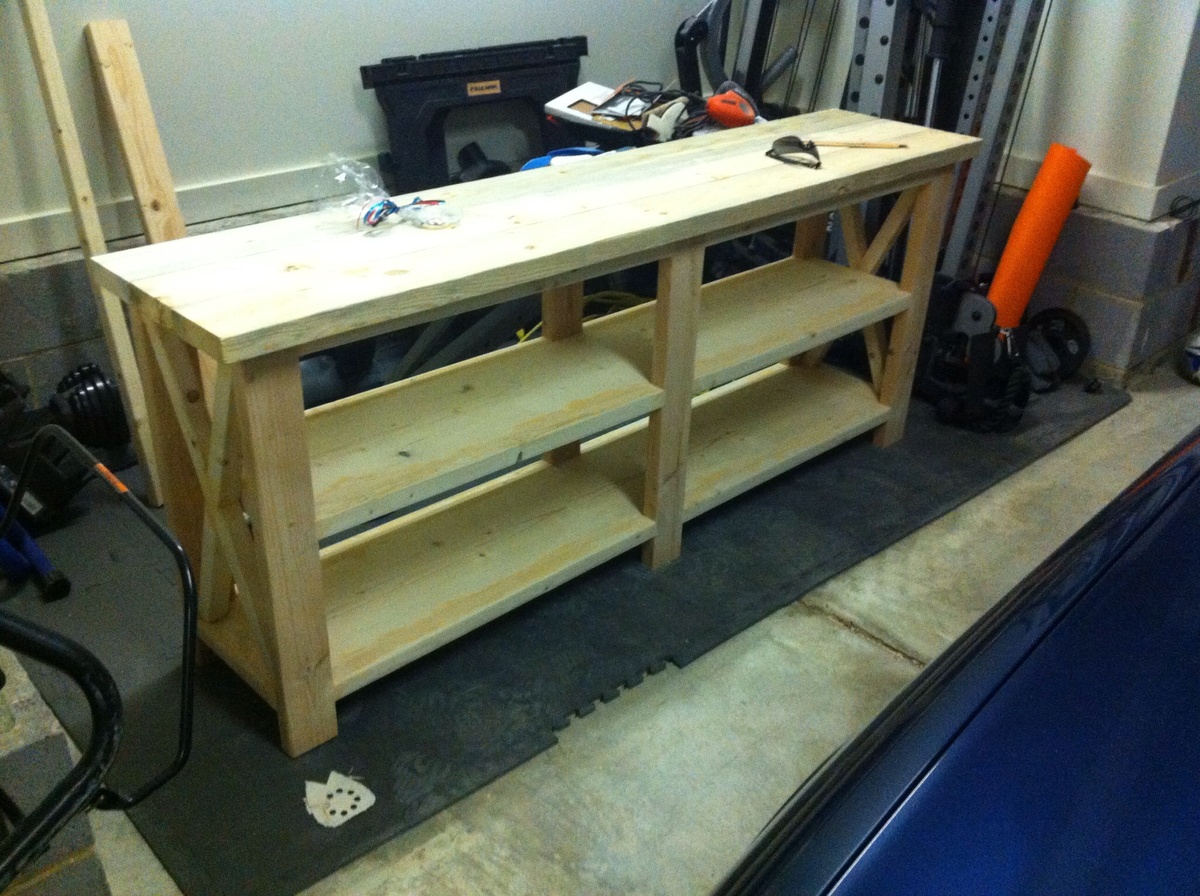
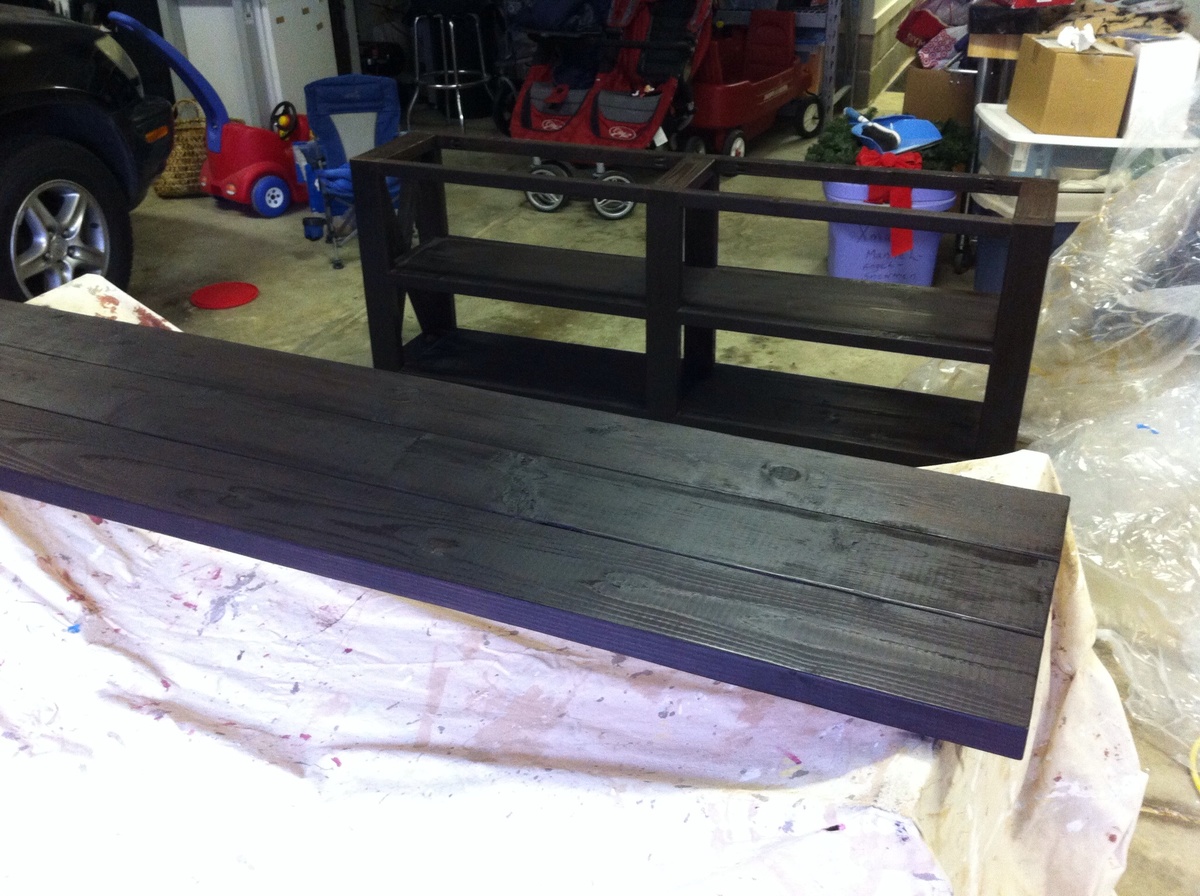
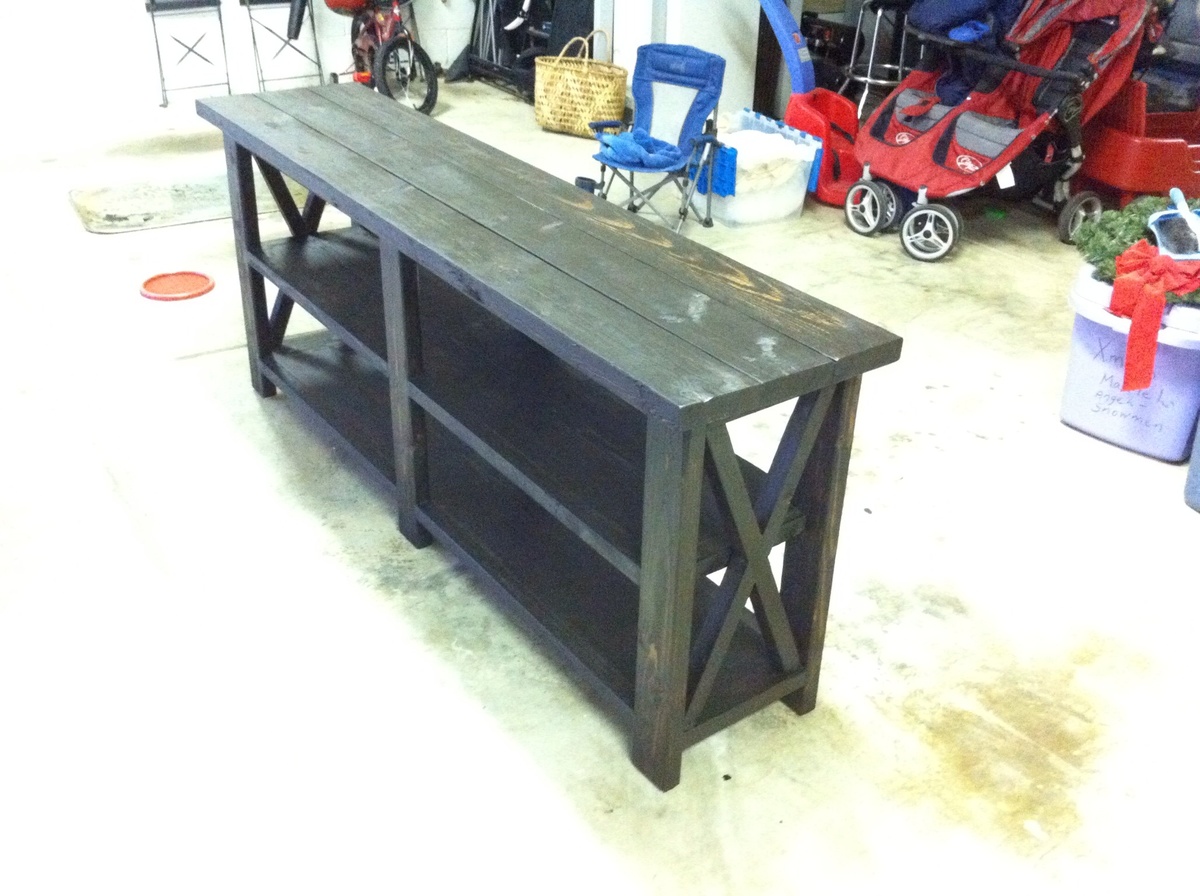
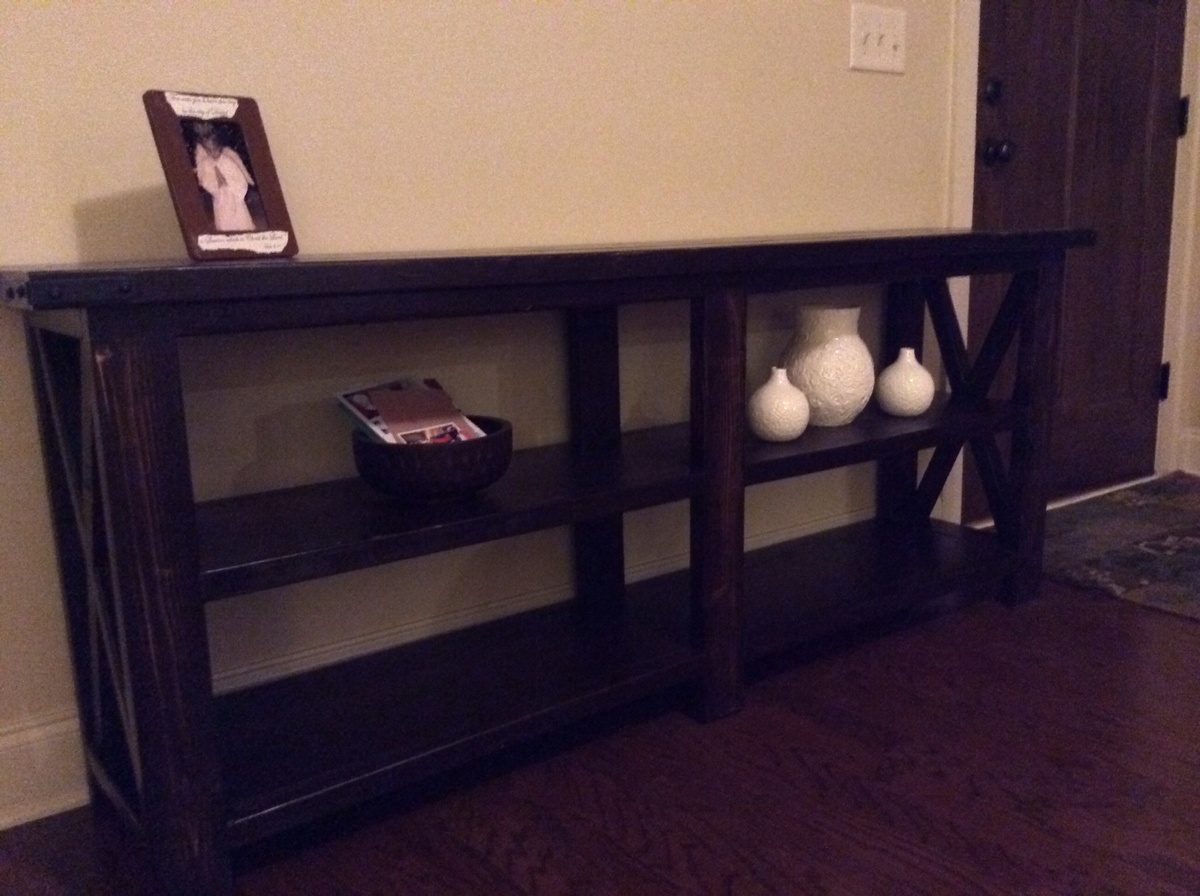
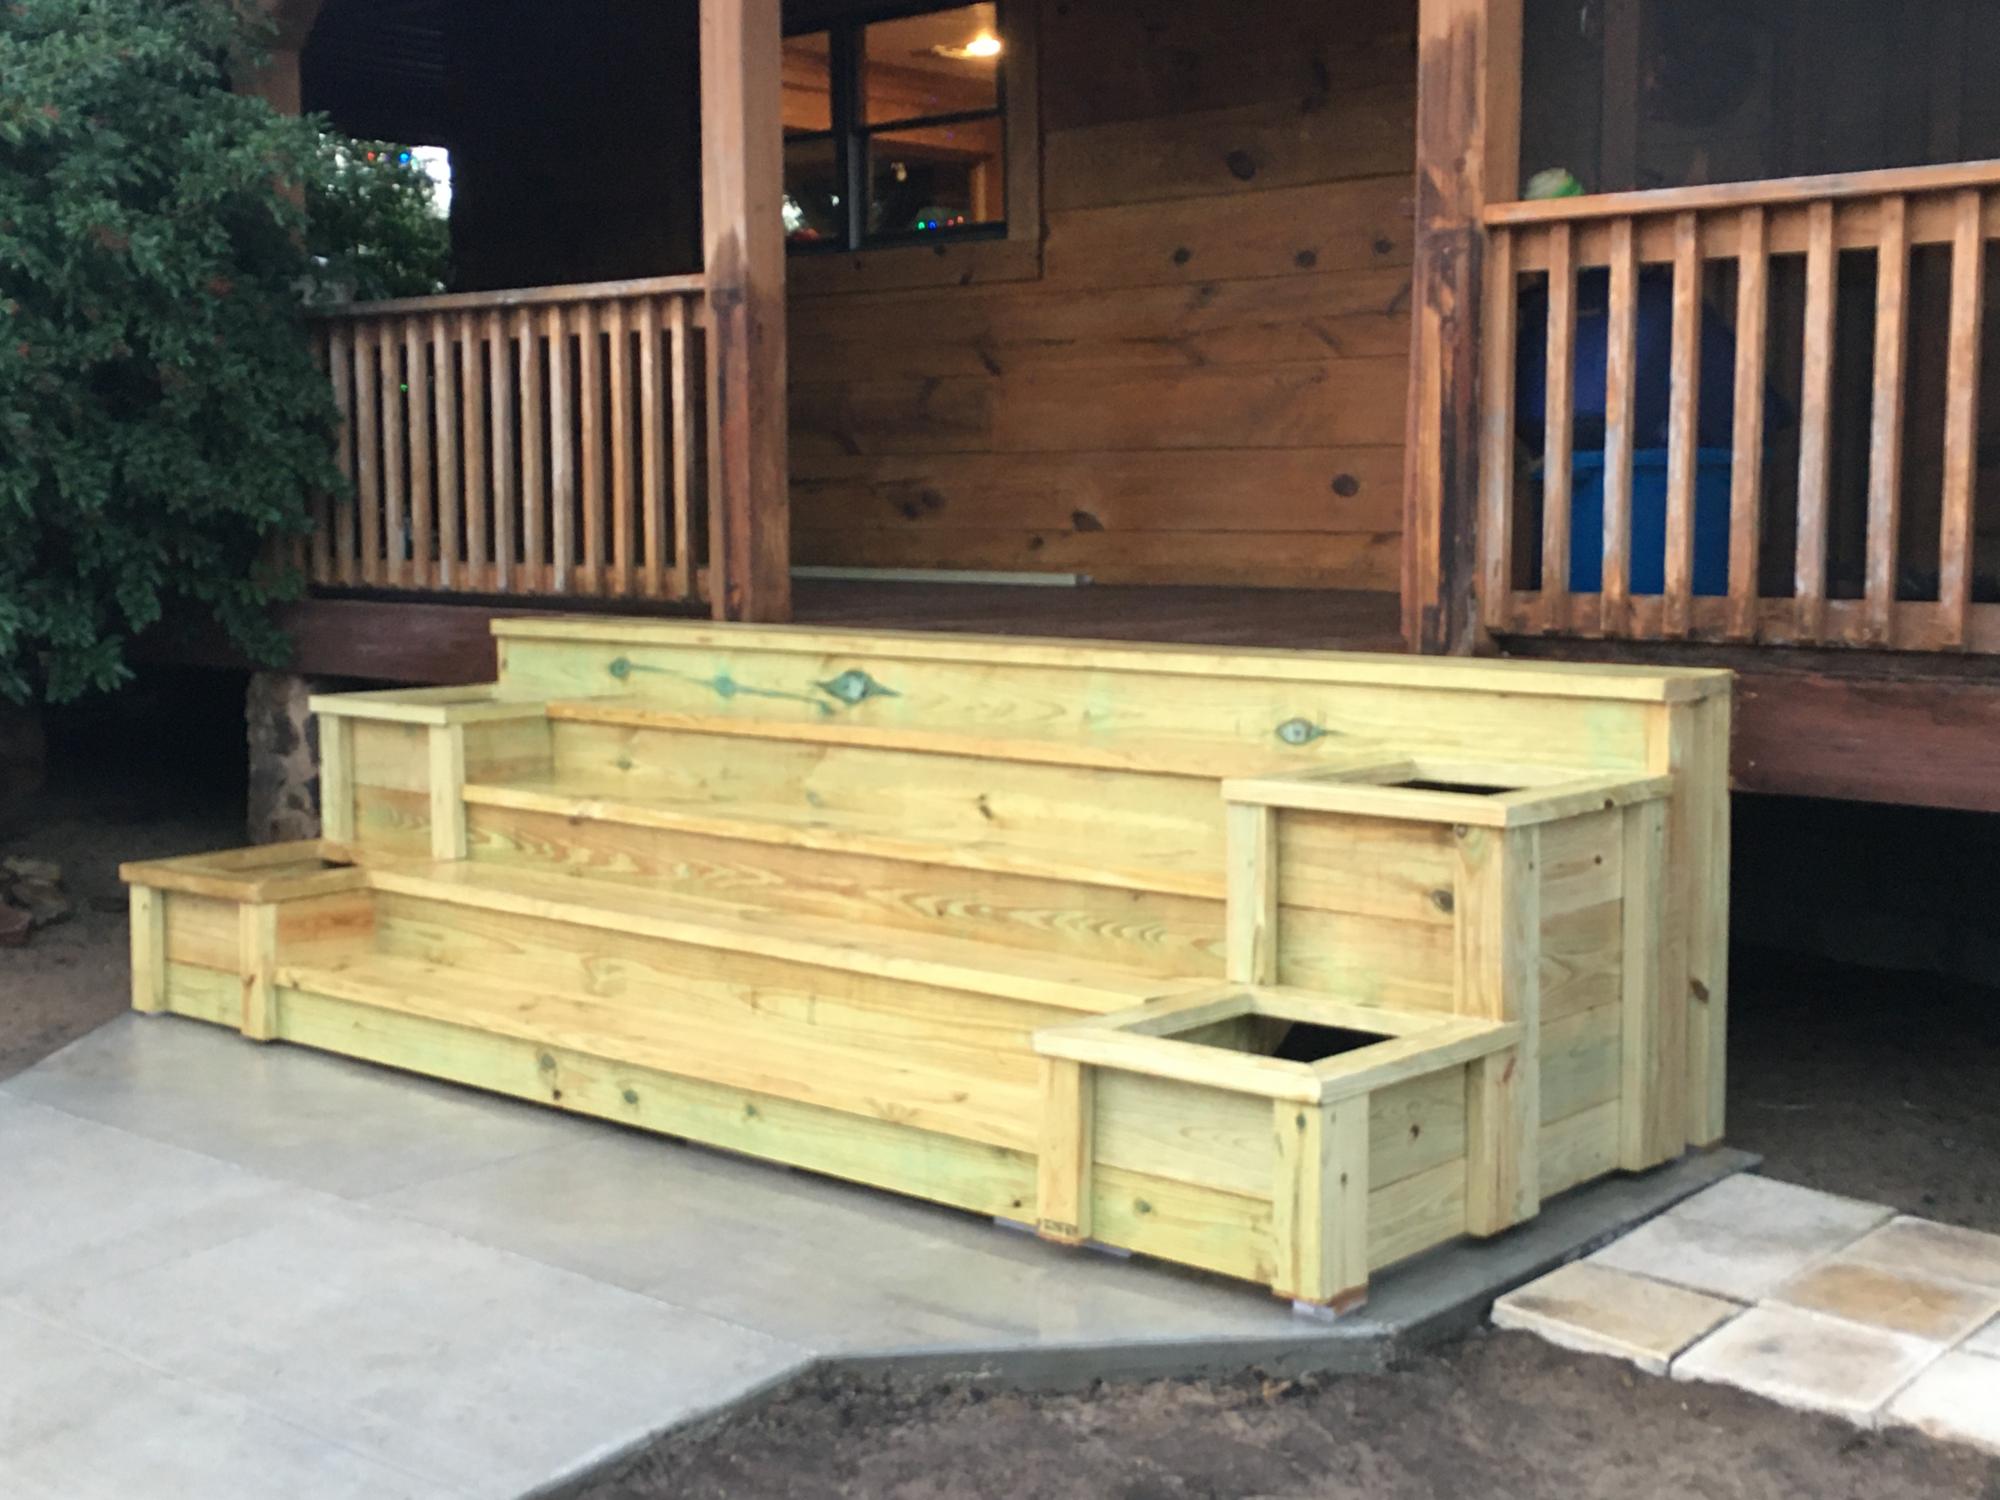
So this was a fun build. I actually finished this 2 years ago, but I never really thought to post it. It took roughly 2 weeks straight to build and stain it, Christmas holiday. I used the kreg jig alot. I also used a ebony outdoor stain. Anyway if y'all have questions let me know and I'll try to answer them as best I can. This was one of my first builds, so be gentle. :)

Built from Plan(s)
Estimated Cost
300.00
Estimated Time Investment
Week Long Project (20 Hours or More)
Finish Used
Ebony outdoor wood stain.
Recommended Skill Level
Intermediate

Easy Industrial Cart

Submitted by LampAtFeet on Thu, 12/12/2019 - 19:06

This was a super easy build, that provides a lot of storage!

Built from Plan(s)
Estimated Cost
$15
Estimated Time Investment
An Hour or Two (0-2 Hours)
Finish Used
Dark walnut stain with a coat of wipe on satin polyurethane
Recommended Skill Level
Starter Project

4 Person Sewing Table

Submitted by Anonymous (not verified) on Thu, 08/17/2023 - 13:19

Four station sewing table. Each station separated by a 15” 3 drawer cabinet. Blind corner includes a pull out shelf/book case which doubles as support for the back corner. Long end supported by a bookshelf which is turned 180 from the original design due to other furniture placement that can easily be changed later. Short end supported by temporary legs. 5th station and additional 5ft. of cabinets on the way. Roughly 10ft x 8ft x 26in. x 31in. high. Wife saw similar on Pinterest which was tagged Ana White but only found brag post so used imagination and basic cabinet design plans modified to meet my size requirements.

Pops’ Workshop

Outdoor adirondack side table

Submitted by Elishia82 on Thu, 03/29/2012 - 11:32

This was my very first furniture-building project. I was pleasantly surprised with how it turned out! It's definitely not perfect, but with some practice I plan to try bigger projects! It was a little more expensive than I would have liked because I had to buy a pocket hole kit that was $40, but hopefully I will be able to use the kit for future projects.

Built from Plan(s)
Estimated Time Investment
Afternoon Project (3-6 Hours)
Finish Used
Rustoleum white spray primer (1 can, 2 coats), Rustoleum satin eden spray paint (1 can, 2-3 coats), and Minwax helmsman spar urethane clear gloss spray (1 can, 2-3 coats)
Recommended Skill Level
Starter Project

Debbie's Fancy Farmhouse Bed

Submitted by Debbie440 on Thu, 01/16/2014 - 05:50

I followed the plans exactly except I used 4X4's for the "footboard' legs. I added molding to all the feet. I also added screw in fence top posts to the footboard legs. I had a small blemish I wanted to hide on the headboard, so I added wooden appliques to cover the mark.

To make the bed easy to move and store, I bought bed rail fasteners from this site http://www.wwhardware.com/wood-technology-bed-fittings-wt8056.

Built from Plan(s)
Estimated Cost
$200.00
Estimated Time Investment
Week Long Project (20 Hours or More)
Finish Used
Minwax Polyshades Bombay Mahogany
Recommended Skill Level
Beginner

Buffet Table!

Submitted by Michael K on Fri, 04/08/2016 - 11:32

DIY Buffet Table! Our last edition to the dining room. Very happy with how this one came out! Its all Oak with Special Walnut stain and hardware from Home Depot. We needed this piece to store our fine china we received from our wedding. Still haven't eaten on them yet. . . Anyway! I was inspired by the planked sideboard plan and made it my own. My shelves are straight across and I went for the barn-styled cabinet look. Pretty much used all the tools in my arsenal for this one! Used a belt sander for the first time to make the top perfectly level. Hated using it, to be honest! It really shreds the wood. Other than that, I have another piece to be proud of. Thanks for the inspiration!

Built from Plan(s)
Estimated Cost
$400
Estimated Time Investment
Week Long Project (20 Hours or More)
Finish Used
Miniwax Special Walnut,
Satin Spar Urethane,
Sanded lightly with 400 grit and buffed out with #0000 steel wool, soap and water
Recommended Skill Level
Advanced

Comments

Island Organizer Cart

Submitted by Anonymous (not verified) on Mon, 08/21/2023 - 09:42

Hello, Ana.

This is my first share and I plan to share more eventually. First, please know how much I appreciate your willingness to share with and motivate your followers. Thank you.

As for the cart I am sharing, I do not have any plans other than the ones that were in my head so the cart would fit under the stainless steel top. My wife wanted more surface and storage space next to the electric stove in our camp here in Maine. We purchased a used stainless steel table from a restaurant supplier, removed the legs, and prepared the underside of it so it would attach to the cart. In case it is not clear from the two photos, one end is for her cookbooks, the opposite end has a place for the garbage can and a drawer for various kitchen necessities. One long side has drawers where she puts pots and pans. The other side has a place for her to hang her heavy iron fry pans.

I learned a lot from making this and I'm happy to share it with you.

Frank

Poker table with hiding beverage holder

Submitted by jasonr on Mon, 04/02/2012 - 12:48

*I did not have any plans to work from*
the cost really depends on how much you can get your wood for. I had a lot left over from previous projects, so $500 is only a low guess.

This is the second of 3 poker tables built.
Each side is 24"
the table measures 58" across
Some of the accompanying photos of the build were from my first table, but thought they might help.

I purchased a foam pad and "speed cloth" from a local poker supply store. The slide away bev. holders are kept in place with rare earth magnets

If you need any specifics, I'll try to help

Estimated Cost
500+
Estimated Time Investment
Week Long Project (20 Hours or More)
Finish Used
tung oil-
start with a 50/50 mix of turpentine and tung oil and rub into the wood. It will dry fast and absorb quickly. Wipe off excess after 15 minutes (if any). Allow 24 hours between coats. Sand with 220 grit and rub in tung oil with a few drops of japan drier. I add 1ml of japan drier to 40ml of tung oil. Allow oil to sit for 15-20 minutes before wiping off oil. Buff with cloth and allow another 24hrs. Sand with 0000 steel wool and repeat application process. Continue everyday until the desired finish achieved
Recommended Skill Level
Intermediate

Comments

carcreek

Tue, 02/25/2014 - 10:12

If you have plans for this poker table I would love to see them! Beautiful table.

Command Center

We built this command center to hang in our kitchen so that we can organize incoming papers and jot notes on the chalkboard portion. Also a hook for keys!

Estimated Cost
Less than $50
Estimated Time Investment
Day Project (6-9 Hours)
Finish Used
Flat paint and primer in one; chalkboard paint
Recommended Skill Level
Beginner

Mimi's Entryway Storage Bench

Submitted by Lefty0971 on Sun, 12/22/2019 - 07:54

Love how this project turned out.  Looks amazing in our entryway.

Built from Plan(s)
Estimated Cost
$250
Estimated Time Investment
Weekend Project (10-20 Hours)
Finish Used
Minwax Classic Black -Satin

Minwax Red Chestnut
Recommended Skill Level
Intermediate

Comments

Outdoor Daybed with Canopy

Submitted by Anonymous (not verified) on Sat, 08/26/2023 - 12:27

I built this slightly modified Daybed using 4x4’s for the legs instead of 2x4’s. I really like the solid look the 4x4’s provide. Can’t wait for the weather to get cool enough in the south to sit outside.

Braden Turner

Built from Plan(s)

Standing Desk

This is my very first build which was inspired by this website. I have been wanting to build something for a while but was pretty scared. In any case, my husband really wanted a standing desk for our office corner in our little house. After browsing forever and not finding anything I liked in store I decided to build. The entire project was built from materials we had laying around in the shed (1 - 1x2, 4- 2x4 and 3- 2x8 pieces for the desk top).

Built from Plan(s)
Estimated Cost
10$
Estimated Time Investment
Weekend Project (10-20 Hours)
Finish Used
Wood-Sheen stain and Glossy White paint
Recommended Skill Level
Starter Project

X Console Table

Submitted by Bob_Ross on Mon, 01/20/2014 - 18:25

This was my first Ana White project, and i'm hooked! this was a lot of fun, and i've already done several other projects since.

As with any of these, the straighter and flatter the wood, the better the whole thing goes!

Built from Plan(s)
Estimated Cost
100
Estimated Time Investment
Weekend Project (10-20 Hours)
Finish Used
rustoleom kona and minwax satin poly
Recommended Skill Level
Beginner

Rustic X Console Table

Submitted by Anonymous (not verified) on Wed, 04/13/2016 - 17:17

I've always loved the Xs in this table. I needed to make mine a little shorter, and I took out the middle shelf because I didn't need so much shelf space. But I love it. Thanks so much for the great plans!!

Built from Plan(s)
Estimated Time Investment
Weekend Project (10-20 Hours)
Finish Used
I used Sherwin Williams Pure White on the bottom and my stain technique on the top with Minwax Special Walnut. Check out the stain technique here. http://inbetweenchaos.com/2016/04/10/farmhouse-vintage-stain-technique/
Recommended Skill Level
Intermediate

Comments

Planter Porch Steps

Submitted by kstarbird on Thu, 12/26/2019 - 15:06

Plan modified to be built on stringers due to hight. 

Finish Used
Pending

Comments

Seasonal And Holiday

DIY Campsite Outdoor Storage and Grill Station

Submitted by Anonymous (not verified) on Thu, 08/31/2023 - 11:28

We made the grilling station to keep at our seasonal campsite and it's absolutely fantastic! We have since added some L brackets and 2 shelves, and this is where we store our extra cases of water, soft drinks, outdoor cooking utensils plus an air fryer! Super easy plans, with well written instructions for even the novice (me and hubs) diy builders!

Ali W.

Workbench Console

Submitted by old_man on Sun, 04/08/2012 - 10:31

I saw this and thought I would give it a try. First time building furniture out of dimensional lumber. Worked out for the most part. I forgot that wood dries and shrinks along its width so there are a few small gaps that eventually appeared in between the boards. I am sure they will disappear once summer's humid air arrives. All in all it was pretty straight forward. I switched which side has the towel bar and I modified the bottom shelf to accommodate wine bottles for easy storage. I had fun.

Built from Plan(s)
Estimated Cost
$80ish more if you have to buy stains and can't use scraps for the little pieces of wood.
Estimated Time Investment
Day Project (6-9 Hours)
Finish Used
Minwax dark walnut stain with 3 coats of gloss poly.
Recommended Skill Level
Starter Project

DIY Faux Mantle /Fireplace

When I first saw Mimi's Faux Mantle I dreamed about building one for my house but I didn't know where. When I began renovating my Master Bedroom I found the perfect place for it on a bare uninteresting wall.

To add interest to the mantle, I stained the top and attached a faux hearth using a 1x12 painted the same color as the rest of the mantle. I also Diy'd a distressed mirror glass insert to bounce the lighting off. I added low voltage LED lights too.
It turned out better than I expected.

Visit my blog http://thepursuitofhandyness.com for a full tutorial of the building process and the distressed mirror glass.

Estimated Cost
$25.00 - $75.00
Estimated Time Investment
Day Project (6-9 Hours)
Finish Used
Behr Silky White in Satin & Rustoleum Ultimate Stain in Early American mixed with Dark Walnut. Sealed with Rustoleum Ultimate Polyurethane in Satin.
Recommended Skill Level
Intermediate

Comments

Back