Easiest Upholstered Bench
This is the first project my husband and I tried from Ana's site. We did add a foam on top and around the edges since we have two little kids running around. I then tufted it and absolutely love the way it turned out.
This is the first project my husband and I tried from Ana's site. We did add a foam on top and around the edges since we have two little kids running around. I then tufted it and absolutely love the way it turned out.
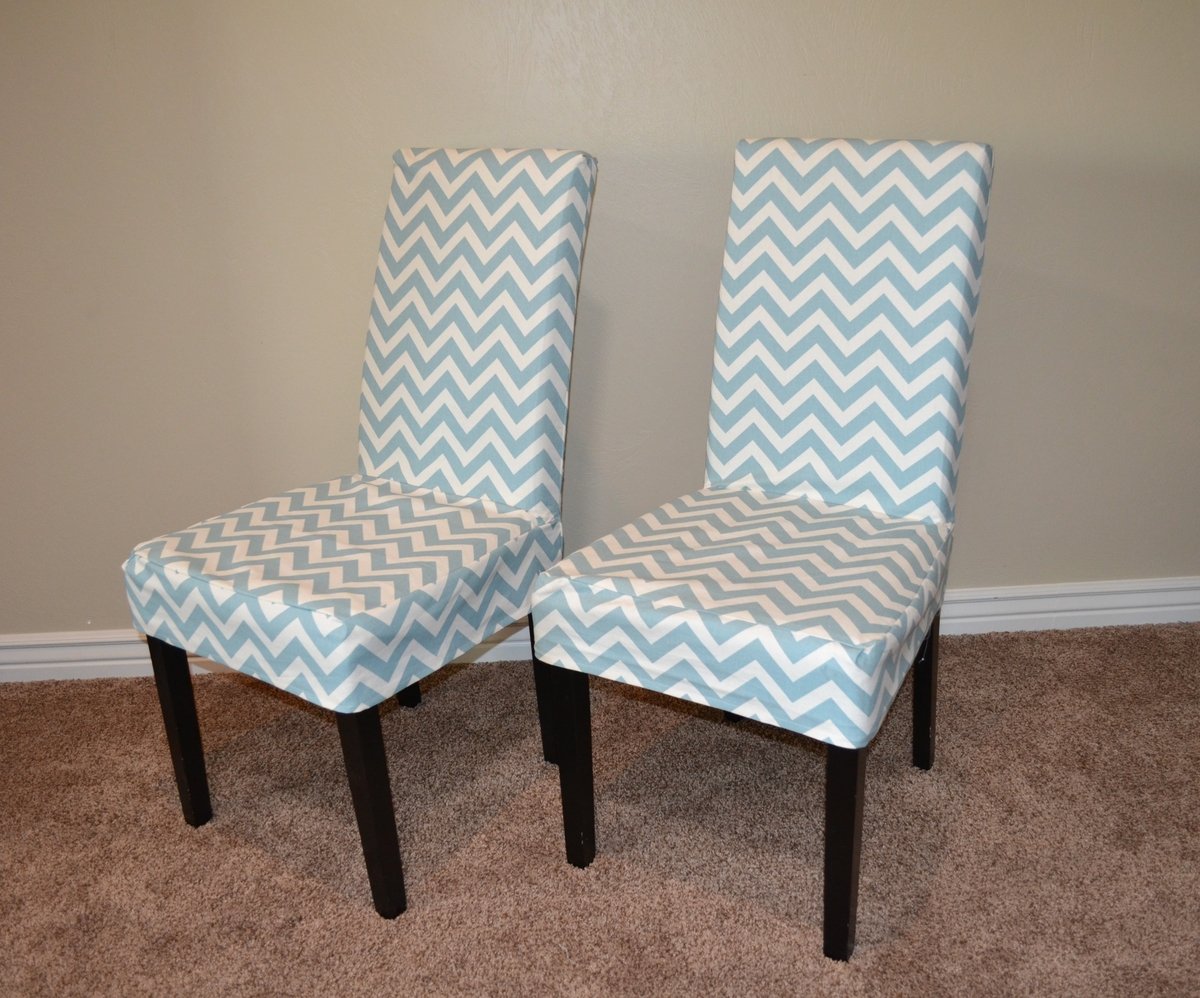
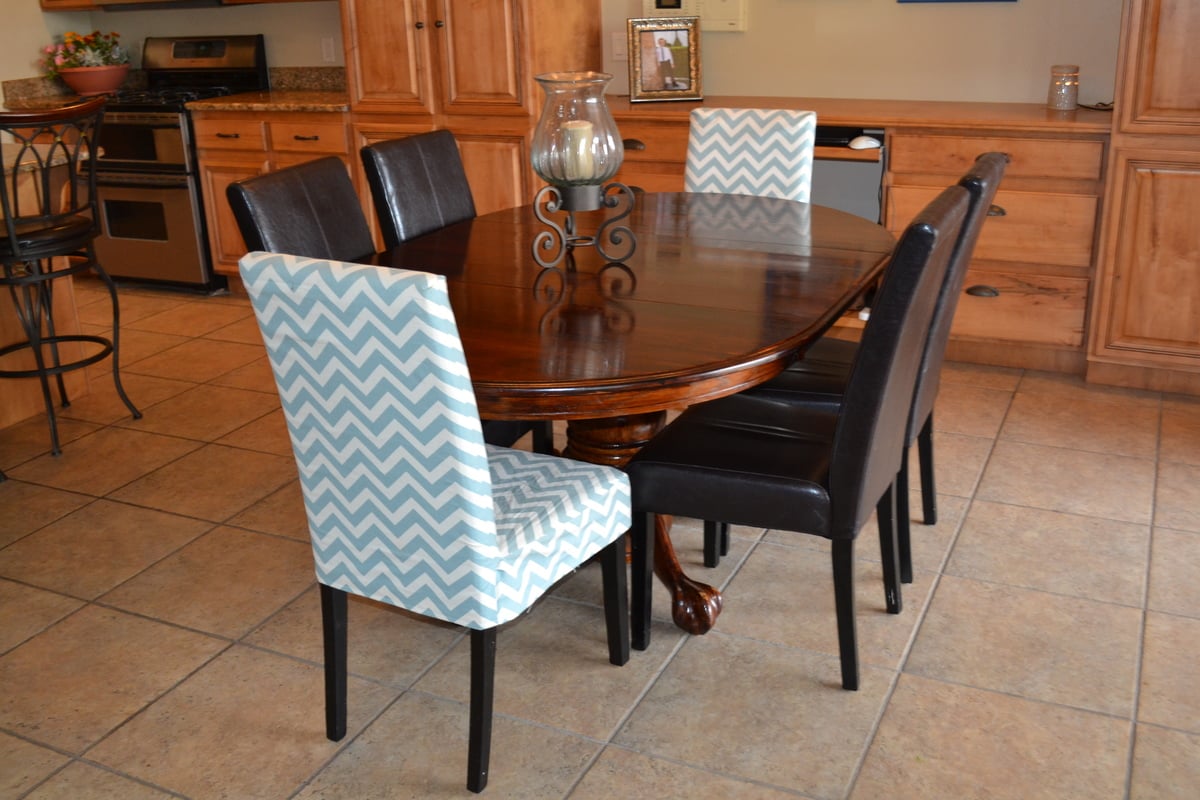
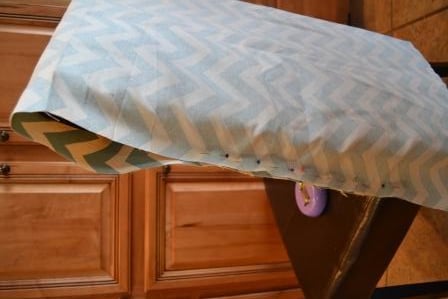
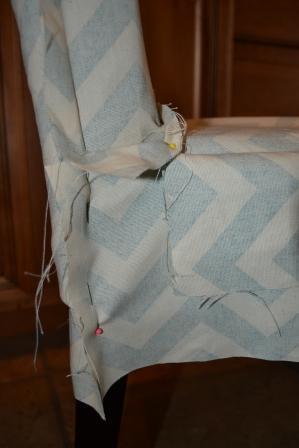
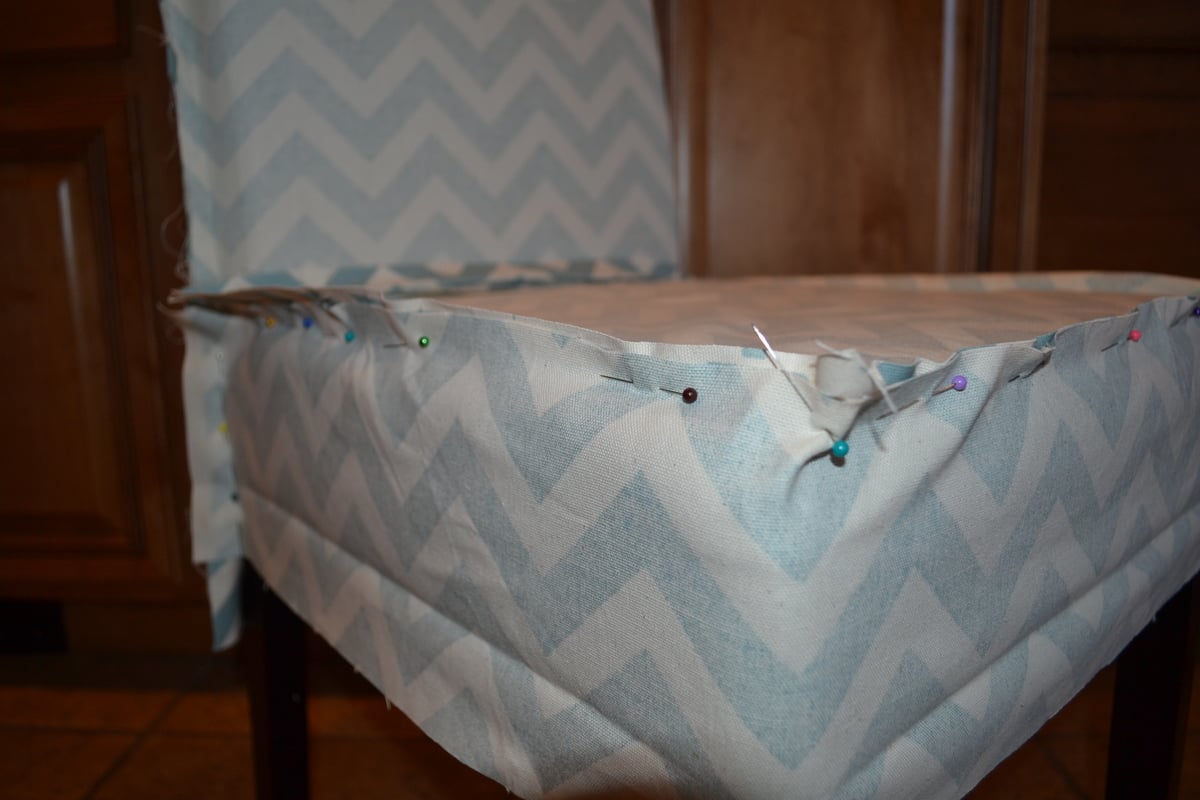
Slip Covers were easy peasy to make and really spruced up my kitchen table with some much needed color. Follow all the detailed steps on iamhardware.com.
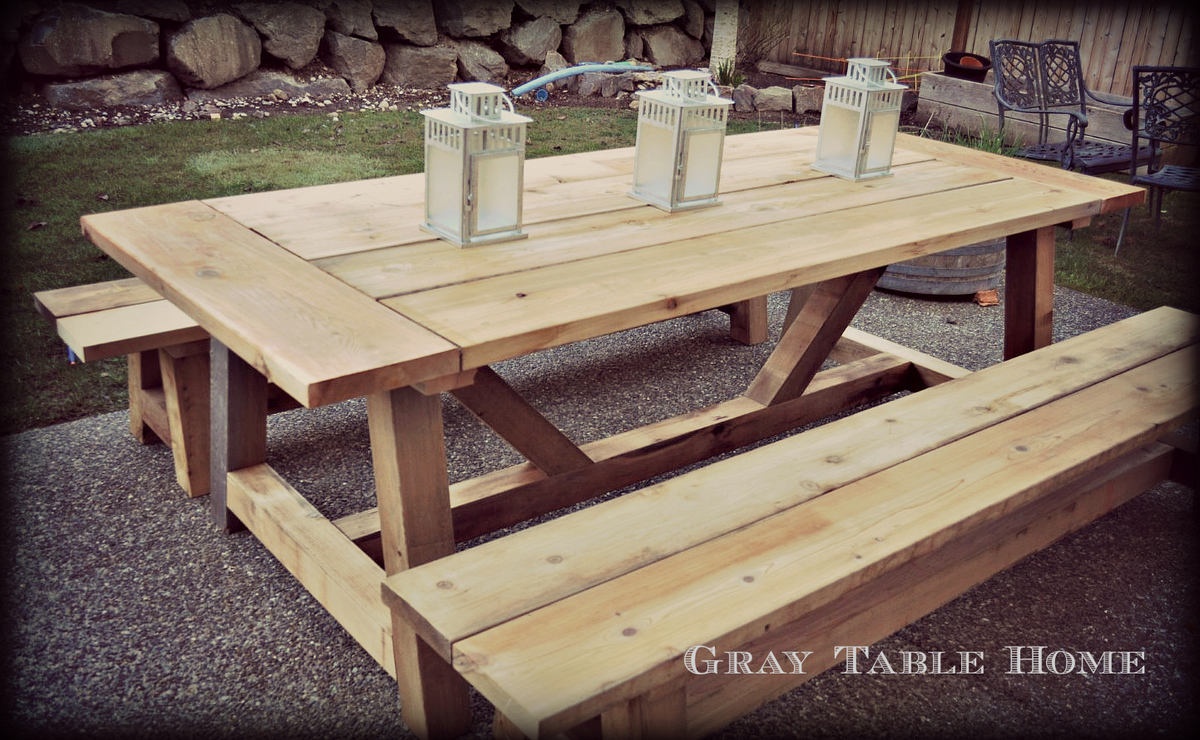
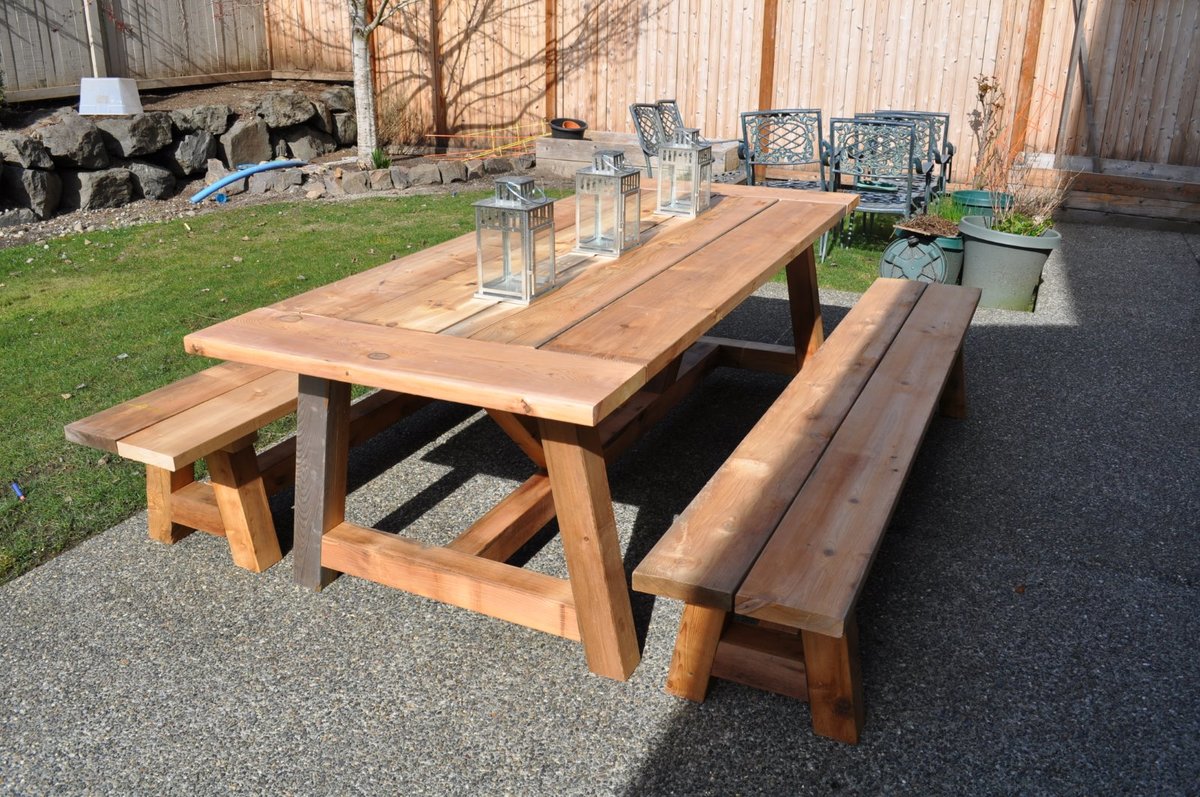
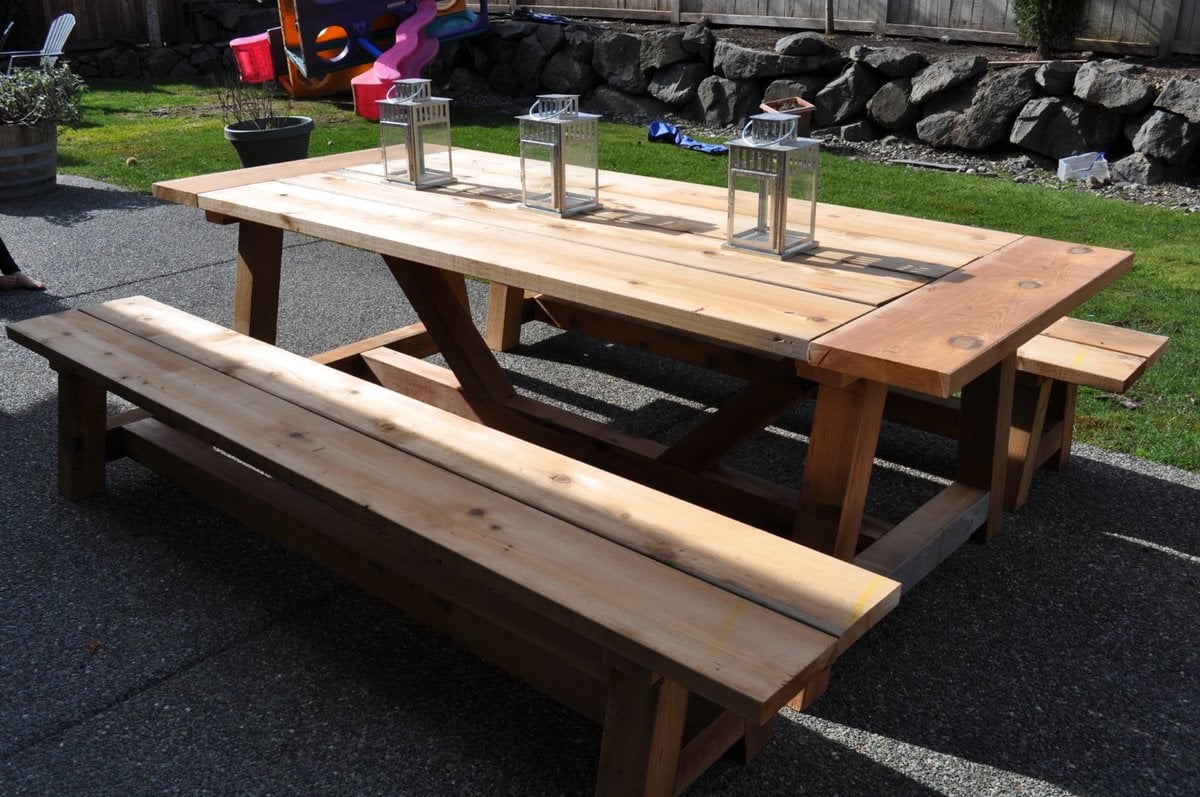
Hi! I was truly inspired by the plans I found at this site and the many brags that I saw! I have now built this table set a few times (first for myself, then for friends & family) and learned a lot each time. The things I have modifiied include...
1) Length = make it longer or shorter as space allows (I've done tables from 84" to 108" long)
2) Outdoor table top = because these are being used outdoors, I use screws as spacers between boards so that they have a 1/8 to 1/4 gap to allow for water to run through
3) Breadboard end support = I found that with just the pocket hole screws, my breadboards were a little 'wobbly' so I added Simpson Stong Tie metal plates underneath to reinforce the ends.
4) End length = in order to provide a little more legroom to those sitting at the end of the table, I recently changed the plan so that I would have at least 15" from the table base to the end of the table top (although this pic shows the regular plan with the ~8" overhang)
I really appreciate all of the plans and brags which have been shared by users of this site. Thank you!!!
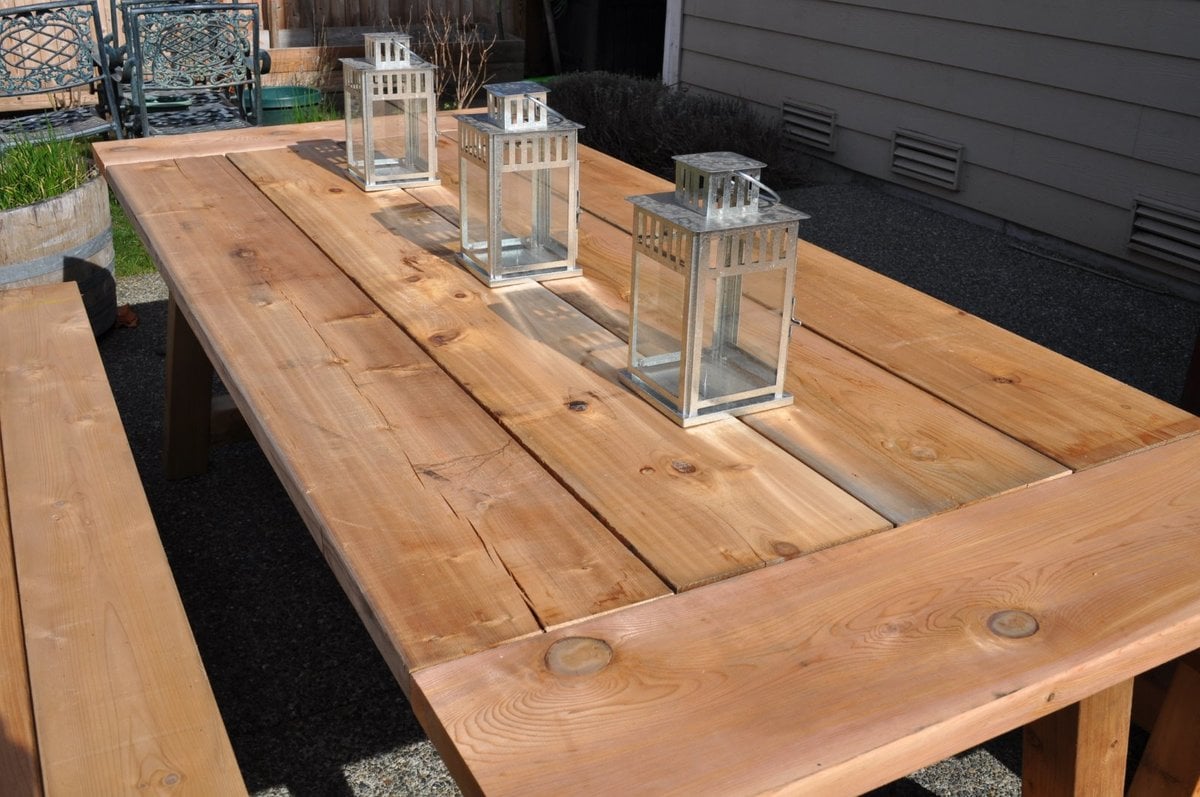
Thu, 04/30/2015 - 21:38
Thank you!!! That sounds about right for the cost - I spent about $425 on my lumber and hardware. Cedar is more expensive, but I was happy with the results. And it still seems like a good 'deal' when you consider what you would get for that price from a store.
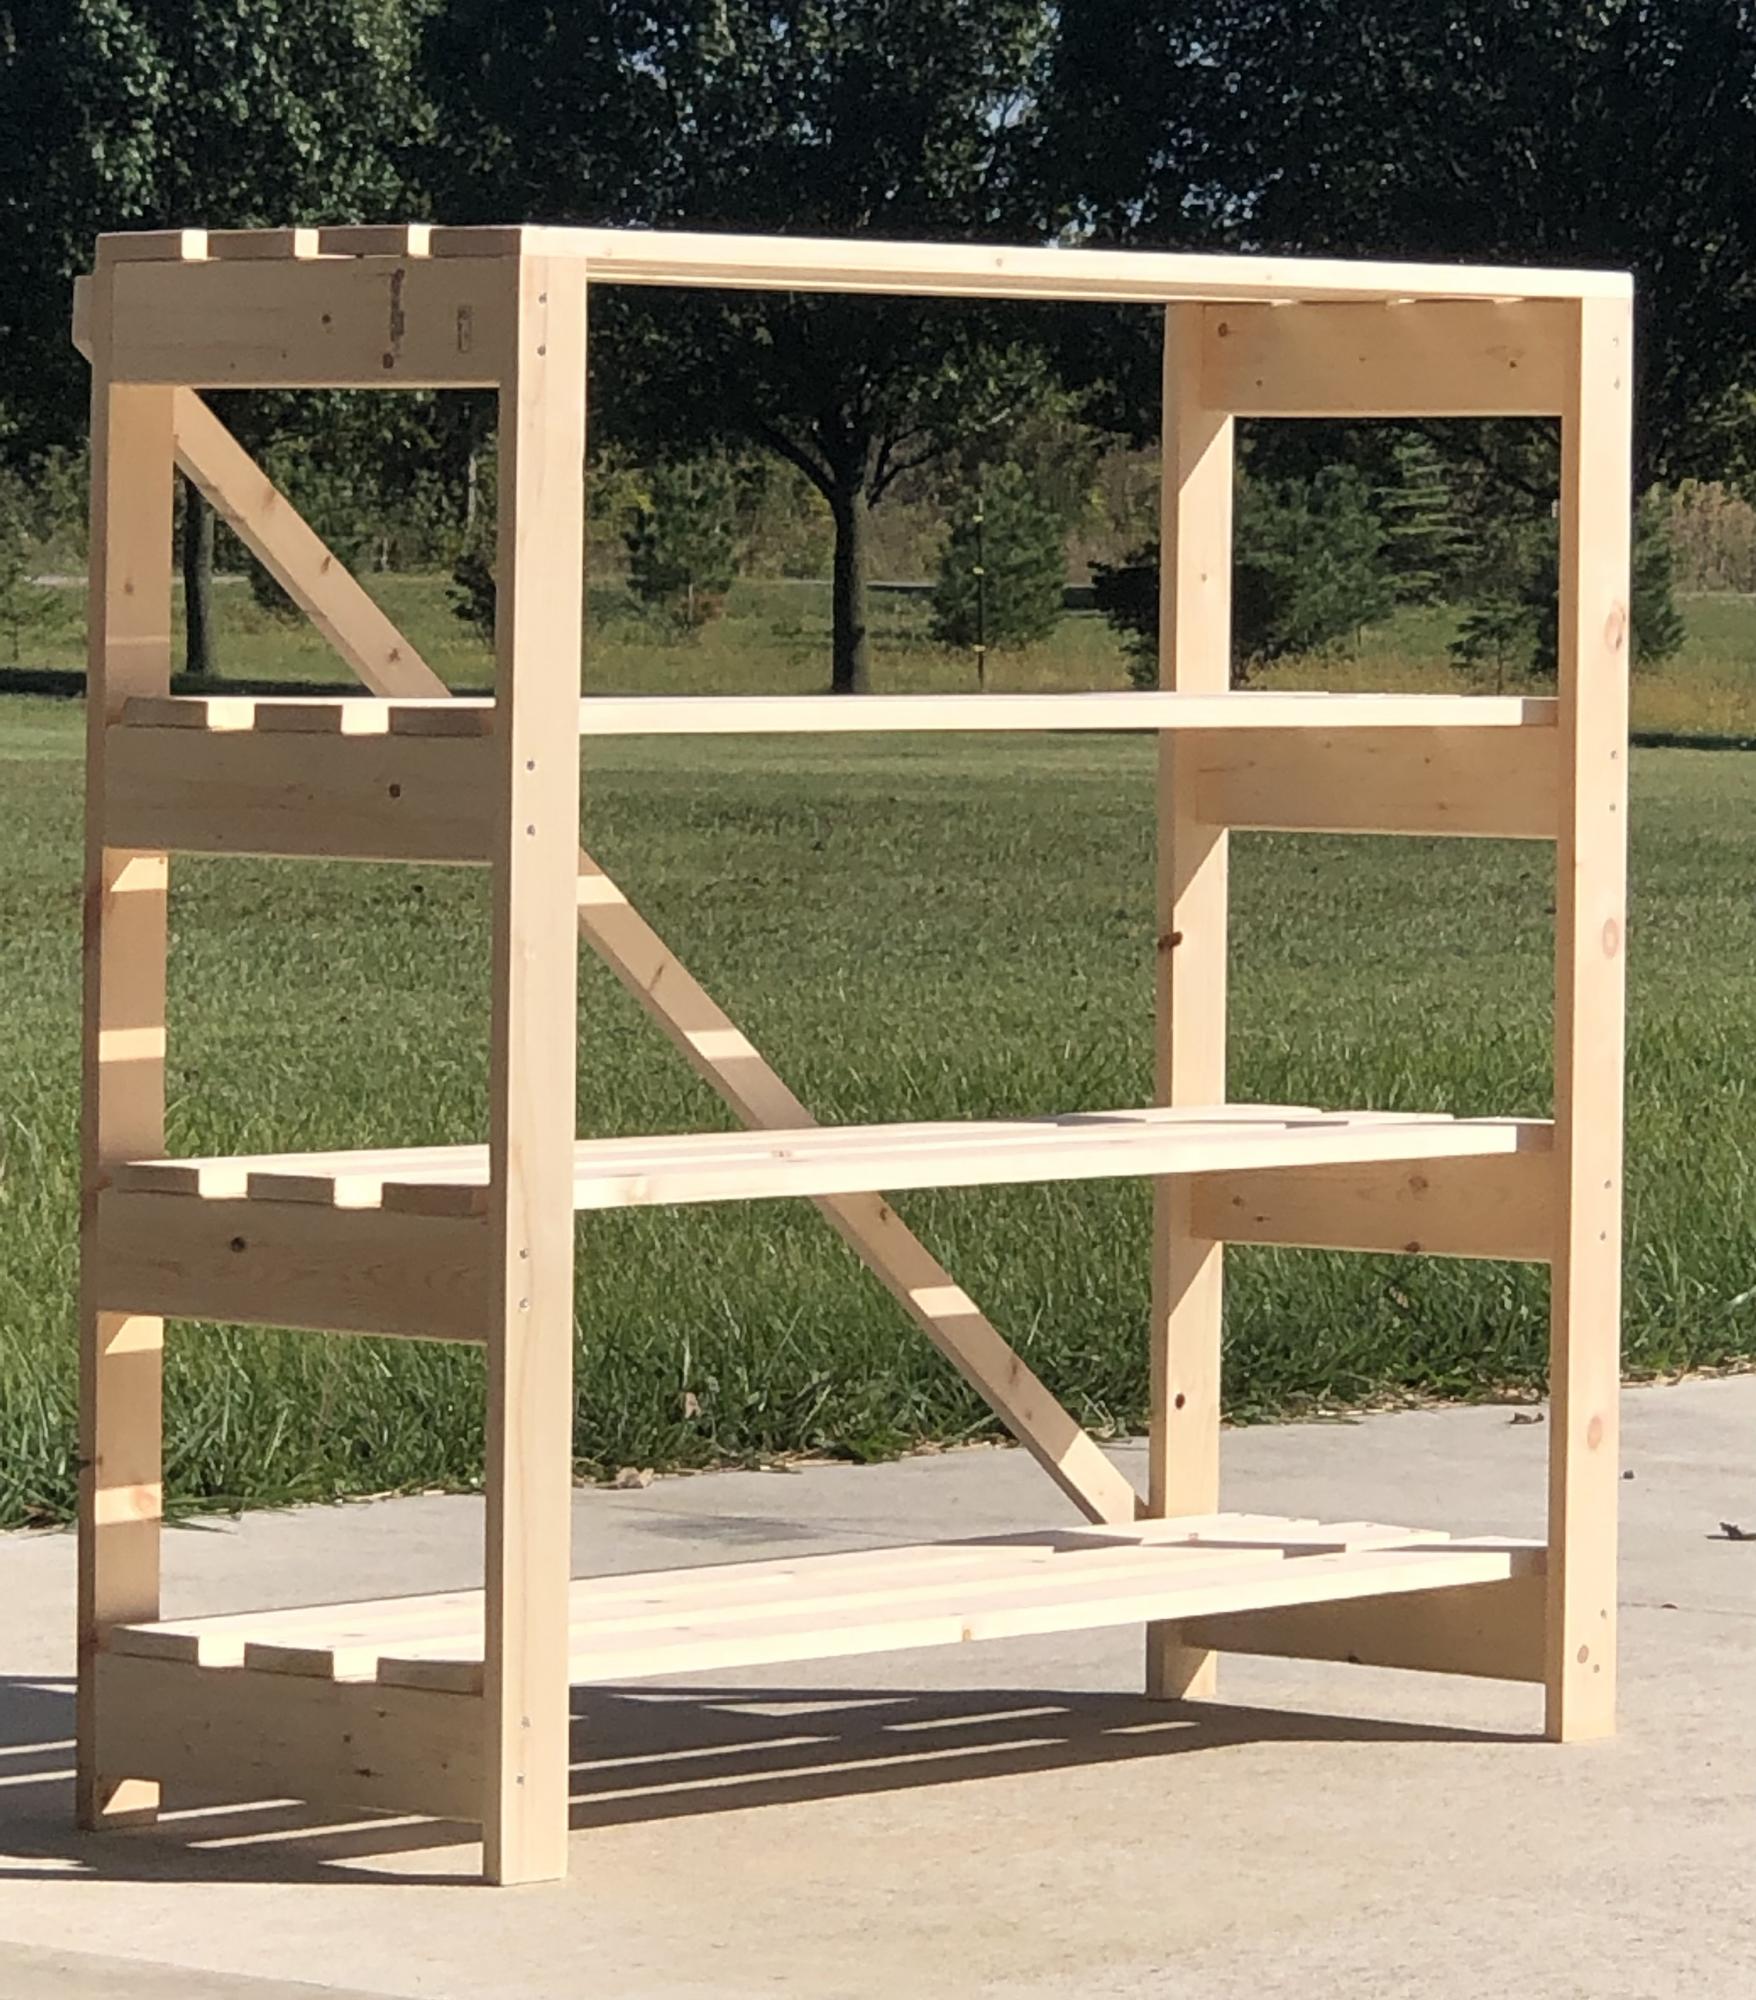
We made smaller versions of your 8 foot shelf. The plans were perfect. Thank you very much
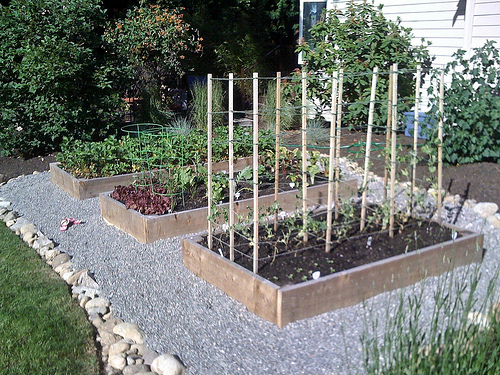
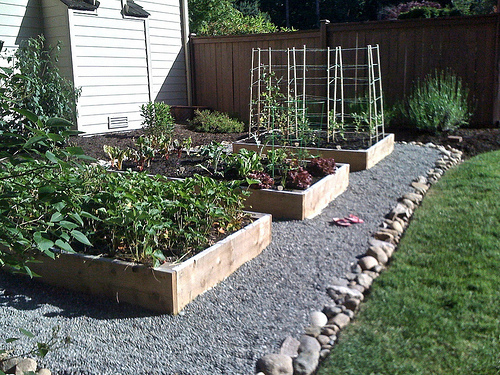
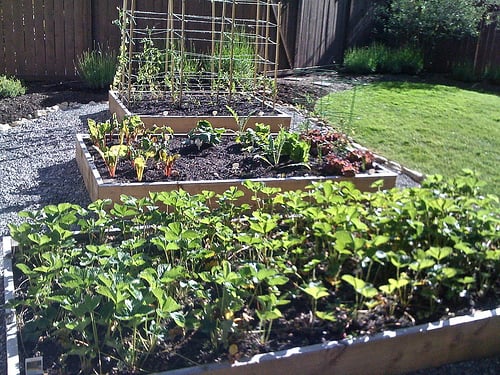
Yay! Here are my raised beds, motivated by Ana White's post. :) I decided to use 2x lumber rather than 1x lumber because I plan to add benches on the ends of each bed. I just love how these turned out! I used Hemlock rather than cedar because it was a THIRD less expensive. Orange told me hemlock would last roughly 5-6 years whereas cedar would last 7-9 year. I staggered the sizes too - first bed (with the strawberries) is 4' x 10', second is 4' x 8' and the third (with the stakes) is 4' x 6'. Hubby hauled in a bunch of pea gravel to surround the beds while the girls and I added rocks from around our yard to the perimeter. :)
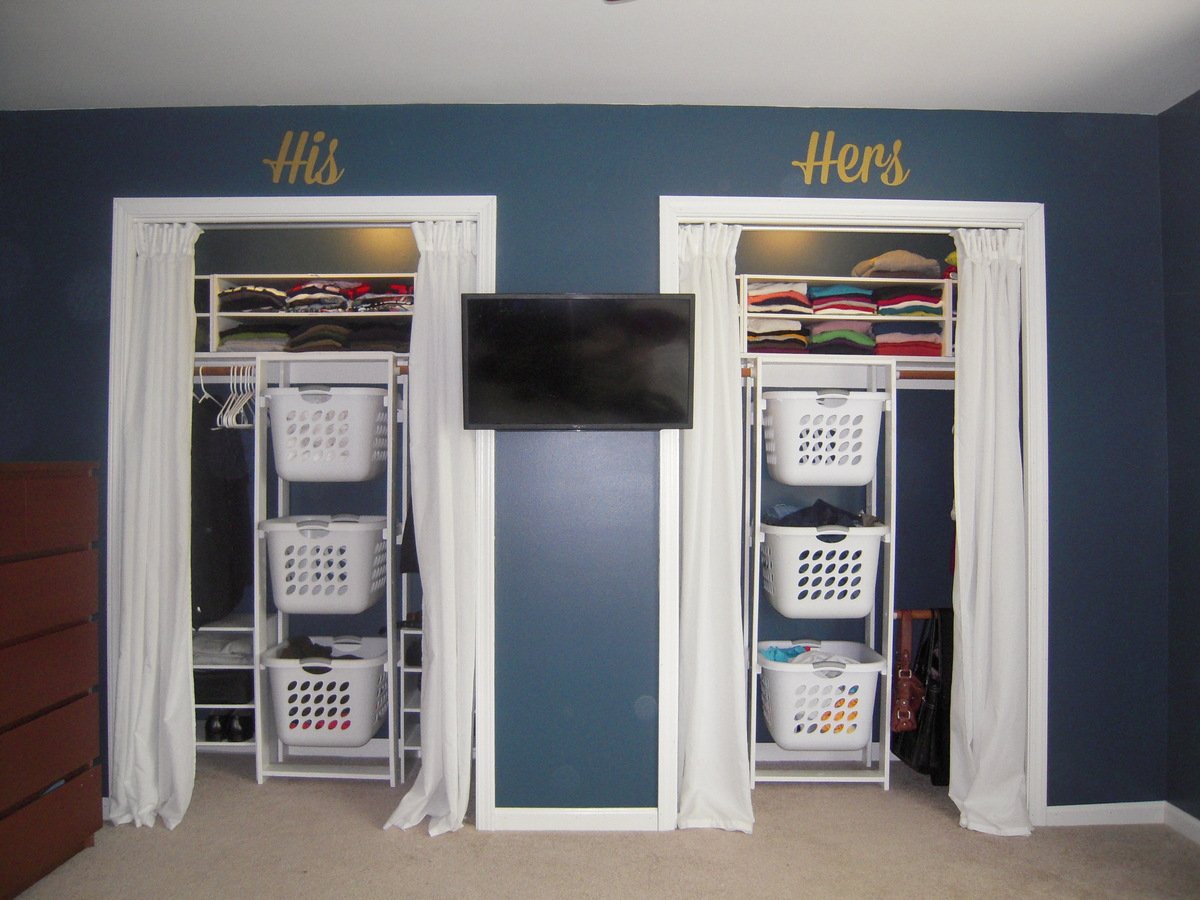
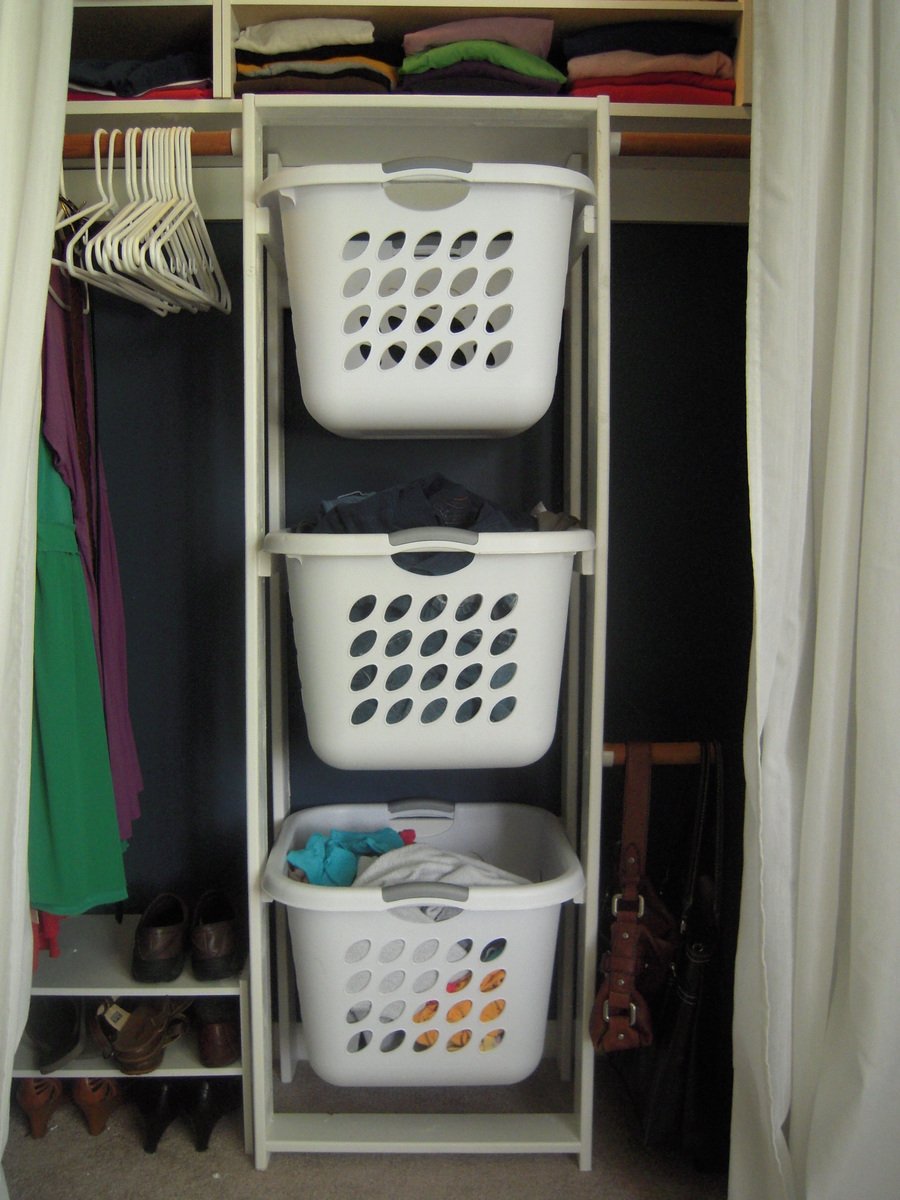
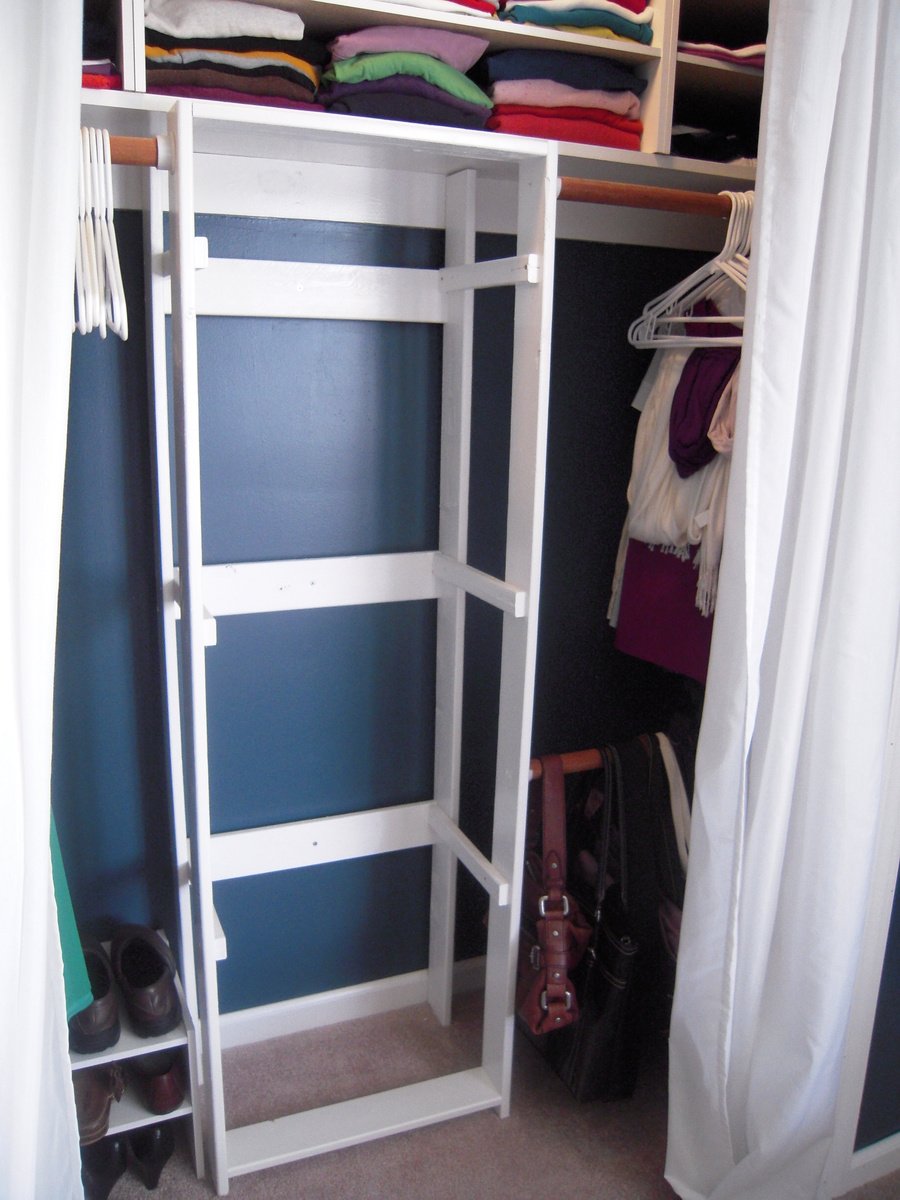
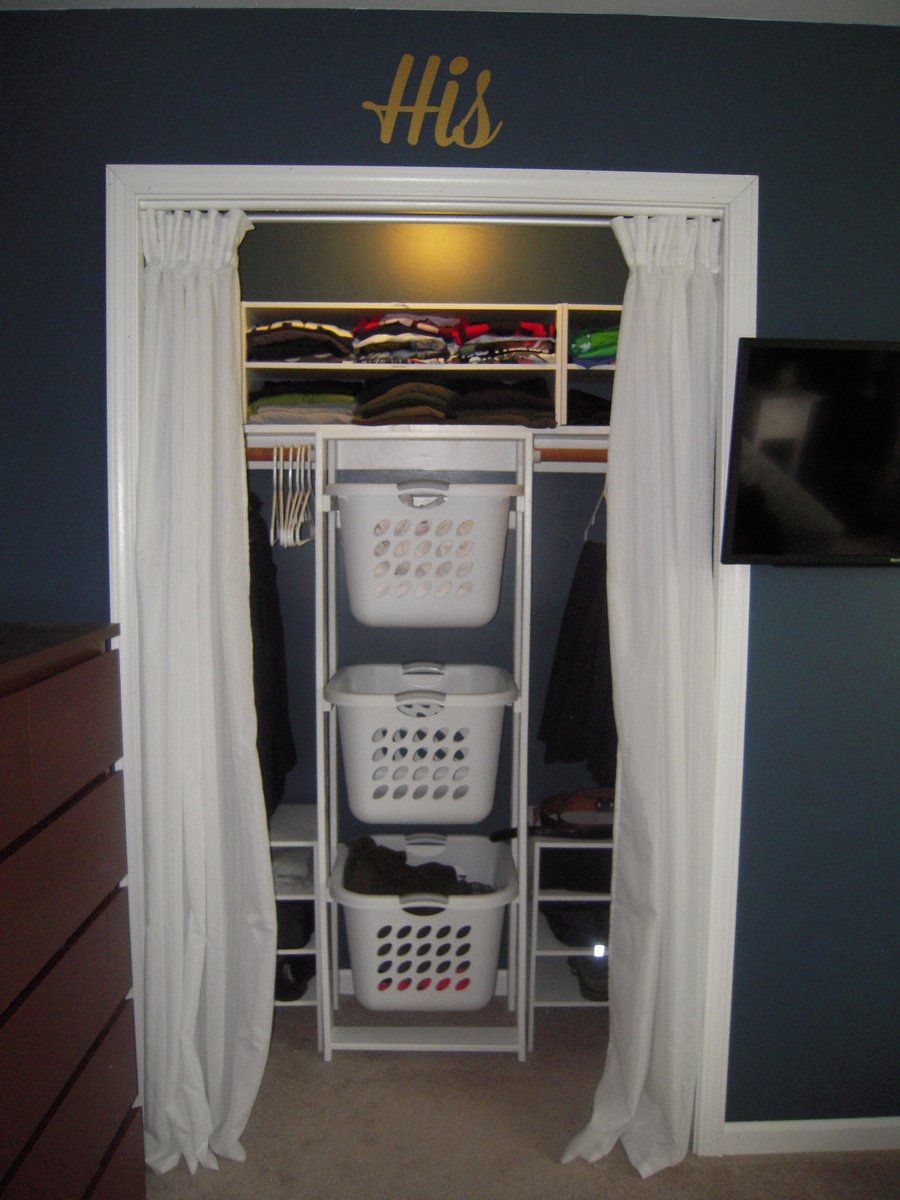
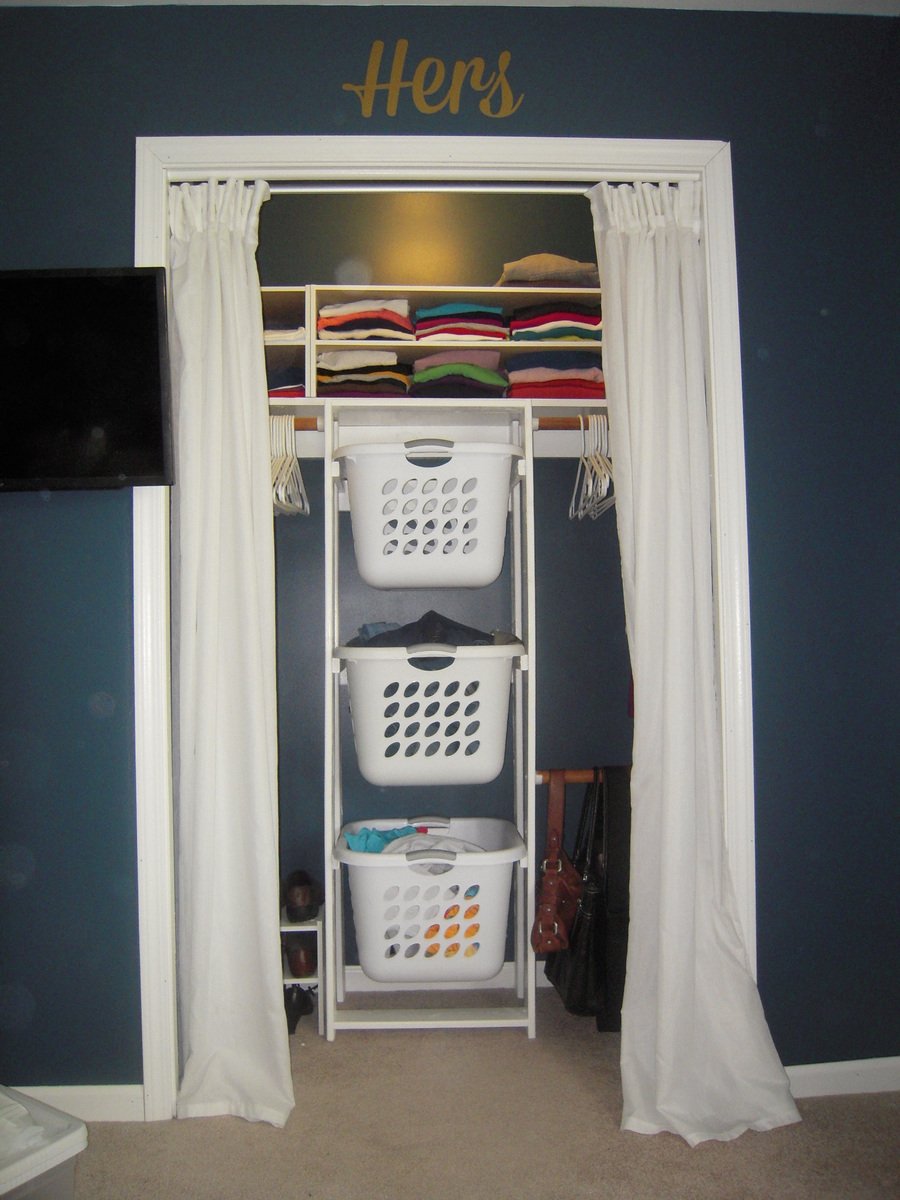
After 3 years of absolutely no closet organization, my boyfriend and I decided it was time. This was our first build together and my boyfriend was amazed that it was so easy to actually build something from wood. We already had 6 baskets that lived all around the room so they needed a home and that's when we found Ana's Laundry Basket Dresser. Knowing that we wanted to hide our dirty laundry in the closet, we found that the plywood box design in the closet made for some very dark corners and little arm room so we needed to modify the plans some. Instead of the plywood we used 1"x4" furring strips to make an open framework for our baskets. It's plenty strong enough and allows light to reach the back corners with the added bonus of looking like custom closet organization.
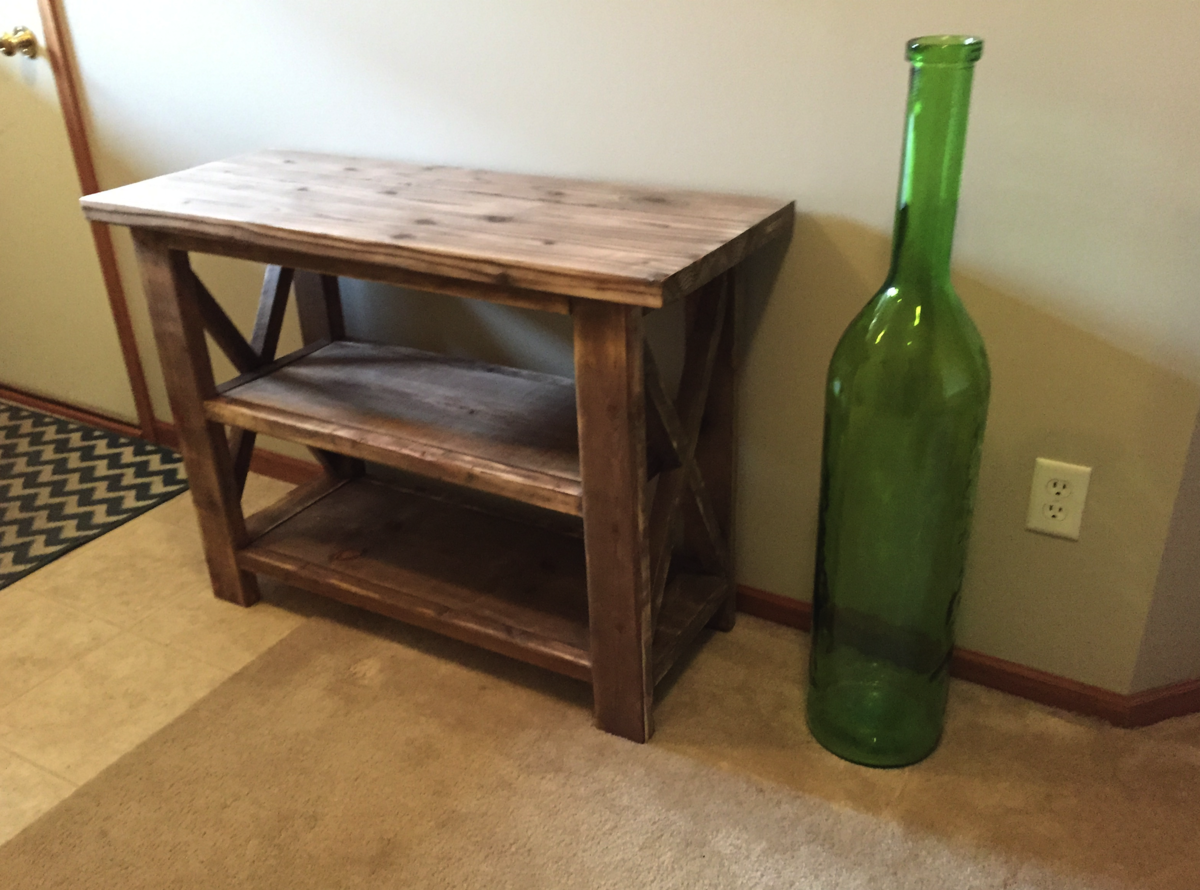
This is a half-width version of the Rustic X Console table on Ana-White.com. The oxidized finish came out purple and needed some sanding. If I build another like it, I would highly suggest sanding the X pieces before assembly. It went together very well and was my first Kreg Jig experience.

So the GF at the time was not happy I was still living out of landry hampers. I promised here I would do something about it. This is what I did. The top hamper is used for soiled clothes, once it's full you simply remove it and bring it to the landry room. The rest just store clean clothes. Simple and effective.
The hinges and latches are just outdoor gate hardware found at any of the big home improvement stores. The wood is just construction lumber. 4X4 for the frame, 1X6 strapping for the panels, and I think there are some 2X4s and 2X2s for the rails. Overall it took me a weekend and then some. I had to build it in two pieces to get it out of the basement, it is really heavy. I used higher quality hampers that had the regidity needed to be able to slide partially out and not buckle.
Hardest part was figuring out the dimensions. How many 1X6s would be used vs how wide the hampers are.
It's still being used over a year later.


My very favourite thing to build, so cheap and simple.
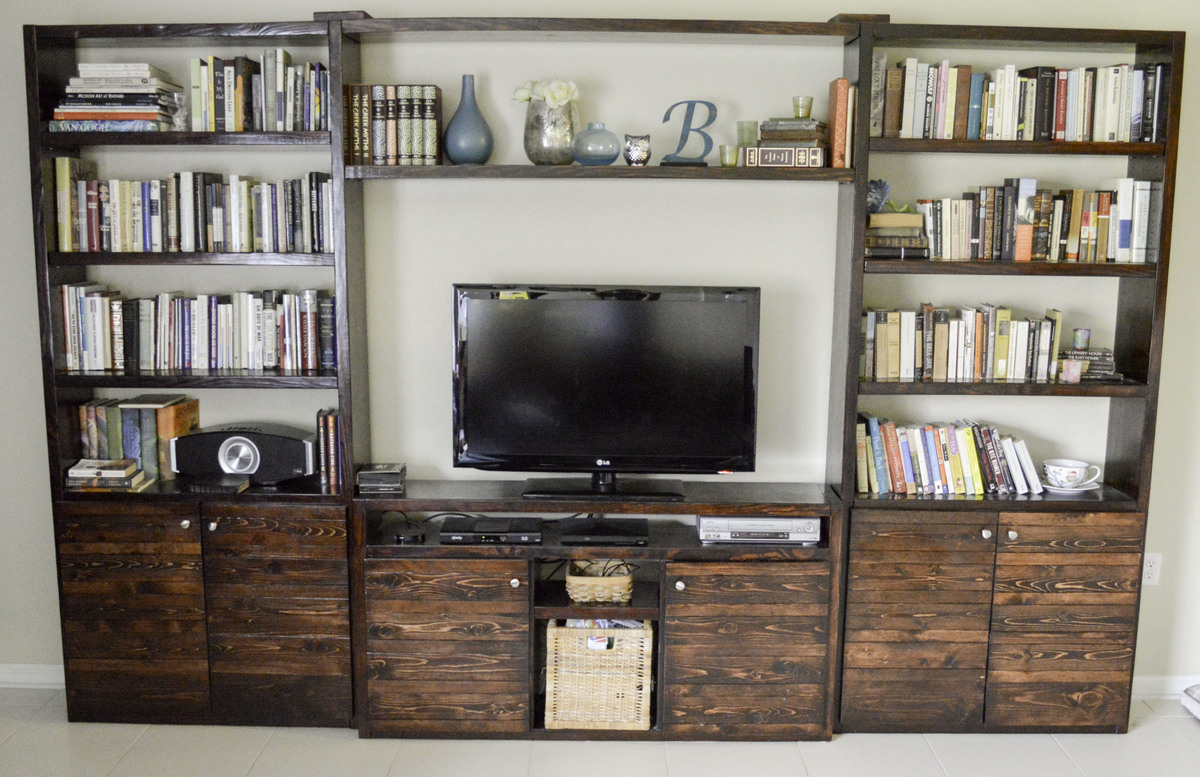
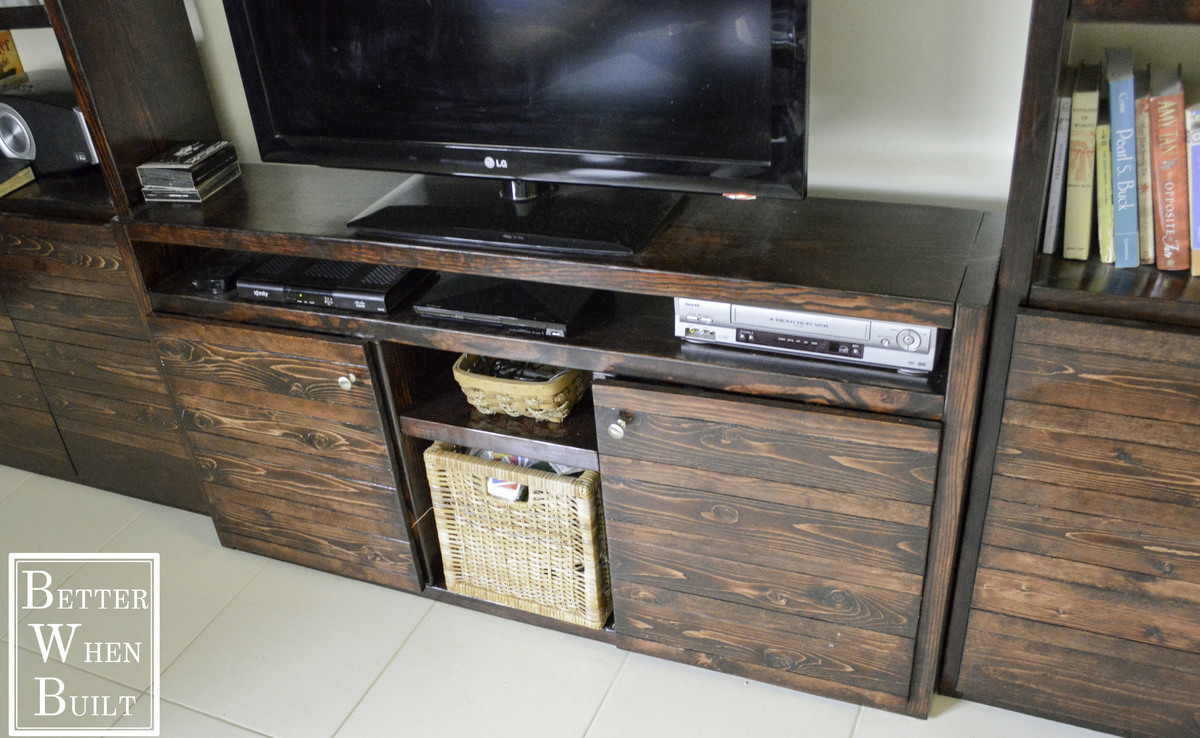
The IKEA Lack Inspired Bookcase plans became my inspiration for the entire entertainment center. I made a few changes to the bookcase plans. I increased the height of the bookcases to 84 inches and added adjustable shelves. I also included some major extras including a console for the TV, a bridge to connect the bookcases, and doors inspired by www.shanty-2-chic.com.
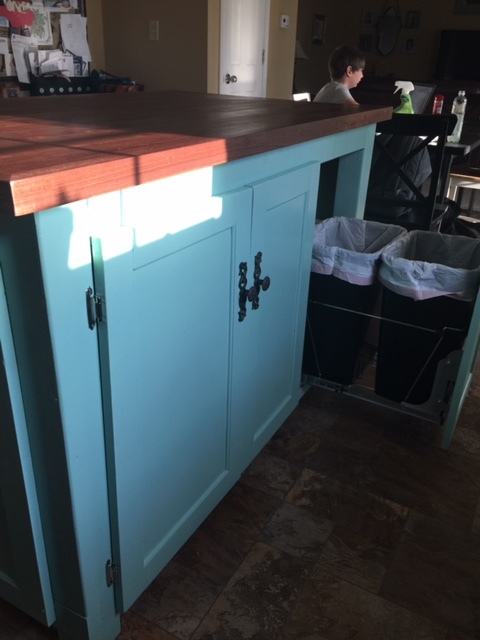
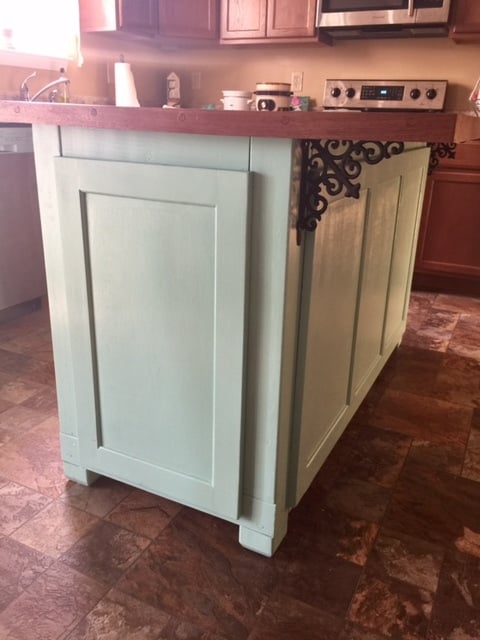
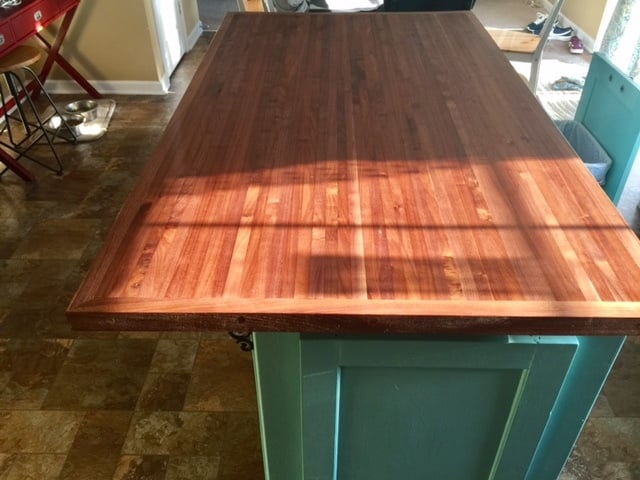
Island dimensions Bar 36" deep x 50" wide, counter top height and base has 24 inch depth. I was lucky enough to have the walnut donated for the project which I cut into 1" stips and glued together butcher block style. Also put a 1 1/4" band of walnut around countertop for appearances and to help strengthen the top. The base was made with pine and painted turqoise. The double waste basket was another touch I added. Thanks for looking.
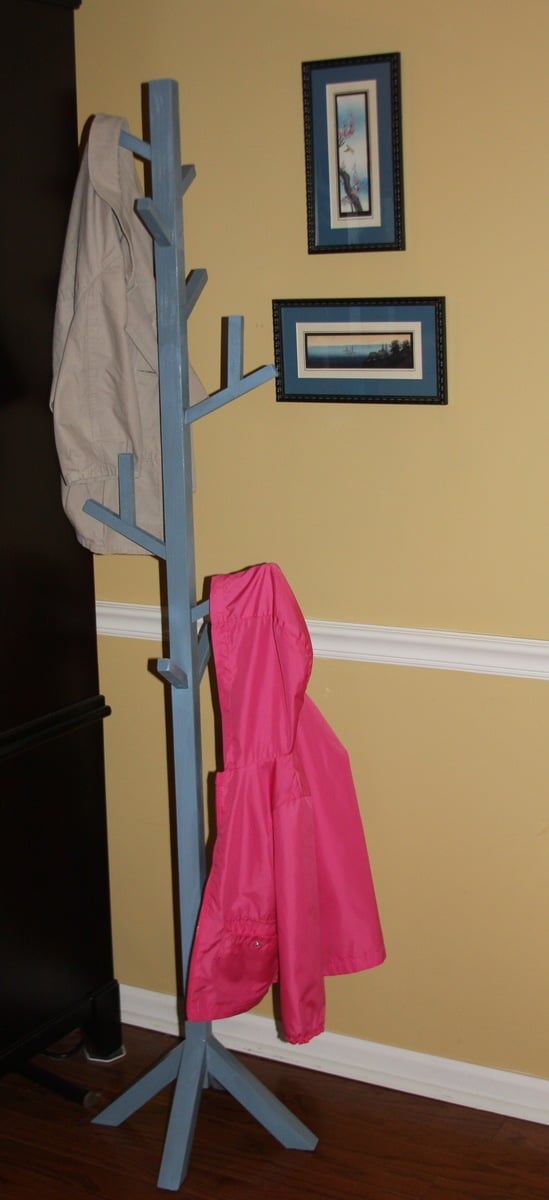
With my 3 young kids and all of their winter gear, I needed a coat rack that they can use. Since I don't have a miter saw, I asked my Father-in-law to make the cuts for me so I can't claim to have done that (although I am asking for a miter saw for my birthday!). Assembly was pretty easy with 2 pocket holes each on the roots and one for each of the limbs. With the small pieces of wood, it was tricky to get the holes centered using my Kreg Jig Jr. so I added some small finishing nails to some of the limbs for more support. (Think young kids tugging to get their coats down!) Some things I learned: Sand all pieces to the way you want them BEFORE assembling as it's nearly impossible to do later. Stagger the bottom roots because screwing in 8 screws to the same center point does not work. I ended up using shorter screws than the 2 1/2" recommended and had to add felt pads to stabilize the legs that were moved up to allow for me to fit the screws in. I am pleased with this project and while it's not perfect, it will get a lot of use around here!
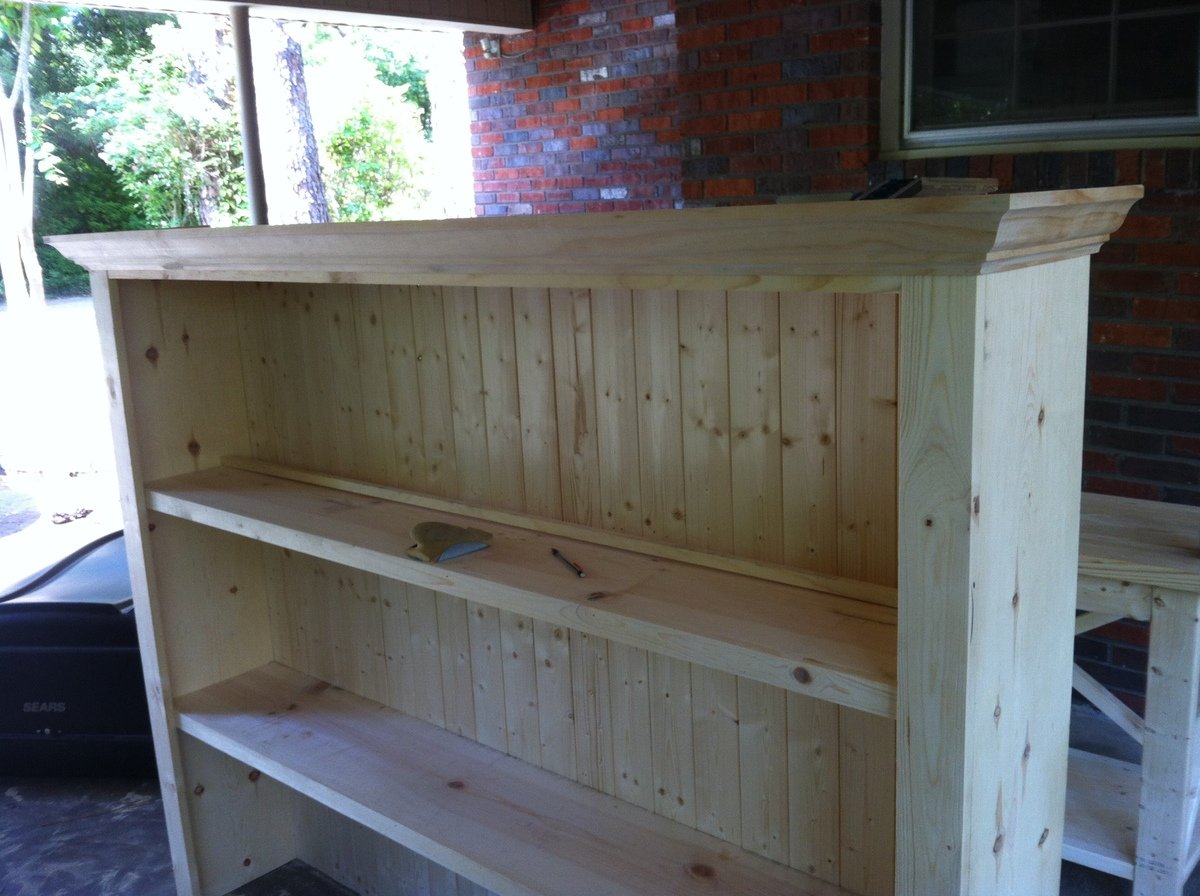
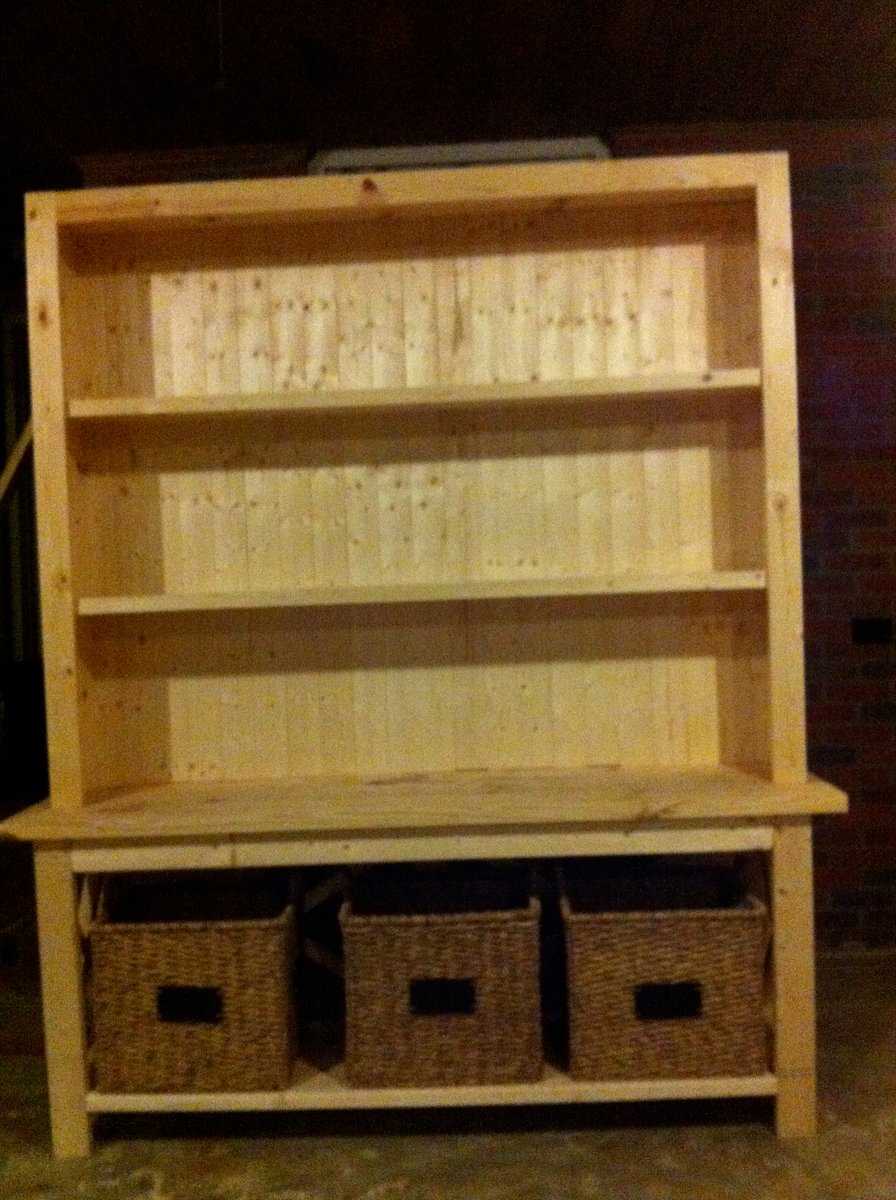
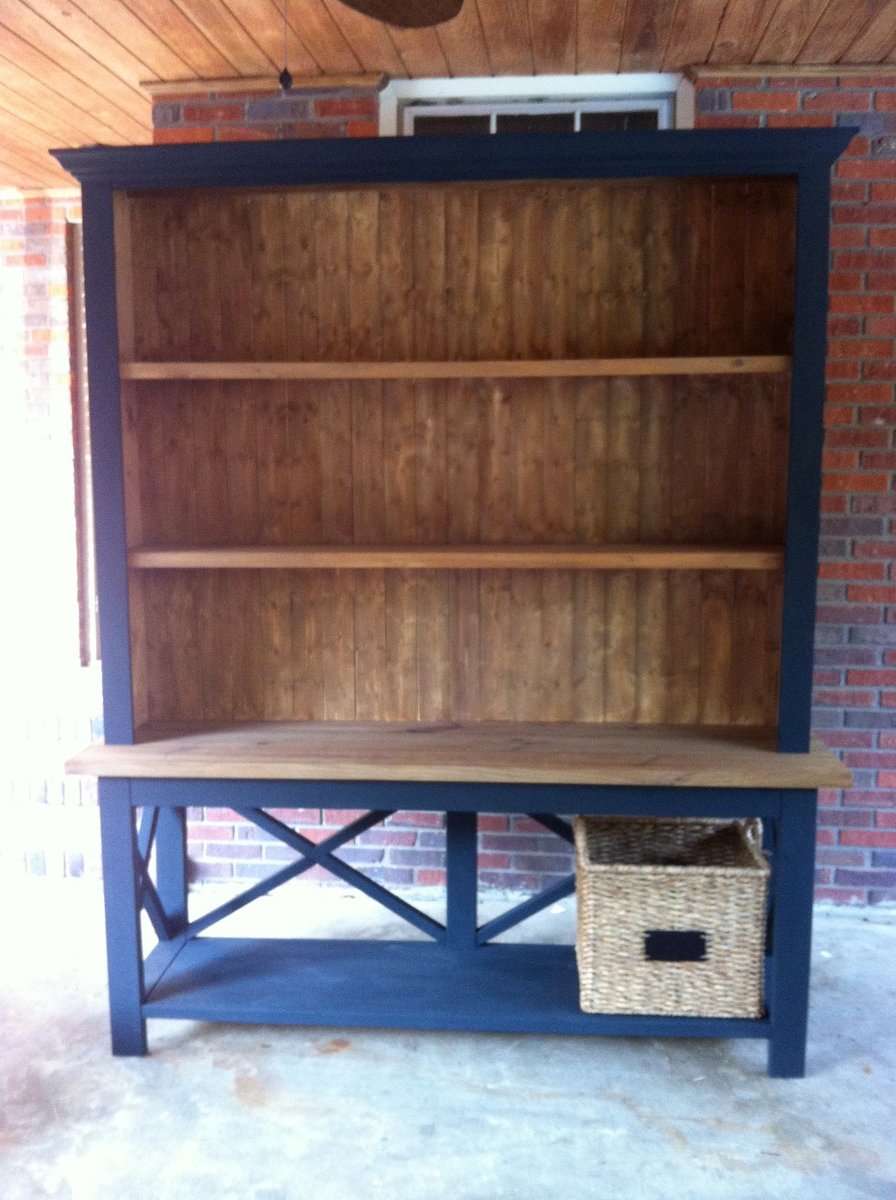
I have been dreaming about this piece of furniture for 3 yrs....I used Ana's plans for the rustic x console but took out the front middle support and made it a little deeper I also turned the 2x4 vertically and added an extra 2x4 behind it to add extra strength.....because I wanted to fit 3 baskets from Target underneath...the hutch i just winged!....Thank you so much Ana for giving me a place to start!...I am in love!......

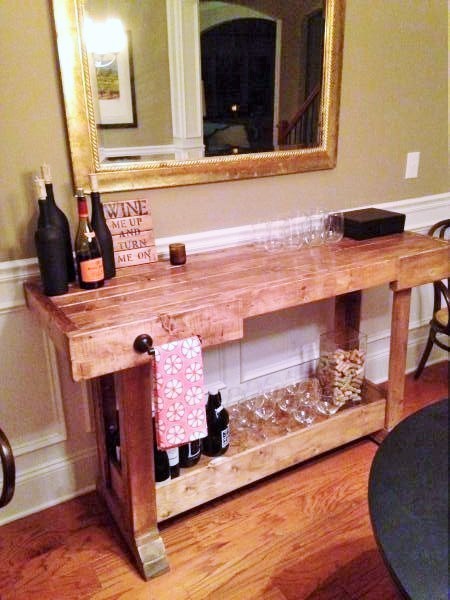
This project was much easier than I originally anticipated. Even cutting the legs at angles and sanding them down to appear curved was easier than I expected. I also used early american stain by Minwax. I used only one coat though and in hindsight might have done two to make it a bit darker. I used Minwax clear paste wax (two coats) to achieve a low sheen and protective layer. I was able to find a toilet paper holder similar to the one Ana used at one of my local big box stores. I wasn't able to find anything else I liked better.
It's turned out way more beautiful then I had thought. It was all the mini details that took the longest but made the look worth it
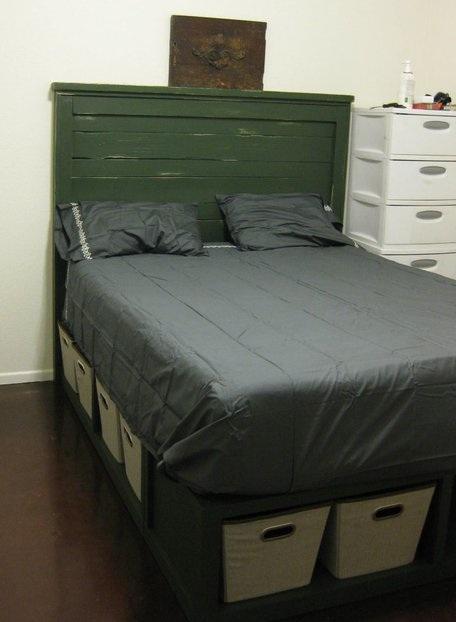
So we really needed a better bed than the flimsy moderny thing that would shift at least a few inches when I would get into the bed. And I like storage. So this was a great fit. The folks at blue were really good to me and help me cut all my lengths of plywood. I did modify the headboard to be 3 inches taller. Otherwise the plans were great! I had one hiccup in adding the divider to one of the benches. It came out kind of slanted. So I would recommend having a lot of light and measuring it out in the back of the box when you are inserting the divider
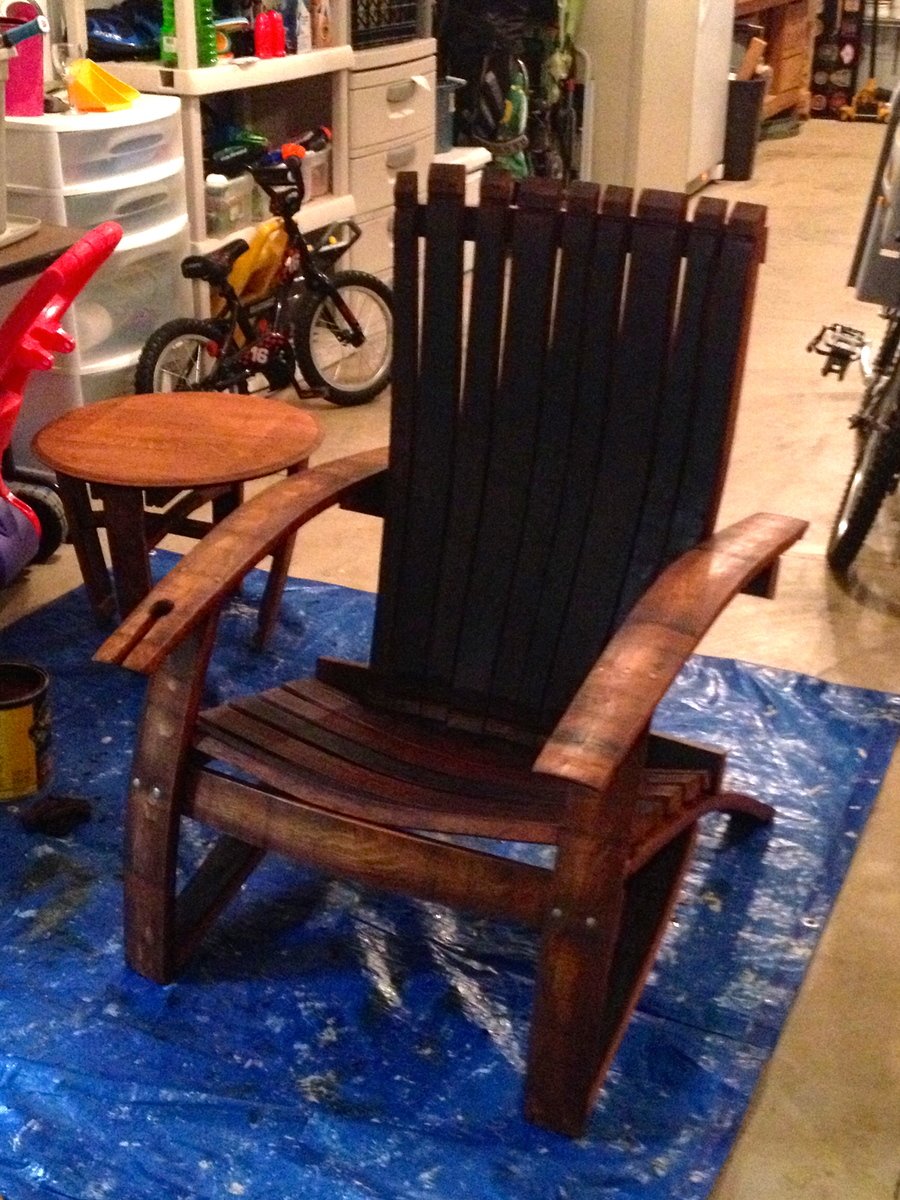
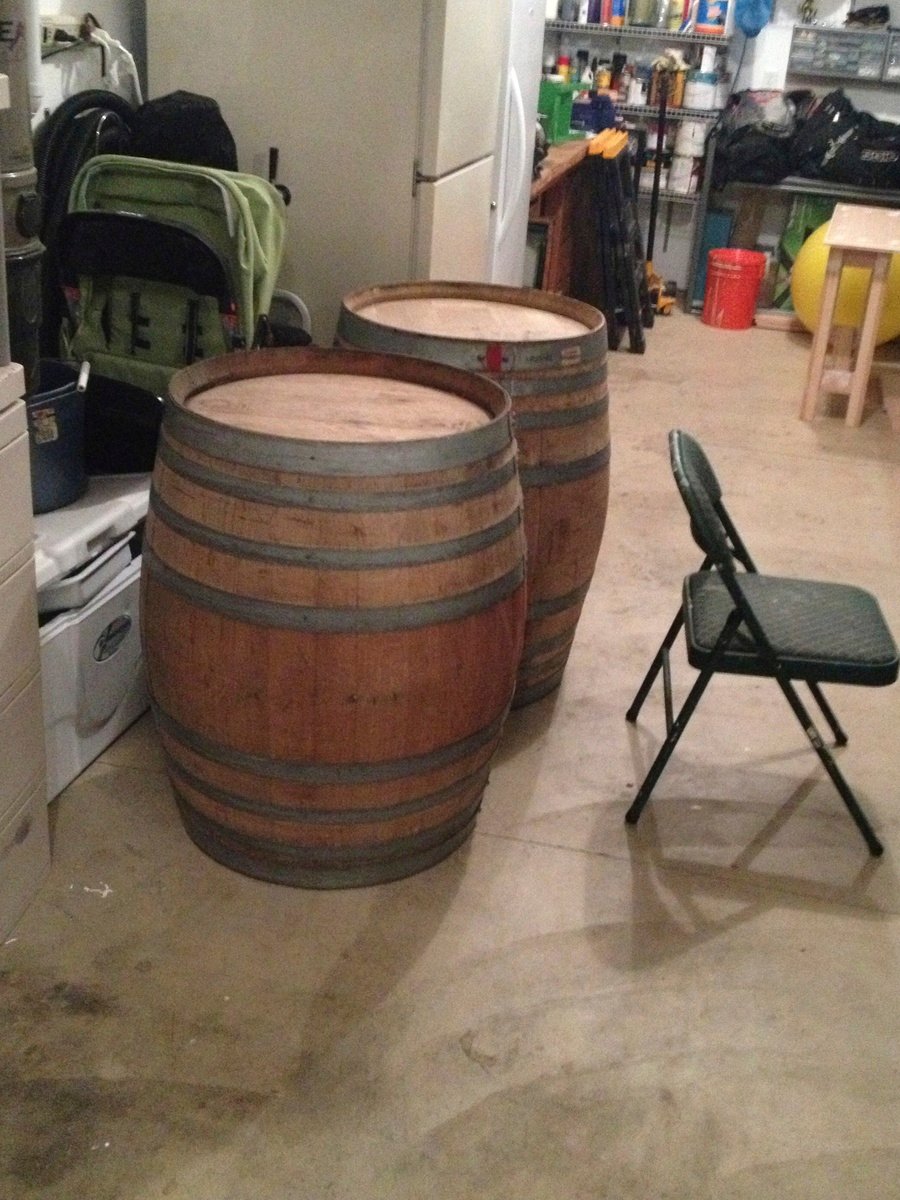
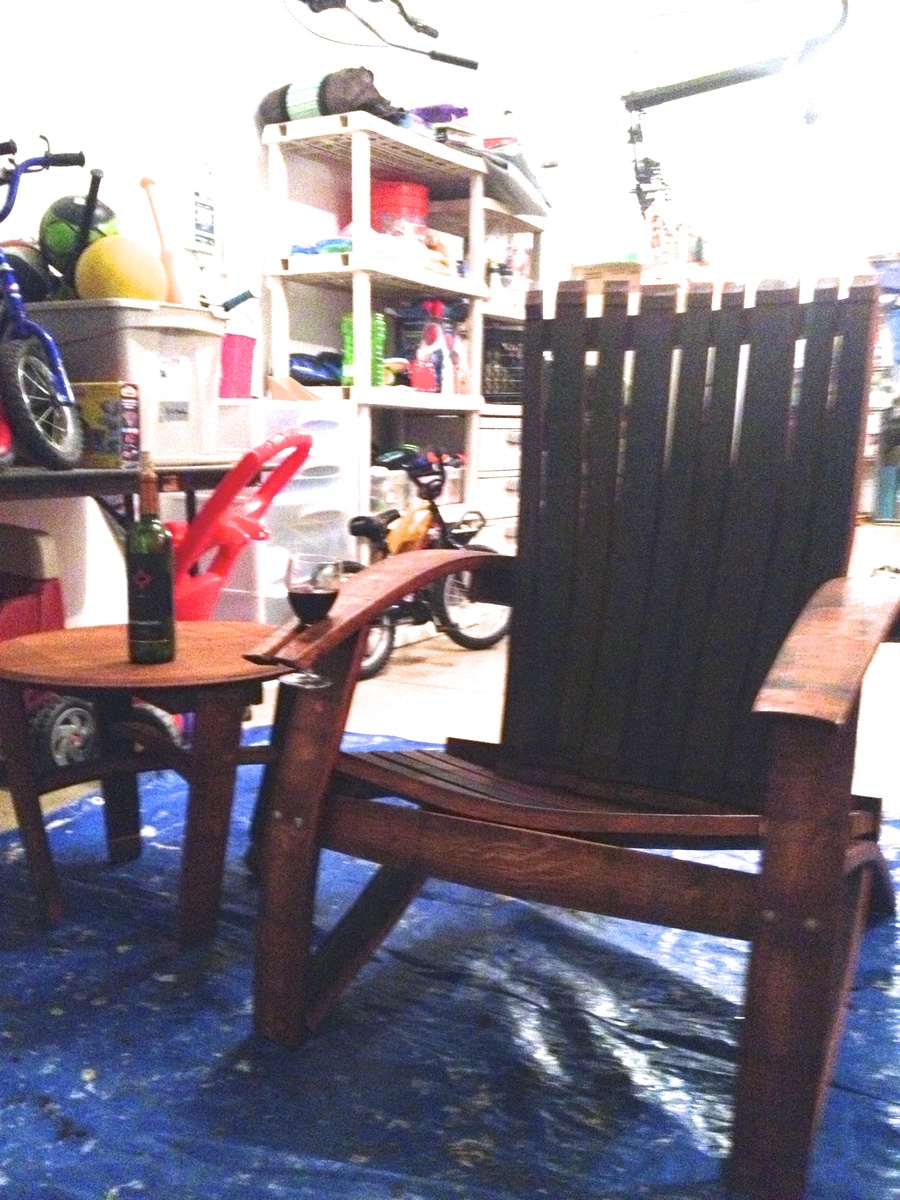
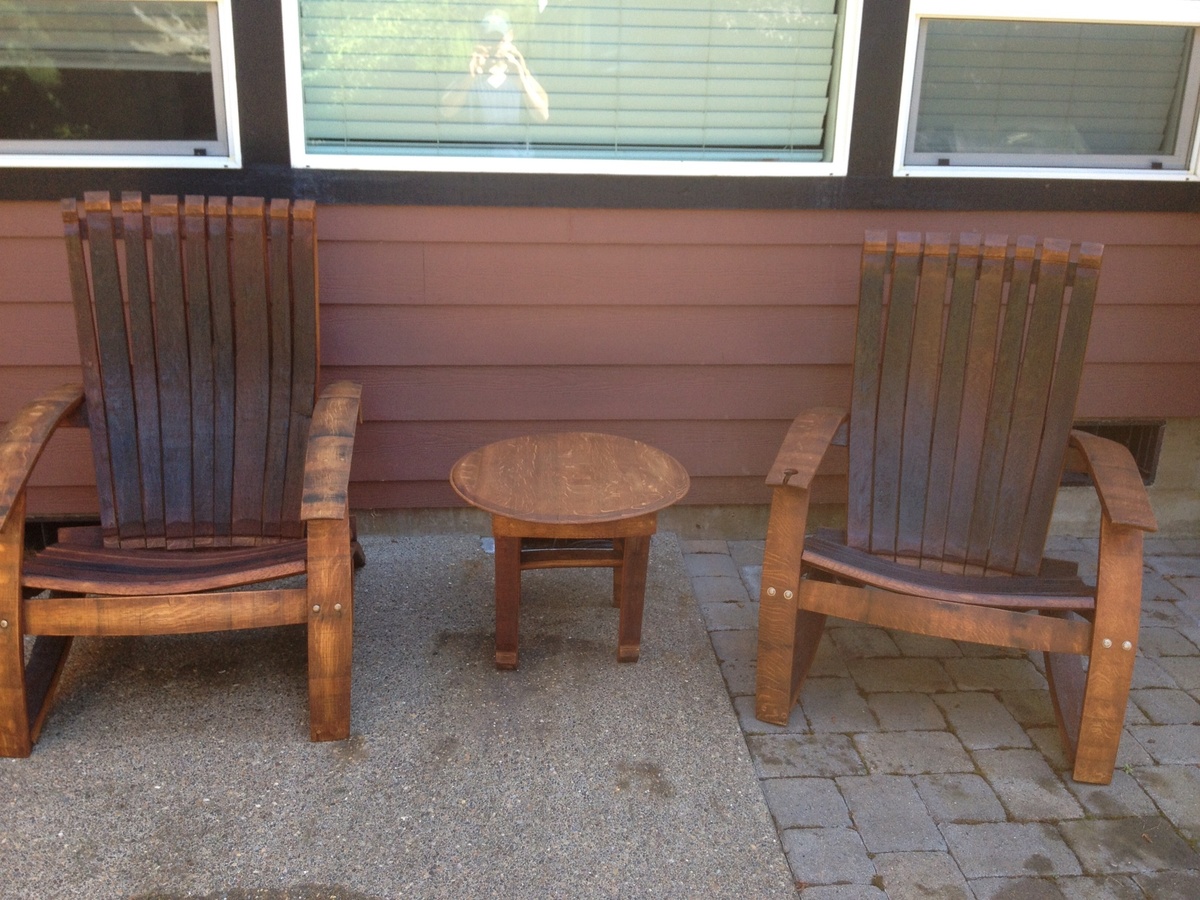
I got some oak barrels from a local vineyard and decided to try making some adirondack chairs. It was harder than I thought it would be, but well worth it!! The stain was a little darker than I thought it be, but it's rubbing off on me!
predrill, predrill, predrill, and learned a valuable lesson in predrilling, as solid wood under strain cracks easy when using 2 1/2" deck screws!
I need to whip out the nice camera and stop using my cell phone for finished products!
Sun, 07/21/2013 - 19:45
I did have some plans, which made it easier. I didn't use them as designed i.e. tracing, and I also altered the plans some to my liking. I got the plans for 15$ from here: http://www.gcwoodworks.com/Wine-Barrel-Adirondack-Chair-Large.htm
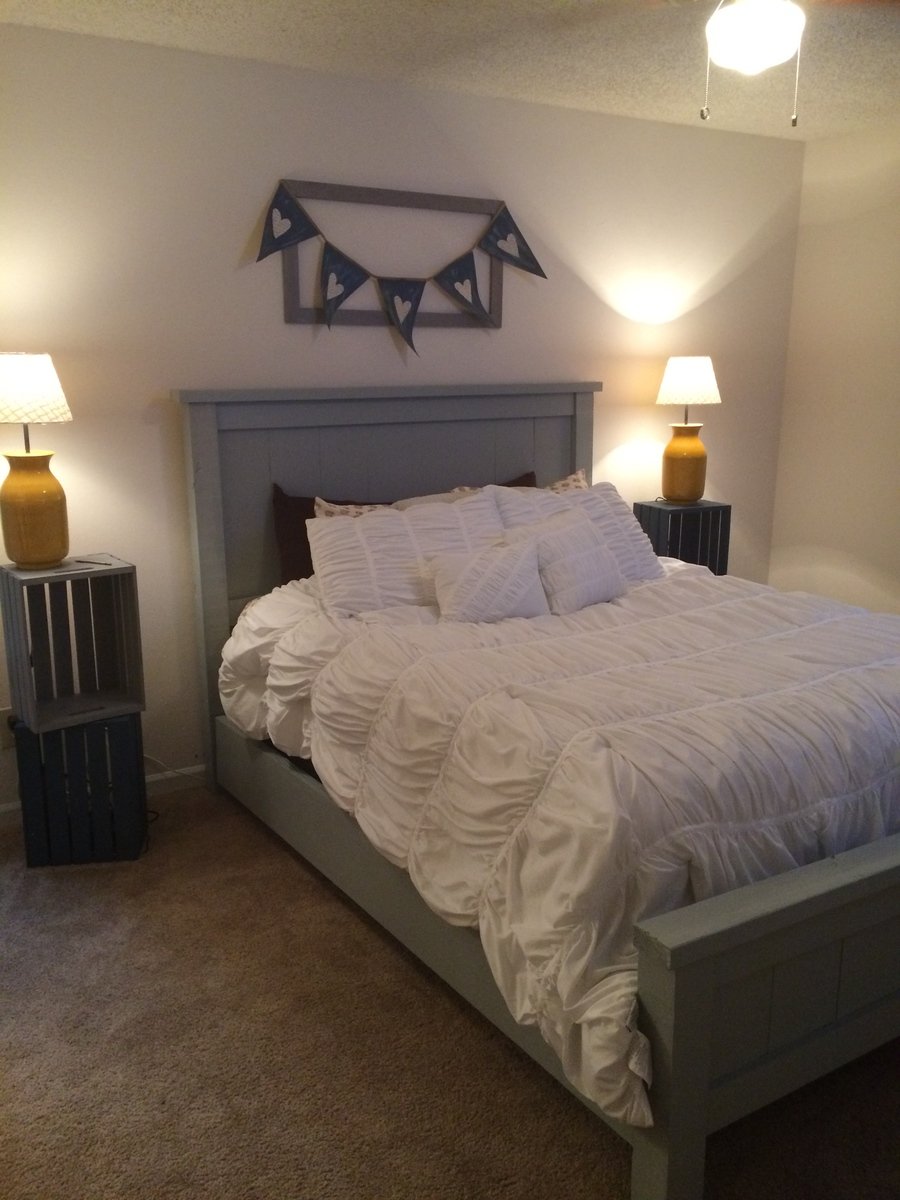
This is my favorite build so far! I love the look of this bed!
One thing I wish I had known was how long it was going to be. The bed is a good foot and a half longer than my mattress, which is a standard queen. I would recommend measuring and cutting your side rails according to your mattress - I think I am going to go back and shorten mine.
Also - I used my bed rails, instead of the slats this called for. I also used bed rail hooks (I ordered them from Amazon for $20) so that I can take this bed apart.

