Community Brag Posts

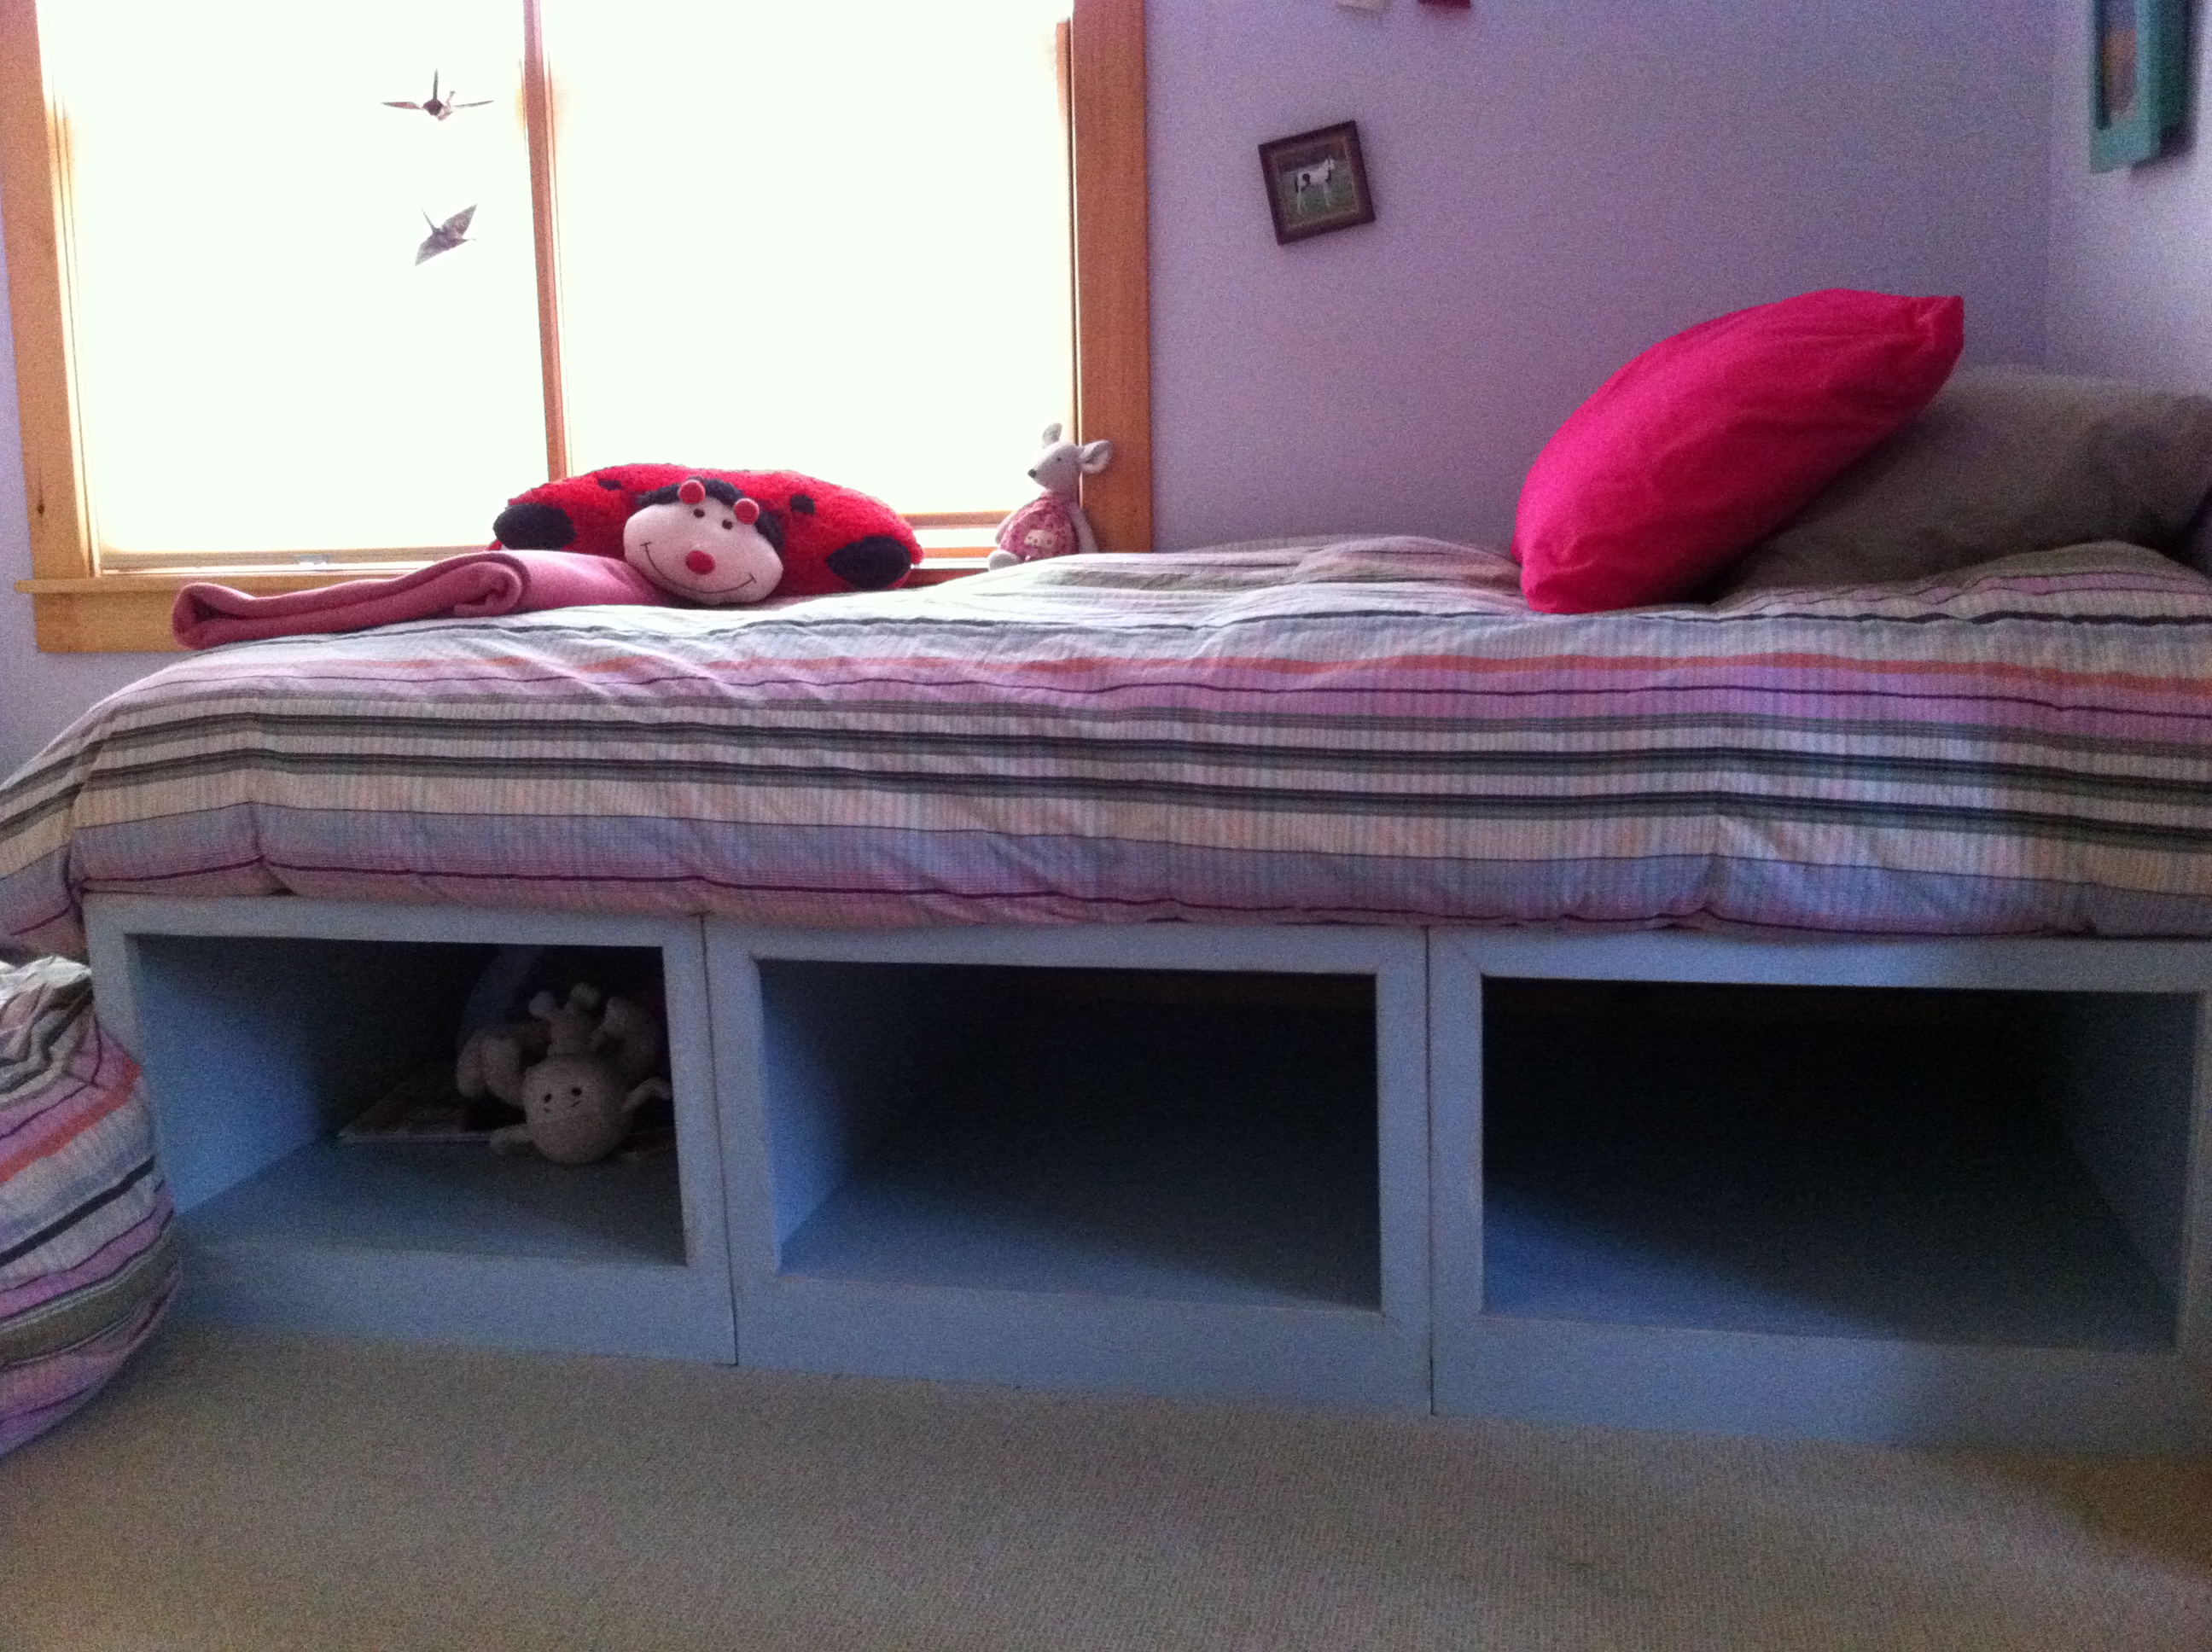
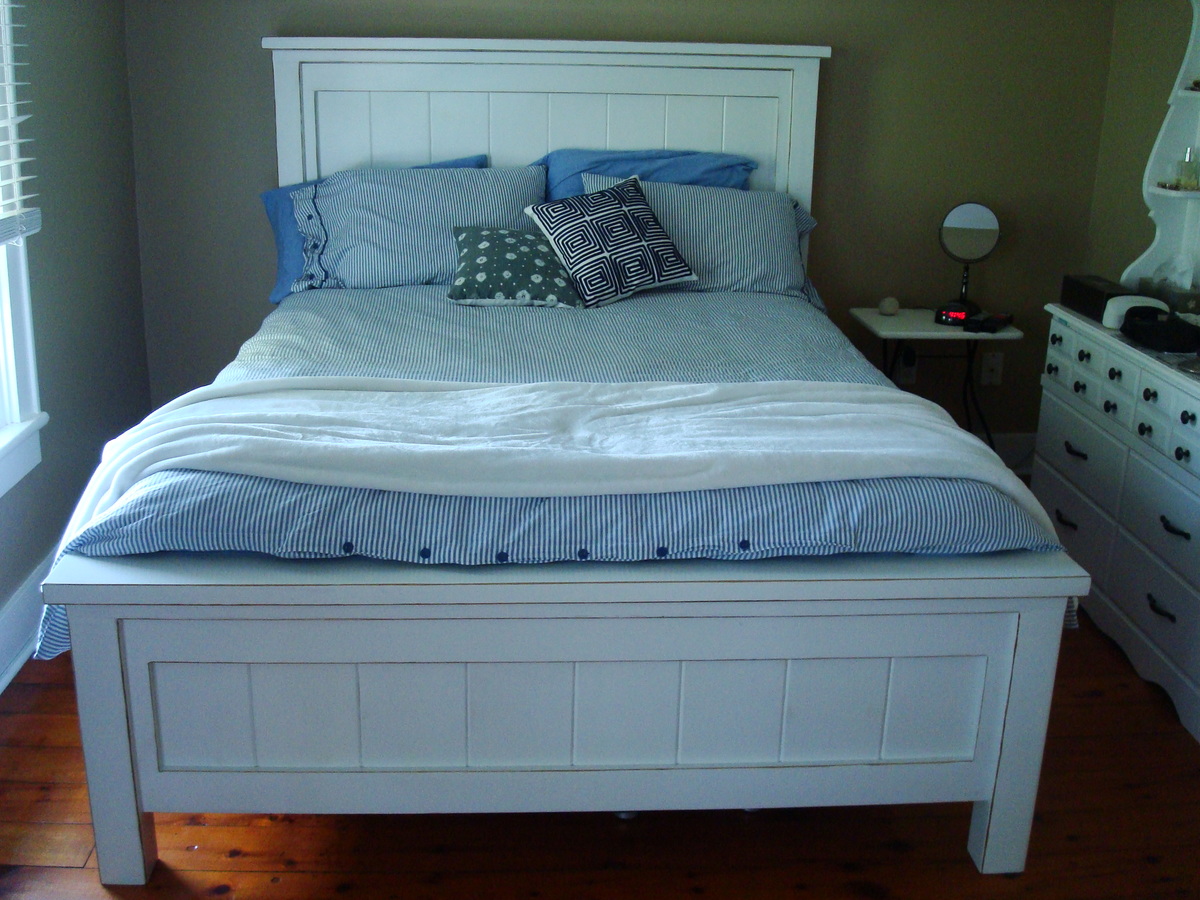
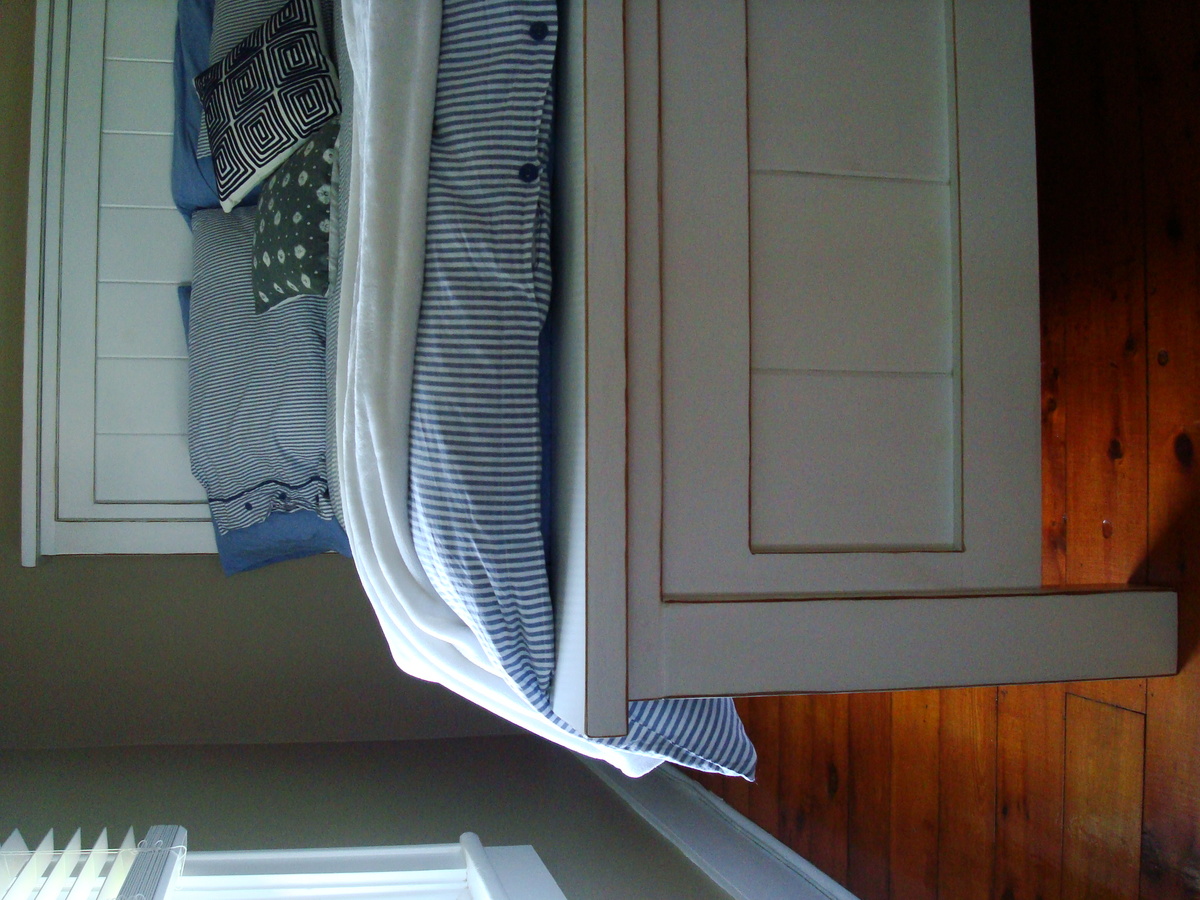
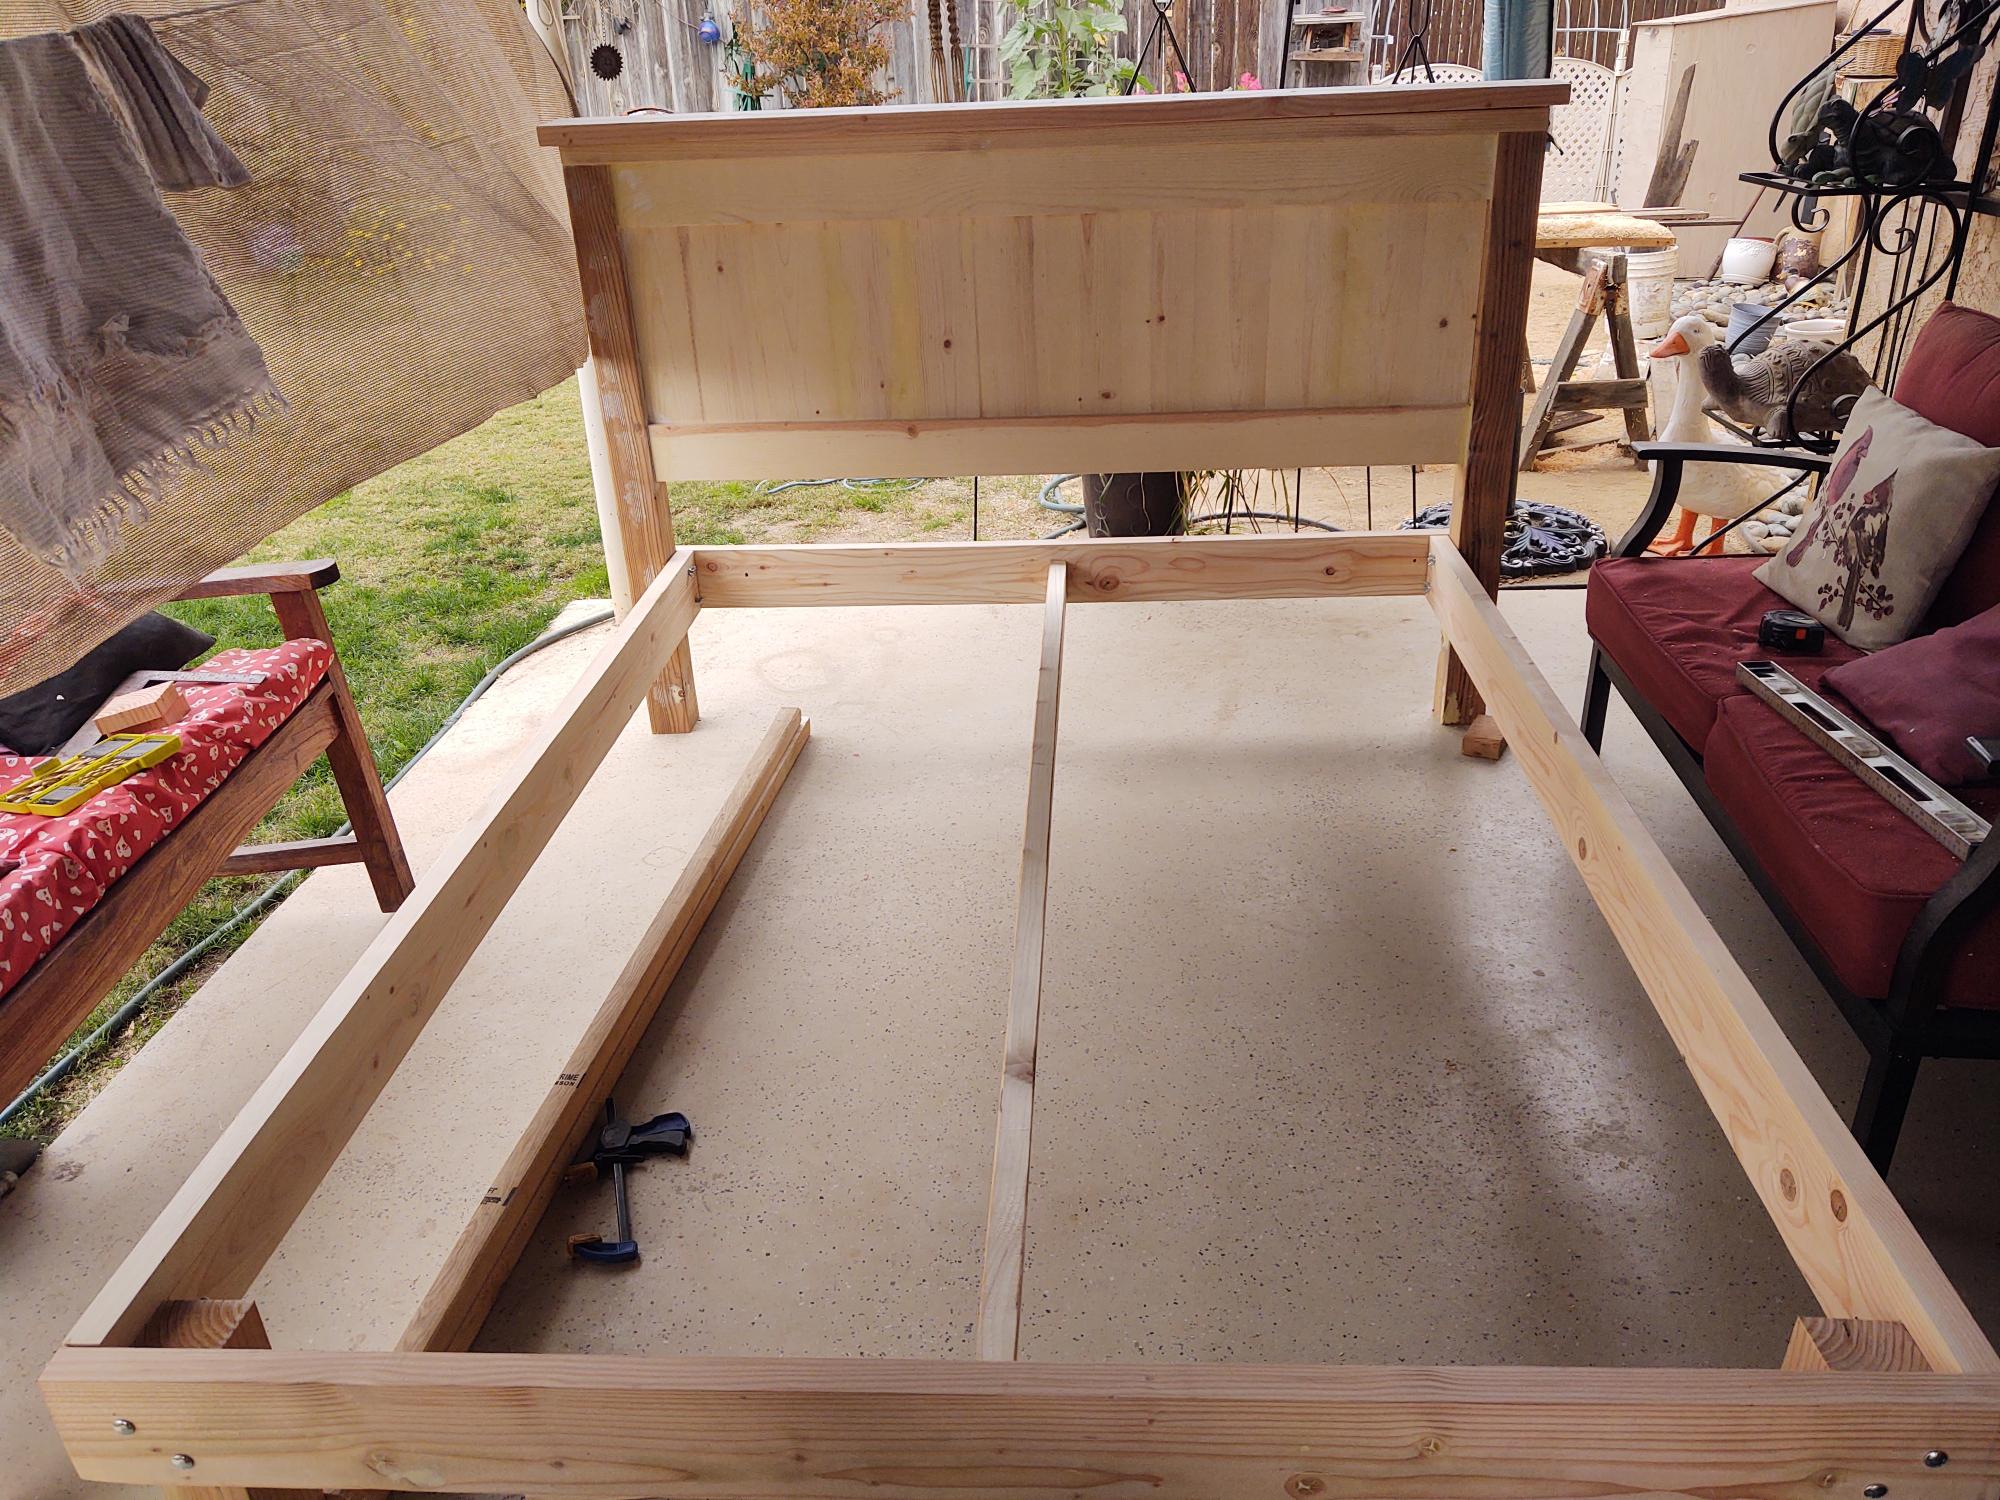
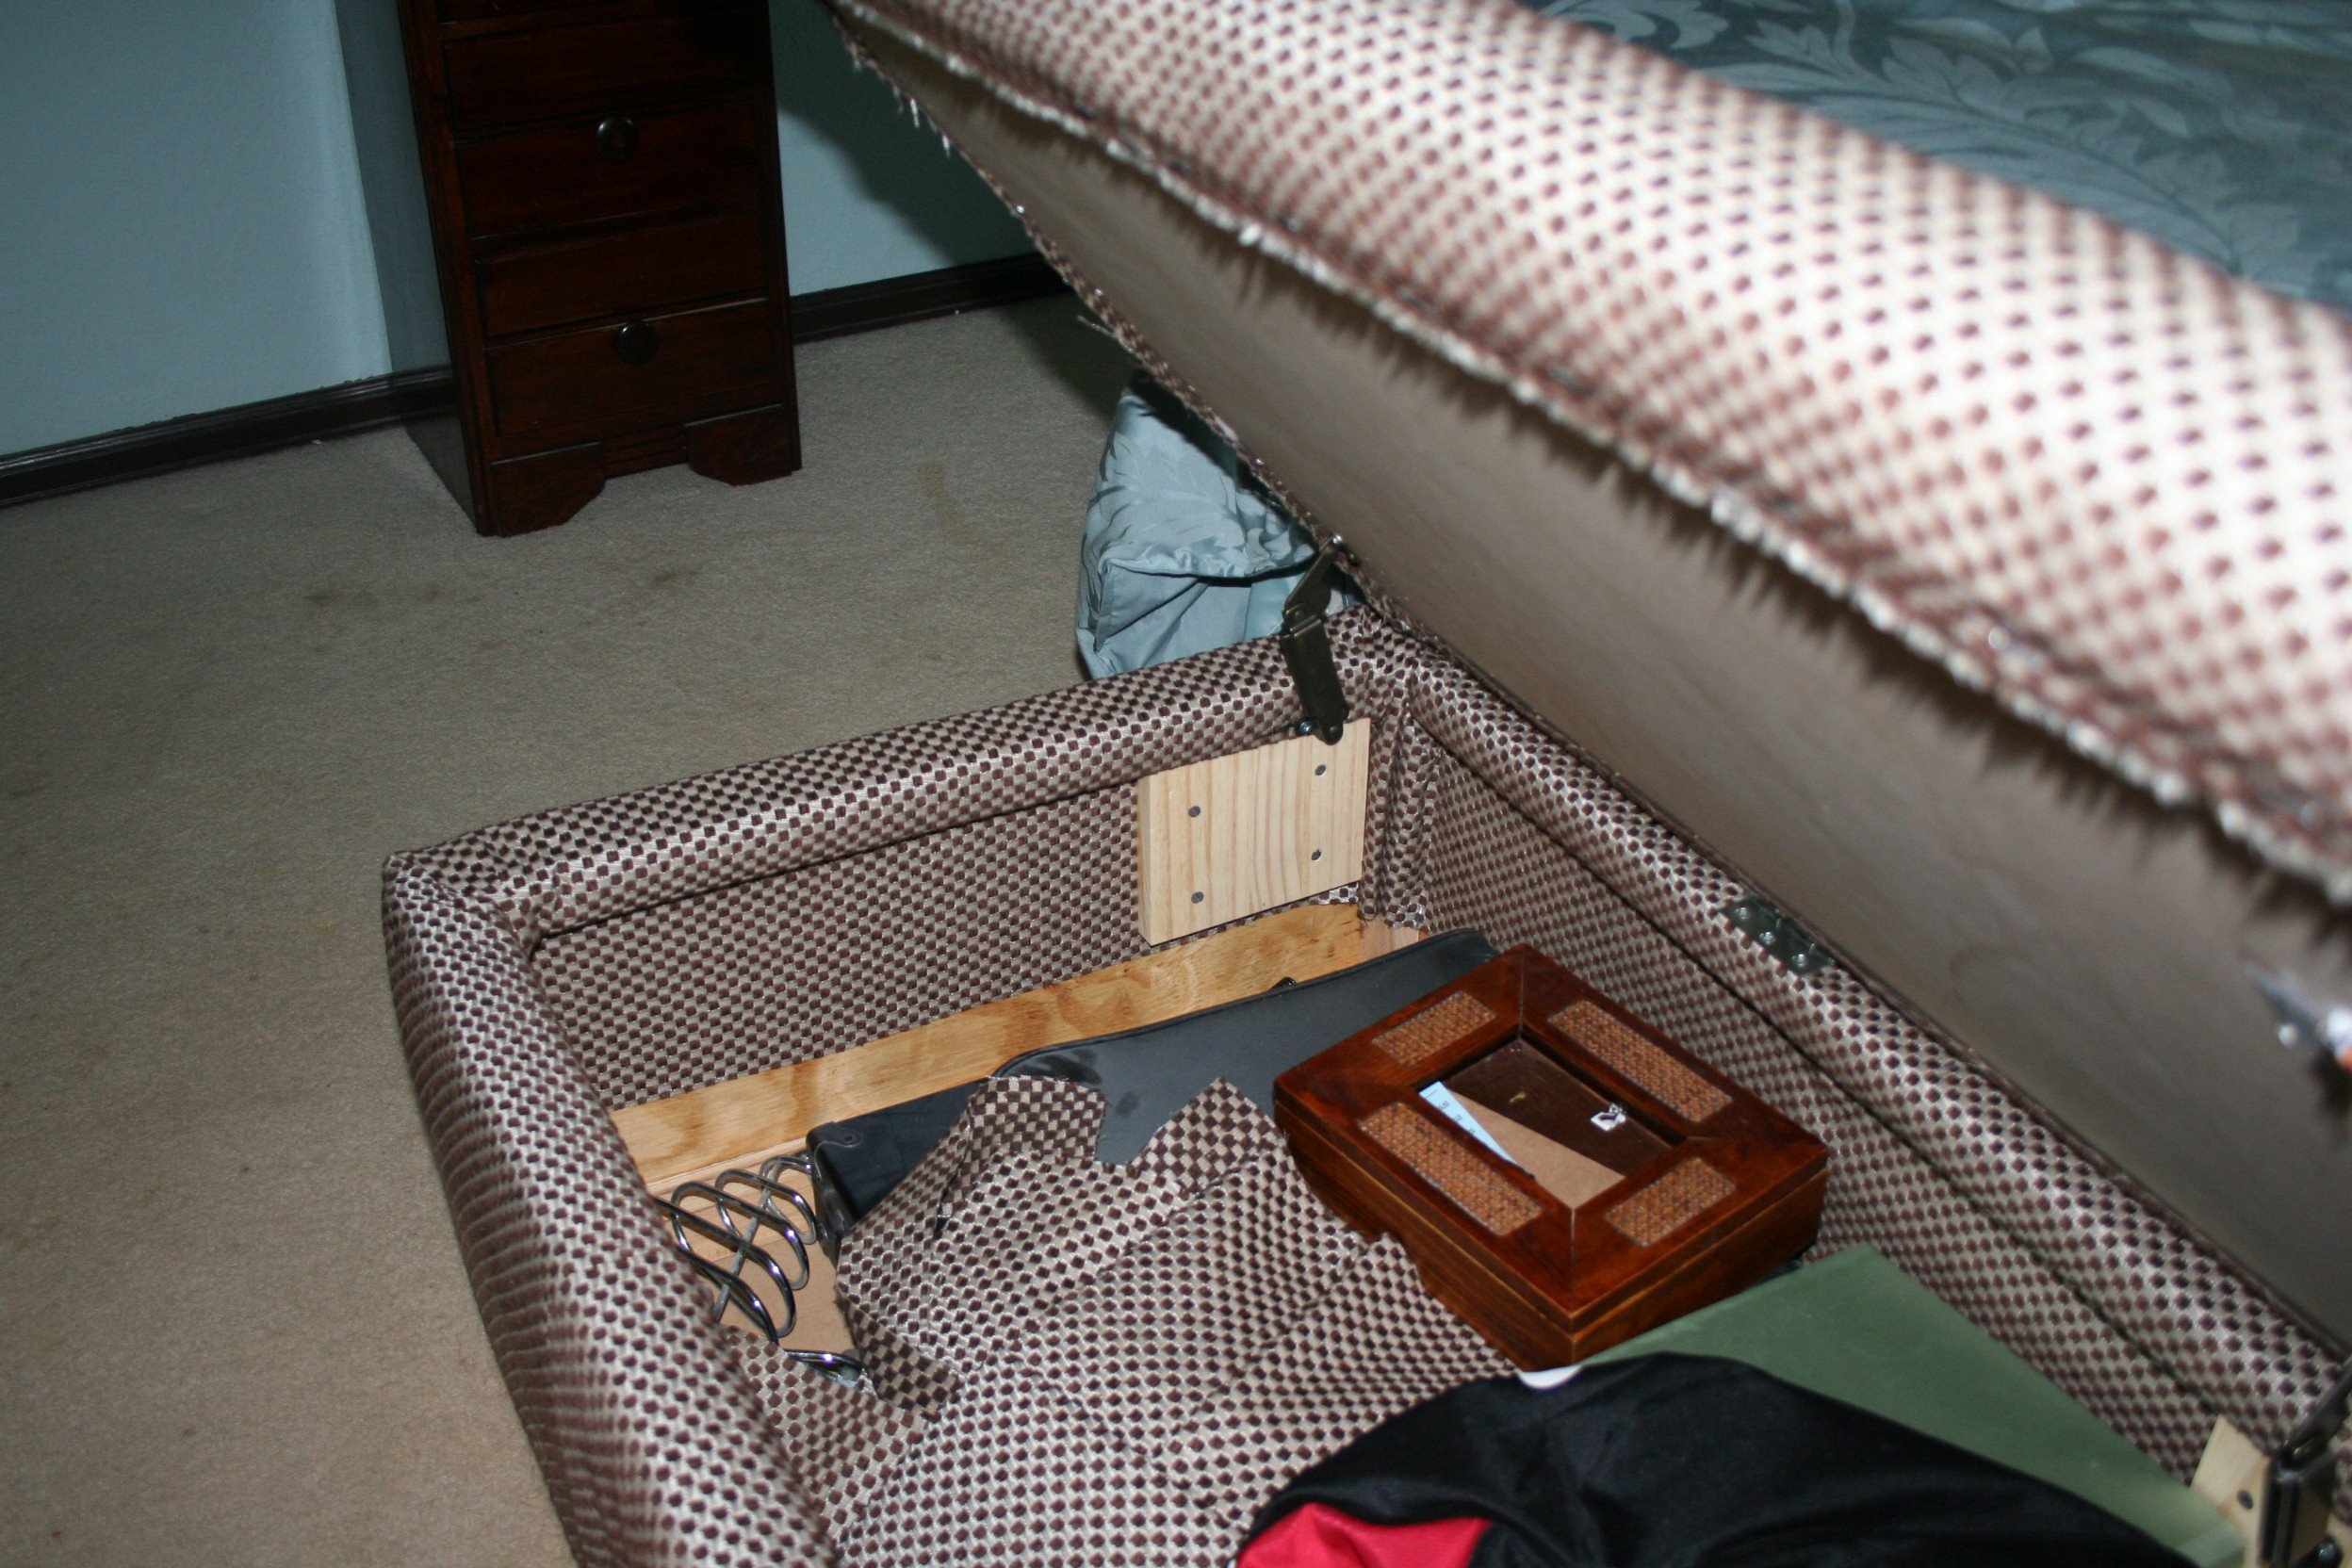
End of the Bed storage ottoman

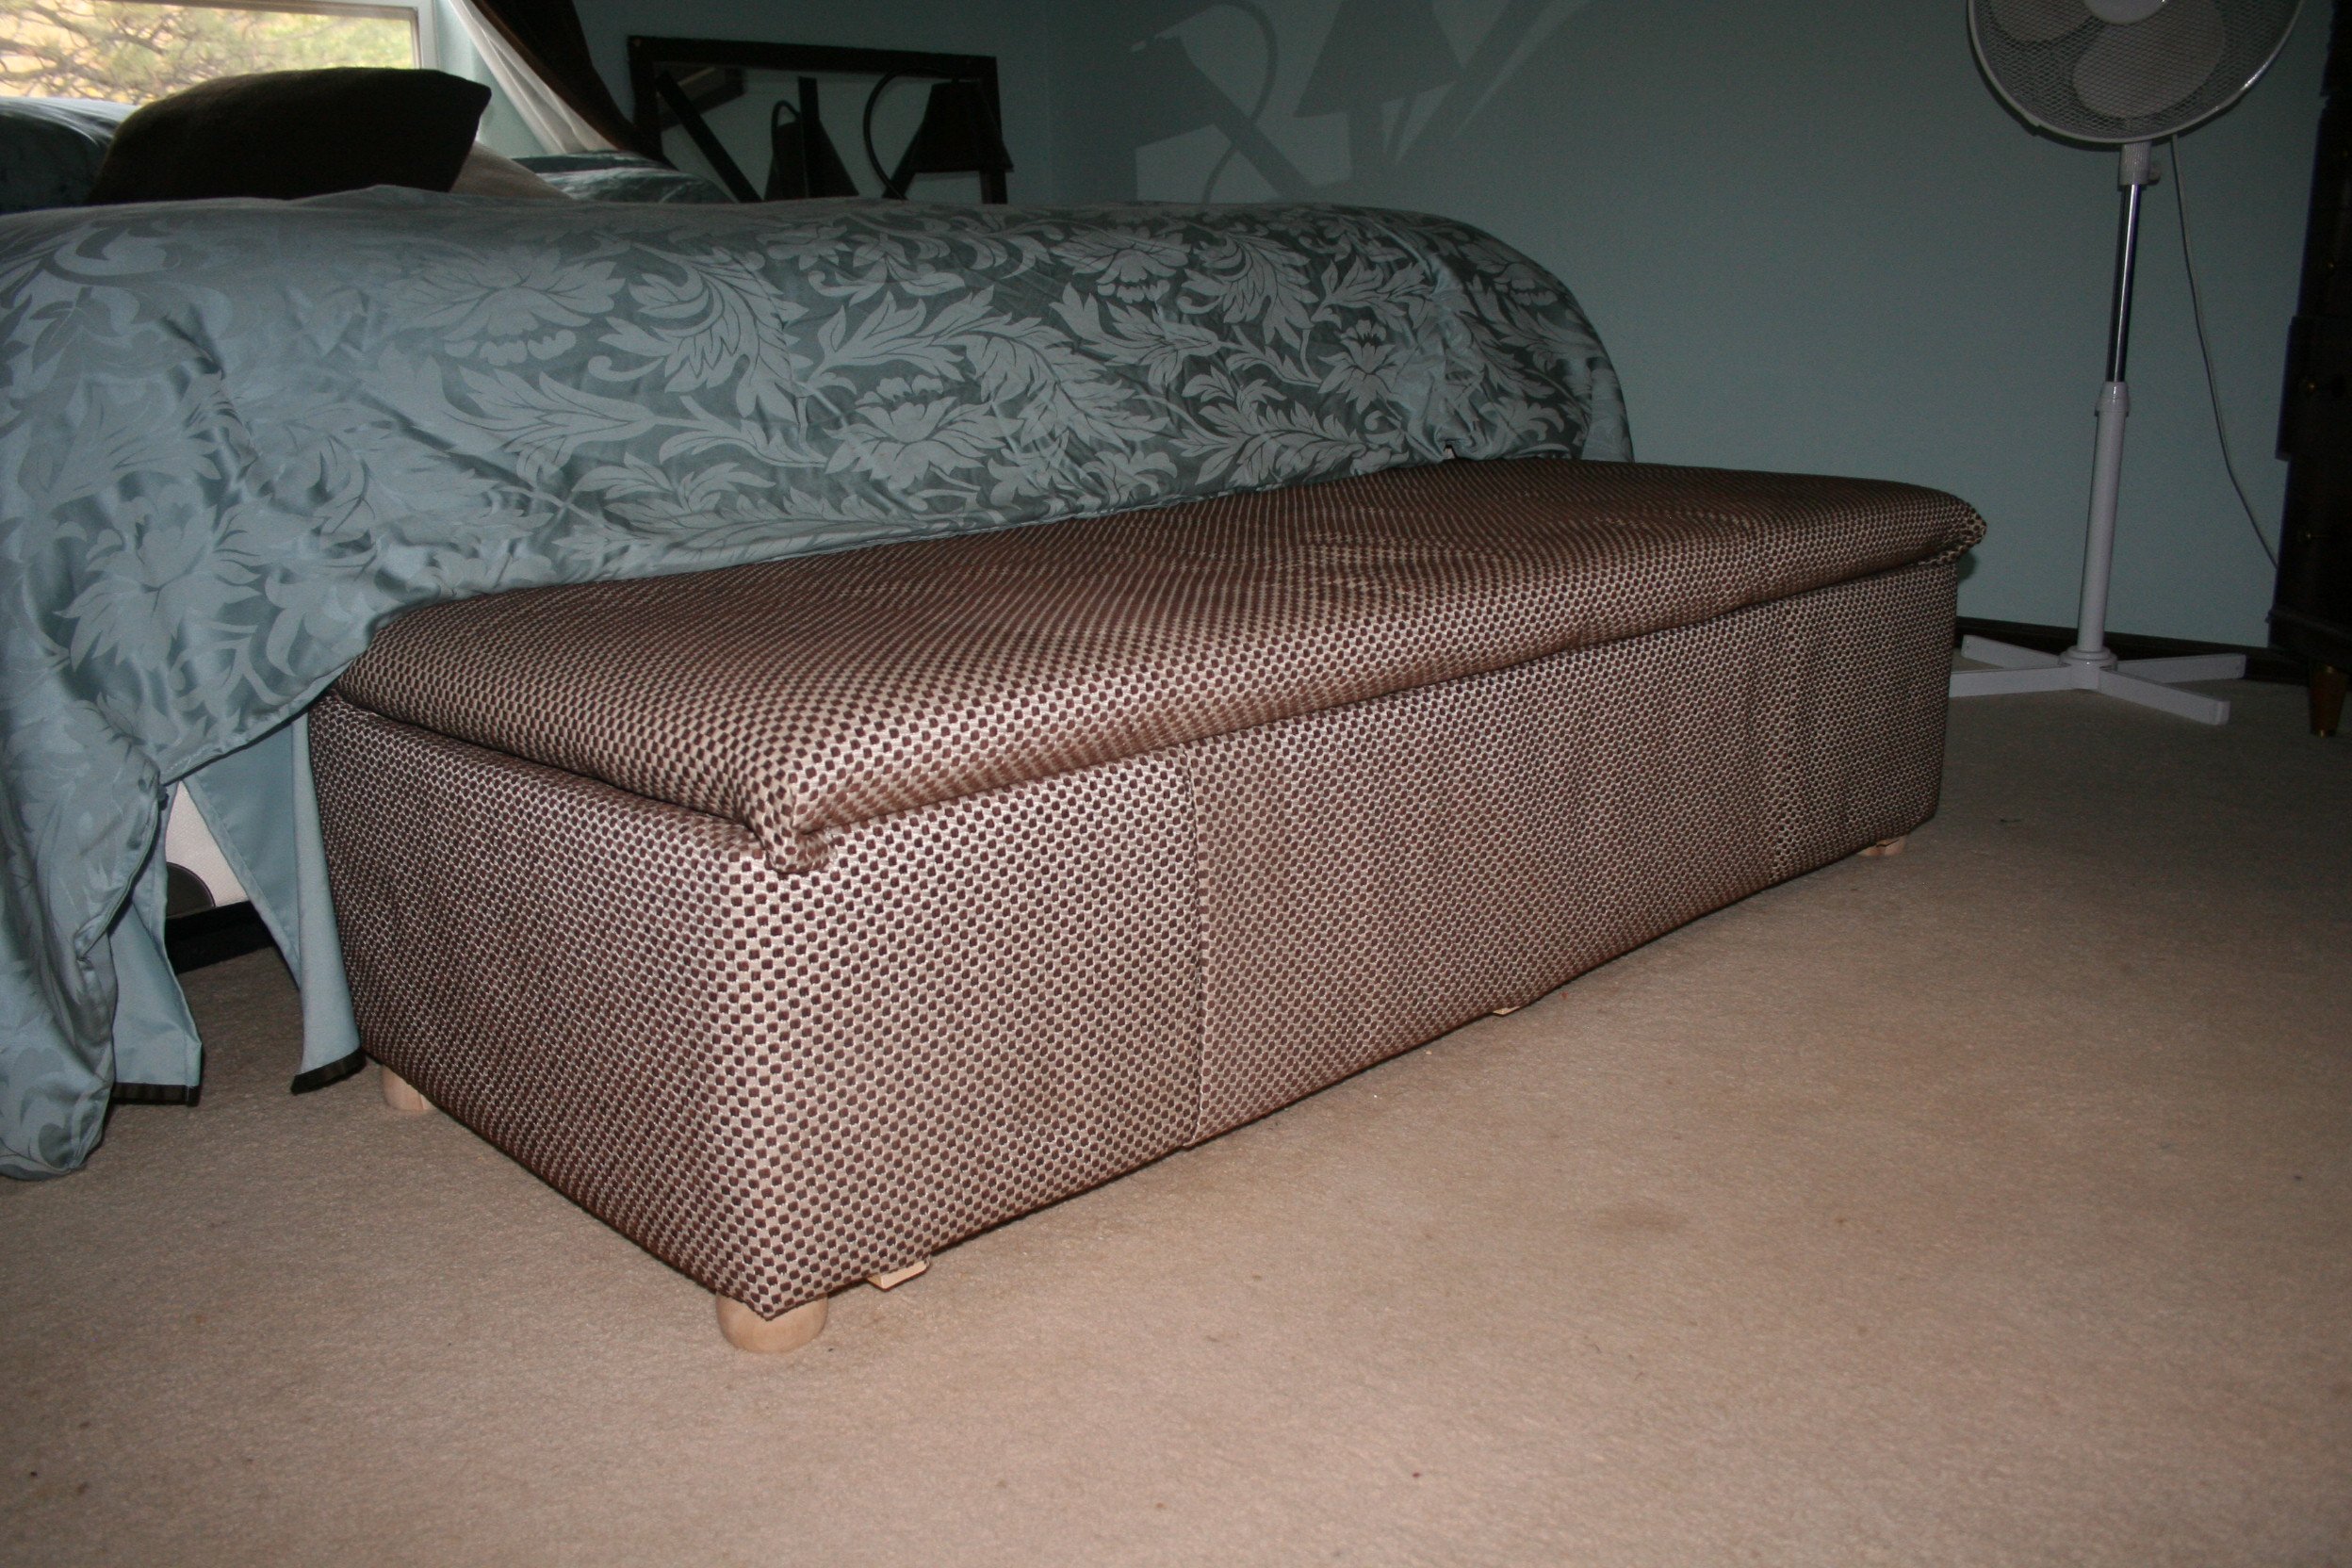
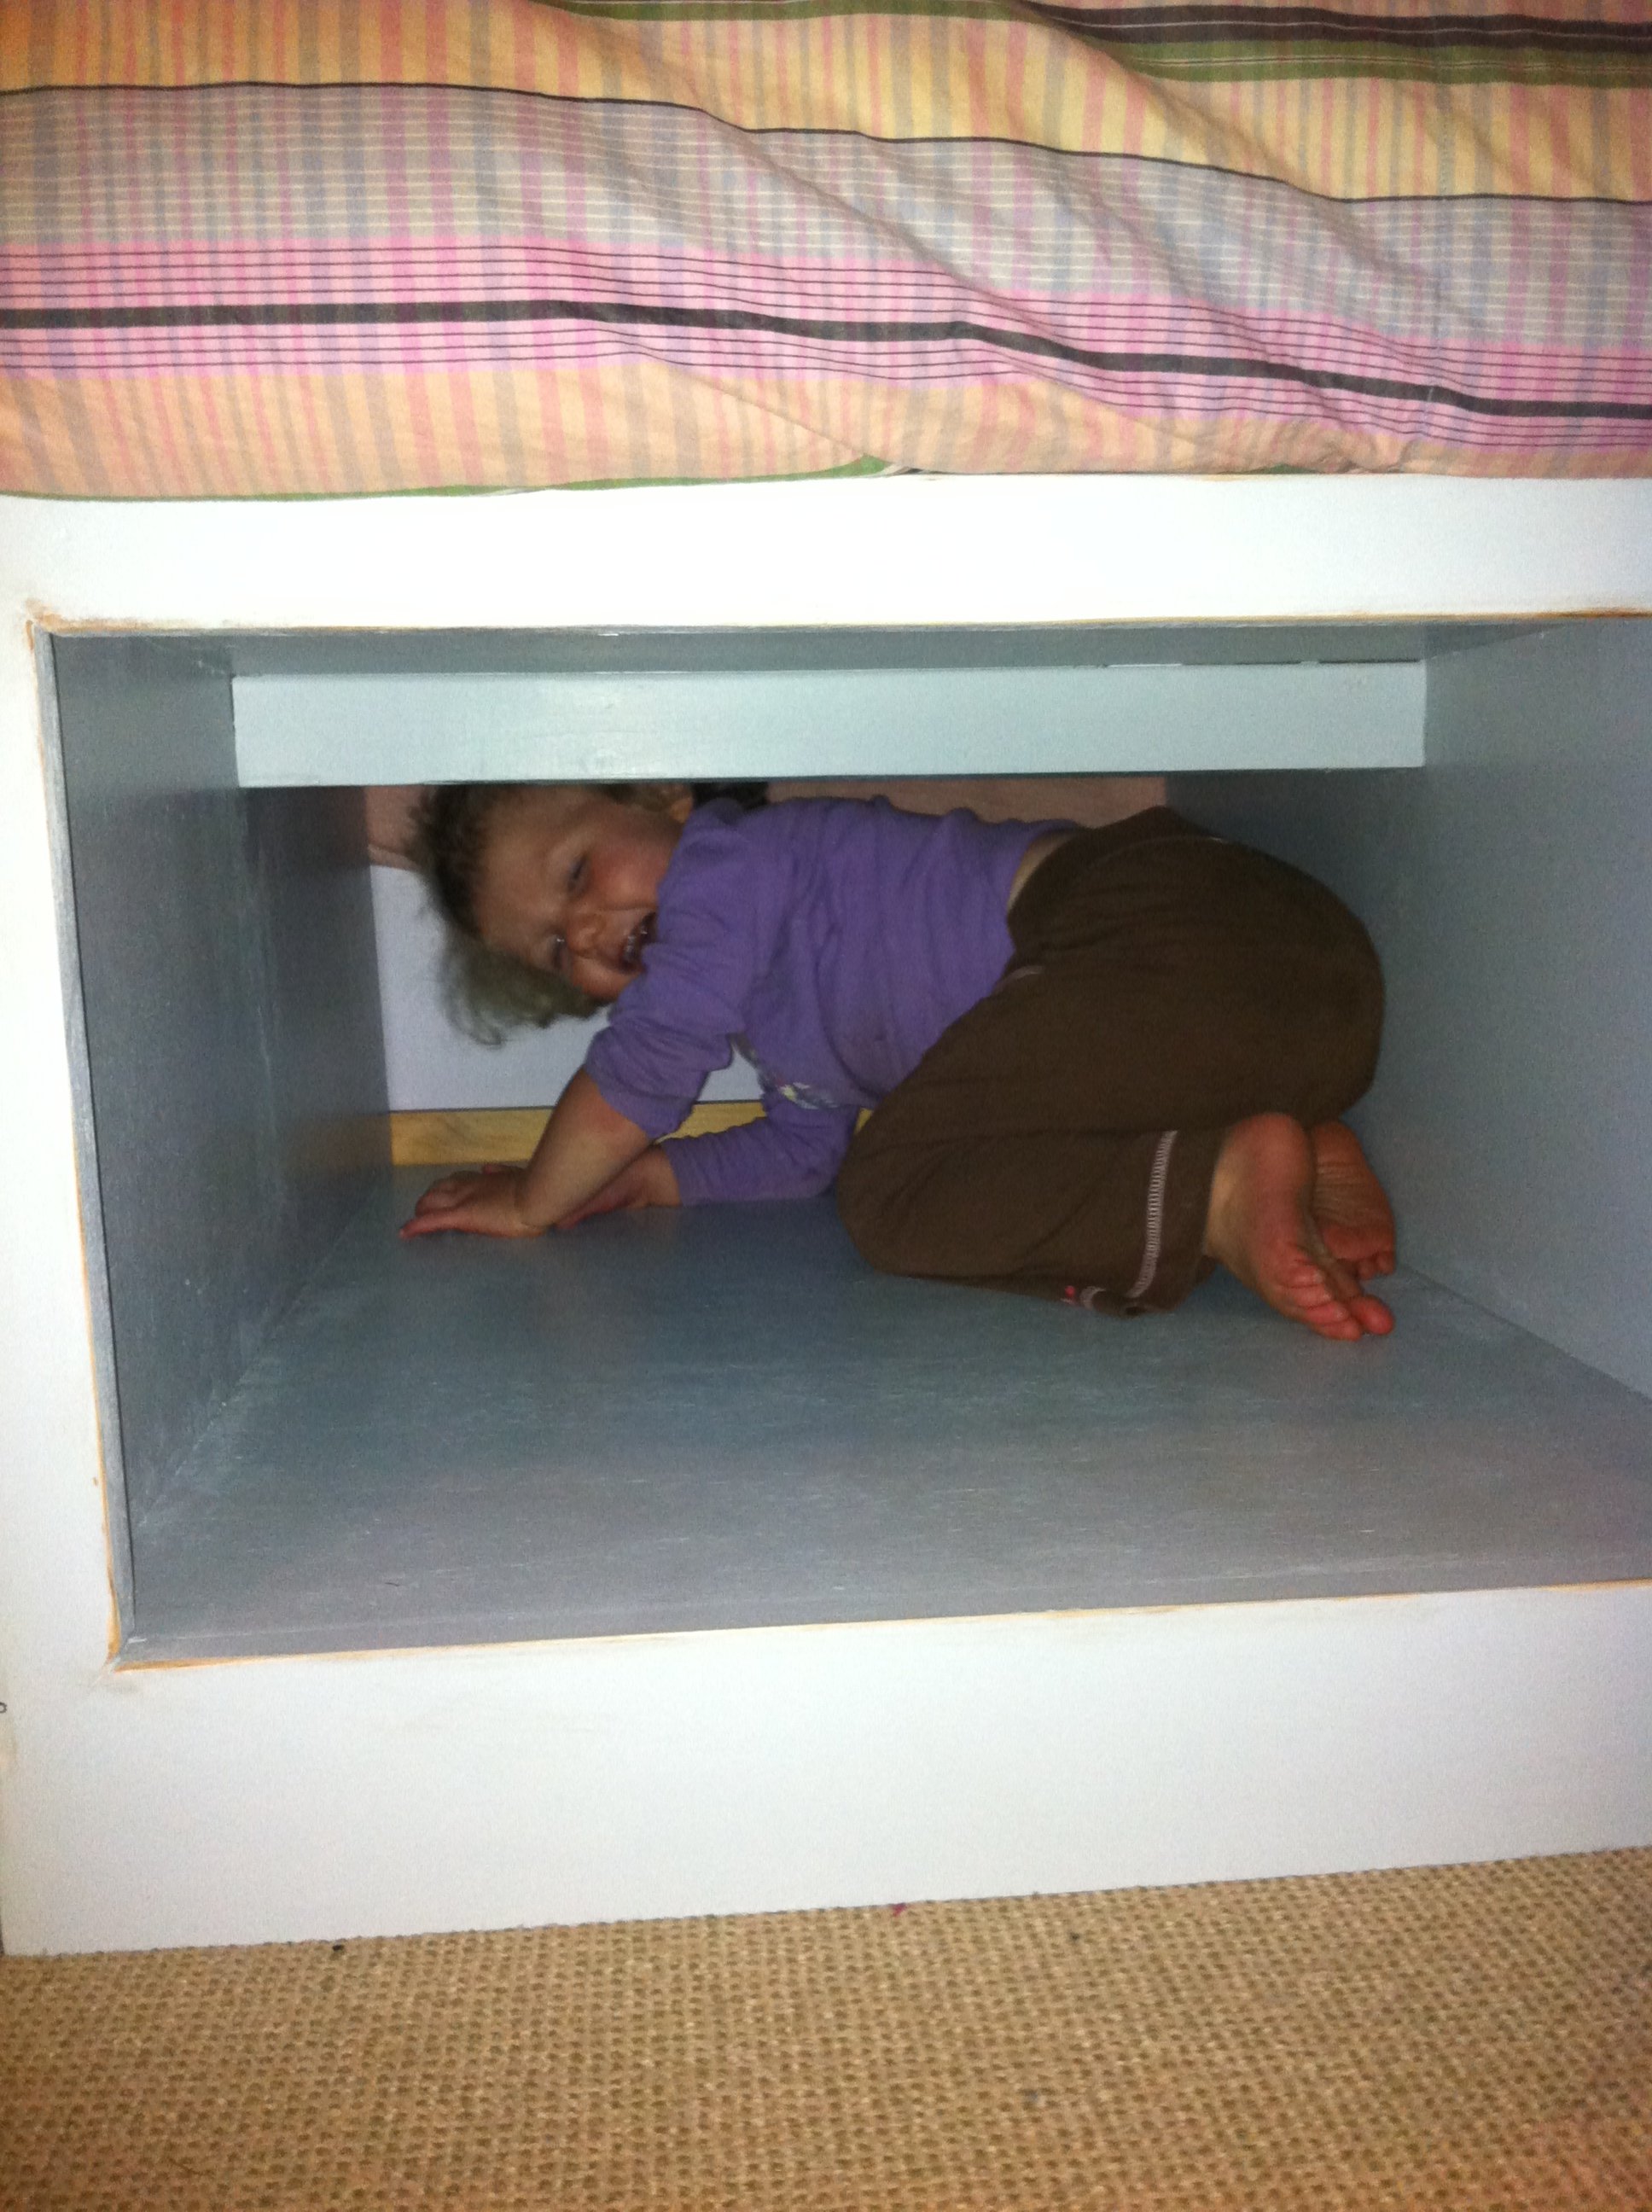
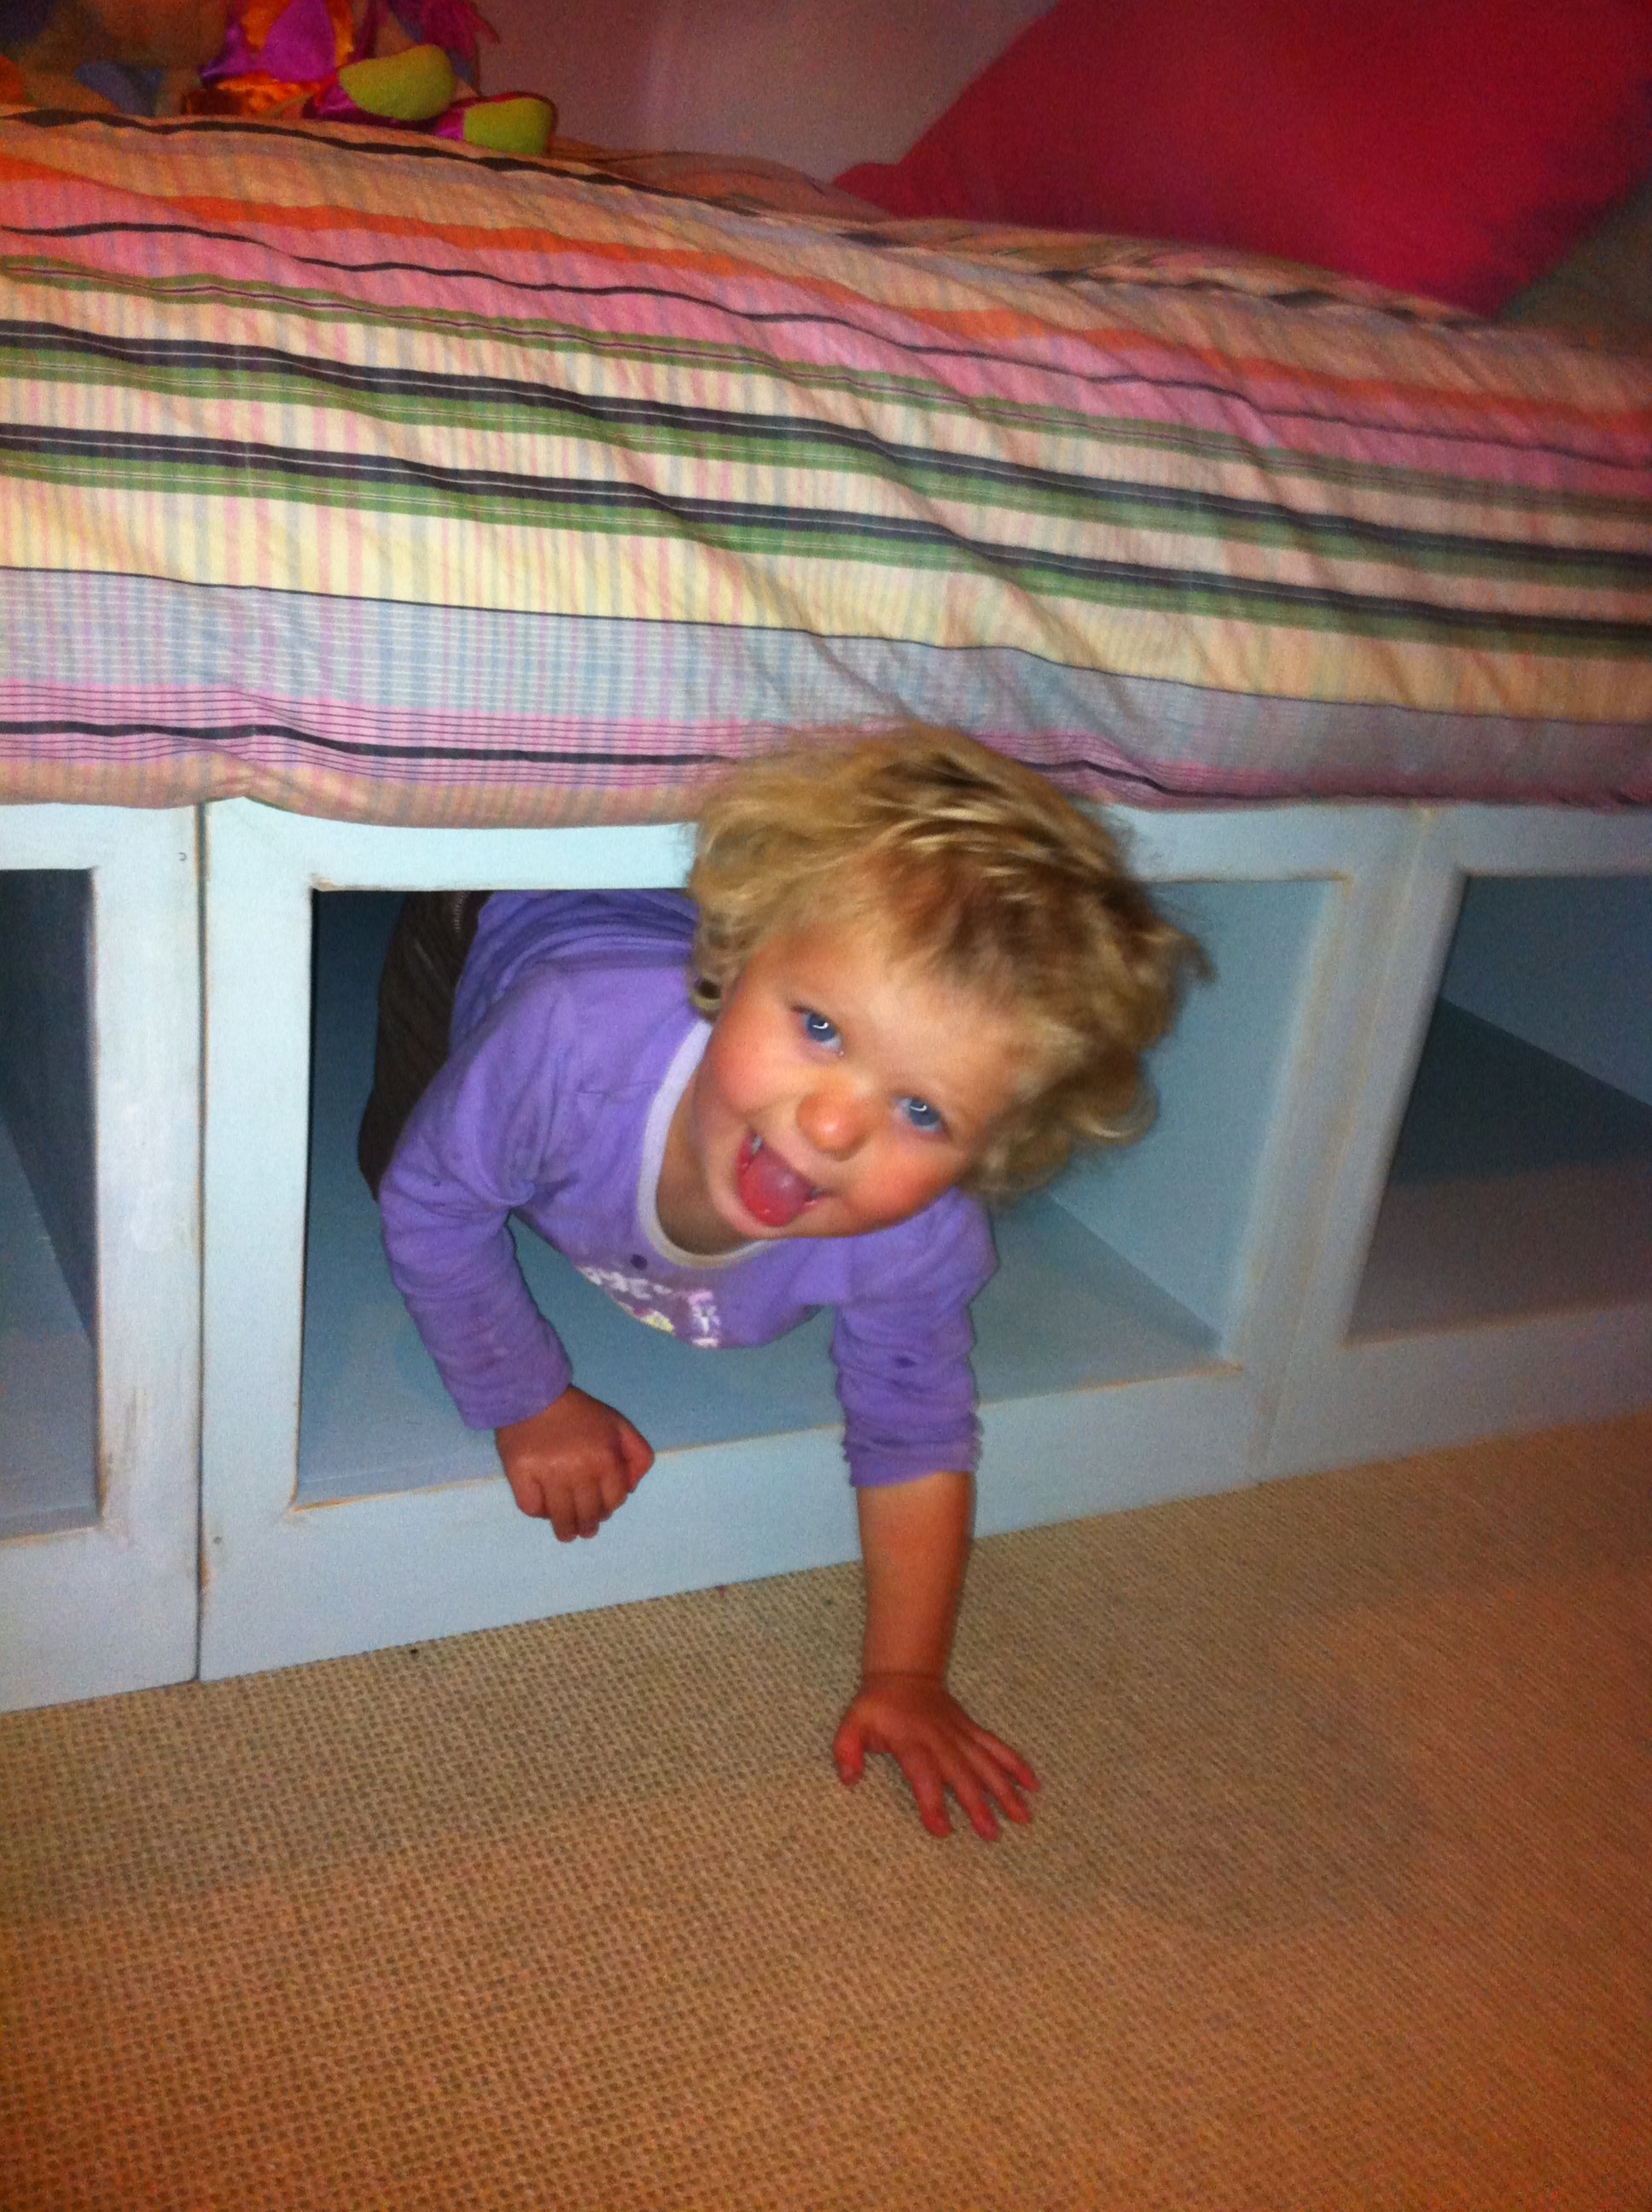
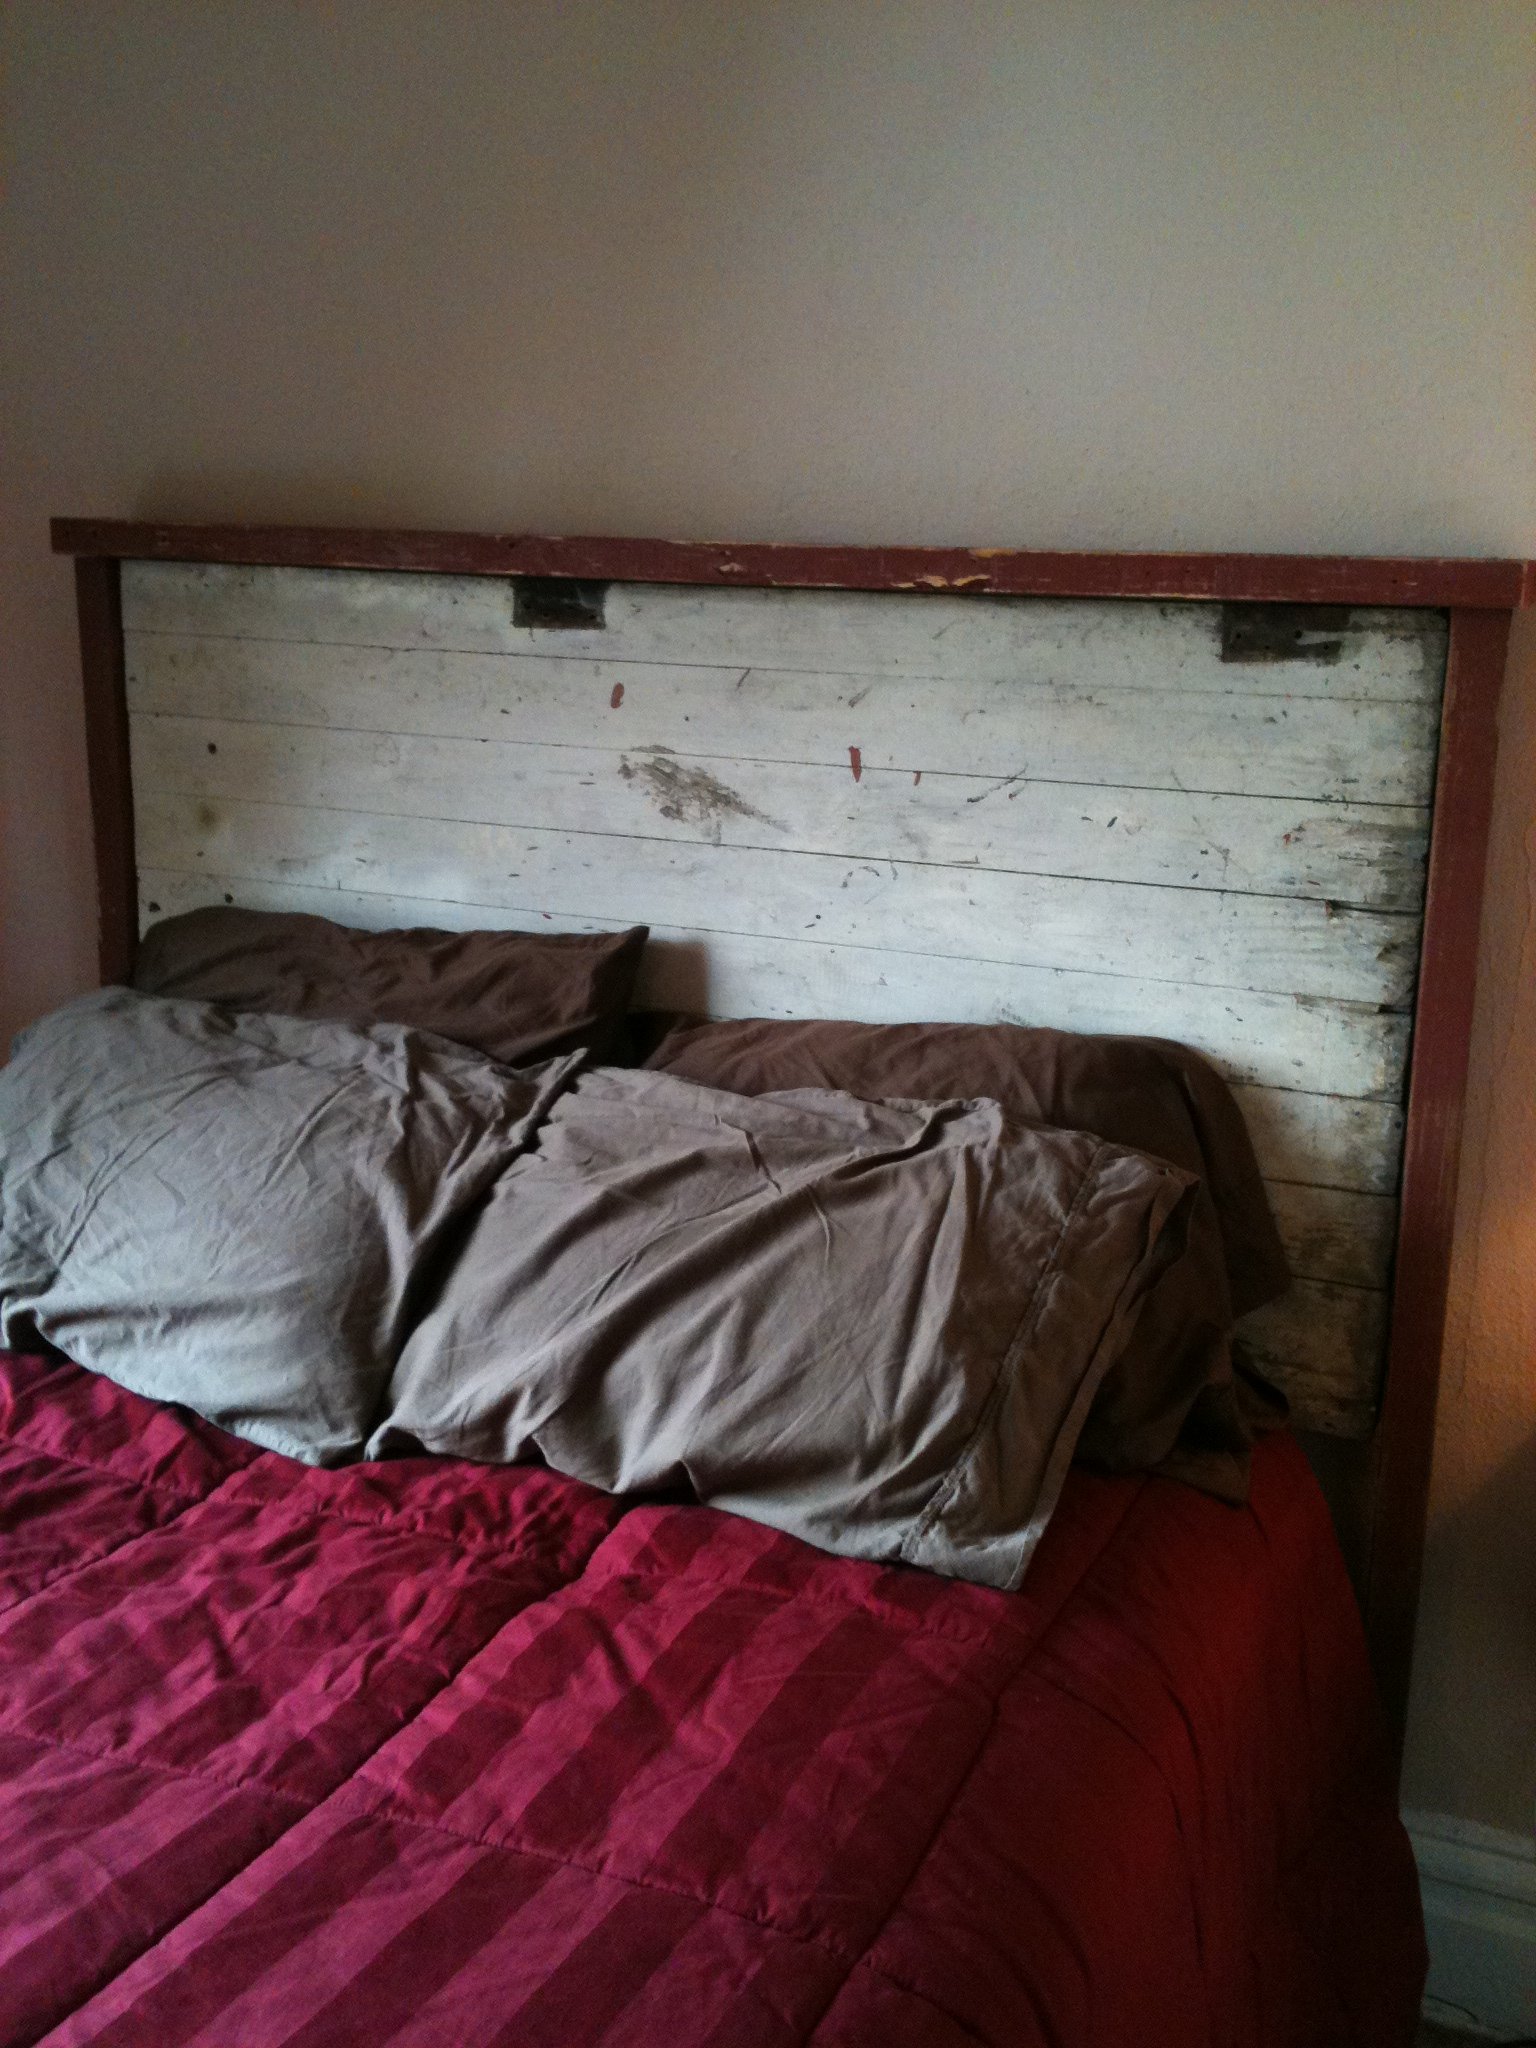
This was my first project. I already had a large ottoman, but it didn't hold anything. So I broke it apart for the box frame, added a bottom and hinged the lid. I was able to reuse the padding and upholster the pieces with sale fabric from Joann Fab ( love that store). Than I attached the fabric with a staple gun. Since it's in my bedroom, I like to keep wedding photos and such inside. Plus my 2 year old cannot open it!

Built from Plan(s)
Estimated Cost
$50, since I had the frame and padding already
Estimated Time Investment
Weekend Project (10-20 Hours)
Recommended Skill Level
Beginner

Farmhouse Storage Bed

Submitted by dmather82 on Wed, 10/16/2013 - 16:41

The first piece of our replacement bedroom set. We have this hand me down set from the 70's that is just awful looking. I have dressers, bed side tables, a wardrobe, and closet doors to do still. I love the way this turned out. I tried the oxidized finish from Hillary and with some trial and error I found the right colors. I replaced the standard slats with a one-piece frame that can be lifted out for the storage space below. I can't wait to replace the rest of that awful blonde furniture and repaint the room. I made wood slides like those on my built in dresser although this time they are positioned beneath the drawers. The front of the drawer boxes make up the drawer faces with a face frame. I changed the front of the boxes to 1x12 to achieve this concept. The drawers work flawlessly and will be perfect for seasonal clothes accessed less often.

Estimated Cost
$350
Estimated Time Investment
Week Long Project (20 Hours or More)
Finish Used
Black tea, Vinegar, and Steel wool Oxidized finish. The top coat is simply SEJohnson Wax. I had never used either and couldn't be more pleased with the result. I really liked the oxidized colors but the wax made me love them. The only issue I ran into was with the edge banding on the plywood frame. Initial attempts came out black or cobalt blue. Shame on me I used Red Oak banding. After sanding and playing with it I ended up adding a quick coat of Rustoleum Classic Cherry I had leftover. It worked pretty well to fix the color.
Recommended Skill Level
Intermediate

Kentwood Nightstand

Submitted by Wiscogrl on Thu, 08/29/2019 - 12:04

I made this nightstand and one other from the Kentwood plans. The handles are diamond willow from Wisconsin. I used 1x2's for the door.

Estimated Time Investment
Afternoon Project (3-6 Hours)
Finish Used
Haven't decided yet :)
Recommended Skill Level
Beginner

Queen Size Storage Bed with Drawers

Submitted by Anonymous (not verified) on Fri, 03/22/2019 - 12:33

My husband and I built this bed over the course of several weeks working on it a few hours at a time due to long work days. It came out beautiful and is exactly what I wanted and how I had it pictured for our new bedroom redo. We added the Queen Storage Bed Drawers from the Ana White plans but had to make a modification as the drawer plans did not account for the trim as shown in the picture for the bed. Then we took things a step further and built matching nightstands. I LOVE how everything turned out.

Estimated Cost
$300 for the bed and another $150 for the 2 nightstands.
Estimated Time Investment
Week Long Project (20 Hours or More)
Finish Used
Two coats of Valspar Ultra White paint with a coat of polyurethane on top.
Recommended Skill Level
Intermediate

My first build - storage daybed!

Submitted by lbadger on Tue, 10/25/2011 - 06:50

I finally did it! I purchased mattresses for our two girls (2 & 4) which have been just sitting on the floor for a while. Wanting to build some simple frames just to get them off the floor I ran across Ana's site. Oh boy! This site is amazing! We have a small house with very little storage so when I saw the storage daybeds I was smitten! The extent of my power tool comfort zone is dimensional lumber and a compound miter saw. Not plywood and definitely not the table saw, so I was a little leery about starting this project. In the end, I tackled it and am so glad I did! Even used the circular saw! Full disclosure, there's probably nothing square about the thing (see additional photos), but like mulch in your garden, trim covers a multitude of sins! I learned a lot and will take my time measuring and squaring for the next one. Also, as some readers commented, I would prime and do at least one coat of paint prior to assembly (that part was definitely time consuming). I also wanted the storage to go all the way back to the wall so I didn't include the center piece of plywood but instead trimmed down a 2x4 to a ~2.5" width and glue/screwed in into the plywood at the top center under the top piece. So far so good! On the finish, I wanted a distressed finish and started using a dark walnut stain but did not like how much it adhered to the paint as well as the sanded down edges. When I picked my daughter up from pre-school that day they had been doing flower rub pictures. I saw that the centers of the black-eyed susan’s and cone flowers came out a beautiful brown color. So when I got home my daughter and I went out and cut some old flower stems and we finished the other two cubby cubes that way. I think it turned out really well! I didn't end up top coating it with anything, I liked the scuffed up paint look. A big THANK YOU to Ana for doing all this work so we can too!

Built from Plan(s)
Estimated Cost
$135
Estimated Time Investment
Weekend Project (10-20 Hours)
Finish Used
Benjamin Moore Smoke and Dark Walnut stain for distressed finish on one cube which was replaced with the centers from our black-eyed susans and cone flowers.
Recommended Skill Level
Beginner

Farmhouse Queen Bed

Submitted by Amanda G on Fri, 10/18/2013 - 19:56

First building project ever! I wanted a new bed for our new mattress and got inspired when I came across this website. A compound mitre saw, orbital sander, nailer, and many more tools later, I am building furniture whenever I get a chance!

Modified the way I attached the frame to the head board and foot board a bit. I used joist hangers on the footboard, which the frame slid into perfectly, and secured it with a couple screws on each side. I attached the headboard with 2 large carriage bolts on each side through the posts and frame.

Overall, I loved the way it turned out. On to the next project!

Built from Plan(s)
Estimated Cost
$200
Estimated Time Investment
Weekend Project (10-20 Hours)
Finish Used
Distressed white. I used a shade of white paint, sanded the edges and corners (mostly with an orbital sander) and used a stain pen (in Provincial shade) on the sanded spots. Sanded the entire project by hand using 220 grit sponge and finished with 3-4 coats of Minwax Polycrylic
Recommended Skill Level
Beginner

Comments

In reply to by Ana White

Amanda G

Wed, 10/23/2013 - 19:38

Your website really guided me through everything, from buying the wood to the finish. I credit you and tell people to visit this website whenever anyone asks me about my projects :)

Tryde Coffee Table

Submitted by Anonymous (not verified) on Tue, 01/05/2016 - 00:30

This is my first DIY build project and it turned out awesome. For some reason I was unable to find untreated 4x4's anywhere in Hawaii, so I took two 2x4's and attached them by countersinking wood screws. Beware, the dimensions of this project are massive. I scaled down the measurements drastically to fit in my living room with my sectional.

Built from Plan(s)
Estimated Cost
Unknown
Estimated Time Investment
Week Long Project (20 Hours or More)
Finish Used
A coat of Minwax Pre-Stain Wood Conditioner then two coats of Mixwax Polyshades Mission Oak Satin finish with light sanding between applications. I stained the top and legs separately for ease of application.
Recommended Skill Level
Starter Project

Modified rustic x console

Submitted by Soni_max on Tue, 03/26/2019 - 11:14

Built by request. They wanted a couple modifications, so I improvised on a few areas. The piece will be stained/painted by the owner. 

Built from Plan(s)
Estimated Time Investment
Afternoon Project (3-6 Hours)
Recommended Skill Level
Beginner

Reclaimed Wood Headboard (air quotes)

Submitted by AlexWS on Mon, 10/31/2011 - 11:07

OK, first off this is not in any way, shape or form the Ana White plan for the Reclaimed Wood Headboard. However, I had to include a plan link and it IS a headboard made with reclaimed wood. So yea, air quotes. Second, I apologize for the poor quality photos of my recent brag posts. The digital camera is gone so these are iPhone specials. On with it now. This is my quick and dirty way of making a headboard, and kind of cheating. All you're looking at in these photos is some 2X3s and 2X4s around an old door to the root cellar in my basement. That's right, for once my main source of building material was not a pallet. As I took the door off the old rusty hinges and cleaned off the dust and cobwebs it occurred to me that this was probably original to the house from 1920. With that kind of history in mind the only thing I could do was take a saw to it and hack off 18 inches, oops. The 2X3 posts on the side were actually supports for a shelf that was made from a door(more on that to come). That shelf was actually found in the root cellar the door was for, this house has been pretty beneficial to me so far. The 2X4 top is from a pallet and aside from a 2X6 at the bottom to attach it to the bed, that's it. After that it was simply a matter of some oops paint on the trim(that would be the red) and a bit of sanding once it dried. The white is simply the condition the door was in.

Estimated Cost
Free
Estimated Time Investment
An Hour or Two (0-2 Hours)
Finish Used
Oops paint and a quick sanding for the trim, years of aging for the main portion.
Recommended Skill Level
Starter Project

Comments

debandtom25

Thu, 11/10/2011 - 06:53

Totally attaching this to my Pinterst acct. I love when items are re-purposed and you did a fab job here!

Rectangle Day Bed

This was my first ever experience working with wood, circular saw, and a drill (other than hanging pictures in my house). After catching my toddler trying to climb out of her crib on three separate occasion, I started looking around for daybeds. I found one I loved, but it was no longer for sale. Luckily, this plan is the exact replica of the daybed on West Elm! It was a fun (and educational) first experience, and I think I'm hooked! It took me several weekends to put this together and paint it. The paint alone took nearly seven hours with three coats of paint to get the right color of white. I didn't add the extra support as mentioned at the bottom, but this coming weekend I'm going to add it for additional support. My toddler LOVES it!

Built from Plan(s)
Estimated Time Investment
Week Long Project (20 Hours or More)
Finish Used
Powdered Snow from Behr.
Recommended Skill Level
Beginner

Comments

Fancy X Farmhouse Table

Submitted by Anonymous (not verified) on Wed, 01/06/2016 - 15:23

I saw this table on Pinterest and knew that I needed to have one in my life. I then bought a saw for my husband, for his birthday, and you can guess what happened. We followed the directions, except we made the table and bench a little longer in order to accomodate more people (I wanted at least 12 people to be able to sit at the same table). This was our first wood-working project and we learned a LOT. It took more time than we anticipated but it was well worth it.

Built from Plan(s)
Estimated Cost
We did buy a saw to start this project, but other than that I think all of the supplies (screws, wood, wood filler, polyurethane) ended up costing us a little over $100. Not bad.
Estimated Time Investment
Week Long Project (20 Hours or More)
Finish Used
We stained the wood using MINWAX Dark Walnut. We let it dry 24 hours and then stained the sides that had been on the floor and let them rest for another 24 hours before applying the polyurethane.
TIP: My wood was still a little rough after applying the stain, so I used brown paper bags as a fine sandpaper. We also used brown paper bags to sand between coats of poly.
We used Varathane Poly - Satin and water based, crystal clear. We applied 4 coats (because I'm paranoid) to every piece. We let everything dry for 24 hours and then put the table and bench together.
We stained and put polyurethane on every piece before putting everything together because we felt that we would get a more even stain and wouldn't mess up the poly coats (bubbles, drips).
Recommended Skill Level
Beginner

Headboard

Submitted by Anonymous (not verified) on Fri, 02/24/2023 - 09:17

I followed your basic farmhouse bed plans and modified them. I have made three headboards now. Each time someone sees them, they want me to build one for them!

Built from Plan(s)

Benjamin's Deck Chair

Built this for my 2 yr old son. It's adorable!
The only trouble we have is that when he climbs in it wants to tip forward, a weight or stake into the ground on the back cross brace would probably solve it.

Estimated Cost
Scraps!
Estimated Time Investment
An Hour or Two (0-2 Hours)
Recommended Skill Level
Starter Project

Chalkboard Shelves!

Submitted by jamie_C on Thu, 10/24/2013 - 20:15

My husband and I built these chalkboard shelves today. We are very happy with the way they turned out! We are donating them to our son's cooperative preschool to be used in their upcoming auction, which is a big money maker for the school. Hopefully they make good money! We added some artistic touches to the tops of the shelves (polka dots and chevron stripes). A fun, easy build!

Estimated Time Investment
Afternoon Project (3-6 Hours)
Finish Used
chalkboard spray paint, and the chevron and polka dot design was applied with acrylic paint.
Recommended Skill Level
Starter Project

Toy Storage Box

Submitted by Cannelle on Sun, 05/05/2019 - 16:19

I made this project for a co-worker who is expecting. I was a bit worried about just using nails and glue, so I used pocket holes except for on the front pieces. To add storage capacity on the top cubbies, I trimmed a 1x6 by an inch, as I thought that it would be a good balance. Overall, it turned out well and she loved it.

Built from Plan(s)
Estimated Cost
$30 plus paint and hardware
Estimated Time Investment
Weekend Project (10-20 Hours)
Finish Used
White paint, lacquer
Recommended Skill Level
Beginner

Patio tables

Submitted by Anonymous (not verified) on Fri, 03/03/2023 - 05:06

Fun and easy project. If I did it again I would definitely follow the directions to stain the wood first. My first Ana-White project. I’m hooked!

Built from Plan(s)

Comments

Bella's bed

Submitted by EmuJane on Sun, 11/13/2011 - 15:25

Since my daughter loves to climb and was starting to get a gleam in her eye when it was time to get up from her naps, the time had come to give her a big girl bed. I'm not ready for her to be in the twin bed that we have because it's so high off the ground, so the toddler farmhouse bed is perfect for her. We did have to edit the plans for our crib mattress

Built from Plan(s)
Estimated Cost
$70.00
Estimated Time Investment
Weekend Project (10-20 Hours)
Finish Used
Minwax water-based stain in Vermont Maple, 2 coats Minwax Polycrylic, final coat of paste wax
Recommended Skill Level
Beginner

Comments

Ana White

Thu, 11/17/2011 - 01:02

So sorry for the tech problems. I can't wait to see your toddler farmhouse bed! If you send me images I will upload to the post. Thank you so much for taking your time to submit a brag post. Ana

Knockoffwood(at)gmail.com

Angie Overton

Sun, 04/14/2013 - 12:19

I've been looking to make a toddler bed for a friend and this is the perfect one. I like the headboard without the arch and I too need to be able to fit a crib mattress in it. Would you happen to have the dimensions that are needed for it to fit a crib mattress?

Your chair plans , my chairs to go with my table?

Submitted by Mike Cook on Sat, 10/26/2013 - 20:24

Used the parsons chair plans and finished it with a wood seat and back. Made them out of an old cedar hot tub and reclaimed wood from a house.
Mad a set of 6 chairs, holding up great over a year! Took me about 40 hours including milling the wood.

Built from Plan(s)
Estimated Cost
All recycled wood $10 for glue
Estimated Time Investment
Week Long Project (20 Hours or More)
Finish Used
Penofin stain and water based poly.
Recommended Skill Level
Intermediate

Farmhouse Queen Bed Hybrid

Submitted by Anonymous (not verified) on Sun, 01/10/2016 - 17:56

My bed frame dimensions were 60 wide by 80 length. So that is the inside demension after assembly. My headboard posts were cut to 54". Headboard panels are 31.5" (11- 6" boards). My posts were made from combining two 2x4s together. I plan on mounting the metal bed frame to the inside of the bed rails.

Estimated Cost
$110
Estimated Time Investment
Day Project (6-9 Hours)
Finish Used
Behr Satin white paint and primer
Recommended Skill Level
Beginner