Community Brag Posts
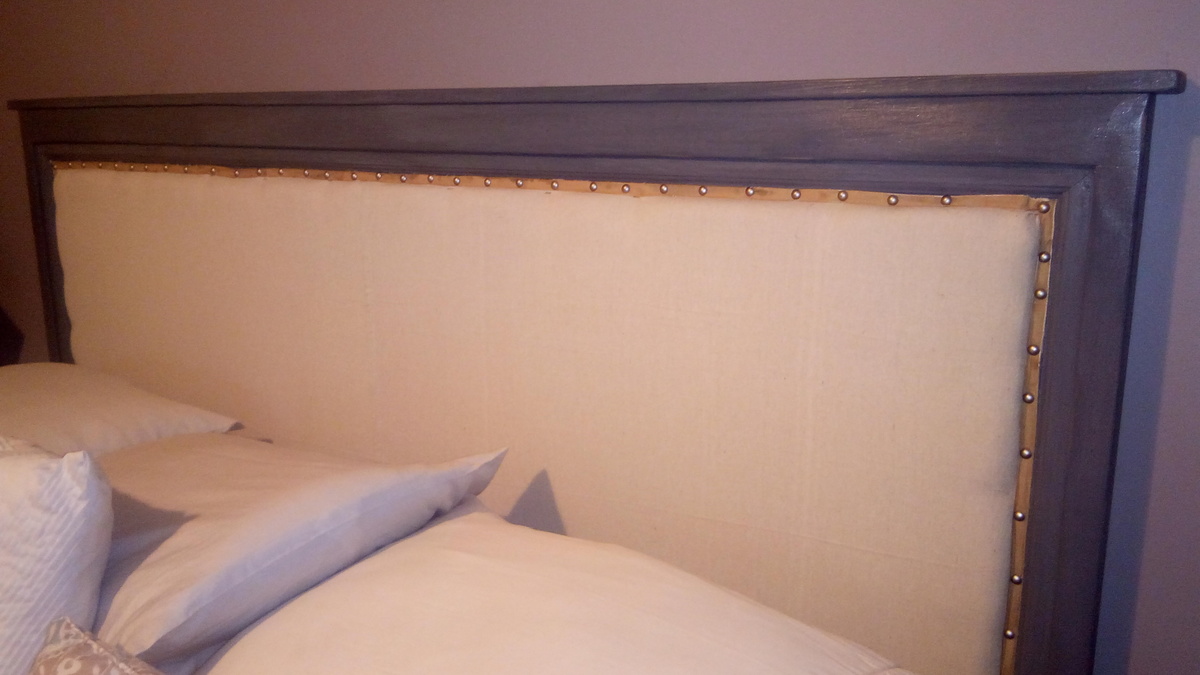
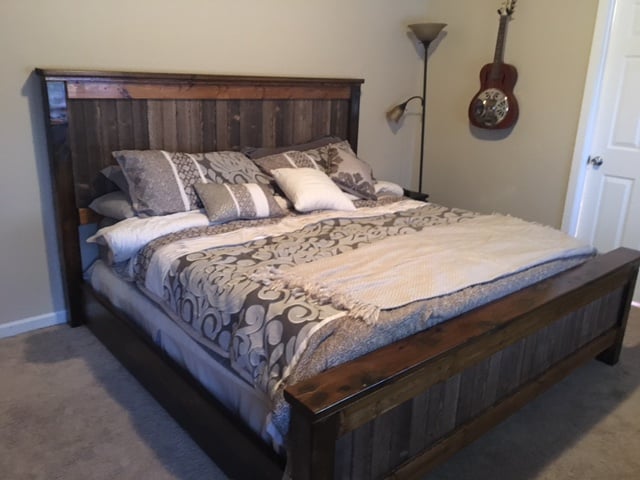
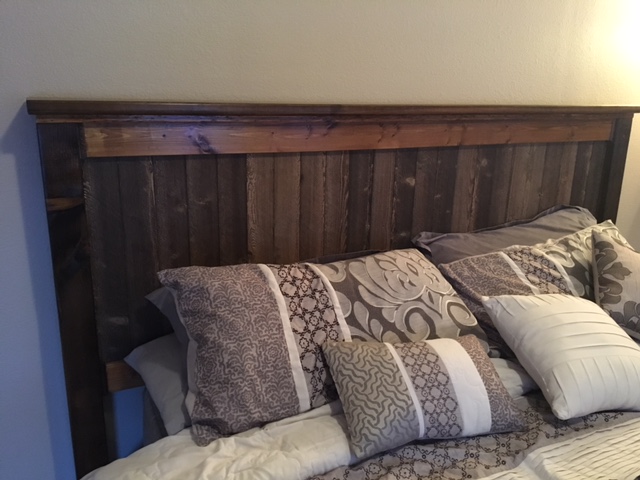
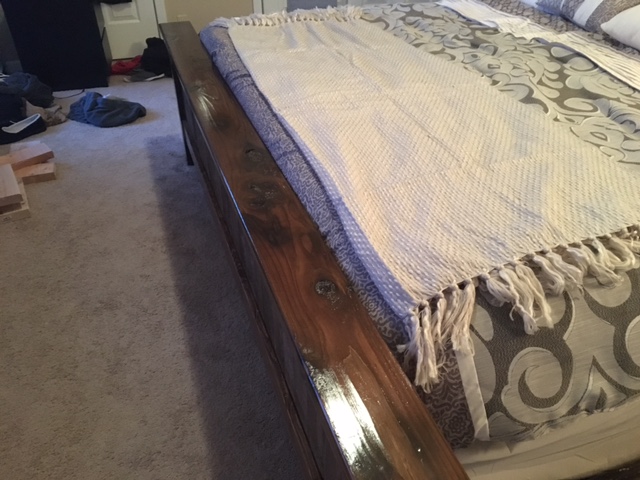
Chestwick King Bed and Headboard
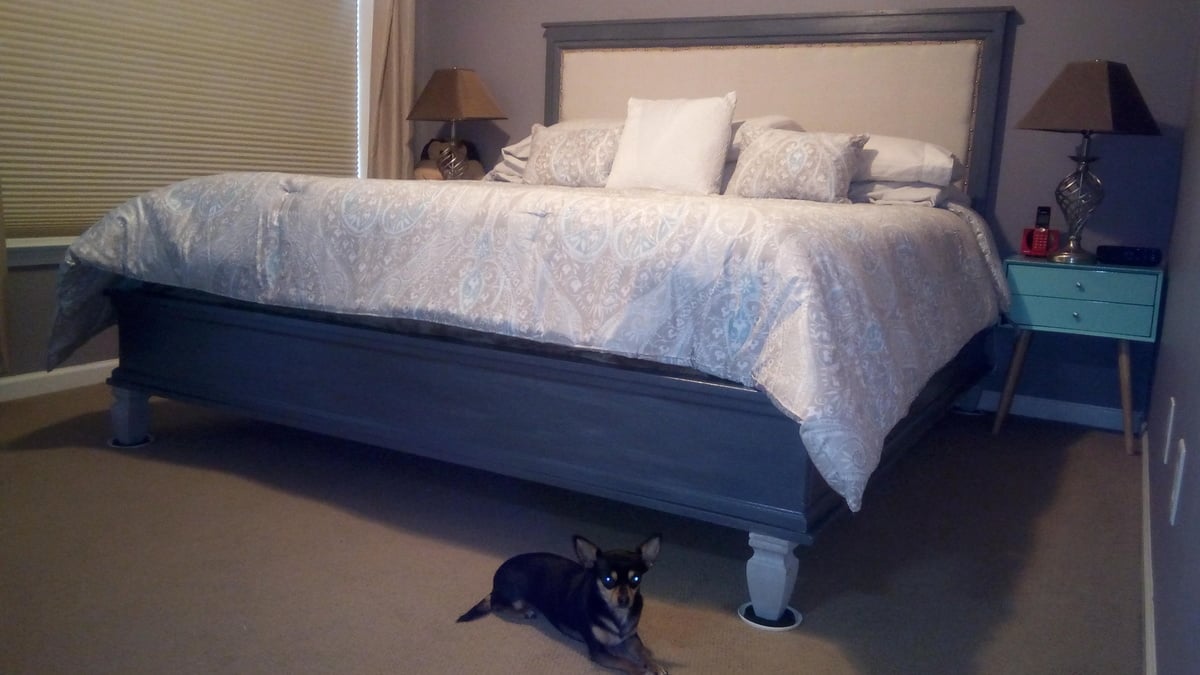
This project was a task! The bed is huge so we brought it into the room in pieces and put it together inside. Pretty happy with the outcome
Built from Plan(s)
Estimated Cost
$250
Estimated Time Investment
Week Long Project (20 Hours or More)
Recommended Skill Level
Intermediate
Comments

Thu, 10/11/2018 - 11:16
Headboard
So sorry my response is so overdue, I didn't get a notification. The headboard is actually mounted to the wall with https://www.homedepot.com/p/Hangman-42-in-Heavy-Duty-Mirror-and-Picture…
Harriet High Chair for Grandson
Made this chair in two days - very hot TX days, so only worked a few hours outside each day. paint was dry as they arrived for a Sunday visit. The Mom is going to paint, decorate it at their home. The white is a mold primer paint, that should hold up nicely. I did add an extra cross piece at the back, after the back rest was attached. The seat seemed to need more attachment points. I also used two 1x6 boards for the seat, flush at the back with a slight overhang at the front and cut the seat to 17" with an overhang to the sides. this gave the seat a small gap for a grip to assist with the climb up. Grandson is 2.5 yrs old. He was excited to have a big boy chair.
Built from Plan(s)
Estimated Time Investment
Day Project (6-9 Hours)
Finish Used
Grandson's Dine chair at main table
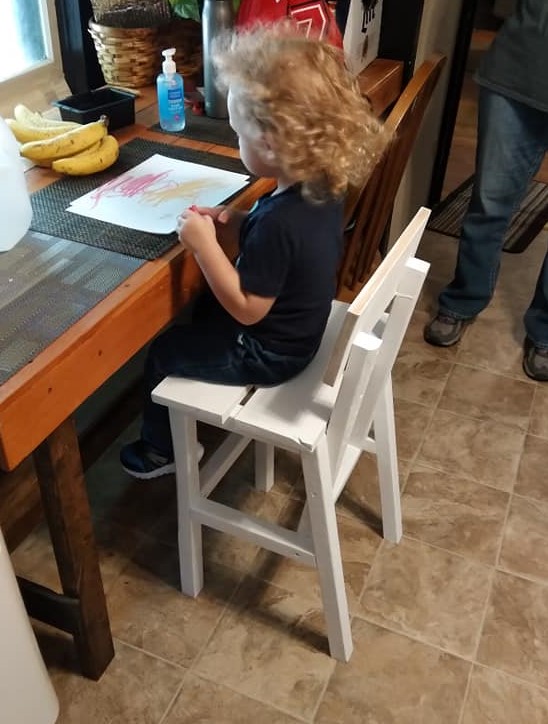
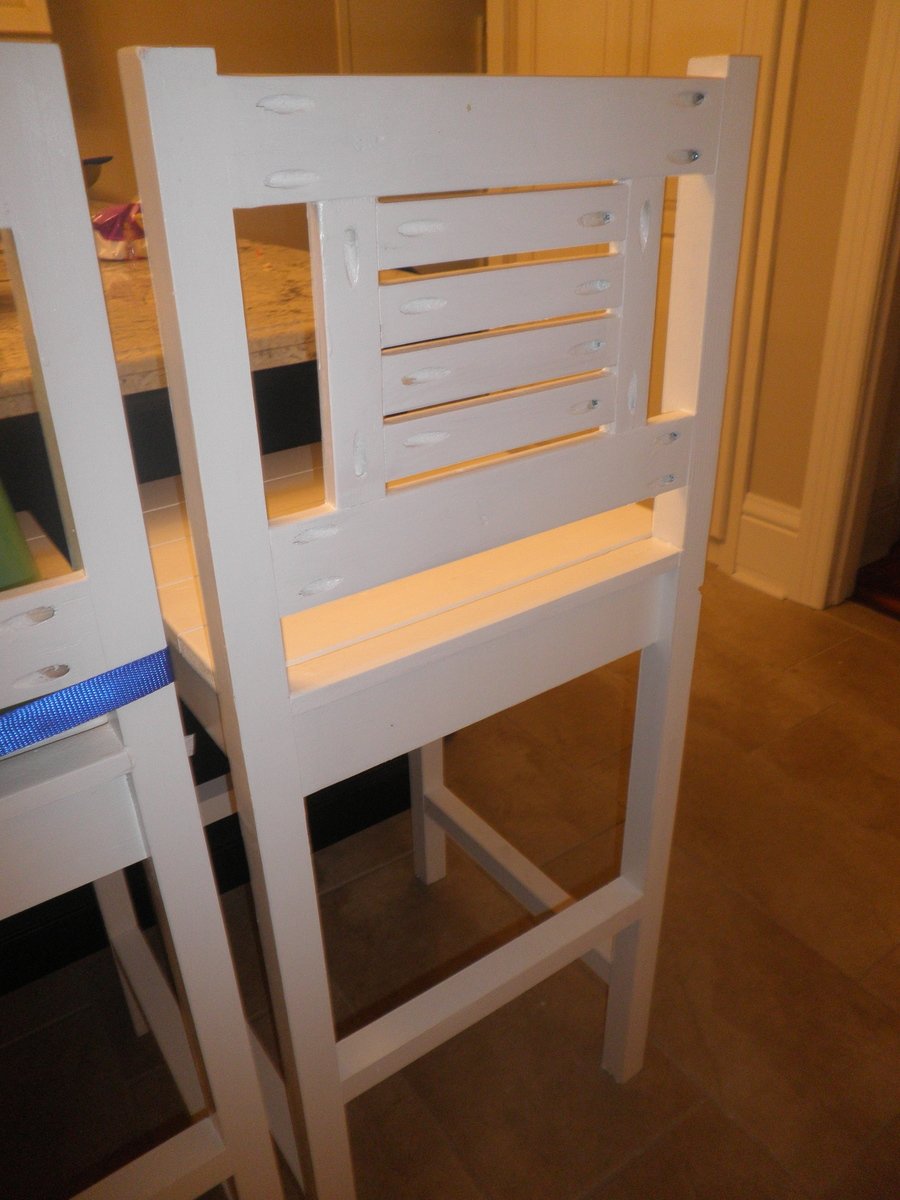
Vintage bar stools
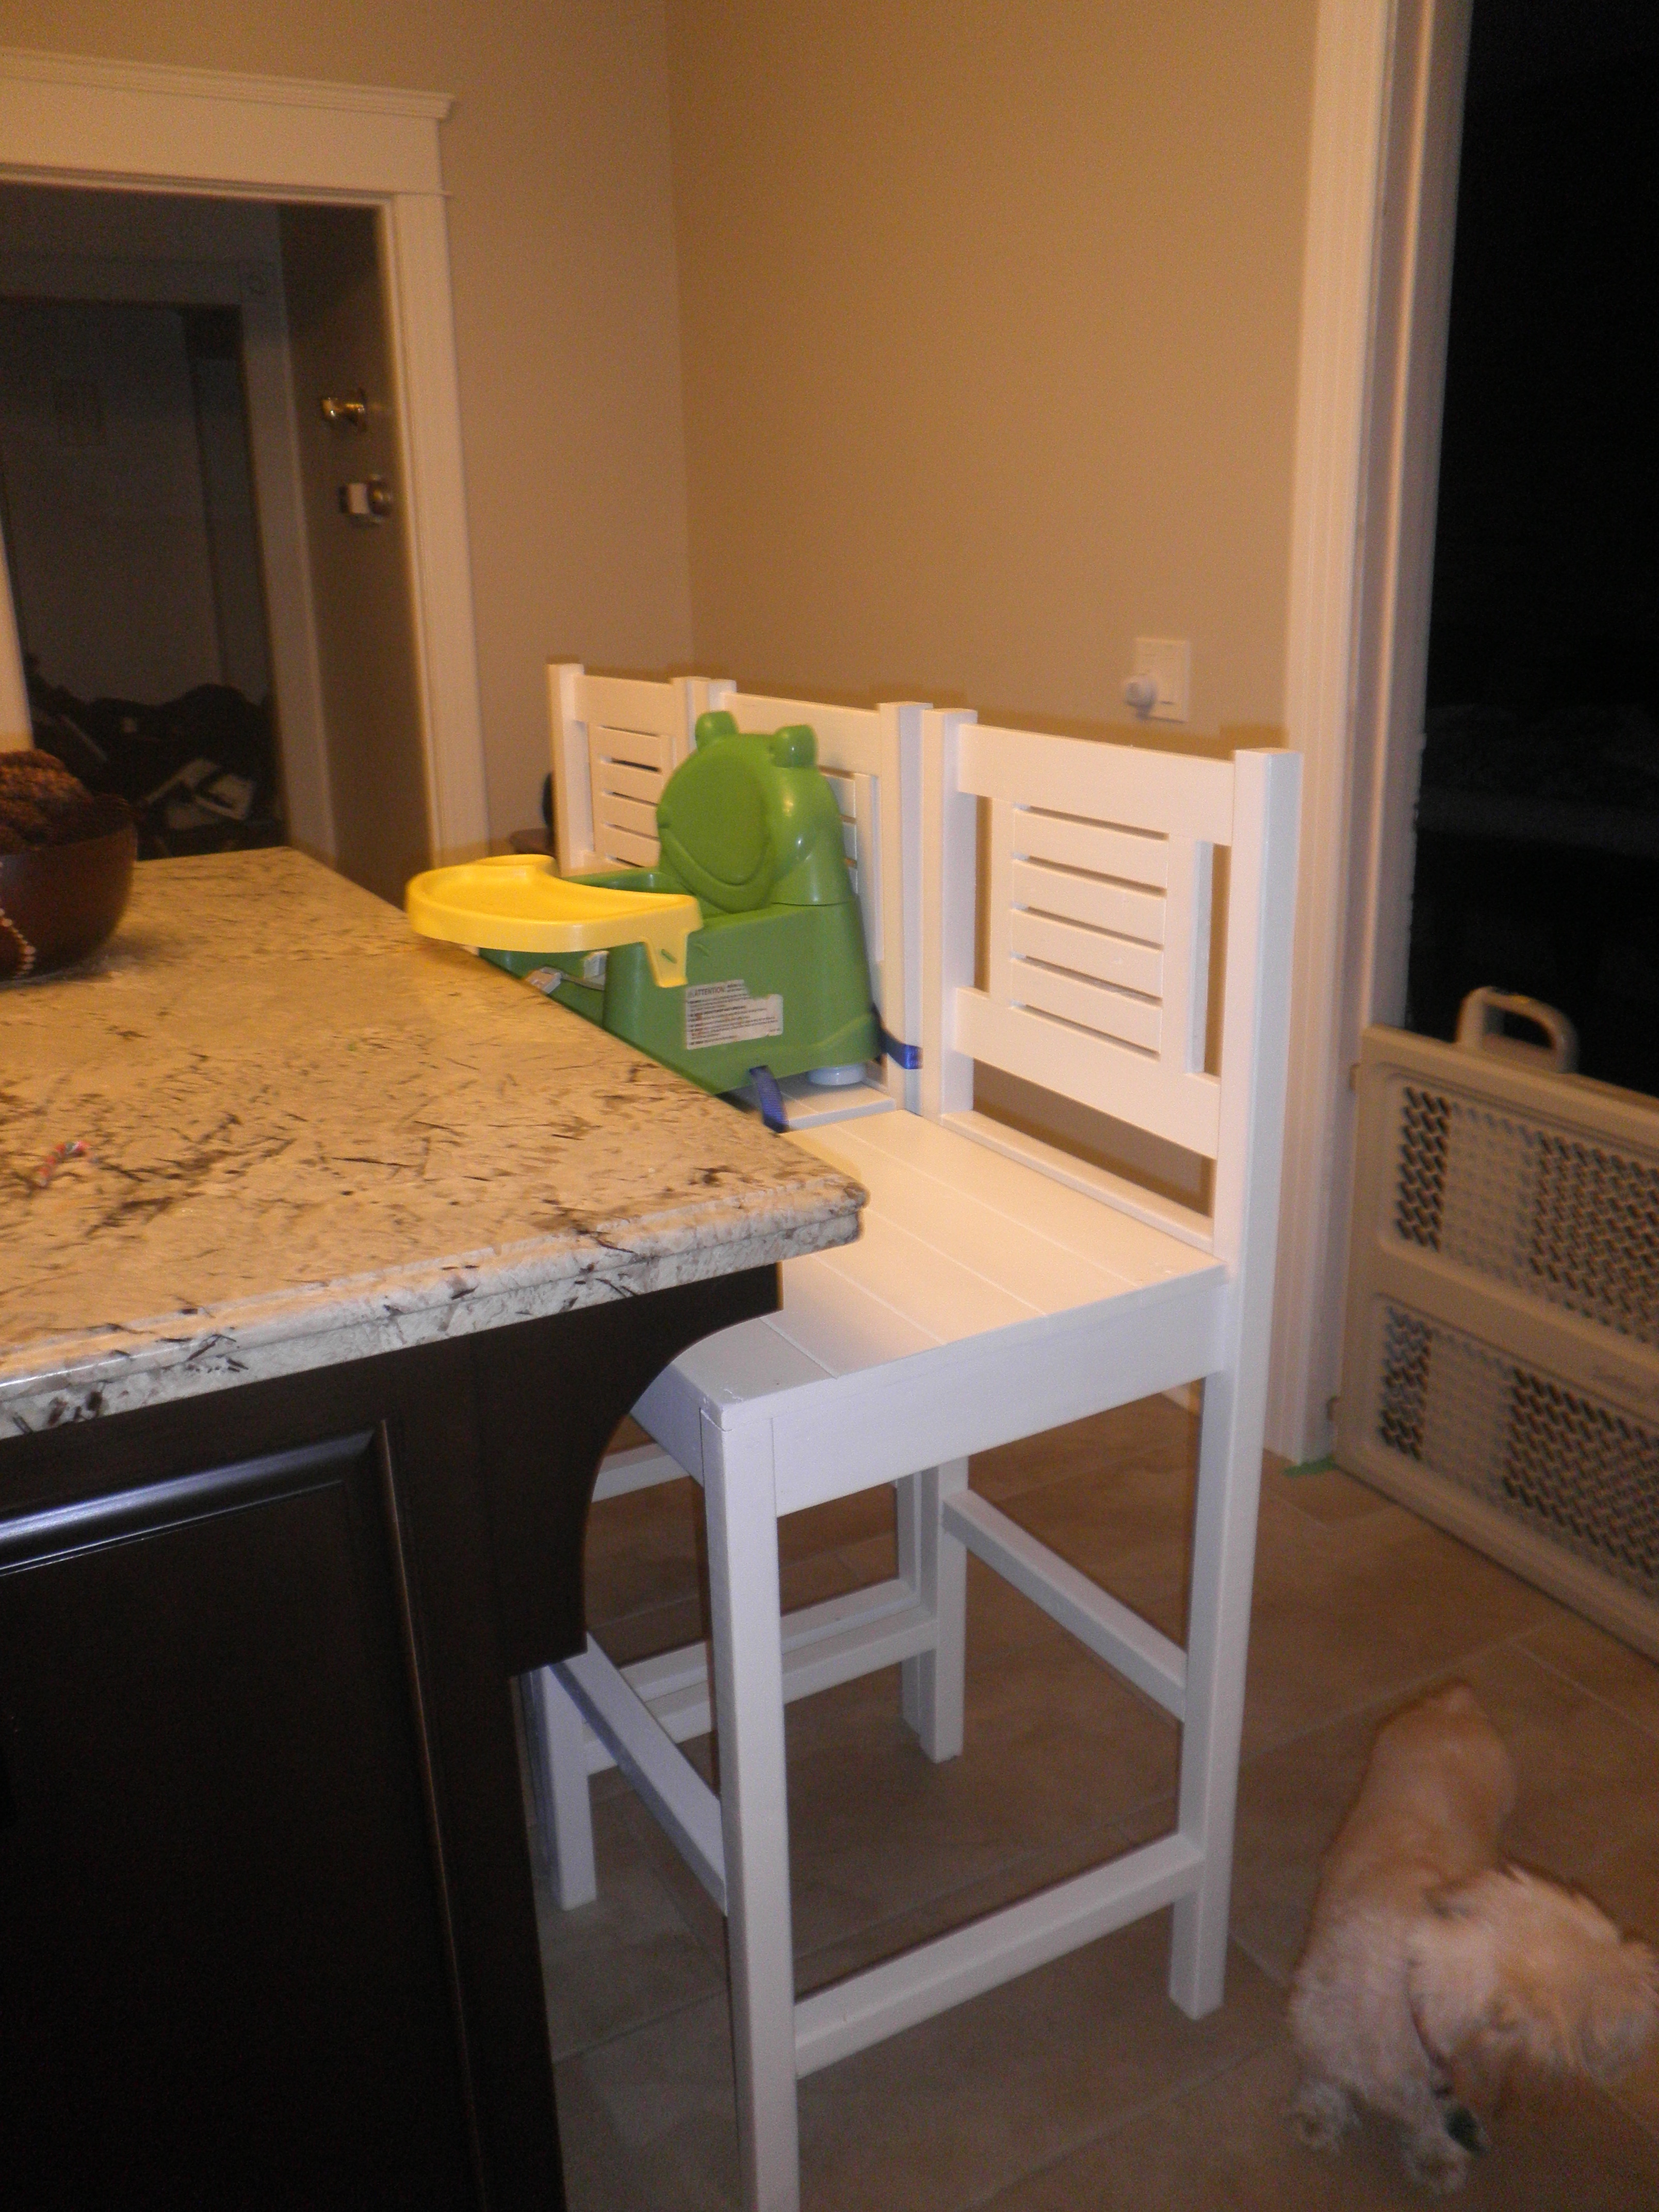
Vintage bars stools made for our kids ages 4.5,2.5, 1 (hence the reason they are high) the kids love them and I love the price tag! Around $15-20 each to make.
I left off the decorative corners.
Estimated Cost
less than $60
Estimated Time Investment
Weekend Project (10-20 Hours)
Finish Used
just white paint - as I found out I'm pregnant and can't stain anything. I really wanted them distressed but didn't wanted them unfinished for months because I already have a two page list (and growing) of all the things hubby has to do.
Recommended Skill Level
Beginner
Comments

Reclaimed Wood Headboard, Double Size (Cedar Siding)
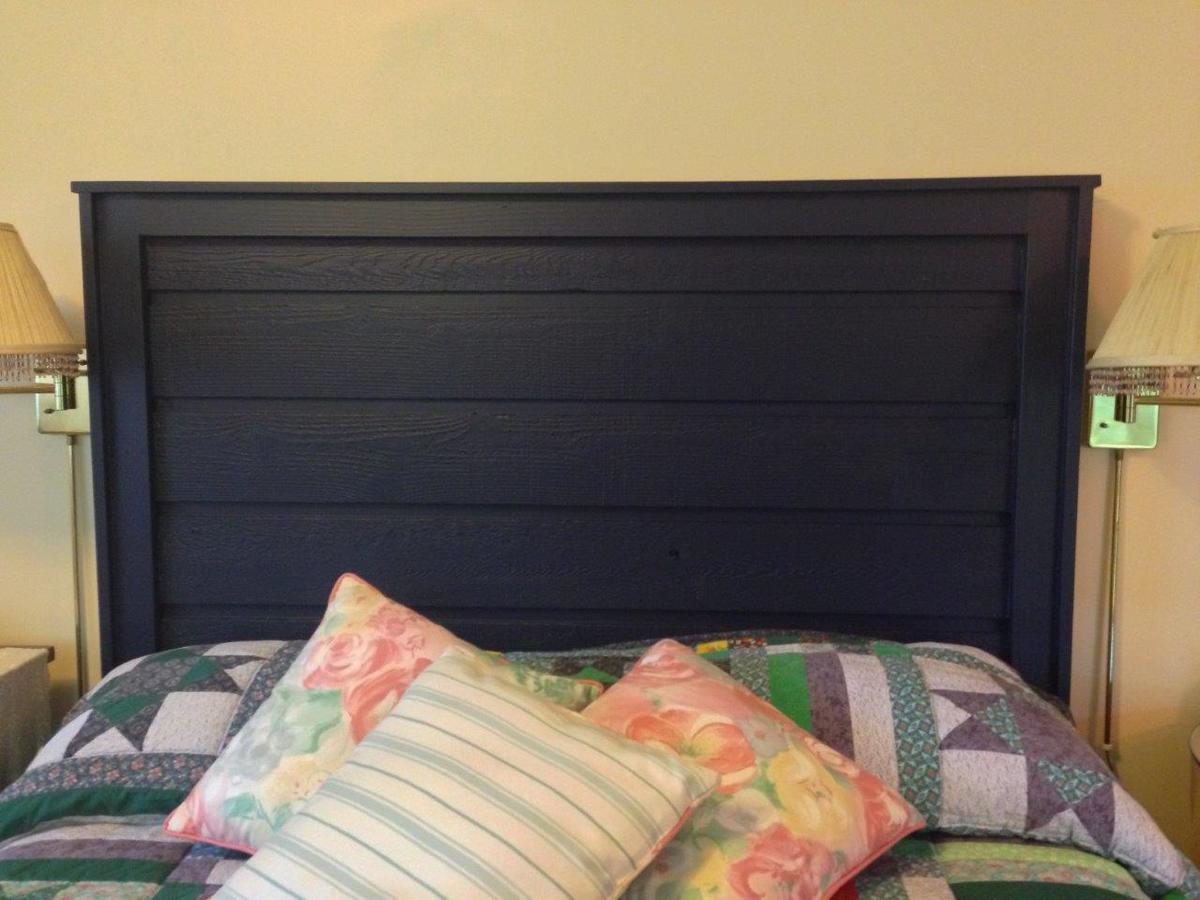
Made with leftover lapped cedar siding from our woodshed, plus a few pieces of reclaimed 1x4 and some new 1x3. Wanted it to be navy, and it is.
Built from Plan(s)
Estimated Time Investment
Day Project (6-9 Hours)
Finish Used
Navy blue satin paint. Don't - I repeat - don't prime with white primer, if painting a final dark color! It took 4 coats of navy to completely cover the primer. Either skip primer or have it tinted closer to the final color. Should have known better.
Recommended Skill Level
Beginner
Balin Console Table
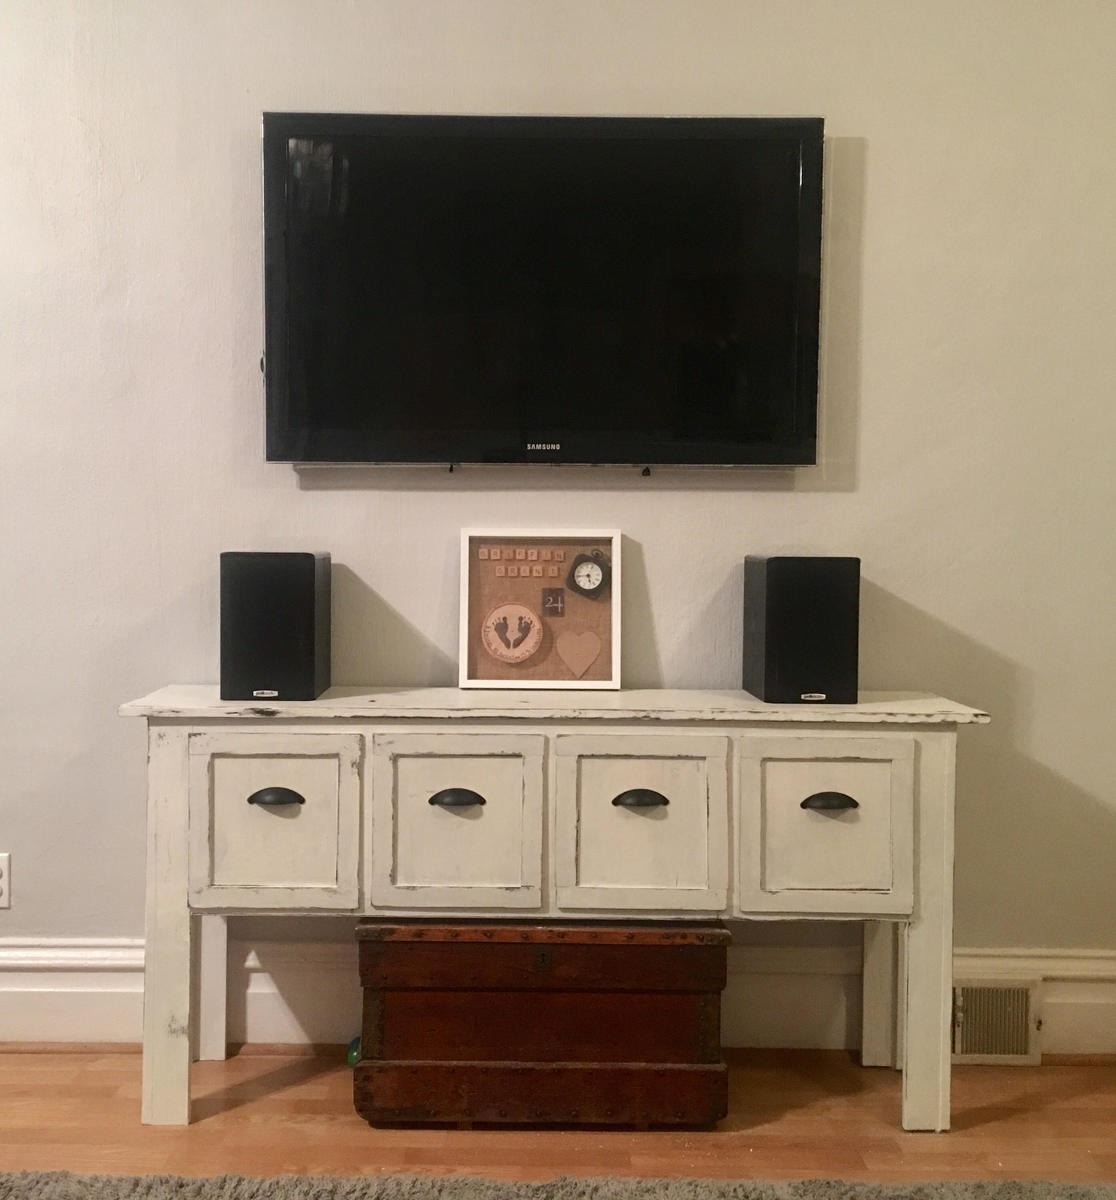
Built this for my wife for Christmas. It was super easy and she loves it!
Built from Plan(s)
Estimated Cost
$150
Estimated Time Investment
Weekend Project (10-20 Hours)
Finish Used
Ana White Old World Finish
Recommended Skill Level
Beginner
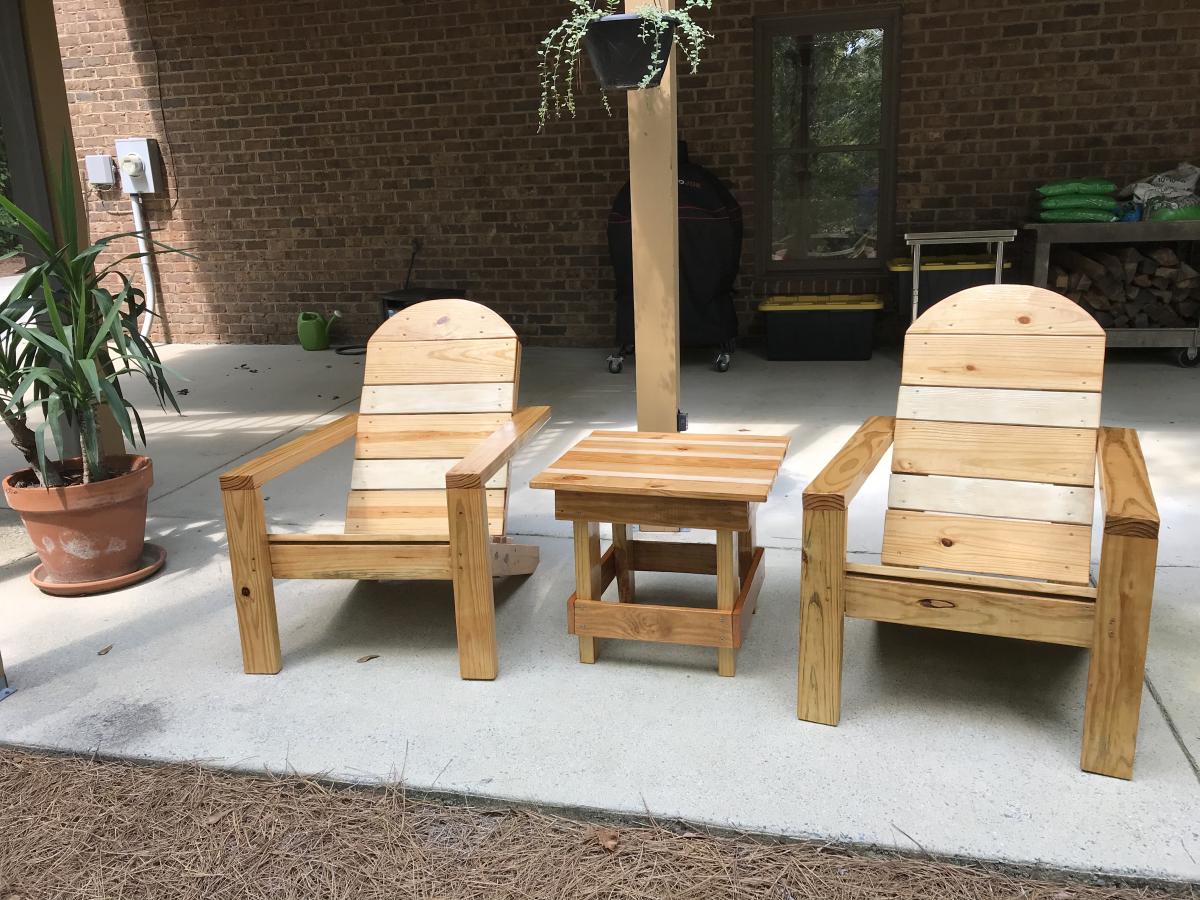
Modern Adirondack Chairs

These were fun to build. The sanding , staining and finishing took longer than carpentry.
Built from Plan(s)
Estimated Cost
$115 for 2
Estimated Time Investment
Weekend Project (10-20 Hours)
Finish Used
Interior oak stain and off white oil gloss enamel coated with 2 coats of Spar Urethane.
Recommended Skill Level
Beginner
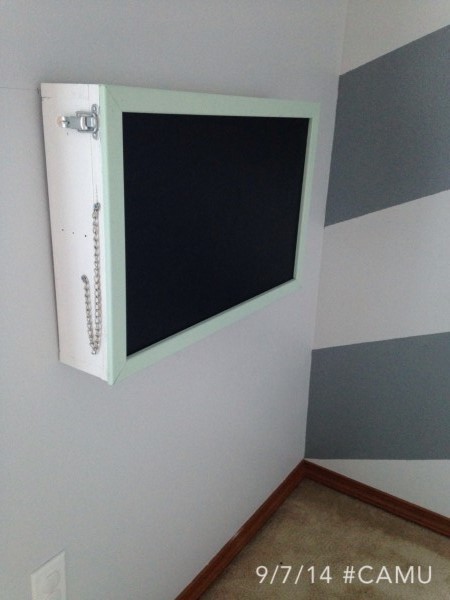
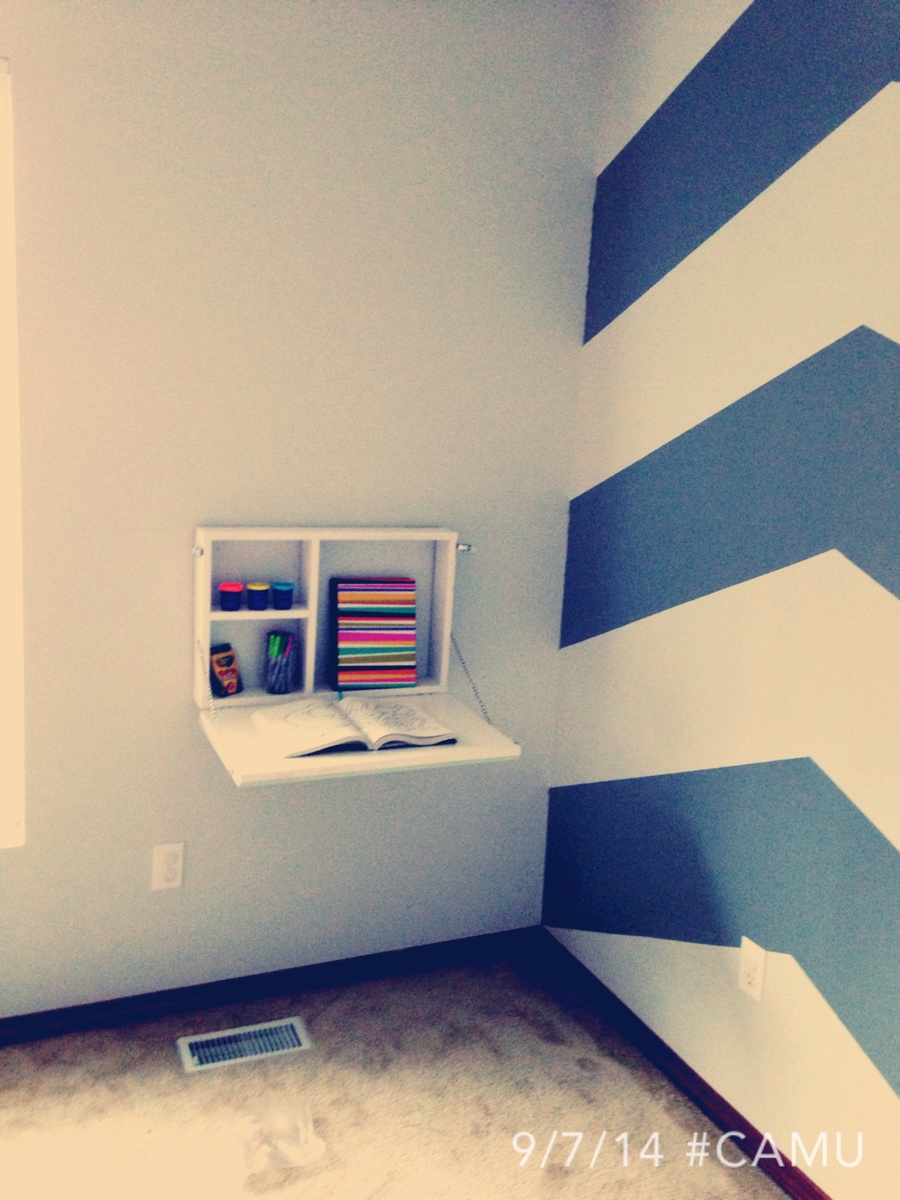
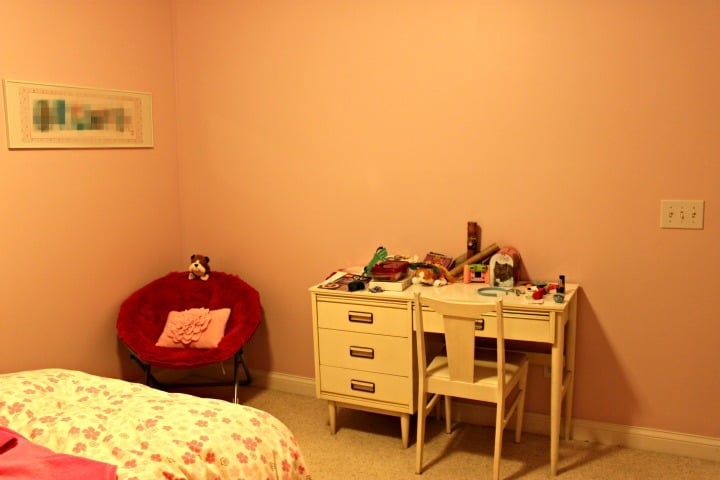
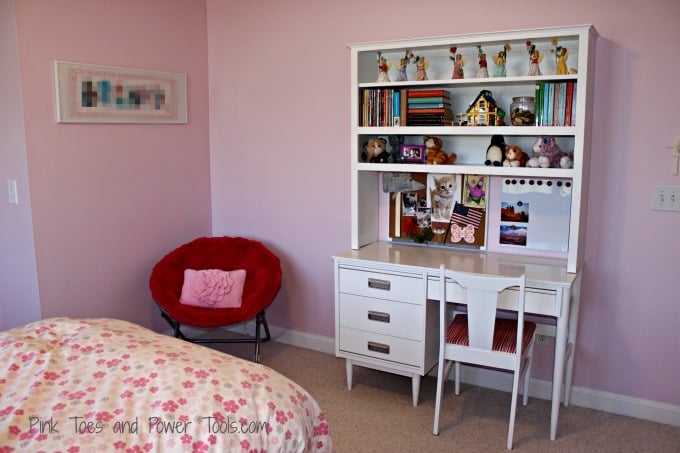
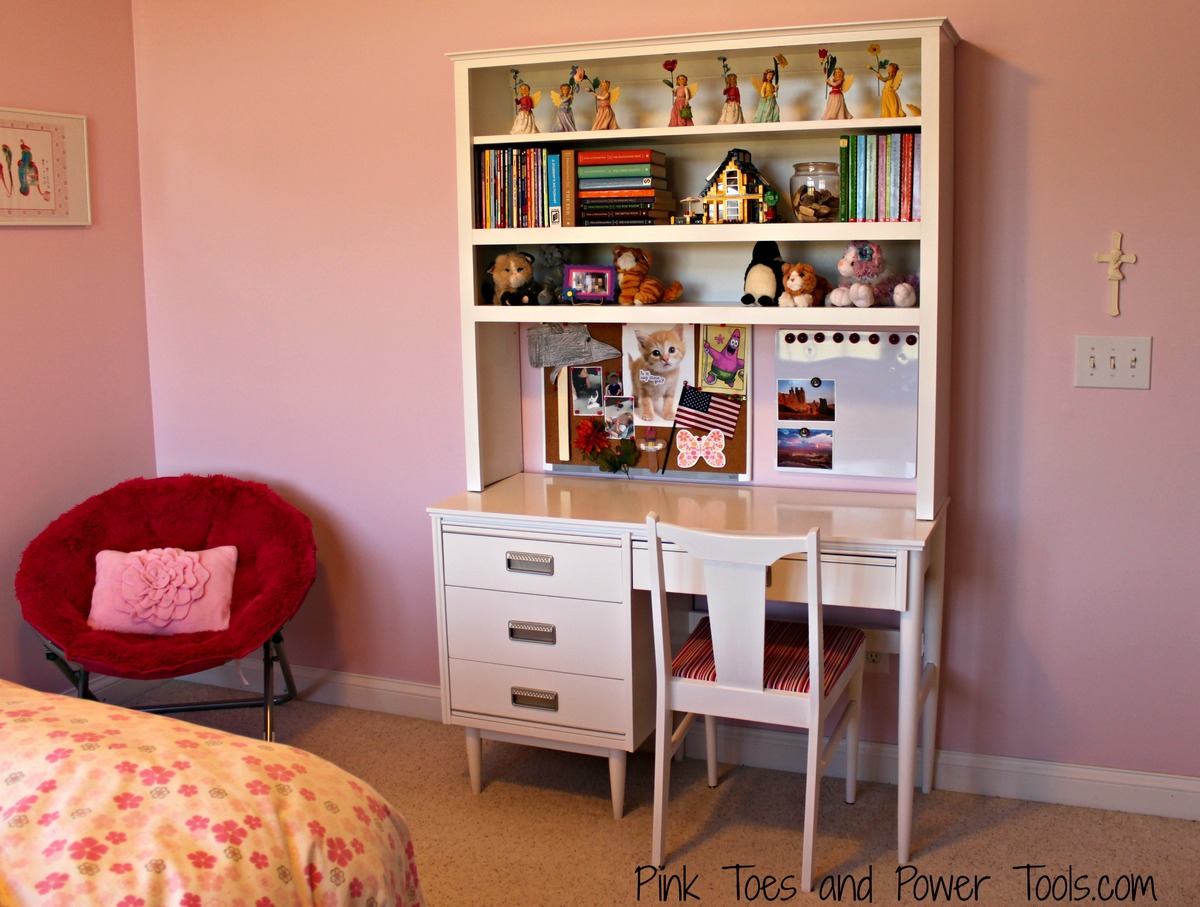
Adding a hutch to a desk
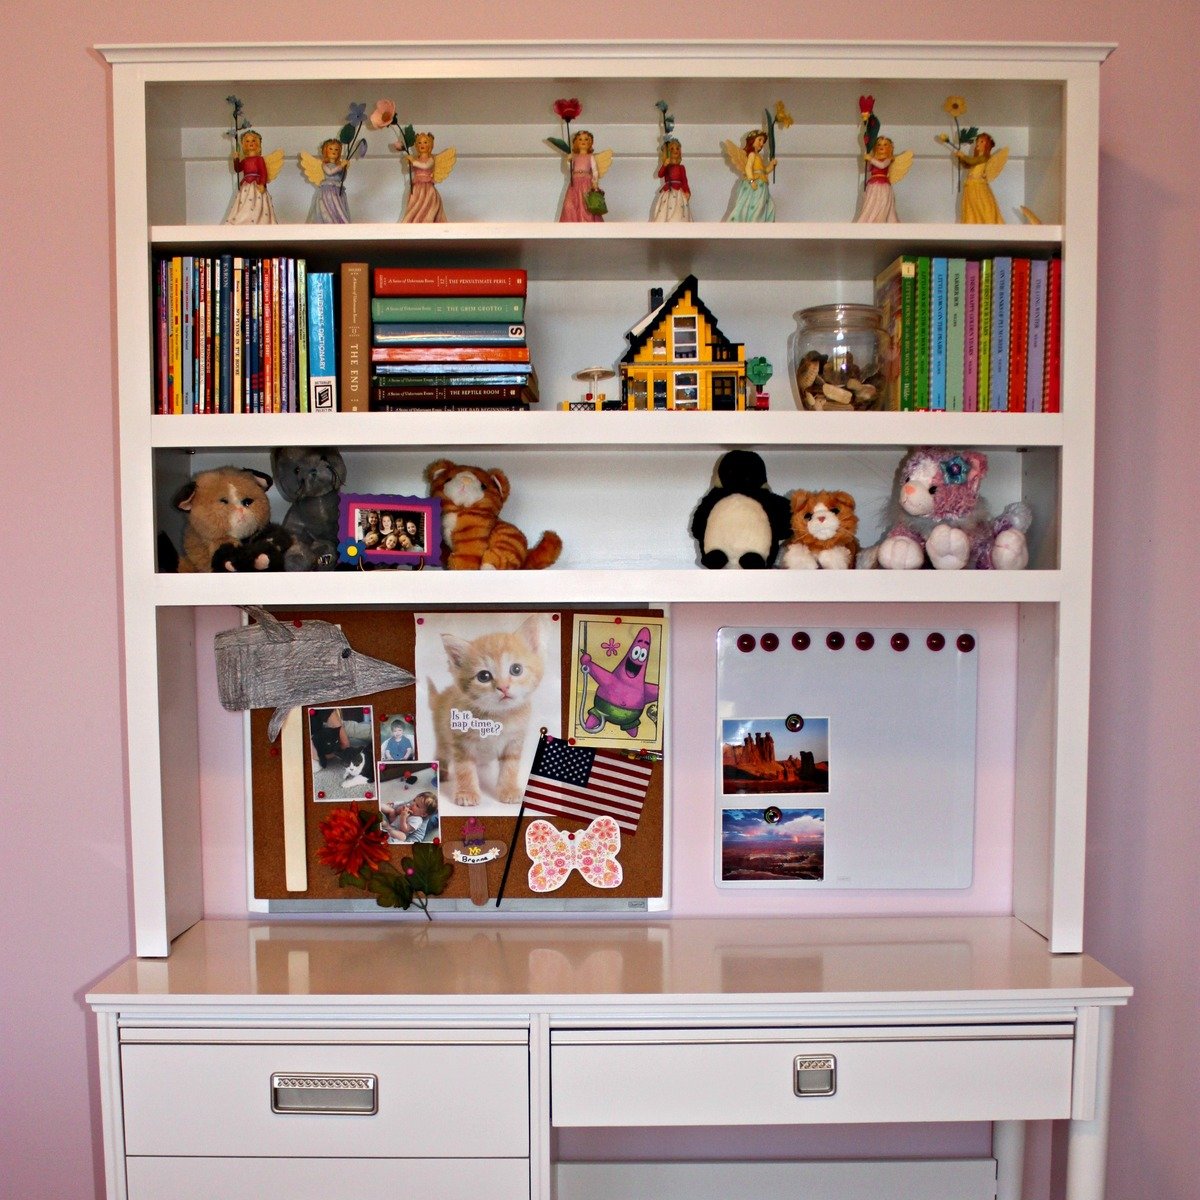
I bought a desk and chair for my daughter on Craigslist awhile back, but it did not include a hutch. I decided to add one and recently completed it...in addition to painting the desk a fresh white and then repairing the chair, painting it, and recovering the seat!
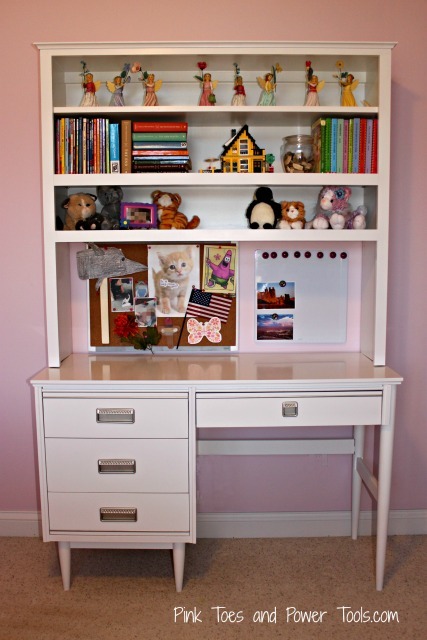
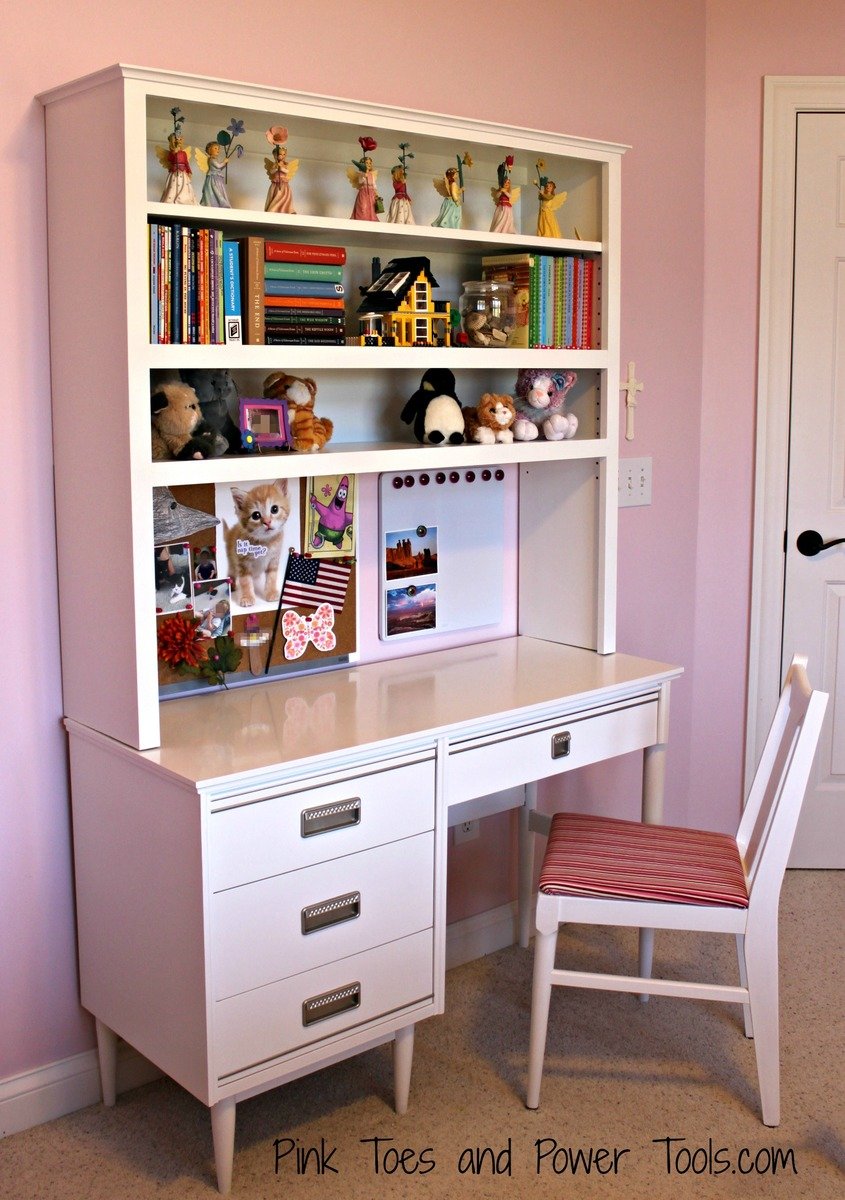
The hutch build was pretty straight forward and I used a Kreg Jig to assemble most of it. I built it to sit on the desk (not attached) but I included a cleat at the top to screw a couple of 3" screws into the wall studs to keep it in its place. It's nice and sturdy. I plan to add some puck lights under the bottom shelf soon.
The Lego house isn't quite up to Momplex standards :)
Estimated Cost
Around $75--with lots of extra for building other things
Estimated Time Investment
Afternoon Project (3-6 Hours)
Finish Used
Two coats primer and one coat of white semi-gloss paint.
Recommended Skill Level
Beginner
Modified Queen Farmhouse Bed
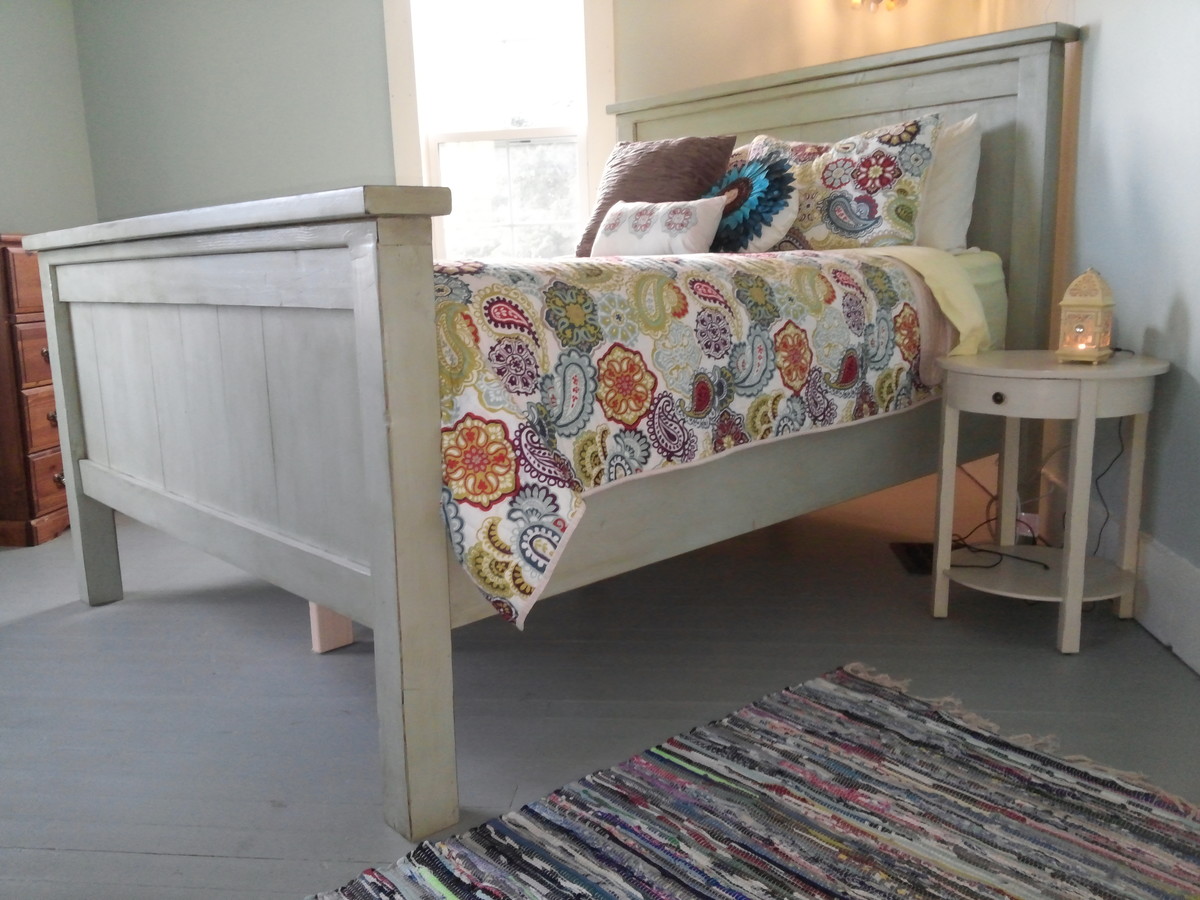
I'd been looking for plans to build a bed, since I wans't finding anything even remotely affordable that I liked in the stores, especially anything solid wood. I live in a renovated 4-square farmhouse, so the farmhouse bed plans seemed like an obvious choice. I absolutely loved the style, but I wanted to modify it a little. The original plans closely replicate the PB bed it is a knock off of, but I wanted a taller footboard that would come up above the mattress. I cut the footboard panels to 23" instead of 15", and the footboard posts to 35" instead of 21".
I scored on a gallon of oops paint at HD for $9, so total for this project was about $150 including the finish materials, $130 for just the lumber and hardware. This included adding an extra 1x8 to accomodate for the taller panels on the footboard. I did get 6' 1x4s instead of 8', which brought the cost and the material waste down some. Overall, my scrap pile was pretty tiny when I was done. It took me about a week to complete this project, but I worked slowly and a lot of time was spent watching paint/stain/urethane dry. It probably could have been done in a weekend if I was diligent.
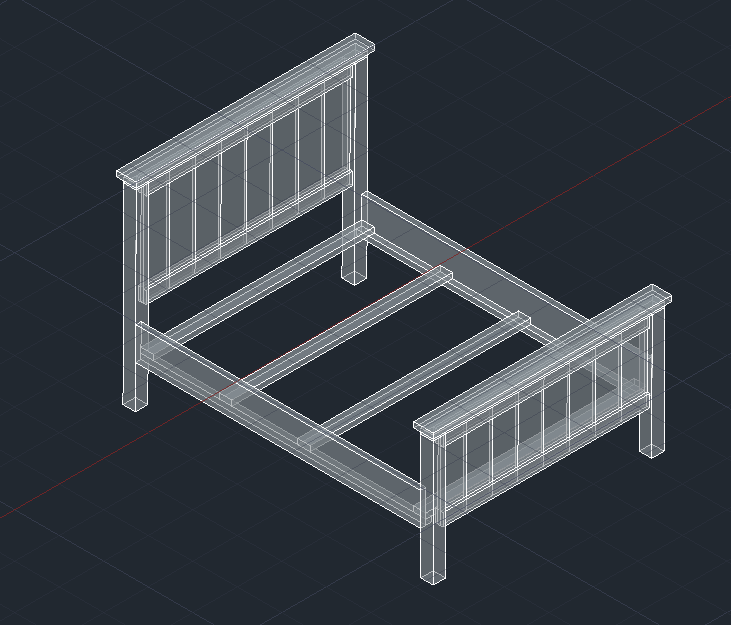
Should I ever need to move this bed, I purchased knock down bed rail fasteners here and cut my 2x10 rails to 80", then mounted them to the posts with the fasteners 60" apart. I used 2x2s cut to 80" for "cleats" on the inside of each rail, glued and screwed about every 4" with 2.5" screws. Then I cut five 2x4 slats to 60" to sit on the cleats.
I measured from the floor to the top of the cleats and cut three "feet" from the 2x4 scrap to screw to the center of three of the slats to add center support (not shown in CAD drawing), as many mattress warranties require this. This sounds confusing, but I just used leftover chunks of 2x4 from the slats to make a "T" with three of the slats - top, middle, and bottom - so these slats rest on both the cleats and the floor. I have a split queen foundation, so I was worried about sagging. So far so good, feels super sturdy! The knock down fasteners are very secure, and there isn't a single wobble or squeak to be heard.
To get a good finish, I used a good wood filler. I think it was a JB brand wood repair product that was like a two part epoxy. I didn't just fill the screw holes, I filled any gaps and uneven places where joints didn't meet 100% exactly, like where the 4x4s meet the 2x4s. I didn't skimp on the sanding, either, even though I hate doing it, and even sanded lightly with 220 between coats of paint. The stain over the paint was totally experimental, but I loved the way it came out.
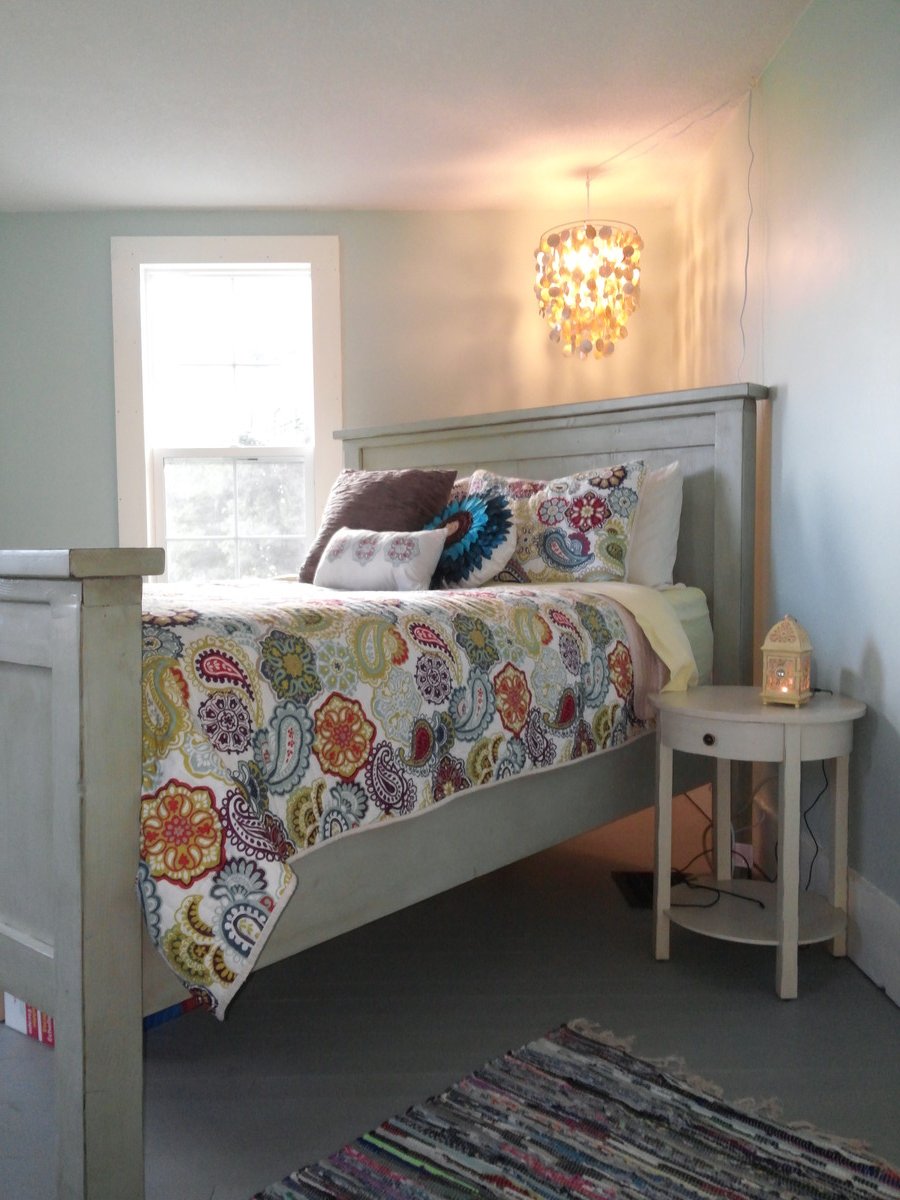
I'm super happy with the end result, but the taller footboard puts the bottom of my box spring around 13.5" off the floor - which gives me room to store stuff under there, but also makes for a very tall bed. Obviously you can adjust how high you want to hang the rails, I just wanted the bottom of the rails to line up with the bottom of the footboard panel, so it ended up tall.
Everyone who has seen this bed, or at least a picture of it, is absolutely in love with it. It's a showstopper in my bedroom, for sure.
Built from Plan(s)
Estimated Cost
$130-150
Estimated Time Investment
Weekend Project (10-20 Hours)
Finish Used
Behr paint & primer in one in satin enamel, Minwax stain brushed on and wiped off to distress, Helsman spar urethane to seal.
Painted two coats of paint (unknown oops color from Home Depot); lightly sanded edges and added random marks with flat head screw driver; brushed on Minwax wood finish in dark walnut and wiped off after 2-3 minutes (work in small sections at a time); sealed with one coat of spray on spar urethane once stain was dry.
Painted two coats of paint (unknown oops color from Home Depot); lightly sanded edges and added random marks with flat head screw driver; brushed on Minwax wood finish in dark walnut and wiped off after 2-3 minutes (work in small sections at a time); sealed with one coat of spray on spar urethane once stain was dry.
Recommended Skill Level
Beginner
Comments

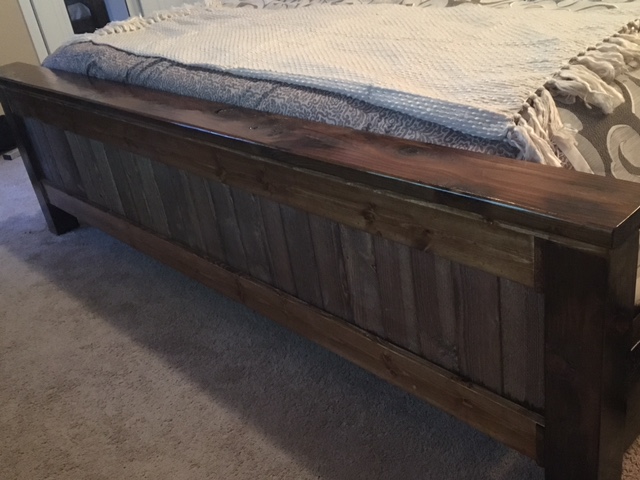
King Farmhouse Bed
Used the Farmhouse King Bed plans to make this and made a few adjustments to make it fit my matress.
Estimated Cost
$250
Estimated Time Investment
Week Long Project (20 Hours or More)
Finish Used
Steel wool and vinegar to distress the wood. Then stained with Minwax Provincial. Then applied 2 coats of lacquer. The barn wood was purchased at Home Depot.
Recommended Skill Level
Intermediate
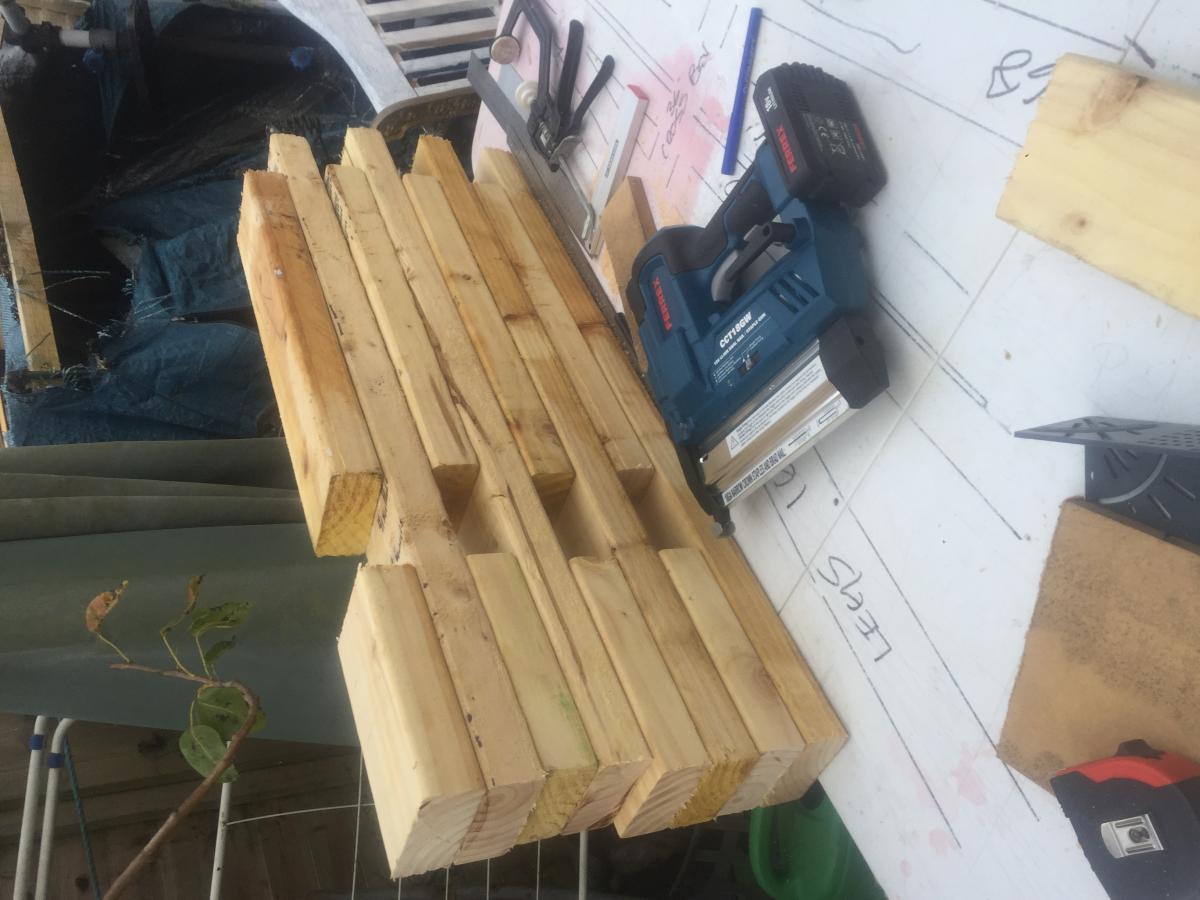
Ana's Easy DIY Garage Workshop Workbench
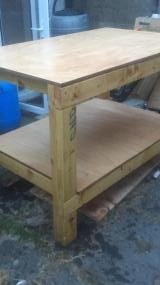
Thank you Ana. As this is for outdoors -I used treated wood and Marine Ply - a fair bit more expensive. I followed the instructions to the letter - ordered the timber, did all the cuts and then began putting together. At that point I realised that treated Irish 4x2 is different to Alaskan standard 4x2! No worries though - as the instructions were well laid out and easy to follow - I only needed to cut an additional 1/2 an inch (aprx) off the 8 &1/2 pieces and a minor adjustment on the bottom shelf. A big, big thank you. Even though it was a fast build i've learned so much from it. It has a lovely logic and is very pleasing for the soul. I'll be retiring the white fold-up table in the 2nd picture - if you look carefully at it you will see the mark-up (jig marks) for artist easels. I hope your family has got through the health crises safely. If ye are ever in Ireland - come visit Waterford and give me a shout. Thanks again - Conor
Built from Plan(s)
Estimated Cost
€165
Estimated Time Investment
Afternoon Project (3-6 Hours)
Finish Used
Loads of Ronseal oil based preservative stain (on everything! the clothes, ground, cat etc).
Big Tip: The carpenters motto 'measure twice - cut once' should extend into your ordering. Treated 4x2 in Ireland is a different size to standard 4x2! In future I will measure the timber before I measure for cutting!
Big Tip: The carpenters motto 'measure twice - cut once' should extend into your ordering. Treated 4x2 in Ireland is a different size to standard 4x2! In future I will measure the timber before I measure for cutting!
Recommended Skill Level
Beginner
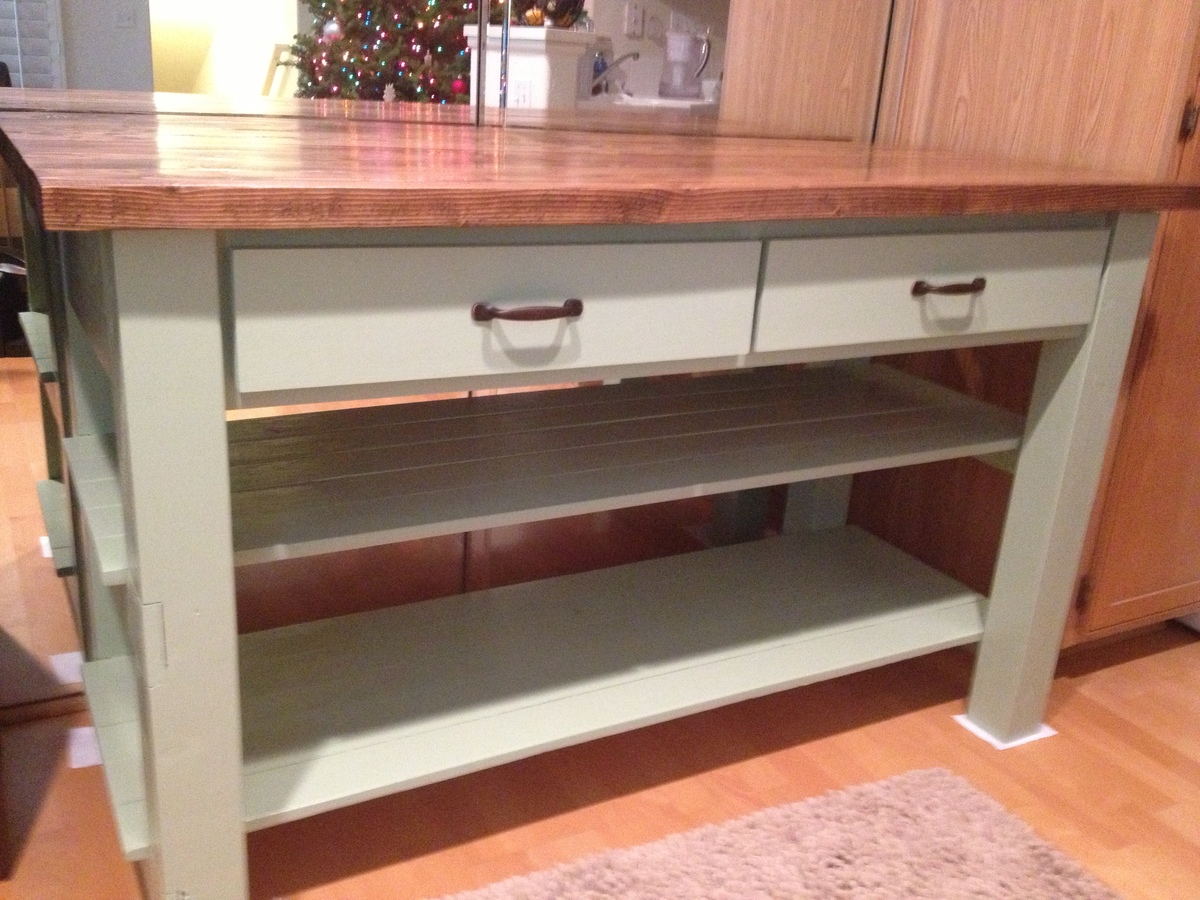
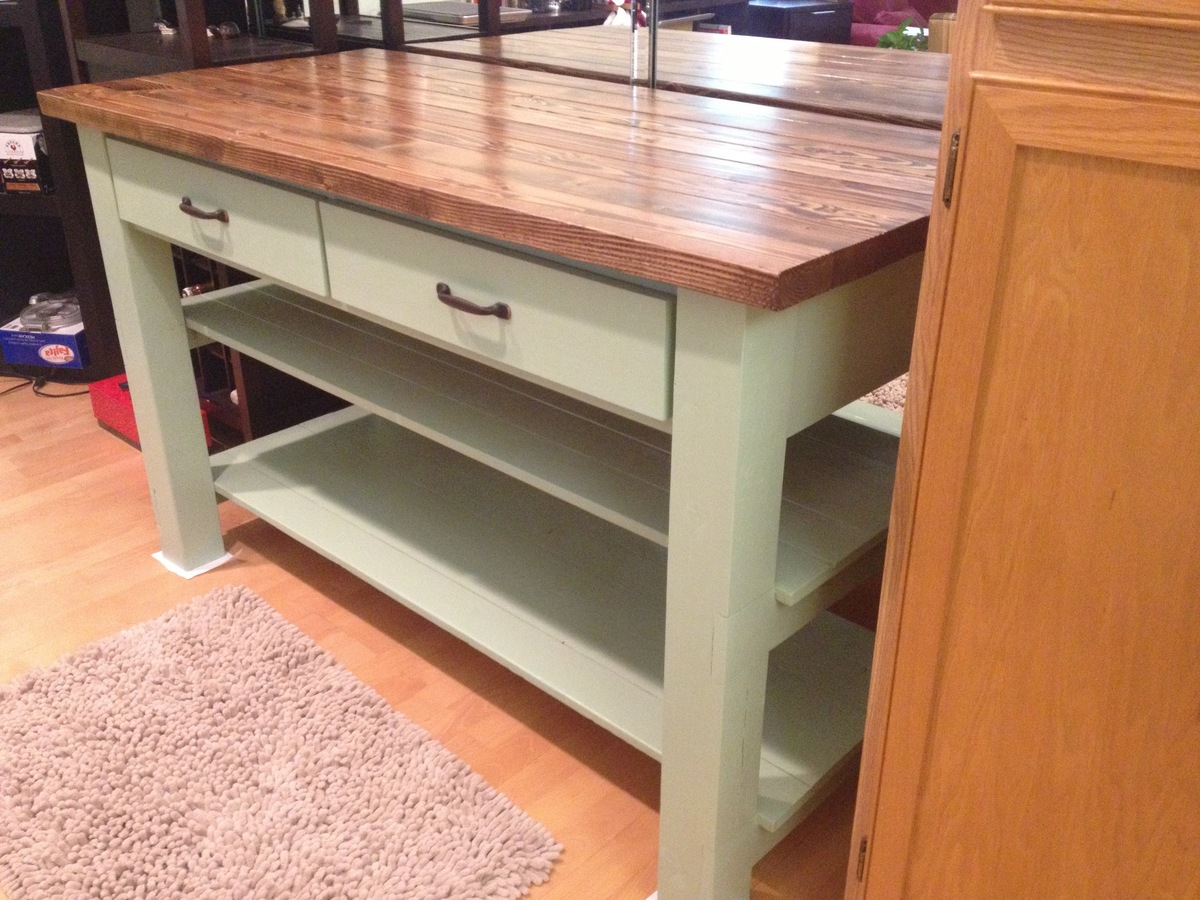
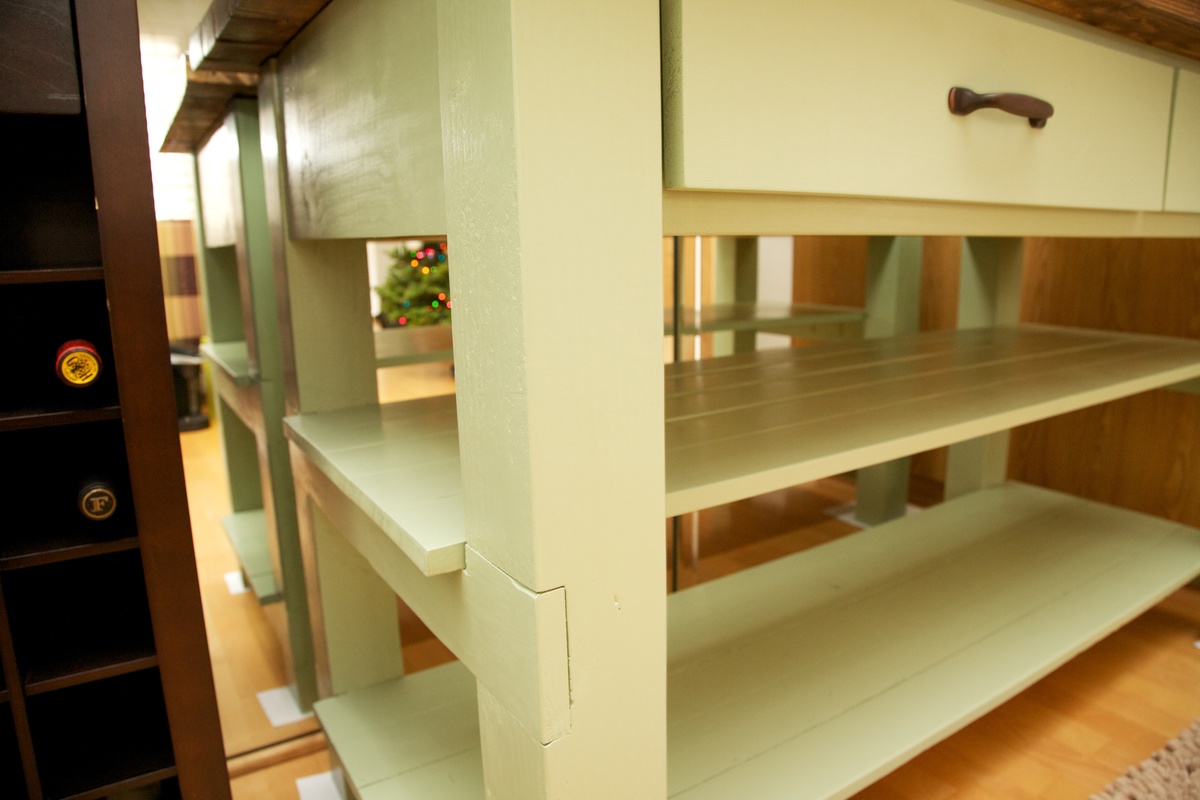
Kitchen Island
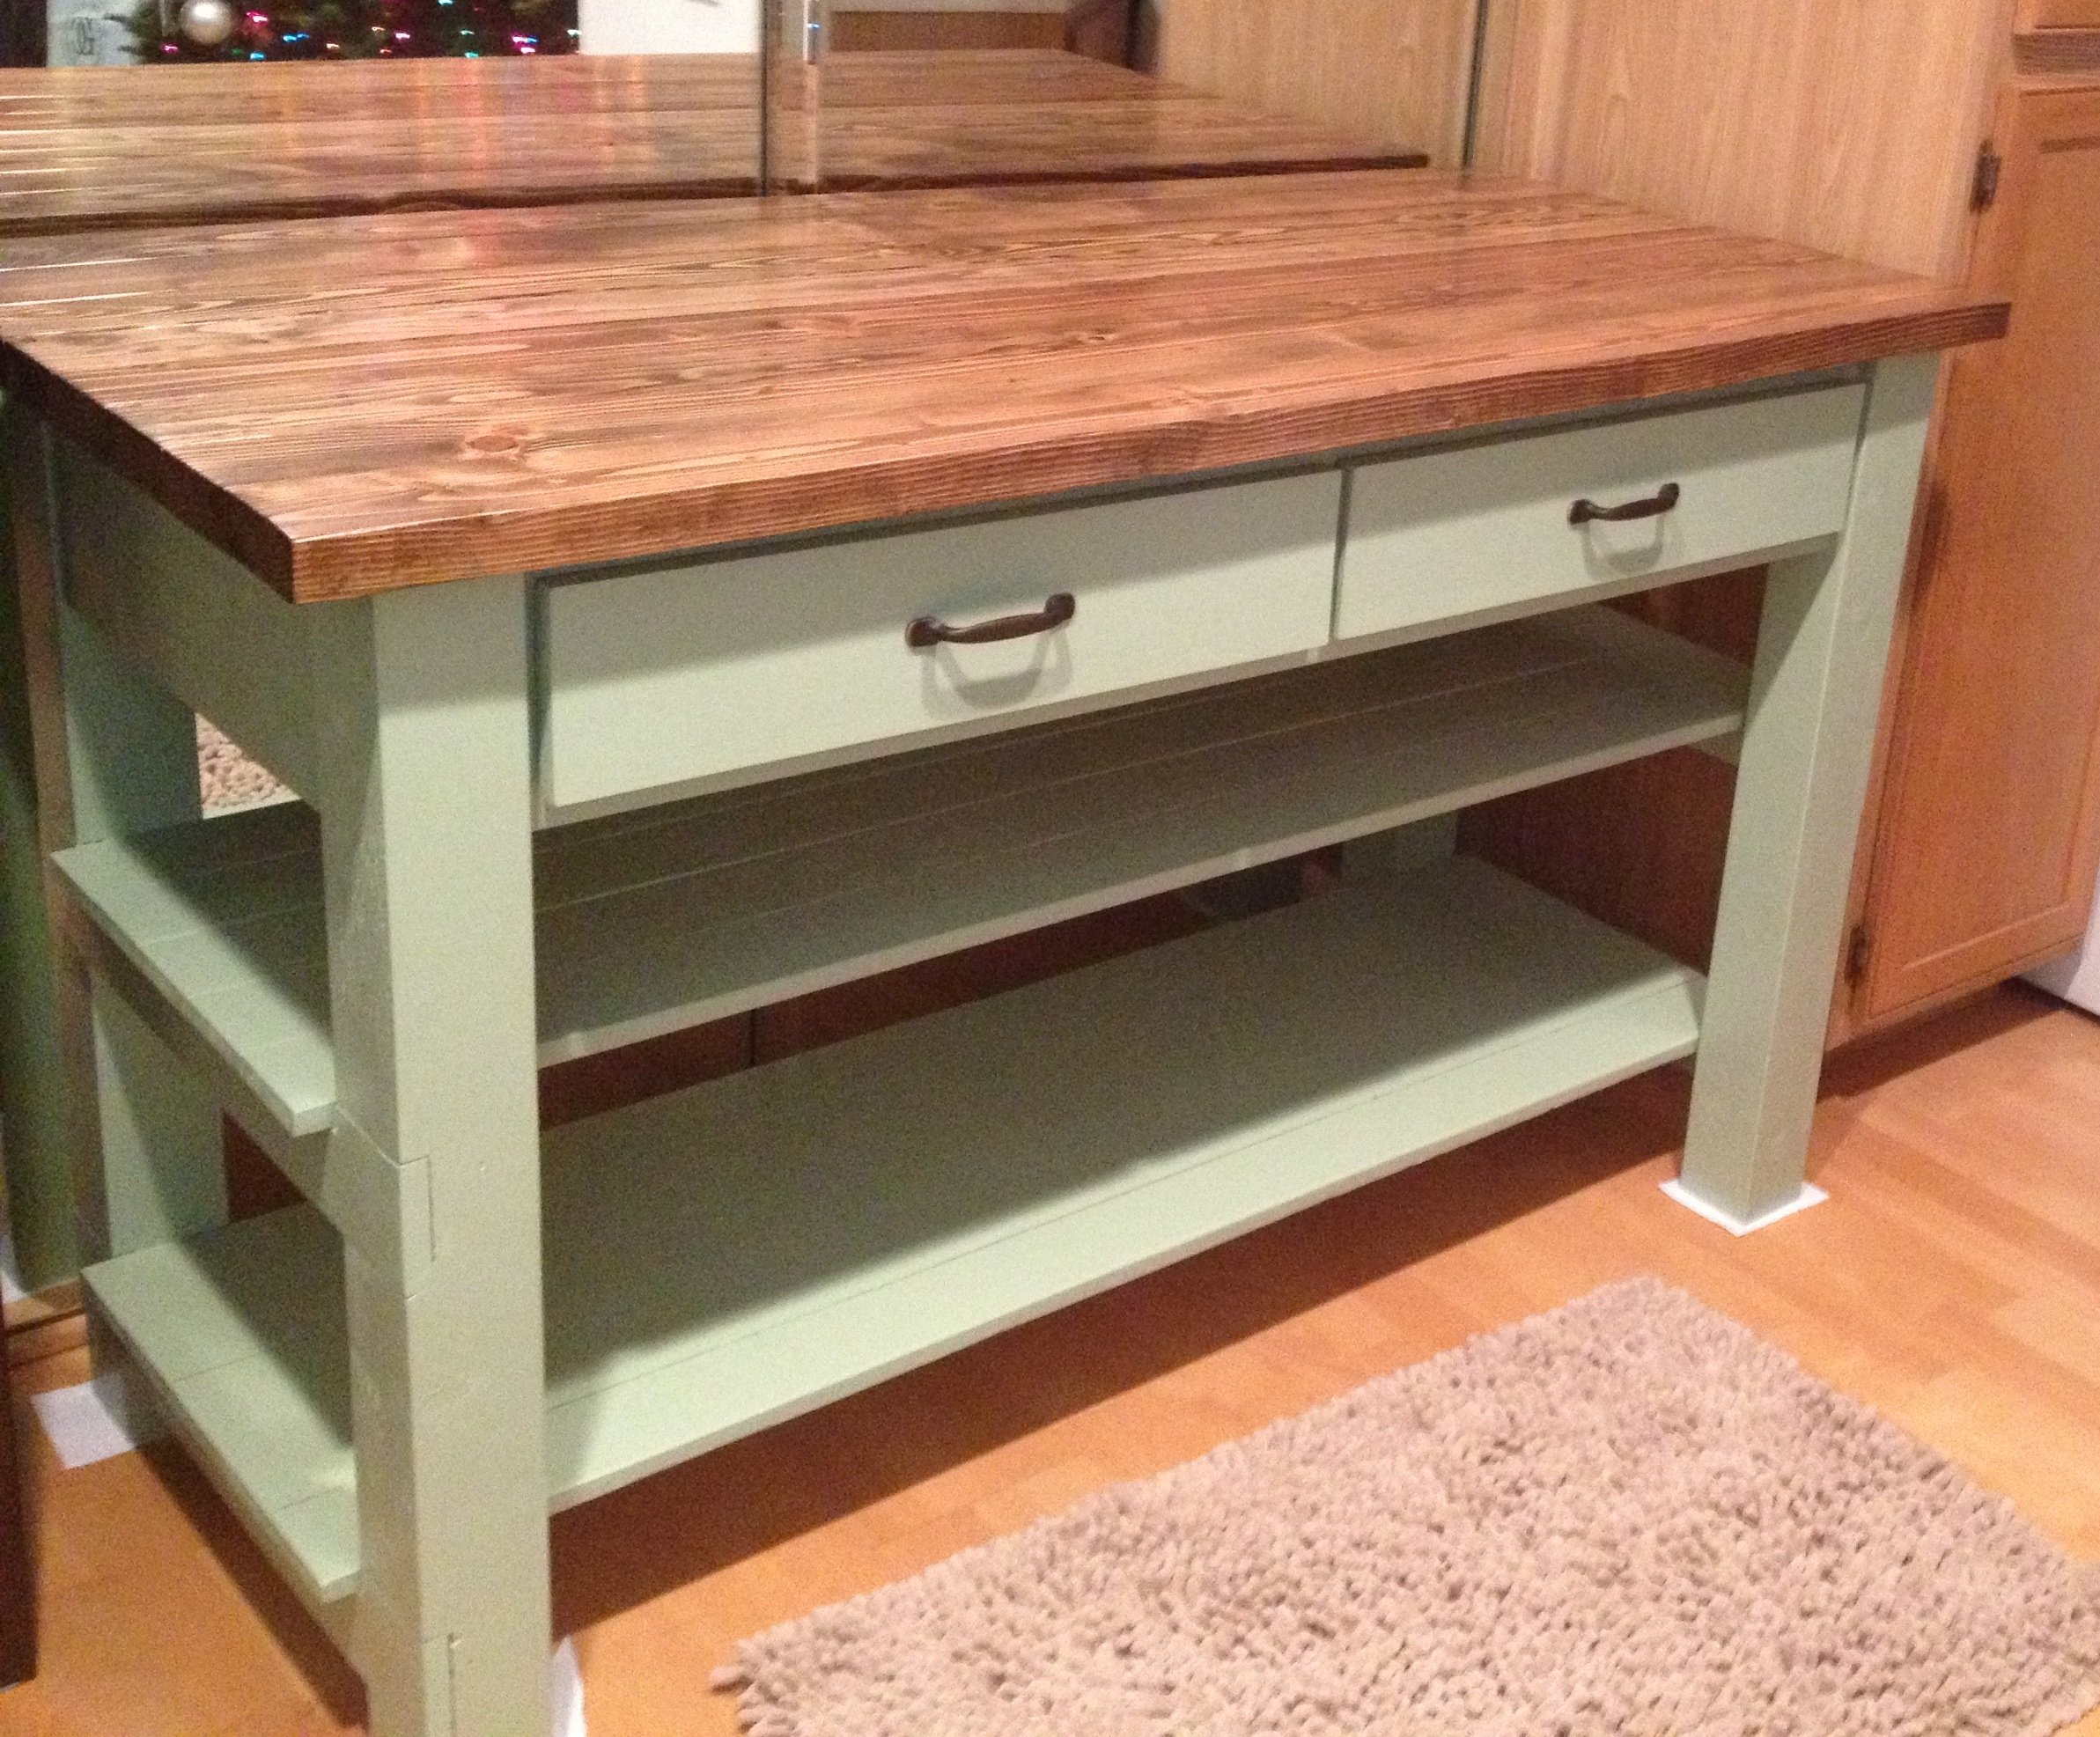
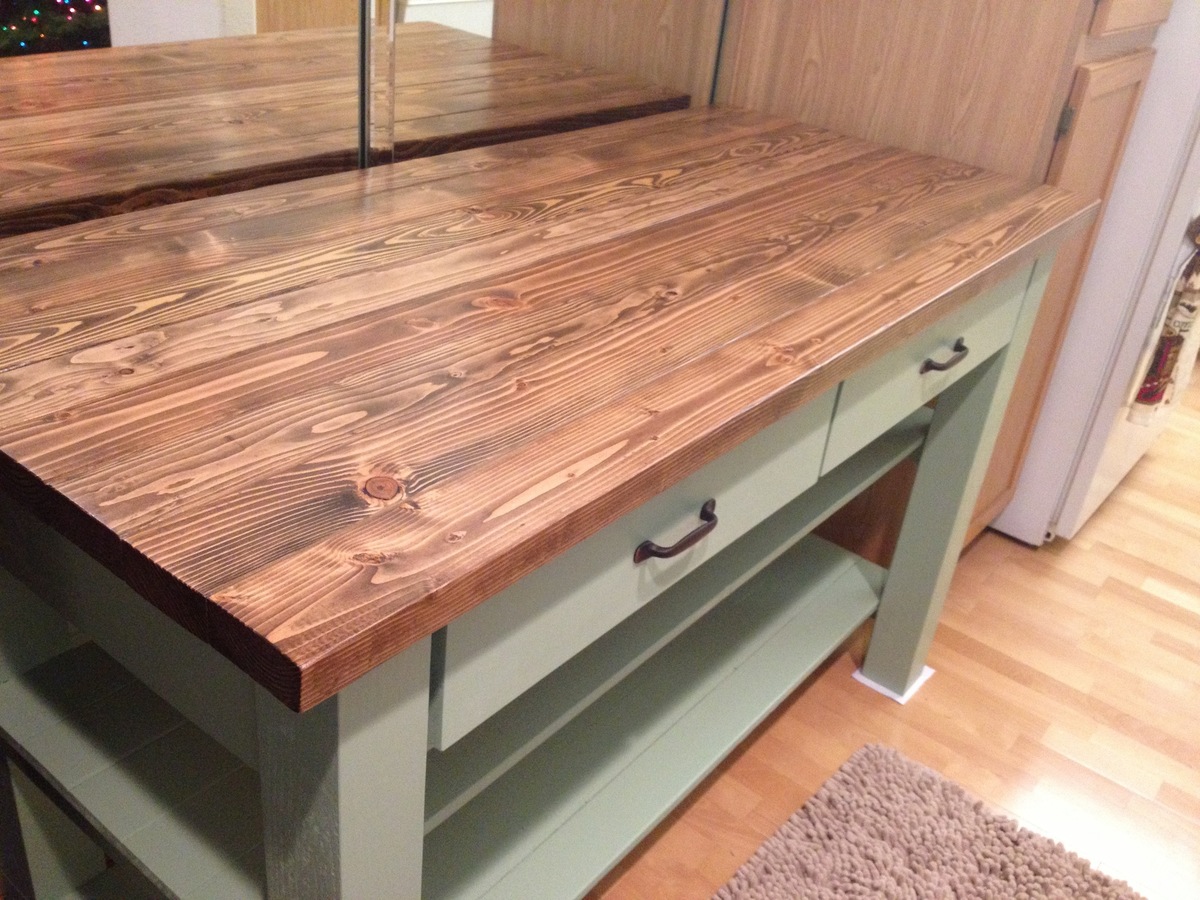
Stuck to the plan as described, but I used my Kreg jig to use pocket holes where I could. I used 1x4s for the shelves and joined them together with pocket holes. This made it much stronger. Without joining these boards, the shelves are kind of flimsy, not sure how much weight they could support without some type of support system. I added an extra 2x4 to the top, this made it overhang about an inch on the front and back. I used 20" drawer glides. Also, I notched out the side supports for the 1x4 shelves 3/4" so the shelves sit flush with the side supports.
Built from Plan(s)
Estimated Cost
150
Estimated Time Investment
Week Long Project (20 Hours or More)
Finish Used
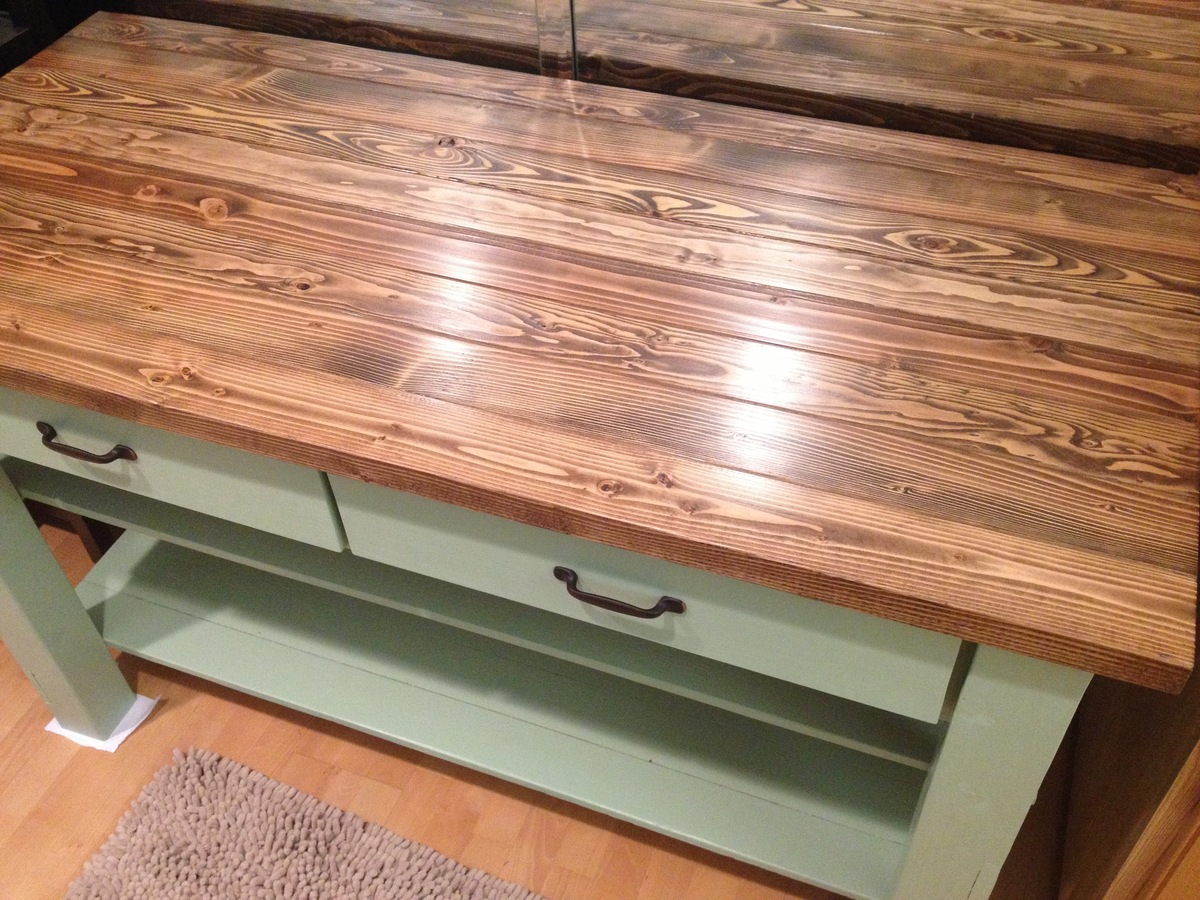
Sanded, then painted bare wood with 2 coats of paint, color was one of the pottery barn 2012 colors. I filled in the joints between the 2x4s for the top with stainable woodfiller, then sanded for like 2 hours with 80 grit, then finished off with 220 grit eventually, then I did 2 coats of Minwax Special Walnut stain. I topped that with 3 coats of Minwax Polycrylic Satin.
Recommended Skill Level
Beginner
Comments
Fri, 12/27/2013 - 12:35
paint color
Just had someone build this for me, I'm wondering what paint color is on the bottom of yours? It looks great with the stain you chose!
Sun, 03/15/2015 - 17:00
Top
Great table! I'm currently building a similar kitchen island and was debating going the cheaper route of utilizing 2x4s instead of making a butchers block. How did the wood filler between the boards work out for you as a flat surface? Has it cracked at all? Thanks in advance!
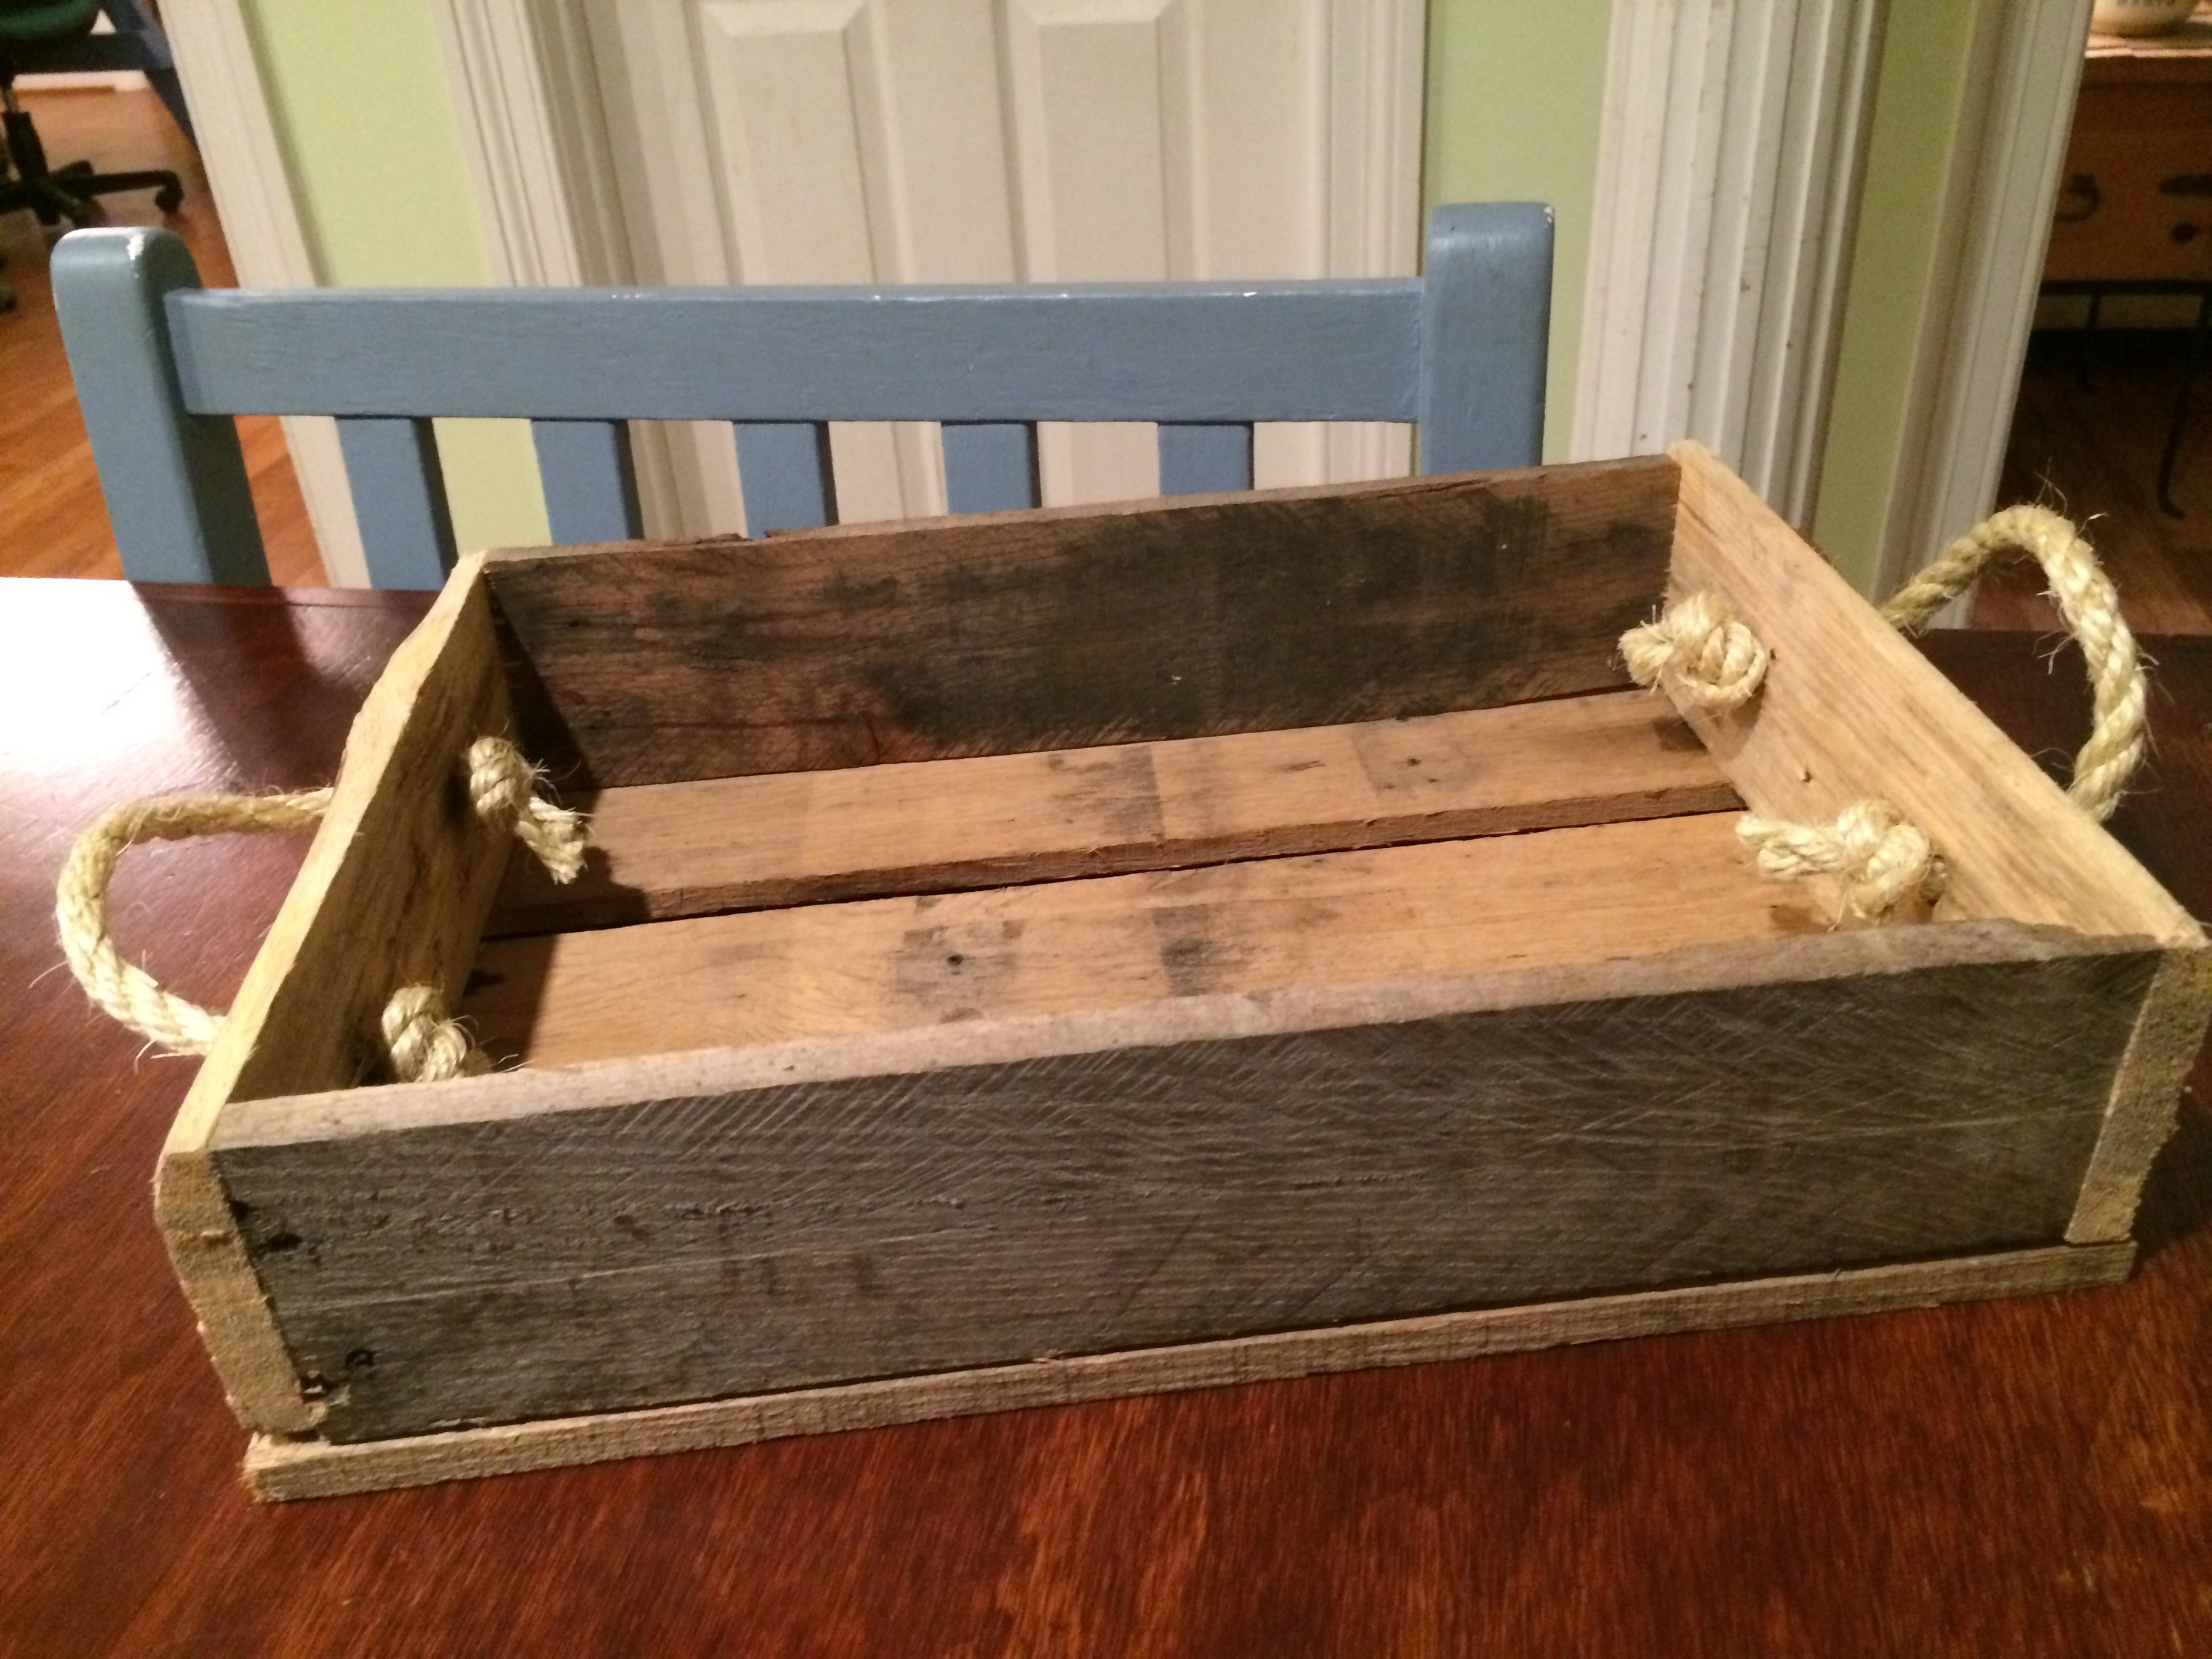
Wooden Crate
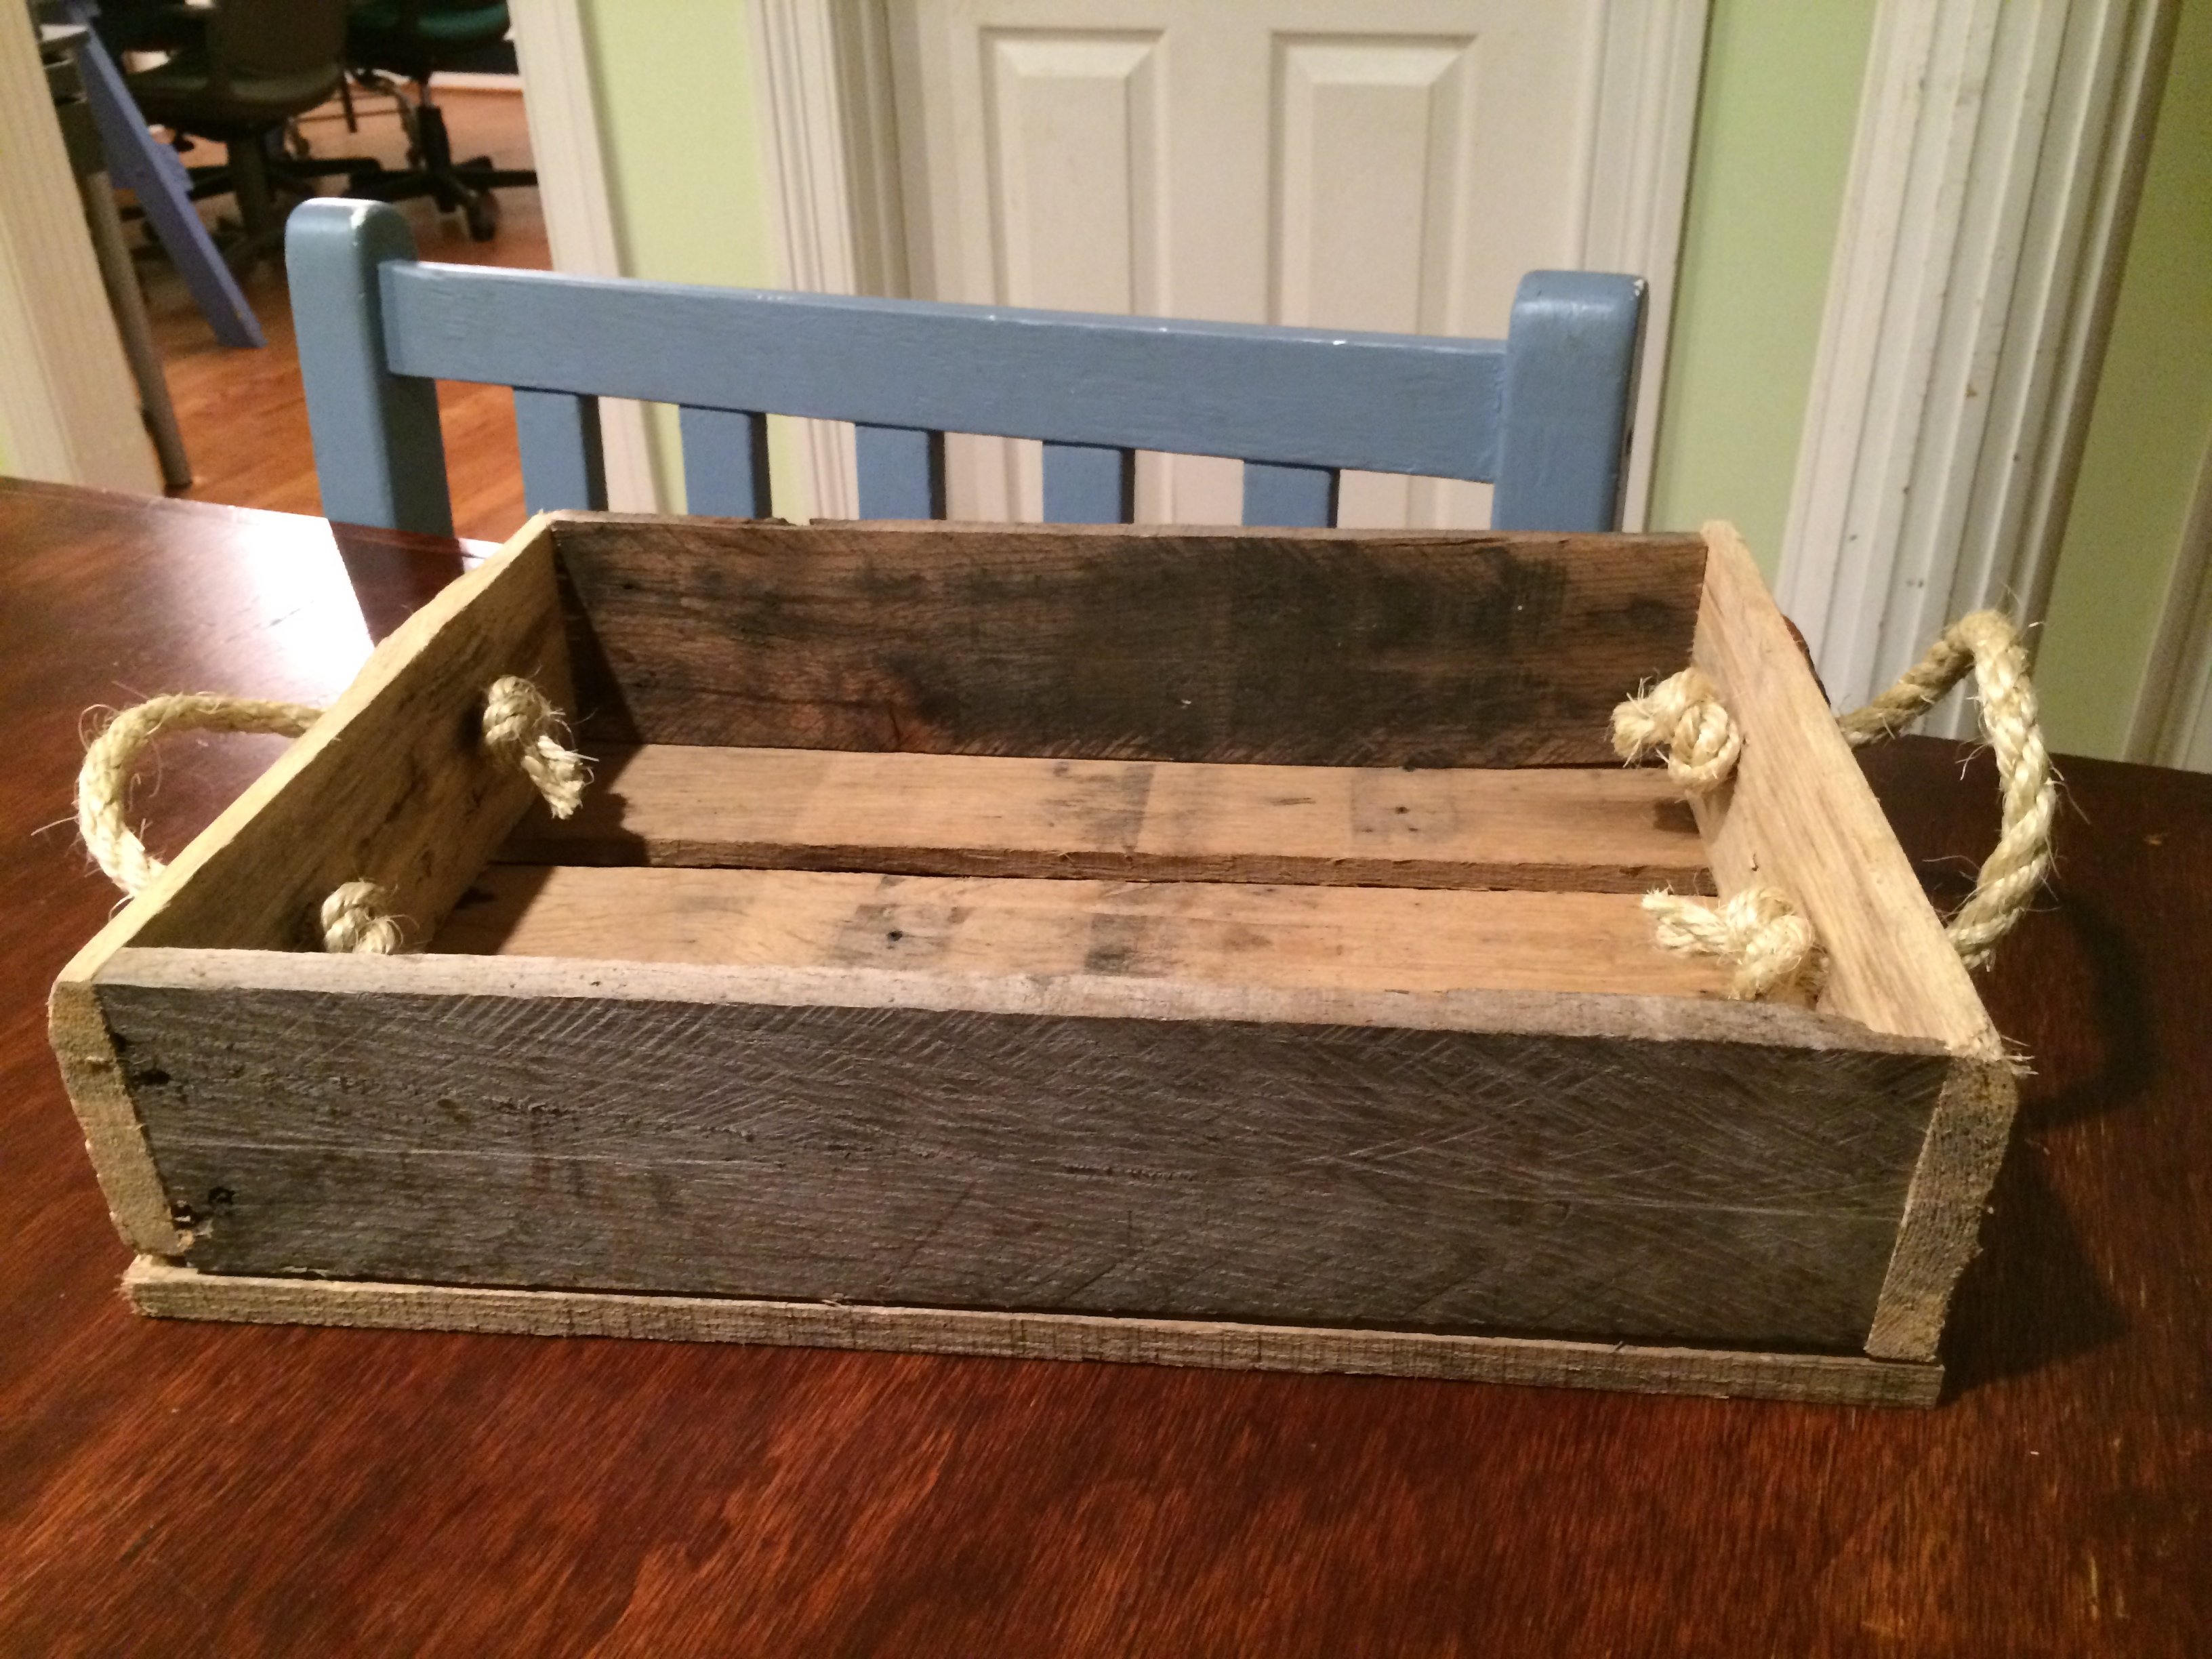
I used scrap wood and rope for this project. Its actually more of a serving tray/storage for remotes and etc. But I guess it could have multiple purposes. We're possibly going to use it as part of our centerpiece in our rustic-themed wedding next spring.

Built from Plan(s)
Estimated Cost
$0
Estimated Time Investment
An Hour or Two (0-2 Hours)
Recommended Skill Level
Beginner
Easiest $35 DIY Desk

This DIY desk provides workspace for two people. A portion of the desk is for my oldest son during homeschooling and the other portion is for my husband while he continues to work from home. Cost : $35 Difference in length, width and height will result in a change in price.
Estimated Cost
$35
Estimated Time Investment
An Hour or Two (0-2 Hours)
Recommended Skill Level
Beginner
Comments
Farmhouse Queen
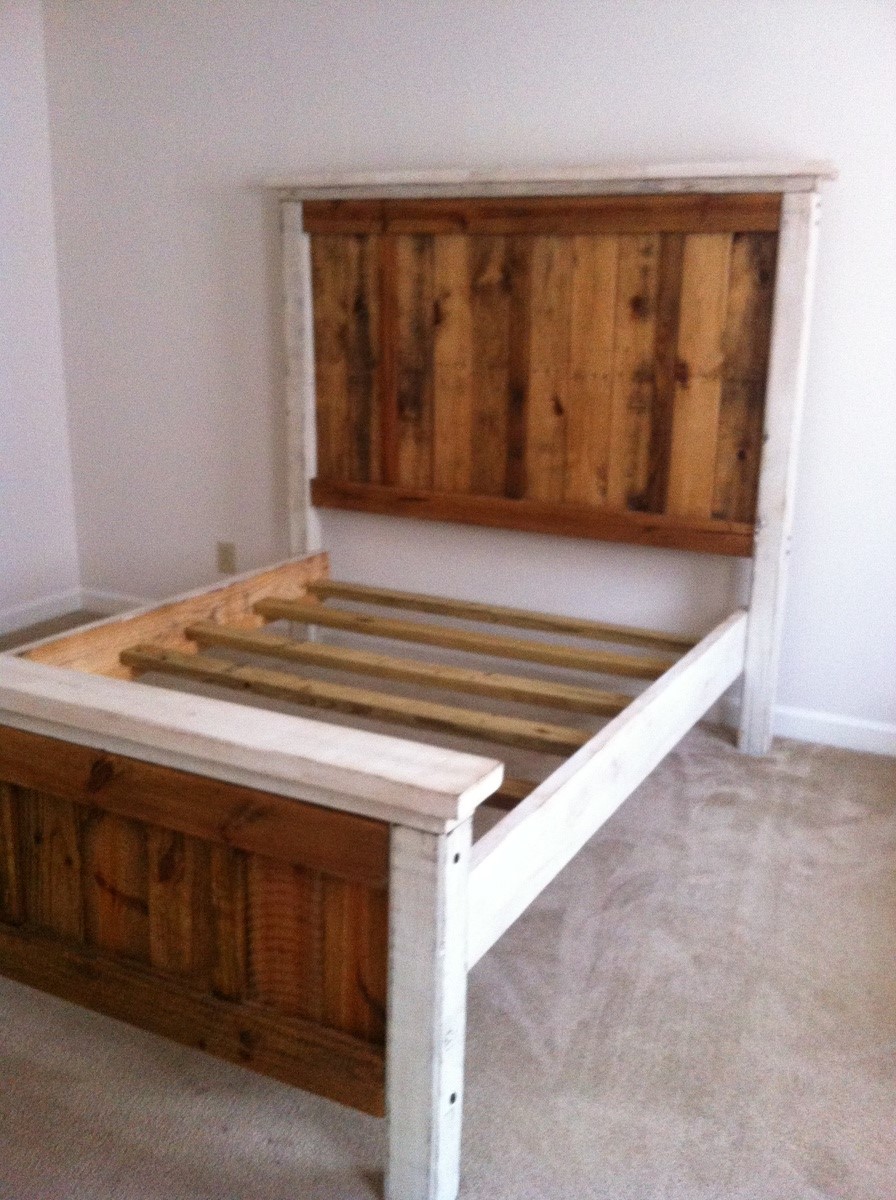
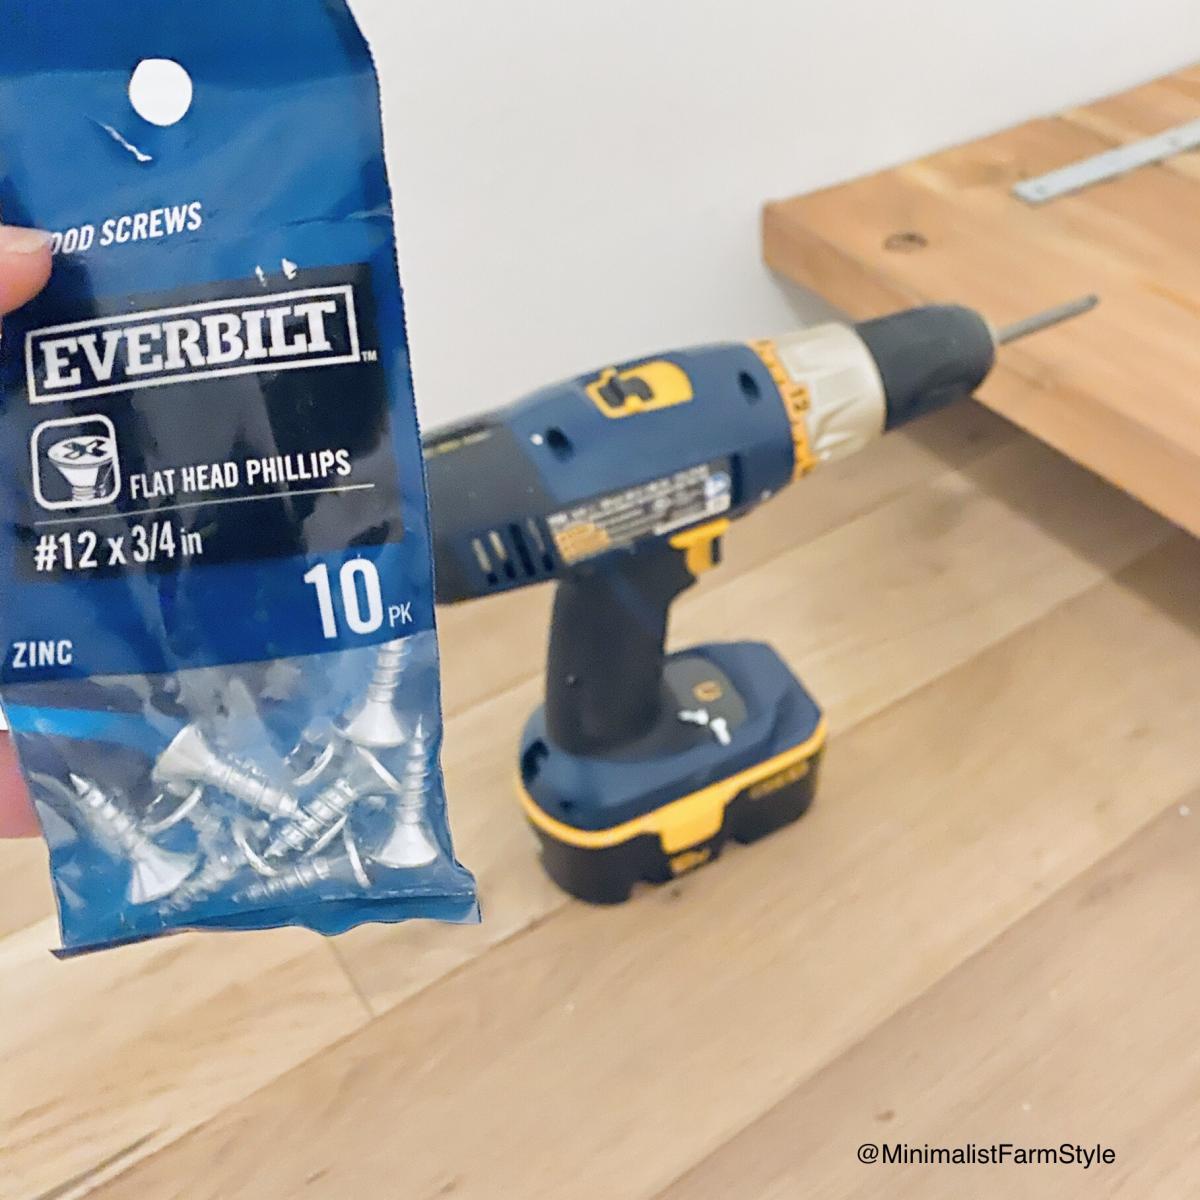
This bed was made from fence scraps and leftovers and one pallet. The only pieces I bought were the 2x6's! I love how it turned out!
Built from Plan(s)
Estimated Cost
50
Estimated Time Investment
Weekend Project (10-20 Hours)
Recommended Skill Level
Beginner
Comments
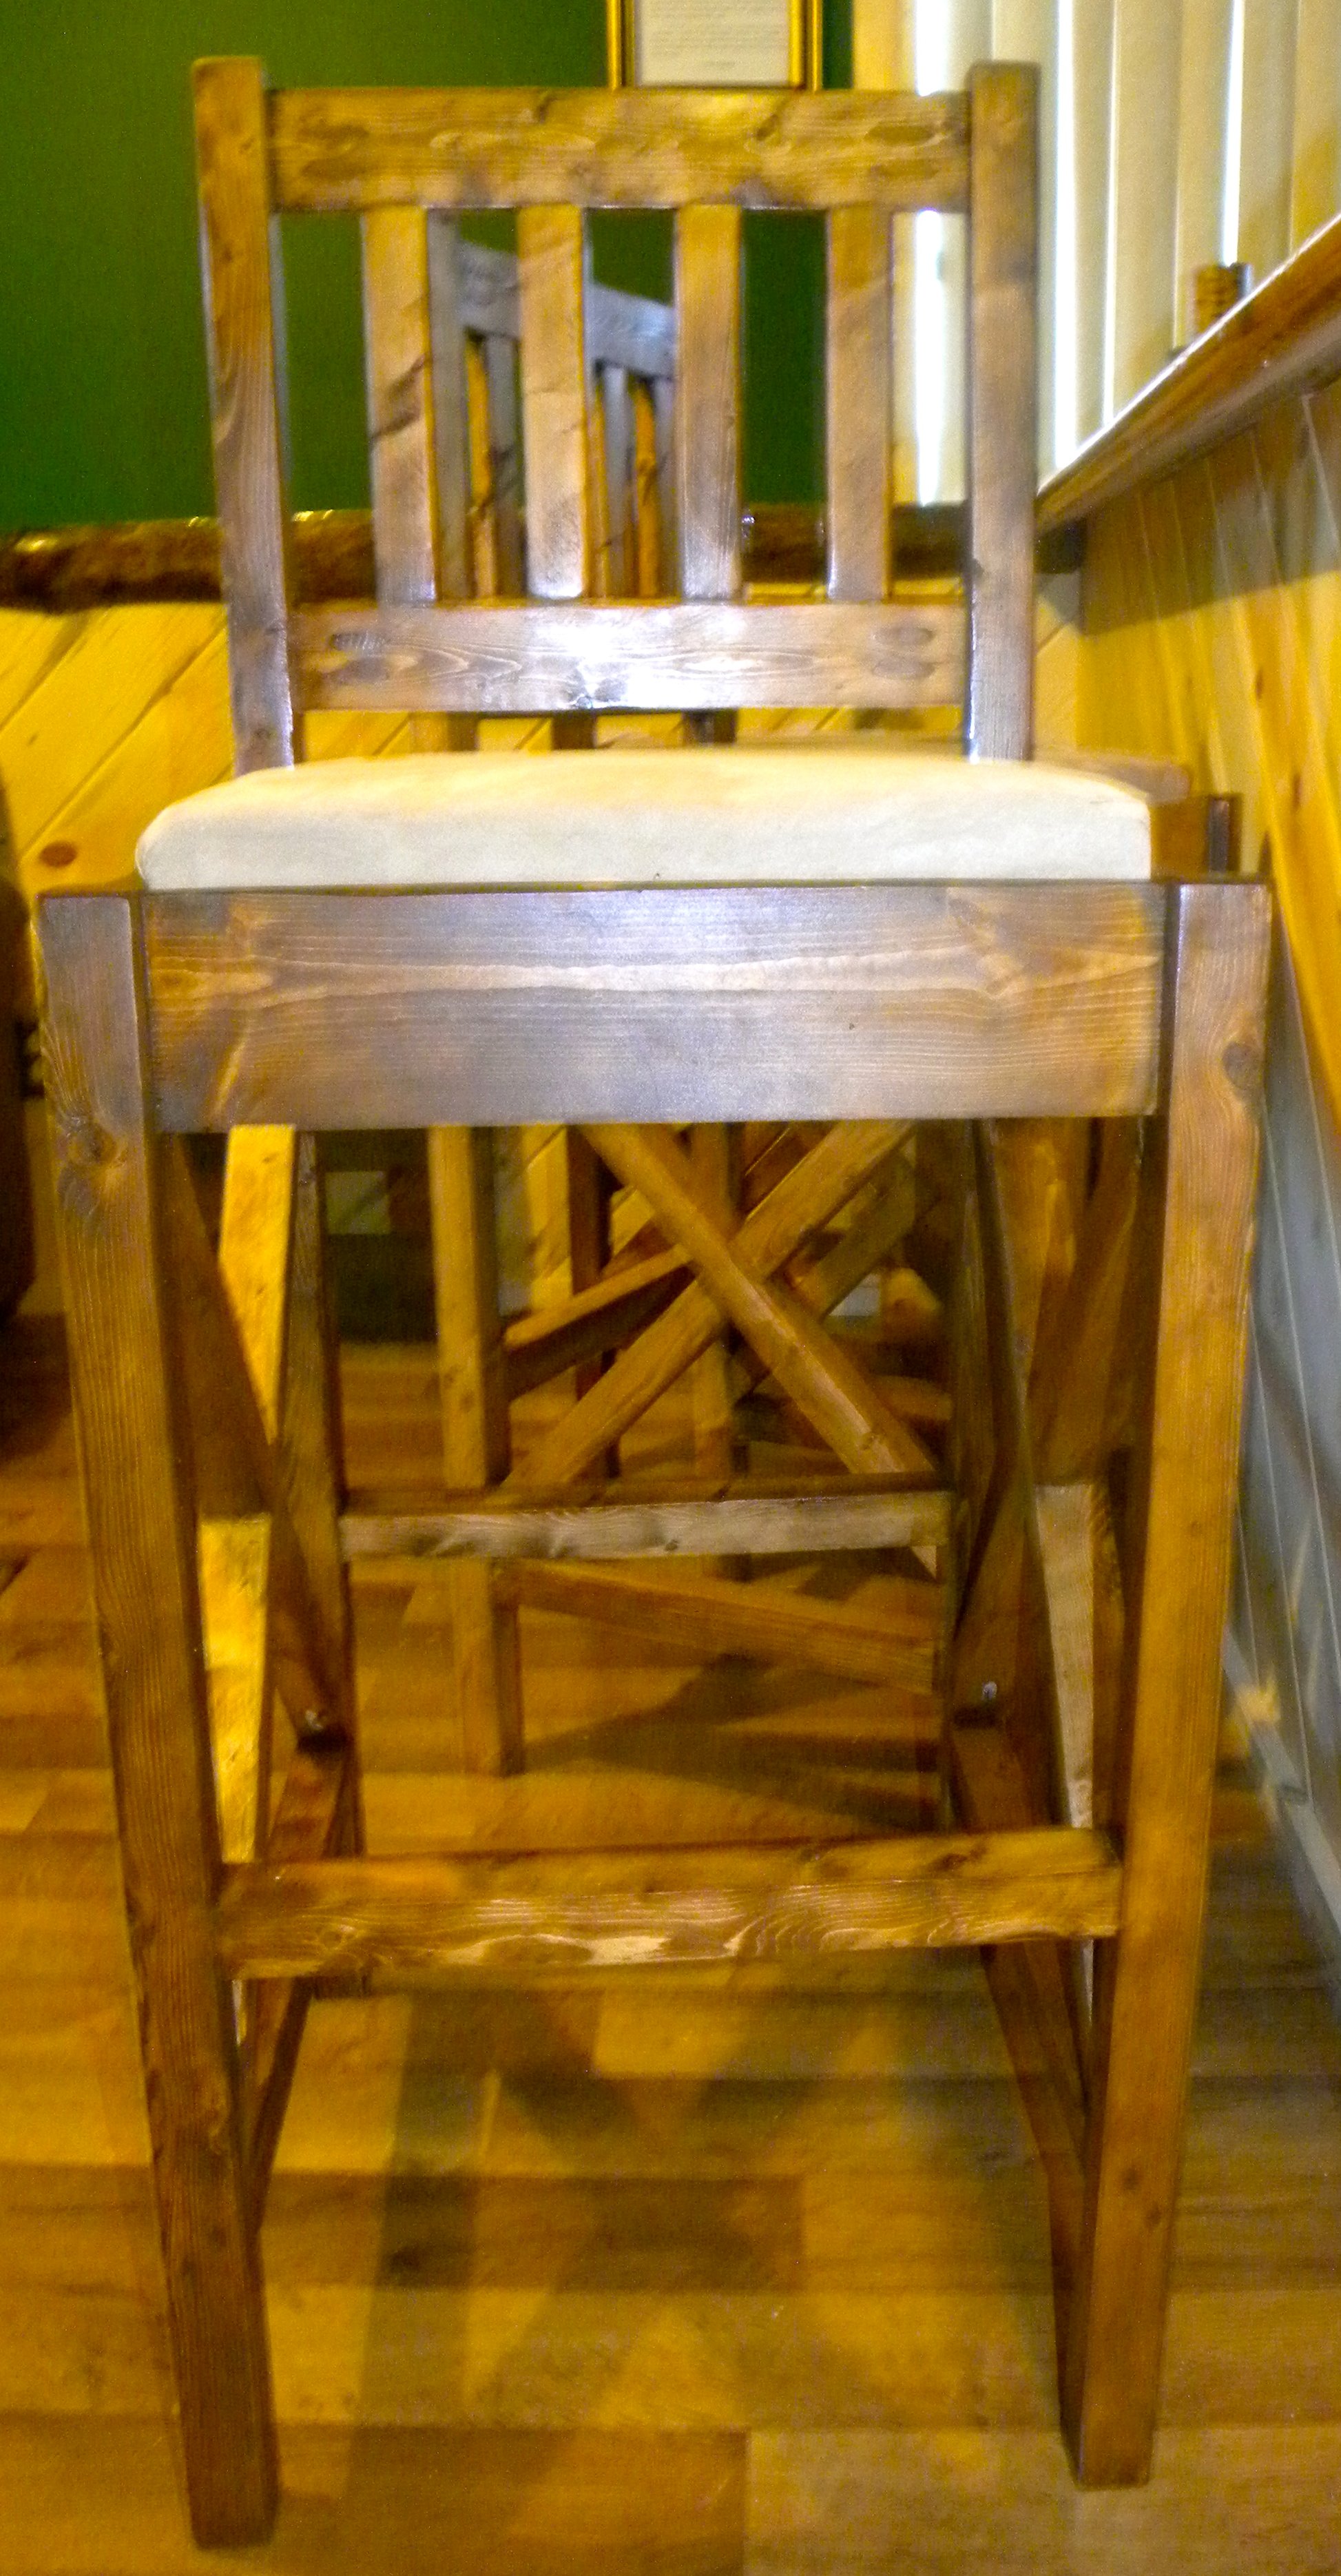
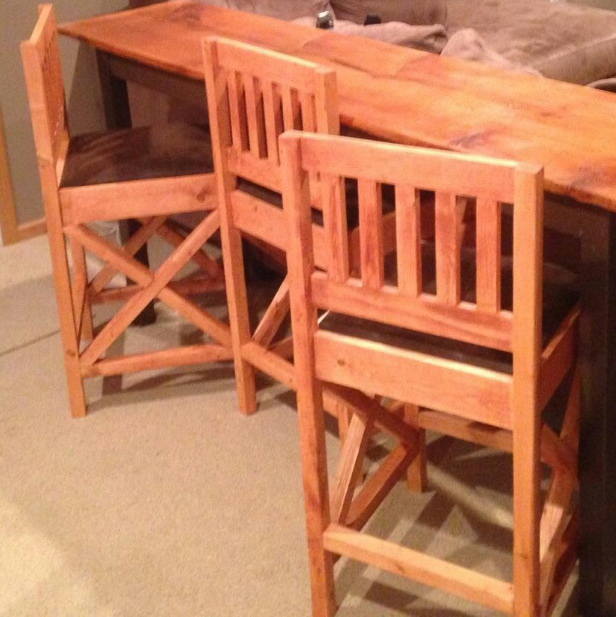
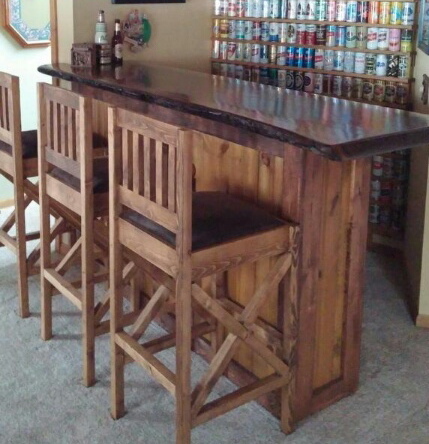
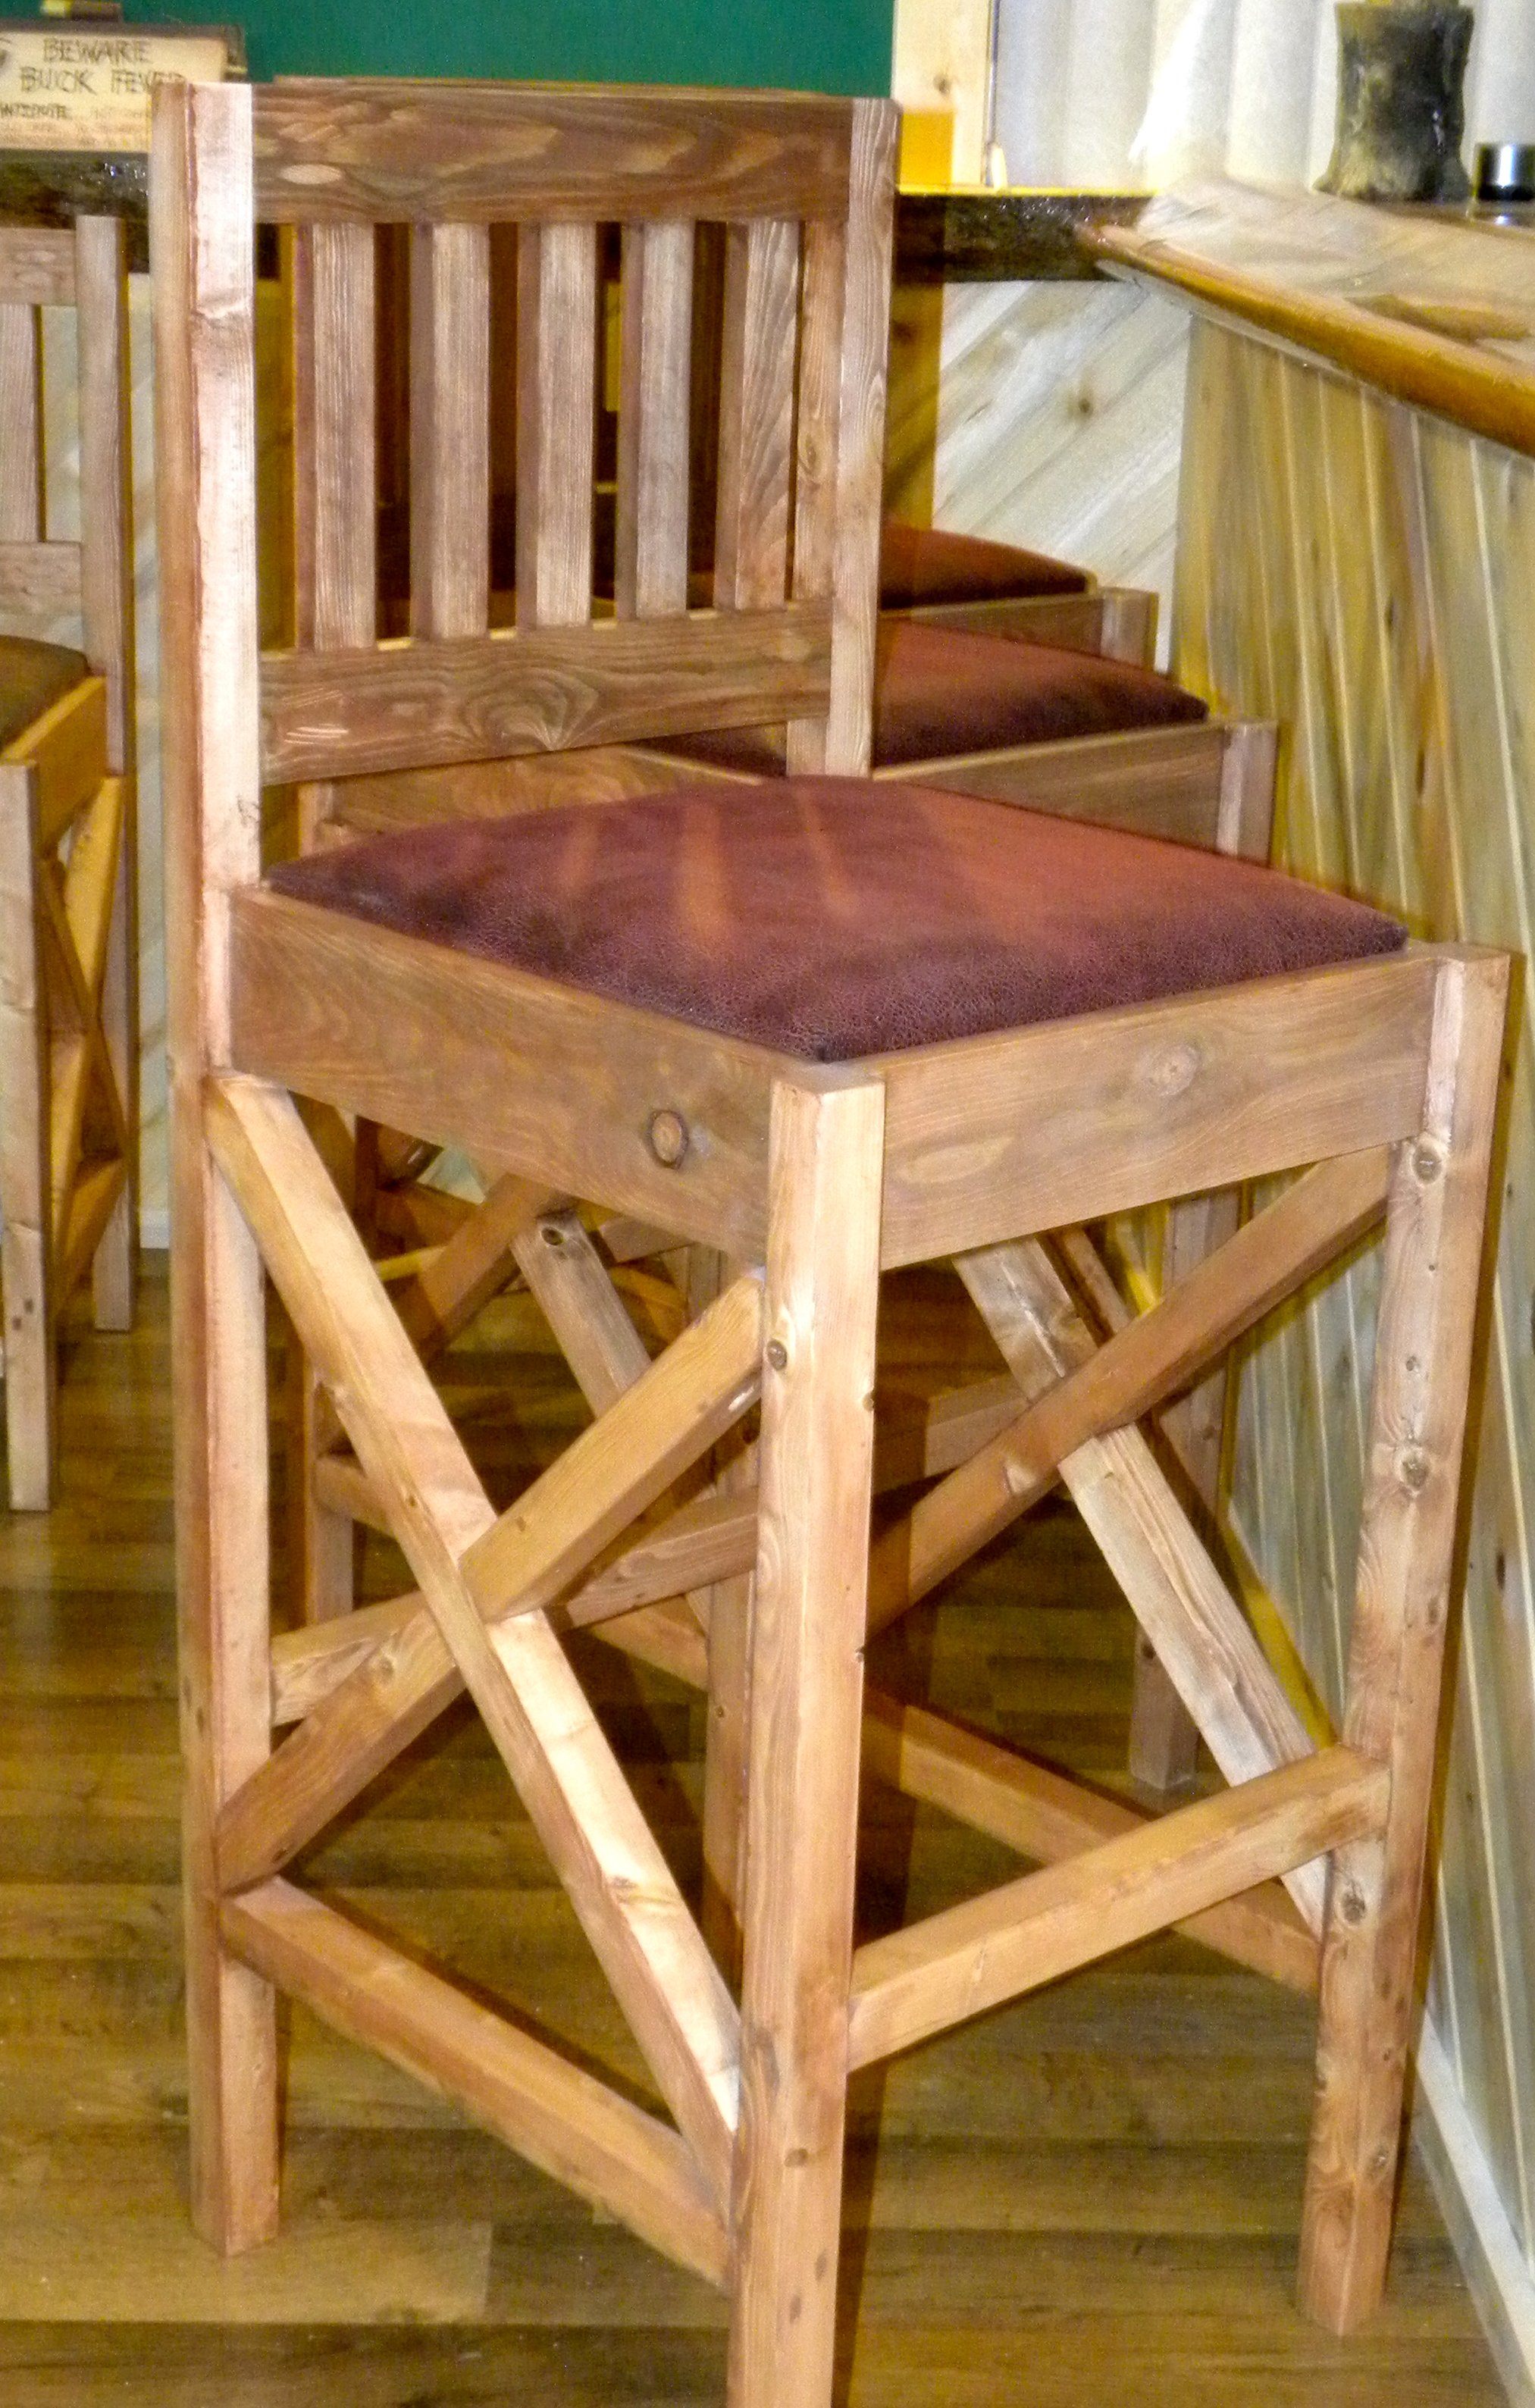
Rustic Bar Stools
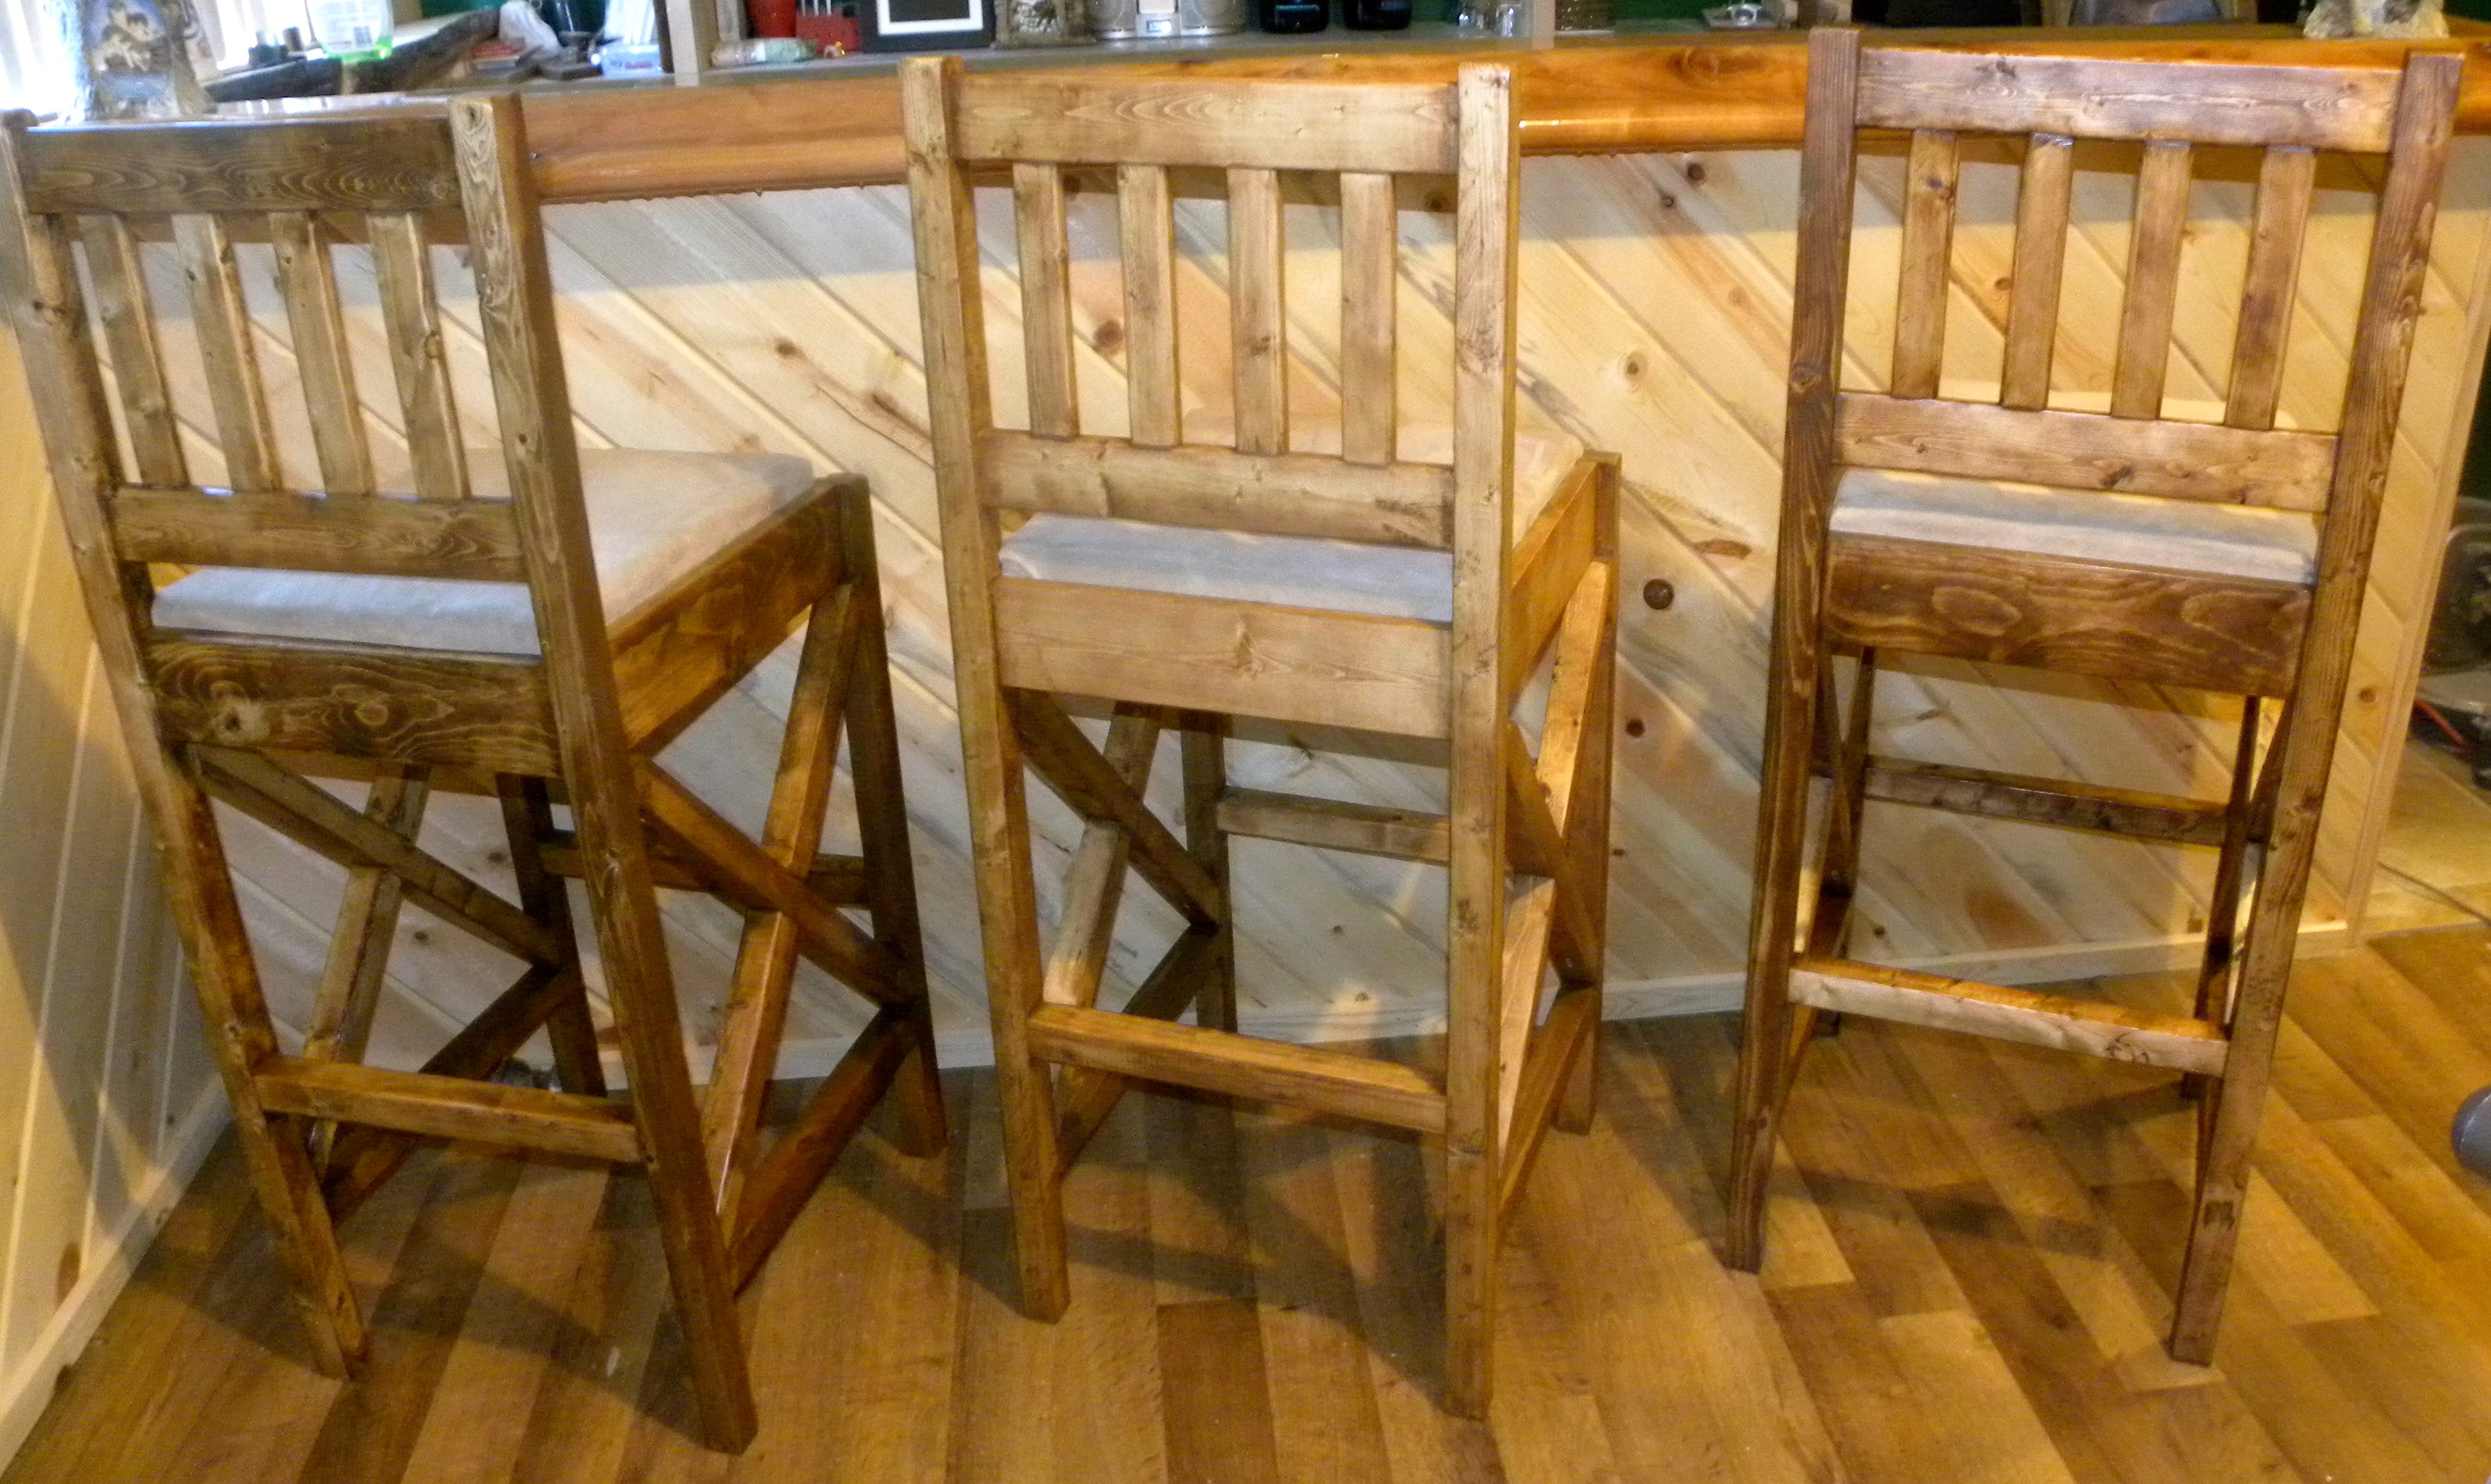
I needed new bar stools for our new bar that we designed and built in our basement family/entertaining room. Regardless of where I was looking, these things are silly expensive. I also wanted a little more of a country/rustic look that would suit my husband and my likes. I used the Vintage Bar Stool plans but my husband isn't a small guy and we have friends that aren't classified under the small frame category either, I needed more structure. After thinking about it for a few days, I liked the rustic X look and used that from so many plans. I also am all about comfort and the padded upholstered seats was a must. Can't wait for my next project. BTW. The cabinets behind the bar also came from here I simply modified for what we needed. We get compliments on it all of the time. Love this website, thank you so much for making simple to read instructions for things I actually want to do.
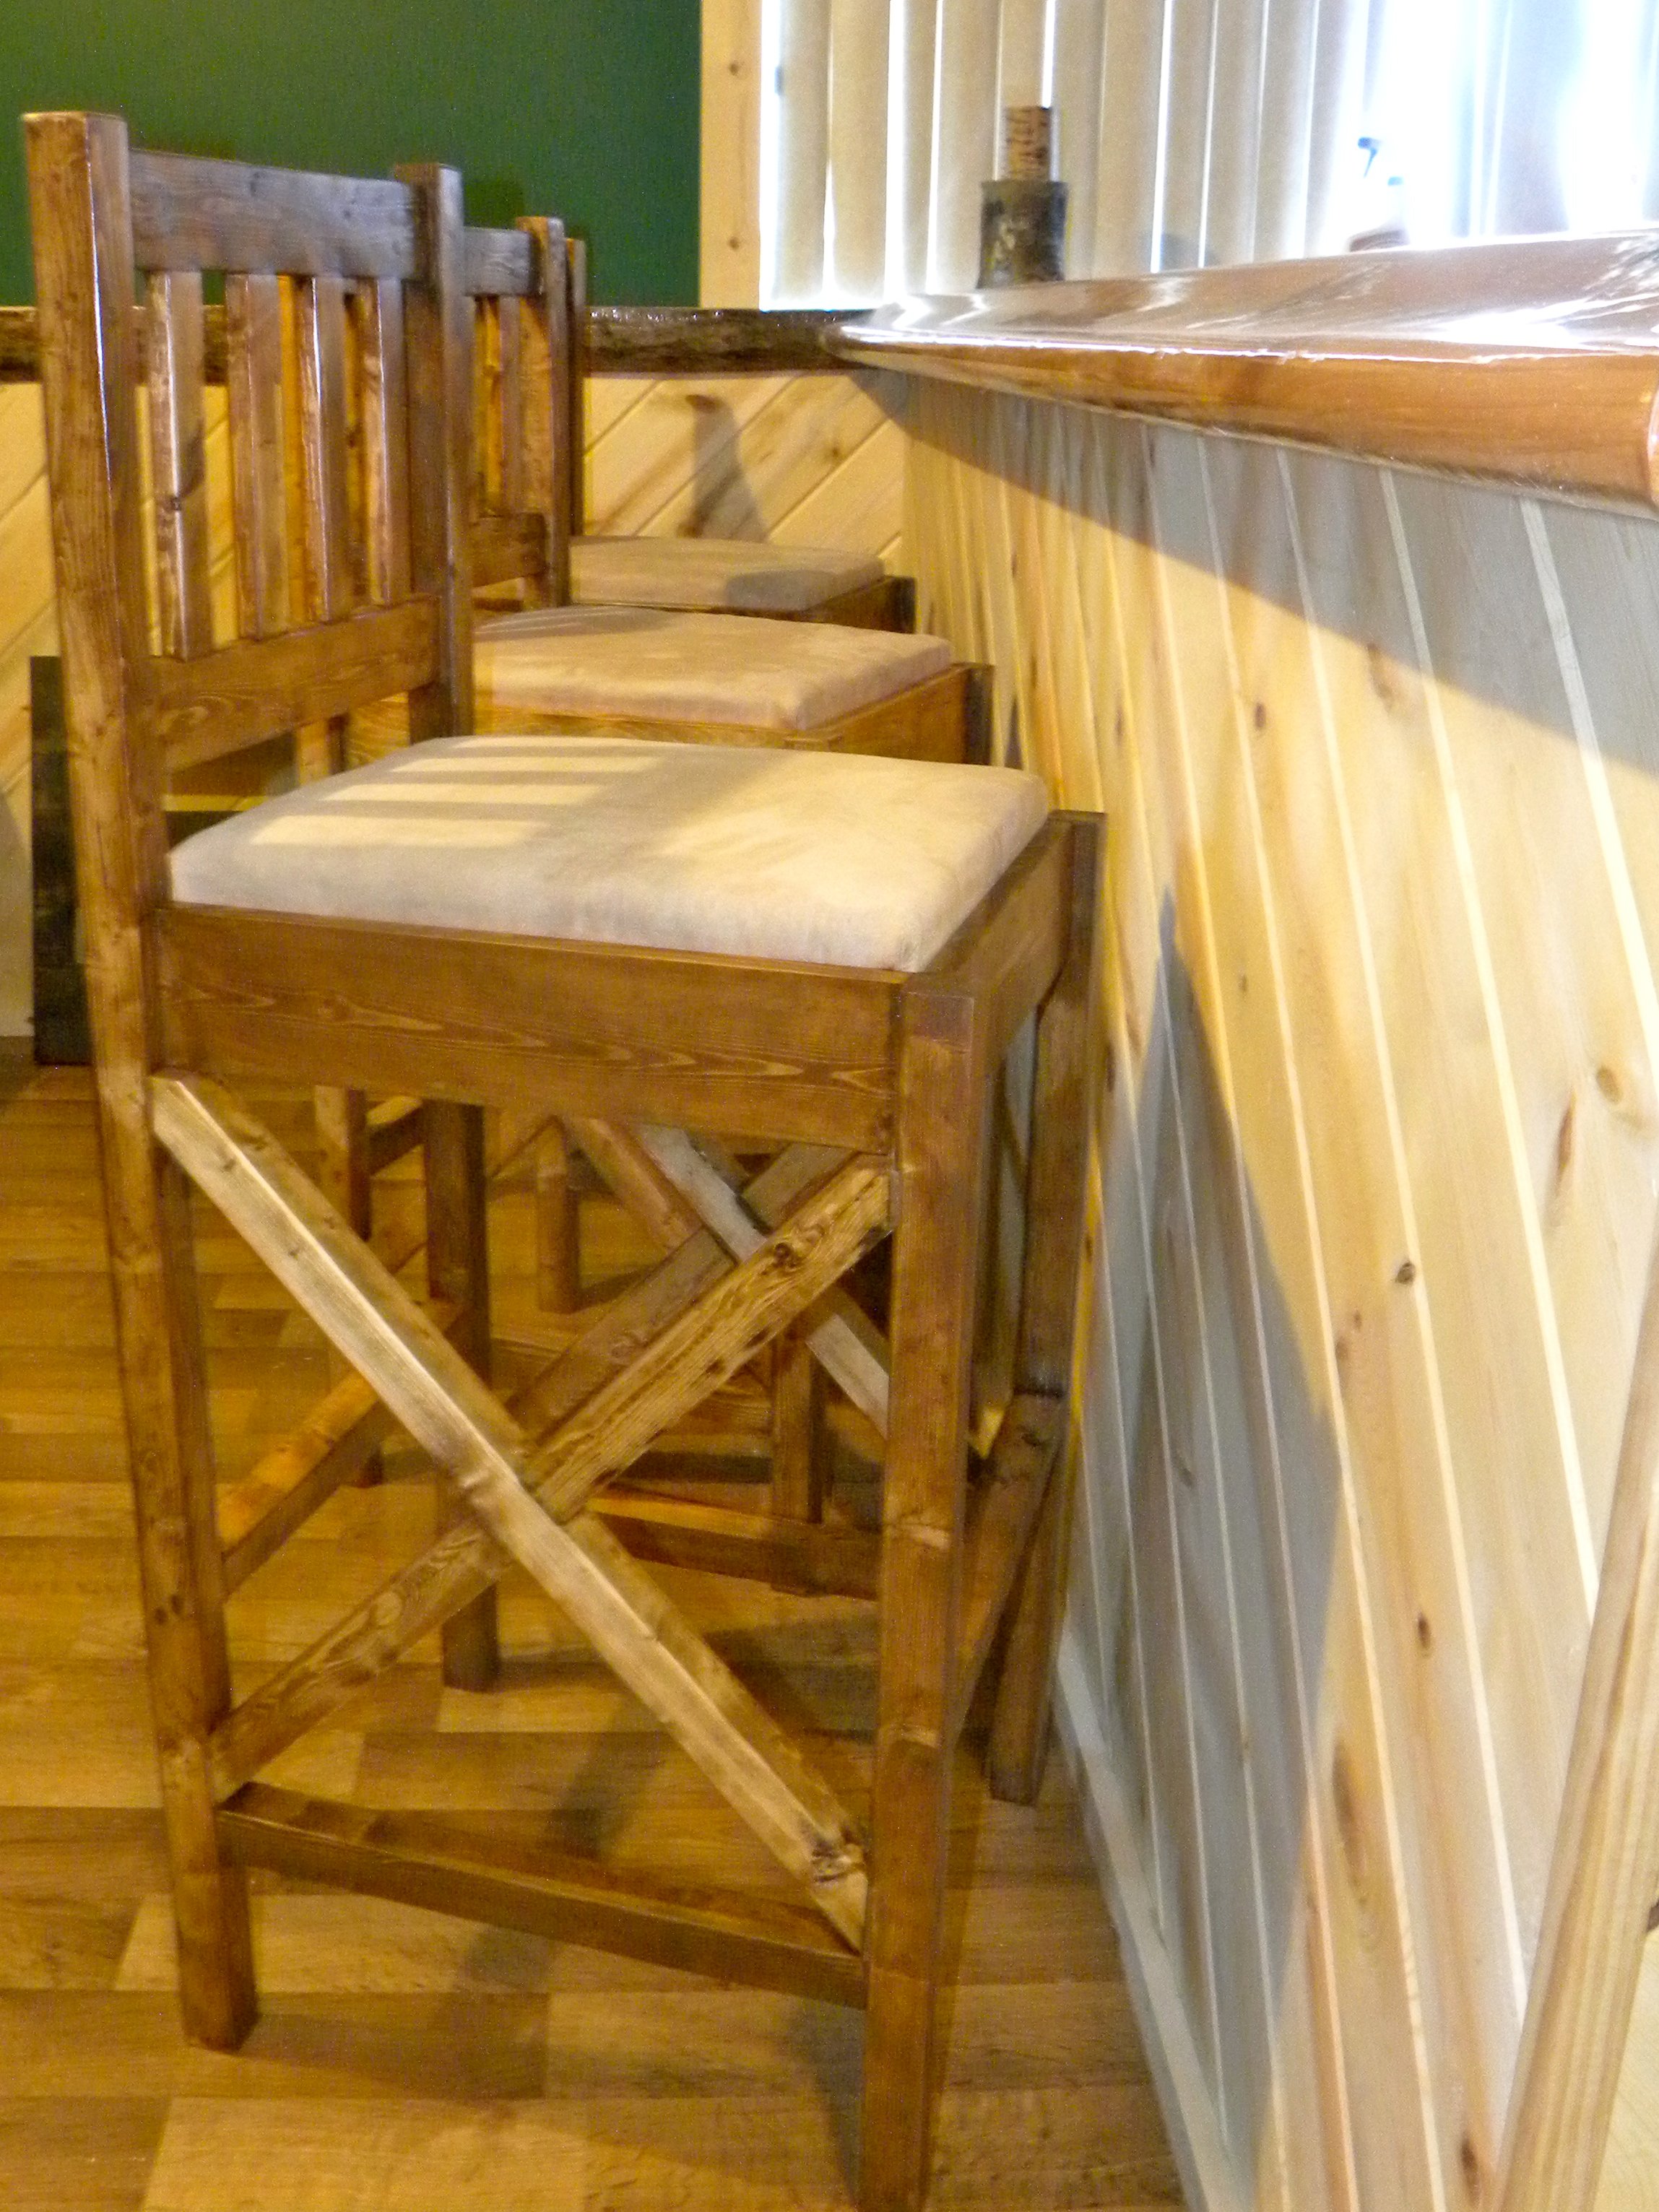
Built from Plan(s)
Estimated Time Investment
Week Long Project (20 Hours or More)
Finish Used
Minwax Early American
Recommended Skill Level
Starter Project
Comments
Mon, 06/26/2017 - 05:44
Rustix x bar stools
I need to build 24" bar stools with the rustic x look on the side. Do s anyone have plans to make them?

In reply to Rustix x bar stools by Daisypage
Sun, 07/01/2018 - 13:51
I am sorry. I just saw this.
I am sorry. I just saw this. Honestly I don't make any plans, I kind of fly by the seat of my pants. The X's are measured out at the end.
Thu, 12/26/2019 - 03:49
construction question???
These look great. I think that I'll add them to my build list that my wife seems to keep growing for me. How did you attach the back pieces? In the original design it showed pocket holes, but I don't see any on your work. Thanks for the help.
Tim

Sat, 06/06/2020 - 09:58
Bar stool legs notched out or not notched out
Could you please settle a discussion between myself and my husband? Are the legs notched out for the 1x4's to sink in , or are they just attached with pocket holes
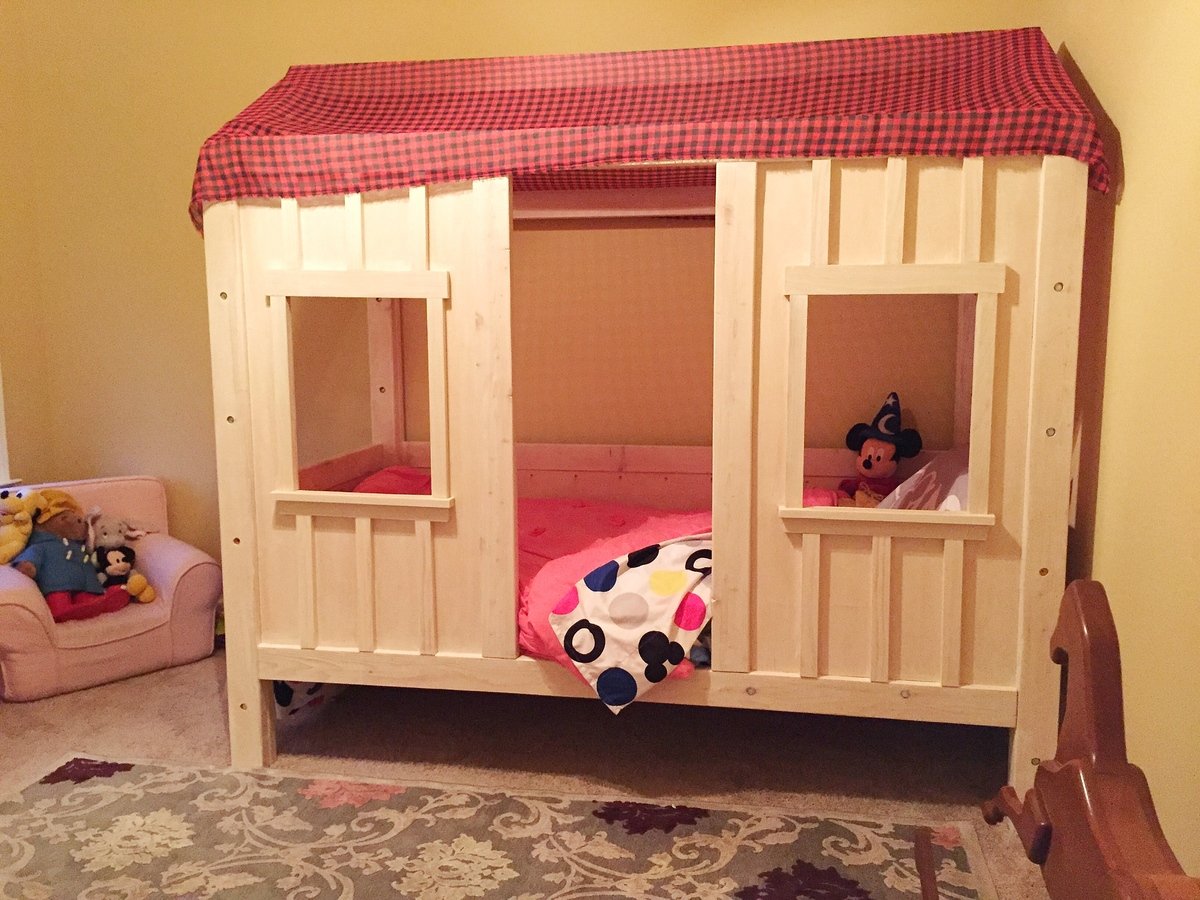
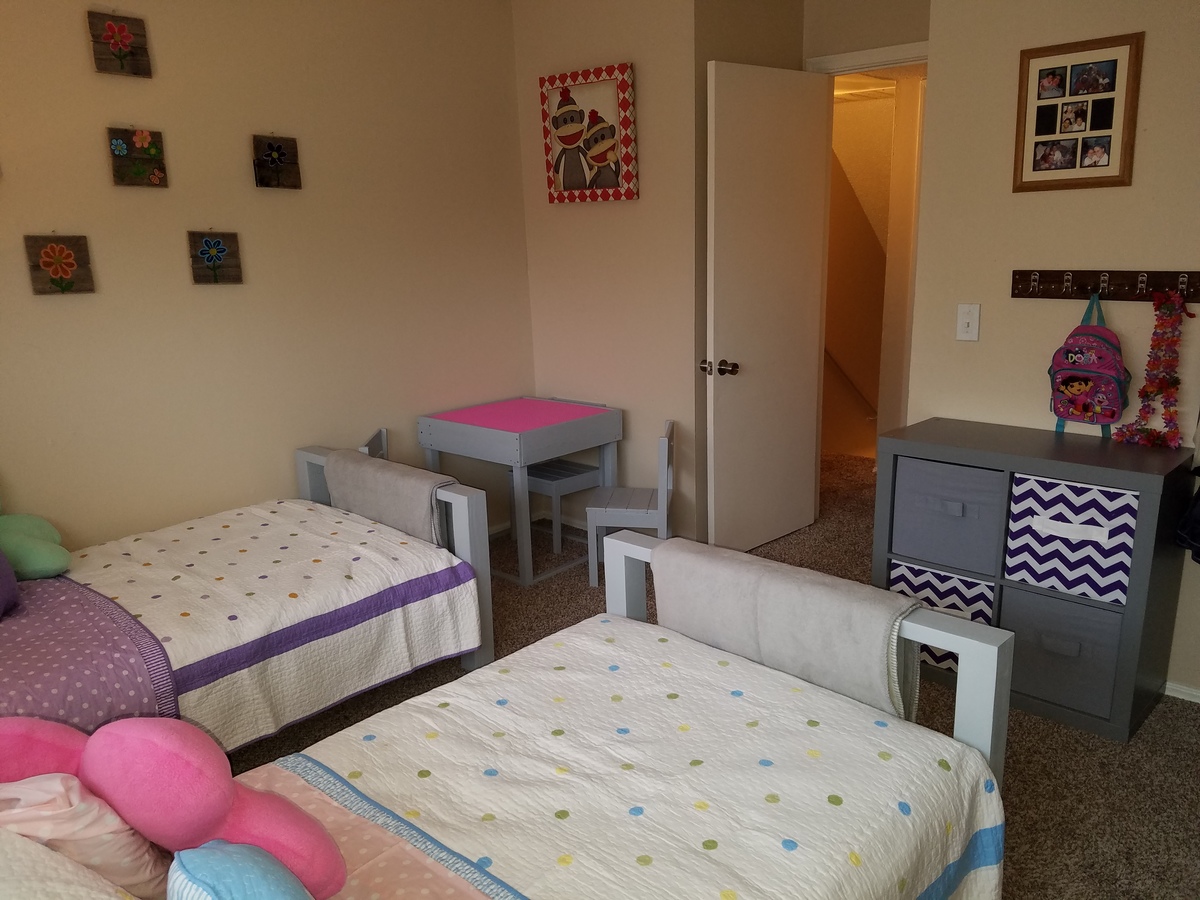
Granddaughters bedroom makeover!
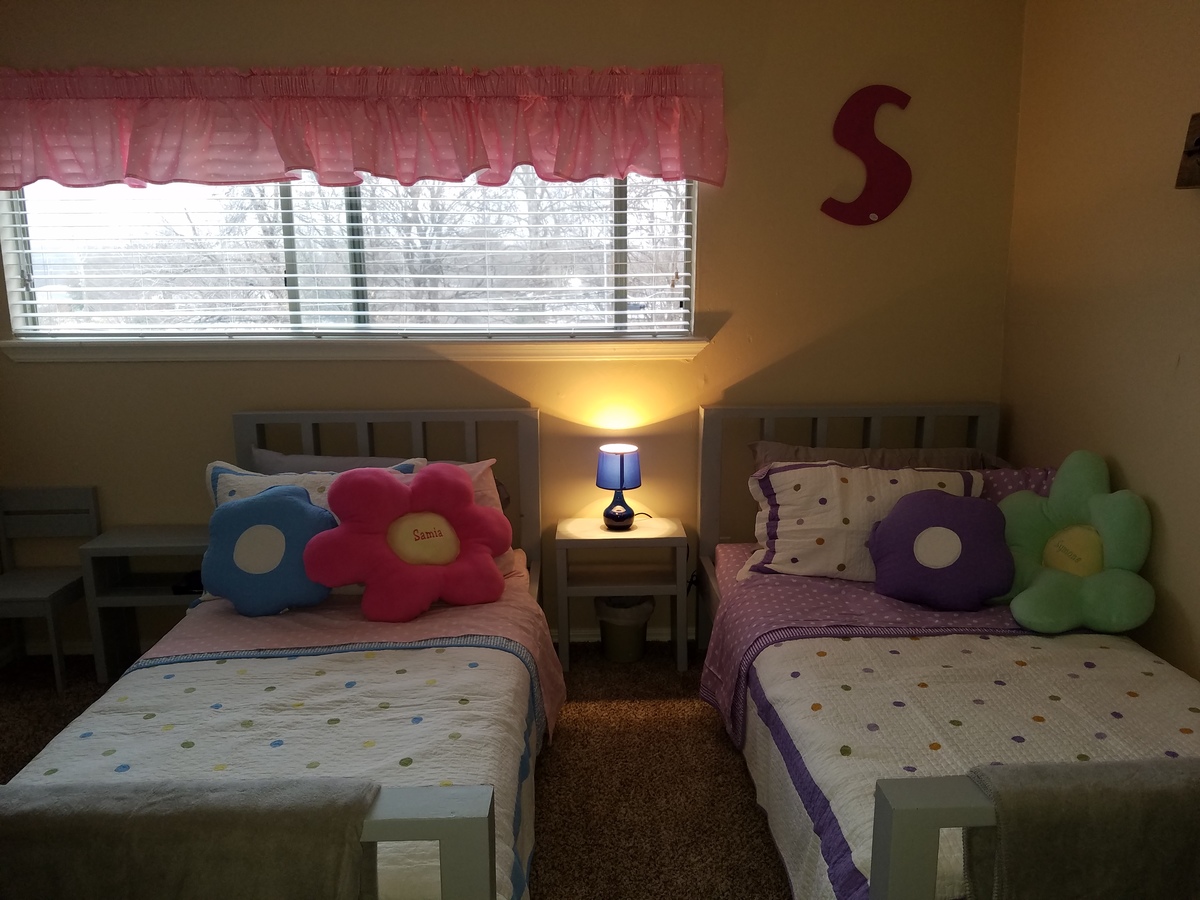
Twin beds, nightstands, play table and chairs all inspired by Ana White plans. I did a lot of improvising as I went along.
This was a Christmas gift for my granddaughter's and my second project.
My sister made the curtain, the personalized flower pillows and the bench cushion.
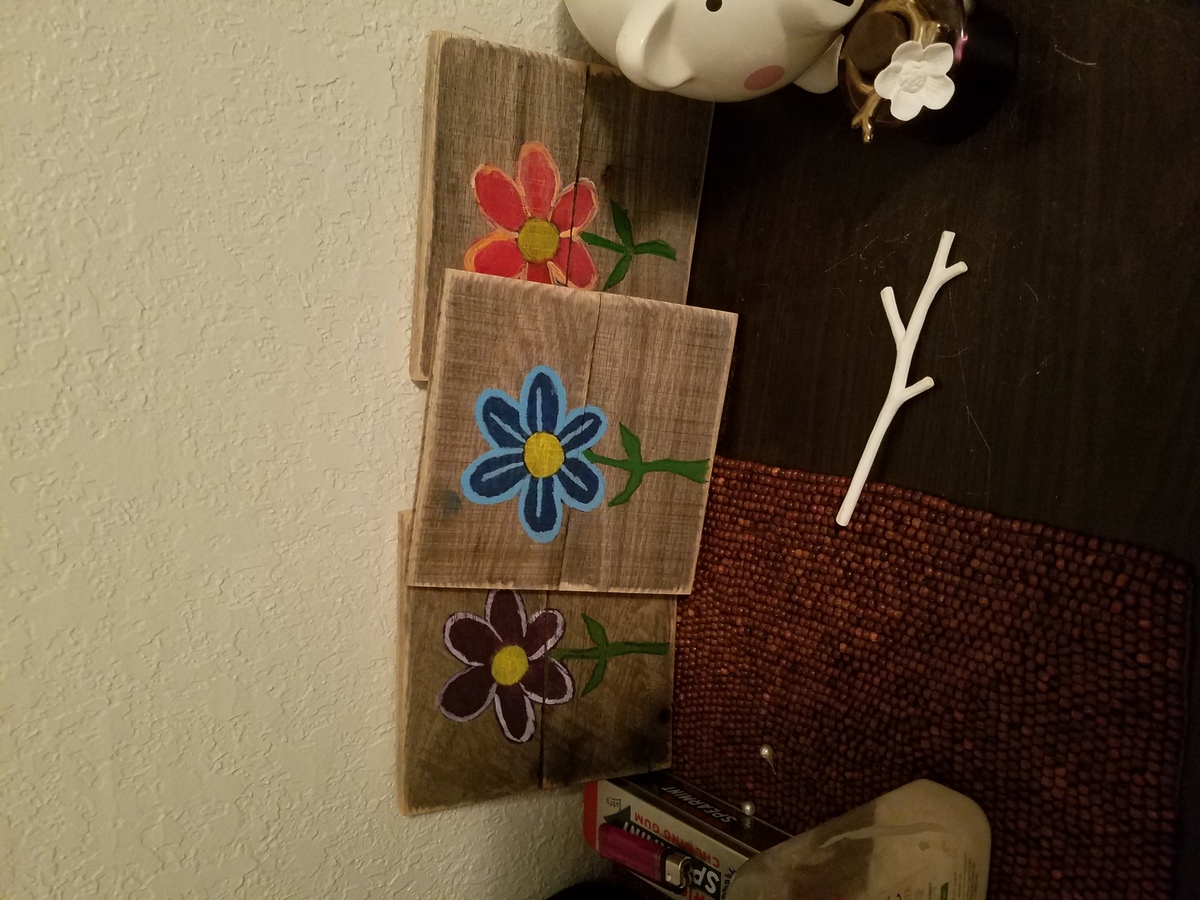
My daughter painted the flower art.

Built from Plan(s)
Estimated Cost
Honestly, I lost track! Guessing around $300. Mostly for hardware, screws, sandpaper and Lego plates.
Estimated Time Investment
Week Long Project (20 Hours or More)
Finish Used
Gray acrylic paint
Recommended Skill Level
Beginner
Rustic X Coffee Table
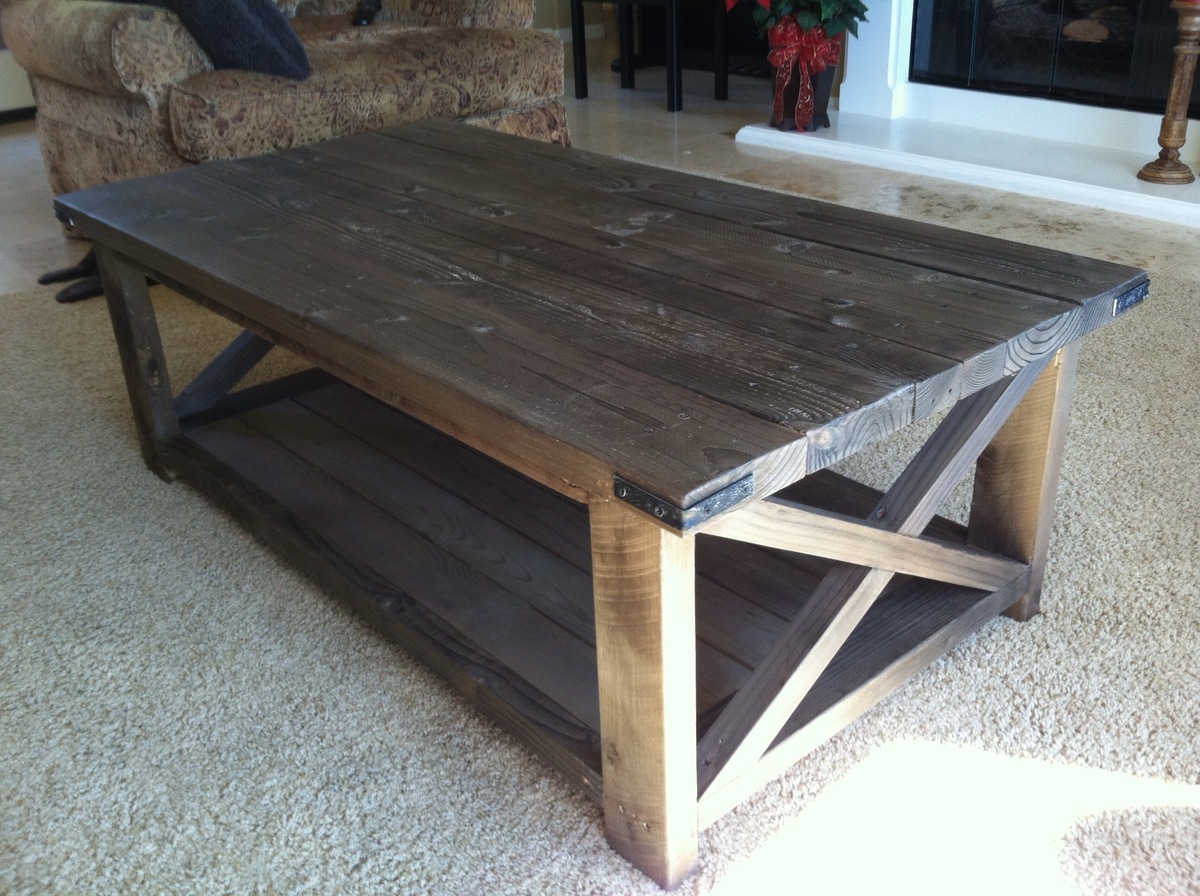
To build my Rustic X coffee table I went about it as cheap as I could. I found all of my wood either through crap piles at lumber yards or from free wood piles on craigslist. The interesting part was trying to find the pieces for the top which I had to improvise with the two 2x3 pieces in the middle of the four 2x6's also instead of using the two 1x42x12 pieces for the bottom shelf I could not find what was asked for so I used a few 1x4's which worked out great. The only other change I made to the plans was to change how the X's attached to the main frame. The original plans wanted the X's to butt up against the sides while I cut them to be flush with the top and bottom of the frame.
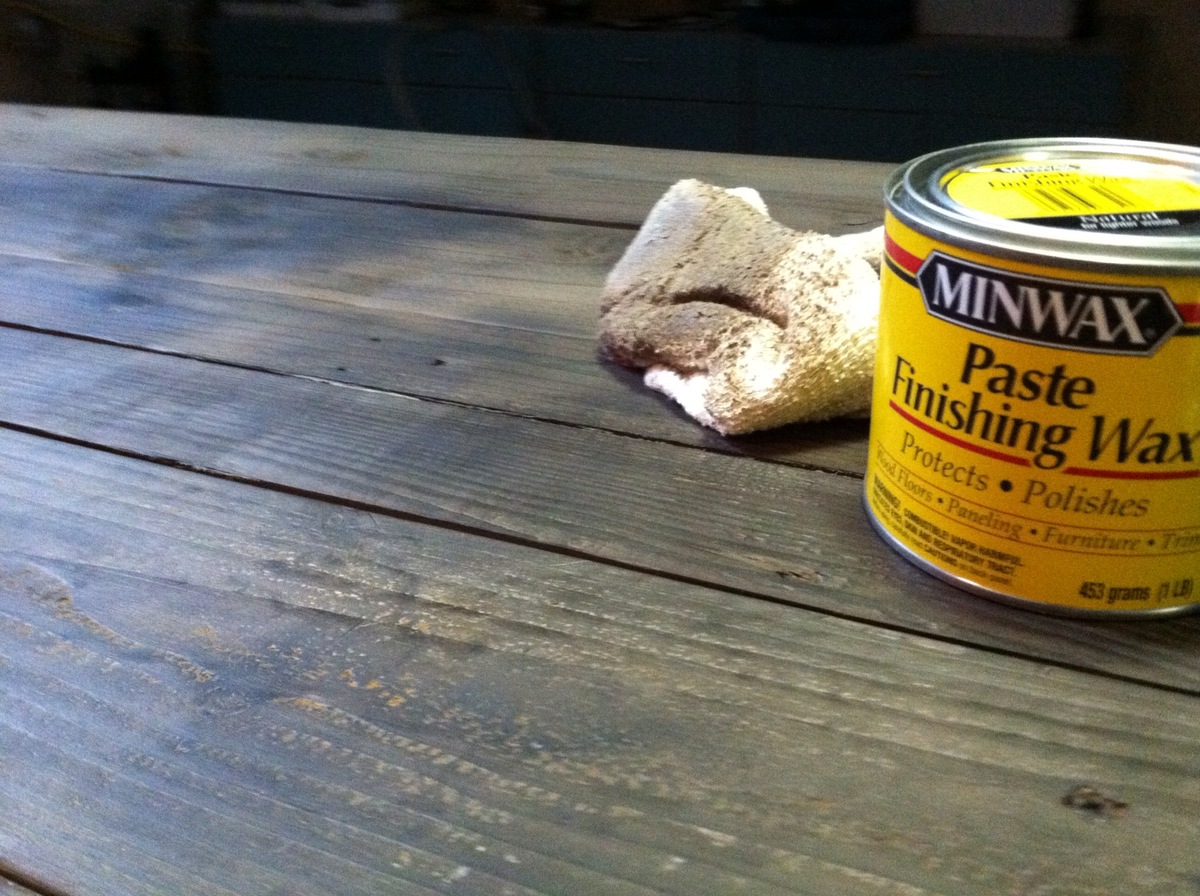
The only things that I purchased were the bracers, steel wool and vinegar and tea for the stain, and the screws. The only tools I own are a measuring tape and a pencil, luckily I have a friend with a full woodshop who helped me out. I followed the instructions on http://thefriendlyhome.blogspot.com/2012/07/how-to-oxidize-wood.html to make the stain. I left a wad of steel wool in white vinegar (about 2/3 of a pasta sauce jar full) for about 5 weeks. After all the cuts had been made and the table put together I sanded it by hand and then stained it. After the stain had dried I waxed the surface with Minwax paste finishing wax. I would love to enjoy my table but for lack of room in my 160 foot dorm room I've had to leave it in a friends apartment for now.
Estimated Cost
Since I found all my wood, I only payed for the stain and screws so roghly $30
Estimated Time Investment
Weekend Project (10-20 Hours)
Finish Used
http://thefriendlyhome.blogspot.com/2012/07/how-to-oxidize-wood.html
I followed this website almost exactly. I left my steel wool in for about 5 weeks. I used an earl grey tea and put on 2 coats for the whole table except for the lighter pine which made up the bottom shelf in which I put on 3 coats, I now wish that I had put on four or five to get the colors closer, these ended up lighter than the rest of the table. I did not sand the table after I applied the tea. After the tea dried I then applied the oxidizing agent to the entire piece. I put on a second coat of oxidizing agent to the bottom shelf which did not seem to make a huge difference. After this had dried I took a old rag and the minwax finishing paste and went to town on the top. I put on two coats for the top and just a single coat everywhere else (CAREFUL THIS STUFF IS POWERFUL APPLY IT IN A WELL VENTILATED AREA) oh and you might want to work out for a good month if you are planning on buffing by hand, I was sore! When I was done with this I let it dry and brought it inside to show it off. To my dismay I woke up the next morning to discover that my little brother and his friends had spilled something on the table that ruined the stain, this was extremely disappointing, but I took it back out and resanded the stained part and reapplied the tea, oxidizing agent and wax. The redone spot ended up close to the rest of the table but no one else could tell because it is supposed to look rustic. My other frustration was that my friends burnt a candle in a glass jar on the table which kind of burnt a half ring on the table top, but again it just adds to the rustic look I guess.
I followed this website almost exactly. I left my steel wool in for about 5 weeks. I used an earl grey tea and put on 2 coats for the whole table except for the lighter pine which made up the bottom shelf in which I put on 3 coats, I now wish that I had put on four or five to get the colors closer, these ended up lighter than the rest of the table. I did not sand the table after I applied the tea. After the tea dried I then applied the oxidizing agent to the entire piece. I put on a second coat of oxidizing agent to the bottom shelf which did not seem to make a huge difference. After this had dried I took a old rag and the minwax finishing paste and went to town on the top. I put on two coats for the top and just a single coat everywhere else (CAREFUL THIS STUFF IS POWERFUL APPLY IT IN A WELL VENTILATED AREA) oh and you might want to work out for a good month if you are planning on buffing by hand, I was sore! When I was done with this I let it dry and brought it inside to show it off. To my dismay I woke up the next morning to discover that my little brother and his friends had spilled something on the table that ruined the stain, this was extremely disappointing, but I took it back out and resanded the stained part and reapplied the tea, oxidizing agent and wax. The redone spot ended up close to the rest of the table but no one else could tell because it is supposed to look rustic. My other frustration was that my friends burnt a candle in a glass jar on the table which kind of burnt a half ring on the table top, but again it just adds to the rustic look I guess.
Recommended Skill Level
Intermediate
Comments
Mon, 12/10/2012 - 10:51
That table looks great! I
That table looks great! I agree, any imperfections in the table just add to the rustic look. And it doesn't get any better than free. :)
Mon, 12/10/2012 - 15:47
Stain saving solution
Your coffee table looks awesome, and it's so great that you were able to get free/cheap lumber. I wanted to share a little info that I learned about the vinegar stain. I used it on a picture frame and wanted a little more weathered look. I had read that lemon juice will reverse the oxidation, and sure enough, it did just that. I ended up with a beautiful frame with streaks of natural wood through it, where I brushed on some lemon juice. Perhaps your brother and friend spilled lemonade or other citrus drink that reversed the oxidation.
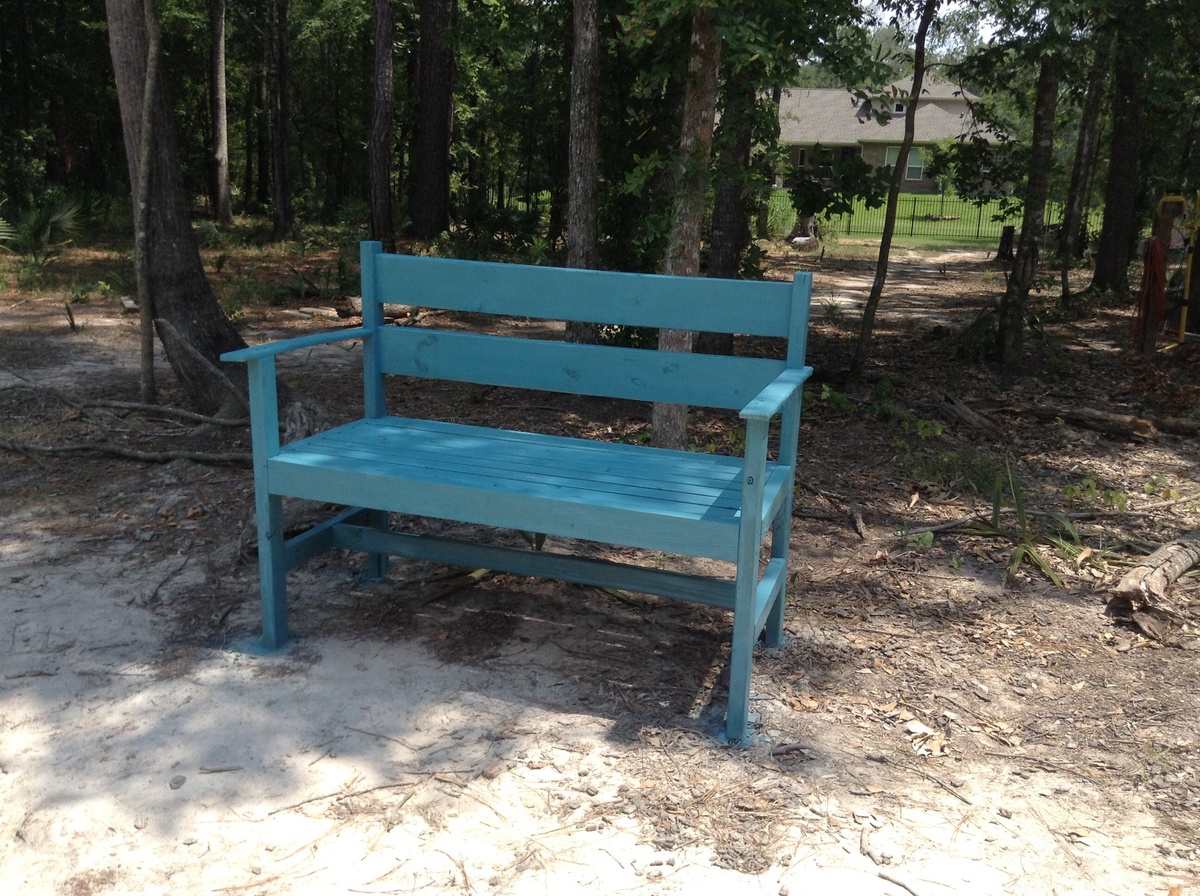
Outdoor Bench
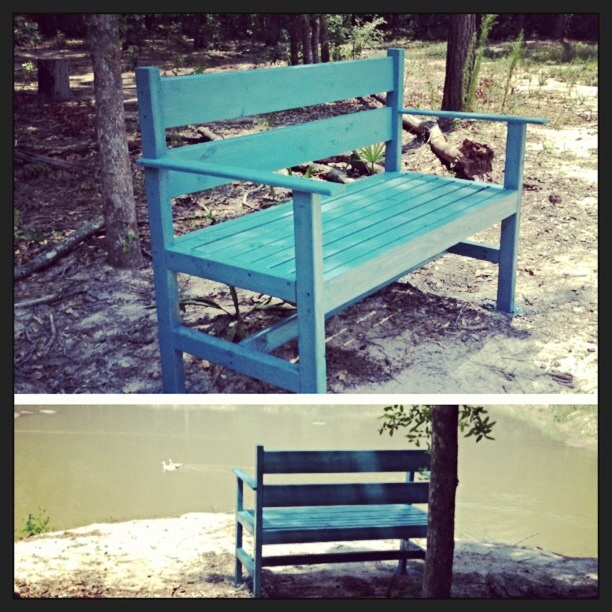
Built from Garden Bench plans. Pretty much exactly as written. I modified the arms a bit.
The seat is a little deep, but it's really great to sit out and watch the ducks by the pond. It's really heavy, so I needed help from the hubs to move it down there. On the other hand I don't worry about it floating away during occasional high water through the flood way.
It's used almost every day!

Built from Plan(s)
Estimated Time Investment
Day Project (6-9 Hours)
Recommended Skill Level
Beginner
Farmhouse Table
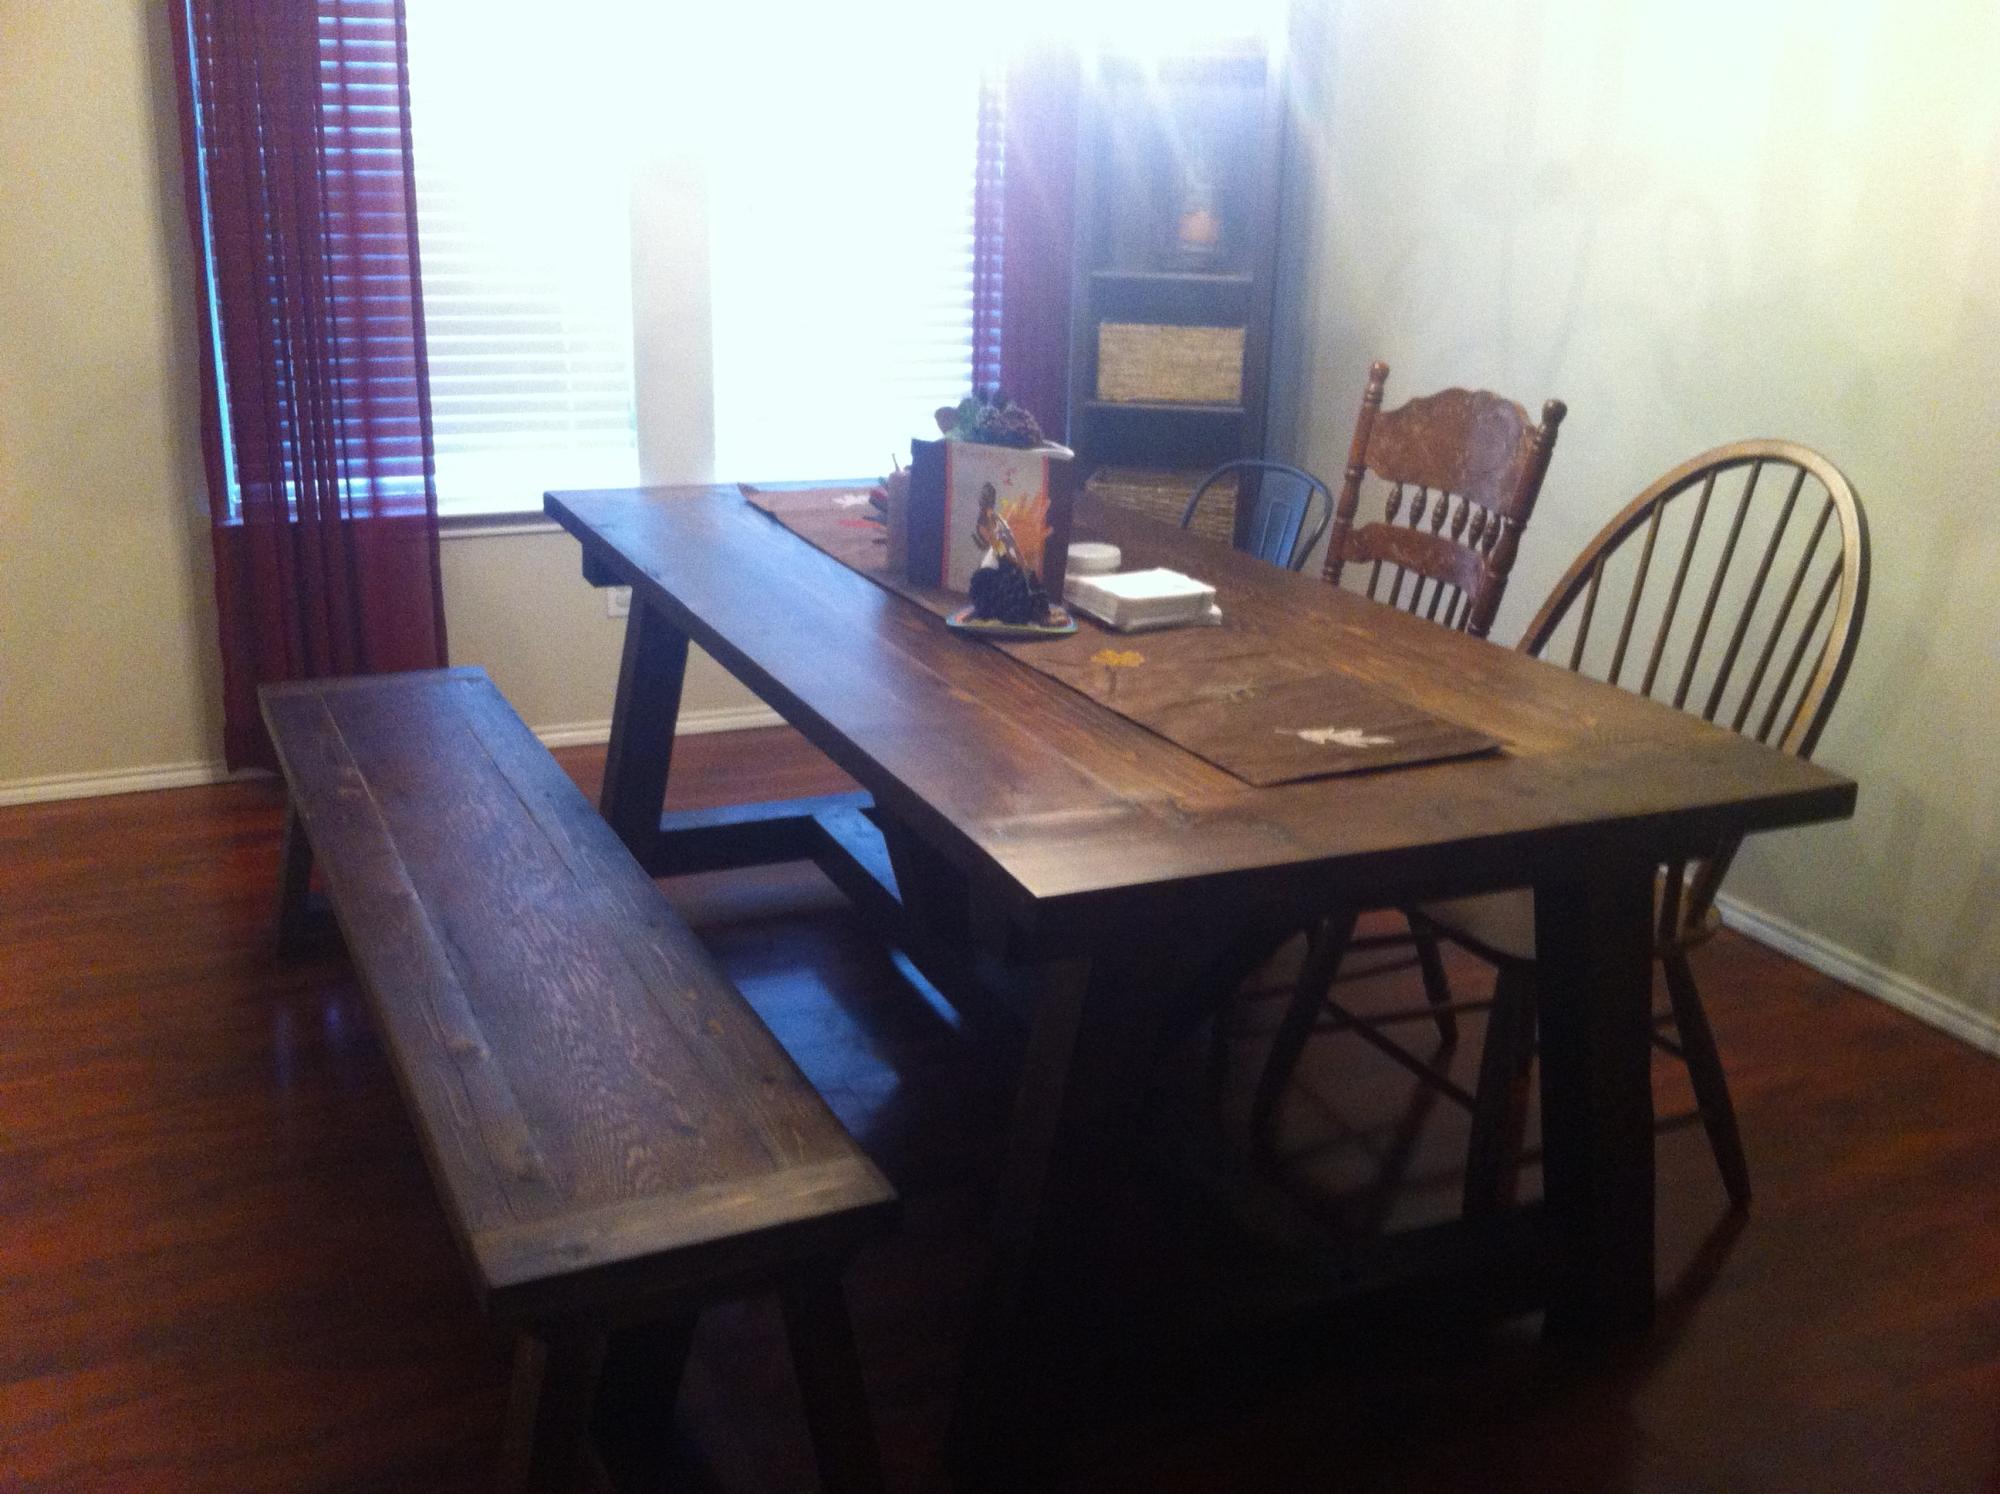
The plans provided for the table and bench were excellent. I also had help from people in the local Lowes lumber department who talked me in to using cedar. They also recommended using lag screws where possible so (for the table) I ended up using lag screws in some places where the pocket screws were recommended.
Built from Plan(s)
Estimated Time Investment
Week Long Project (20 Hours or More)
Recommended Skill Level
Beginner