Community Brag Posts
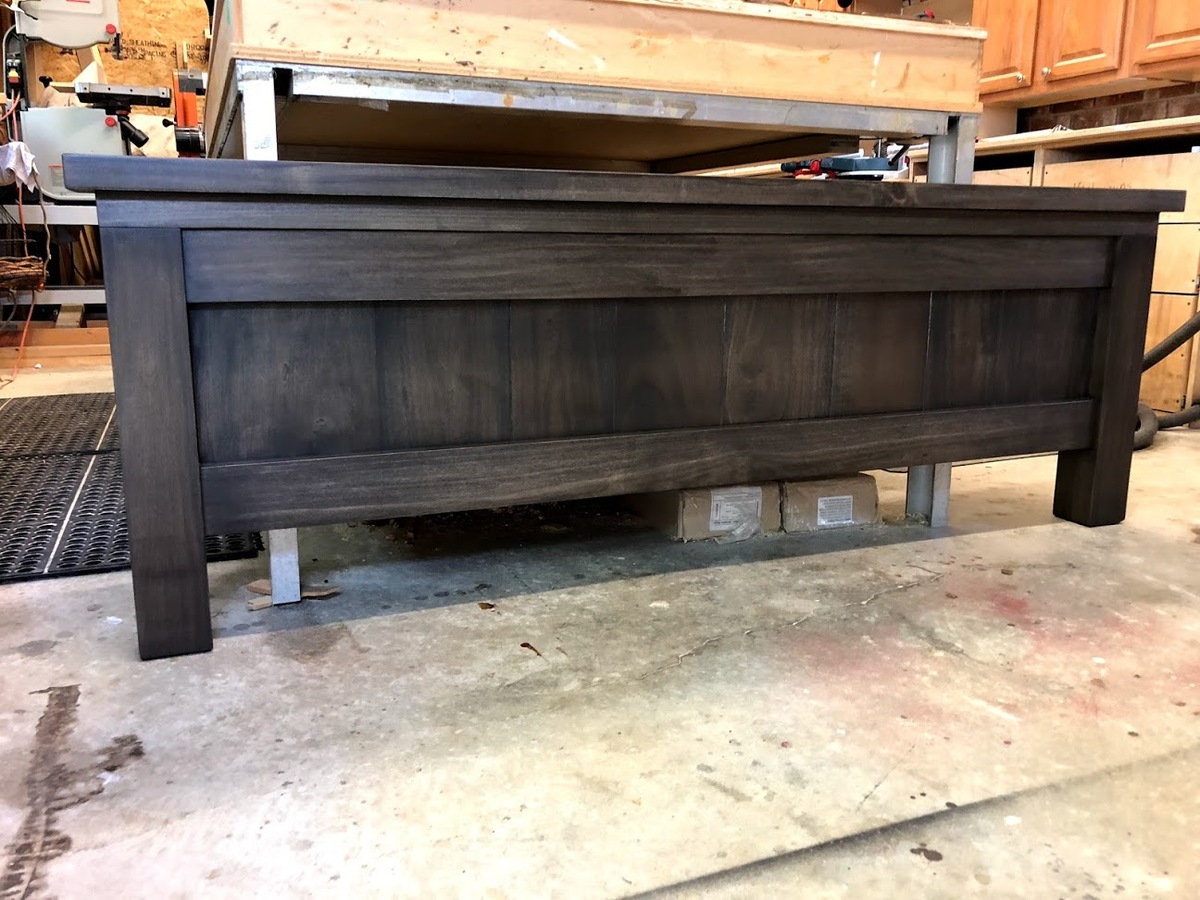
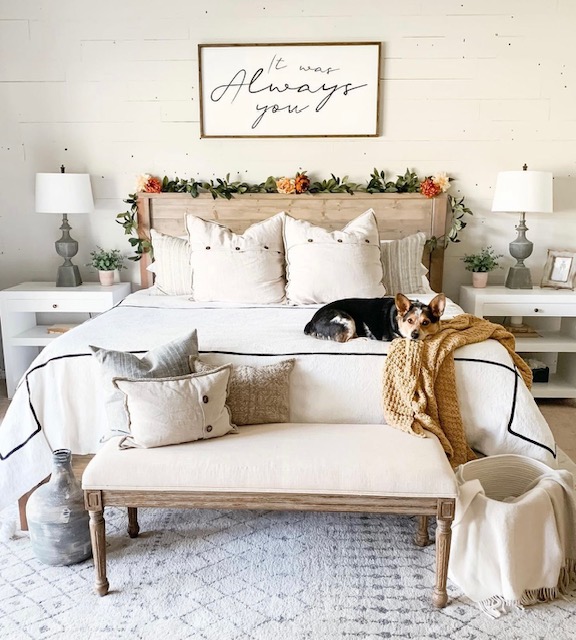
Queen Farmhouse bed
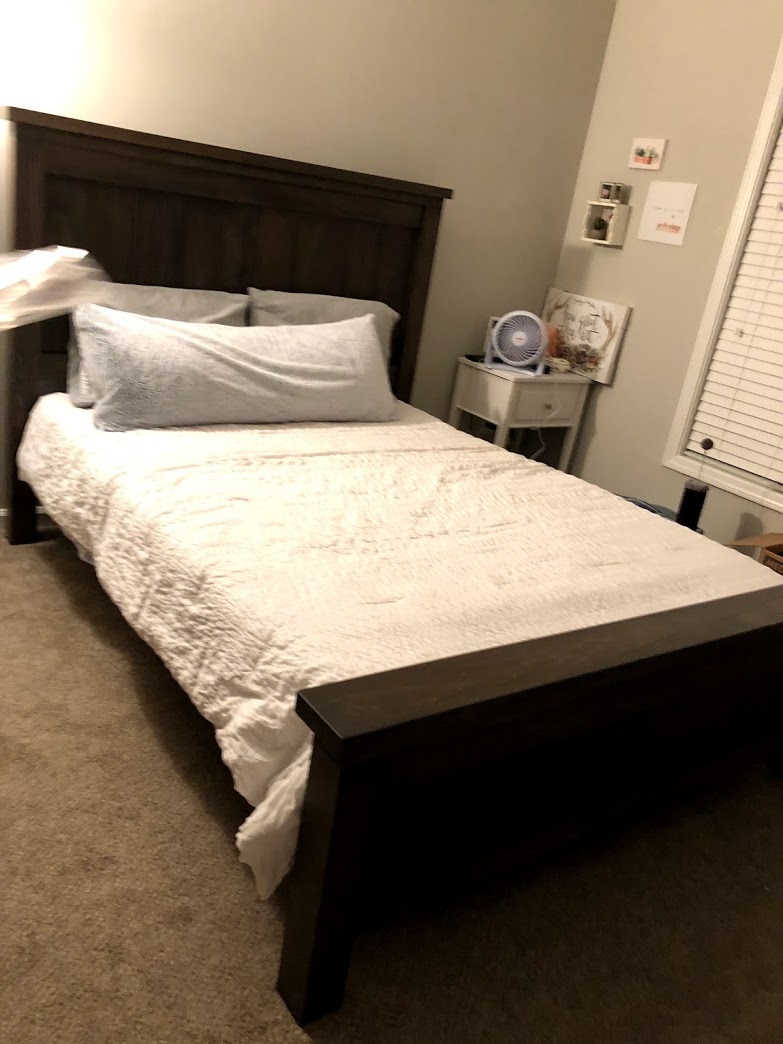
Queen Farmhouse Bedframe made from Poplar and stained with Carbon. Don't remember brand name of stain. Finish is by General Finishes Flat sheen.

Built from Plan(s)
Estimated Cost
$350
Estimated Time Investment
Week Long Project (20 Hours or More)
Finish Used
Sanded to 180. Pre-conditioned before stain with denatured alcohol
Stain - Carbon (Professional grade, but don't remember brand name)
General Finishes - Flat
Stain - Carbon (Professional grade, but don't remember brand name)
General Finishes - Flat
Recommended Skill Level
Intermediate
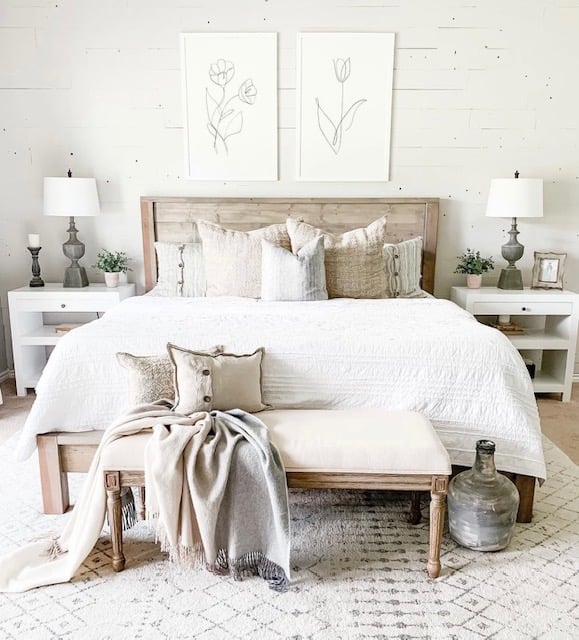
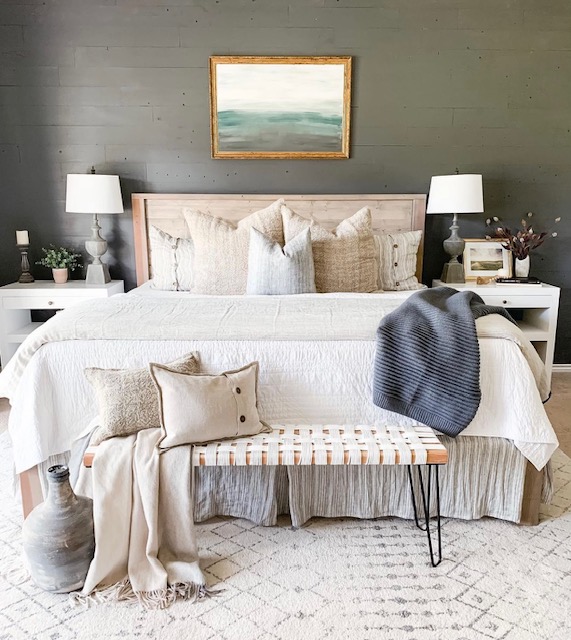
Modern Farmhouse Bed - Same Bed Different Look
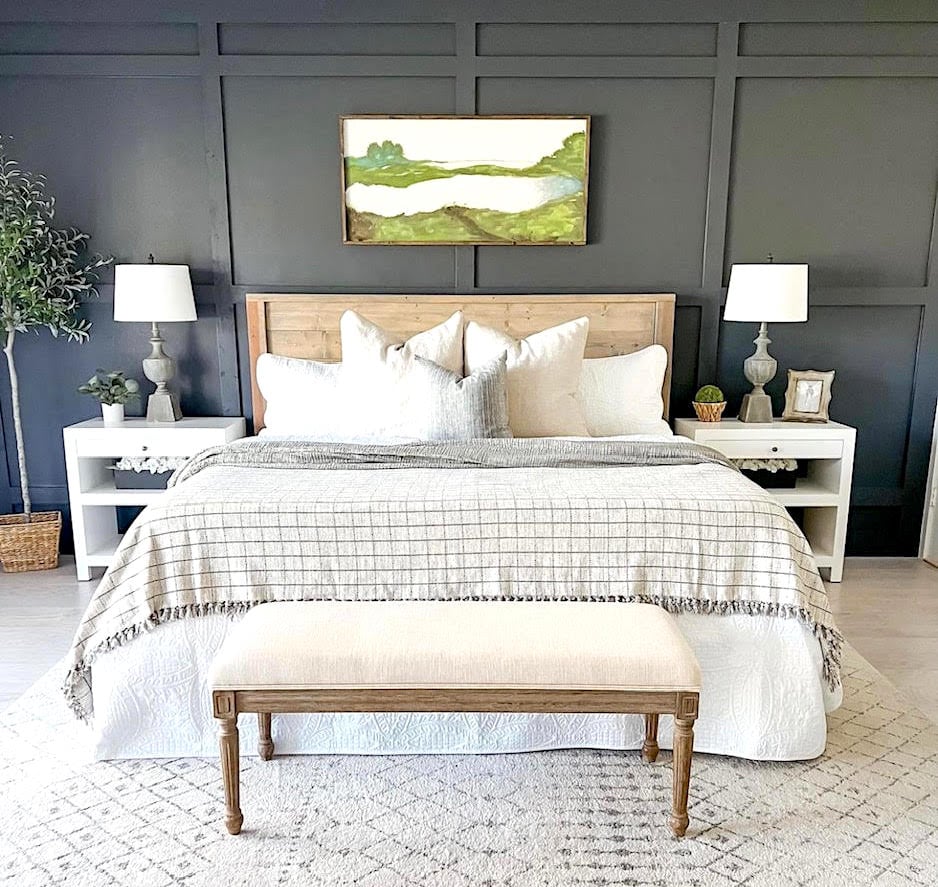
Same bed, so many beautiful options!
Built from Plan(s)
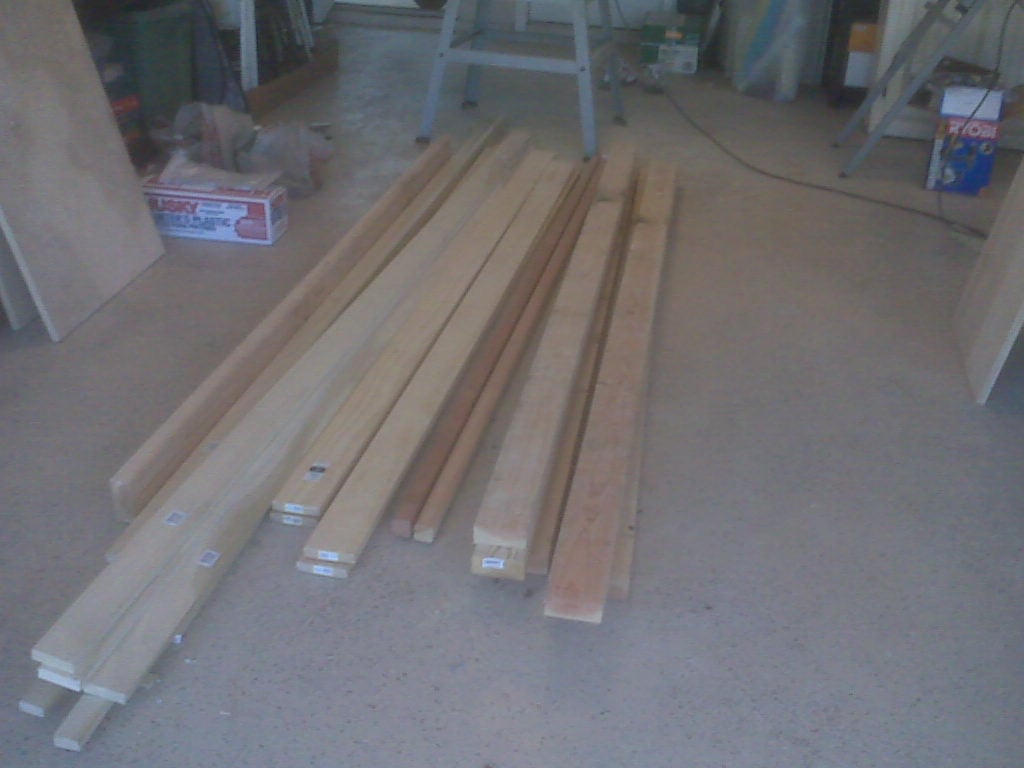
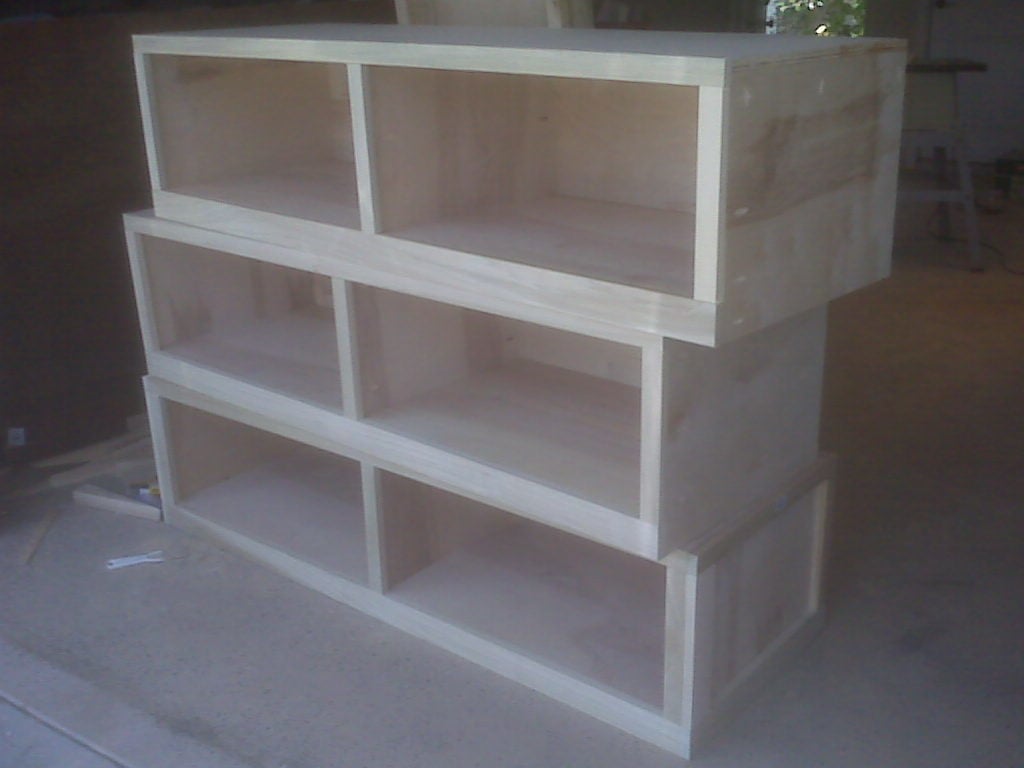
Queen Storage Bed - done!
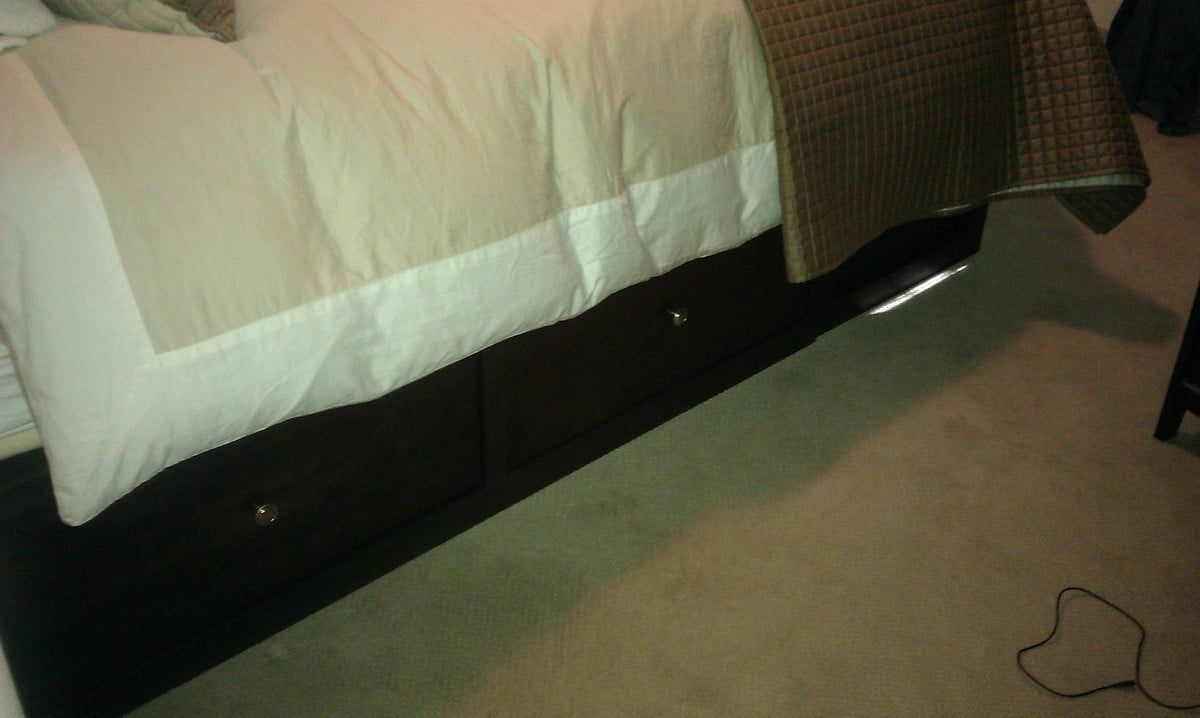
I was so excited to start the Queen storage bed - but then I had all that lumber and the cuts weren't perfect, and my measuring skills need work, and I don't fit into 12 x 18" spaces, and my vision isn't great to begin with and I certainly can't see into those dark, dark spaces!
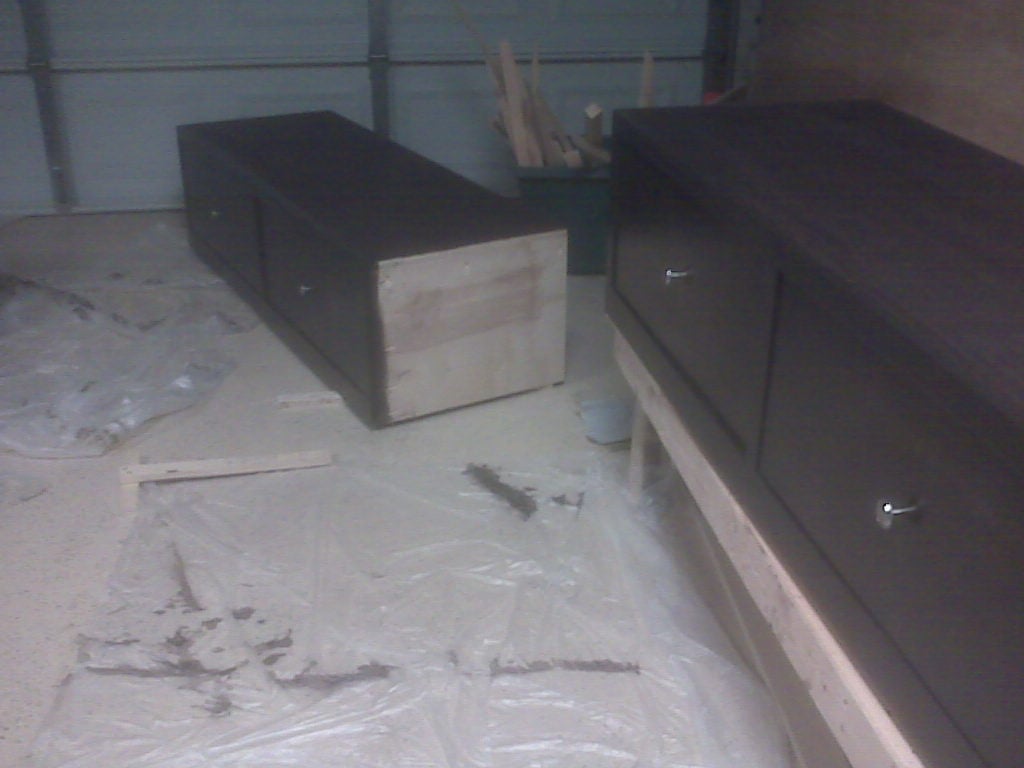
But, in the end, I had fun, and the drawers work, the finish turned out well, I still have all my fingers, my bruises are about gone (2 weeks later, for goodness sake!) and, most important, my son and his wife say it looks great, is sturdy, and the drawers work! Whew!
Next month I'm doing the twin sized version for my daughter - and no drawers, yeah!

Built from Plan(s)
Estimated Cost
$400
Estimated Time Investment
Week Long Project (20 Hours or More)
Finish Used
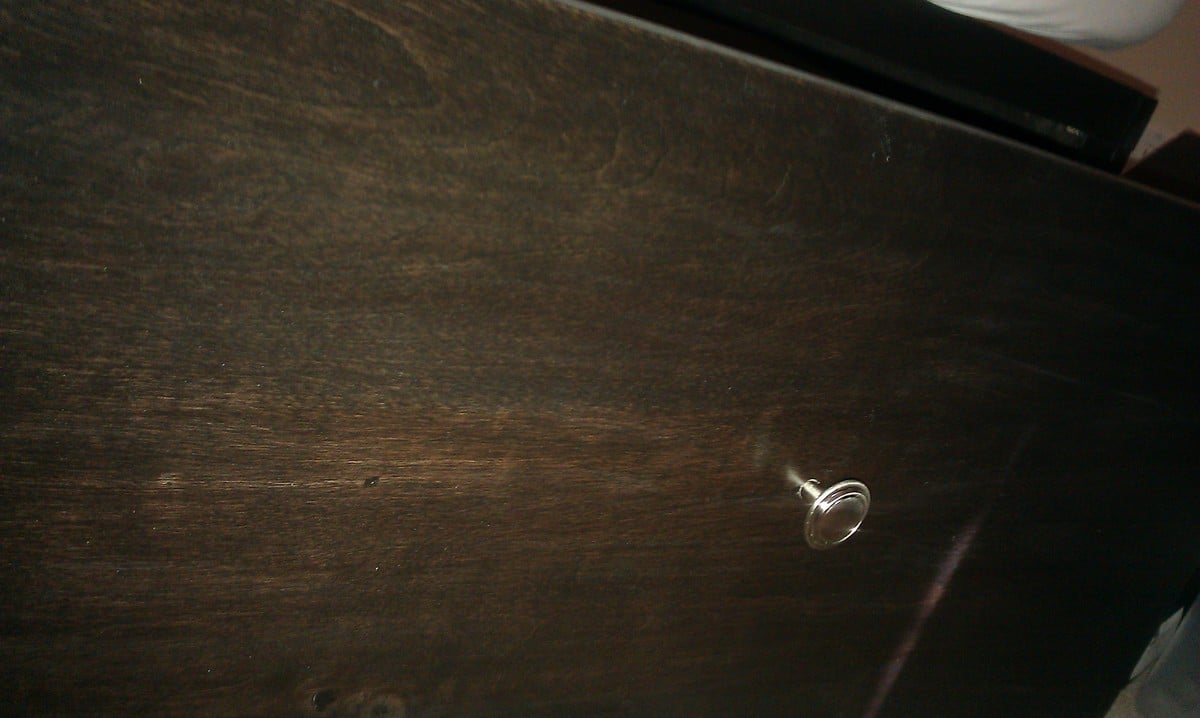
Valspar Espresso stain, 3-4 coats, sanded between first 2 coats, then just applied to darken the color. Light sanded before applying first coat of minwax poly, light sanded again, applied 2nd coat of poly, and then added a 3rd coat of poly (no sanding before)
Recommended Skill Level
Intermediate
Comments
Sat, 08/13/2011 - 19:34
Beautiful!
Well for all the problems with fitting into the spaces, seeing, and such, it turned out beautifully!! Well done! I

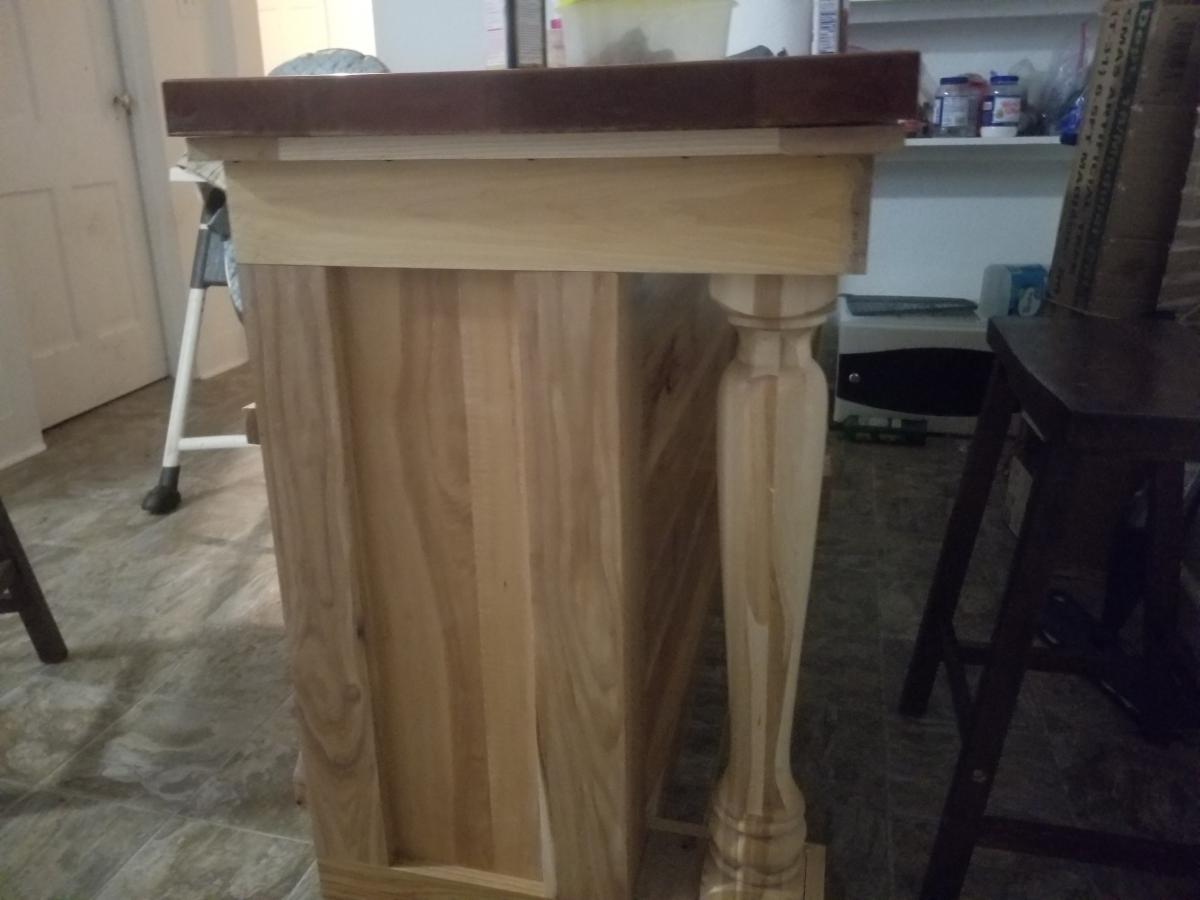
Farmhouse kitchen island
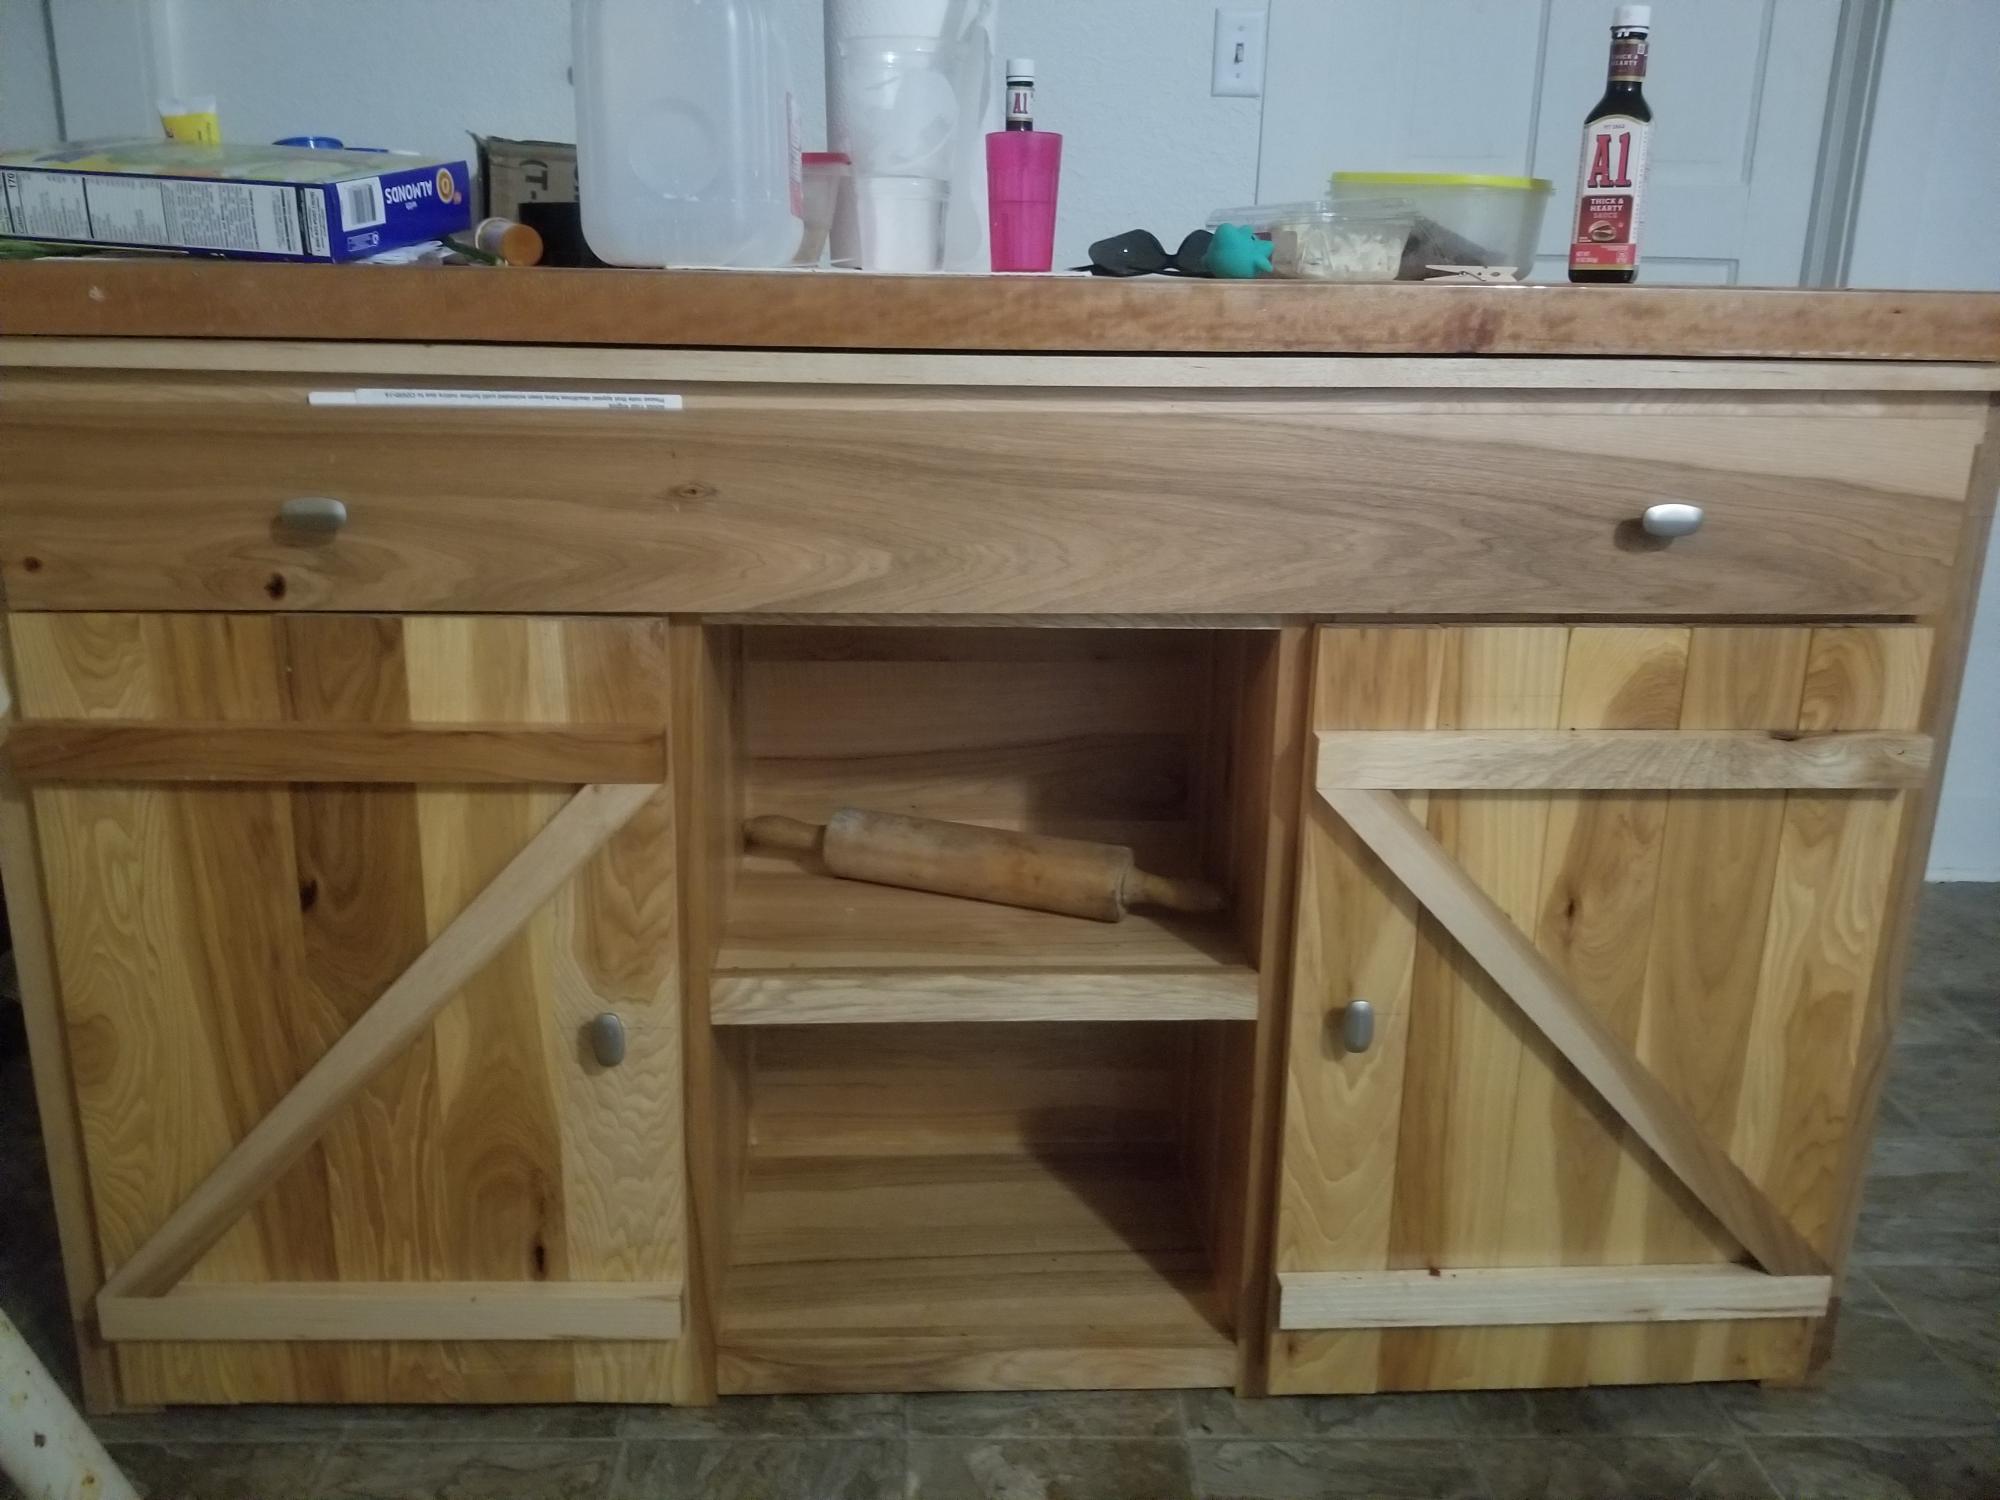
The kitchen island I built from your plans for my wife. I used hickory and for the top I used rustic cherry.
Built from Plan(s)
Comments
Flat Wall Bookcase

This was my very first Ana project. It probably took me three times as long as it would take anyone with any experience. That said, we love it! I have since made two more for friends! No need to look too close, there are plenty of mistakes.

Built from Plan(s)
Estimated Time Investment
Afternoon Project (3-6 Hours)
Finish Used
I used miniwax water-based red oak and topped with two coats of polycrylic.
Recommended Skill Level
Starter Project
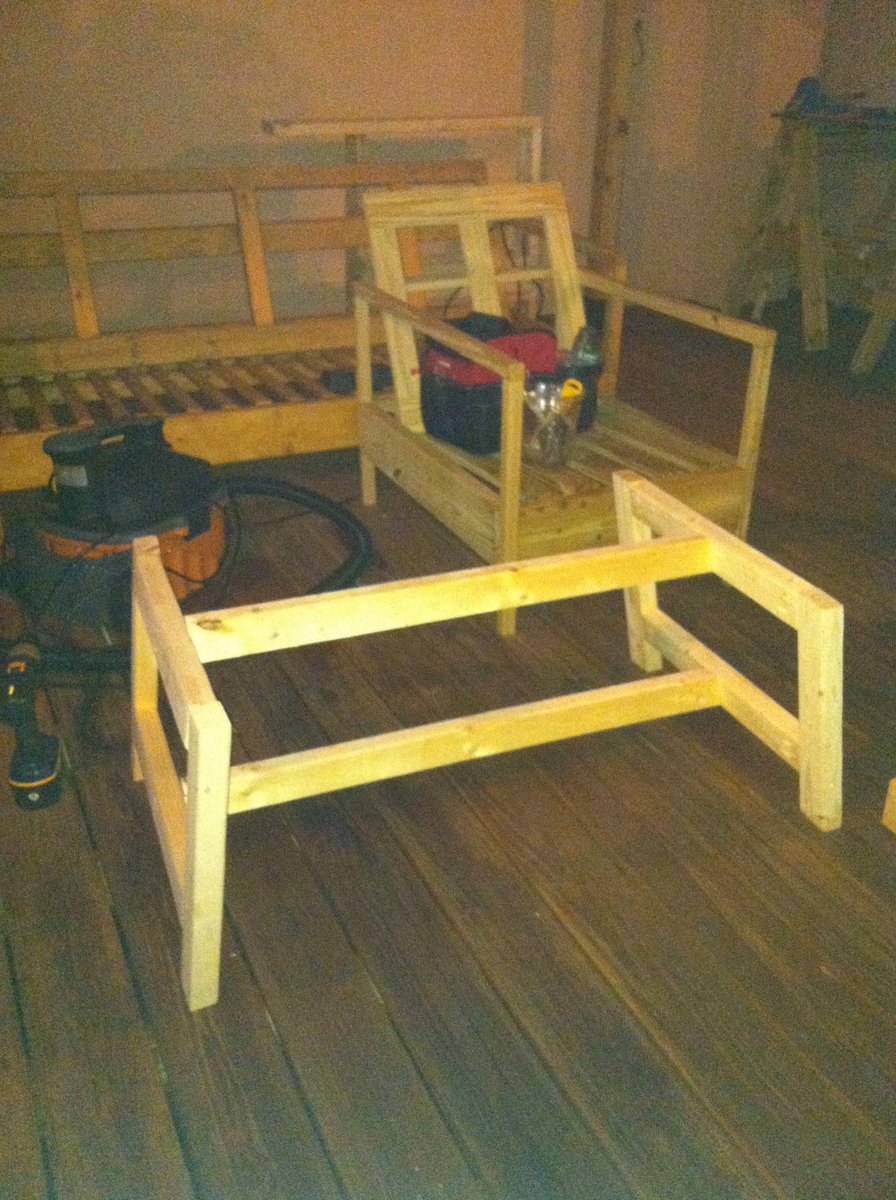
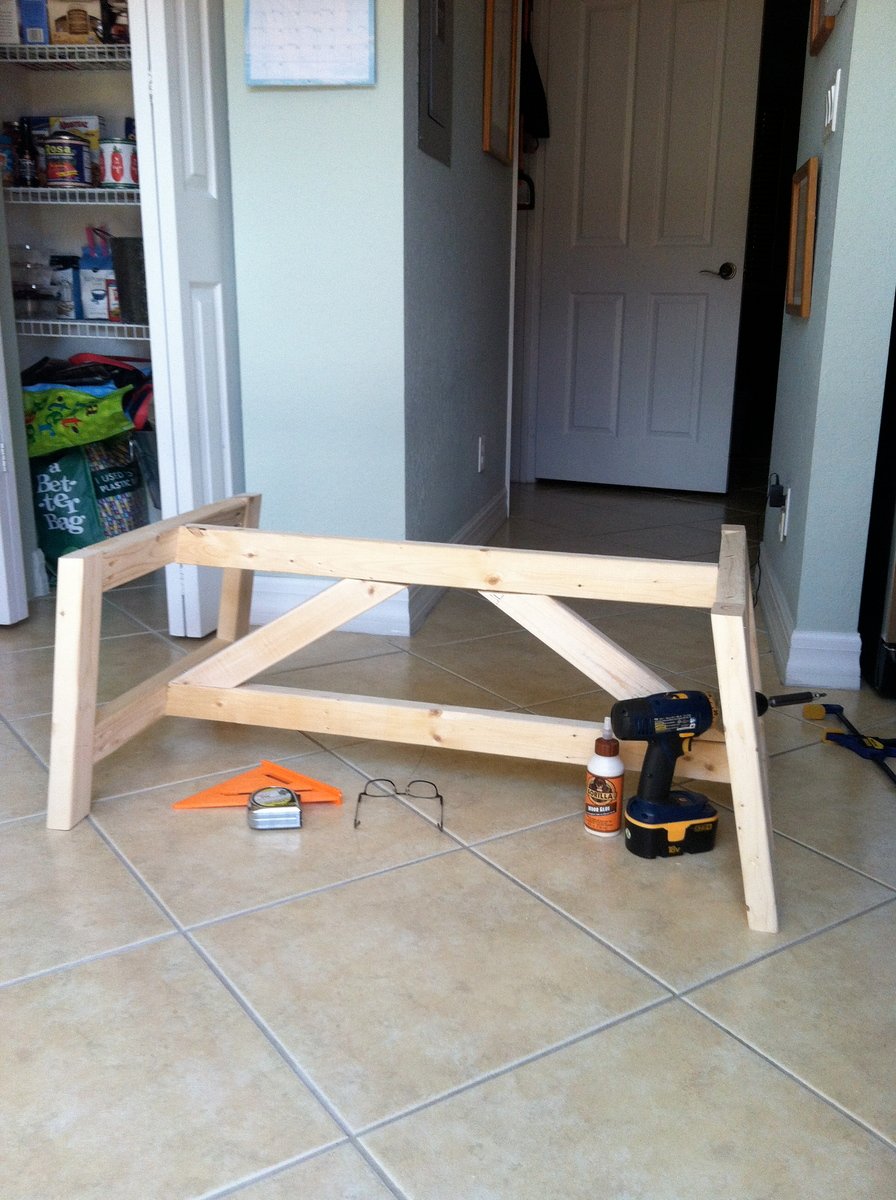
Truss Coffee Table Not quite finished

I made the Restoration Hardware couch and deck chair. I got really nice Sunbrella material cushions for $60 each at HD. I wanted to make a matching coffee table. I just threw it together. It's a little "jacked up".
Estimated Cost
$15
Estimated Time Investment
Afternoon Project (3-6 Hours)
Recommended Skill Level
Intermediate
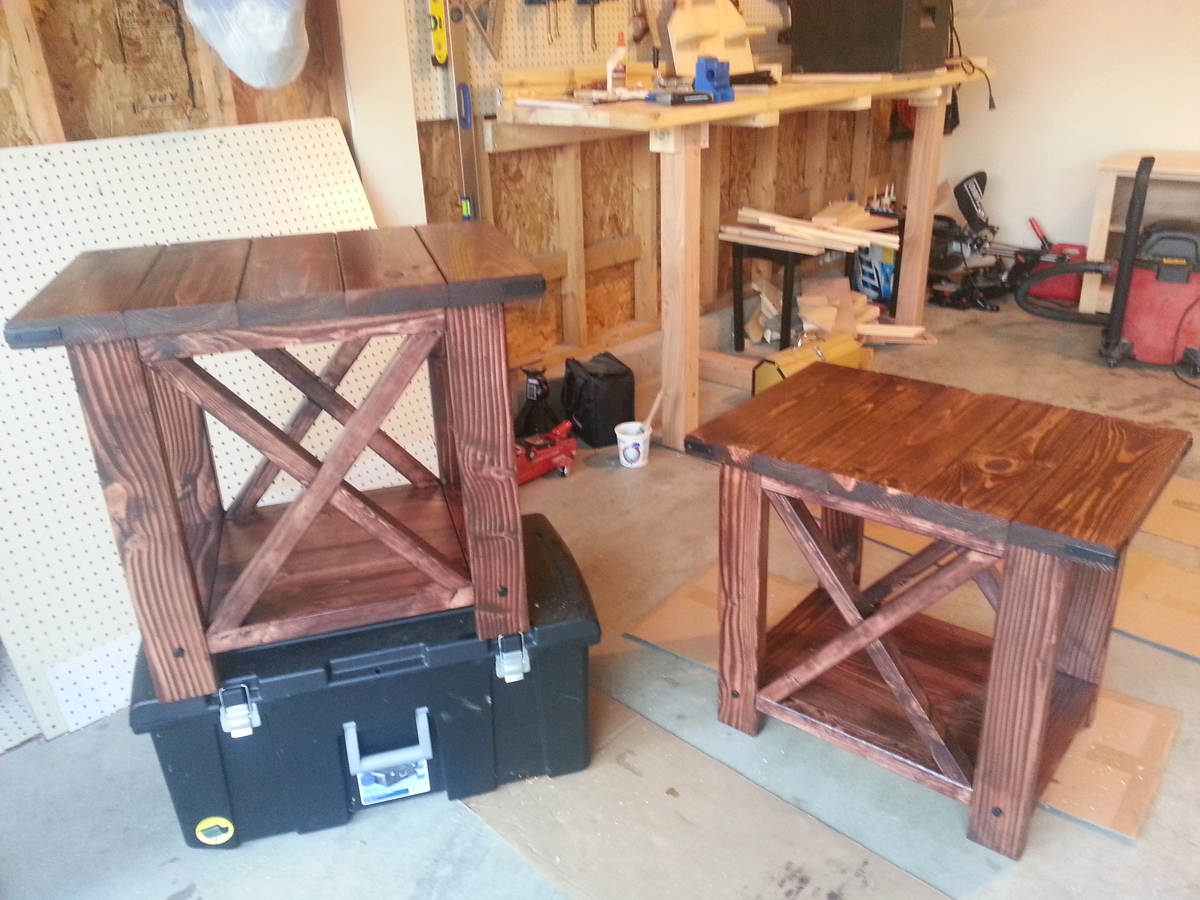
Richards Rustic x end table with chicken wire doors
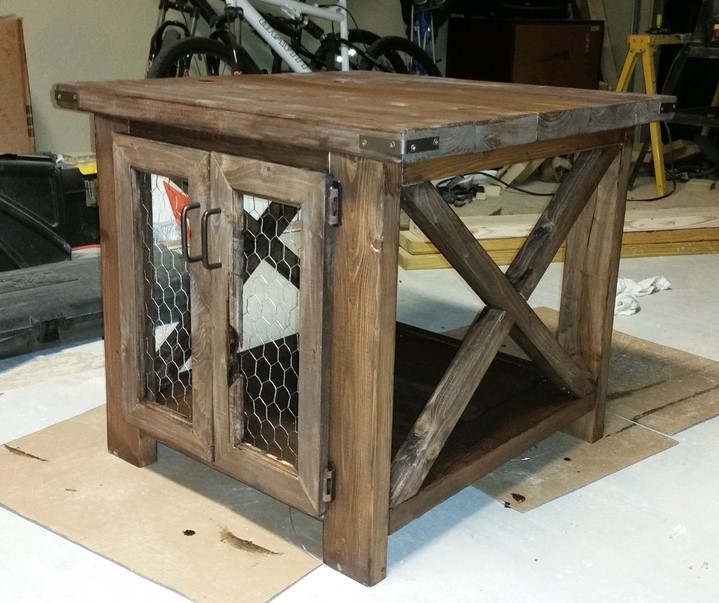
Built using Rustic x plans. Made the doors from scratch using some scrap 2x6's I had laying around. Stained with espresso, one coat. Needs another and maybe a gloss coat.
Built from Plan(s)
Recommended Skill Level
Intermediate
DIY Children's Adirondack Chair
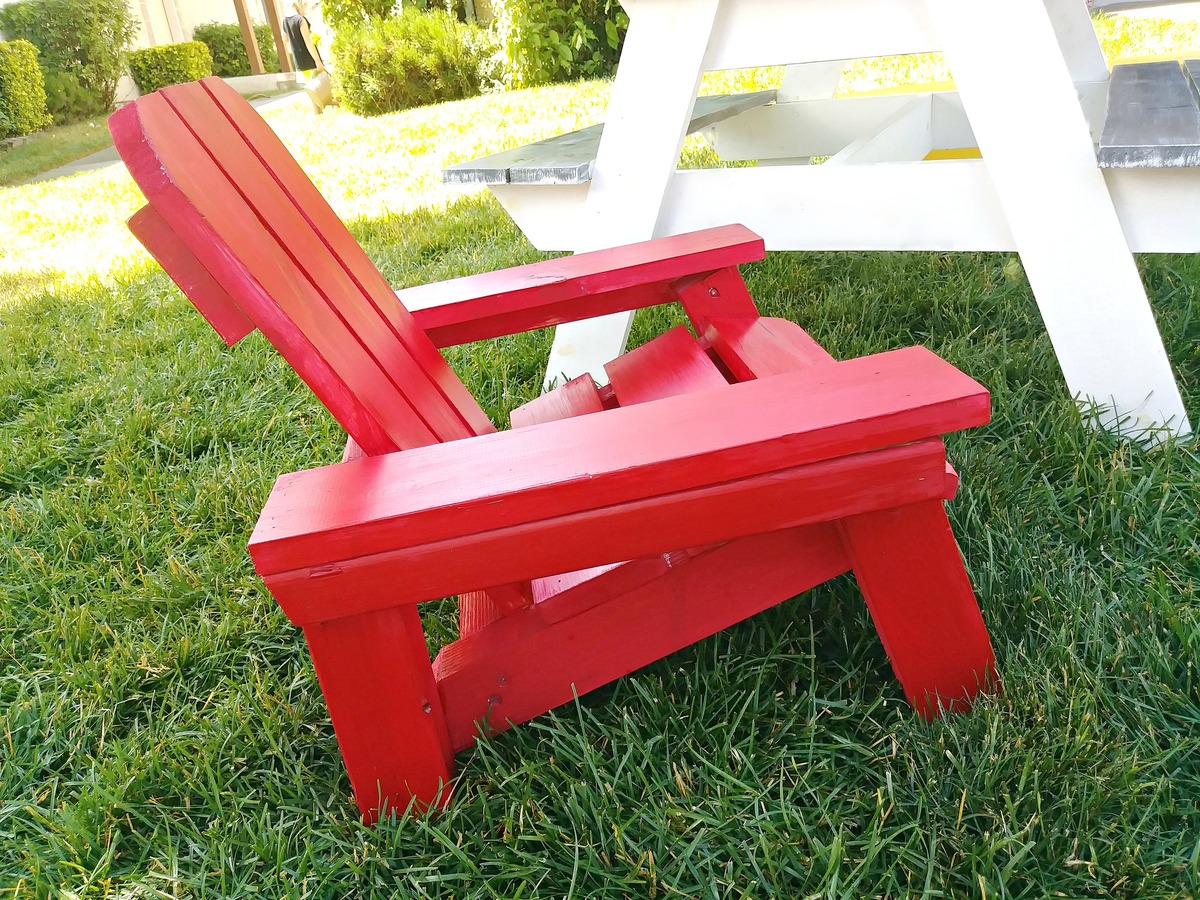
I needed a birthday gift for one of our sweet neighbor friends, so I dug through my scrap wood stash and decided a small adirondack chair would be the perfect little project!
Thanks to Ana for the plans!
Built from Plan(s)
Estimated Cost
I used scrap wood so this project was a freebie!
Estimated Time Investment
Afternoon Project (3-6 Hours)
Finish Used
Red paint
Recommended Skill Level
Beginner
Modern Adirondack chairs, foot stool, & table
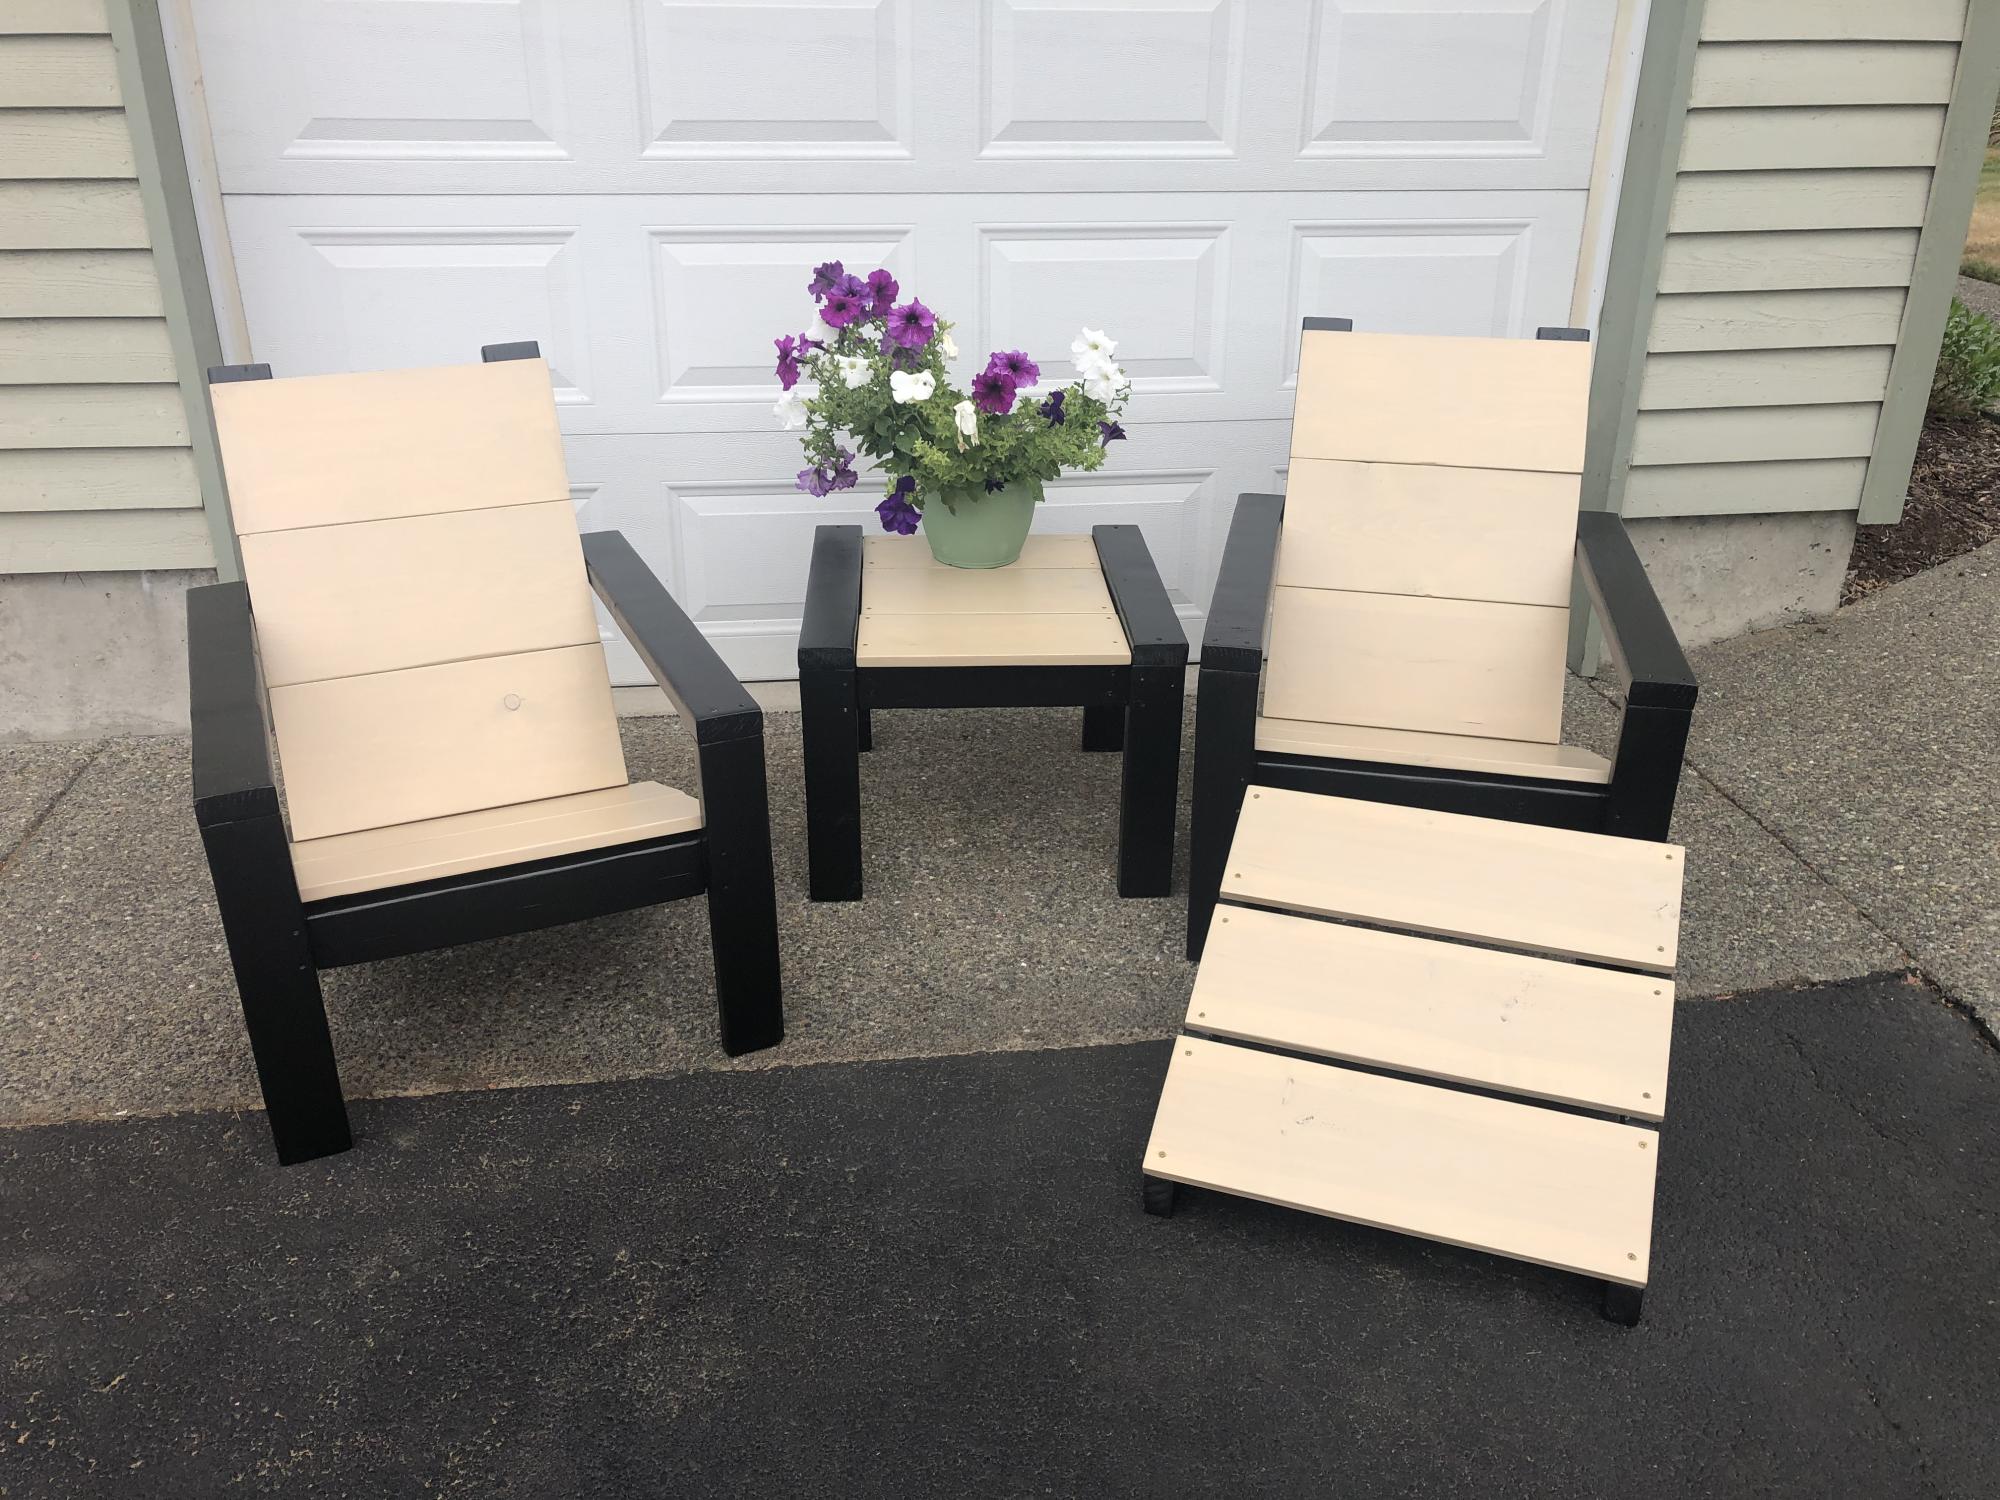
I did the chairs, table & footstool all from Ana's plans as a wedding gift for our friends' daughter. They turned out great and are so comfortable! I used 1x10 & 1x8 on the table & footstool so they would match the chairs.
Built from Plan(s)
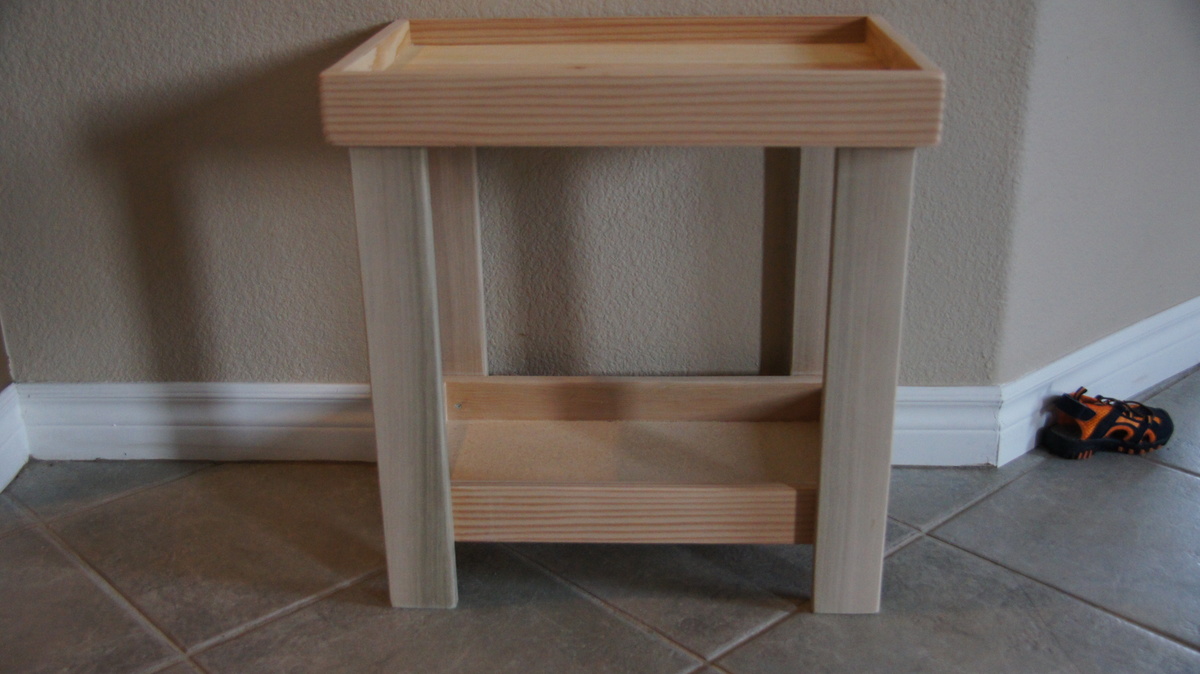
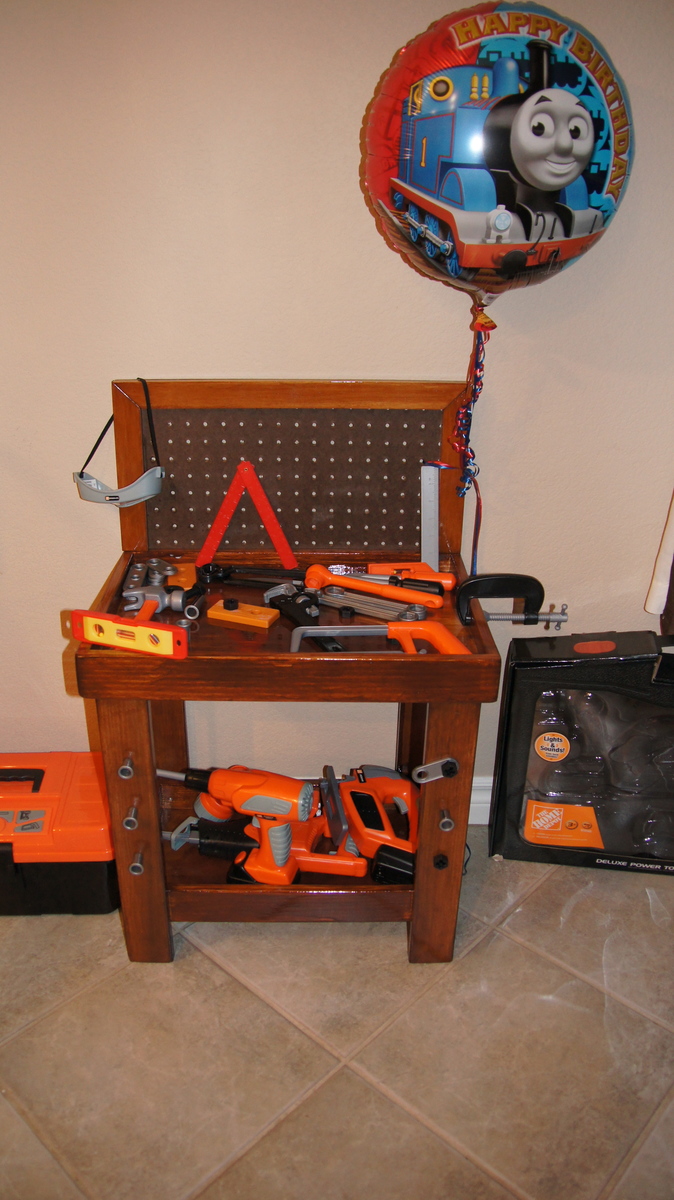
Toy Workbench
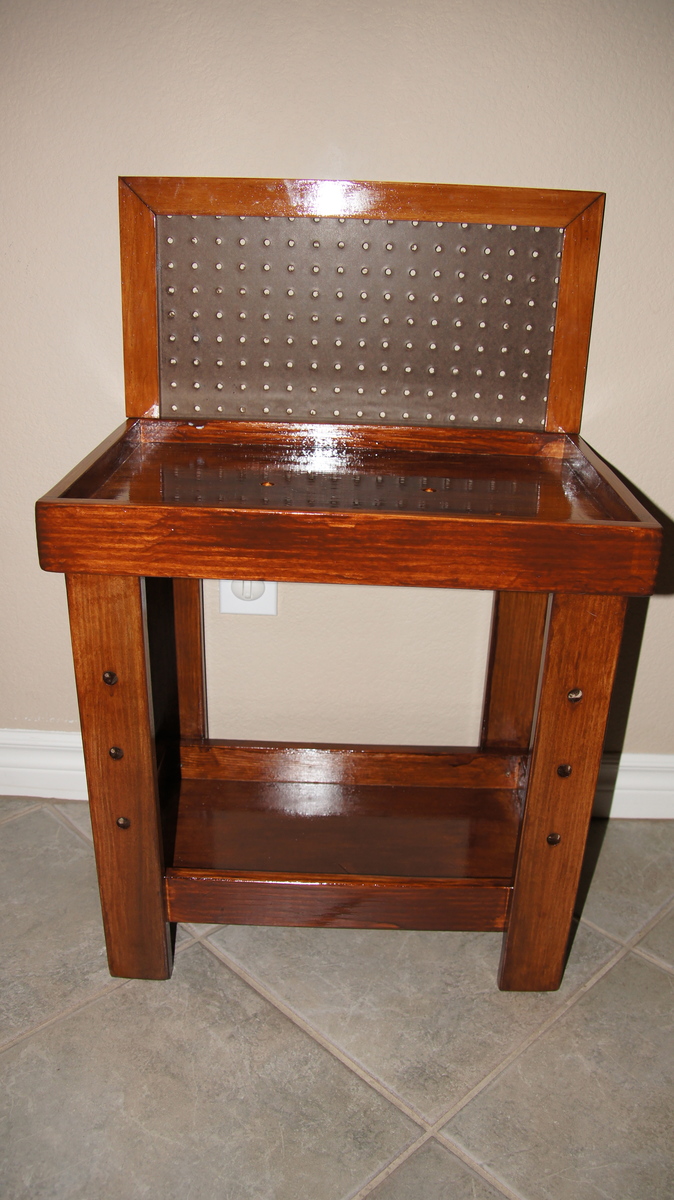
My Husband and I built this for our son's 2nd Birthday. This is our first finished project!
We drilled 1/2" holes for play nails and screws in the legs and top. We also modified the bottom to have a shelf for added storage, just measured the inside dimensions and cut to fit. We also opted for a peg board on the back to eventually hang tools and some baskets for the nails and screws. The peg board is attached to the base and trim with glue and staples. We taped off a section on the back before using the polyshade to allow the glue to adhere.
Built from Plan(s)
Estimated Cost
under $50
Estimated Time Investment
Afternoon Project (3-6 Hours)
Finish Used
Minwax Poly Shades in Dark Walnut, 2 coats
Recommended Skill Level
Starter Project
Comments

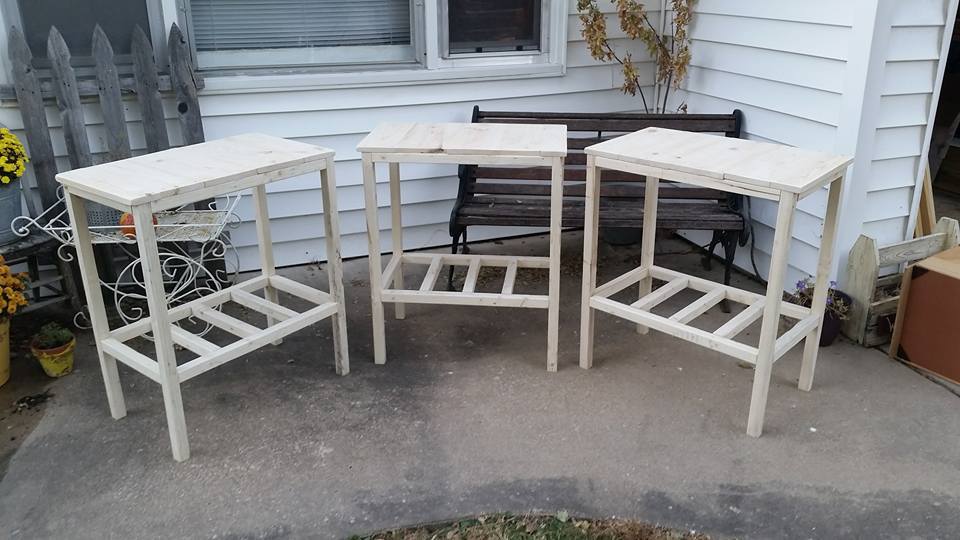
Unfinished tables
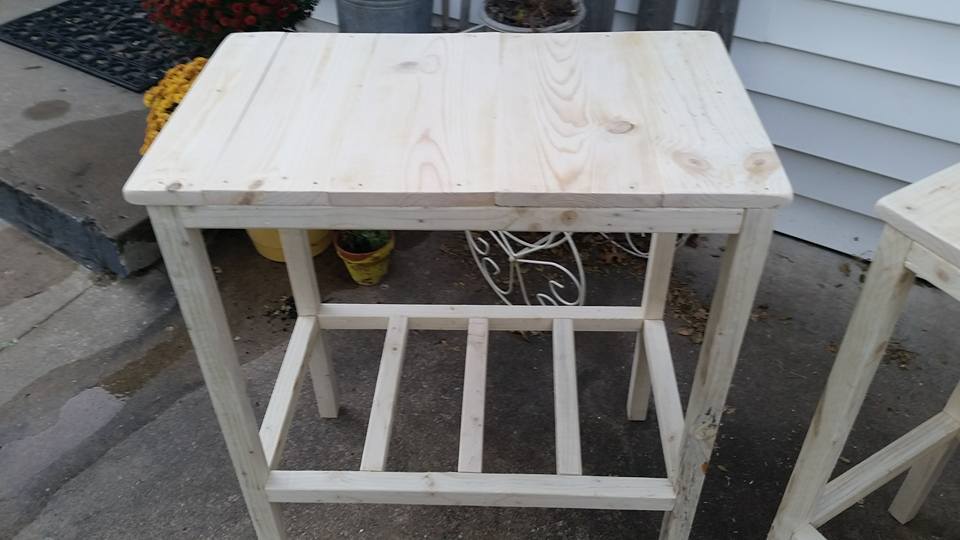
I built these three tables for my aunt. She had specific dimensions that I had to alter the plans to fit. All in all it was a pretty easy project.
Estimated Cost
62 for all 3 tables.
Estimated Time Investment
Afternoon Project (3-6 Hours)
Recommended Skill Level
Beginner
Idaho History Halltree
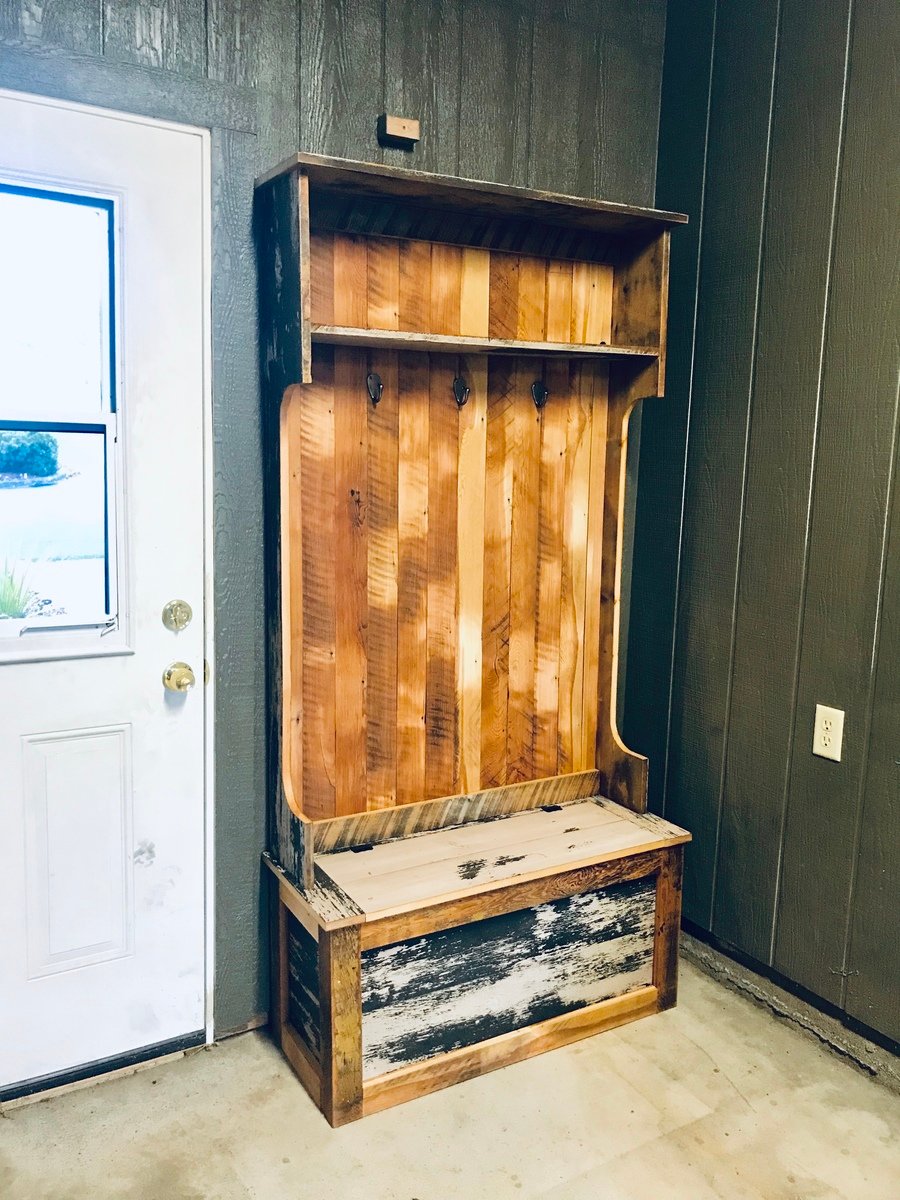
A piece of Palouse/Moscow/North Idaho History!
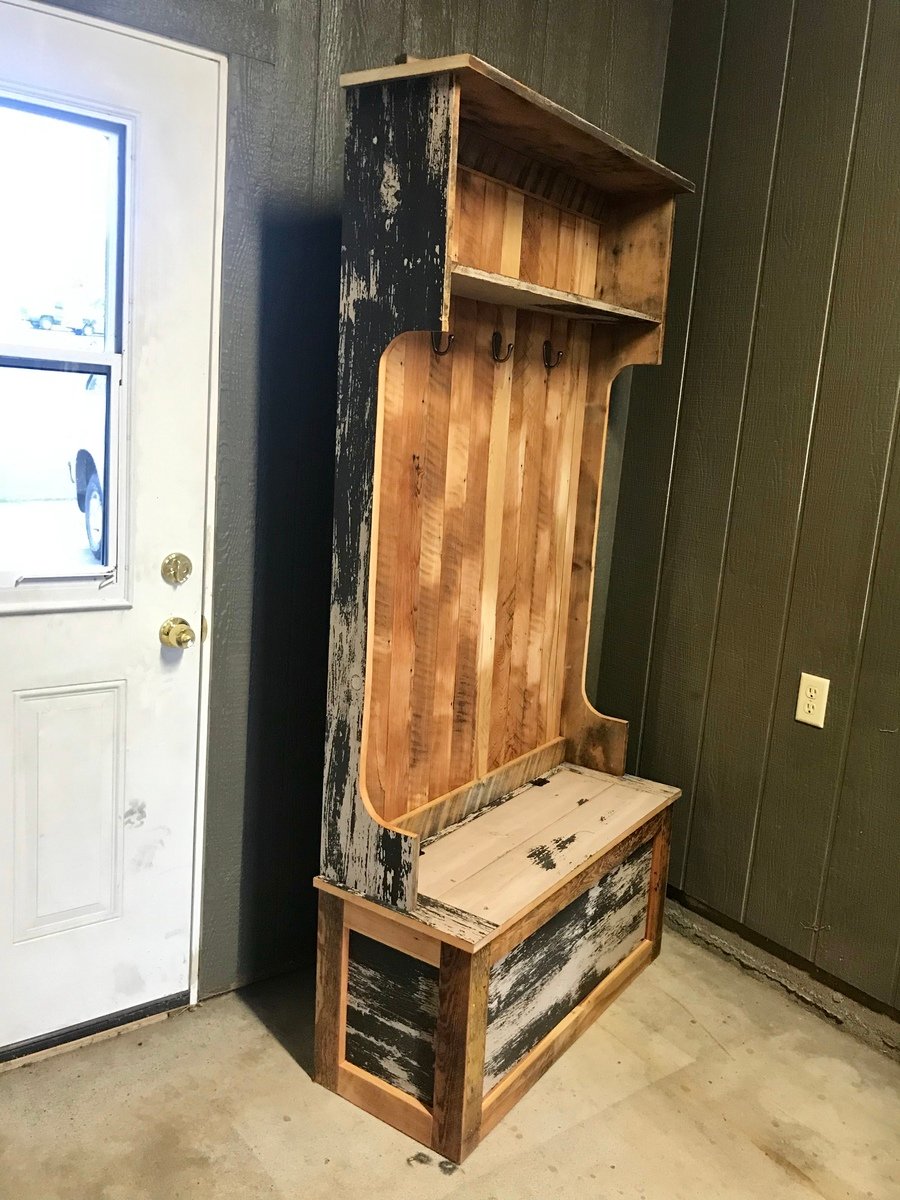
Hand-crafted by father and son from reclaimed materials native to the region, this is a one-of-kind piece of furniture of both substance and significance. The stock was sourced from the railroad depot that stood on the University of Idaho campus in Moscow for well over 100 years. The crops, forest products, and people of the Palouse passed through its doors and across its floors from the early days of westward expansion and settlement. Marked for demolition in 2017, the depot yielded lumber that had been harvested from old growth forests native to our region since time immemorial. The trees that produced the lumber-turned-dept-turned-halltree stood tall, proud, and mature at the time of the signing of the Declaration of Independence.
The halltree’s back panel and trim are crafted from the depot’s tongue and groove flooring, and still bear the marks of their original milling. The remainder of the piece is constructed from the ceiling planks. Twice painted during the course of the depot’s sentinel watch over the commerce and culture of our region, the cream surface coat is yielding to the forest green base layer, giving the finish a depth and patina that testify to its age. The history of the Palouse literally passed over, under, and between every square inch of wood in this halltree! It now stands ready to serve a family for generations to come while reminding them of our pioneer past.
Dimensions: 39” x 15-1/2” x 78-1/2”
Estimated Cost
$40 for screws, finish nails, glue, hinges, and coat hooks. I sourced the lumber for free.
Estimated Time Investment
Weekend Project (10-20 Hours)
Finish Used
The back panel and trim were red fir tongue and groove flooring that was heavily scarred from a century of foot traffic in a railroad depot. It had to be surface planed to allow the color of the wood beneath to show through, but not so deep as to completely remove the milling marks and oxidation. The rest of the boards were pulled from the ceiling and show layers of white and green paint in varying states of disrepair. I applied Danish oil to fresh cut bare edges, then sprayed satin finish water-based polyurethane over the entire piece.
Recommended Skill Level
Intermediate
4x4 Truss Beam table
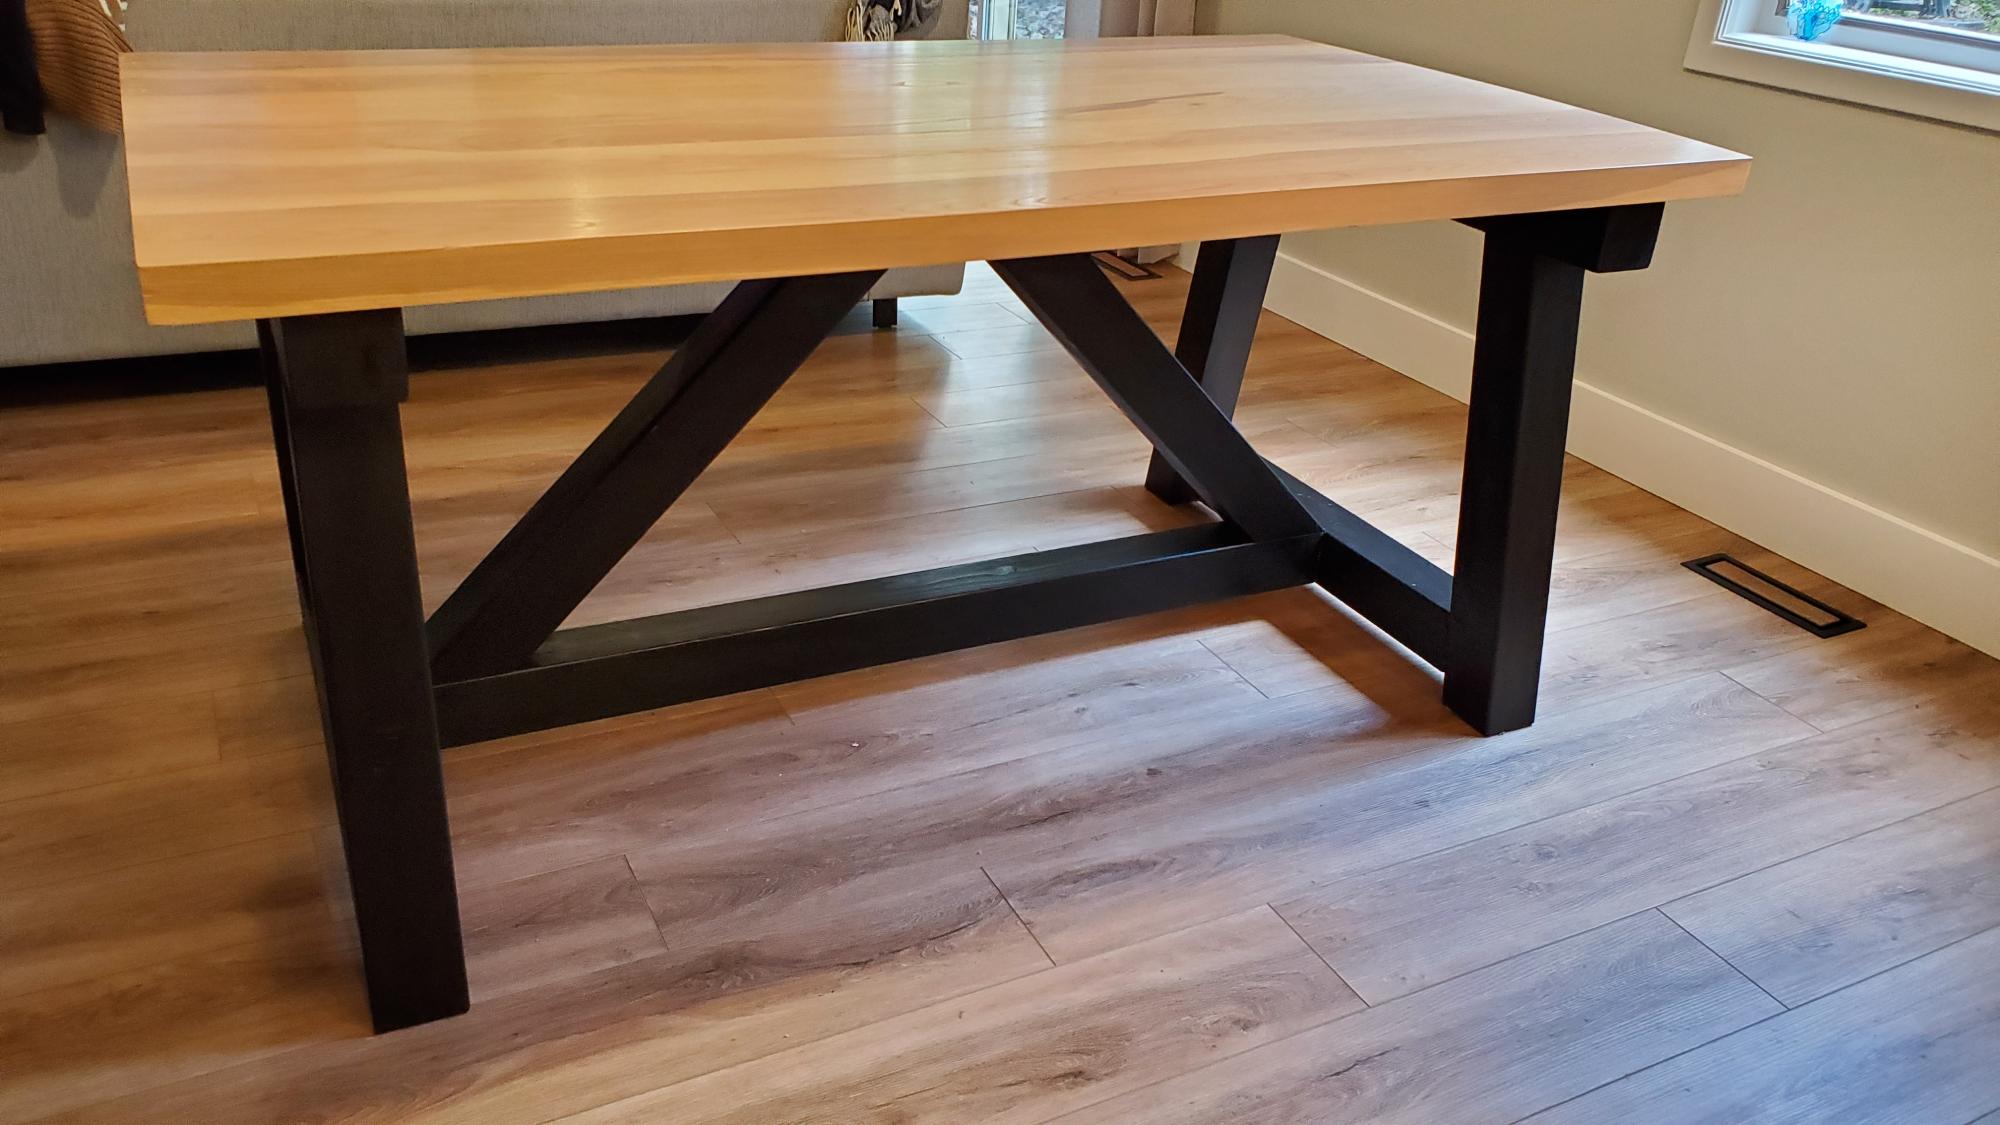
I went a little more high end for the table top, but really like the design for the frame
Built from Plan(s)
Comments
Sun, 09/04/2022 - 12:55
Love this table!
Wonderful work, the top is gorgeous and accents the base very well! Thanks for sharing.
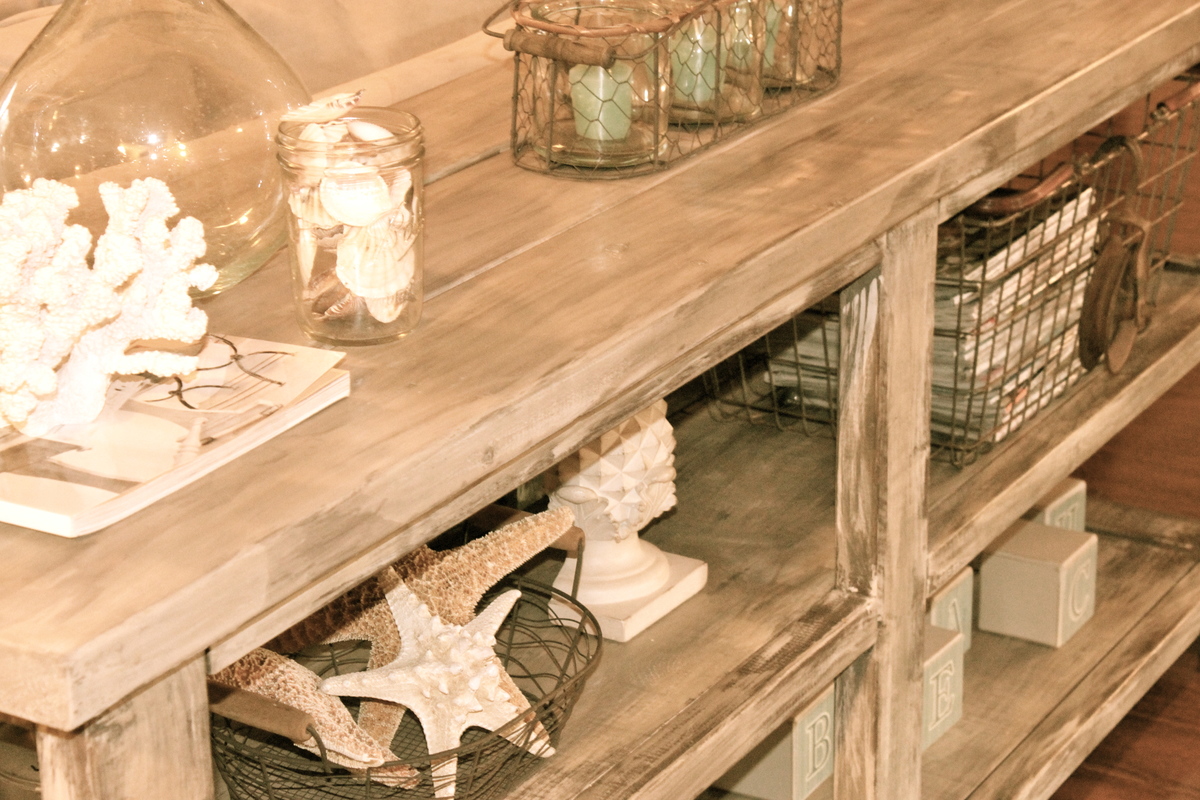
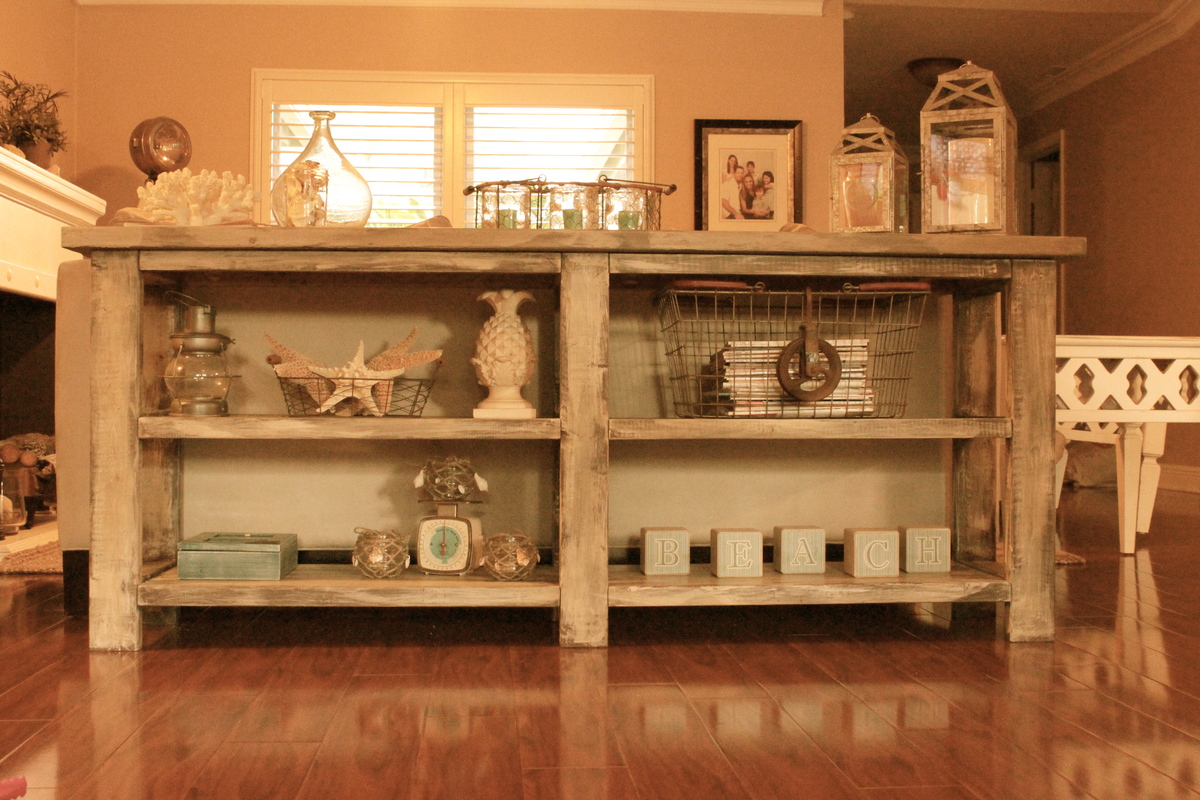
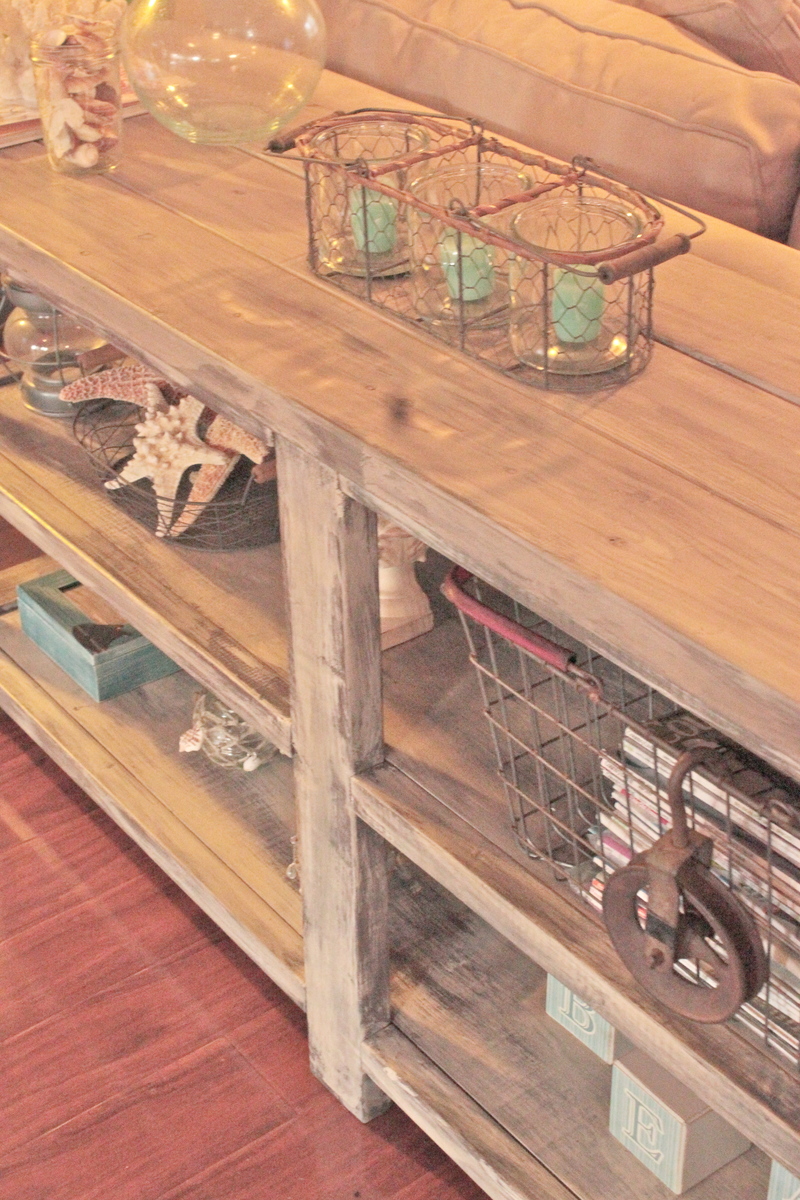
X Console Table
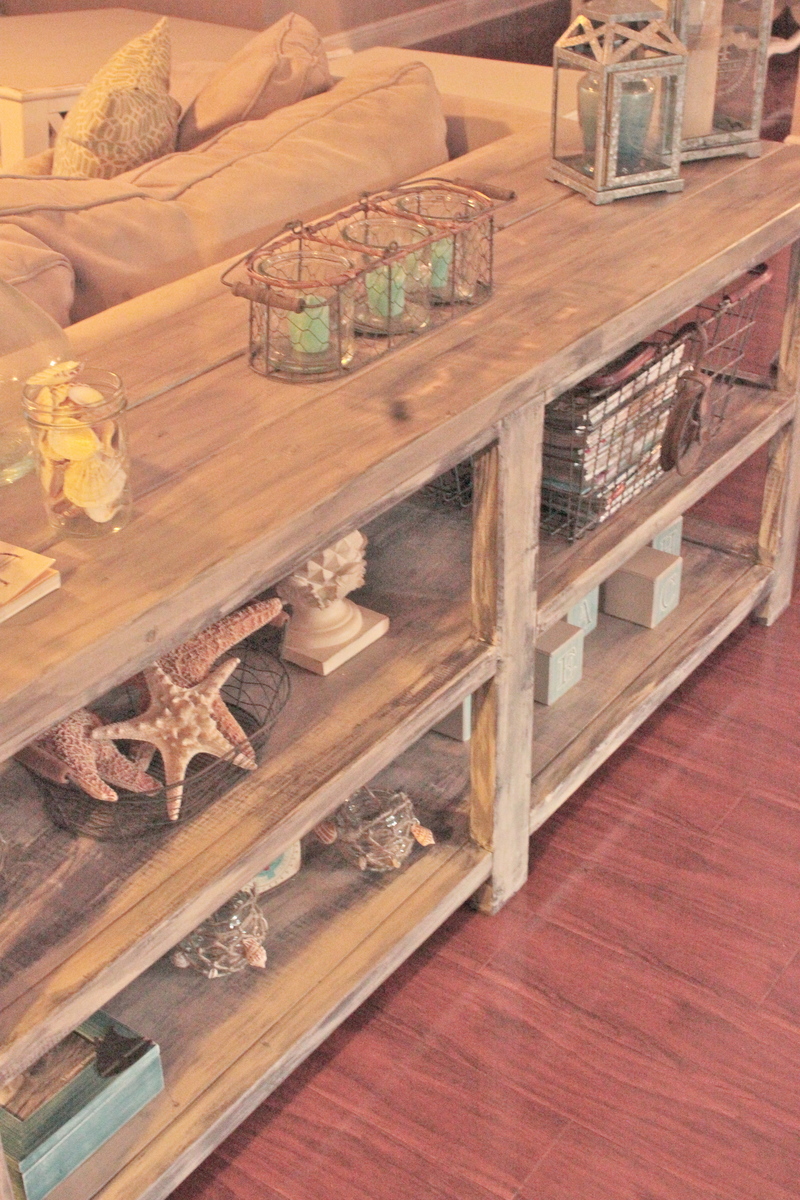
I have built this console quite a few times. Always trying different finishes. Love all of them. Have to say I always skip the X on the sides, I just get lazy towards the end :) Im in the process of building a couple more, will try to add the X to it this time...we will see :)

Built from Plan(s)
Estimated Cost
100
Estimated Time Investment
Weekend Project (10-20 Hours)
Finish Used
Just layering lots of different colors.
Recommended Skill Level
Beginner
Benchwright Console Table
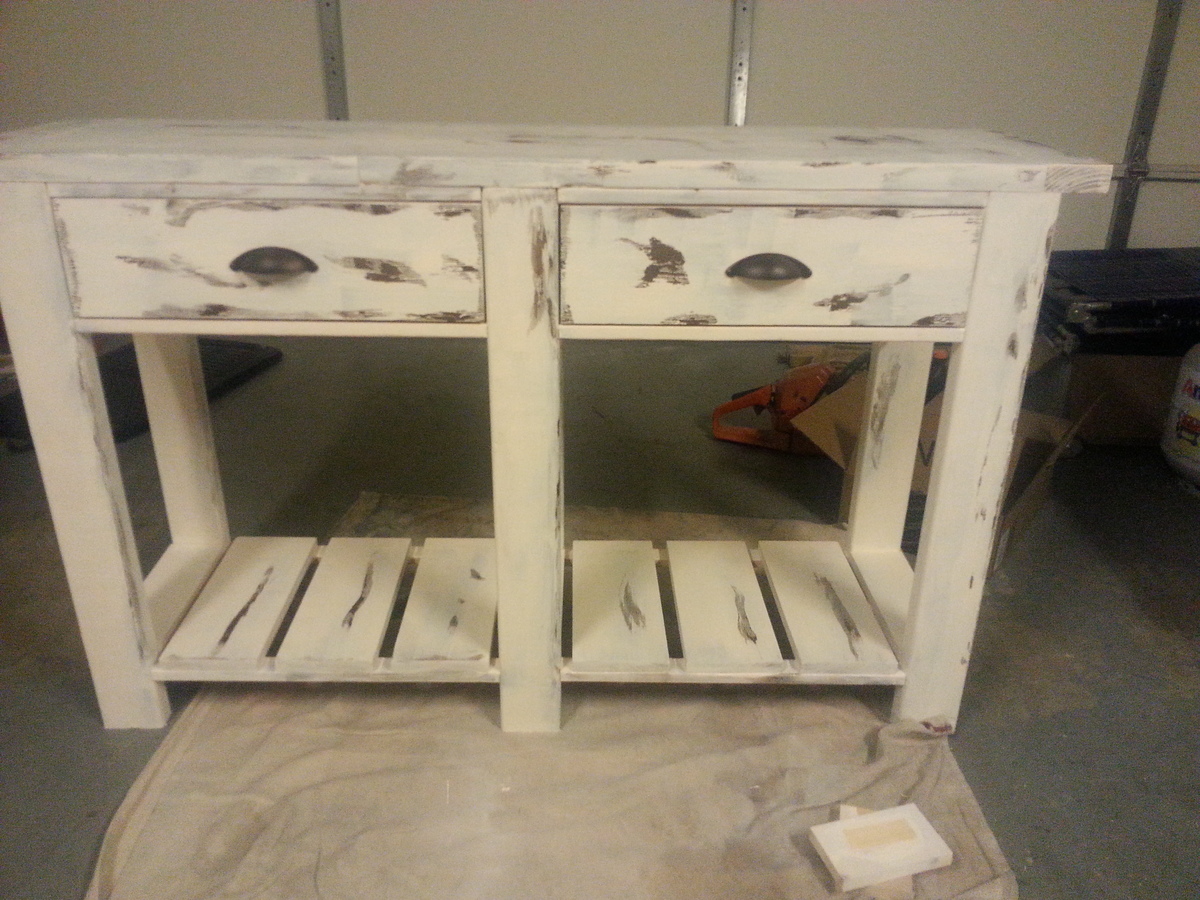
This was the first attempt at using the vaseline method to distress furniture and my wife loves it. I made the table top out of scrap 2x4's.
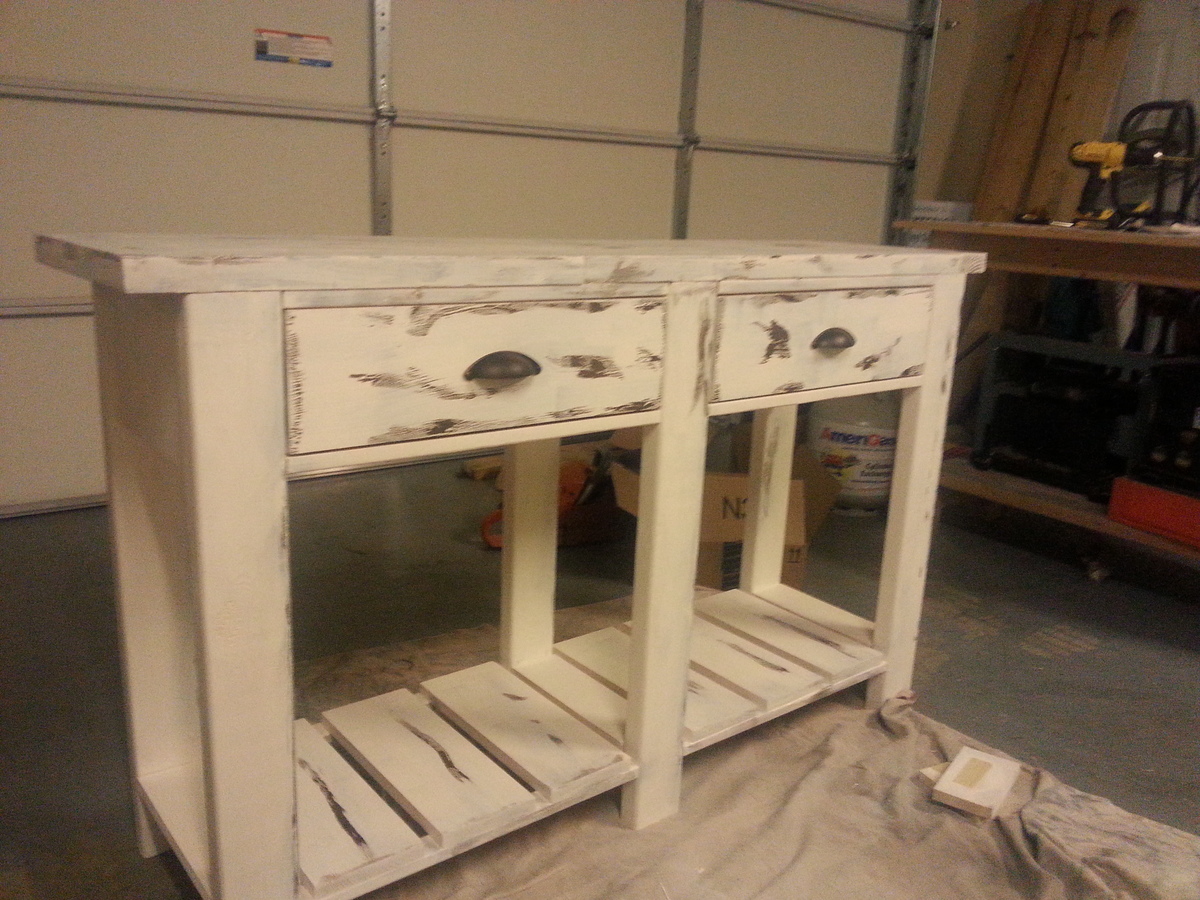
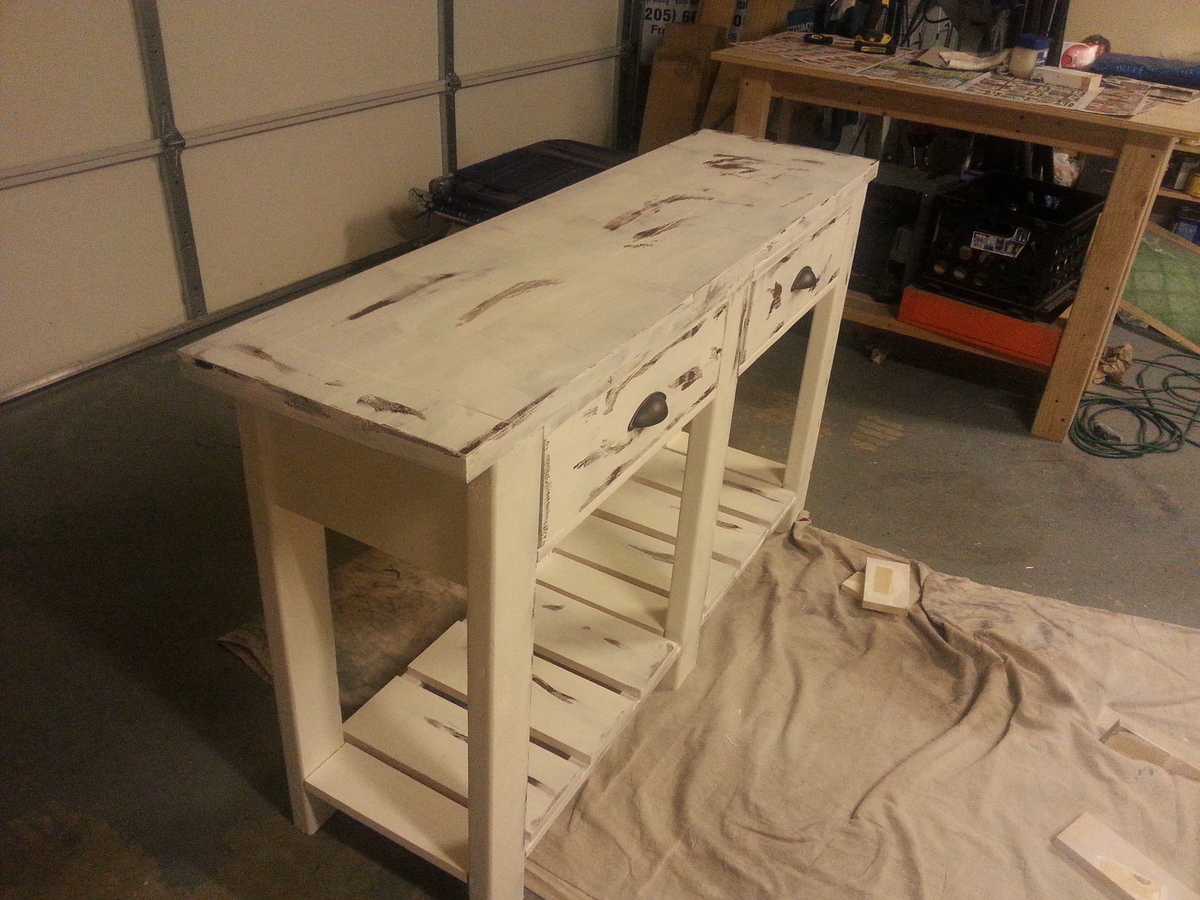
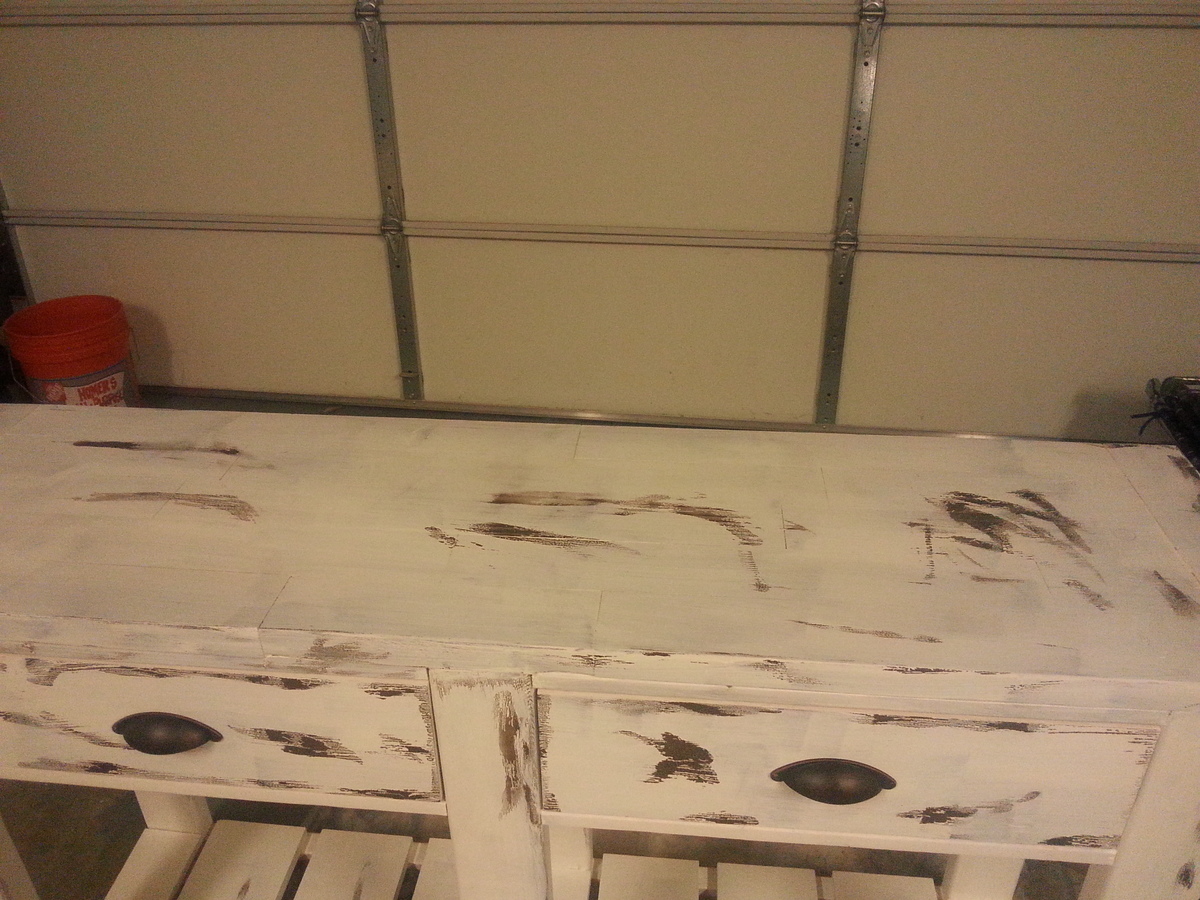
Built from Plan(s)
Estimated Cost
$80
Estimated Time Investment
Day Project (6-9 Hours)
Finish Used
Heavy Cream in eggshell and Minwax Paste Wax.
Recommended Skill Level
Beginner
Comments

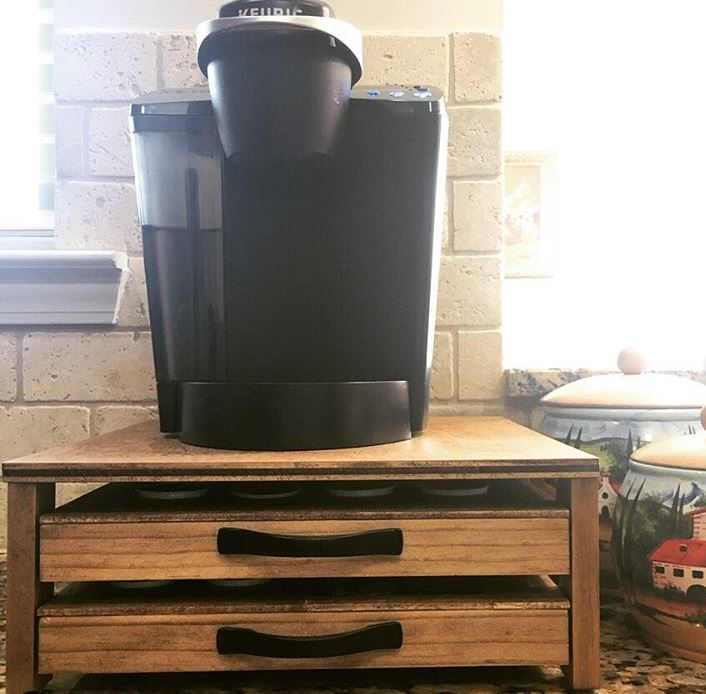
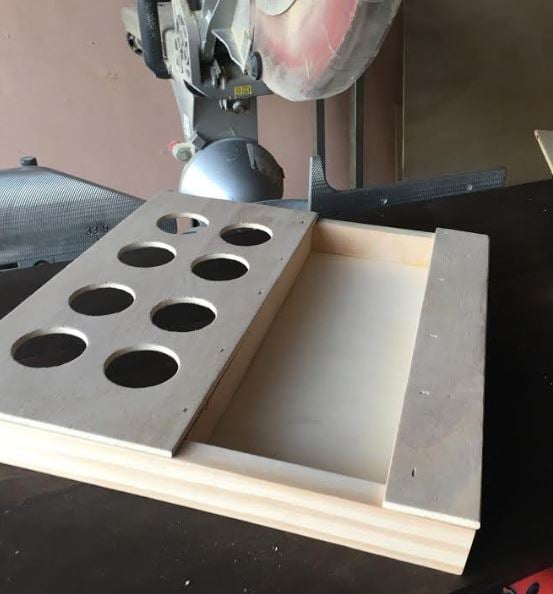
Wood Crate Keurig K Cup Holder with Mini Drawer
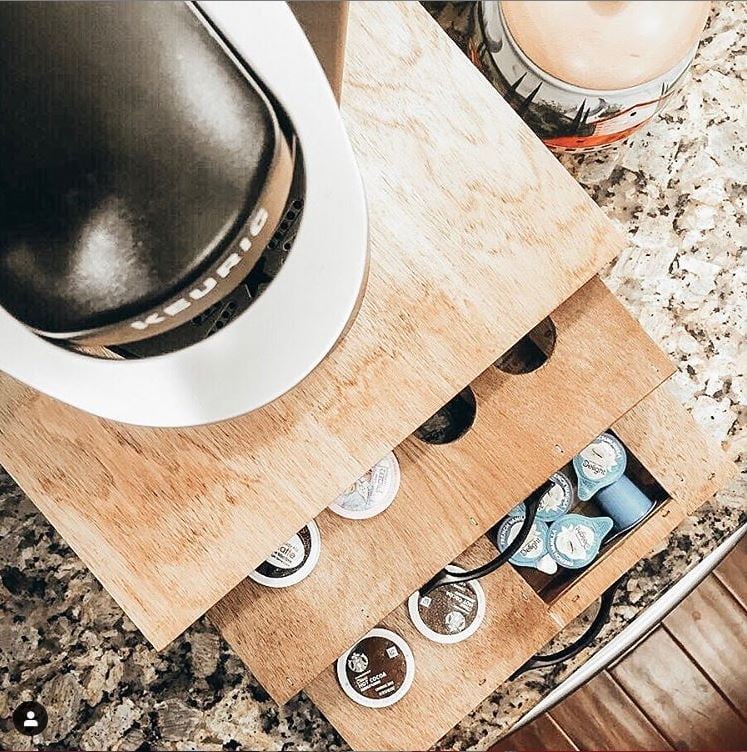
As Ana mentioned in her video, this project could be made with scraps. That’s just what I used. I used a lot of scraps and cut offs for this project.
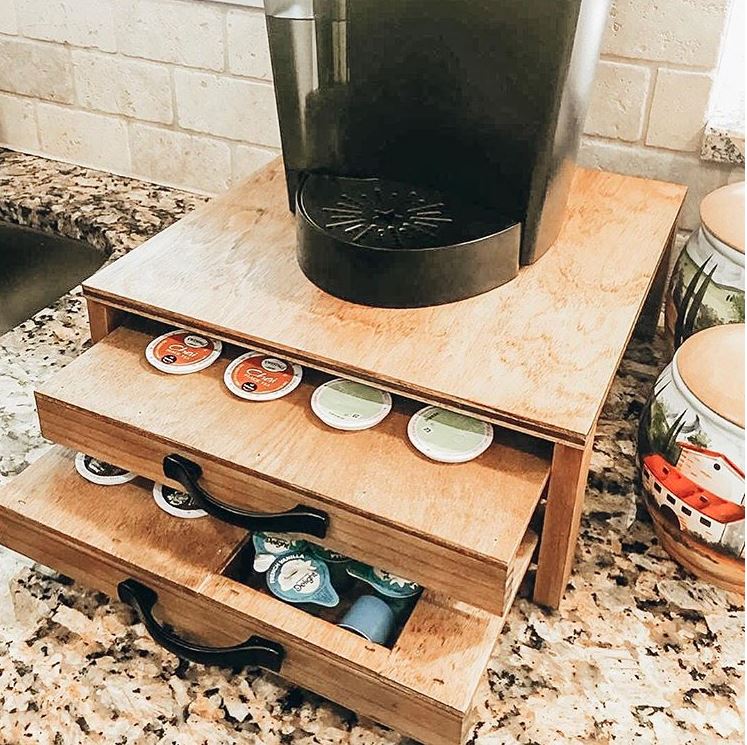
I needed to make a K cup holder but also space to hold tea in addition to other coffee "toppings" if you well. In the pictures you can see mini creamers.
This modification was made by adding a small drawer in addition to the holes that would hold the K cups. The small drawer was made with 1/2” plywood (even more scraps) ripped just shy of 1-1/2”. I did this to make sure we did not see the plys of the drawer as I planned to add 1/4” plywood to the top all around. I wanted this to make it all uniform with the K cup area.
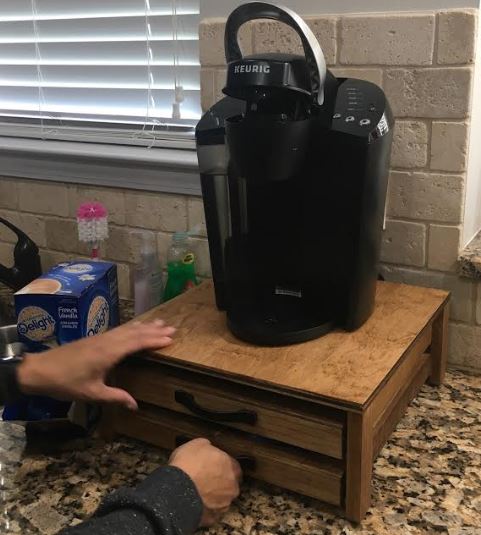
I added little rubber feet’s to the bottom as this will be on a granite countertop which could results in slipping and sliding.
Built from Plan(s)
Estimated Cost
$15 perhaps. But as I mentioned it was mostly scraps
Finish Used
minwax provencial and wipe on poly
Recommended Skill Level
Beginner
Comments
Thu, 06/25/2020 - 06:53
Made this for my mother in…
Made this for my mother in law. She loves it, thank you for the plans. I cant figure out how to add the pics of the one I did for her hit it was awesome and my very first wooden build EVER
2x4 outdoor table
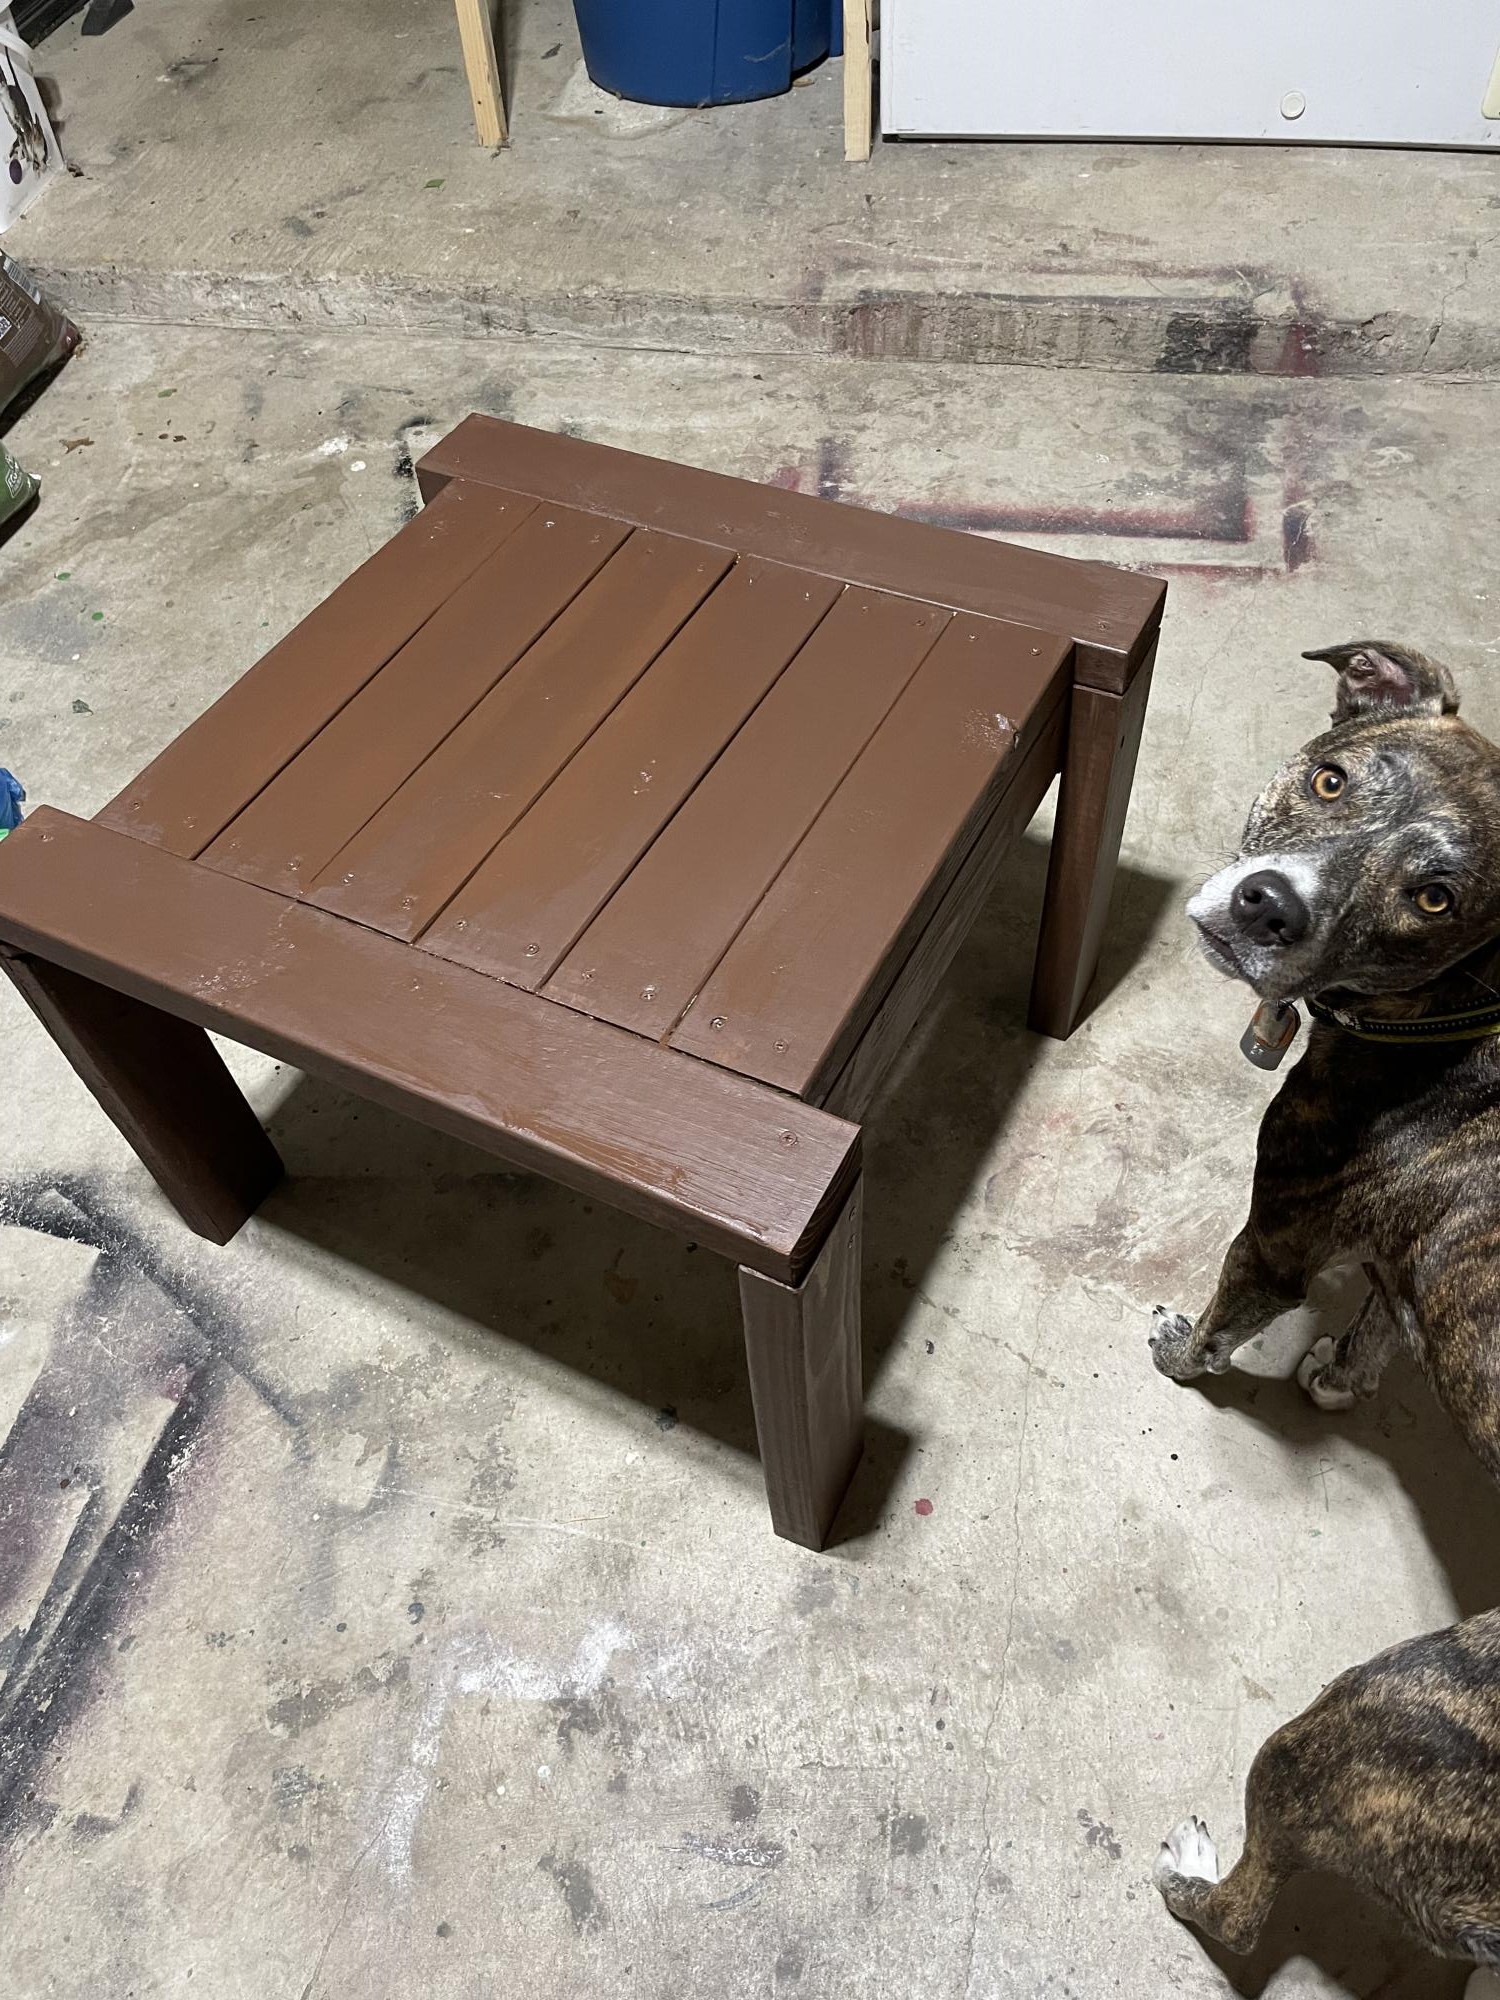
Built the 2x4 outdoor out of scrap and discount Home Depot wood. The stain was $.50 from the oops paint rack at Home Depot.
Comments
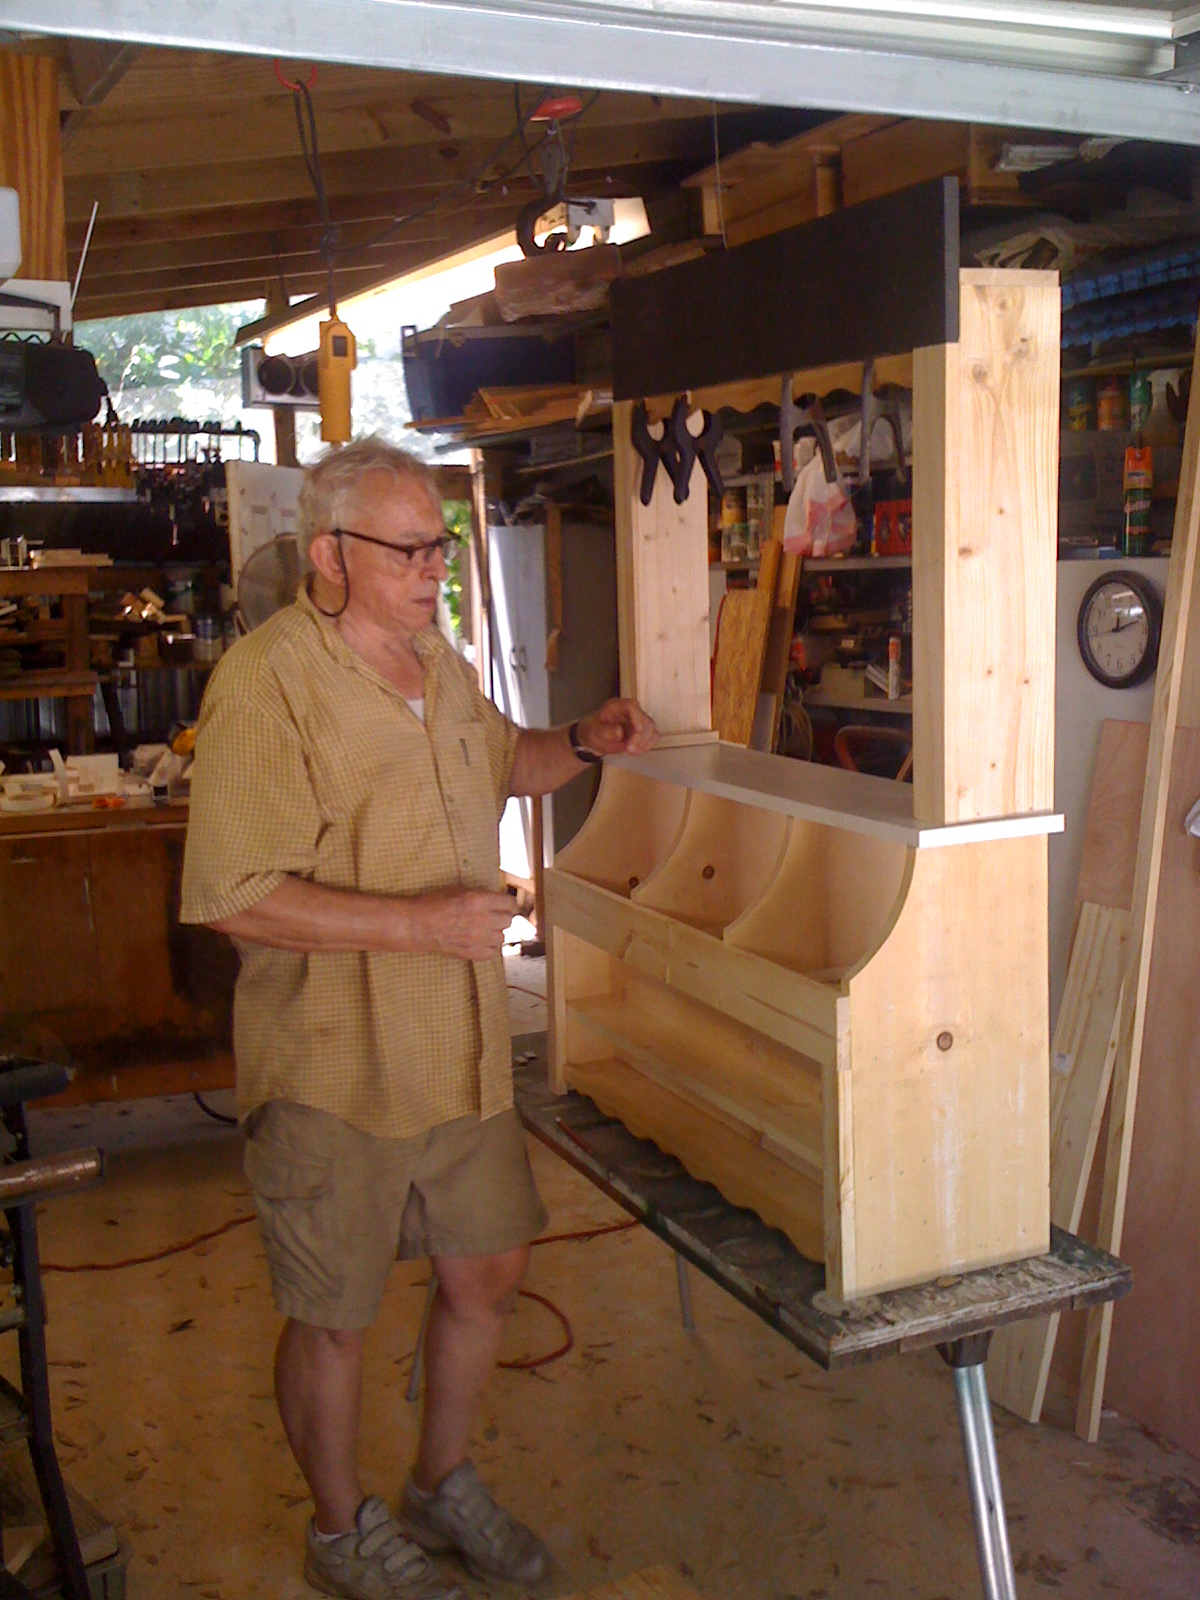
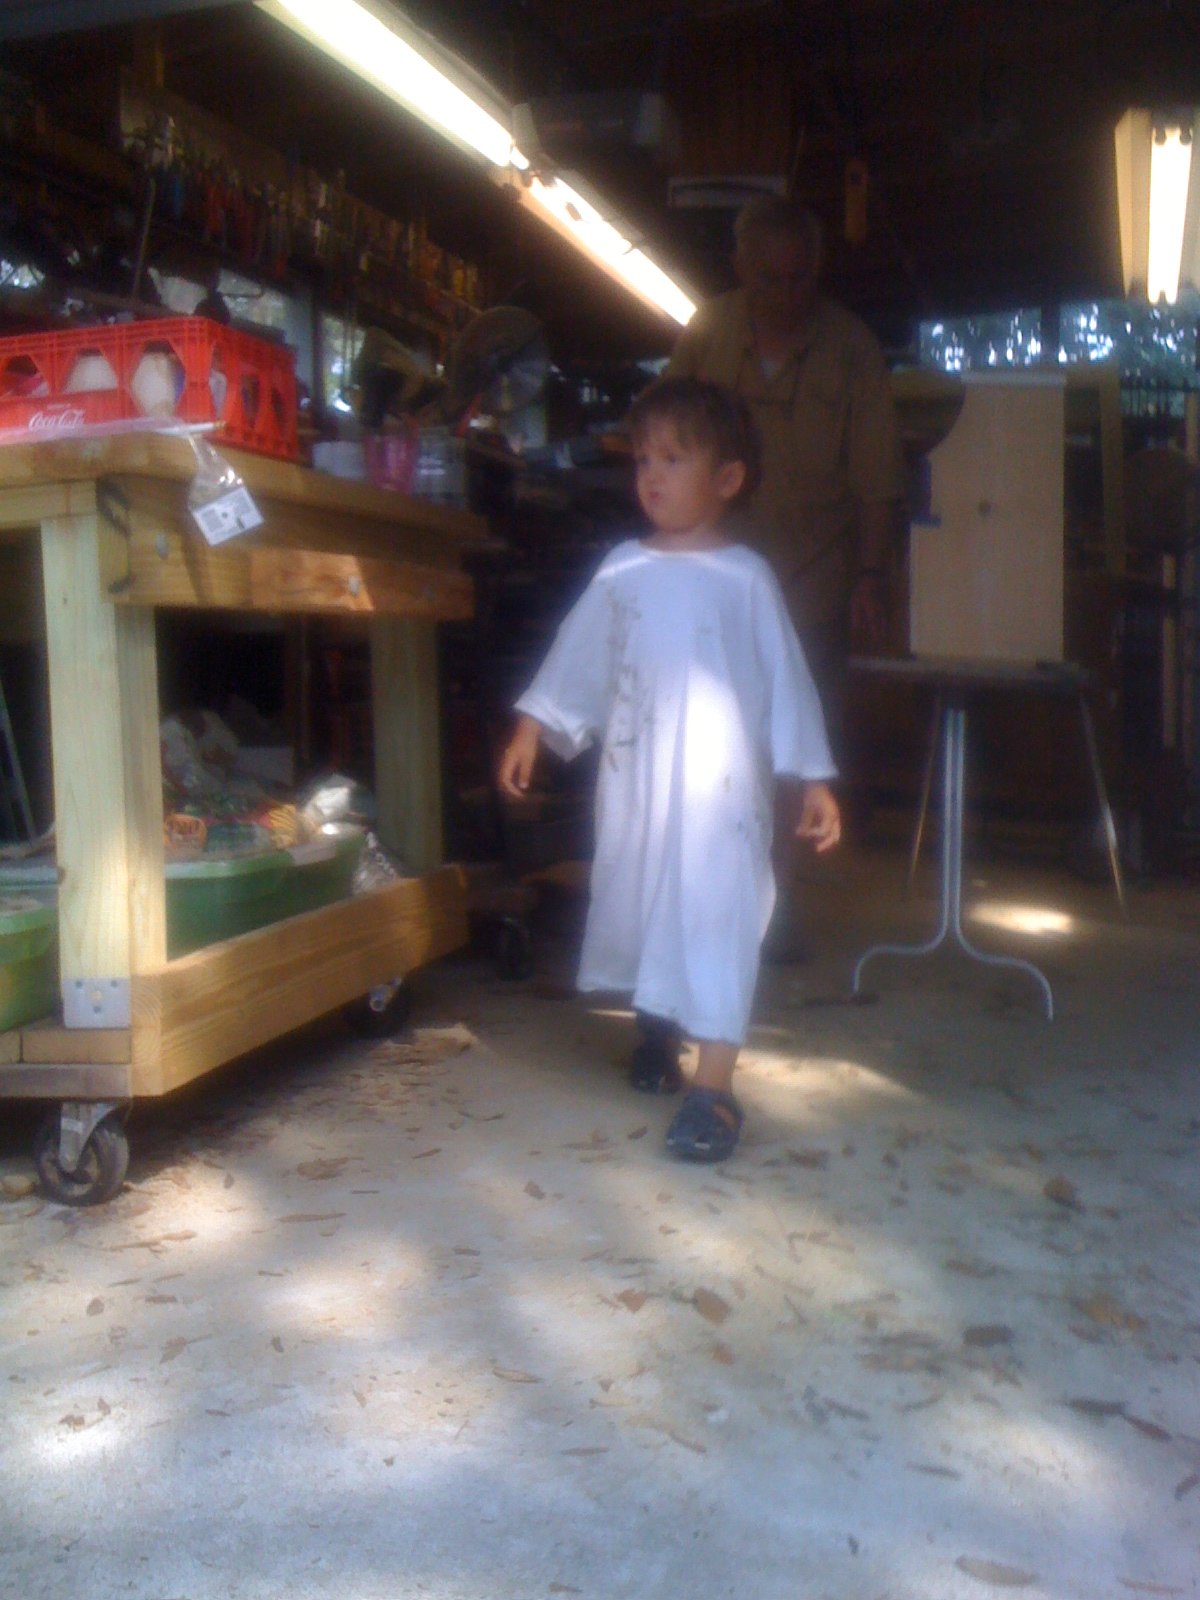
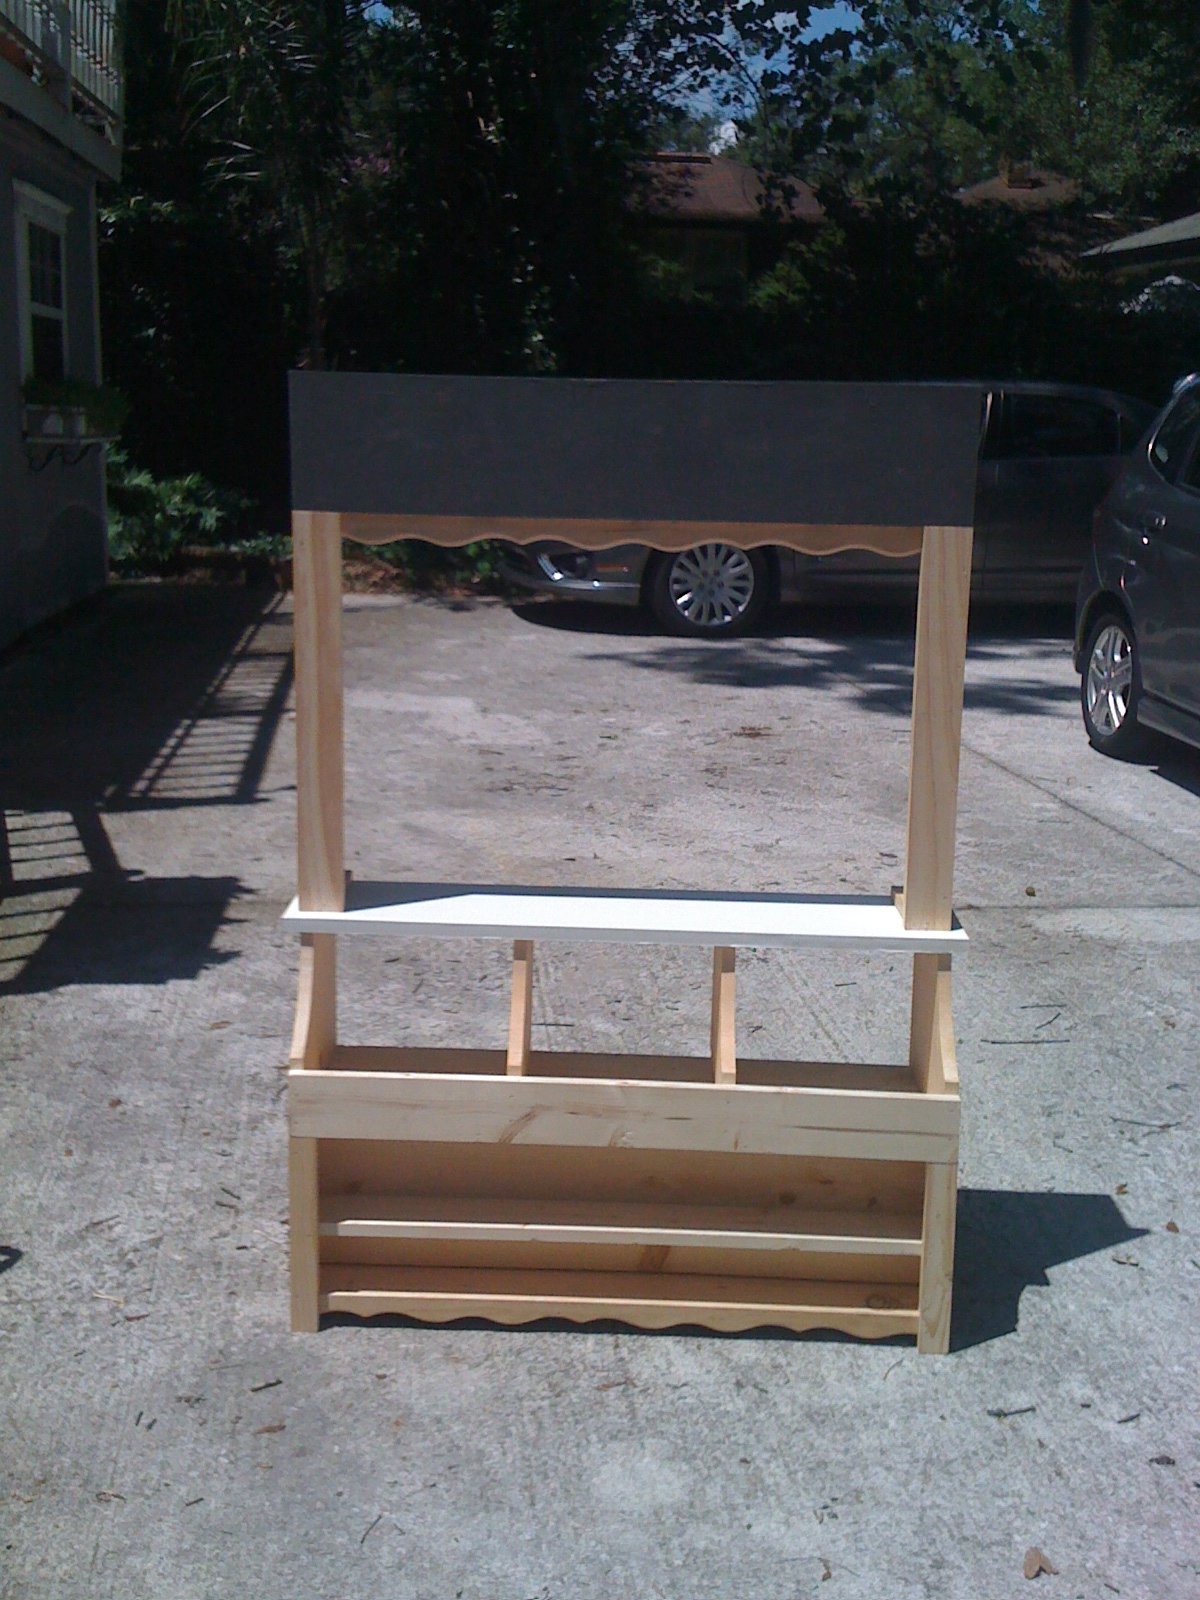
Michael's Bug Bakery
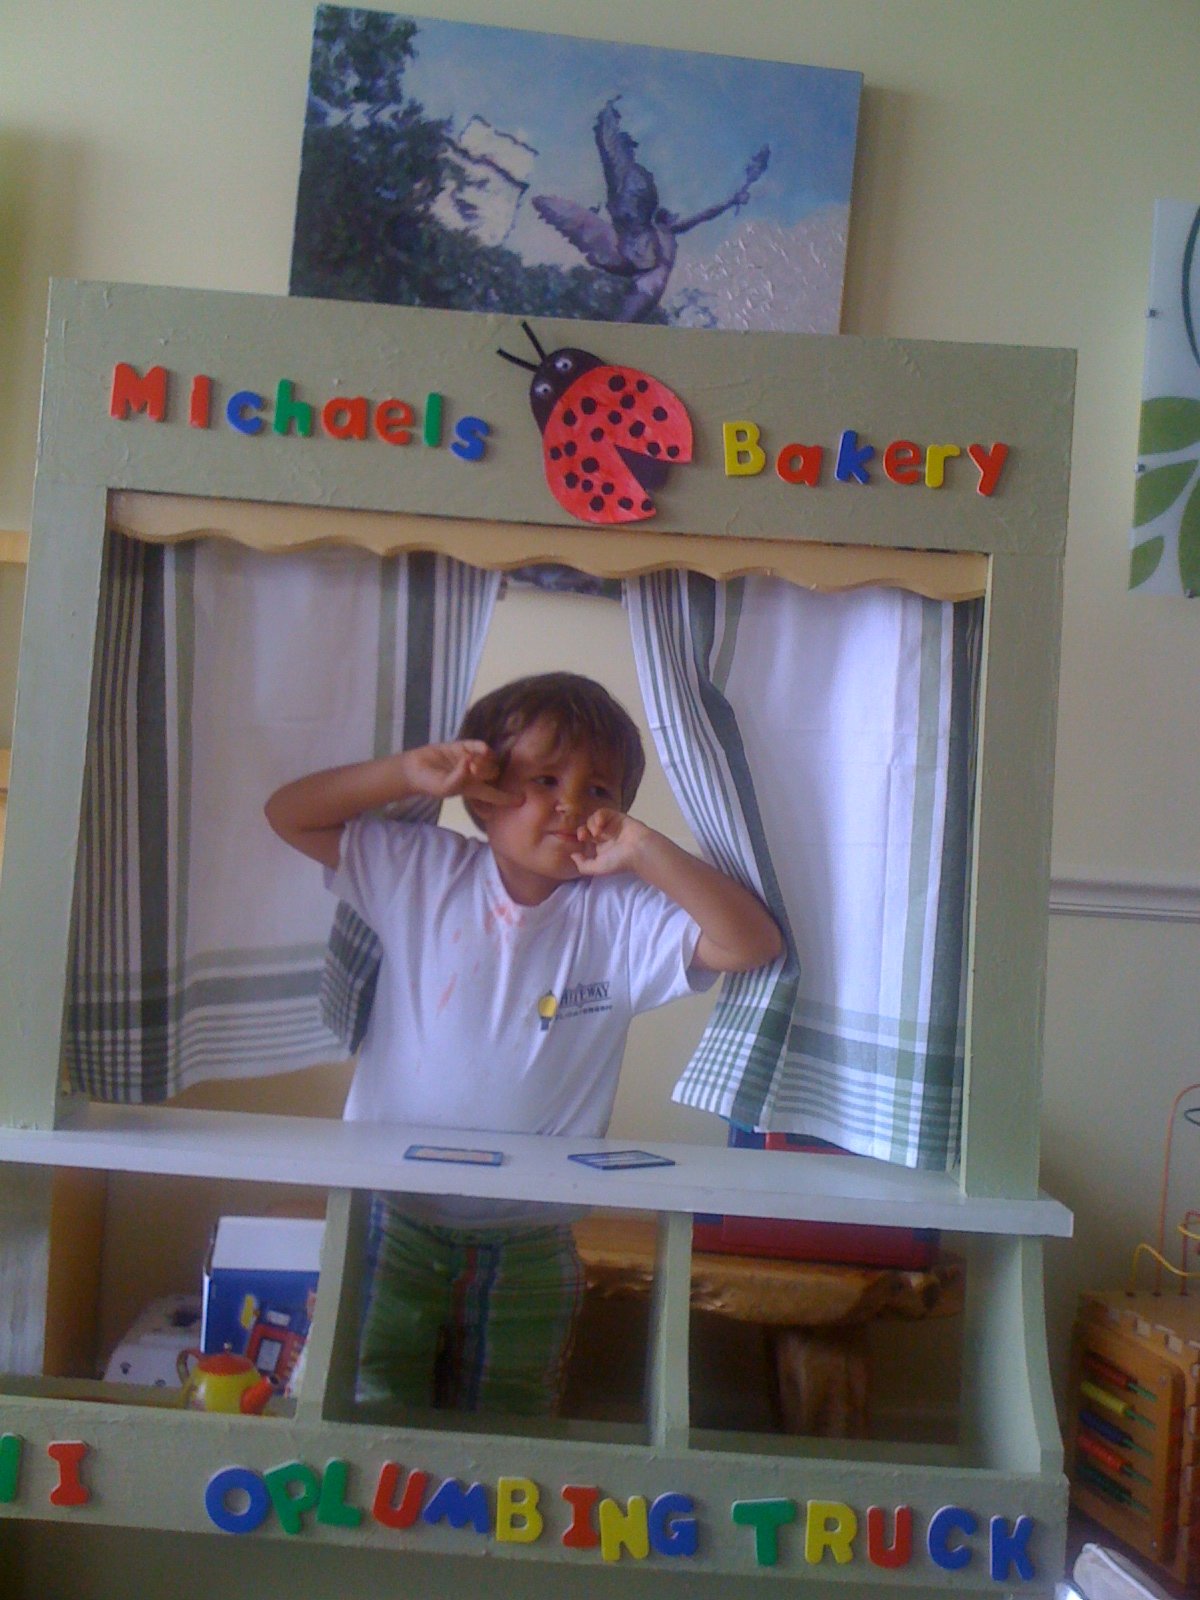
We let my son choose whether he wanted a modern store bought play market or whether he wanted help Mommy and Padre (my dad) build one for his 3rd birthday present. We used magnetic primer so he can change the name whenever he wants and added some trim and some tea towel curtains! He loves it!
Built from Plan(s)
Estimated Time Investment
Day Project (6-9 Hours)
Recommended Skill Level
Intermediate
Comments

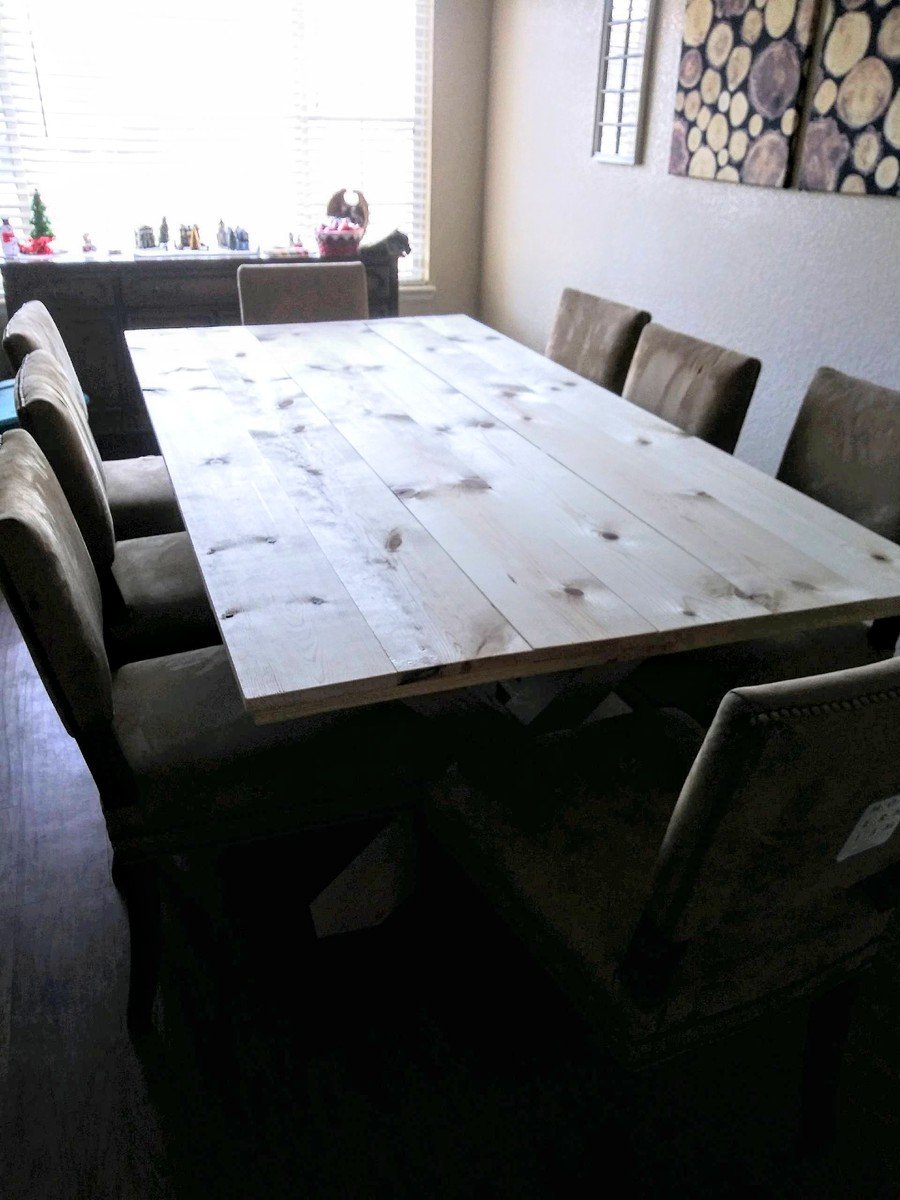
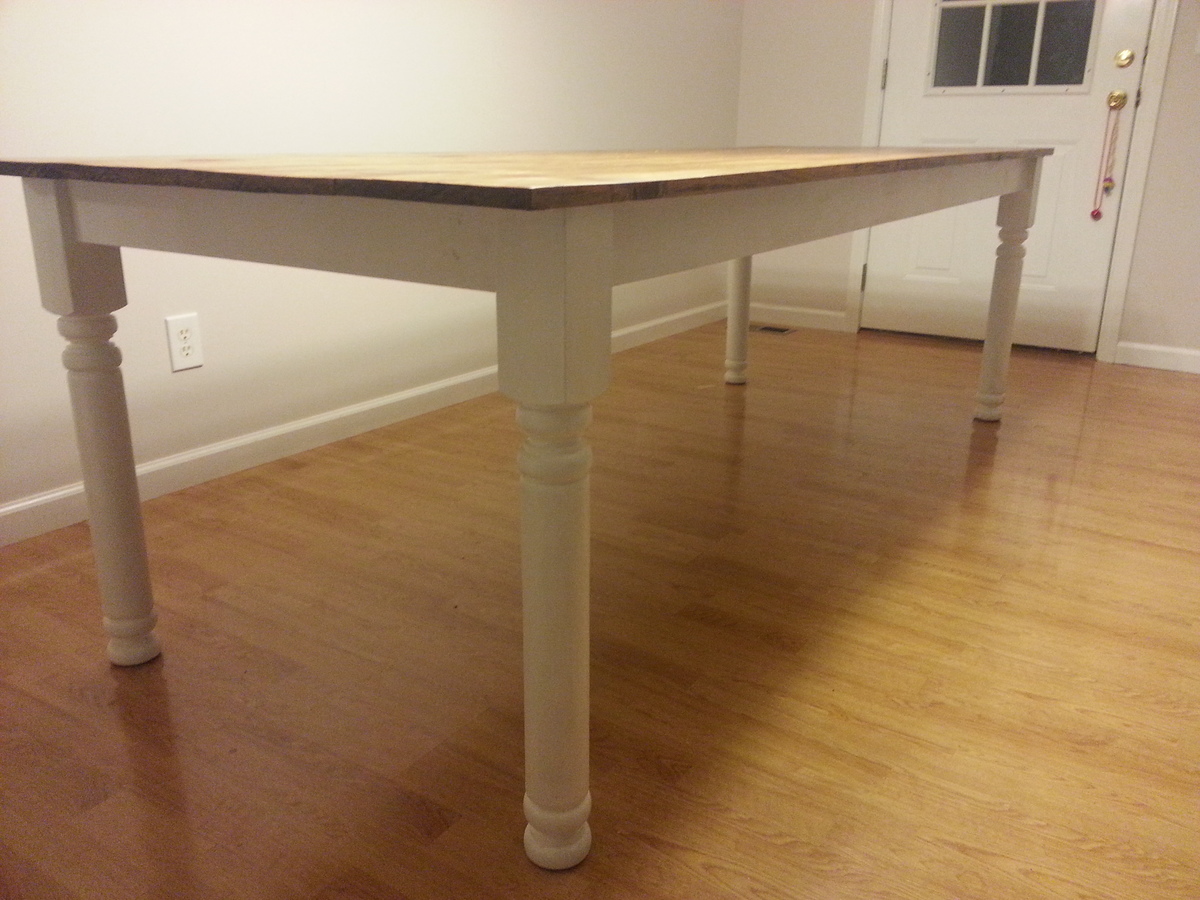
Rustic Table
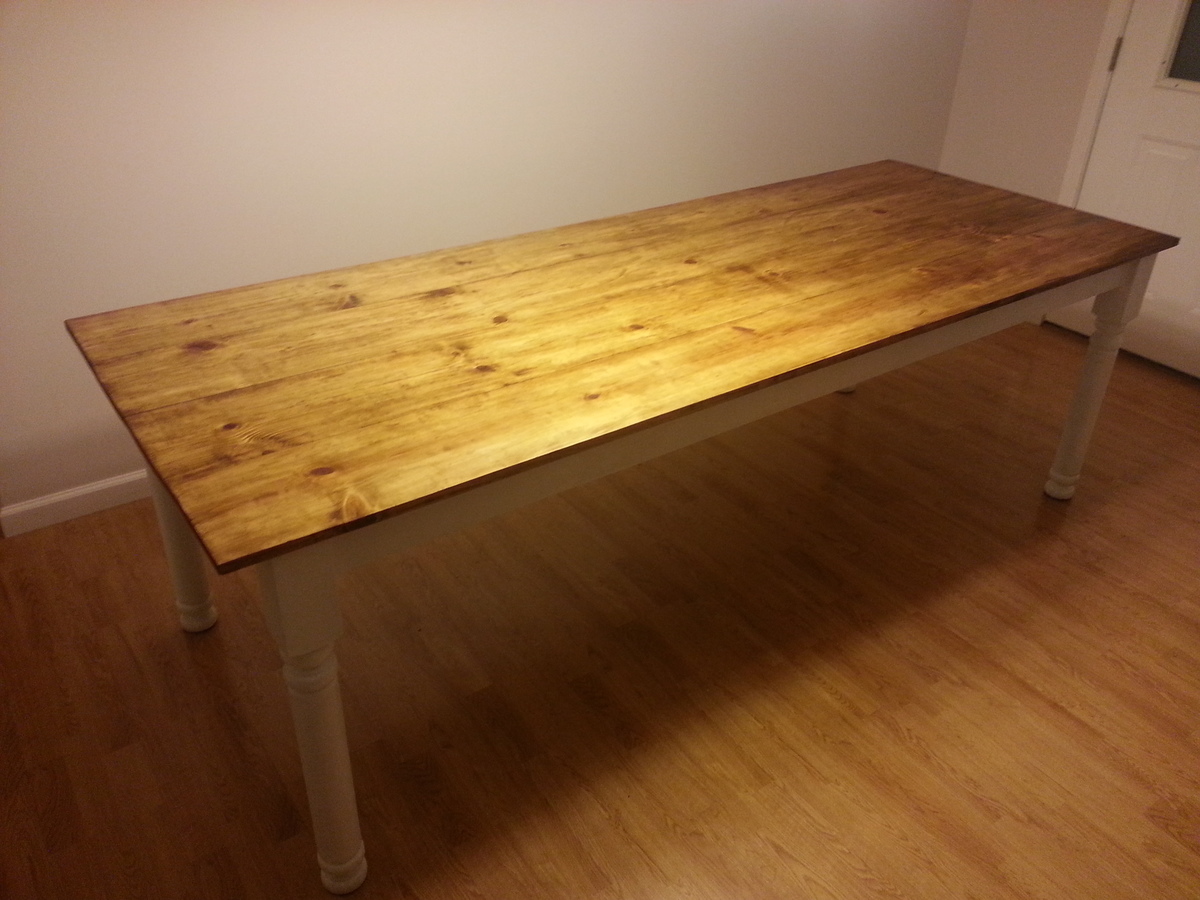
My spin on the rustic table. Used staircase spindles for legs, cut the side boards to accommodate. Rest of plan was pretty much the same. Wife wanted a big table, thats what she got.
Built from Plan(s)
Estimated Cost
$200
Estimated Time Investment
Weekend Project (10-20 Hours)
Recommended Skill Level
Beginner