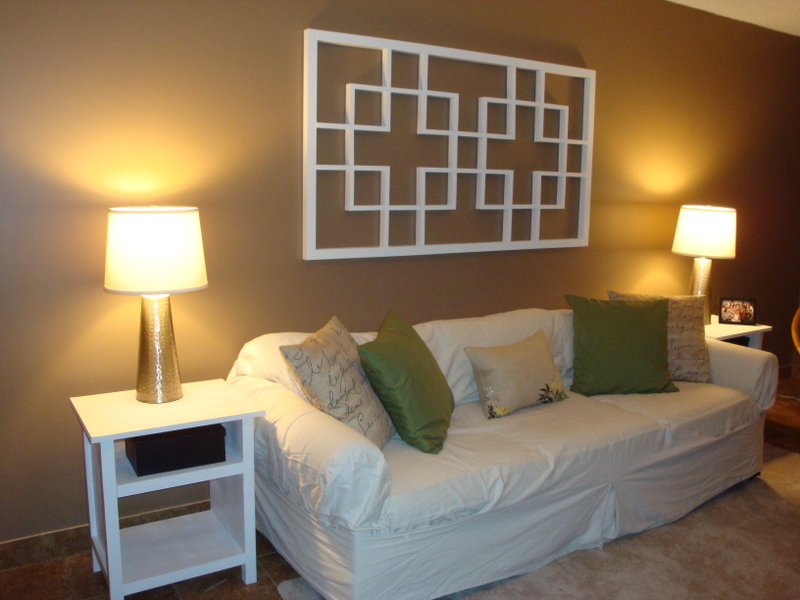
Community Brag Posts

20 Second Office

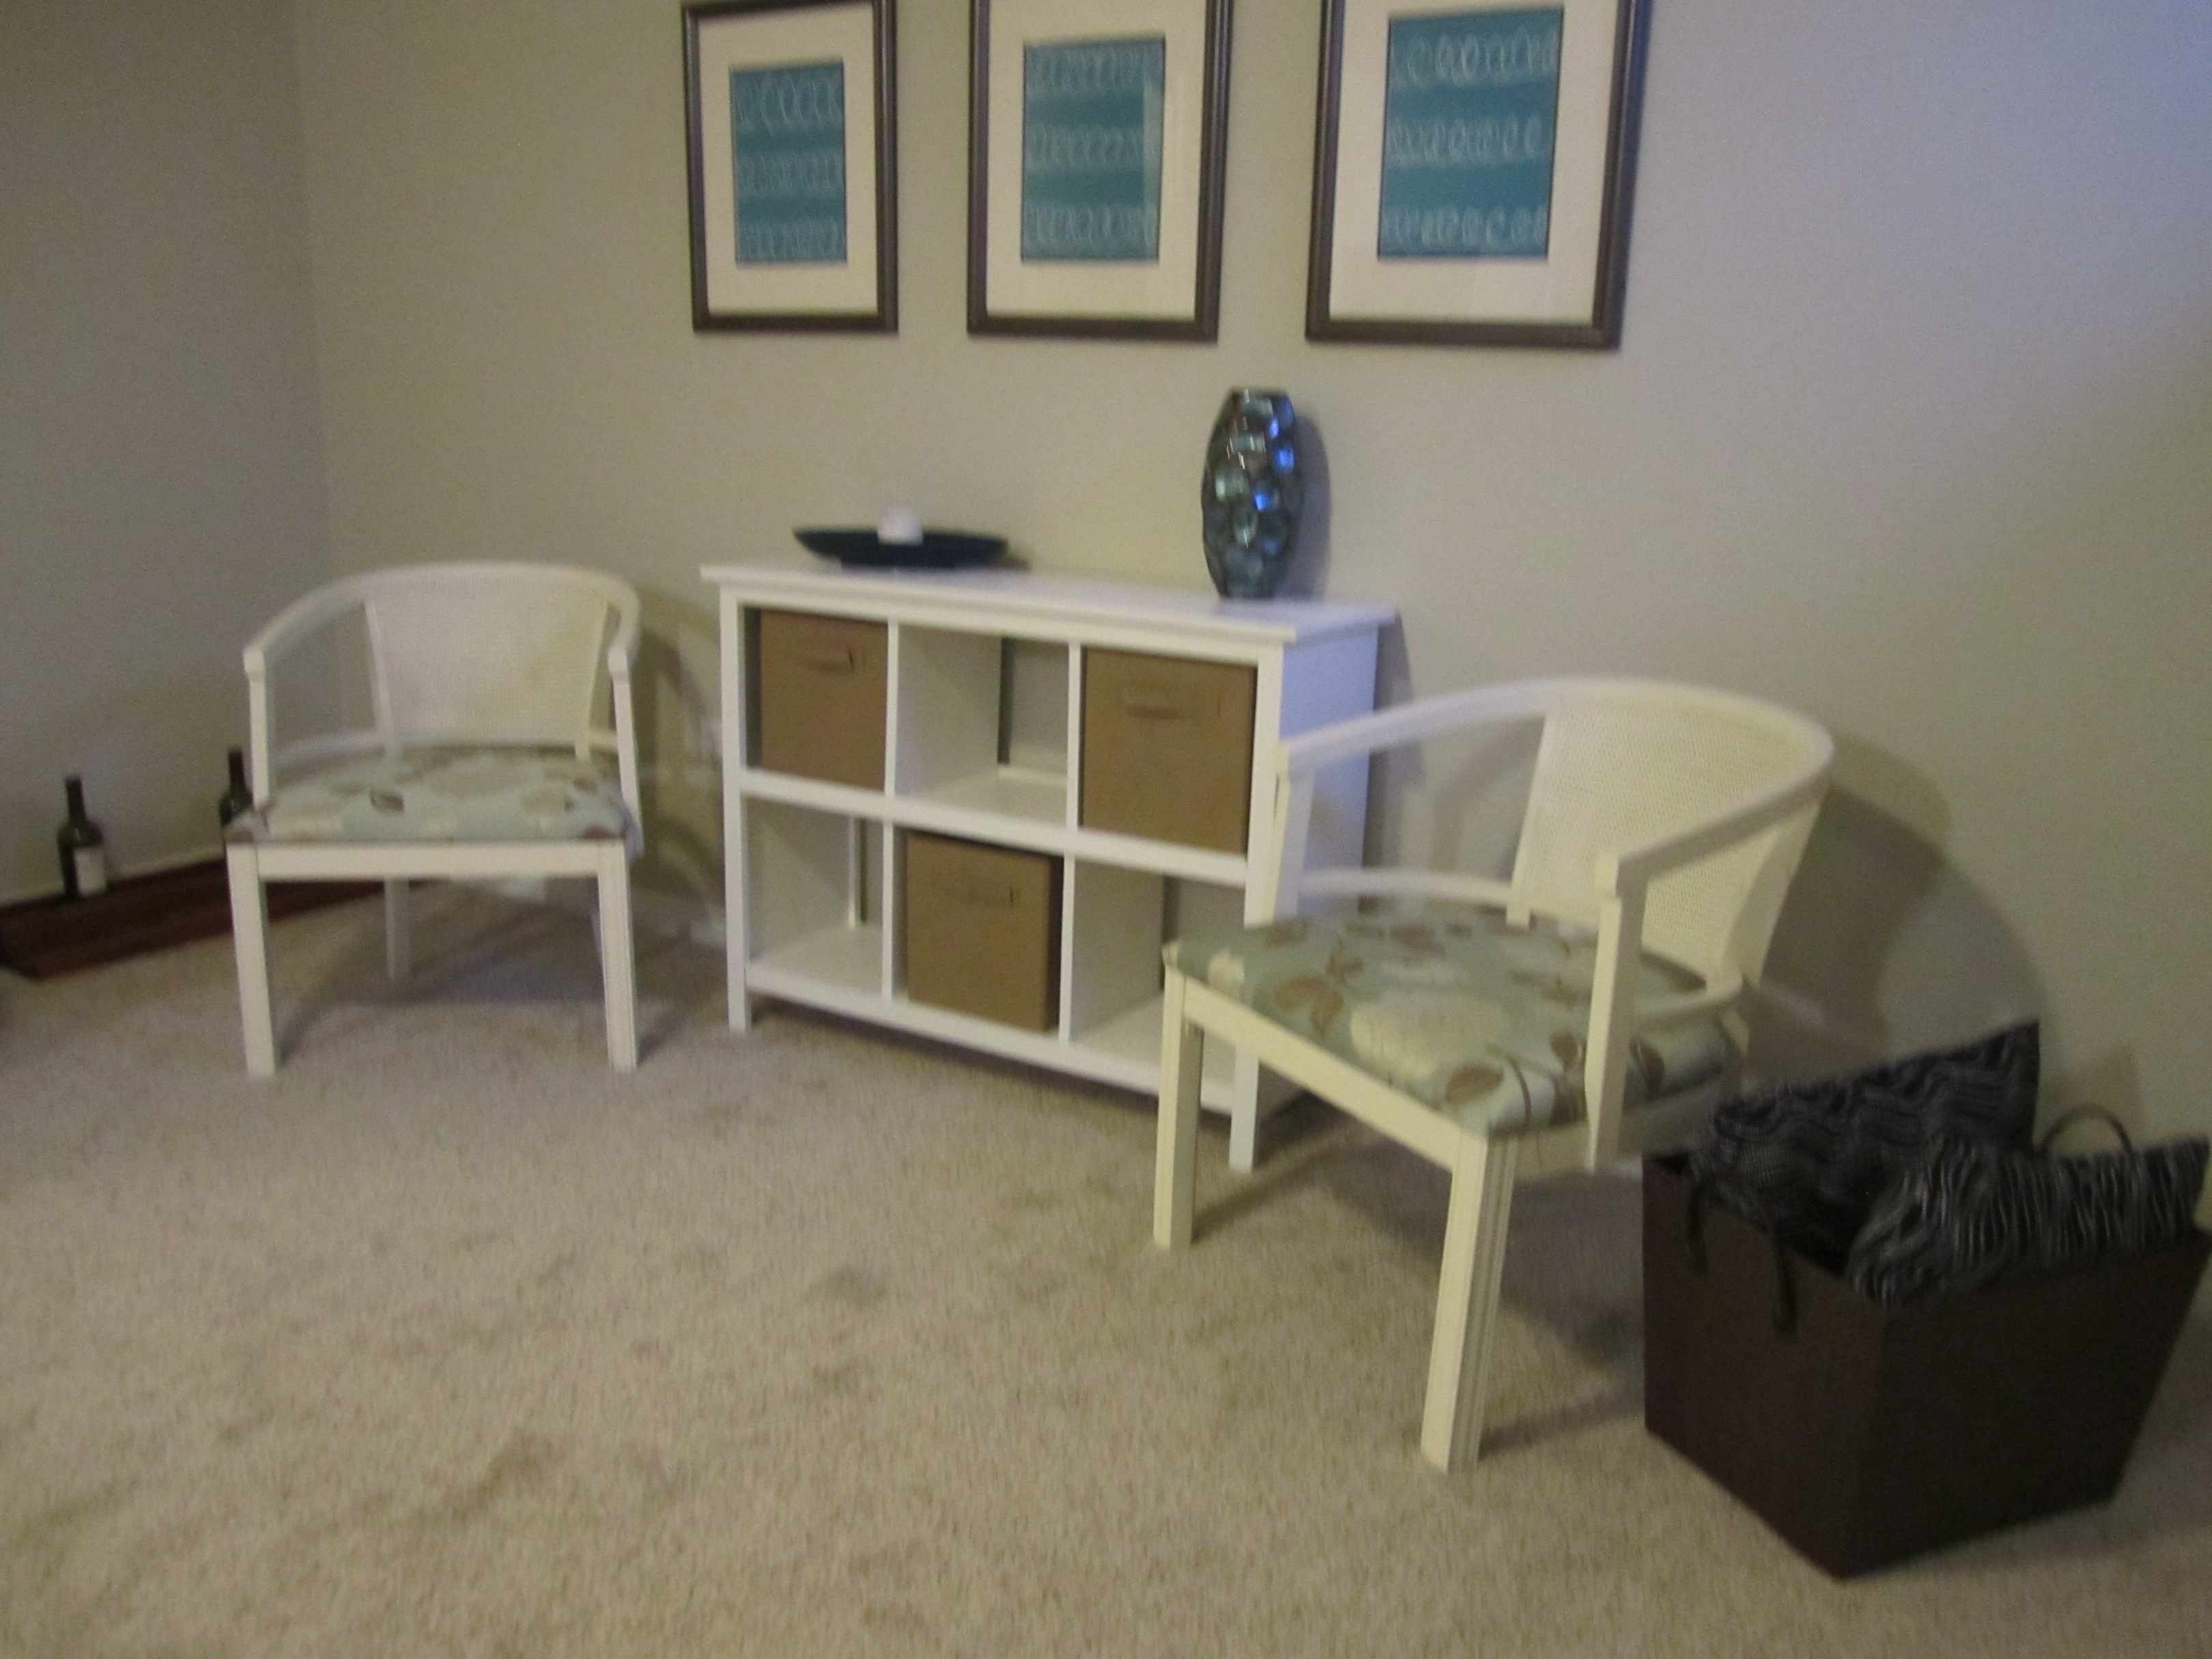
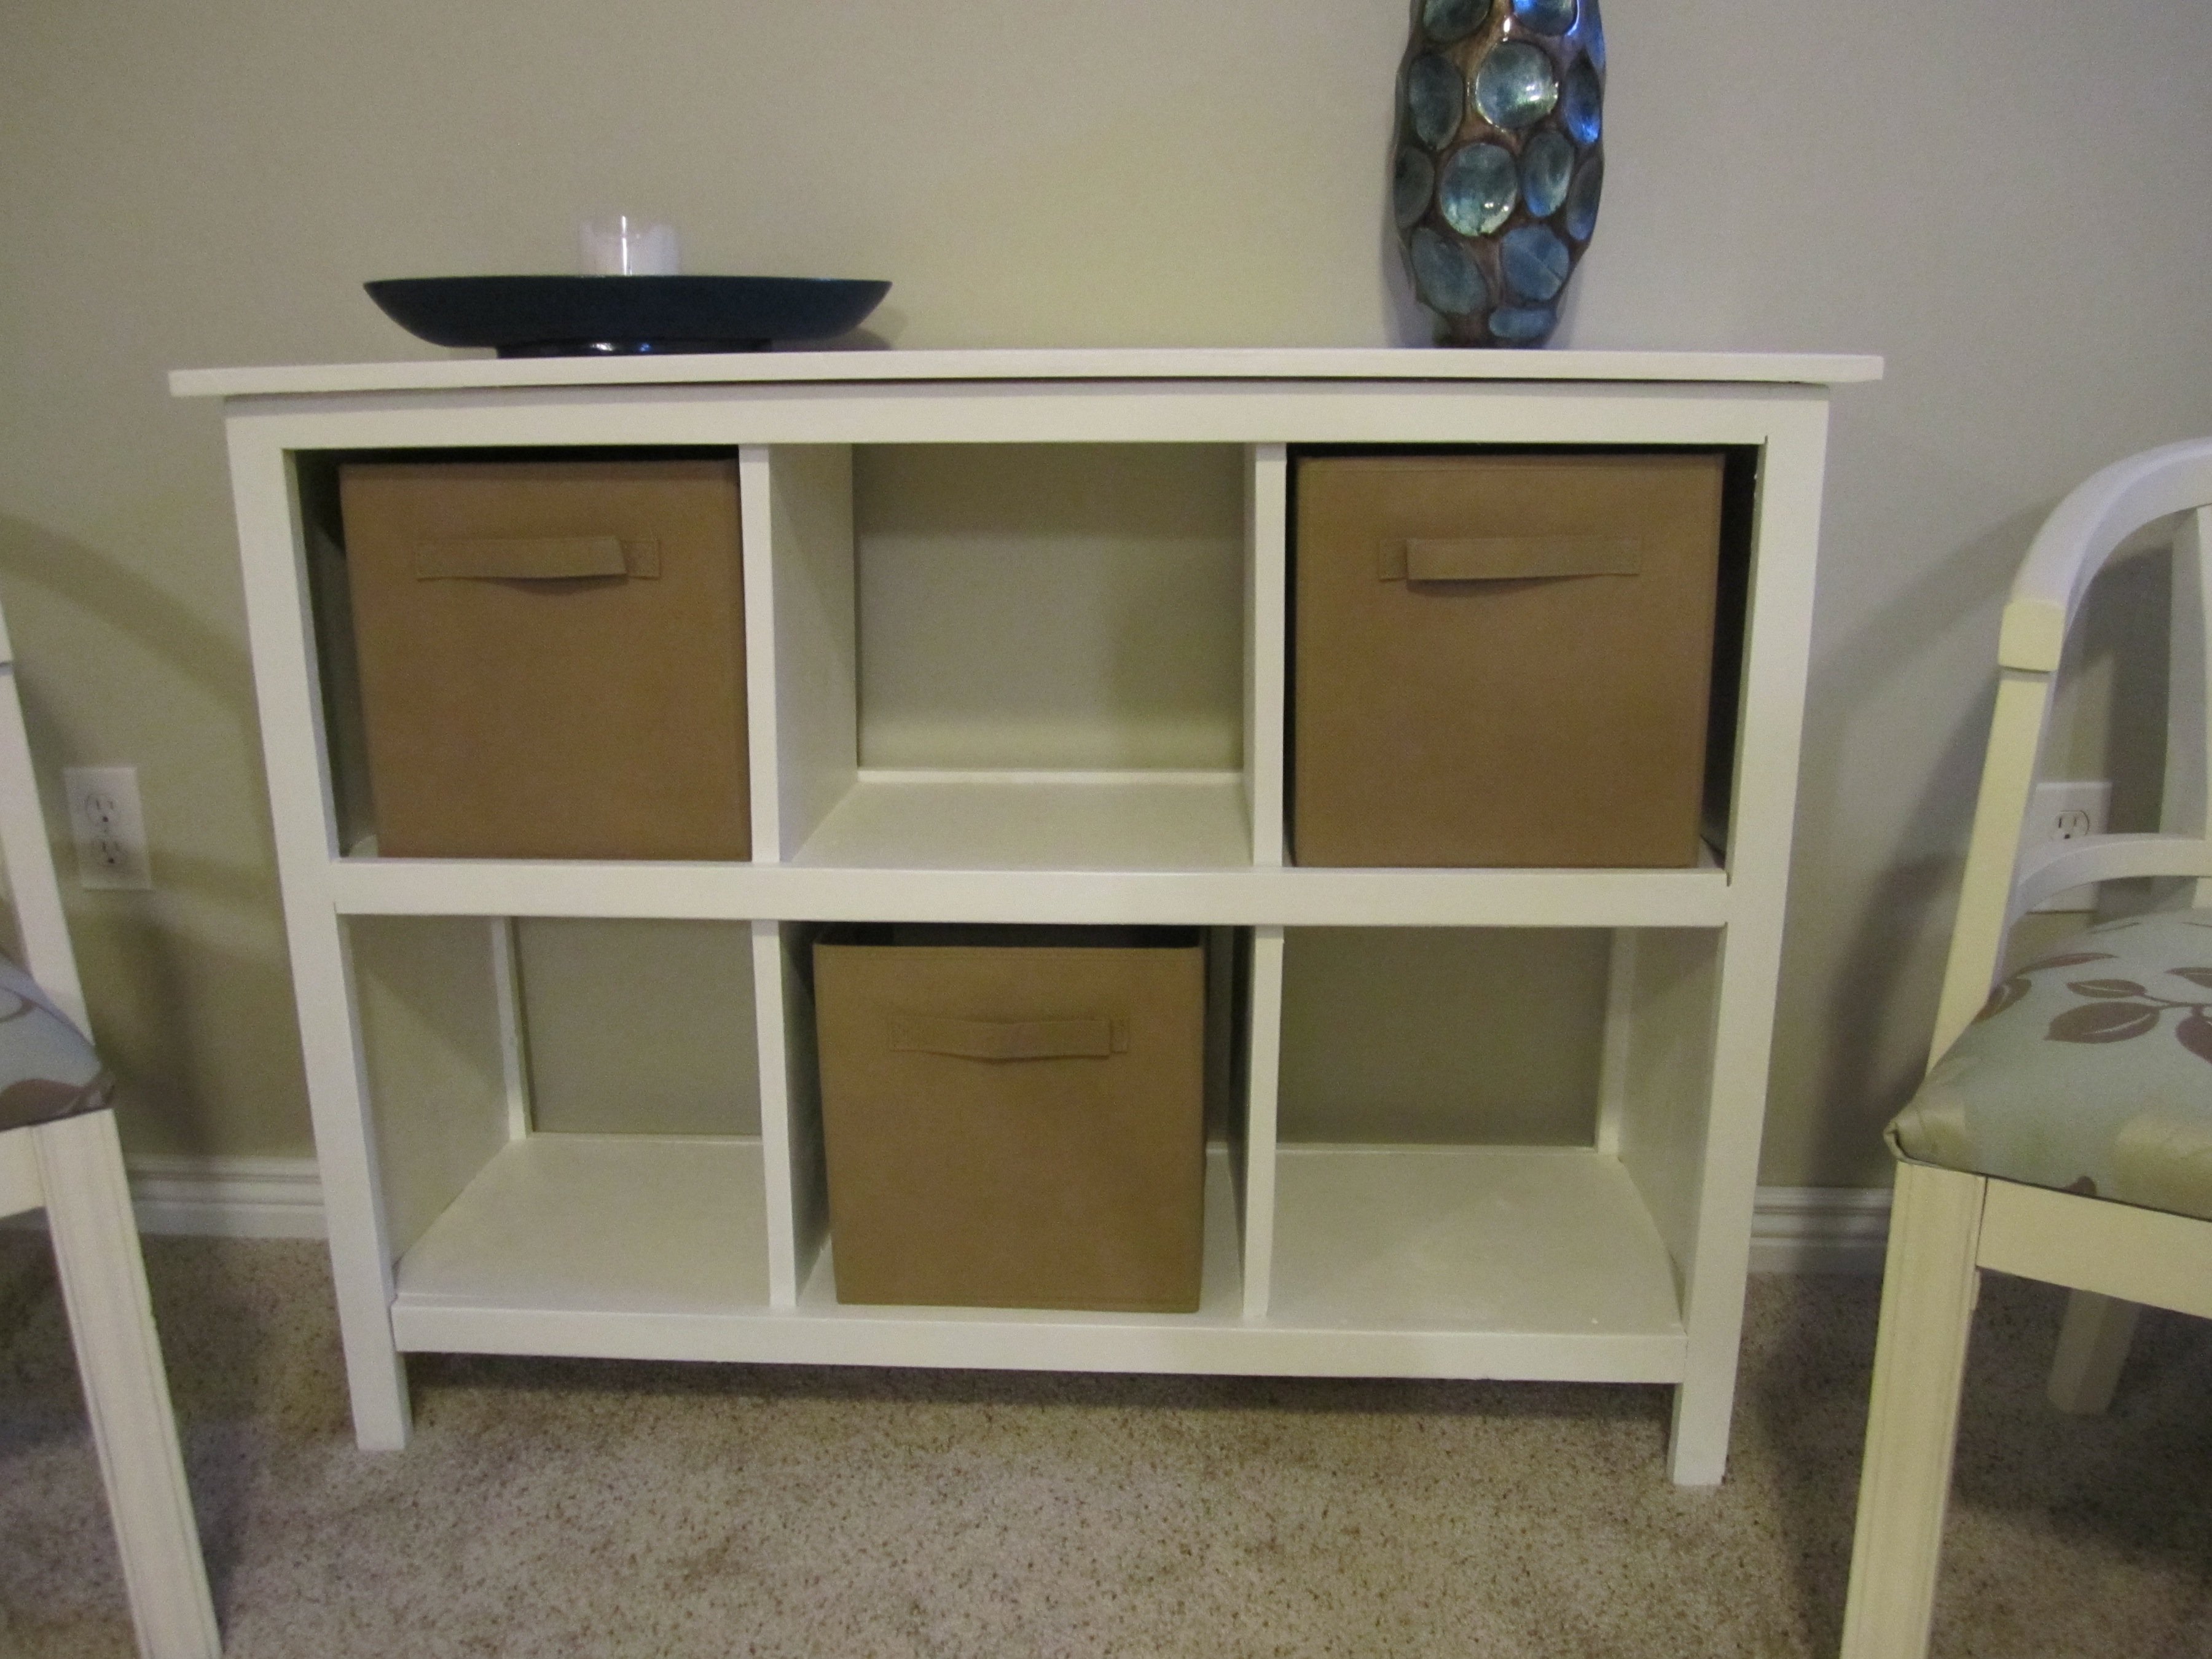
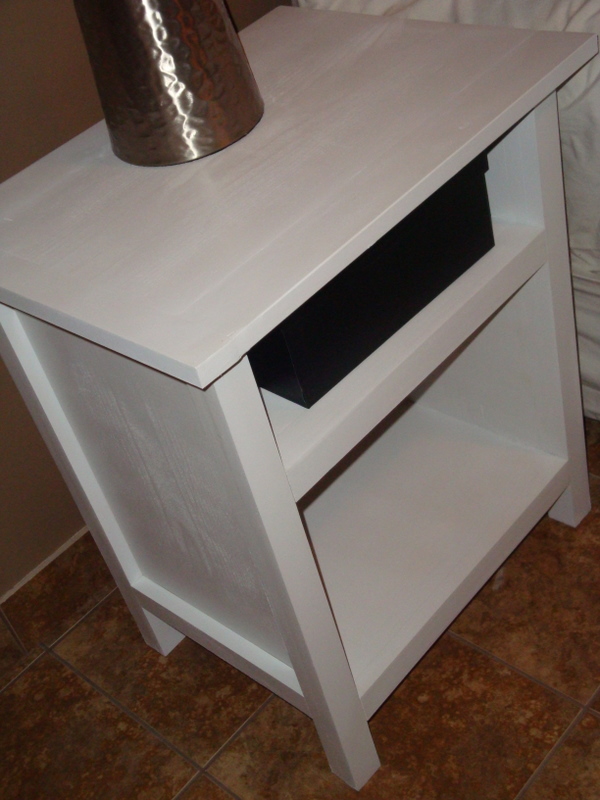
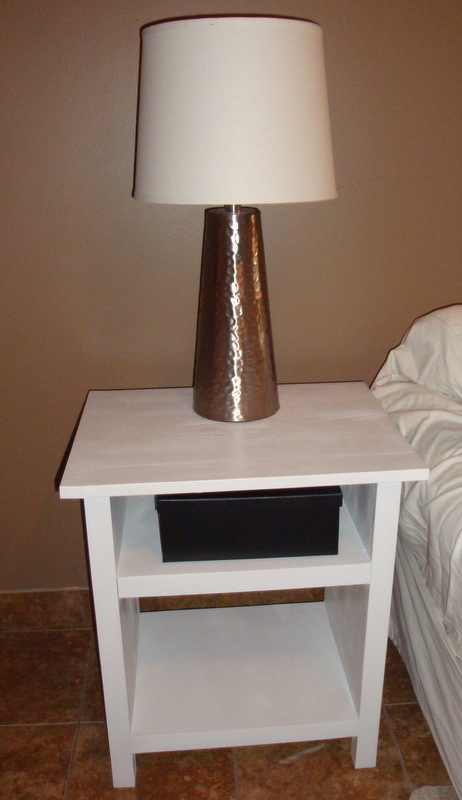
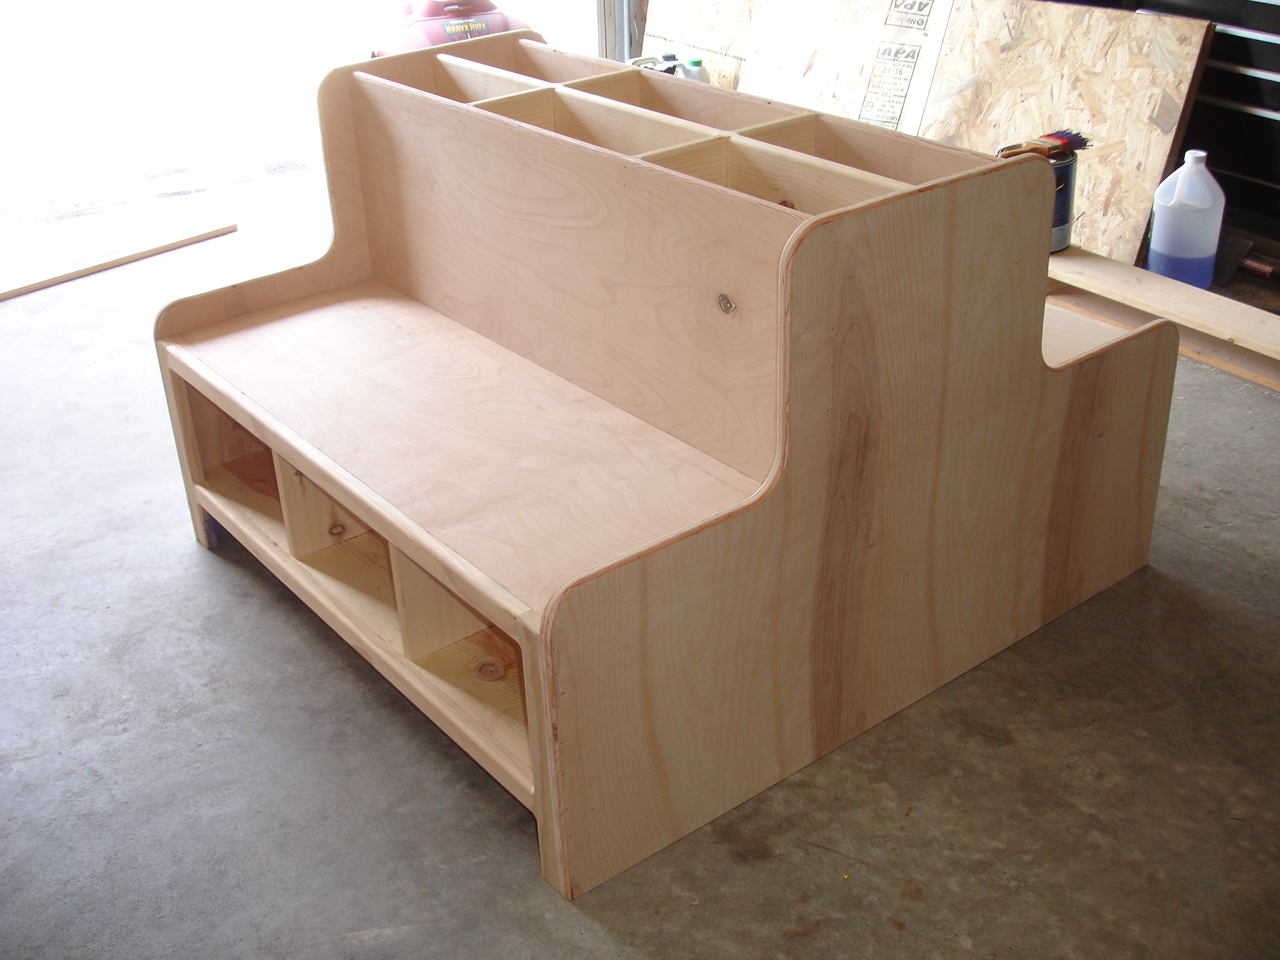
I am in the process of remodeling/redecorating my tiny house. I started with the kitchen and am now moving into the living room. The two rooms are connected so I needed something that would match the "beachy feel without being obvious" style I am trying to accomplish. I also needed a place for my files, printer, etc since I don't have an office. My house is very small so I have to consider function in every piece of furniture I own. This table was the PERFECT solution! It hides my seldom used but definitely necessary office supplies while looking super cute and brightening up the room.

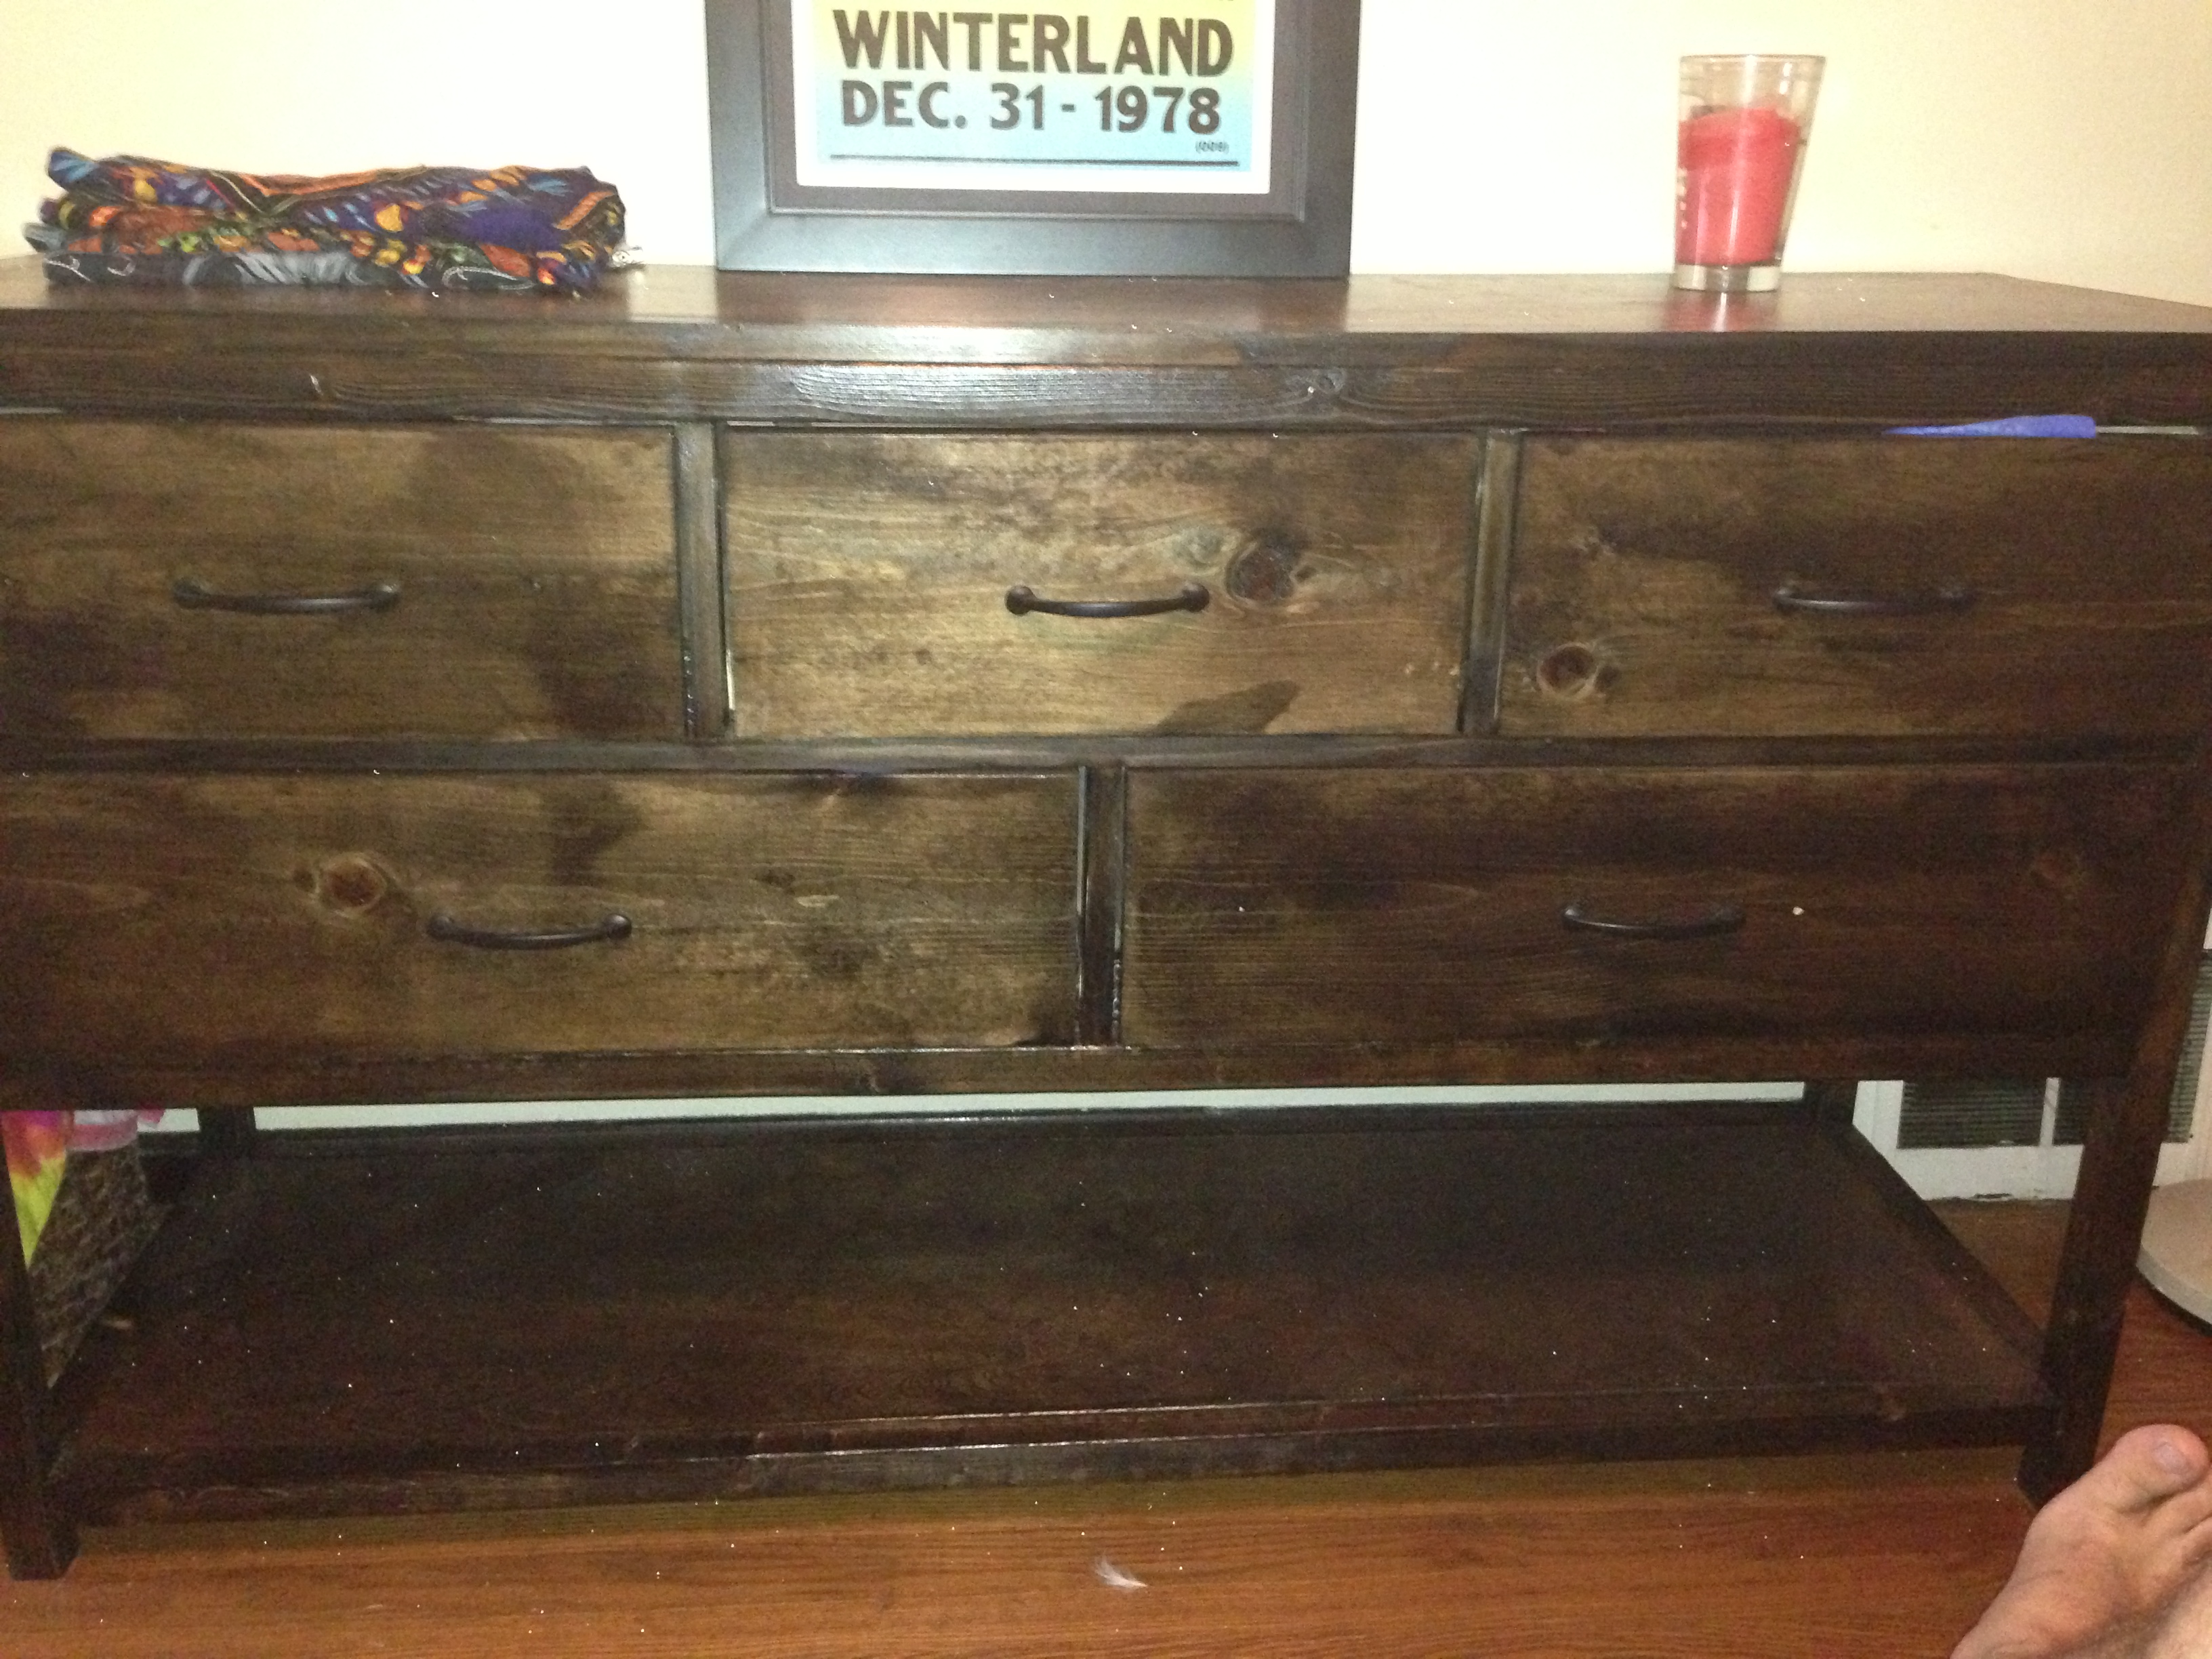
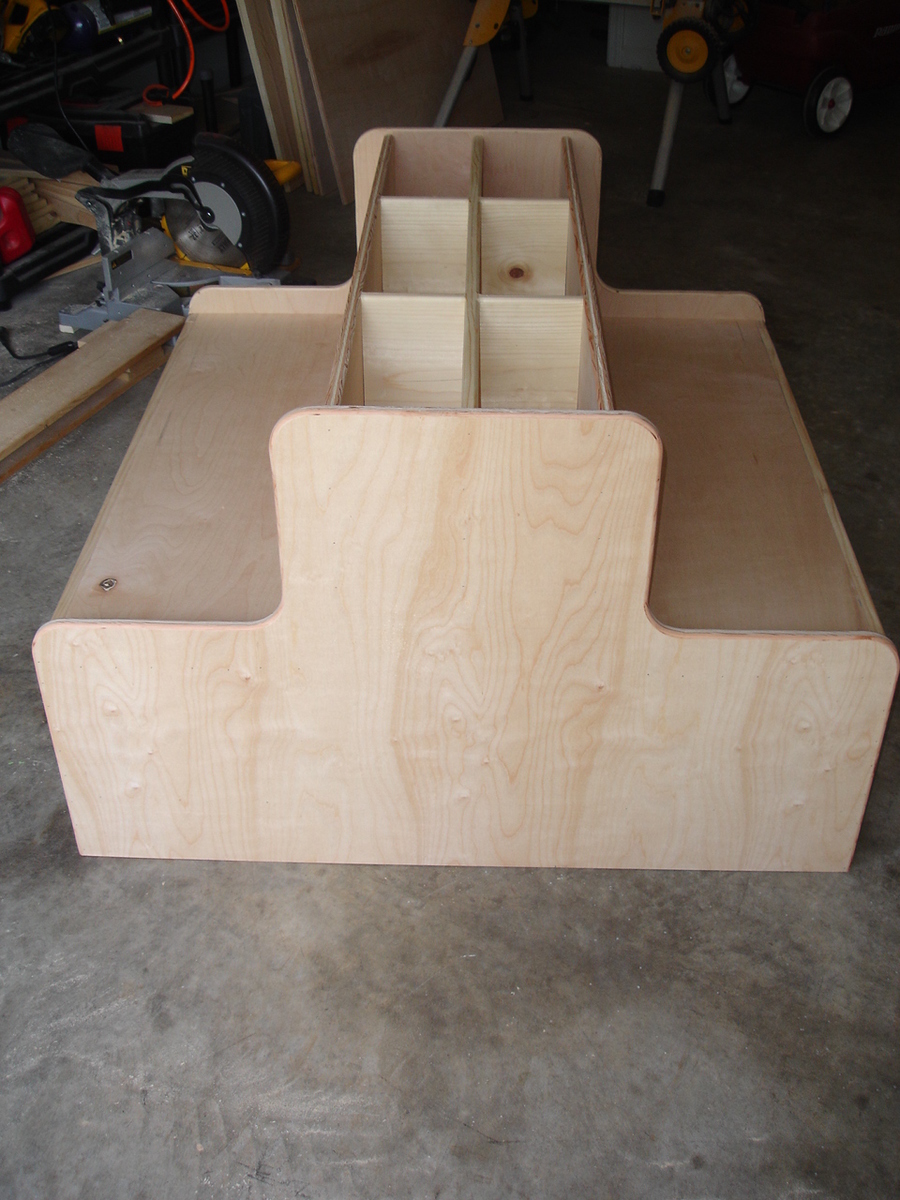
As you can see I made a few slight changes to the look of the trundle. I made it look like three "drawers" instead of the two in the plans, and used manila rope instead of handles or cutting out the shape in Ana's design. I also lined the inside of the trundle with felt to protect my computer, etc. from the hard surface of the wood. I couldn't help pick my favorite color, since you can't see it while the trundle is closed. Though not pictured here, I added a bracket for files as well (they didn't photograph well). I picked it up from a woodworking specialty store for $15.

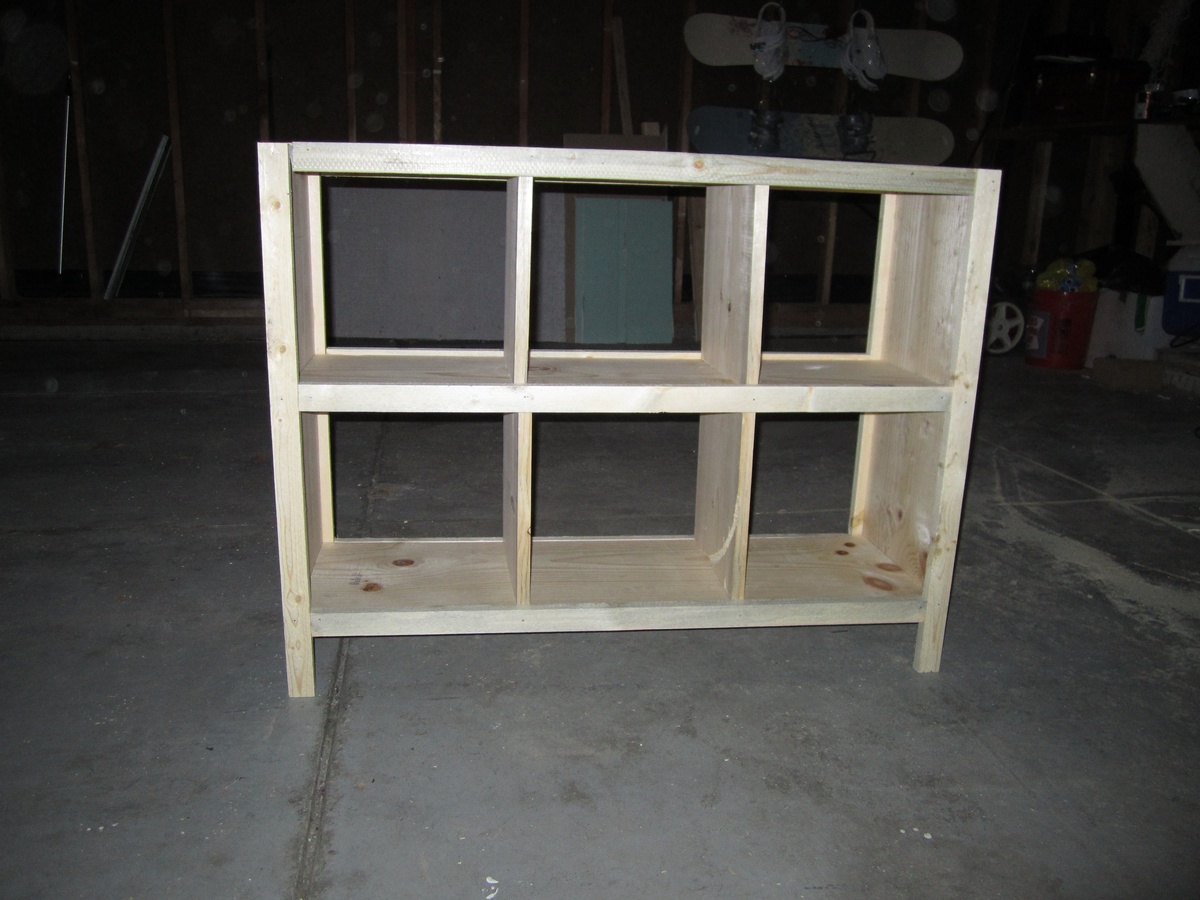
All in all it was an easy second project for me, I had it built and nearly finished in a weekend.

Estimated Cost
$100
Estimated Time Investment
Weekend Project (10-20 Hours)
Finish Used
I used 3 coats of Minwax's Polyshades Classic Oak, sanding with 220 grit VERY lightly in between. This was my first time using a combo product and didn't find it to be as great as I thought it would be. It was easy to apply but was very runny so I had to triple check every nook and cranny for drips and pile ups after and even then still missed a few. I could have achieved a similar look in half the time using traditional methods. I'll finish the can but probably won't buy it again.
Recommended Skill Level
Beginner

Comments

Camp Grandma

Wed, 08/13/2014 - 07:29

for our house at the beach. Thank you so much for sharing your design and your experience. We are just finishing up a 7 piece outdoor set for the deck. Your table is next, going right to the top of our "To Build List".

My first build - for my 7 year old

Submitted by jeriehuxel on Mon, 07/20/2015 - 18:51

I needed to adjust the width of the dresser to fit  - and it was may first build by myself... Already have a second one ready to paint!
 

Built from Plan(s)
Estimated Cost
$200
Estimated Time Investment
Afternoon Project (3-6 Hours)
Finish Used
White Latex paint, pink lace from Walmart, and Modge Podge
Recommended Skill Level
Intermediate

Iron Board Holder

Submitted by Sunny4 on Sat, 02/17/2018 - 14:58

I had all that was need in my scraps:) Great project for this rainy day!!

Thanks Ana!


Estimated Time Investment
An Hour or Two (0-2 Hours)
Finish Used
Briarsmoke
Recommended Skill Level
Starter Project

Dining Set

Wyldwood 42-square-inch pine table is finished with red mahogany stain and matte varnish, with black painted legs. It's paired with four of our custom dining chairs.

Comments

Cube Bookshelves

When we moved into our home we had minimal furniture pieces. On a tight budget and not wanting to buy something that was made of veneer, I stumbled upon the attractive and functional plans for the cube shelves. I love that I can "add on" to the set with additional pieces if I want to in the future. But for now, one set of cube shelving is just right for us.

This was the first project that I used the table saw by myself, and while it went just fine I do think it would have been helpful to have another set of hands around. Piecing together the first two joints was a bit challenging with only one set of hands holding the wood and putting in nails. But once I got a few done, the piece really came together quickly. It literally took me just a few hours to cut the pieces and put it together. It's the sanding painting and priming that can take some time and patience!

Built from Plan(s)
Estimated Cost
$50
Estimated Time Investment
Afternoon Project (3-6 Hours)
Finish Used
I use this cute cubby to hold books and gadgets that I like to keep out of sight in our family room area. If I had kids I think this would be an amazing storage unit for toys. Its so cute and functional. The canvas cube totes I picked up from Target for $12 for a set of 3.

I did add an additional top from a solid piece of wood that overhung on the edges slightly to give it a more finished look.
Recommended Skill Level
Beginner

WIDE CABIN DRESSER METAL SLIDES

Submitted by daddydrew on Fri, 07/19/2013 - 12:03

This was my third or fourth project and it was pretty tough. I started out with the basic build which was pretty simple and then I got to the end where everything was built except for the drawer slides and boy was it rough. I think that i spend half of the time on this project doing the drawer slides and half the time doing the build and the finish. I don't want to discourage anyone from doing this project but make sure you don't get in over your head. Check out my profile I am willing to do builds for people for an inexpensive price.

http://ana-white.com/users/daddydrew

Estimated Time Investment
Week Long Project (20 Hours or More)
Finish Used
minwax jacobean oil based stain
minwax polycrylic clear coat finish
Recommended Skill Level
Advanced

Comments

Man Cave Chair from Reclaimed Wood

Submitted by JoanneS on Sat, 07/25/2015 - 13:06

Man cave chair for my Hubby, made entirely from reclaimed/scrap wood.  This took a long weekend to build (includes time to rip down the reclaimed wood, and a couple of tries to get the padded arm rests right). 

This build uses the Simple White Outdoor Chair plan, adjusted to fit smaller cushions and use my scrap/reclaimed wood. 

The seat cushion is covered with marine vinyl, and the back cushion is covered with fabric from a curtain already on hand.  The covers are done in a simple box style.  The seat cushion closes with ties at the back, and the back cushion has an envelope back.  

The end result is a sturdy, comfortable chair that’s not too heavy, and is decked out with colors from Hubby’s favorite football team.  I’m very pleased to say that Hubby likes his new chair!

Estimated Cost
Cost: $75 for cushion materials (high density foam and vinyl). Everything else was reclaimed or already on hand.
Estimated Time Investment
Weekend Project (10-20 Hours)
Finish Used
Finish: 2 coats gloss black (Valspar Ultra paint + primer). The bottom surfaces of the legs are covered with some adhesive backed felt for easy sliding.
Recommended Skill Level
Intermediate

End Tables

I changed the size of one of the tables to fit the space. Otherwise they are built from the plans. Turned out very nice.

Built from Plan(s)
Estimated Cost
$100 for Both
Estimated Time Investment
Day Project (6-9 Hours)
Recommended Skill Level
Beginner

laundry pedestal

Submitted by queenmommy on Thu, 06/02/2011 - 19:19

This was my first project for our newly purchased house. I built it in the 1-car garage and patio of the duplex we were living in prior to our move. I haven't put the trim pieces on yet because it we moved and started using it the day after I got it screwed together.

Estimated Cost
$130
Estimated Time Investment
Weekend Project (10-20 Hours)
Finish Used
2 light coats of Valspar satin spray paint in Berry.
Recommended Skill Level
Beginner

Reclaimed wood look headboard

Submitted by DogDoc25 on Sun, 07/21/2013 - 18:39

Fun project! This headboard is HEAVY and sturdy. Mine ended up being more expensive than other people have reported theirs to be...about $100 total for wood and 1 box of nails...not sure why that happened, but I got the cheapest wood I could find at Lowes and that's still what it ended up being. Overall, I'm happy with how it turned out and am excited to add it to my pair of nightstands that I made from the site. Thanks Ana!

Estimated Time Investment
Afternoon Project (3-6 Hours)
Finish Used
Minwax Jacobean
Recommended Skill Level
Beginner

Comments

DIY POTTERY BARN "ADDISON" STYLE HEADBOARD

It took us about 2 days to cut, assemble, and paint.  


http://www.whisperingwhims.com/2015/03/diy-pottery-barn-addison-style-headboard/

Built from Plan(s)
Estimated Cost
$150
Estimated Time Investment
Weekend Project (10-20 Hours)
Recommended Skill Level
Beginner

Comments

Loft bed

I really enjoyed making this.. I used Anas plan for this. I changed a lil bit.. but it was easier than i thought... My 1st time using kreg jig so it took me a little longer to build.. I did mess up a few times which is why i changed things lol. My Daughter loves it! Wife wanted it white.. i also  made a chalk board and put it at te head of bed

Estimated Cost
220.00
Estimated Time Investment
Weekend Project (10-20 Hours)
Finish Used
White paint
Recommended Skill Level
Beginner

Mudroom Locker & Bench Completed Version

I had previously posted a work in process version, this is the completed project. Very happy with the results of combining the Easy Three Cube Bench and Small Locker Cabinet plans. If I had to change anything, I might widen the dividers to get a little more width, but this suits what we were trying to accomplish.

Learned something on this project, I hate painting! In the future when I know I am going to paint the completed project, I'm going to paint as much as I can before assembling.

Comments

Little Giraffe sling Chair

I loved this plan and used some furring strips of wood we already had. Will use finished wood next time. It cost about $5 for the wood and hardware and I already had the fabric. I did use decorator fabric instead of outdoor fabric. Which means if it's left outdoors it will fade faster than outdoor fabric. If anyone doesn't sew but wants to make this chair, please email me at [email protected] because I have a sewing business and can make the chair seats and even monogram them.

Estimated Cost
$5
Estimated Time Investment
An Hour or Two (0-2 Hours)
Finish Used
Painted with a sample can of paint. A sample can was enough for 2 chairs and 2 coats. Used regular decorator fabric instead of outdoor fabric.
Recommended Skill Level
Starter Project

Surf and Beach Themed Bedroom

This project started with my son having the need for a loft bed. I began building the framing with some 2x4s and my imagination took over. The more I built, the more ideas and details I thought would be cool for whole theme. After finishing the "surf shack" loft, i moved to creating custom made fan blades, switch plates, placards, etc to fit the theme. It was all finished off by installing built-in shelves and painted walls.

Estimated Time Investment
Week Long Project (20 Hours or More)
Finish Used
Watered down black paint applied and then wiped off to bring out grain and knots. Finish coat of Minwax Weathered Gray Stain.
Recommended Skill Level
Advanced

Comments

spiceylg

Wed, 07/24/2013 - 09:24

That came out really nice. Love all the added touches. Good use of that corner with shelves. We had a bigger niche like in our kitchen where we put shelves as well. The icing is the custom fan blades! Very clever!

smcoplan

Tue, 05/12/2015 - 13:25

I LOVE THIS and want to make it for my son!! I don't see any plans attached - do you still have them?? I made your other surf shack loft bed for my other son and it was a hit!!!

Slat Closet for Soldier

Slat closet.

Built from Plan(s)
Estimated Cost
$100 - $150
Estimated Time Investment
Day Project (6-9 Hours)
Recommended Skill Level
Beginner

Comments

My Ana white farmhouse table

After buying our first home we decided we wanted to build our own kitchen table so we stumbled across Ana's plans and I'm so glad that we did!

Estimated Cost
$90 bucks give or take.
Estimated Time Investment
Day Project (6-9 Hours)
Finish Used
Minwax
Polyurethane
Sanding sealer
Dark walnut stain

Sherwin williams
Satin white
Recommended Skill Level
Beginner

Our basement "Ana White" Room

Submitted by LindseyA on Thu, 06/09/2011 - 19:59

We have a room in our basement that has very dark paint on the walls and NO windows, so we were looking for options to add lamps, as well as brighter colors to offset the darkness. I built two modified cabin collection end tables (no doors and the tops overhang by about an inch) for the lamps we already had. Once the tables were done, I saw the plan for the squared headboard and decided it would make an awesome large scale wall decor for cheaper than anything I could buy at the store. I modified the plan but cutting the "legs" down to 34.5 inches, but otherwise followed the plan pretty closely, laying out the pattern completely before I began assembling. It was a tedious process, but well worth it! (I used my kreg jig on both.)
As a side note, our 2x2's are NEVER straight, so I usually glue 2 1x2's together and sand the seam so it appears as one piece of wood.

Built from Plan(s)
Estimated Cost
End tables (~$25 each), Wall Decor (~$30)
Estimated Time Investment
Weekend Project (10-20 Hours)
Finish Used
Rustoleum's American Accents in White, Semi-gloss (blue can).
Recommended Skill Level
Beginner

Comments

Ana White

Fri, 06/10/2011 - 12:09

This my dear is the basement that Ana White wishes she had! Love the wall decor! Adds just the right touch! And cute little end tables! The wall color is perfect too!

Reading center.

I was asked by a friend if I could build a reading bench for his daycare and this is what I created.

Estimated Time Investment
Day Project (6-9 Hours)
Recommended Skill Level
Intermediate

Comments

Tamra

Wed, 07/31/2013 - 13:17

I really like this. I know a new teacher that might like something like this for her 1st grade room. Which plan did you use? Thank you.