Community Brag Posts
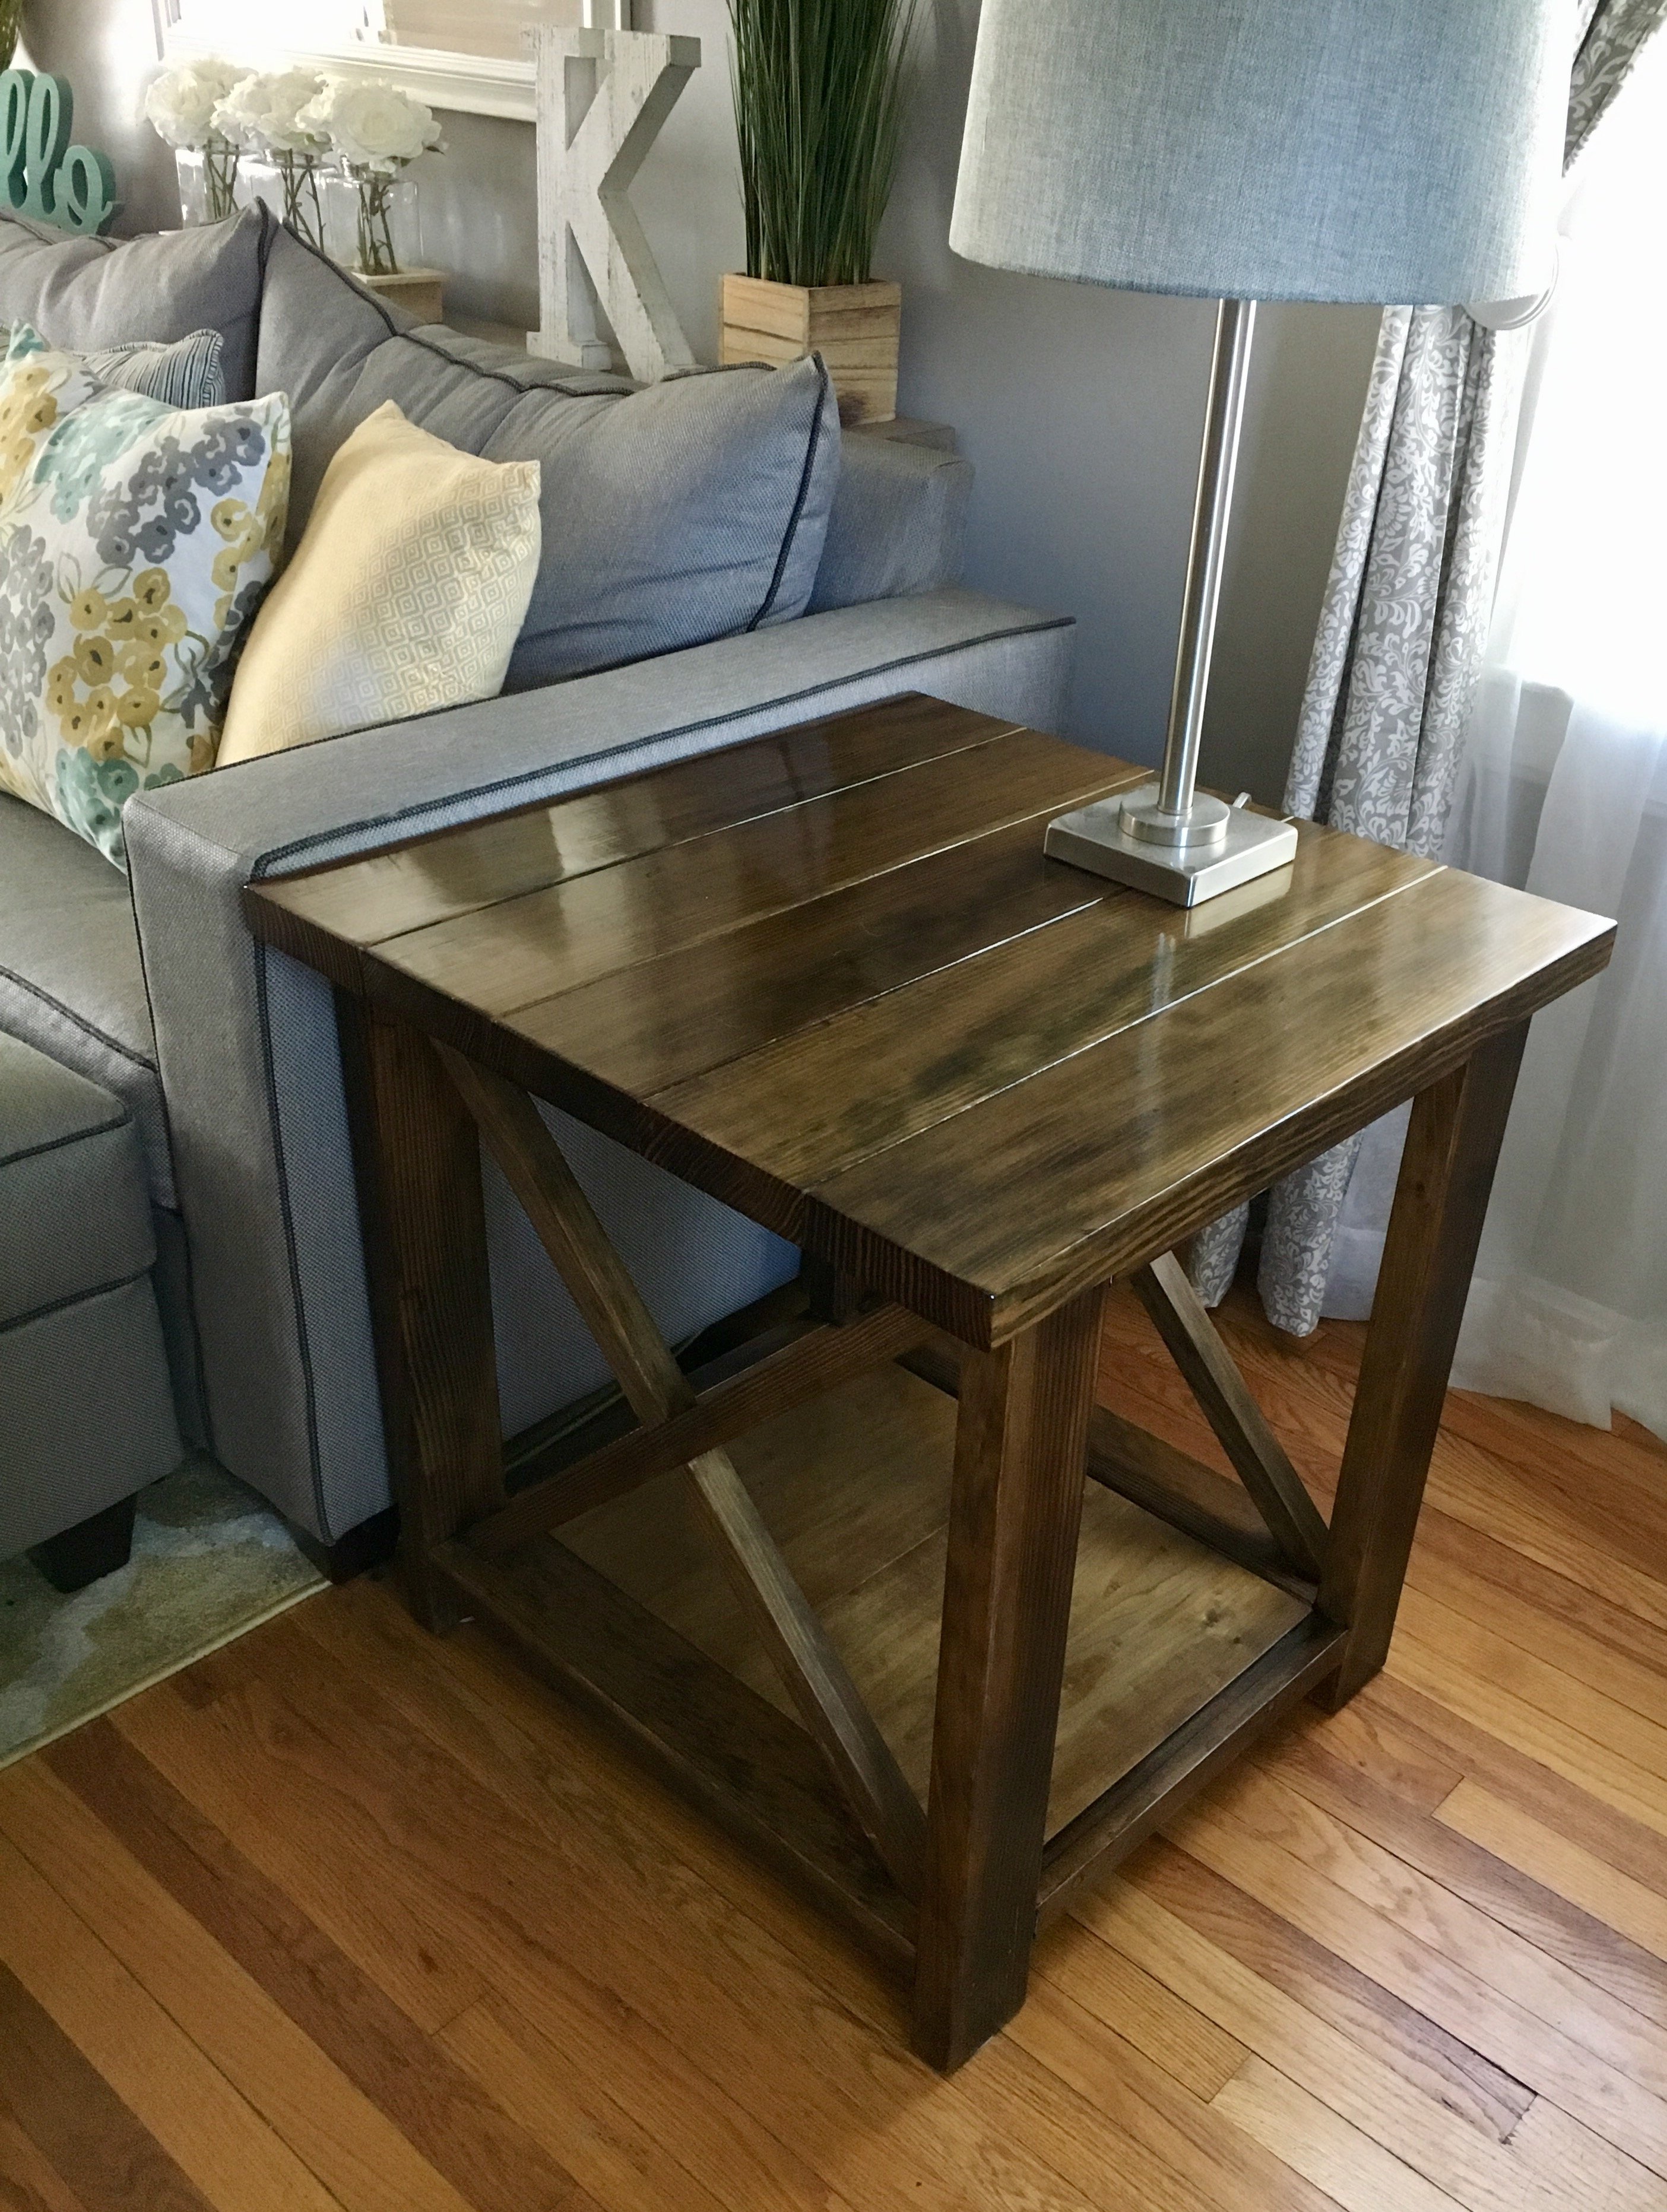
First ever project
The one on the left was my first try. I had so much fun making these!
Estimated Cost
113
Estimated Time Investment
An Hour or Two (0-2 Hours)
Recommended Skill Level
Beginner
Comments
Sun, 07/18/2021 - 12:27
Great first project!
Awesome job, thank you for sharing! Can't wait to see what's next:)
Patio Coolbox Box
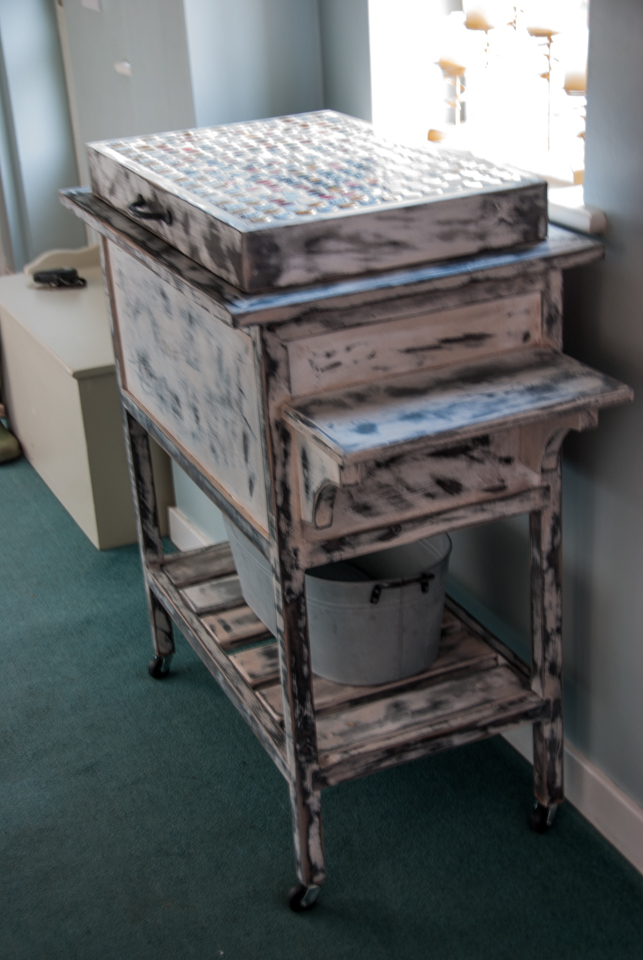
I wanted to make this project for my son-in-law for Christmas and use up wood I already had in the garage. I also thought using 2x4's was a bit chuncky for the size of the coolbox, so while I used the idea, I did not really use the plans and made up my own. I only used screws to attach the wood for the two shelves, all the other joints were cut and glue joints and at one point I felt I was making a jigsaw puzzle!
Other changes I made were:
No water drain tap - The drain in the cool box is set slightly above the base of the coolbox. I loved the idea of a tap for the external look of the finished project but for a practical purpose, it is very fiddly to install and you would still have to emply the bottom of the coolbox with a cloth as the water would not completely drain from the box. I did not remove the handles and made the wooden box slightly bigger, just big enough to raise the handle and remove the coolbox for emptying and cleaning.
Decorative Bottle Caps - Instead of putting these on the front, I designed the lid so that it could be covered with a layer of bottlecaps and grout (having first glued the caps on). The provided a surface for putting hot food on should you want to use it as a 'hotpad' (although you would not be able to open it if you did) - but mostly, I thought they would be less likely to fall off, it povides a rain/weather barrier, and futher insulates the box. So the lid in my version is framed with wood, then has a layer of insulation, a layer of 3/4" wood, then the bottle caps/grout.
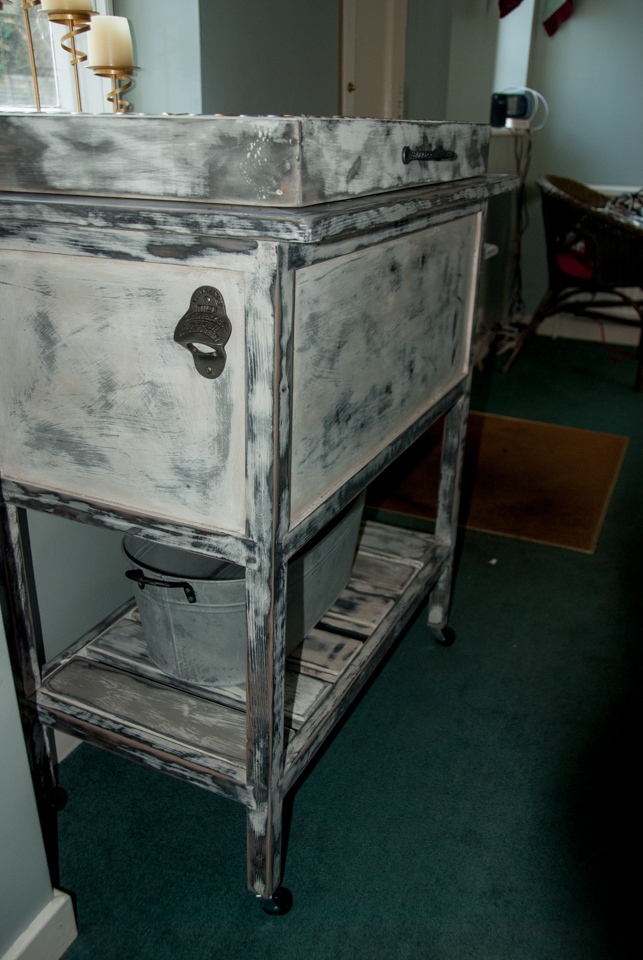
Bottle Cap Catcher - I added a bottle opener to the side opposite the shelf and attached below it a 1/2 circle terricotta planter which comes with a hole in the bottom to catch bottle caps.
The whole thing was painted in 3 different layers of Anne Sloan chalk paint, waxed and sanded to give it the distressed look.
I have a list of the wood used (with sizes) if anyone wants it. I plan to write the plans up better, but for now this is what I have.
Built from Plan(s)
Estimated Cost
Just the price of the coolbox as made from scraps already to hand.
Estimated Time Investment
Week Long Project (20 Hours or More)
Finish Used
Anne Sloan Chalk Paint
Recommended Skill Level
Intermediate
Comments

Wed, 03/11/2015 - 15:59
Love the chalk paint! This
Love the chalk paint! This is a really awesome project!
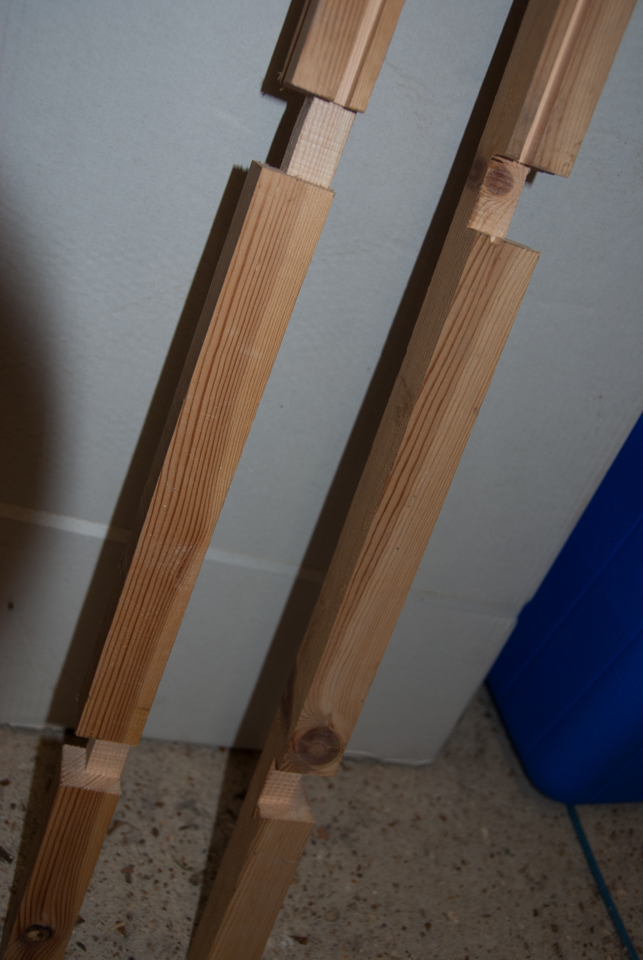
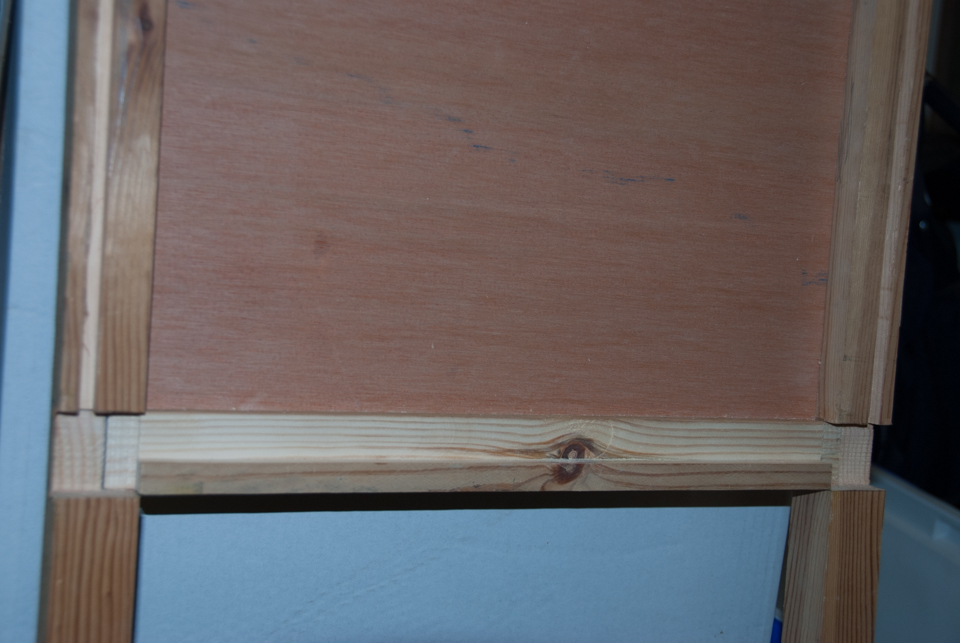
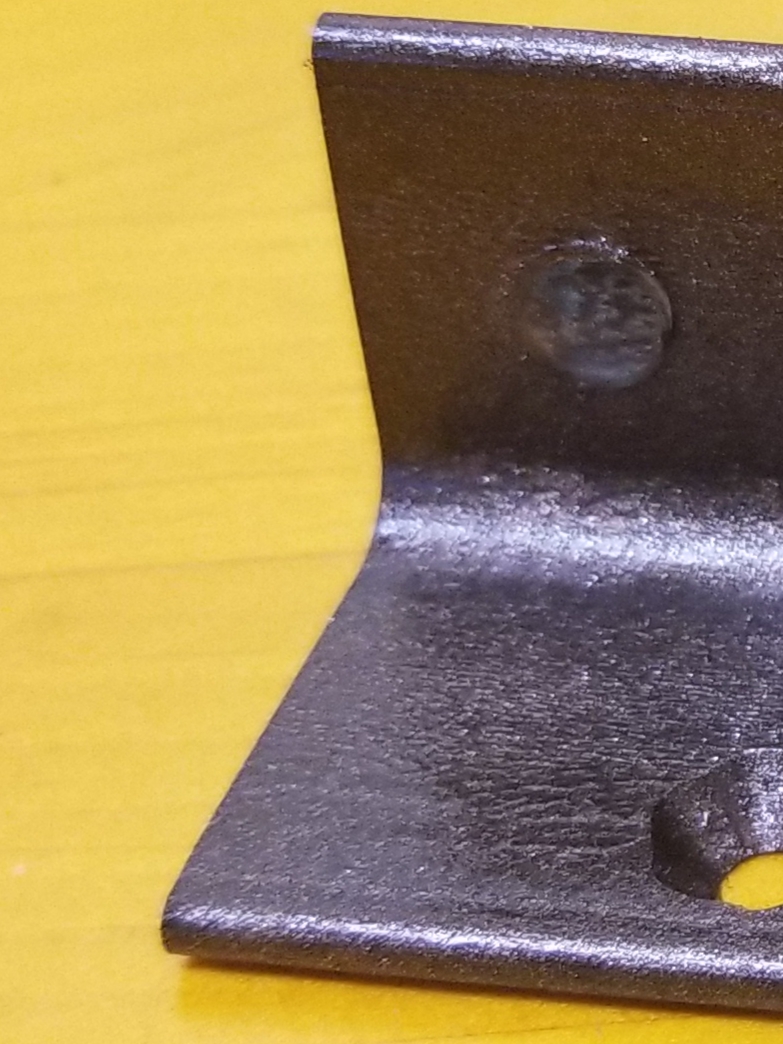
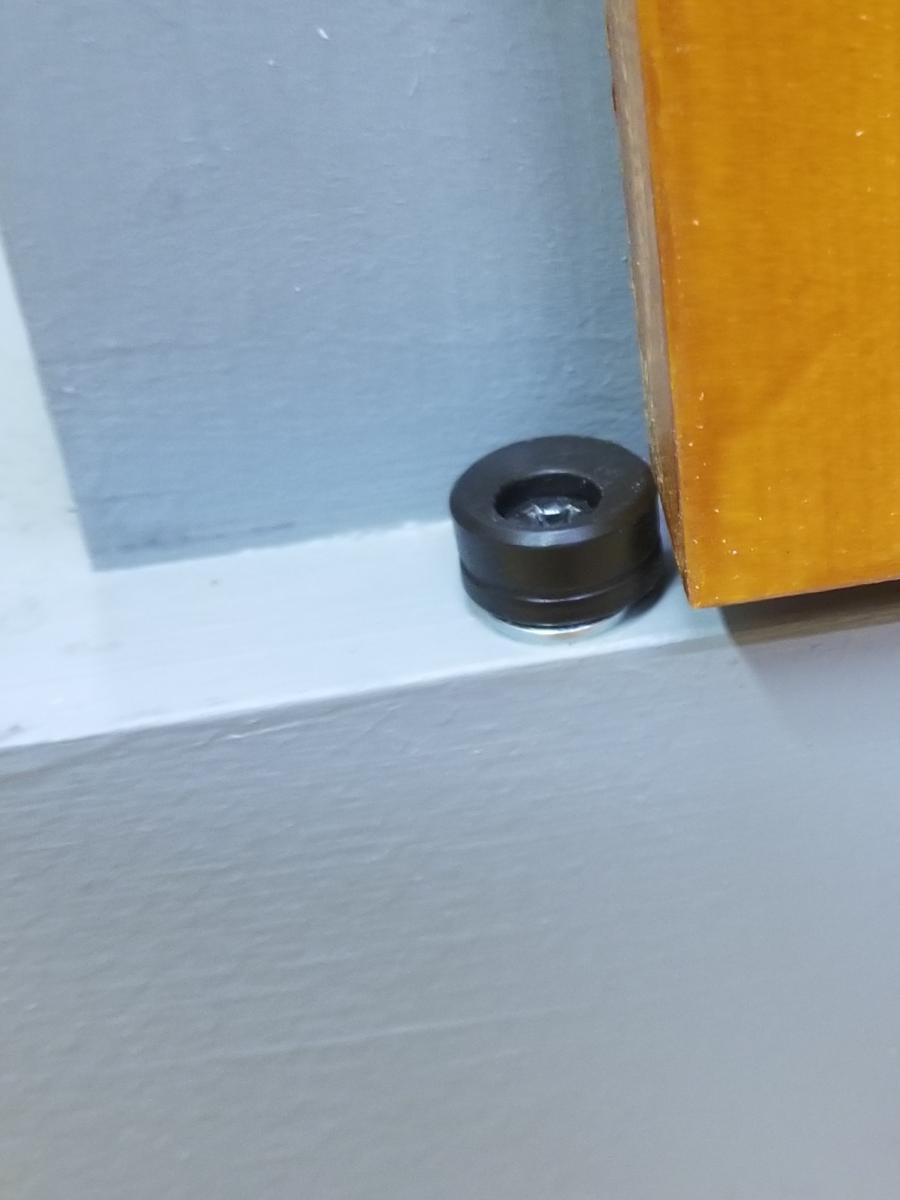
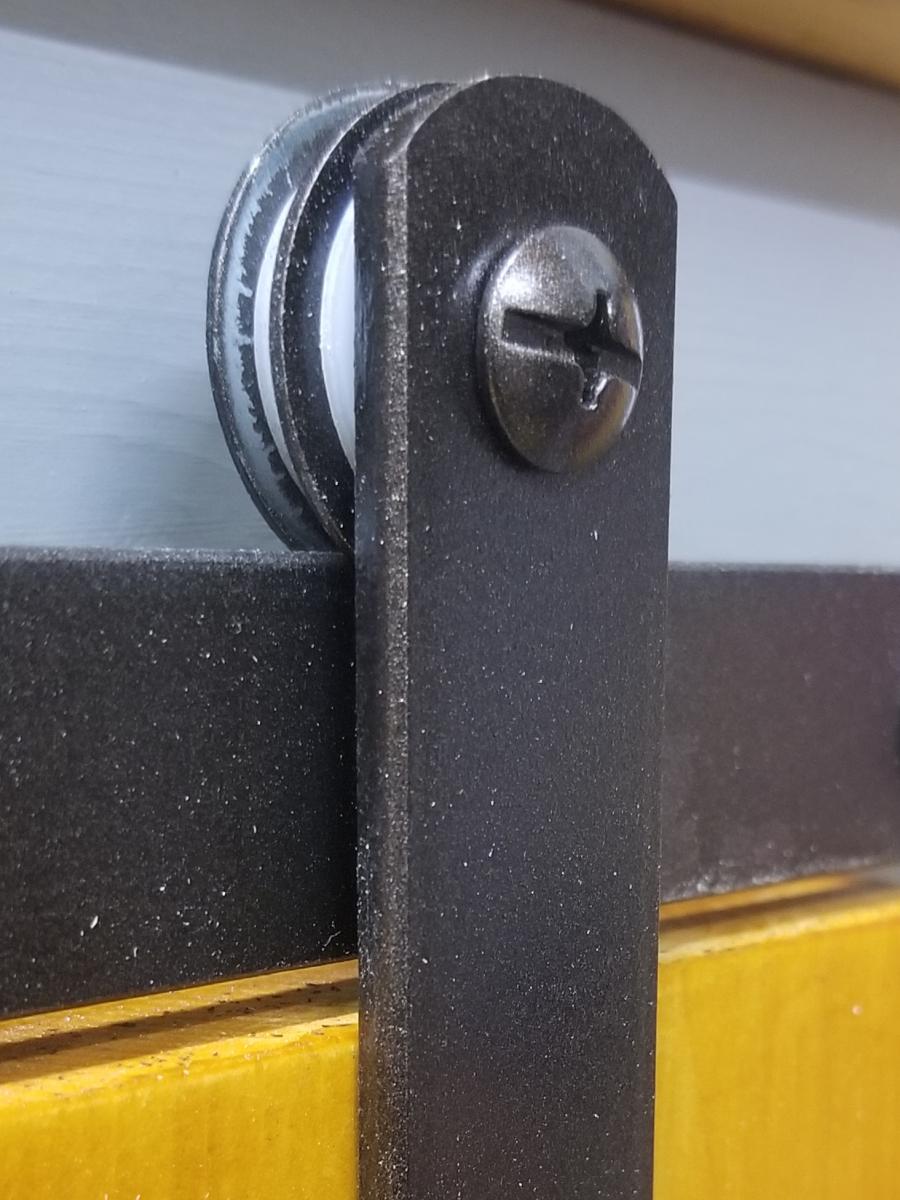
Rolling Barn Door Cabinet
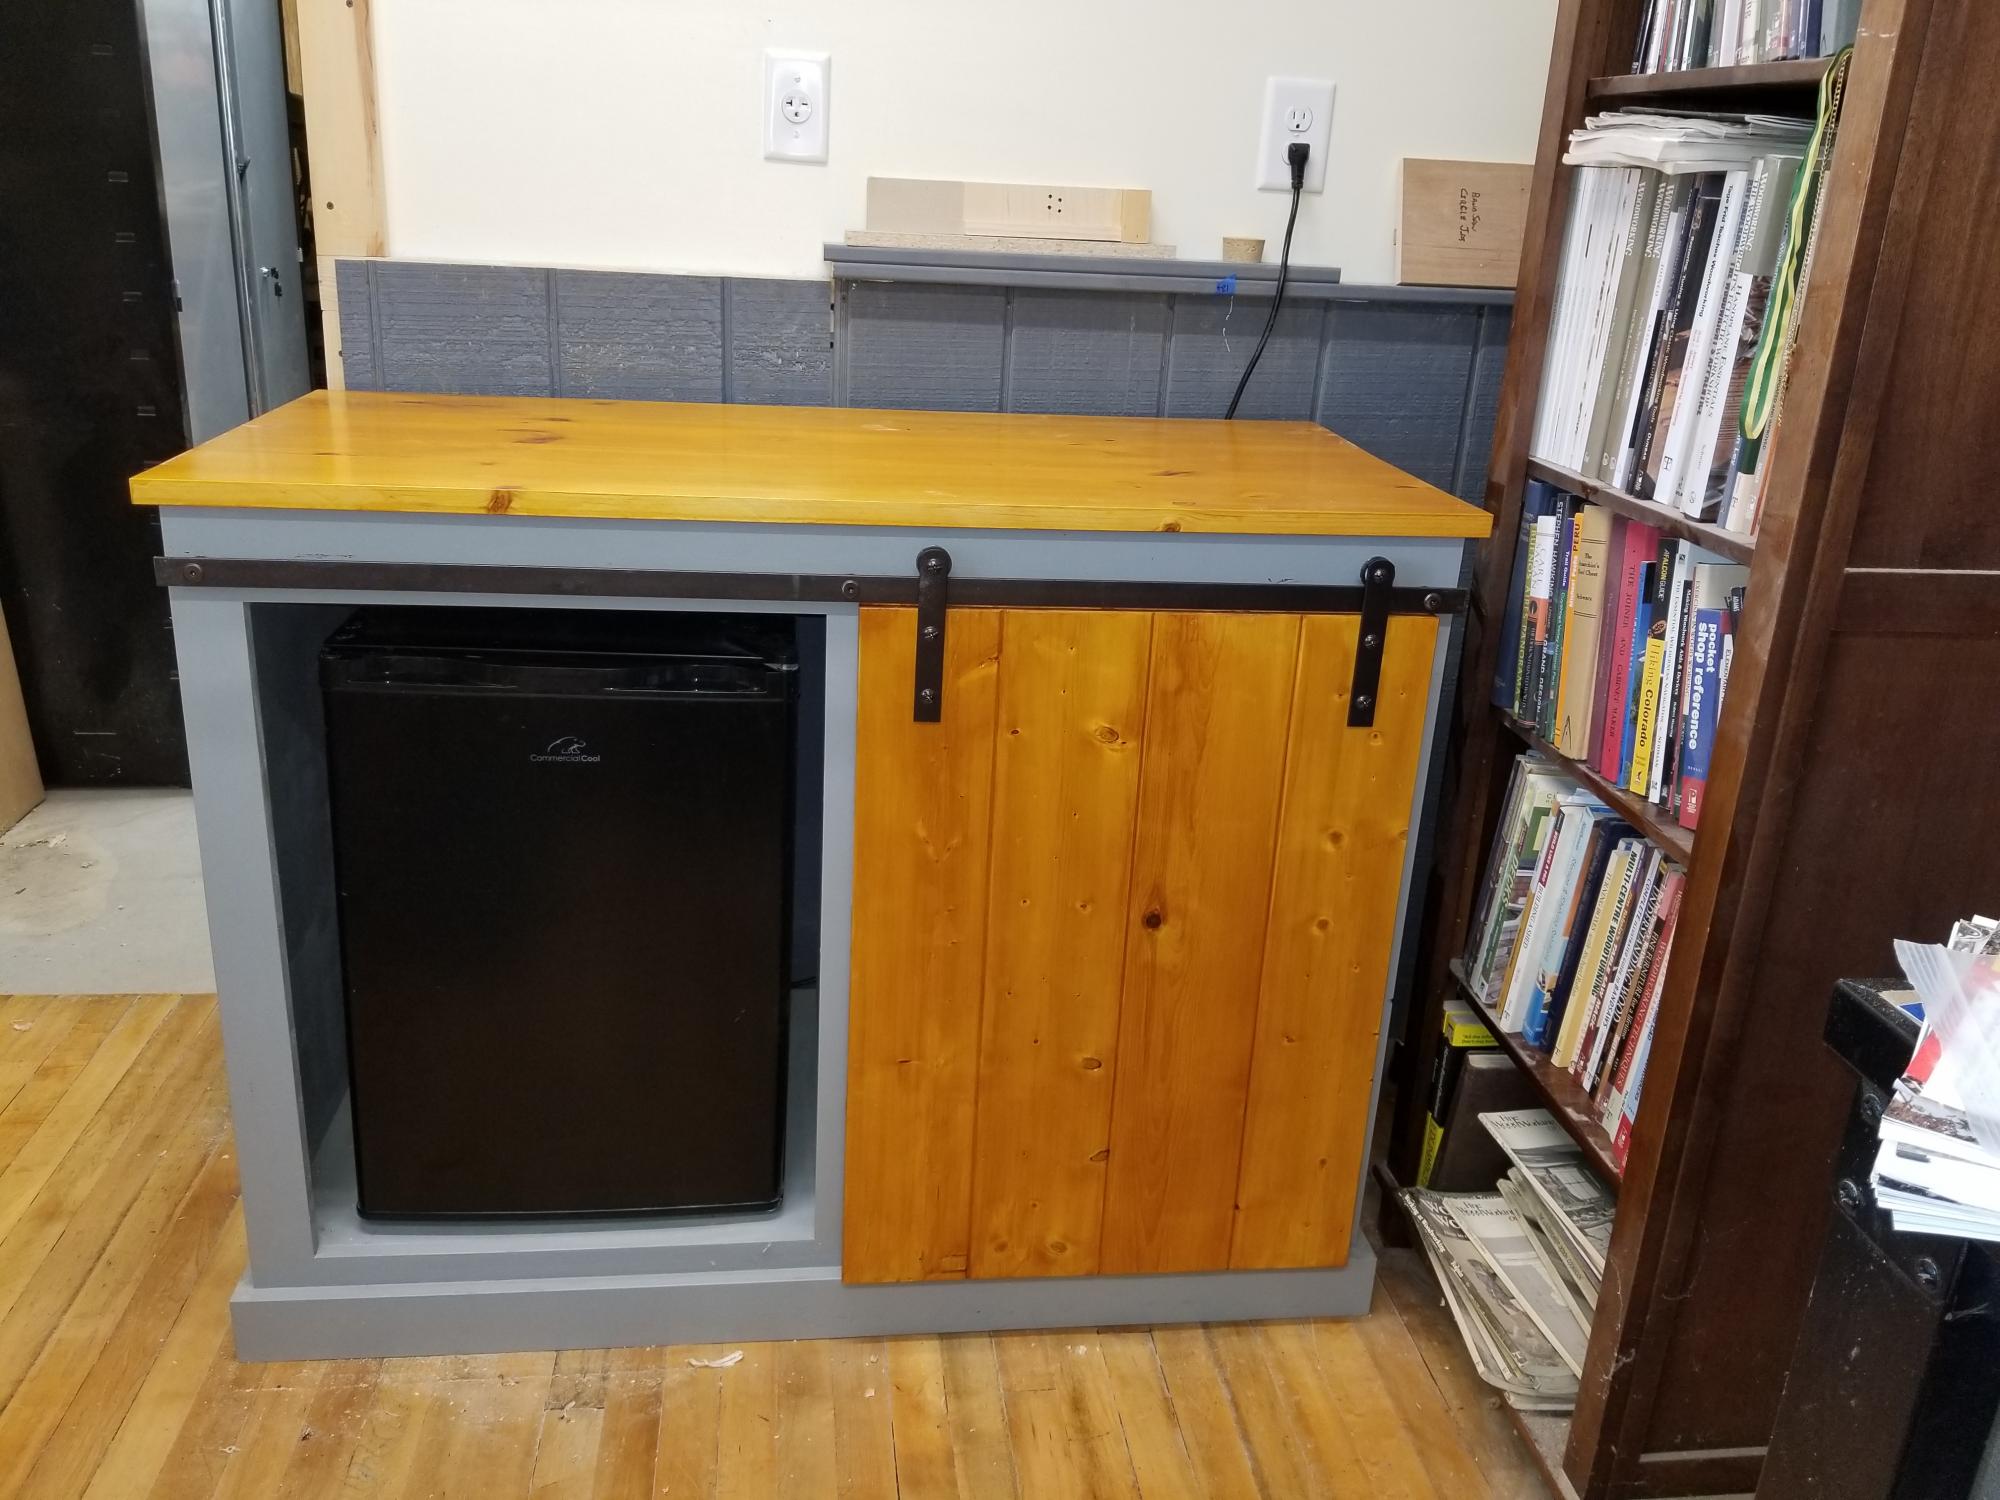
This is my version of the Barn Door Snack Cabinet. I made it for my shop/office and was just what I was looking for to add storage space. For the most part I used the published dimensions, but changed the construction method by notching the center divider and using a cutoff from the plywood panel as front and rear stretchers for attaching the top and the face frame. I also used nylon washers for the rollers to make the slide smoothly and quietly. I installed door stops to make sure the door wouldn't slide off the track, I added silicone door bumpers to the lower door guide to avoid wood to metal contact and finally, I ground a radius on the door straps to match the rollers.
Thanks Ana for the inspiration!
Built from Plan(s)
Estimated Cost
$200
Estimated Time Investment
Weekend Project (10-20 Hours)
Finish Used
Latex paint, amber shellac, wipe-on poly
Recommended Skill Level
Intermediate
Comments
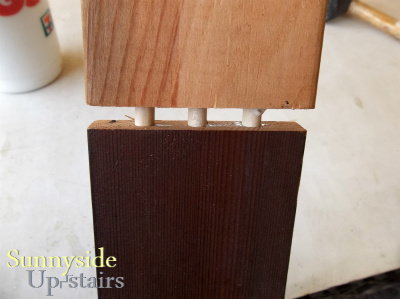
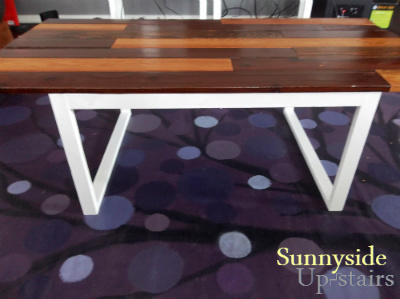
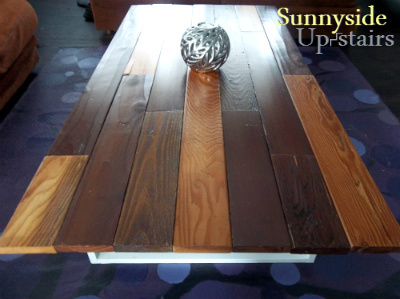
Reclaimed 1x4 Coffee Table
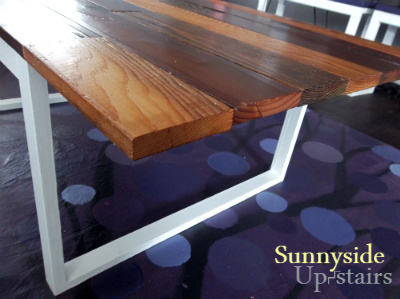
I purchased reclaimed 1x4s from a deconstruction warehouse called Re-Use Hawai'i for 20 cents a foot! I cut the lumber to make an un-ordered stagger pattern, experimented with dowel joints to join the cut pieces into 4 ft. planks and used pocket hole screws (hidden by the table legs and supports) to join the planks. I used old salvaged 1x2 window framing for the legs using pocket hole joinery.
Estimated Cost
$5 using reclaimed lumber, perhaps $35 from home improvement stores.
Estimated Time Investment
Weekend Project (10-20 Hours)
Finish Used
I left most of the wood natural, except for one 4 ft. 1x4 that I stained with one coat of Minwax Red Oak (on hand). The legs I painted with Behr Ultra Pure White (on hand). I sealed the top with 3 coats of Watco Wipe-On Poly.
Recommended Skill Level
Beginner
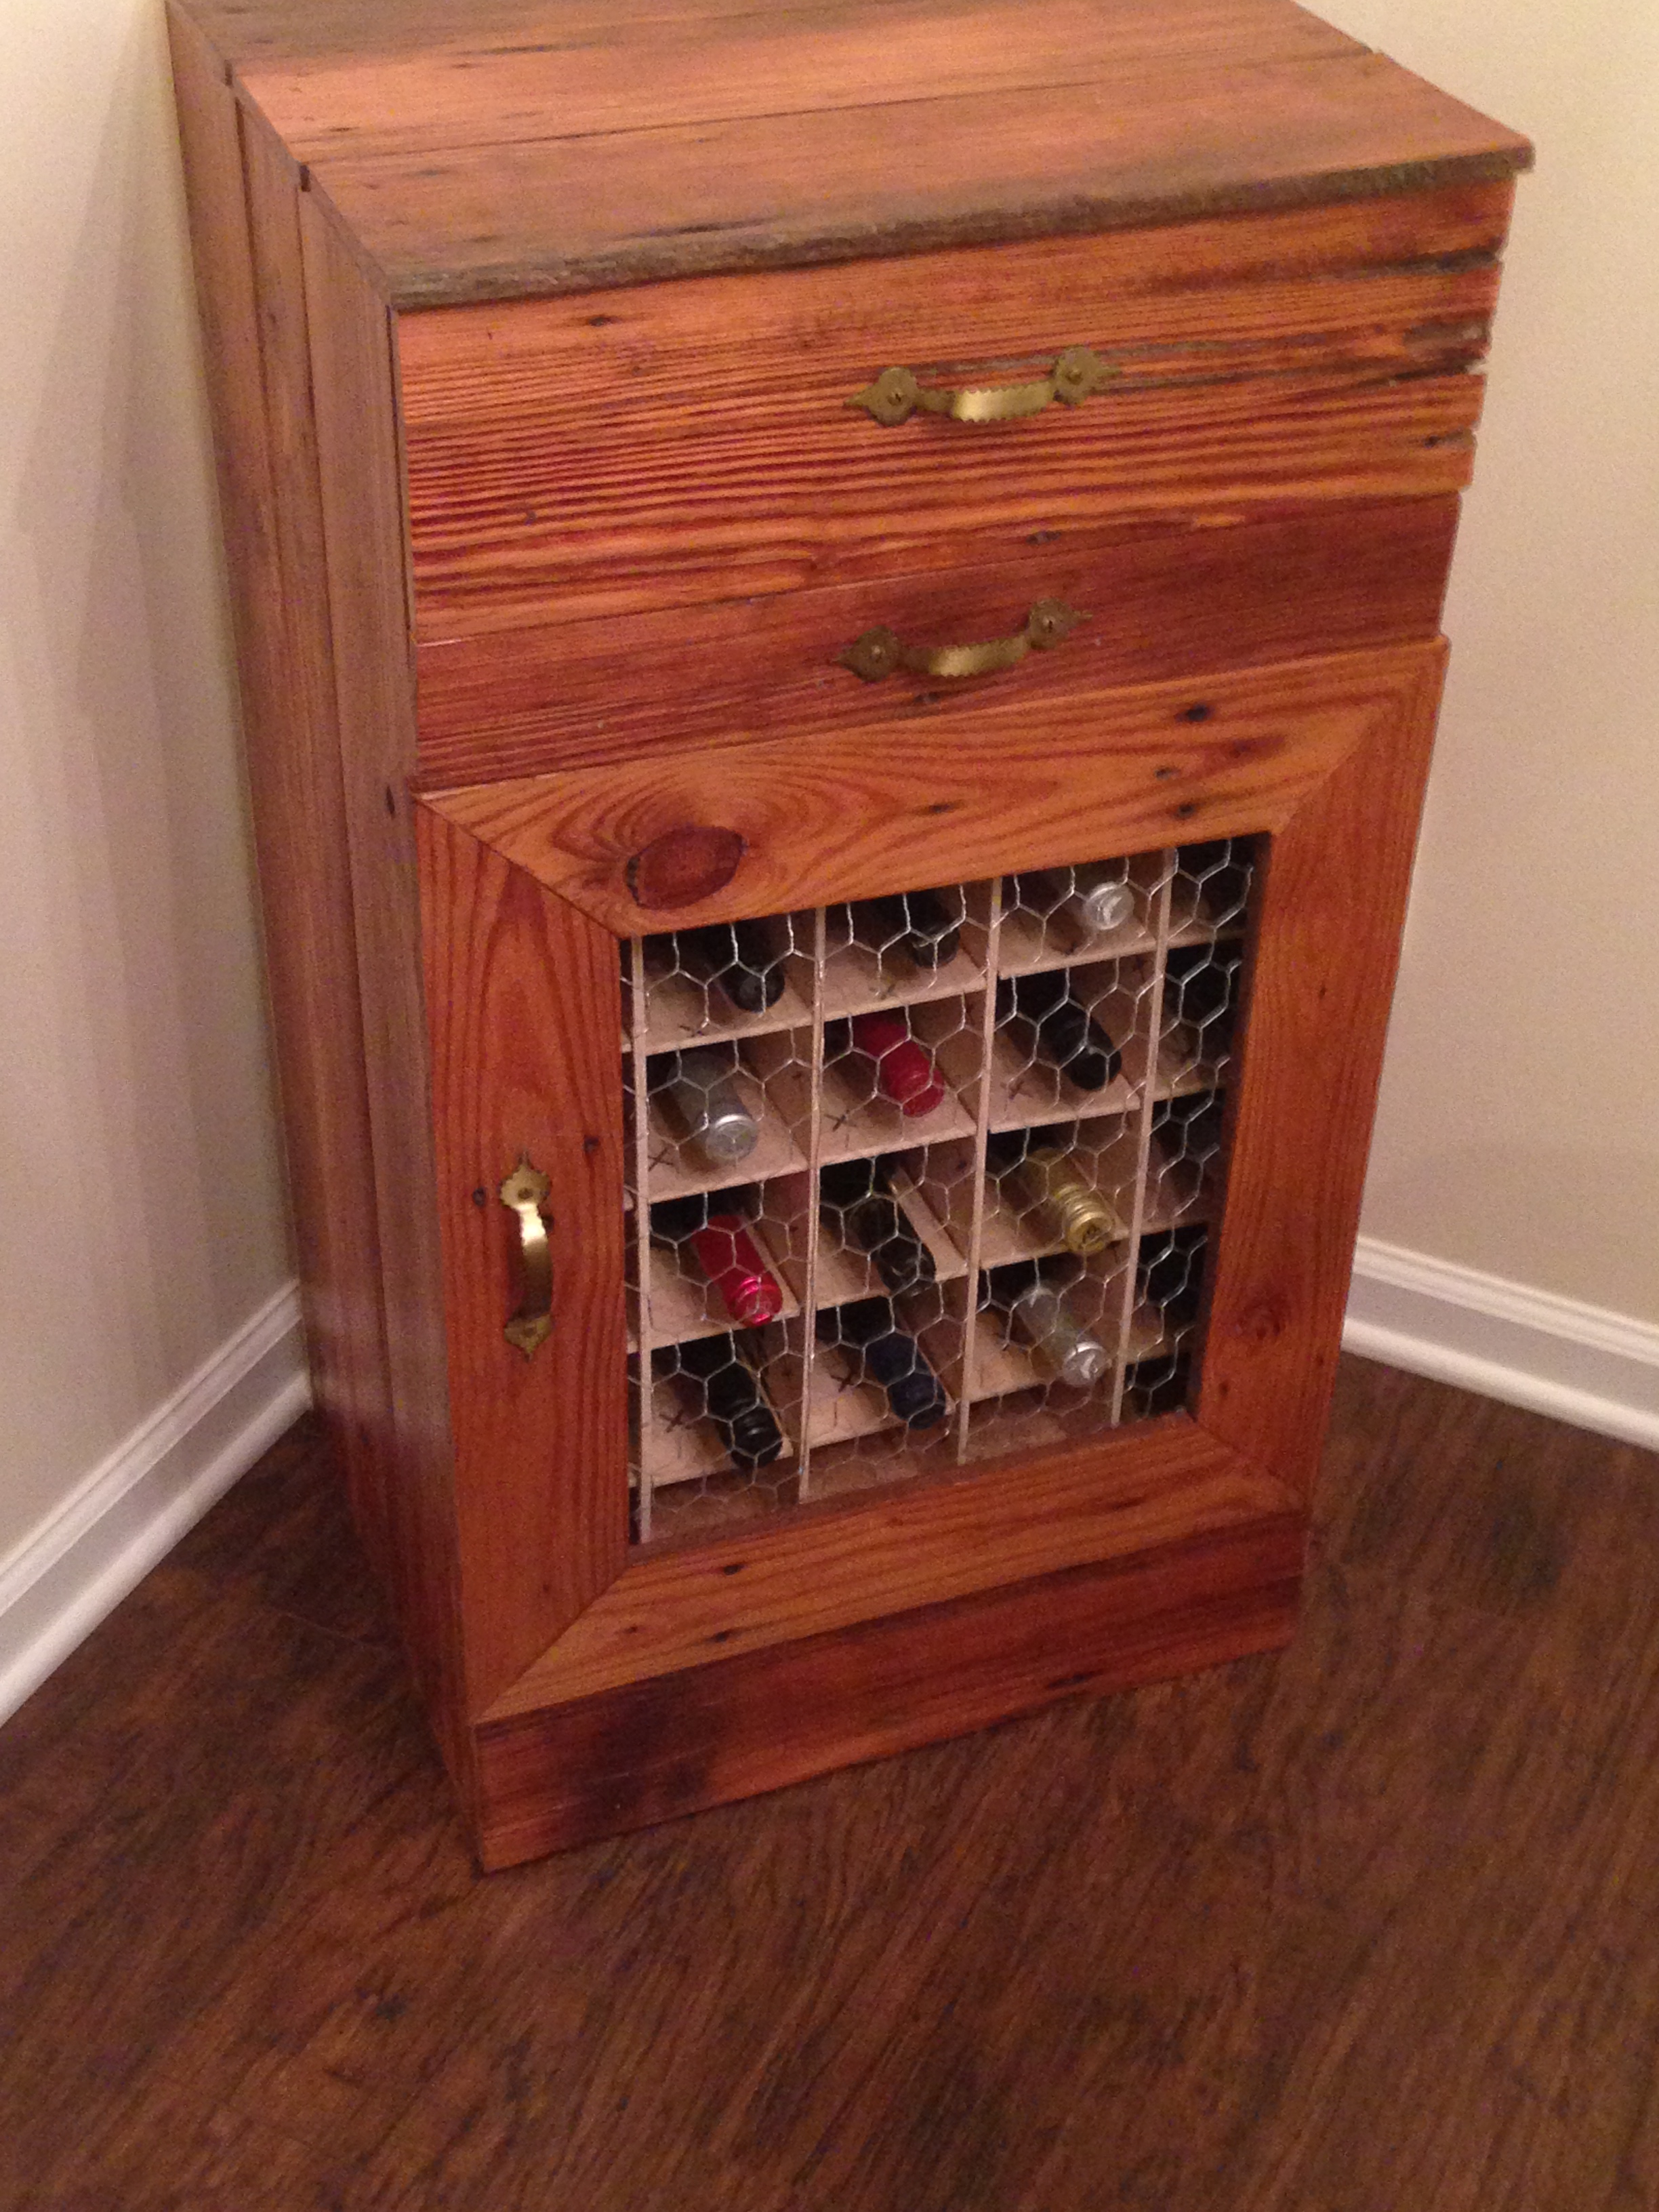
Wine Cabinet from Barn Boards
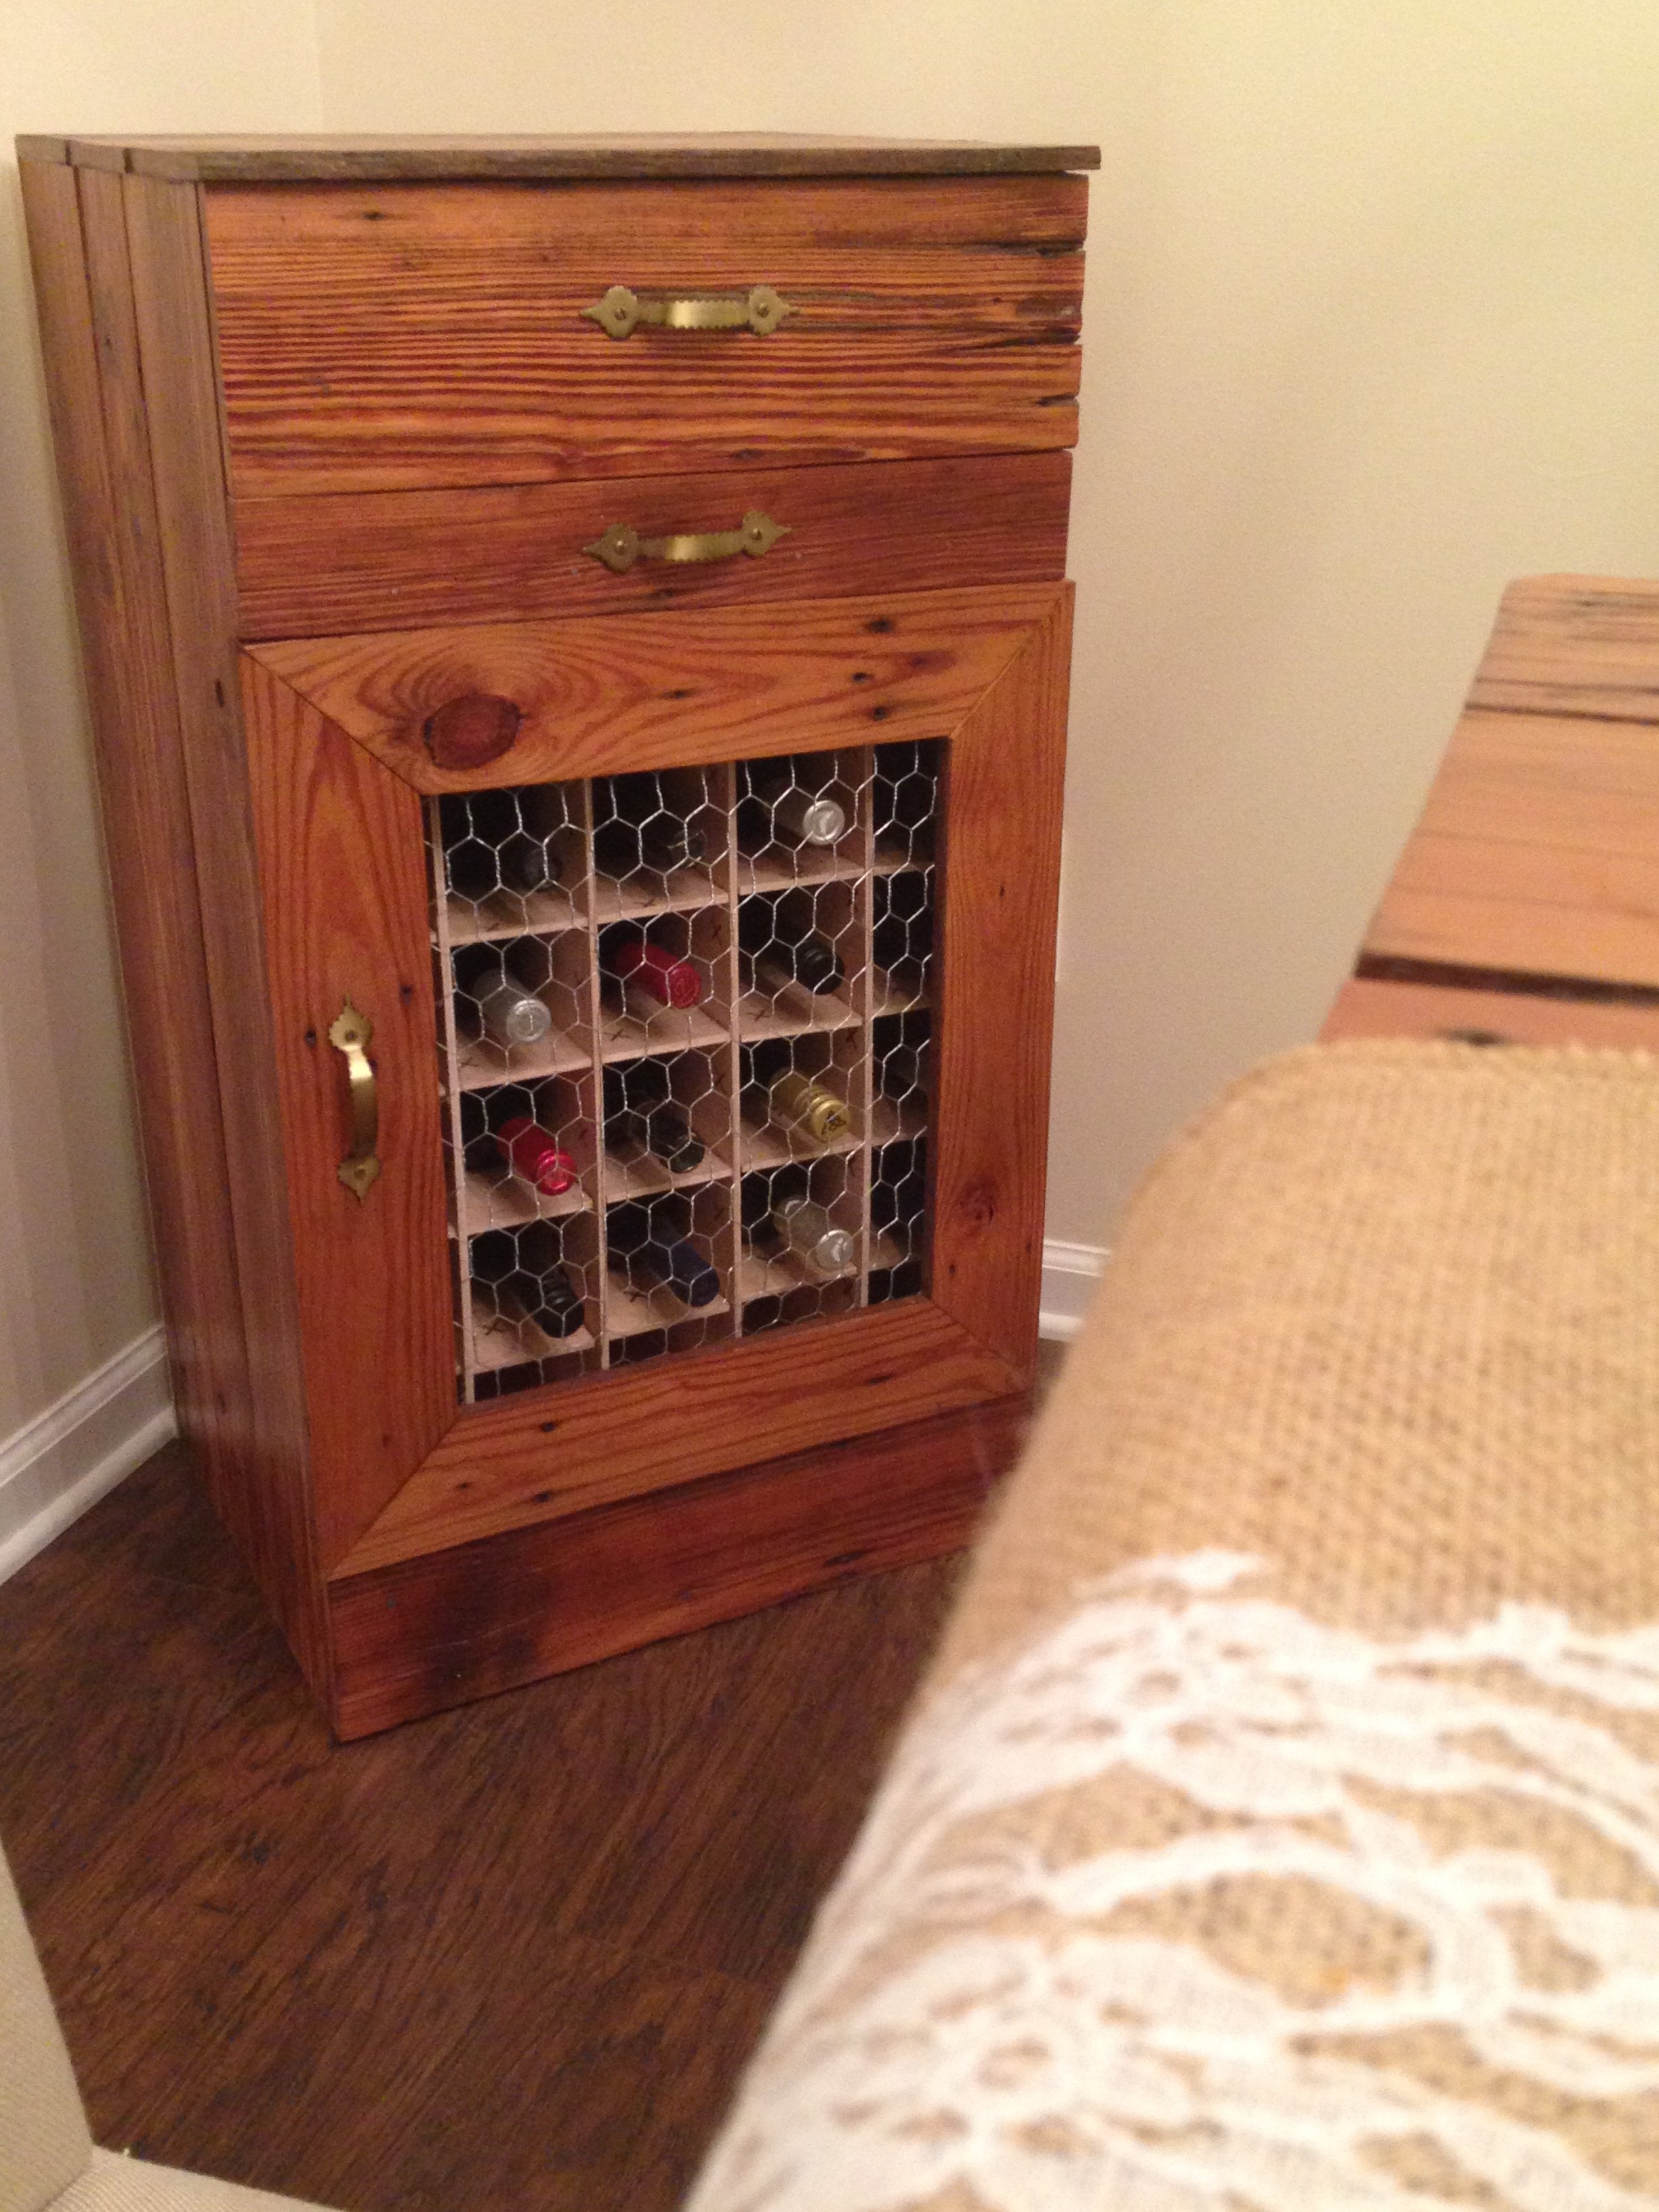
I used the plan more as inspiration. Most of the boards are from an old barn and had to be planed down. The cabinet holds 30 bottles. I also found some old hardware on a couple of drawers that were in the barn.
Built from Plan(s)
Estimated Time Investment
Weekend Project (10-20 Hours)
Recommended Skill Level
Intermediate
Comments

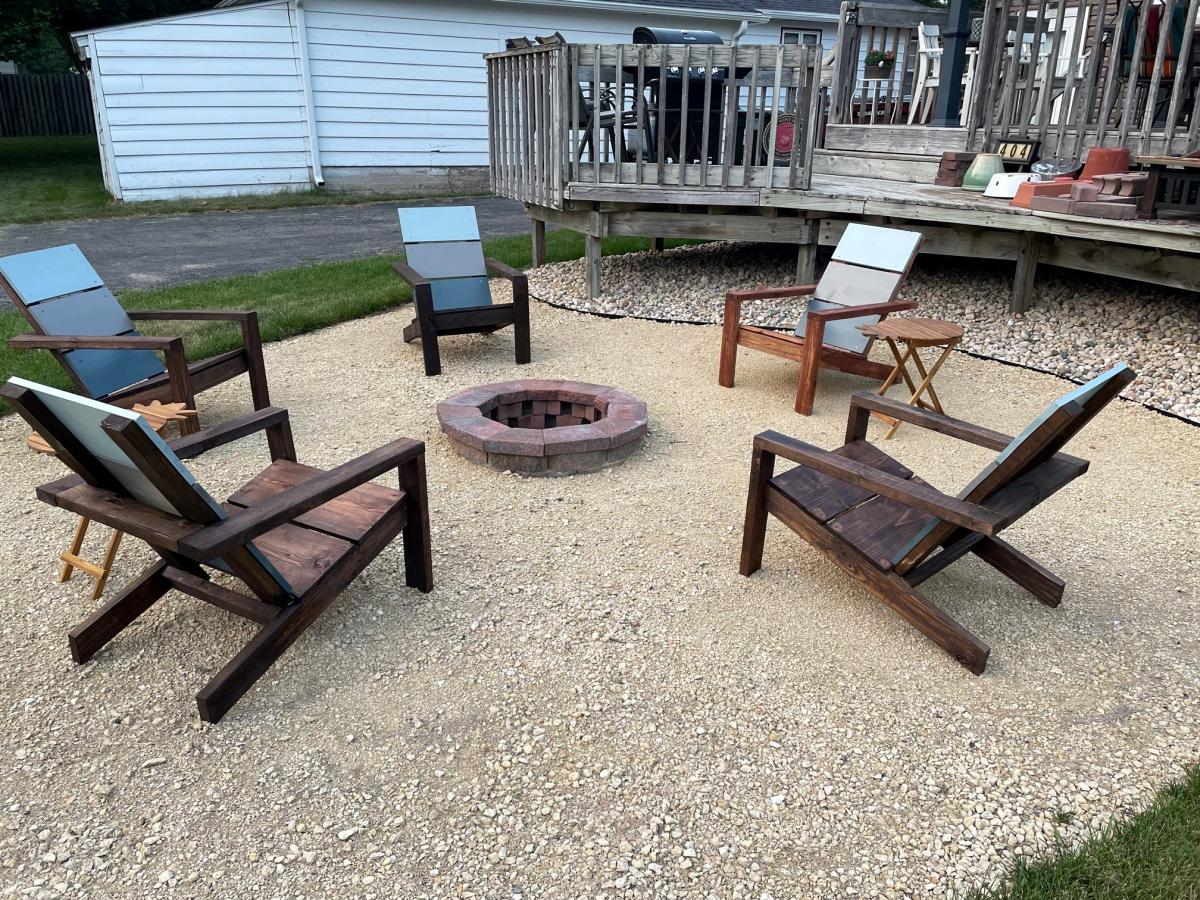
Paint and Stain 2x4 Adirondack Chairs
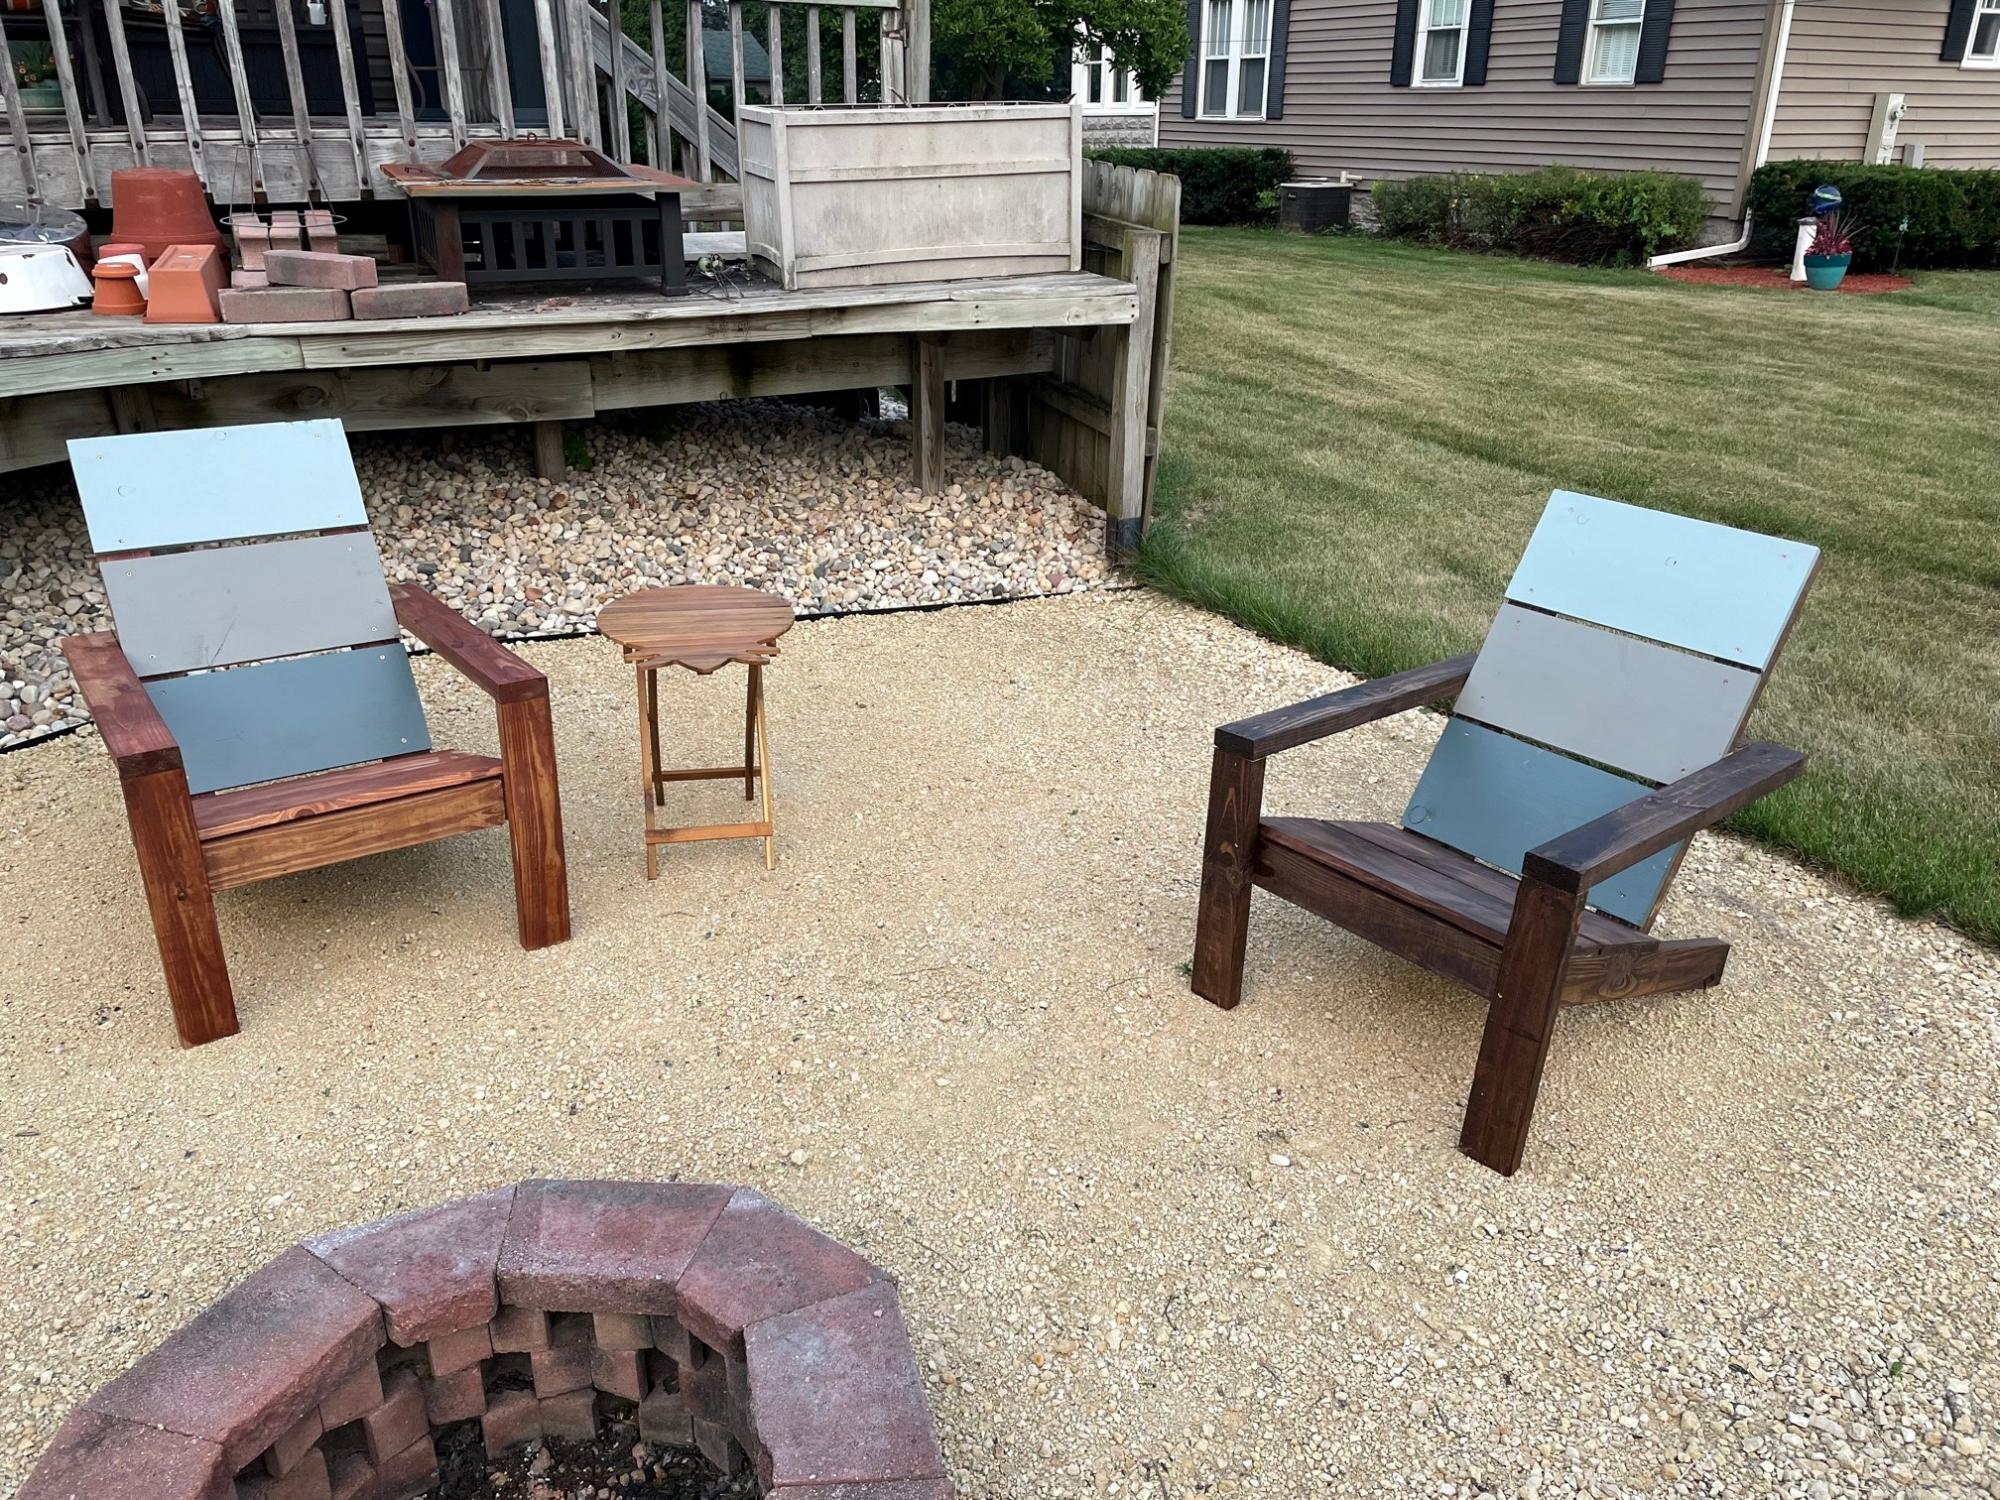
Built for our Firepit.
Built from Plan(s)
Estimated Cost
$40 per chair
Estimated Time Investment
Weekend Project (10-20 Hours)
Recommended Skill Level
Intermediate
Comments
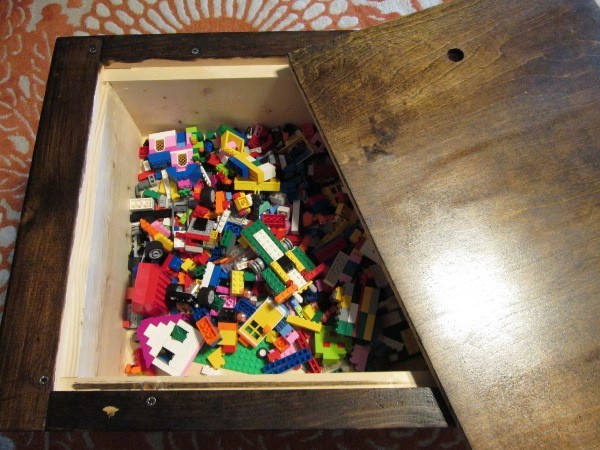
Lego/Storage Coffee Table

I built this lovely lego/coffee table for my son, 7 and my sanity at night! This is my 3rd plan I tried from Ana's wonderful plans. (I made airplane shelf and $10 wall ledge before).

Built from Plan(s)
Estimated Time Investment
Afternoon Project (3-6 Hours)
Recommended Skill Level
Beginner
Comments
Sat, 04/26/2014 - 11:57
Cost question
Your table is just beautiful!! Question-- do you remember about how much it cost for the wood materials? I am dying to make one soon!
(Also, I would be curious to know which stain you used, it's gorgeous.)
Thanks!
Cooler chest
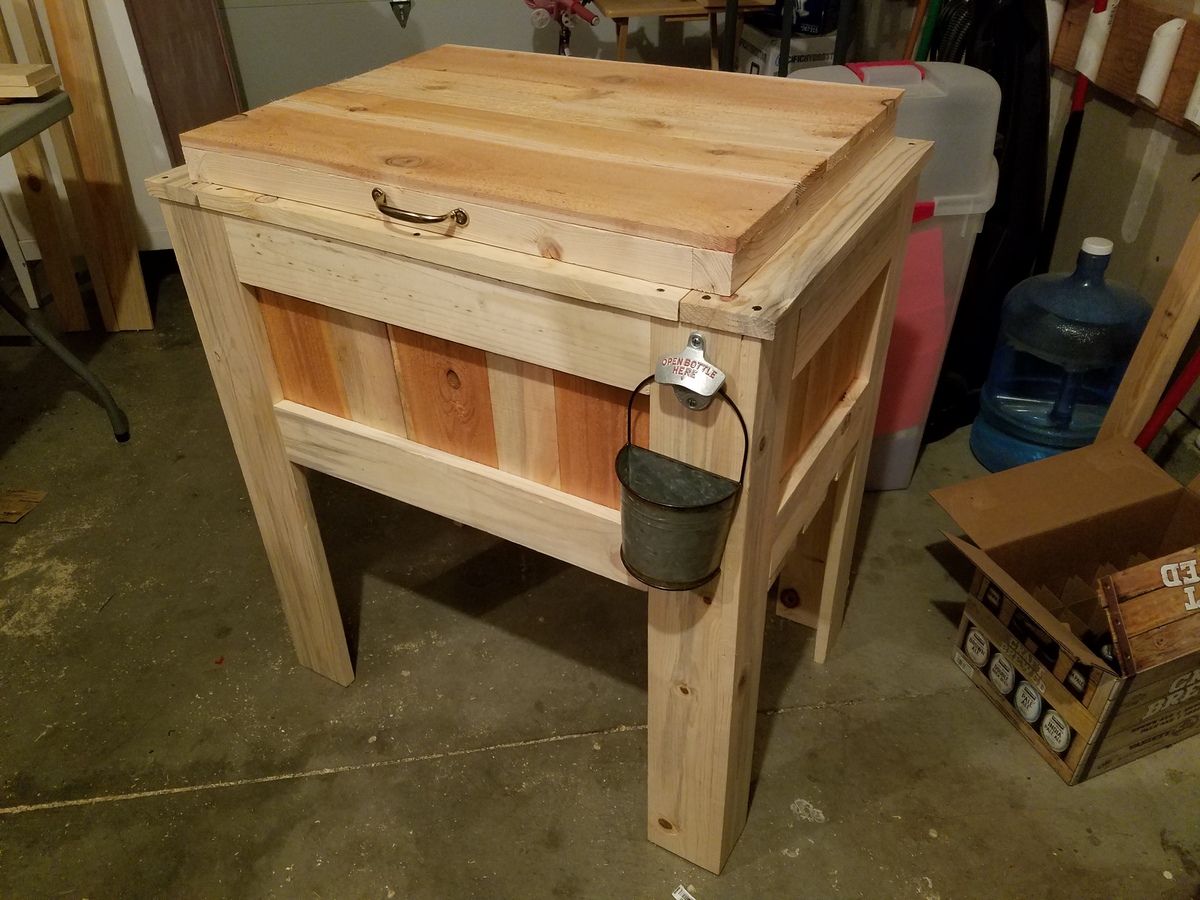
I'll be honest I didn't use these plans to build this cooler chest but this was the first place I saw the concept of building a box around a cooler to make a cooler chest so I give anna props for inspiring me I already had an old cooler to use so it helped keep the cost down I also used 1x4 blue pine and cedar fence picketts and repurposed the bottle opener from a growler carrier (in hindsight the bottle opener on a growler carrier doesnt make sense) all told this cost me about $45
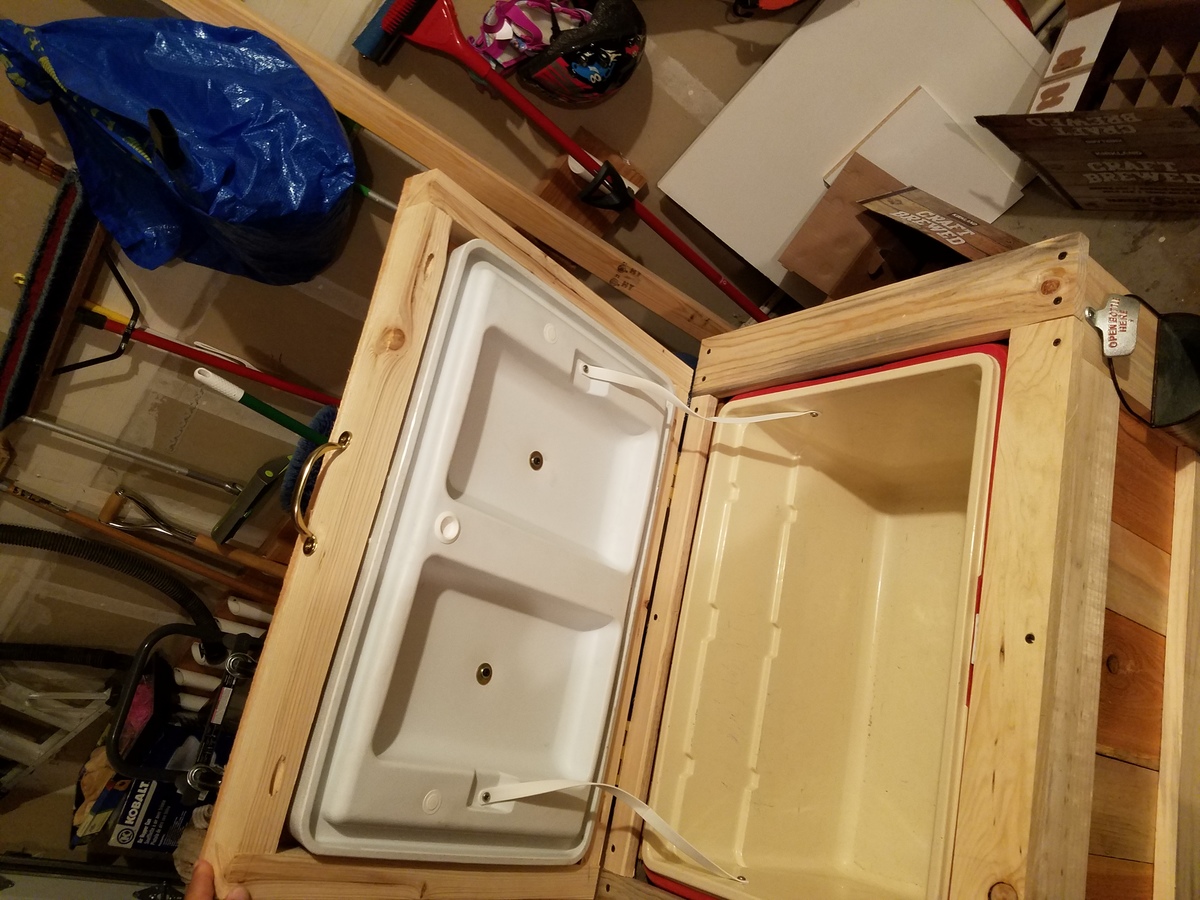
Estimated Cost
$45
Estimated Time Investment
Afternoon Project (3-6 Hours)
Recommended Skill Level
Beginner
Coffee table
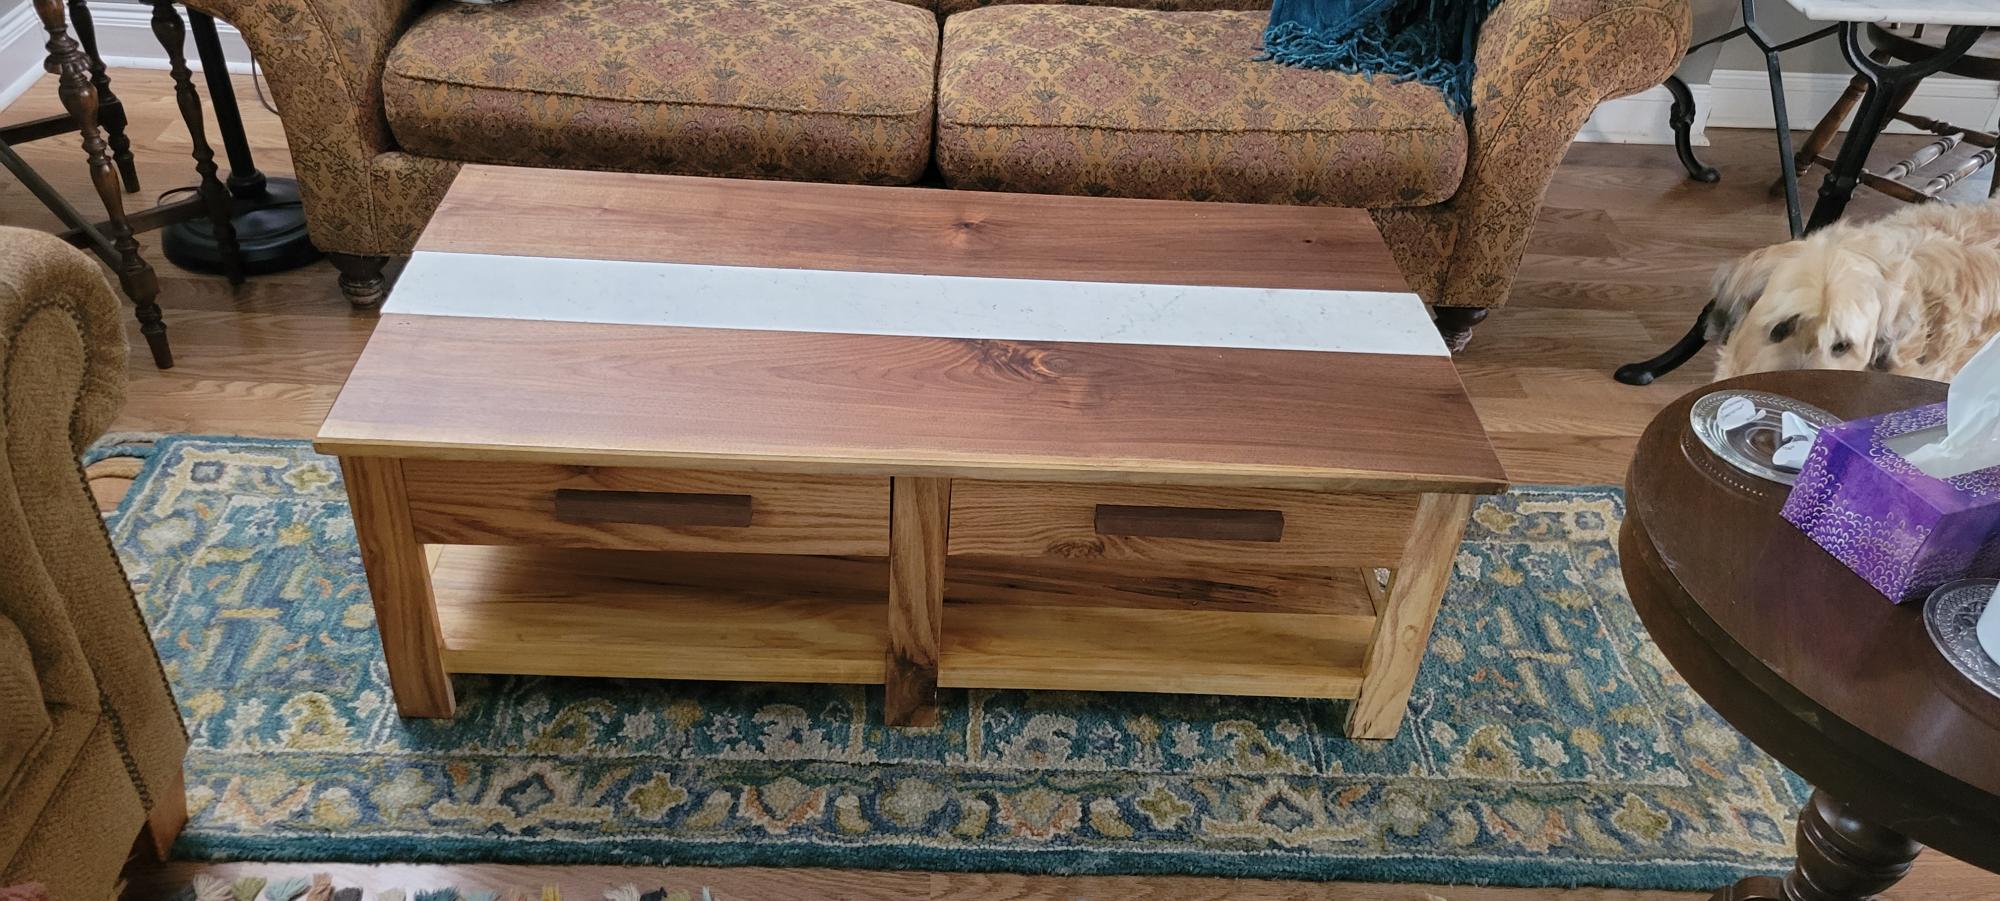
I modified the plans and used oak instead of pine. I used black walnut on top is guangzhou on top with white granite strip in the middle
Built from Plan(s)
Estimated Cost
I had all the materials in my shop except for the black walnut. That cost $100
Estimated Time Investment
Weekend Project (10-20 Hours)
Finish Used
3 coats of polyurethane
Recommended Skill Level
Advanced
Comments
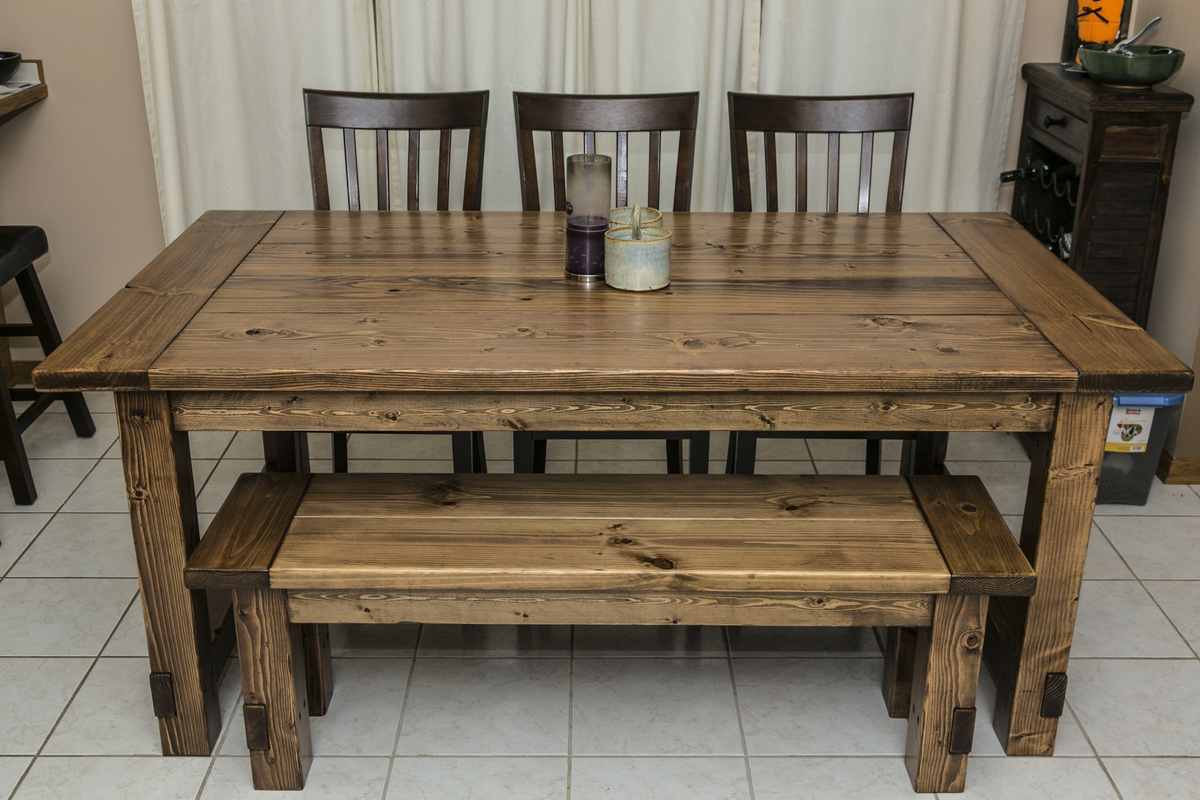
Husky Farmhouse Table
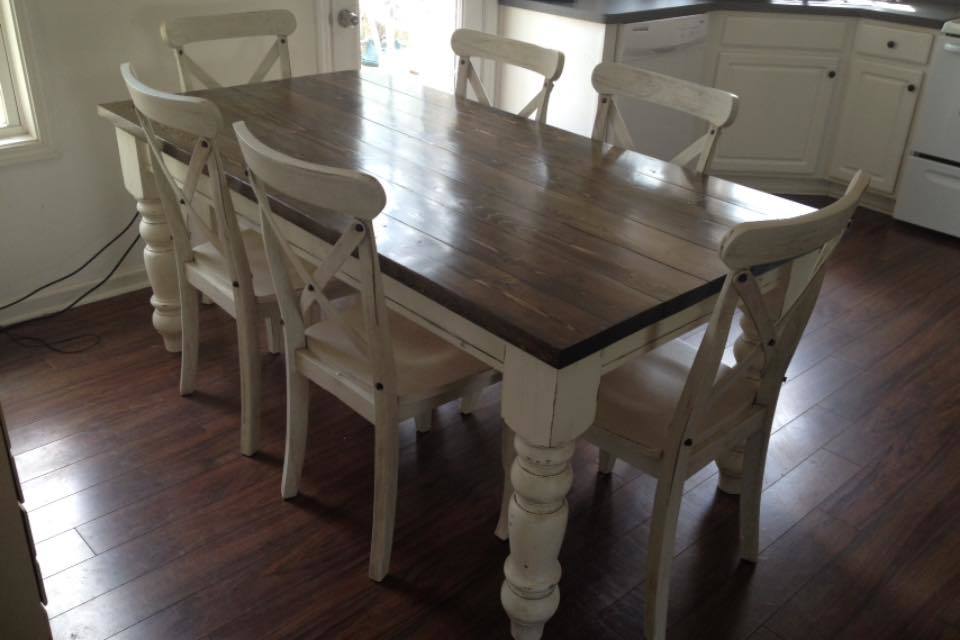
I fell in love with this table as soon as I saw it! I made another farhouse table last year (first table I'd ever built) and liked it okay but I had made a lot of mistakes. The old table is now my work table in the garage- which is great because I needed a bigger work surface anyway! I tried to make my table just like Ana's version but I used regular latex flat paint over the stain instead of milk paint (couldn't find the type she used). I was impatient and didn't want to order it and wait for it to be shipped. I was kinda hoping it would flake/crack a little but it didn't. Oh well, I still really like how the legs turned out. I stained them (and the top) with a 50/50 mixture of Minwax stain in dark walnut and classic gray. I used three coats of Minwax fast drying poly on the table top and just rubbed the legs/base with a furniture wax to give them a little bit of a smooth sheen. I also distressed them a little bit. I like how the dark stain kinda bled through the paint. It really helped to add to the antique effect. I wish I had taken more pictures throughout the building process but I was so focused on the job that I just didn't think about it! Anyway, I just love this table! It was really fun to build and the turned legs take it to the next level!
Built from Plan(s)
Estimated Cost
$400
Estimated Time Investment
Weekend Project (10-20 Hours)
Finish Used
Minwax dark walnut and classic gray mixed 50/50
Minwax fast-drying polyurethane
flat latex paint in an antique white/cream
clear furniture wax
Minwax fast-drying polyurethane
flat latex paint in an antique white/cream
clear furniture wax
Recommended Skill Level
Beginner
Comments
Thu, 02/01/2018 - 10:37
Wood species
Love this table!!!! Can you tell me the wood species that you used?Love the stain color!!!
Thu, 02/01/2018 - 10:38
Wood species
Love this table!!!! Can you tell me the wood species that you used?Love the stain color!!!
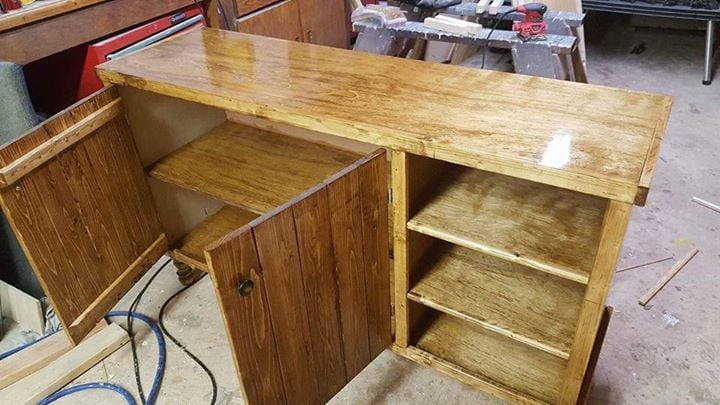
Emersen Buffet-First Brag
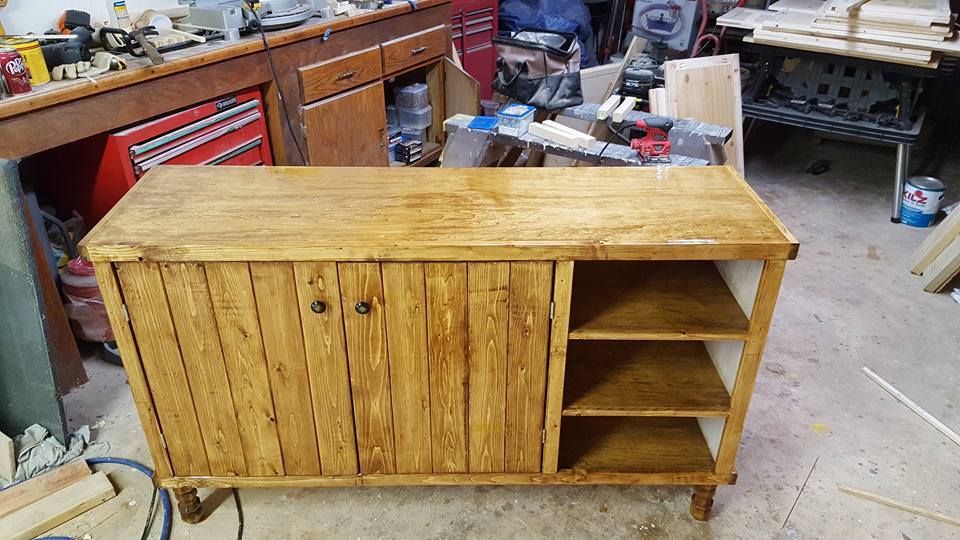
I've built several things from the page but this is the first that I have posted about. I love this site. Everything I have built has been so easy because of the way the plans are laid out. I added my own little touches to the buffet but for the most part I followed the plans as they were.
Built from Plan(s)
Estimated Cost
$100
Estimated Time Investment
Day Project (6-9 Hours)
Finish Used
Minwax Early American stain and clear gloss poly.
Recommended Skill Level
Intermediate
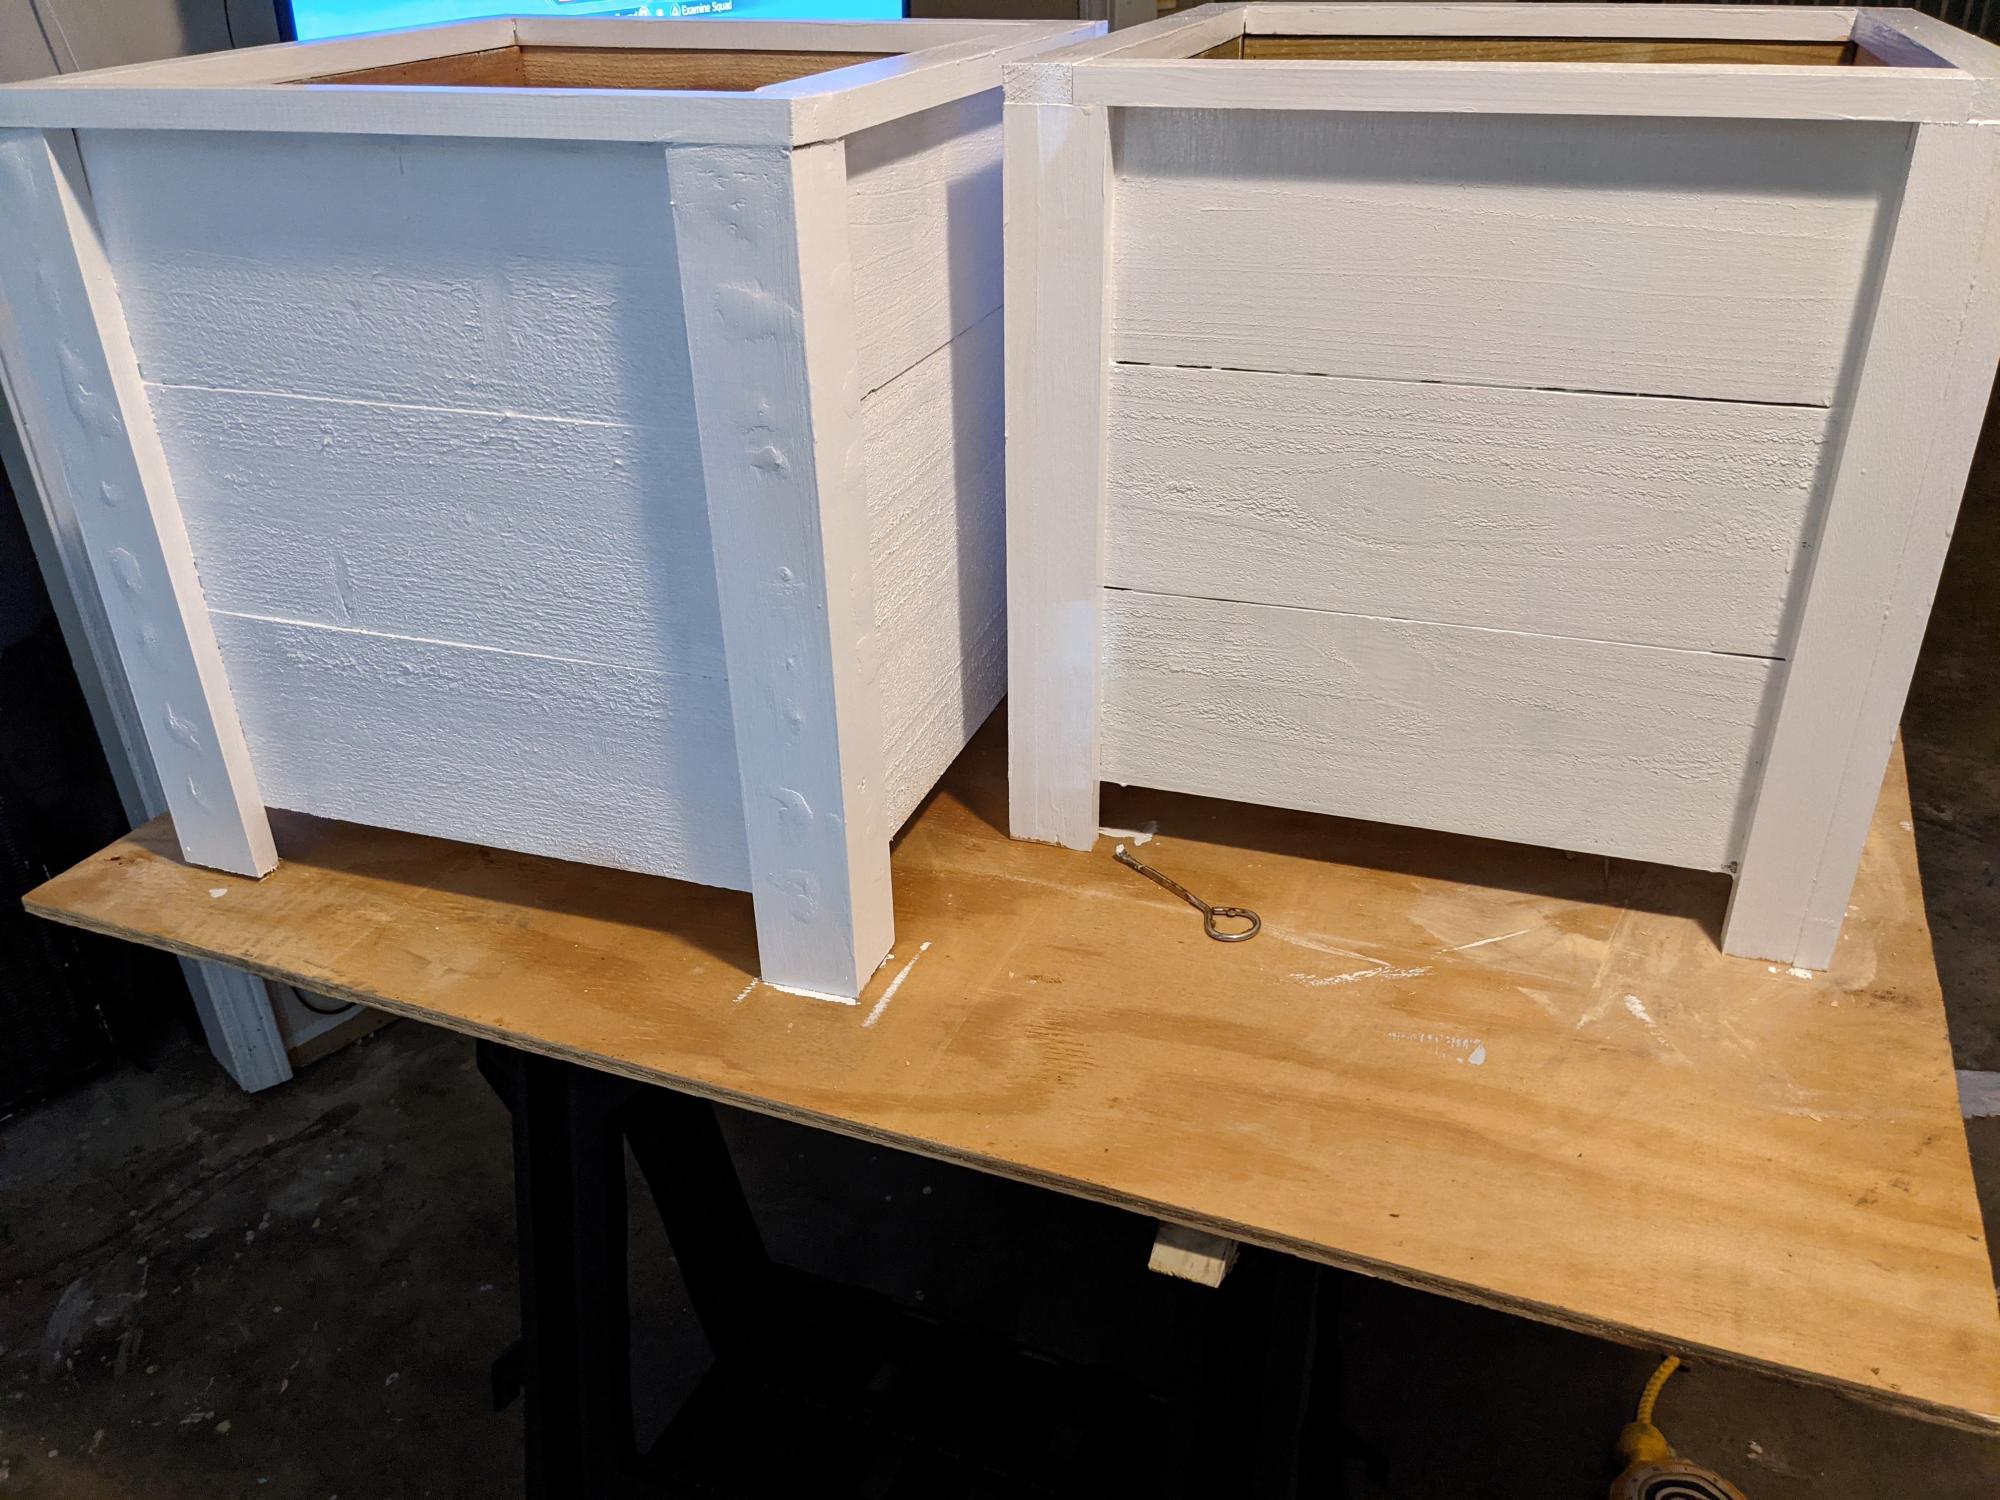
black Tall wood planter
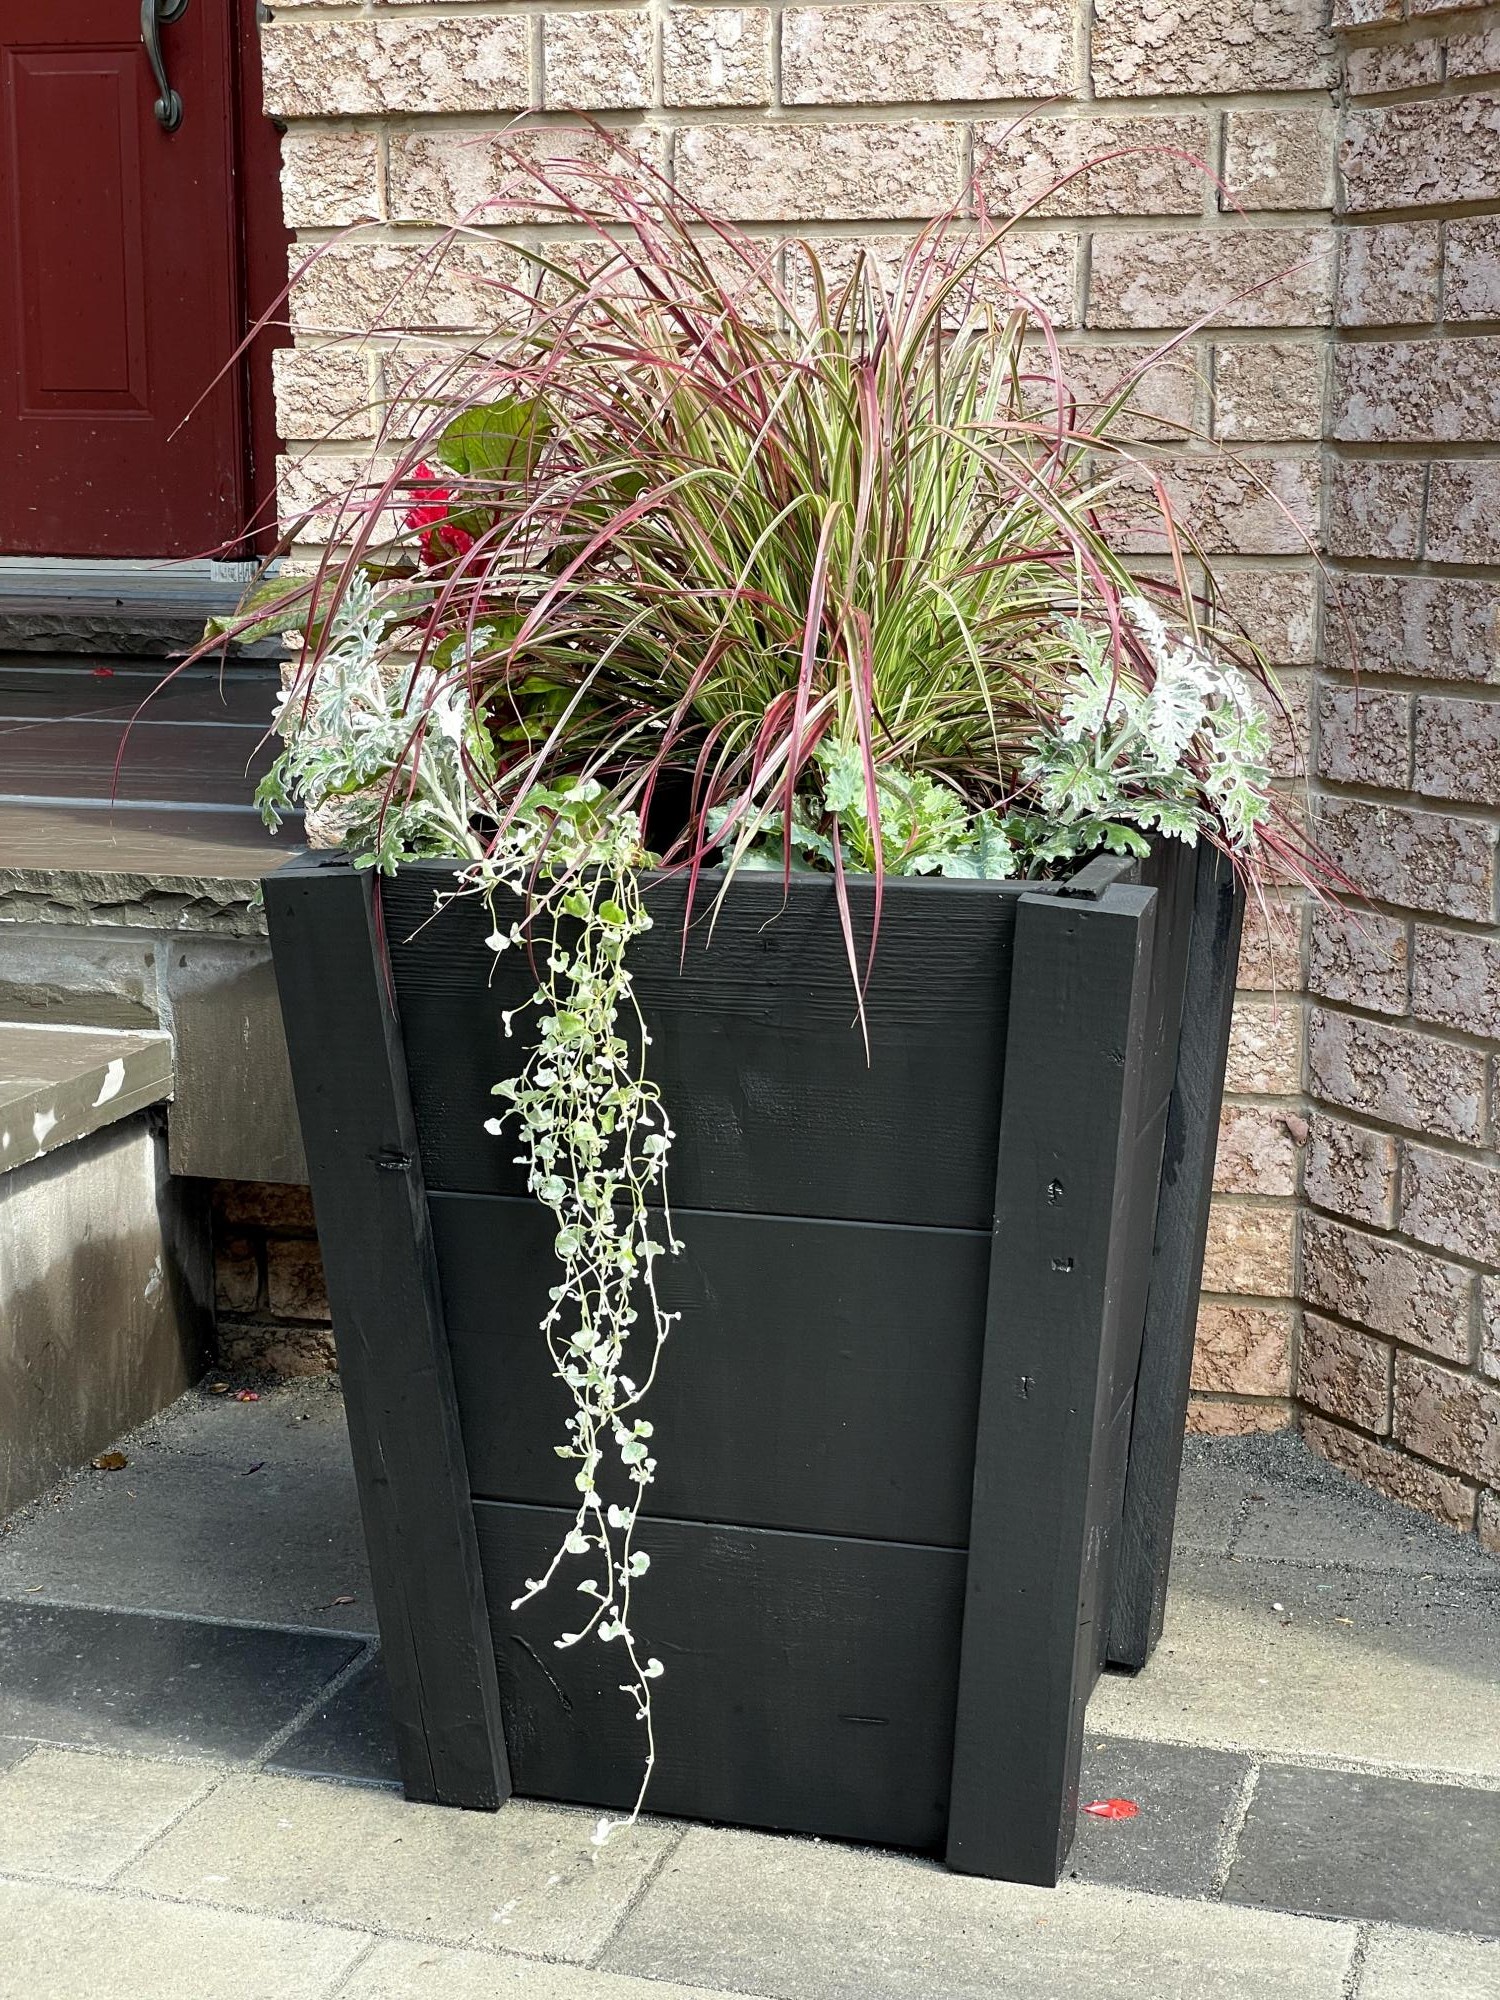
plan was easy to follow! super cost effective because I just used scrap wood found in local stores and nails. It took me longer than expected since scrap woods are not as long so need to do time in sections at a time, but all worth it.
Built from Plan(s)
Comments
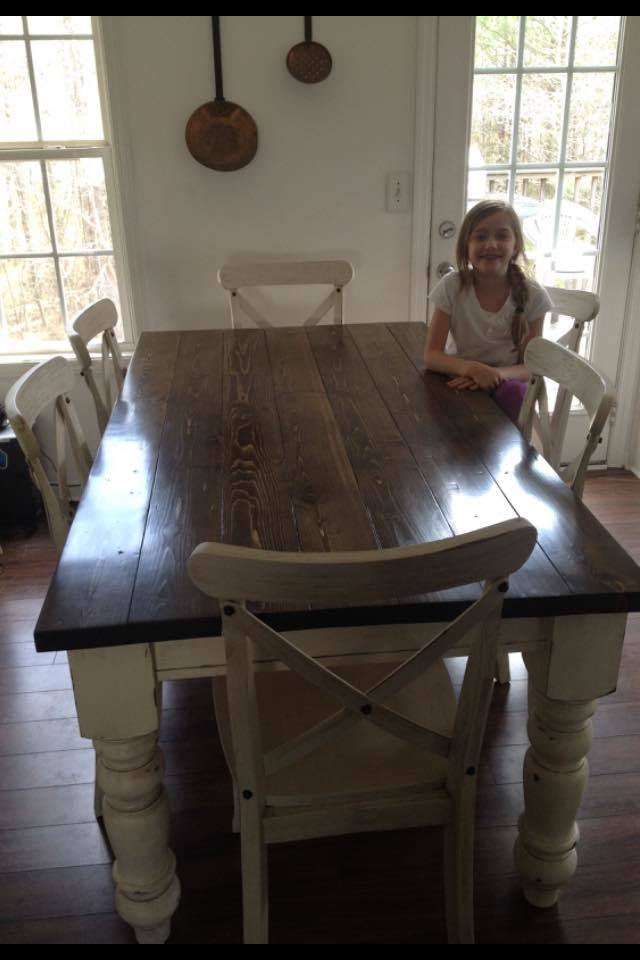
1st project
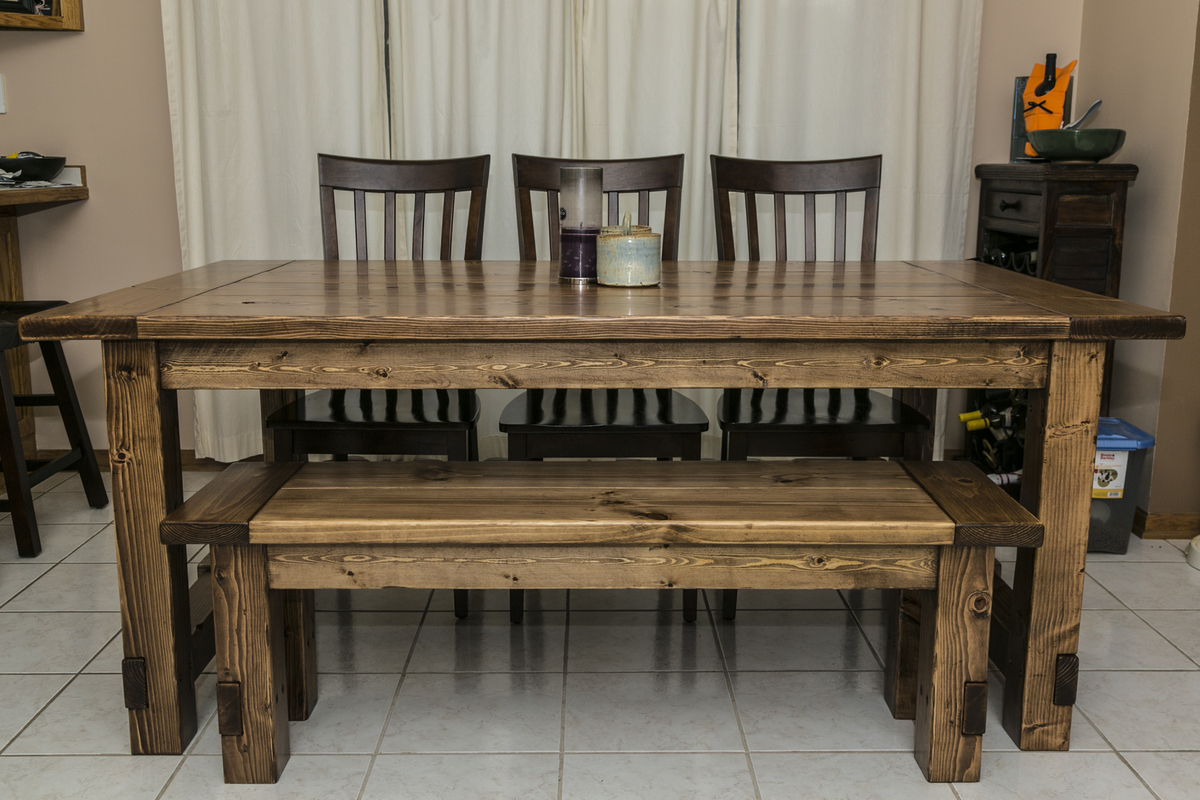
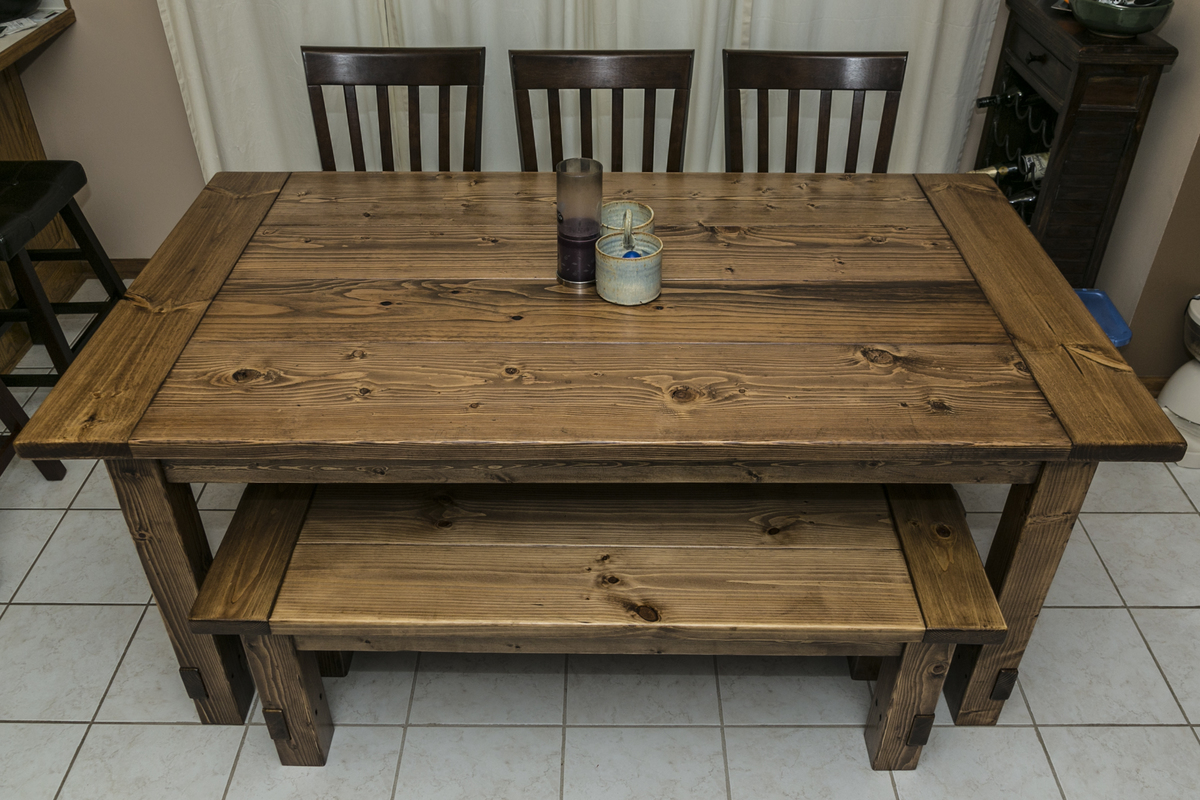
I found the table here, but ended up using the modified plans for the 72" table from this site - http://tommyandellie.com/index.php/2012/01/13/new-and-improved-farmhous…
I haven't built anything out of wood for 20 years and I had no problems building this table. I also built the bench and two 15" extensions.

Built from Plan(s)
Estimated Cost
$200
Estimated Time Investment
Week Long Project (20 Hours or More)
Finish Used
Minwax Pre Stain, Minwax Special Walnut (1 coat), Minwax fast dry Satin Poly
Recommended Skill Level
Intermediate
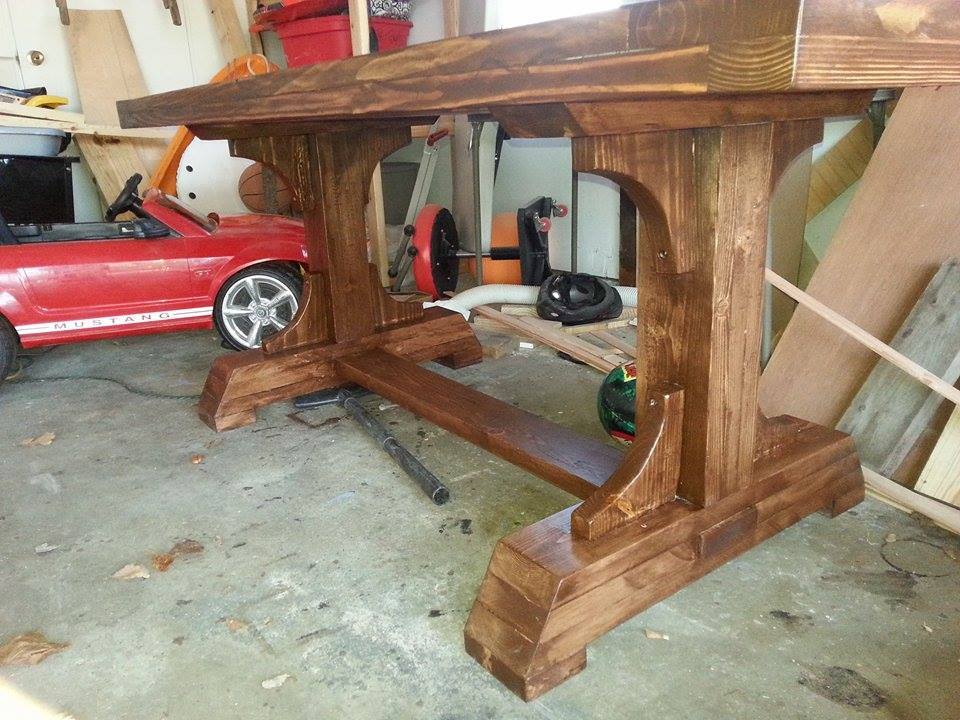
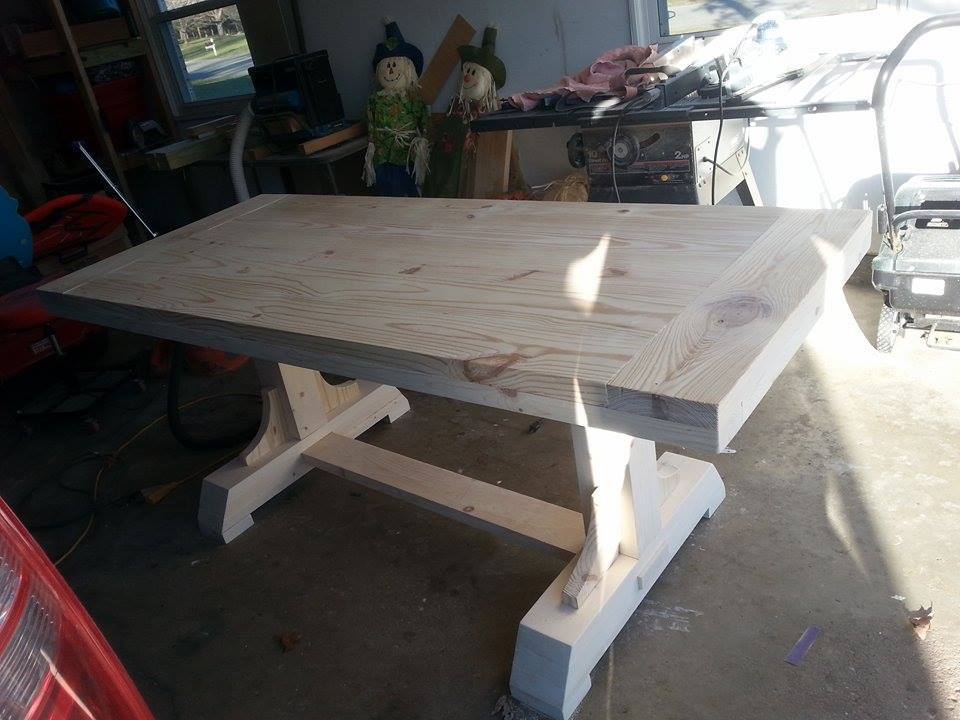
Table and bench
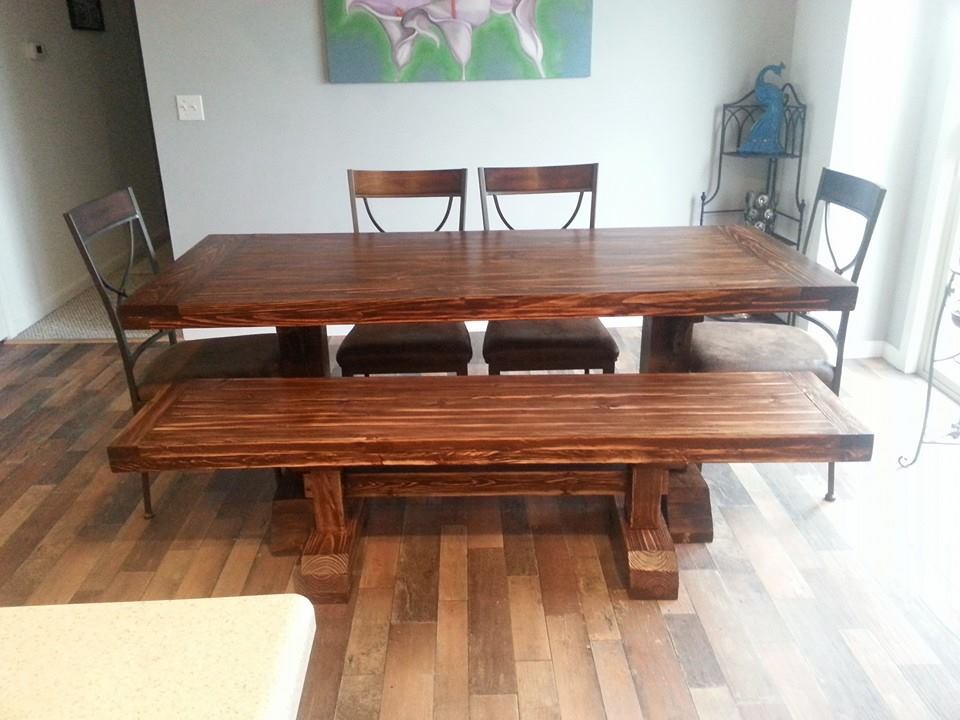
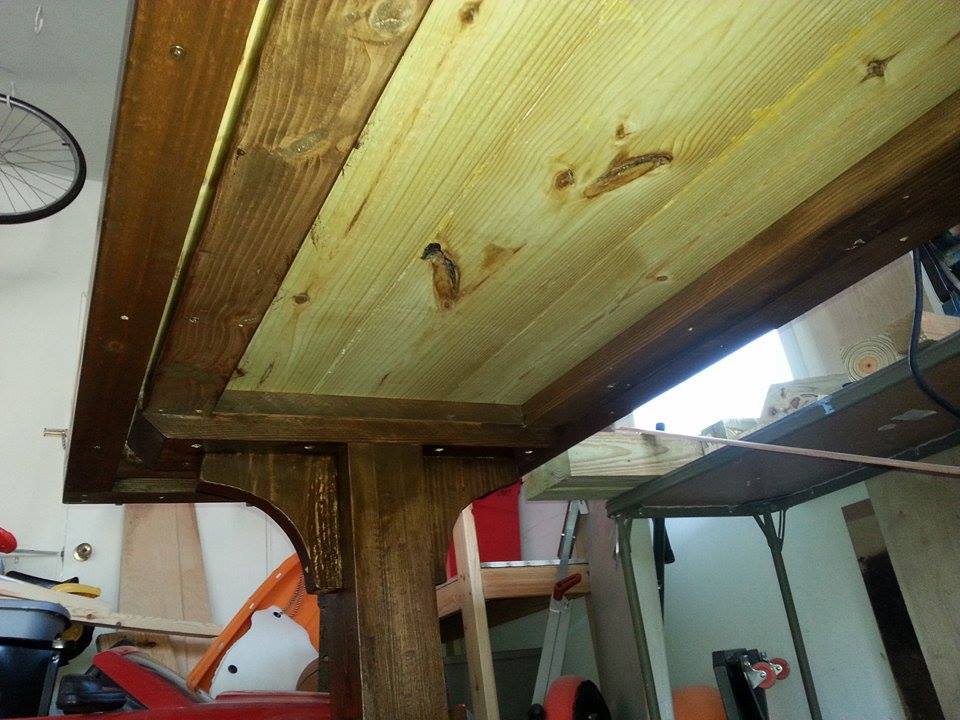
Tried to replicate the Double Pedestal table that has no plans provided. I had to modify a bit to the specifications i wanted. Table top bowed up a bit at the ends after i glued it up and when i tried to attach it to the base, it pulled one side of the base up. To fix this, i added a couple of cross beams at the top of the base, to stablilize the base a bit.
I finished with a minwax gel stain, i forget the color. It was a bit too dark for my liking, so when it dried, i took a cabinet scraper (or card scraper) and scraped off some of the finish. Pretty pleased with how it turned out. then i added 3 coats of lacquer.
Built from Plan(s)
Estimated Cost
$150
Estimated Time Investment
Week Long Project (20 Hours or More)
Finish Used
minwax gel stain. Minwax Lacquer
Recommended Skill Level
Intermediate
Comments
Fri, 03/20/2015 - 15:06
LOOKS GREAT!
We will be beginning building our 2 pedestal table in the next month or so and anticipate that outs will be similar in size / style and weight. OUTCH! We know it is going to be heavy. Pleased to see how well yours turned out.
Rustic Desk
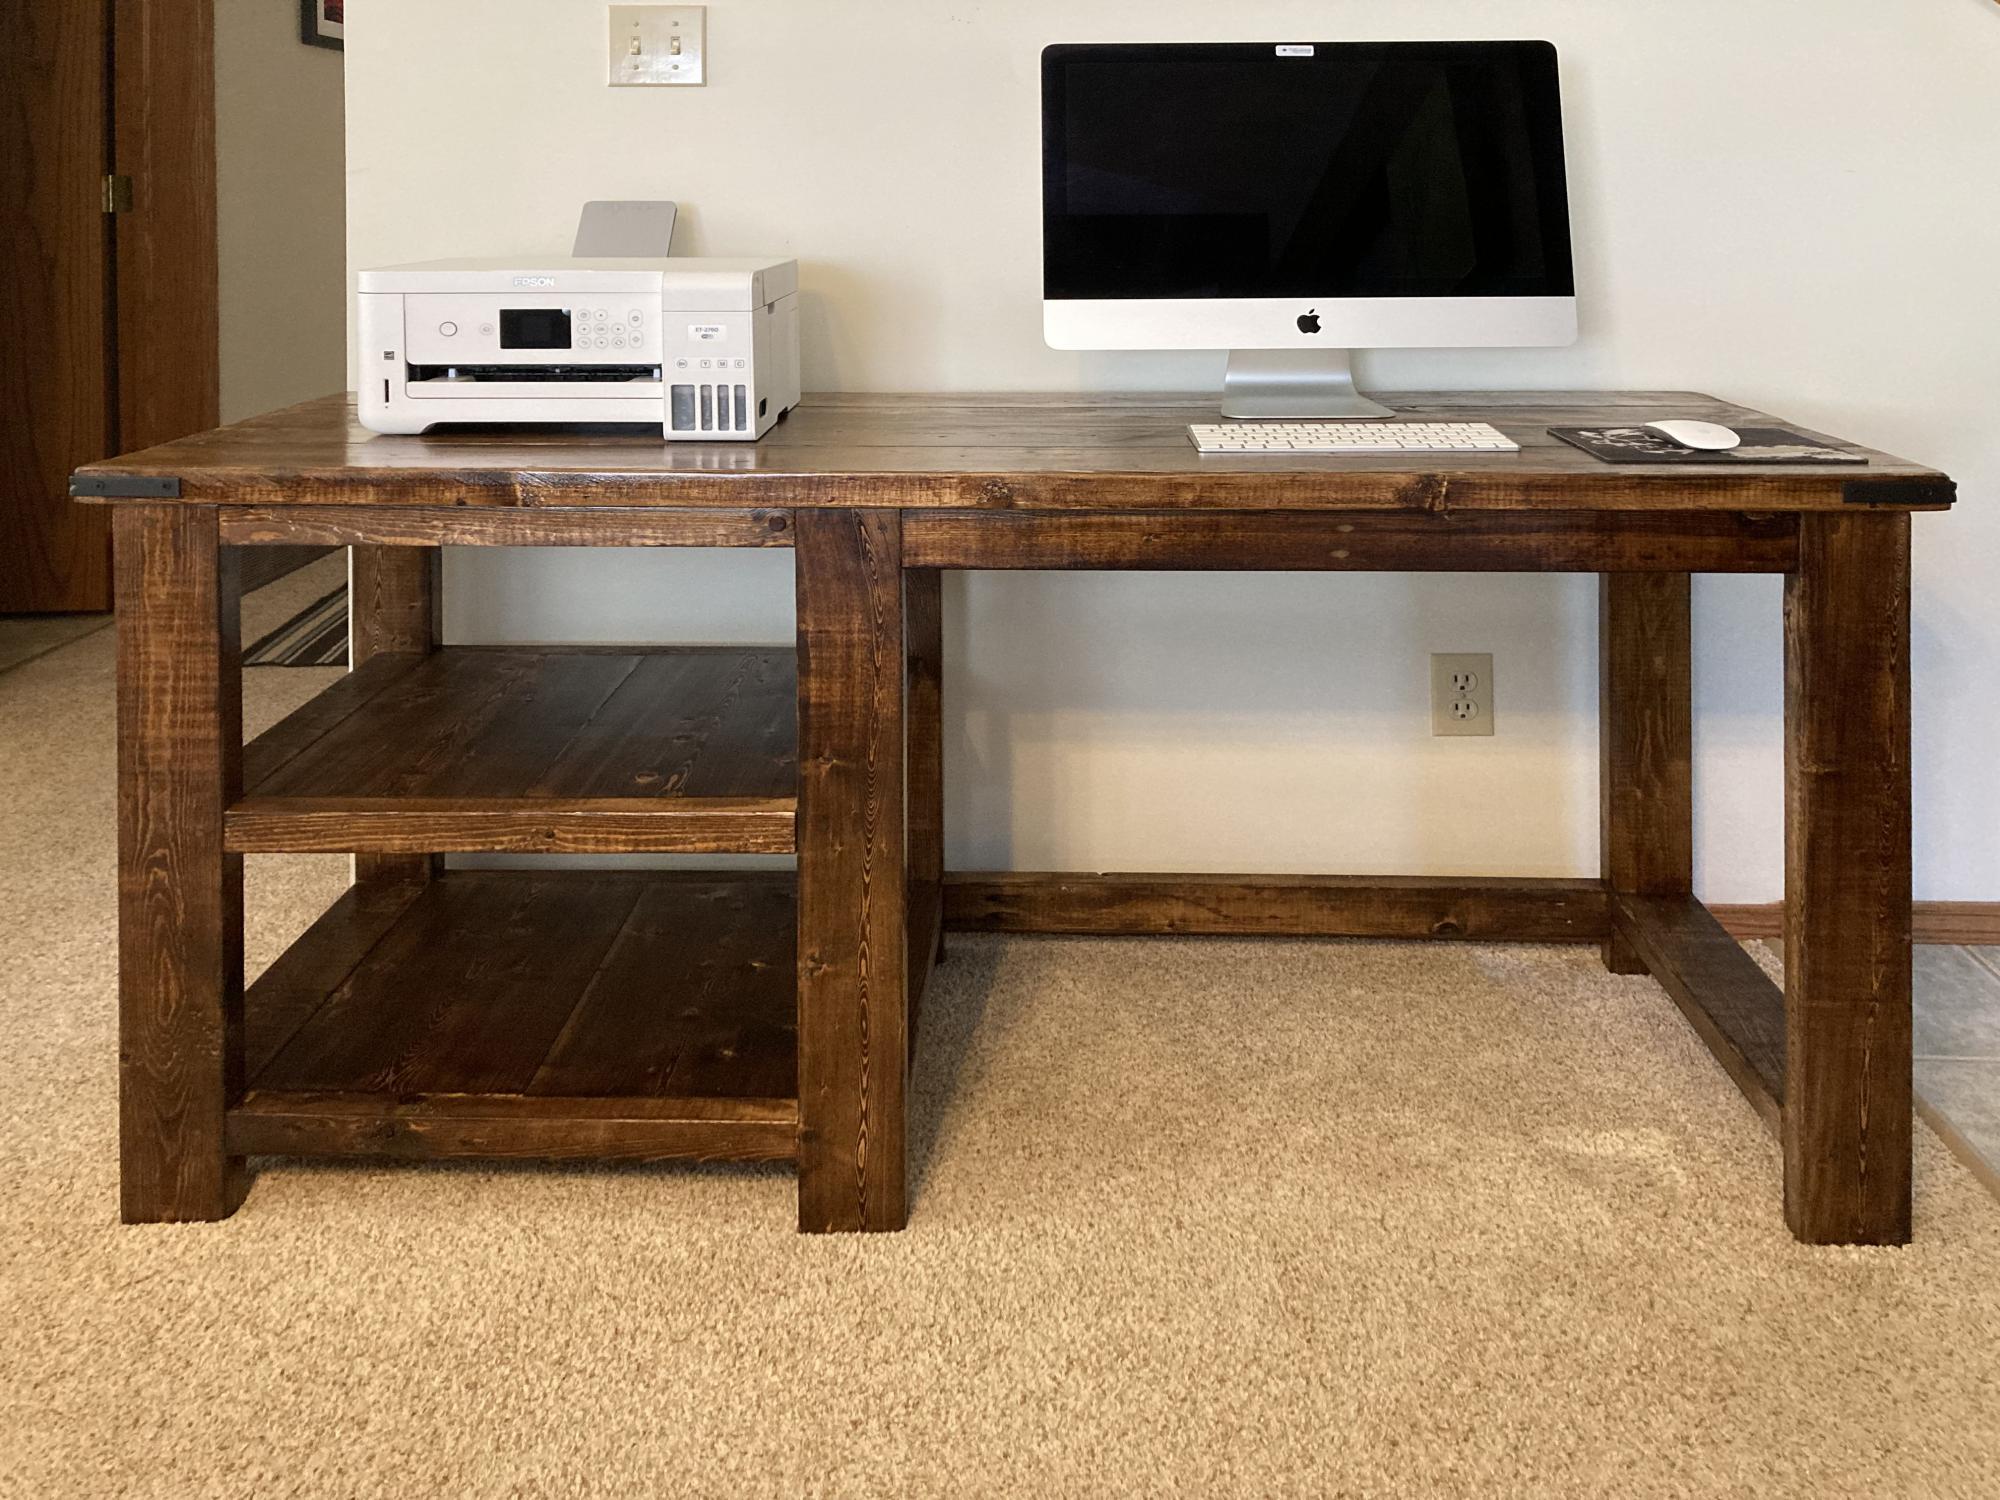
I have build several of these rustic desks. I left the "X" off of this one as I had trouble getting it to fit properly. My last desk I had no issues but not this time. I use MinWax "Provincial" stain followed by three coats of Varathan 3X glossy finish on the top and two everywhere else. I also added a cross piece between the two end sections to better secure the top to.

Built from Plan(s)
Comments
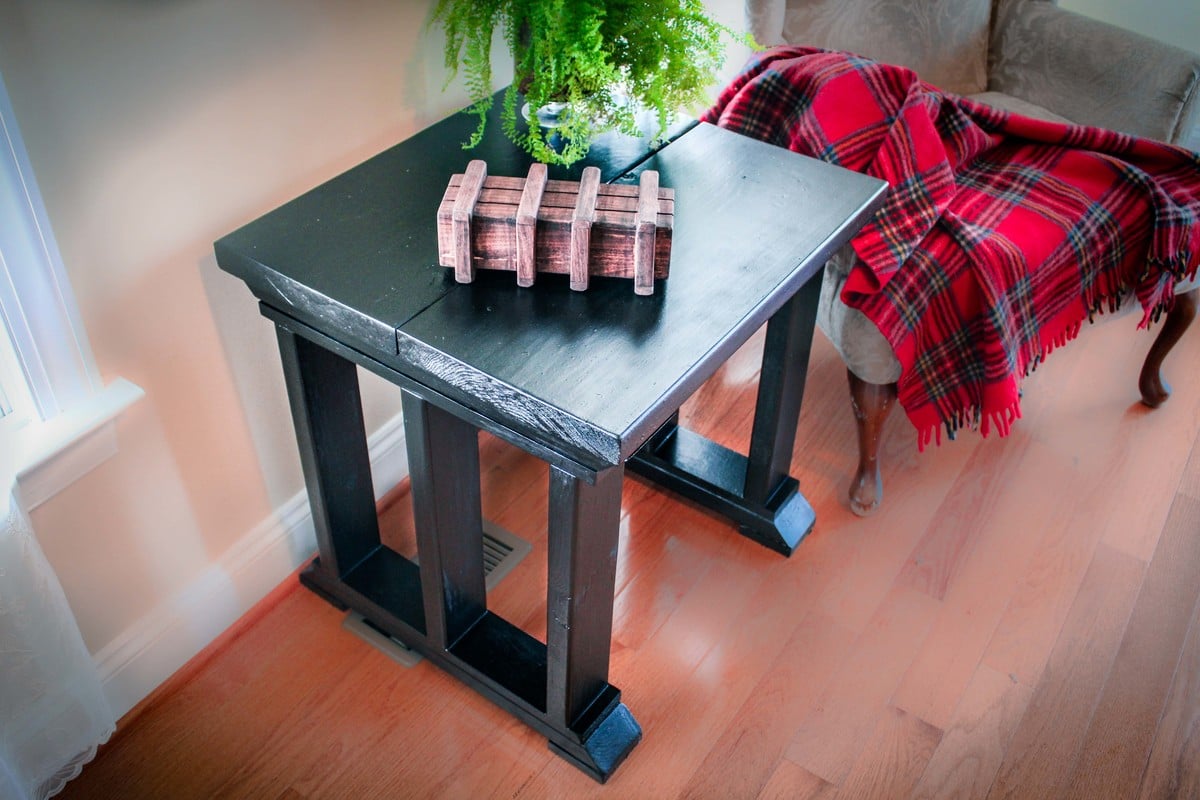
Rustic End Table
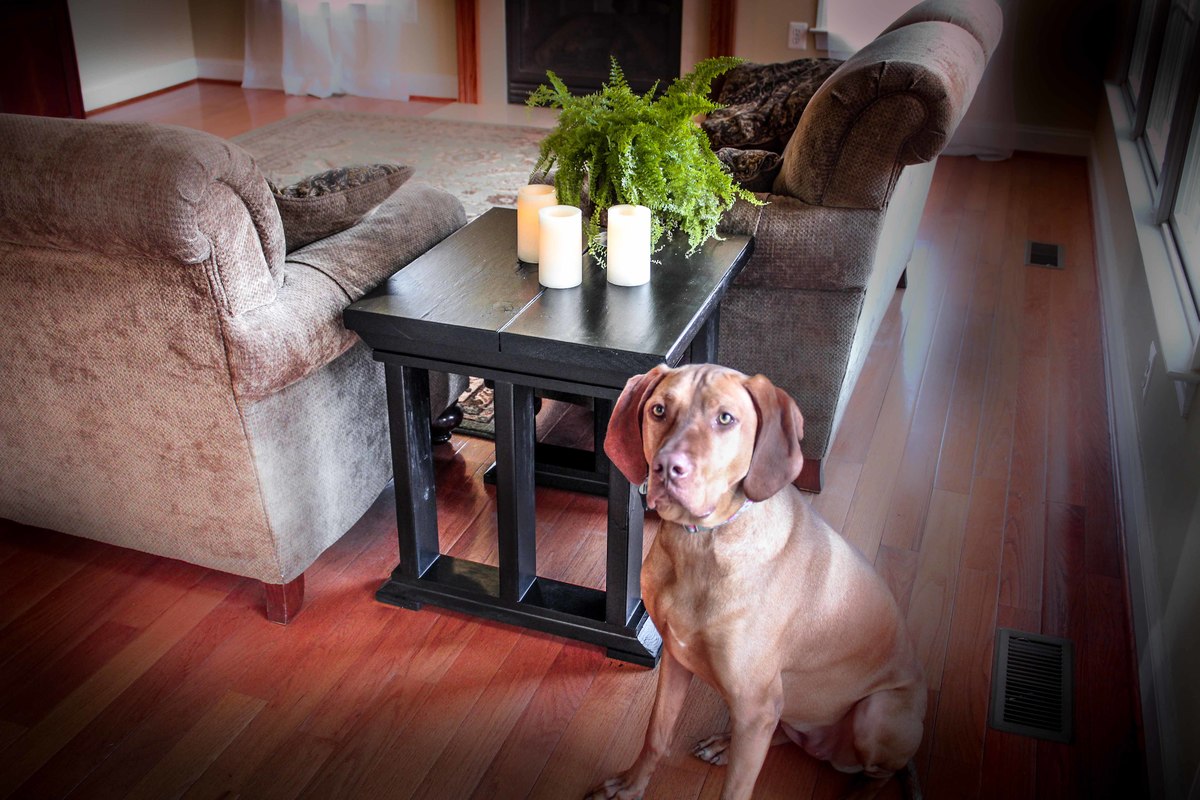
This End Table matches the shelf from a few weeks ago which is my attempt of matching the $55 Fancy Desk from Ana White. As with the shelf, the design is simple, easy to make and is relatively low cost (under $25).
Estimated Cost
$25
Estimated Time Investment
Afternoon Project (3-6 Hours)
Finish Used
PolyShades Classic Black Satin Stain and Polyurethane from Minwax
Recommended Skill Level
Beginner
Comments

Sun, 03/22/2015 - 10:24
Video of the Build
Video:
https://www.youtube.com/watch?v=4wwlcqBMEa4
Build Instructions:
http://www.instructables.com/id/Rustic-End-Table/

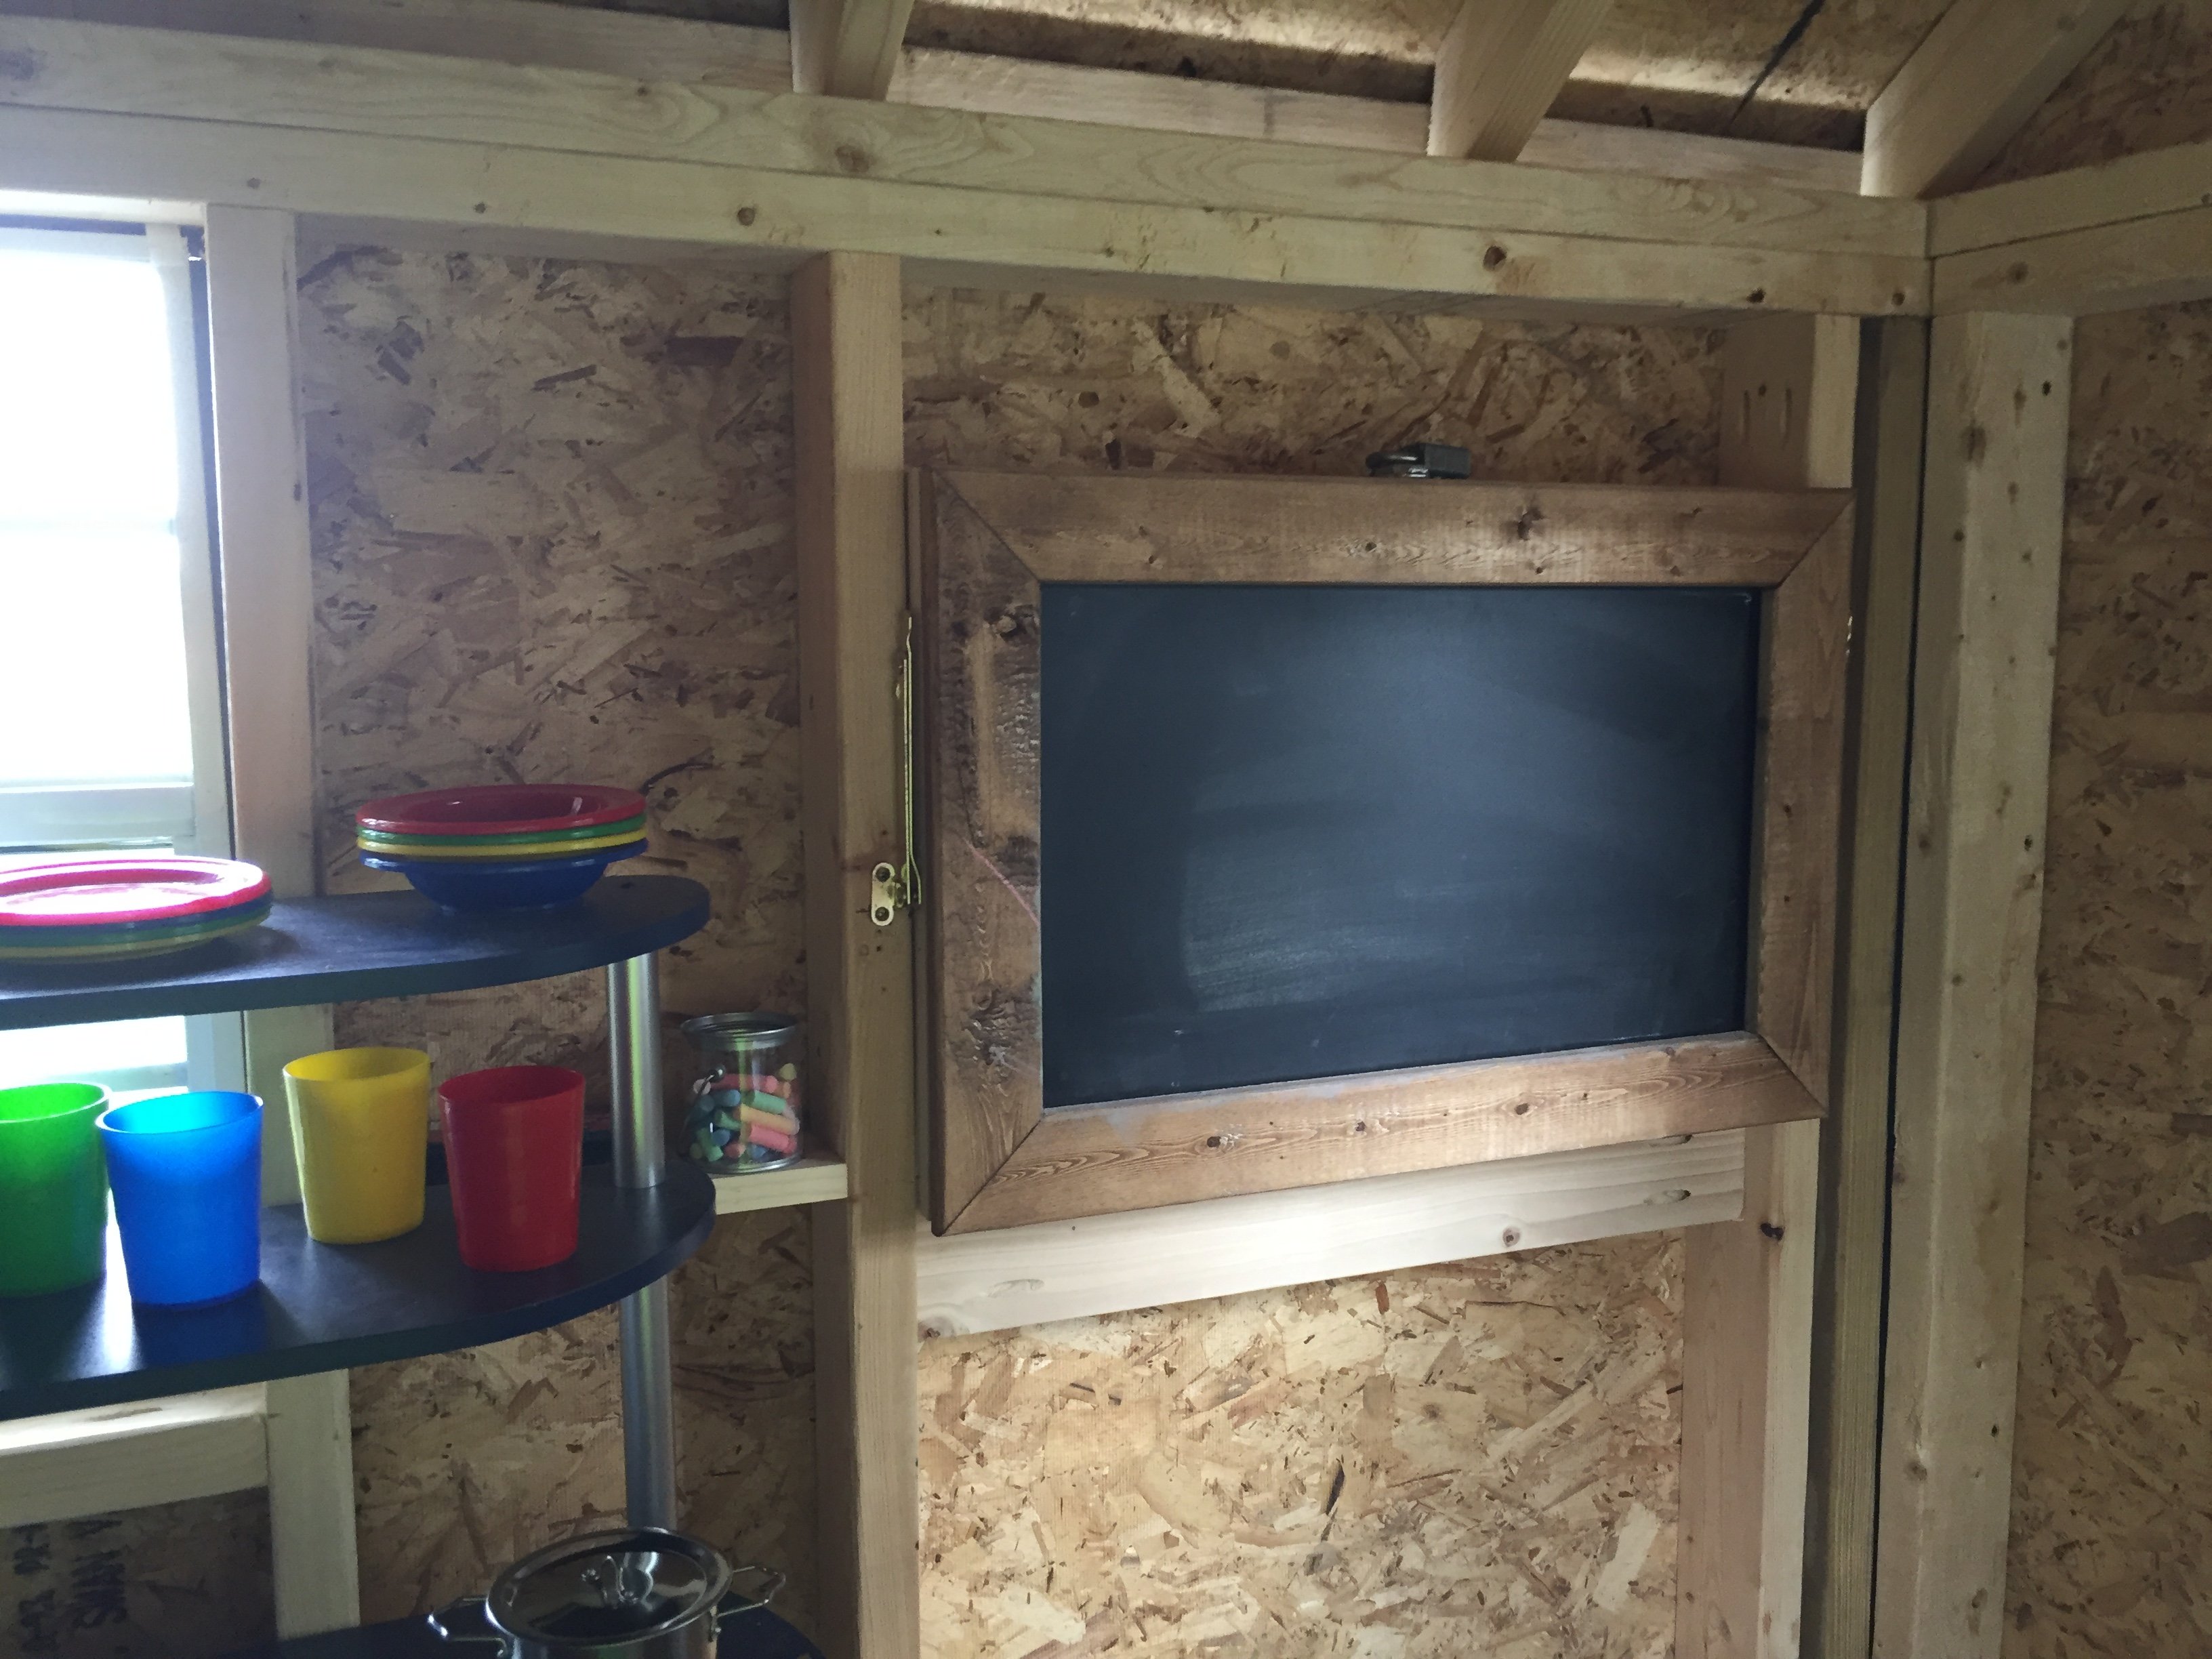
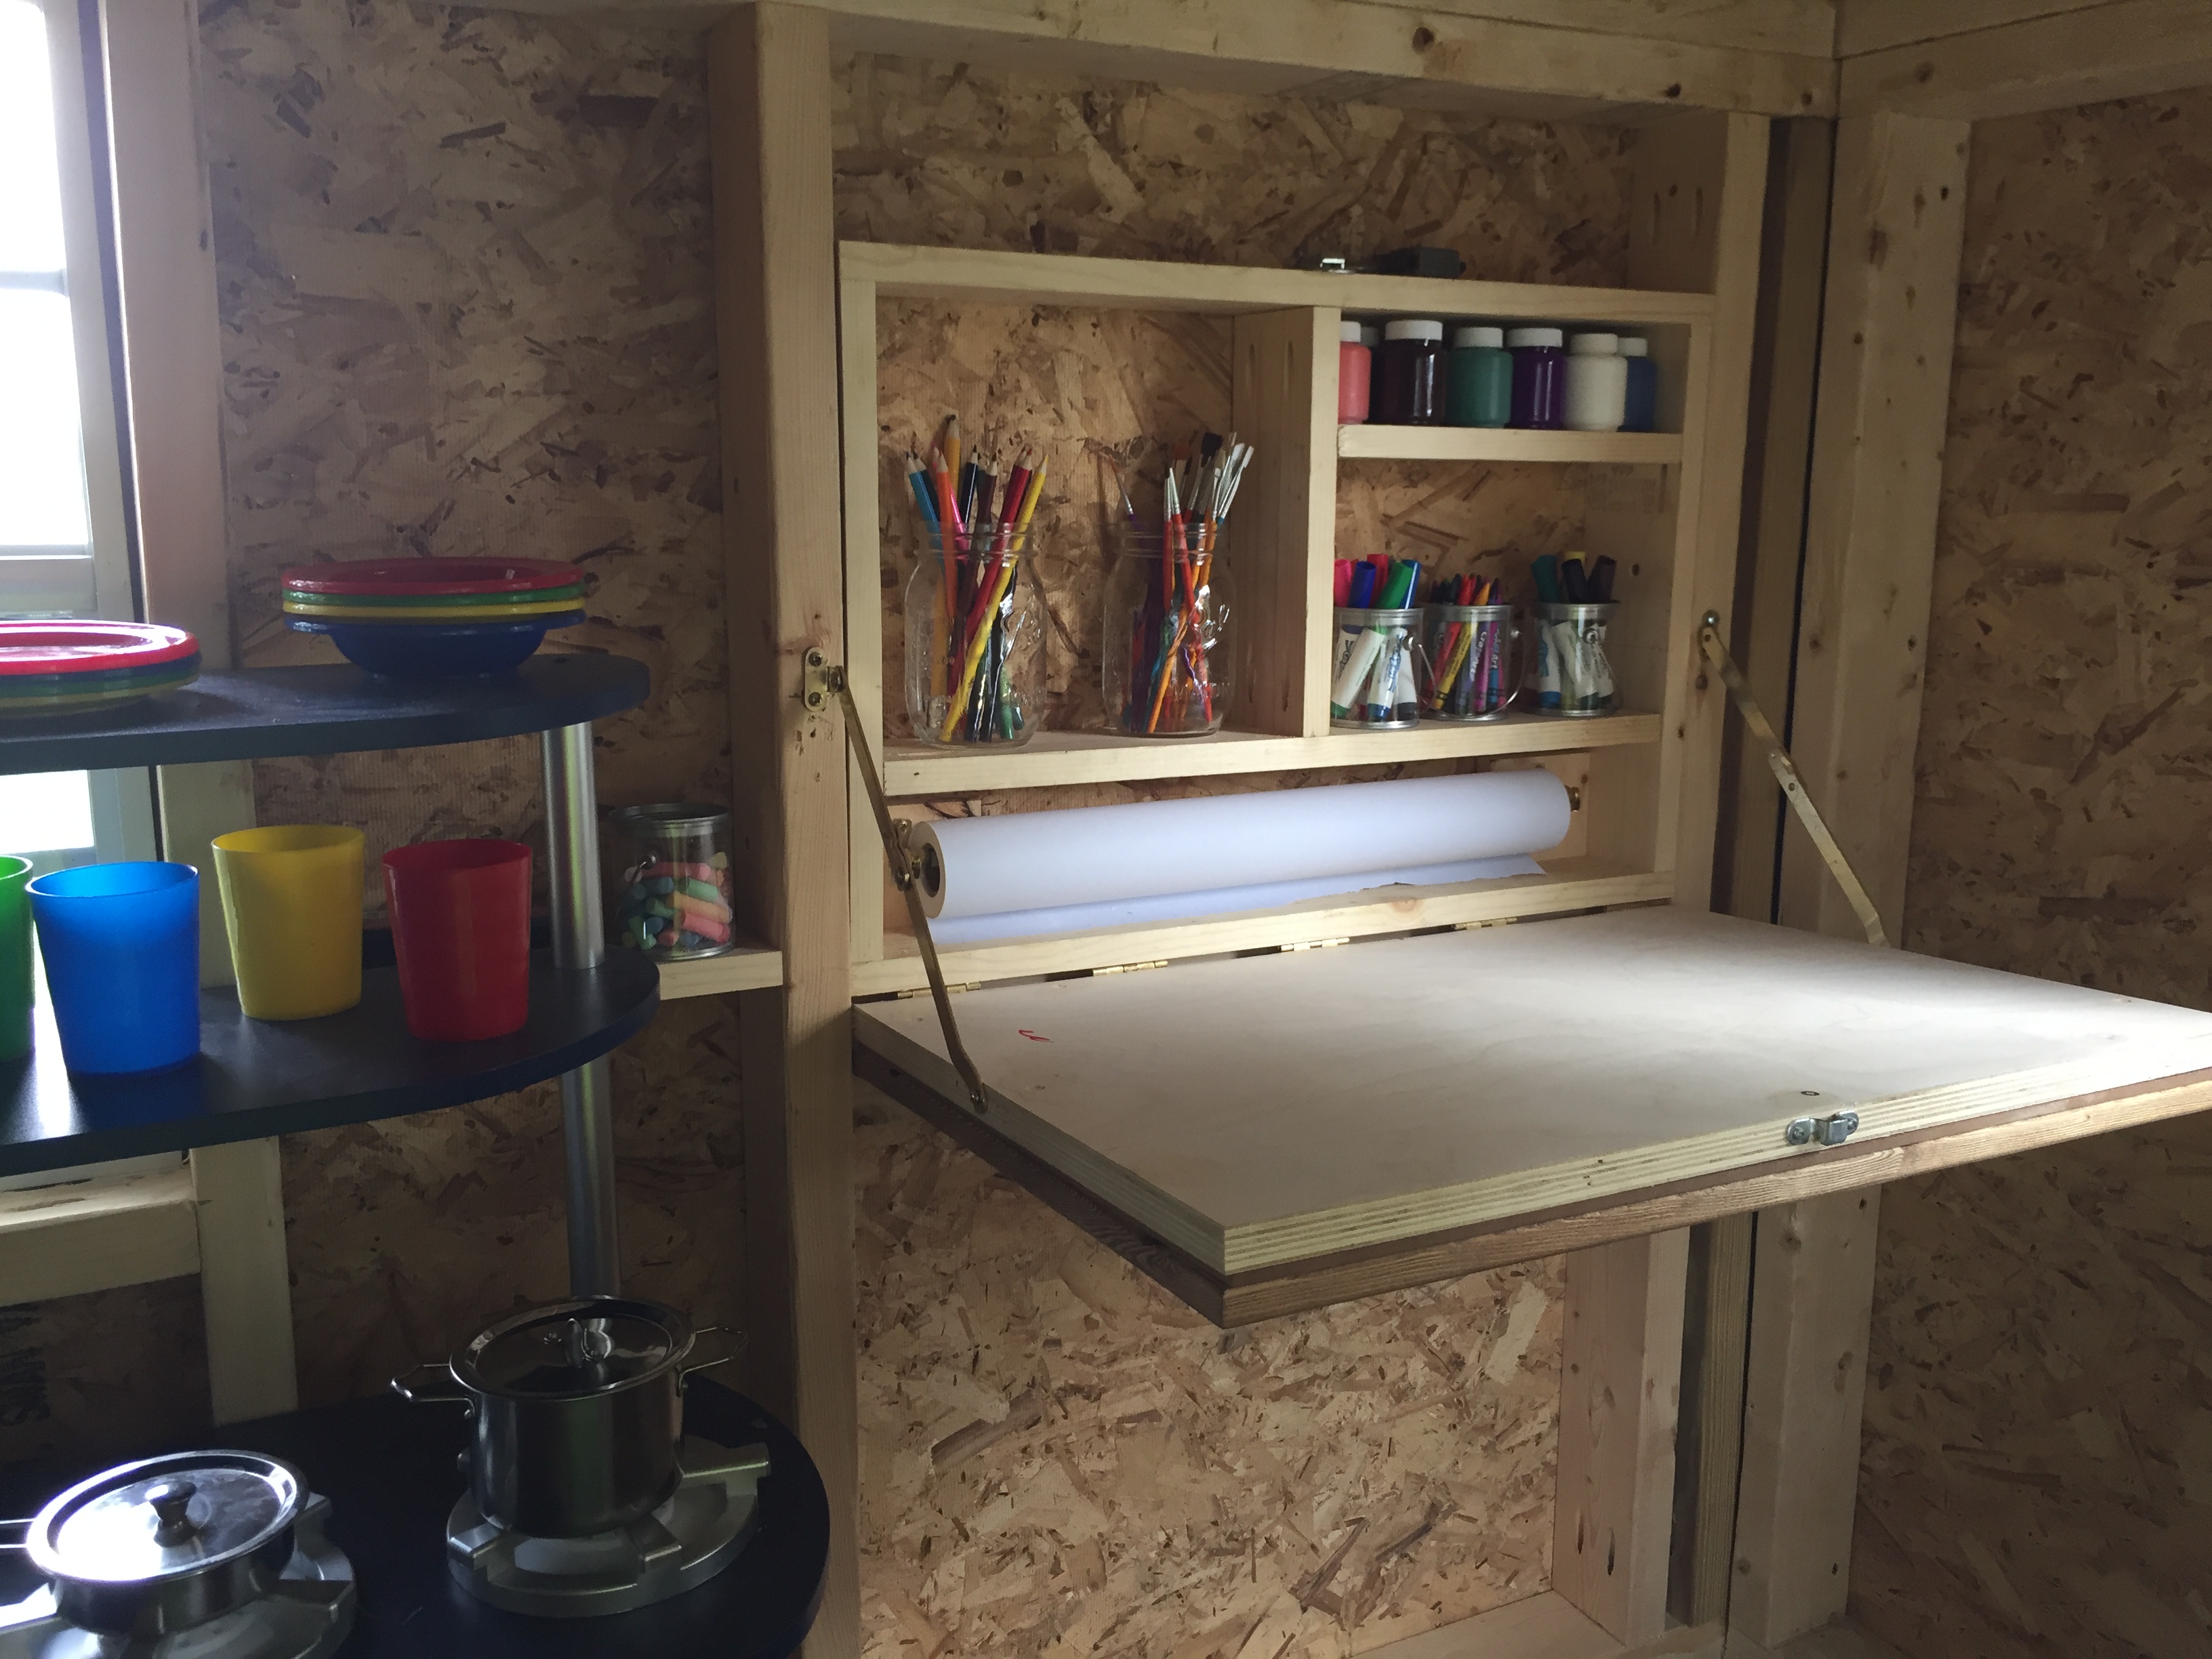
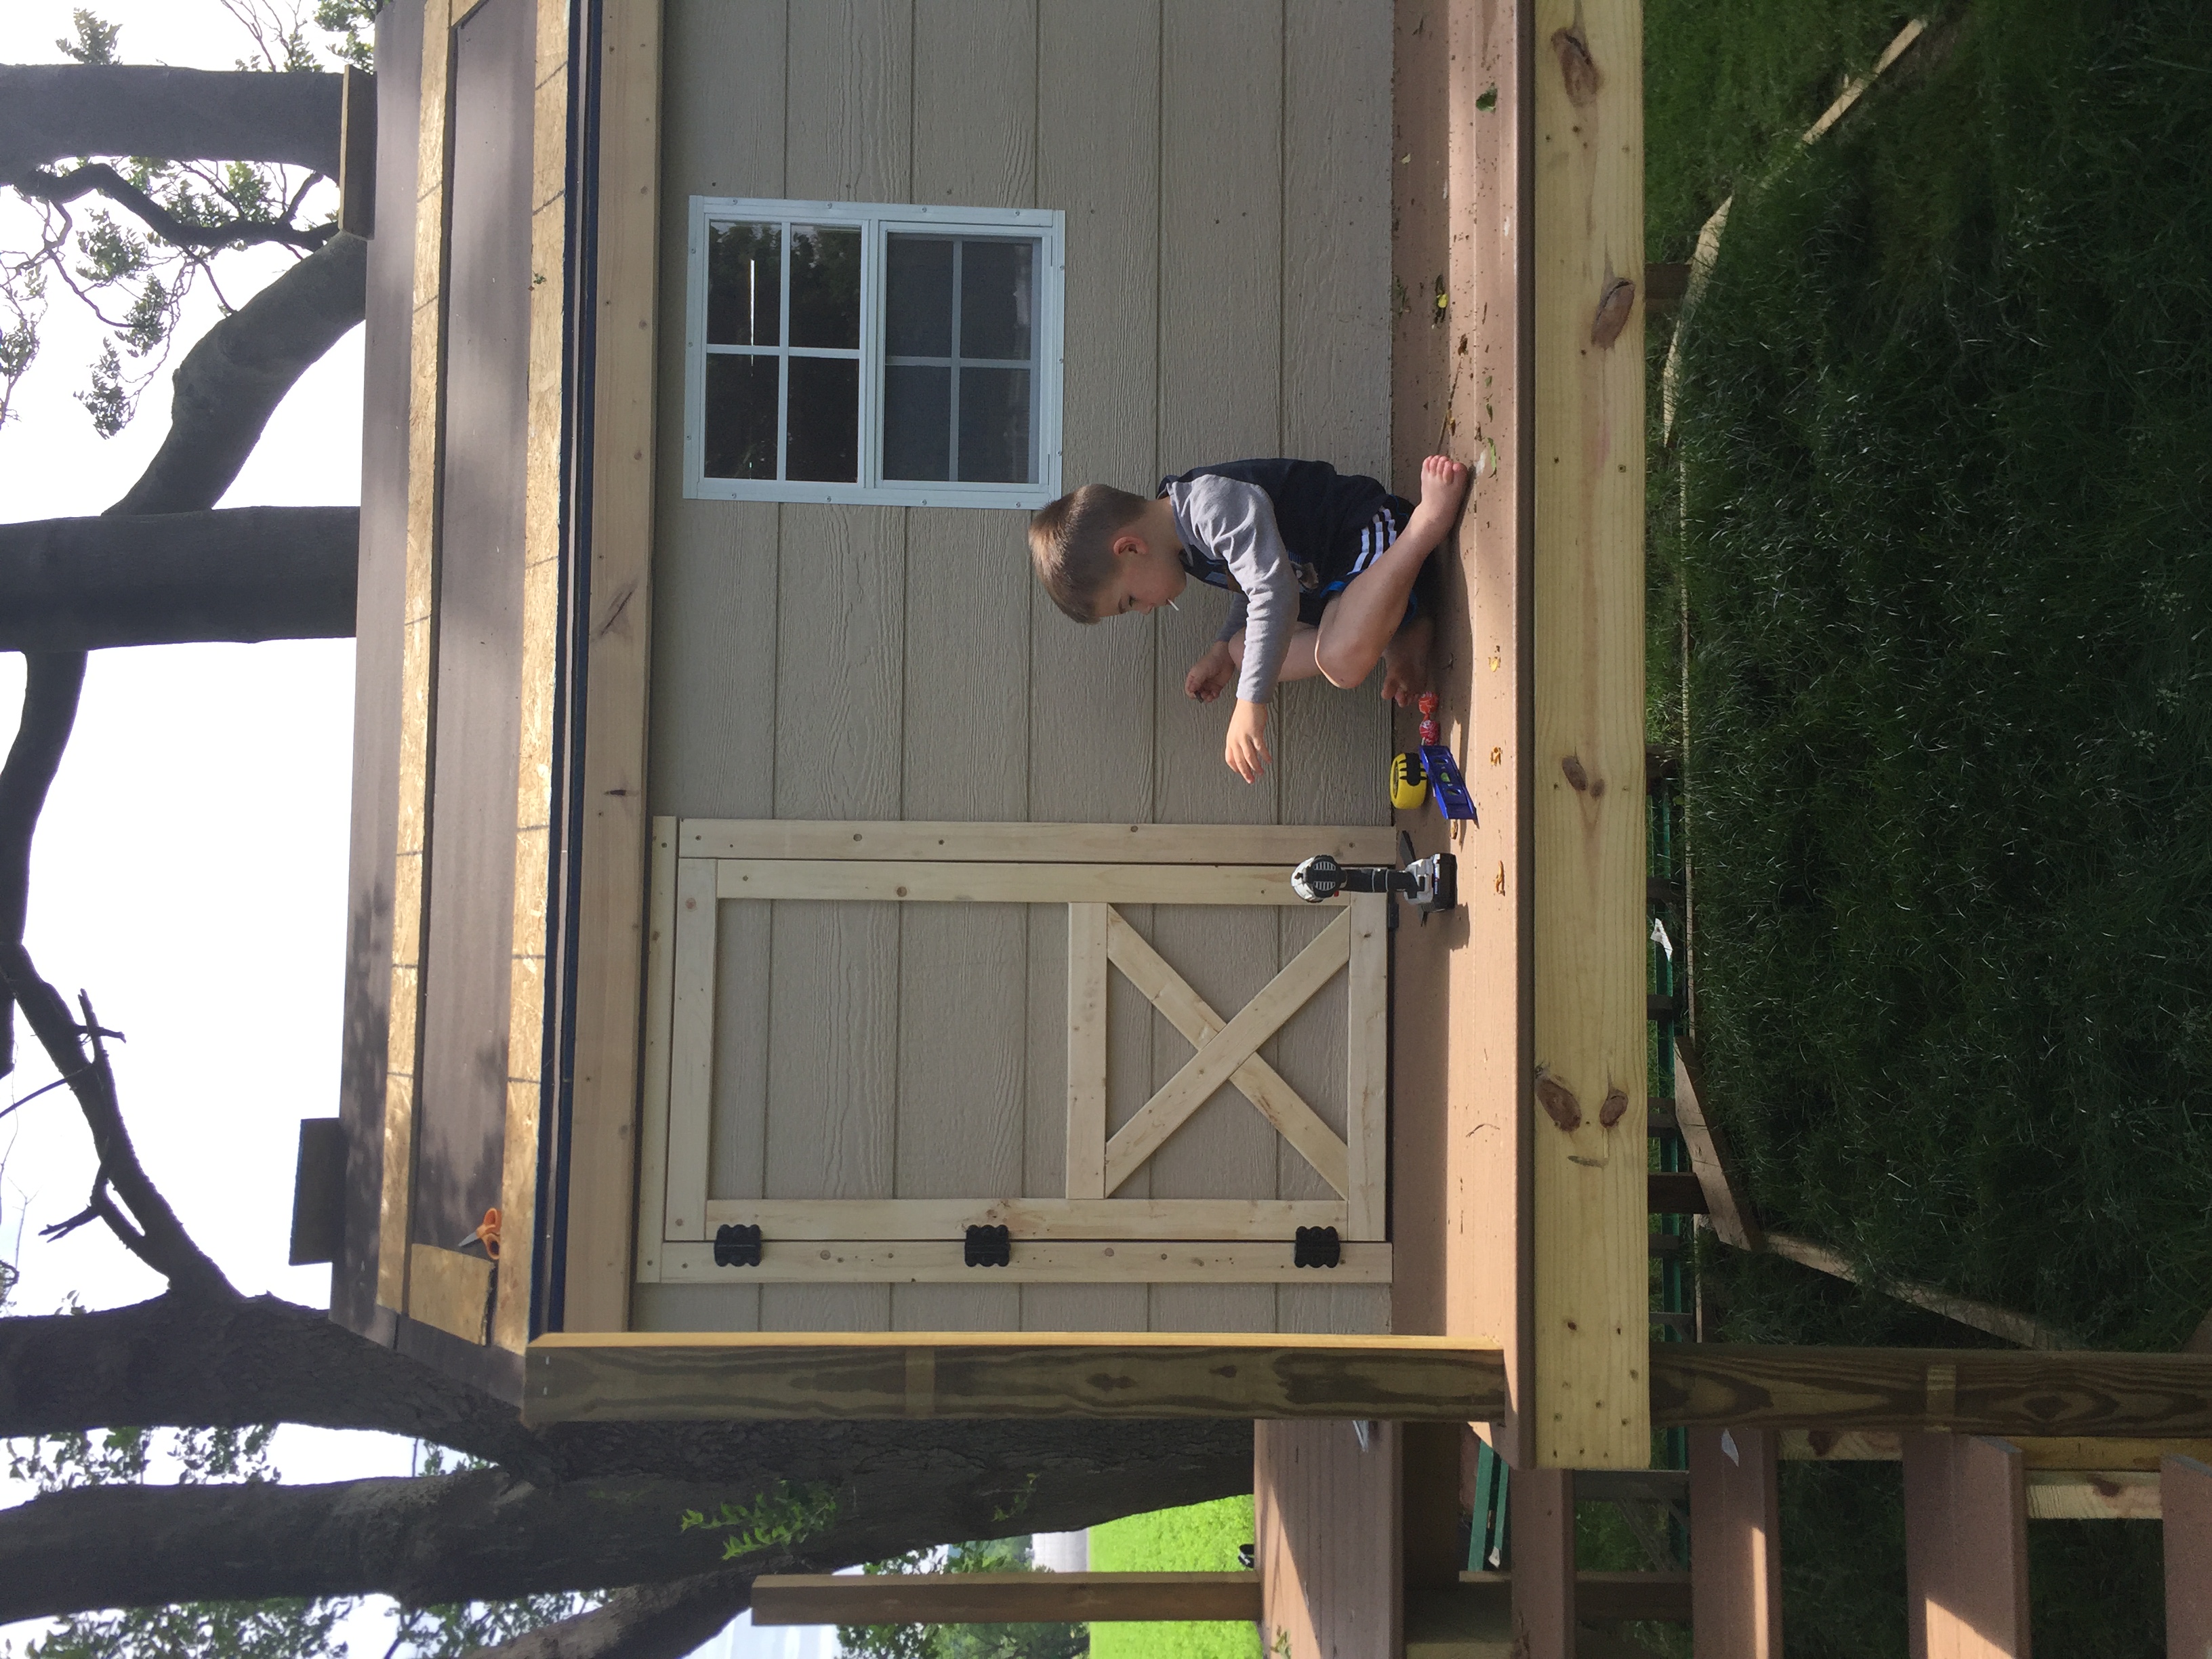
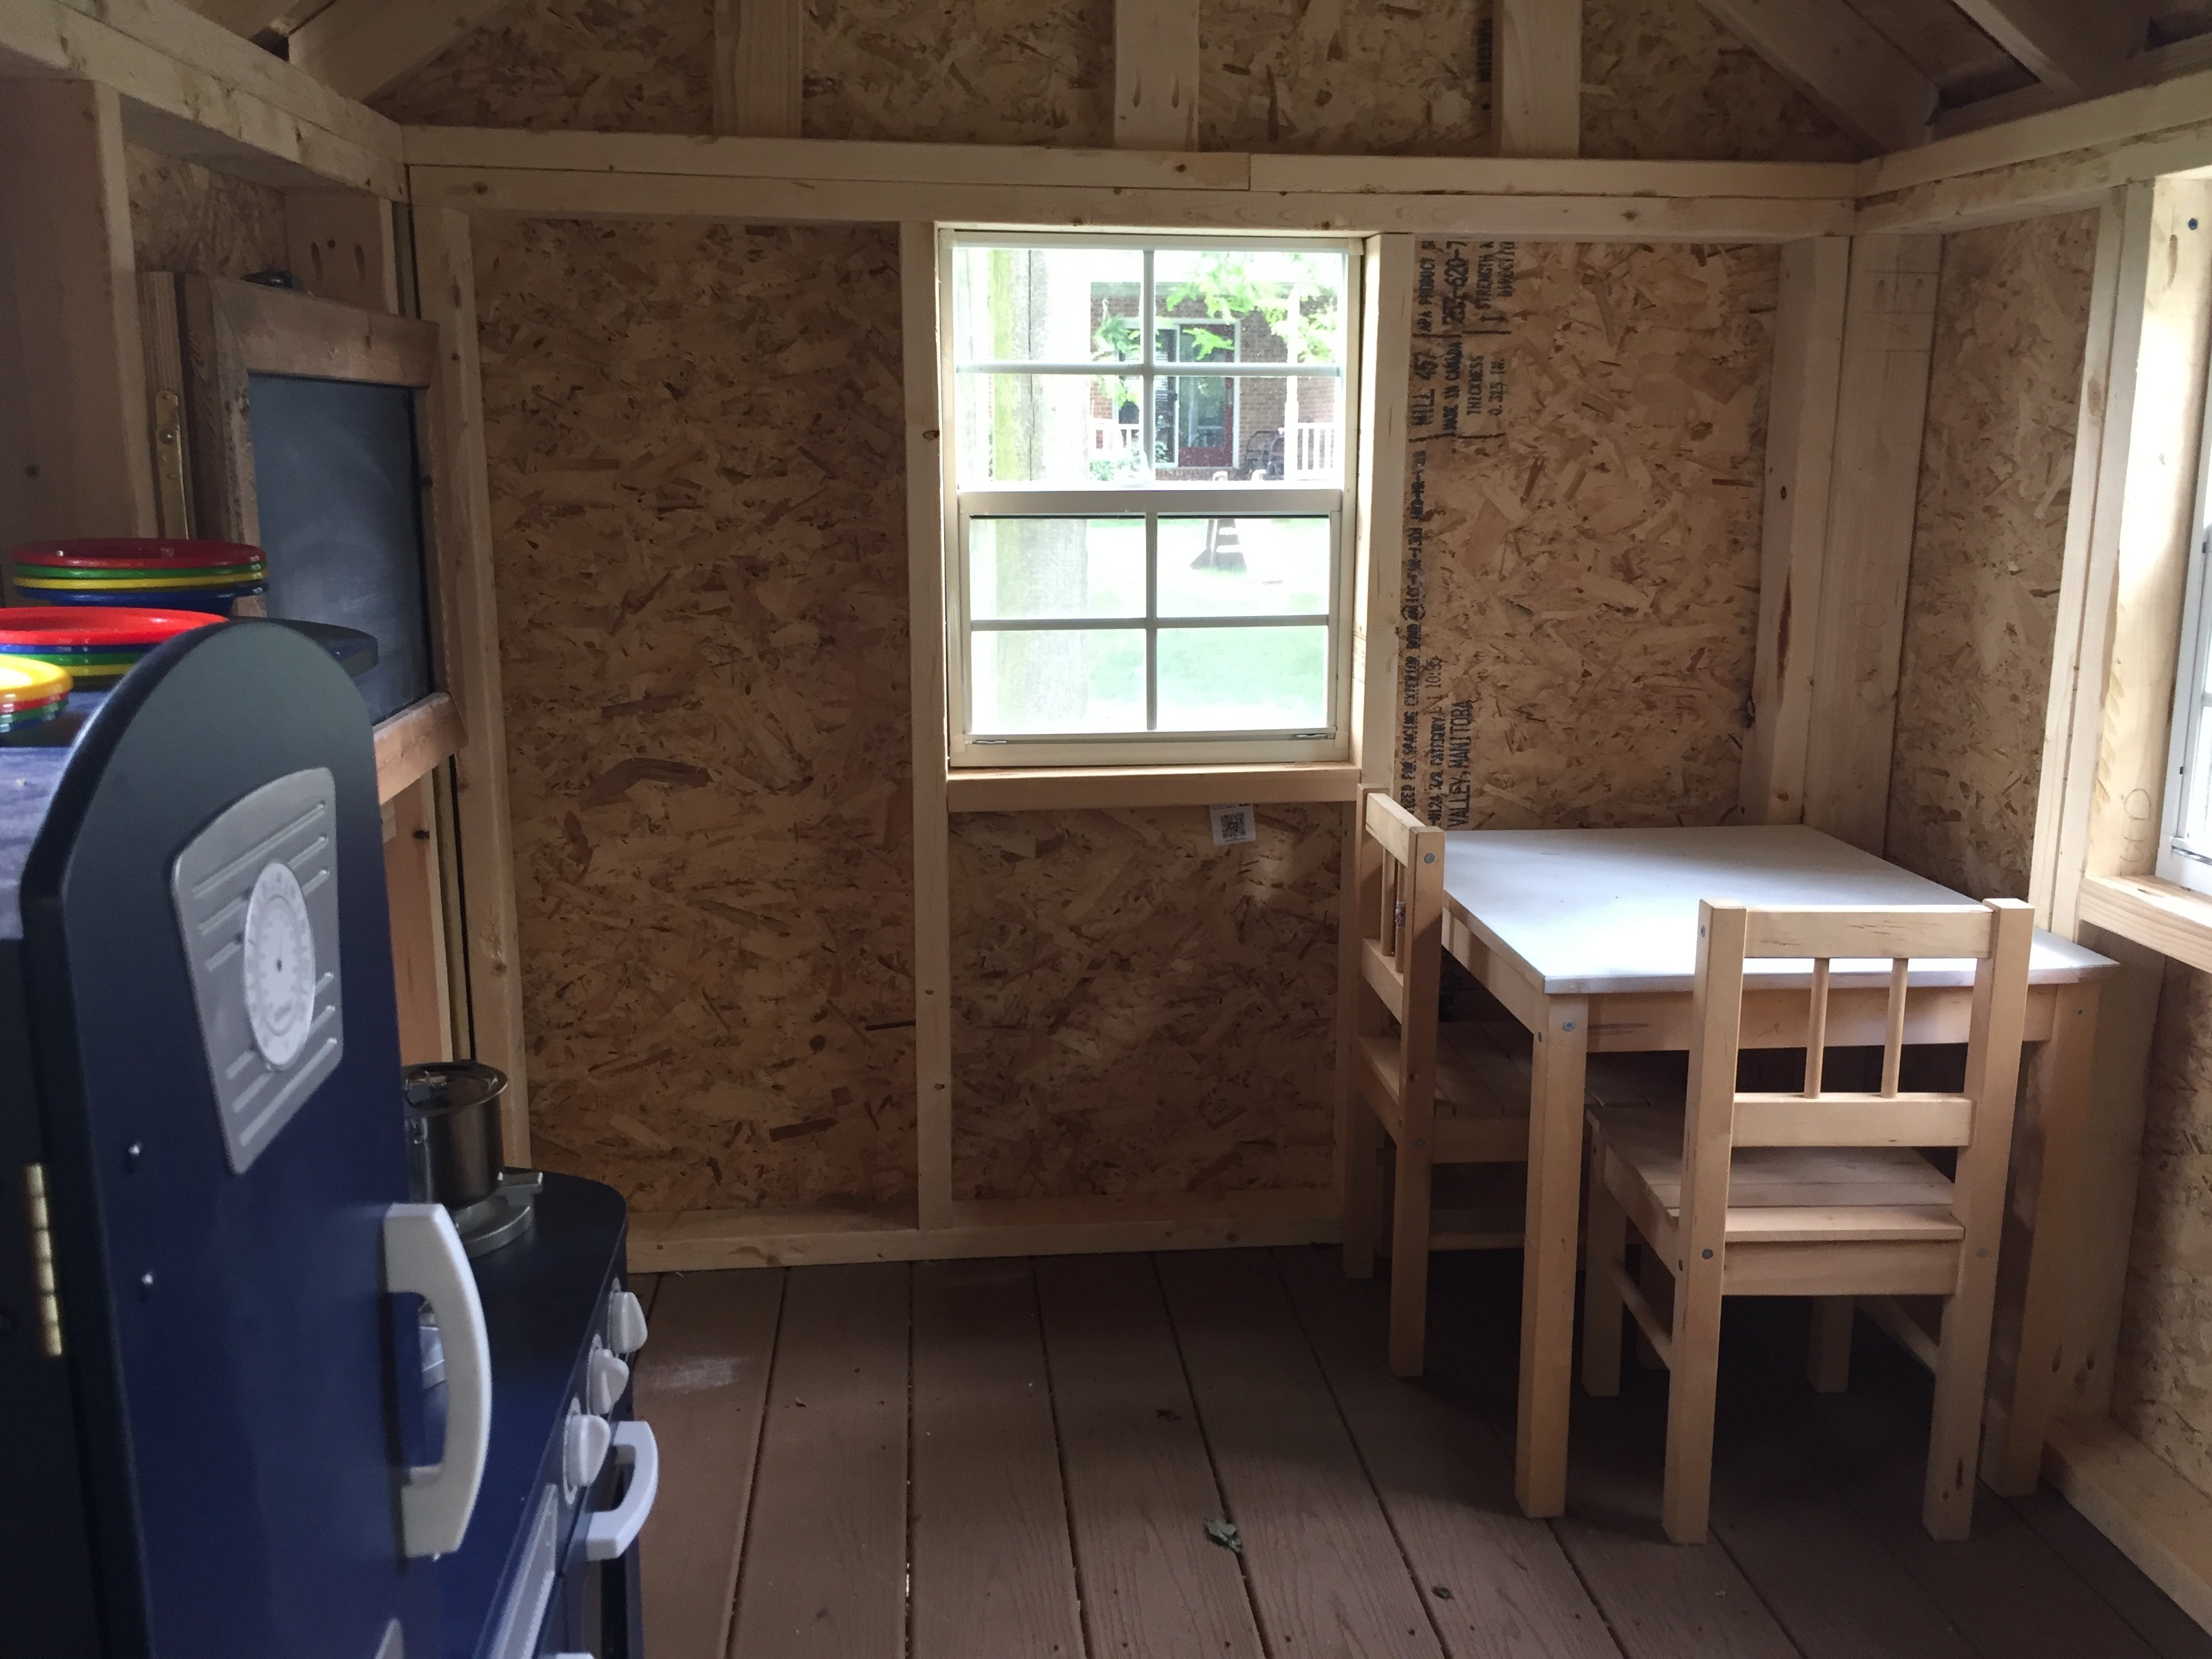
Brayden and Harper's Playhouse
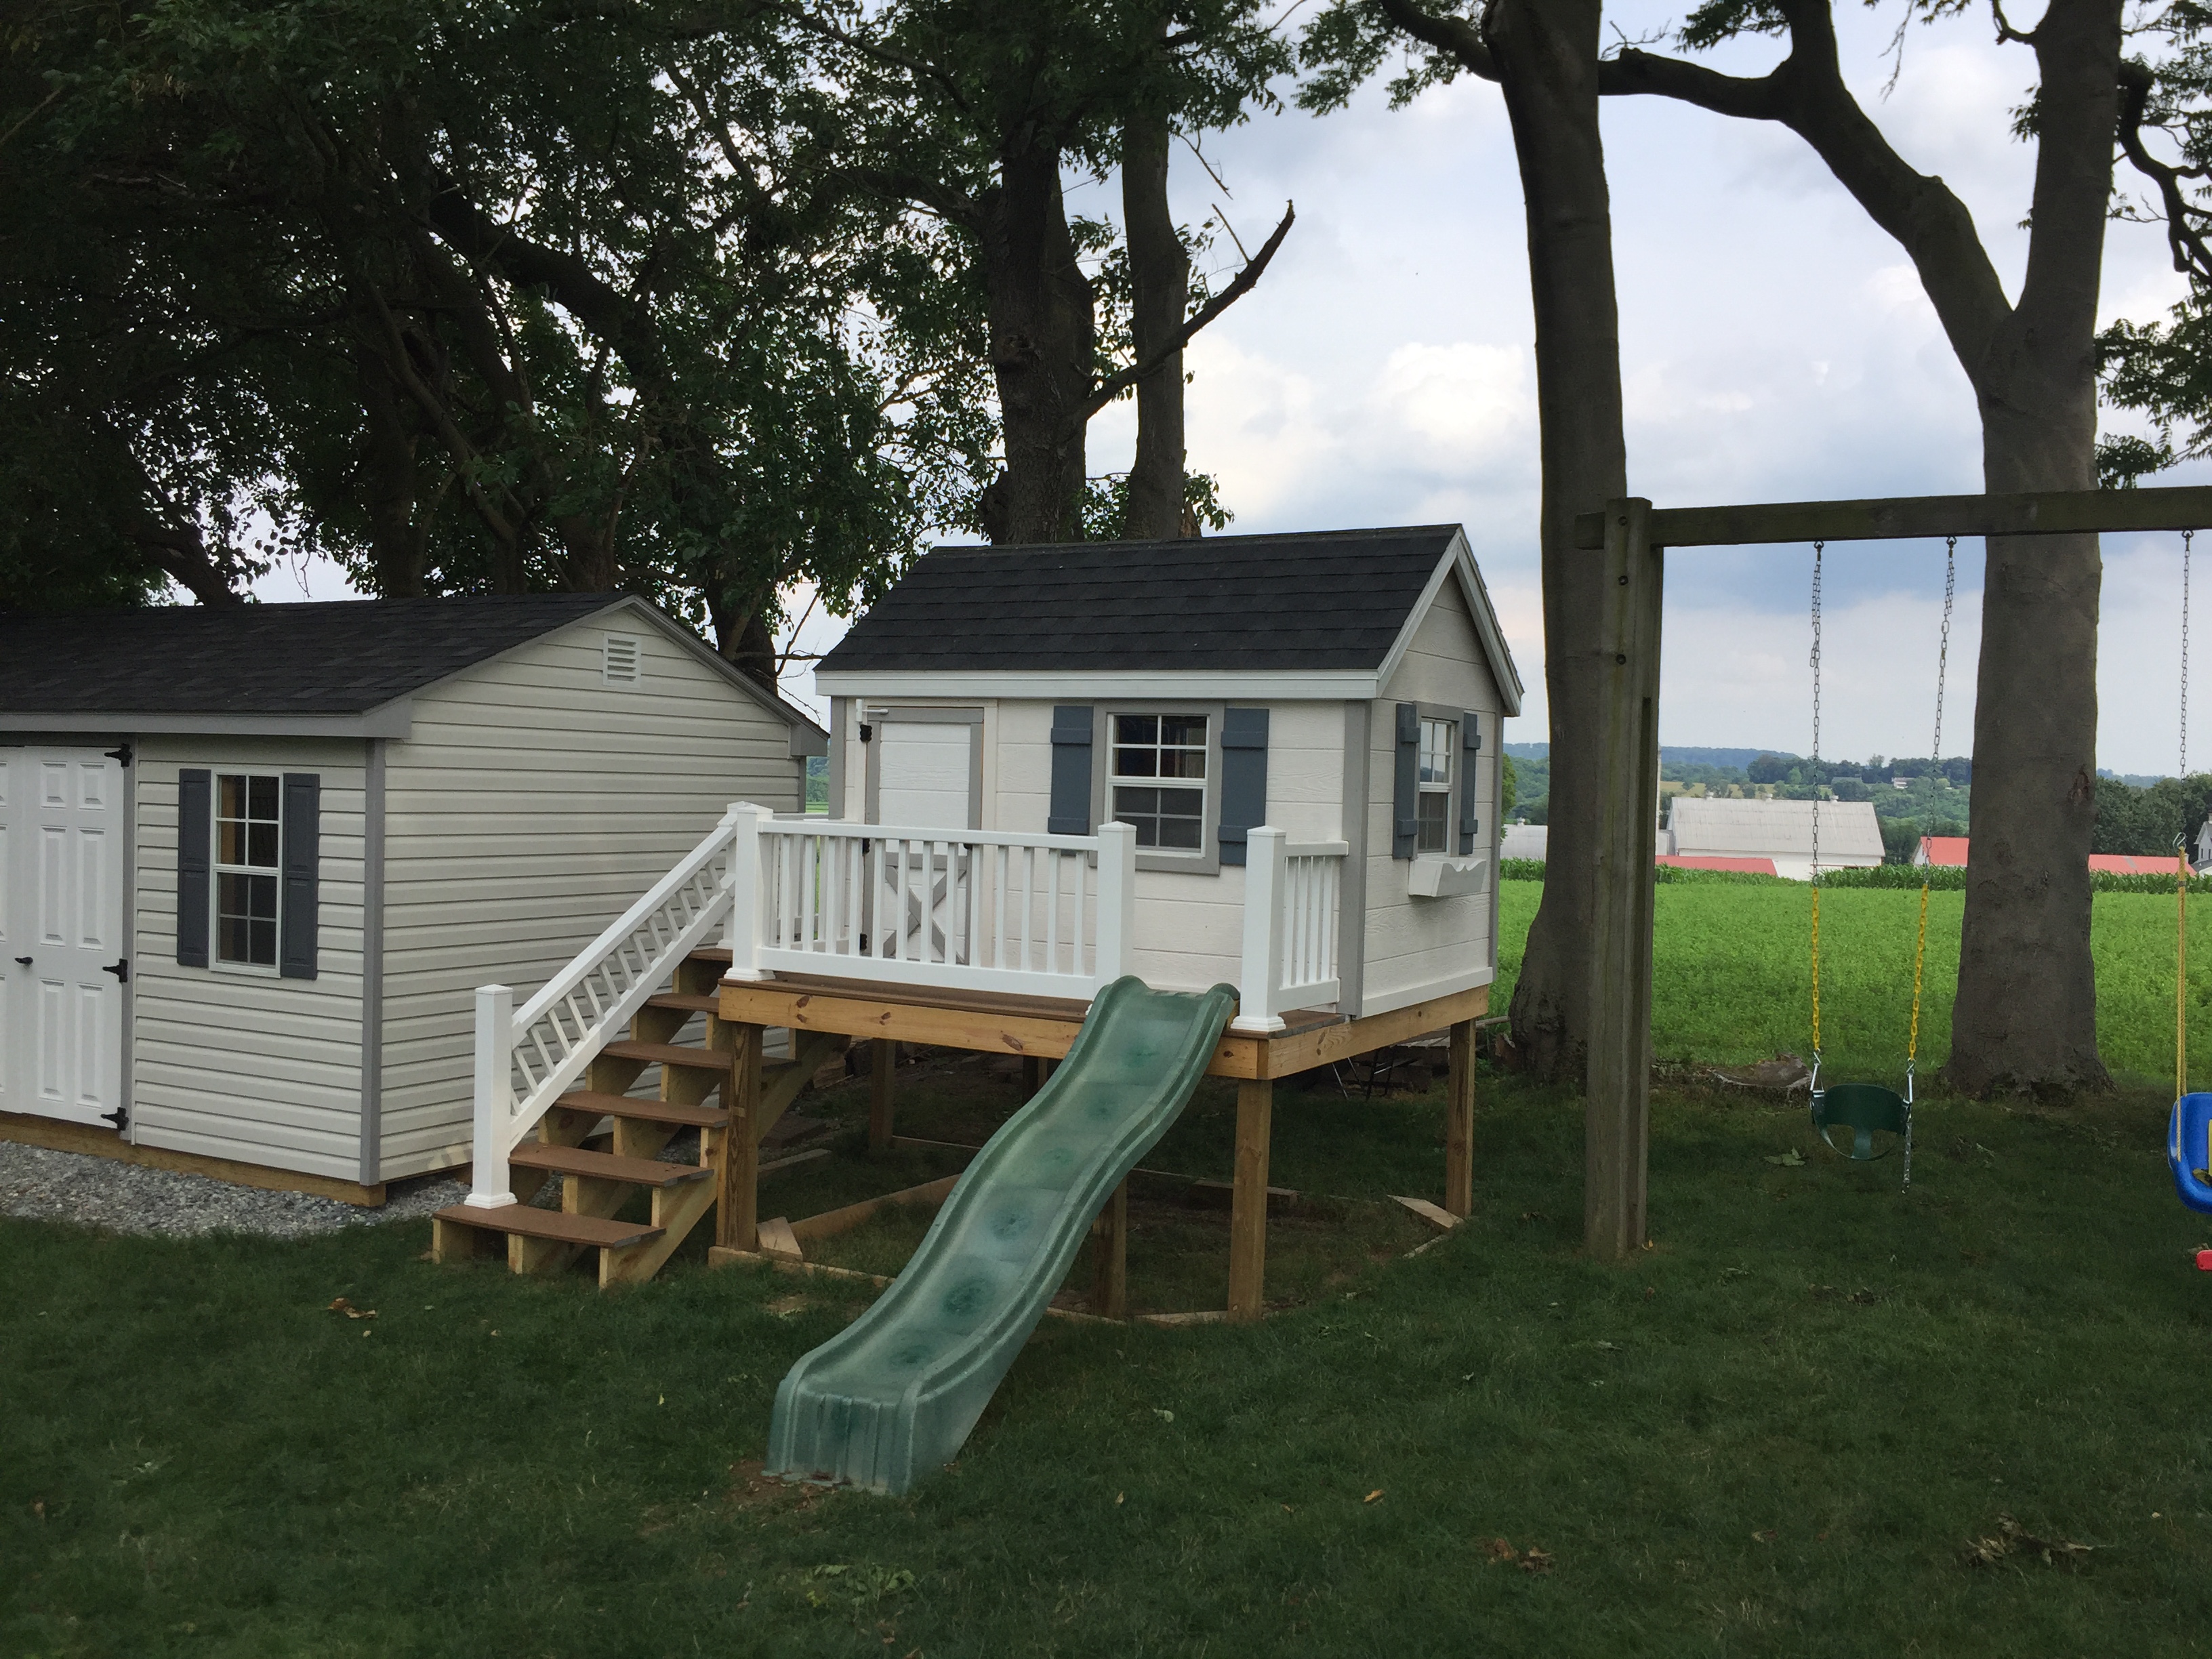
Built by my son and I. Followed the awesome plans for that most part.

Recommended Skill Level
Intermediate
Comments
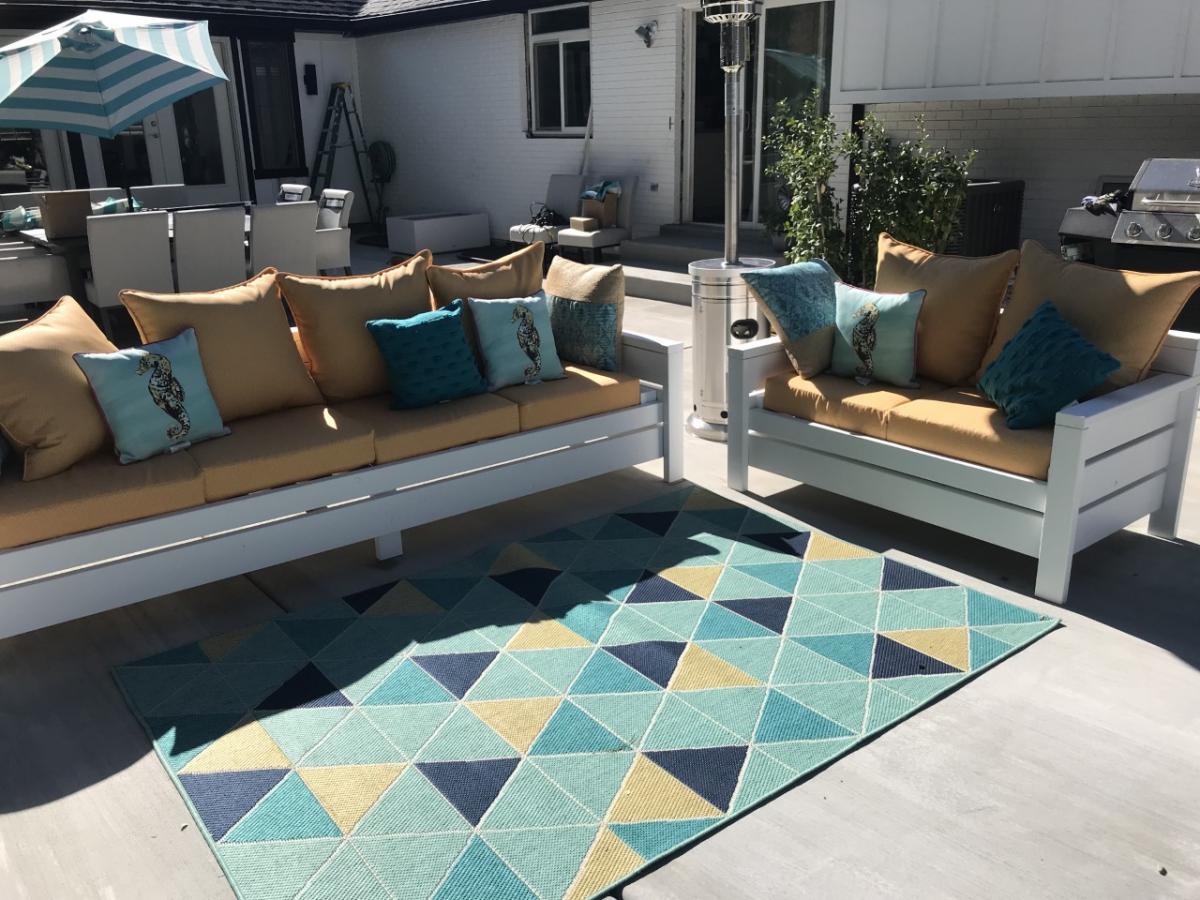
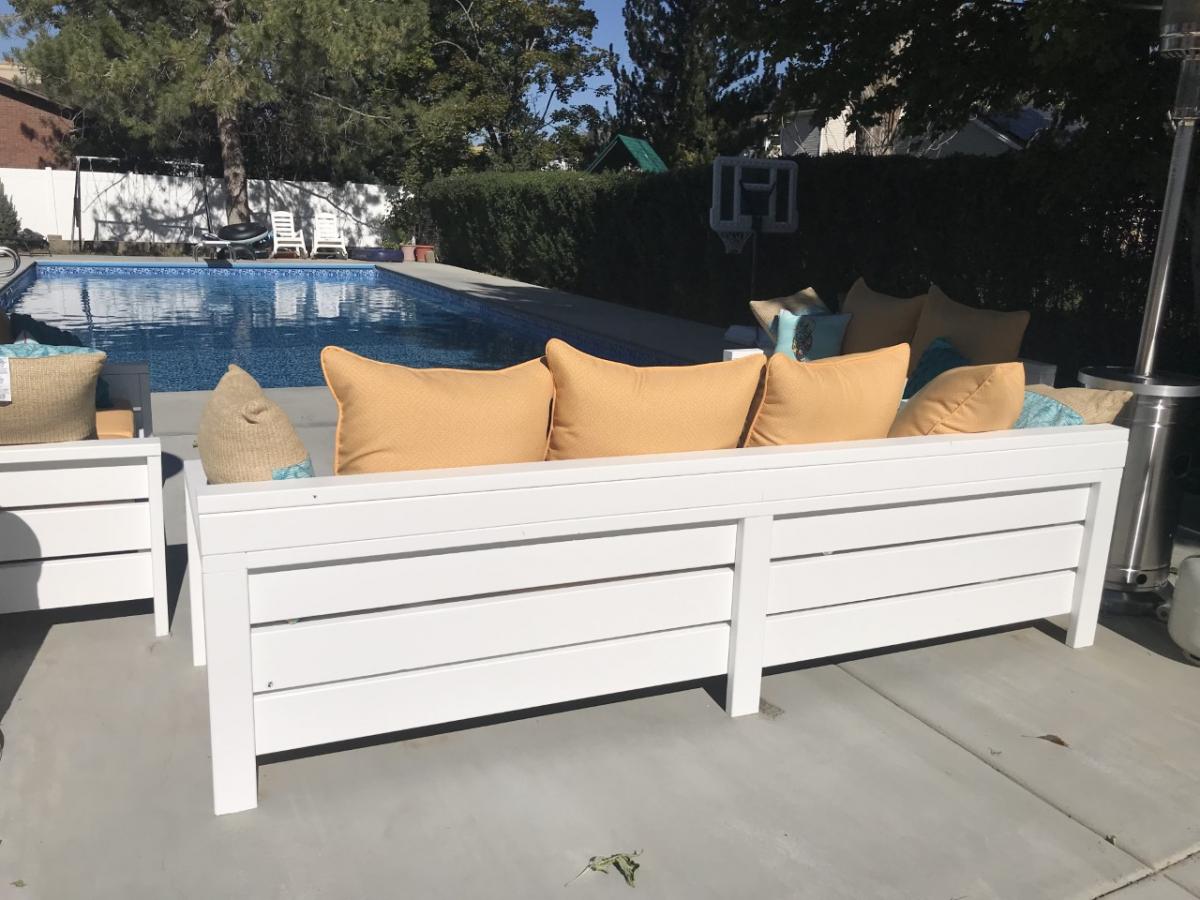
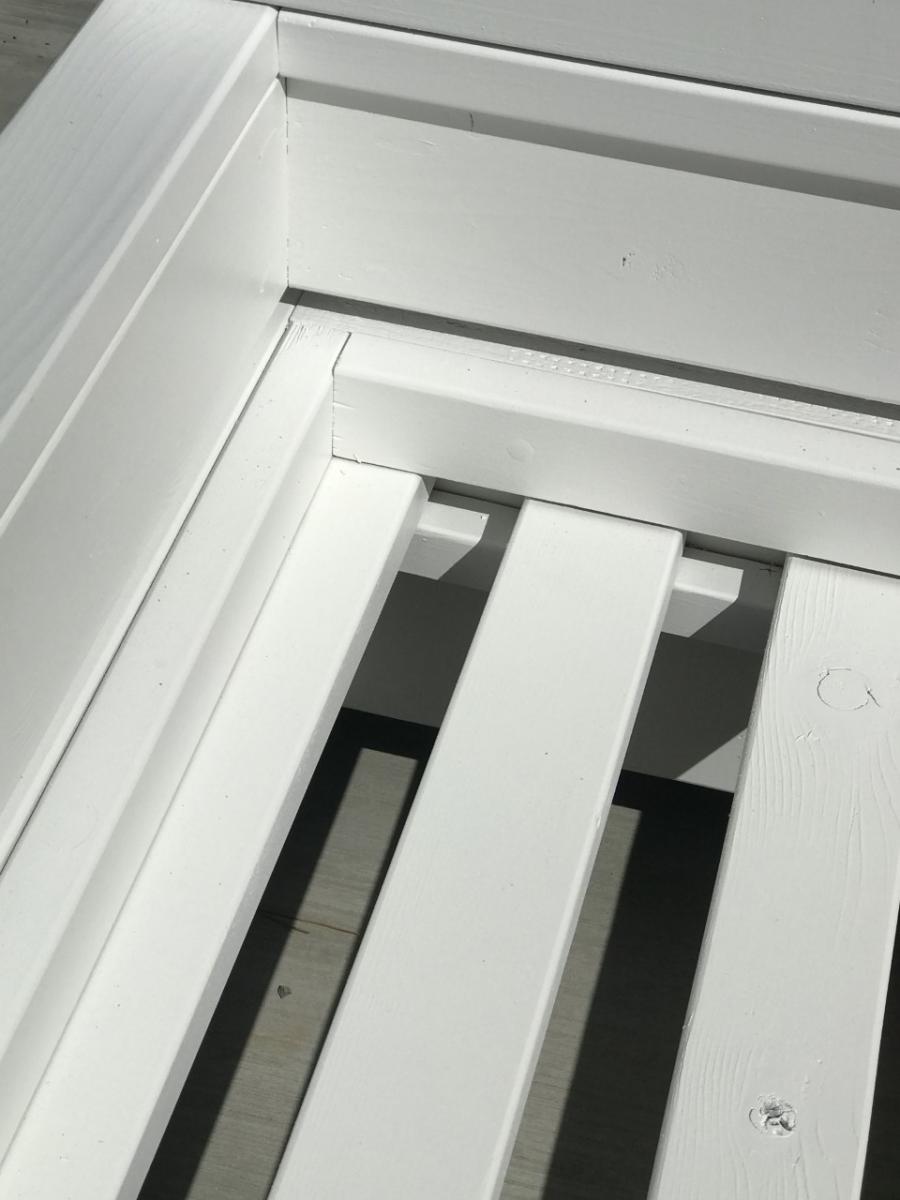
Modern Loveseat and Couch
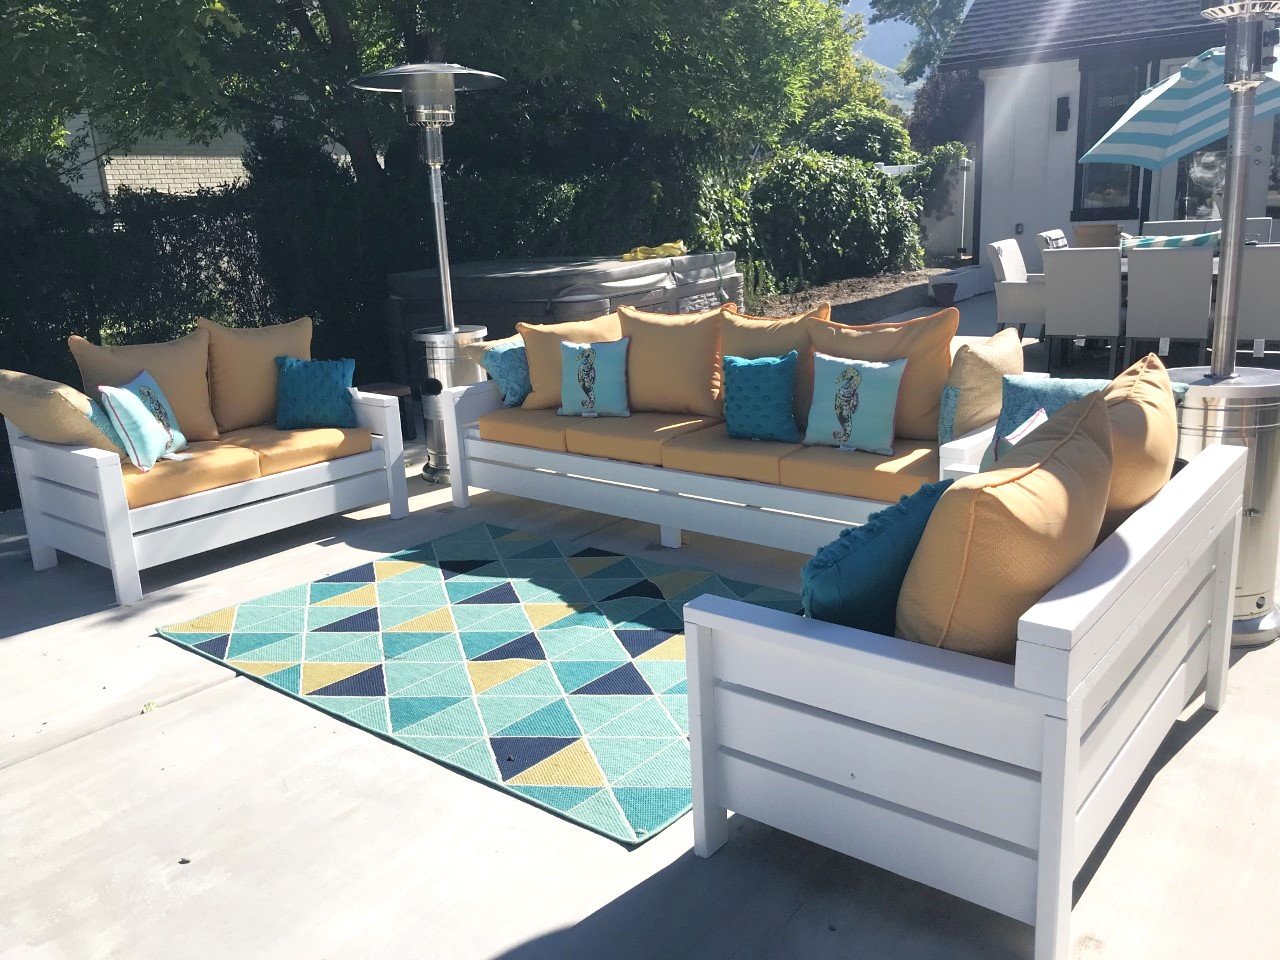
We were looking for outdoor furniture big enough for our whole family and friends but everything we looked at was over $5000 and really not well made. Ana to the rescue.
We built 2 loveseats and created a couch by doubling the dimensions.
We built the whole thing out of redwood so total wood was about $1000
The cushions were from Overstock and Lowes, approx $300.
There was a too much wiggle room with the cushions so we made a built-in frame to hold them in place. If we built another I would have cut the width down slightly.
We placed a 4X4 and another 2X4 on top of the back to provide more support.
All in all, love the way it turned out.
Built from Plan(s)
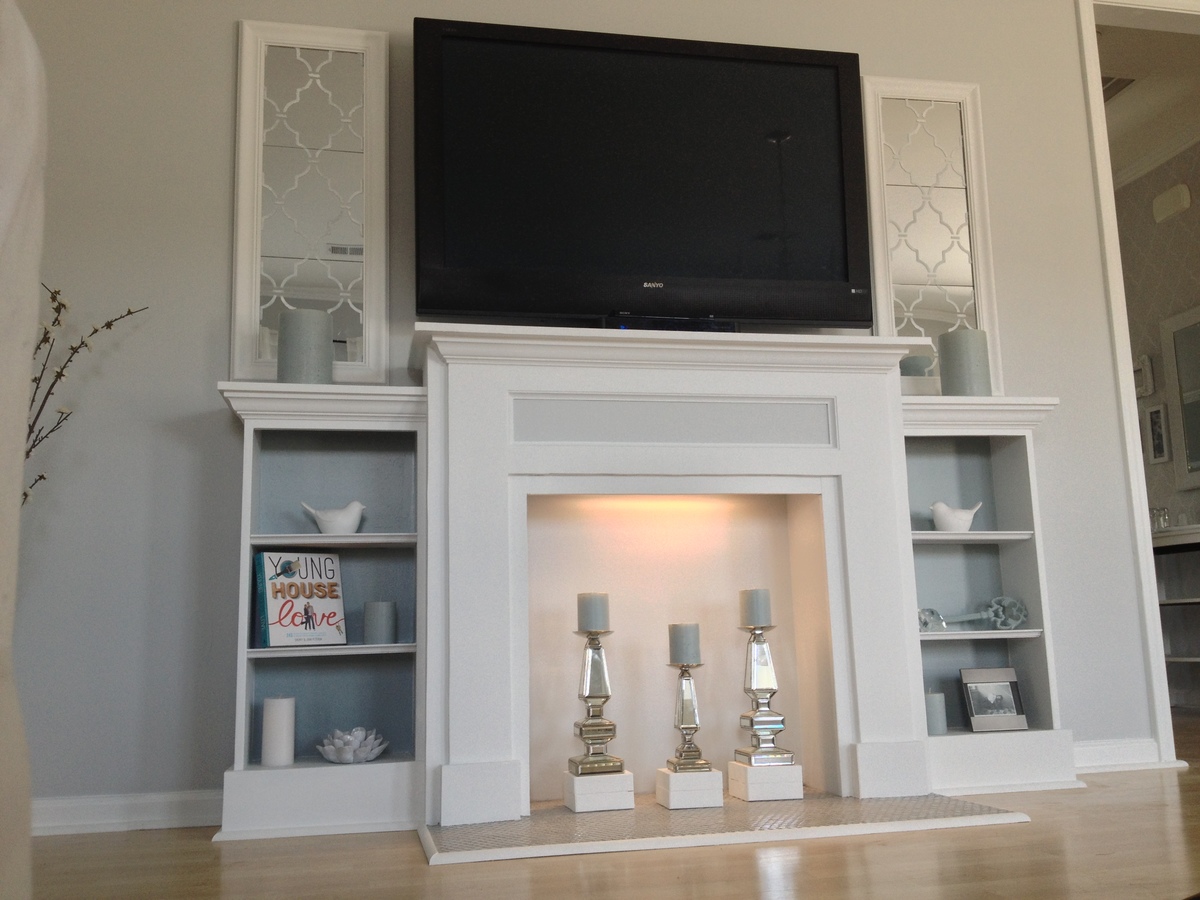
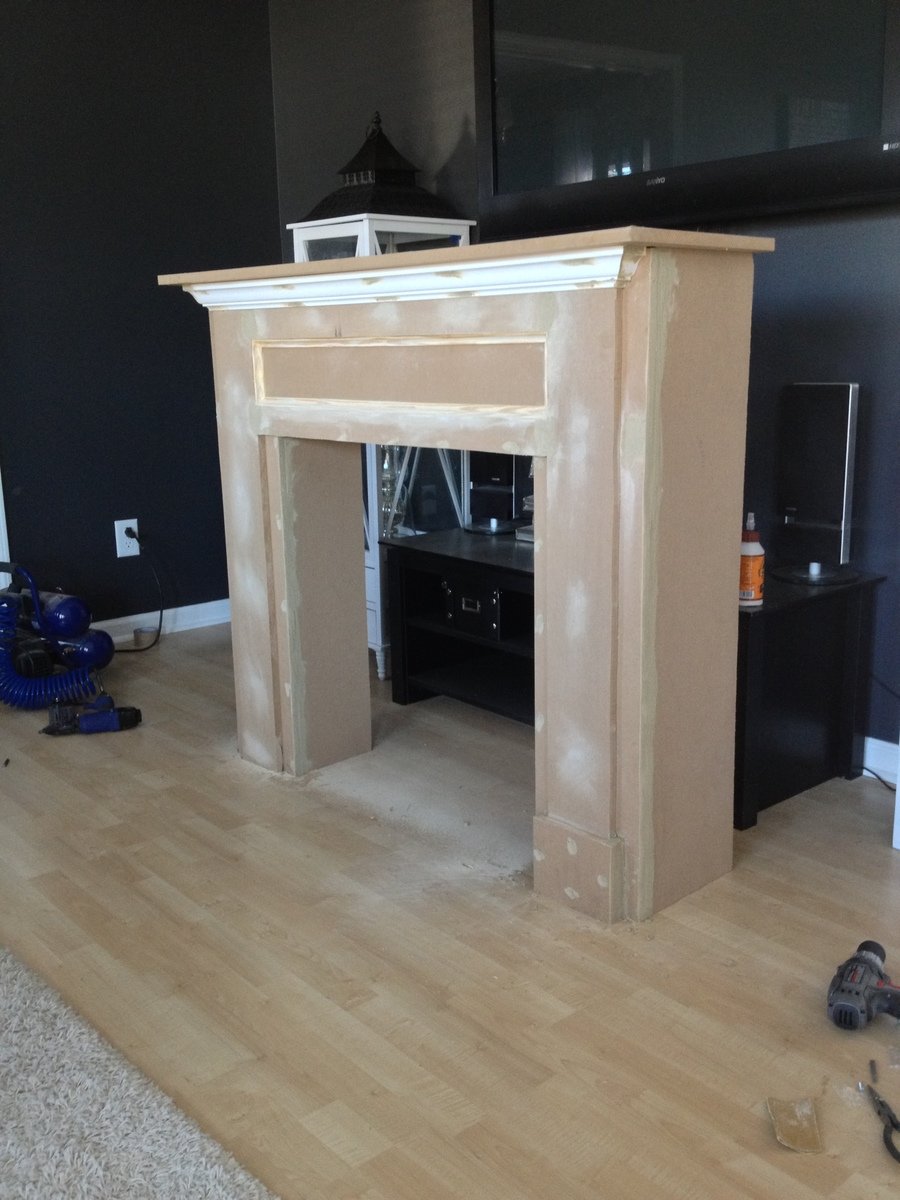
My first DIY project!
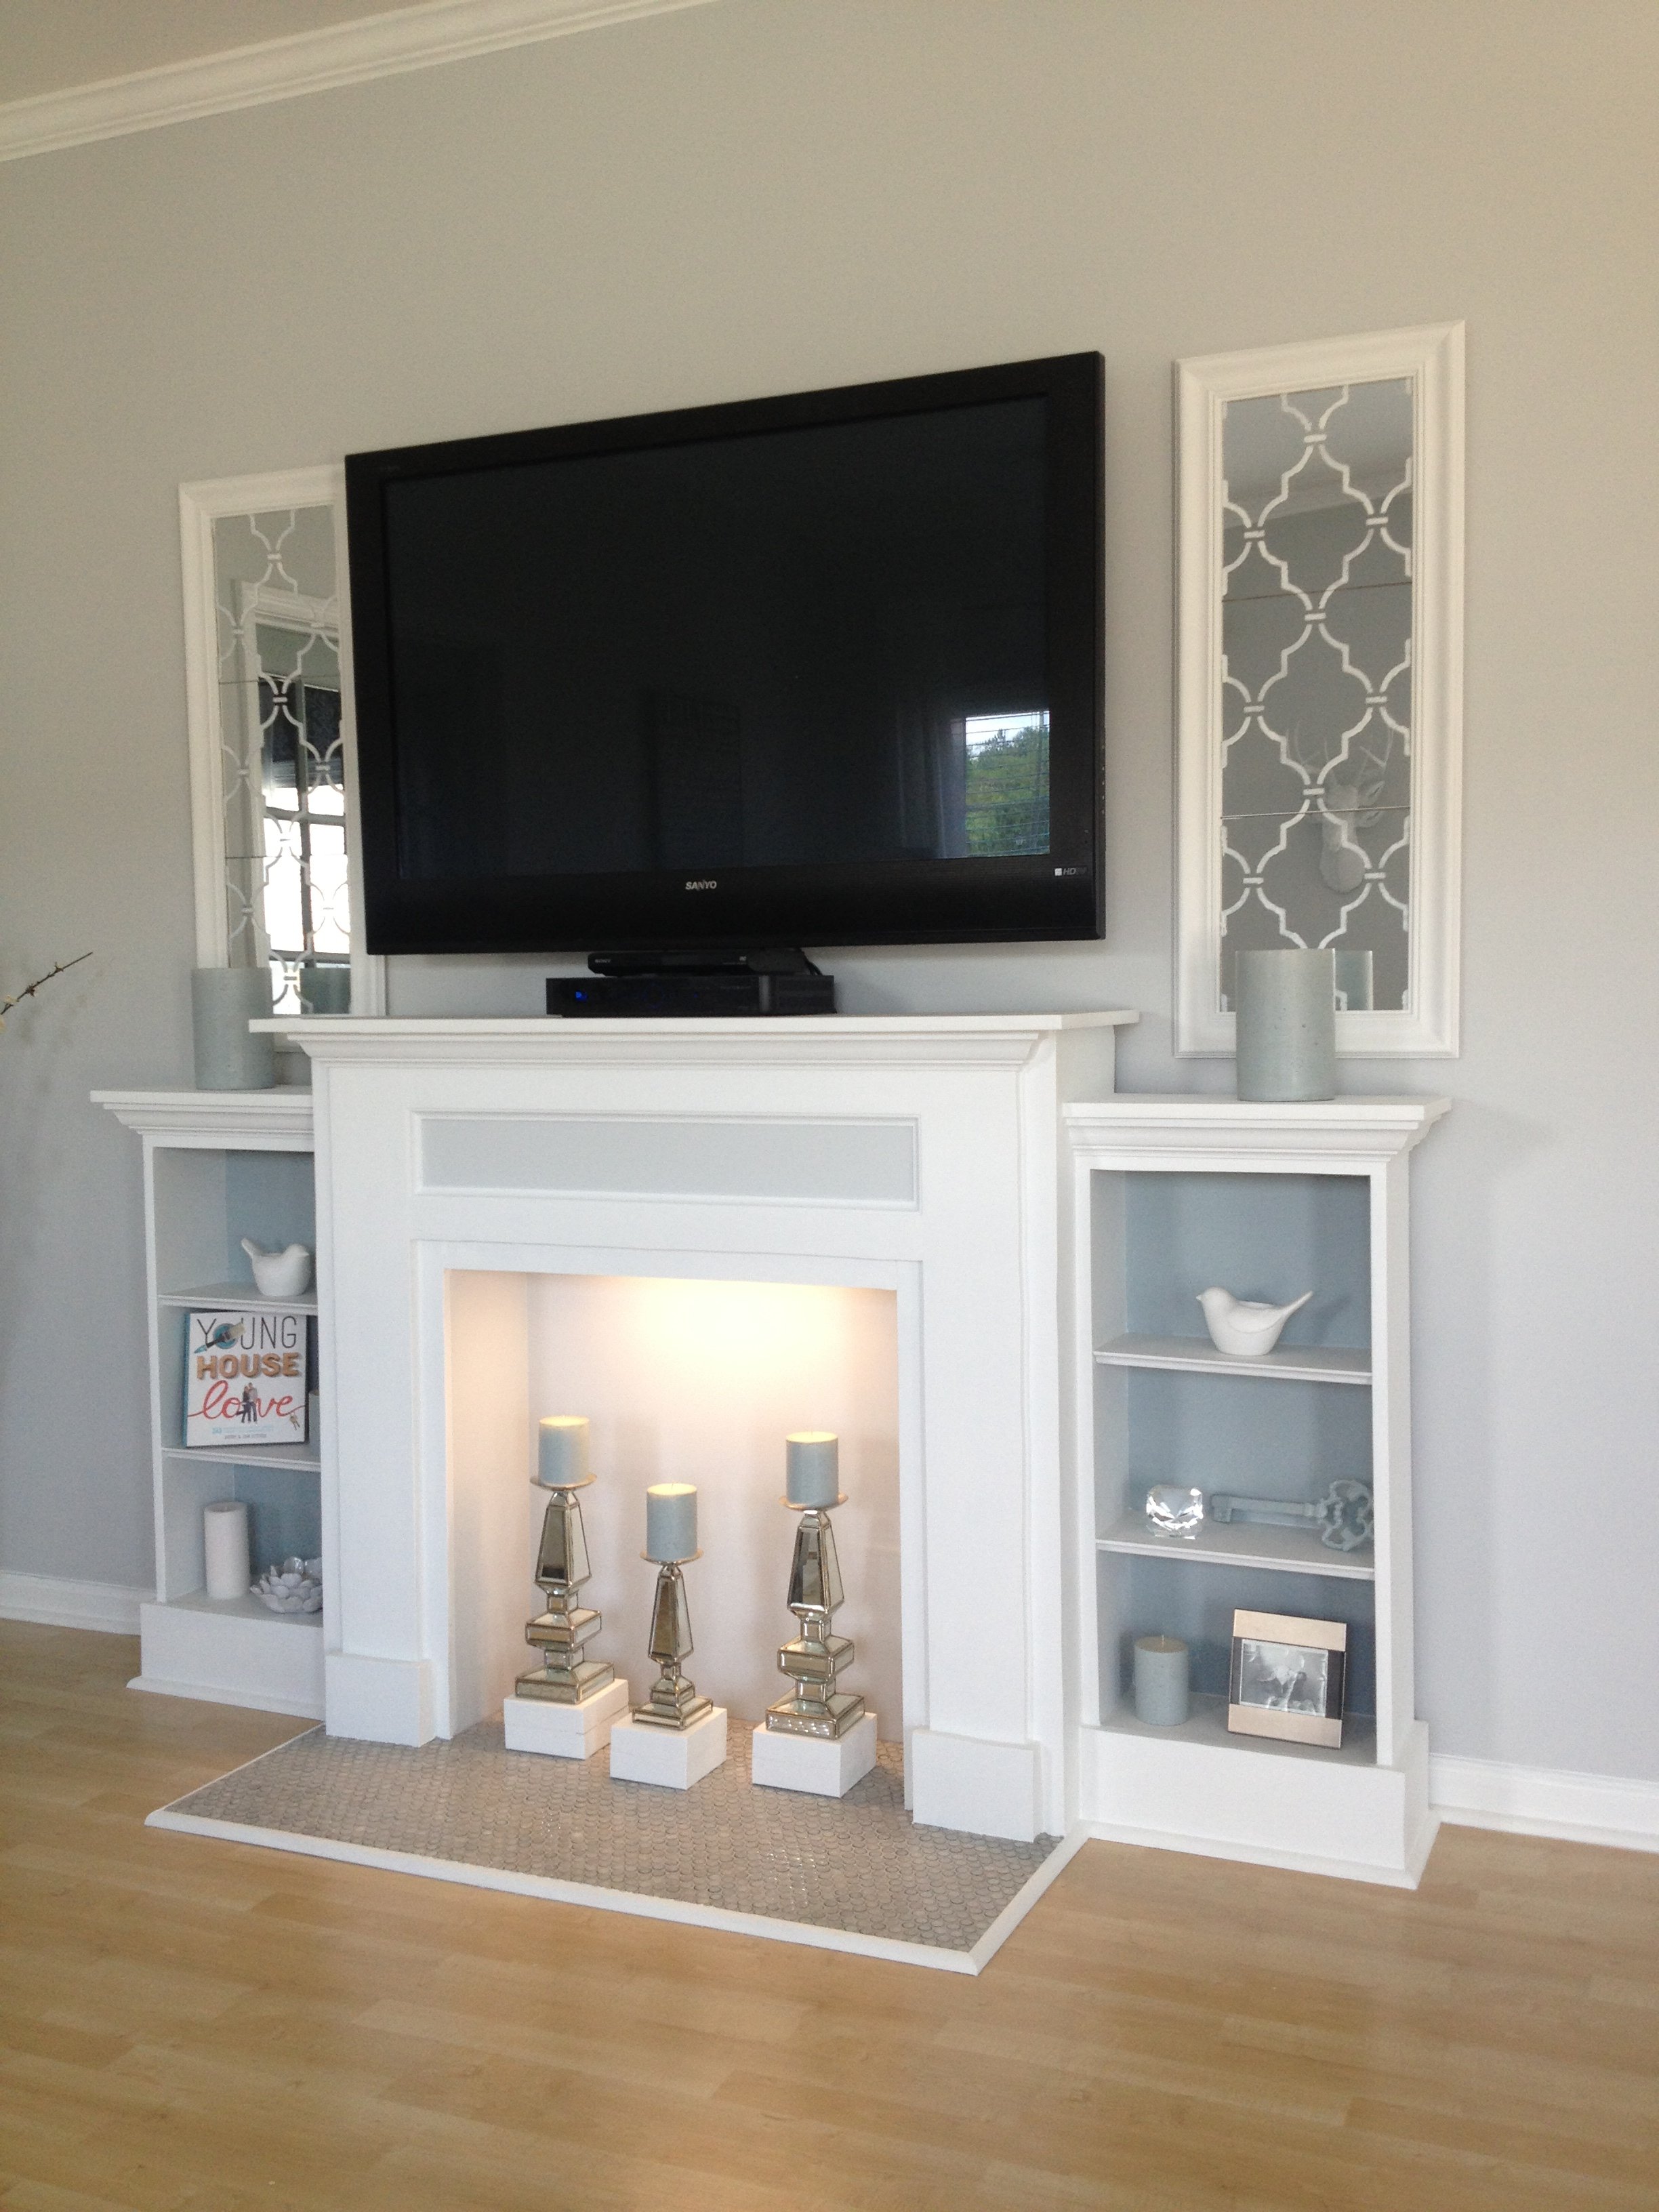
Finally Completed!!! Thank you rainy Saturday! So I wanted a new entertainment center of sorts... couldn't find one that was just what I wanted..... so why not just build what I want! Just DIY it. ;)
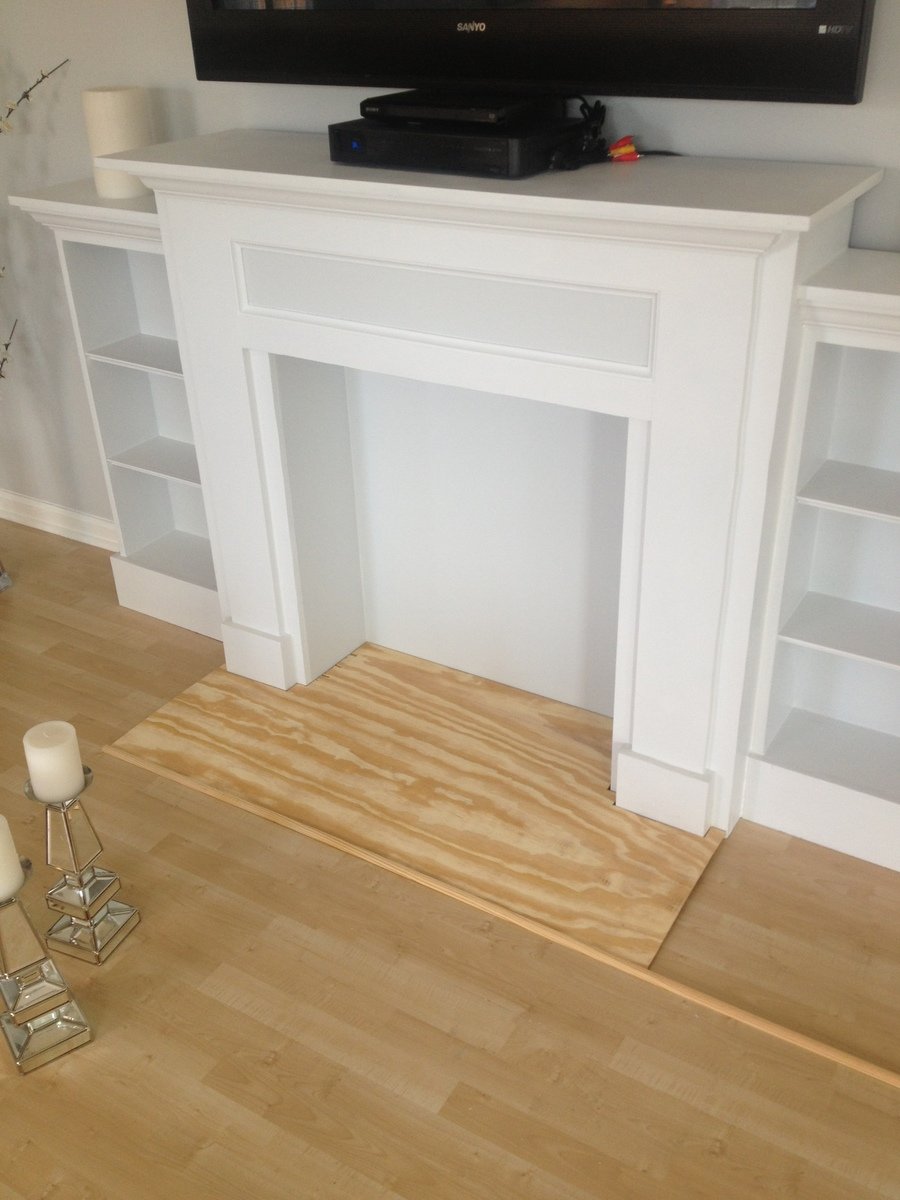
I used the faux fireplace plan and modified it to have attached shelves on the sides. I also added an extra strip at the top of the fireplace opening so I could mount an LED bar light.
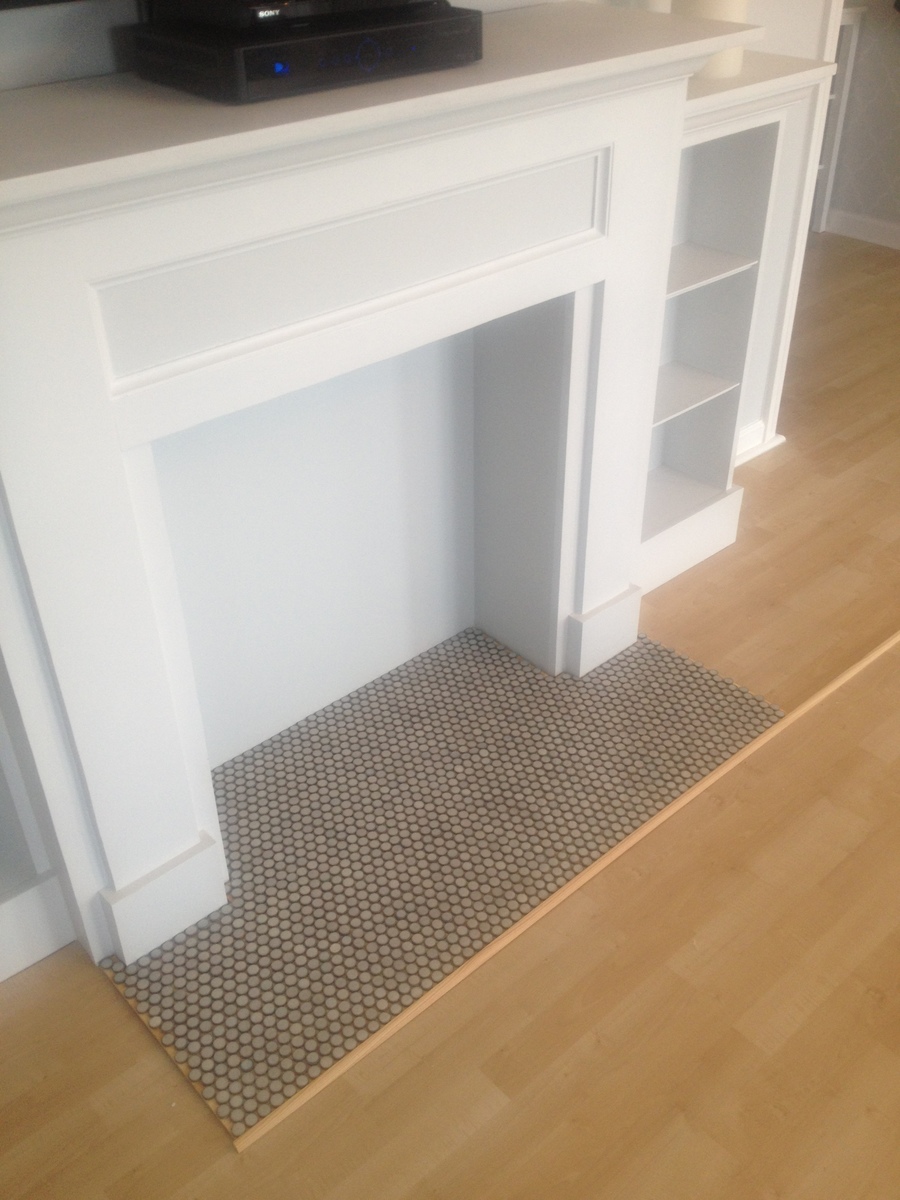
I used 1/4 plywood to make a tile base, penny tile, and 1/2 quarter round to finish out around the entire bottom.
Total project cost was less than $200 including the tile and light!
Best part is the whole thing is movable!
Thanks Anna White for such an awesome plan to start with!

Built from Plan(s)
Estimated Time Investment
Week Long Project (20 Hours or More)
Finish Used
MDF & plywood
Recommended Skill Level
Beginner
Comments

Wed, 07/03/2013 - 10:24
Shelve units
This whole unit is great. My wife LOVES it, which means I will be building it! Did you purchase the two shelf units or build them yourself? Did you use a pattern or plan? Thanks!
Sat, 08/03/2013 - 18:25
I did make the depth of the
I did make the depth of the fireplace deeper so I could have room for the halves on the side. I just sketched out the dimensions I wanted the side shelves and built them along the same lines as the fireplace. Wasn't hard to figure out and just made it to fit the size I needed. The inset of the fireplace does not go all the way back to the wall either, that way the power strip can fit on the floor behind it. Glad you like it and thanks for the compliments!
Wed, 07/23/2014 - 14:54
Your First DIY success
Hi Celeste 808, What a wonderful faux fireplace WITH the bookcases, especially. I'm hoping I can try this in our space challenged bedroom. Did you by any change reply to the chap who asked if you had some kind of dimensions or plans you could pass along to us? I would love to see if we can make it work in the space we have available.
Thanks again for the inspiration,
e
Mon, 10/28/2013 - 18:25
LOVE IT!
I absolutely love what you did with this. I am going to have my fiance help me make this for our house. If you still have the dimensions and details of how you built the whole unit I would greatly appreciate it if you could post it.
Tue, 10/29/2013 - 05:36
Love it. I wasn't going to
Love it. I wasn't going to build the side shelving unit, but changed my mind. This is beautiful... I really love the base.
Sun, 04/13/2014 - 13:00
Beautiful! Exactly what I've been looking for.
This is gorgeous & I can't believe it's your 1st project. I would love to build this too. Did you use any particular plans for the side units? If you have any tips or information to share, that would be great! I've actually been trying to make up my own plans using Sketch Up, but that's not working too good, lol. Again, great job & thank you.
Lynda

Sun, 02/08/2015 - 12:31
Dimensions Added
I'm dying to know the dimensions you added to the width. Also, the dimensions of the book shelf. I have been trying to draw up plans for the last week and I'm stuck with trying to figure it out by looking at your pictures.
PLEASE HELP!
Thanks!!

Mon, 07/27/2015 - 09:15
Blue Print Request
Do you have the blue print of how you built the mantel and side book shelves? I am wanting to go buy supplies to build this tonight!!!
Thank you!
Sun, 11/15/2015 - 13:19
im having a hard time with
im having a hard time with the site. LOVE this and want to build it. how do i get the plans for it?
Sun, 11/15/2015 - 13:19
im having a hard time with
im having a hard time with the site. LOVE this and want to build it. how do i get the plans for it?
Mon, 07/18/2016 - 12:19
blue print/dimensions of shelves
Hello! I love the design! If you have the dimensions or blue print for the shelves please forward along!!
Sat, 12/31/2016 - 18:06
Hi there! Love this look!
Hi there! Love this look! Just wondering where you found the mirrors shown on either side? Thanks!
Tue, 12/19/2017 - 21:55
Dimensions
How wide is this? From the end of one bookshelf to the other? Also, how deep is it?
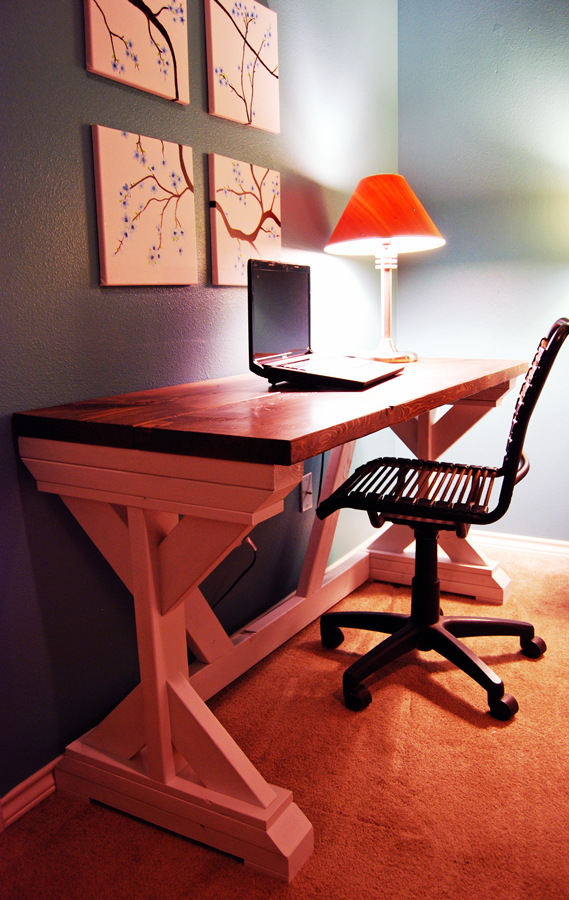
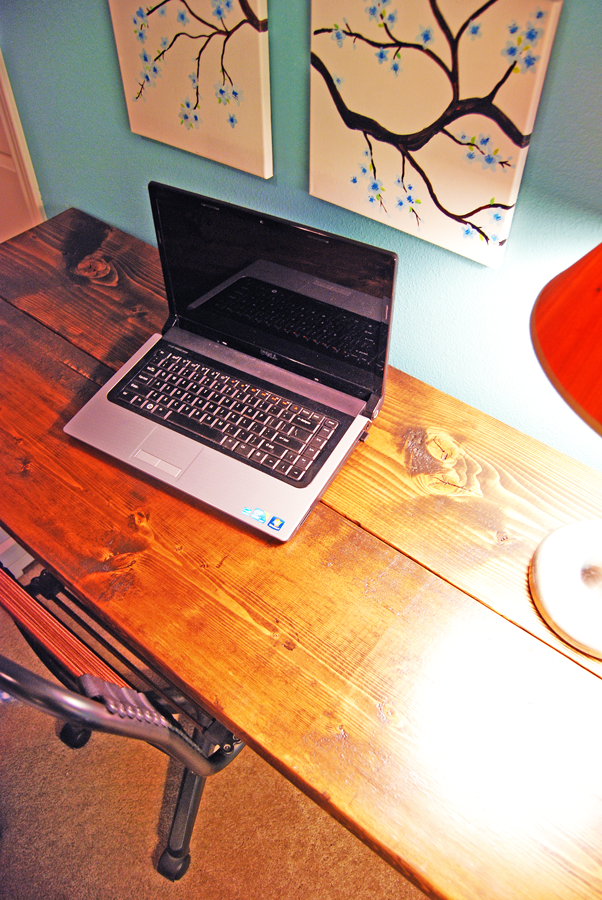
X Desk
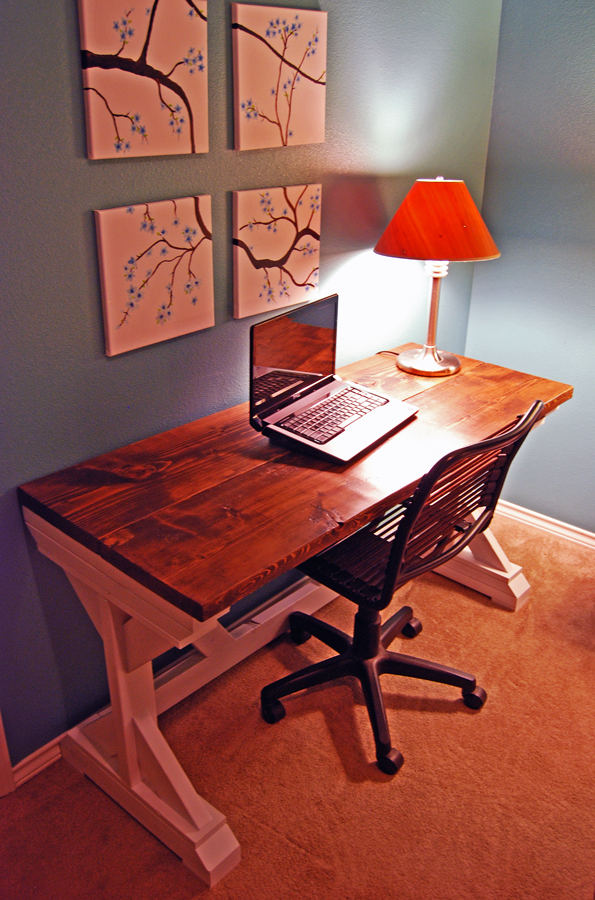
Pretty straightforward build, fun to use and build!
Built from Plan(s)
Estimated Cost
$70 ish
Estimated Time Investment
Afternoon Project (3-6 Hours)
Recommended Skill Level
Beginner