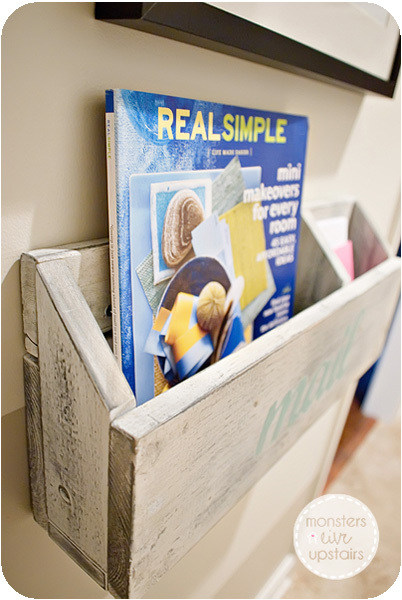
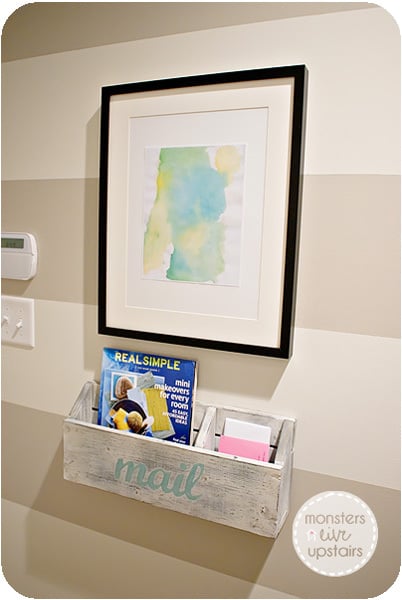
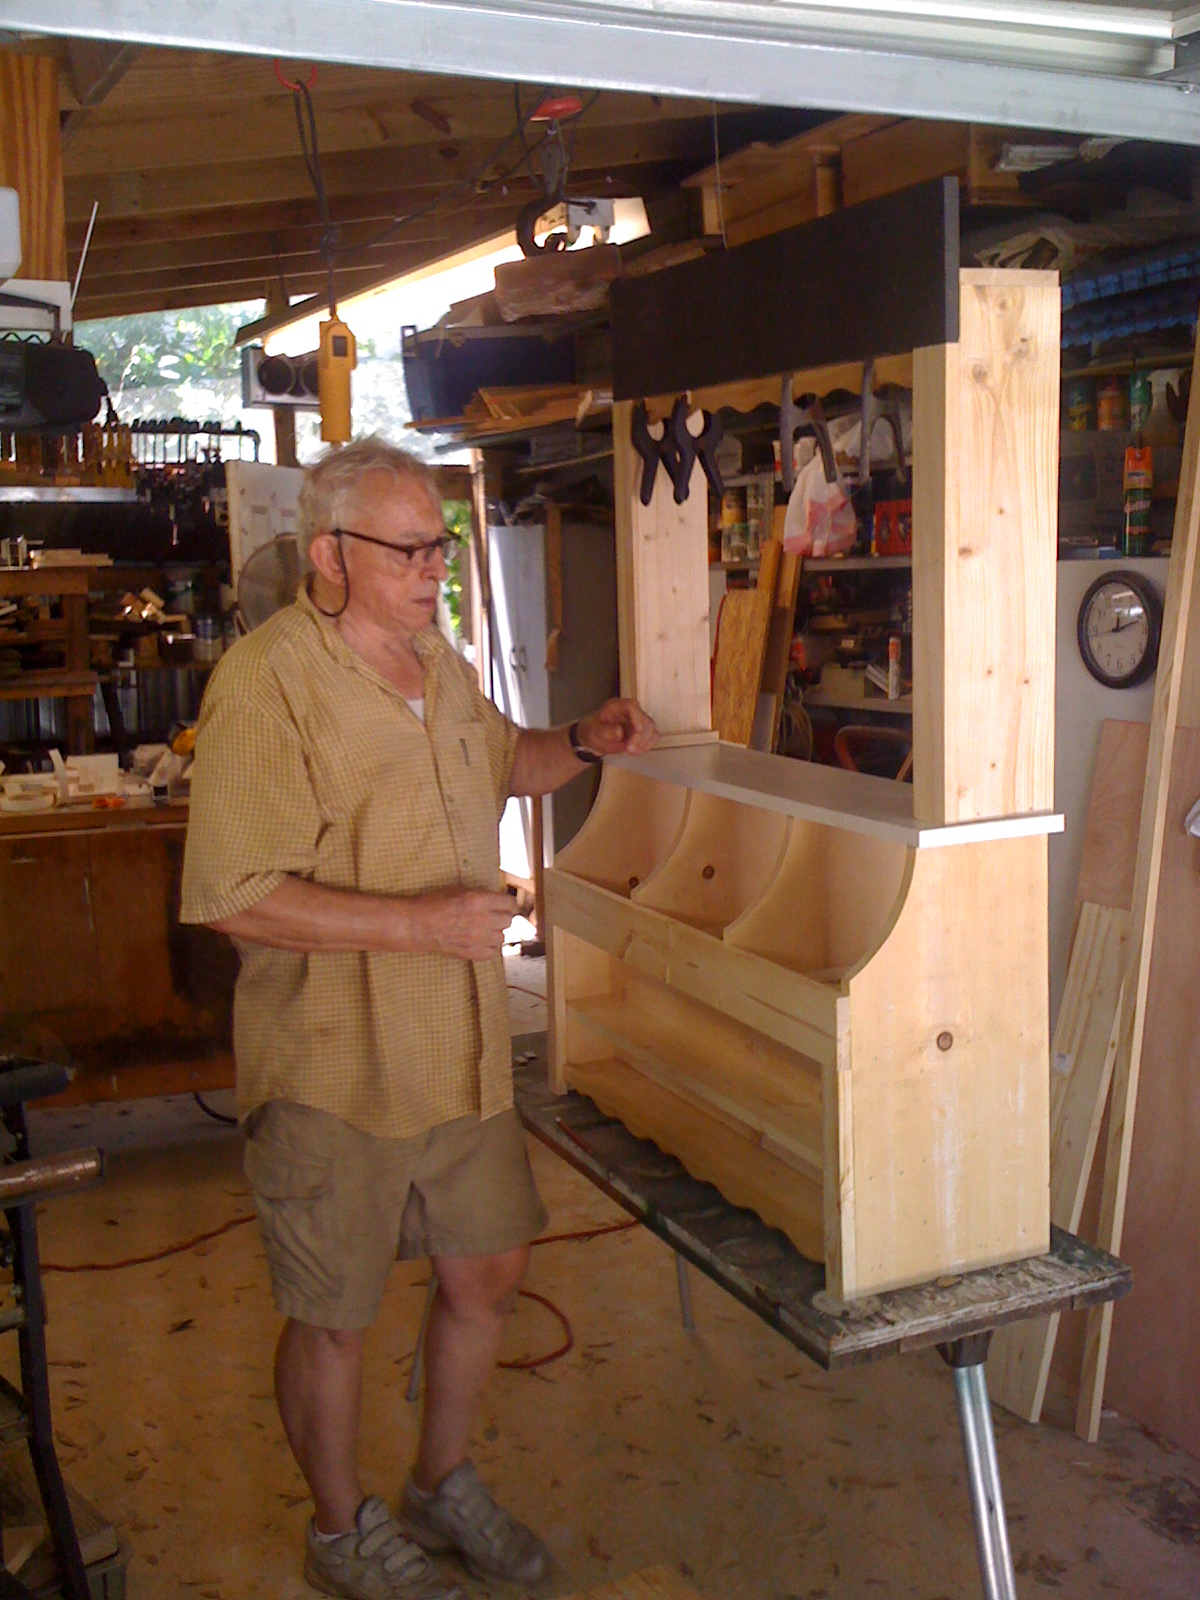
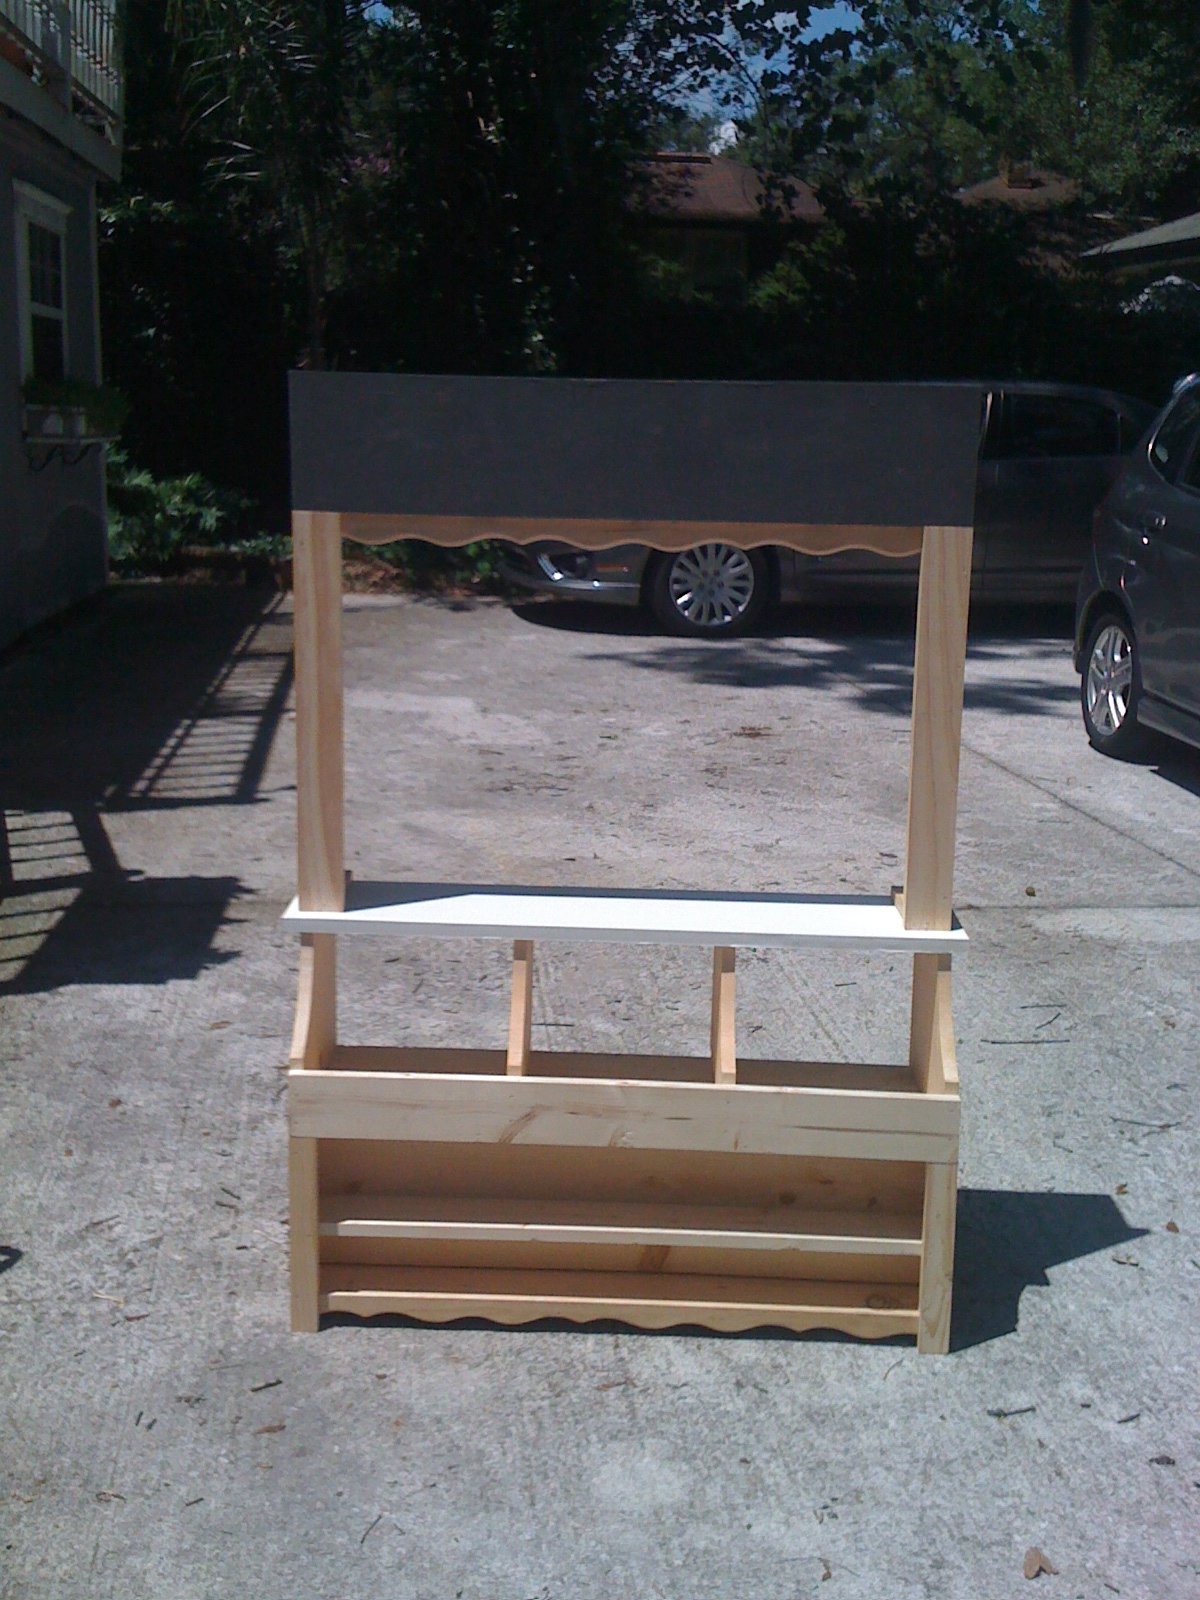
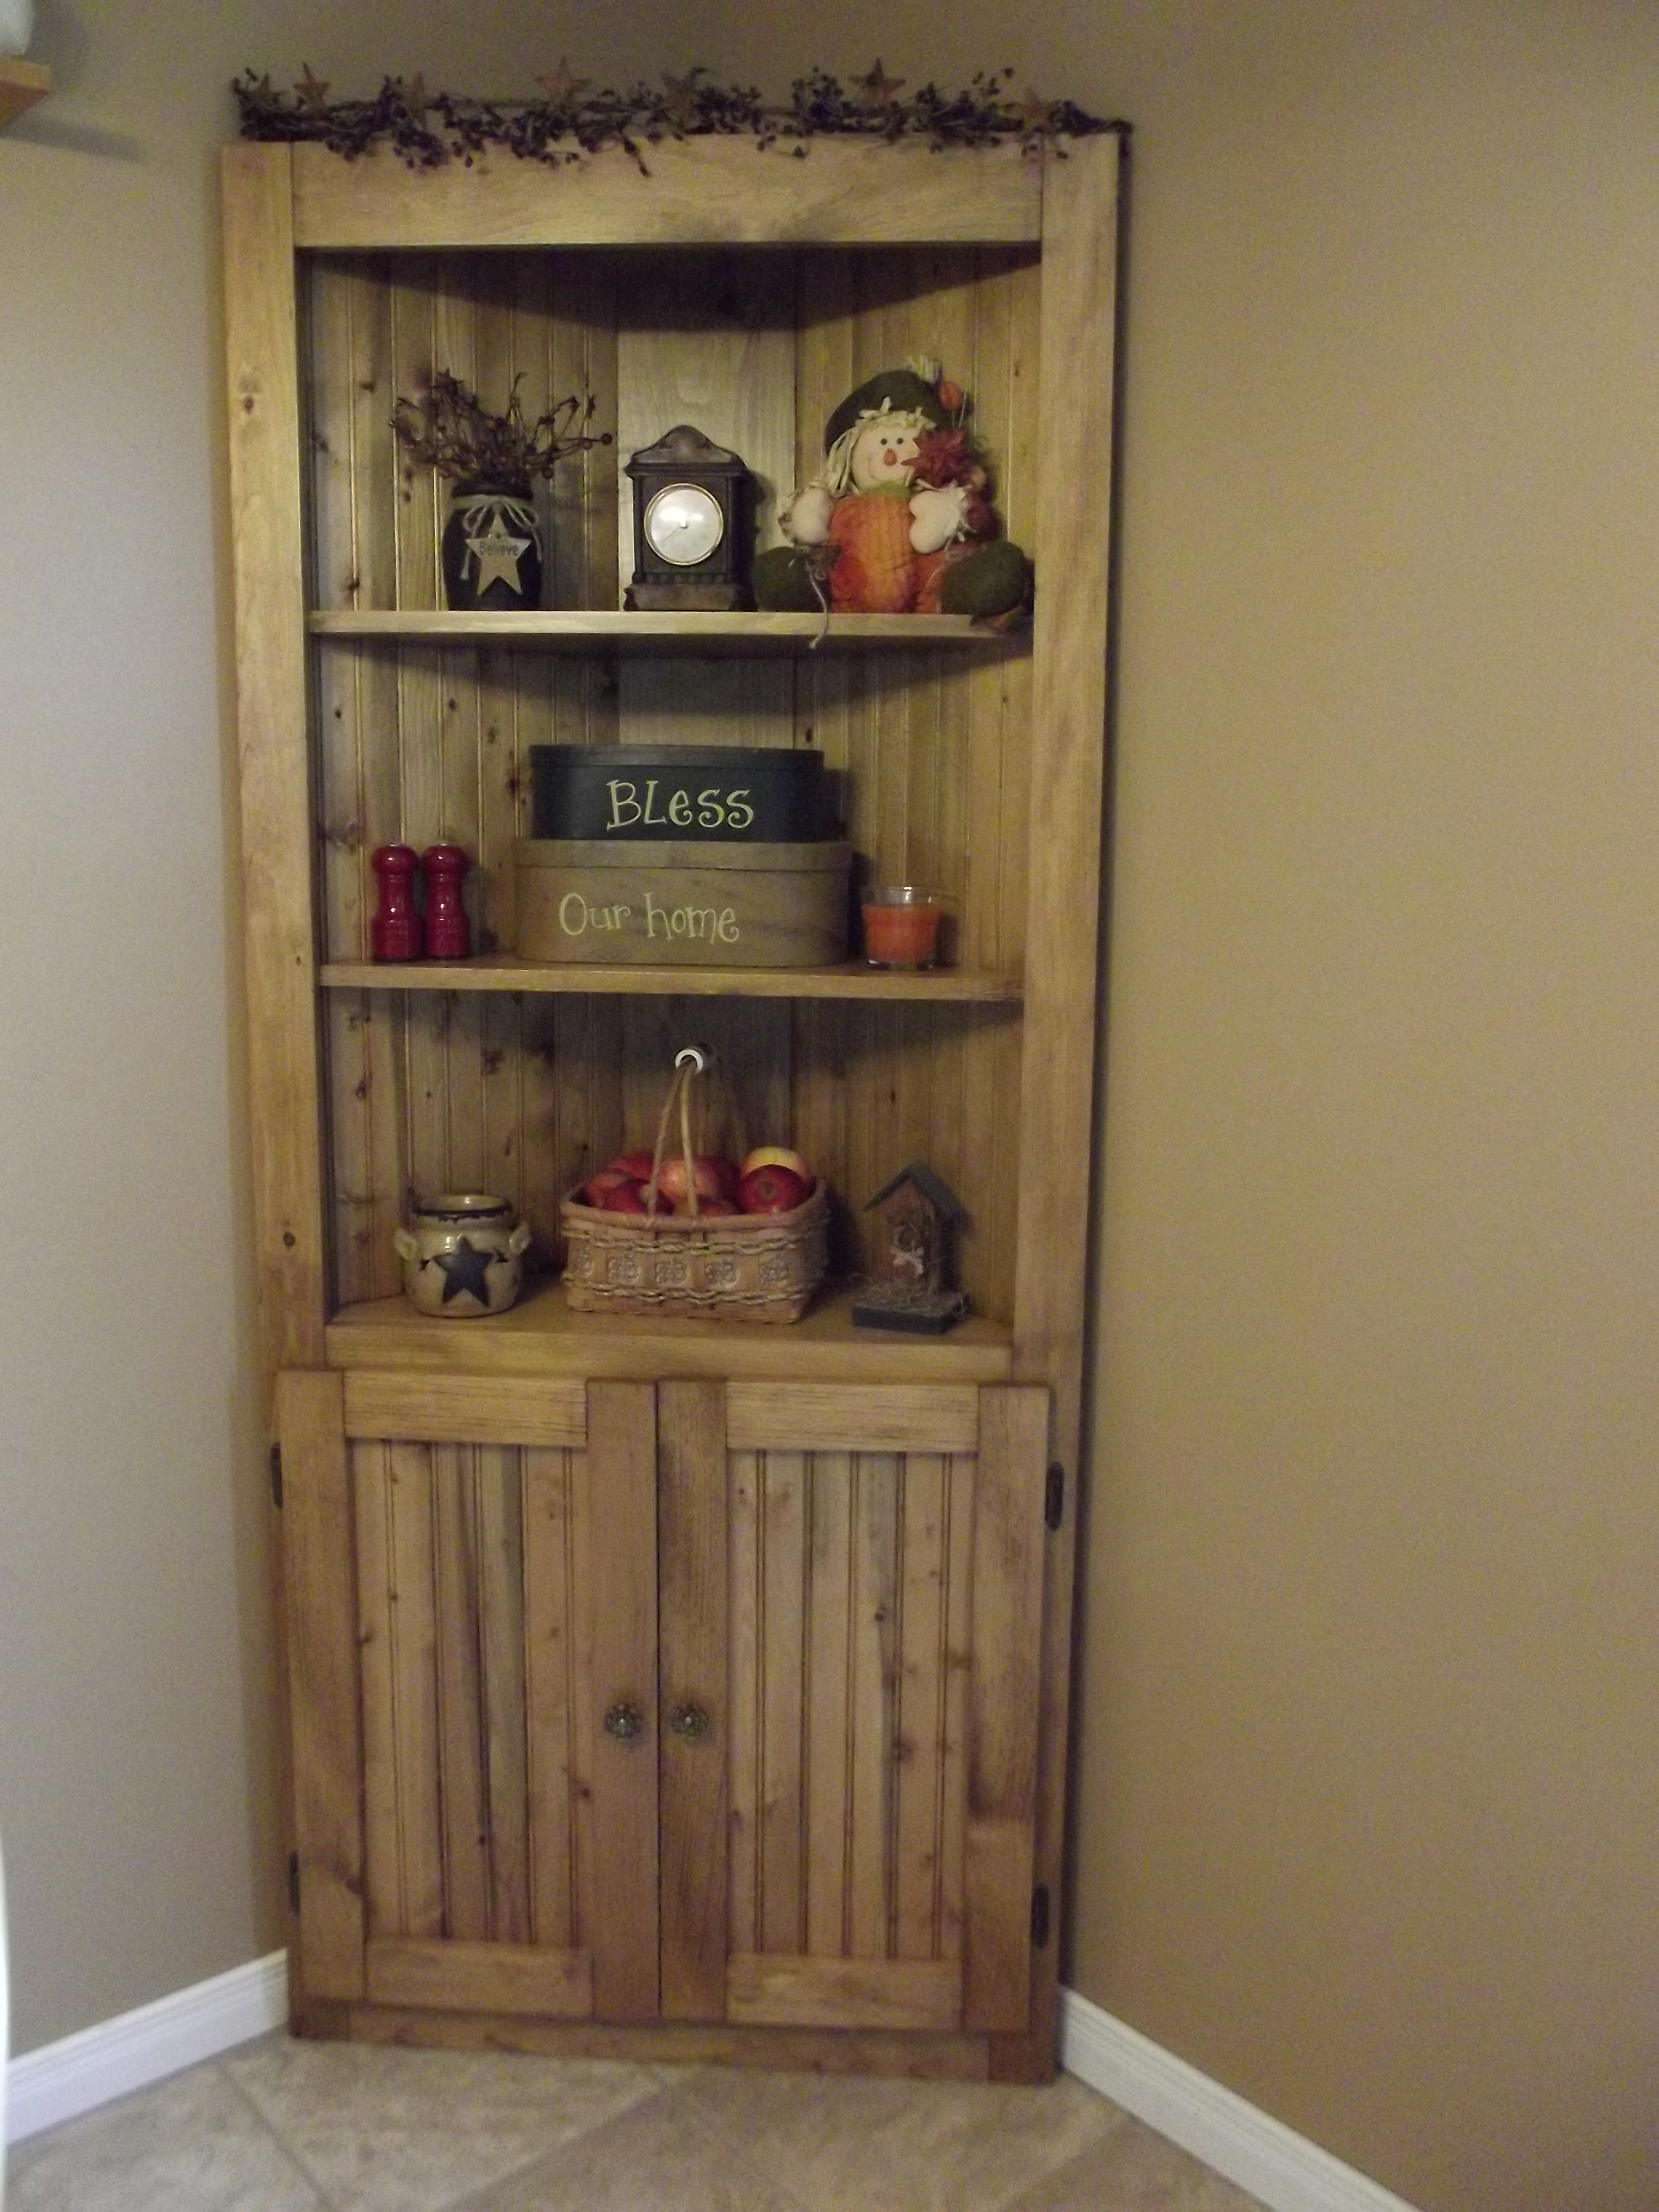
Flat Wall Bookcase

This was my very first Ana project. It probably took me three times as long as it would take anyone with any experience. That said, we love it! I have since made two more for friends! No need to look too close, there are plenty of mistakes.

Built from Plan(s)
Estimated Time Investment
Afternoon Project (3-6 Hours)
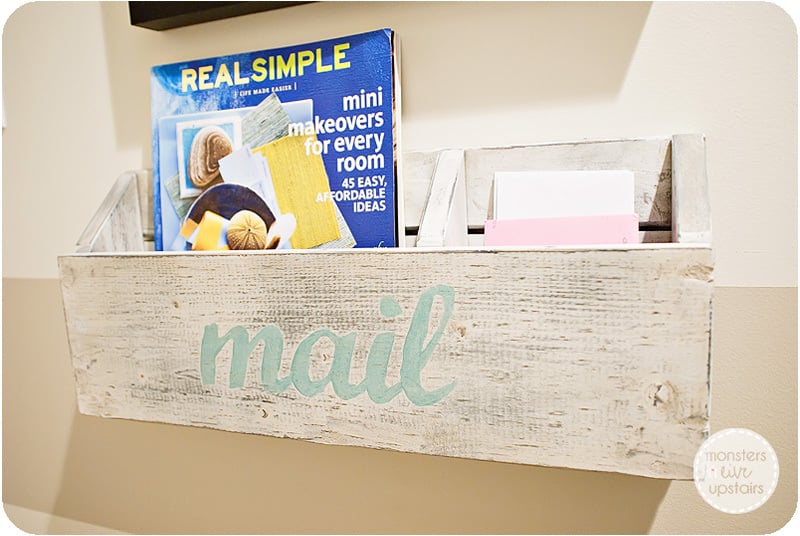
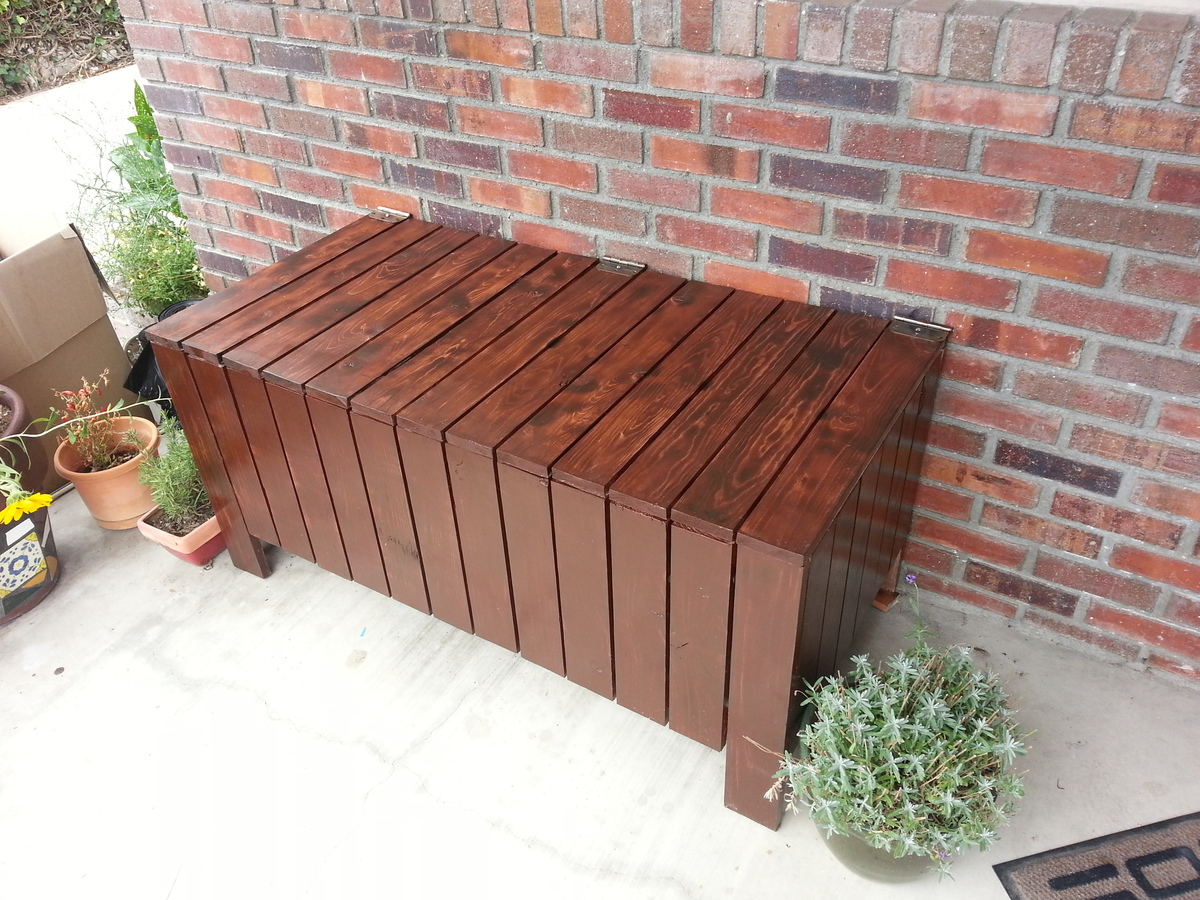
Finish Used
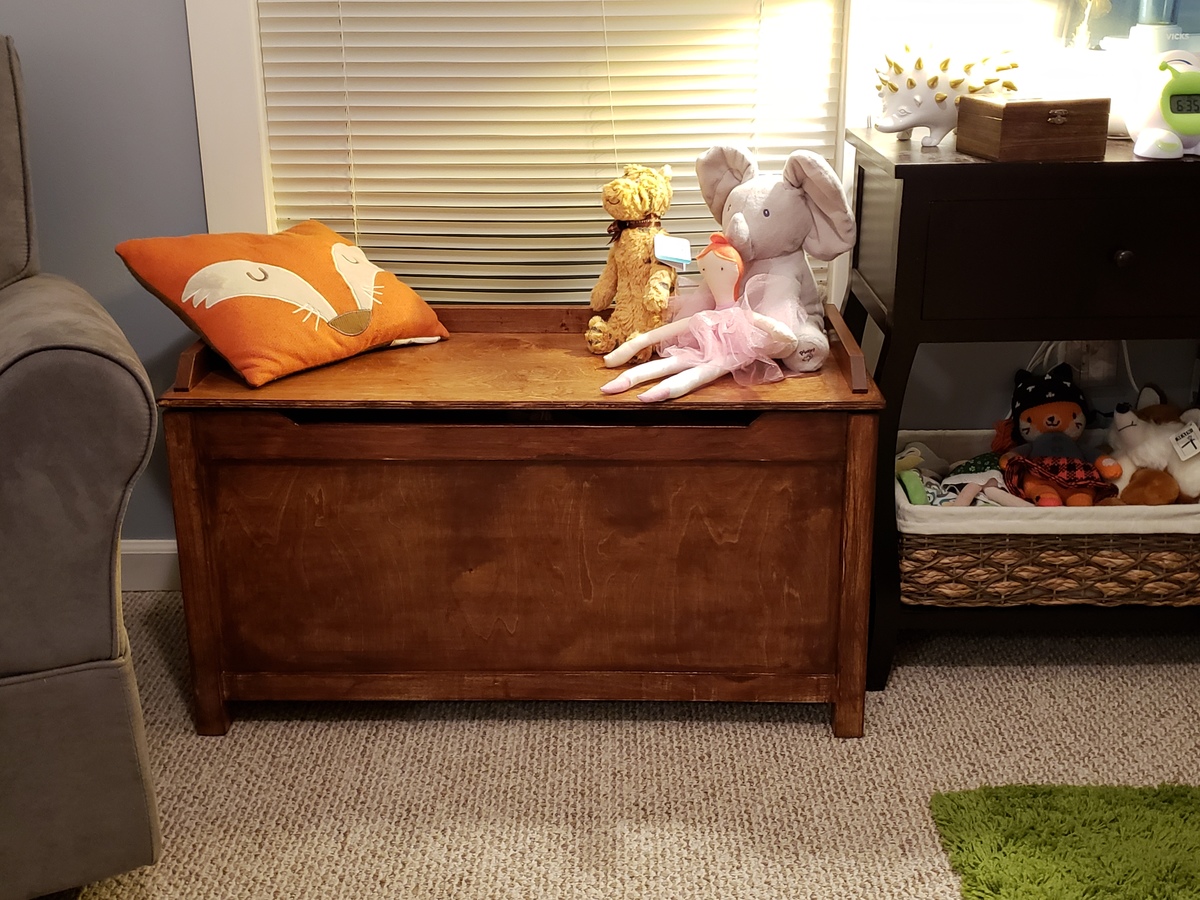
I used miniwax water-based red oak and topped with two coats of polycrylic.
Recommended Skill Level
Starter Project