Family Table
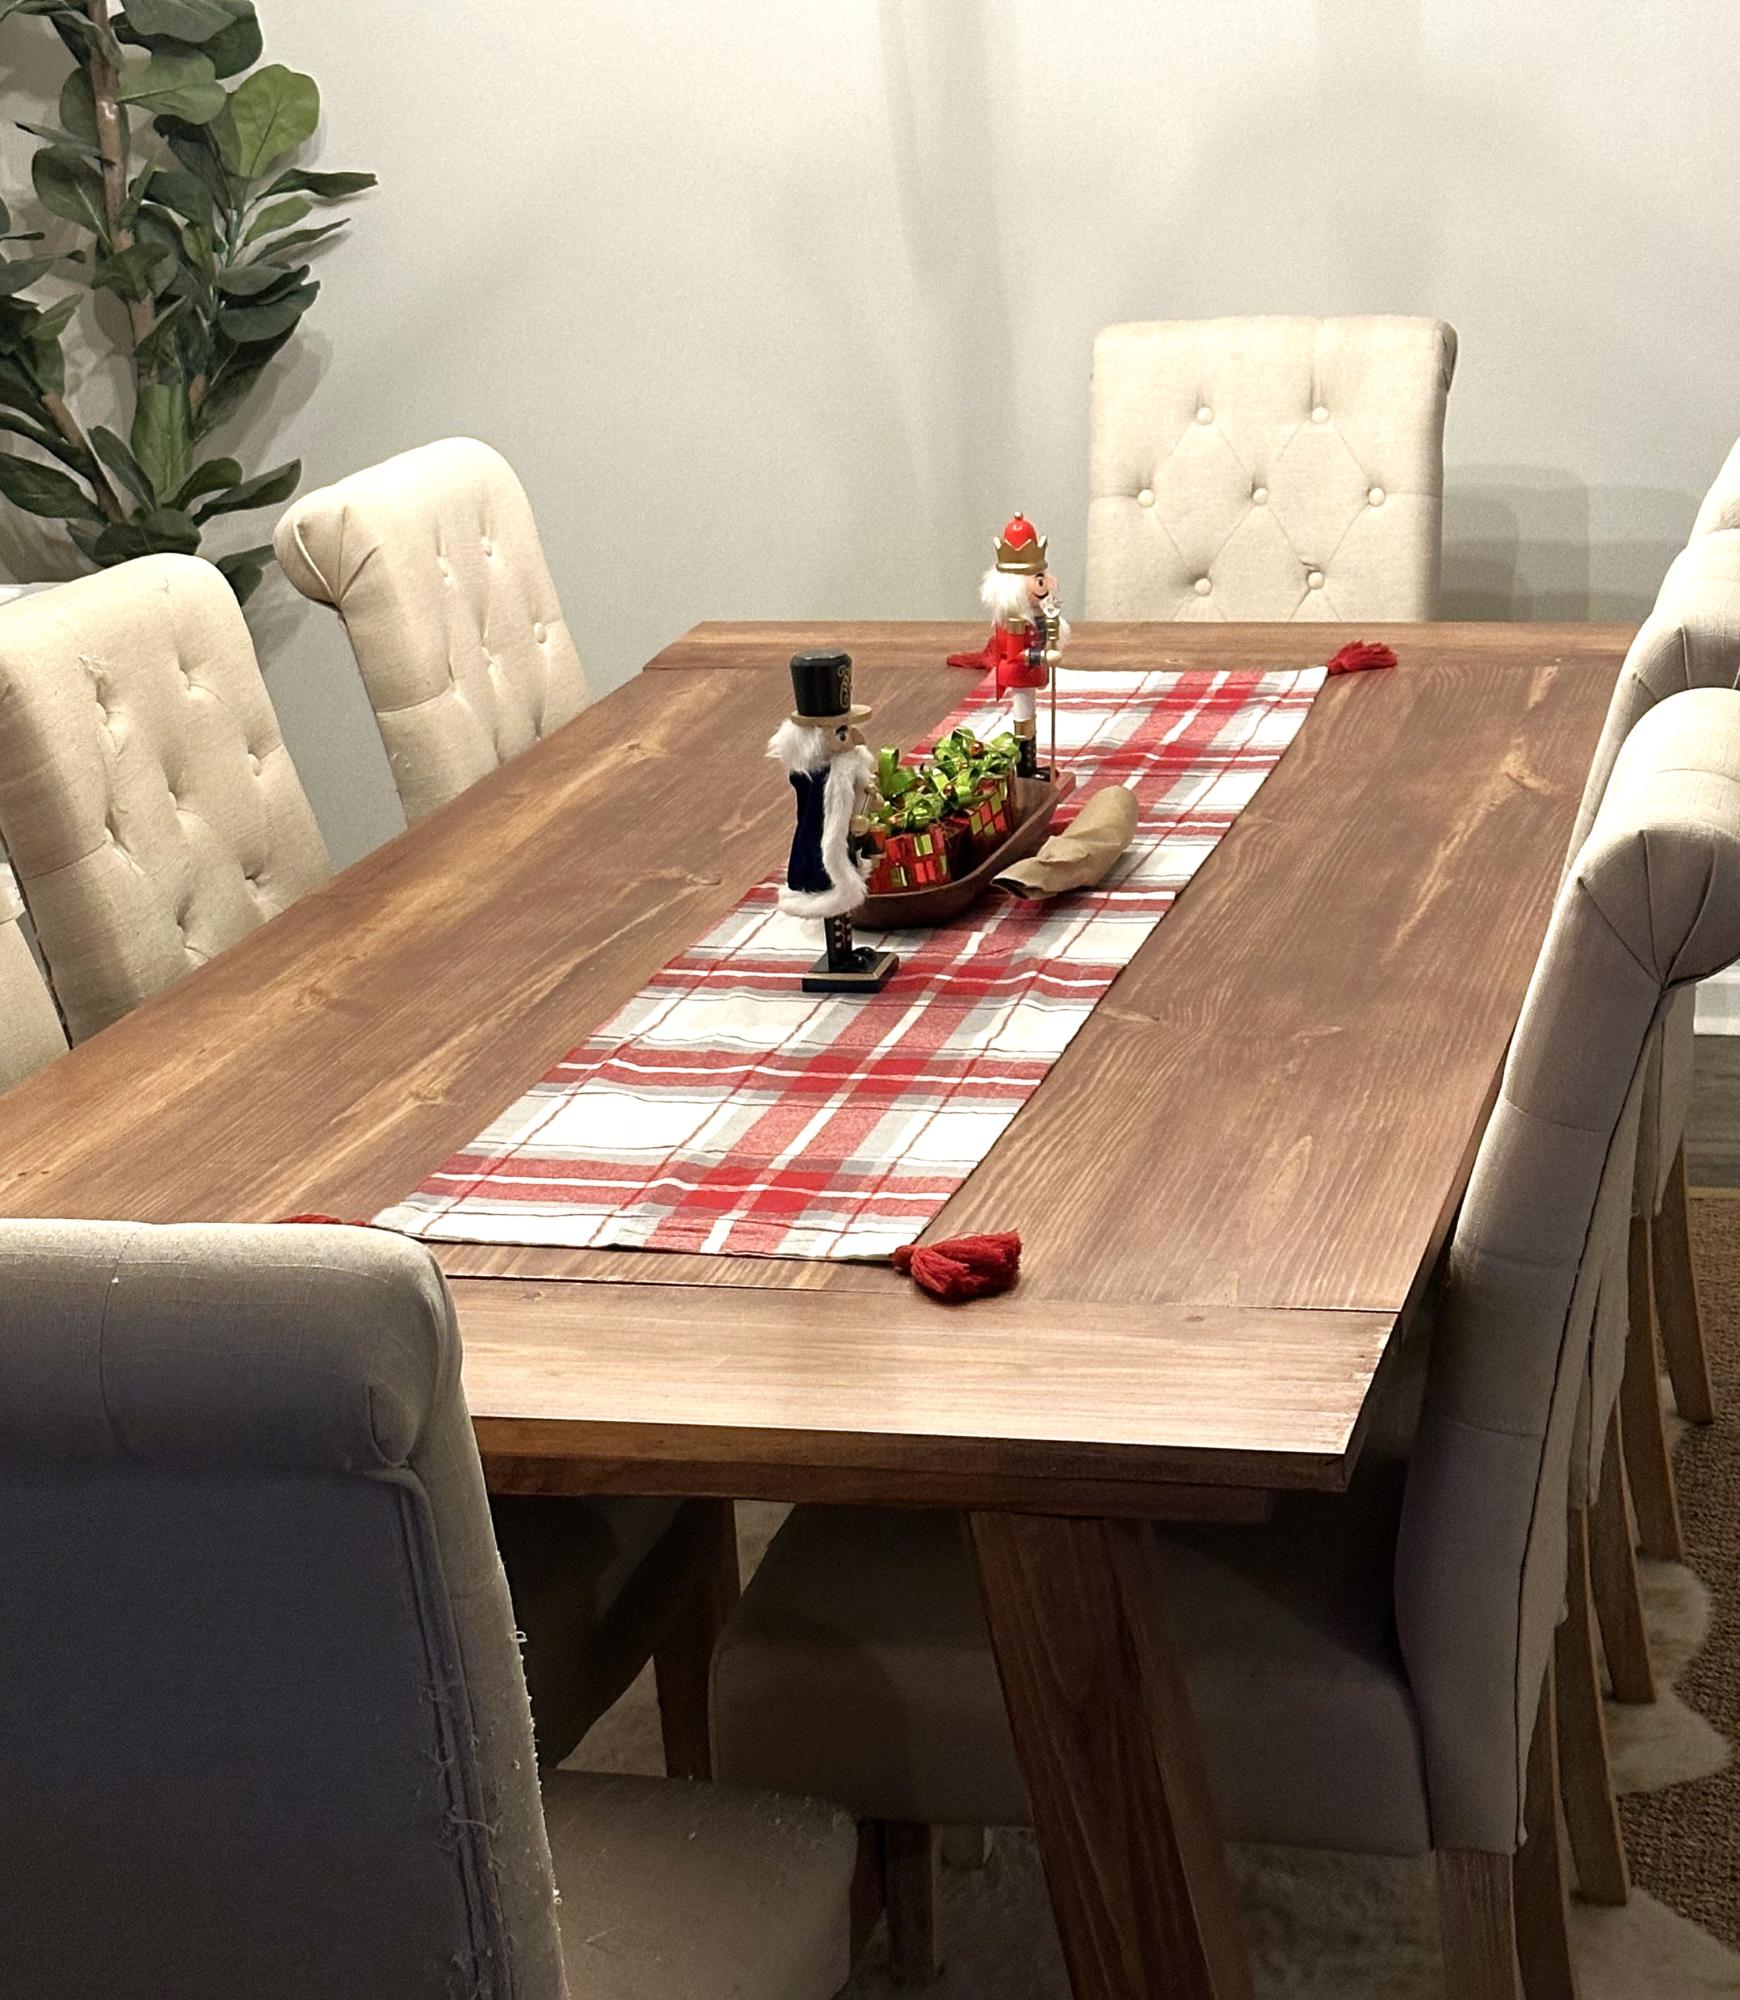
Holiday Table by Ryan B
Built from Plan(s)
Seasonal And Holiday
Holiday Table by Ryan B
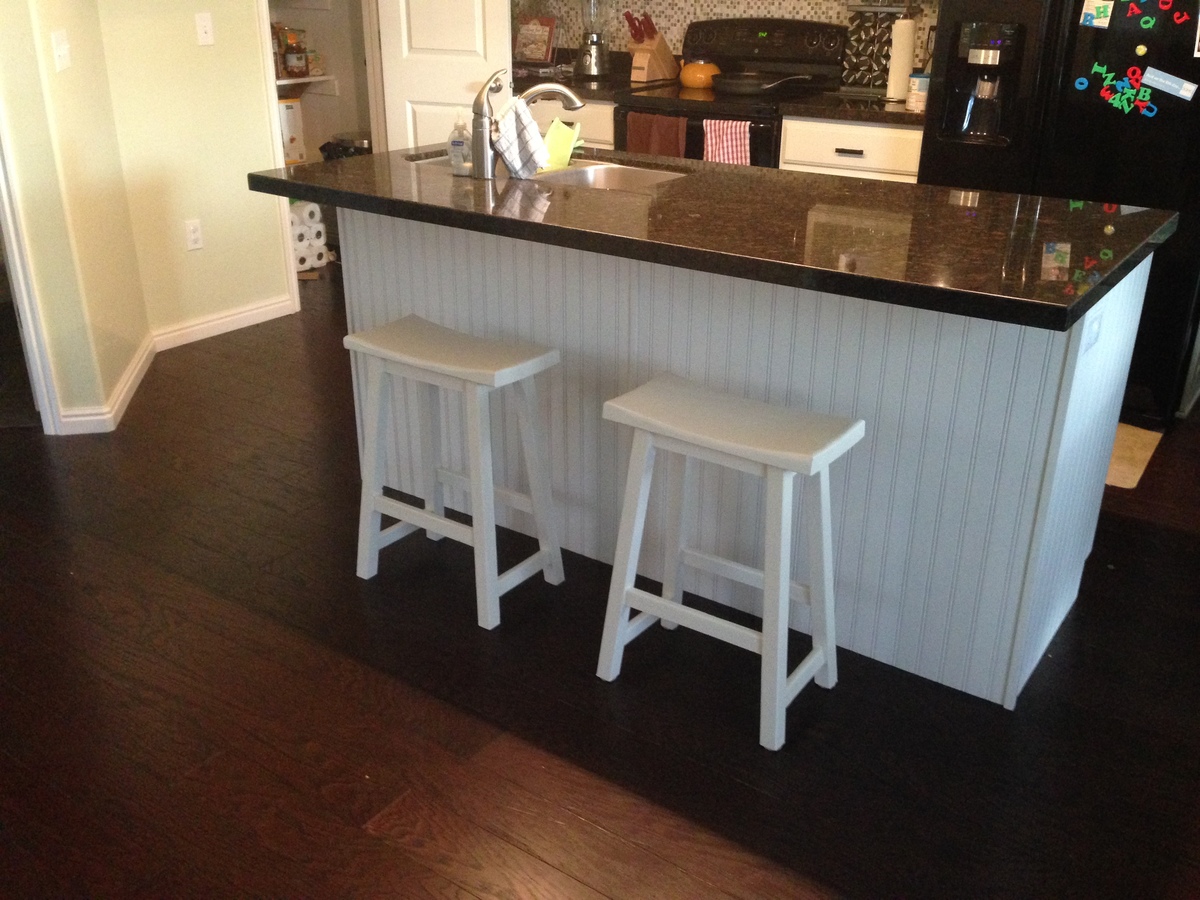
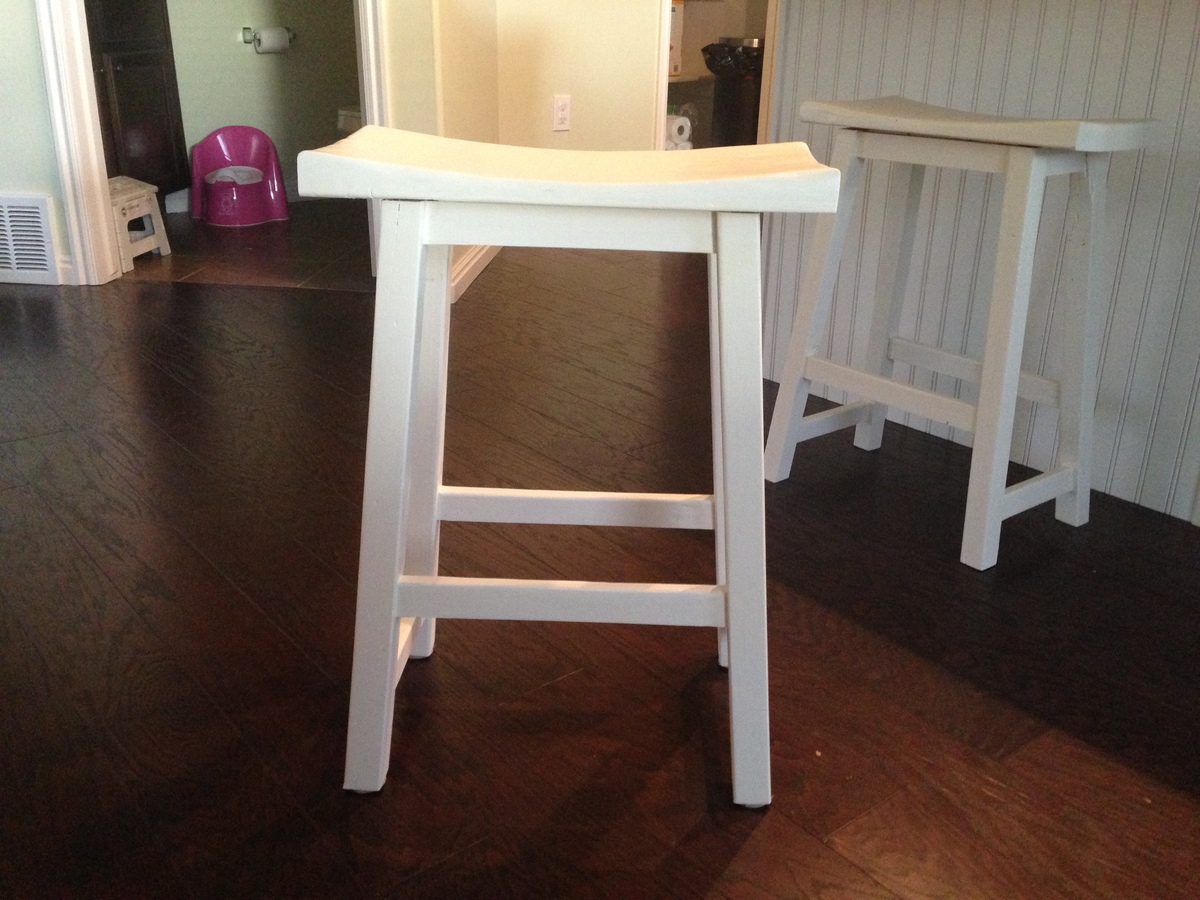
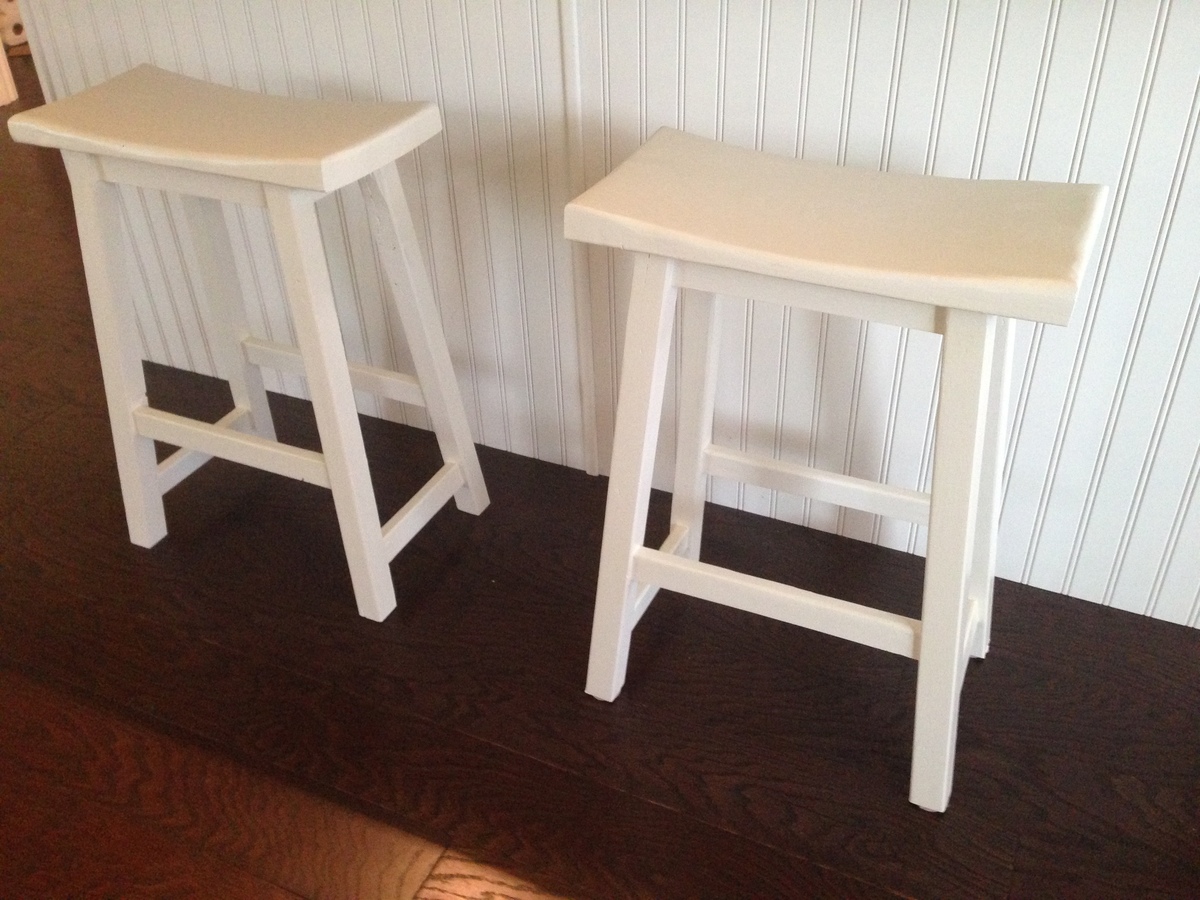
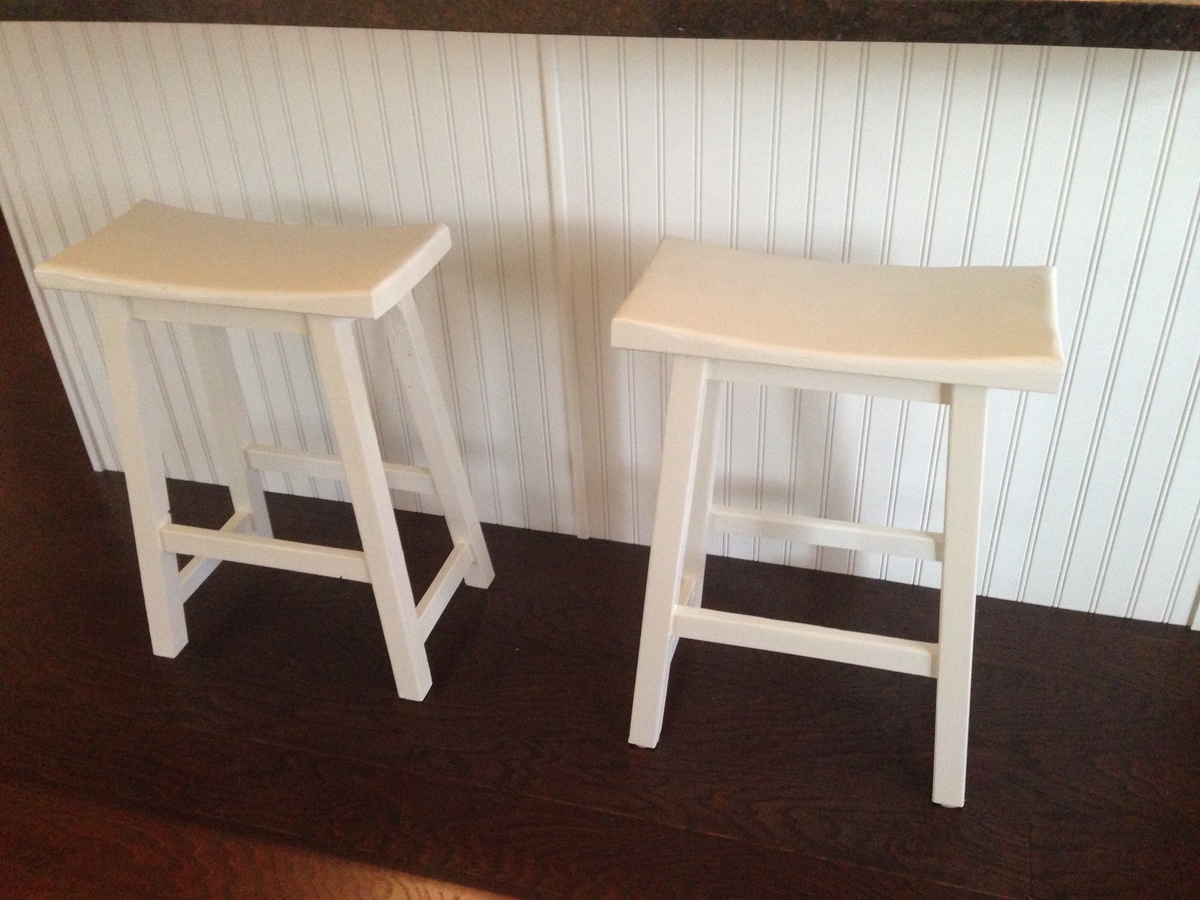
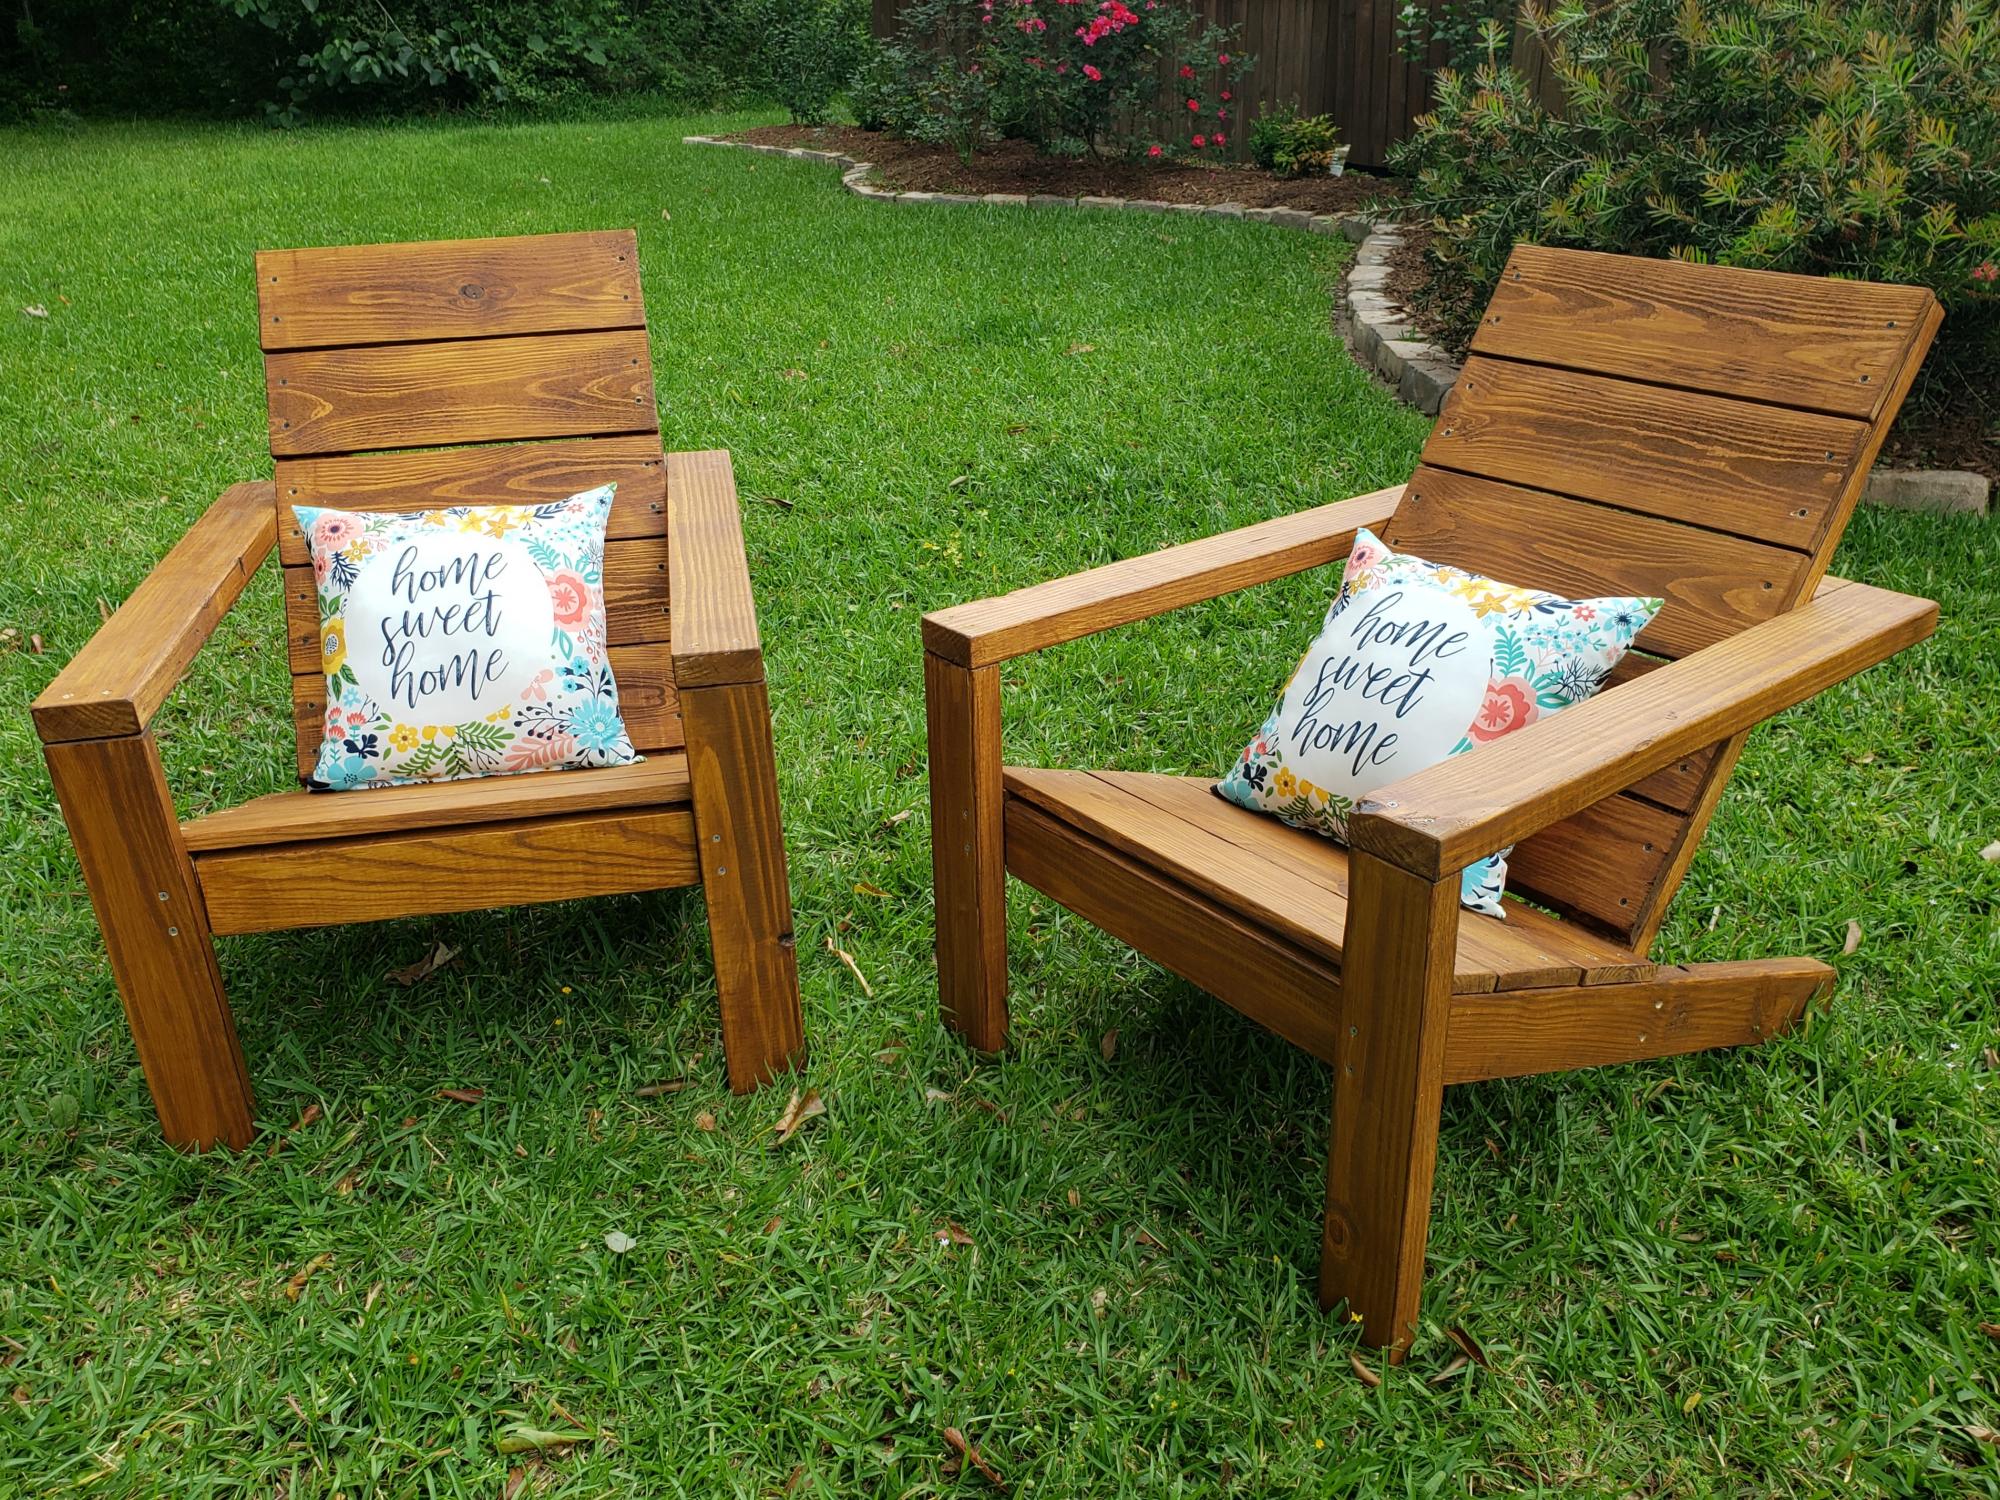
I slightly modified the plans to give them more of a "Saddleback" style. I used a 2x10 for the seat, then belt sanded for an hour to give it the concave shape.
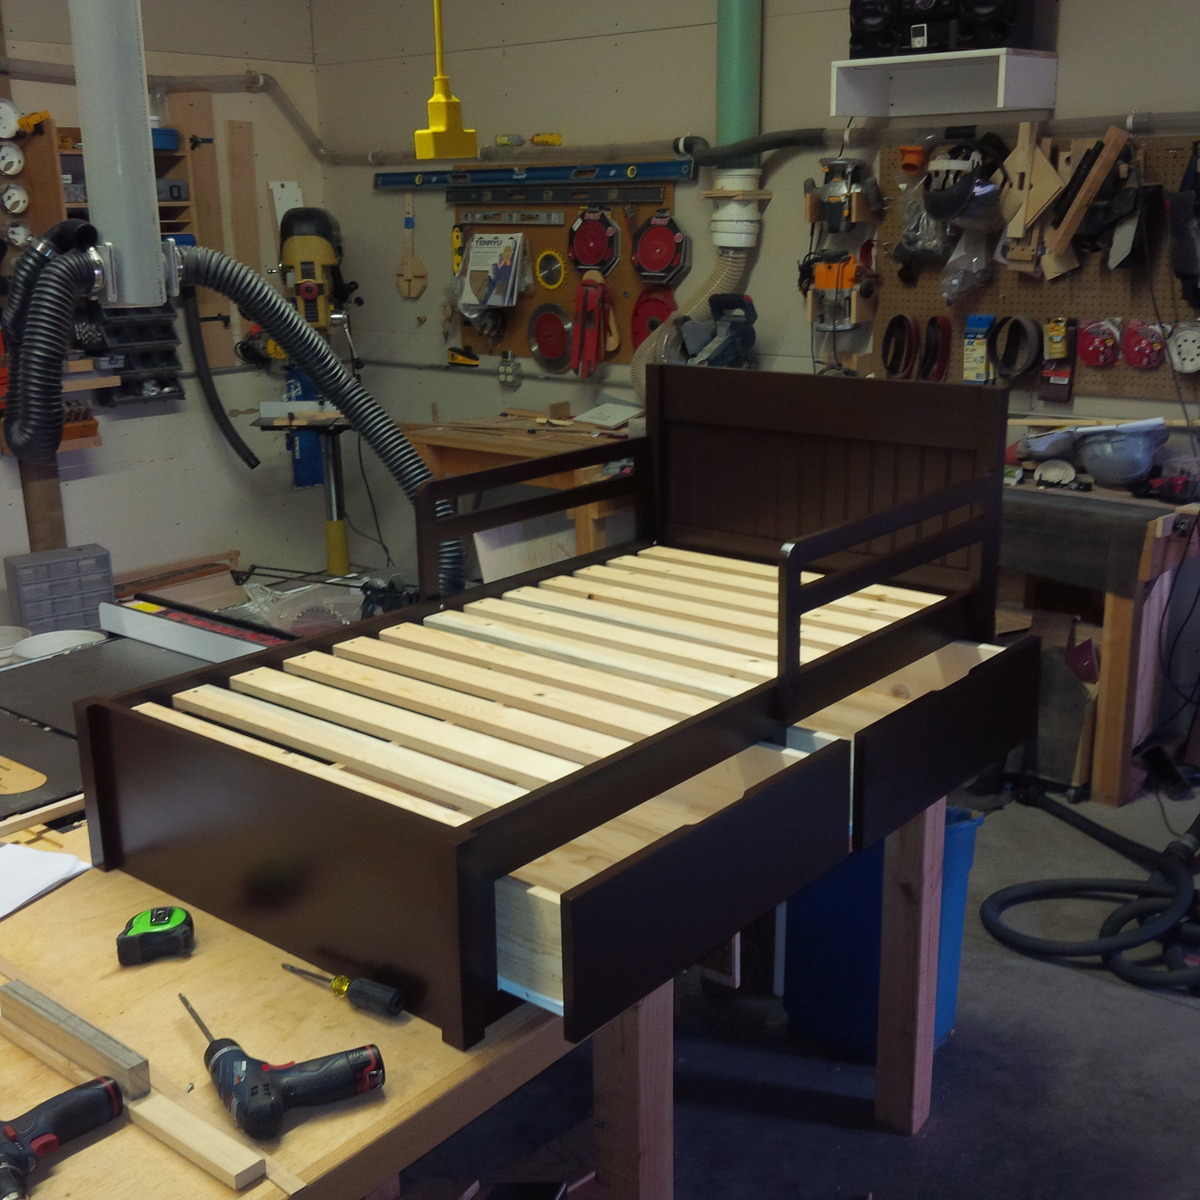
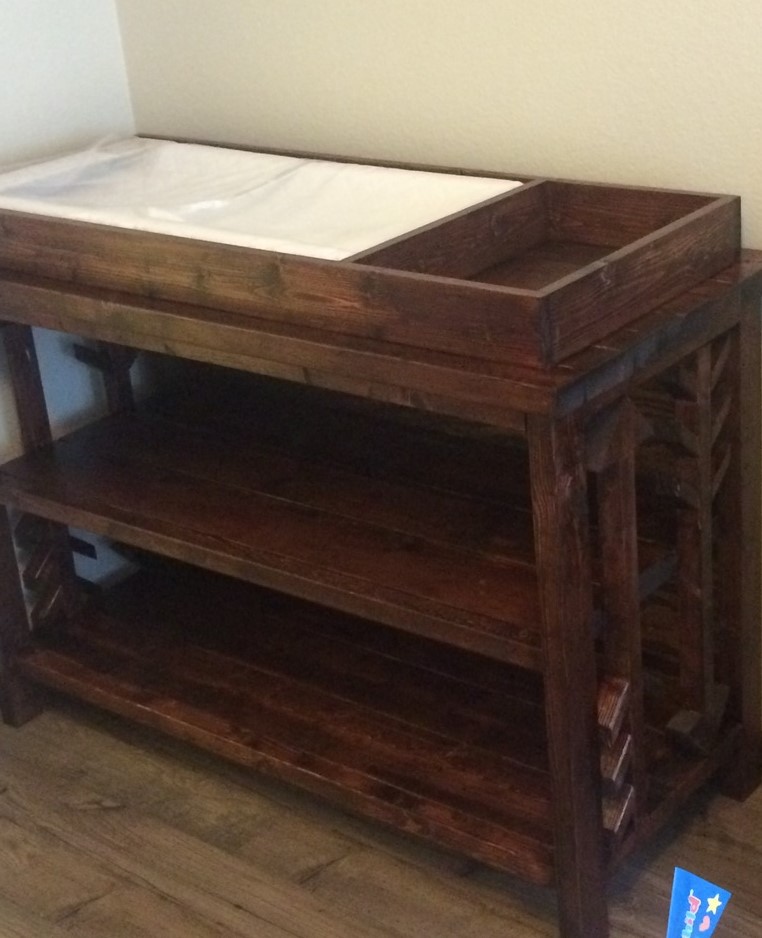
My wife wanted a dresser and a bed for our two year old foster daughter on her second birthday. Since half the dresser drawers are not useful for a toddler I considered a Captain's Bed or Mate's bed but couldn't find one. I modified the Traditional Wood Toddler Bed plan adding drawers underneath and painted it white. My little girl loves it. It turned out nice enough that my oldest daughter asked me to make another for my grandson since his convertible bed will be converted back to a crib with a new granddaughter on the way. Her only request was to color it Espresso Brown. I have included the picture. Thank You for the ideas. God Bless You and your faimily
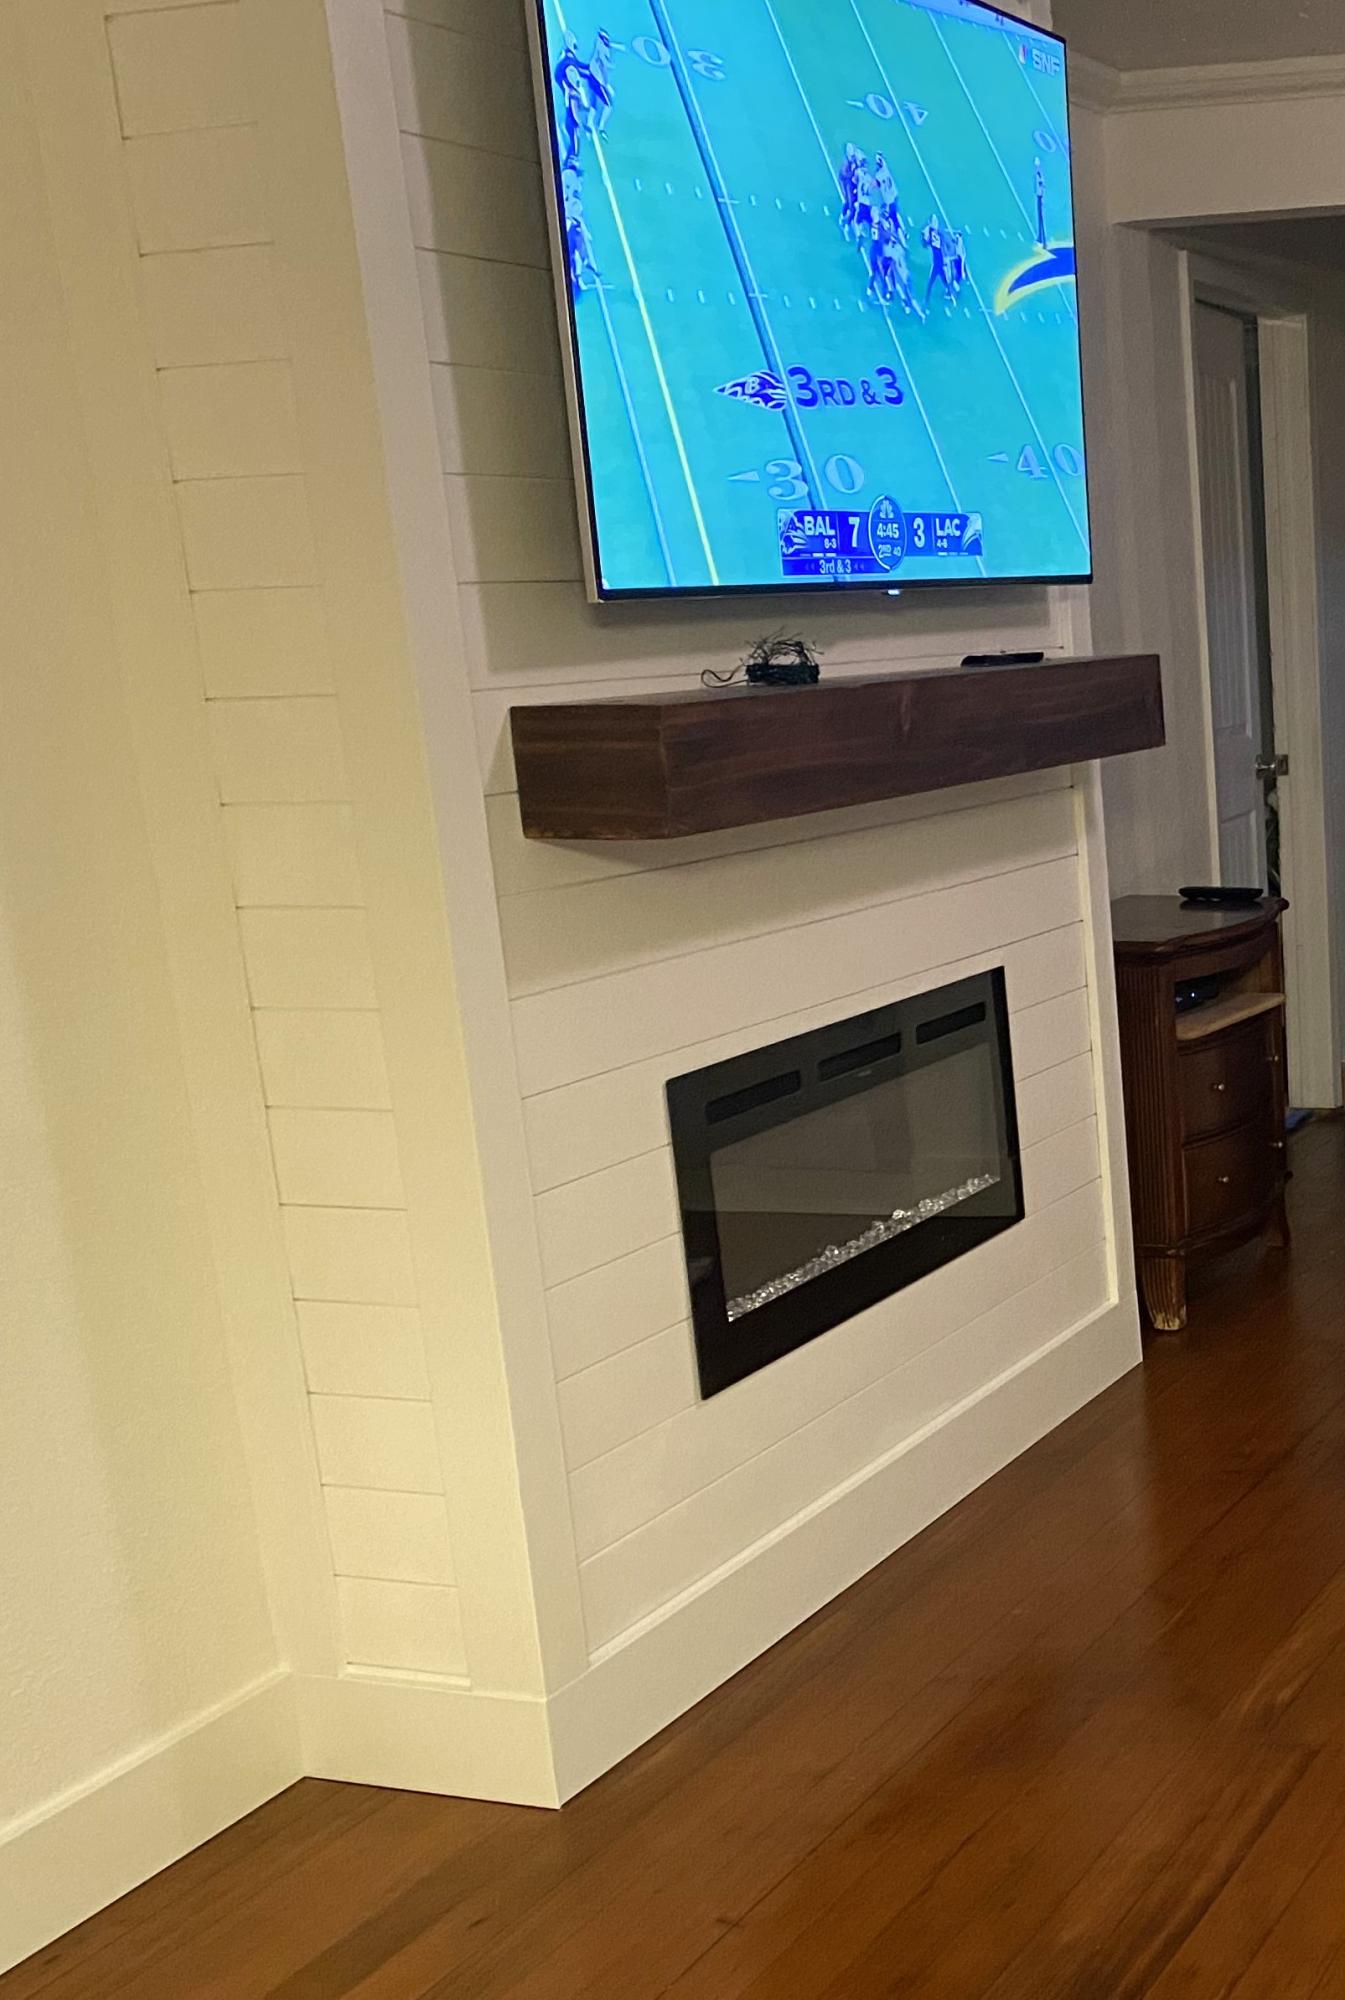
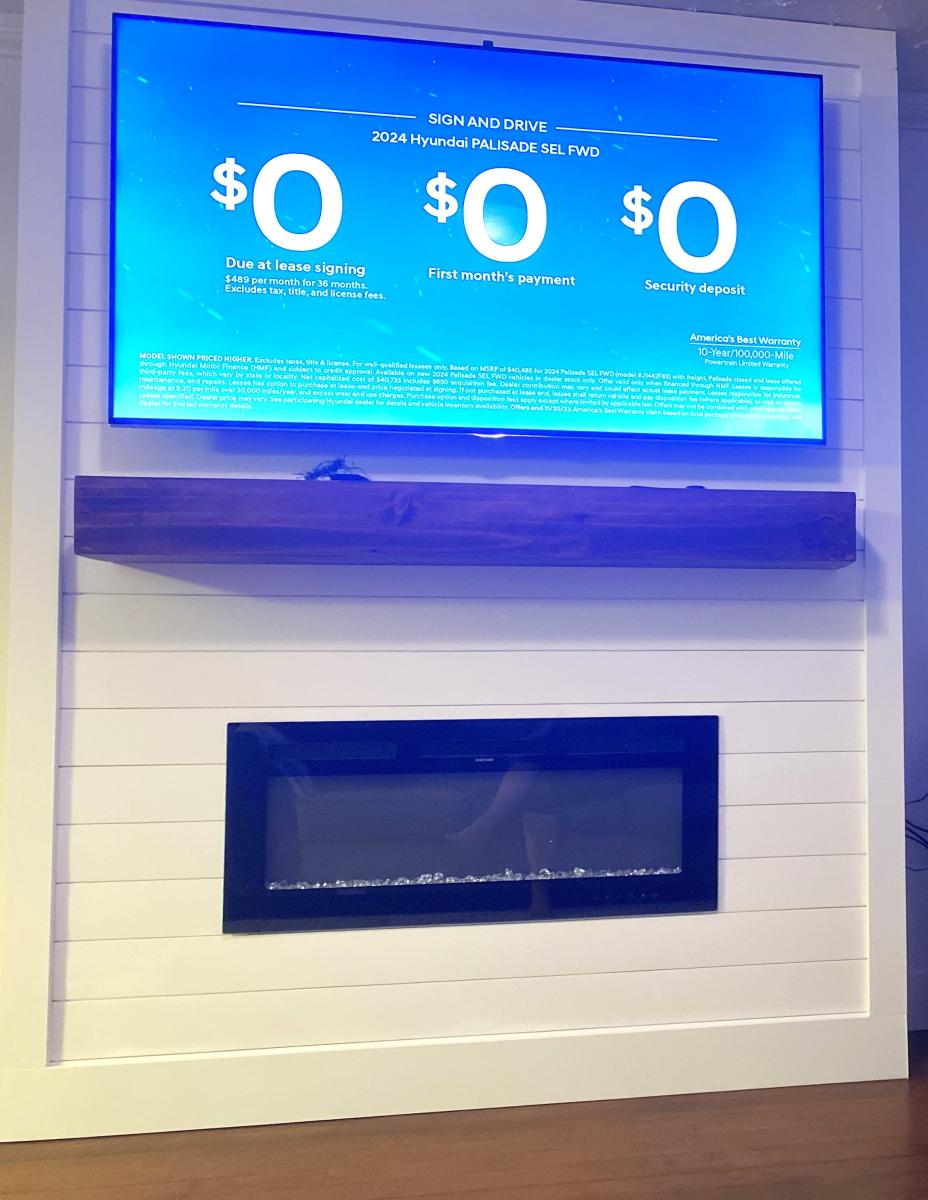
Added this easy to do built in fireplace to a plain, ugly wall. Now it’s just….WOW! Thanks Ana for the idea and inspiration. DIYers 🤘

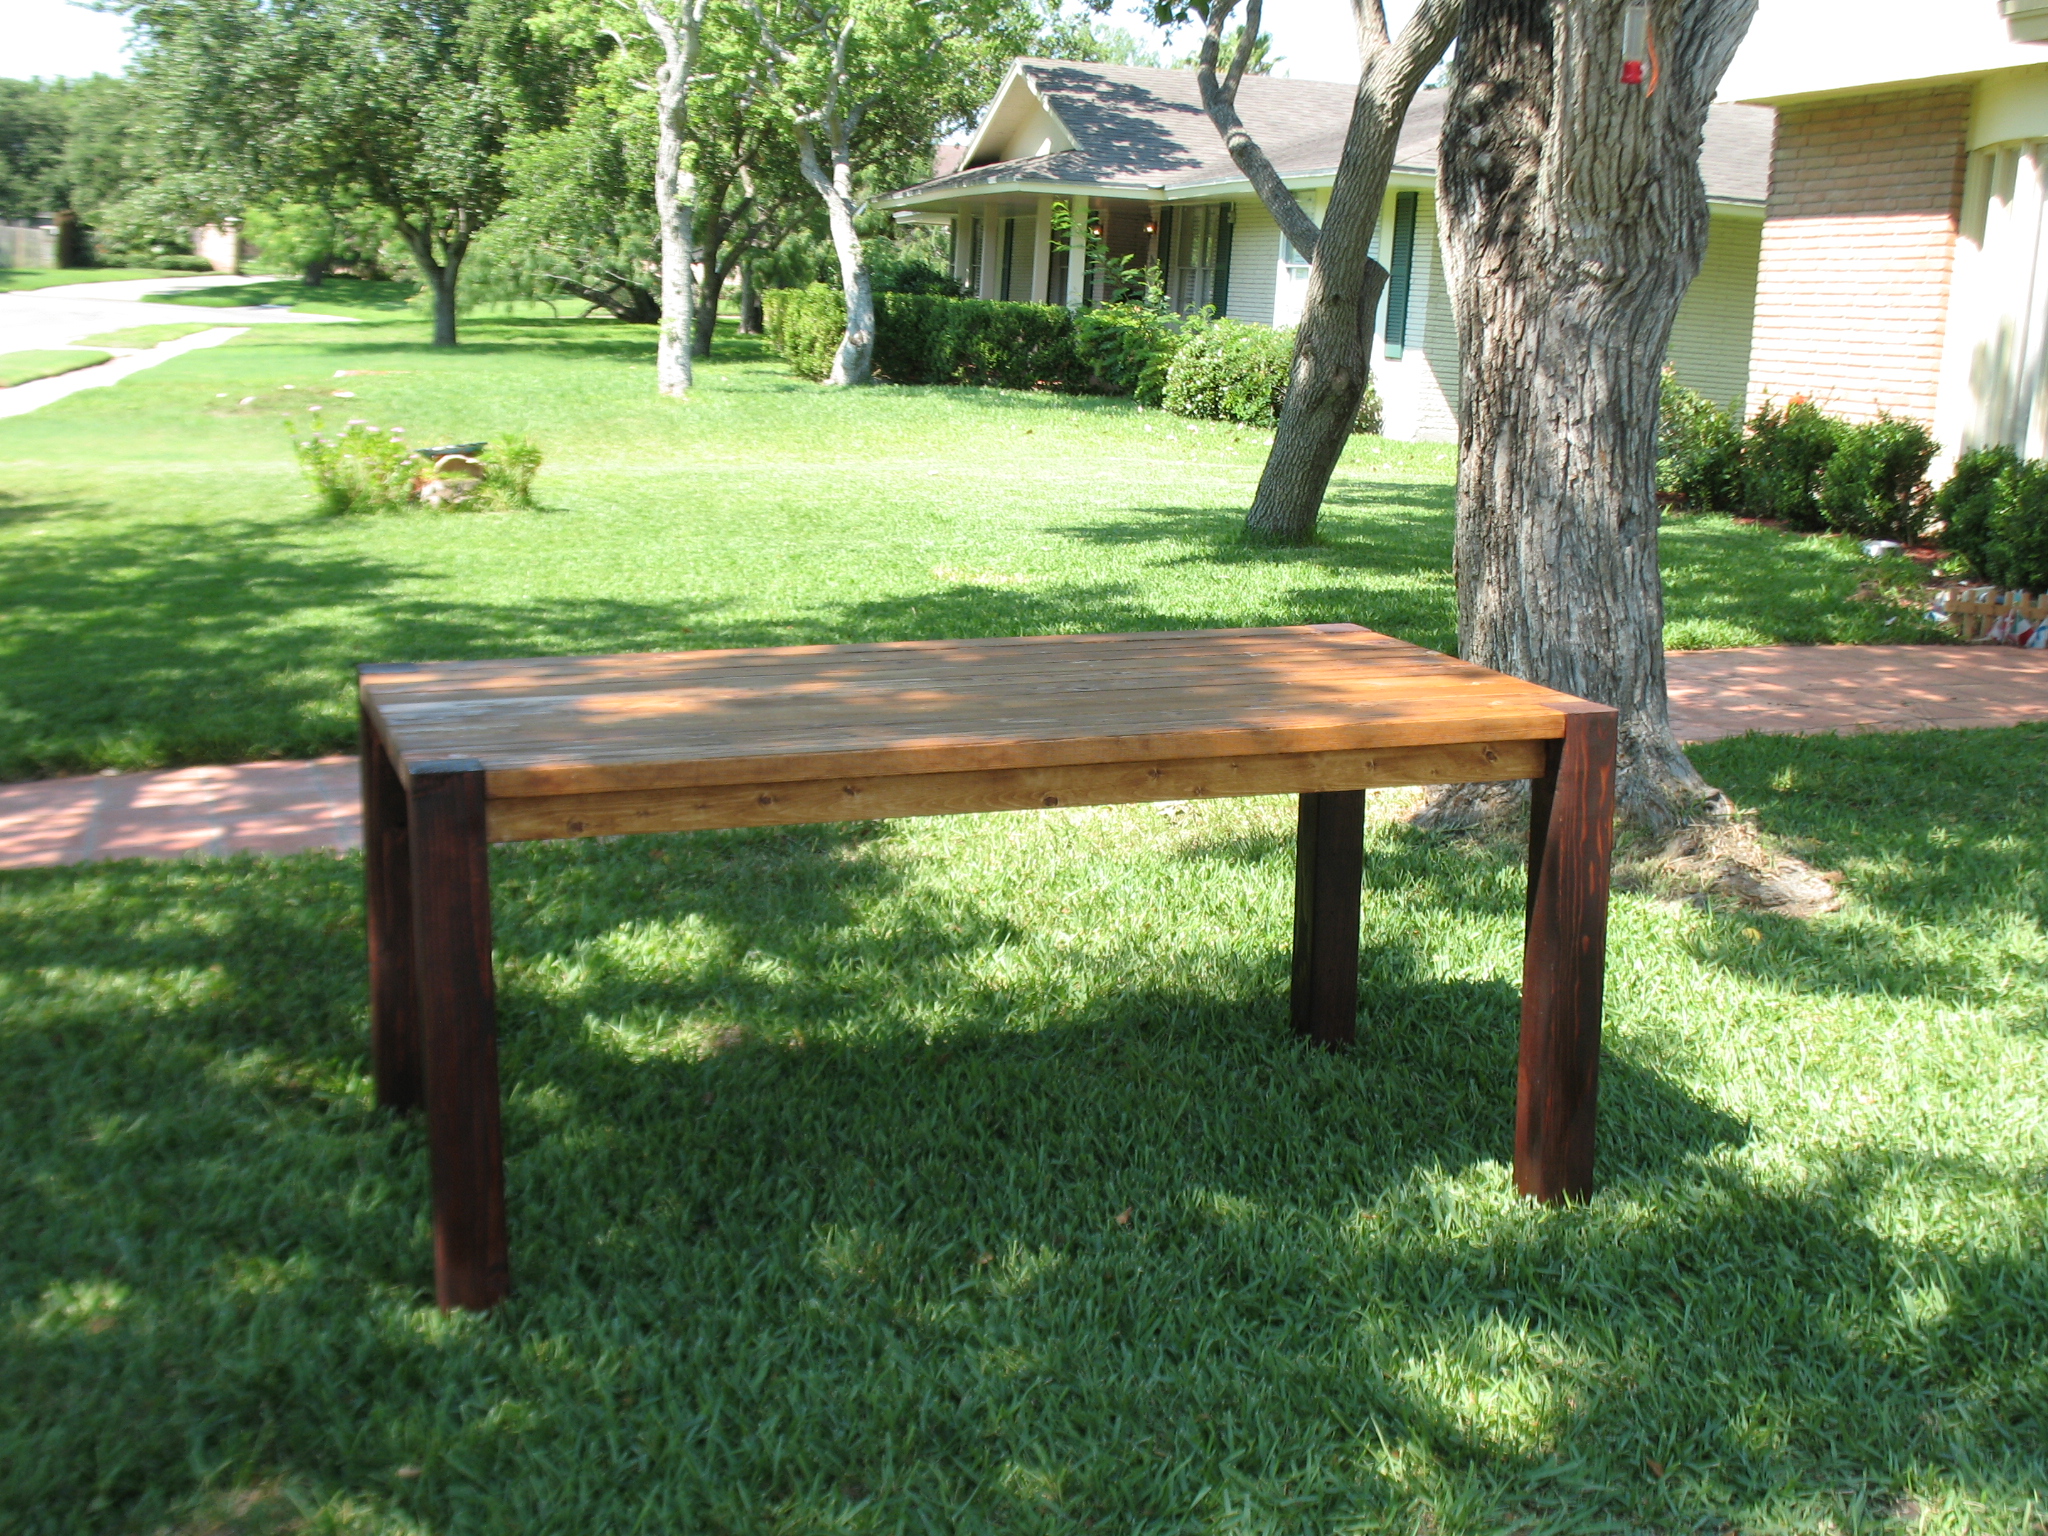
I had to take 2 redwood trees down last year so I learned to mill my own lumber. This picnic table is my first attempt at furniture. The dimensions of the wood is beyond "full" so a cutlist would be meaningless. For reference the table top boards are 2.25"x9.25"x7'.
The inspiration is from the Fancy X Farmhouse Table project on this site.
I don't know how you would price or time this because I started from logs 8^)
This site is awesome!
Mon, 06/18/2012 - 14:50
The table is simply beautiful! I love the natural color of the wood. It looks indestructible.
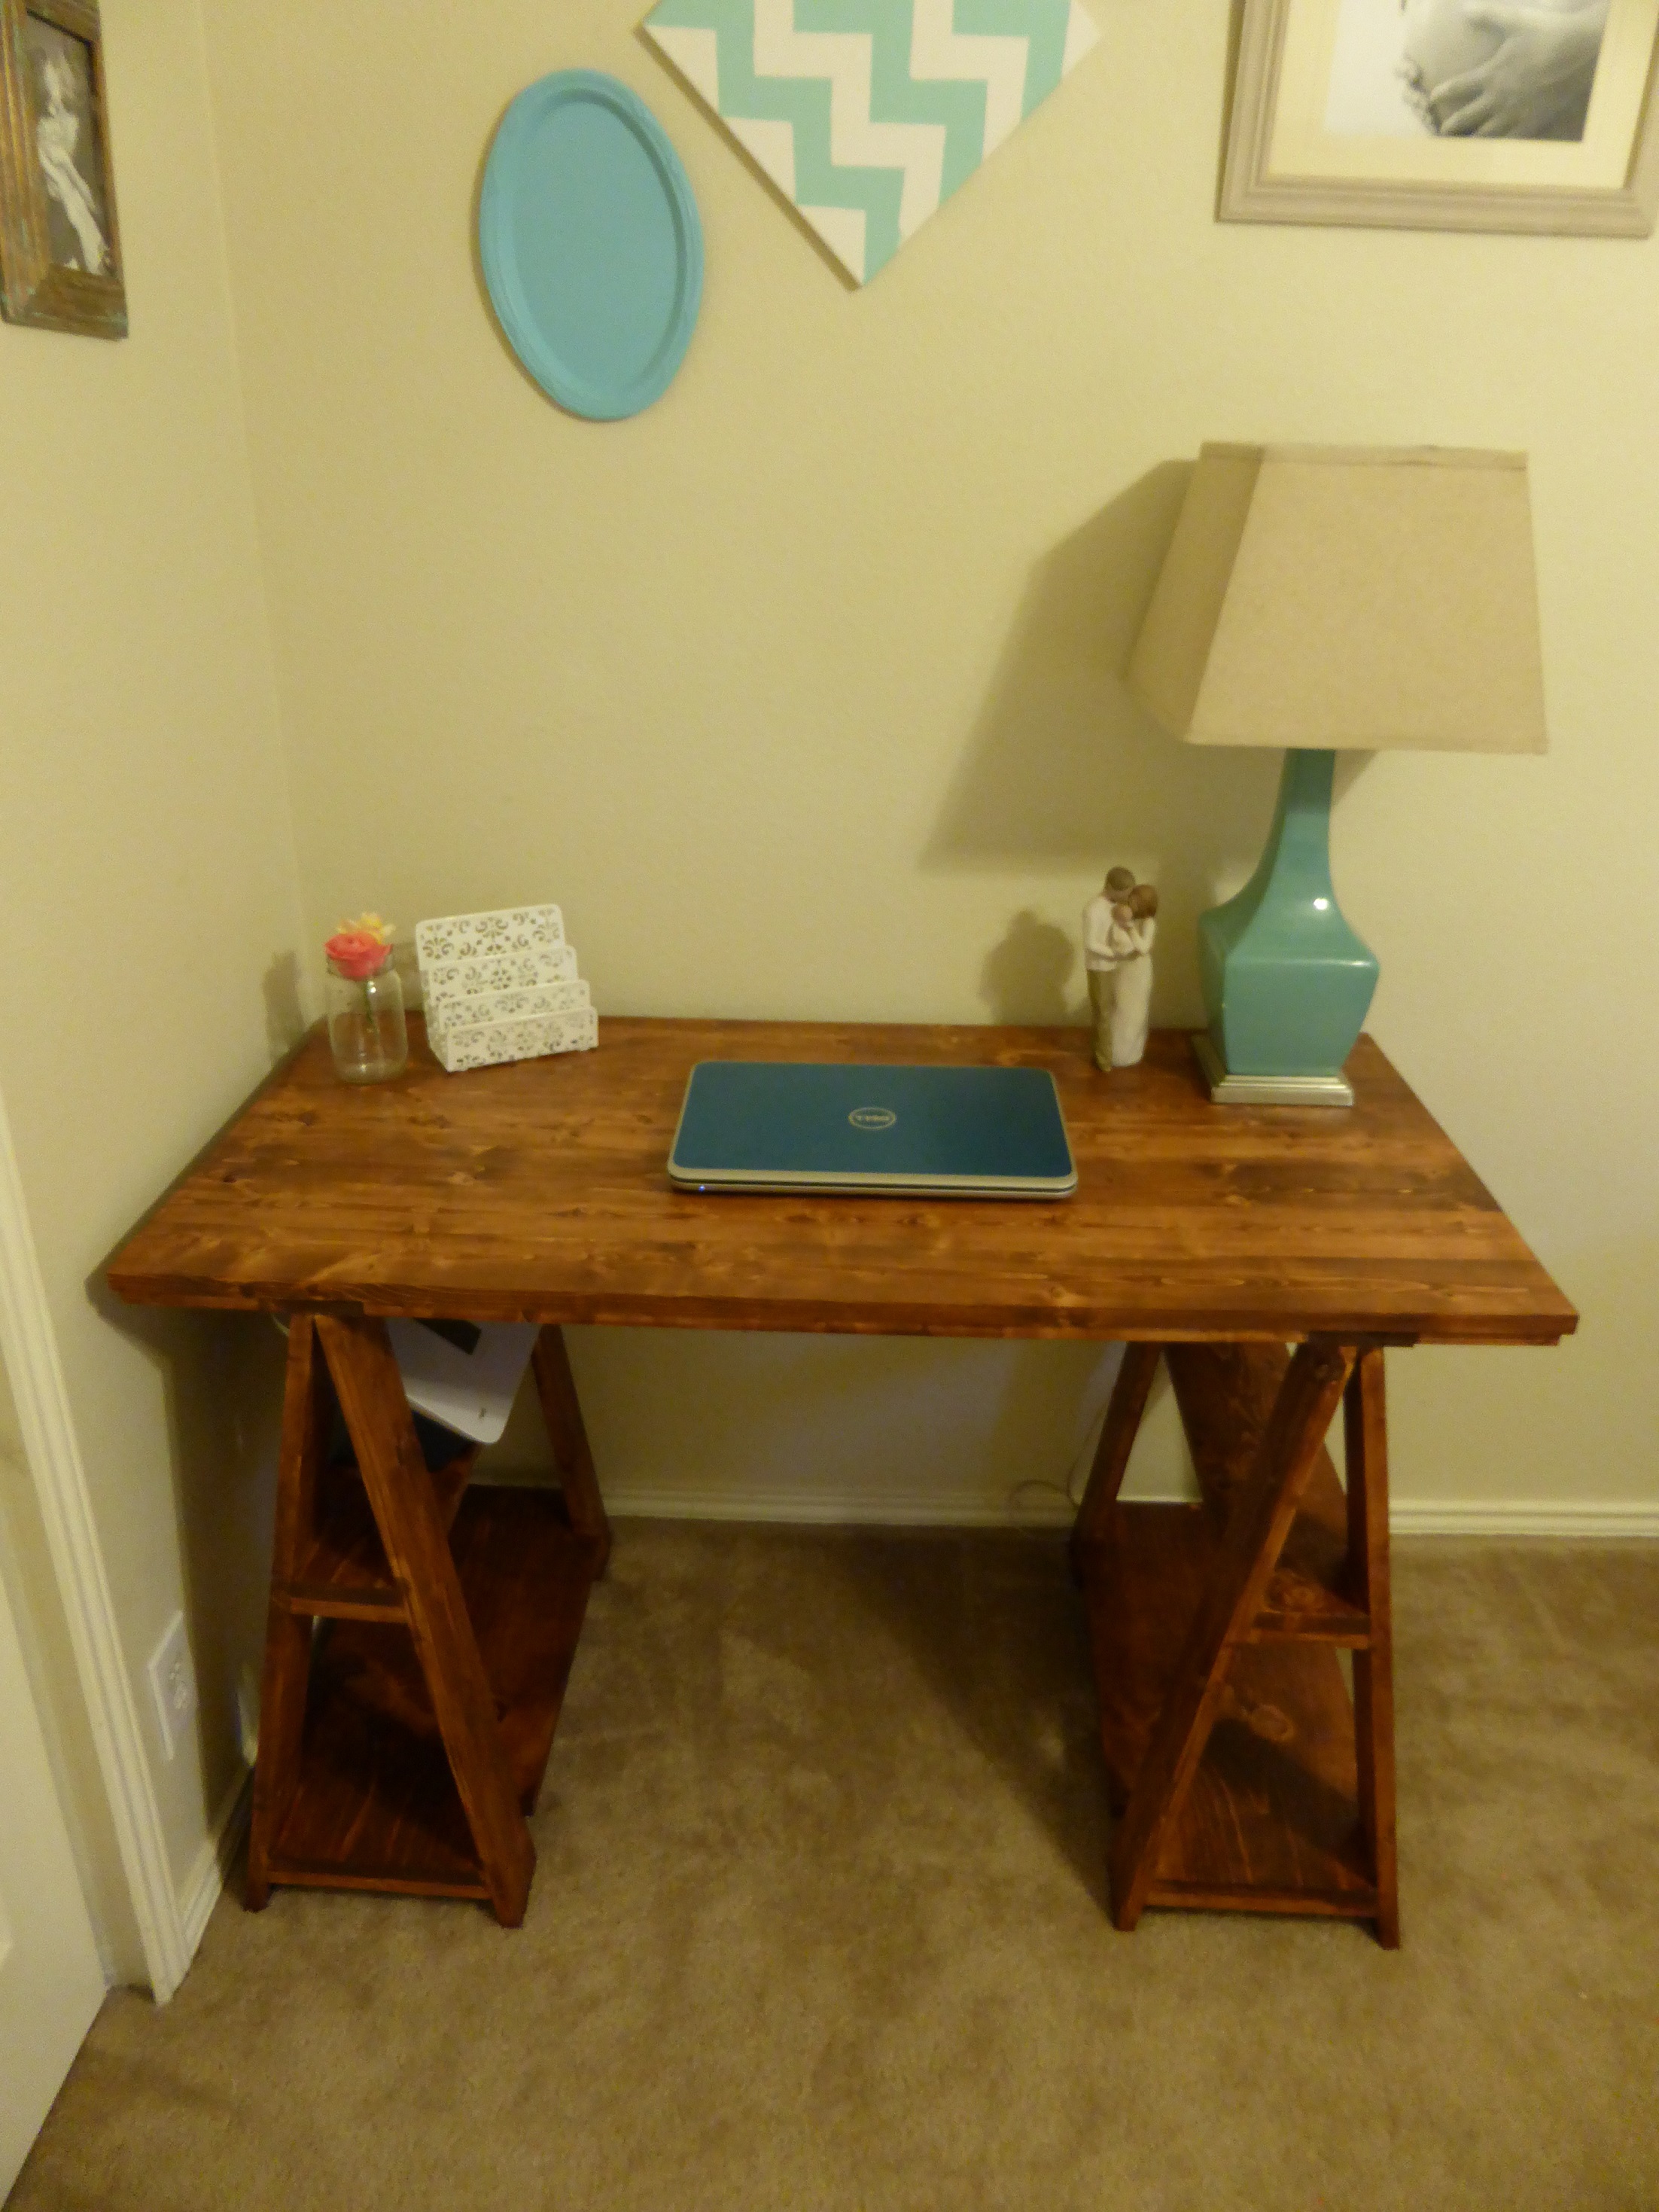
My gorgeous desk.
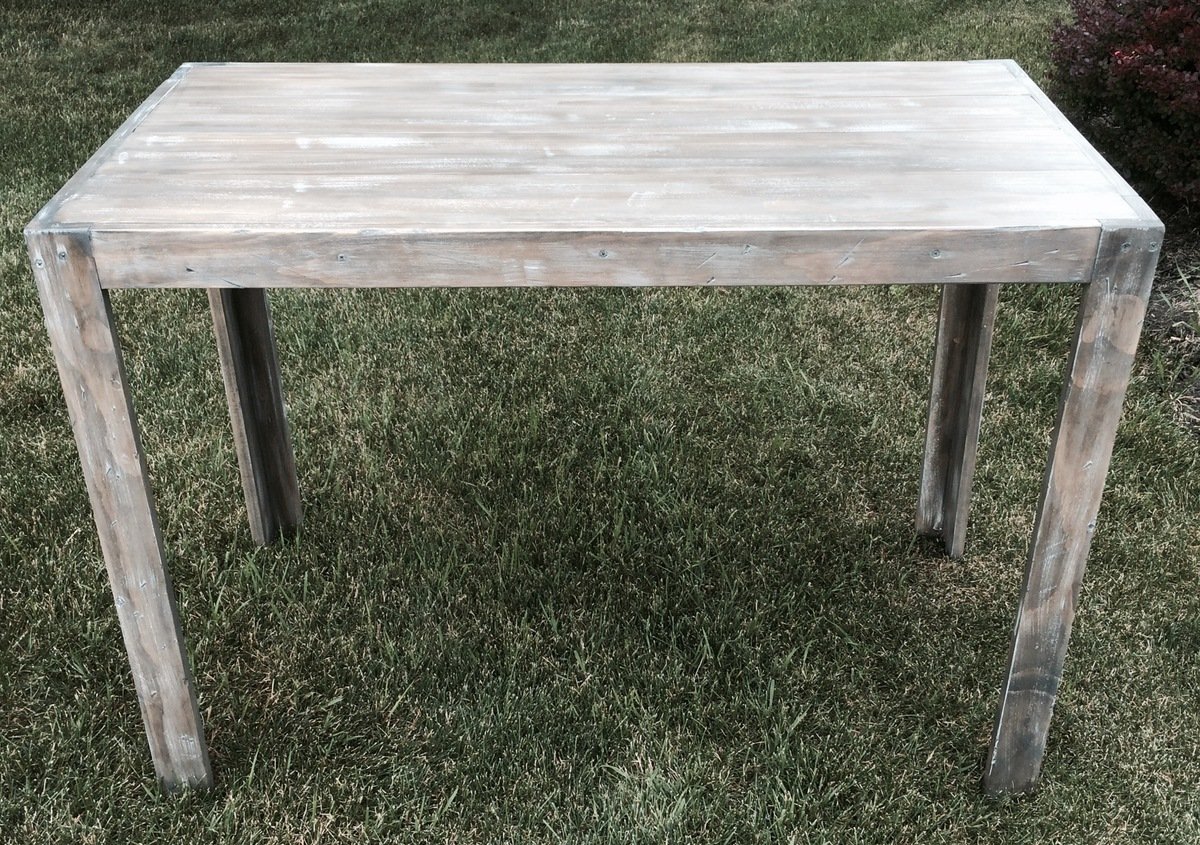
smaller version of modern farm table at counter height
Hi Ana, this is not your design but one I just made up. The timber is Queensland red cedar and about 30 years old, I was given a tree and had it cut up. Came out great
Regards
Karl Penna, Queensland, Australia
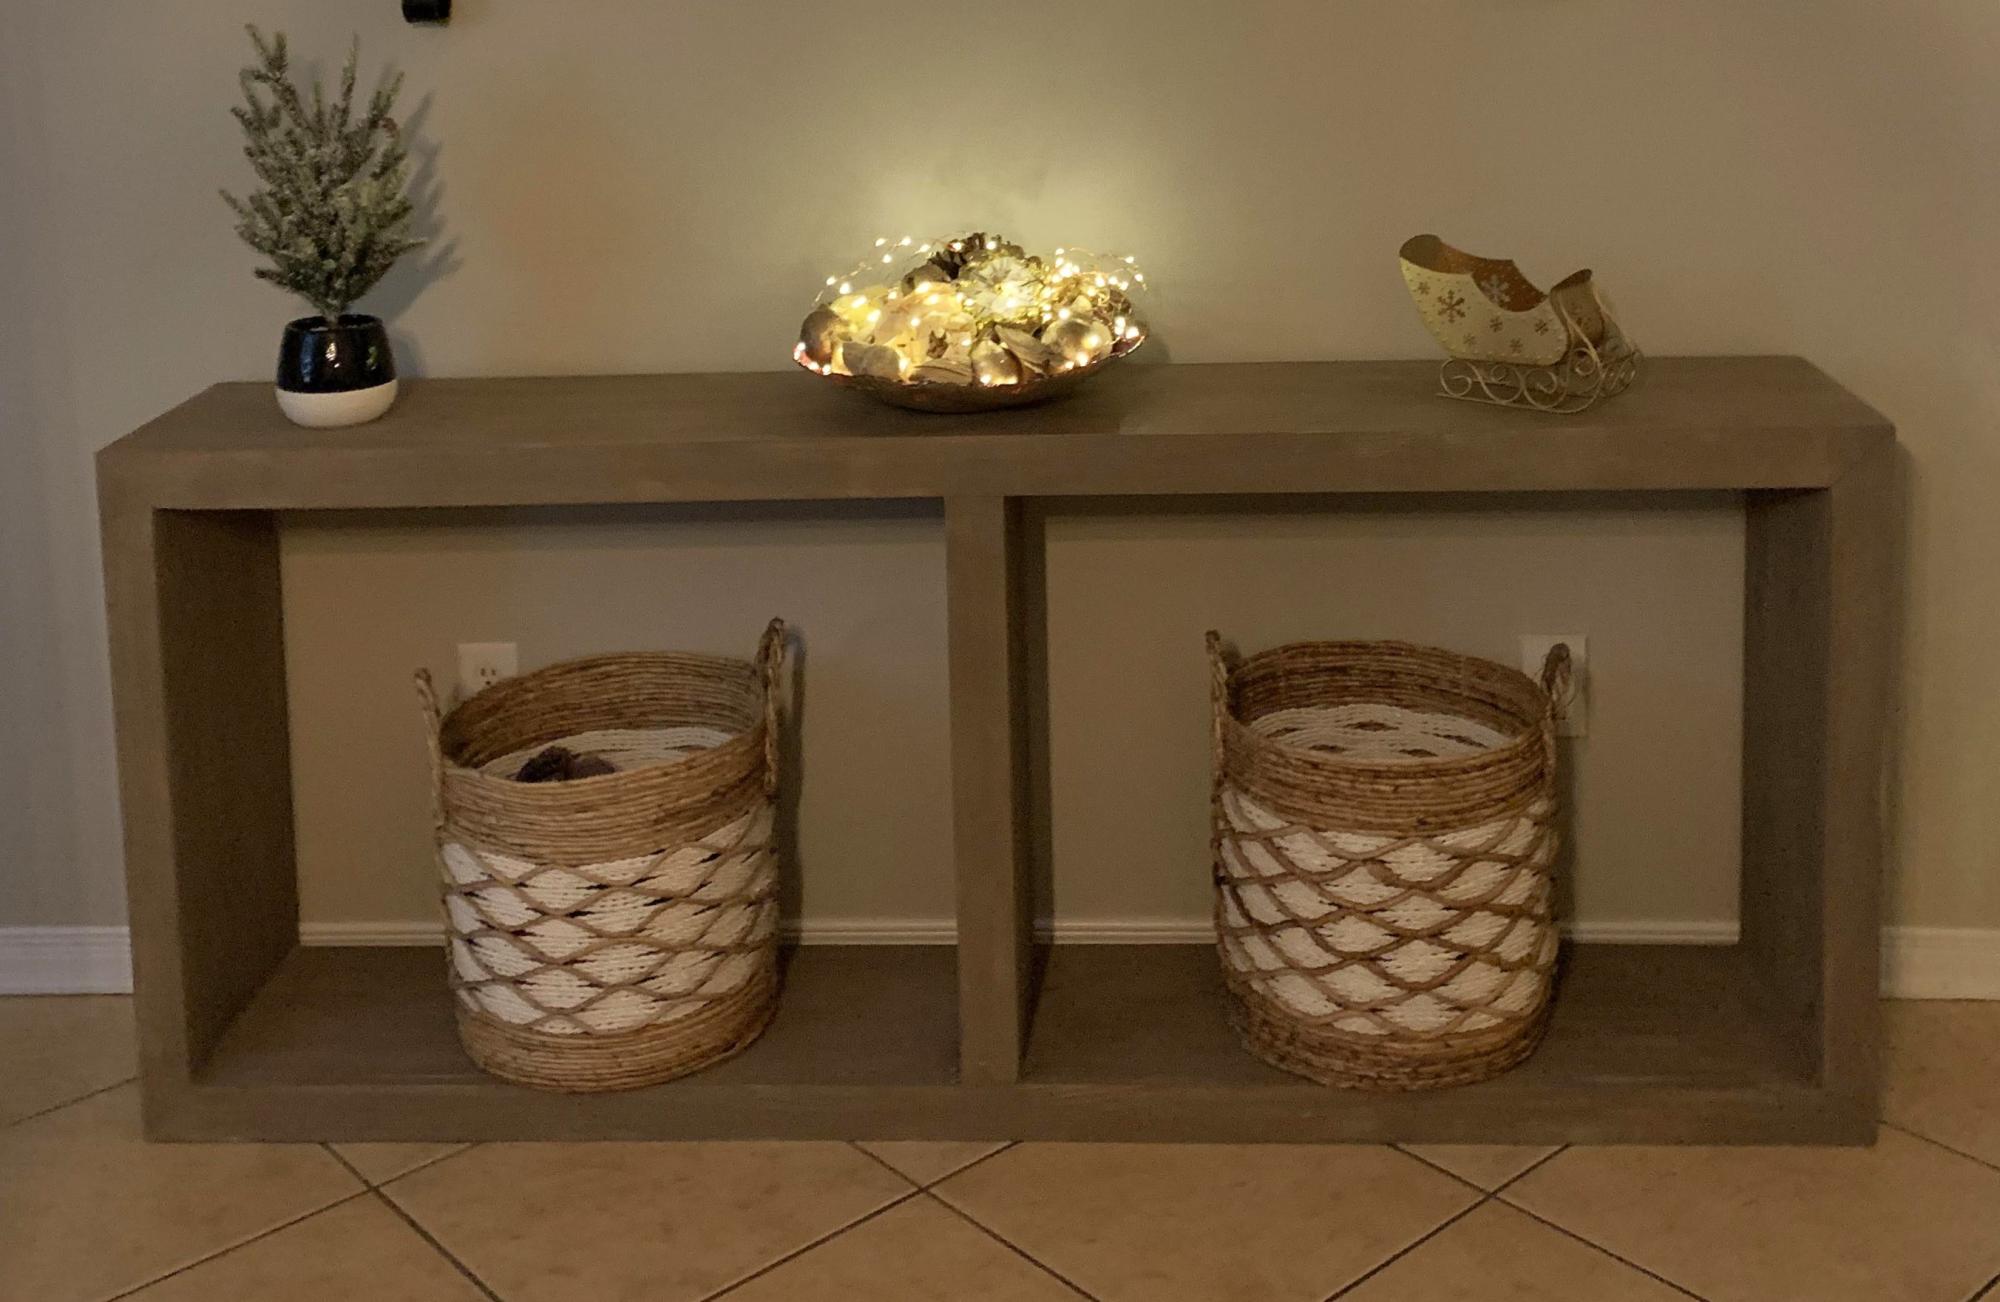
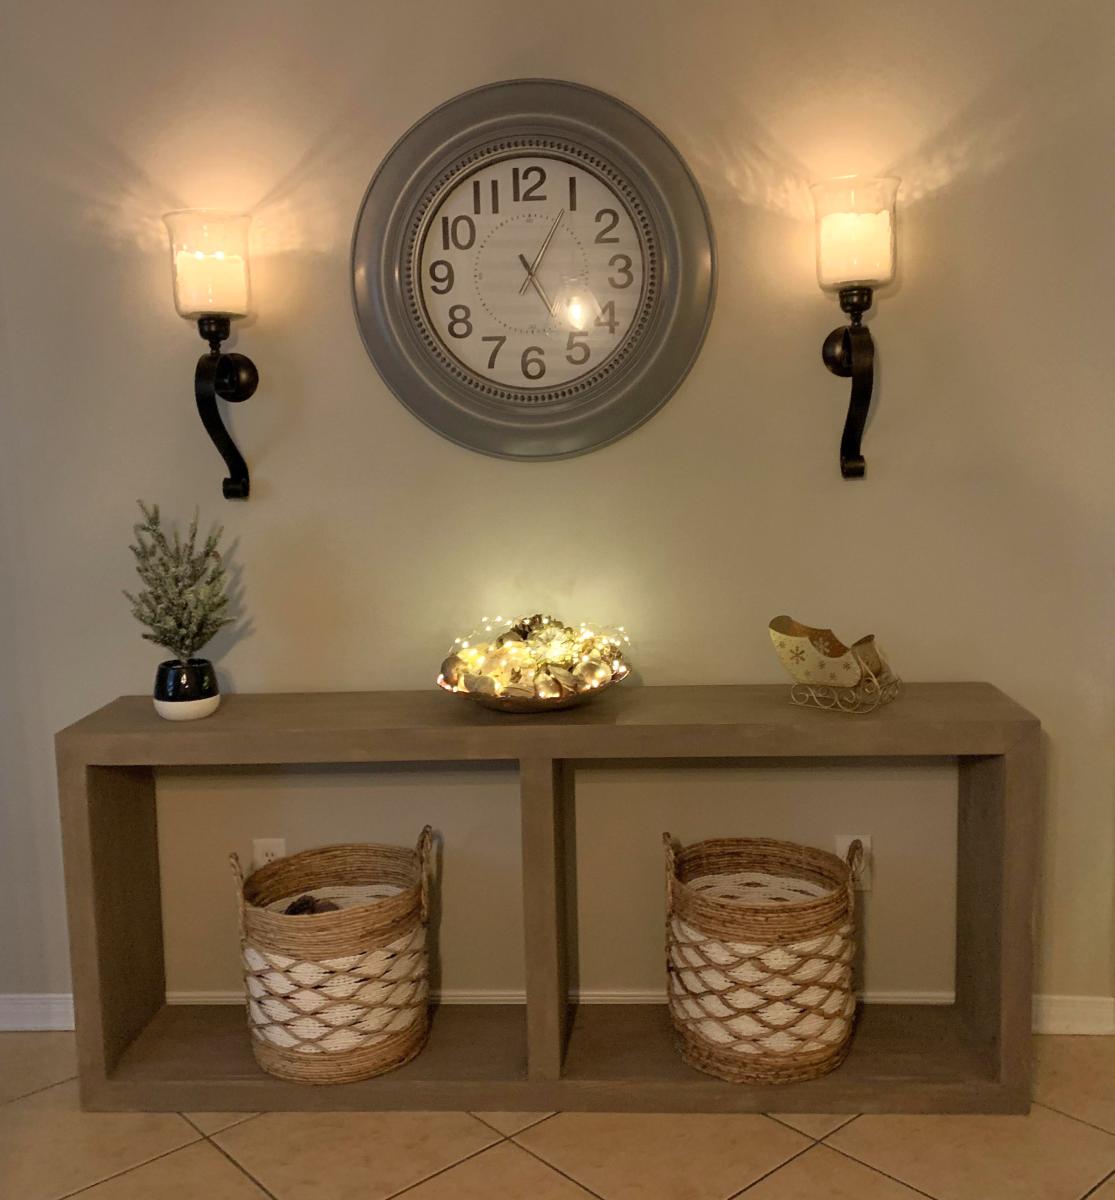
DIY Waterfall Console
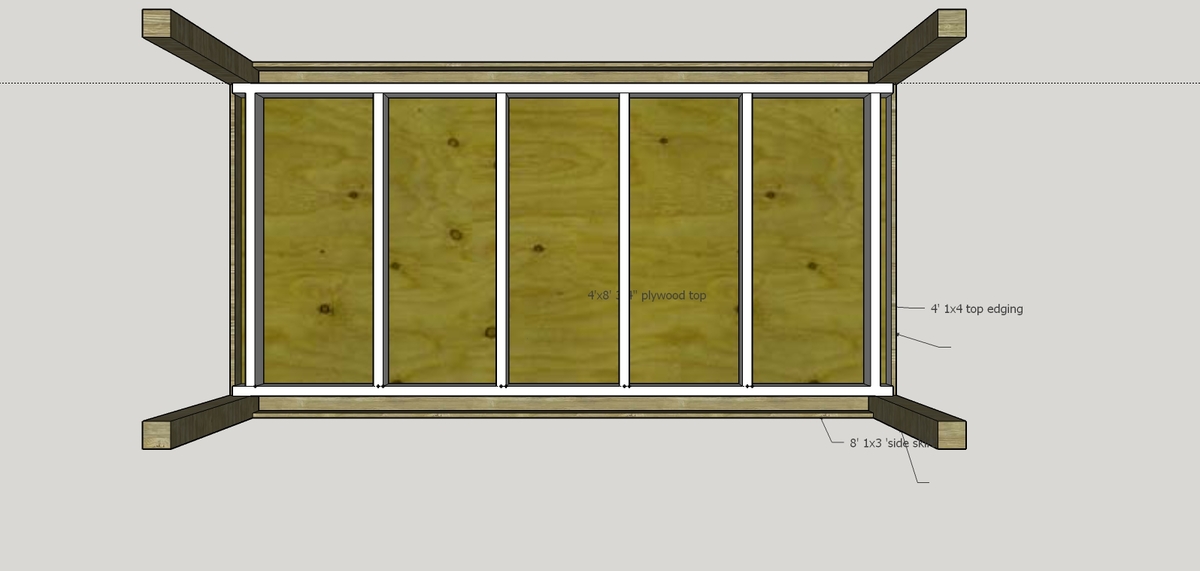
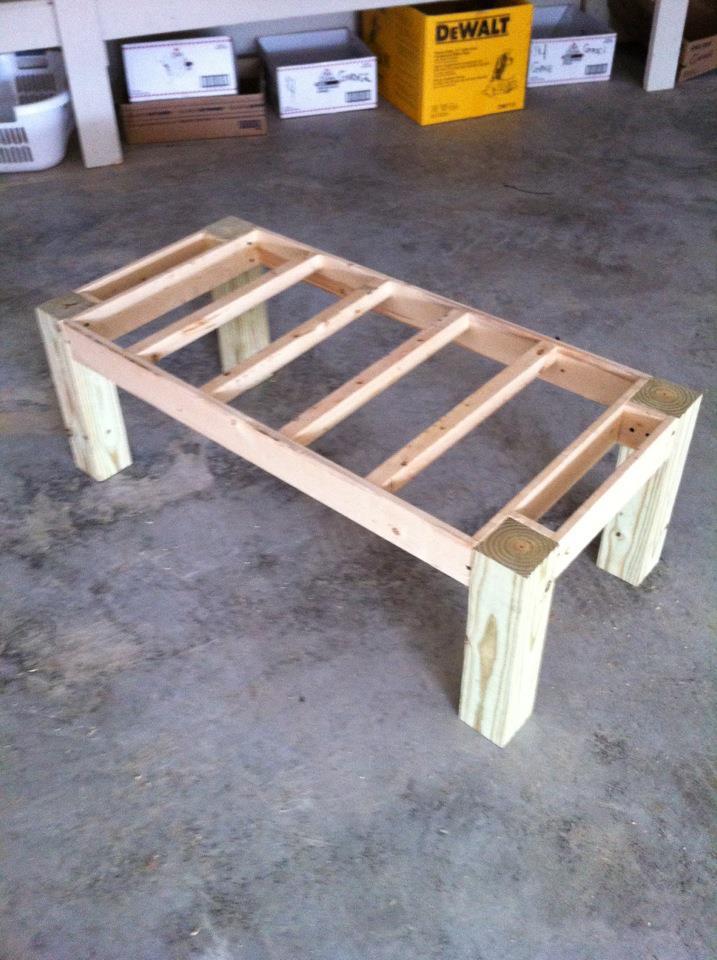
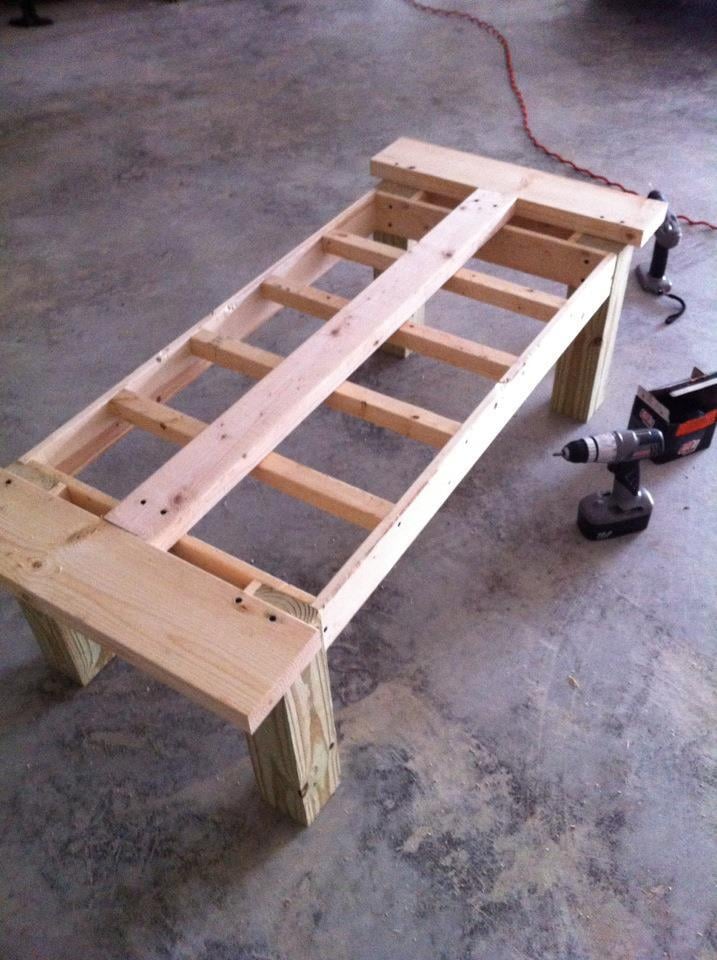
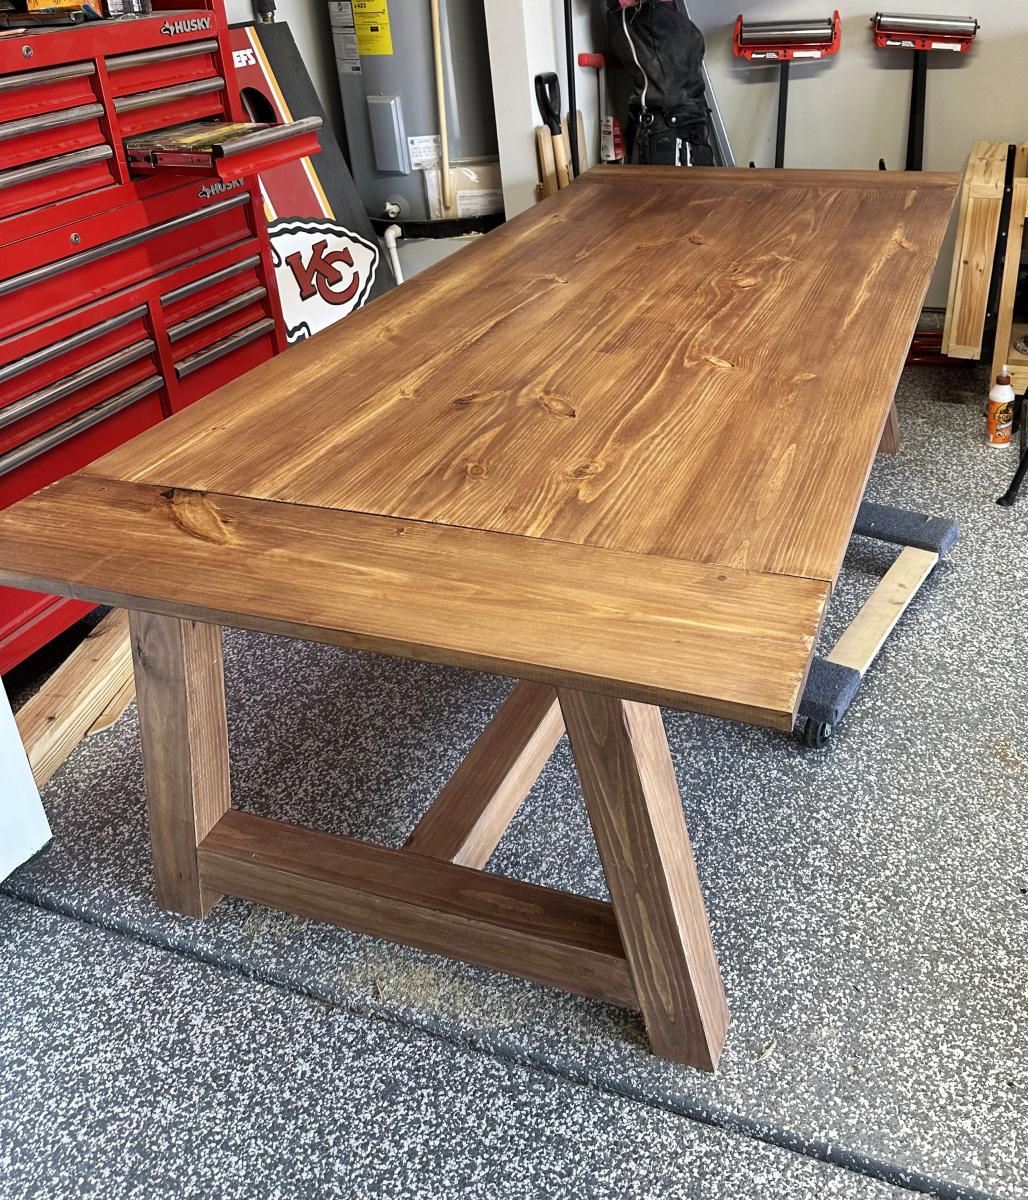
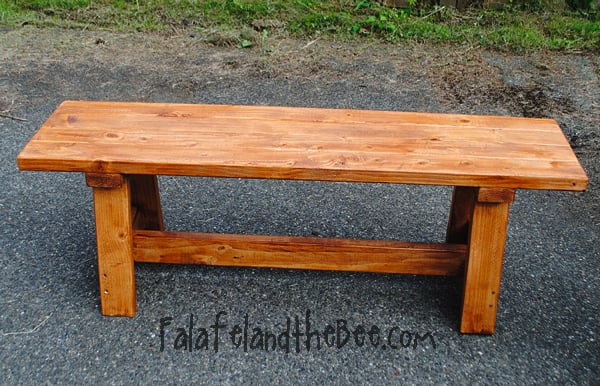
I built the table to use in my garage but it came out so beautiful that I now find myself wondering who to give it to. I followed the plans except I used 1x3s instead of 2x6s or 2x2s for the trim between the legs. I built the top first using pocket holes and then added the legs. I then added the side trim before adding the joists. That process had every board fitting perfectly. No attachments are visible from the outside. I attached the legs using pocket holes and three inch screws and glue , of course.
I will build two benches which should be a snap.
I had no luck finding a 10 foot 4x4 so I bought two 8 foot. Got a good deal at HD with each less than $8 each
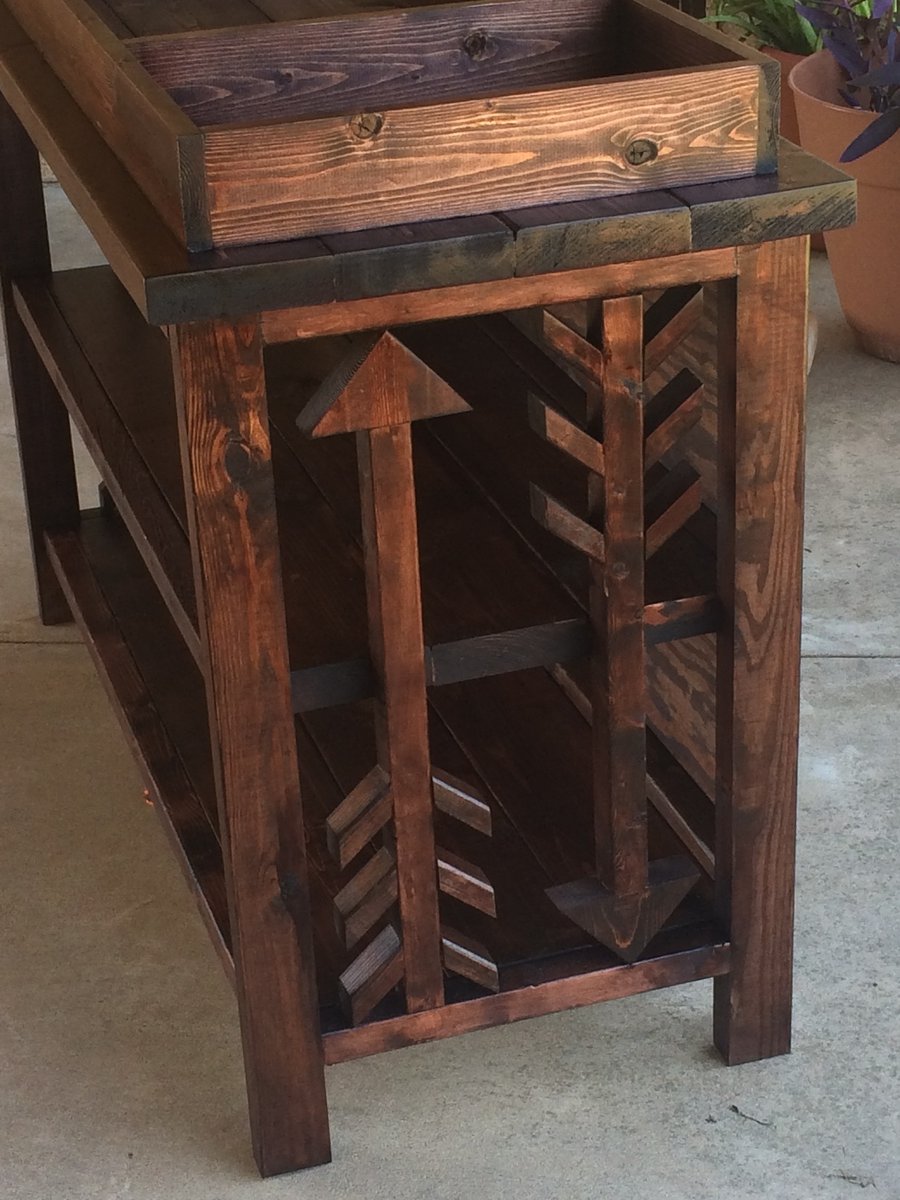
Modified with arrows to go along with theme for baby room
The plans were easy to follow and the finished result was perfect! We subbed 1x6s for the 1x10s, because we were using some reclaimed pallet wood. We cut, sanded, and stained/weatherproofed all pieces before assembly, which I would also recommend.
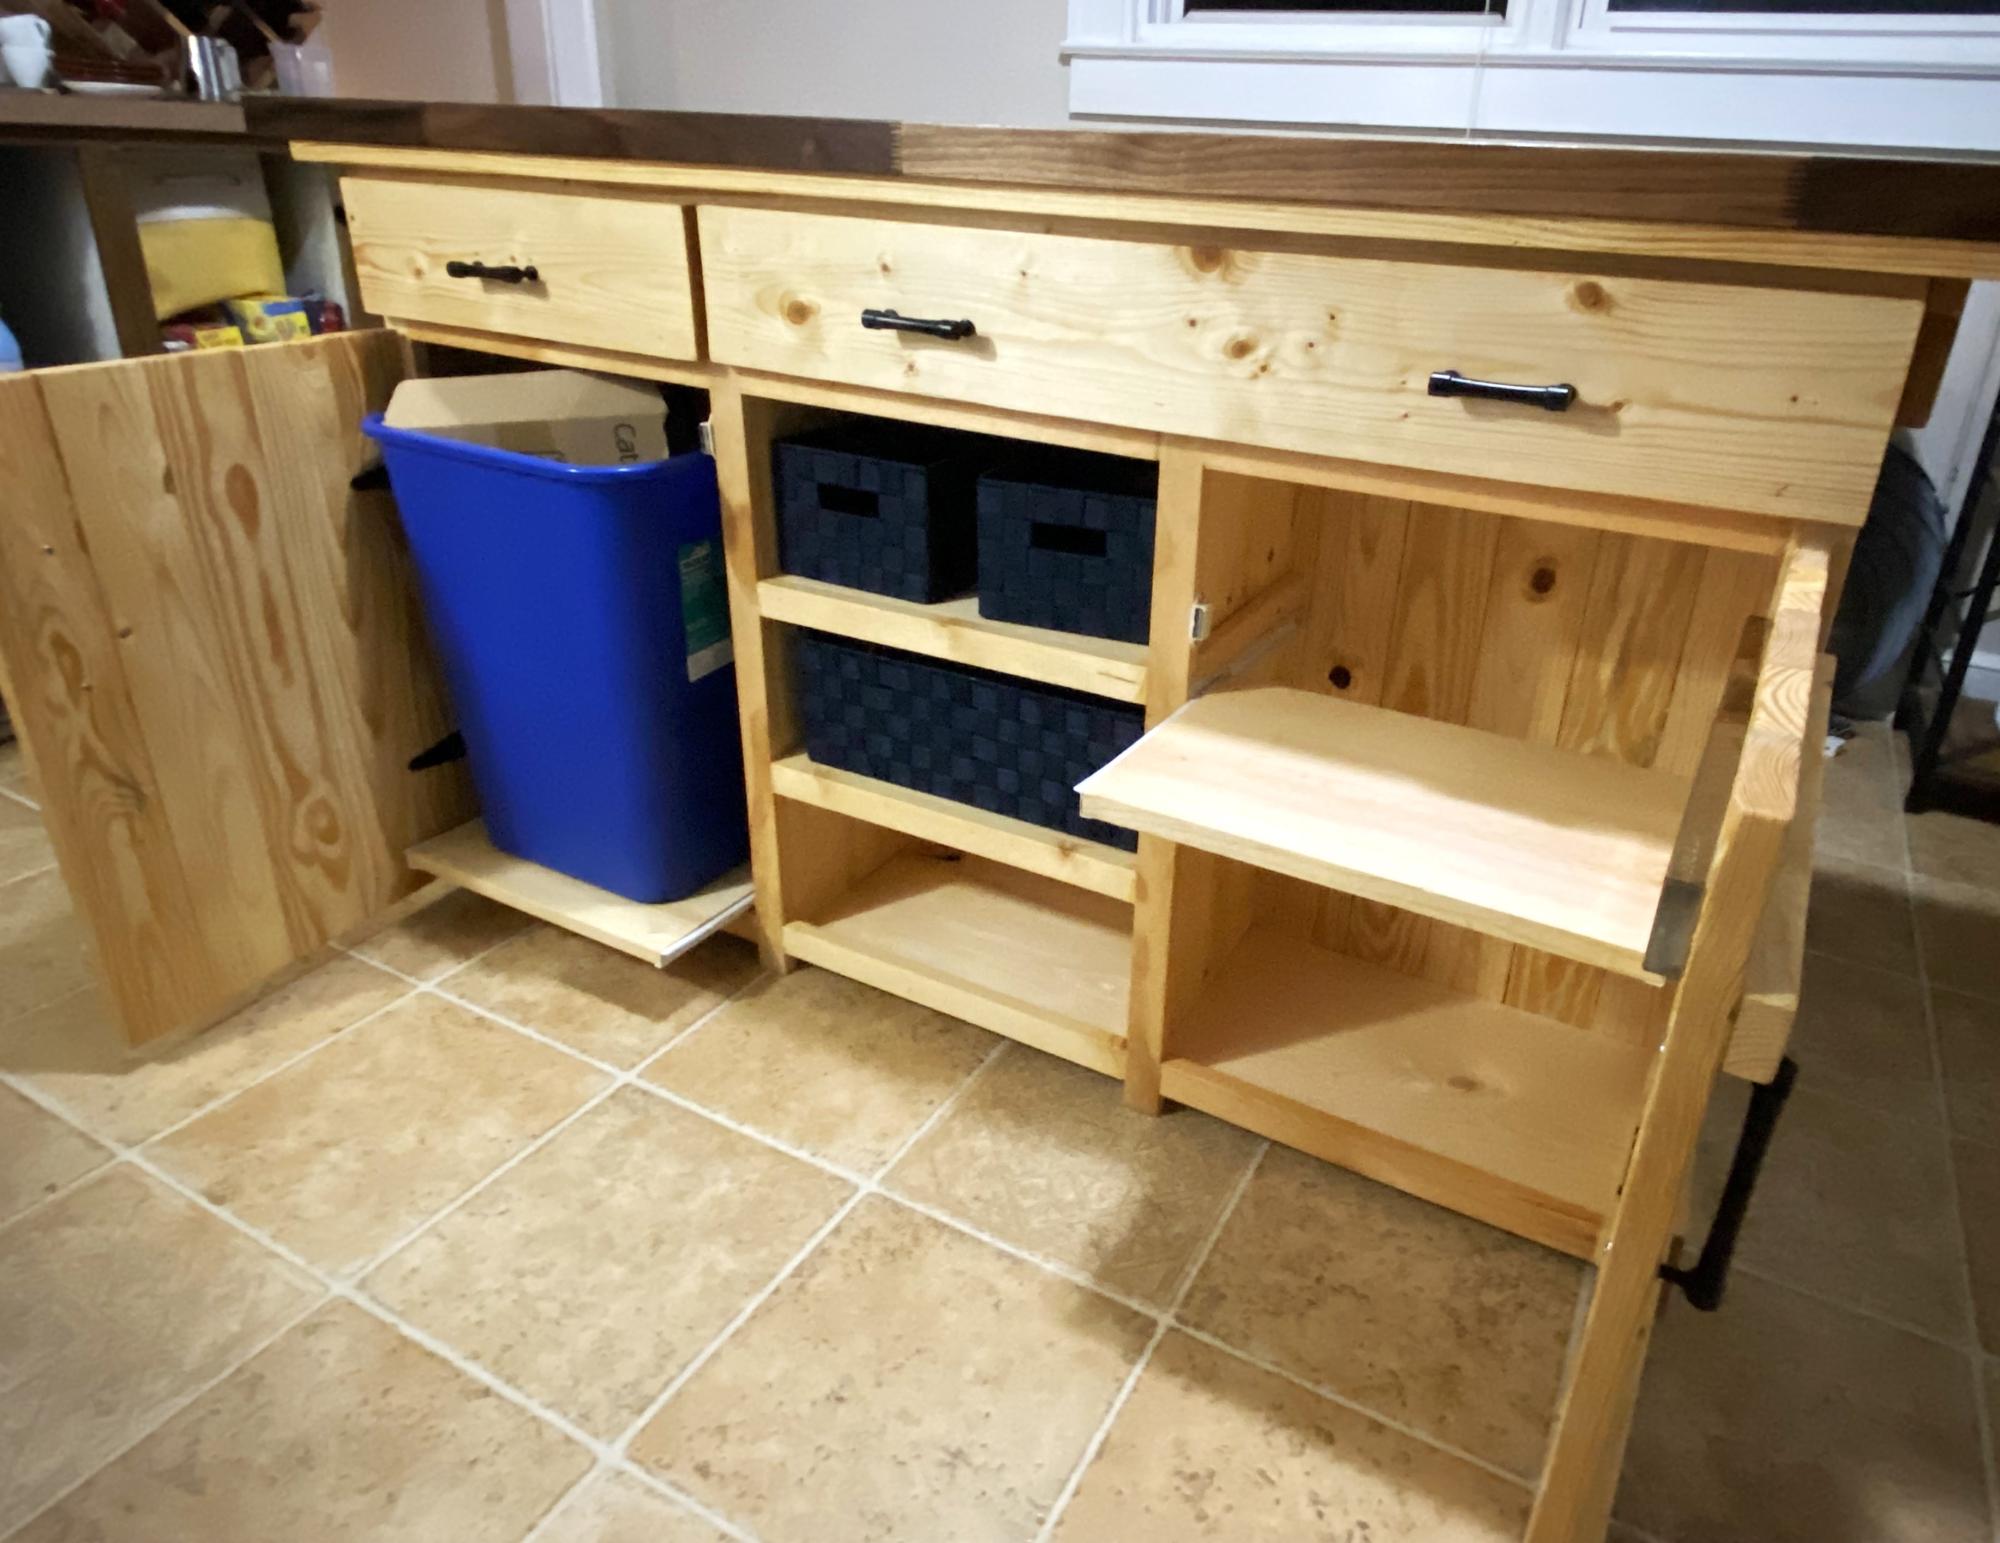
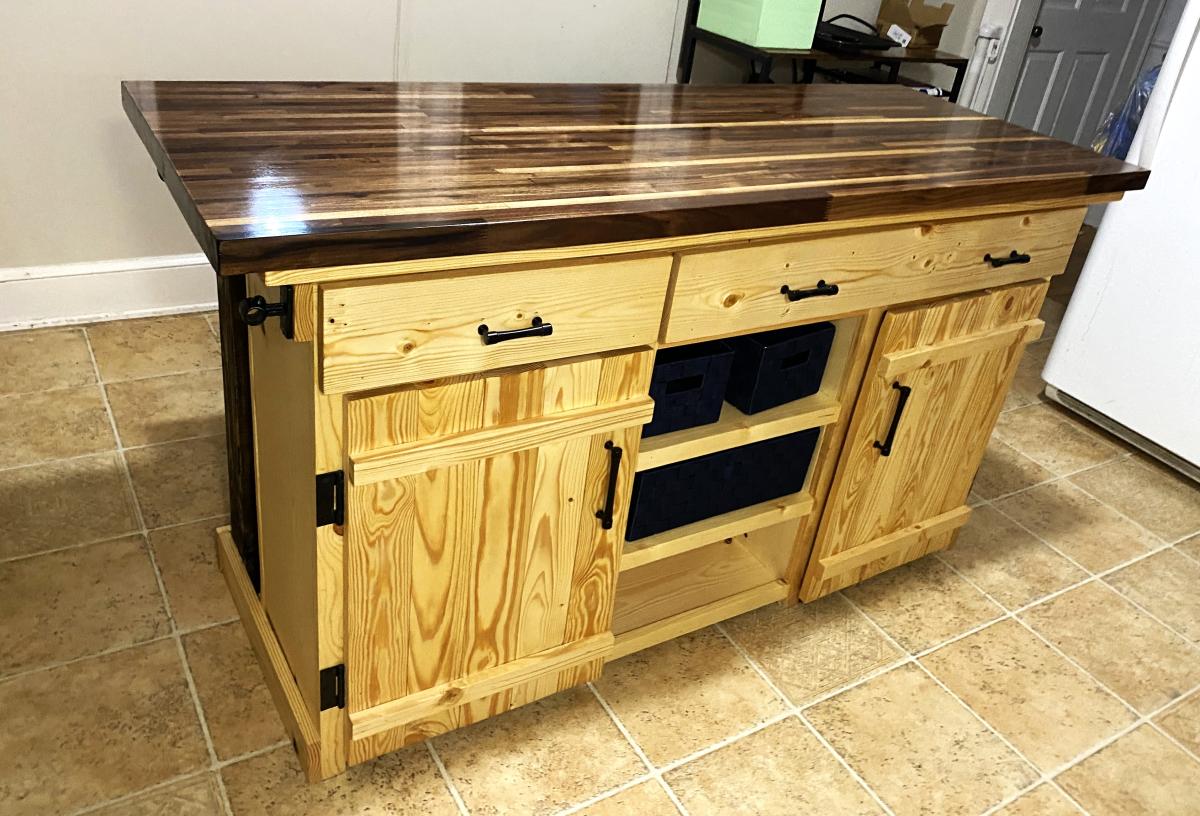
This was a labor of love for my son’s Christmas gift. He wants to be a chef and all he has wanted was an island in our kitchen. Thanks Ana for such an amazing and simple (enough) plan.
After making the Providence Table, I whipped up these benches to match! They were super easy to make in one day. I love the sturdiness of these (and the look too).
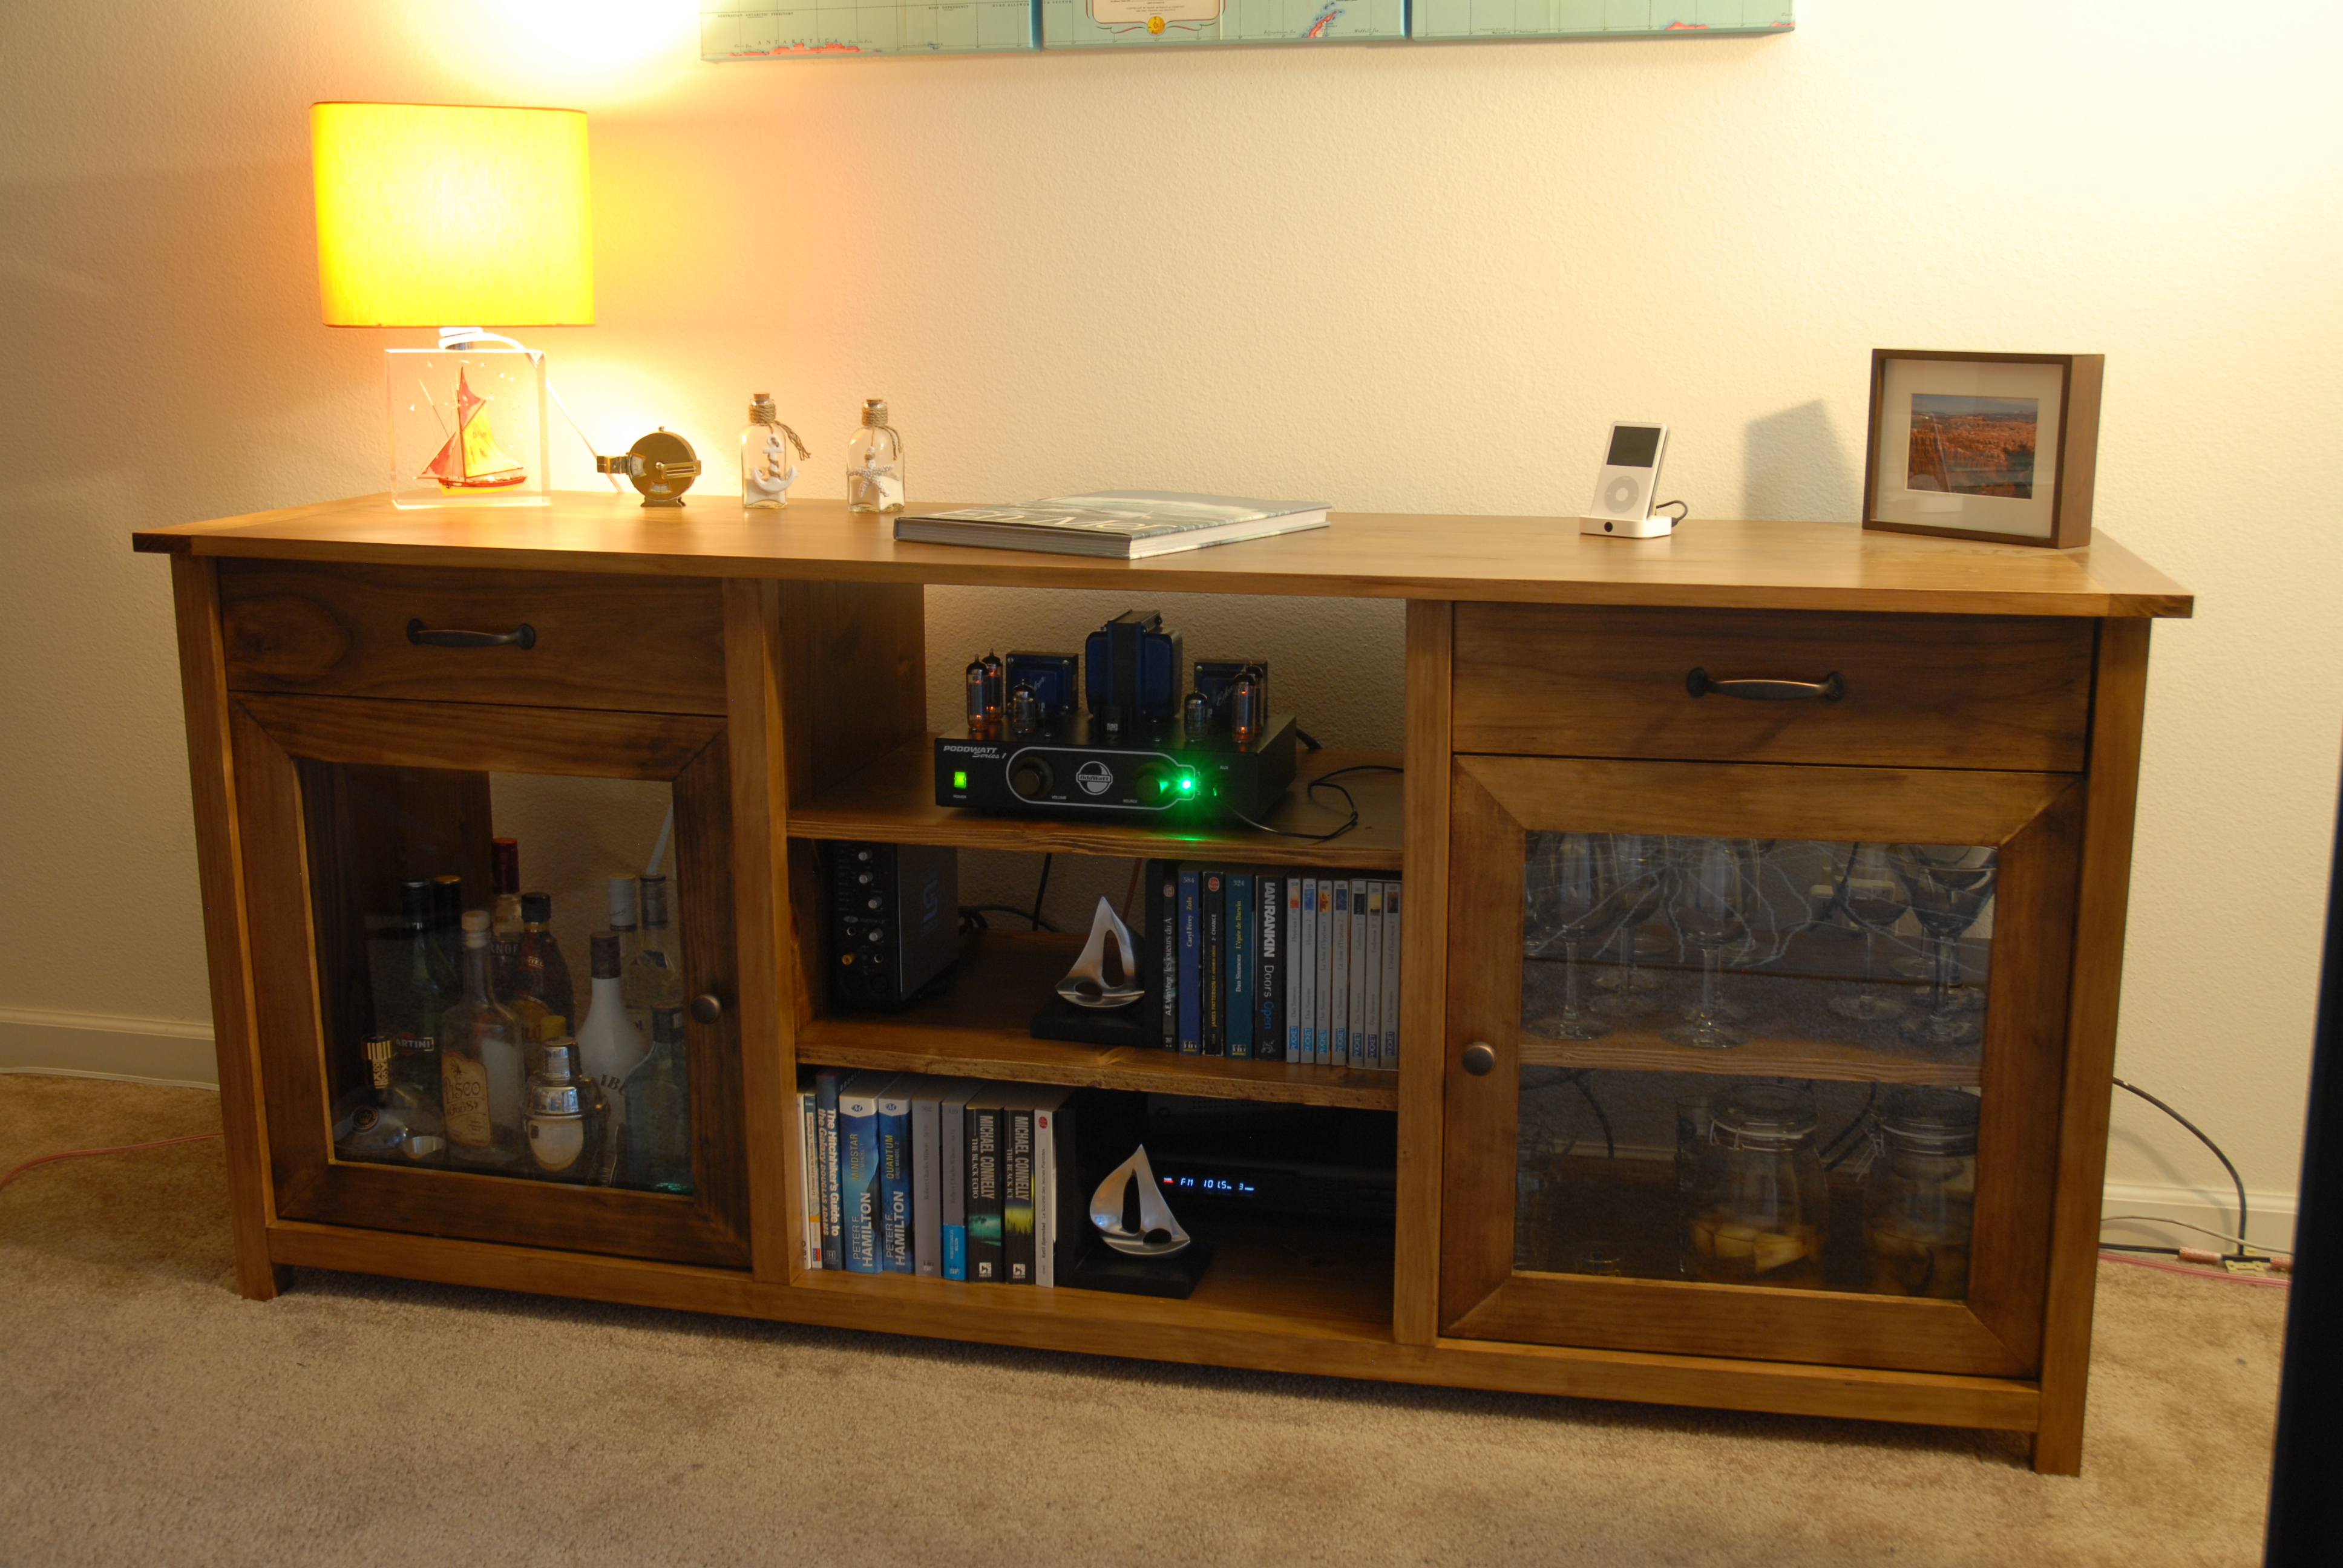
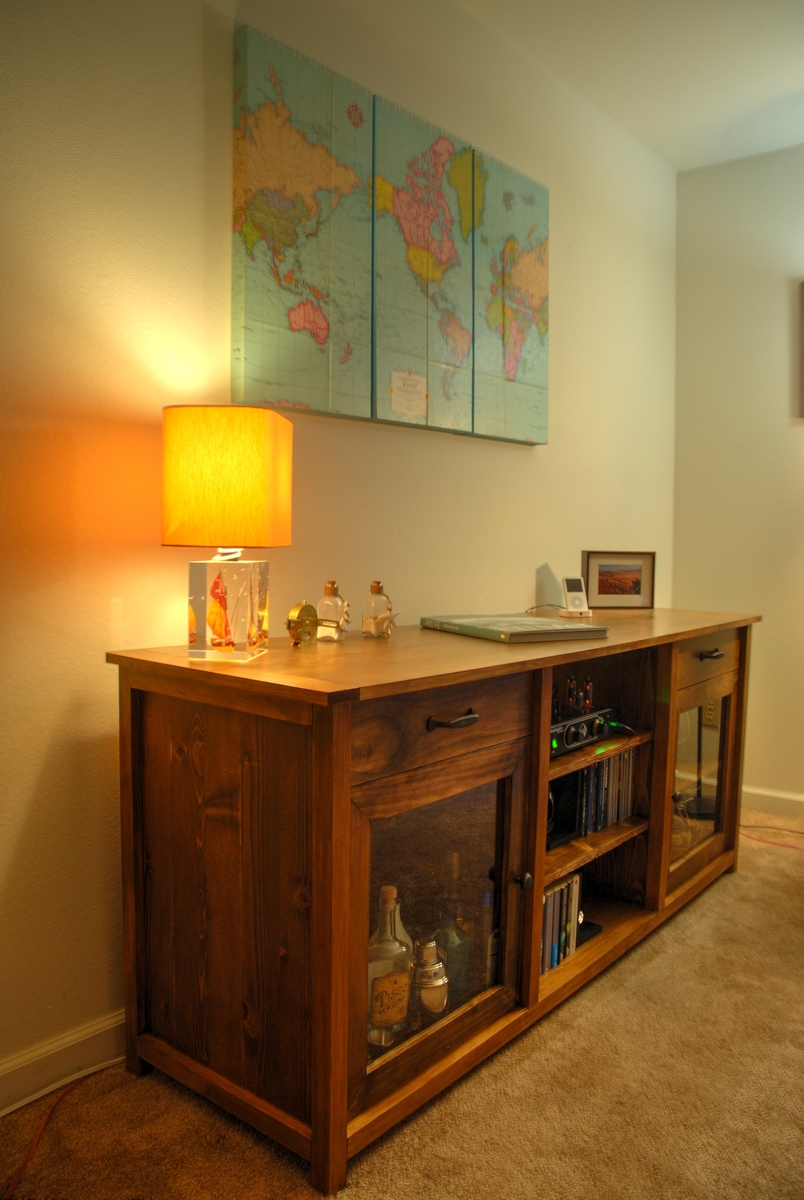
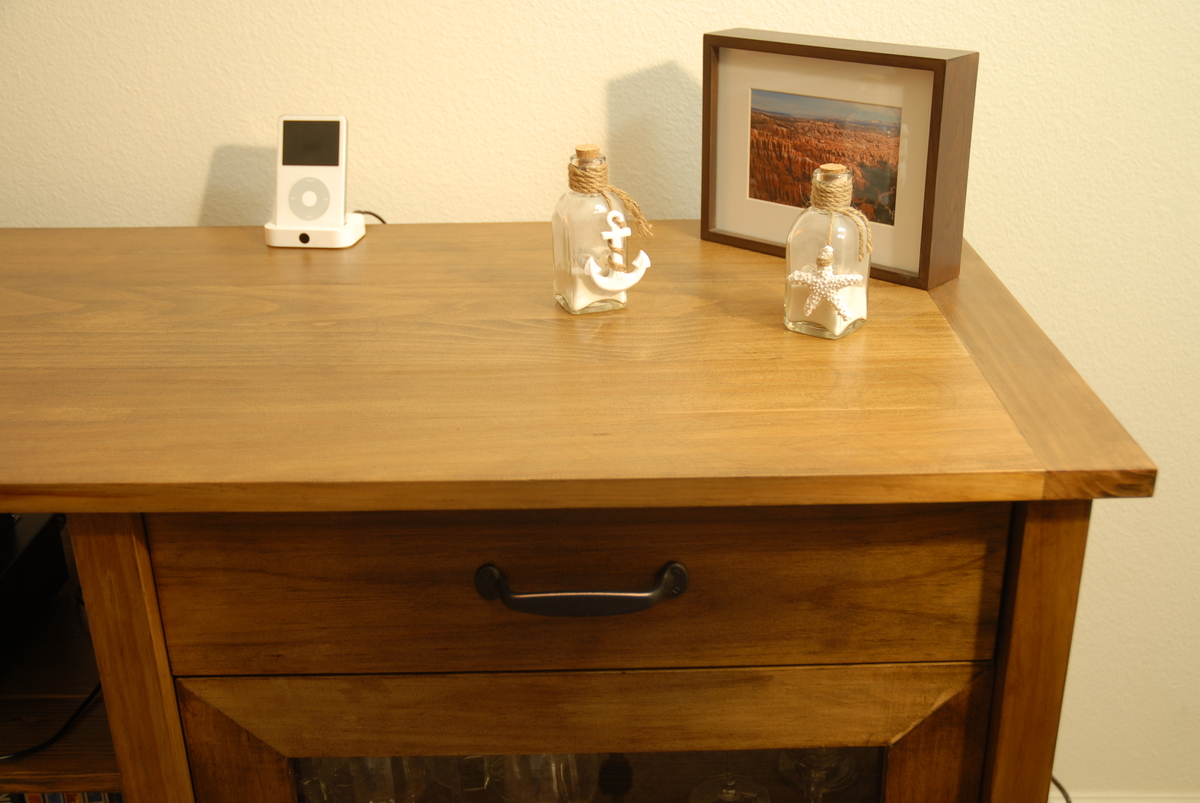
We started from the benchmark media console plan, but then adapted it to our room and needs.
It's entirely made of plain wood (no plywood, except for the drawers bottom) which probably adds to the cost a little, but gives a very nice finish! All the boards (for table top, shelves and sides) are made from 1x4, assembled with wood glue and pocket holes.
The doors are made of glass cut to fit, and glued with silicone.
Only trouble was with the door hinges.. Since we wanted them to be concealed inside but I hate Euro-Style hinges, so we ended up finding Soss "invisible hinges" that conceal in the thickness of the door, and used a dremel as a router to install them... This proved a bit more challenging than anticipated, but all in all it worked out pretty well.
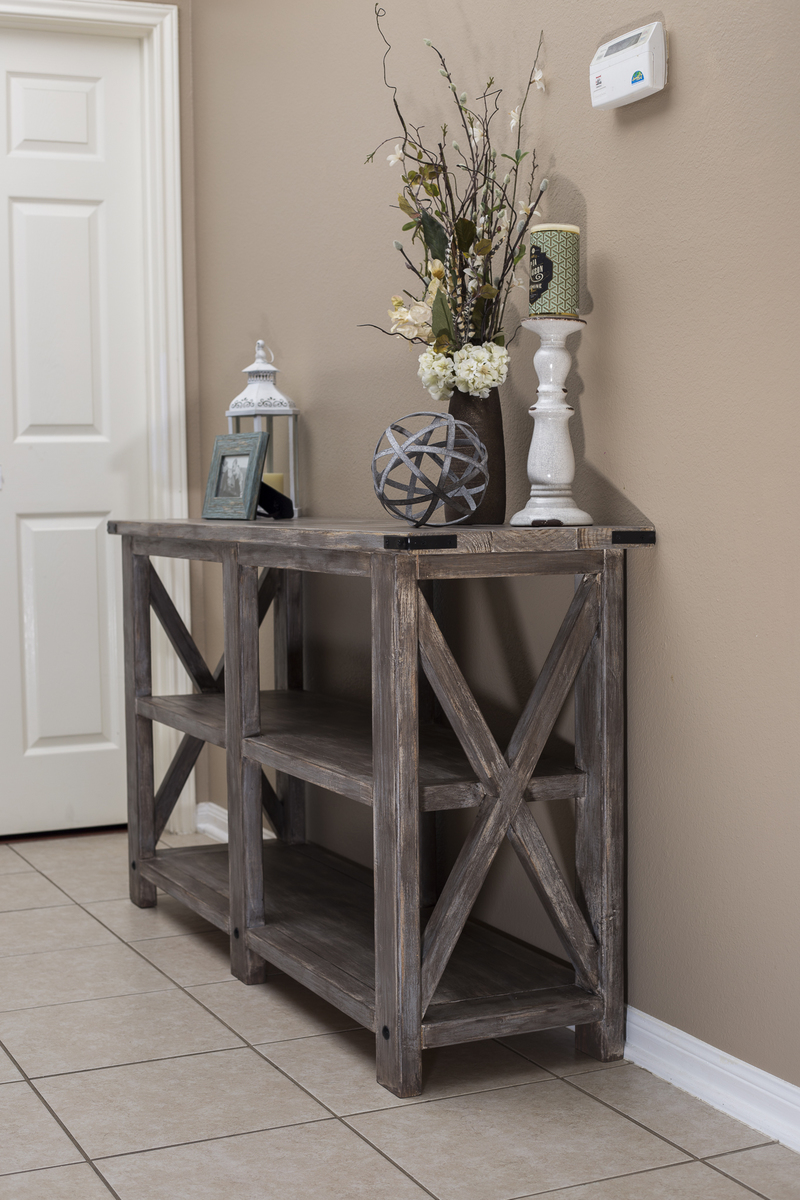
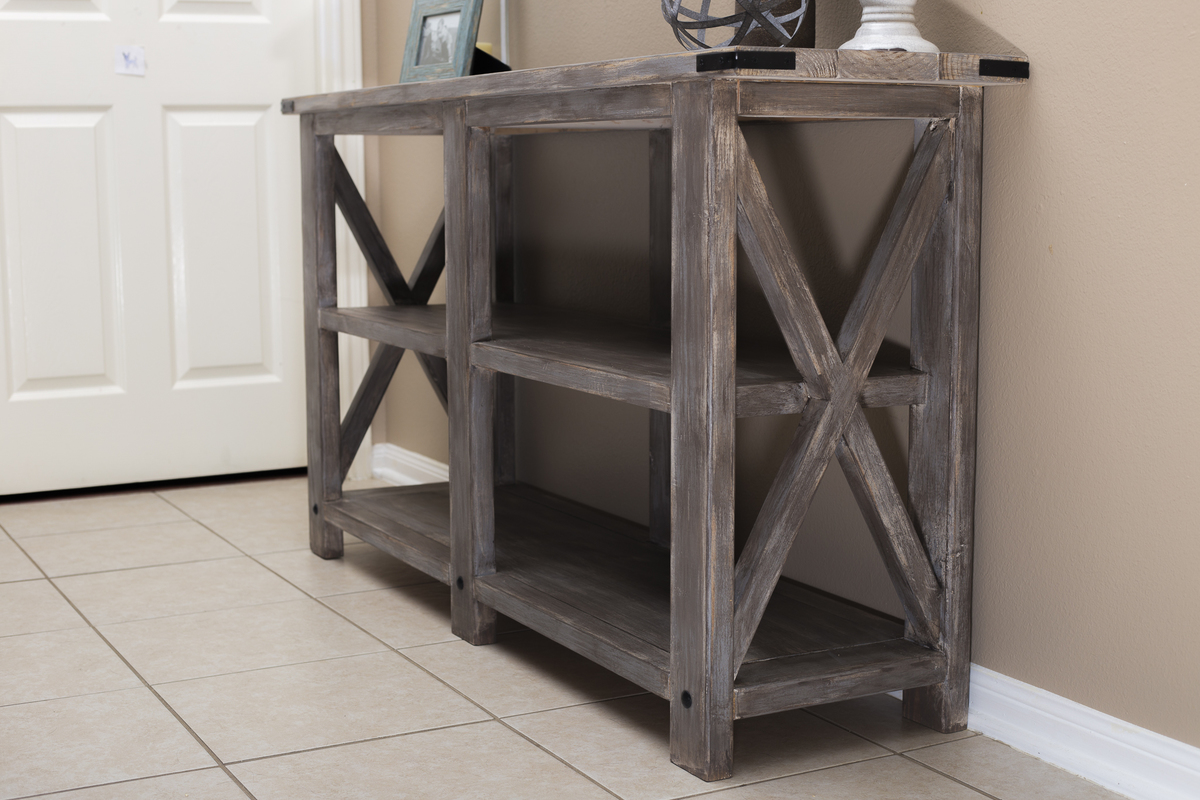
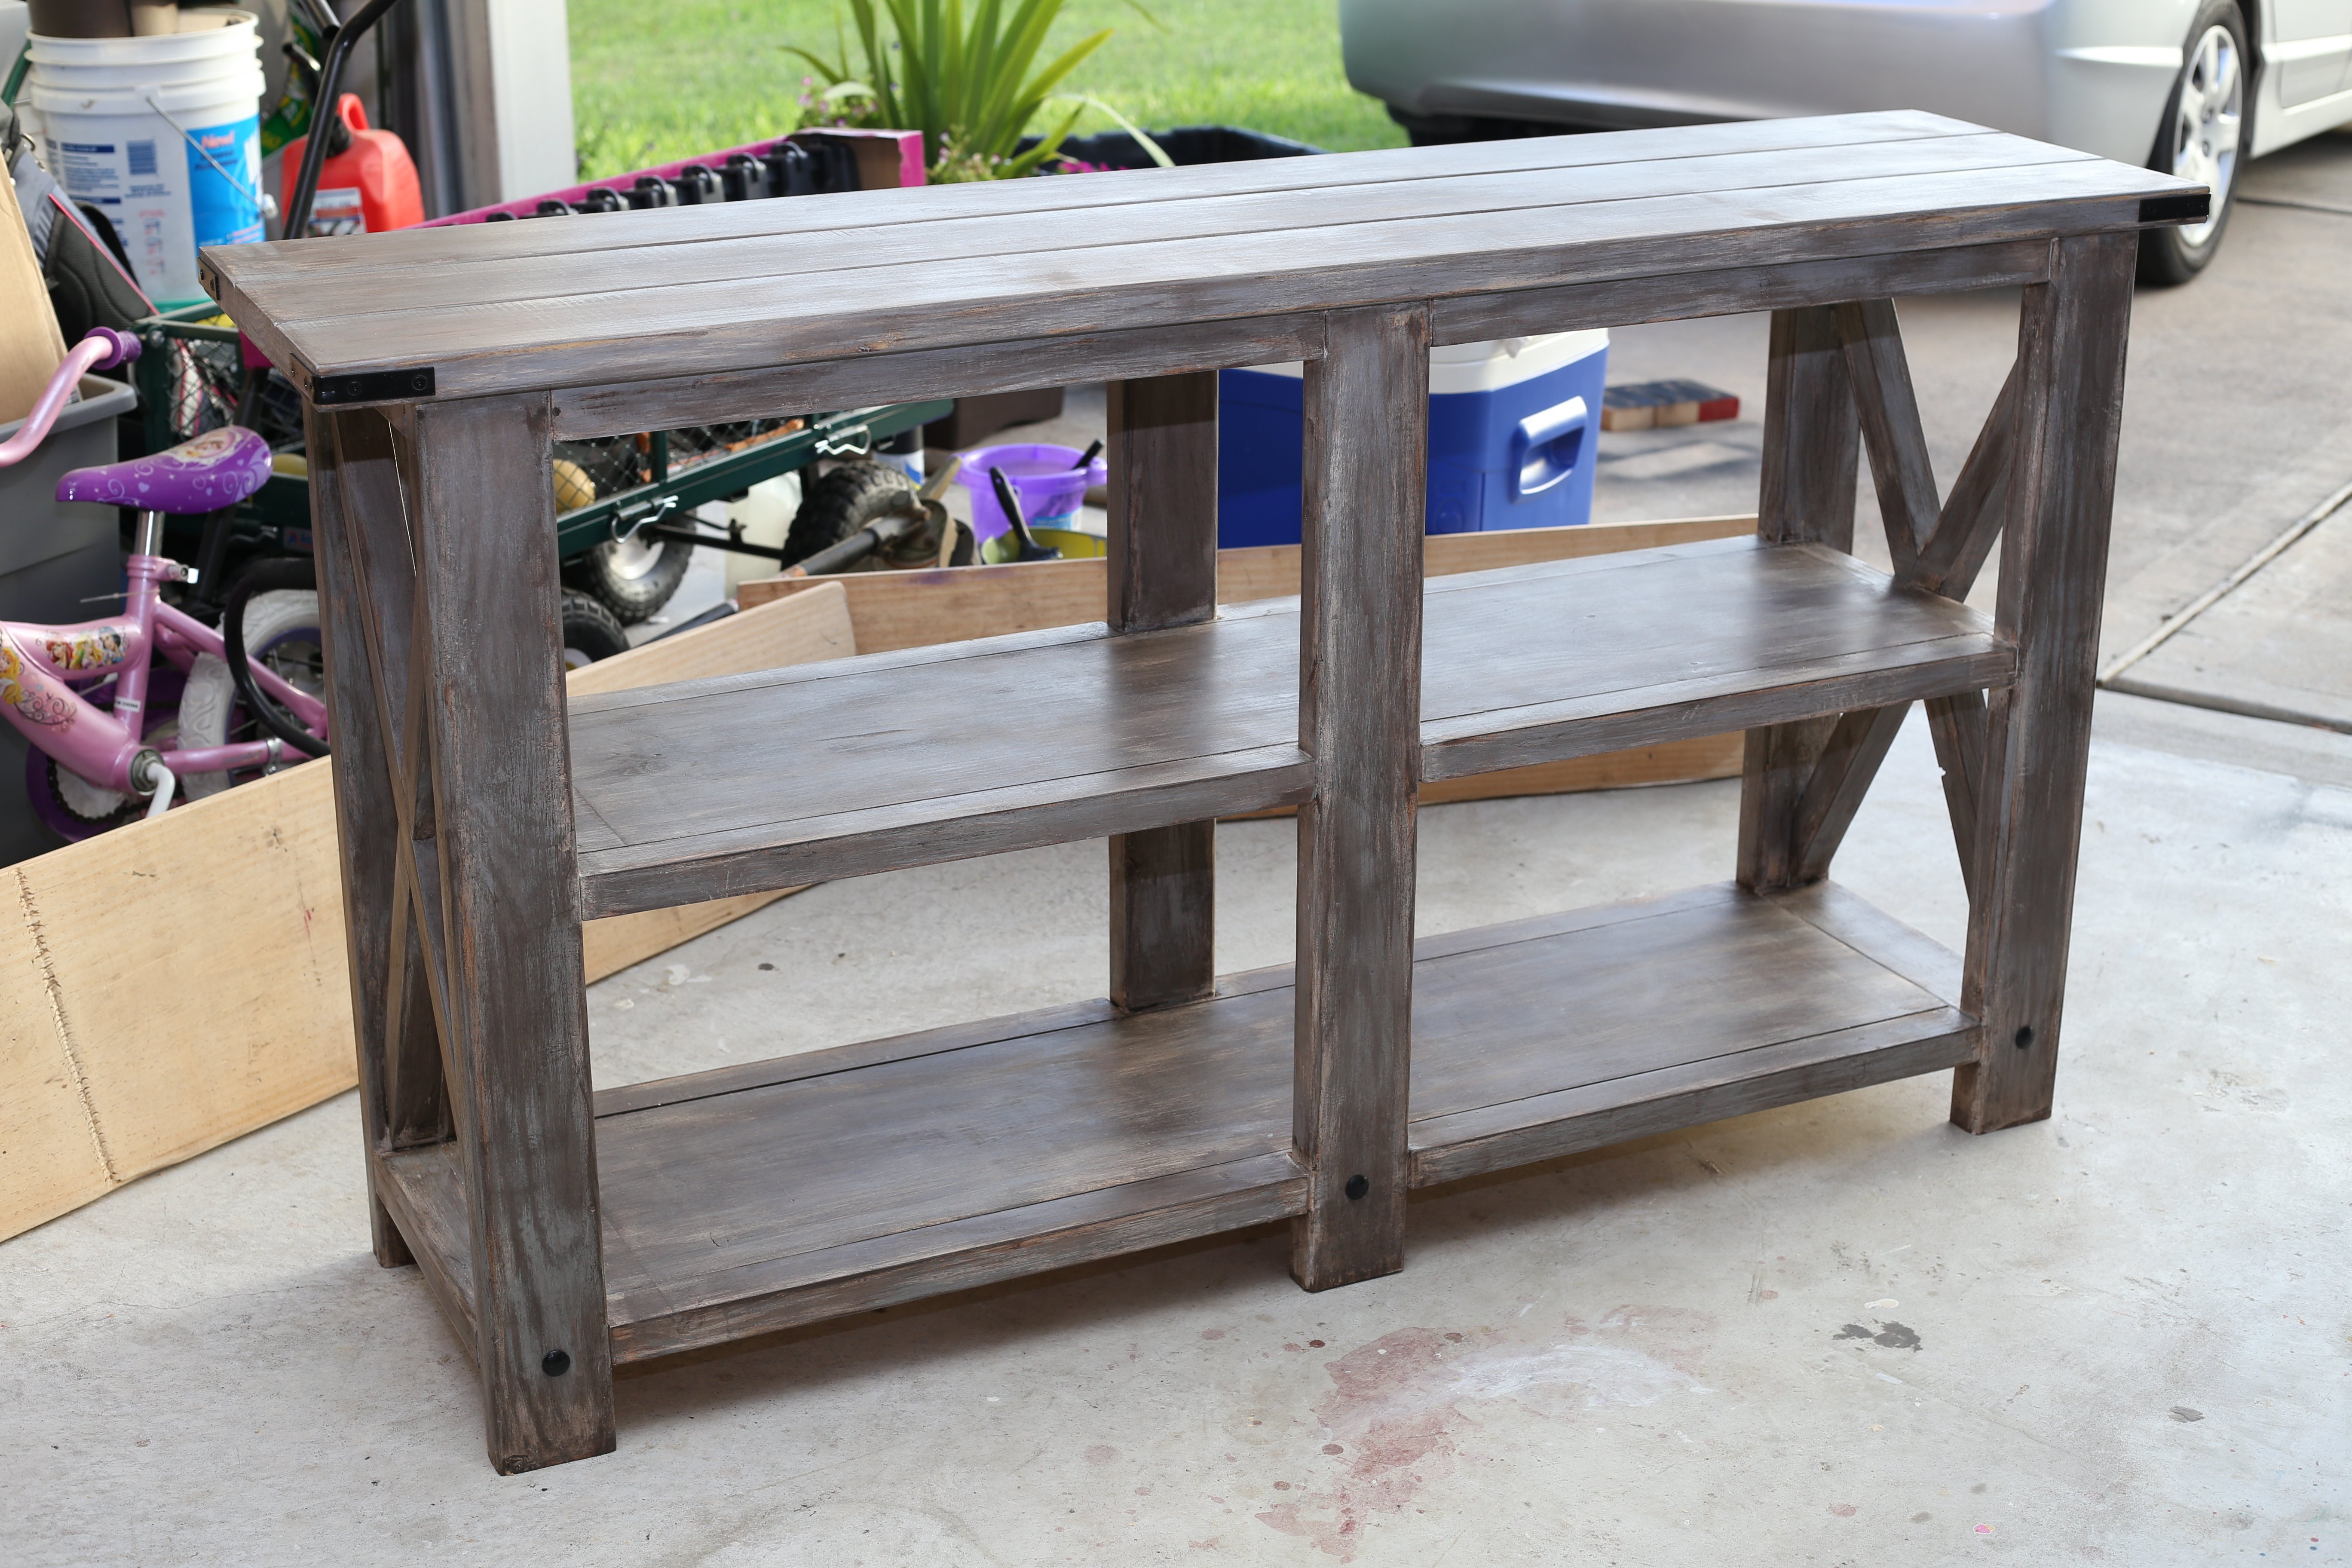
Had to try to build the Patrick Rustic Sofa Table and though it was my first time trying something like this, it looked very do-able. Modified to 60" instead of the original length.
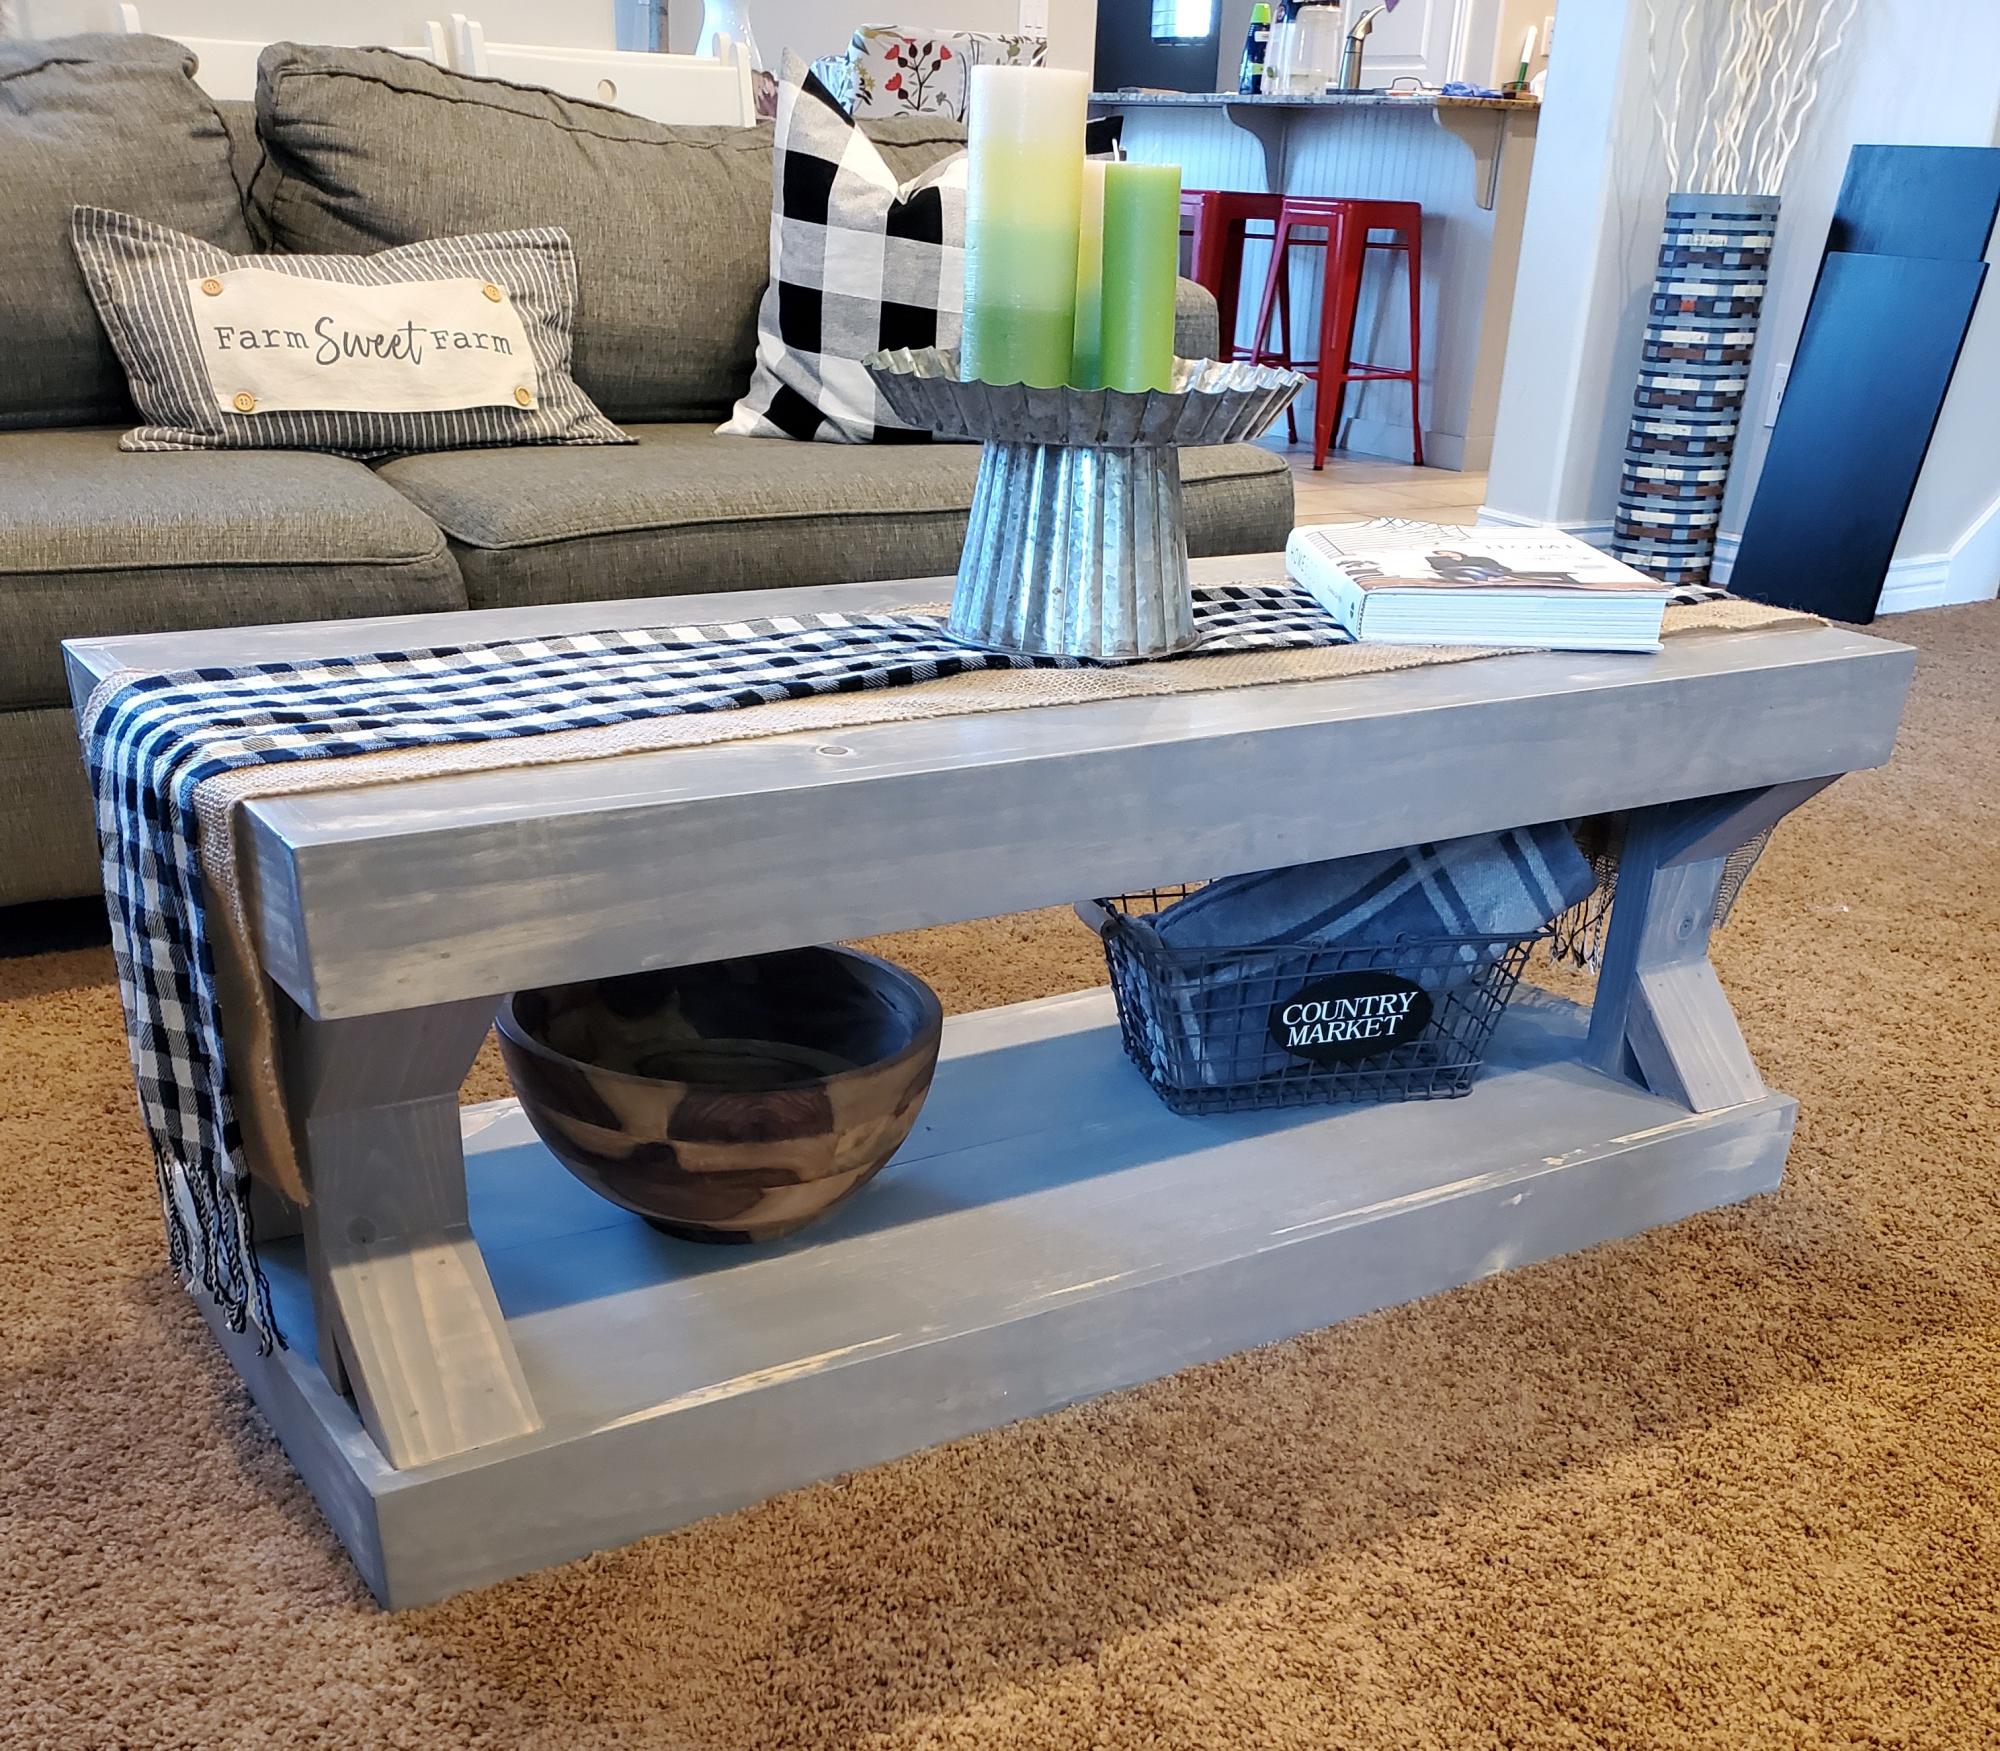
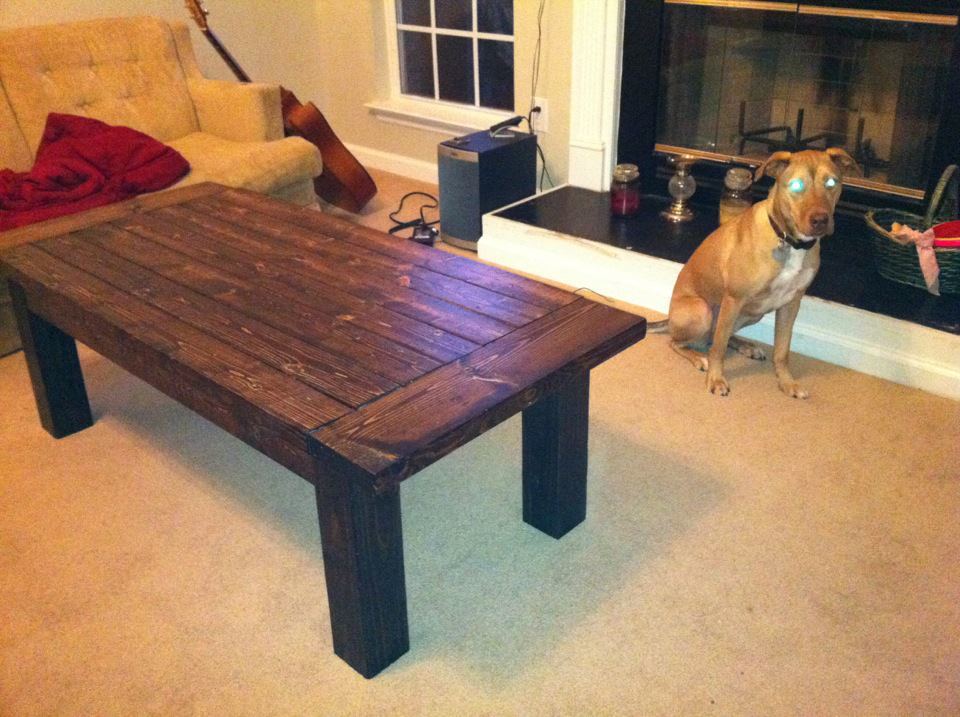
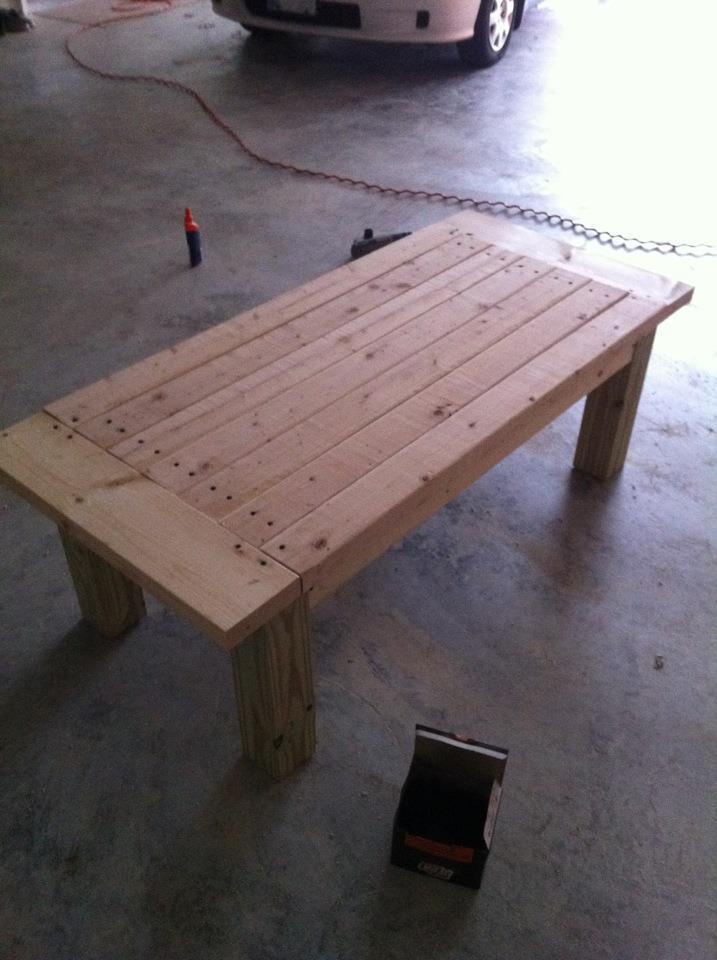
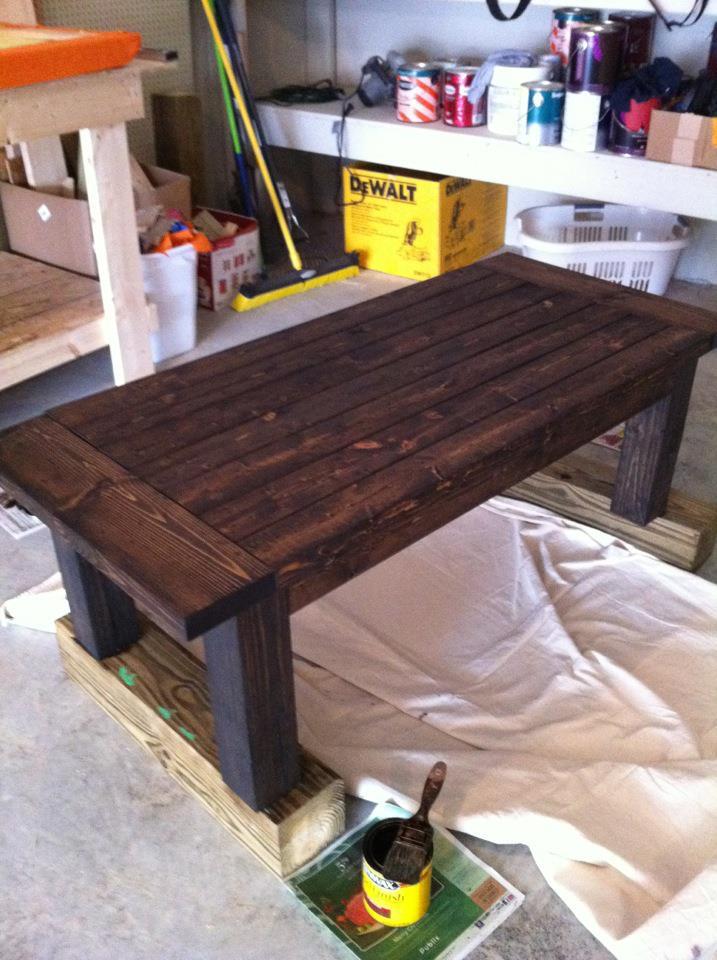
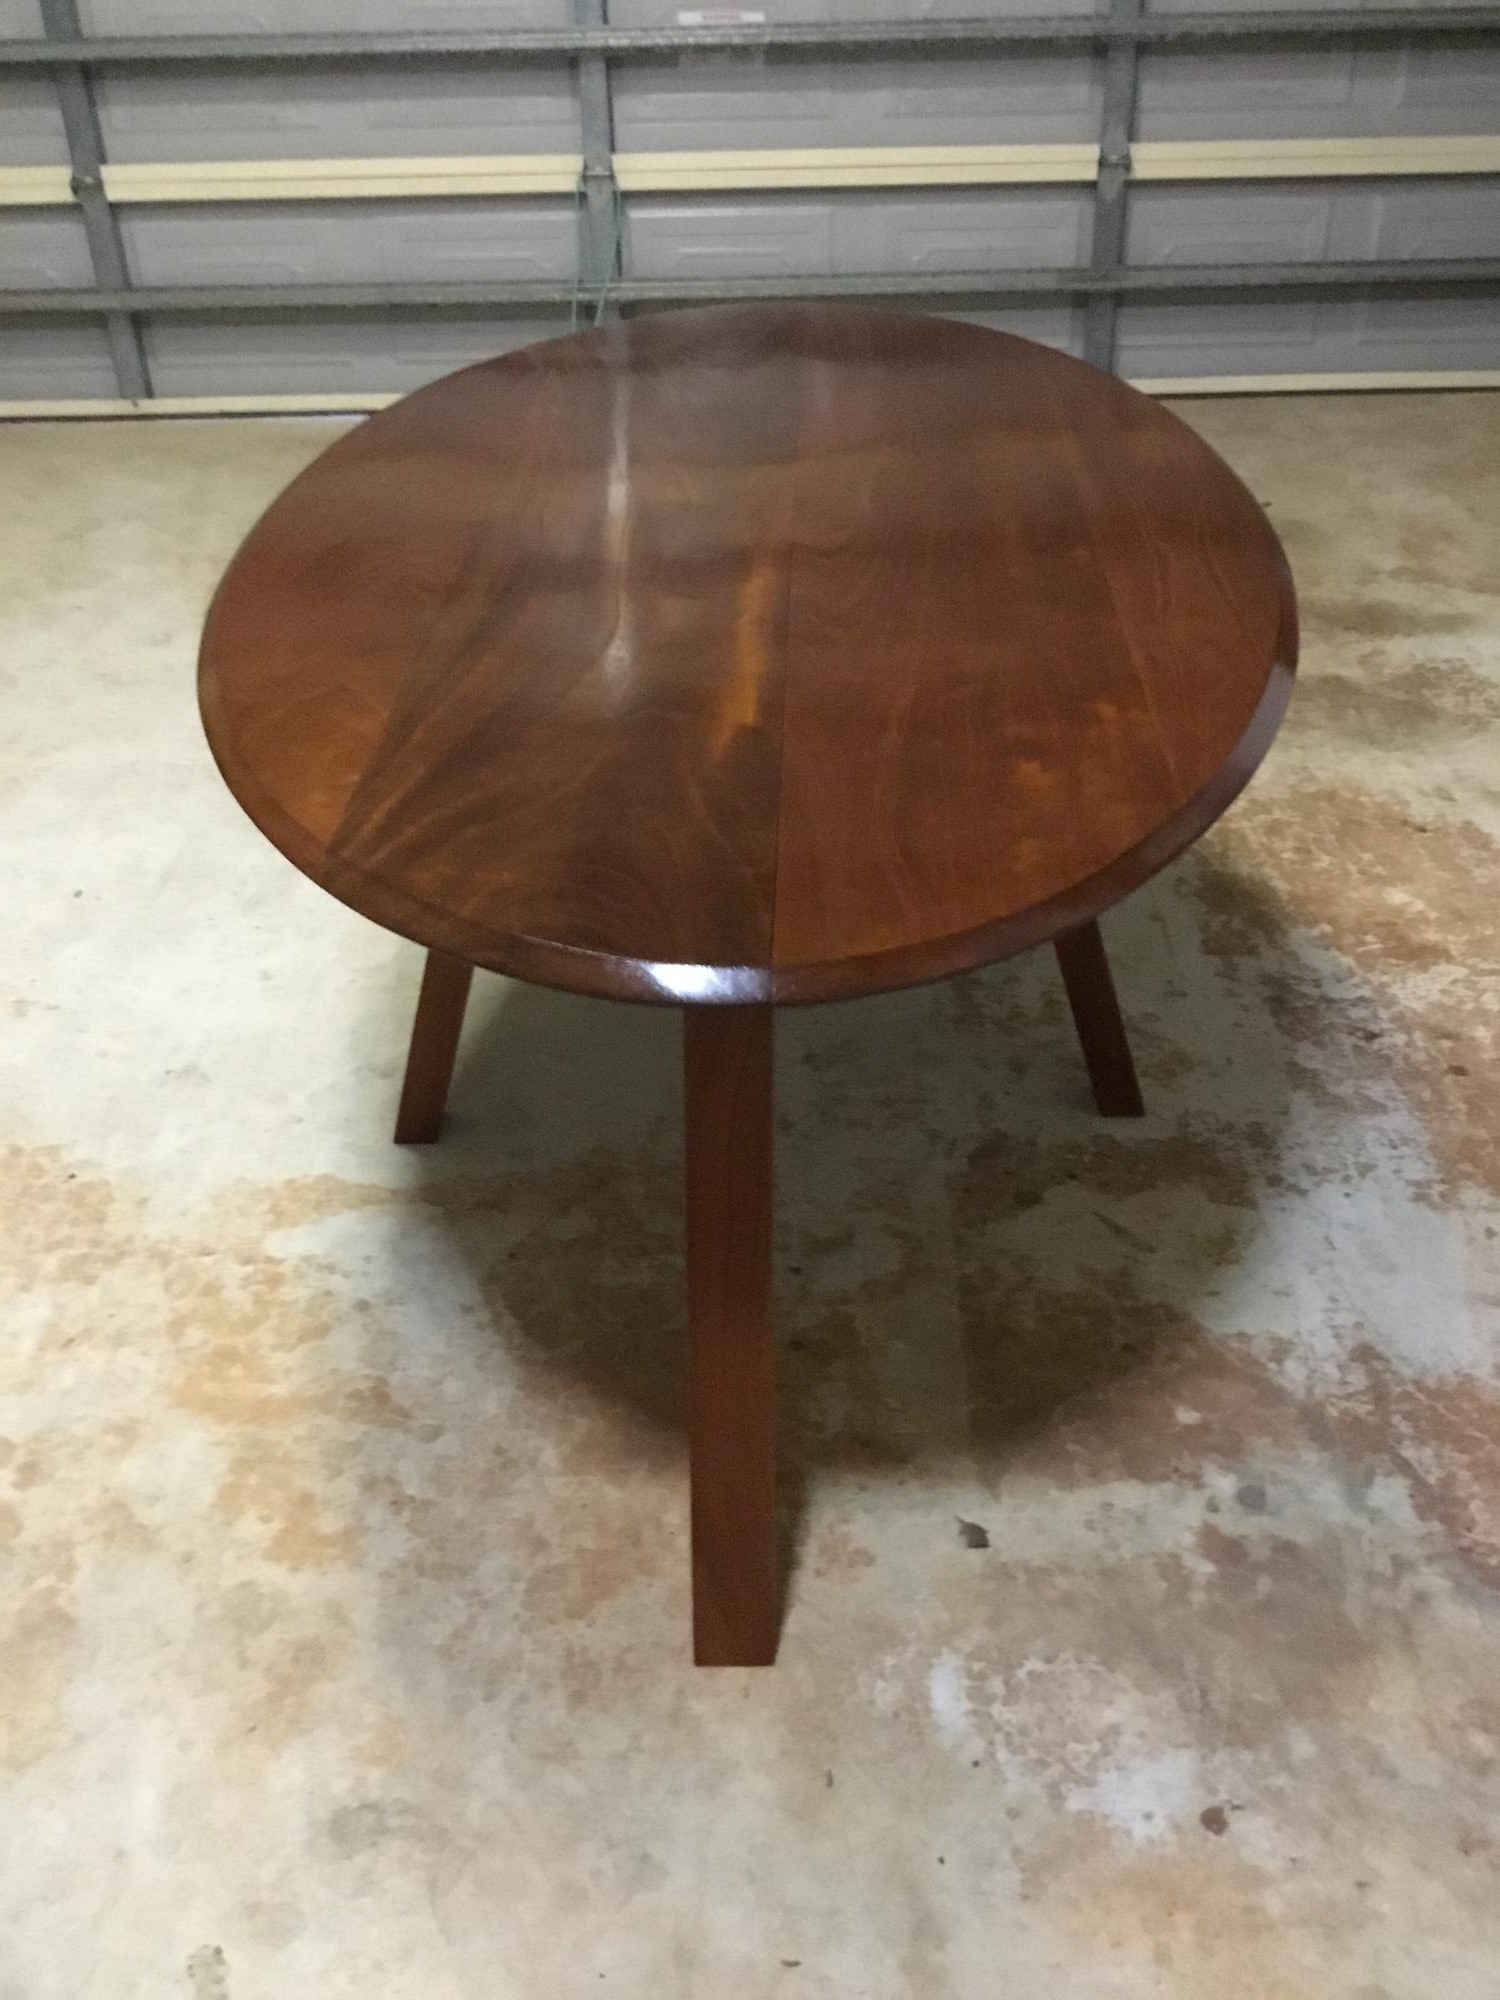
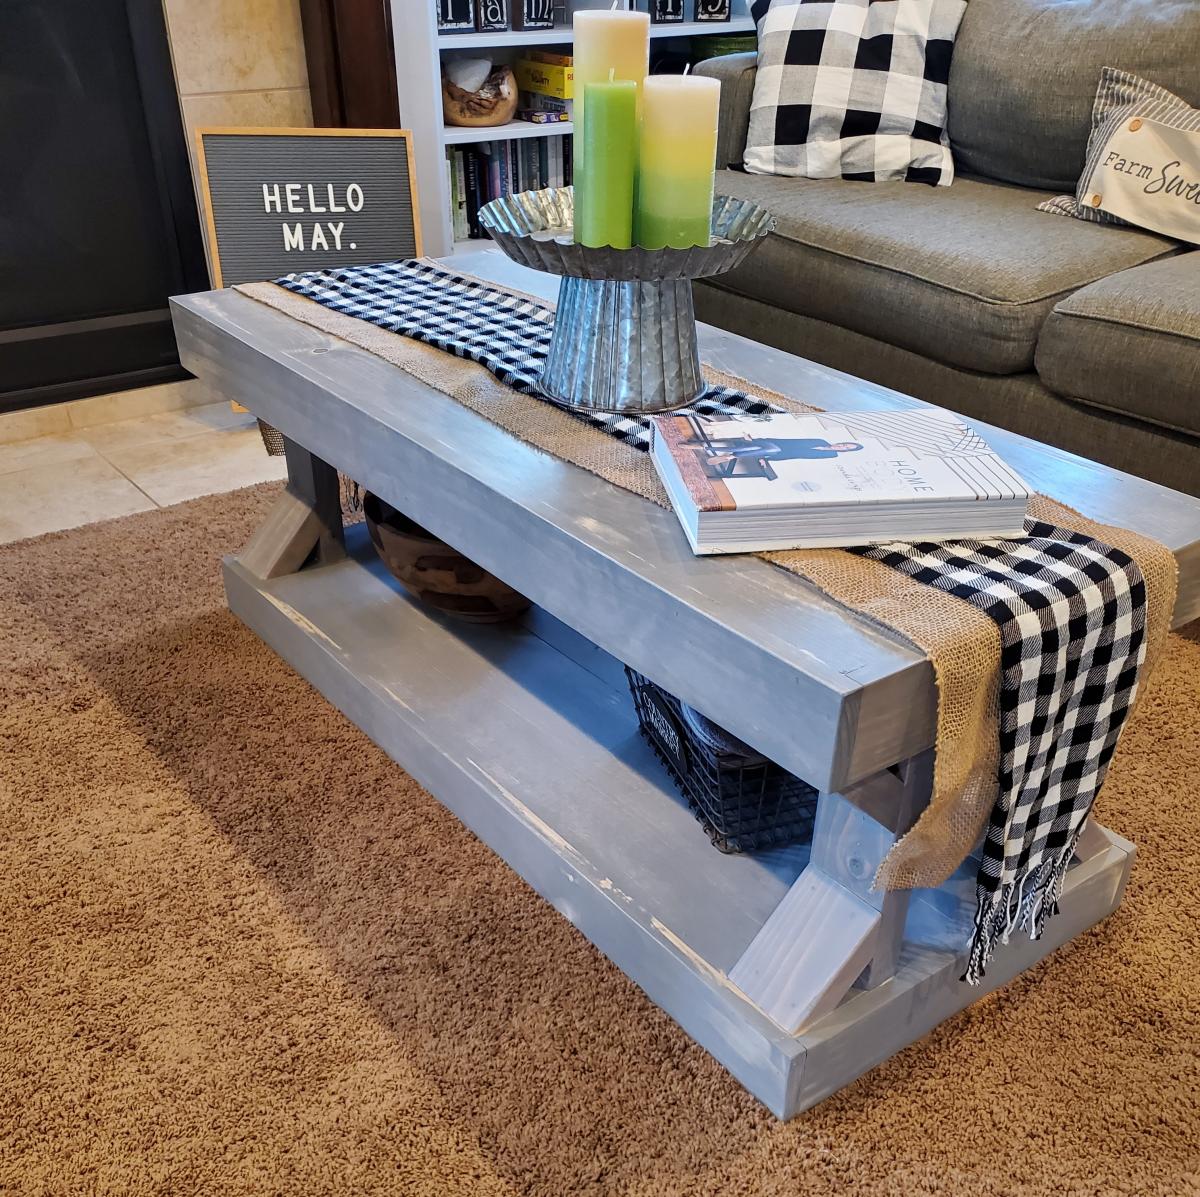
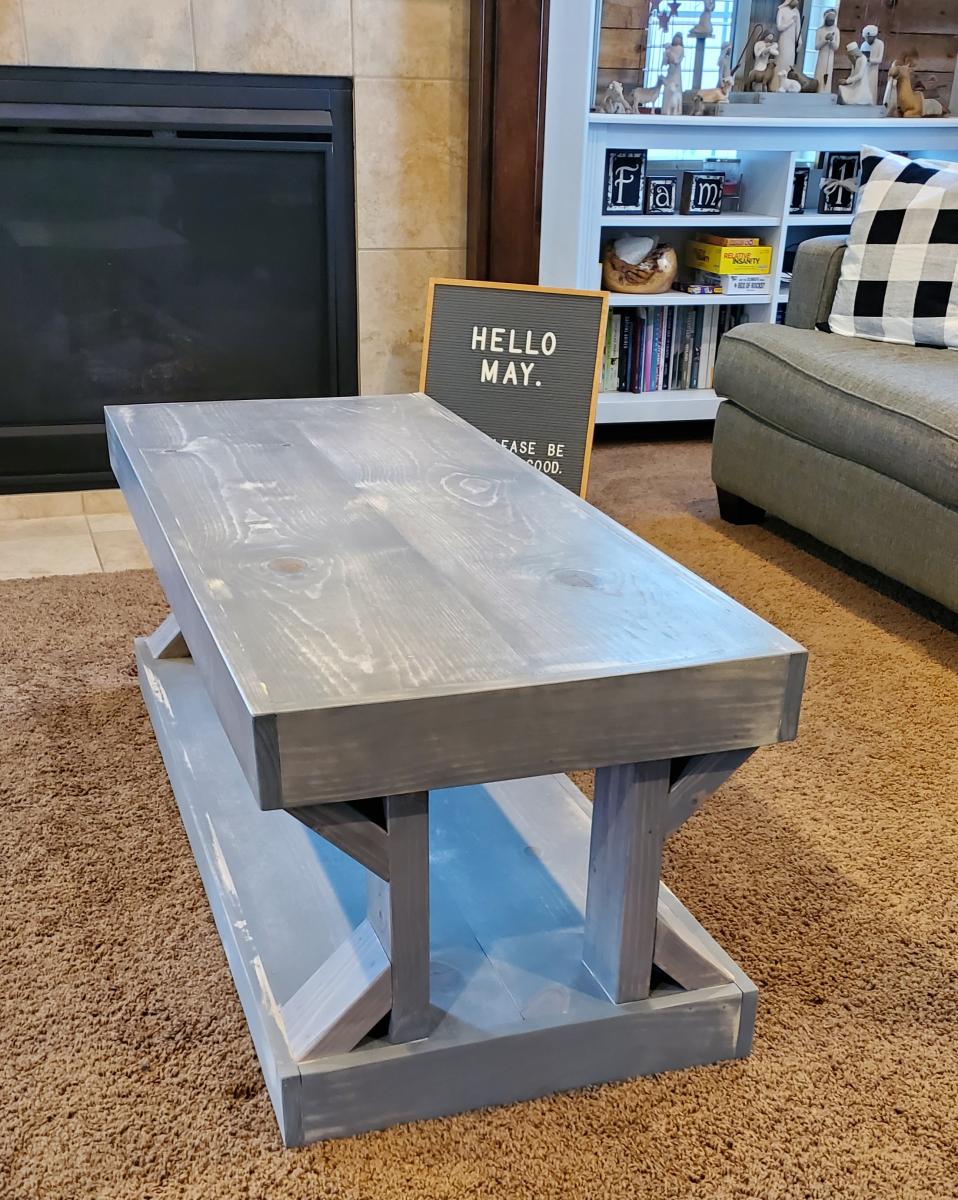
My sweet wife wanted a new coffee table so I decided to build one for her. Thanks Ana White, mission accomplished!
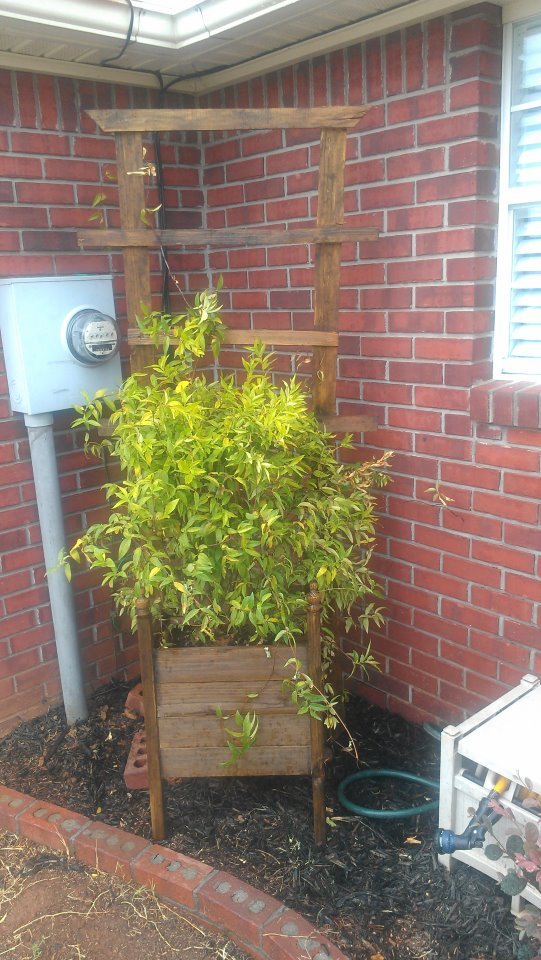
This is a quick and easy cheap build. I priced planters this size at the store and they were about $75 with a trellis. I built this one for under $20. Thanks Ana!
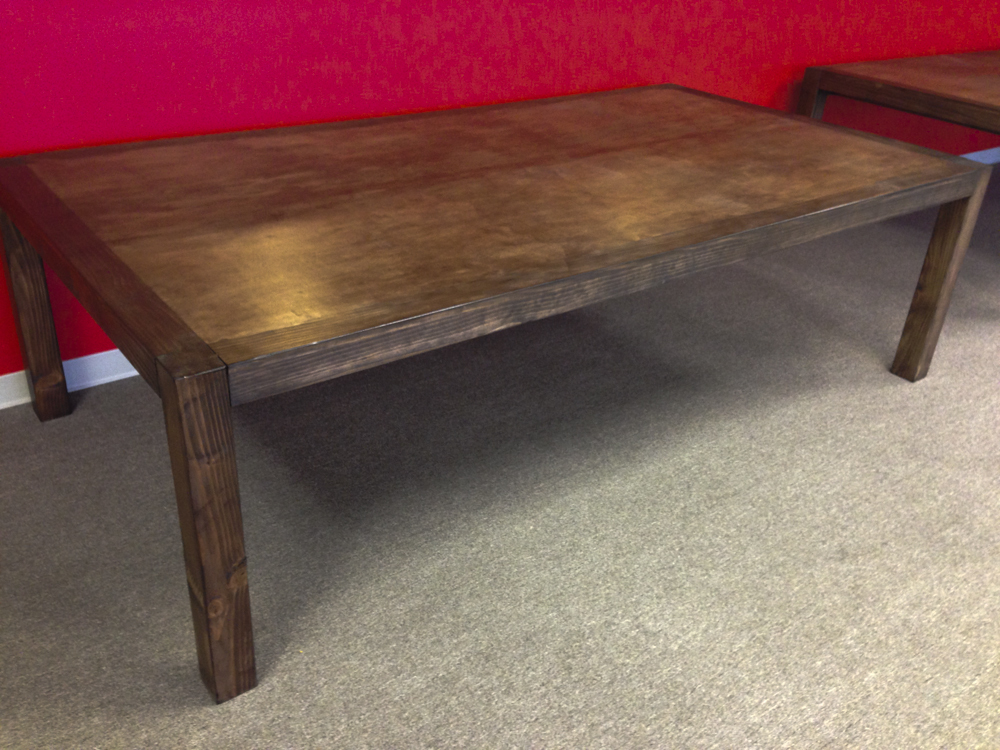
We have some large open spaces at our office and are converting them into workspace areas. We needed some large tables that would accommodate four people but we did not want to spend thousands of dollars on furniture. We needed something that would be useful and inexpensive to build. I started poking around on the web and found the iCoffee Table from the “A Touch of Arkansas” blog. I loved the design and I thought with a little bit of tweaking I could make it work for us…and it did!