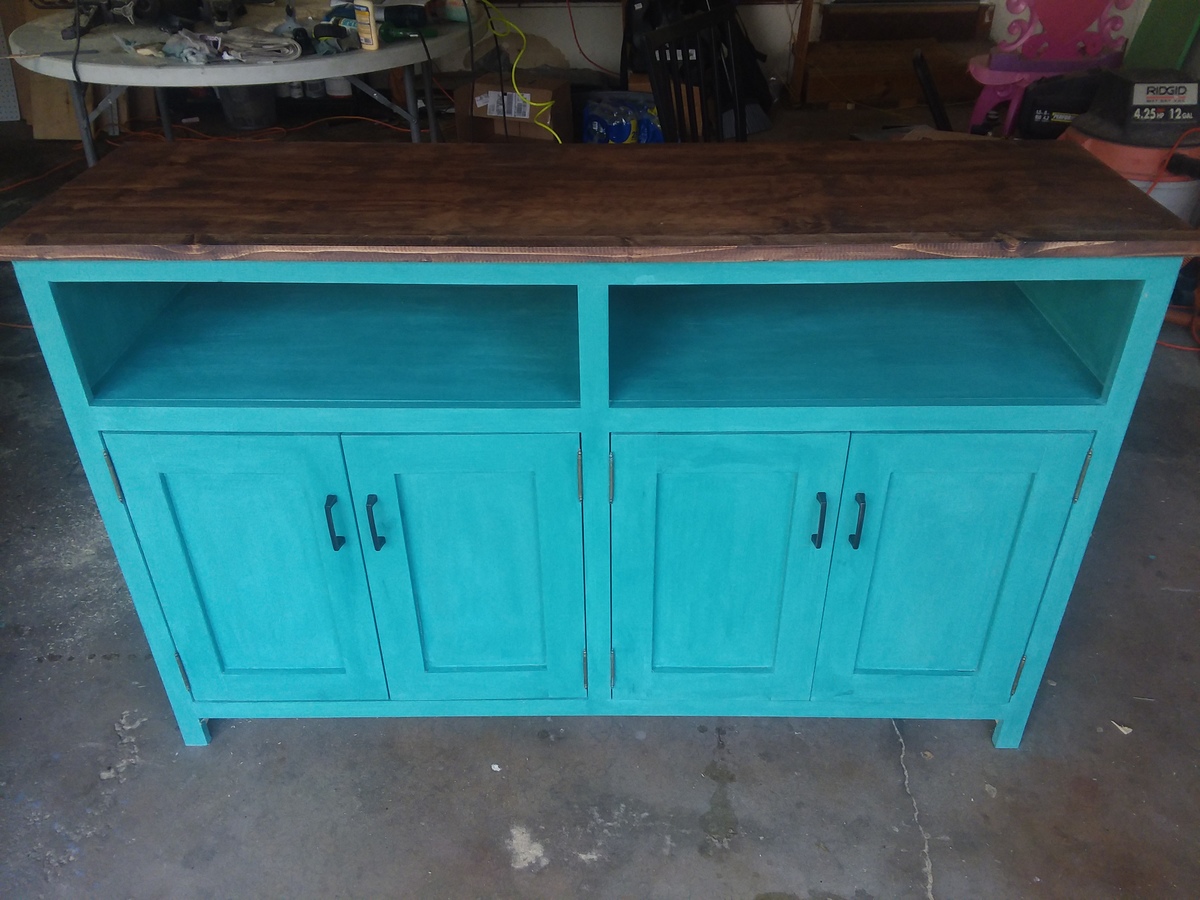
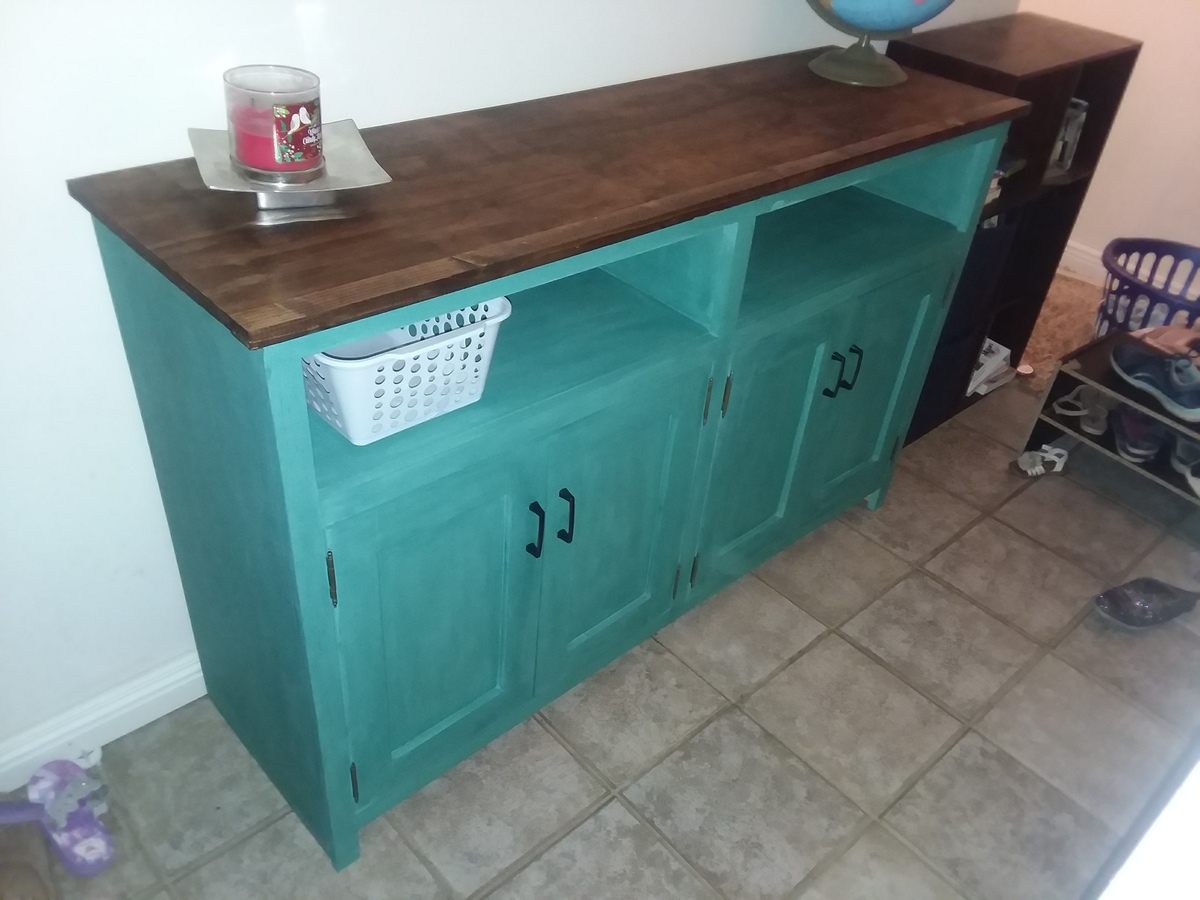
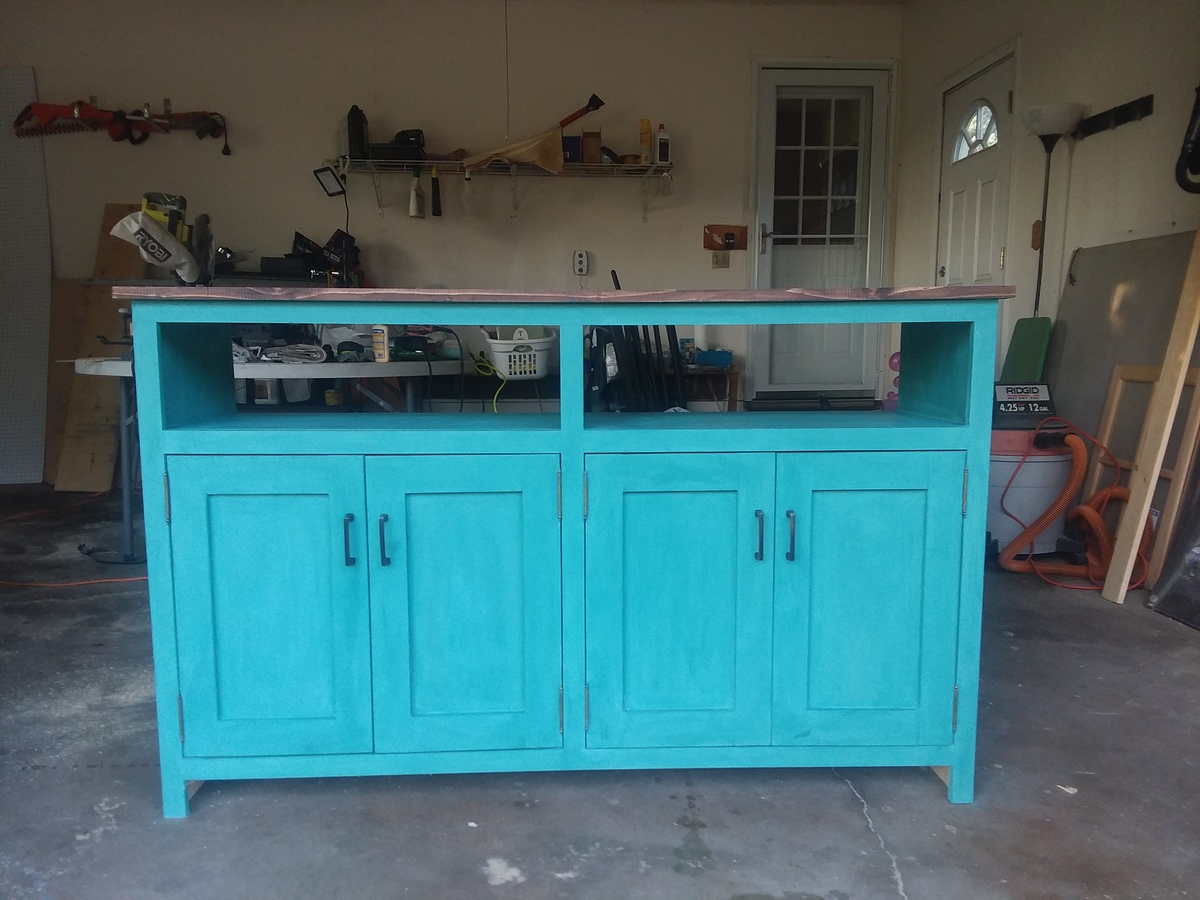
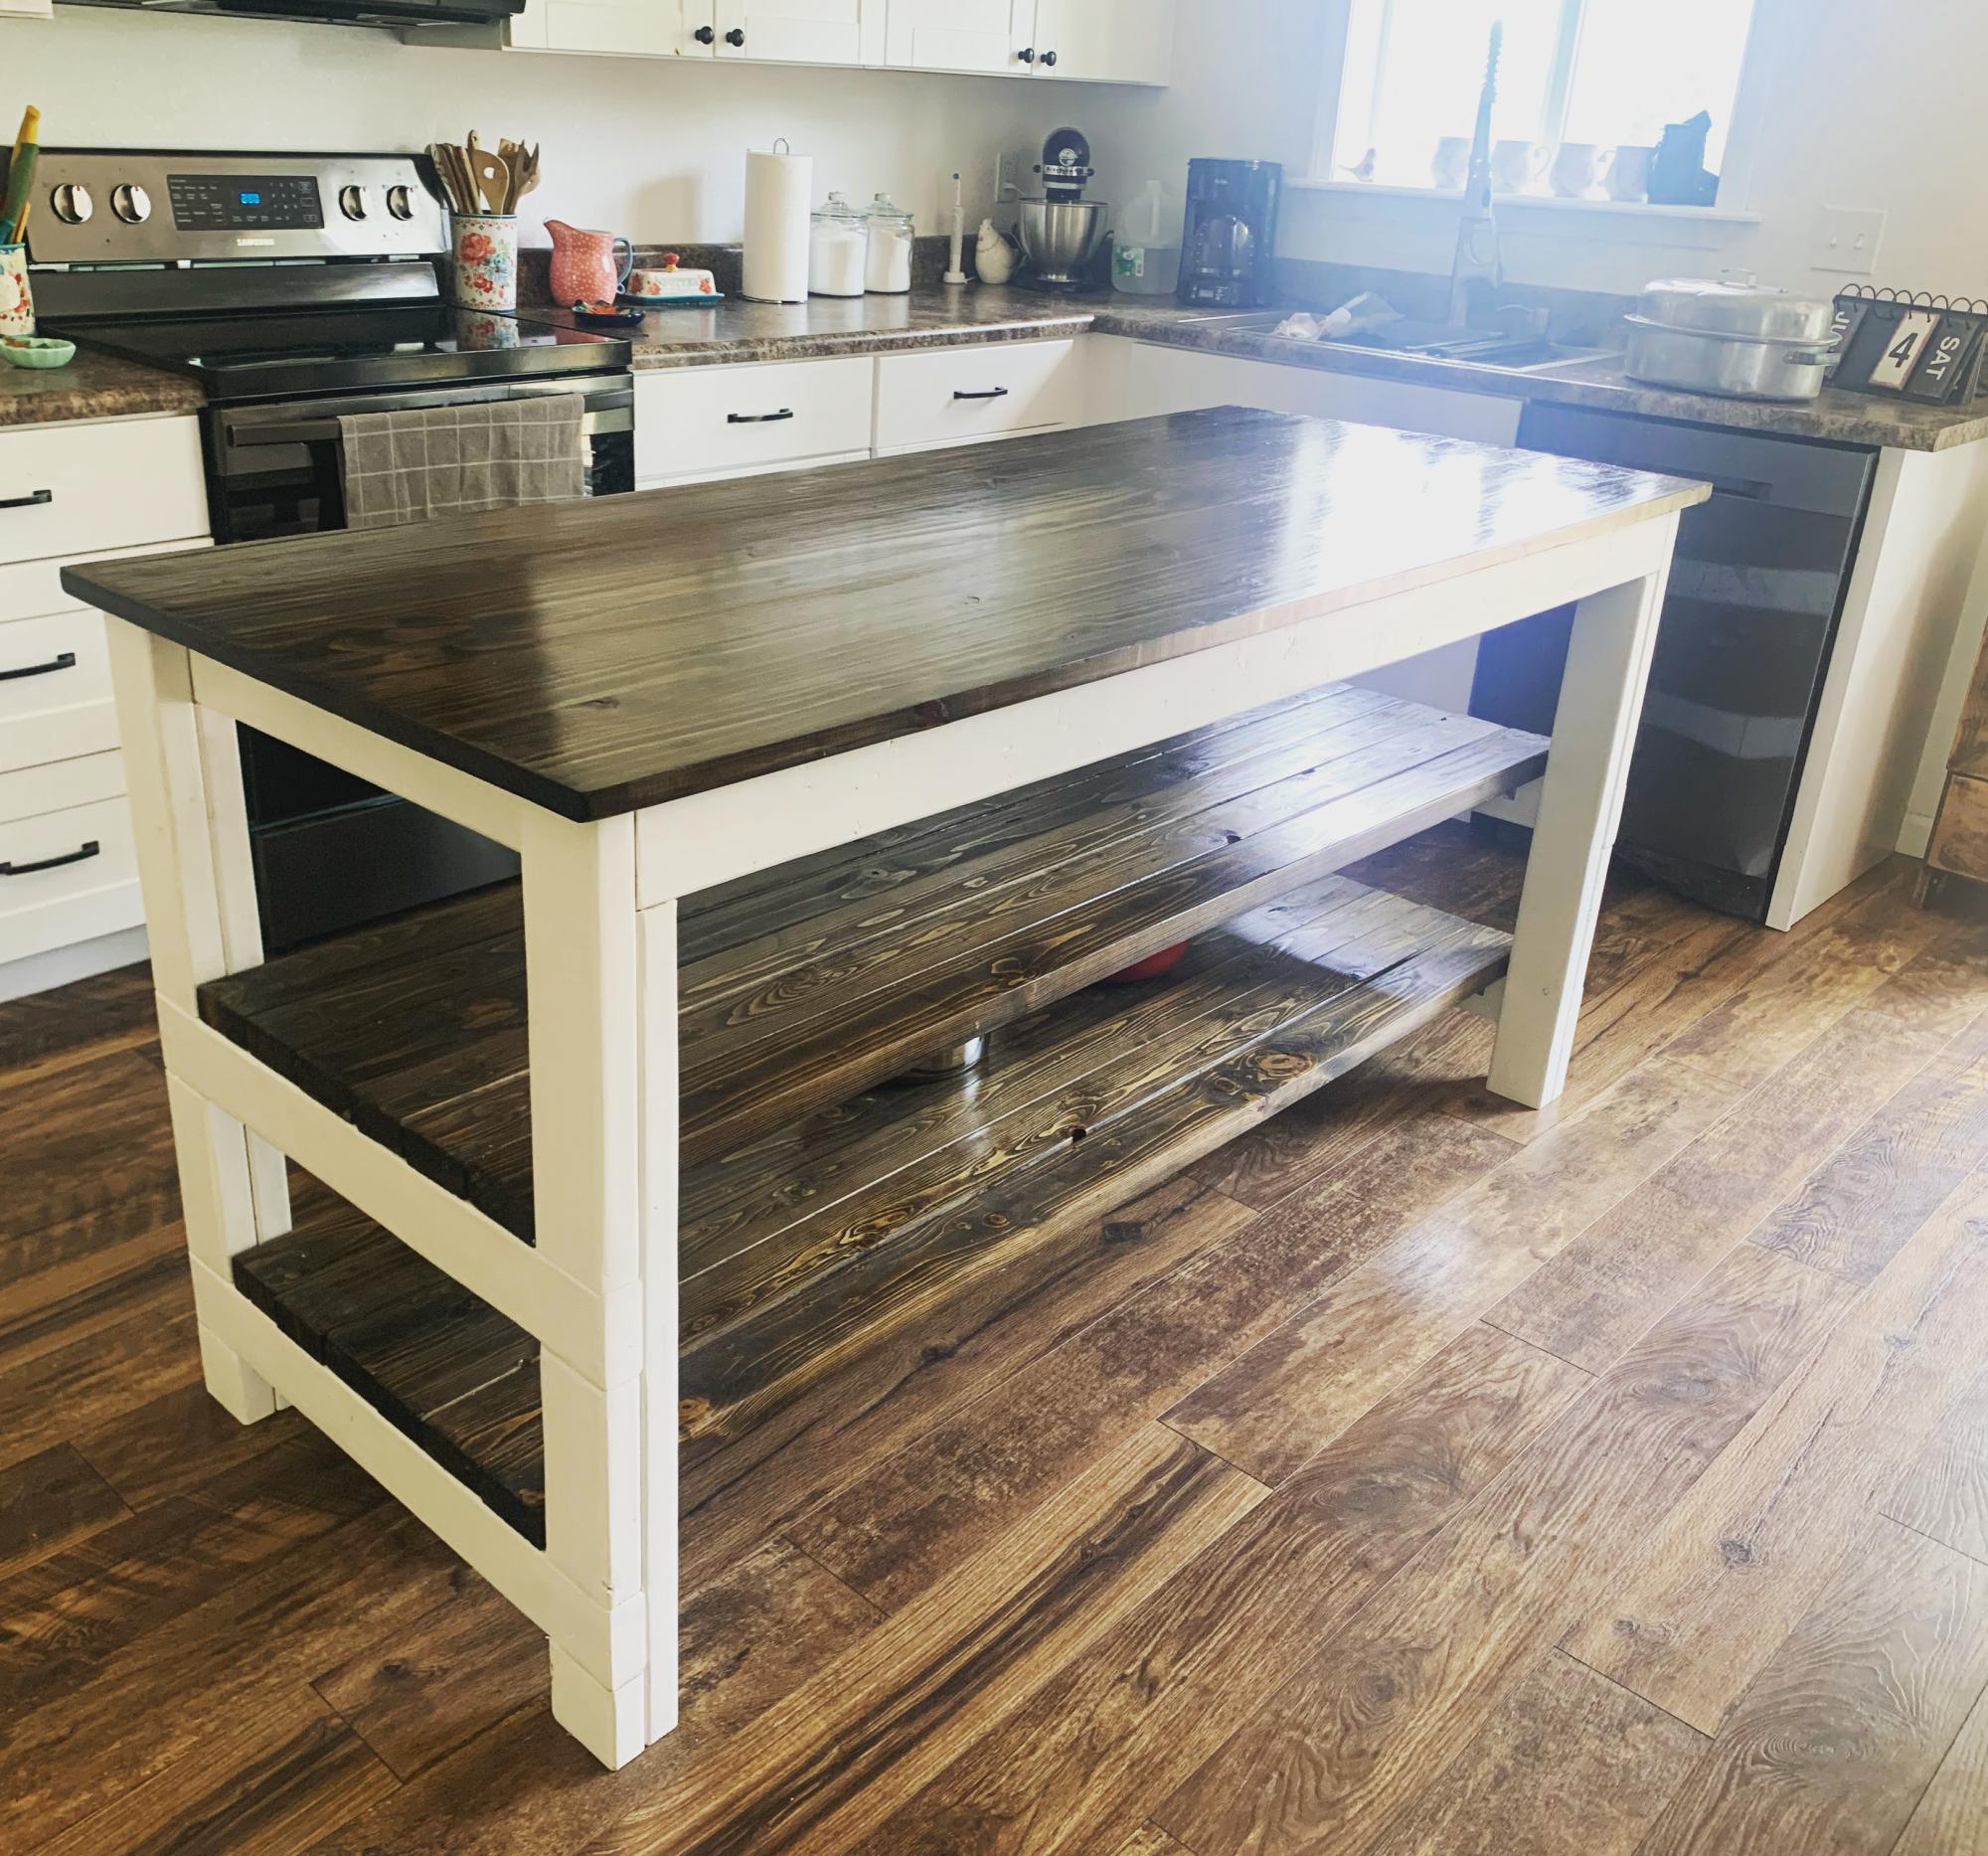
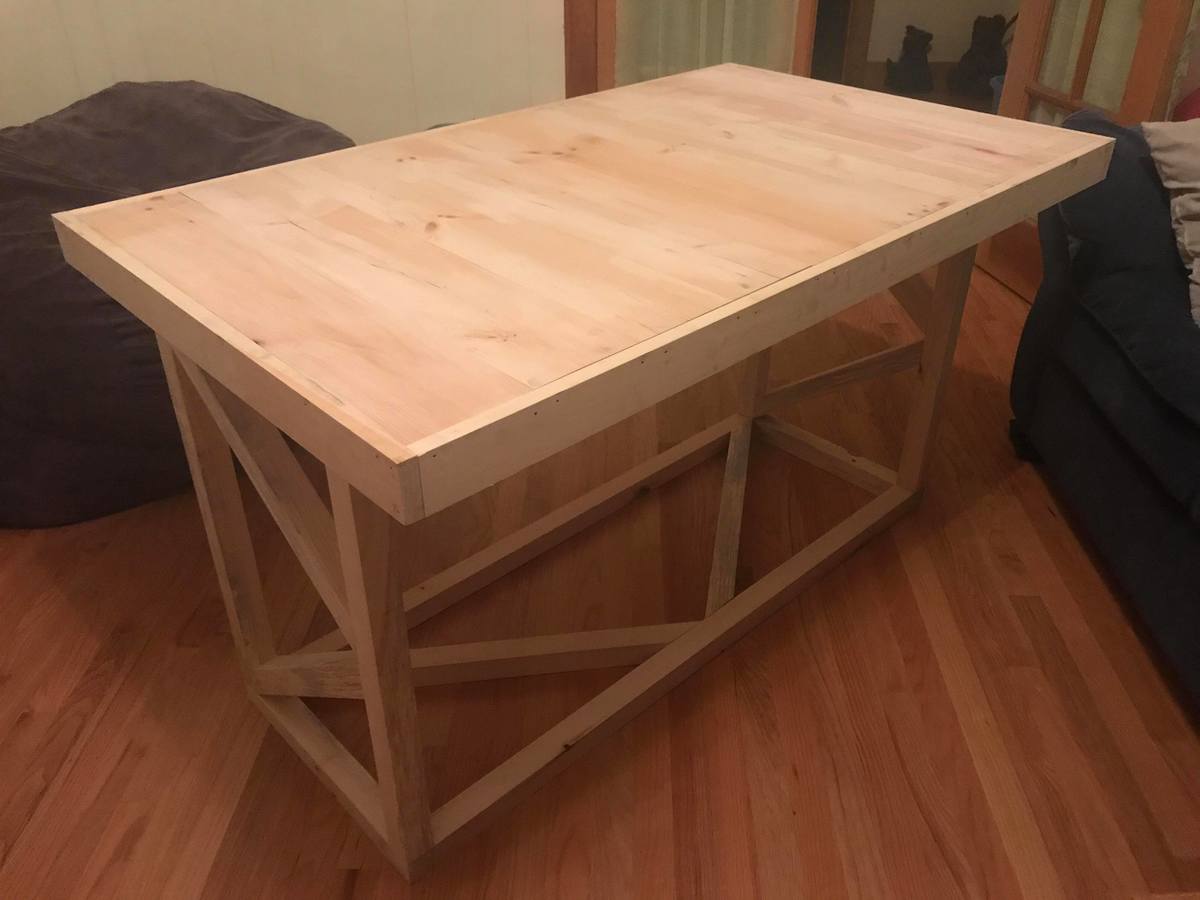
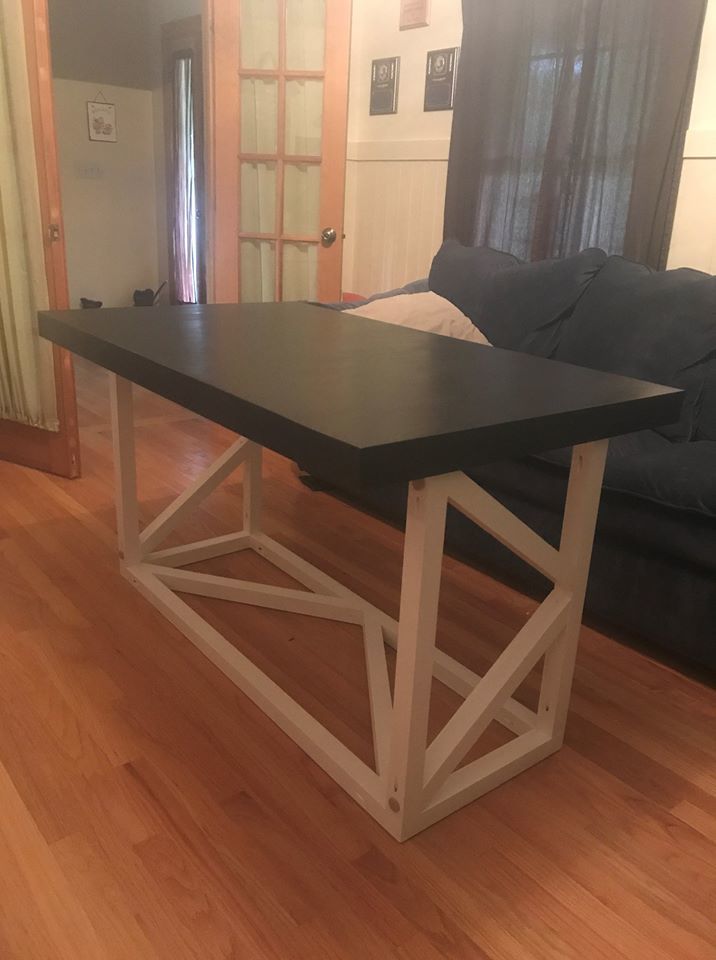
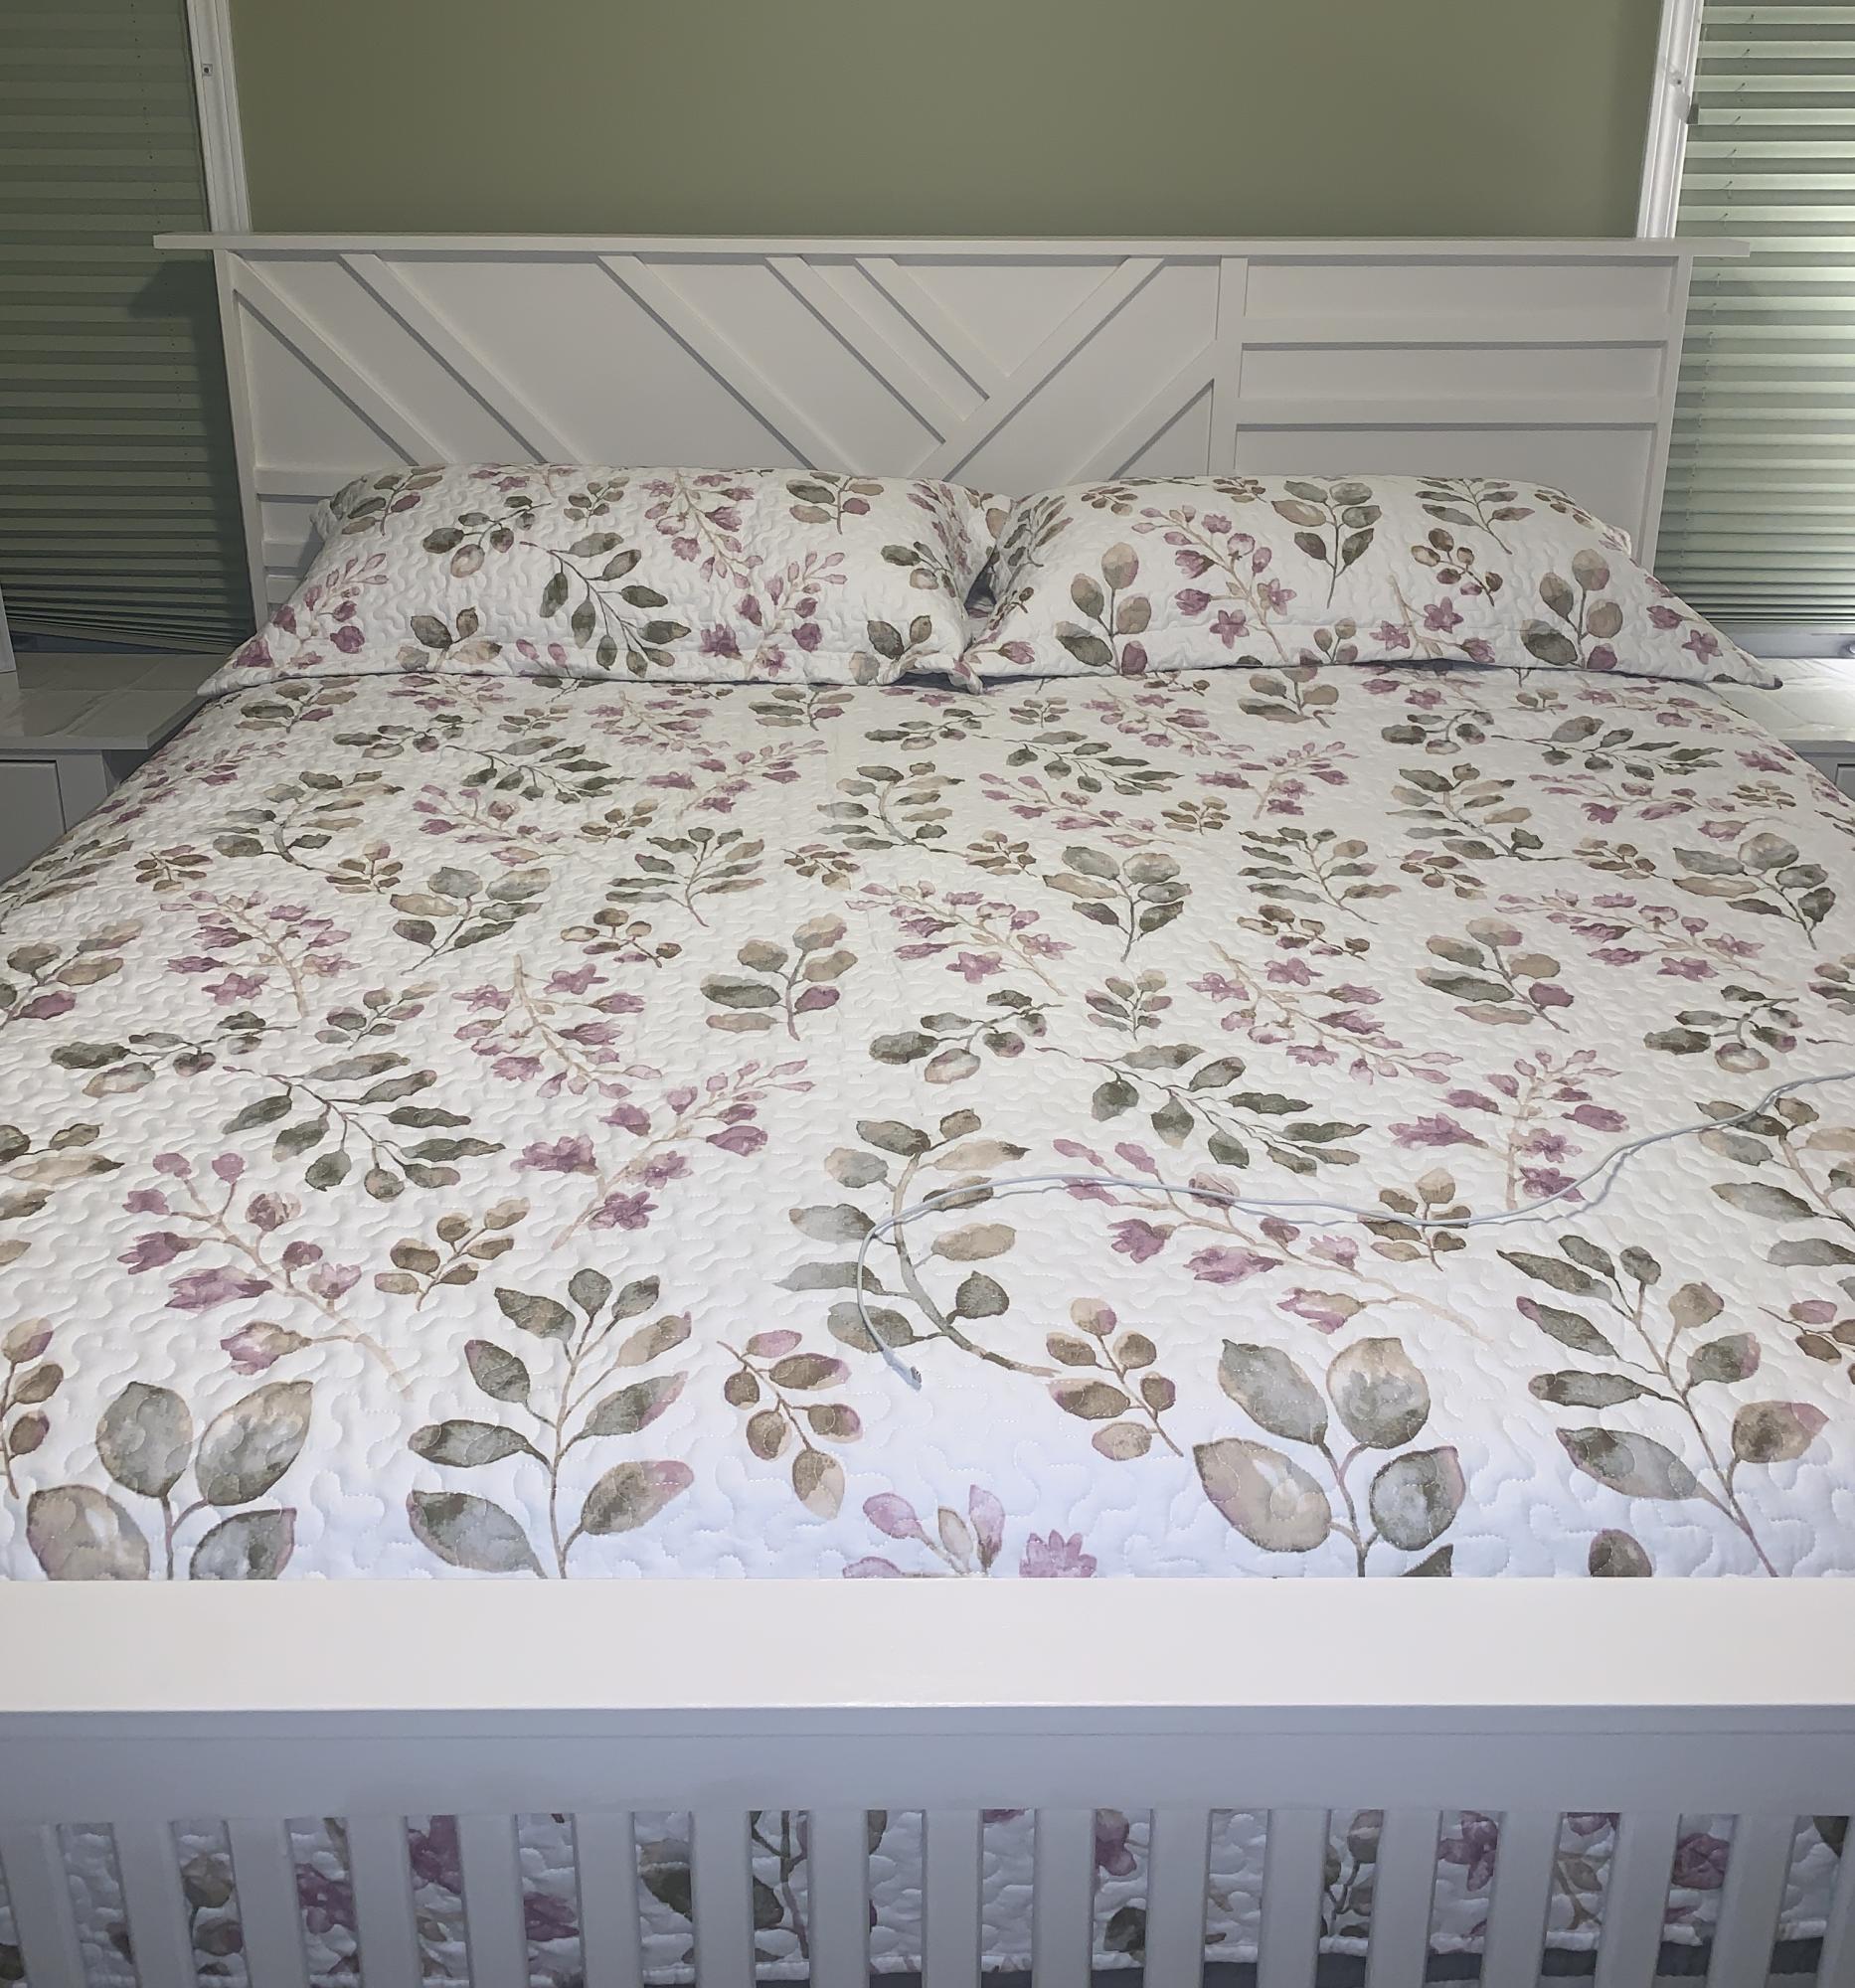
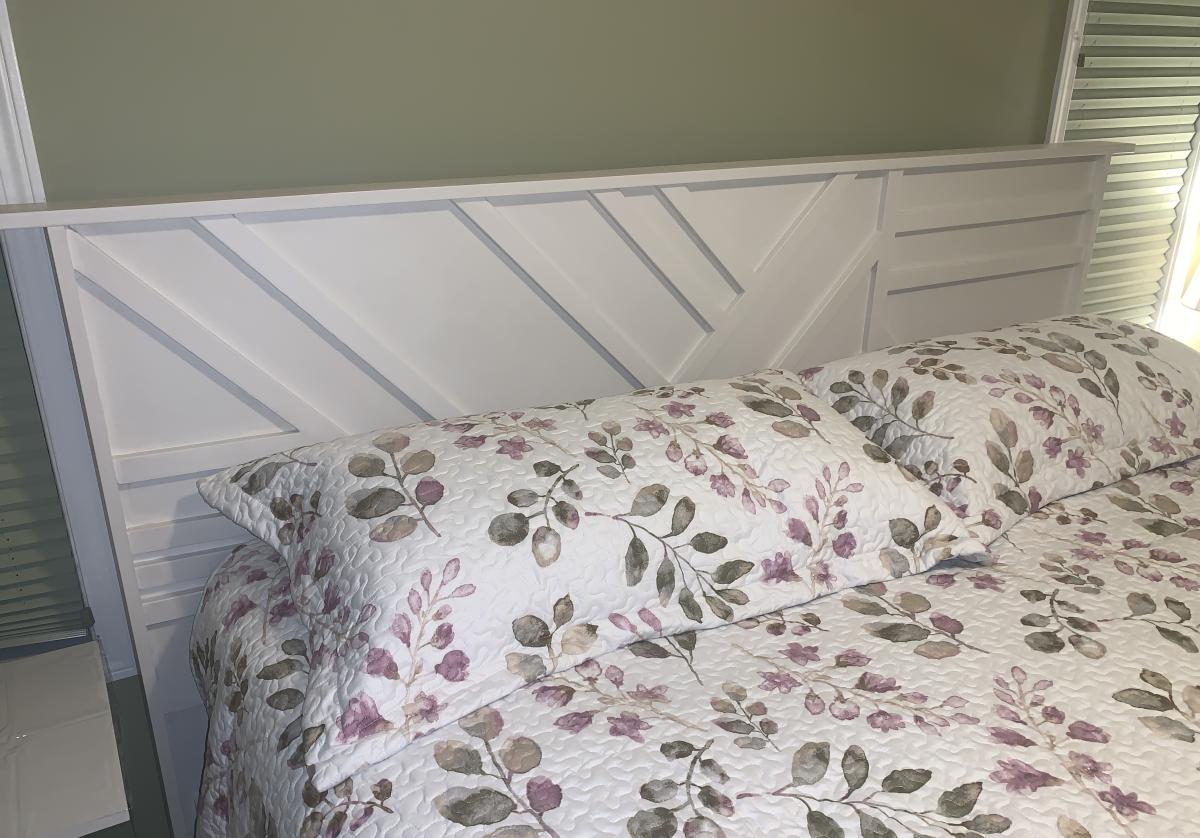
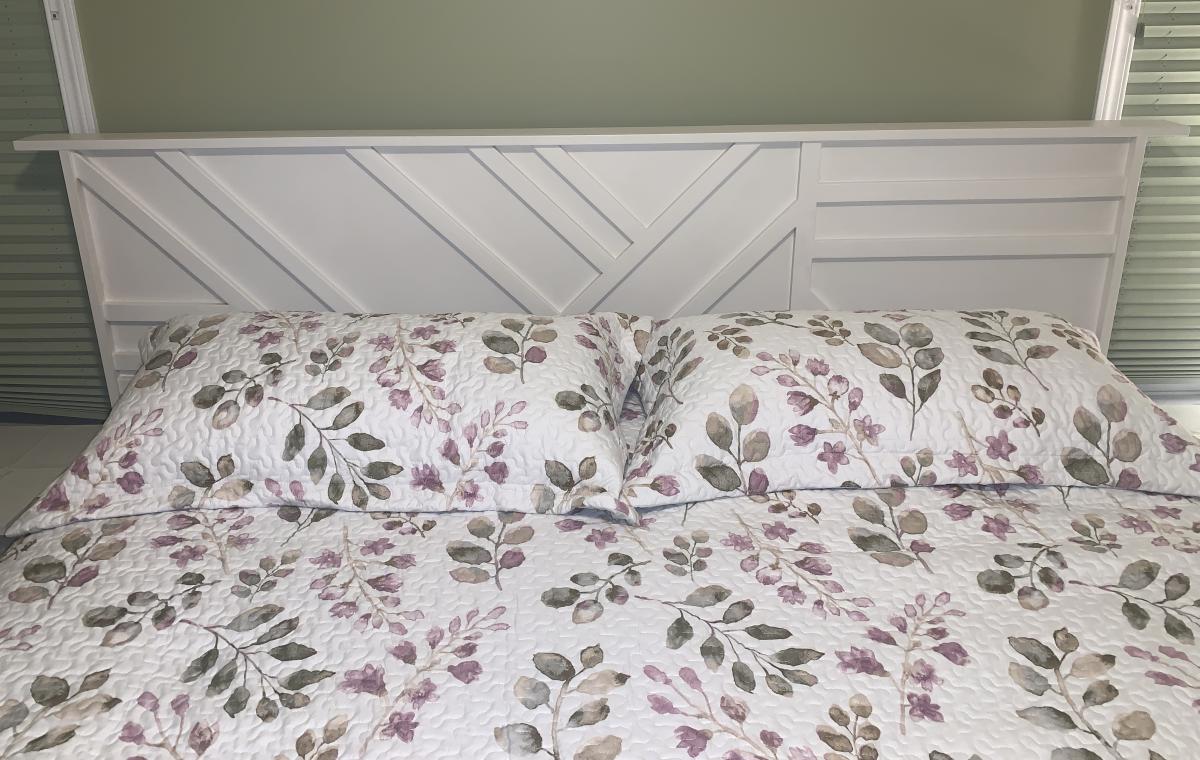
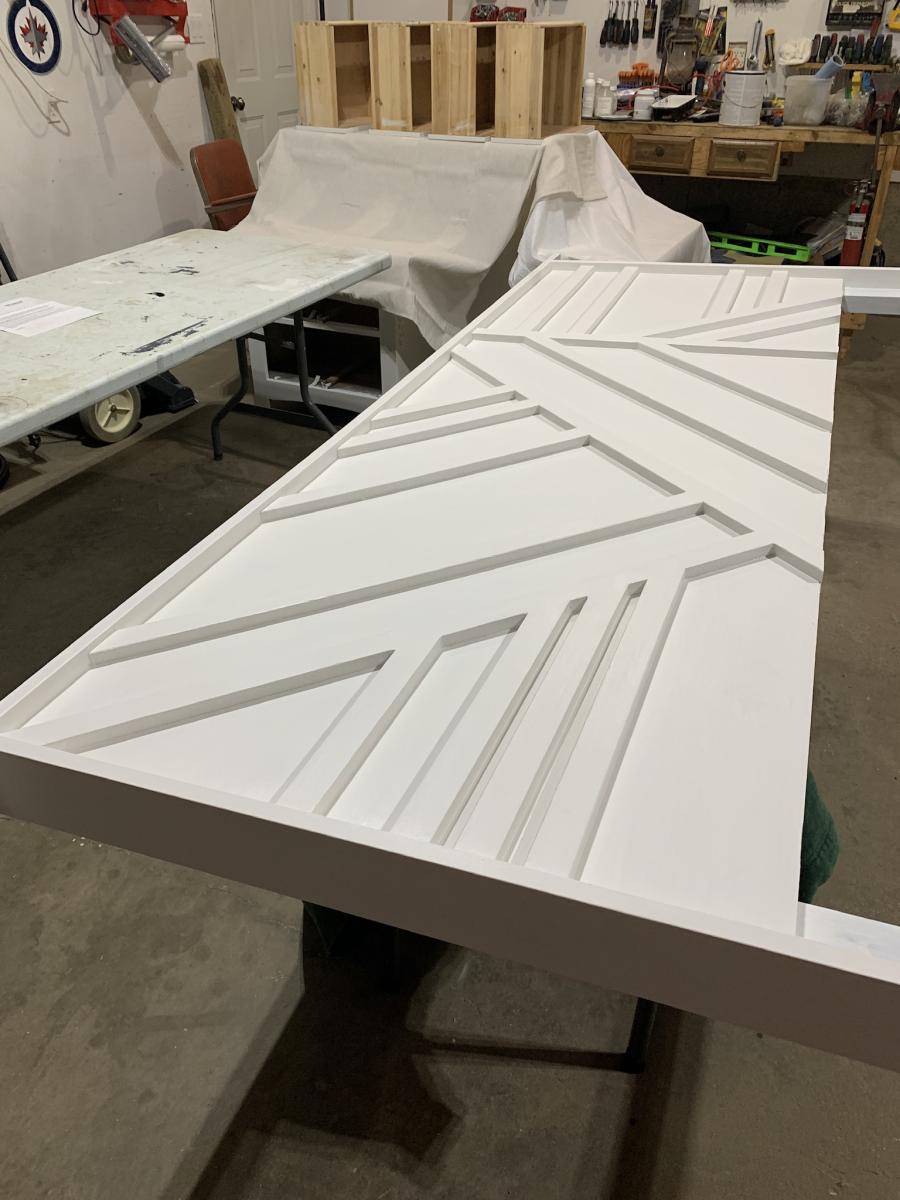
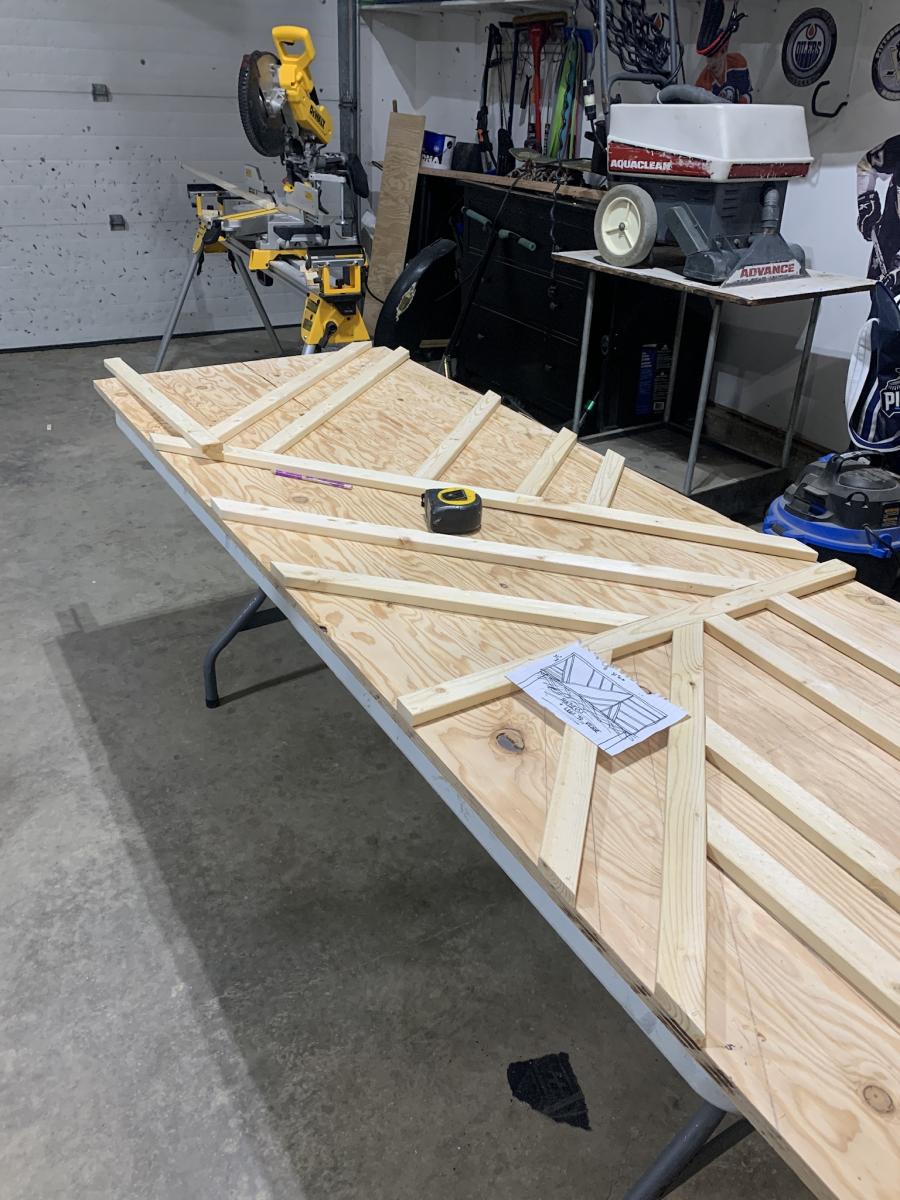
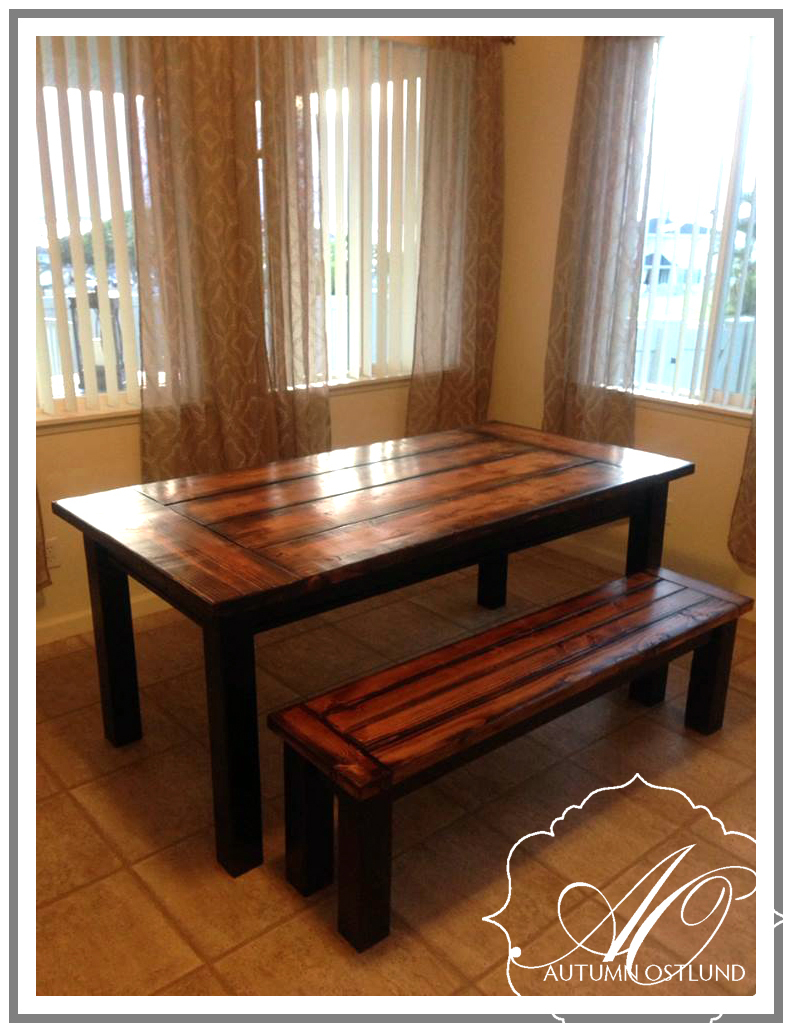
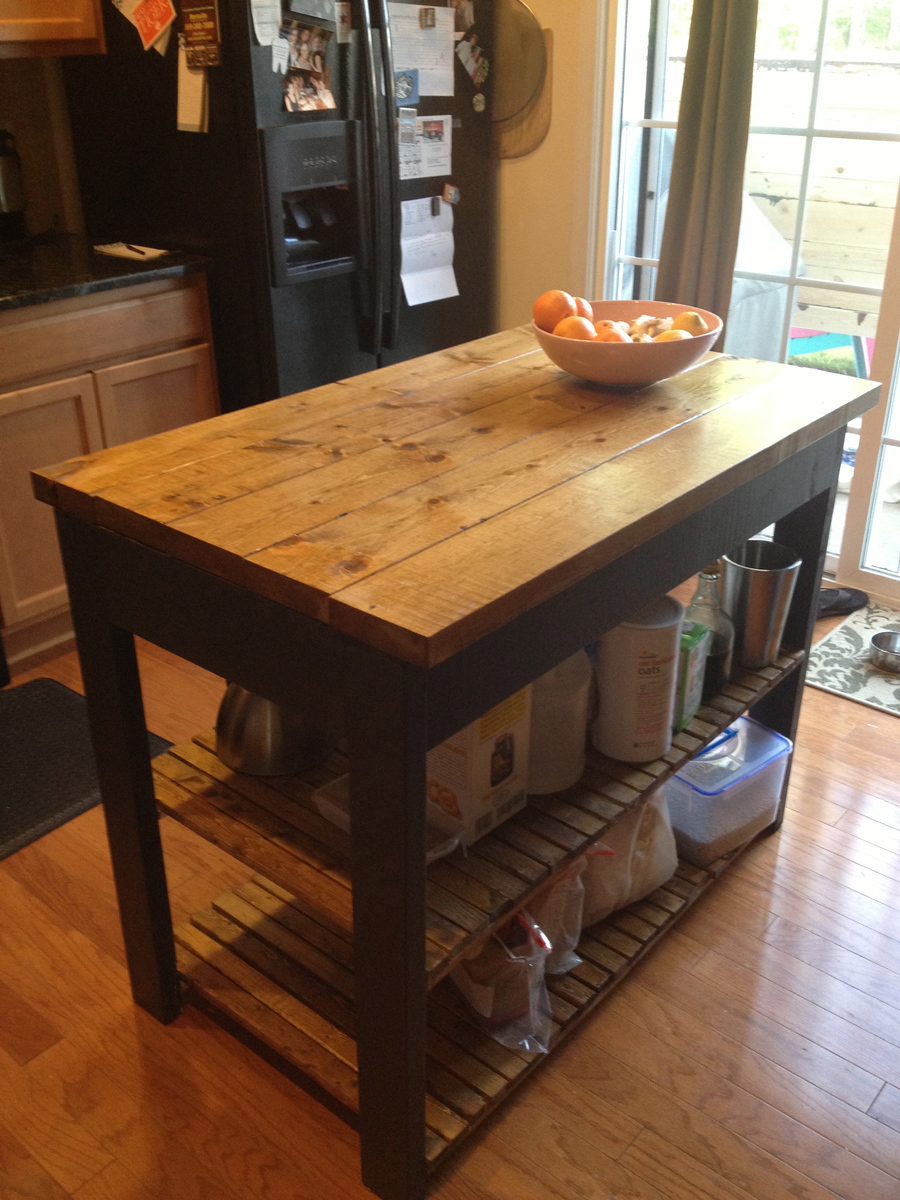
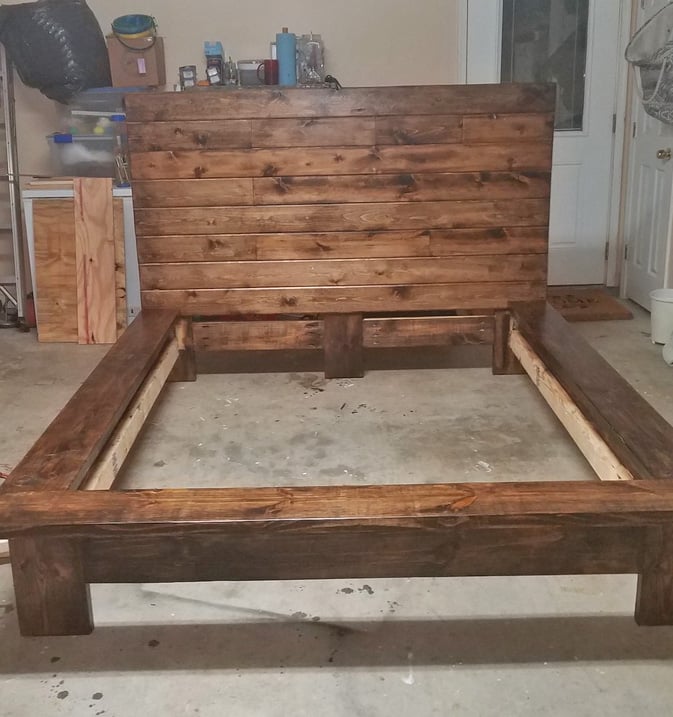
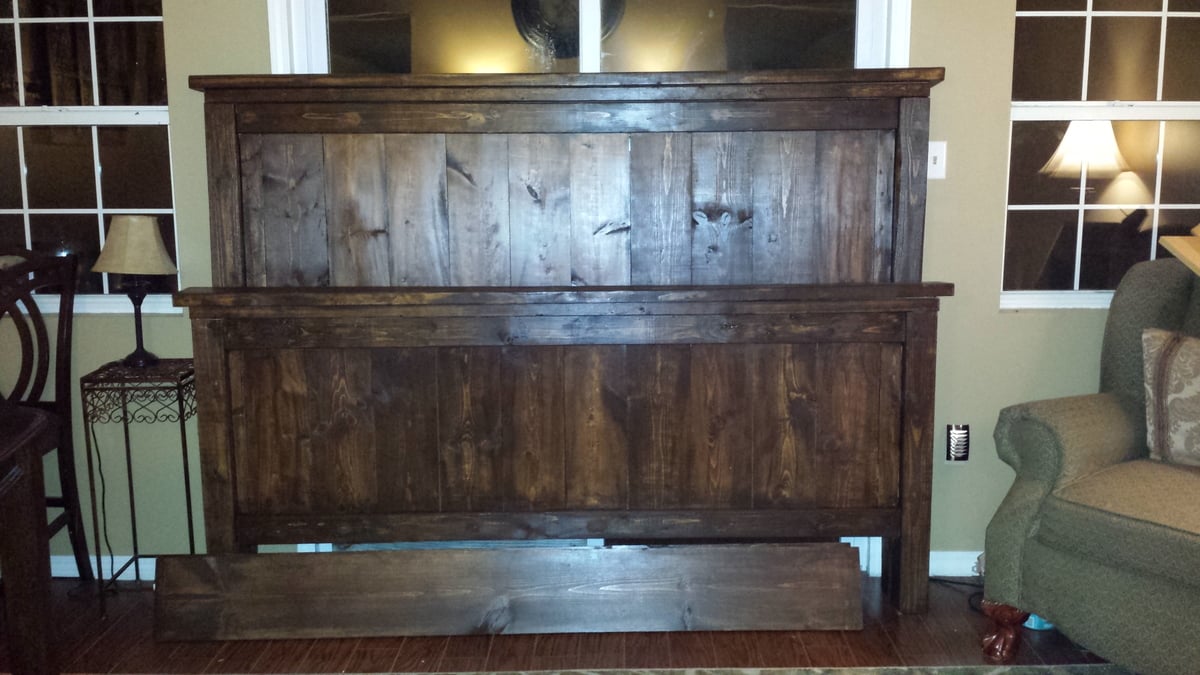
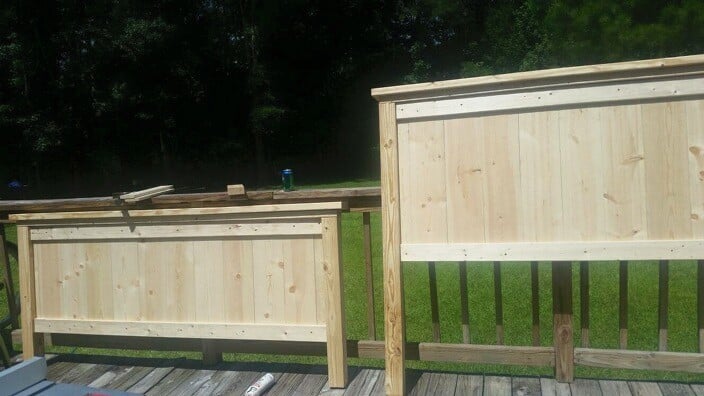
King Size Farmhouse Bed
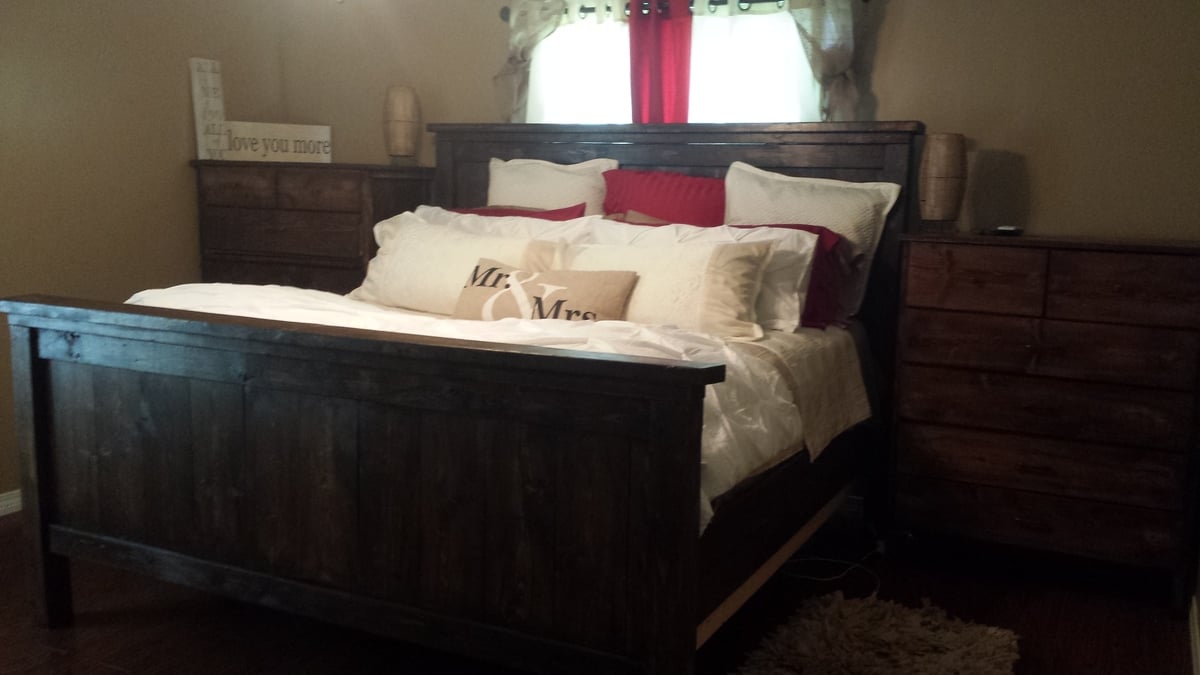
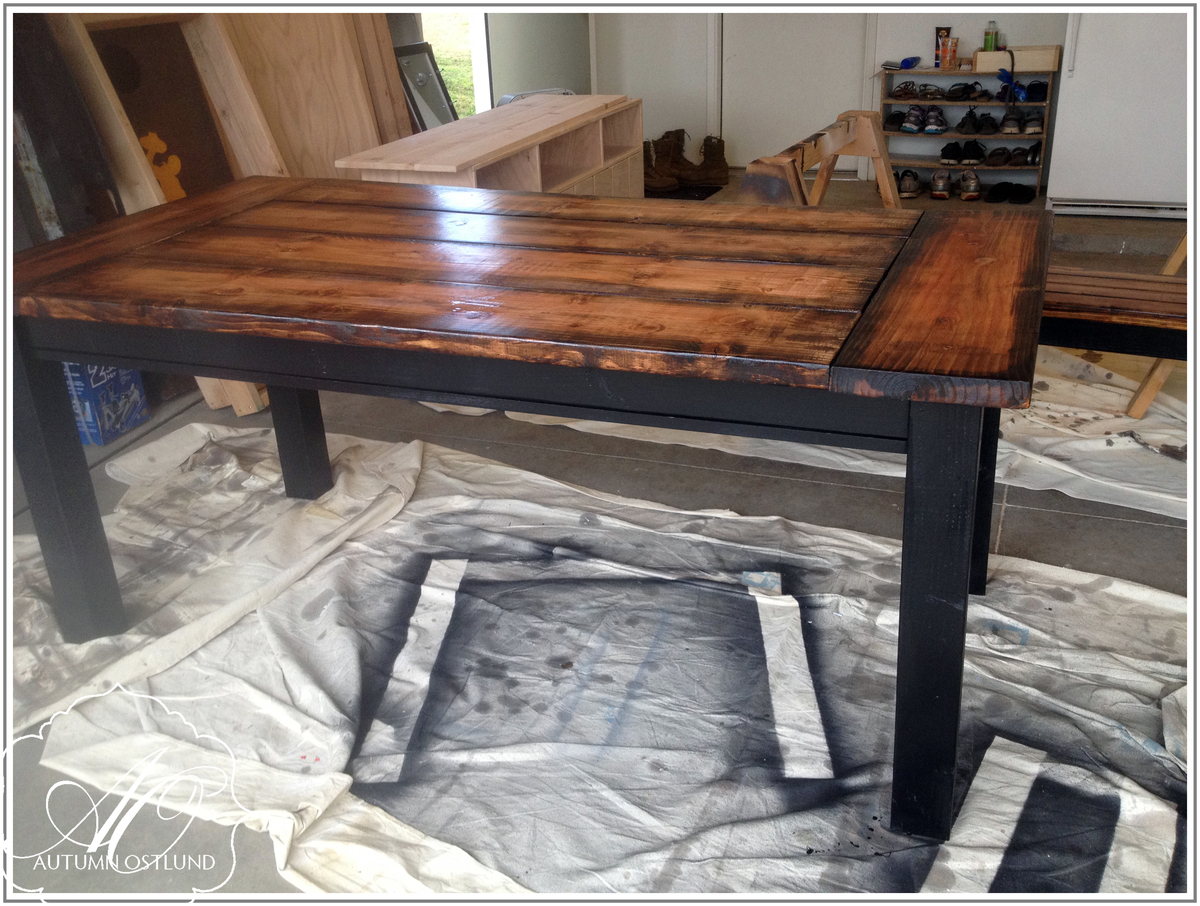
This was our first big DIY project and I absolutely LOVE the finished product. We now have a solid, sturdy king size bed that everyone loves. The plans were pretty easy to follow although I chose to make the headboard and footboard taller than mentioned on the original plans. The measurements came from another Ana White DIY-er http://diystinctlymade.com/2014/02/05/diy-pottery-barn-farmhouse-bed/ . For the bed frame, brackets and 2x4s were used. The stain use was dark walnut by Rust-o-leum and finished with minwax polyurethane semigloss. Working on and off, it took us approximately 2 weeks to finish the project; although, I'm pretty sure it could've been completed in a weekend.
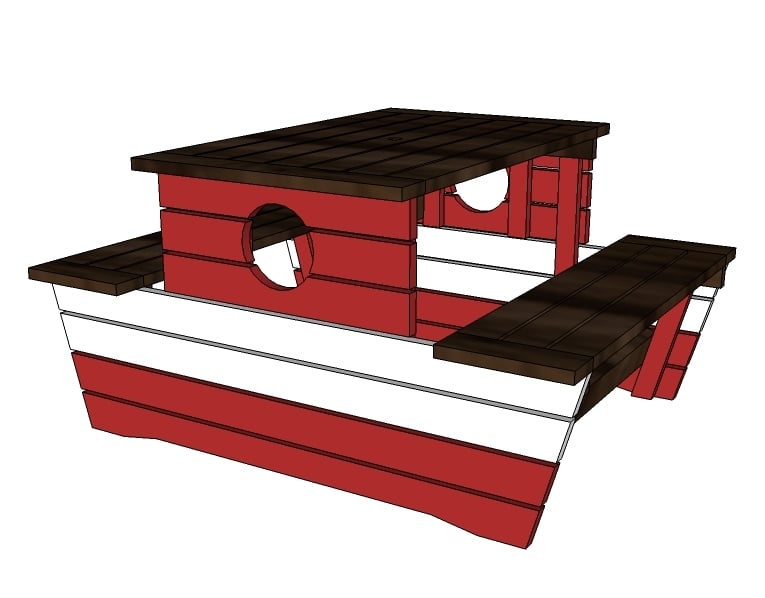
Built from Plan(s)
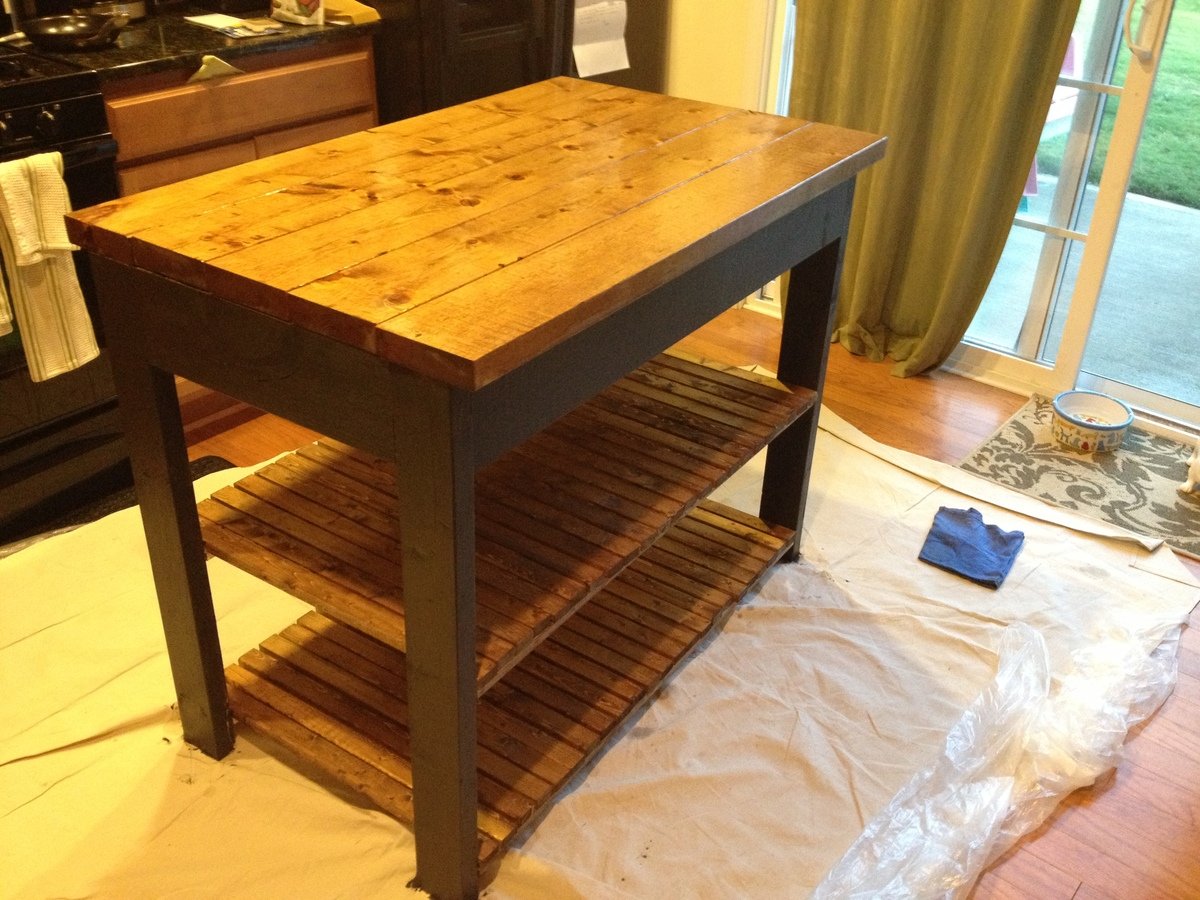
Finish Used
dark walnut stain by Rust-o-leum and finished with minwax polyurethane semiglos
Recommended Skill Level
Intermediate