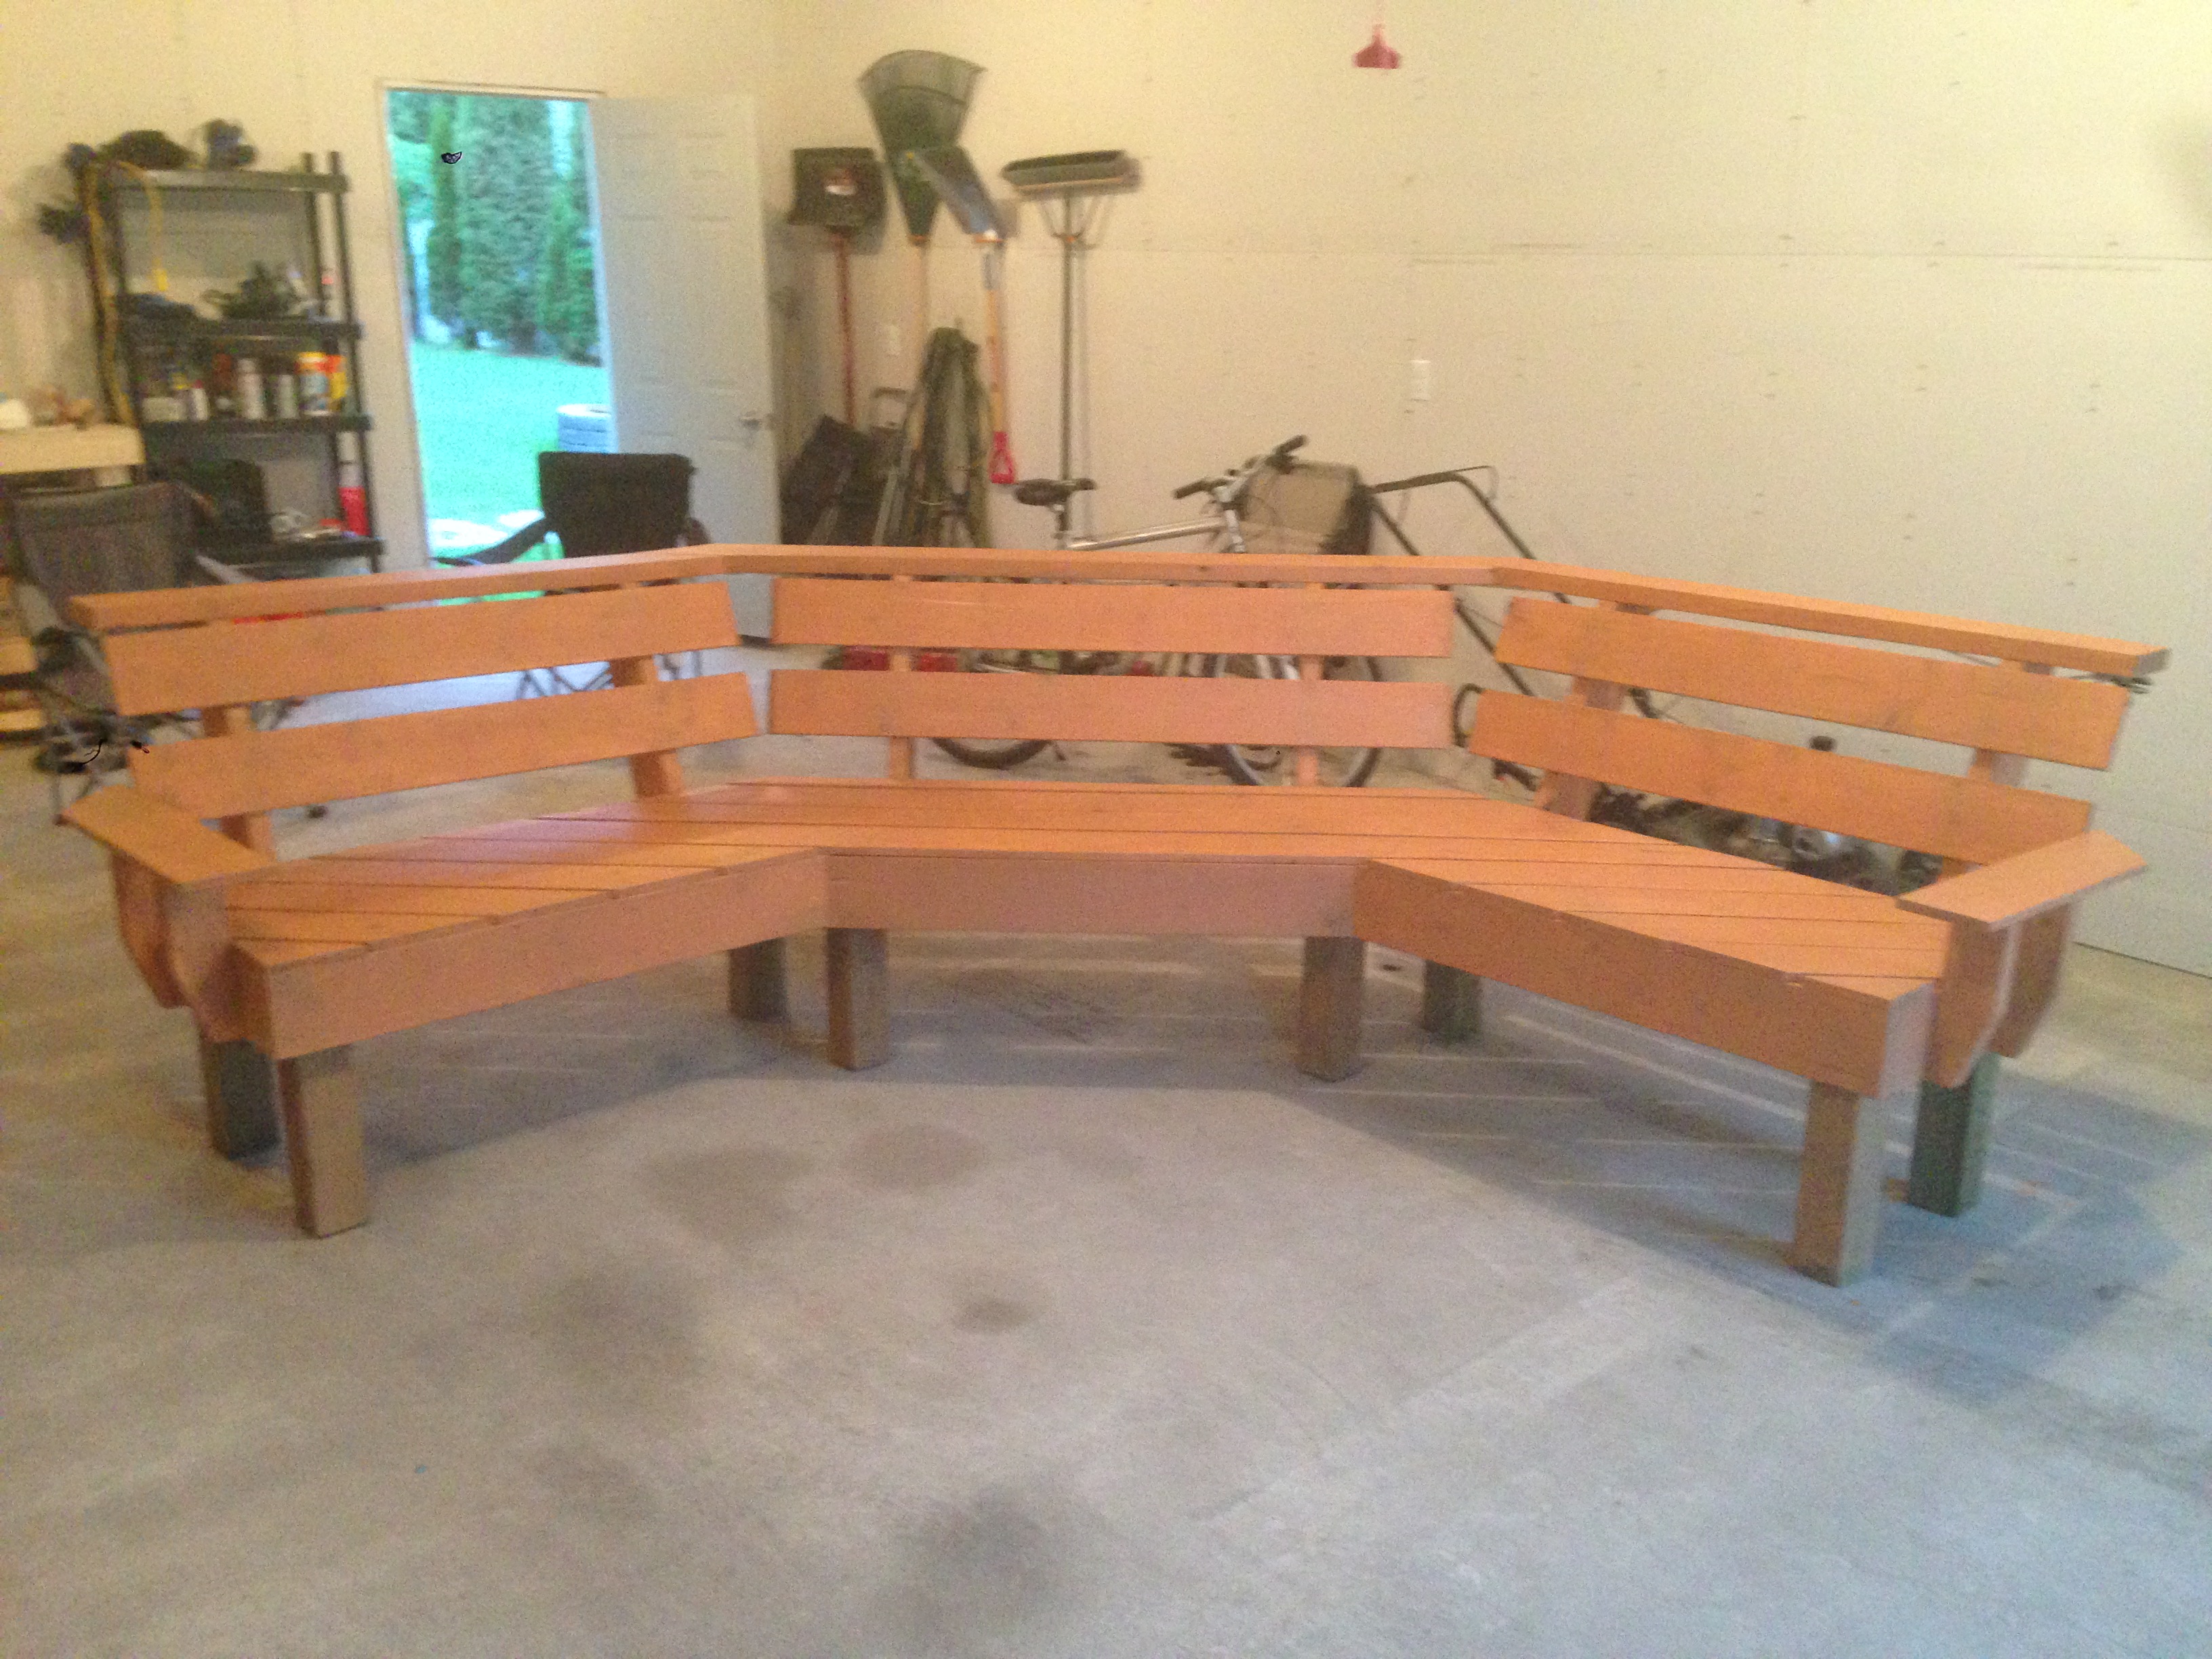
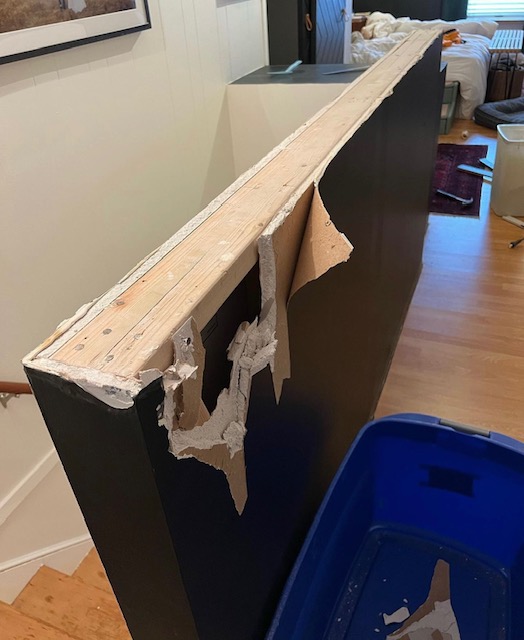
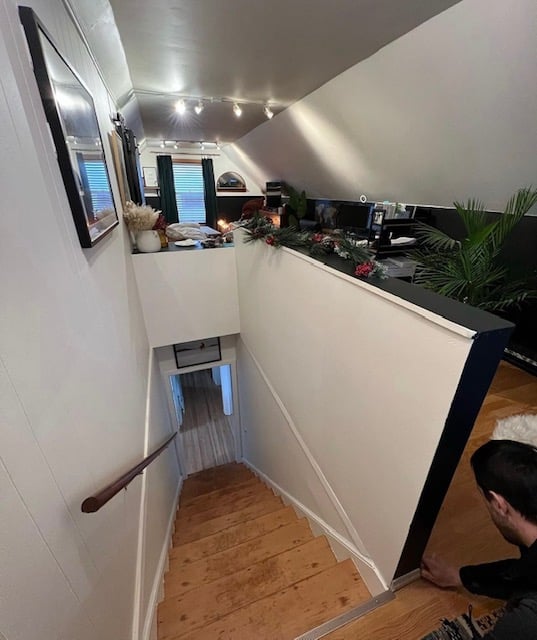
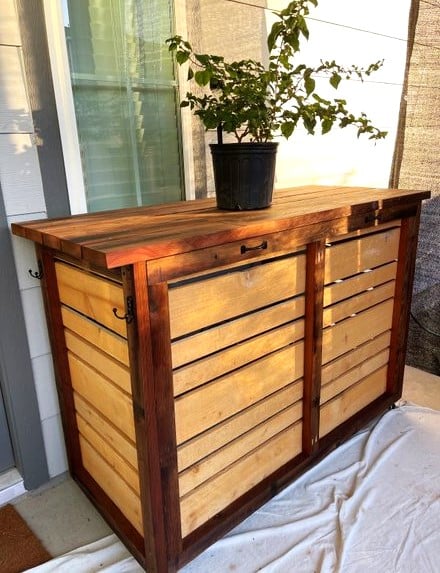
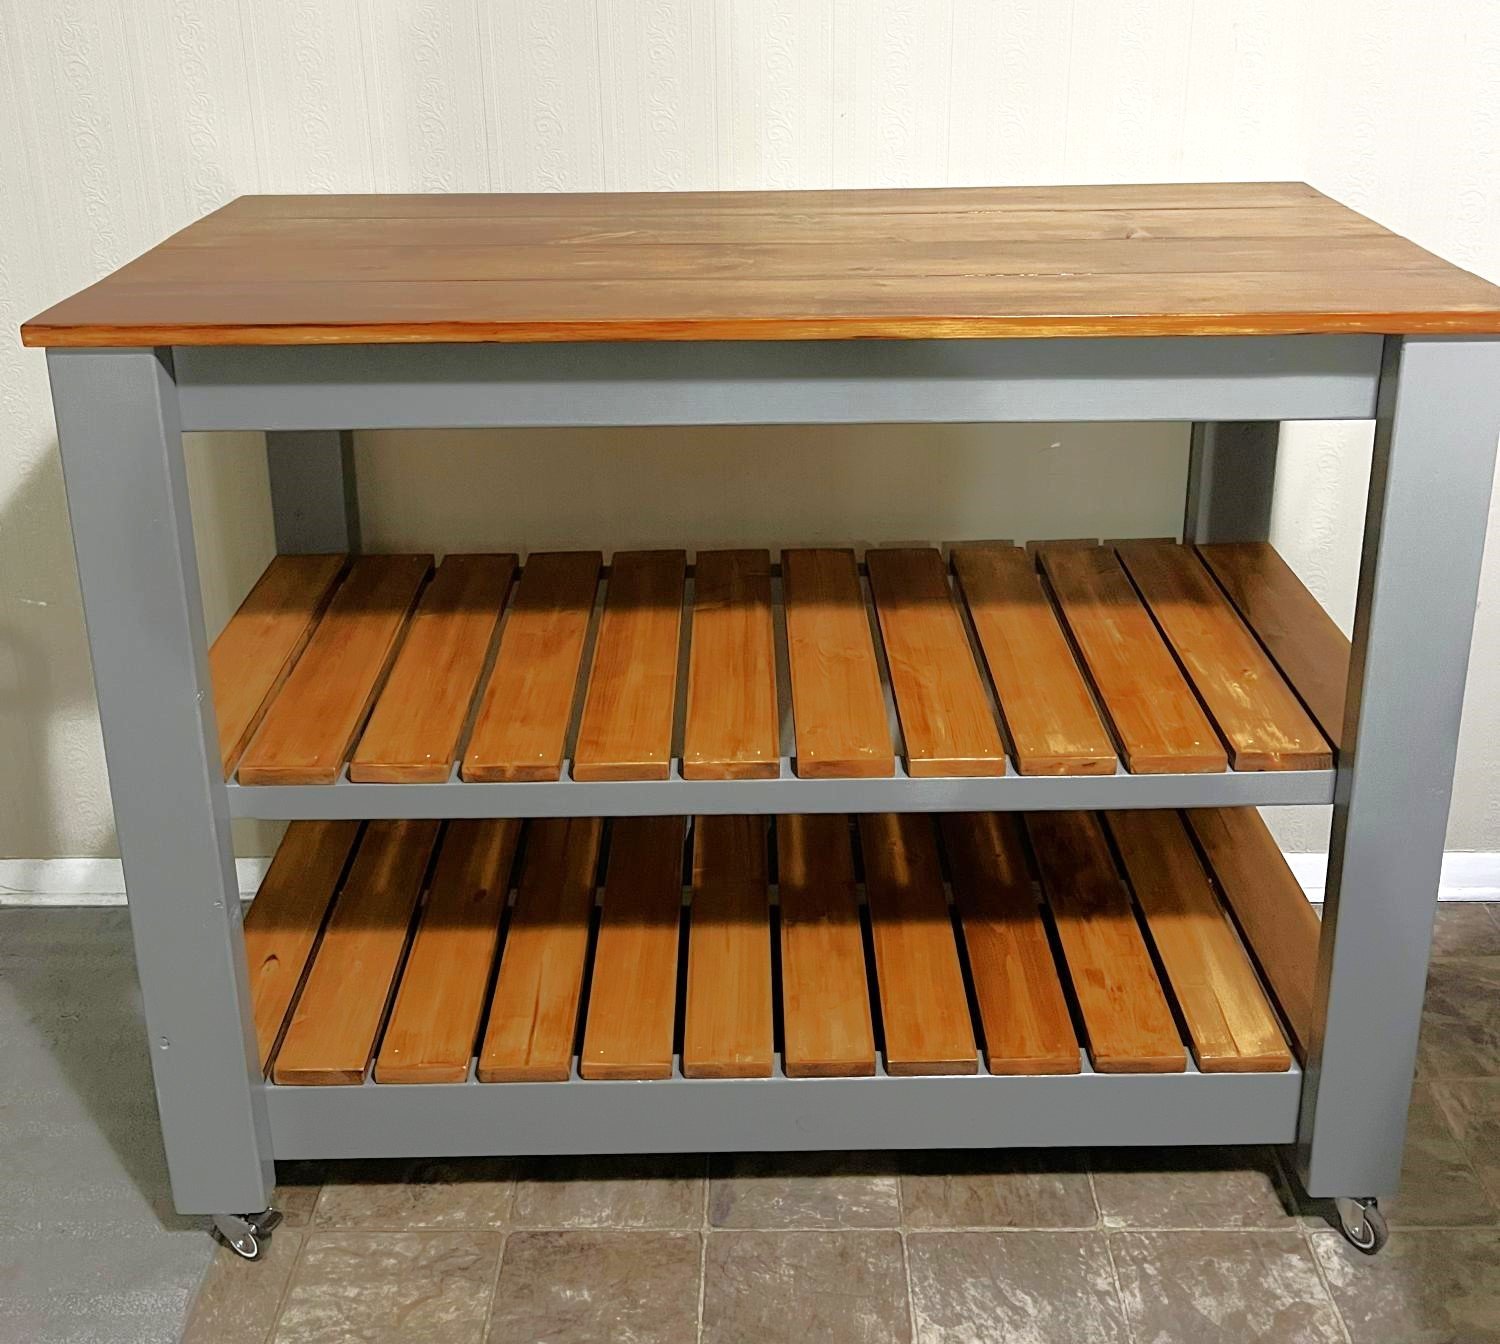
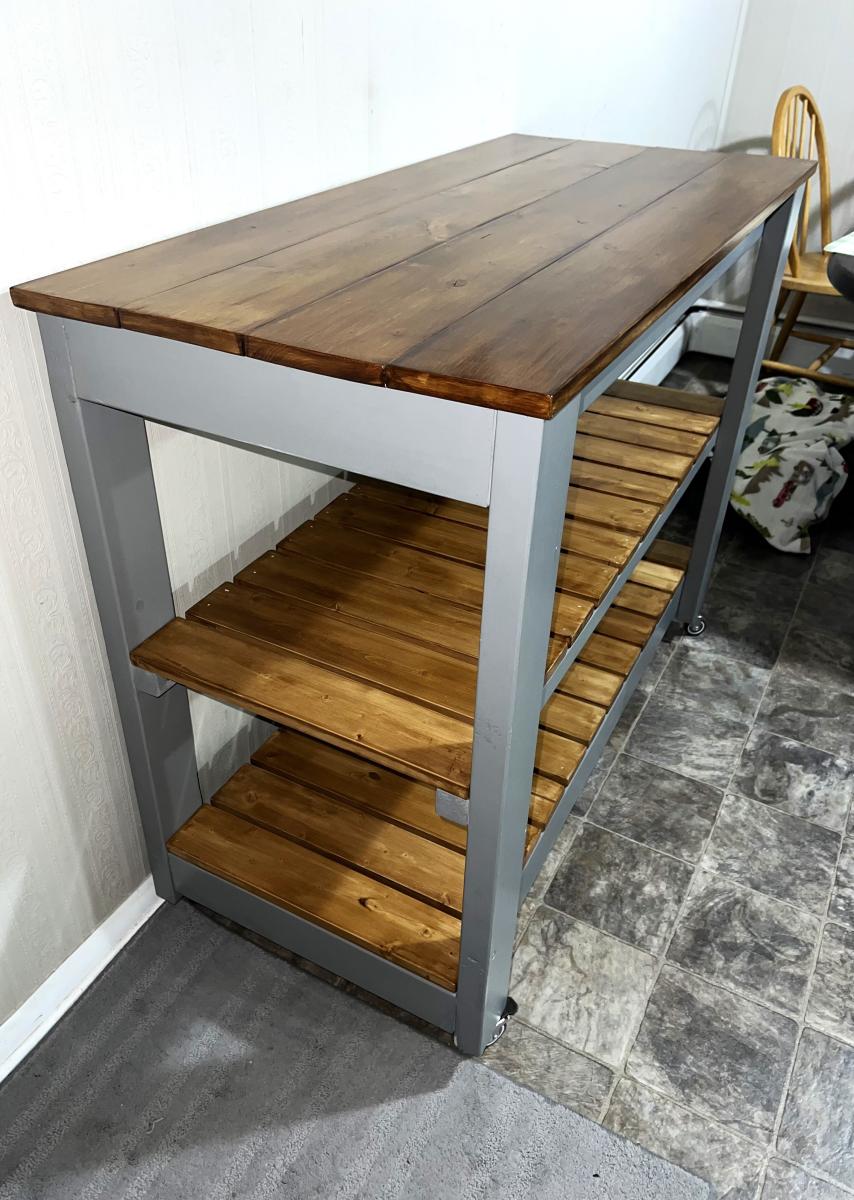
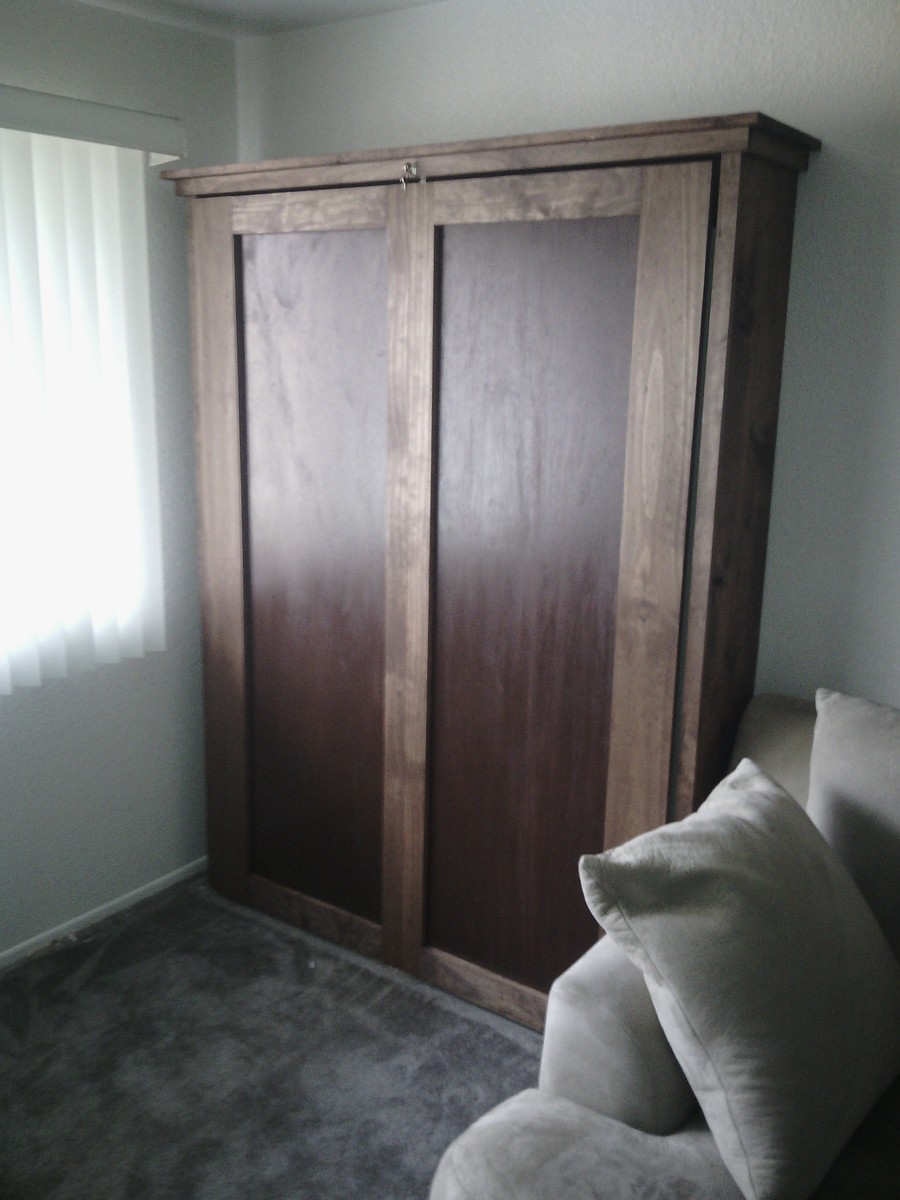
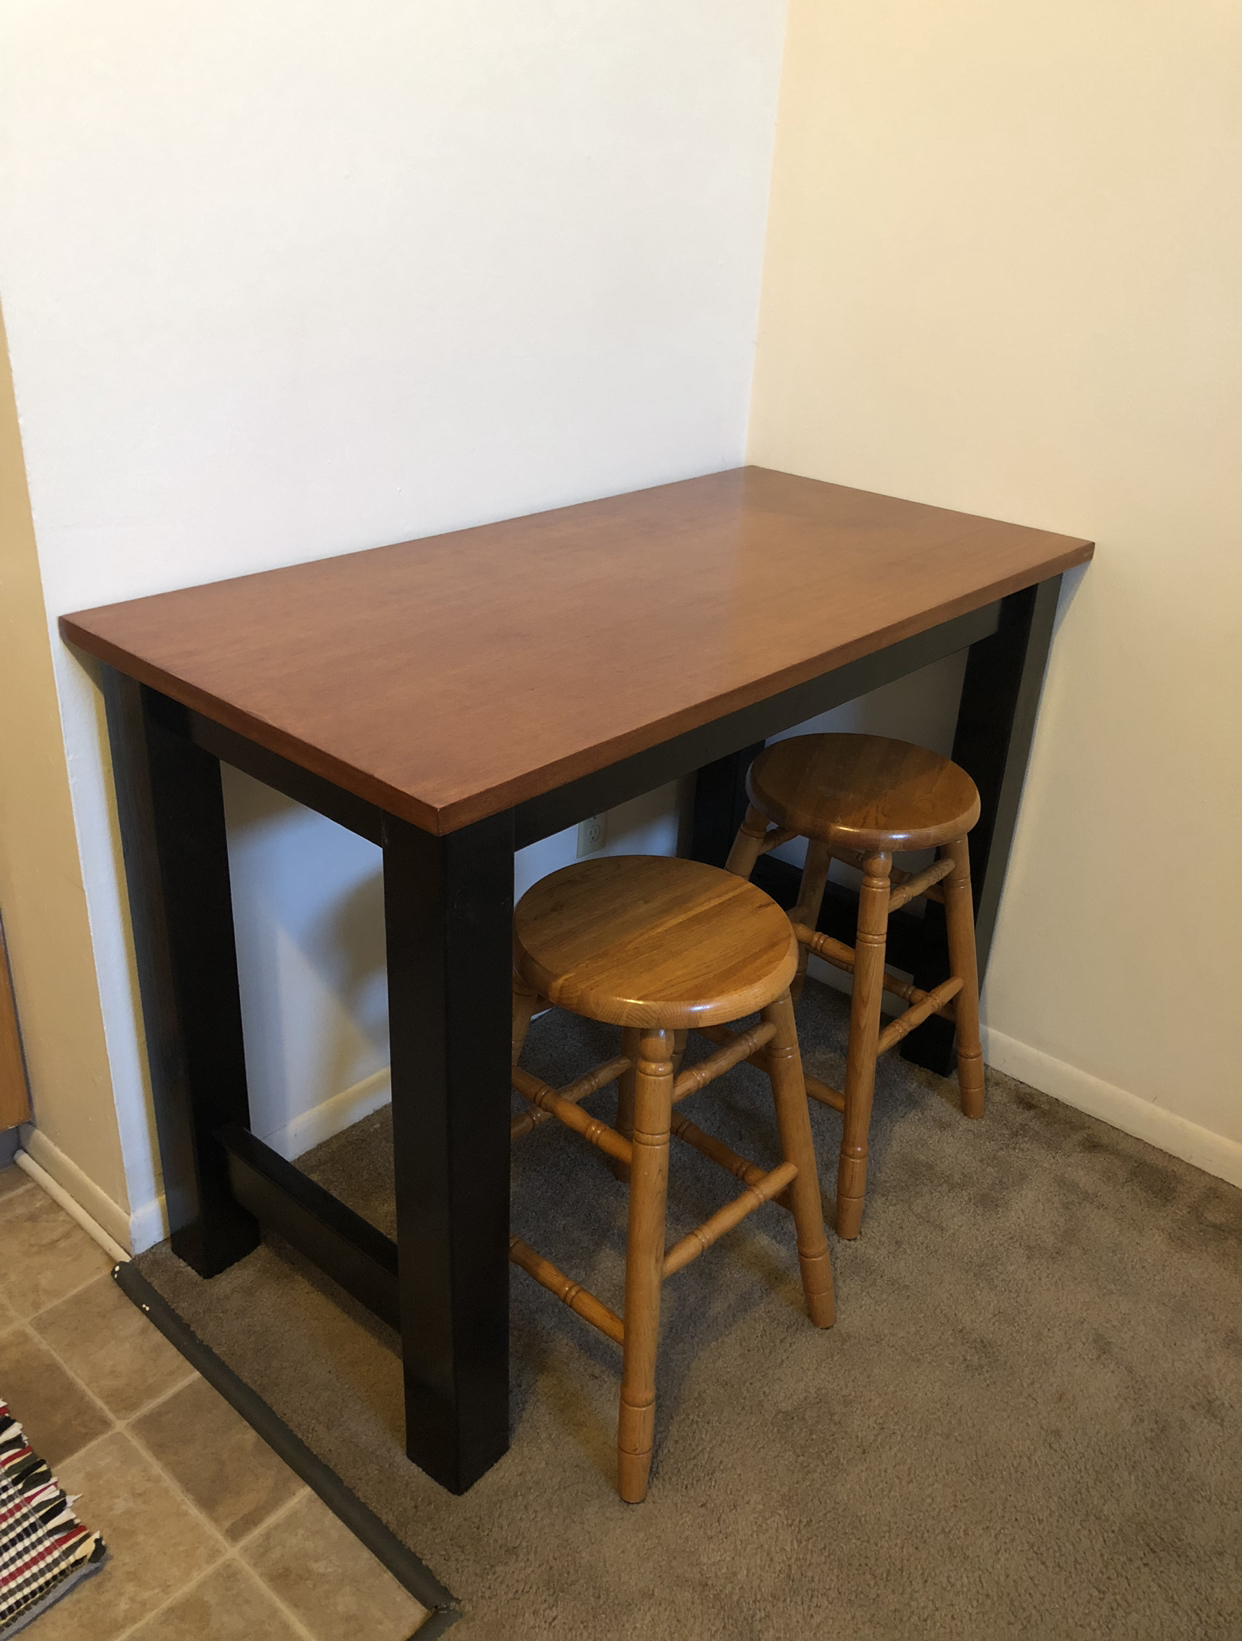
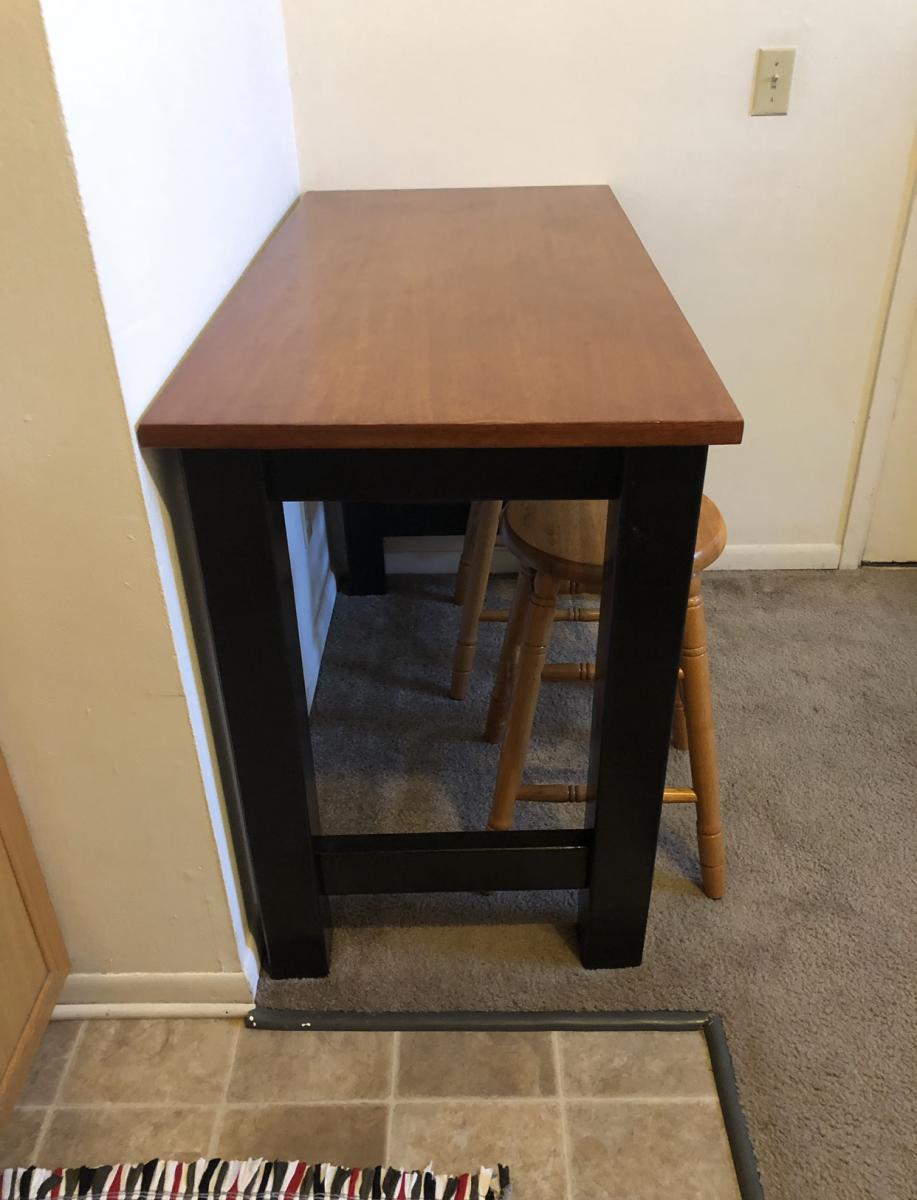
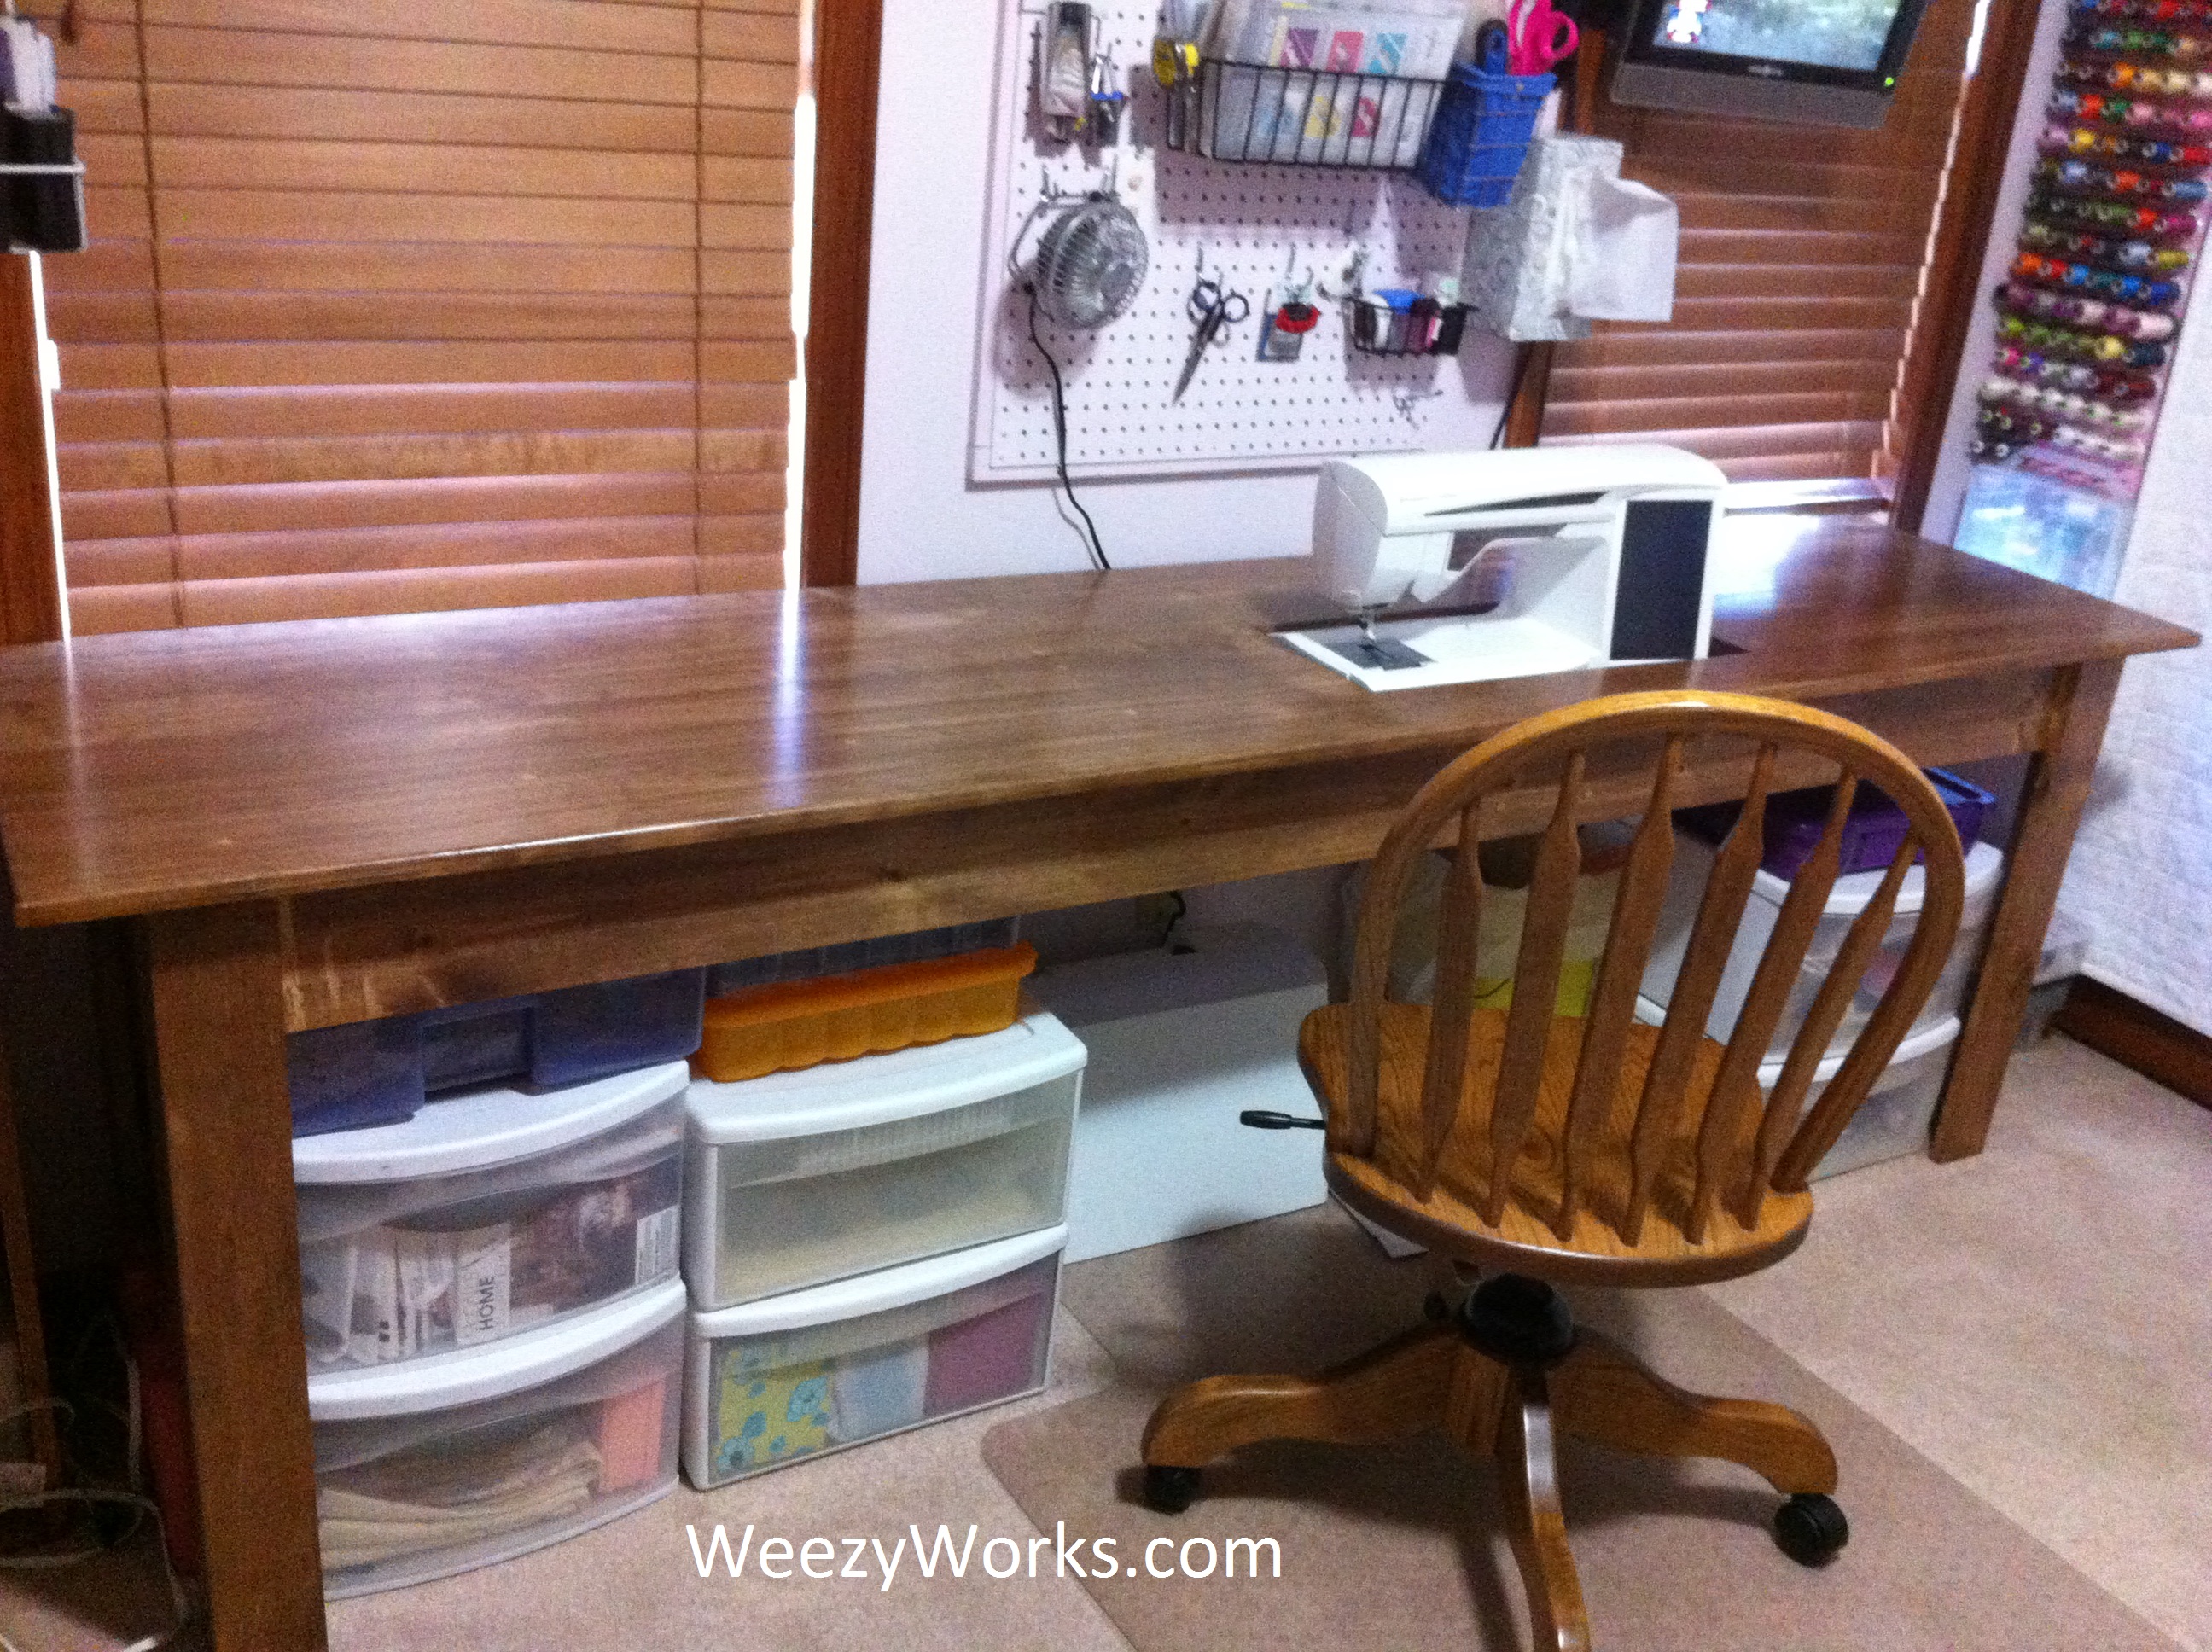
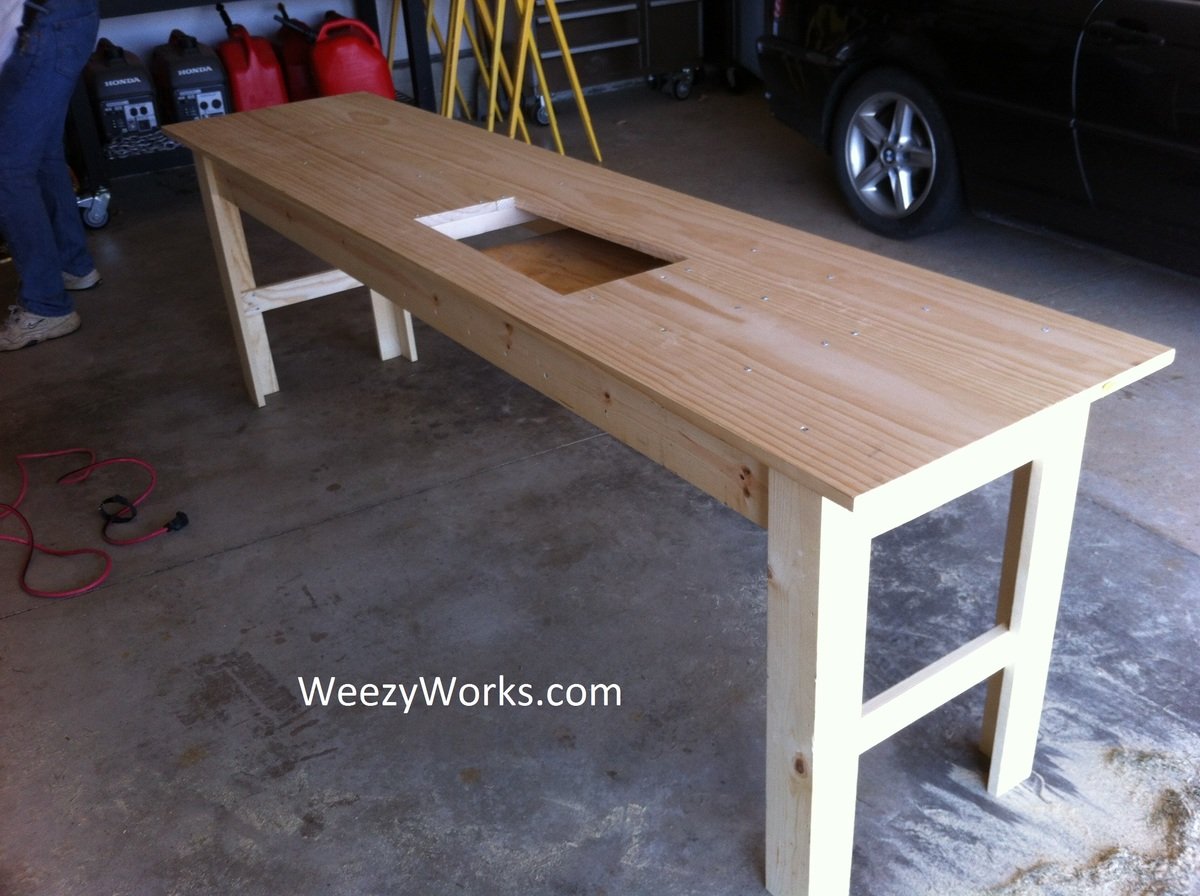
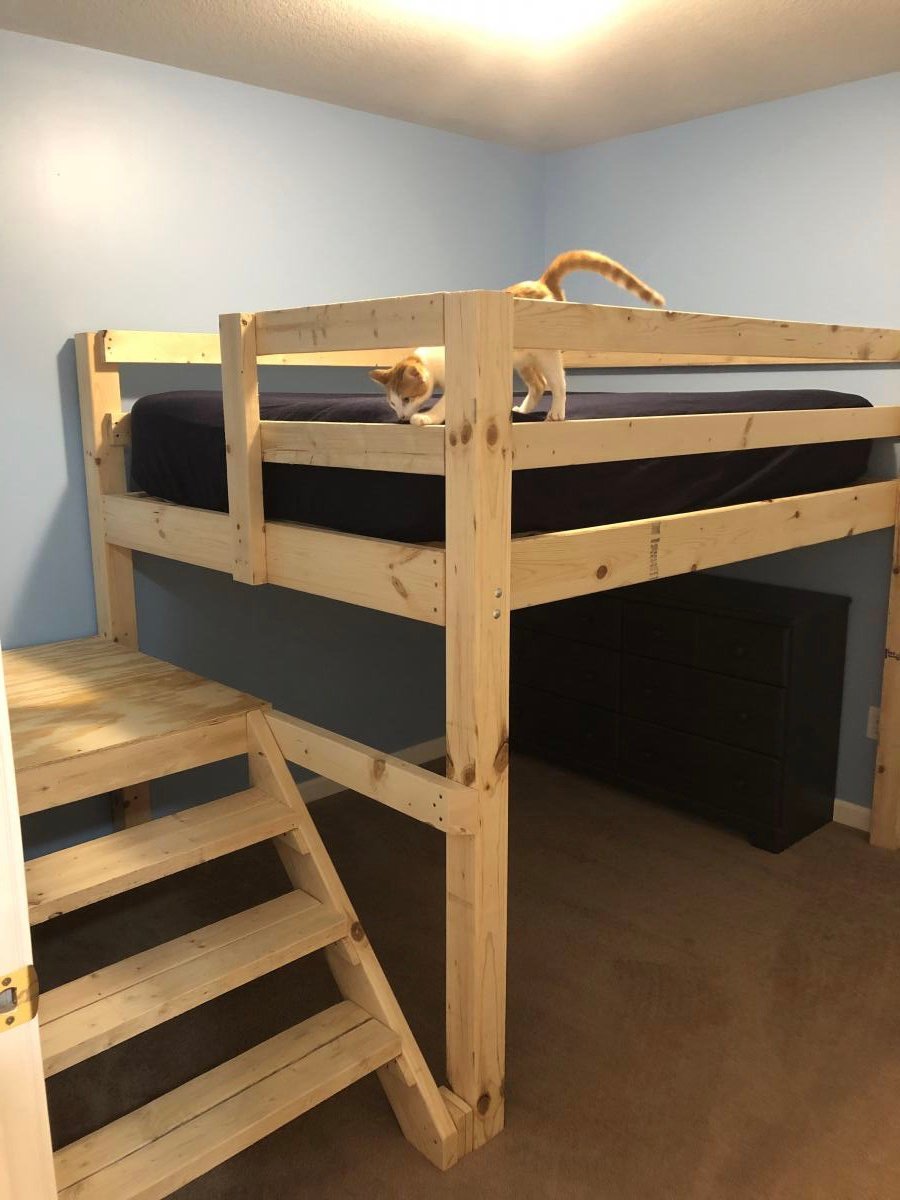
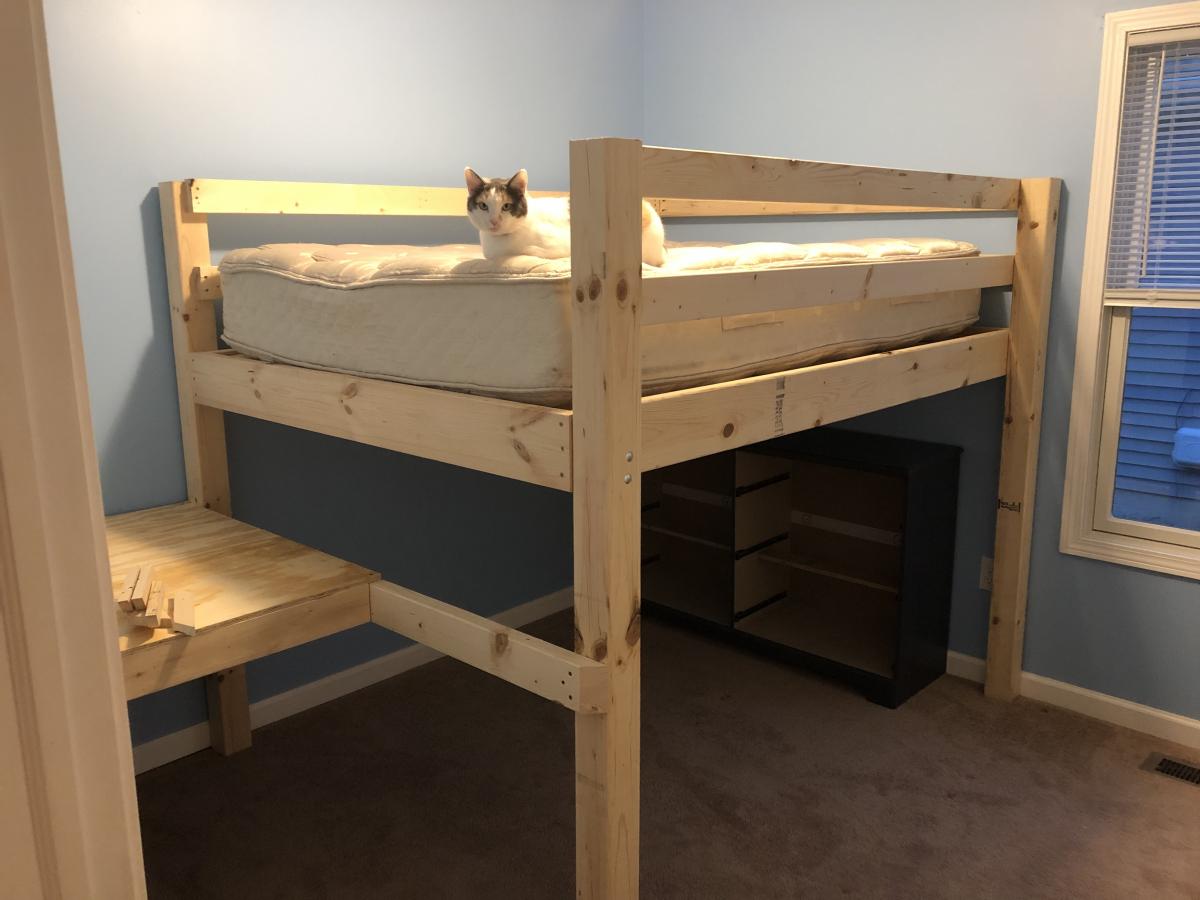
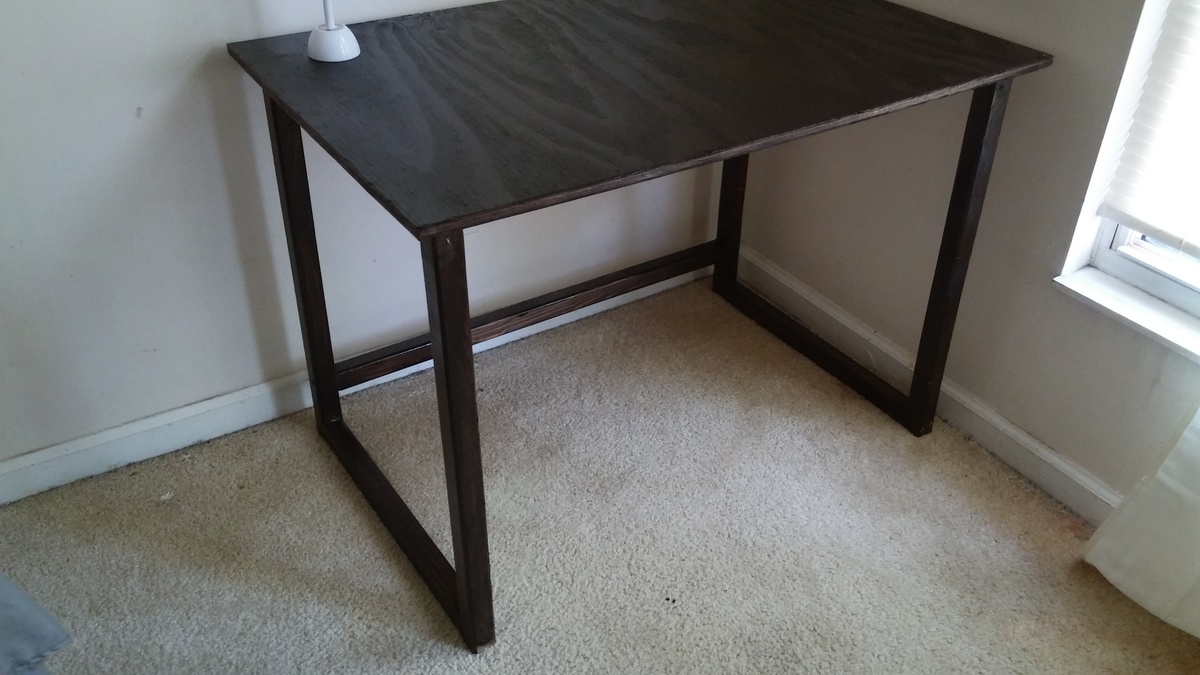
Cute corner desk
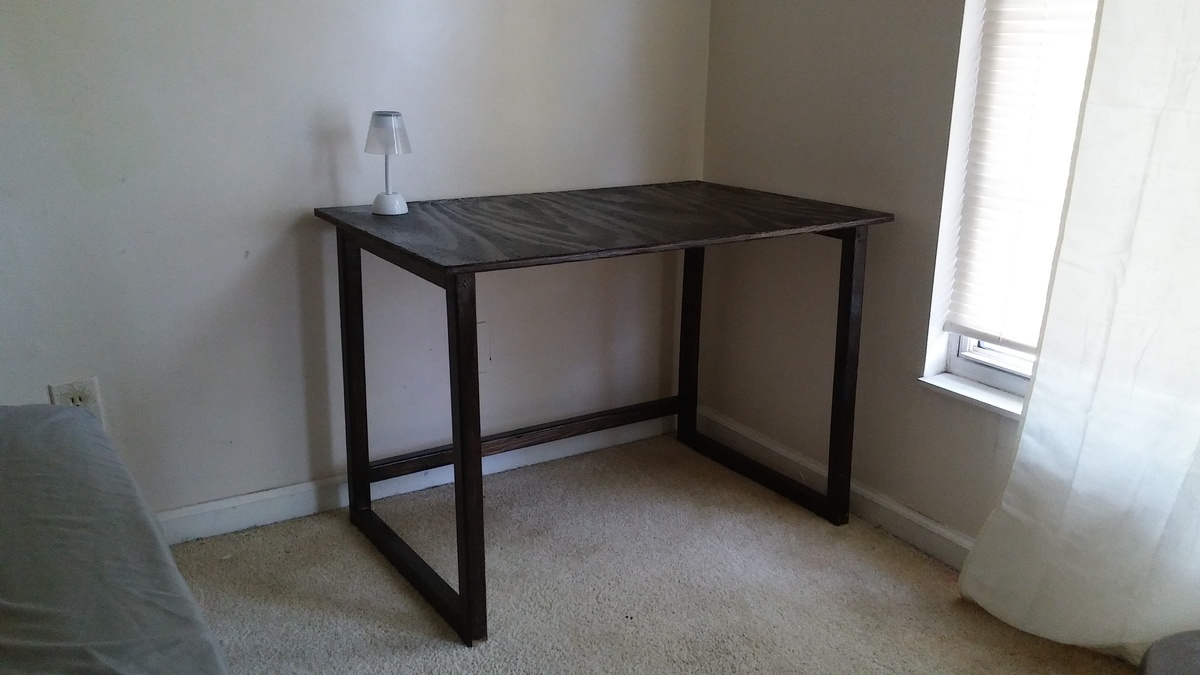
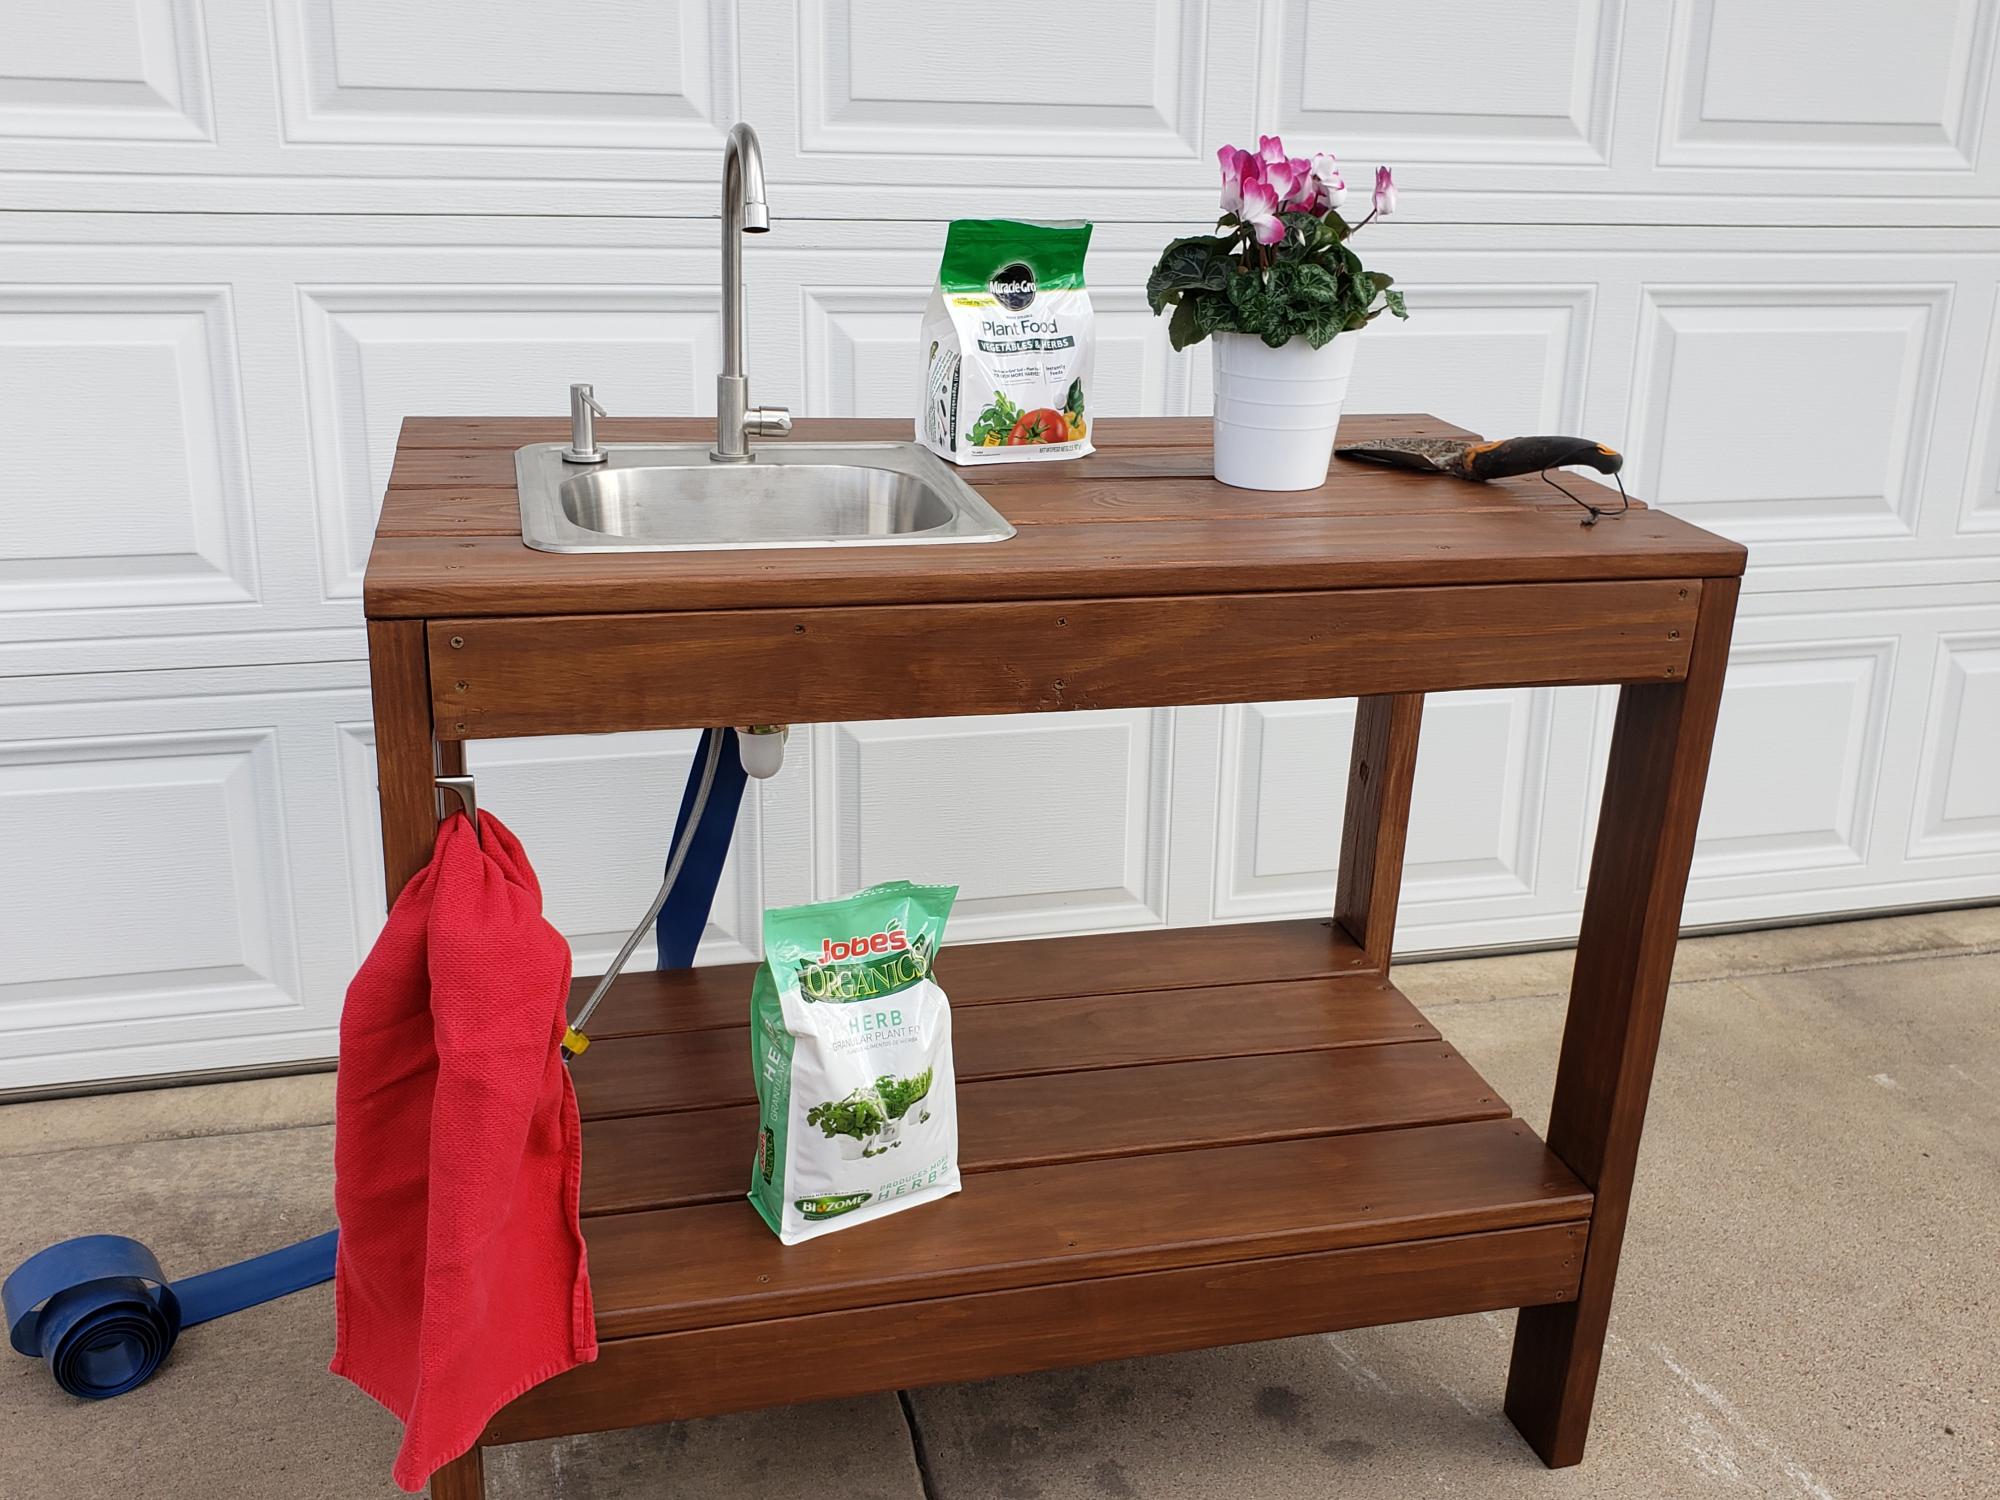
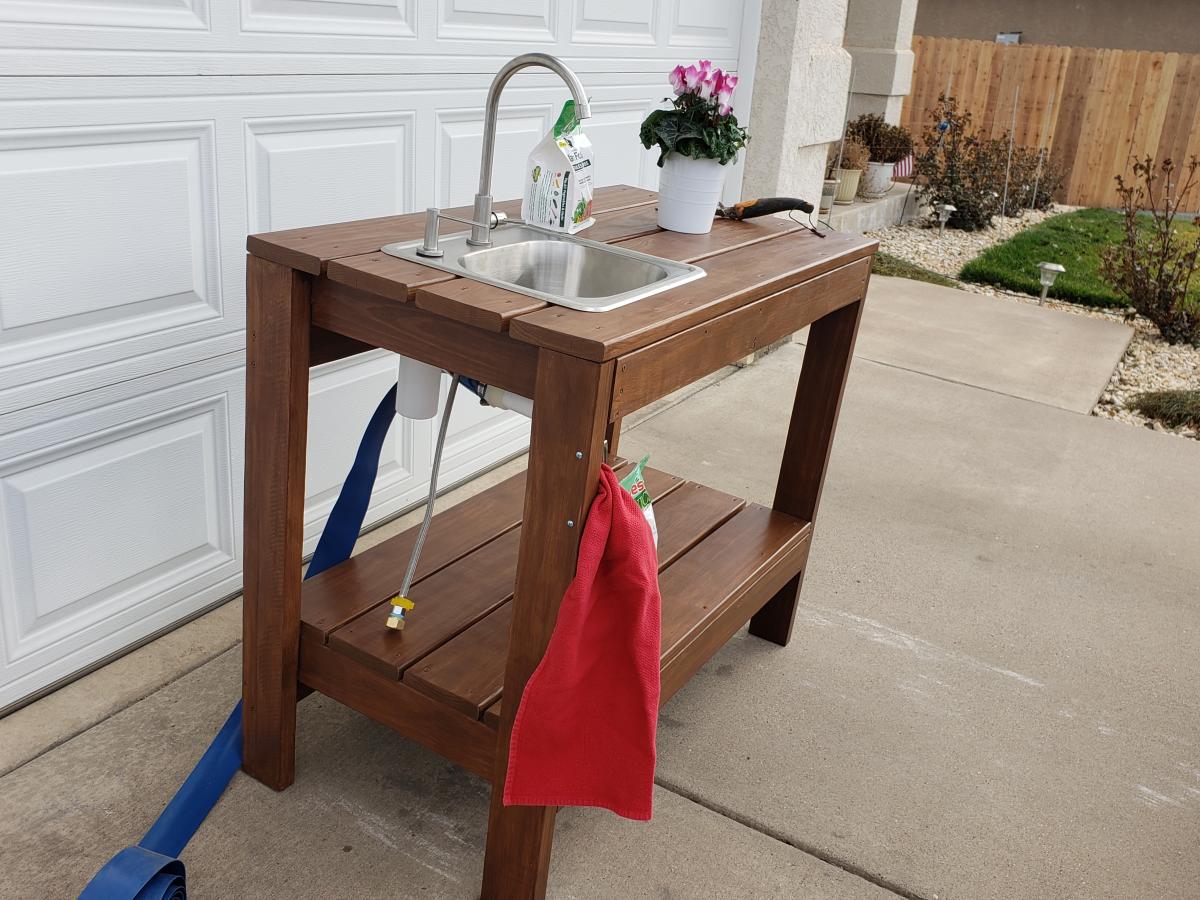
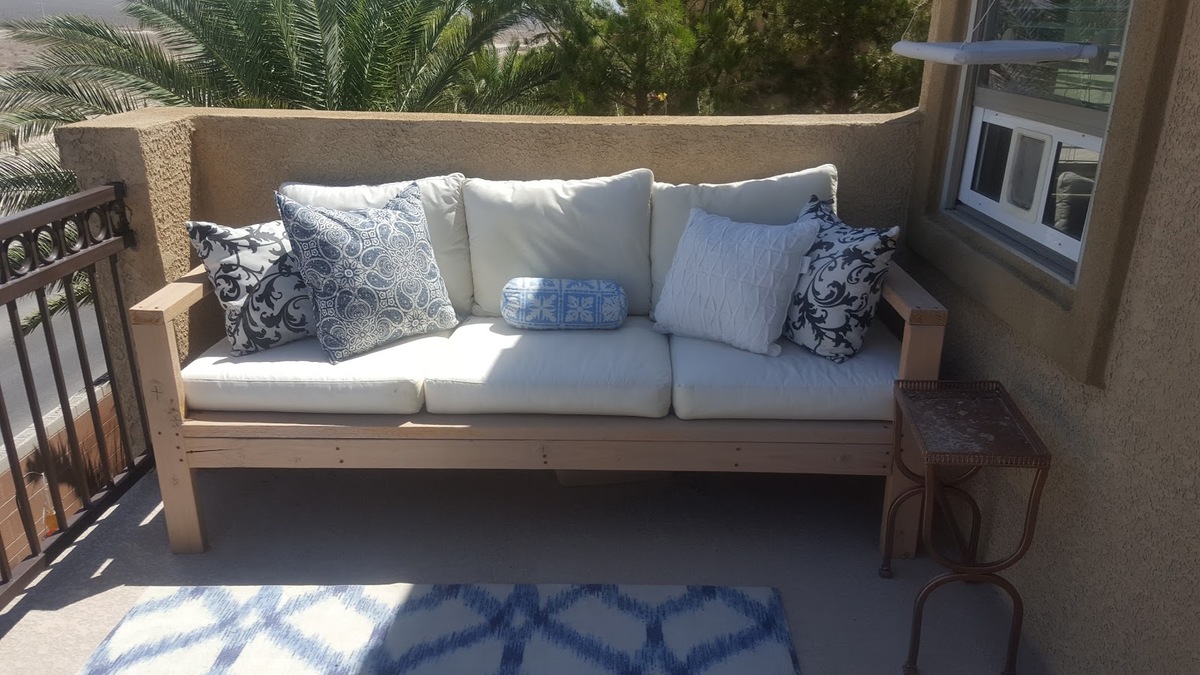
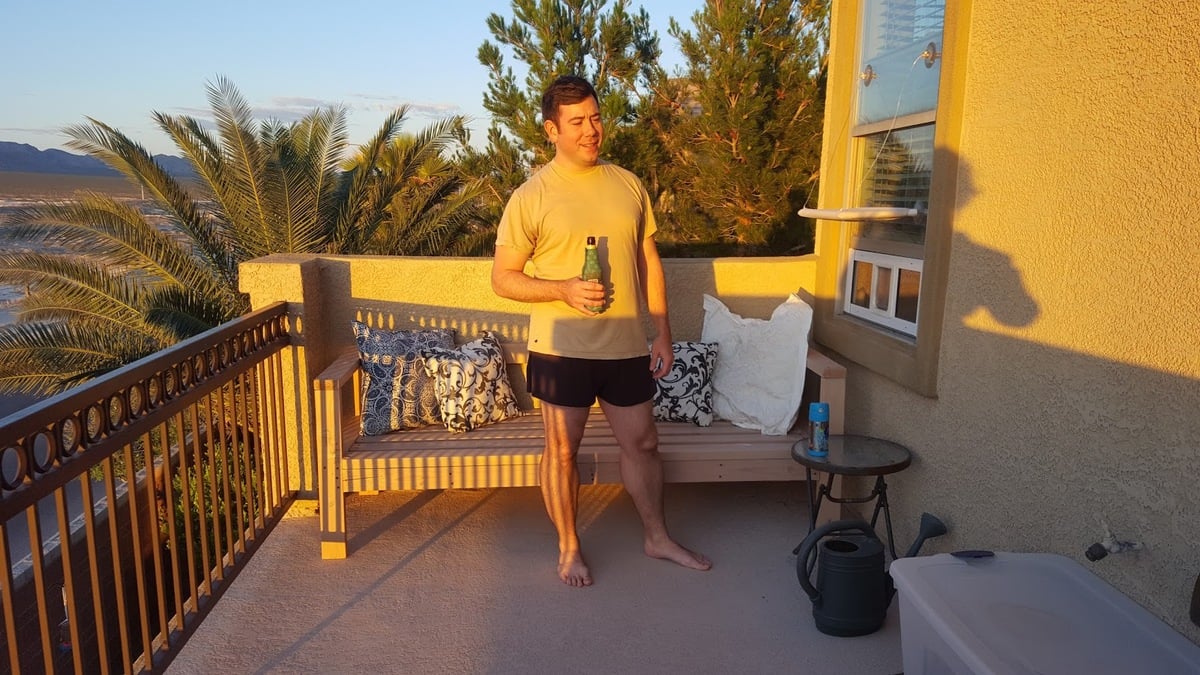
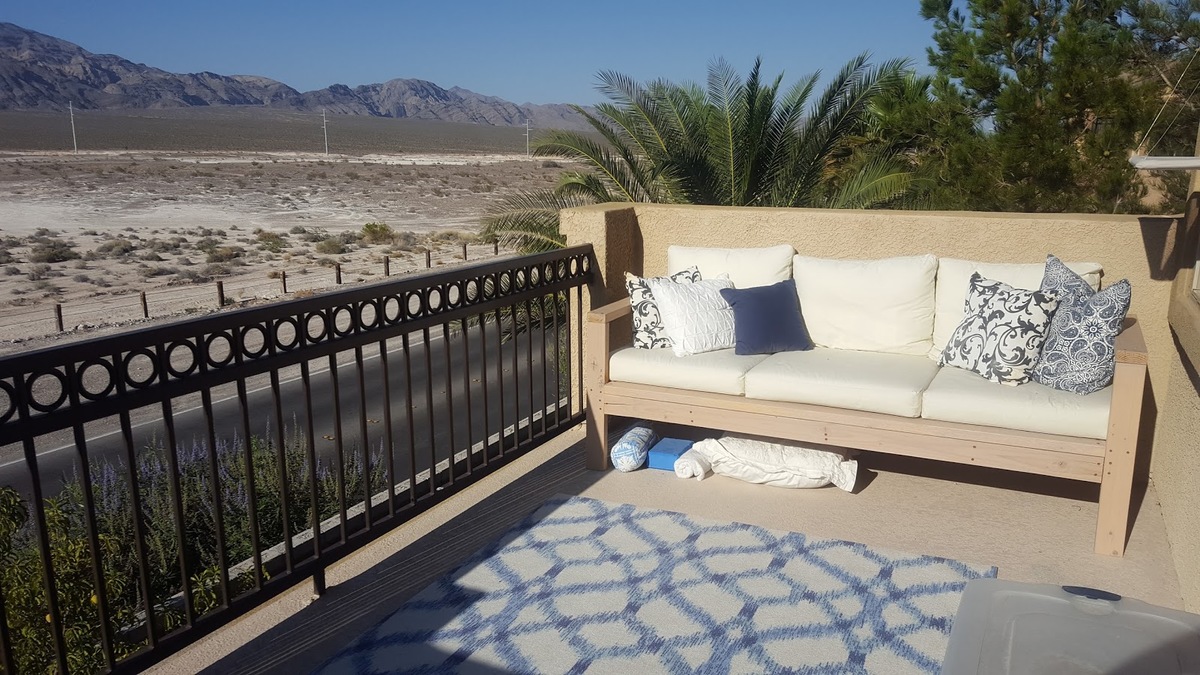
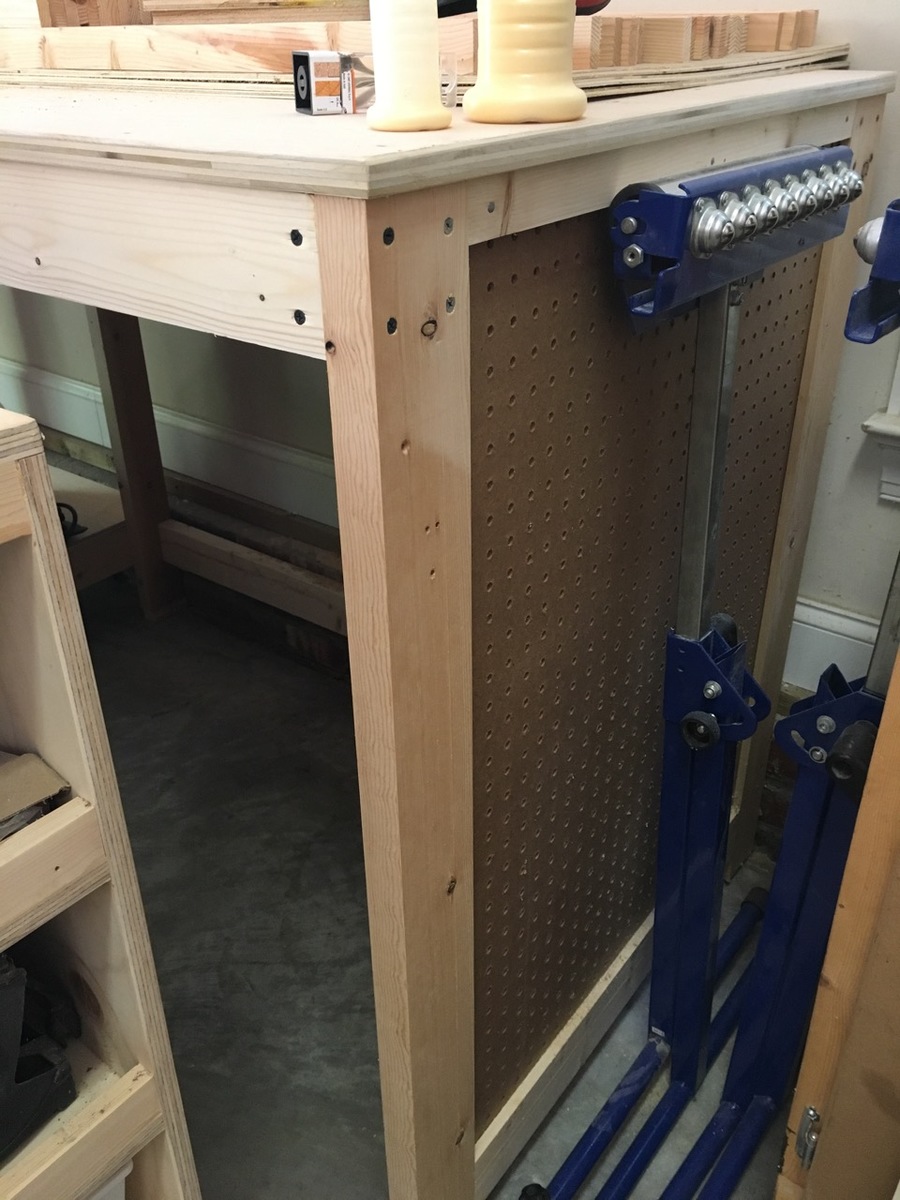
This 2x2 desk base was the perfect size for our 6' exchange student. He needed plenty of room width and length wise. We went with stain in Kona. More time was spent staining then building.
Built from Plan(s)
Estimated Cost
$20
Estimated Time Investment
An Hour or Two (0-2 Hours)
Finish Used
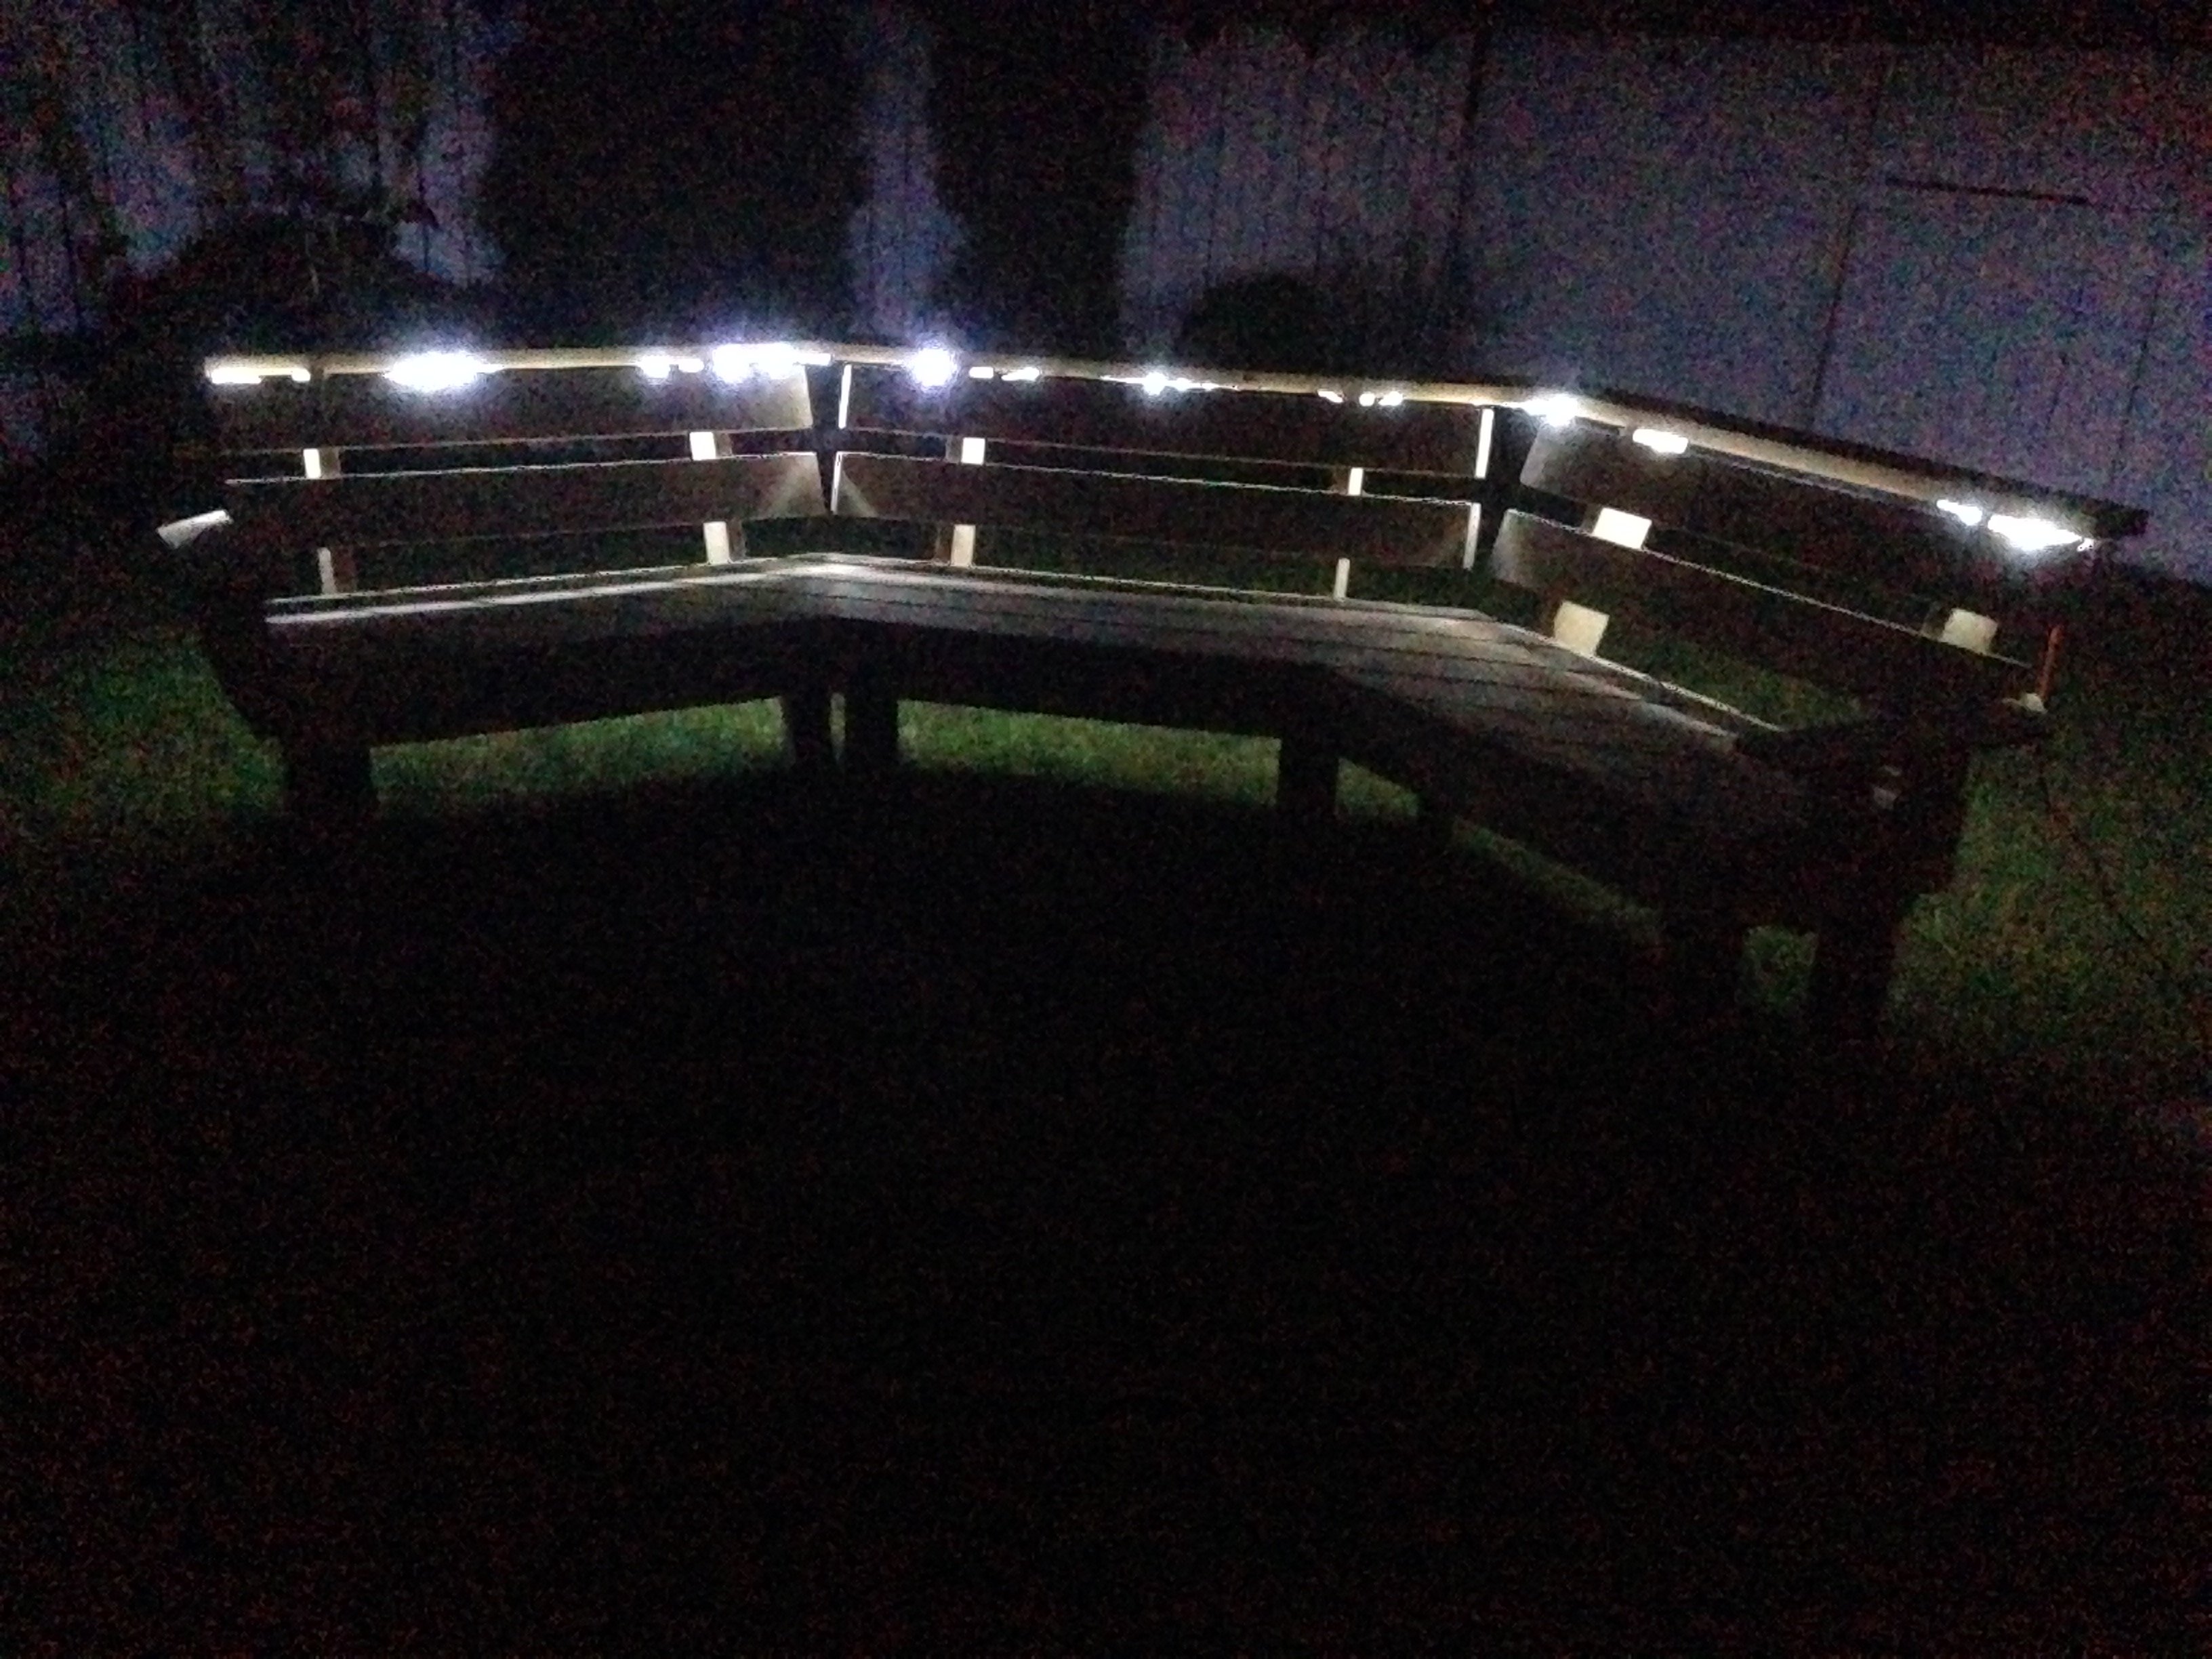
It is the base for a corner desk
Recommended Skill Level
Starter Project