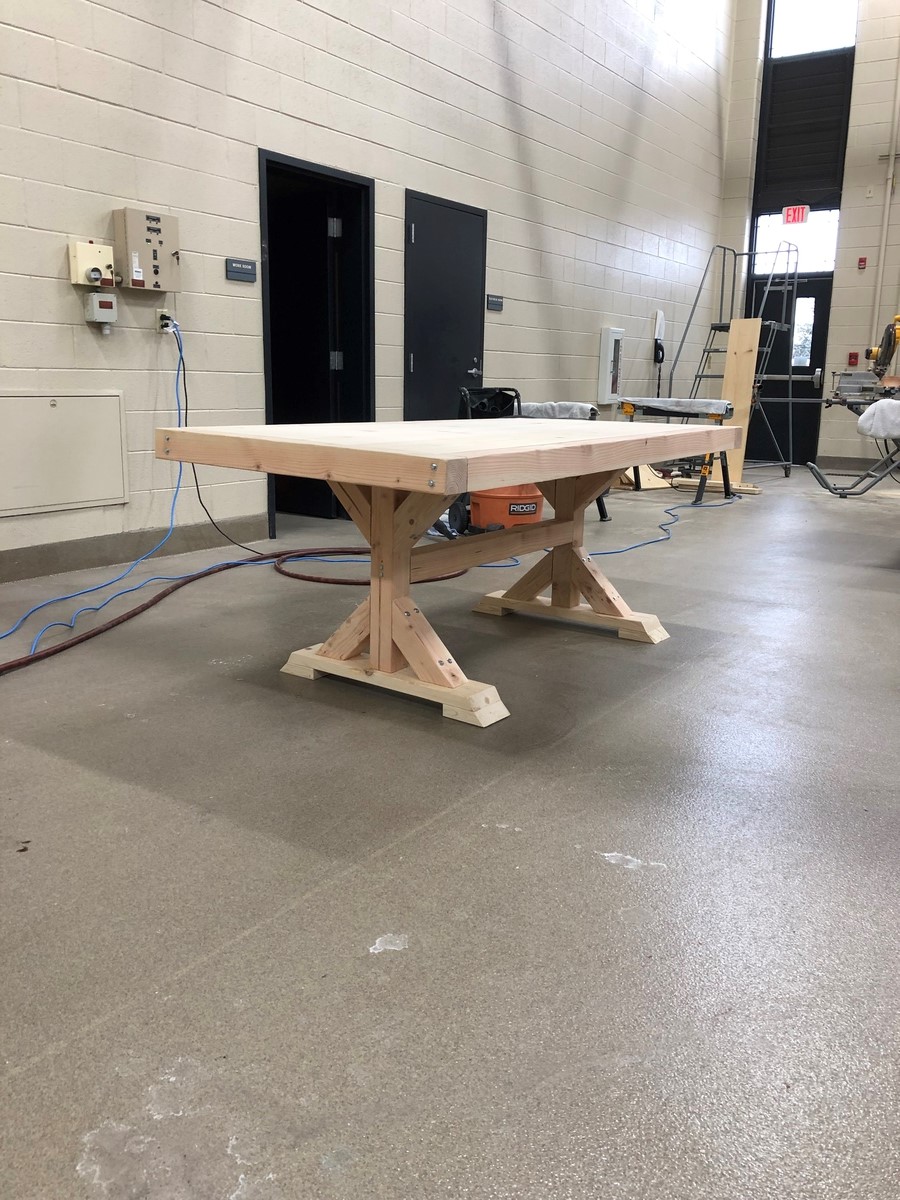
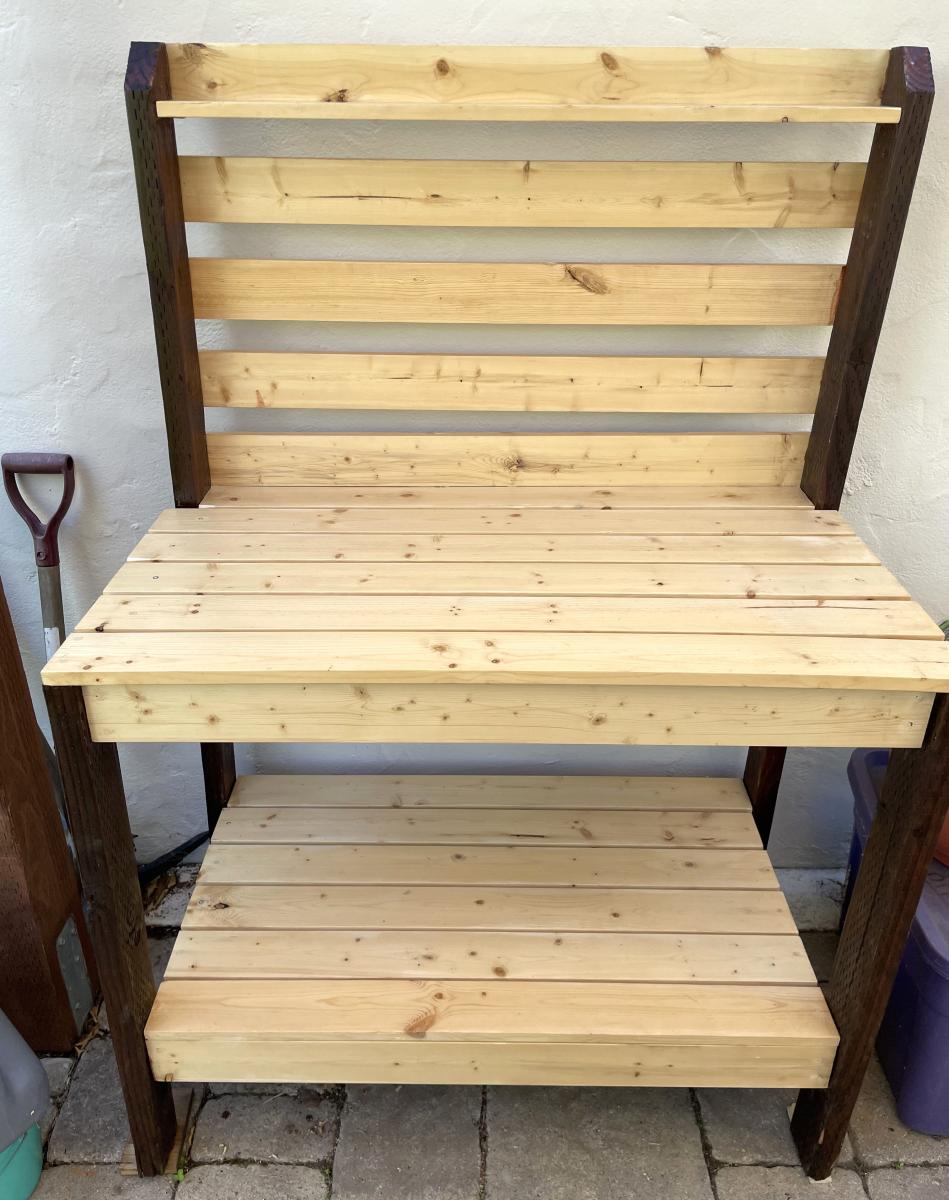
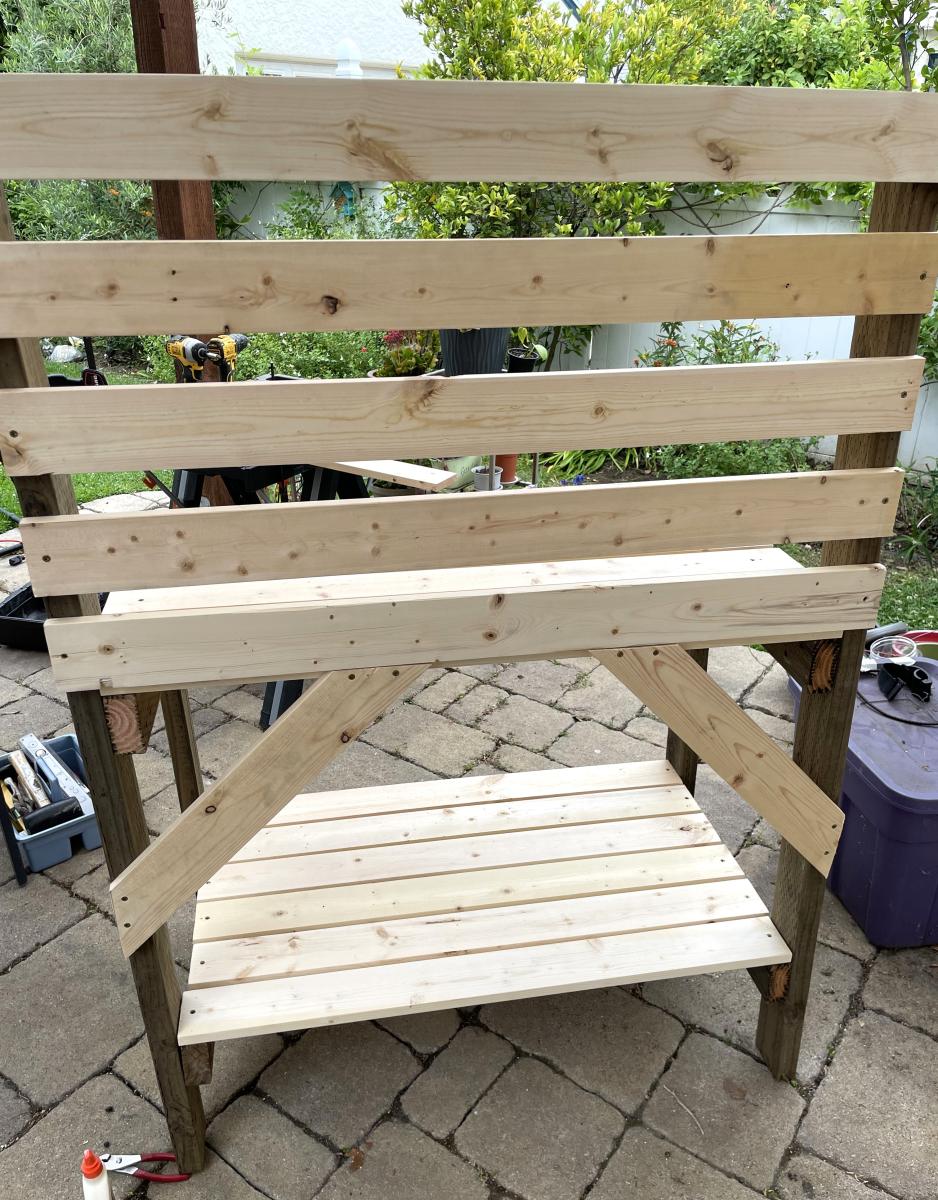
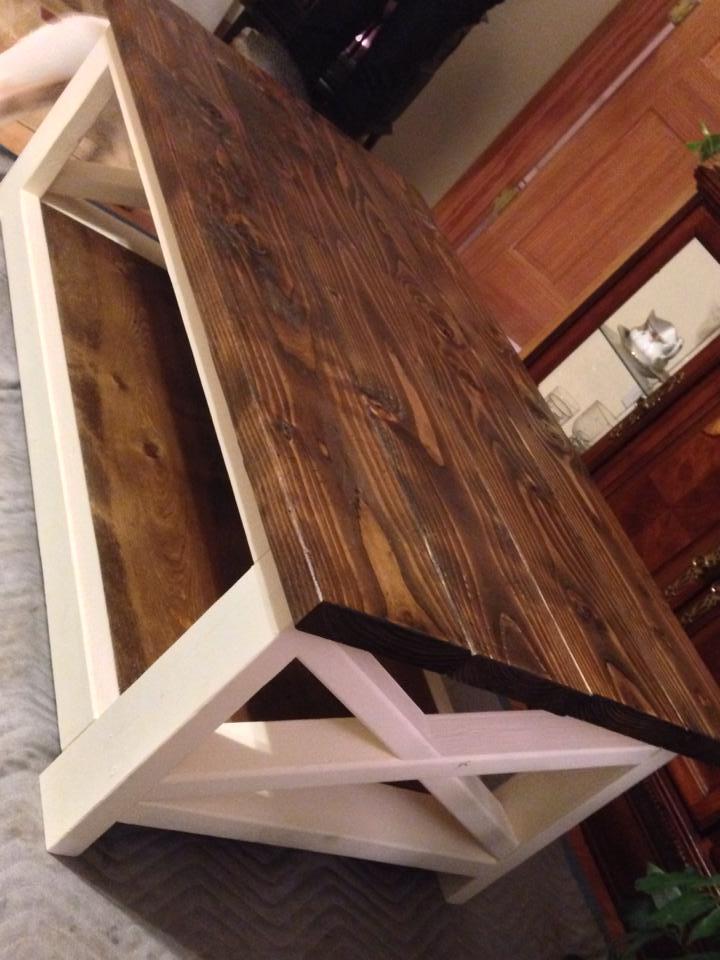
Parson desk - Modified bar height
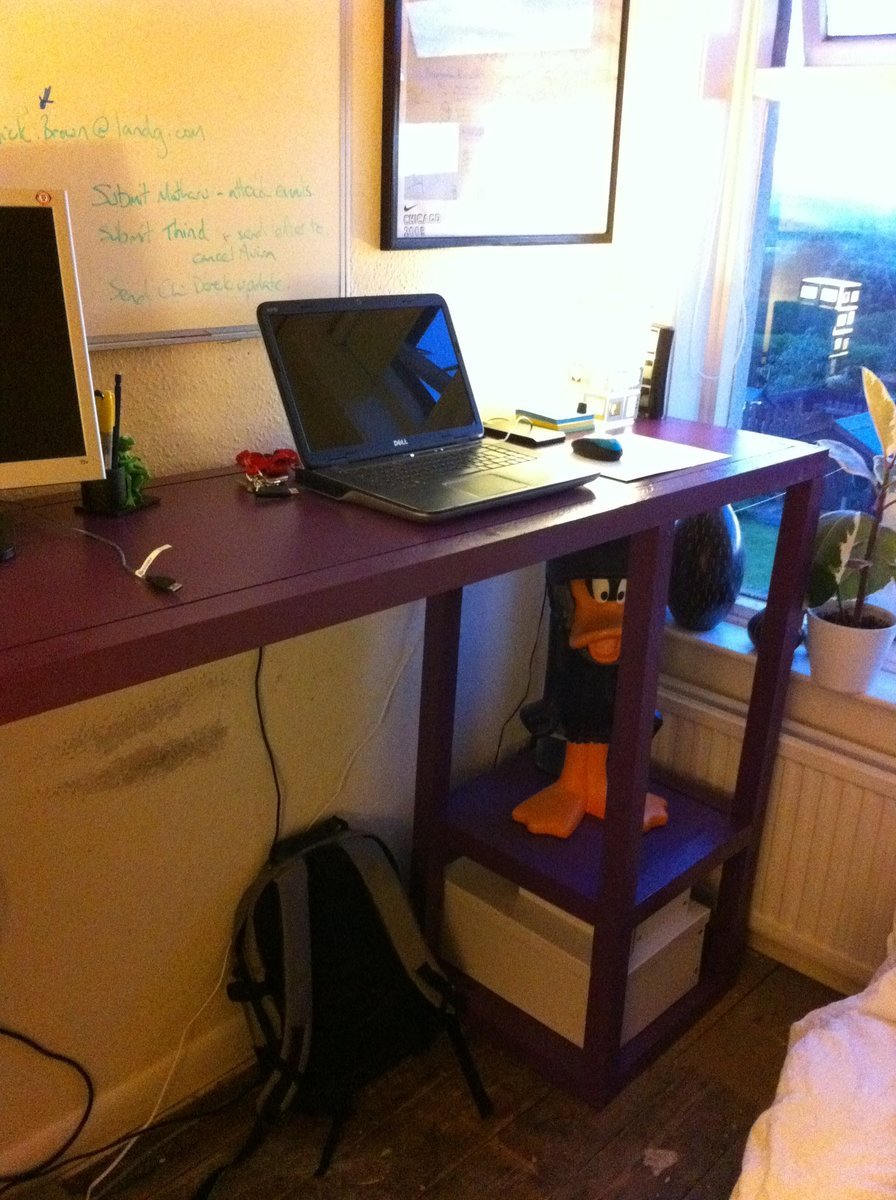
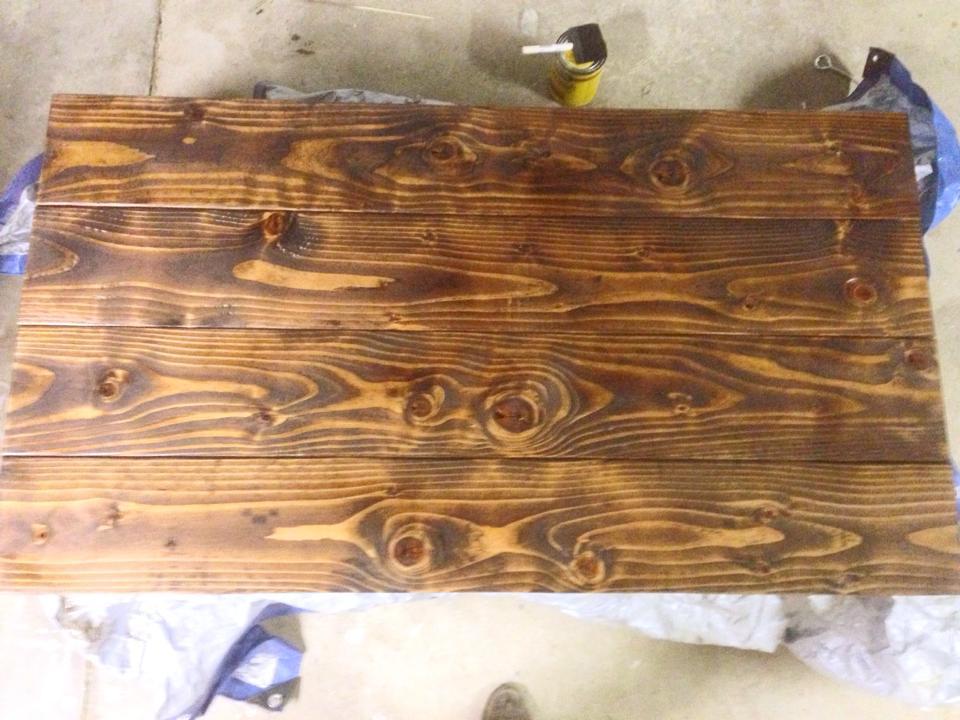
This was my first project. I made it tall so we could work standing, and made it longer so that two of us could work at the same time. The top of the bench was made from 1" MDF to ensure that it wouldn't sag with the extra length.
I meant to put in an extra shelf on each side, but I forgot to get the extra cuts done at the hardware store (oops).It's hard to find a pocket hole jig in the UK, so I opted for a combination of countersunk screws and dowels.
Thanks for the plans, Ana!
Built from Plan(s)
Estimated Cost
£80 (includes finishing and some tools)
Estimated Time Investment
Weekend Project (10-20 Hours)
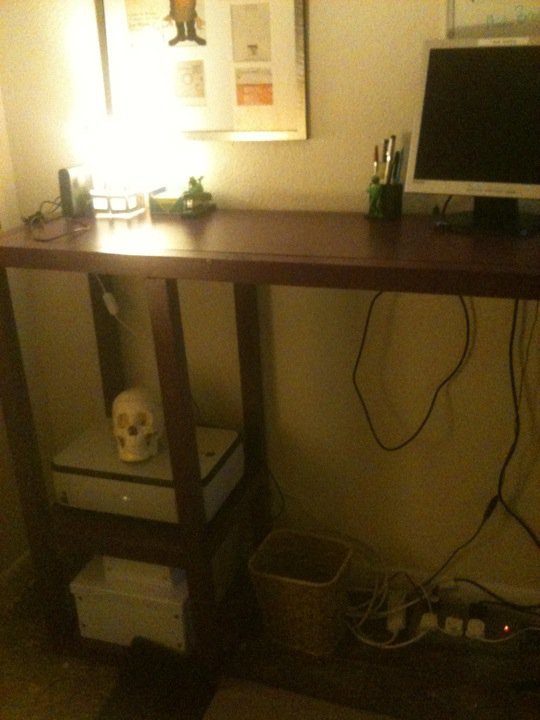
Finish Used
A coat of spray primer and two coats of purple eggshell finish Dulux paint, and it was finished.
Recommended Skill Level
Starter Project