Community Brag Posts

Church Pulpit

Submitted by BBLinda on Sat, 06/08/2013 - 10:34

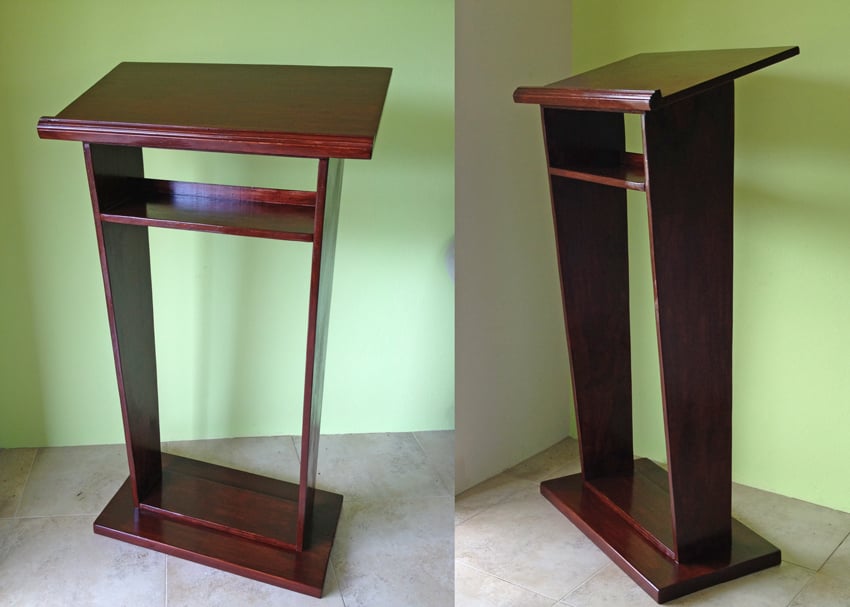
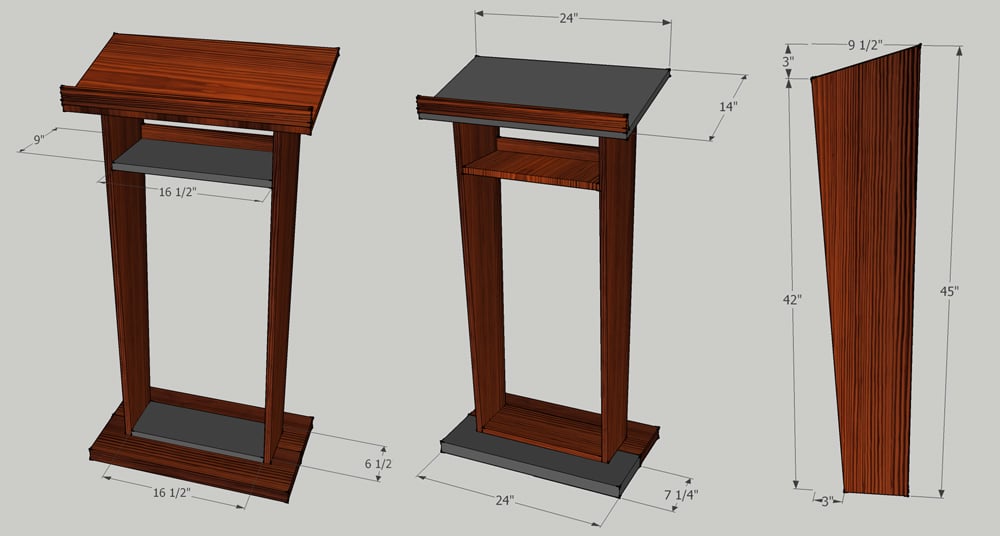
A good friend of mine, a pastor of a local church, asked me to build a pulpit for their recently finished church up in the countryside of Grenada. She showed me a picture of what she had in mind and based on that, I drew my own plan in SketchUp, and then built it out of Yellow Pine boards and Plywood.

Note to the dimensions:
After I drew the plan, and just when I was at the lumberyard to have the plywood and boards cut, I thought I might have had it estimated not wide enough, so I decided on the spot to make it 2" wider and the top panel 2" wider and deeper too. So if you'd like to build based on my plans, please consider if it's wide enough for your purposes.

This is what I used (corrected measurements here):

2x 2x8 26" long YP Boards (Base)
1x 18 1/2" x 6 1/2" Plywood (Base Support Panel)
1x 26" x 16" Plywood (Top)
1x 18 1/2" x 9" Plywood (Shelf Panel)
2x 45" x 9 1/2" Plywood (Side Panels ) - these are cut angled, see plans
1x 44 1/2" Wood Moulding (for the "stopper" on the top panel, and the "back" of the top shelf.

Estimated Cost
~ US$ 115 (material is very expensive here on the island, and I guess you could build it for about half or 2/3 of this in the USA)
Estimated Time Investment
Weekend Project (10-20 Hours)
Finish Used
MINWAX Polyshades / American Chestnut Satin (375)
Recommended Skill Level
Beginner

Amazing 2x4 Outdoor Sofa

Submitted by Anonymous (not verified) on Fri, 12/31/2021 - 05:44

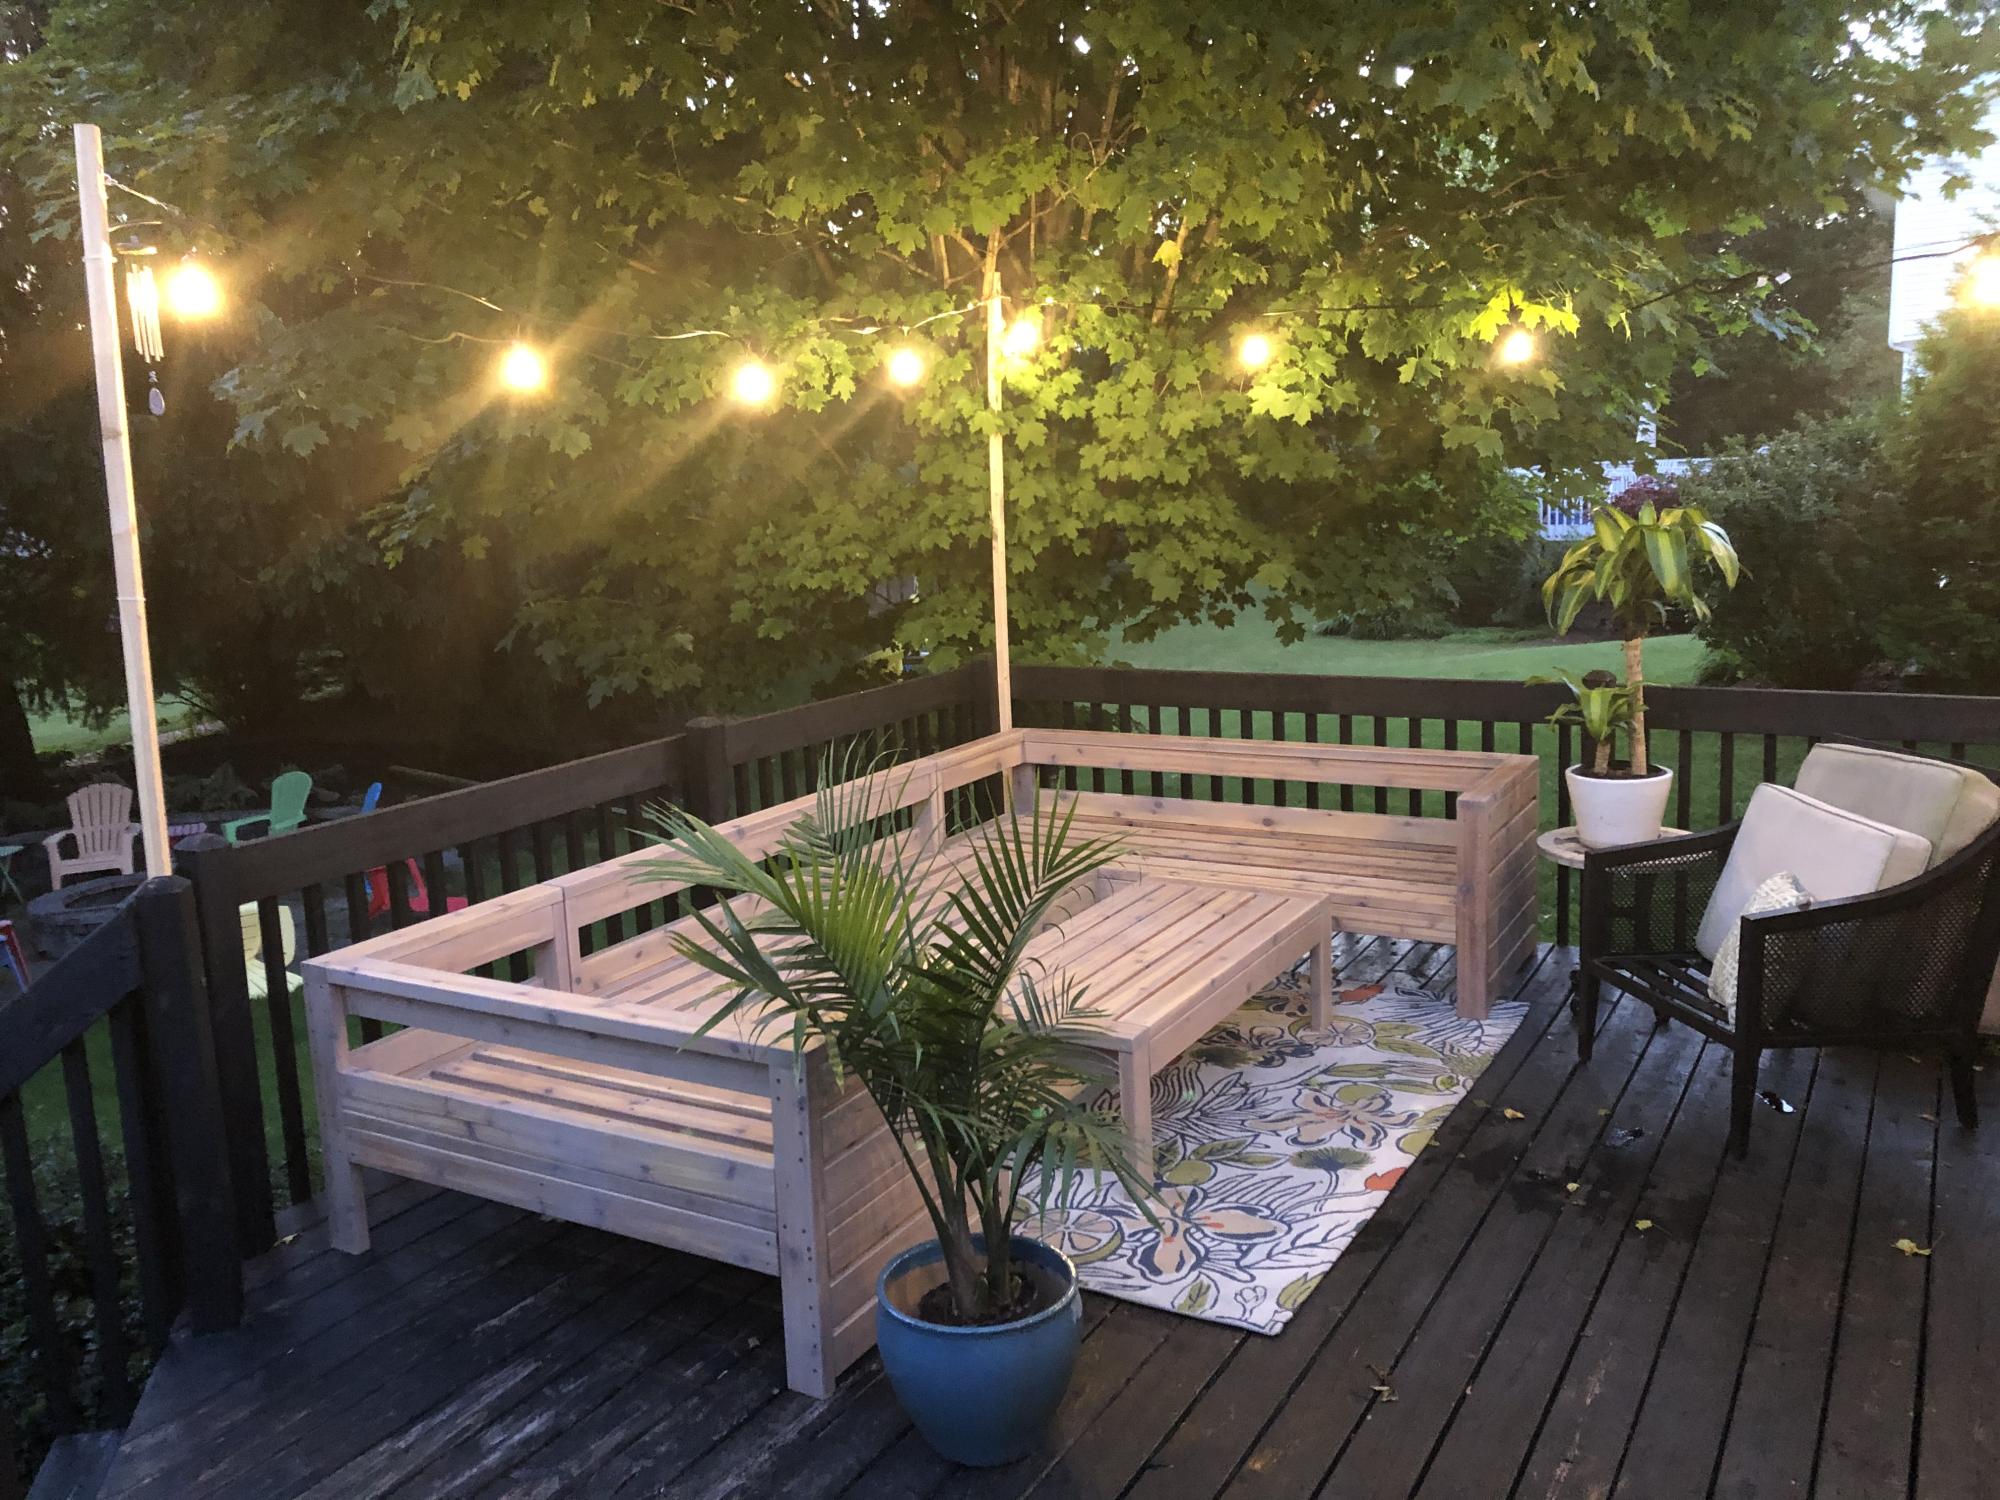
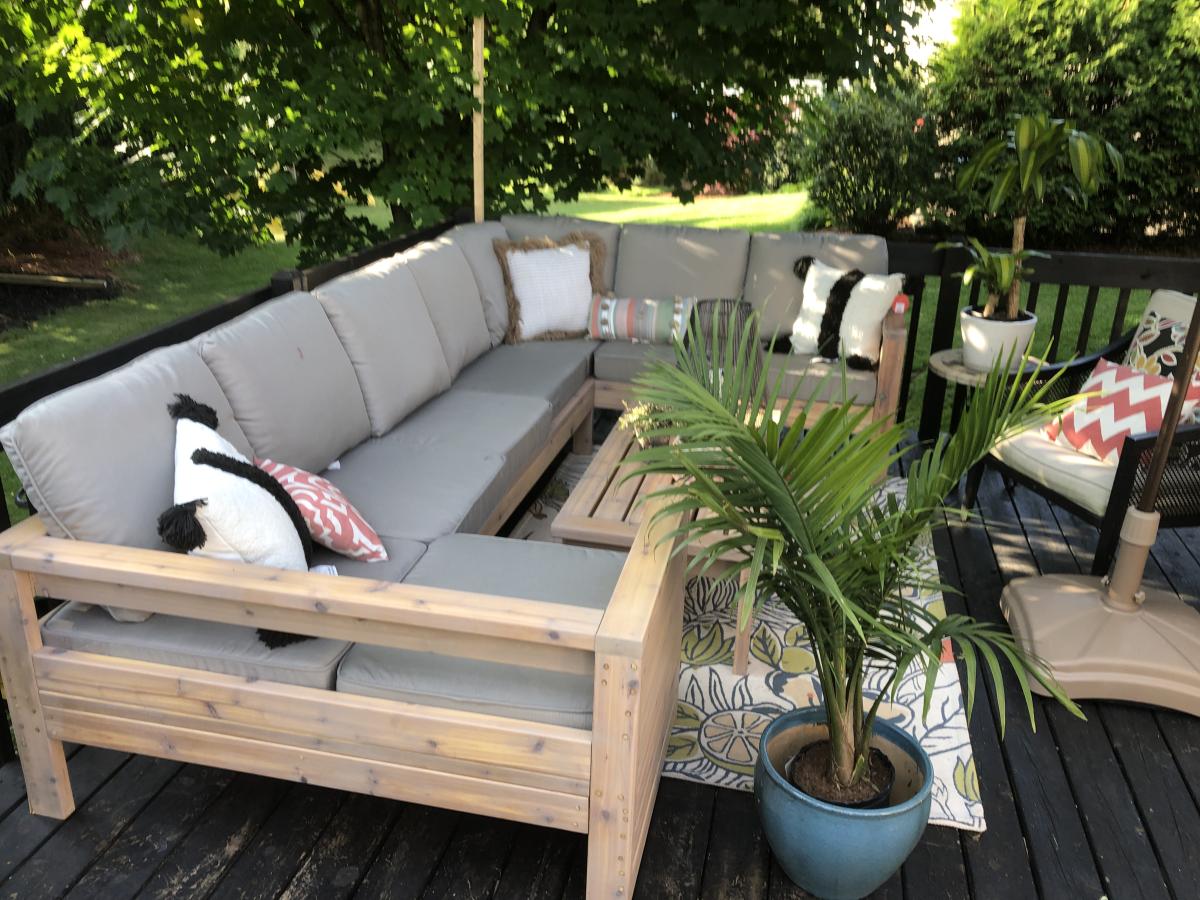
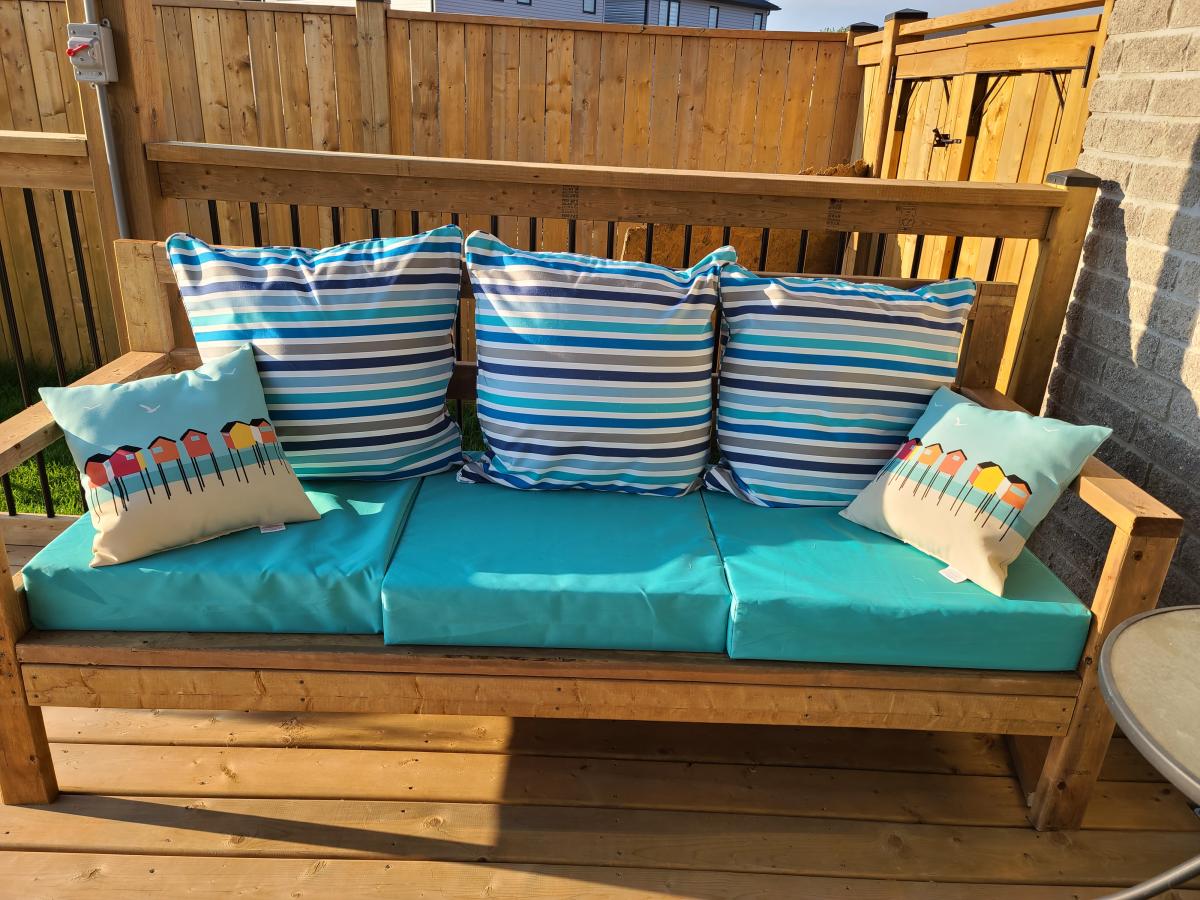
We have wanted nice deck furniture since we moved into our house 22 years ago but just couldn’t justify the cost. I have made several projects from Ana’s website and I love her easy to follow and FREE plans! But this project was my favorite as you can see by the pics. I used cedar and my wife finished the furniture with stain. Thanks to Ana for providing these plans and helping a DIYer to feel proud!

Built from Plan(s)

Comments

Seasonal And Holiday

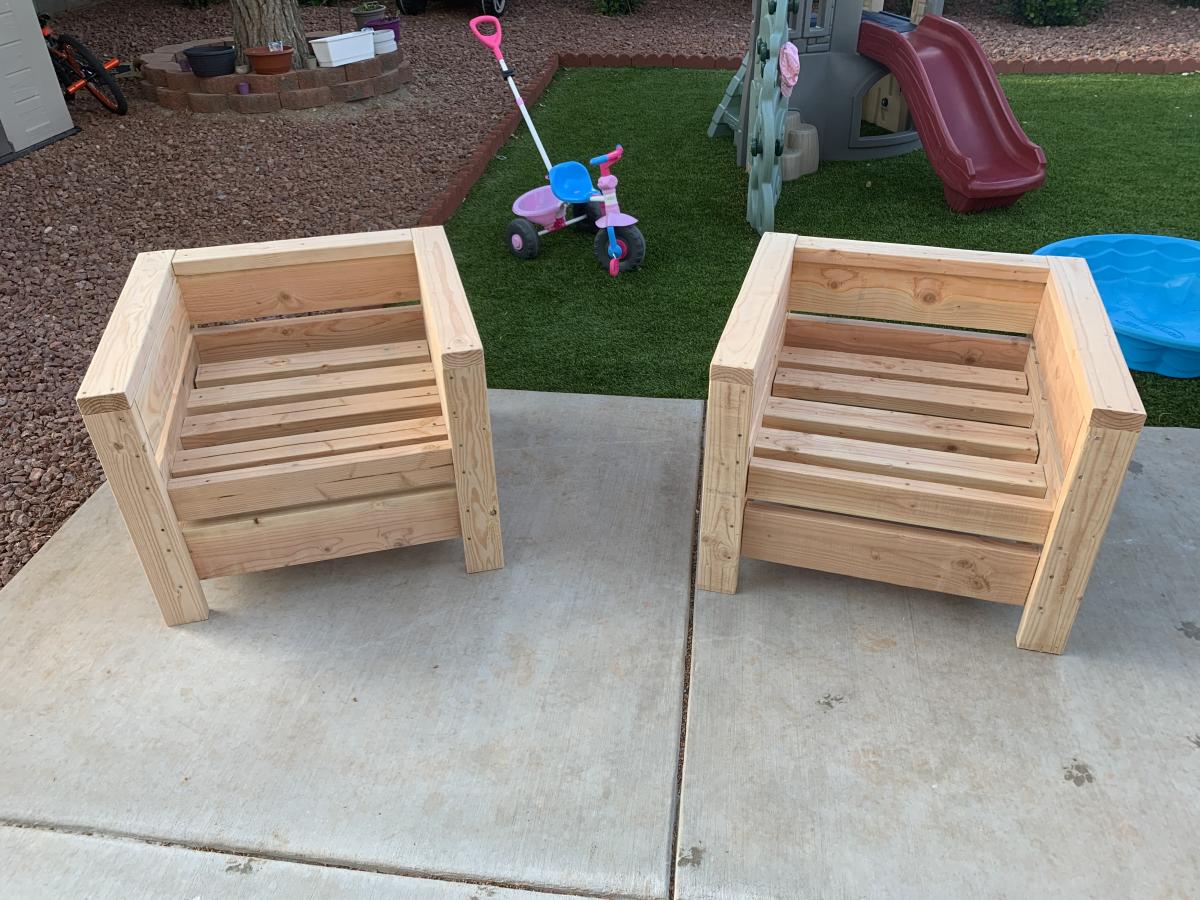
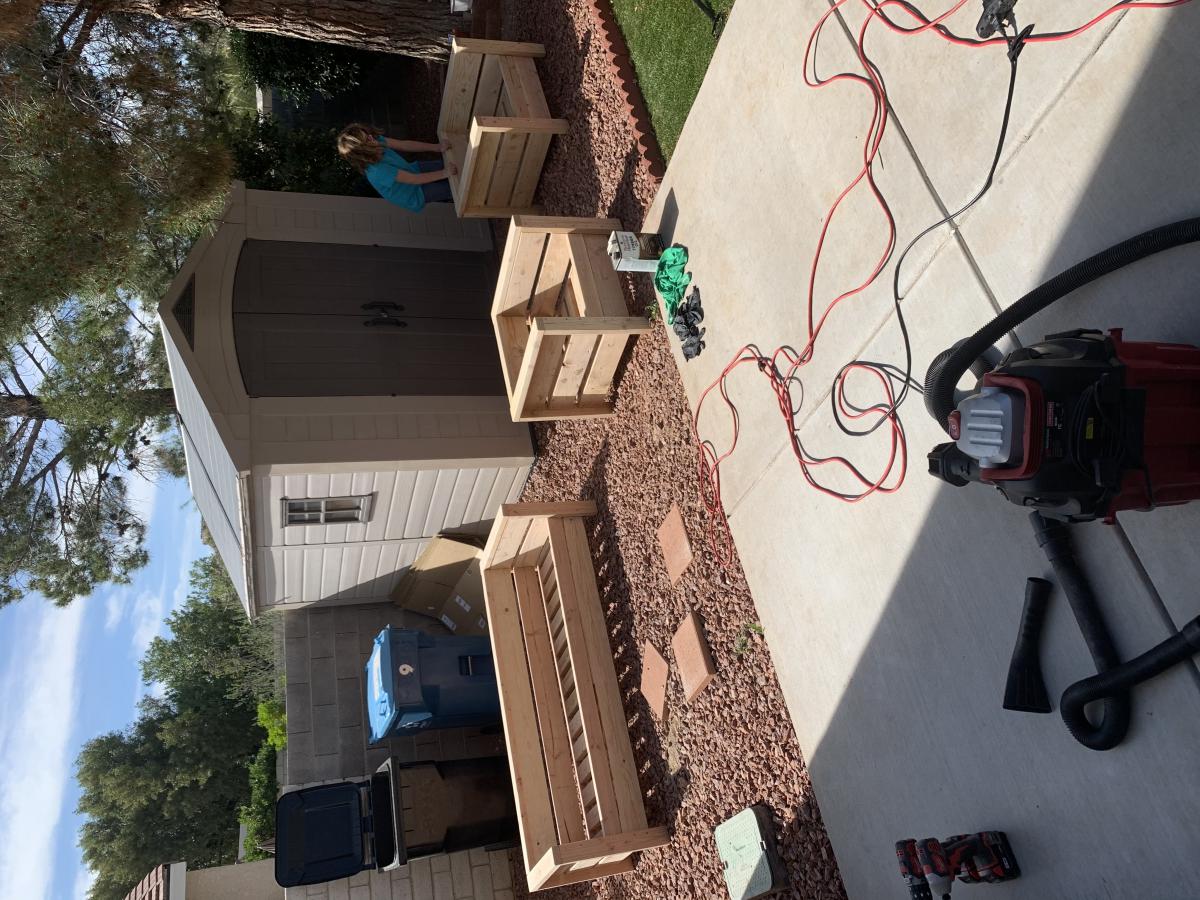
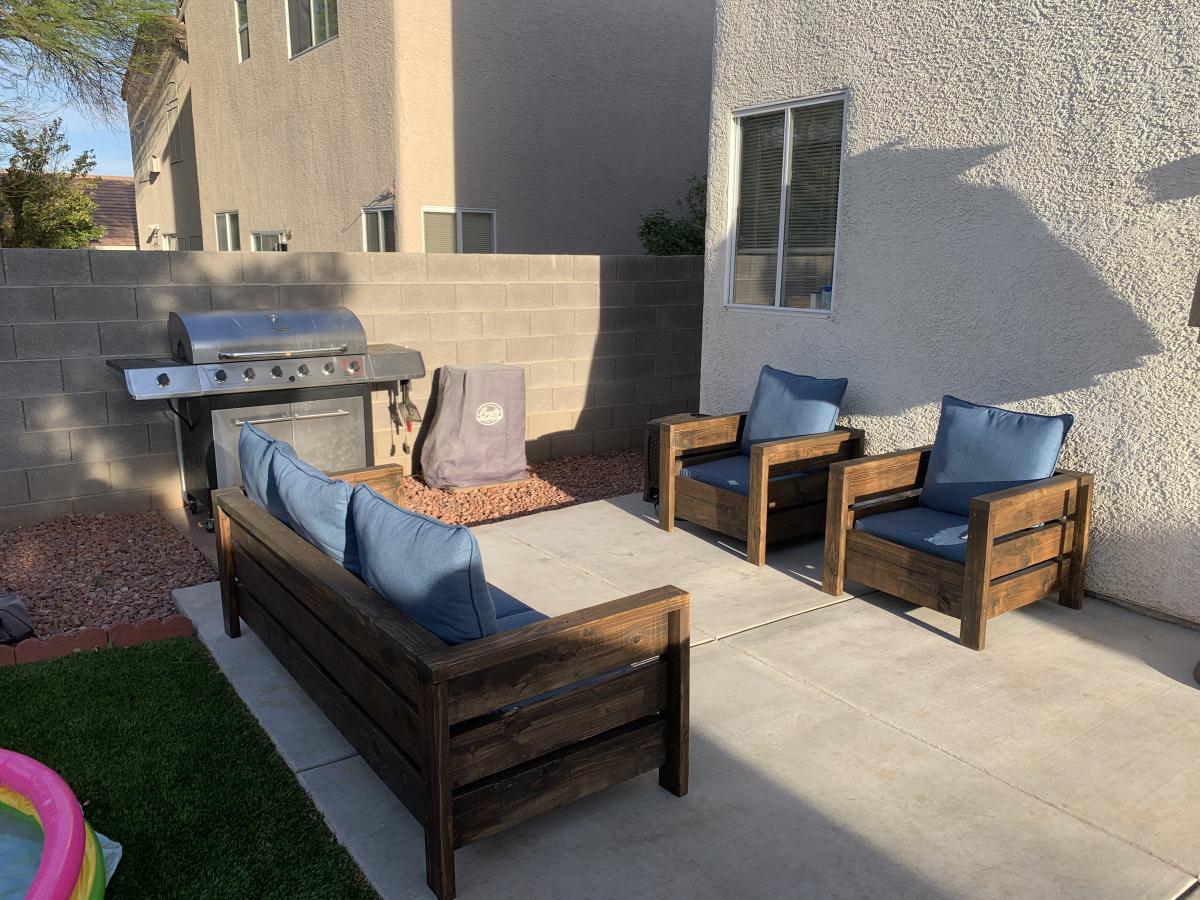
Modern Outdoor Chairs (2x4s & 2x6s) w / Matching Tables

My mother had a cheap particle board sofa style table on her back porch that was coming apart. She said she'd like to replace it, so I told her I would her one.

I decided to make her a few end style tables to go with it as well.

Finally, I had seen these chairs and decided to make her a few of these also. I liked the Ana White plan, but I didn't like the idea of seeing all the screw holes, so I developed my own method using Kreg and my own assembly method that allowed me to make them strong, without seeing all the screws.

I (and my mother) were very pleased with the final project.

Estimated Cost
~$200 (Cushions cost me ~$80)
Estimated Time Investment
Weekend Project (10-20 Hours)
Finish Used
Olympic Stain (1 coat white), slight sanding, wiped down with Minwax Dark Walnut.
Recommended Skill Level
Beginner

Comments

TerDickison2

Mon, 06/10/2019 - 18:49

Thank you for posting this! I built the chair as is from the plans but I realized it really needed a backrest. I like how you added one and if you don’t mind, I think I’m going to “borrow” your idea. I lucked out on the cushions-I got mine from Home Goods for $40. I don’t think everyone has a Home Goods near them though. Love the tables too!

Floating Bunk Beds and Desk

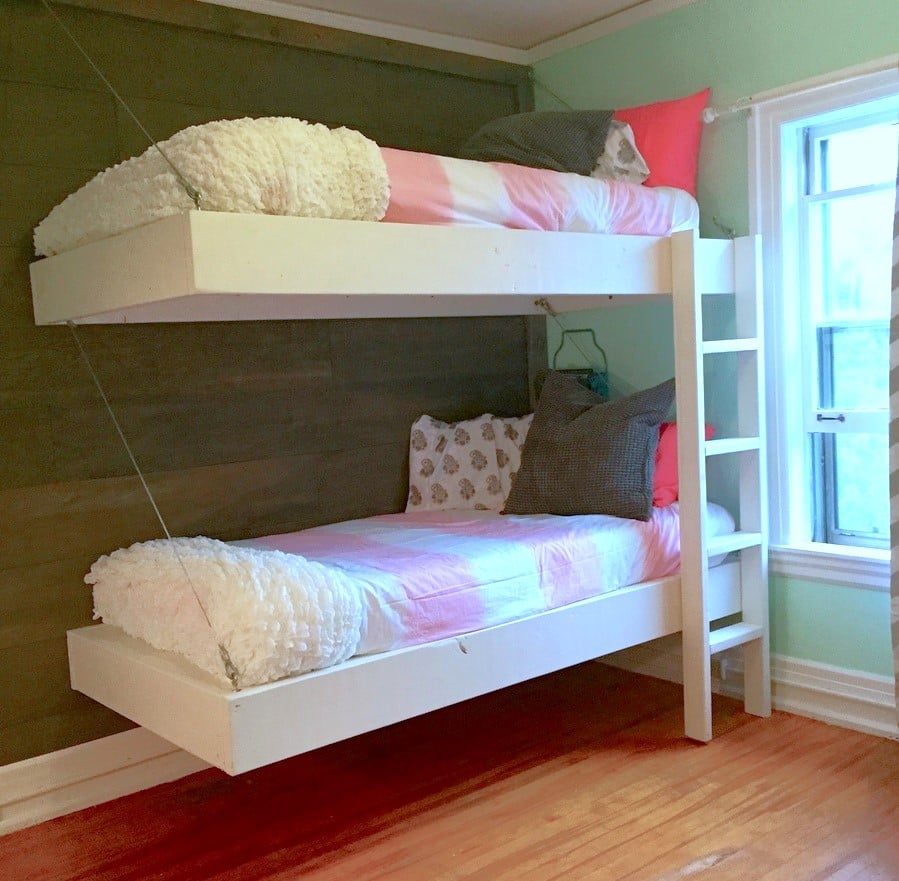
This little girls room needed a little happy birthday!  I planked the wall with birch veneer, made simple box frames for the beds and desk, and attached them to walls with heavy duty cable.  Then my friend added her designer touch, and made it cozy and  girl CHIC!

Built from Plan(s)
Estimated Cost
$500
Estimated Time Investment
Week Long Project (20 Hours or More)
Finish Used
white paint
Recommended Skill Level
Intermediate

Lisa's 2x4 couch

Submitted by Anonymous (not verified) on Wed, 01/11/2023 - 19:29

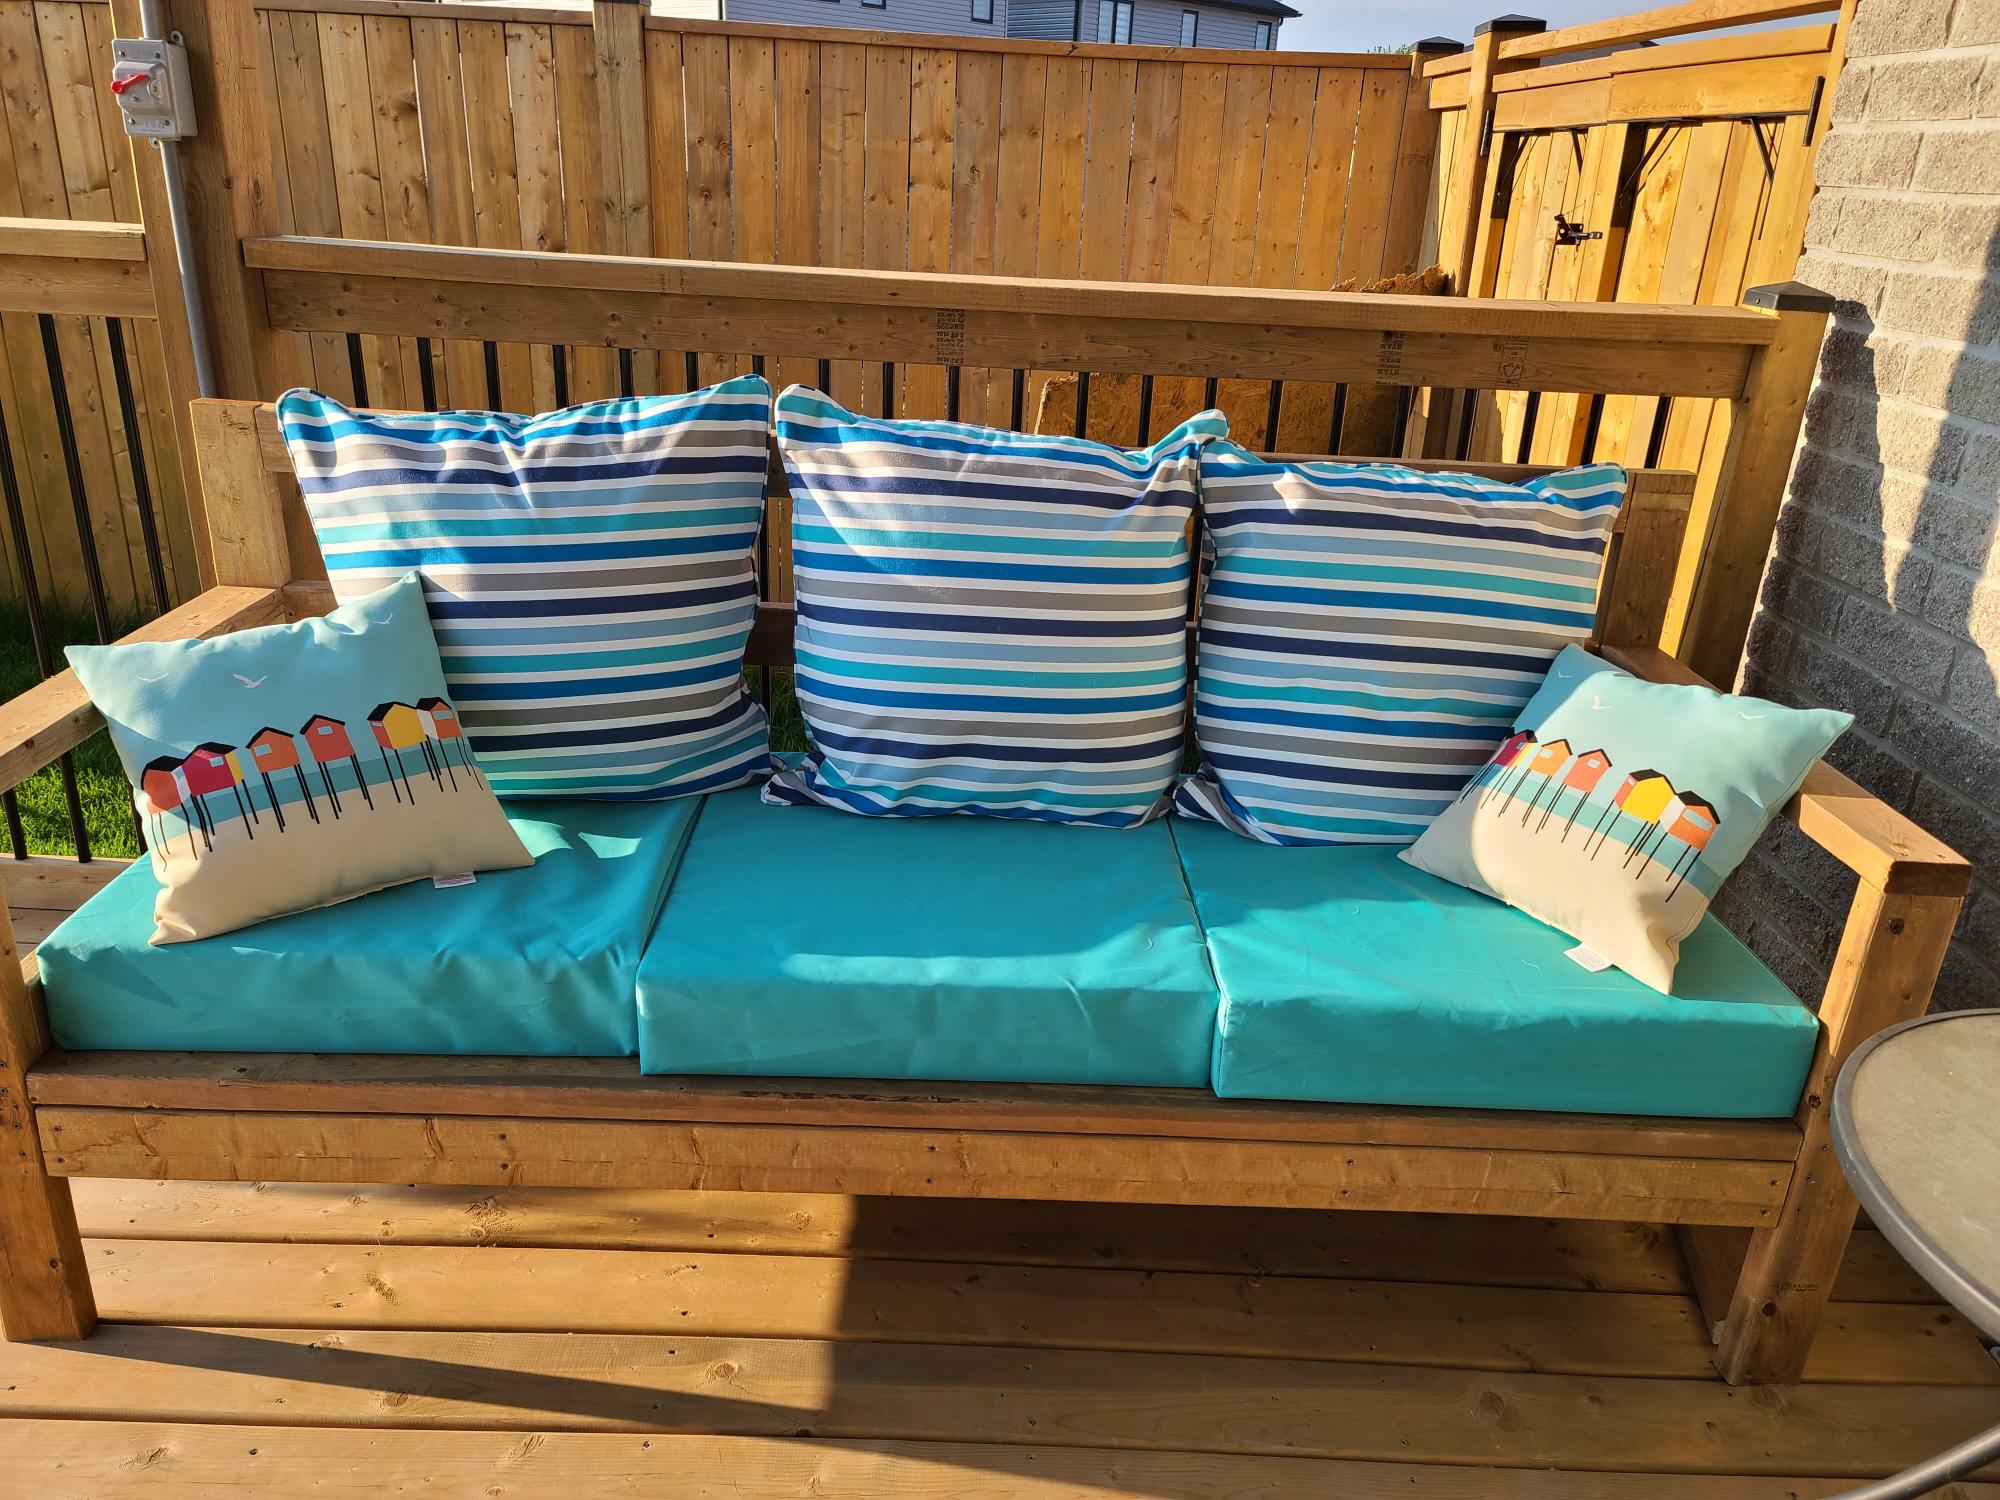
This was the first time I made a piece of furniture since I was in grade 8 shop class and it won't be the last. It was so kuch fun. I modified the plans slightly to have the back a bit higher. Love it!

Built from Plan(s)

Above Toilet Cabinet

Submitted by Smokeydog on Thu, 12/24/2015 - 13:08

I built this above toilet cabinet for my son and his wife for Christmas.  They needed a little extra bathroom storage.   Turned out pretty good.

Built from Plan(s)
Estimated Cost
$135.00
Estimated Time Investment
Weekend Project (10-20 Hours)
Finish Used
BEHR SATIN PAINT
Recommended Skill Level
Intermediate

Community Garden Farm Stand

This spring, my neighborhood started a community garden.  Five families came together to break ground, sow, tend, and give away our produce.  The local church close by allowed us to use their front lawn for the "Lakeside Community Garden," located in Duluth, MN.   Every Saturday during harvest season, we gave away our produce to the community.  I took on the project of building a farm stand.  One of our neighborhood families donated re-claimed lumber to the cause, and I started building.  I had research many farm stands on-line, and knew I needed two large boxes to hold the veggies, as well as a sign to indicate what produce we were giving away.  

Estimated Cost
$free!!! Use what you can re-claim, and design your own stand.
Estimated Time Investment
Day Project (6-9 Hours)
Finish Used
none
Recommended Skill Level
Beginner

Little Boy's Platform Bed (w/ a twist)

Submitted by Anonymous (not verified) on Tue, 01/12/2016 - 07:05

So, I ended up altering the plans to fit a light.  The light was originally an outdoor, hard-wired light, which I fitted with a cord and added a pull chain to.  The legs were also changed...I doubled the width in order to have a more square appearance (2 2x4's planed and glued together).

Estimated Cost
$175
Estimated Time Investment
Week Long Project (20 Hours or More)
Finish Used
Minwax Jacobean Stain
Minwax Fast Drying Poly (Satin Finish)
Recommended Skill Level
Intermediate

Weatherly Sofa

Submitted by astcgirl on Mon, 11/11/2013 - 14:25

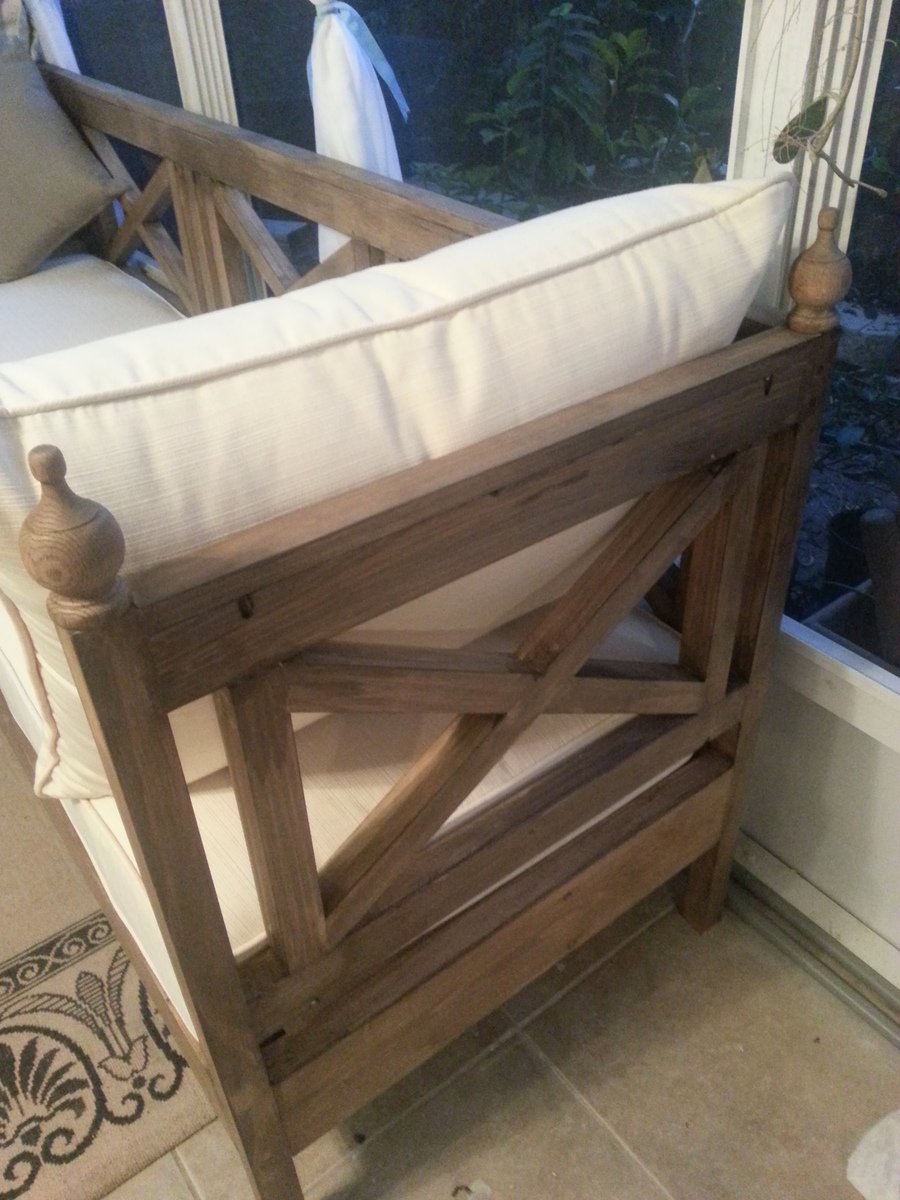
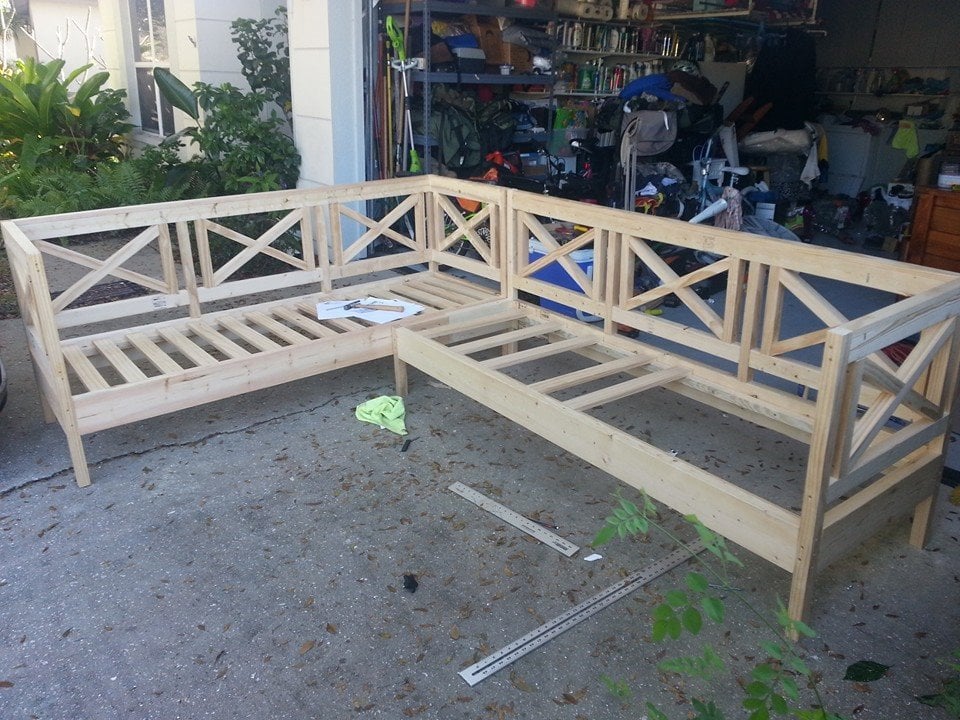
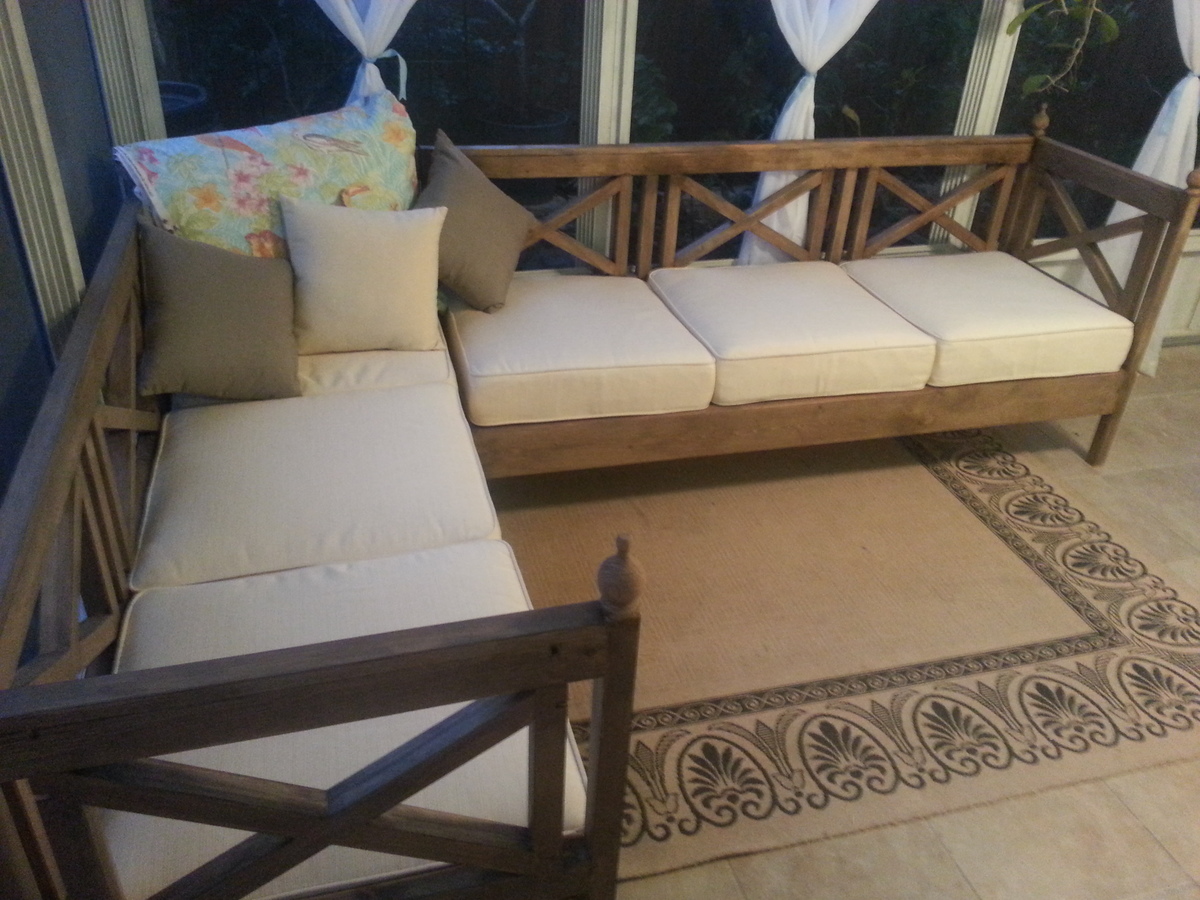
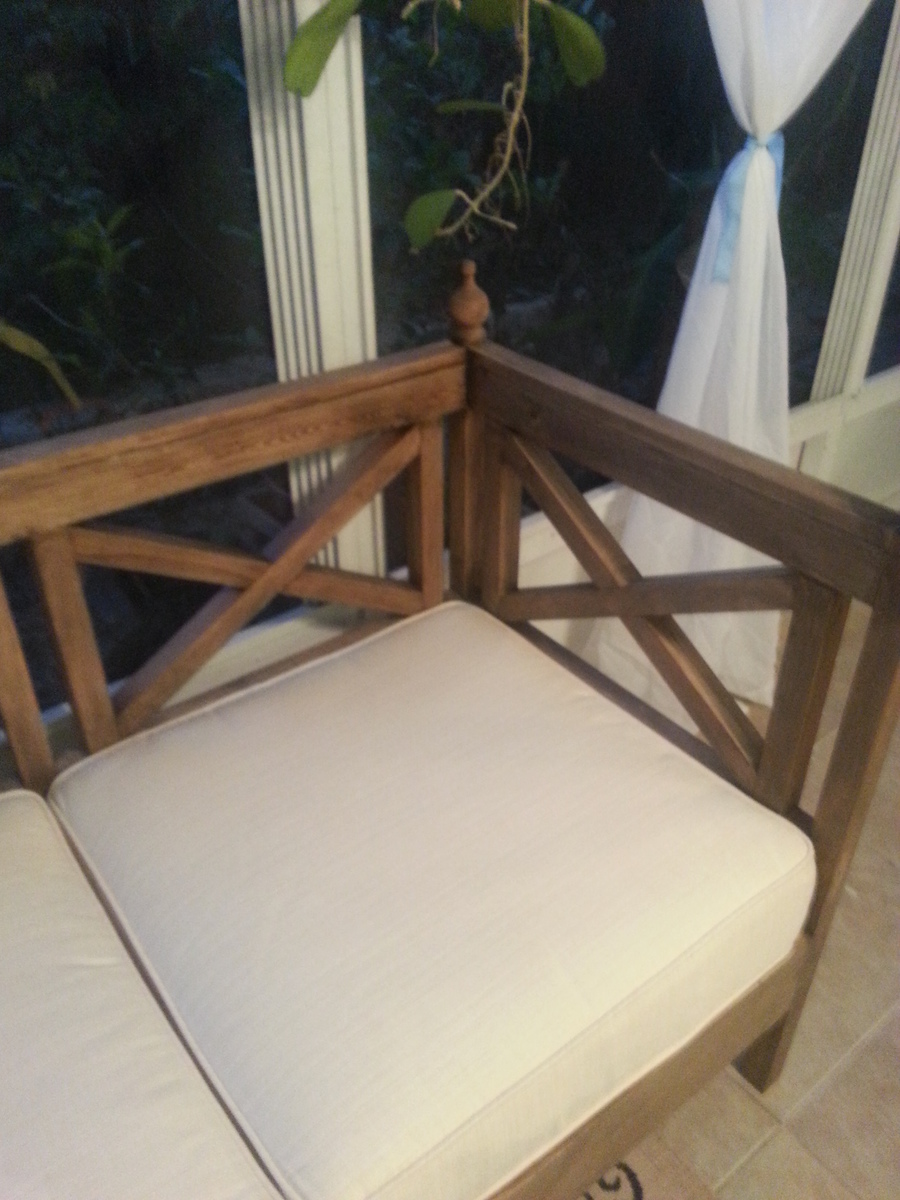
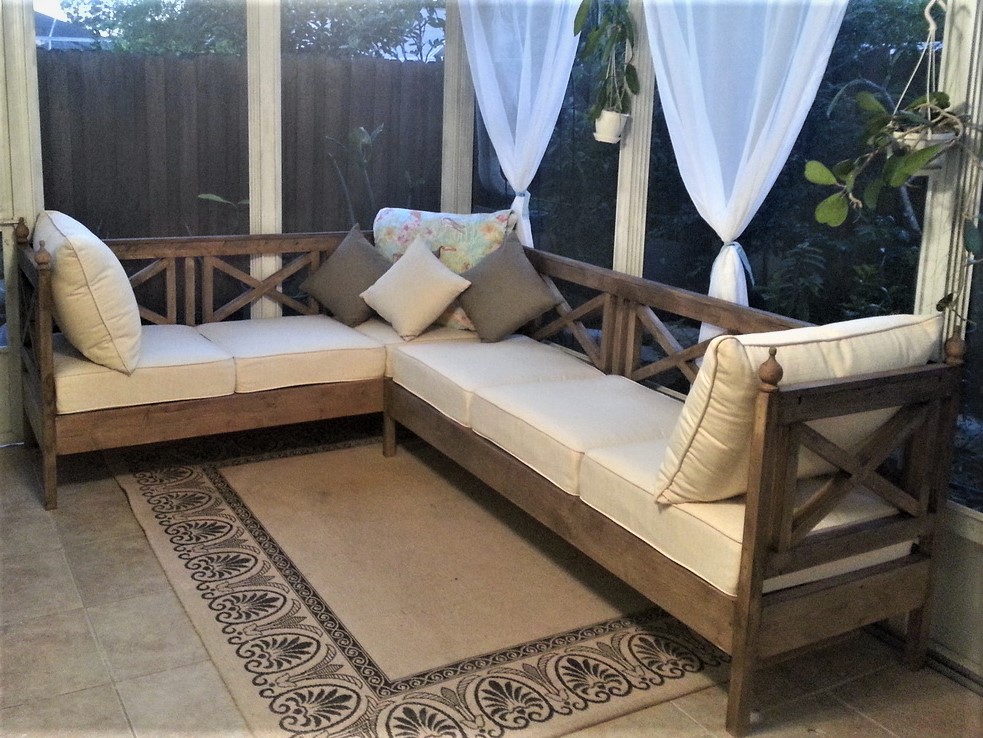
Just wanted to show my Weatherly Sofa (Sectional) that I built recently. I've been drooling over Ana's plans for months now, I waited patiently until I could get a good deal on a Kreg Jig since so many of Ana's plans use it. I purchased my cushions first, I really wanted Sunbrella fabric since they will be outside in my Lanai so they need to stand up to the Florida elements, I was so excited when I found the seat and back cushions for $40 a set discounted from $98, however I kept watching them after I purchased them and they eventually dropped down to $20 a set (called Lowes and they refunded me the difference), so total for all 8 seat and back cushions was only around $170...the problem with them however was that they were 25 x 25 and not the 24 x 24 that Ana recommends in the plans. I just modified the length of the sofa's by adding 3" and With by 1" which did increase my cost of wood since I was short certain pieces however I really wanted them to fit and not look squashed in there. The extra 3" made them fit perfectly. I also have 8 matching back cushions but they are a little too puffy to keep on there so I just use 2 on the ends and stored the rest. The small cushions I also purchased were on sale for $4 a set of 2. This was a relatively easy project. I was a little intimidated to use a compound miter saw to do my cuts so instead I just purchased a Stanley Clamping Miter box that was able to do the 30 degree cuts to make the x's. Total cost was $470 with all the cushions. I used Behr Weather Proofing Wood Stain & Sealer Semi-permanent in COFFEE which gave it a driftwood beachy look. It is so comfortable and sturdy. I love it and considering it was my first build from Ana's site I'm now hooked....Thank you Ana

Built from Plan(s)
Estimated Time Investment
Week Long Project (20 Hours or More)
Finish Used
Behr Weather Proofing Stain and Sealer Semi-permanent (Coffee) they didn't have quarts so I just got 4 sample cans and only ended up using 3.
Recommended Skill Level
Beginner

Redwood Adirondacks

Submitted by Anonymous (not verified) on Sun, 09/08/2019 - 16:46

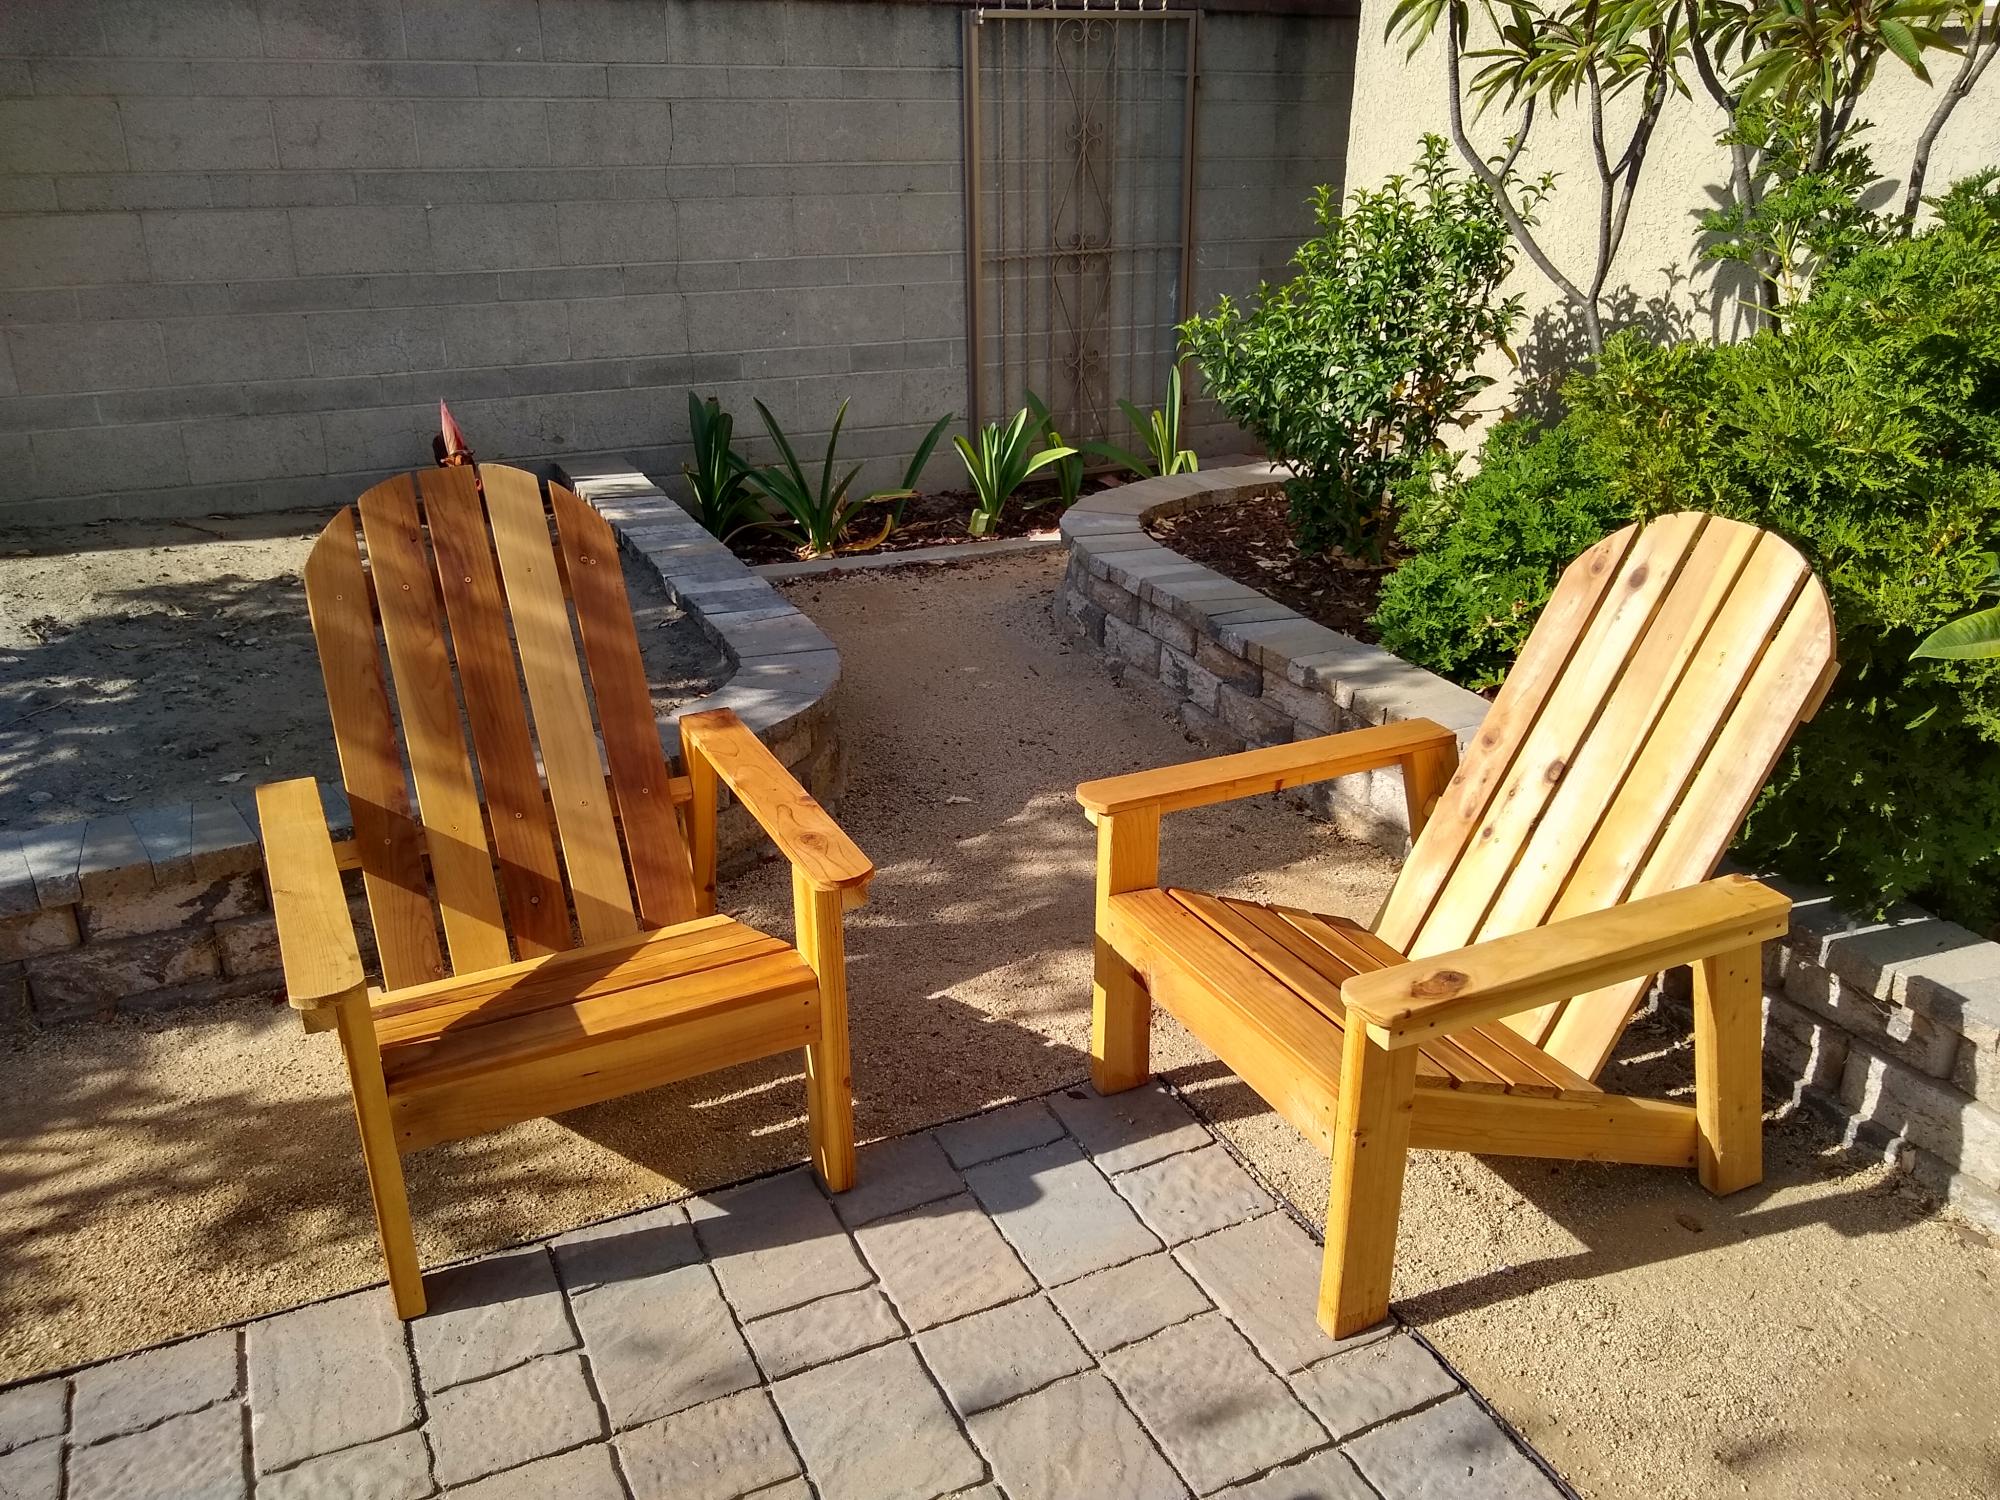
Ana's favorite Adirondack chairs made from redwood.

Estimated Cost
150
Estimated Time Investment
Weekend Project (10-20 Hours)
Finish Used
None
Recommended Skill Level
Beginner

Comments

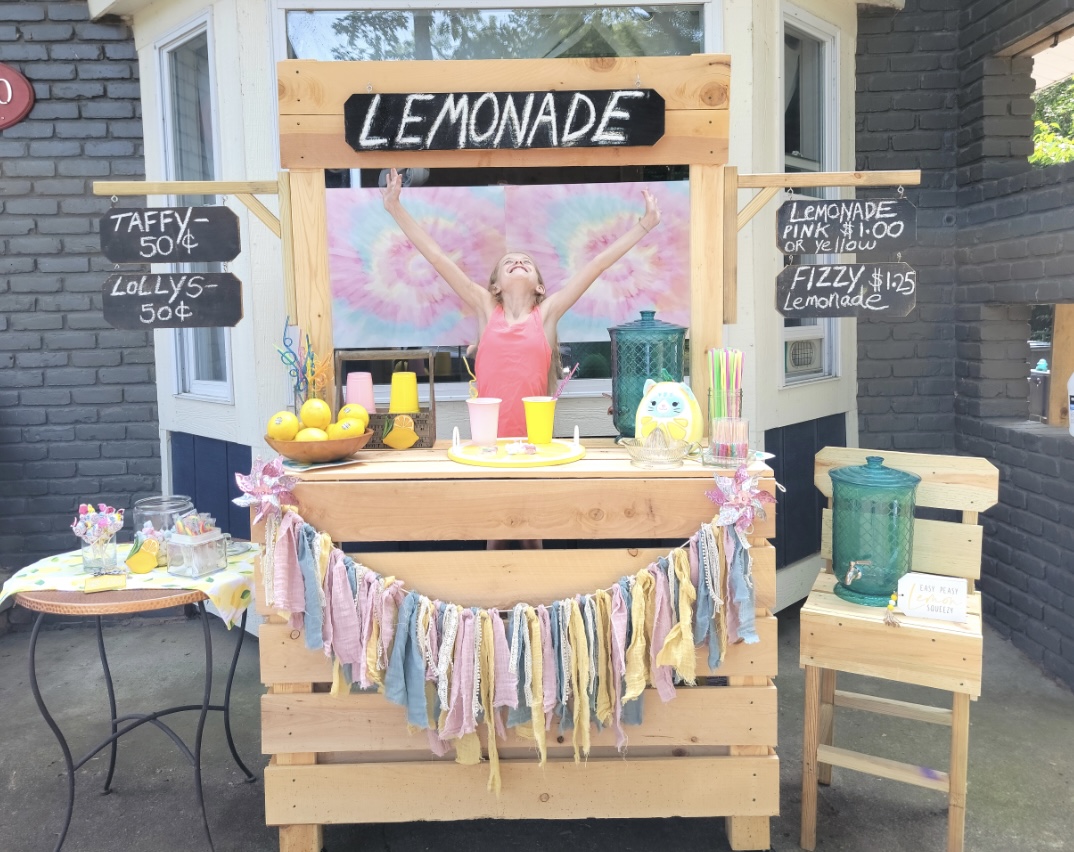
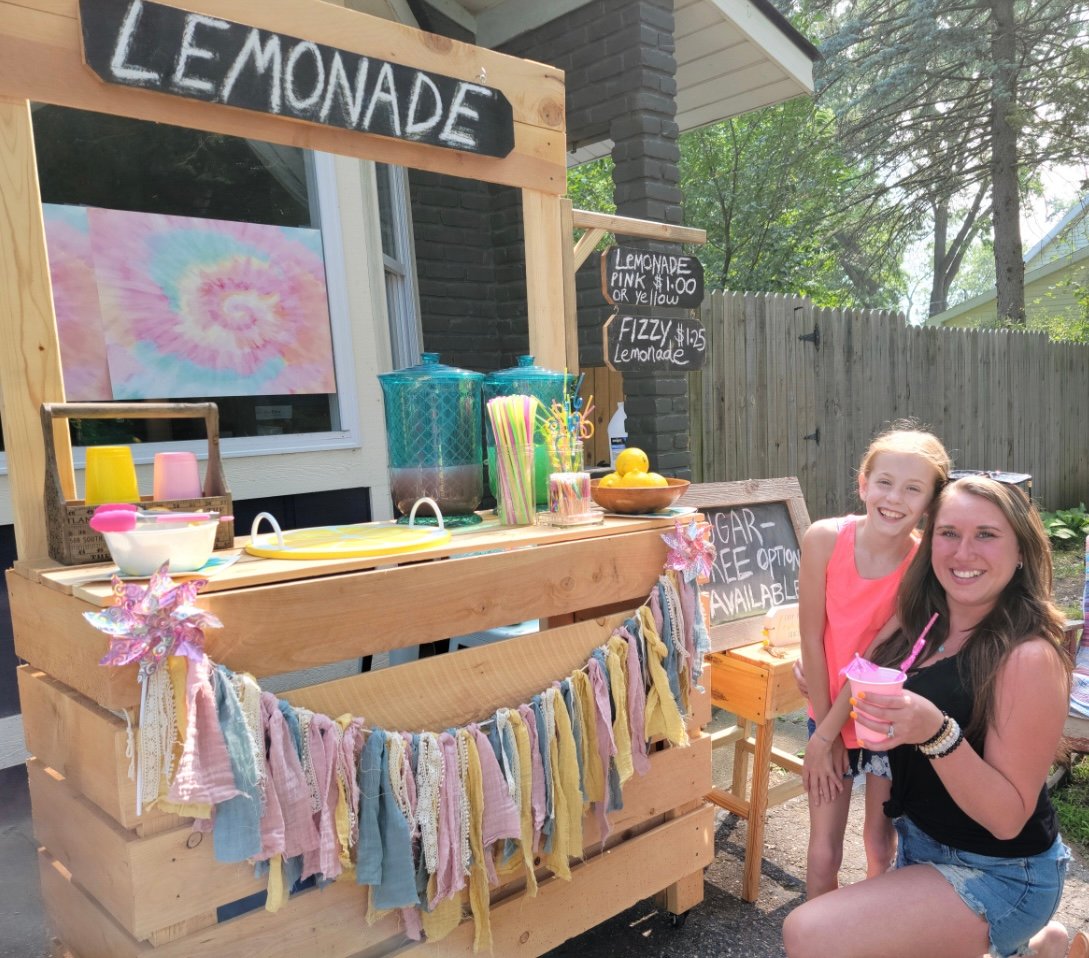
Easy to Build DIY Lemonade Stand

Submitted by Anonymous (not verified) on Sun, 07/30/2023 - 14:54

This is based on Ana's Lemonade Stand project- I made it taller and wider, added casters. It was a hit with the birthday girl and the customers!

Amy of The Navy House Goods Co. @thenavyhousegoodsco

Built from Plan(s)

Comments

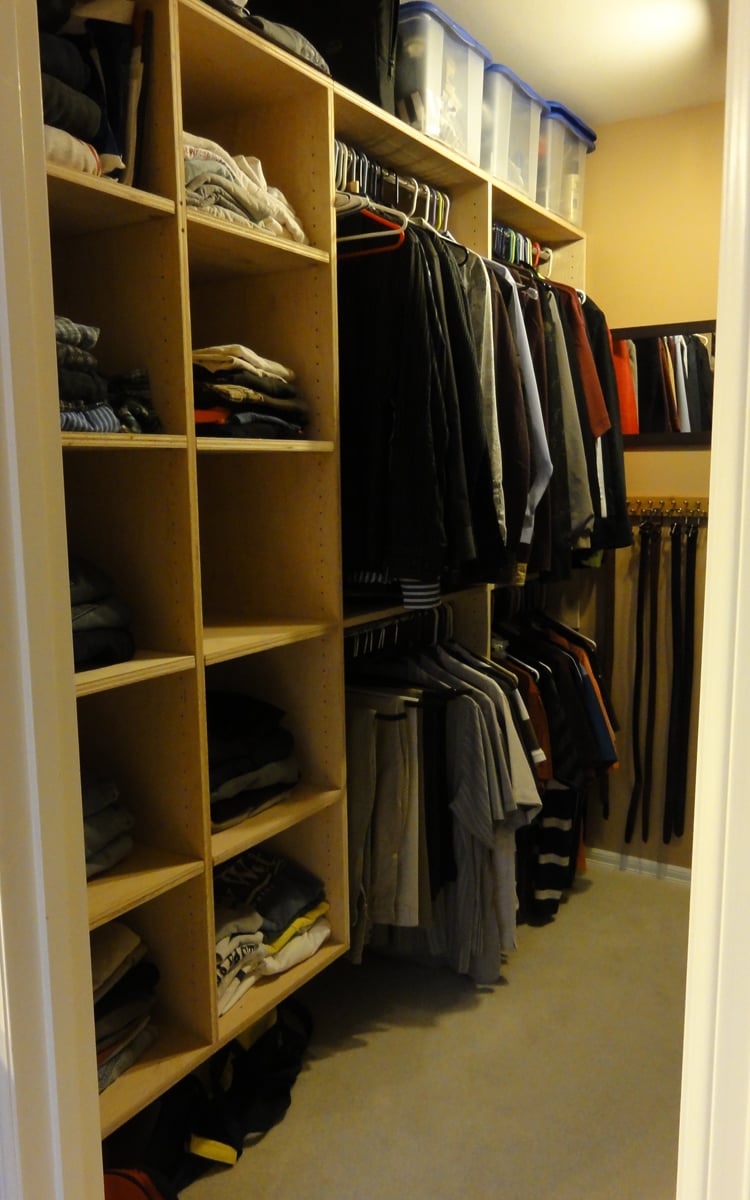
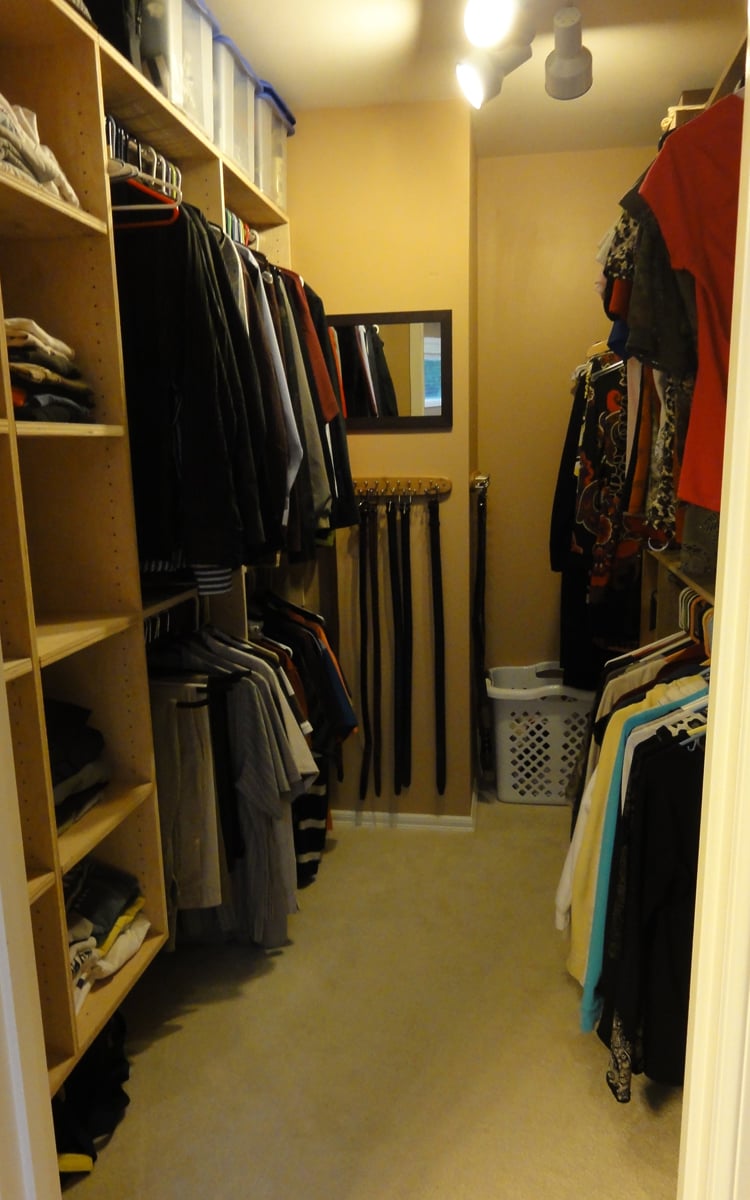
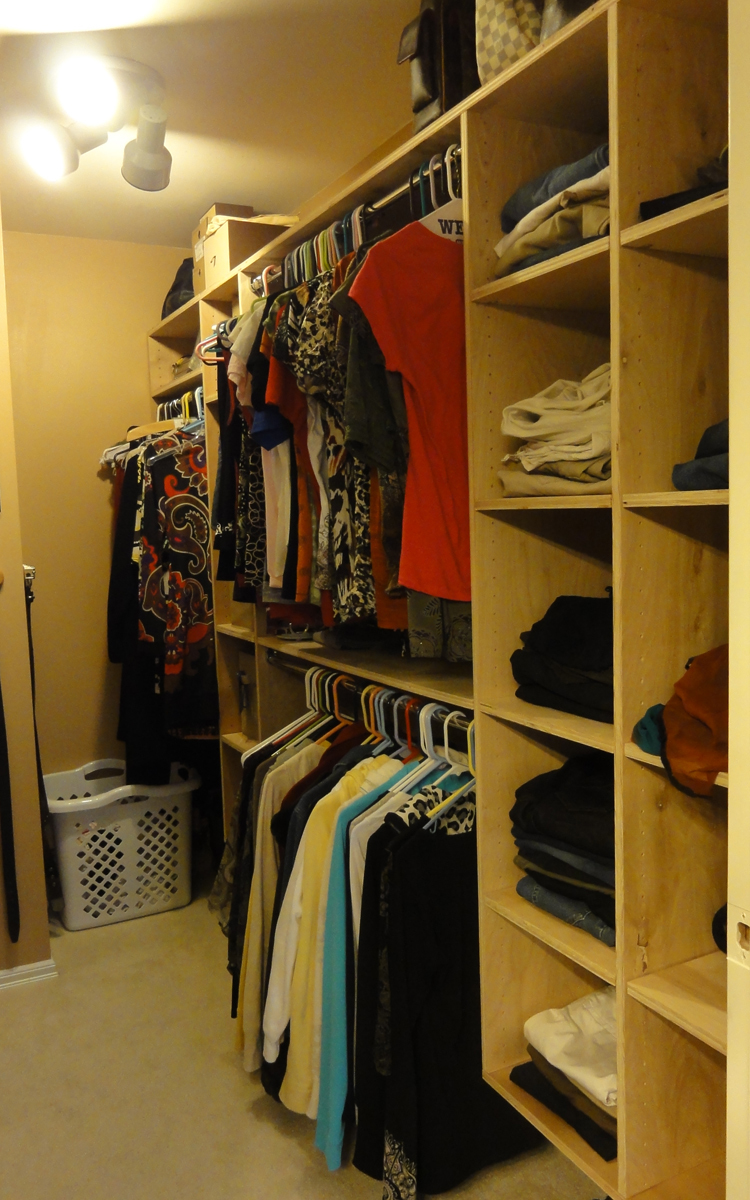
Surprise Master Closet Makeover!

Submitted by ferbit on Mon, 03/26/2012 - 13:28

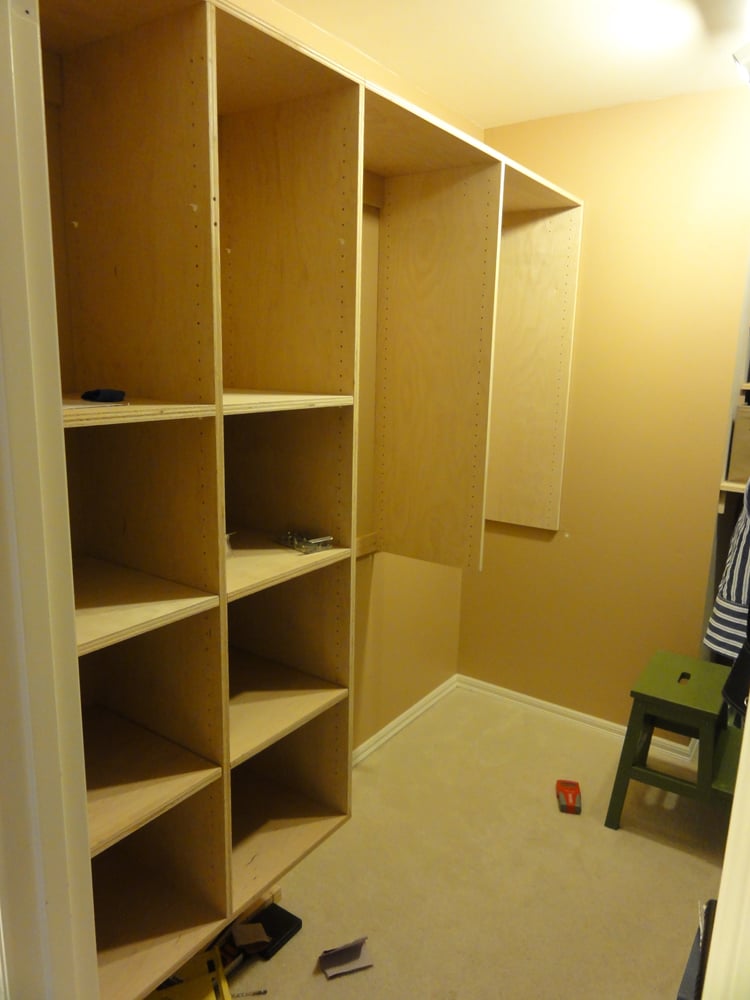
After over a year of other projects, I finally had the chance to completely redesign our master closet! I used EasyClosets.com to come up with the design again. :)  I still have a few more tweaks here and there, but I absolutely love it! I surprised my husband for his birthday by doing this project while he was on a business trip. :)

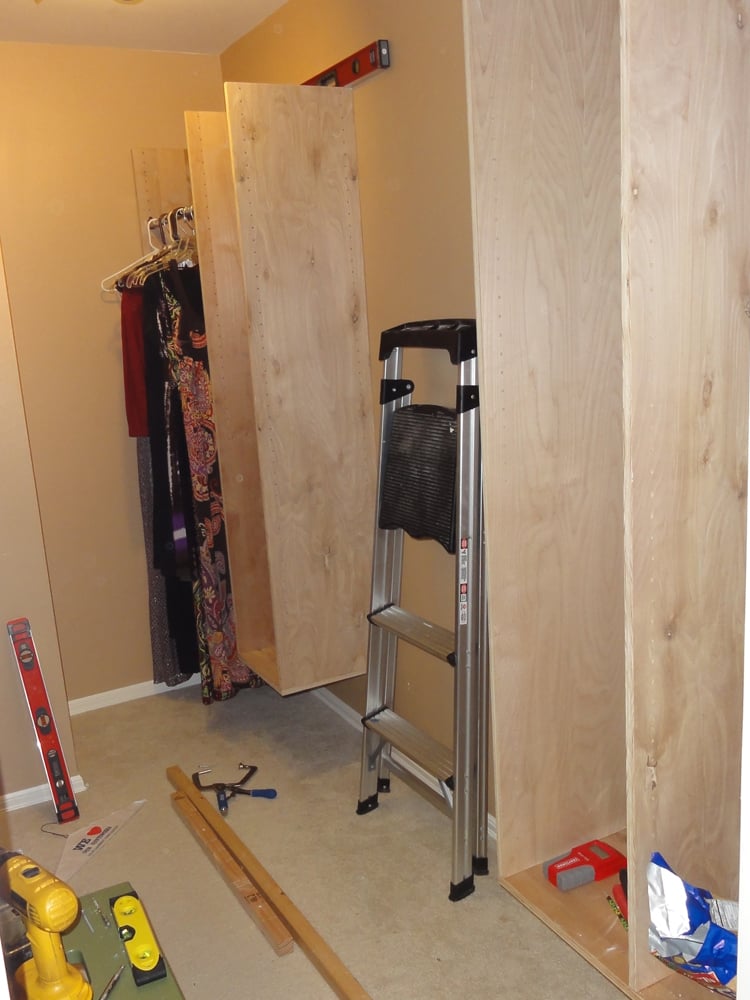
Other than mounting these boxes to the studs, this project was built exclusively with my Kreg Jig. I drilled all of the adjustable shelving holes with a nifty Rockler Jig-It shelving jig - wish it had been the Kreg shelving jig, but I bought mine before Kreg came out with theirs. The Rockler one works great - I just love Kreg's stuff so I'm sure theirs is awesome too.  ;)

I begged Kreg to let me buy their new circular saw rip cut product early for this project, but they said no.  :-(  Bummer because I saw Ana using hers and was so jealous!  I had to rip all of my plywood the old fashioned way on the floor with my circular saw and lots of clamps.  Yuck!

This time around, I used birch plywood.  I used white pre-drilled melamine for both of my daughters closets (brag post here), but I didn't like working with that stuff.  Too sharp, slippery and HEAVY.  I did our spare bedroom closet with pine 1x12 boards a few months back. I think I liked working with the pine best..
After a few months, I purchased a bunch of Closetmaid Fabric Bins/Drawers and they look so good!

Estimated Cost
$300
Estimated Time Investment
Weekend Project (10-20 Hours)
Finish Used
none
Recommended Skill Level
Beginner

Comments

ferbit

Mon, 03/26/2012 - 18:00

My husband has more room on his side of the closet so his boxes are 16.5" deep. I think that's a bit too deep, but I was trying to use existing wood that had already been cut for shelving on that side. Heavy to hang though. :)

On my side of the closet, the depth is 14.5" deep.

The rods are awesome! Super cheap at The Container Store. You buy them in 2-foot, 3-foot or 4-foot lengths and they cut them on site for you. I posted hyperlinks to the rods and the rod hanging hardware on one of my other brag posts. Love them!

felicia (not verified)

Sat, 11/10/2012 - 17:23

Your closet looks great. How did you get the unit to float on the wall?

Rhea

Thu, 05/16/2013 - 15:00

The closet is amazing. Yesterday I finally took off the builder installed shelf and dowel. Took a while, still need to patch up the drywall. I am now research to get the closet renovation started. I have tons of questions.
I understand that the shelves itself were attached by kreg jig holes. How do I hang the shelves on the wall?

jyothianil

Tue, 11/19/2013 - 06:47

Yours closets are awesome. Can you please advice as i am a newbee.

White closets: For the white closets we buy the regular plywood from Home depot and then do primer and paint. Can you please advice on the primer and the paint I should use to make it white color.

Wood closets: I like the wood color closets. Do we need to do any polish. What sheets should we buy in home depot to make wood color closets. What are our options for wood color closets

Thank you

ferbit

Thu, 11/21/2013 - 11:16

Rhea, take a look at Ana's kitchen cabinet plans and look at how she braces them along the back. That's what you screw through into the studs. To make it easier, I screwed in a scrap 2x2 into the studs at JUST below where I wanted the closet shelves to go (sort of like a temporary shelf). Then I carefully set the closet box on my temporary shelf and screwed it into the studs.

Also, if you click on my username, I explain how I hang them in a bit more detail in one of my daughter's closet makeovers. :)

ferbit

Thu, 11/21/2013 - 11:24

Hi jyothianil,

I have done both actually. I did both of my daughter's closets using pre-peg-hole-drilled white melamine from HD. You can get it in two widths and it saves you a ton of time not having to drill all of those holes. A few things to consider... Melamine is HEAVY and a total pain to work with. The edges are sharp after being cut and it slips everywhere when trying to kreg-jig it together. But it's DONE once it's put together...

On two other closets, I just used ripped sheets of birch plywood or 1x12 sheets of pine. I didn't finish mine, but I probably should have. It doesn't snag the clothes, but it does create dust. If I had at least put one coat of poly on, it would have eliminated a lot of the dust that collects on the clothes.

If you want to paint them white, I would just use some sort of primer and any white paint. It's all personal preference, but I would get semi-gloss or gloss white paint because it won't show fingerprints and clothes will slide on and off the shelves easier.

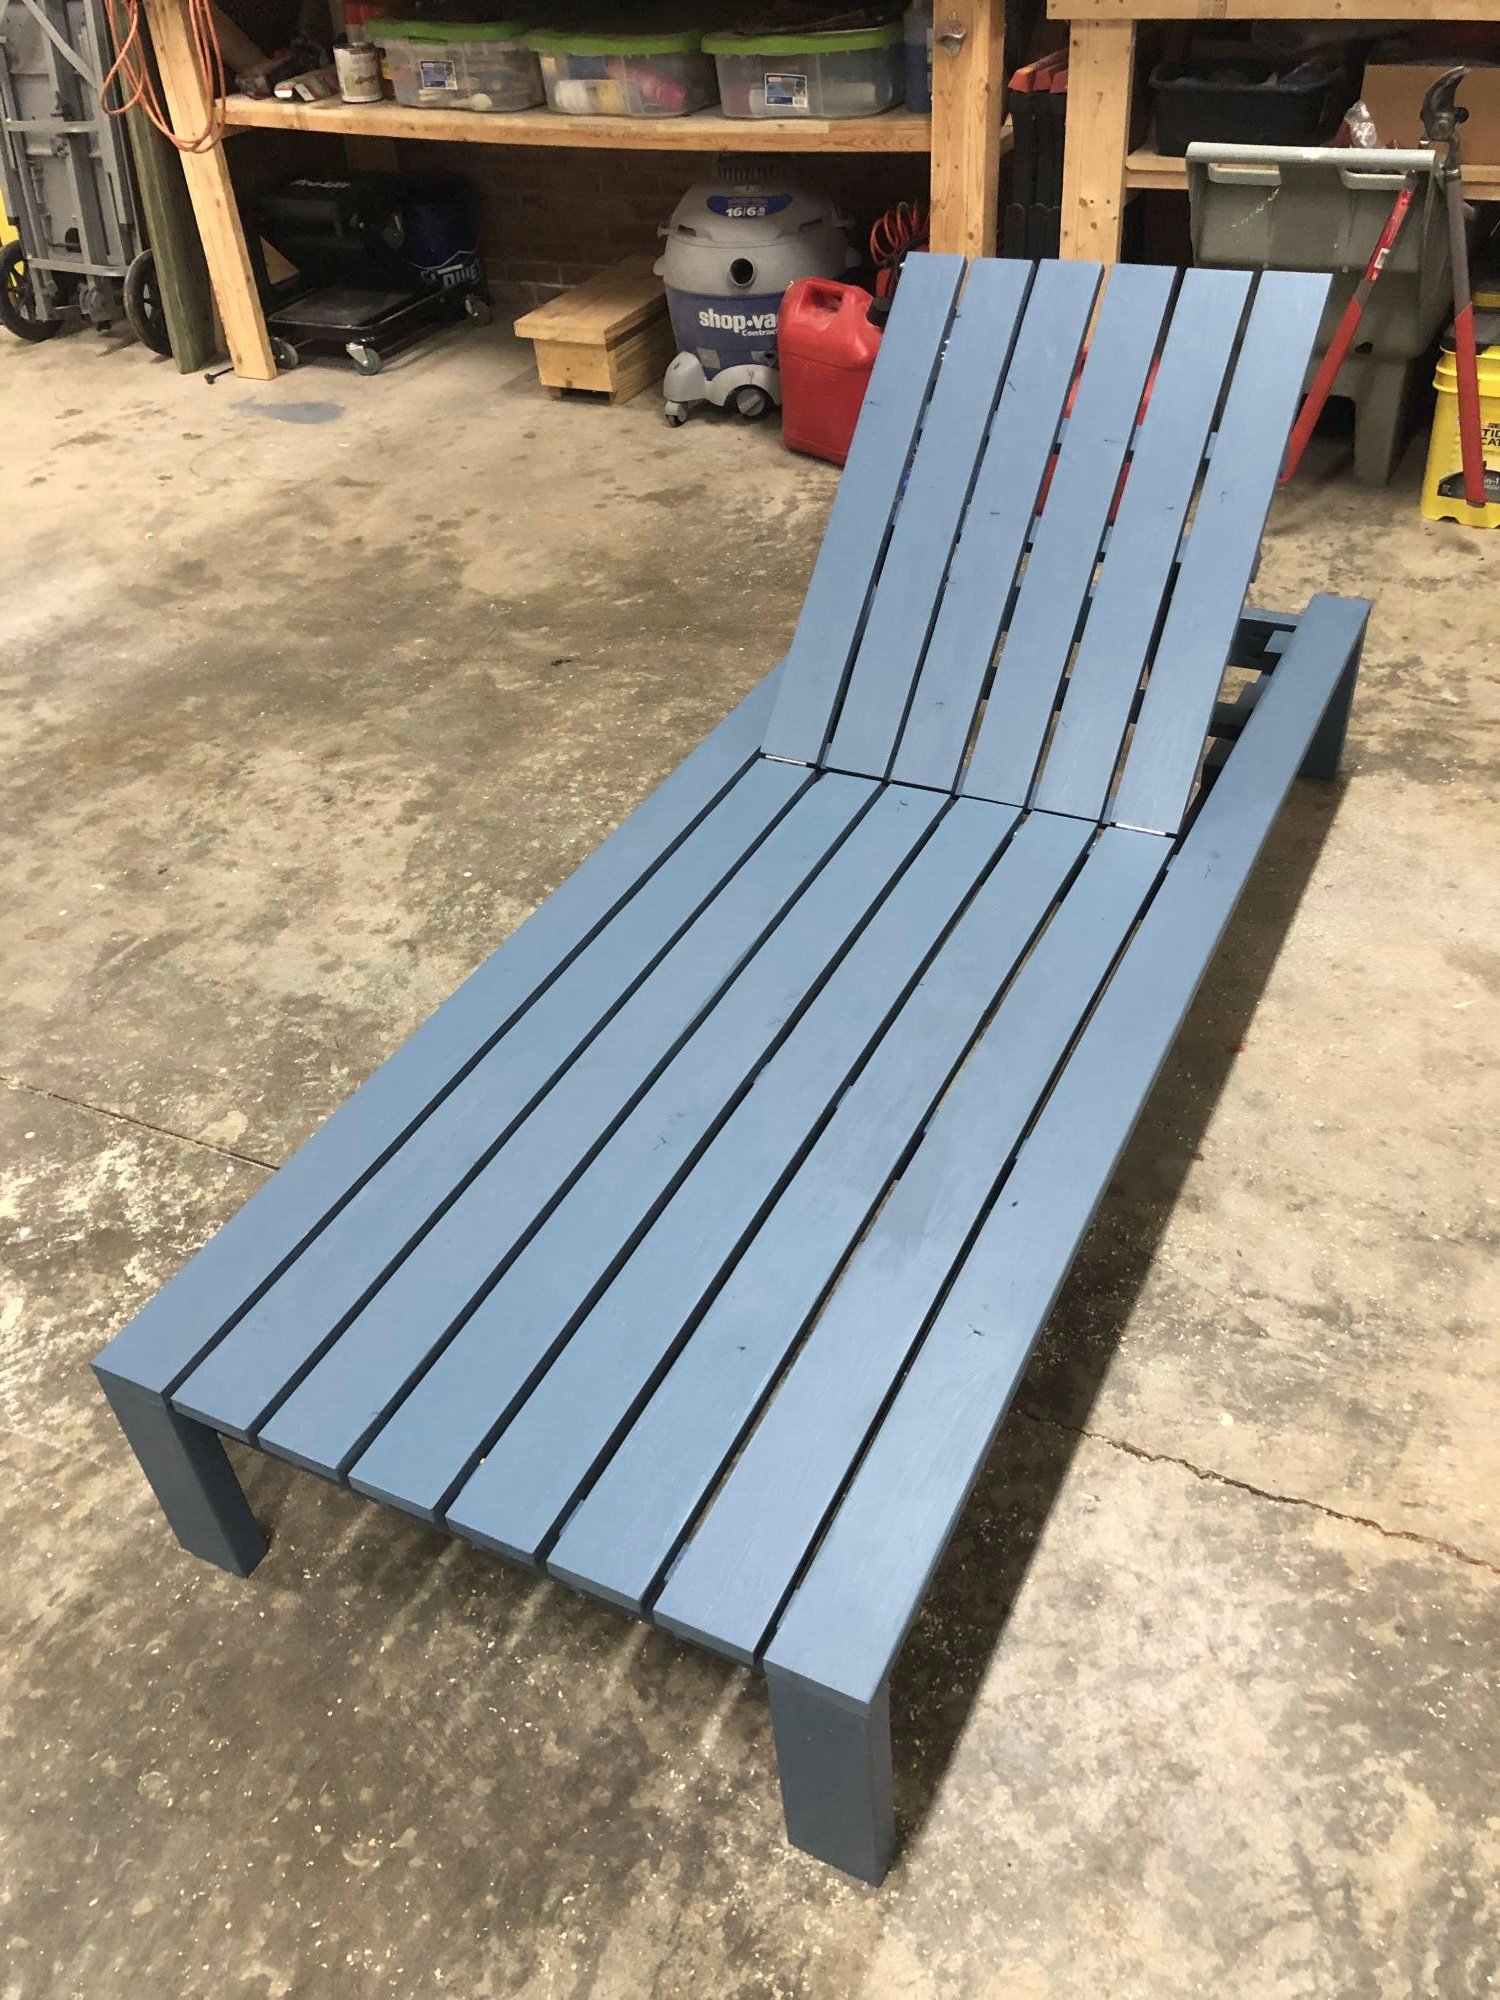
Pottery Barn Inspired Chaise Lounger

Submitted by gtd869 on Wed, 04/15/2020 - 20:34

I followed Ana’s Modern Chaise build. The number of 2x4’s specified in the instructions is incorrect. You need 3 not 2. Other than that, a great plan.

Comments

Simple Modern Outdoor Double Lounger.

Submitted by omahattan on Wed, 06/13/2012 - 11:52

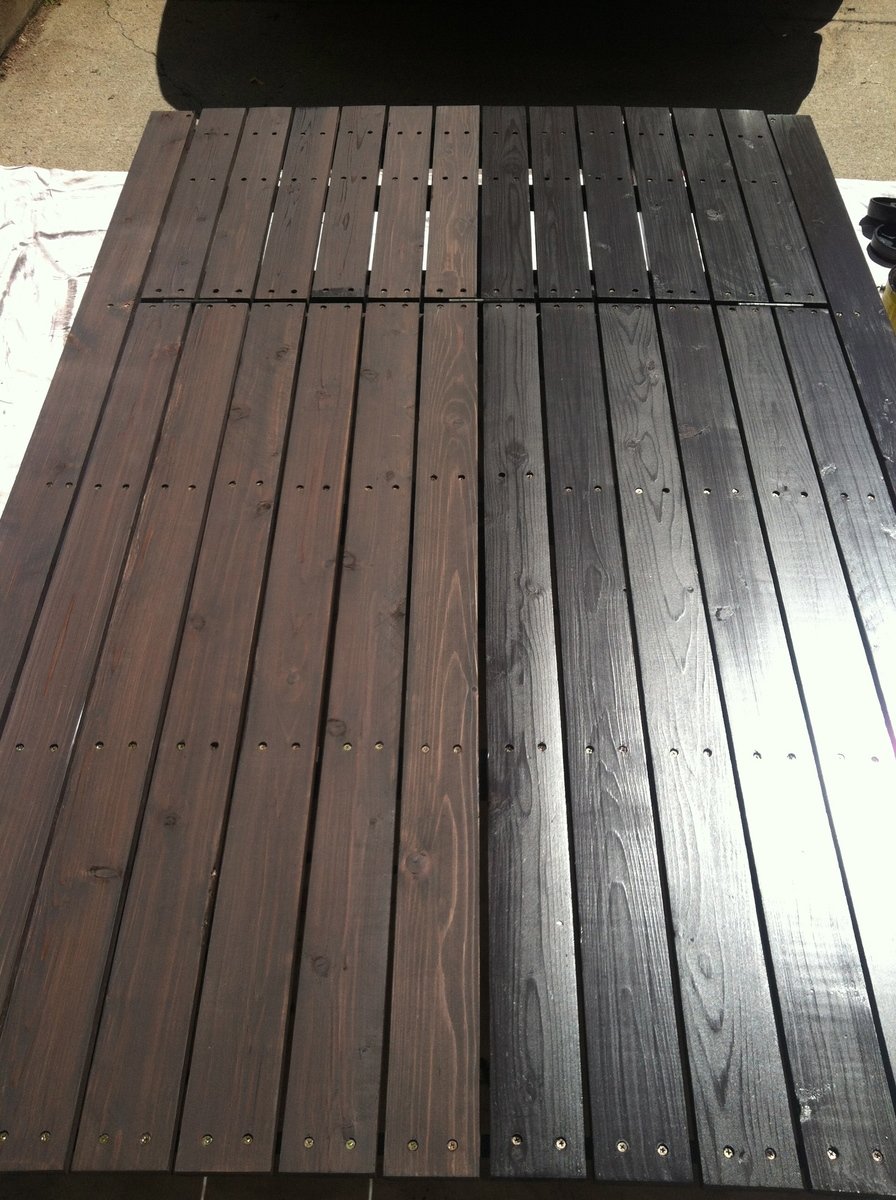
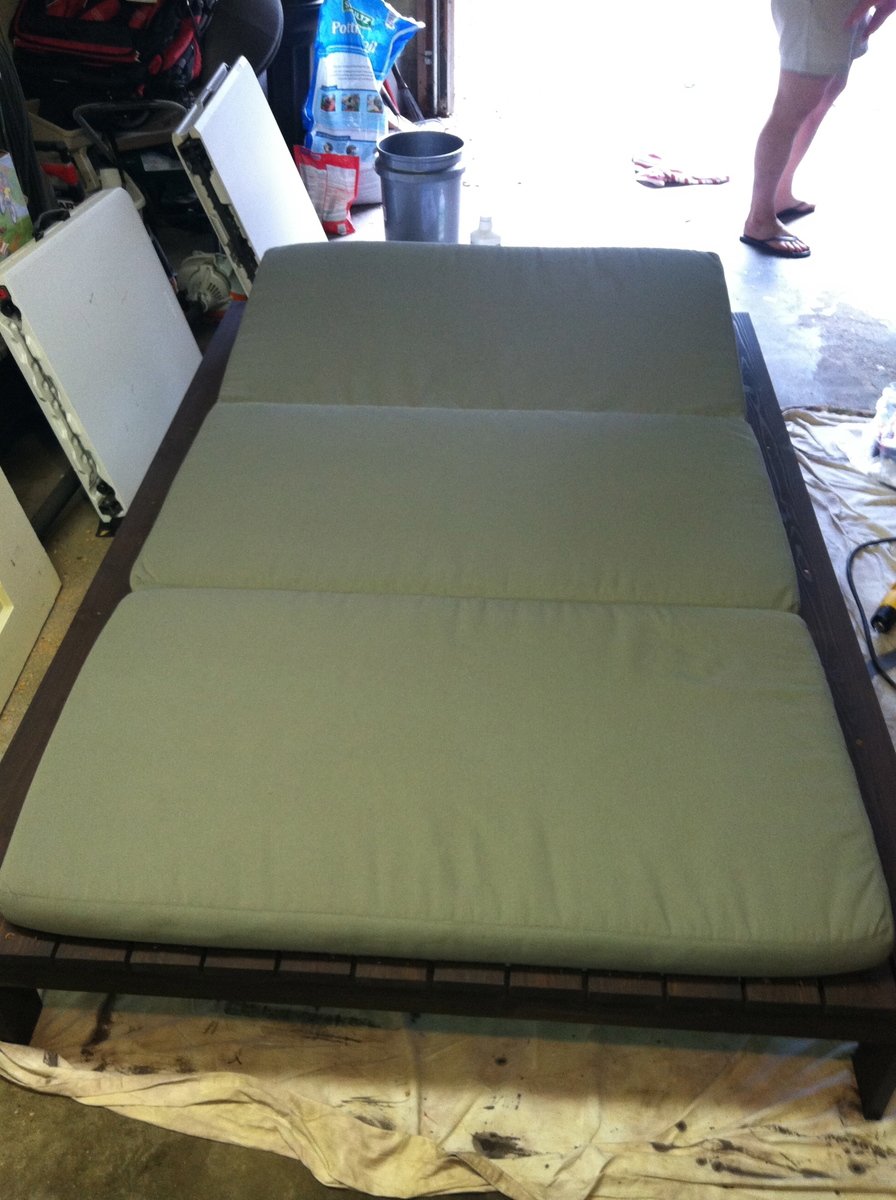
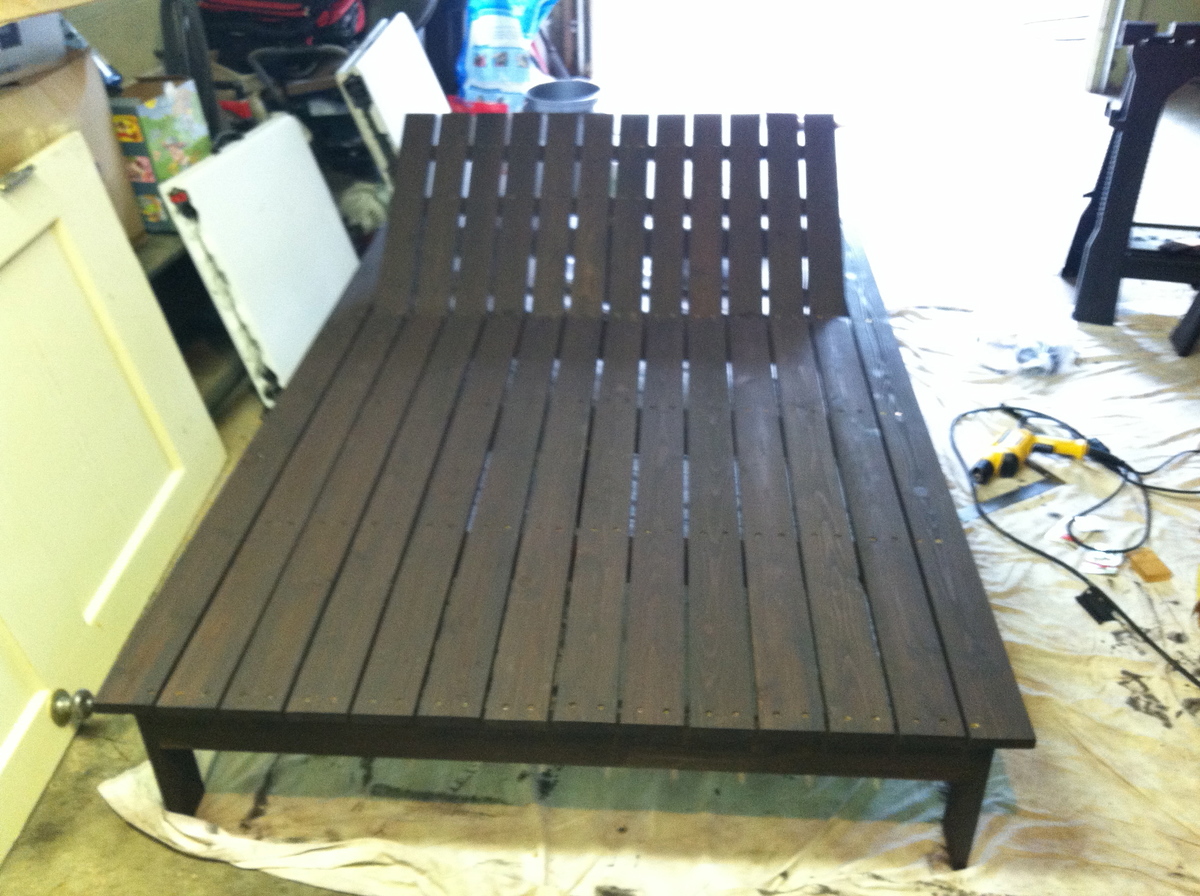
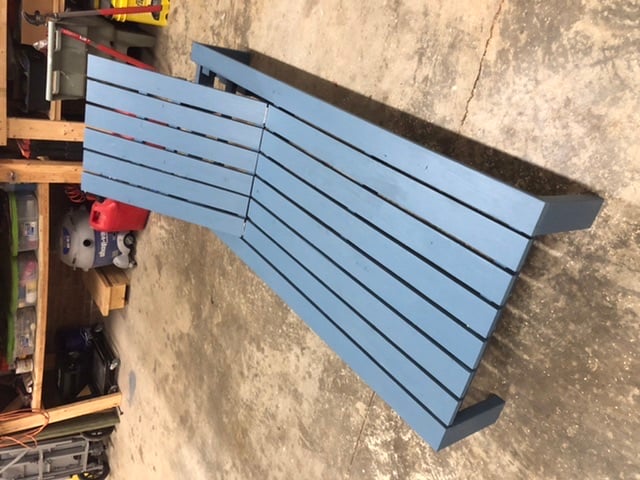
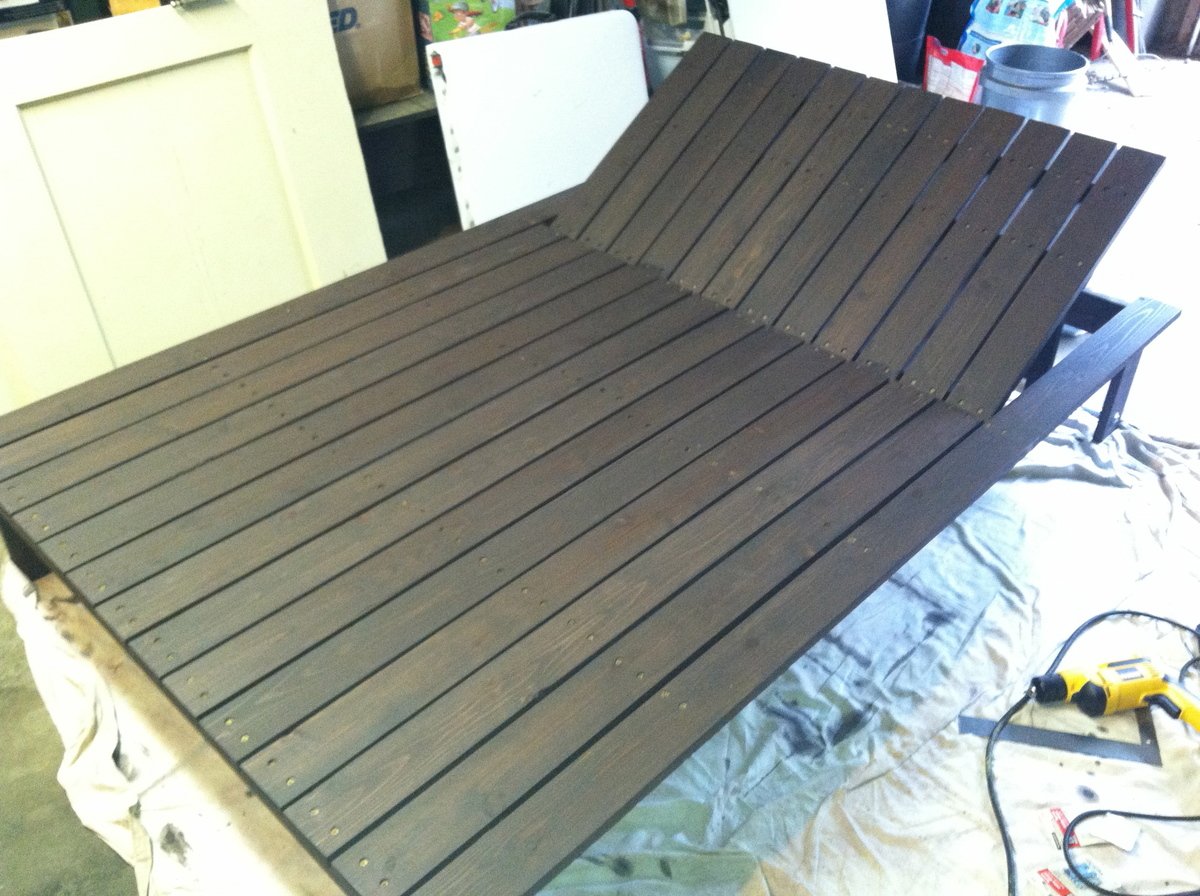
Finished it in about two weeks, but that was during my sons daily two hour nap window and two days of staining. Had to make a few adjustments so the pillow from West Elm would fit, because the plan calls for 11 slats on the deck when it should be 12. I added some wheels to the back and will add pull out drink tables soon. It was a fun project and my wife is thrilled.

Estimated Cost
$175
Estimated Time Investment
Day Project (6-9 Hours)
Finish Used
Cabot Semi-Solid Stain (Cordovan Brown).
Recommended Skill Level
Intermediate

2x4 and 2x6 Chairs and Couch

Submitted by clintusaf on Mon, 05/11/2020 - 16:43

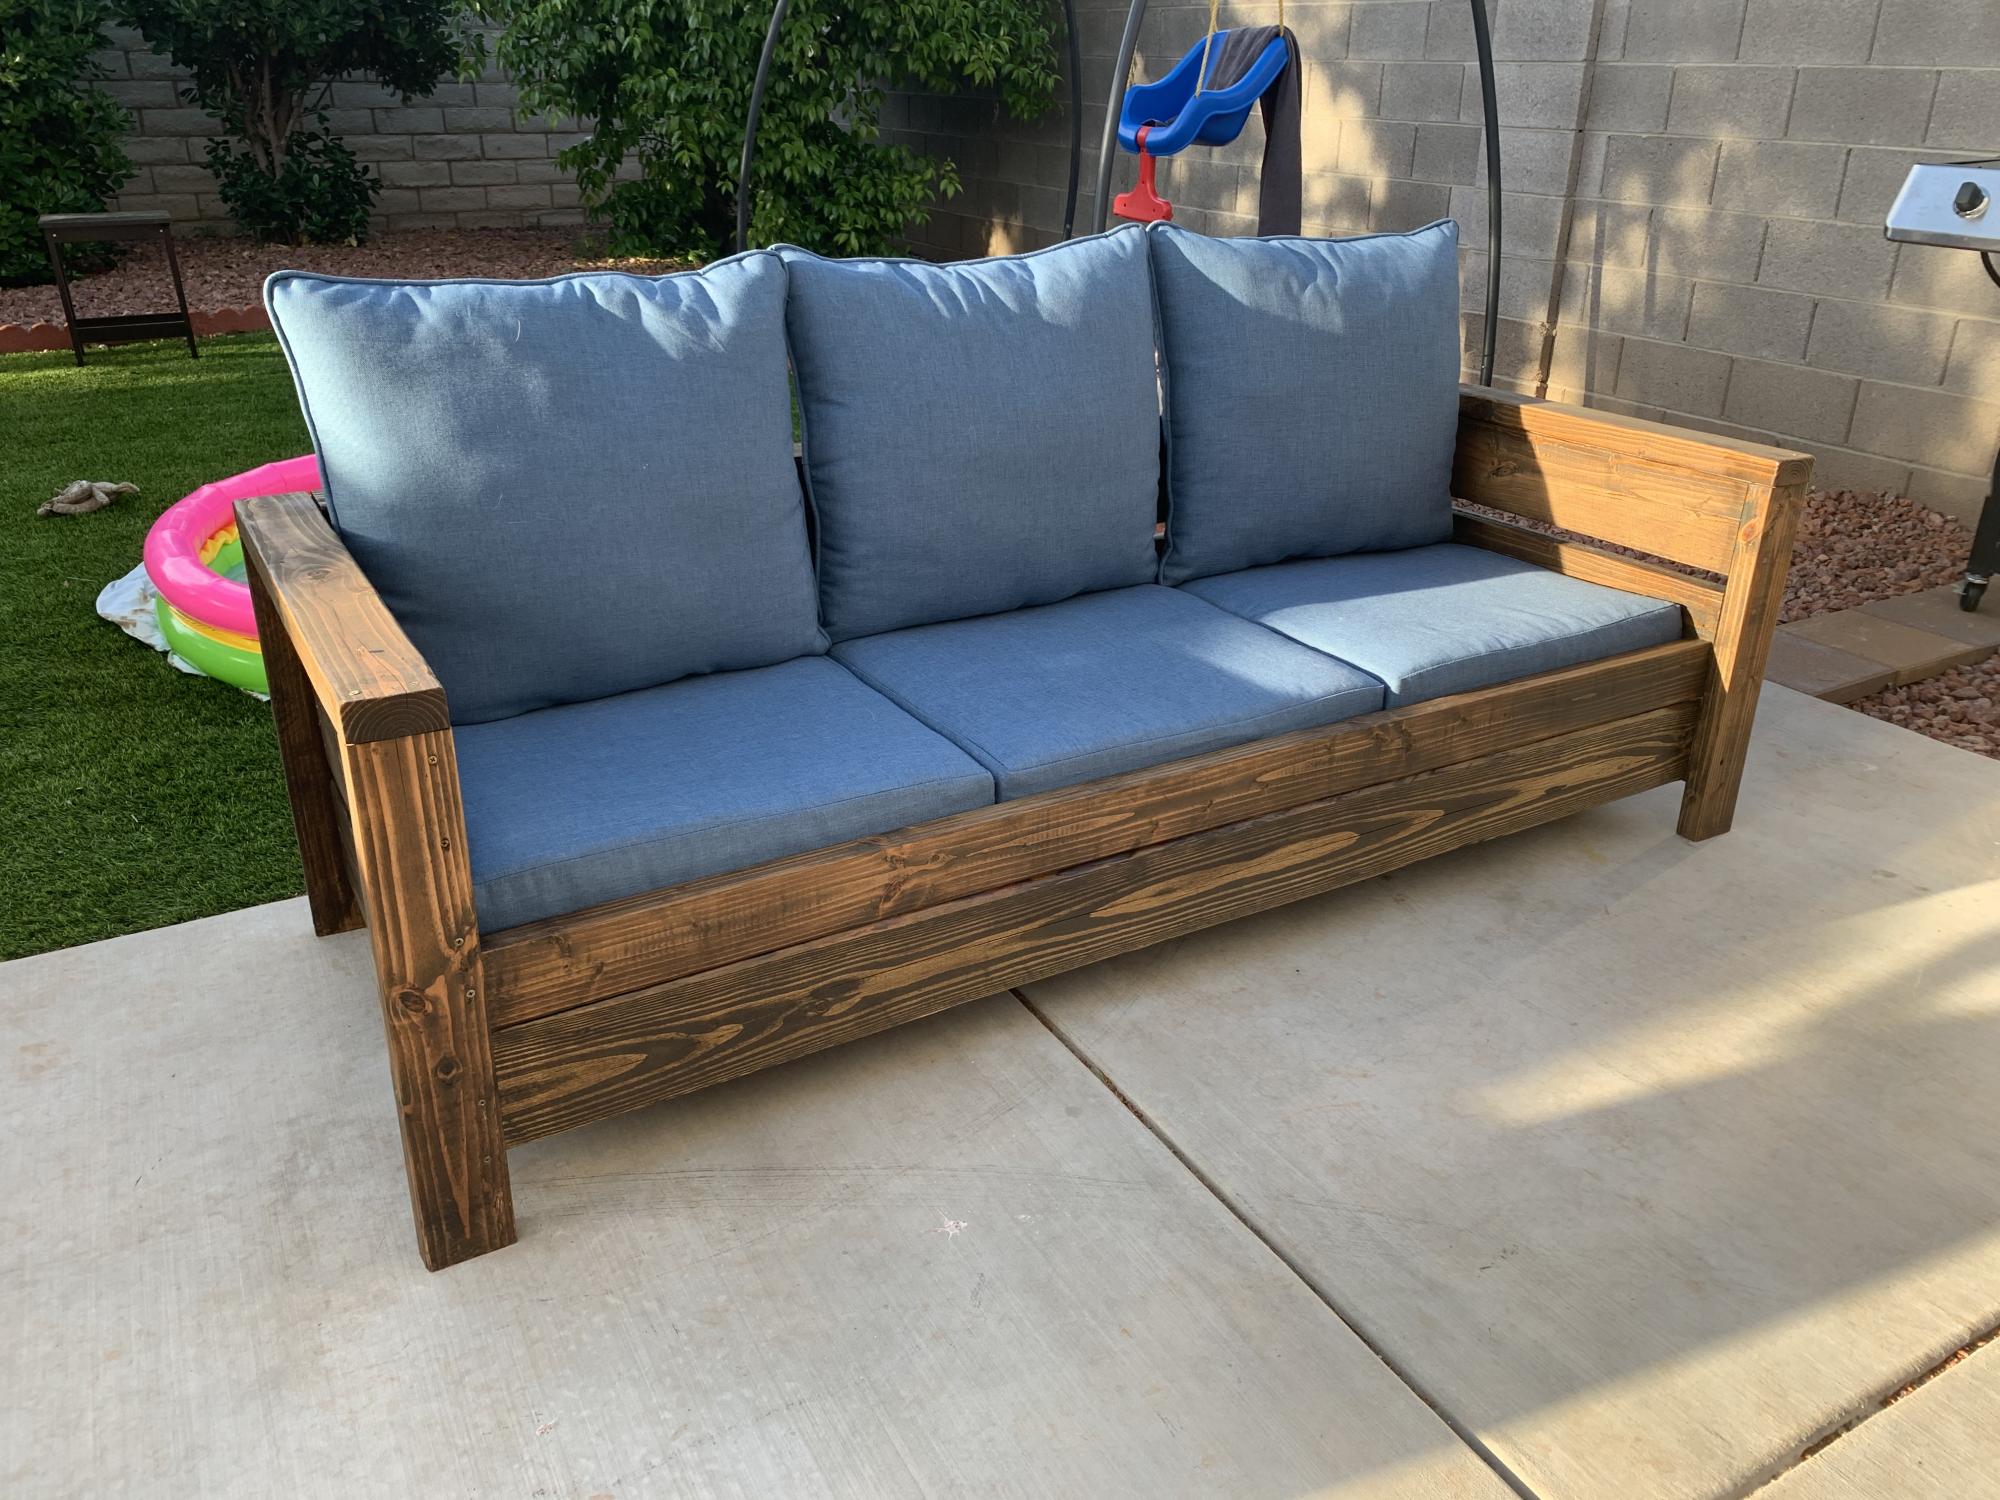
I used the Modern Outdoor Chair from 2x4s and 2x6s plans and slightly modified then to make a 3 seater couch. My cushions(most expensive part) were 24 in x 24 in and purchased from Lowes for $40 per seat. The couch is 79 inches in total length. I also dropped the seat down to the lower level to allow more room for my cushion backs to sit further down into the seat.

Estimated Cost
$400
Estimated Time Investment
Weekend Project (10-20 Hours)
Finish Used
Thompsons Waterseal Teak Oil Walnut Semi-Transparent
Recommended Skill Level
Beginner

Farmhouse Bench in 1 day

Submitted by vickitee on Wed, 06/25/2014 - 08:27

This was my first build from your site! Farmhouse bench.
I was a little confused with the miter saw instructions "bevel cut at a 10 degree angle off center". I had to google to figure out what you meant. In the end the bench looks awsome and I feel very empowered with my tools.
(still need to stain the finished project, bought all the wood and built in 1 day)
Thank you Ana for sharing your plans!! I love your site and I love my Kreg Jig!
Vicki
(Canada)

Estimated Time Investment
Day Project (6-9 Hours)
Finish Used
going to use walnut stain.
Recommended Skill Level
Beginner

Comments

Narrow Sewing Table

Submitted by WeezyWorks on Tue, 09/11/2012 - 18:06

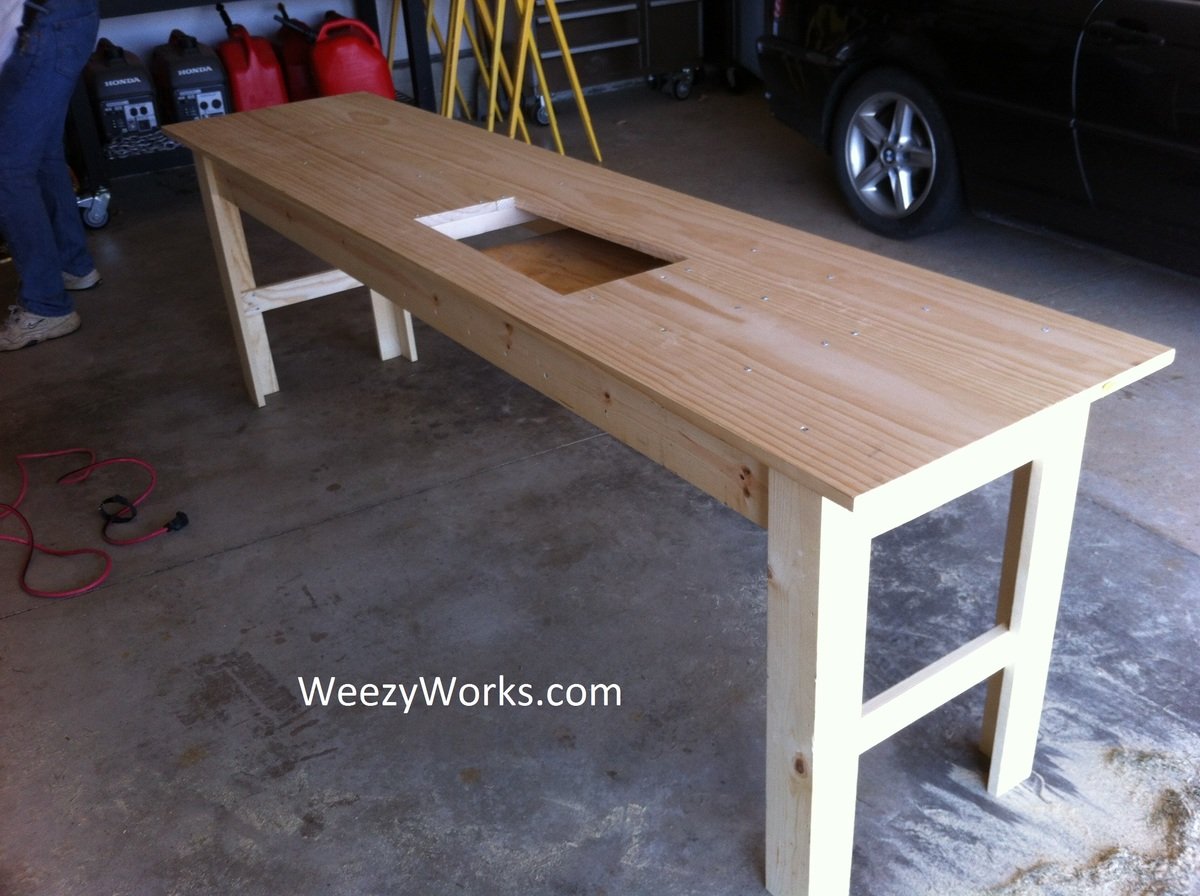
Ive been looking for a sewing table to fit my space. but found none for less than $500 and they were quite small. I found a post at quiltedcupcake.com that linked me to another blog, linking me here. I modified the plan to be about 2 feet wide and cut a hole to fit my sewing machine. There is a support in the bottom to hold my machine level with the tabletop. When I make this in the future, I will splurge on a fine hardwood. This plan was easy to build and looks great! Just what I was looking for :D

Estimated Cost
$125
Estimated Time Investment
Weekend Project (10-20 Hours)
Finish Used
Dark stain and satin polyurethane
Recommended Skill Level
Beginner

Comments

tommirhea

Fri, 09/14/2012 - 09:45

I'm jealous of your organization! I've had a folding table for my sewing table since I started sewing :(

tommirhea

Sun, 09/16/2012 - 10:11

Now, I've just got to make it! I love to free motion quilt and that would make it easier. With each baby I've had my quilting space has diminished (of course it's worth it) but now I think I will reclaim some space ;)

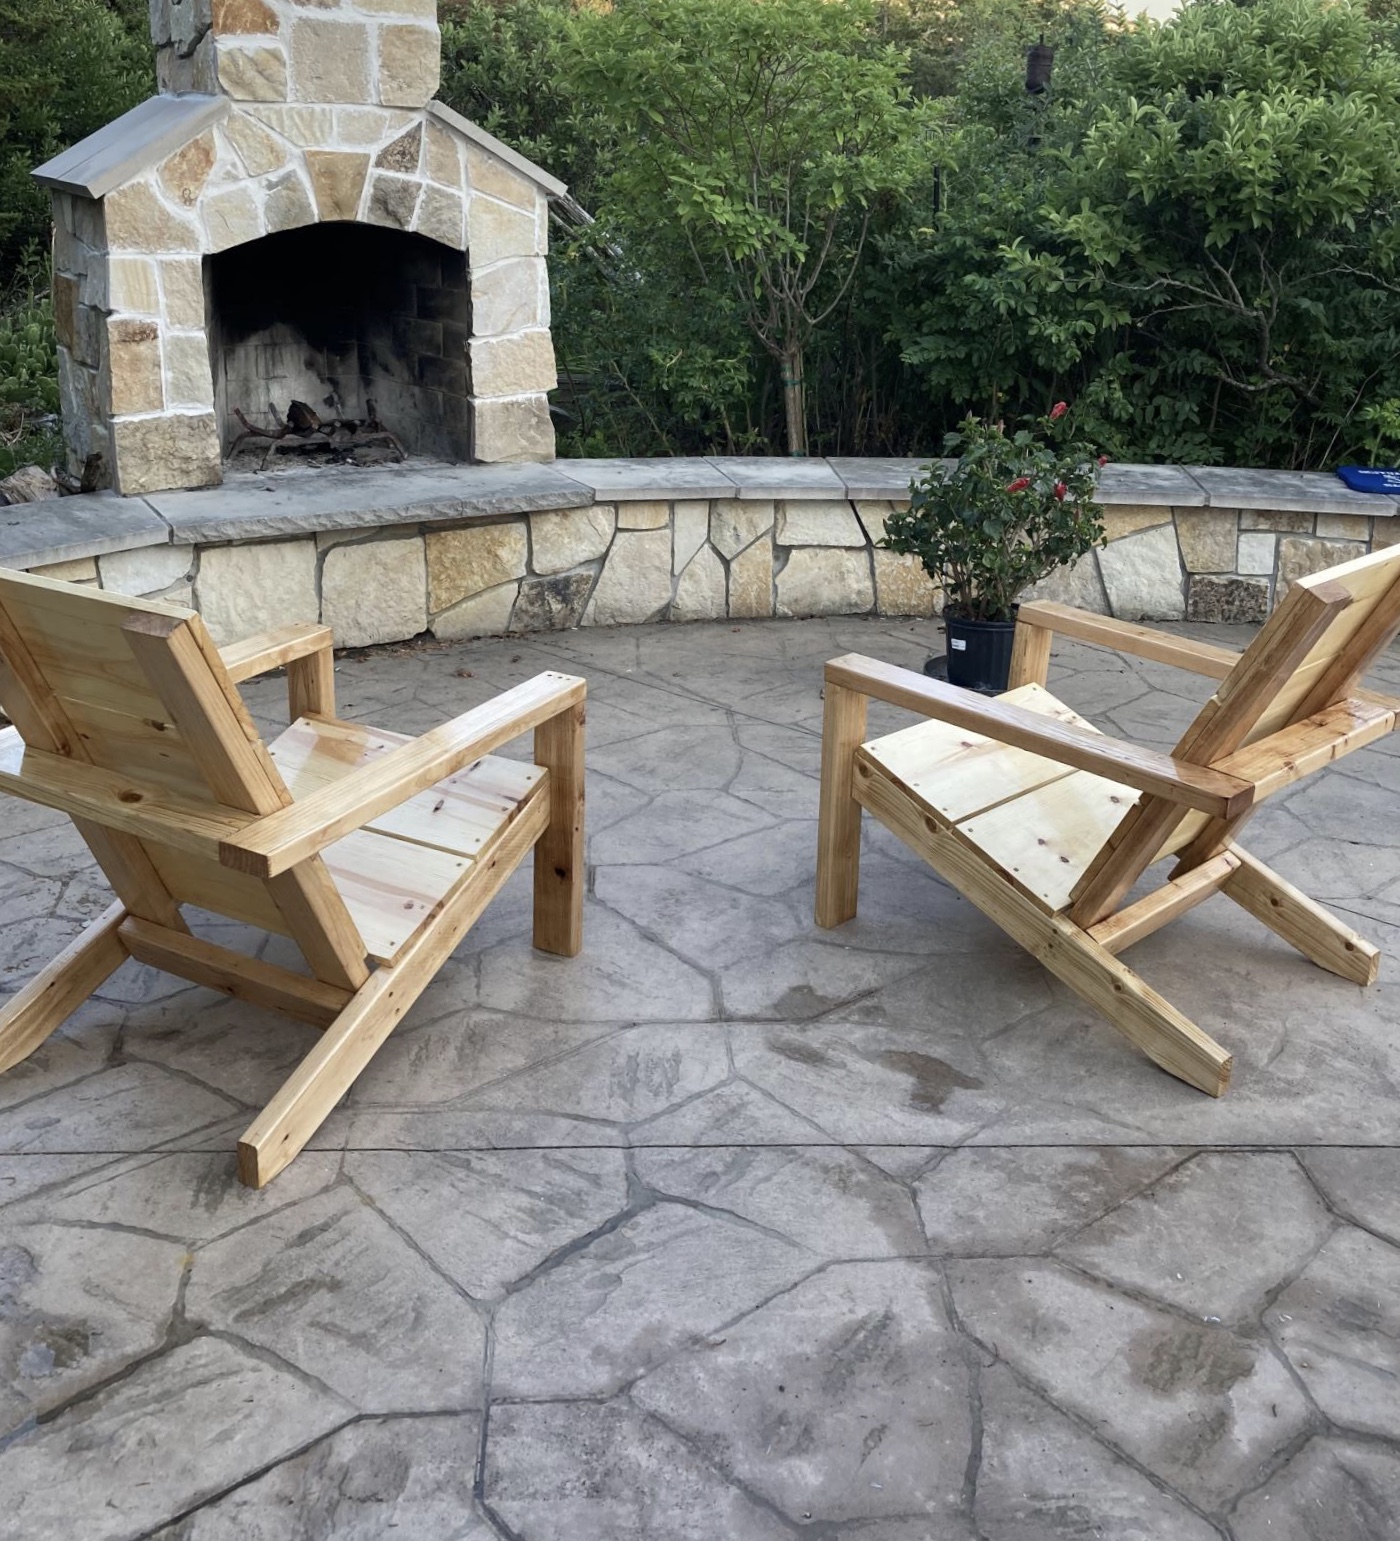
Modern Adirondack Chairs. Thanks

Submitted by Anonymous (not verified) on Sun, 07/19/2020 - 16:16

Ana,

Thanks for making the plans available. Was looking for a simple plan and here is it. Needed to replace 4 aging chairs to match a pine table and a bar. Looking forward to another project in the fall. You definitely made a good choice on the pitch of that chairs. Very comfortable.

Estimated Cost
$50
Estimated Time Investment
Afternoon Project (3-6 Hours)
Finish Used
Spar urethane
Recommended Skill Level
Intermediate
Seasonal And Holiday
Back