Community Brag Posts

Versaille planters

Submitted by Anonymous (not verified) on Wed, 10/19/2016 - 04:00

Using the instructions (with some slight redesign to accomodate the wife's requirements) I built two Versaille planters. The timber I used was offcuts from the local timber yard (£18) plus some bits off of old pallets. The nobs on top pf the legs were wooden drawer handles (£10) Screws and paint from the workshop. The overall size is a 21inch cube with the height increased to 23inches with the wooden knobs.

Thanks for the basic info it made the job so much easier.

Estimated Time Investment
Weekend Project (10-20 Hours)
Finish Used
fence paint
Recommended Skill Level
Intermediate

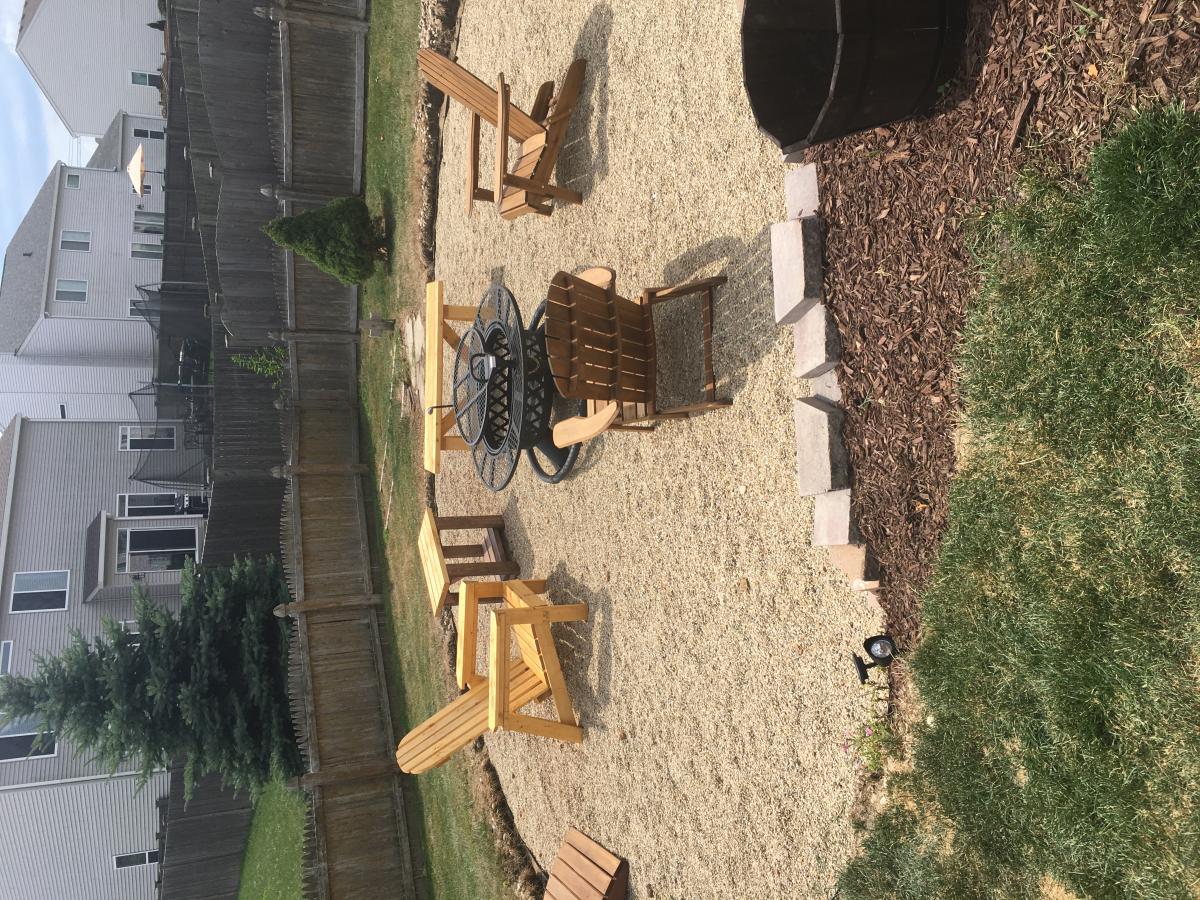
Outdoor side table

Keeping budget with wood projects, made side table for outdoor fire pit area.

Estimated Cost
$25
Estimated Time Investment
An Hour or Two (0-2 Hours)
Finish Used
Legs and braces=rosewood stain
Top=honey pine
Recommended Skill Level
Starter Project

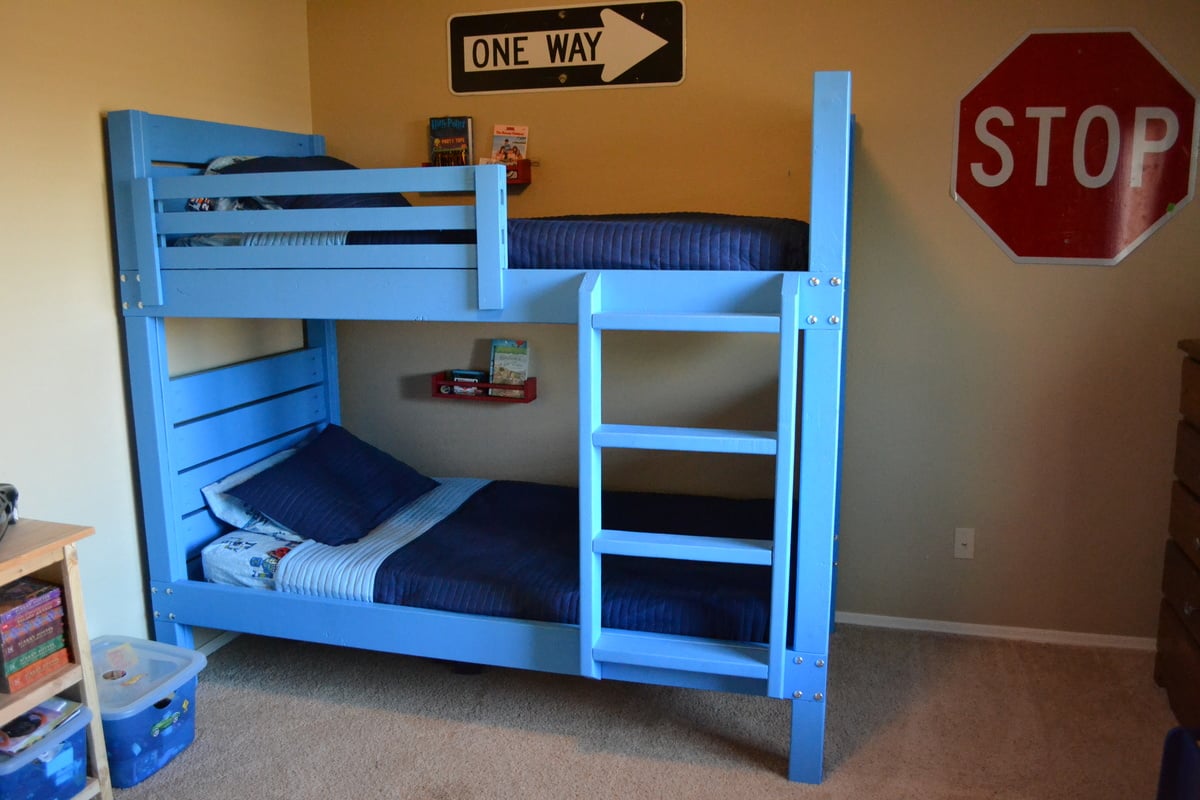
Side Street Bunk Beds (with modified ladder)

After building the playhouse loft bed, I found this project to be very easy. I built the bunk beds at 37/38 weeks pregnant, so that should tell you how simple it is to construct. The total cost came in under $300 and I was able to use some of the scrap wood I already had in my garage.

I did run into some trouble with the slanted ladder. Even though the pieces were cut to the exact measurements in the plan, the sides of the ladder were too short for the bed. Being very pregnant and impatient, I just modified the ladder so I wouldn't have to waste the pieces I'd already cut.

You may also notice that I didn't fill and sand my pocket holes on the end pieces yet. That was also me being very pregnant and impatient. I'll go back and do that later when I have more time. Despite the little bit of finishing work remaining, this was pretty much a 2-day project. Cutting and construction was fast (one day) and finishing took another full day.

I used Valspar "Blue Burst" paint from Lowe's to finish the bed. I used bolts to attach the side rails because we move frequently so I wanted the bed to be easy to disassemble. Overall, this was a very easy and fun project!

Built from Plan(s)
Estimated Cost
Just under $300
Estimated Time Investment
Weekend Project (10-20 Hours)
Finish Used
Valspar "Blue Burst" interior paint
Recommended Skill Level
Beginner

Comments

vpihoney

Sun, 11/11/2012 - 21:37

Love how you whipped this together! I stumbled upon your post as I started working on these bunk bed plans today (I can't read the dimensions on the diagrams from a printout, so i open up the plans on the iPad). I had to finish up the ladder and side rail today. I was stumped yesterday evening with the same ladder issue. Why was it coming up short? It was really annoying considering it took me a while to figure out a 60 degree angle on my miter. I decided to try changing my ladder angles to 22.5 and 67.5, as I still wanted a leaning ladder, but I thought a reduced angle would work better. Didn't have to scrap my boards either, whew. Love how quickly you put this together! Coincidentally, I'm 33 weeks pregnant, but moving terribly slow compared to you.

purpleheather79

Mon, 11/19/2012 - 07:25

I'm glad I'm not the only one with the ladder issue! I couldn't figure out what went wrong. I also tried to adjust the angle but my boards were just a tiny bit too short and I was not wanting to run to the store to get more. I do like the leaning ladder better though. Can I just say that I love that you're building this bed while pregnant too? That's awesome! :)

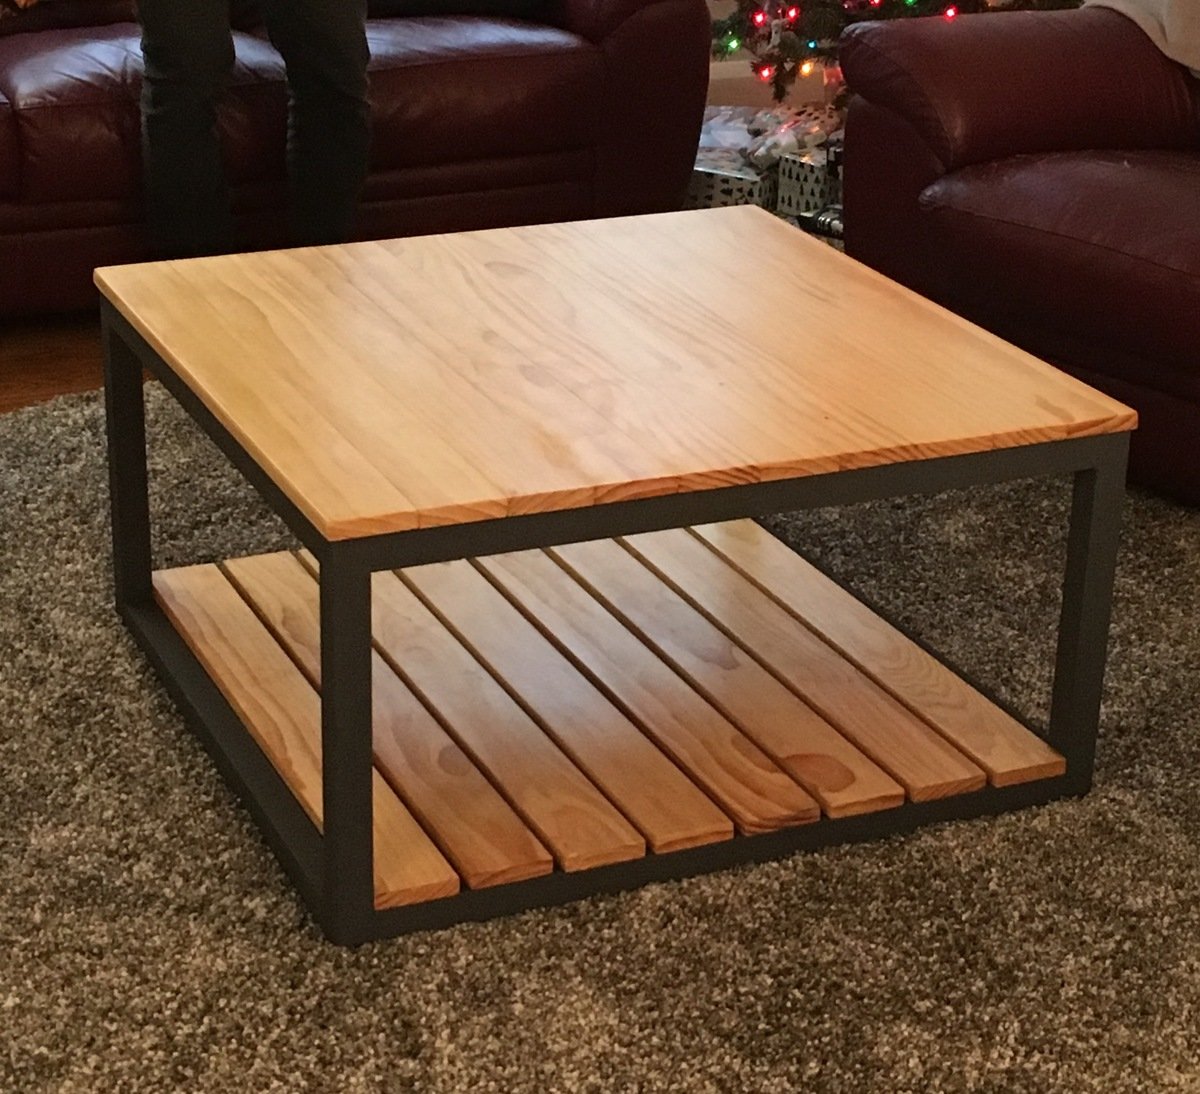
Modified Industrial Style Coffee Table w/ Bottom Shelf

Submitted by danandbeth on Wed, 12/28/2016 - 08:36

Our first project!


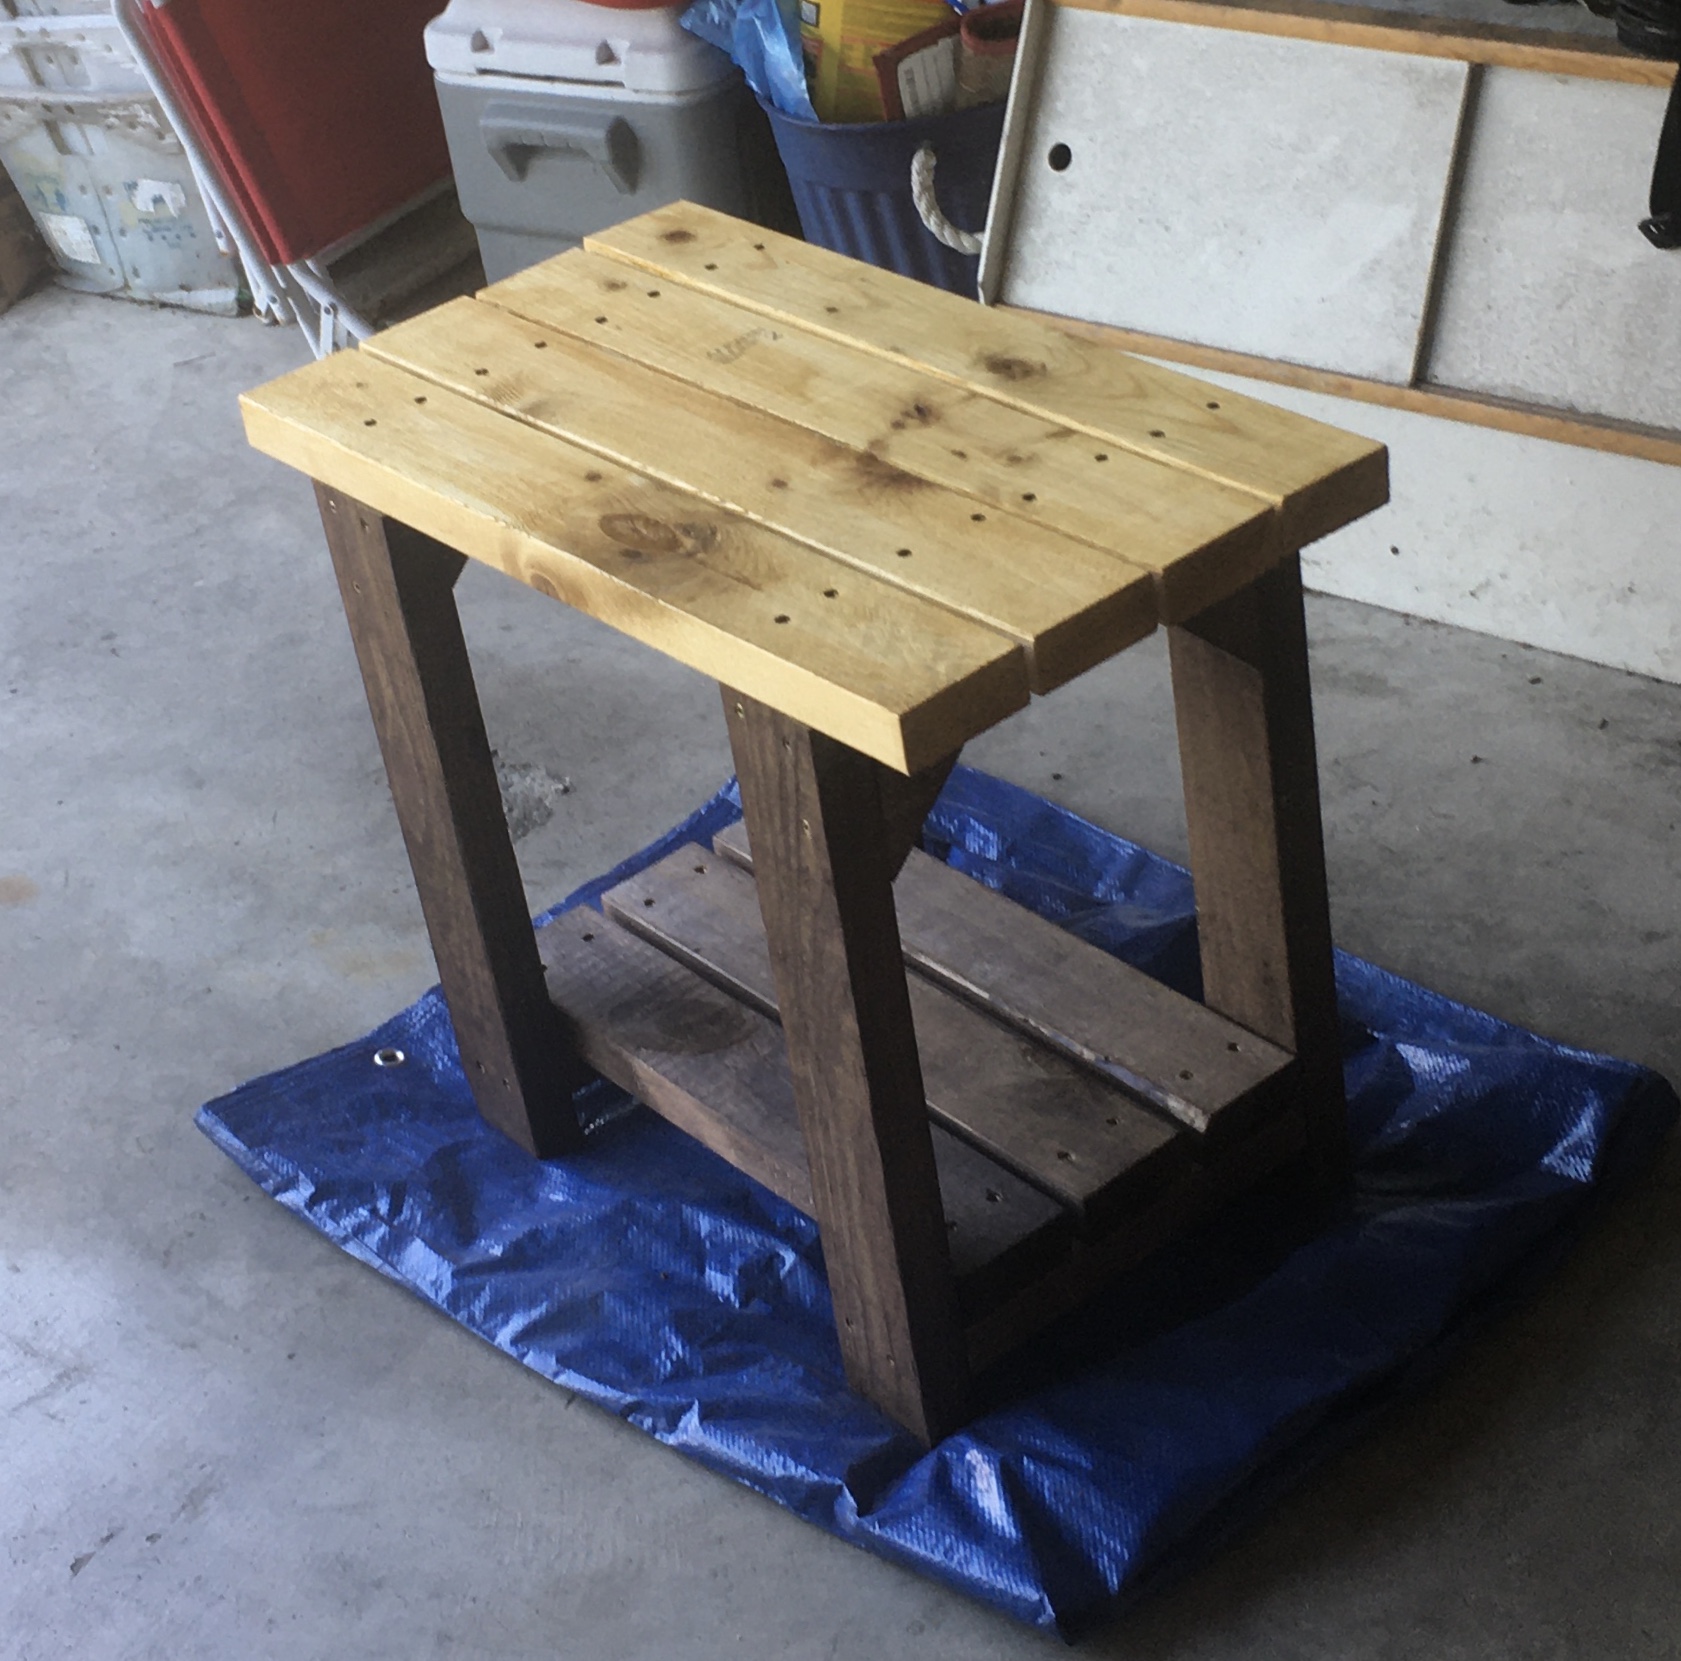
We used the "Industrial Style Coffee Table as seen on DIY Network" plans and simply added a bottom shelf. This required an extra 2x2 bracer (same cut as top bracer) and 8 more 1x4s, cut slightly smaller than the top 1x4s in order to have them sit flush with the bottom 2x2s. The table is all pine.


We spaced the bottom shelf boards roughly a half inch apart (give or take - it's "rustic"!) and screwed in from the bottom just like the top boards. 


On the top shelf, we used 3 coats of Minwax Natural stain, and followed up with 3 coats of Minwax Satin Poly. We sanded these after attaching to the frame in order to achieve a level surface. We started with 80 grit, then 120, then 150. We then used 220 in between coats of poly. The result is a smooth, but not store-bought smooth surface, which we think works well.


We didn't spend as much time on the bottom shelf since they'll be mostly storing items, giving them just a quick 150 sand prior to 2 coats of stain and 2 coats of poly. Finally, we nailed in some plastic feet to keep it about a half inch off the floor.


All in all, being our first project, and going beyond what the original plans called for, it took us a few weeks to complete, working on it mostly on weekends and here and there in the evenings after work. We love the finished project and it works really well in our living room!


-Dan and Beth
Built from Plan(s)
Estimated Time Investment
Week Long Project (20 Hours or More)
Finish Used
Natural Stain (Minwax)
Satin Poly (Minwax)
Recommended Skill Level
Beginner

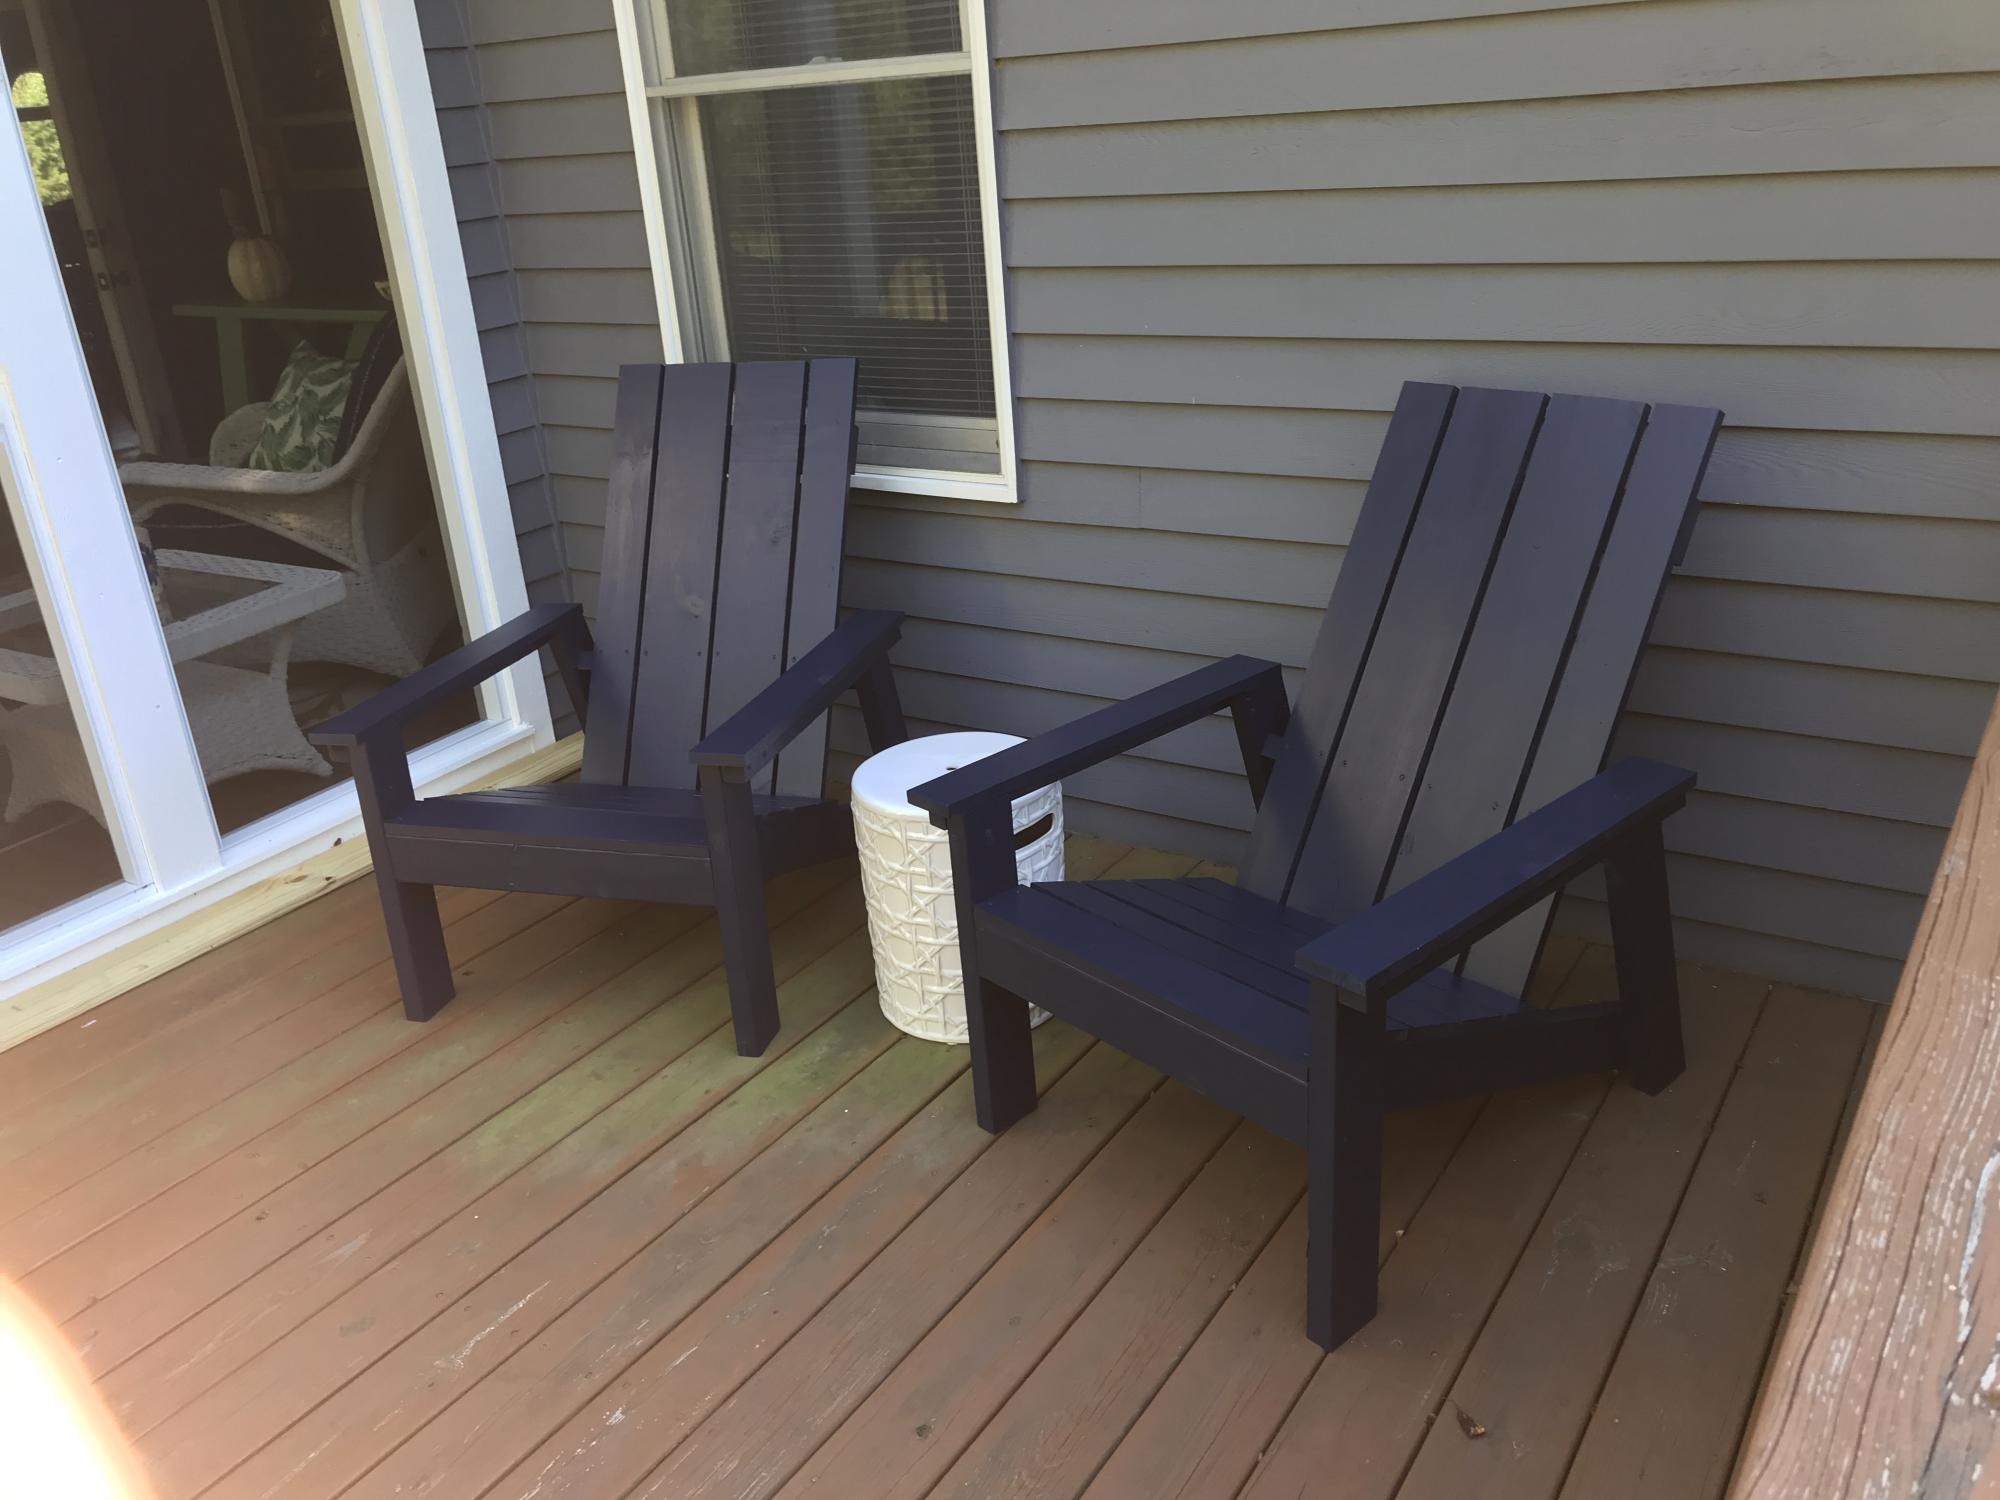
2x4 Adirondack Chairs

Submitted by Sprochniak on Mon, 09/07/2020 - 11:16

I changed the back of this chair to use some lumber I already had. These are very comfortable. I see more in my future.

Estimated Cost
$60
Estimated Time Investment
Afternoon Project (3-6 Hours)
Finish Used
Sherwin Williams exterior semi-gloss
Recommended Skill Level
Starter Project

Clubhouse Bed - my first build

Submitted by dpeterson on Thu, 11/29/2012 - 19:32

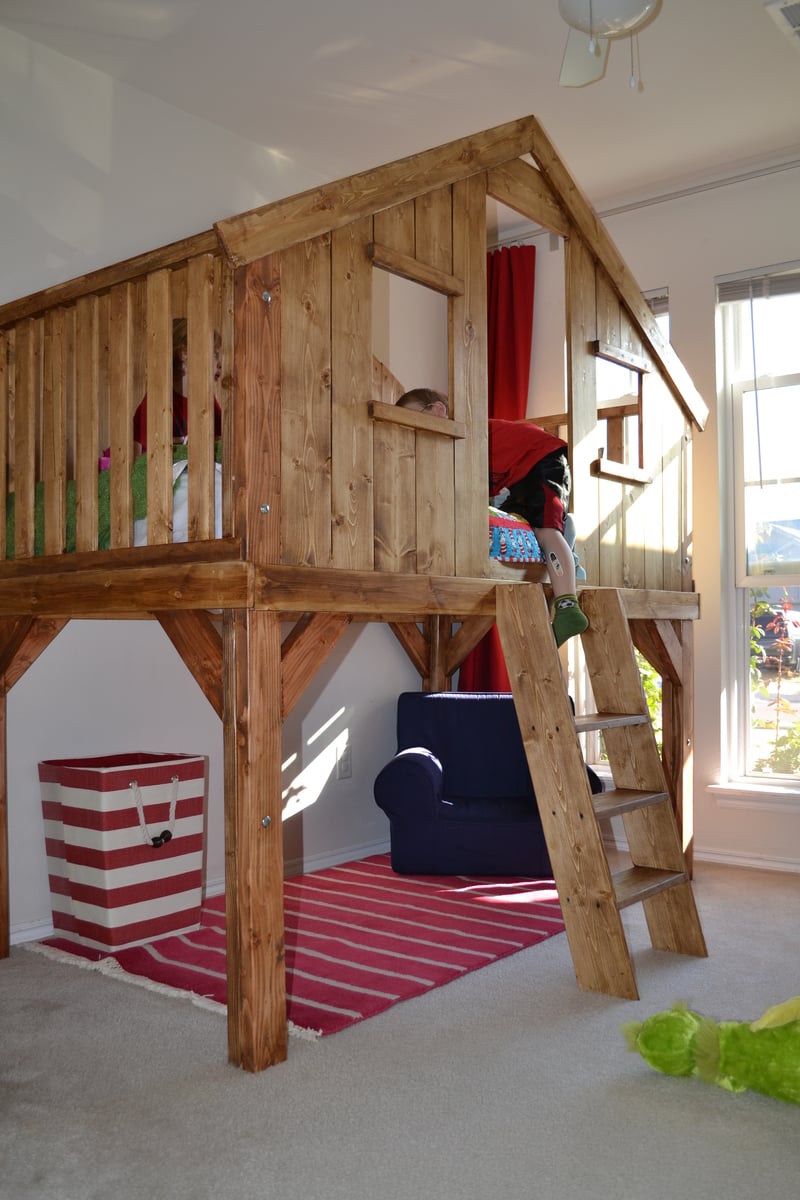
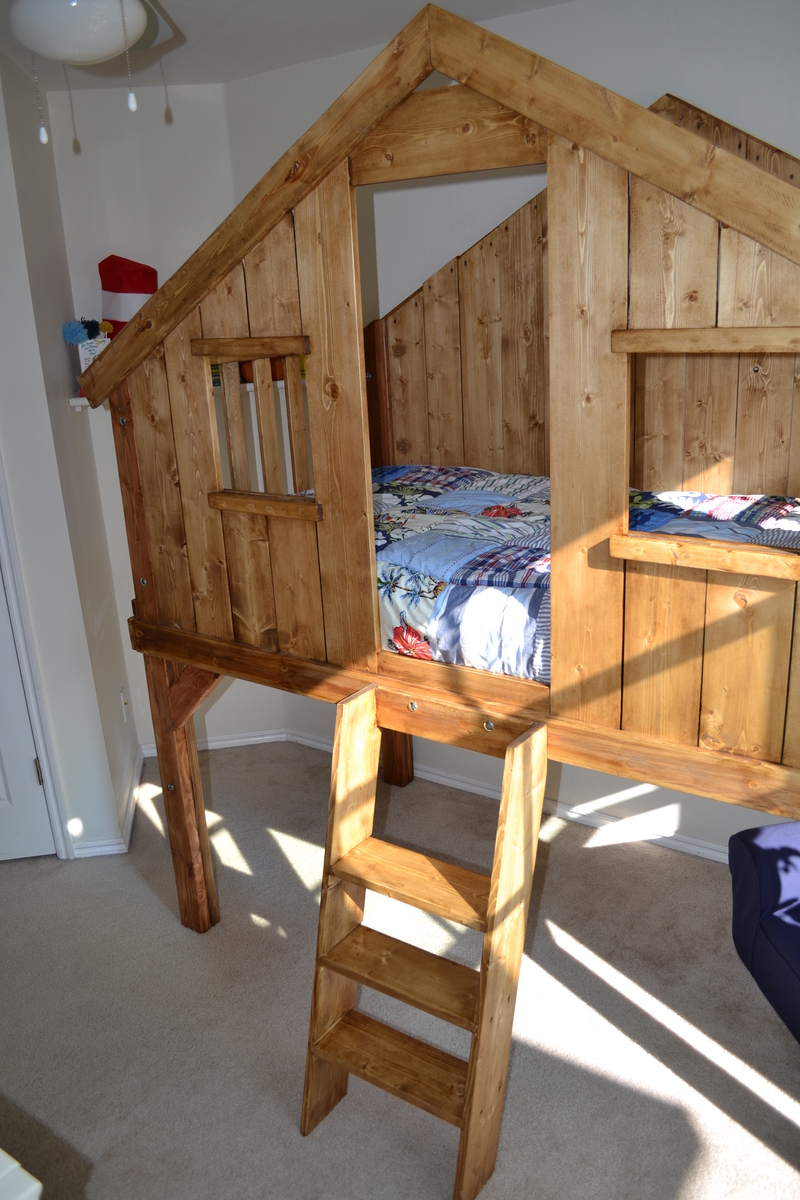
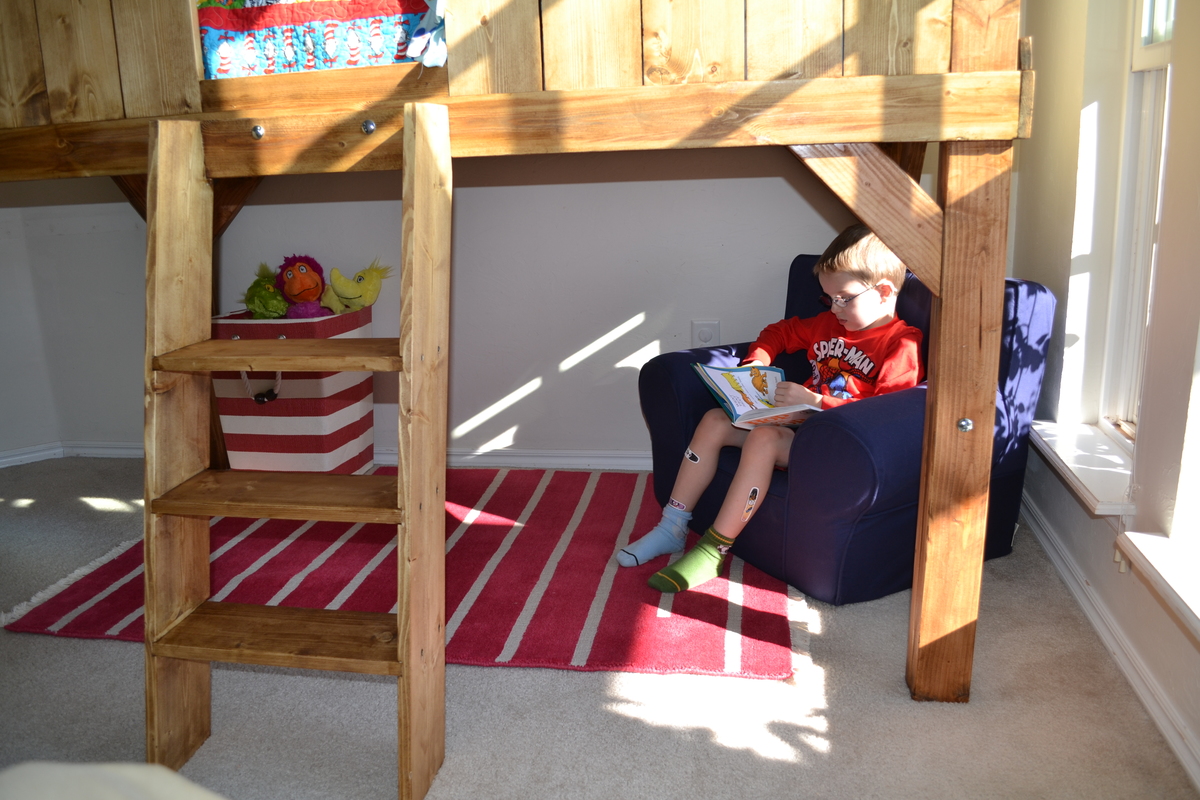
So we wanted to build a simple twin size bed for our 5 year old son. That quickly expanded into my wife wanting me to build this PB replica (which happens to be her favorite kids bed). My response was "honey, you really don't understand my lack of ability." She insisted and after a couple of weeks the bed is done! Using Ana's plans made this not only doable but much easier than I thought (this was my first build).

We changed the design very slightly because the original was a few inches too tall (we have a ceiling fan that would have hit the top). We simply shortened the top half of the bed by 3 inches. At the suggestion of a friend (who's mitre and table saws we used for the cuts) we used dado instead of pocket holes for the stairs. We also used a lot of countersinking instead of pocket holes (for example to attach the vertical slats on the side walls).

We bought the cheapest wood we could get at Home Depot. All the wood and stain and materials cost about $250-300 (I still haven't checked the receipts exactly). However, I was told (quite sternly) that I severely overpaid for the wood by not going to a lumber yard. We used a Minwax oil-based stain (mission oak). We only did one coat.

Now that we're done with this we can't wait to get started on the next project (right after I get my dissertation going).
Built from Plan(s)
Estimated Time Investment
Week Long Project (20 Hours or More)
Finish Used
Minwax oil-based stain - Mission Oak, single coat applied using rags.
Recommended Skill Level
Intermediate

Comments

5 tator tots (not verified)

Fri, 12/07/2012 - 18:22

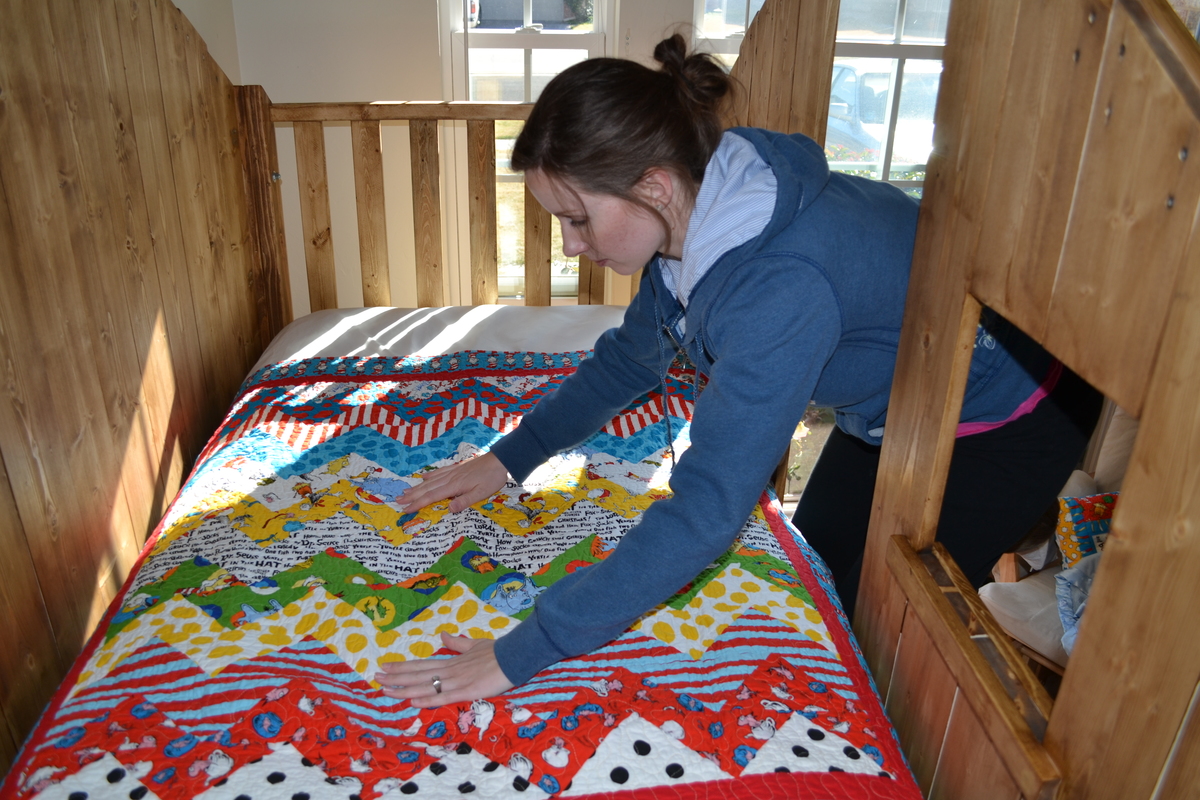
I've been wanting to build this for our youngest son. He will be three before we make it and the fact that it is enclosed makes me comfortable with having him in a lofted bed, but it also looks like changing the bedding would be really challenging. Seeing your picture smoothing the quilt begs the question, how hard is it?

Nice work on the bed-what a first project!

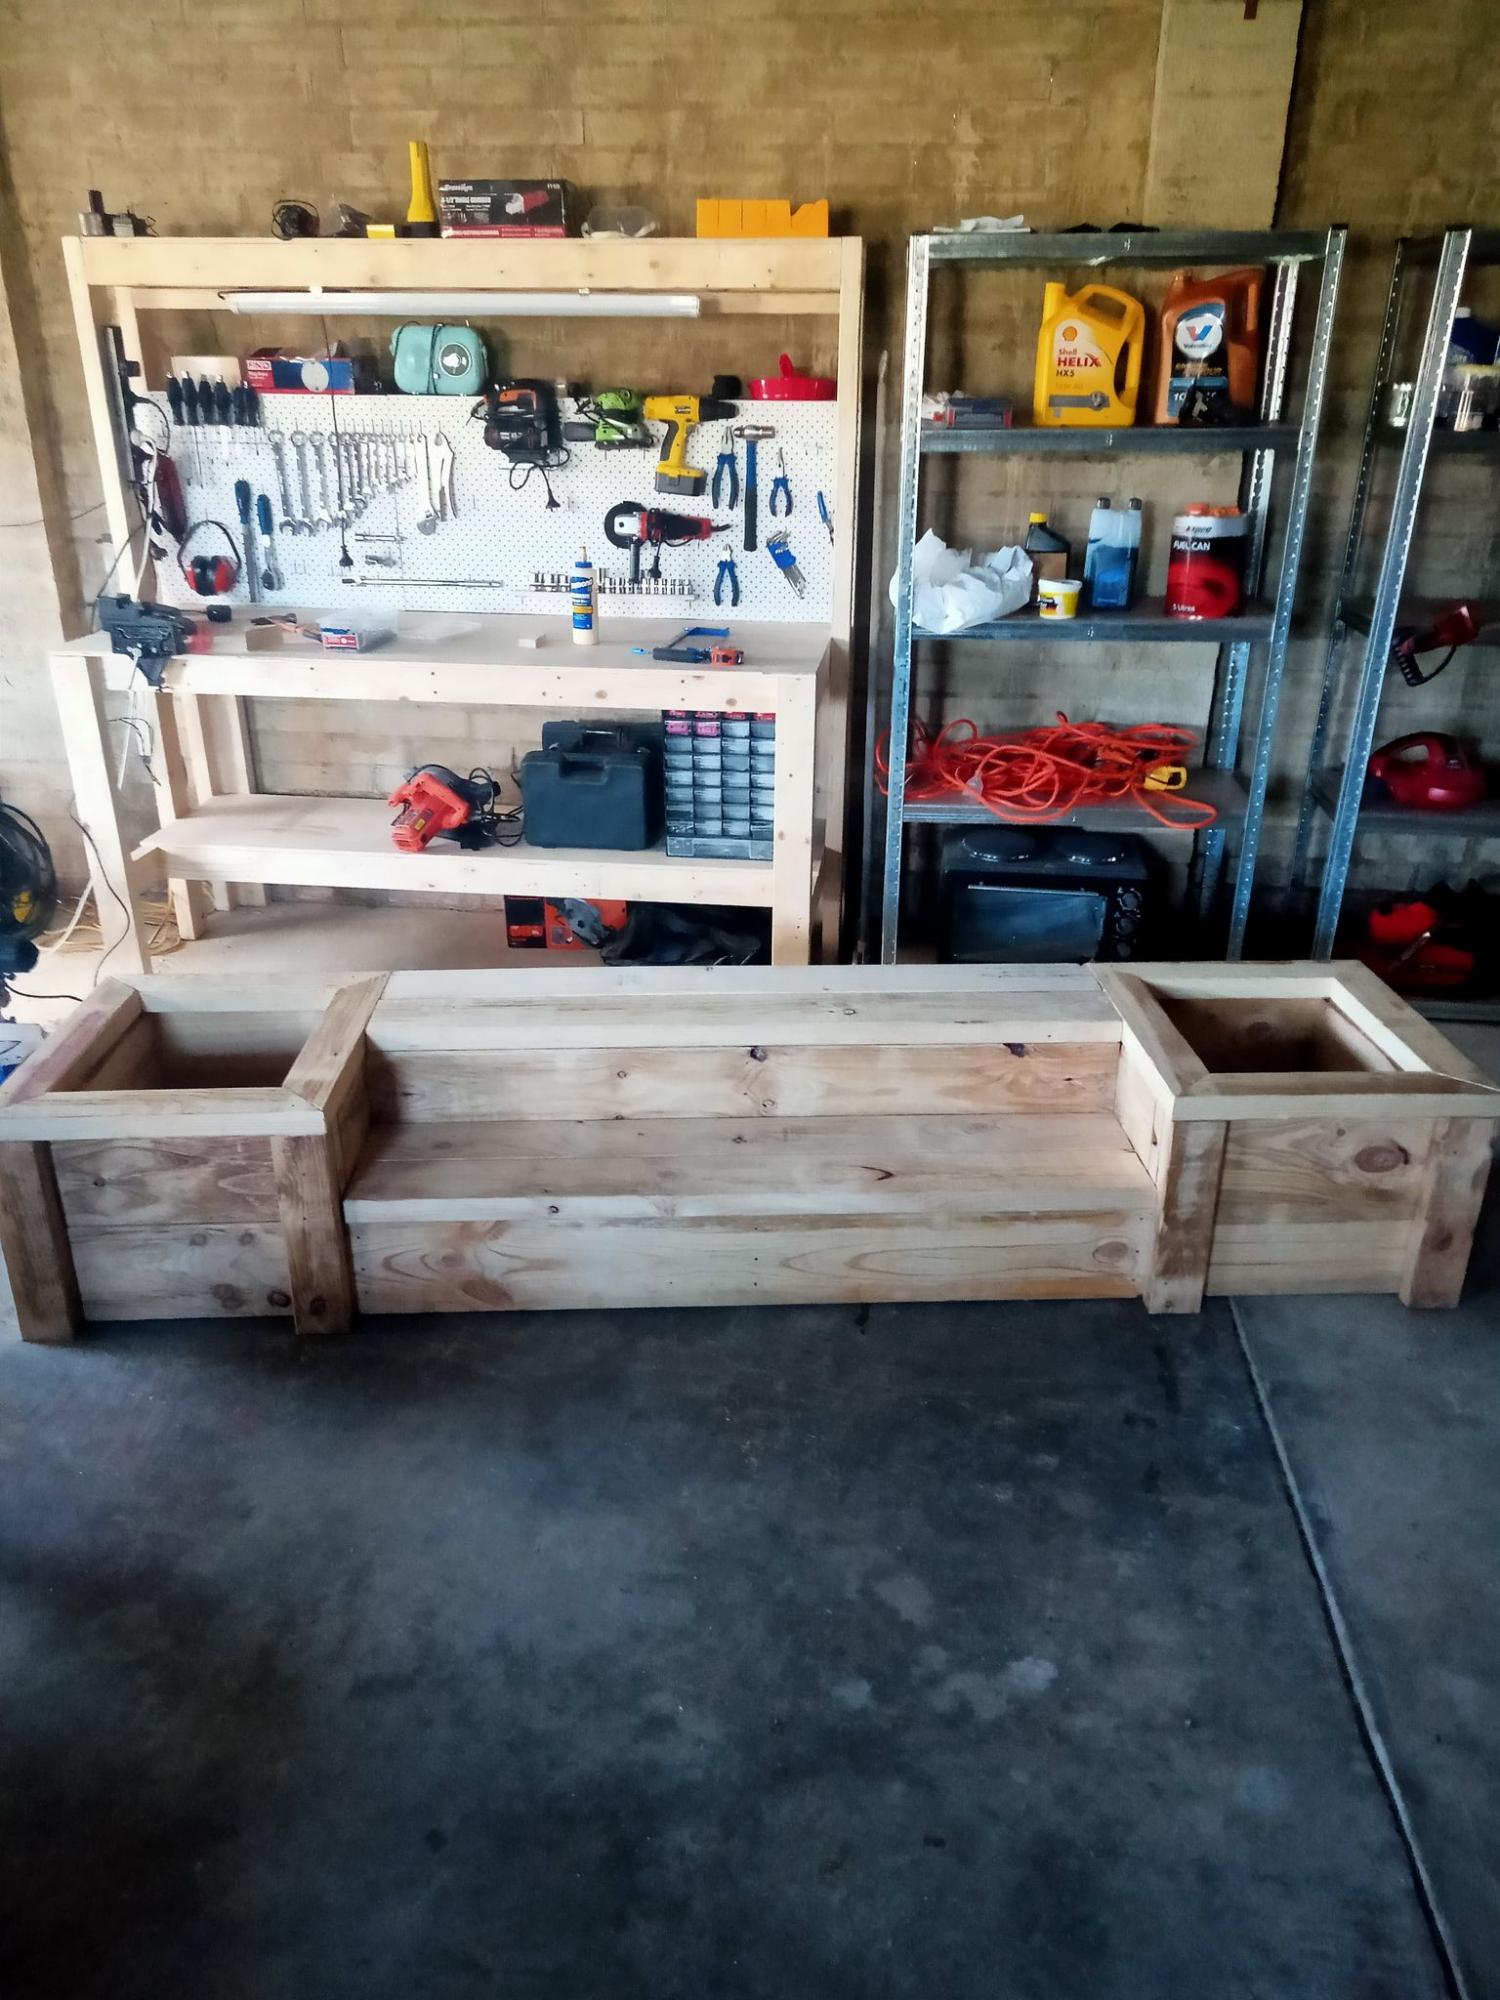
Outdoor planter steps or benches

Submitted by Anonymous (not verified) on Tue, 09/15/2020 - 00:45

A very enjoyable project. I'm relatively new to diy woodworking projects but these plans make it so much easier.

Thanks.

Estimated Cost
$250
Estimated Time Investment
Weekend Project (10-20 Hours)
Recommended Skill Level
Intermediate

Comments

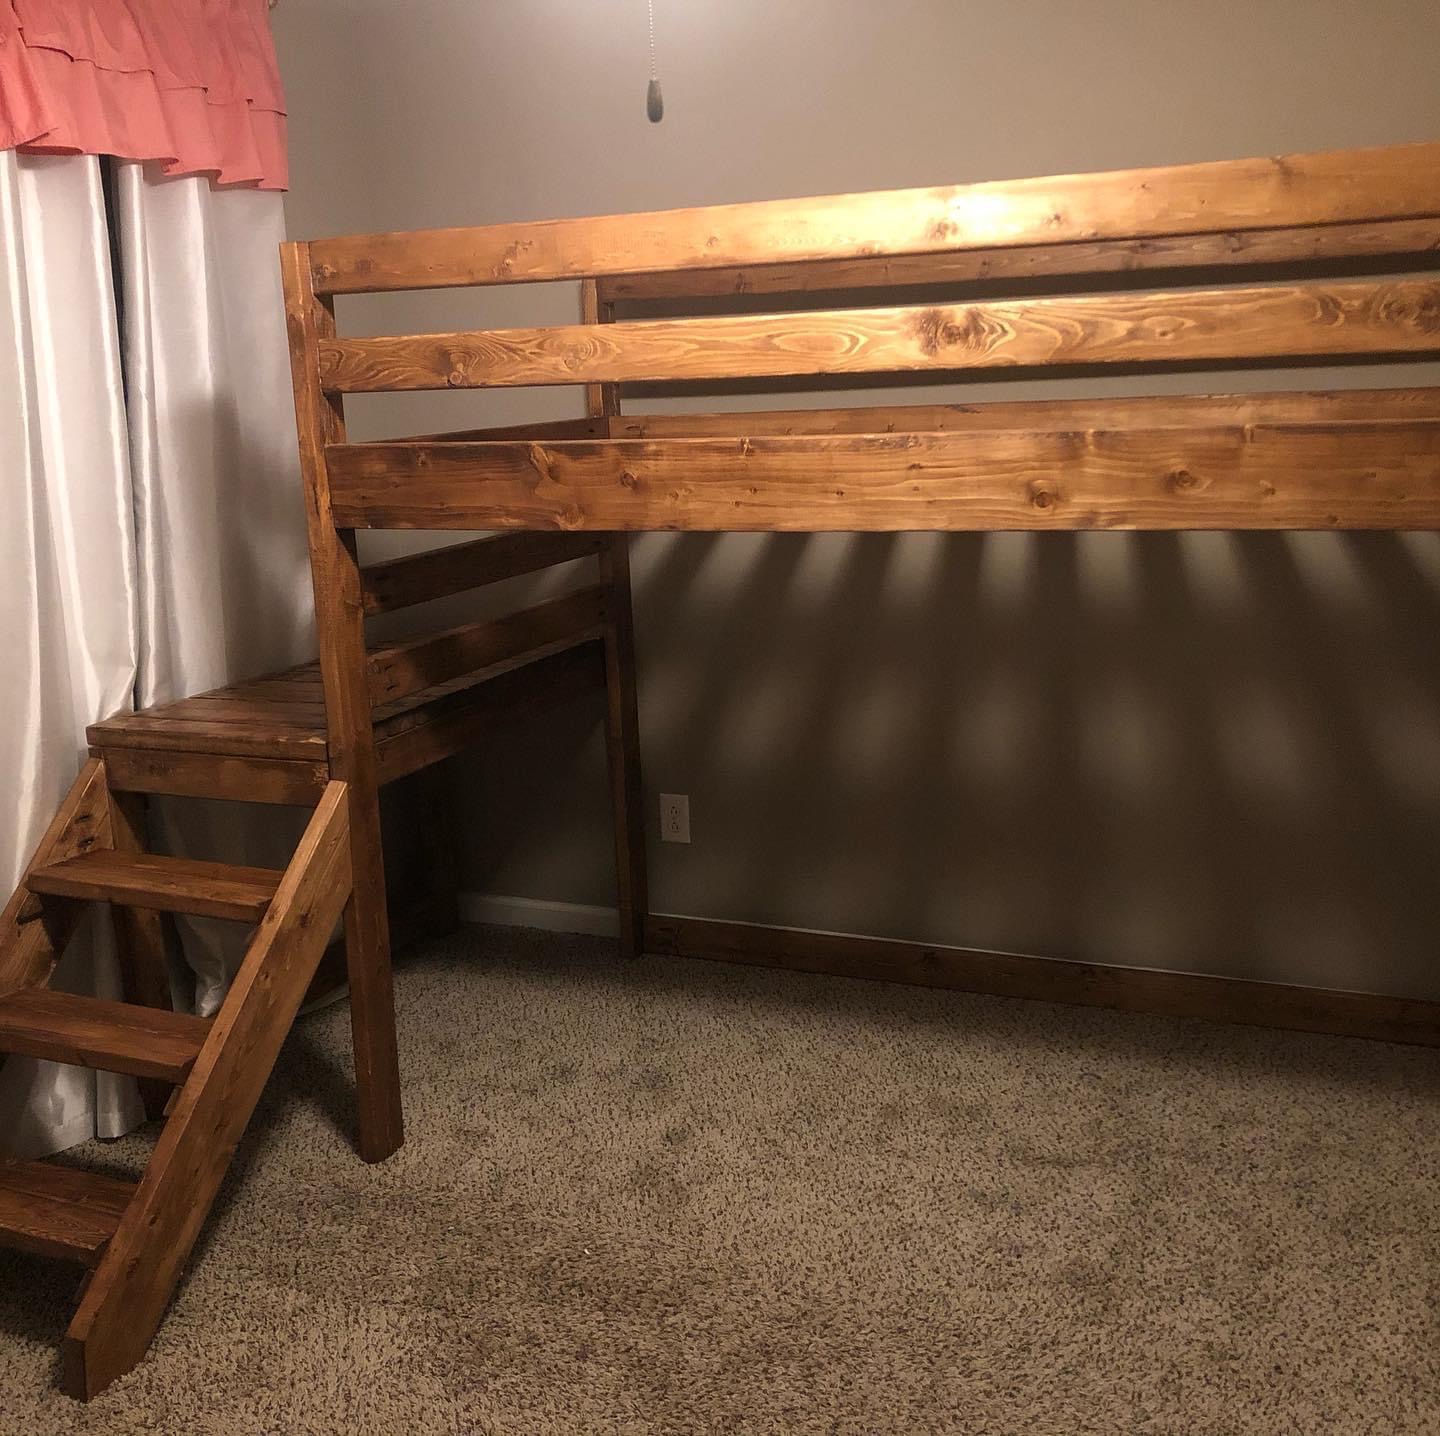
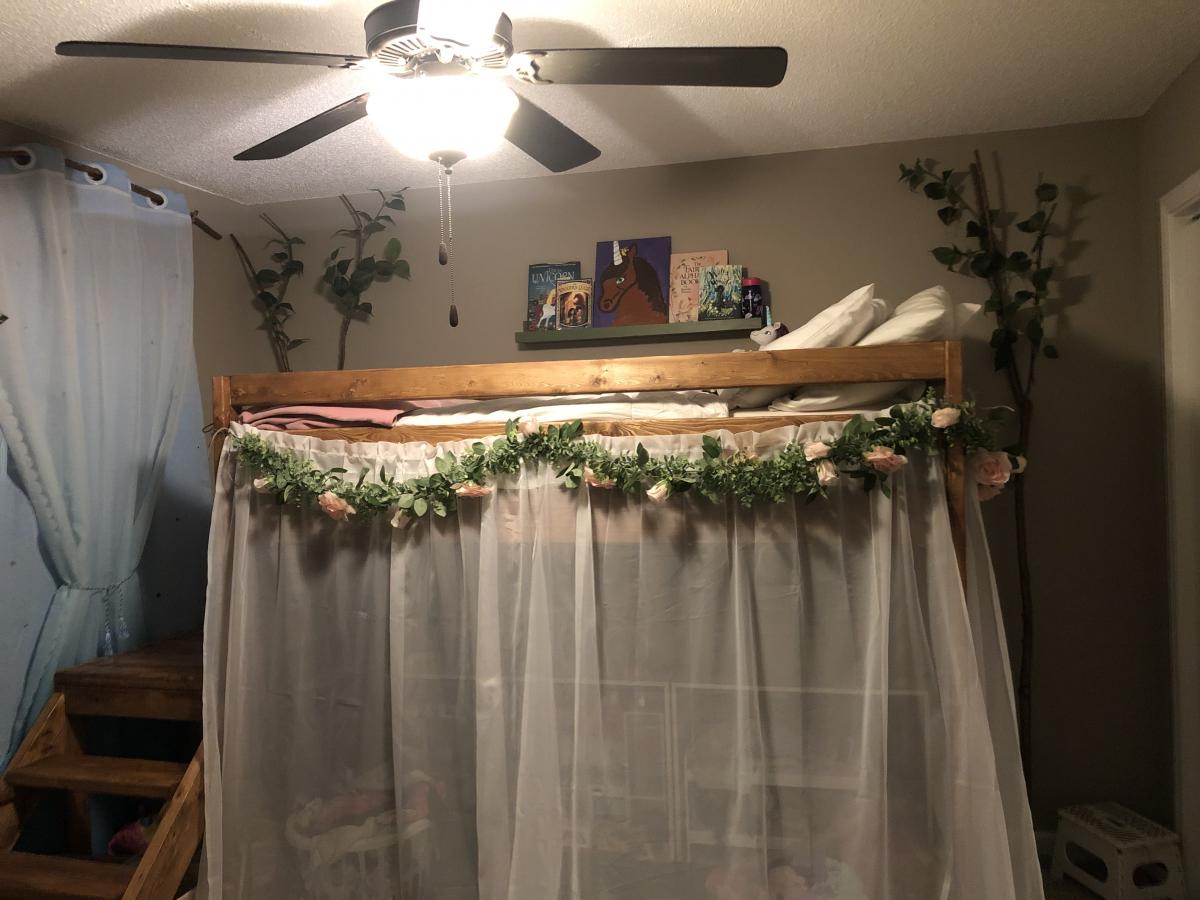
Junior loft camp bed

Submitted by lyds6382 on Fri, 09/25/2020 - 20:36

This was my first big build, previously I had only made the $10 ledges. It mostly went as expected! The hardest part, as many have said, is keeping the pieces still while drilling the pocket screws into place. The bed itself did not take much time to build, my time estimate is so high due to the finishing, and really it could’ve used a great deal more sanding and sealing. I was OK with a somewhat rough/rustic finish because it is for my daughter’s “forest” themed room.

I considered using bed hanging hardware, but all I could find used hooks or something similar, which does not seem wise for a bunk or loft bed, since someone could be underneath and accidentally lift it out of place! In the end I just use pocket hole screws to attach everything like the plans dictate.

Estimated Cost
about $120 for lumber and screws, maybe $30 more for stain and poly
Estimated Time Investment
Weekend Project (10-20 Hours)
Finish Used
Minwax Early American
Recommended Skill Level
Beginner

Comments

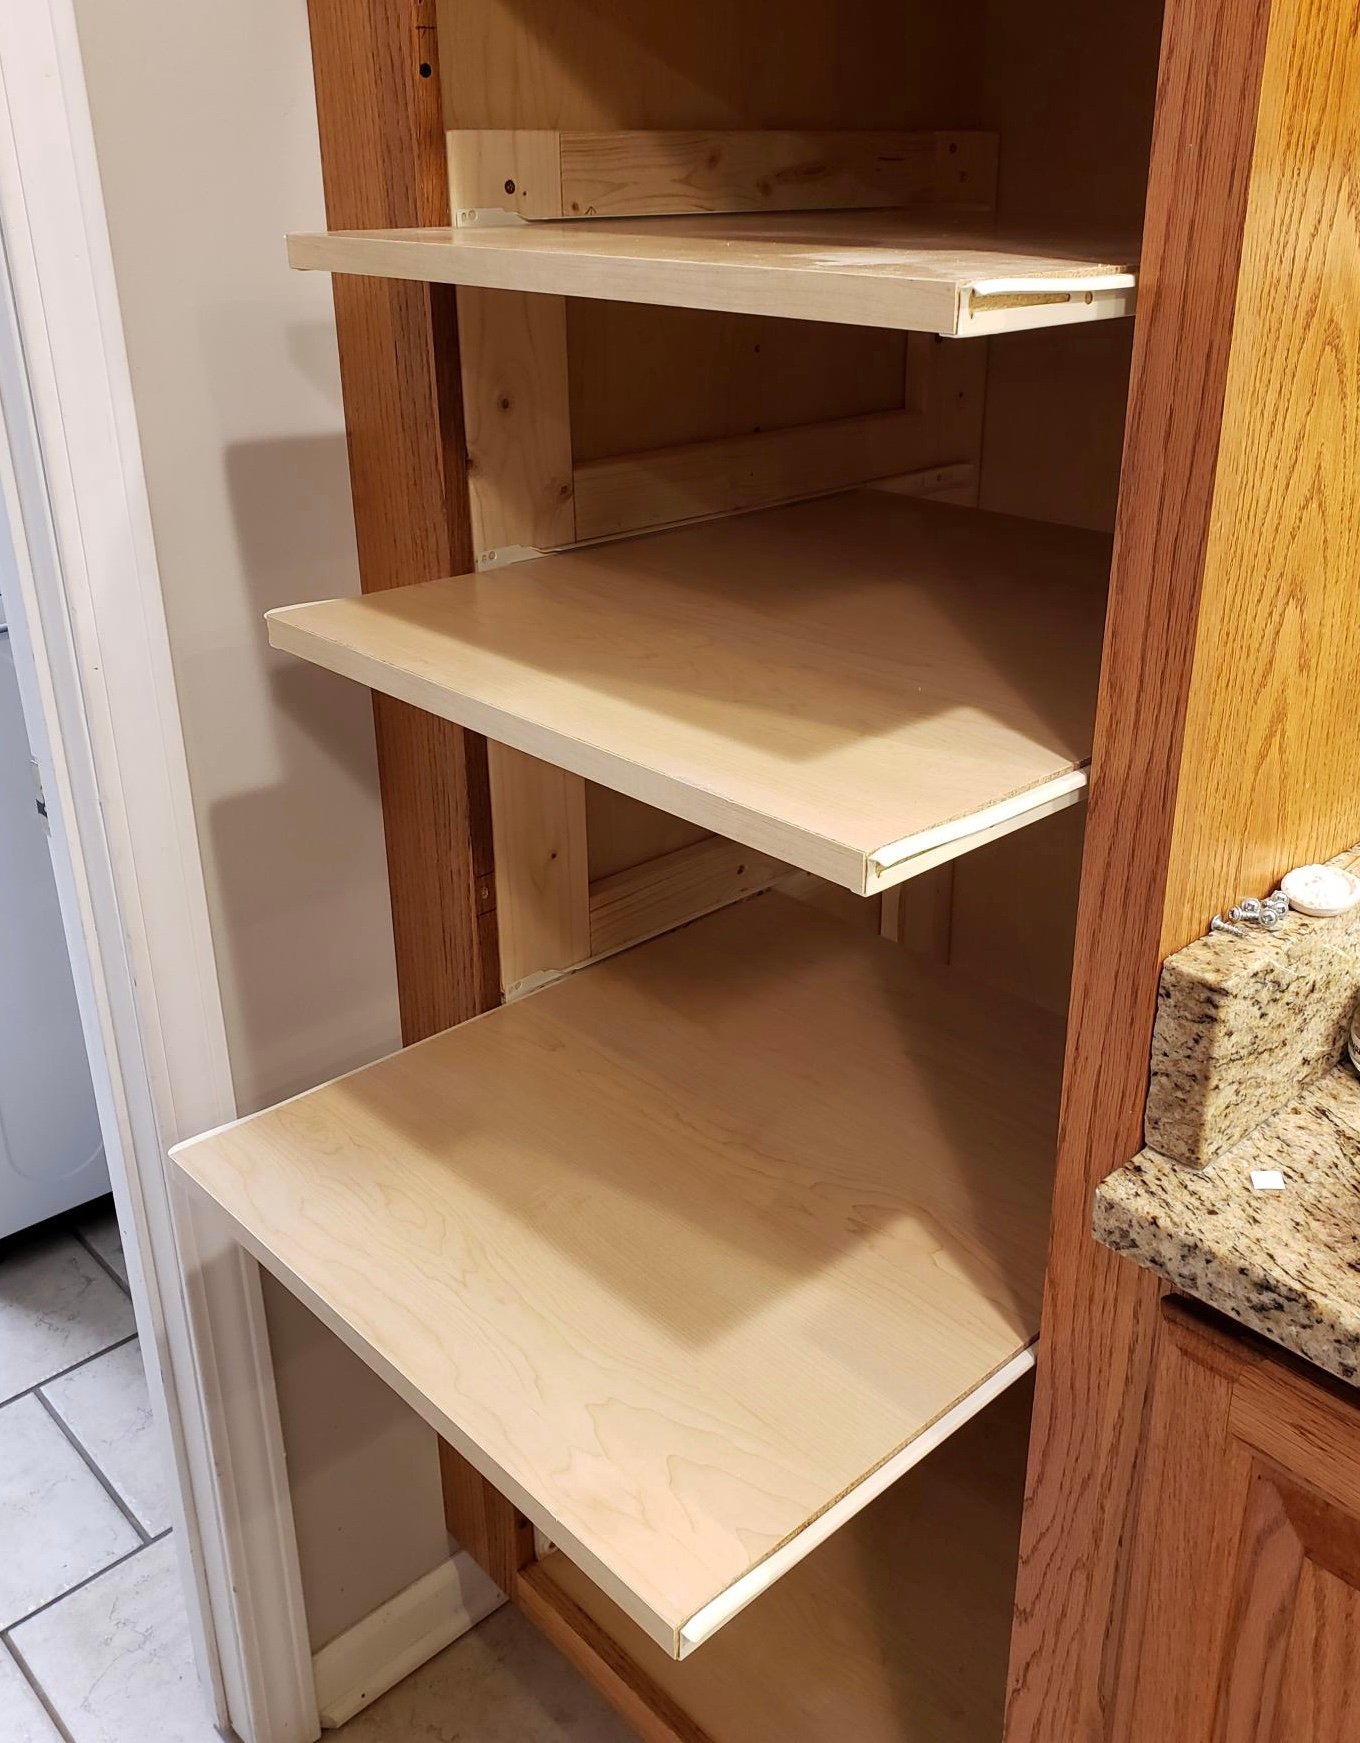
Pull-out Shelves

Stationary shelves are such a hassle, especially in a deep pantry cabinet! Now I can actually SEE the contents of my pantry cabinet. Thanks for the inspiration and tutorial to get it done!

Estimated Cost
$50 for 5 shelves & framing, new hinges.
Estimated Time Investment
Day Project (6-9 Hours)

Comments

Rectangular Industrial Coffee Table

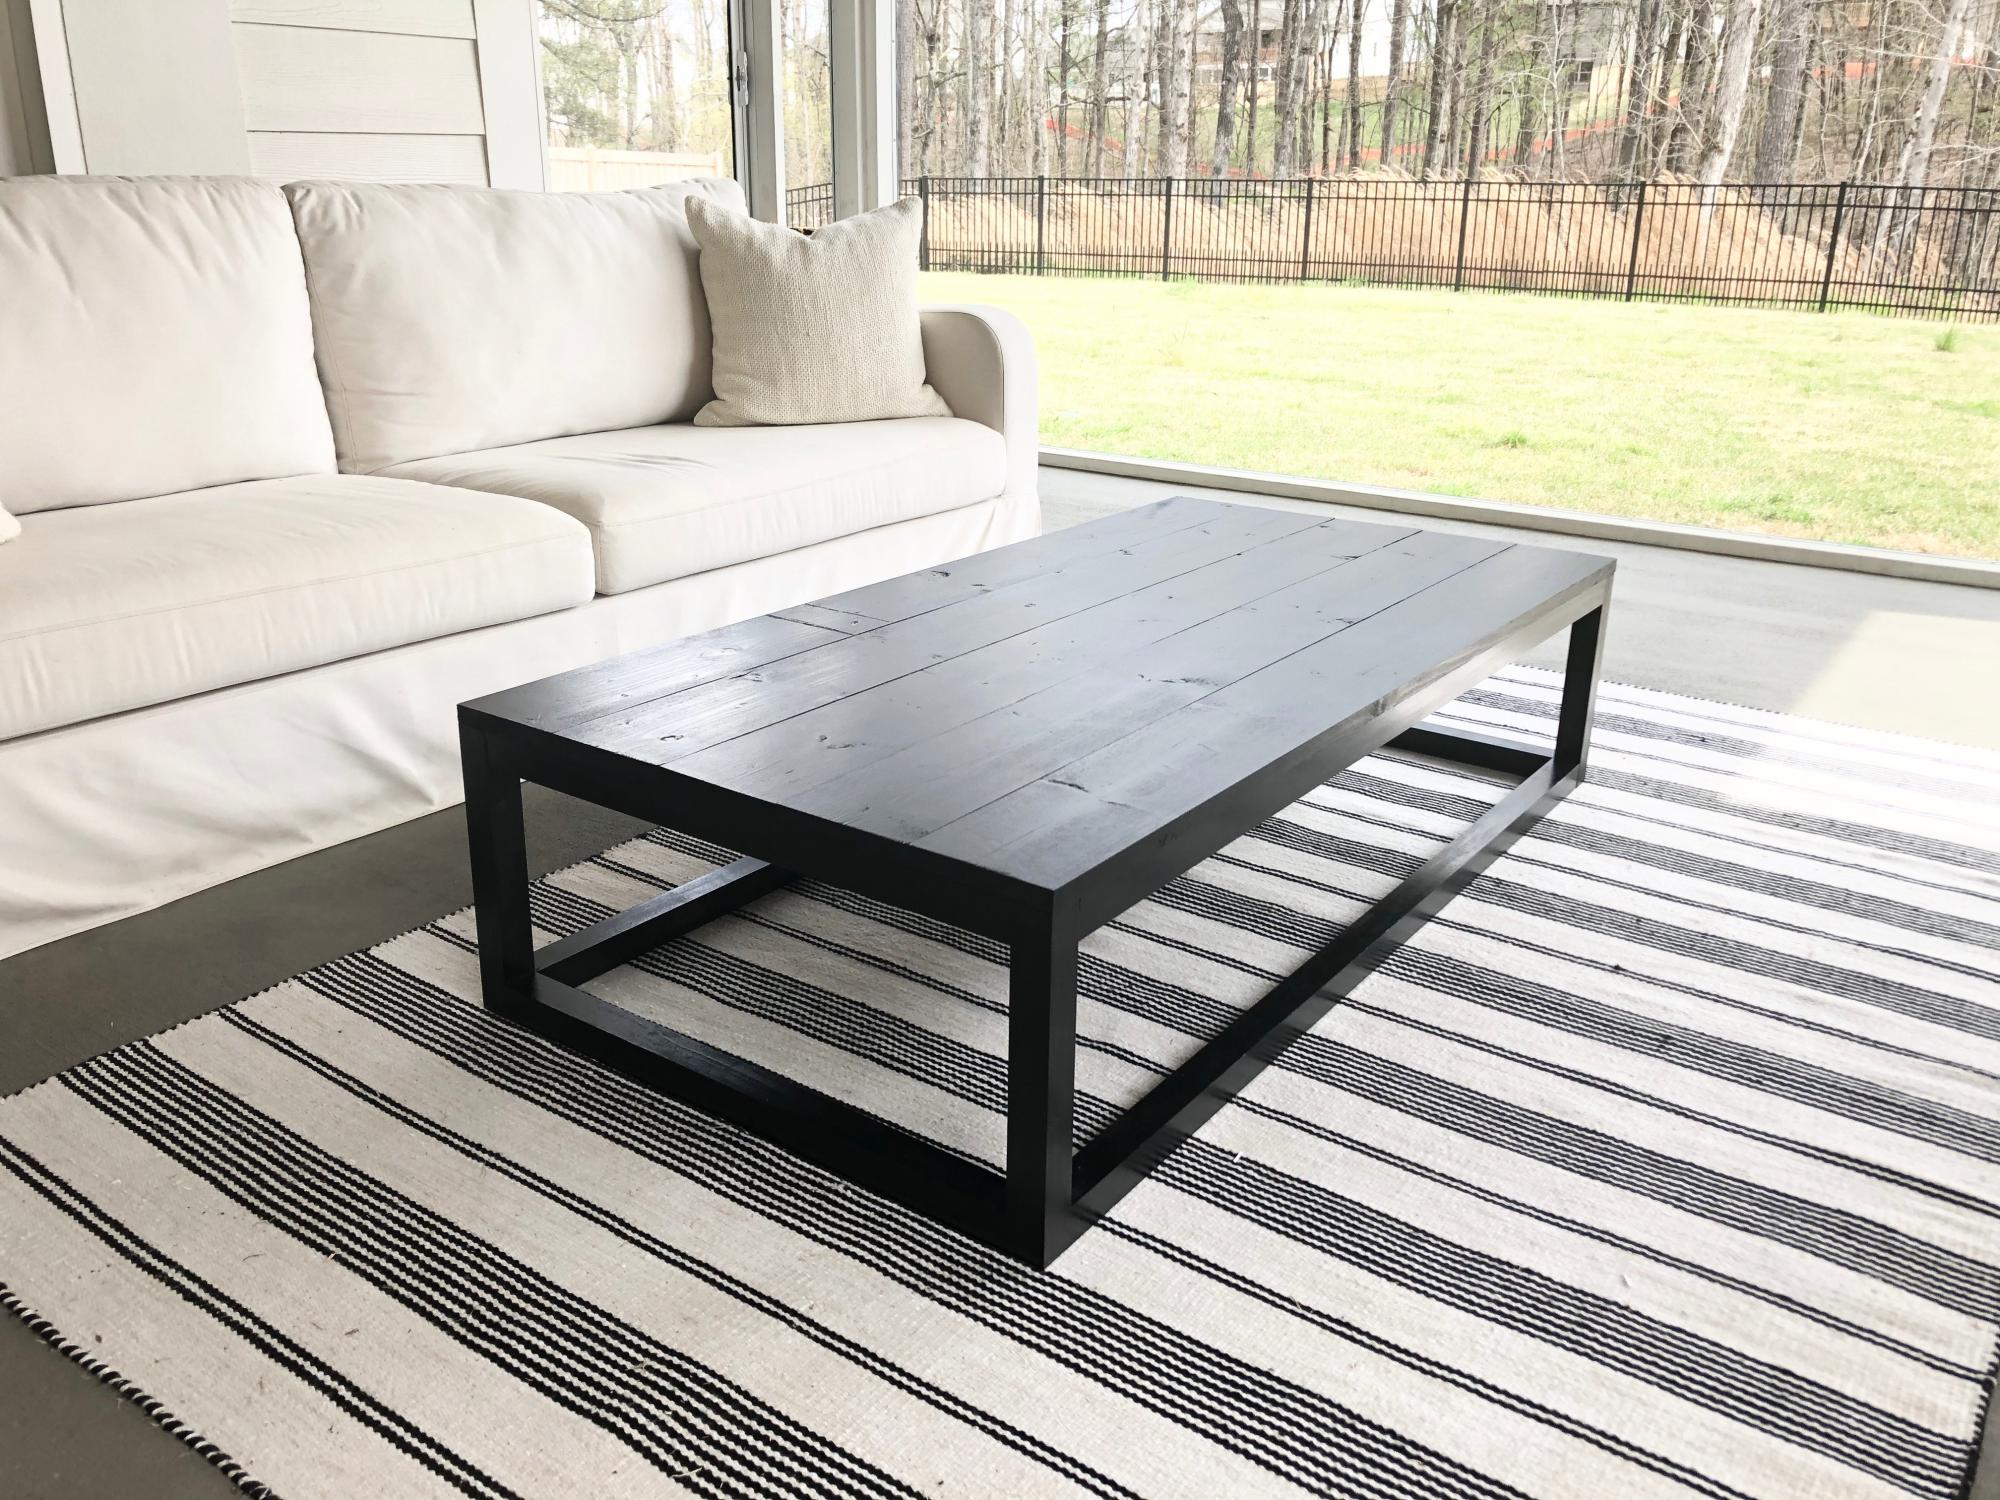
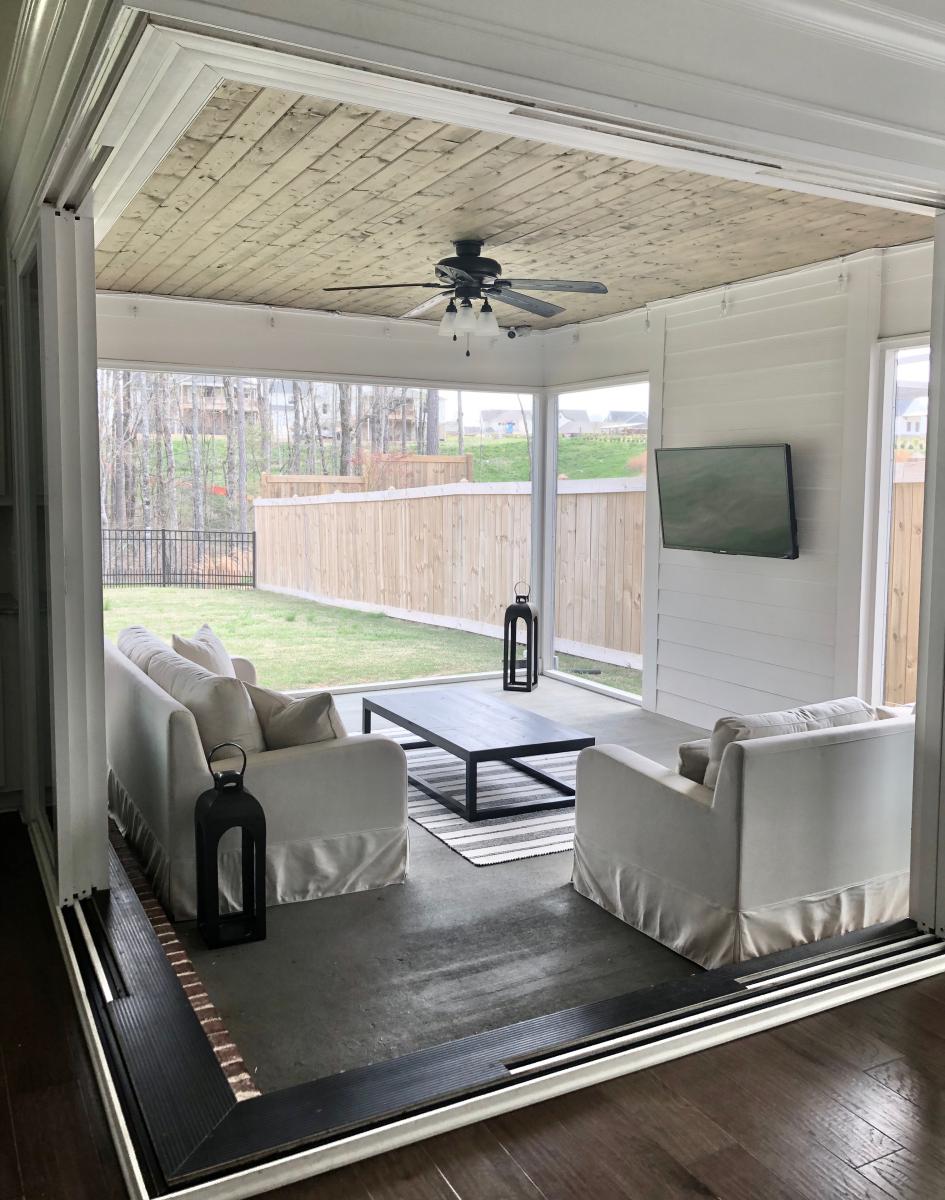
I modified this plan from square to rectangular to fit my space. It is exactly what was needed! Modified size: 27.5" x 55"

Estimated Time Investment
An Hour or Two (0-2 Hours)
Finish Used
Minwax Polyshades Black
Matte Poly top coat
Recommended Skill Level
Beginner

Comments

Tryde Coffee Table

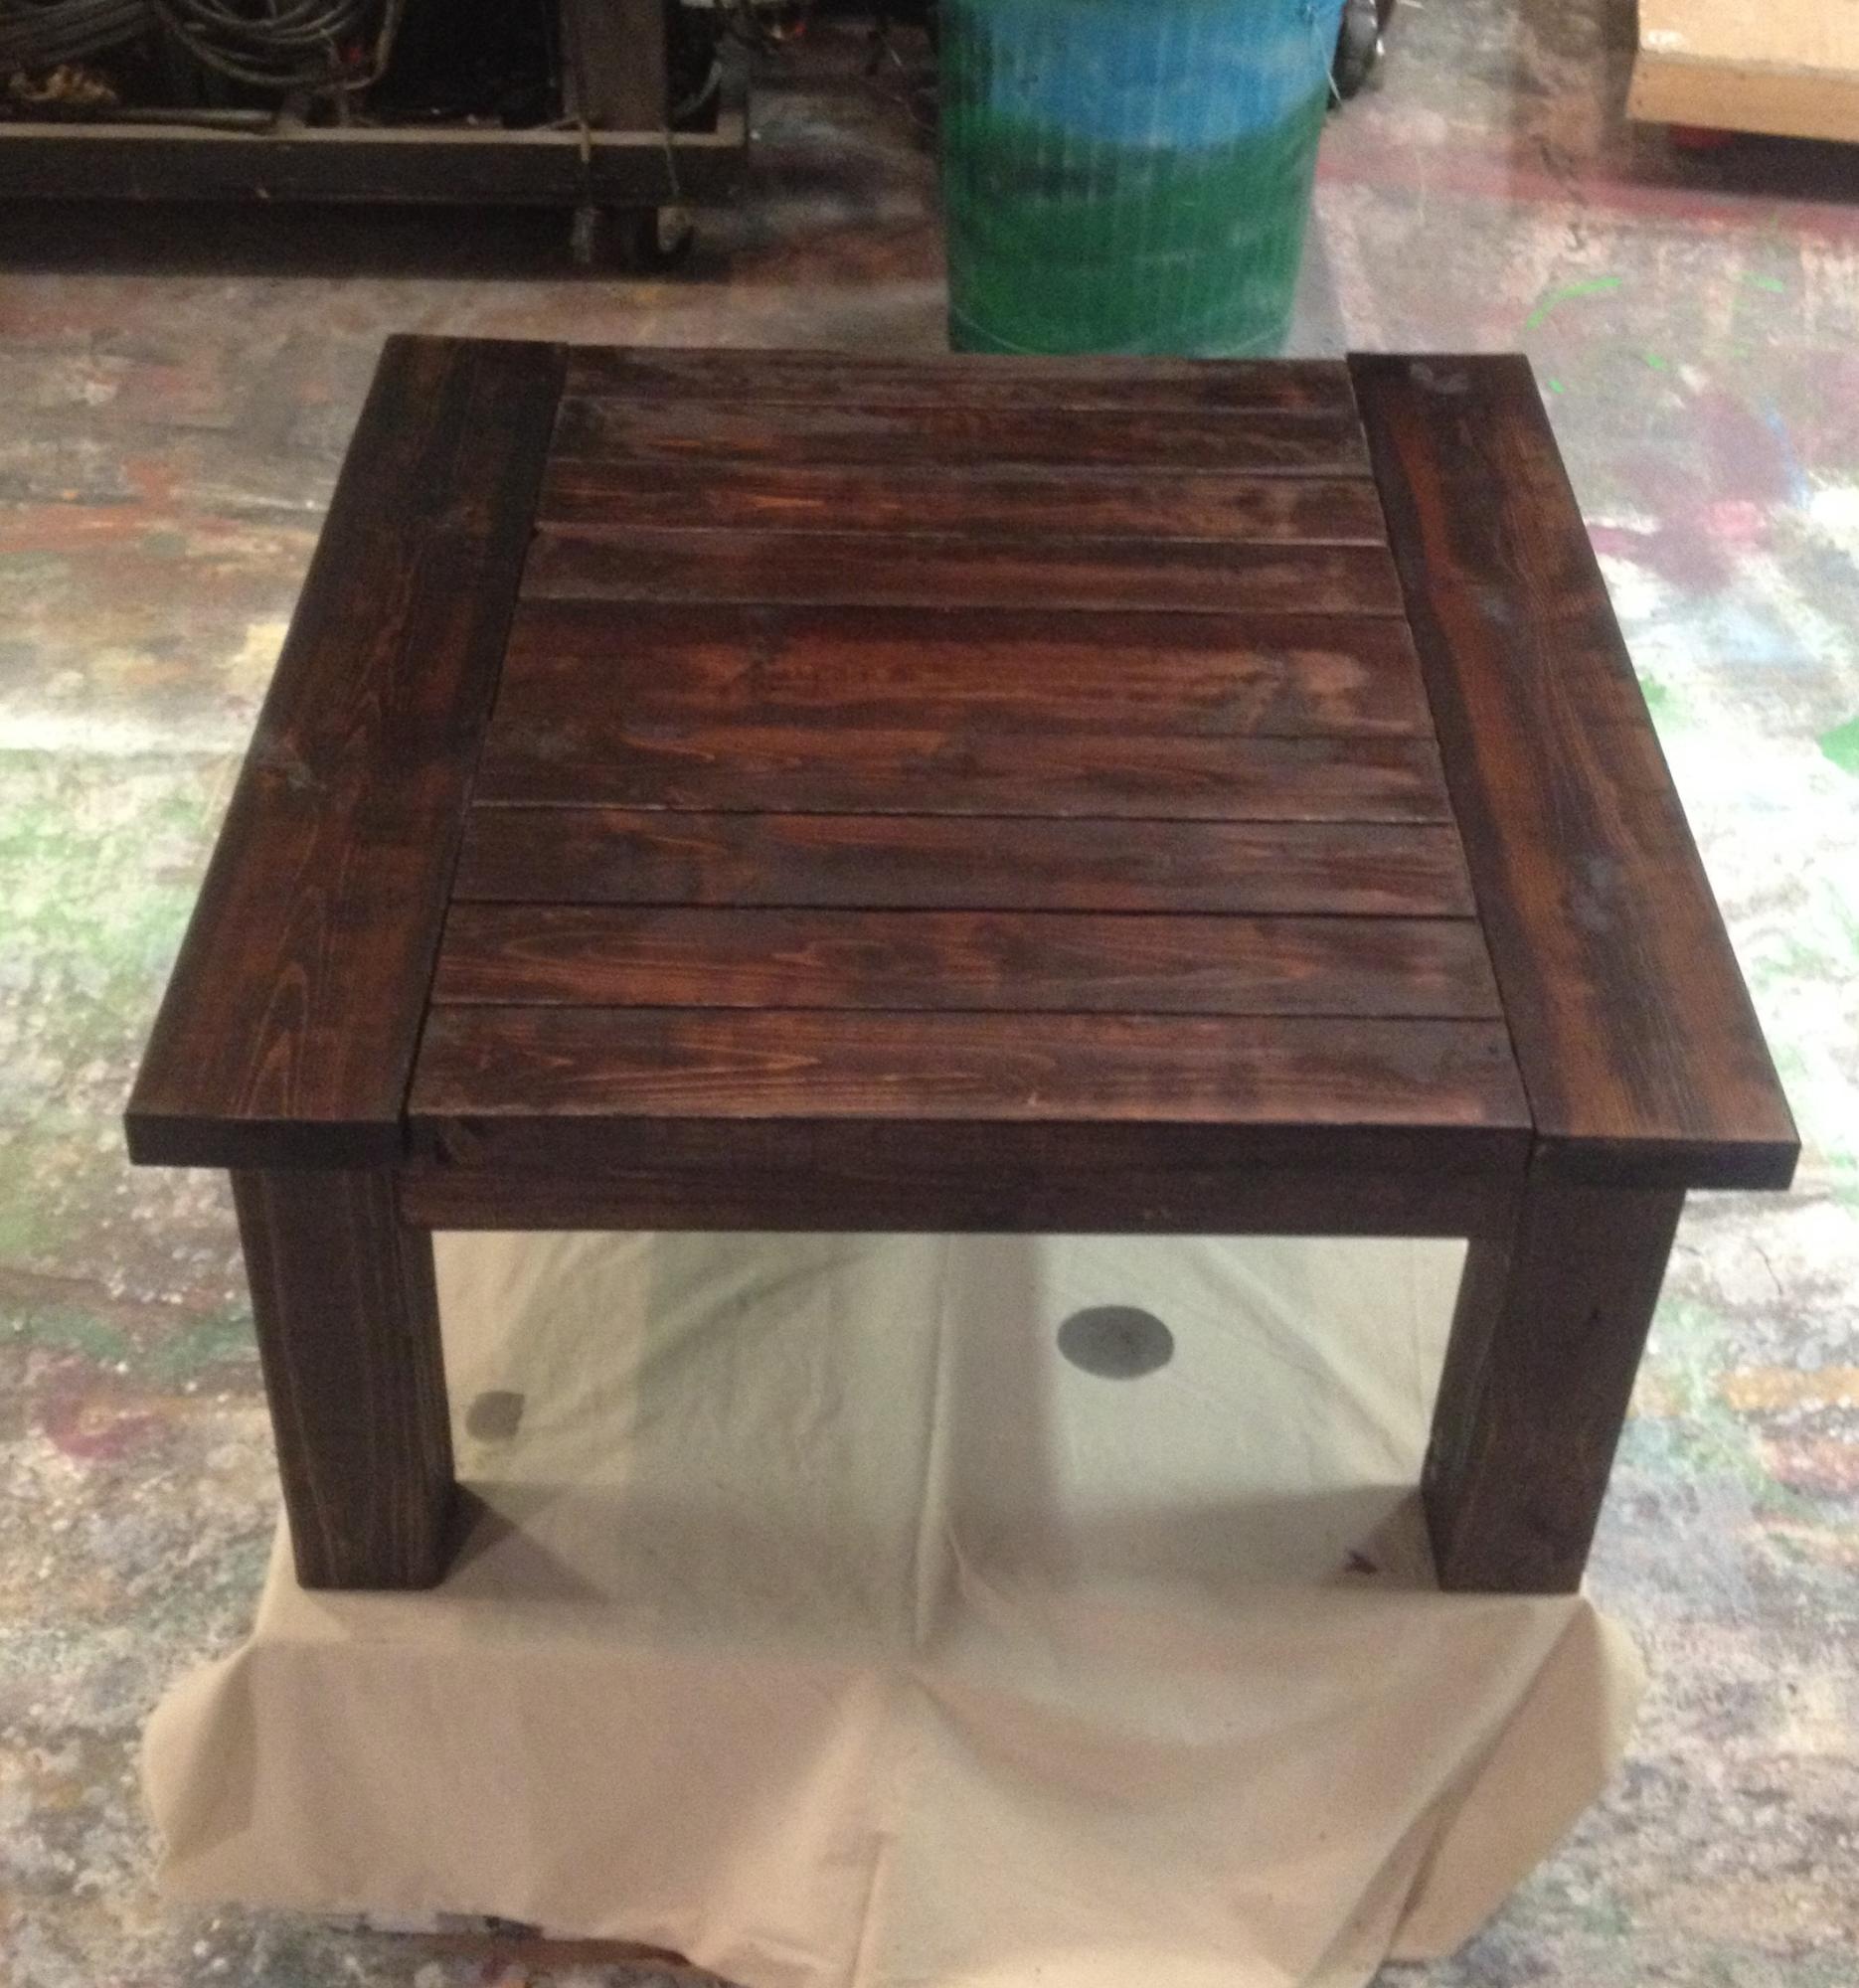
We took the origional plans and used that as the basis for ours. We re-designed it for our size needs on Vectorworks, a design program that we usually use for working in theatre. We bought all of our supplies at Lowes for around $80. Fortunately for us we have a fully stocked scene shop avaliable for our projects. We built it one day then the next we sanded it and stained and sealed it. Its a nice heavy table that we LOVE. we wanted a project to make something nice that will last forver, but still be cheap because we are on a college budget. We used an engraver to put our initials on the table so one day we can show our kids what we can do. 

Built from Plan(s)
Estimated Time Investment
Day Project (6-9 Hours)
Recommended Skill Level
Intermediate

Comments

Farmhouse Table - Wedding Gift for my sister

Submitted by nschric on Mon, 12/15/2014 - 05:31

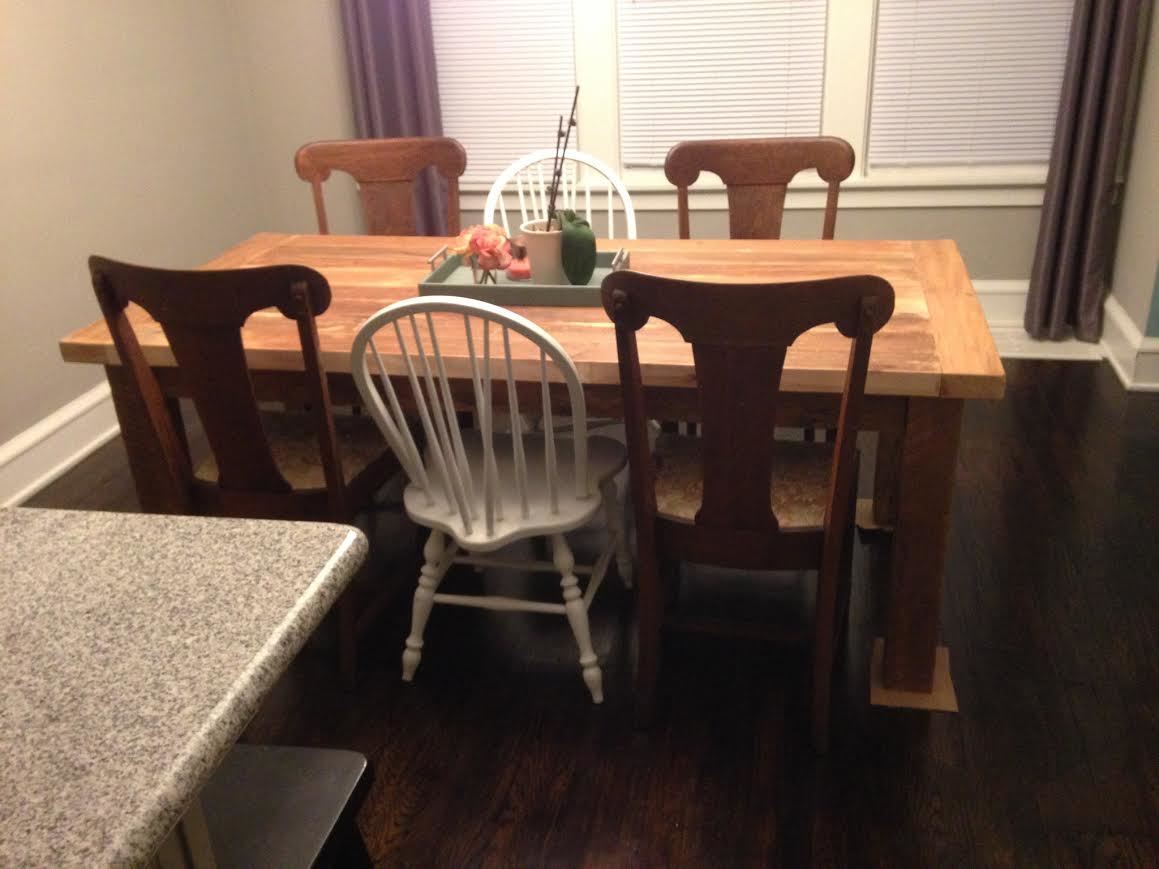
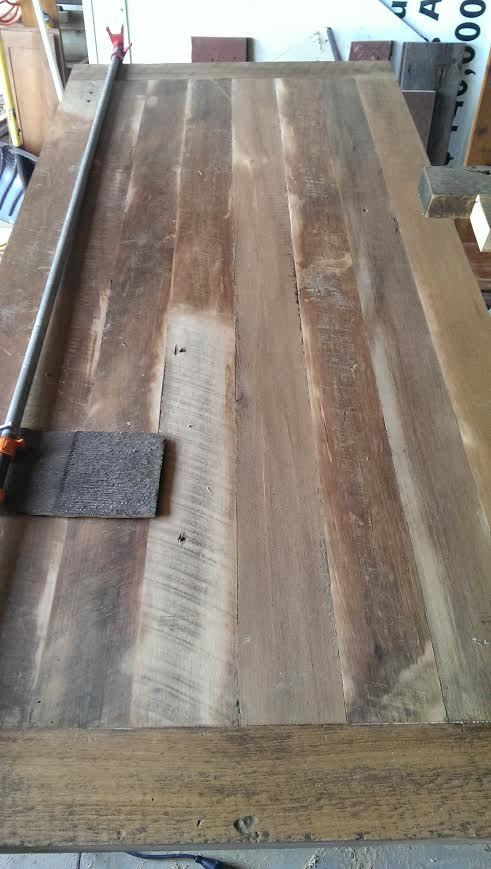
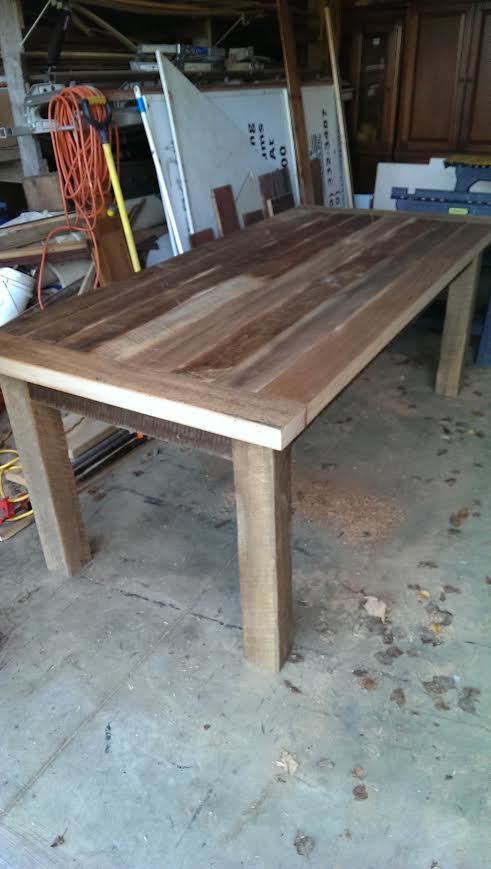
This was a fun project that my Dad and I had the opportunity to work on together. We were able to locate an old barn that and recently been blown over (farmer gladly told us to take whatever we wanted). We salvaged the wood, hit it with a little sand paper that provided the true rustic farm house look. With some modifications and a biscuit joiner we were able to fit this together. All in all I think I spent a total of $6 on the lag blots for the legs. 

Estimated Cost
$6 and some free wood from an old Ohio Barn
Estimated Time Investment
Weekend Project (10-20 Hours)
Finish Used
Unfinished - to be determined later
Recommended Skill Level
Advanced

Kitchen Pantry

Submitted by JameyD on Wed, 01/13/2021 - 09:35

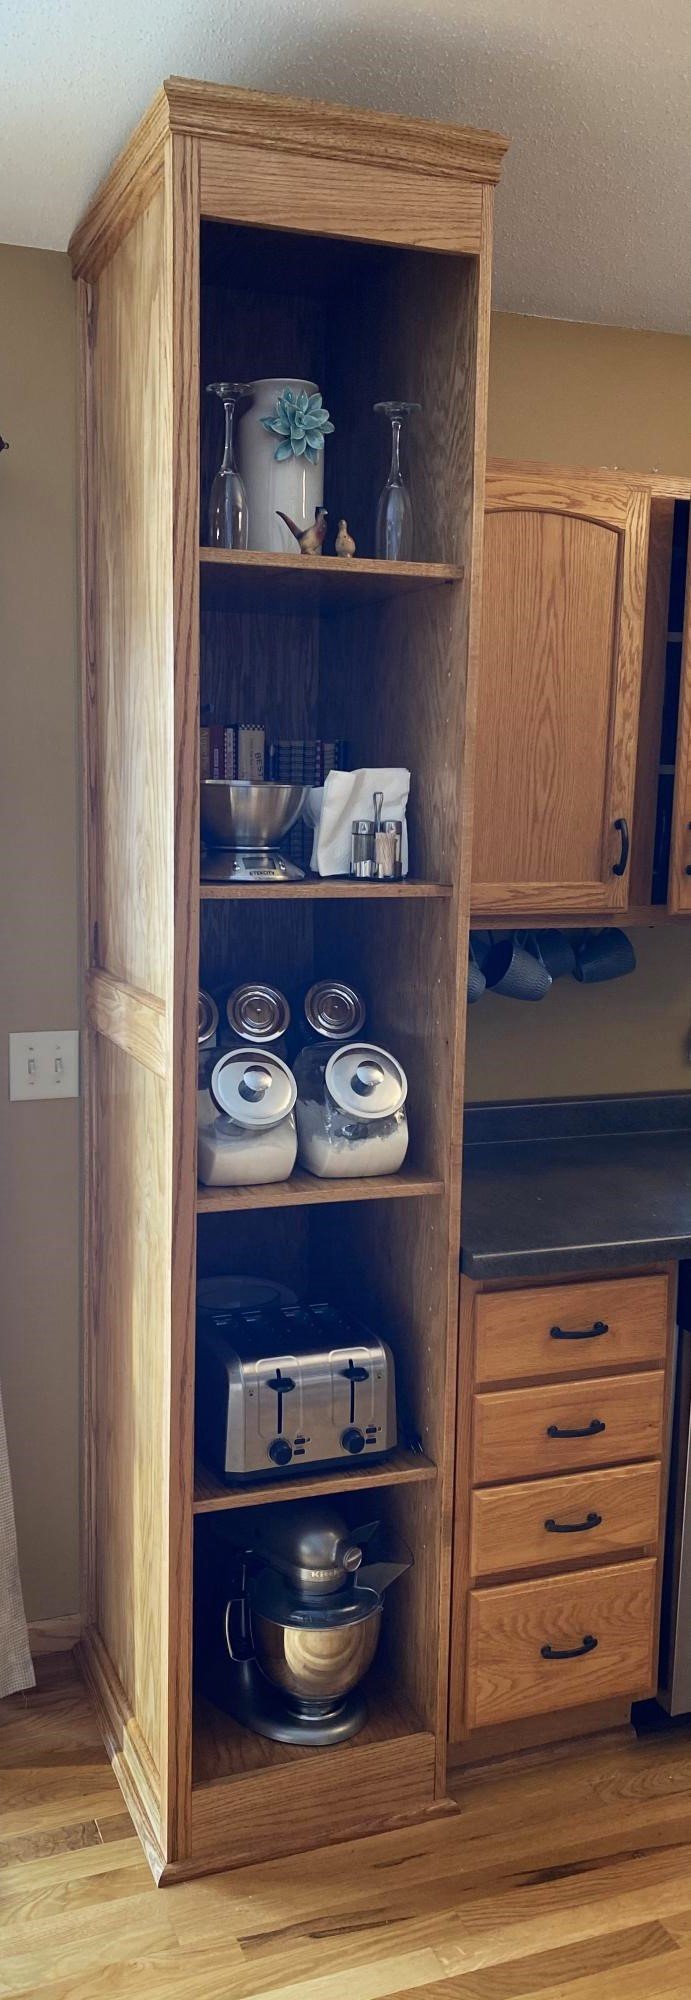
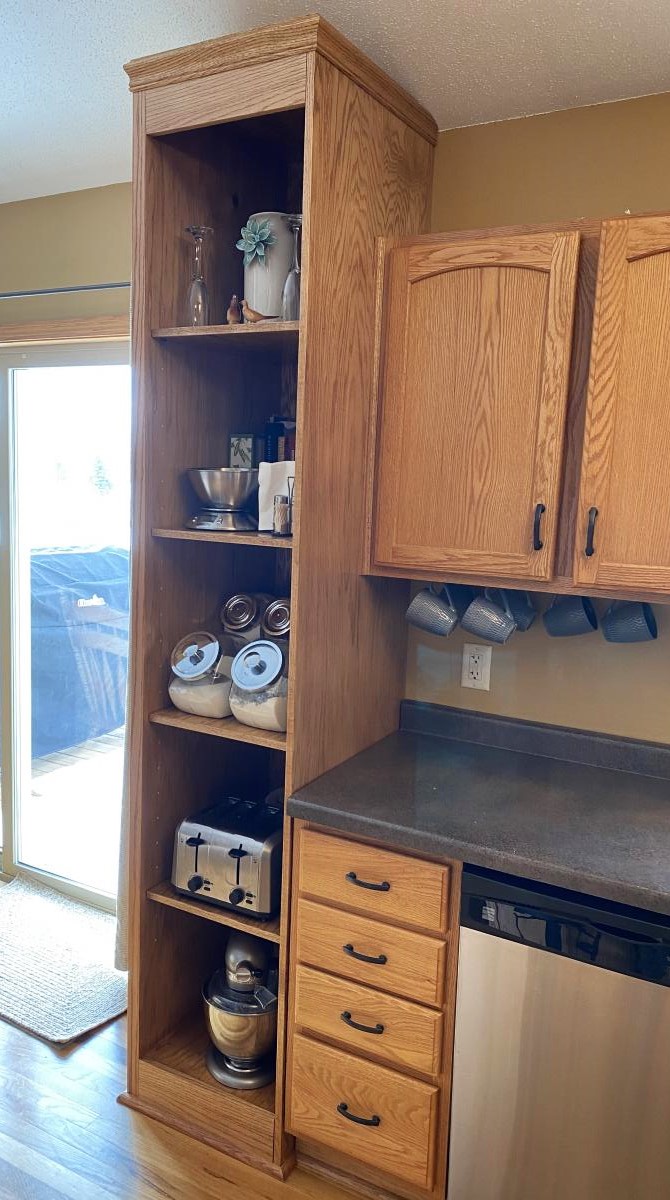
I took some ideas from an Ana White wine rack I saw and made this Pantry for our kitchen. Pretty happy with how it turned out.

Estimated Cost
$300
Estimated Time Investment
Weekend Project (10-20 Hours)
Finish Used
Golden Oak stain
Recommended Skill Level
Beginner

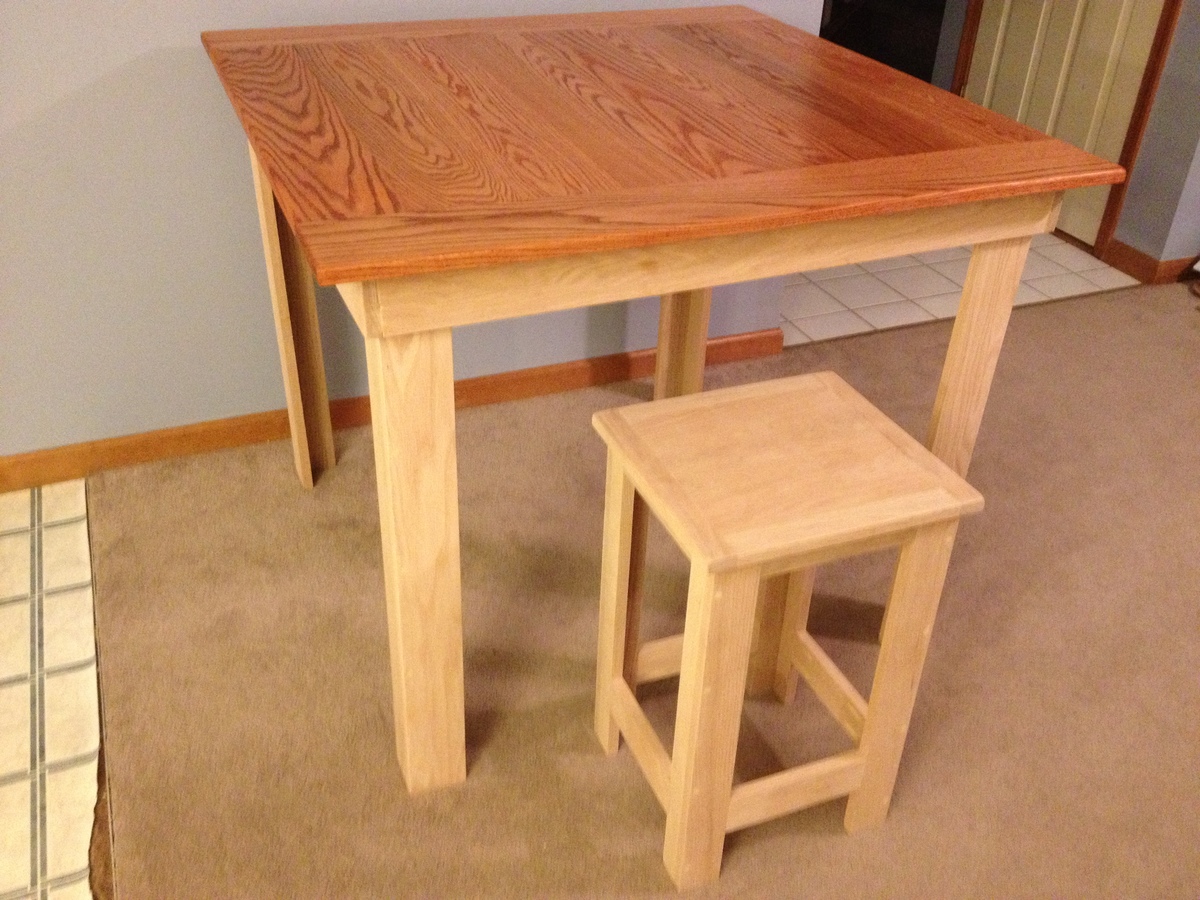
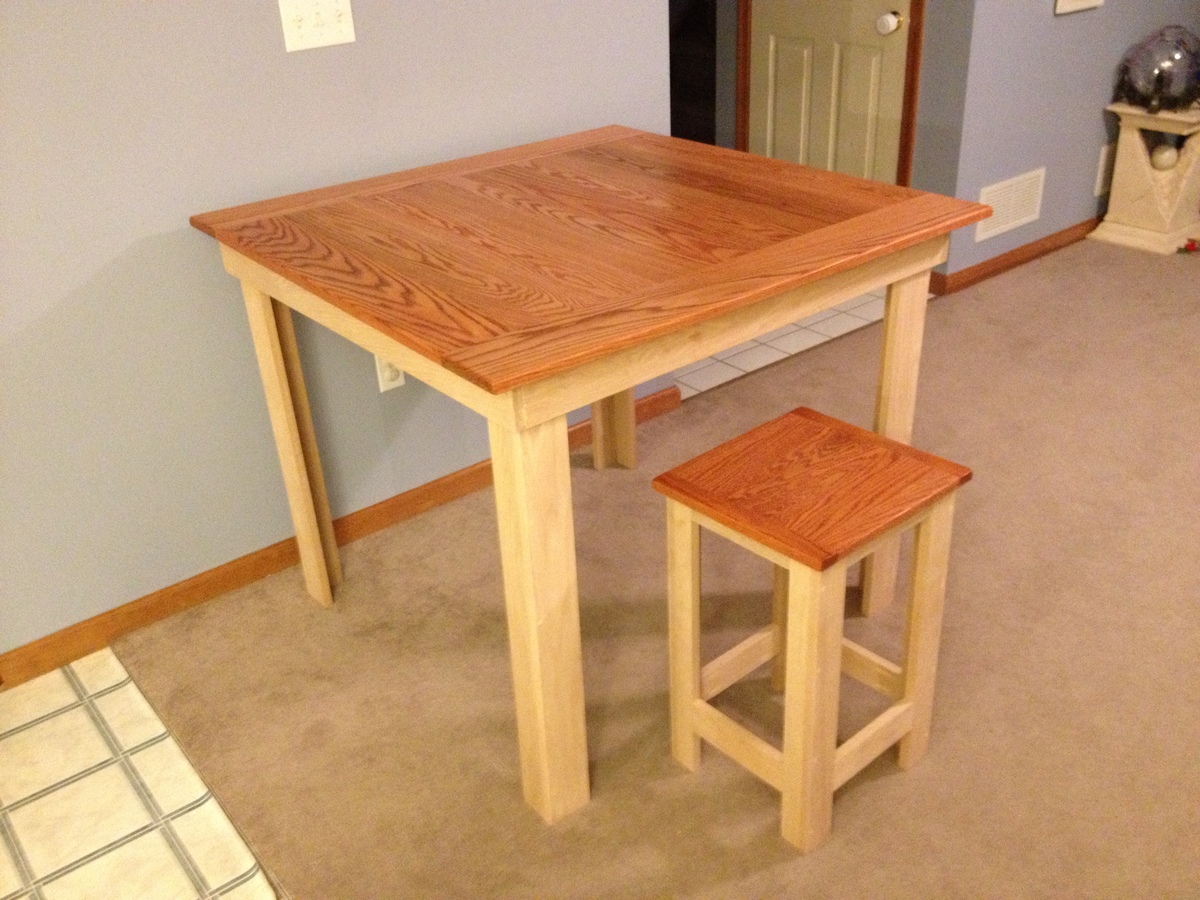
Pub table Stools

Submitted by adecesare4 on Mon, 02/18/2013 - 11:33

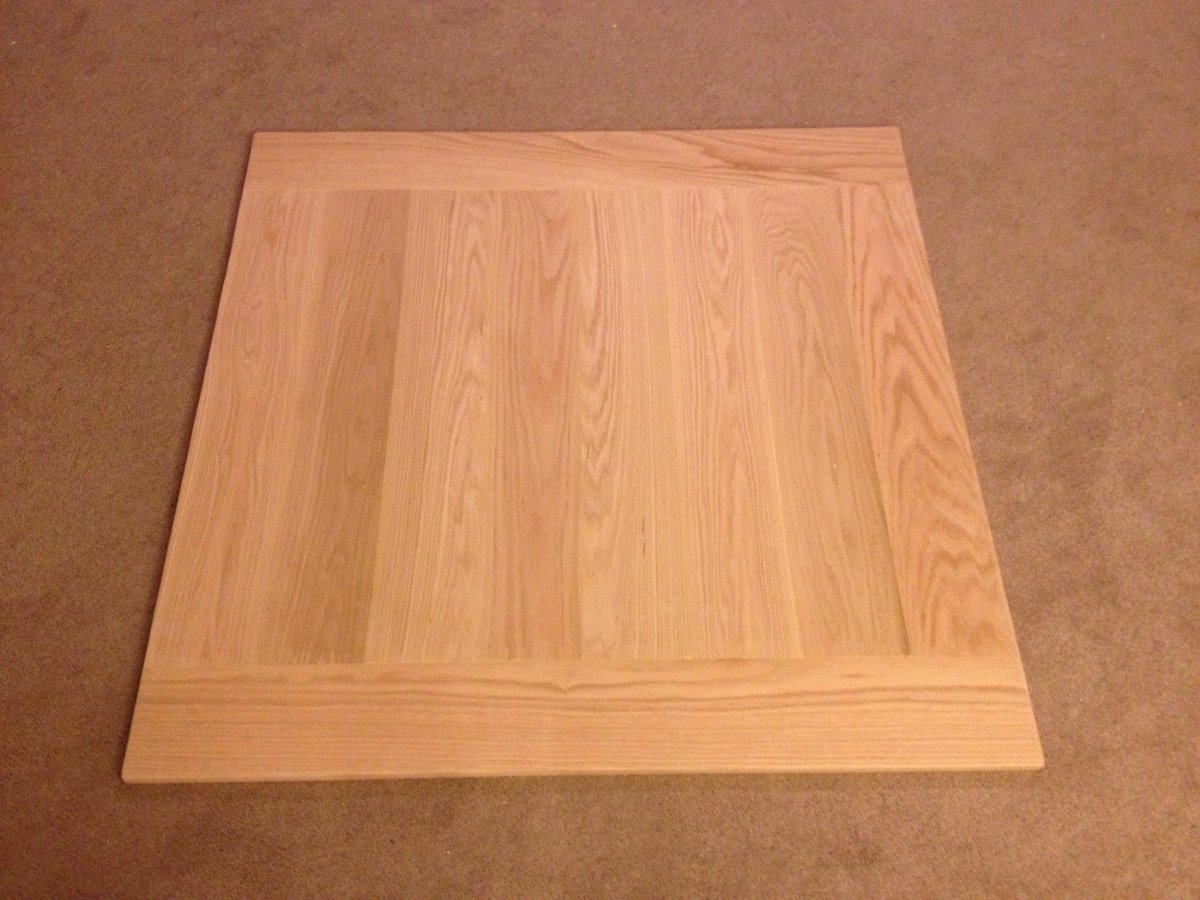
As stated in my table post, I just wasn't happy with what I was finding in the stores as nothing seamed sturdy nor made out of solid material. So I built a pub table and these stools to match.

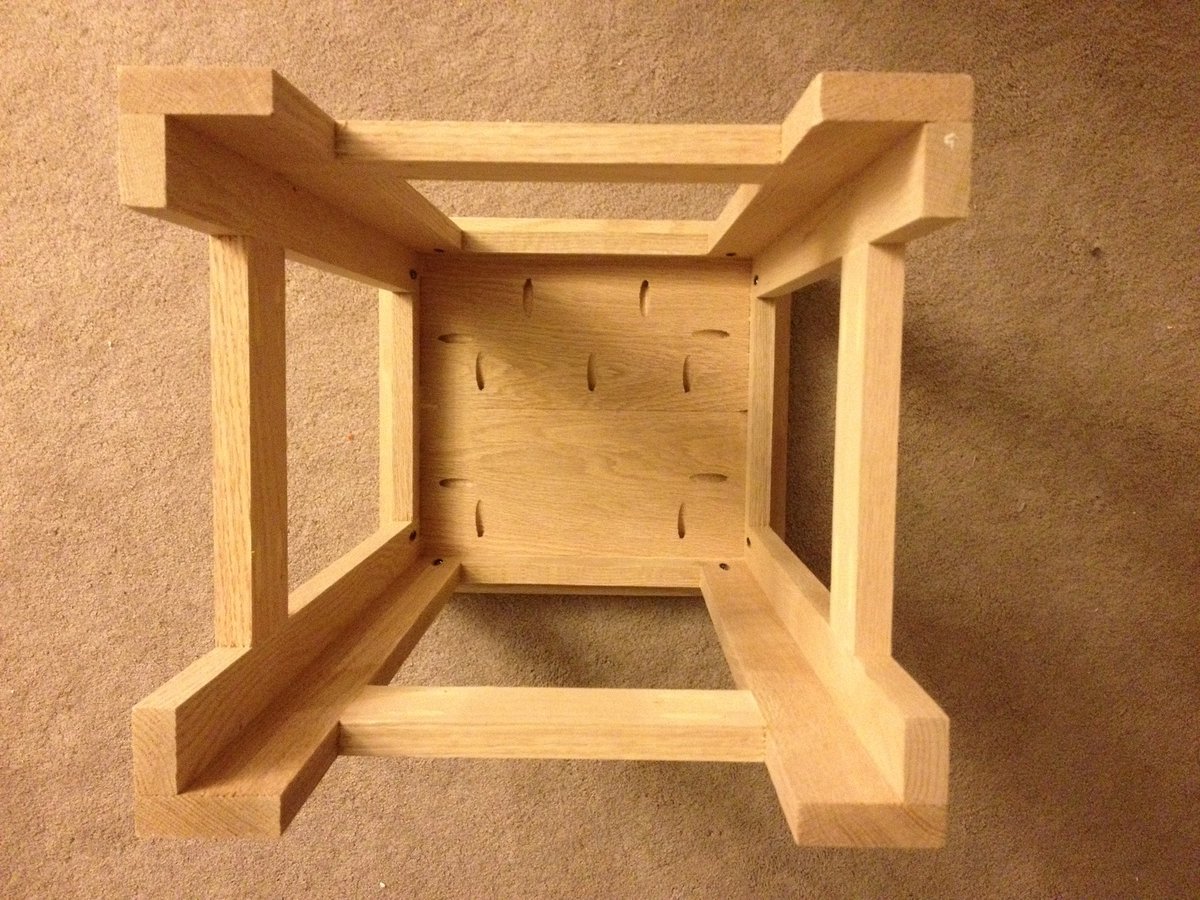
I combined the stools from multiple projects and eventually just made my own measurements and mimicked the table construction that I made.

Although more expensive, I used Oak so it is sturdy and will take more than normal wear and tear (as I have three young boys under 10)

Estimated Cost
maybe $40 a stool
Estimated Time Investment
Weekend Project (10-20 Hours)
Finish Used
Rustoleum Traditional Cherry
Minwax Polyacrylic
Recommended Skill Level
Intermediate

Comments

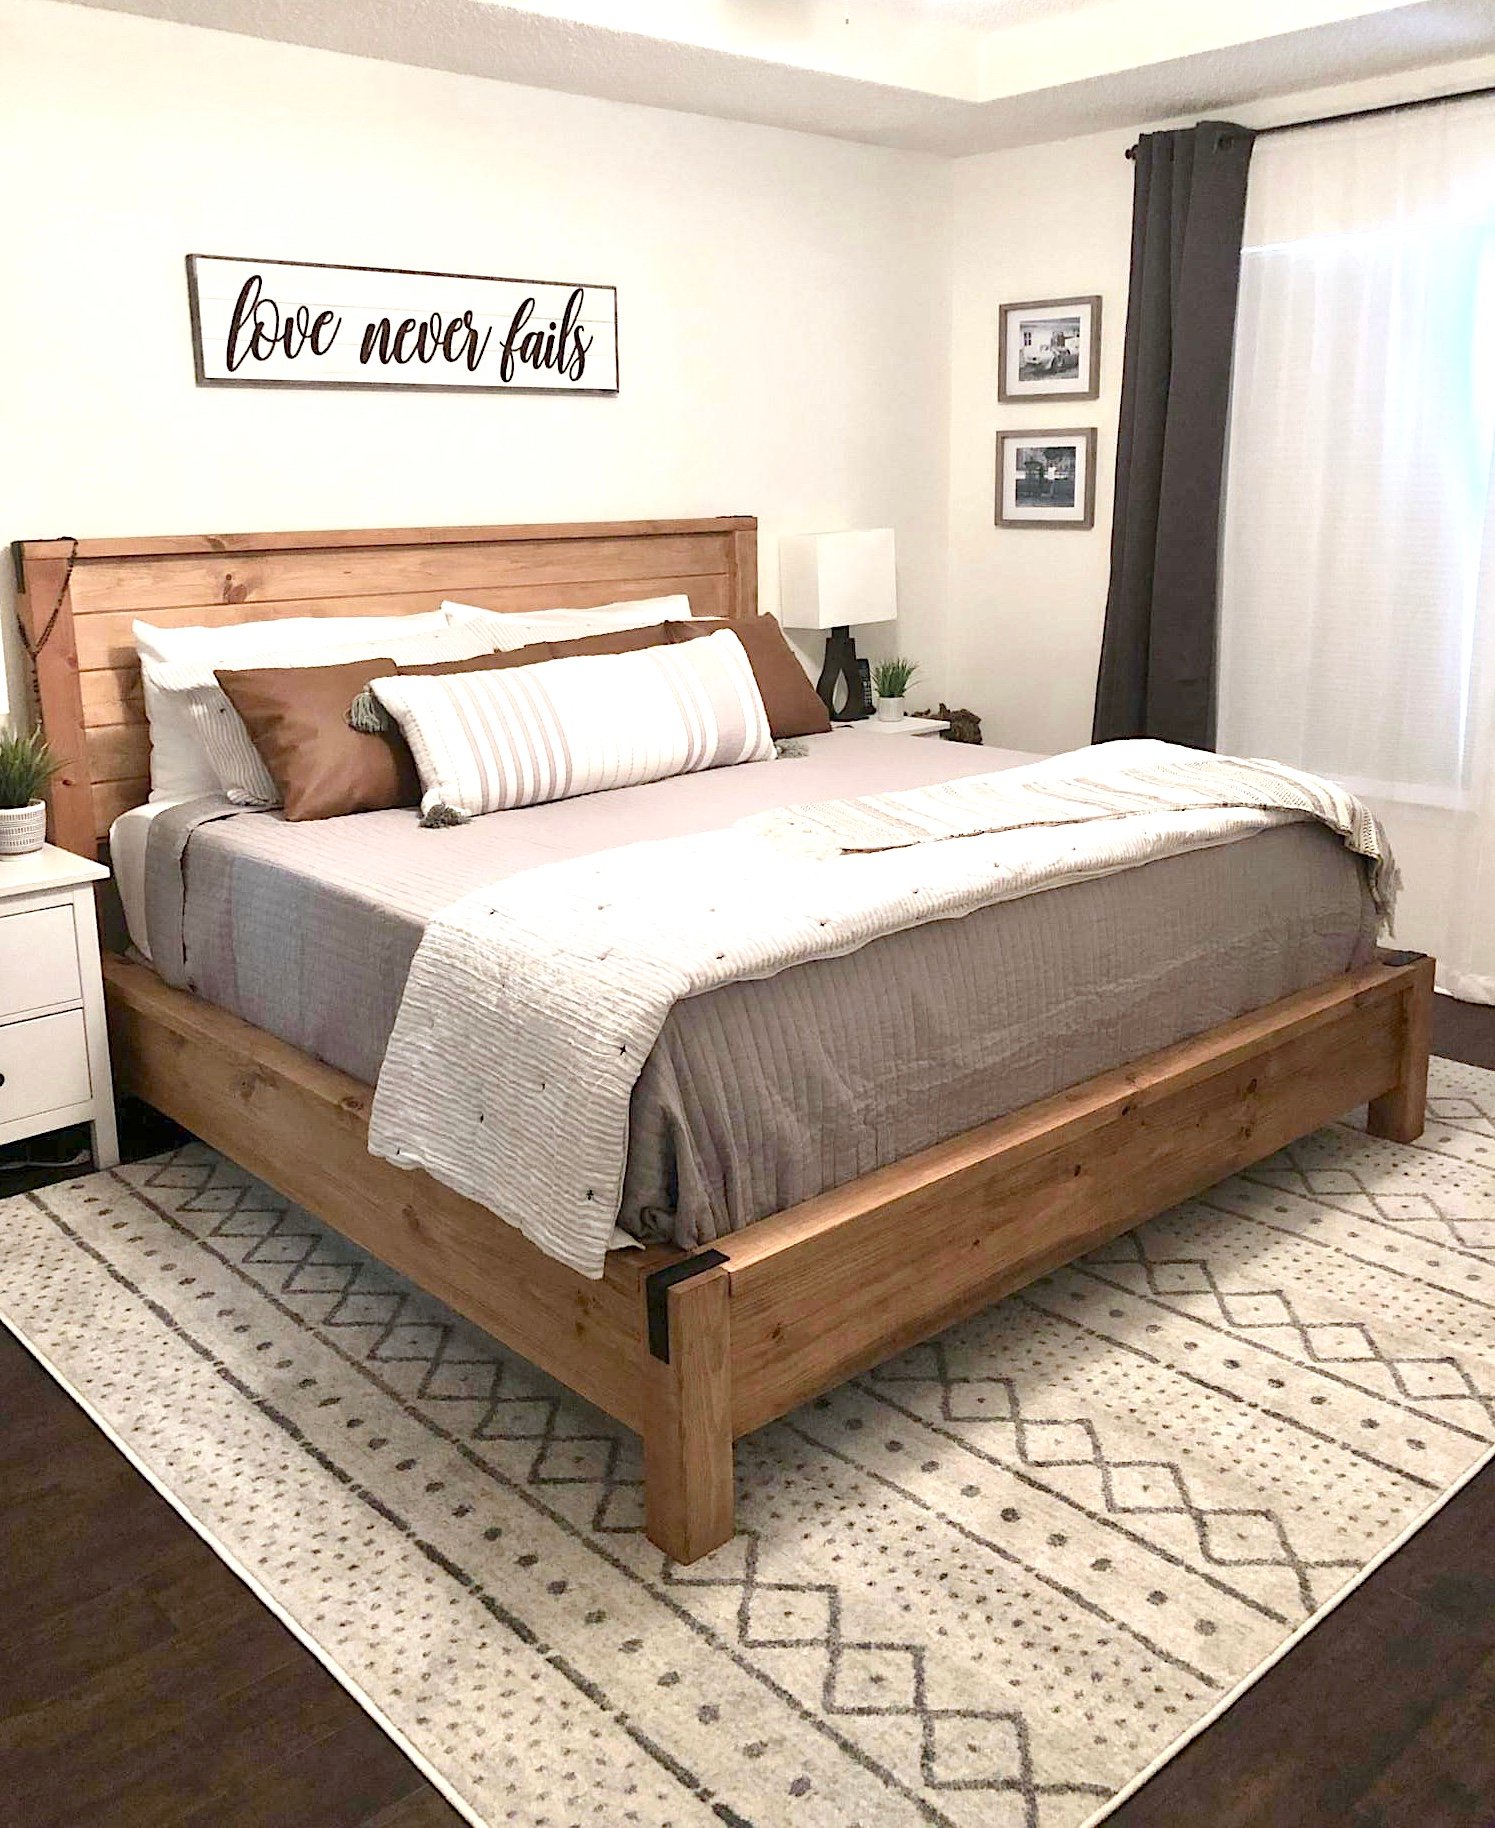
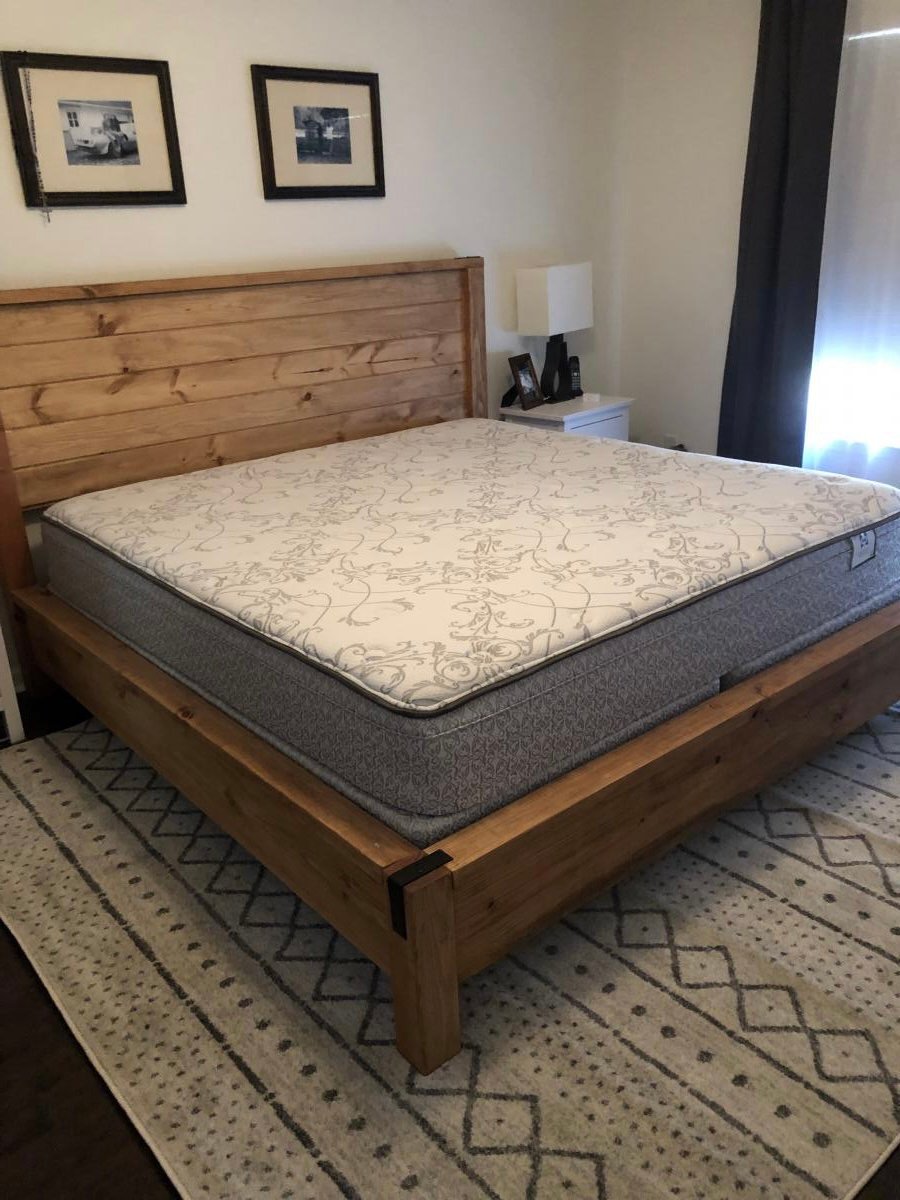
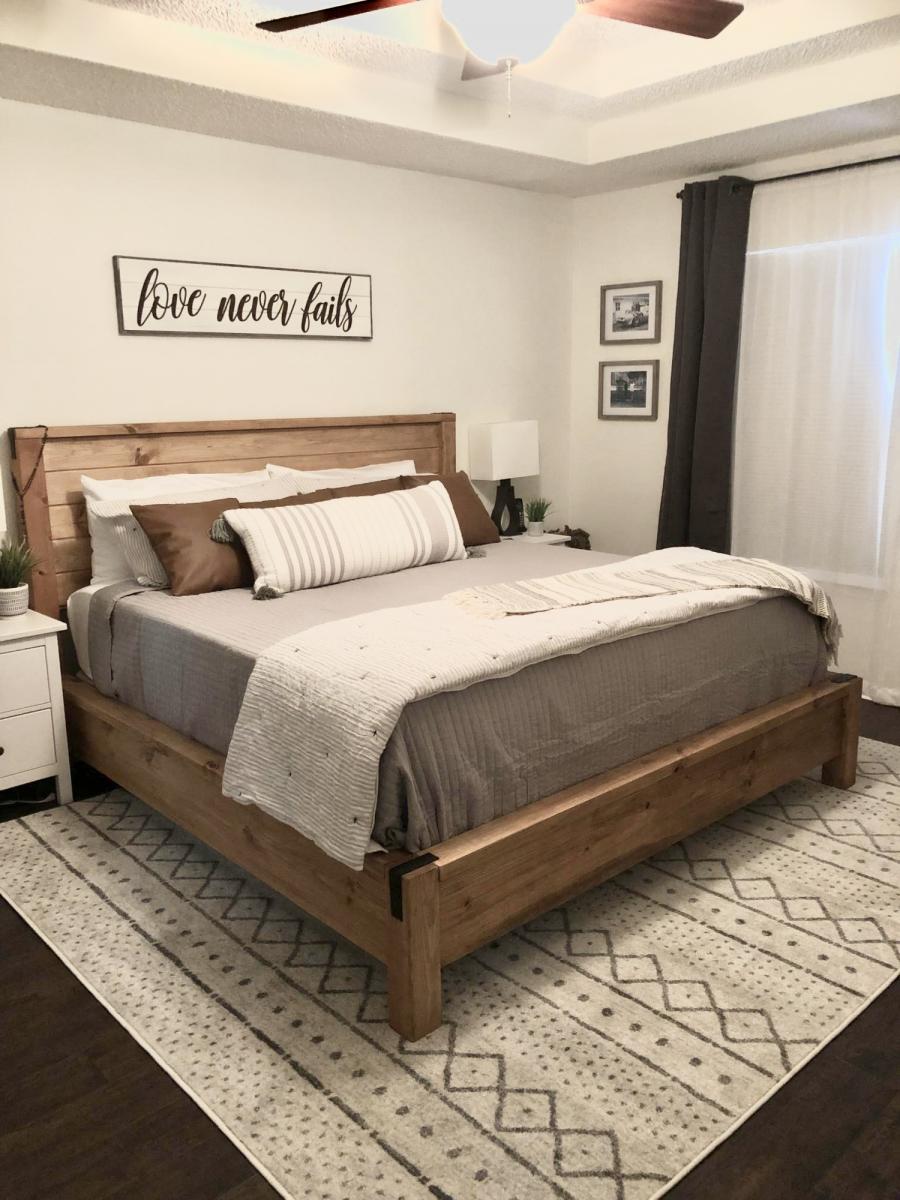
King Modern Farmhouse Bed

Made this bed from Ana's plans. Modified it with rail so I can add my box spring. Cost was approximately $160 for lumber, screws and stain. Absolutely loved the plans and easy to follow or modify if needed.

Built from Plan(s)
Estimated Cost
160.00
Estimated Time Investment
Afternoon Project (3-6 Hours)
Finish Used
Minwax wood conditioner, Minwax Special Walnut Stain
Recommended Skill Level
Intermediate

Comments

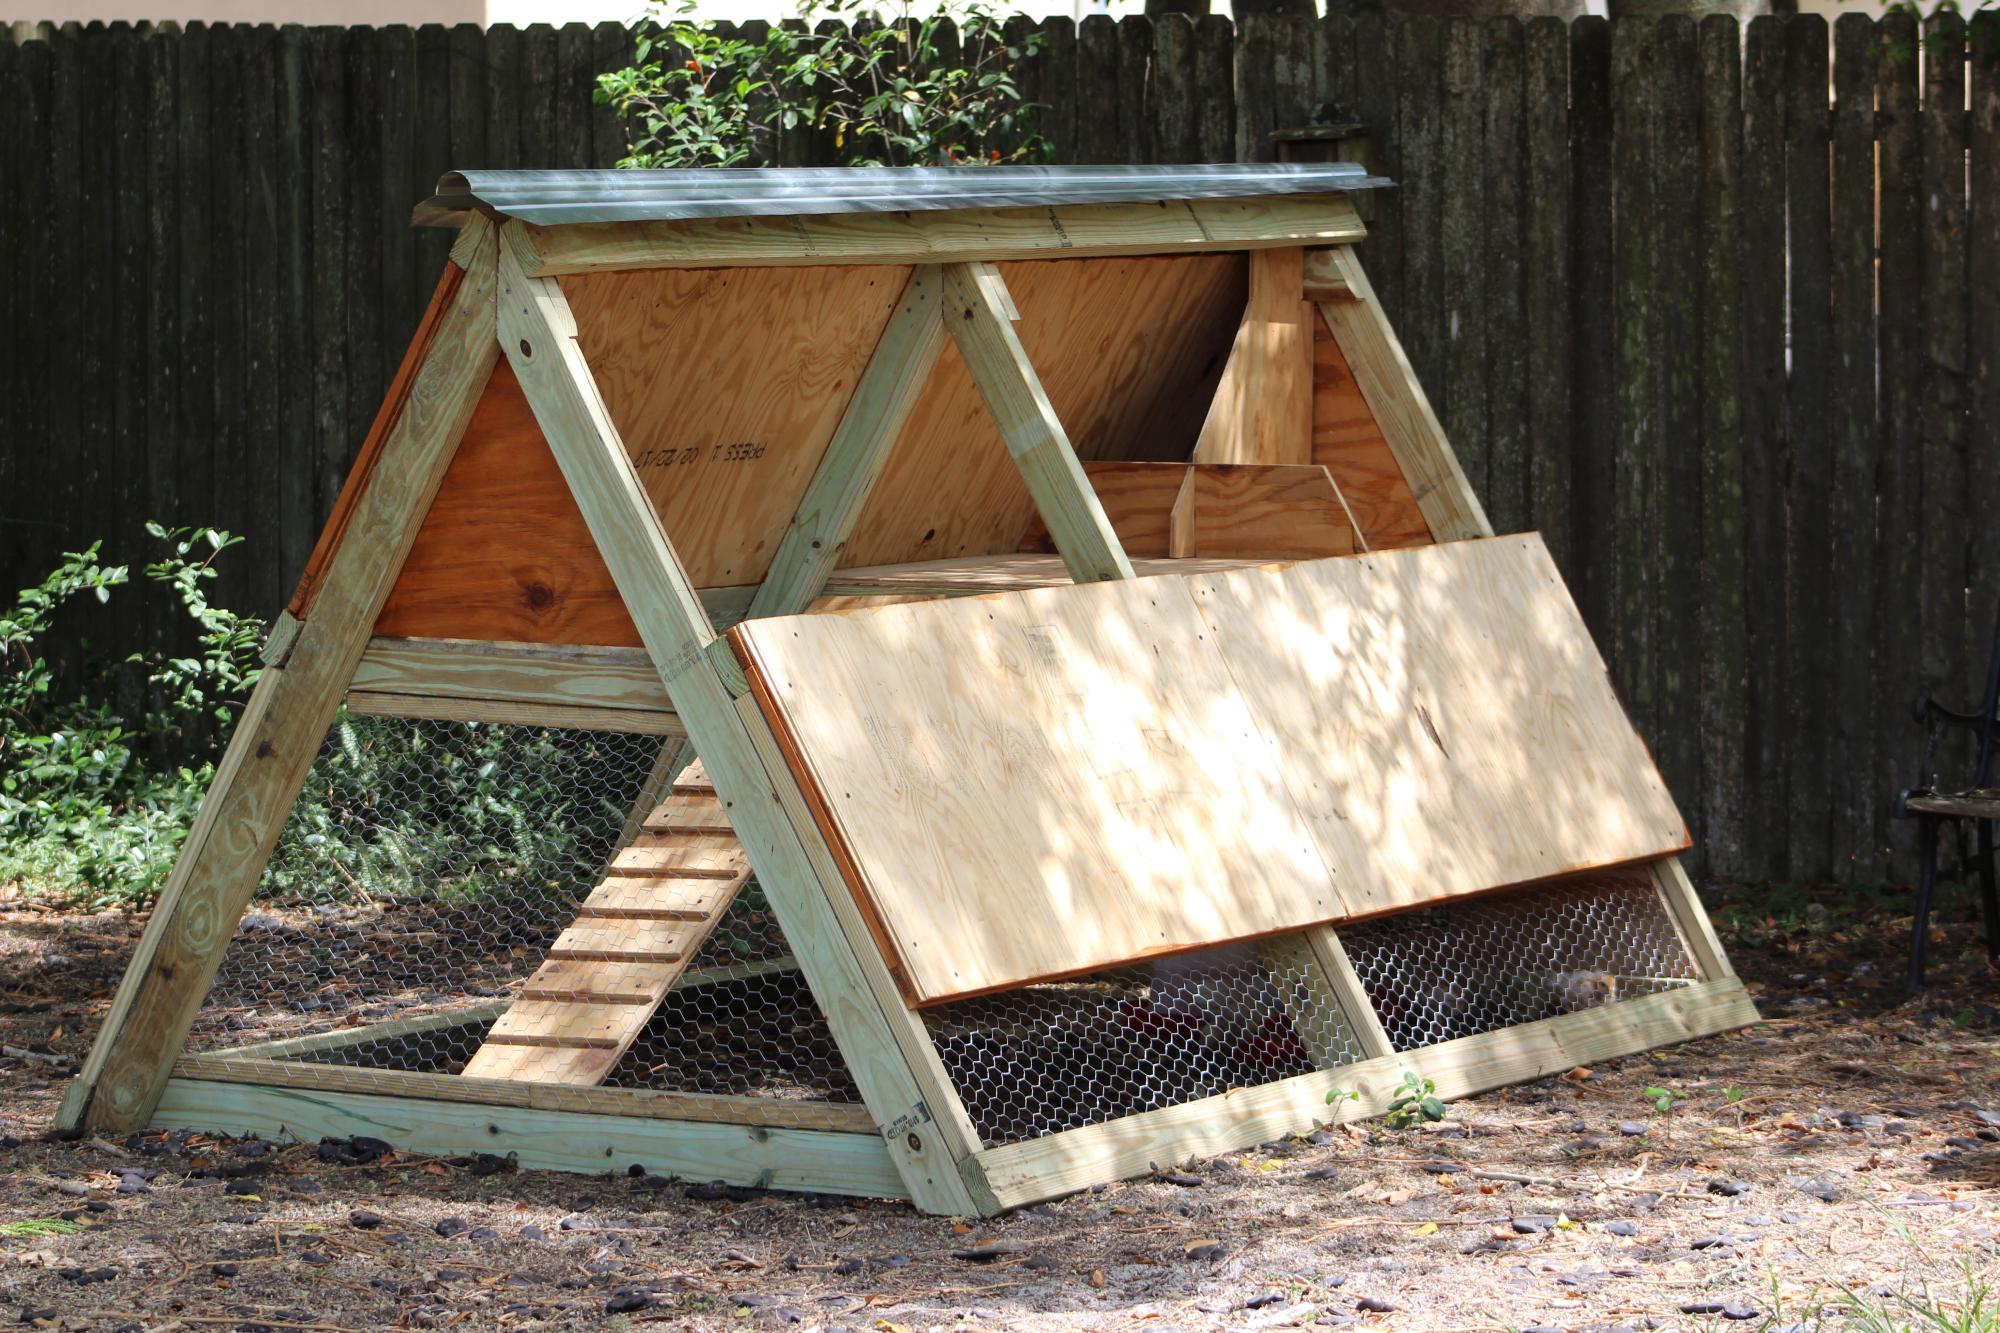
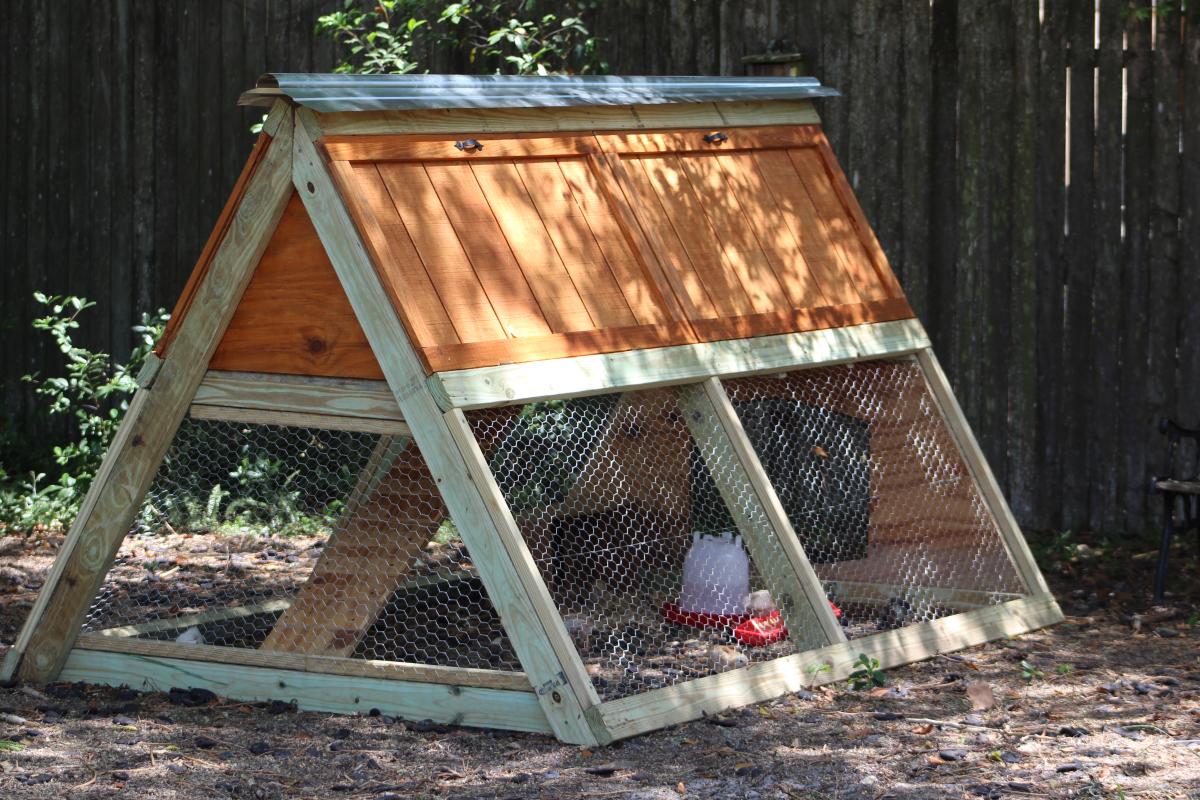
A-Frame Chicken Coop - Easy to Clean

Submitted by Anonymous (not verified) on Mon, 04/24/2017 - 14:25

Thanks for the free plans. I did have to make modifications for the doors. i hid the hinges to give it a clean look. i used cedar for the trim and Plywood Siding Panel T1-11 4 IN OC (Common: 19/32 in. x 4 ft. x 8 ft.; Actual: 0.563 in. x 48 in. x 96 in.) for the doors.  i used a metal flashing for the roof so it will vent.

Built from Plan(s)
Estimated Cost
$250
Estimated Time Investment
Week Long Project (20 Hours or More)
Finish Used
BEHR Transparent waterproofing finish (Cedar Natural Tone) NO 501
Recommended Skill Level
Intermediate
Seasonal And Holiday

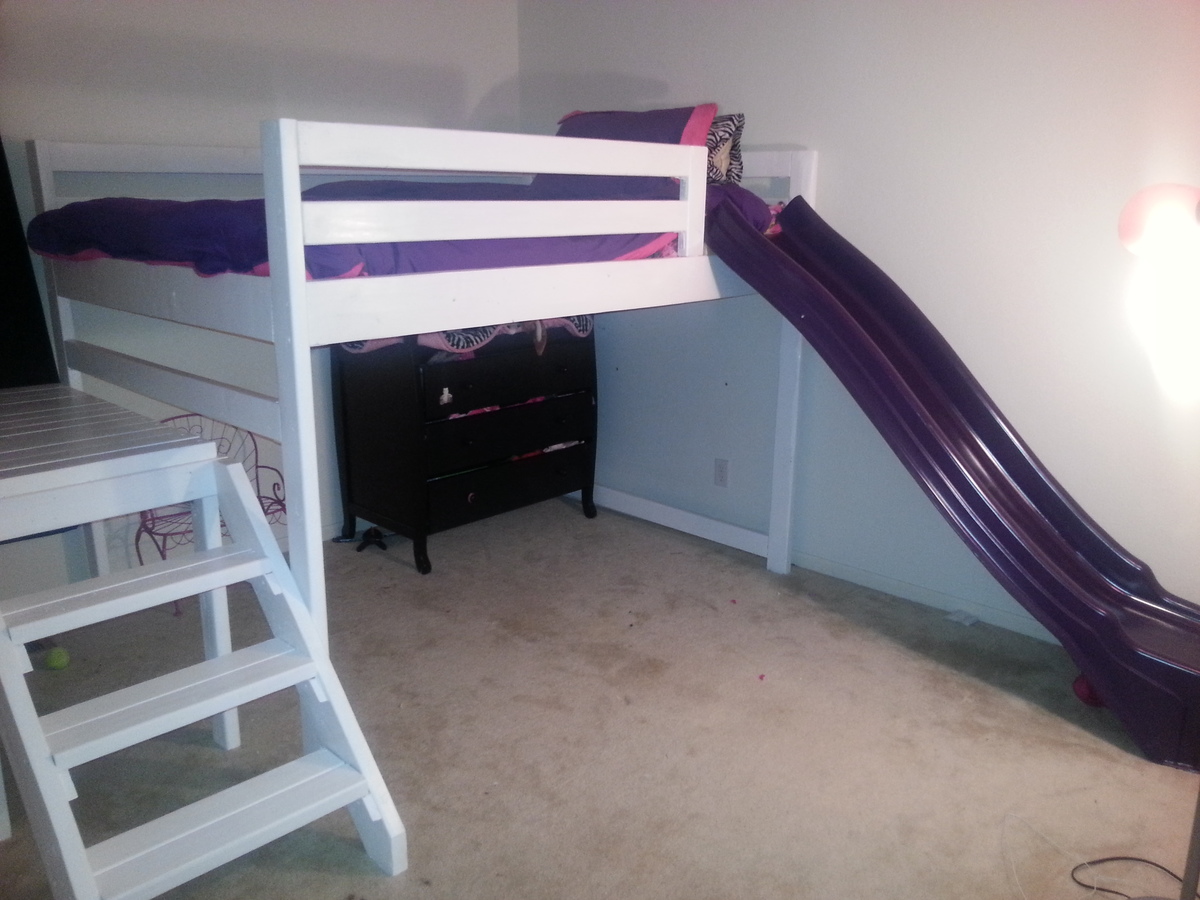
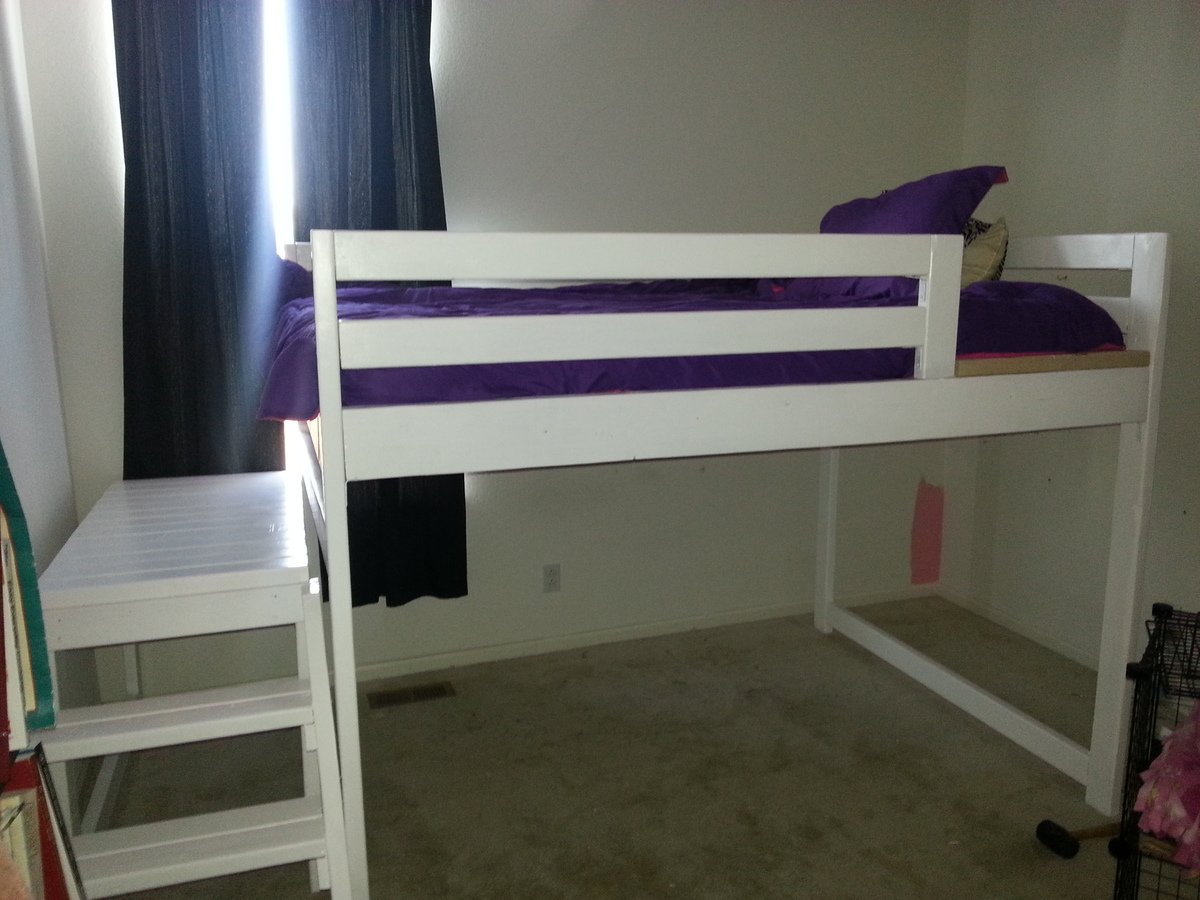
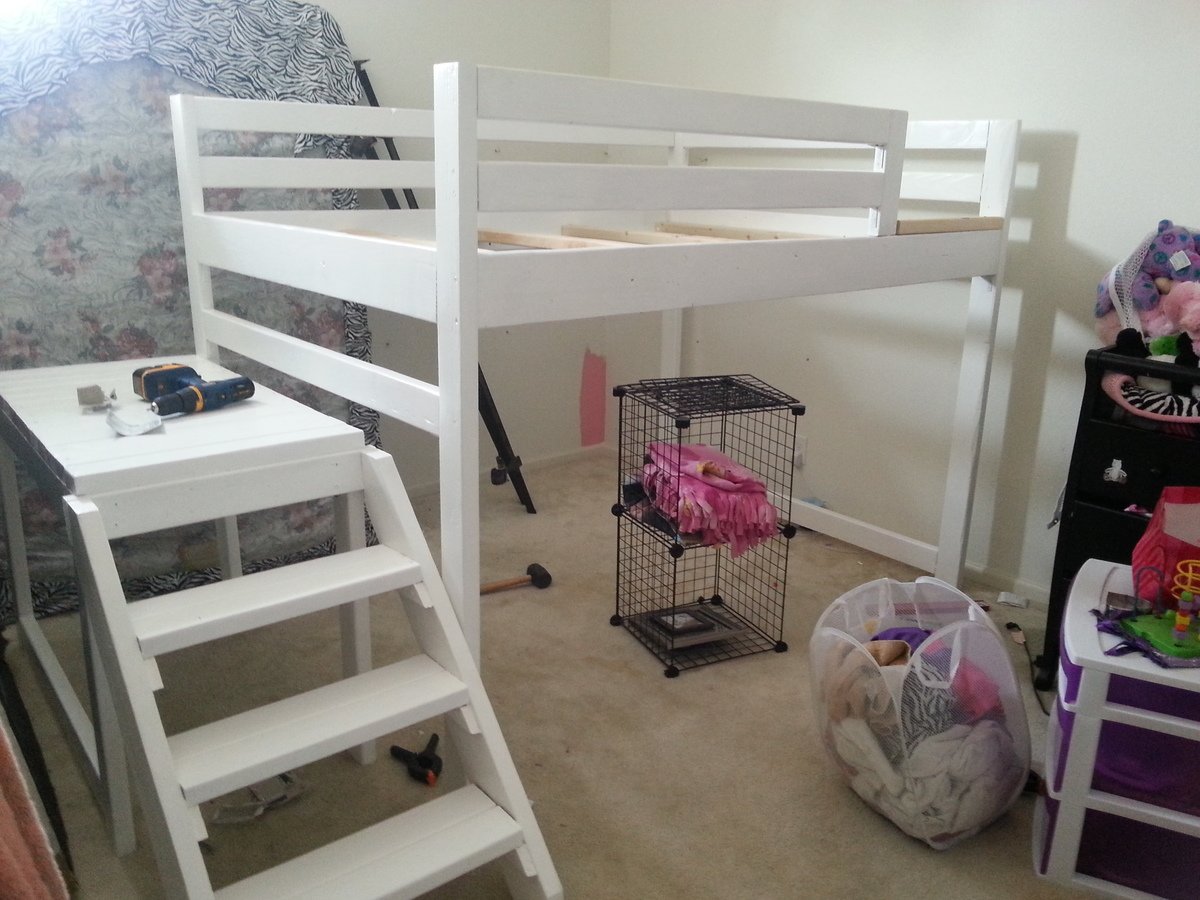
Sienna's loft bed!

I started with the Camp style loft bed, and modified it. Since we had a full sized bed, we knew that we needed it to be wider. Also, we knew we wanted a slide, since baby girl LOVES slides. We found one on CraigsList that was too long, but we cut it down and found a way to attach it. We also aren't very good carpenters (yet), so we had some issues with our stairs being wider then our platform, and had to add an extra piece. Overall, this project took us 3 weekends and a few nights after work. Also, we were using the plans which suggested it would only cost around $50, wasn't quite the case with us...I am pretty sure we spent over $200, but we didn't really have paint, sandpaper, the slide, etc. So that is pretty all-encompassing. Very happy with our results, and We cannot wait for the baby girl to see the outcome!

Estimated Cost
250
Estimated Time Investment
Week Long Project (20 Hours or More)
Finish Used
white latex paint.
Recommended Skill Level
Starter Project

Comments

Handy Shanny

Tue, 09/01/2015 - 04:16

Looks great!  Could you please explain how you cut down and attached the slide?  Has it held up with use?  We are planning to do the same thing.  Thanks!

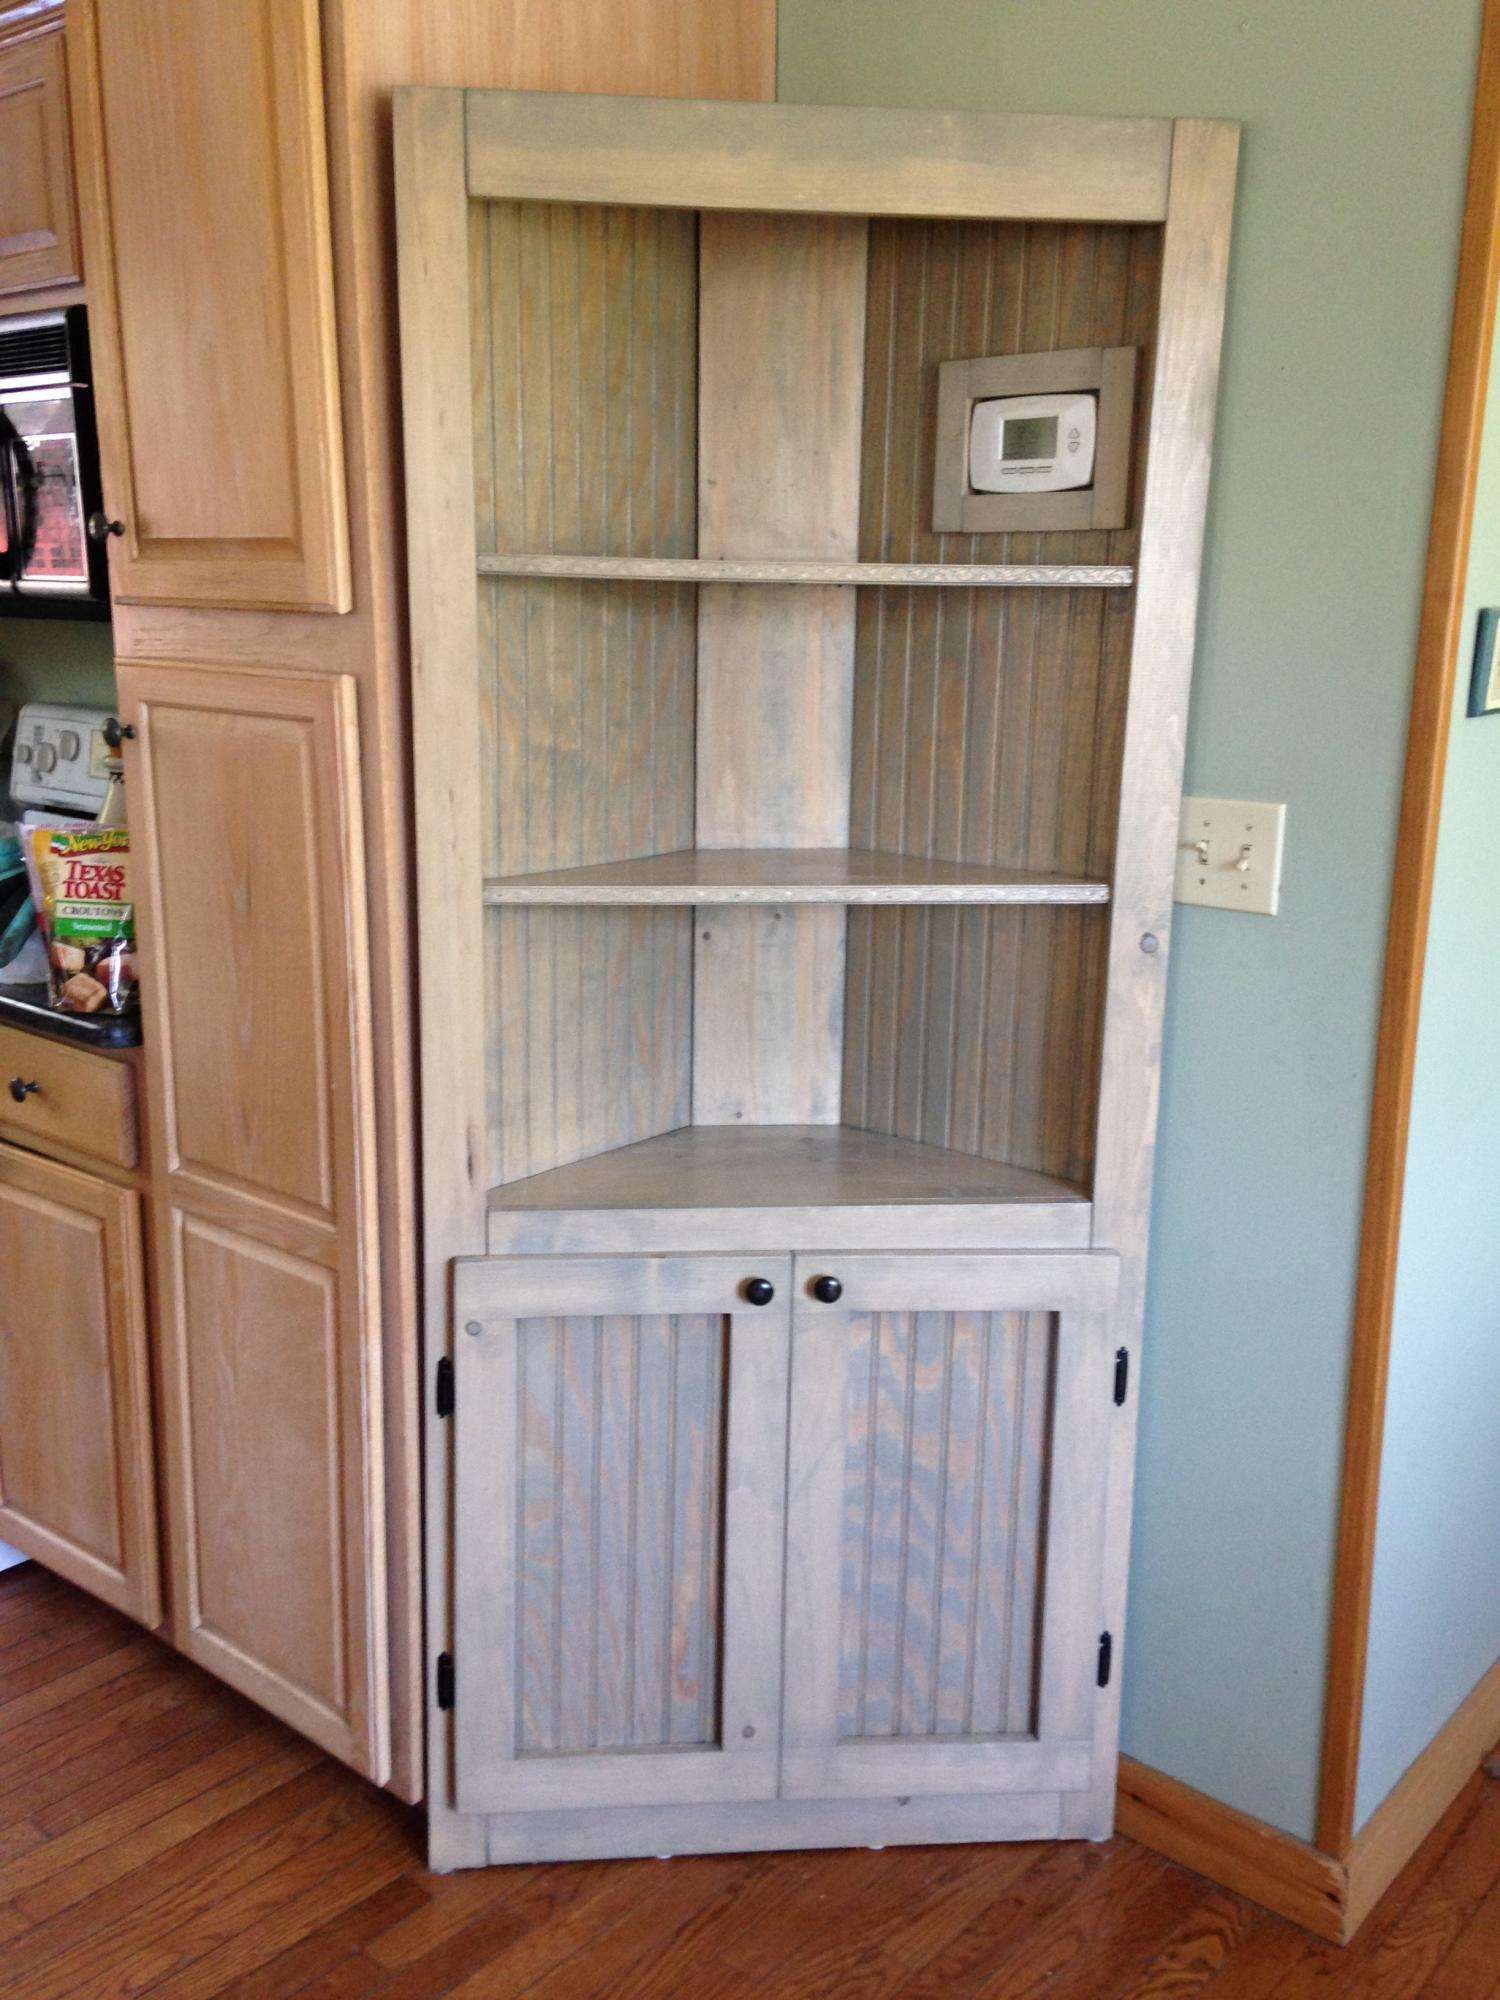
Corner Hutch

Submitted by Anonymous (not verified) on Thu, 06/01/2017 - 12:58

Built the corner hutch from Ana's super easy plans!  LOVE IT!

http://www.ana-white.com/2010/12/plans/corner-cupboard

Made a cutout for my thermostat on the wall.  Gotta love building what you need for your space!

Built from Plan(s)
Estimated Time Investment
Weekend Project (10-20 Hours)
Finish Used
Grey Paint wash
Recommended Skill Level
Intermediate

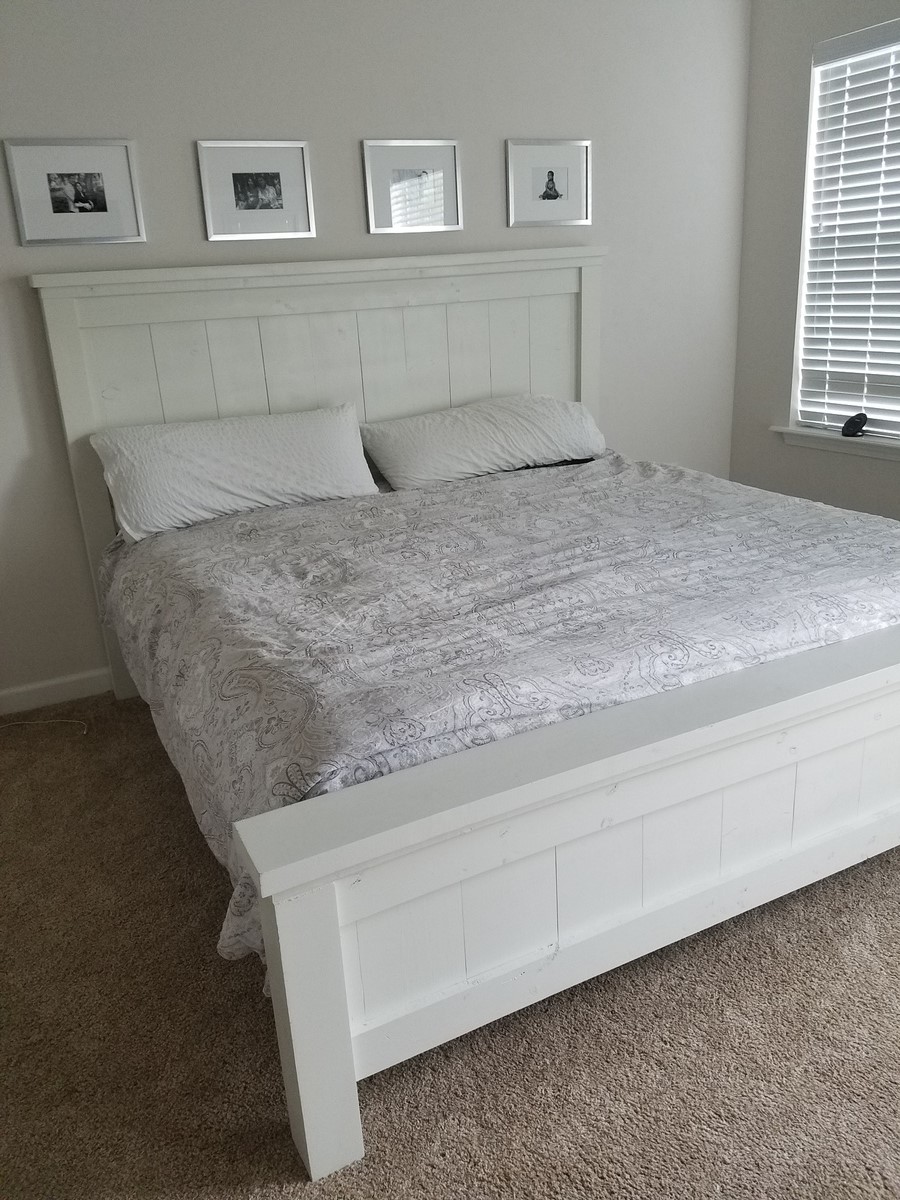
Farmhouse King Bed

Submitted by wangbw on Sun, 06/11/2017 - 15:36

Took a little longer than I anticipated.  By far the hardest part was finding straight boards at Home Depot.  Used Cedar 4x4s for the post to avoid treated wood.  Had to make a few adjustments for our king mattress, but well worth it.   Bed and platform came in right at $300 for the wood, screws, paint, etc.  Thanks for the plans!

Estimated Cost
$300
Estimated Time Investment
Weekend Project (10-20 Hours)
Recommended Skill Level
Intermediate

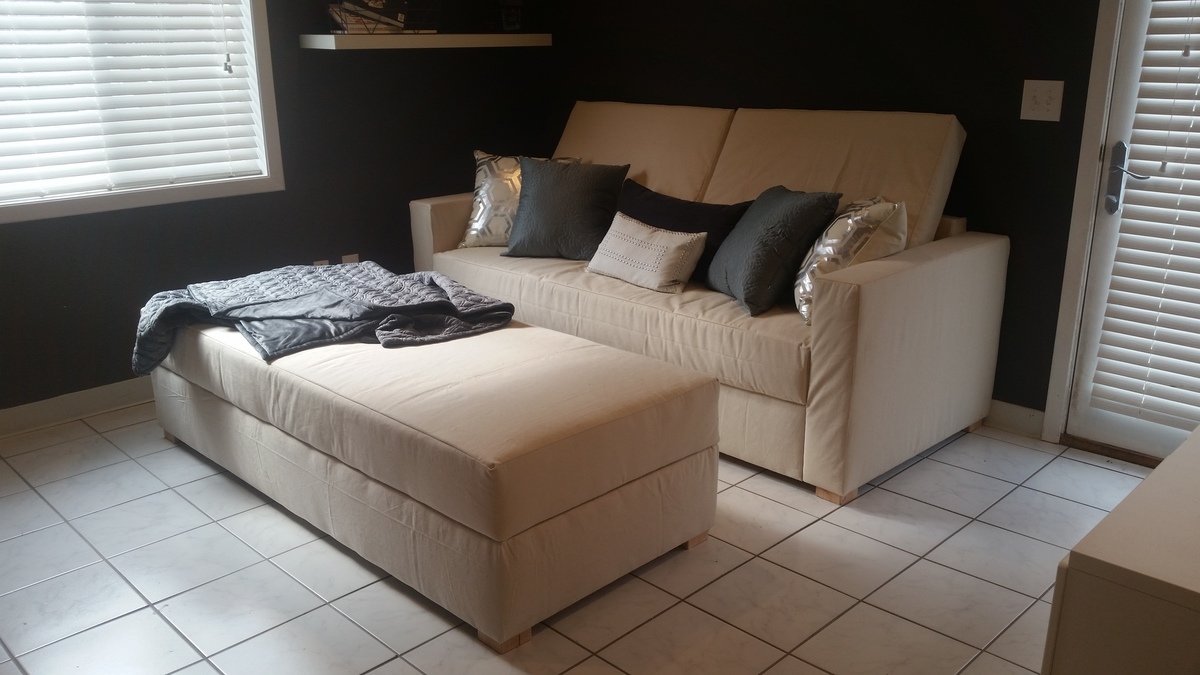
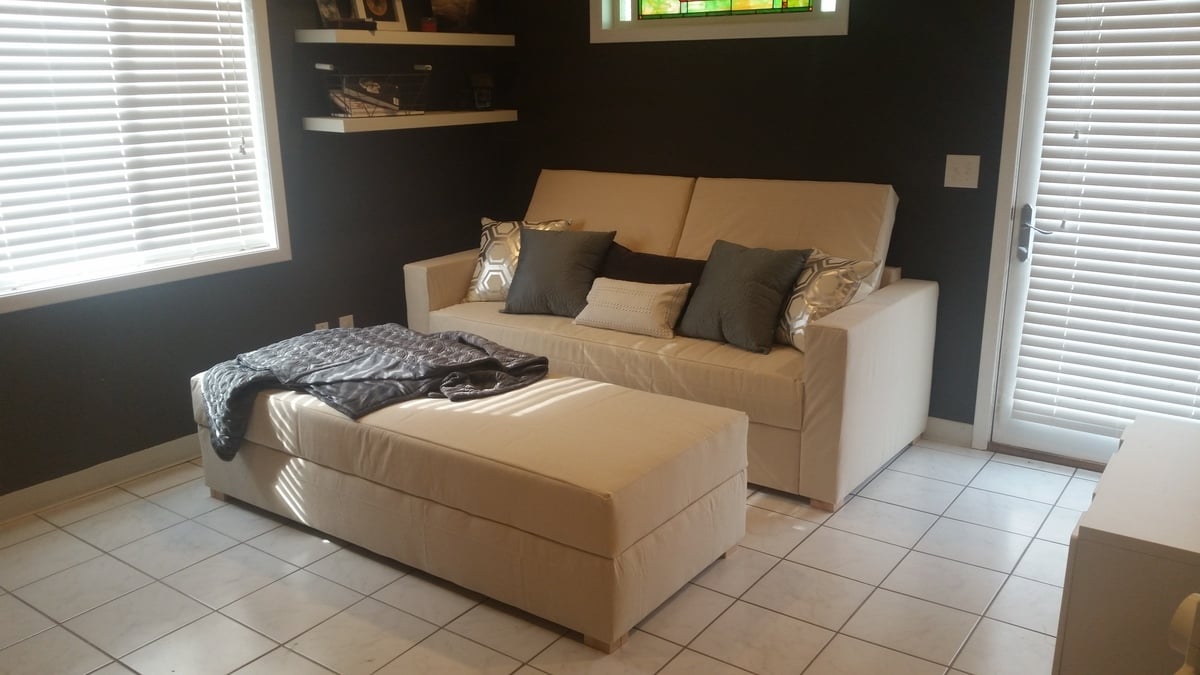
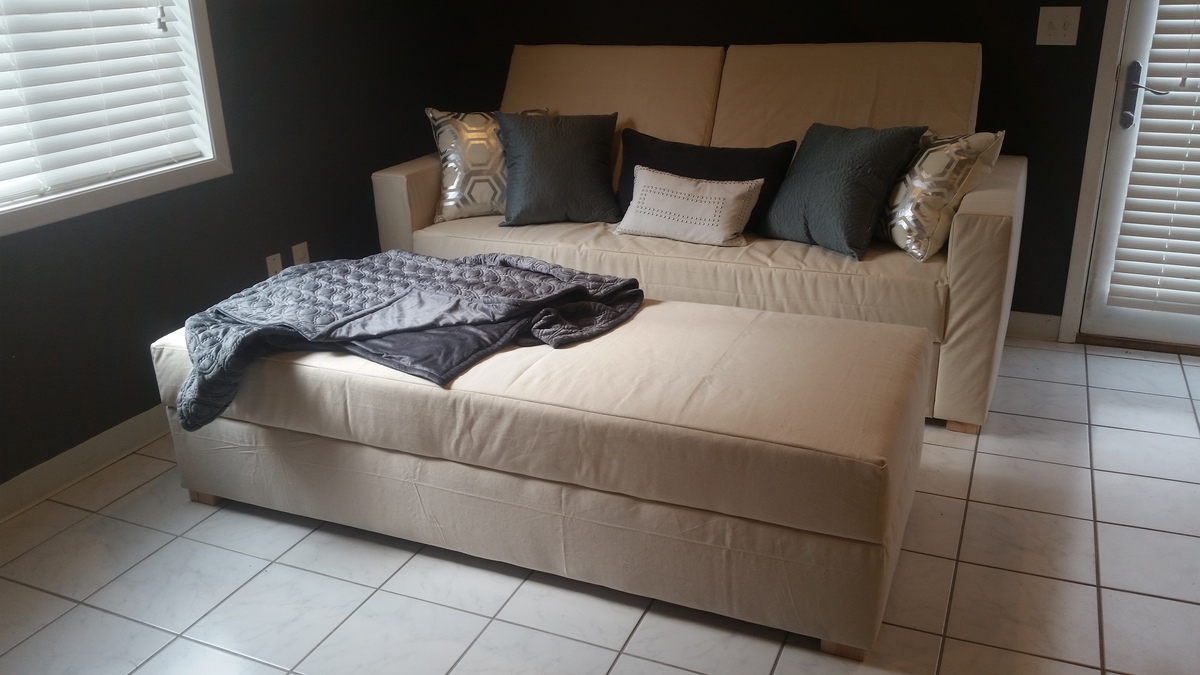
Storage Sofa / Convertible to Bed

Submitted by SRA16 on Sun, 03/22/2015 - 09:06

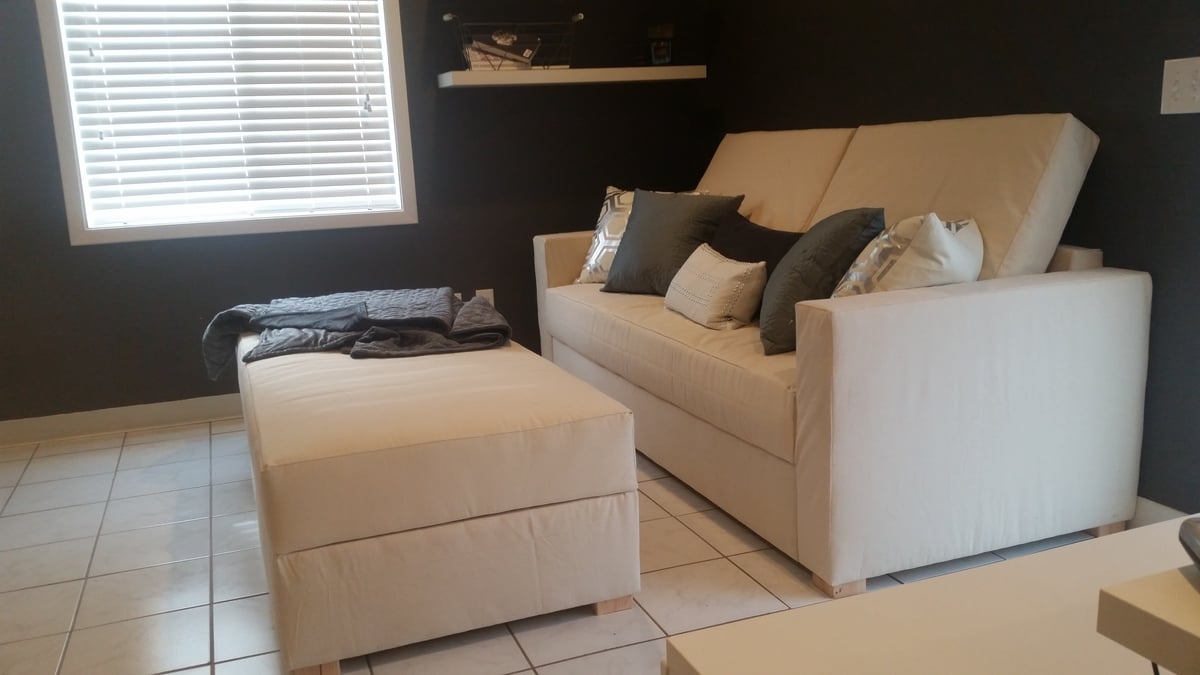
I used the plan for the base idea for my sofa. I decided I'd prefer arms to curl up in and also to add a convertible feature turning an ottoman using the same base plans into an extension option for using the set as a bed or lounge area. Twice the storage, twice the function!

Built from Plan(s)
Estimated Cost
$400-$500
Estimated Time Investment
Week Long Project (20 Hours or More)
Finish Used
I used natural duck cloth for the fabric. Easy to clean and water resistant.
Recommended Skill Level
Intermediate

Comments

sam5657

Fri, 07/23/2021 - 19:33

I was planning on building your storage sofa, but when I saw the one with the arms; I thought that I would rather build that one. In the spot where the plans should have been; it refers you to the storage sofa. The problem is; it doesn't tell you what you need for or how to build the arms. If they are somewhere else; could you tell me what heading that they are under.

Sandra Cahoon

[email protected]

Large porch bench

Submitted by Lukilla on Mon, 09/27/2021 - 13:51

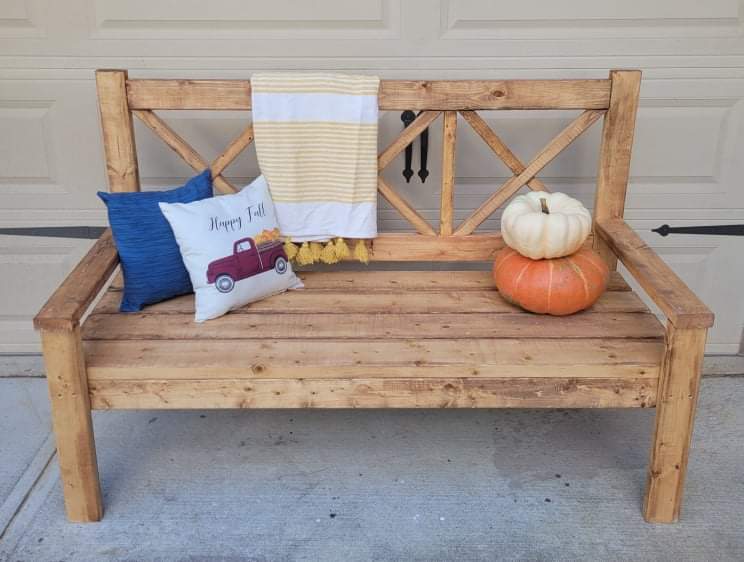
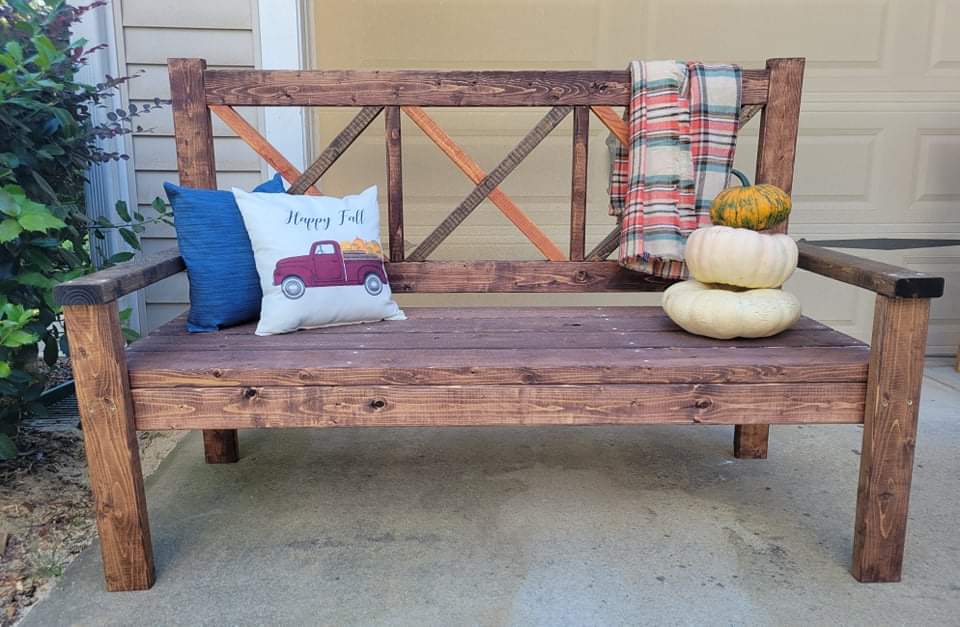
What a fun project, and great bench. We had someone ask us if we could make this for them, and we decided to make 2 while we were at it.....now we just need to find a spot big enough for the second one at our house. Loved this build, and look forward to sipping coffee on it on a cool morming.

Comments

Seasonal And Holiday