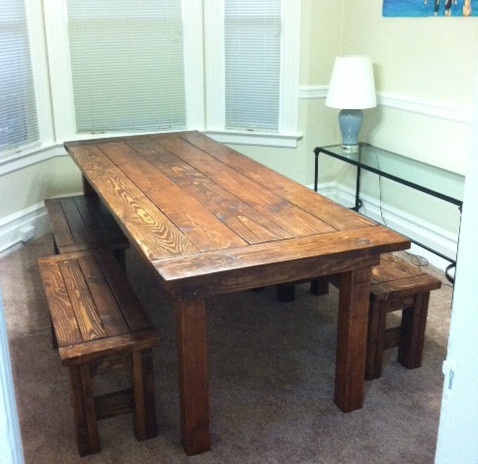
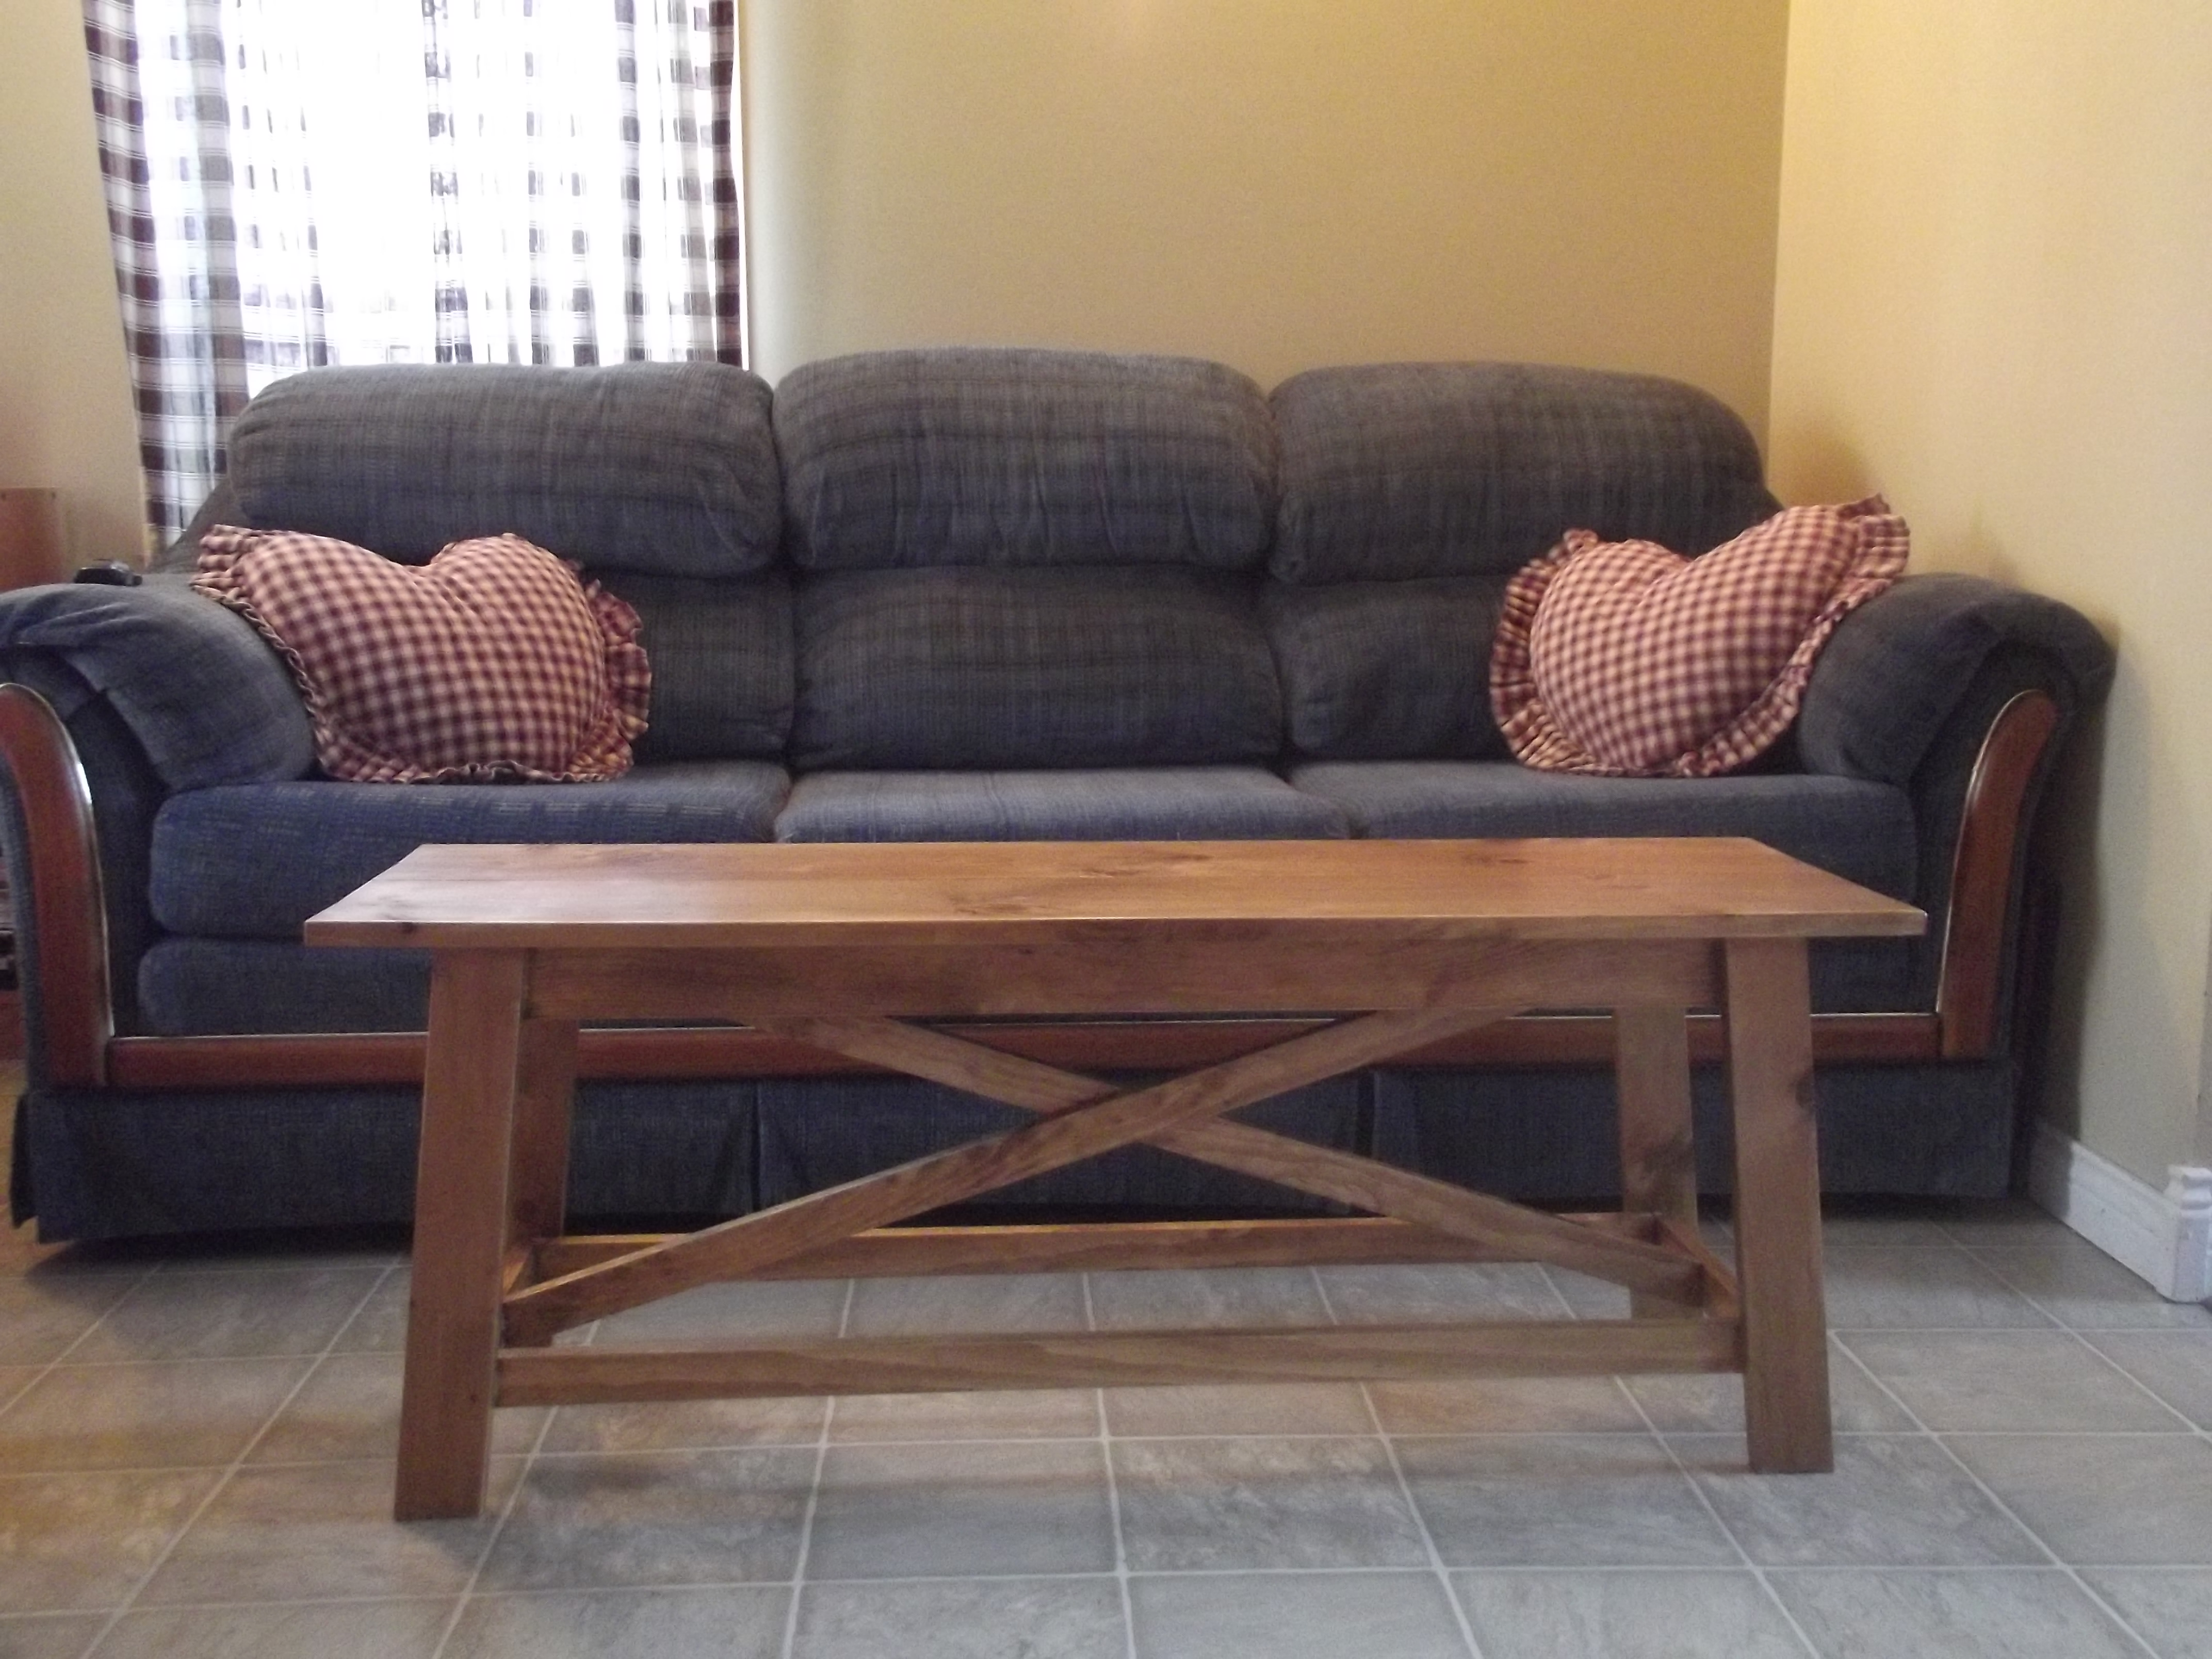
I wanted a big rustic farm table, didn't want to drop thousands on one from a store, so I decided to make my own!
I built it in the (formerly empty) dining room, with tarp on the floor and plastic to seal the doorways.
Was a big project and my first project so I started with the benches as this site and users recommended.
I used the farm house bench plan - just shortened the dimensions so that I could have two benches on either side of the table. Then I merged the two table plans so that I could have the top with the bread boards but legs that attached underneath (like the rustic table) so that they could be removed when we move. I'll work to upload my plans too.
Used Minwax Wood Stain in "english chestnut" and Deft Satin Wood Brushing Lacquer (instead of a Polyurethane).
Estimated Cost
approximately $300 (for wood, finish, sand paper, stain, screws..)
Estimated Time Investment
Week Long Project (20 Hours or More)
Finish Used
Minwax "English Chestnut" and
Deft Satin Wood Brushing Lacquer to finish.
I prepped the wood by sanding it down to 220 (could have done an even better job sanding, and sanded the table and bench tops even finer).
Used a sponge brush to apply the wood stain, wiped off rather quickly (only a few minutes on the wood).
Used brush to apply Deft Sating Wood Brushing Lacquer. Used spray can of Deft when I ran out of liquid. Didn't go on as thick. Although using a brush is more of a hassle, it had a better coat.
Recommended Skill Level
Beginner


Comments
aprilclarey3
Tue, 05/05/2020 - 00:41
Love this
Love this
Curtis Clifton
Tue, 05/05/2020 - 06:43
Approximate Cost?
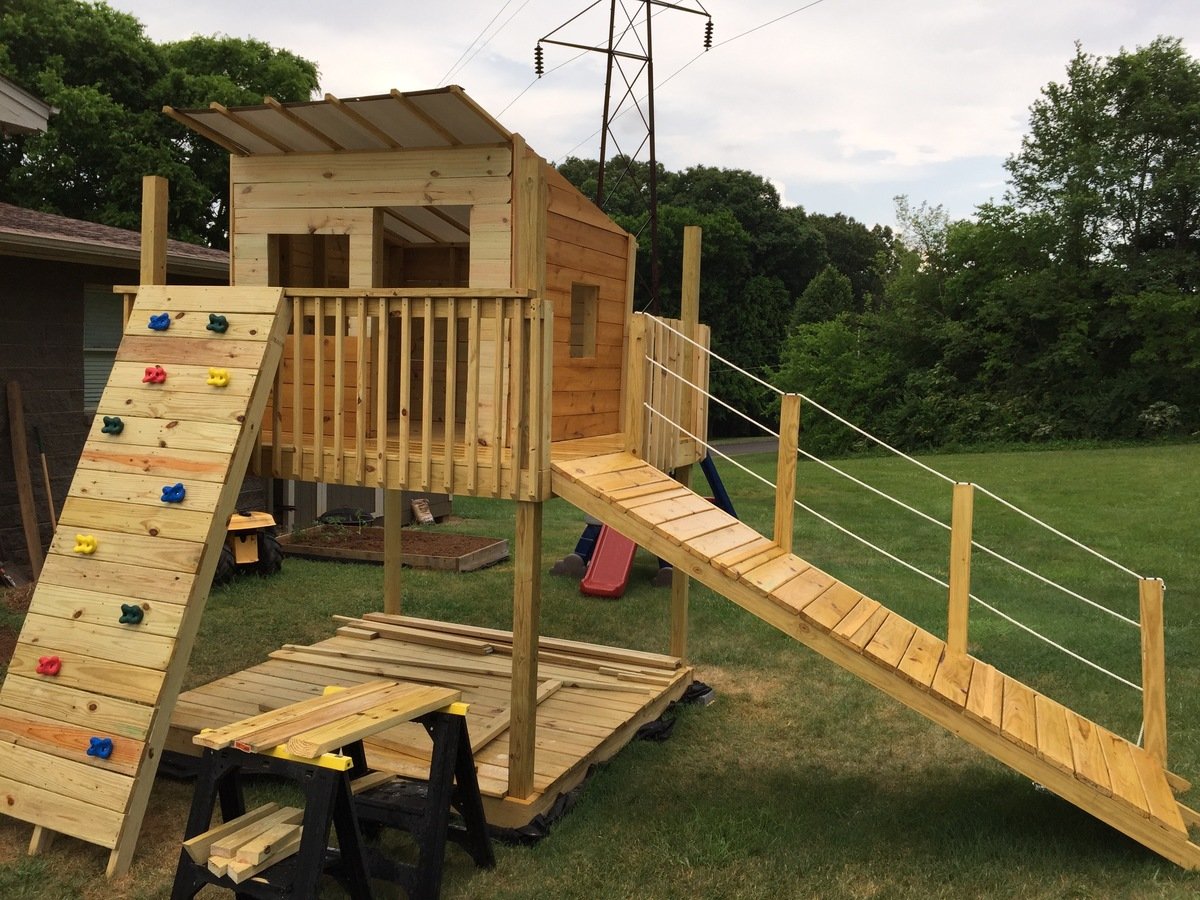
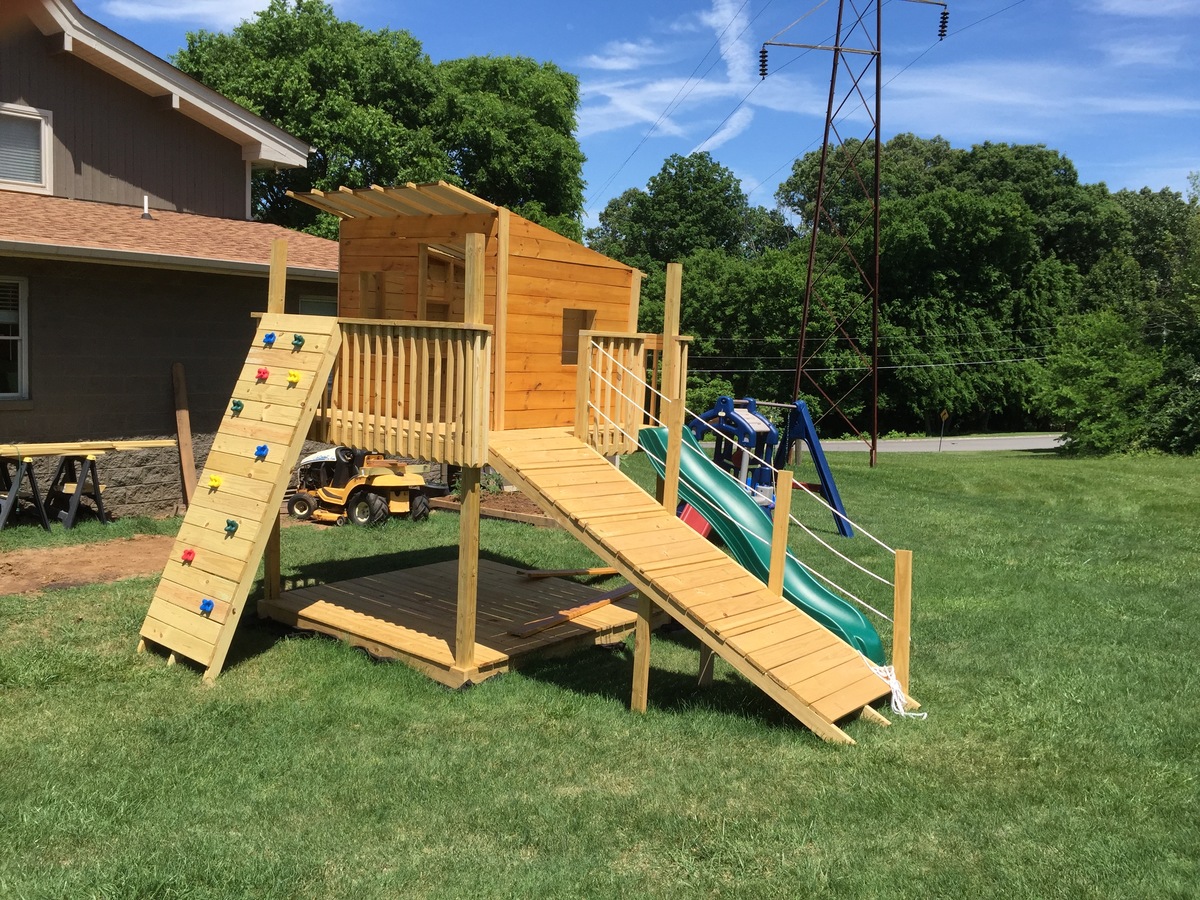
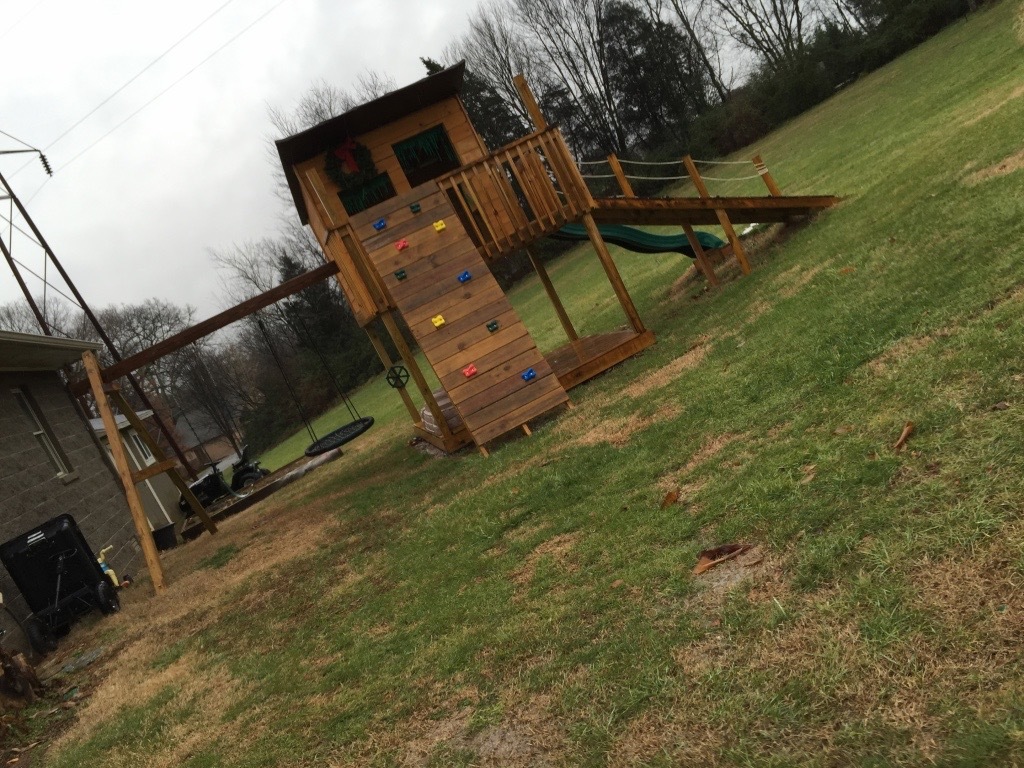
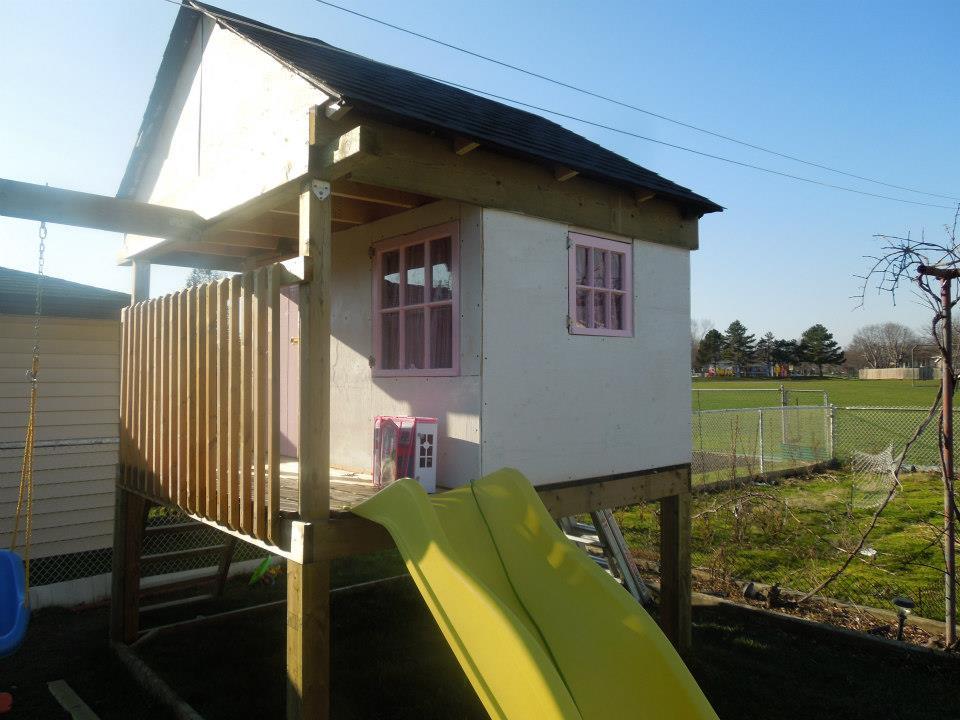
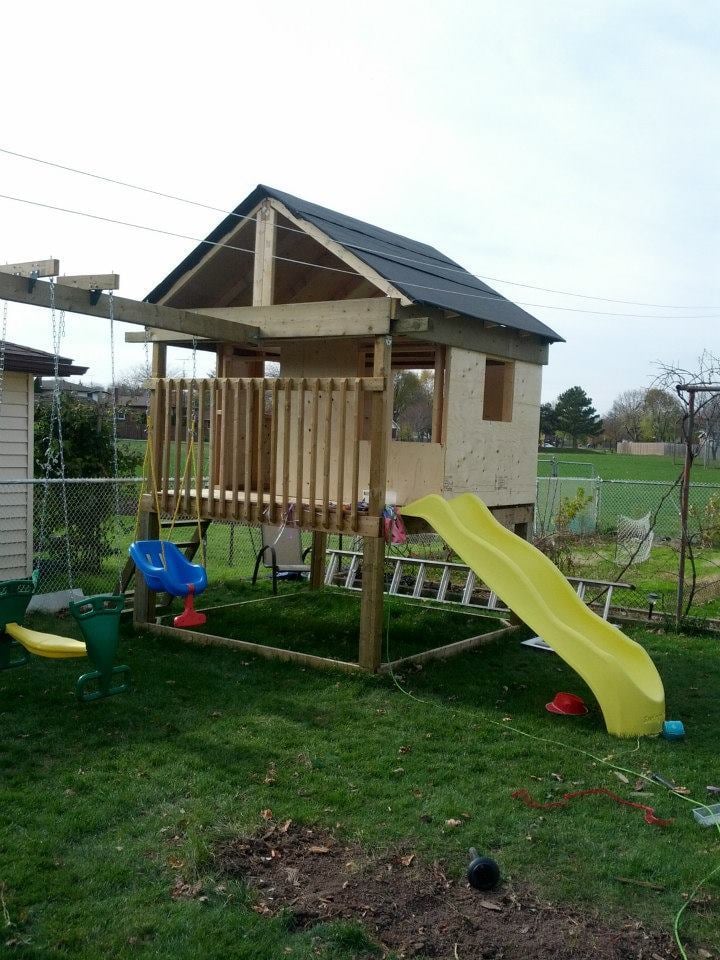
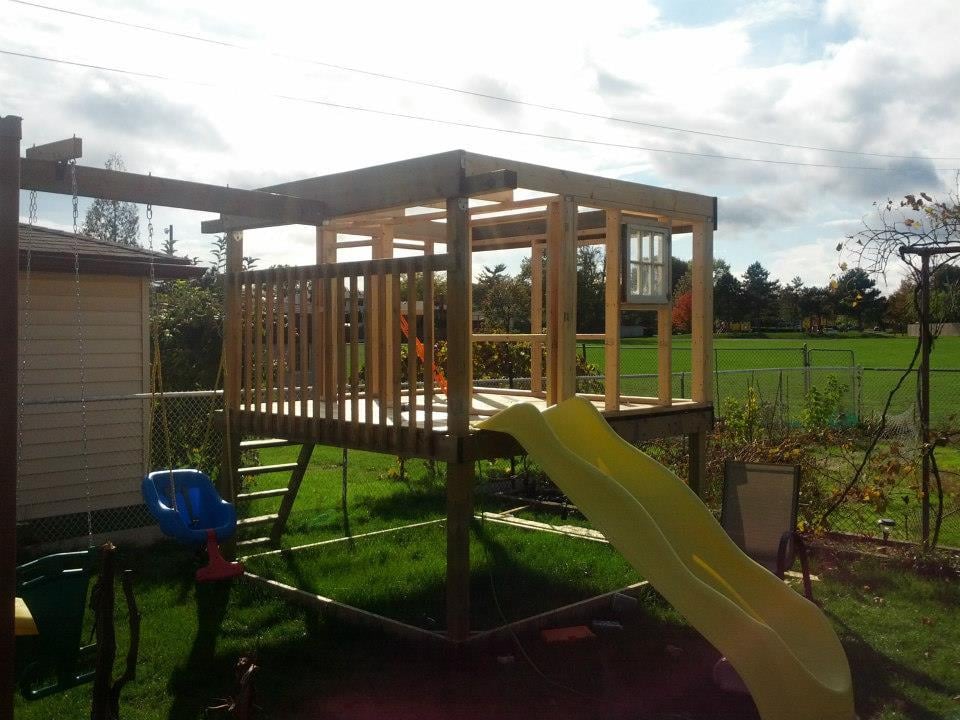
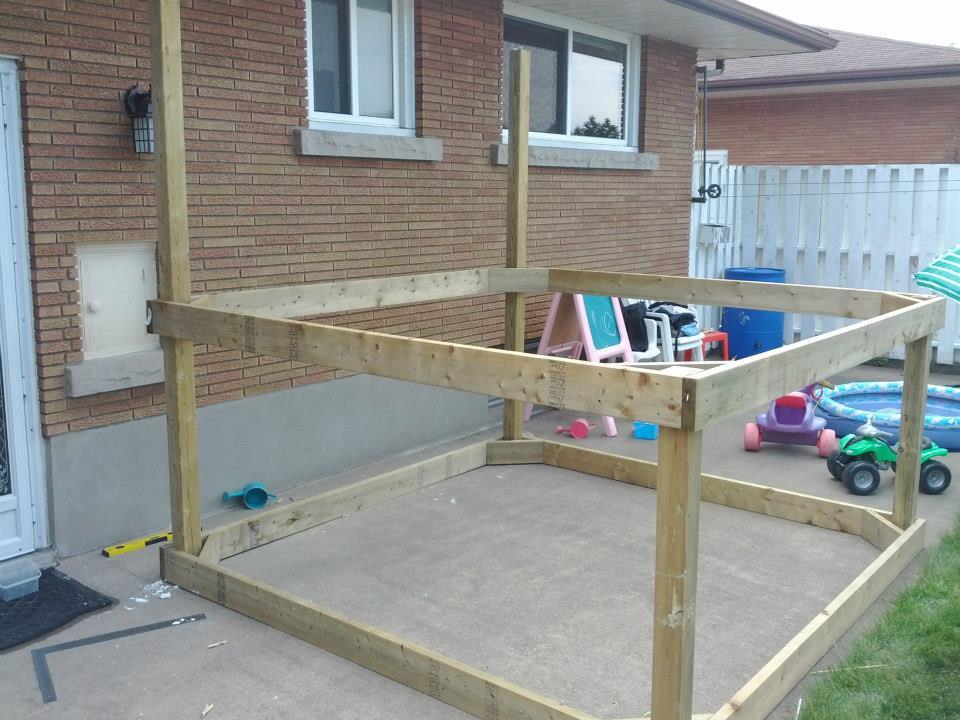
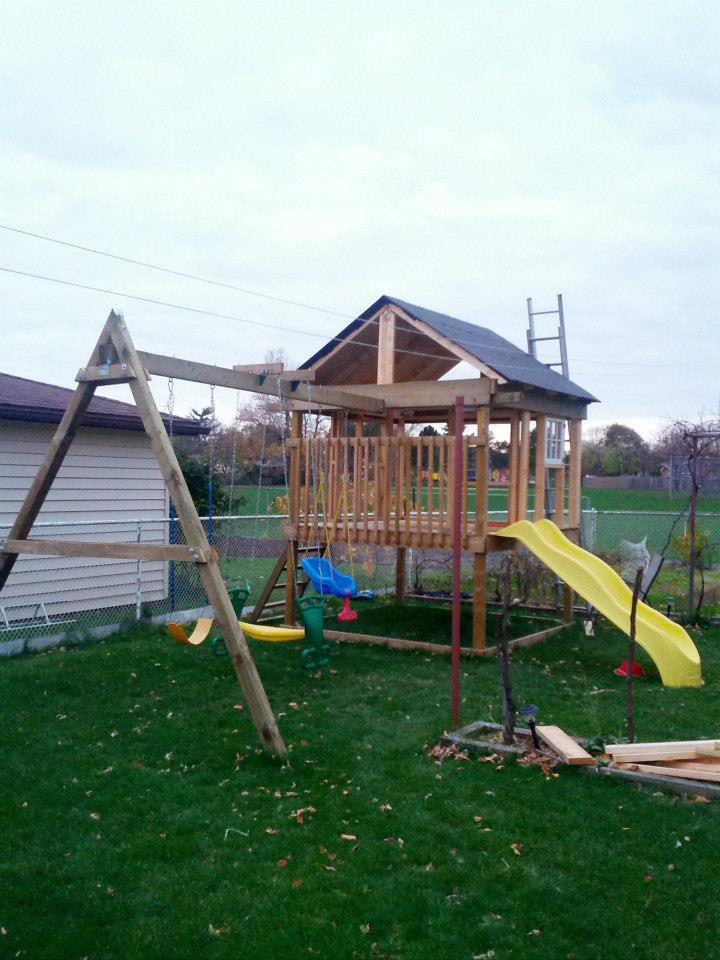
What is the estimate cost of the entire playhouse with swing?