Small Raised Planter
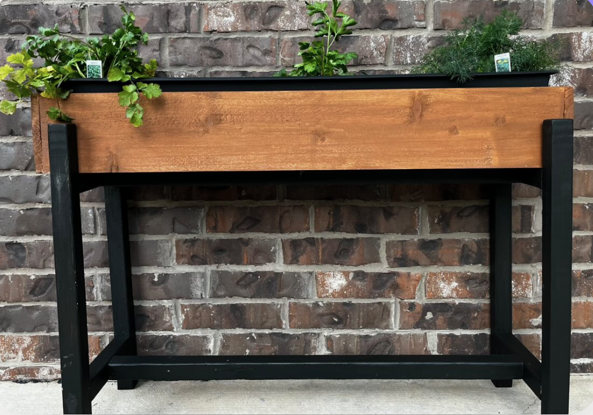
"Here's a pic of the planter I made! I modified it to fit a 36" planter. I LOVE it. Thanks!!"
Built from Plan(s)
"Here's a pic of the planter I made! I modified it to fit a 36" planter. I LOVE it. Thanks!!"
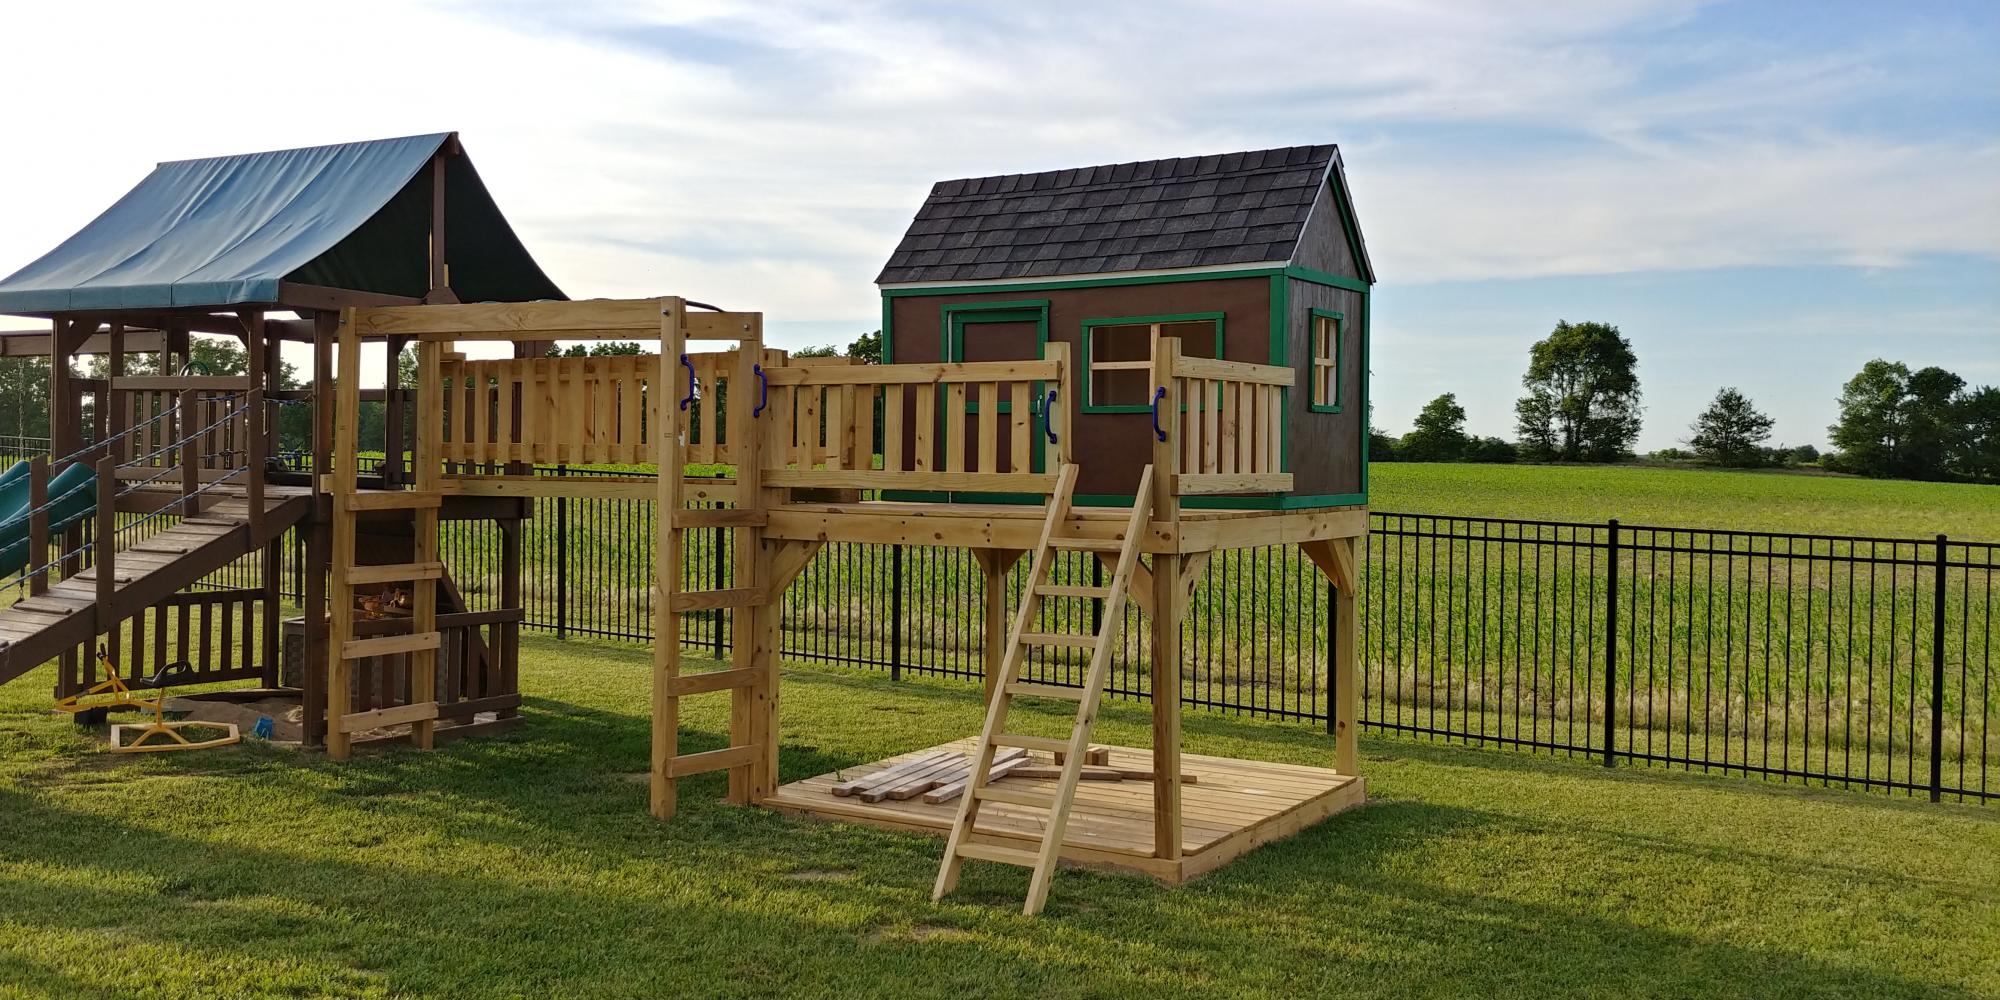
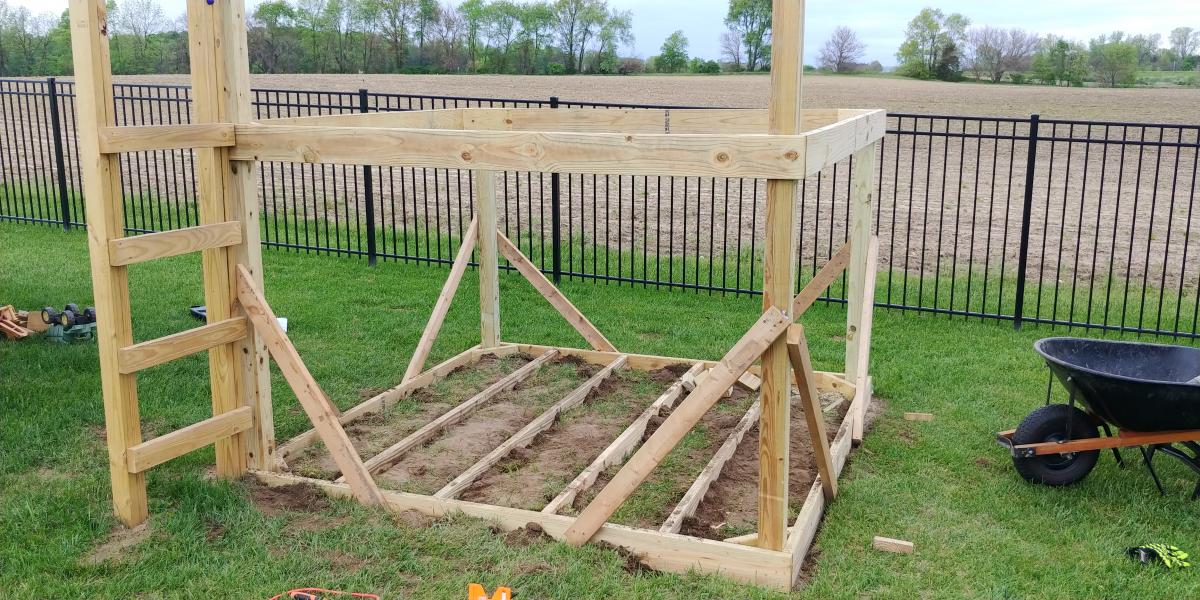
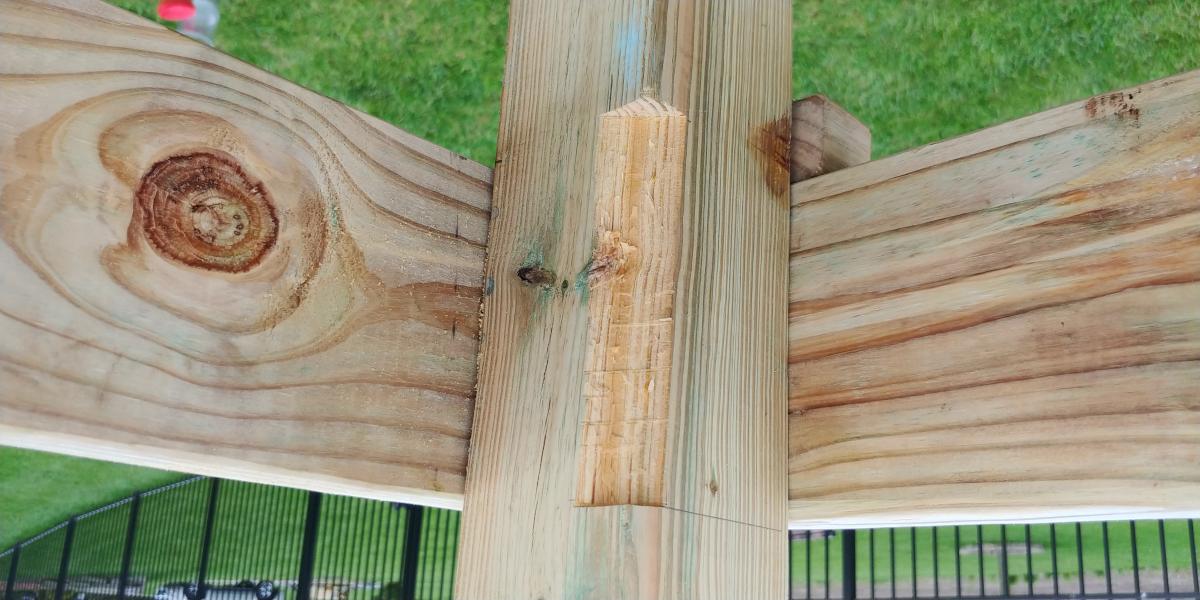
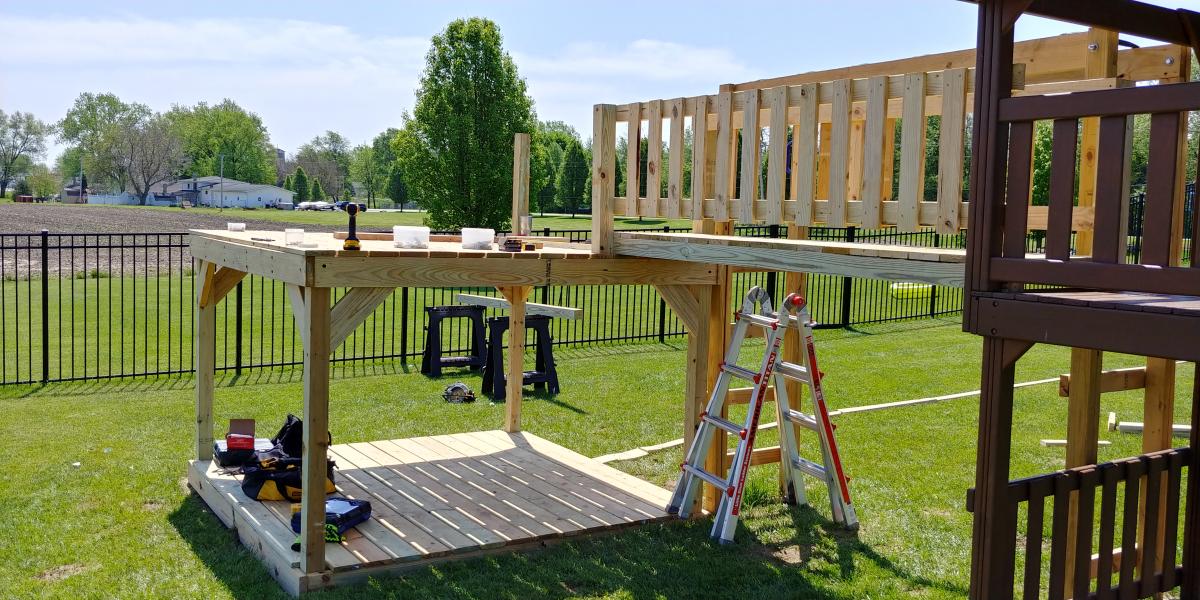
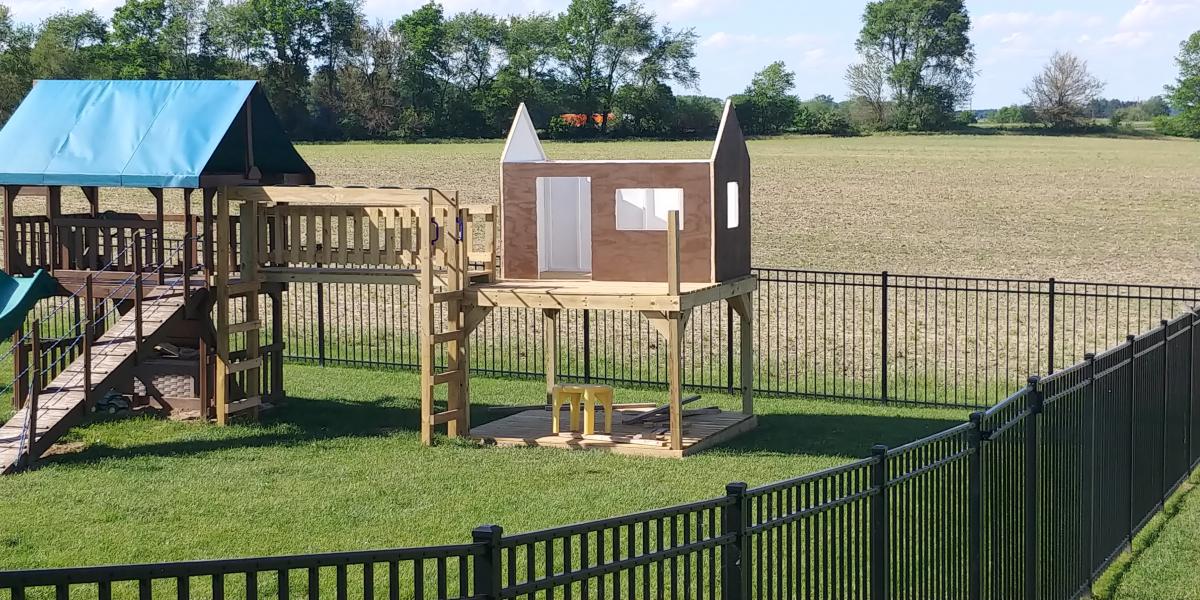
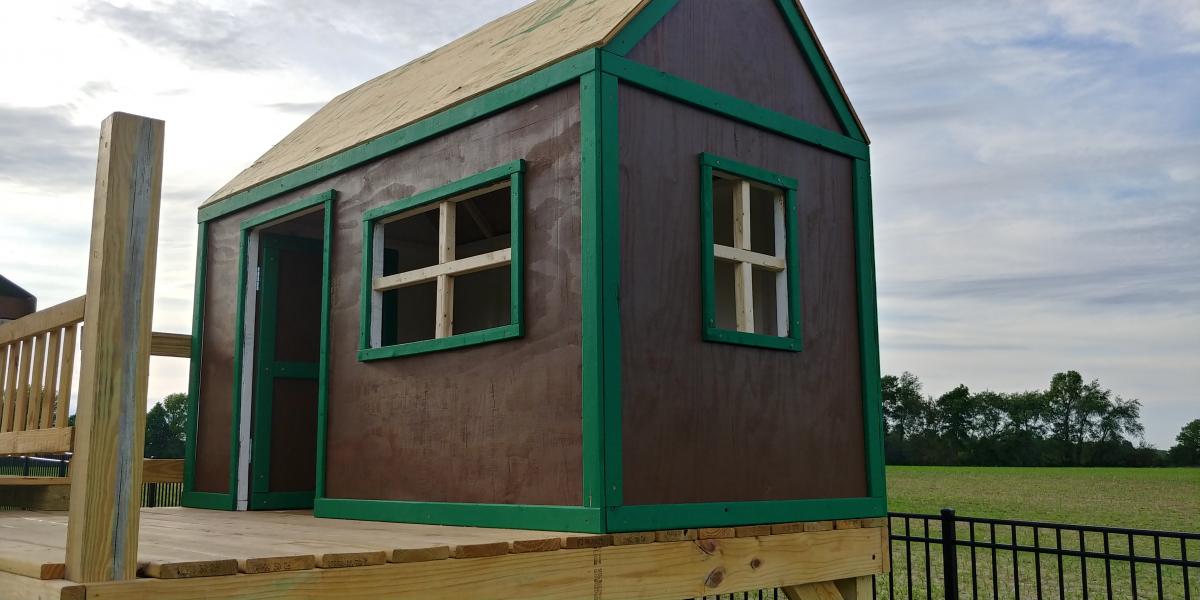
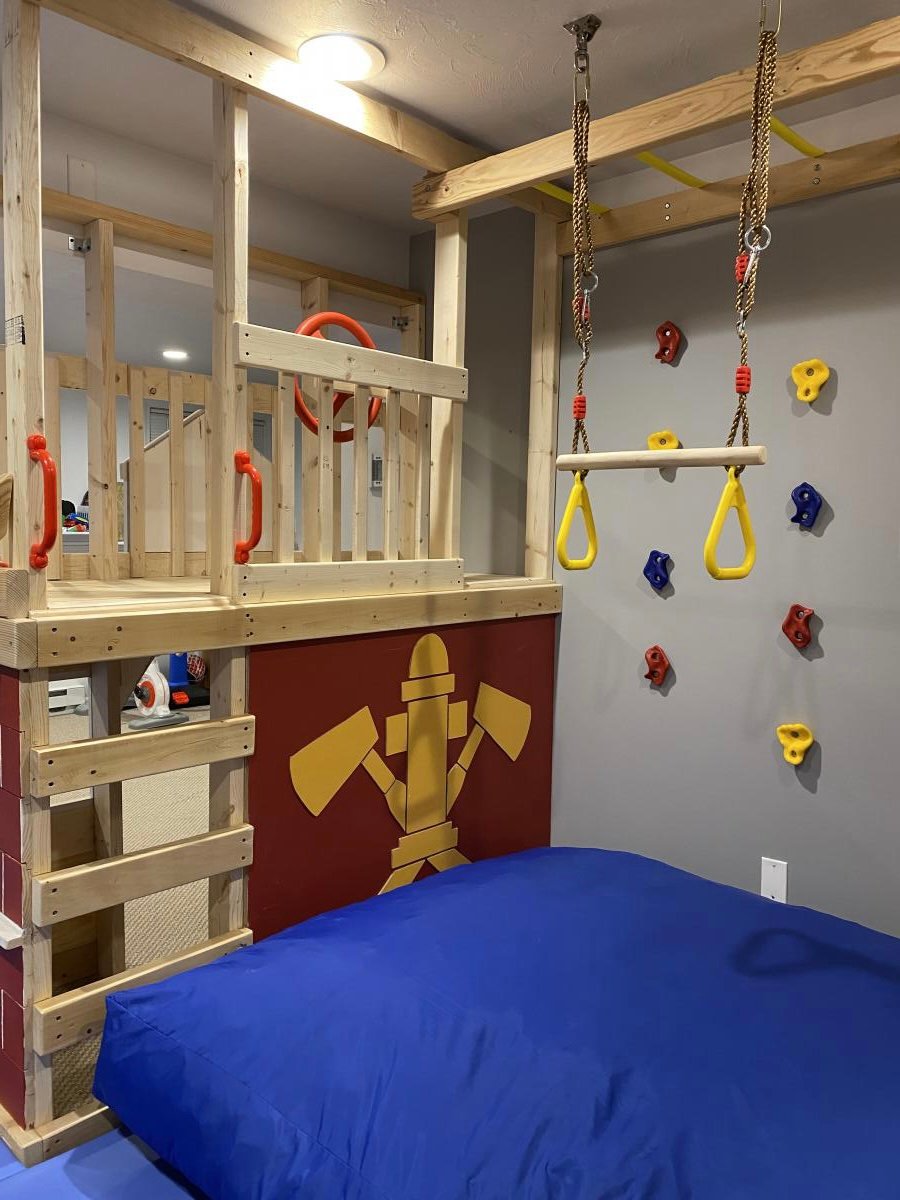
Decided our old play set needed an addition, landed on these plans of Ana's. Sat on them and mulled them over for months. Once the wife said something about adding on to it I made the purchases needed. Connected the two platforms with a bridge. I used 4"x4"x10' for the runners, same boards as the decking for the platform of the bridge(5/4"x6"), 2x4's and 1x4's for the railing. If you look at the 3rd photo, I had to chisel out the 4x4 post to get the 2"x6"x12" support to fit correctly. This should measure 2"x6"x13". Another change I made was to cut the bottom and top trim pieces longer on the front and back sections so that the trim would cover the framing of the gable end walls (see last photo). my son wanted windows so I faked in some windows with scrap 2x2's. I used 2x6's as supports from the 4x4's to the 2x6 framing (see photo 3) I added the monkey bars about a month before deciding to do the platform/deck and playhouse. The ladder is based loosely off of a couple of plans I found online. I was able to do all of this work myself except for the roof. Need my dads help to lift the plywood, he then helped me with the rest of the roof.

We had some leftover granite from an outdoor kitchen build and wanted to maximize the use of it. We loved the look of a rustic table from Pottery Barn and set out to find something that was asking the same aesthetic. I came across the Jilly and Mia workbench console and thought it would work great with some minor modifications. I shortened the overall length and height, went with some heavy duty casters to support the weight of the granite, and reinforced the cross beams that would support the 3/4" plywood sheet and granite. I went with cedar for this build since it was outdoors and I'll finish it with a clear sealant.

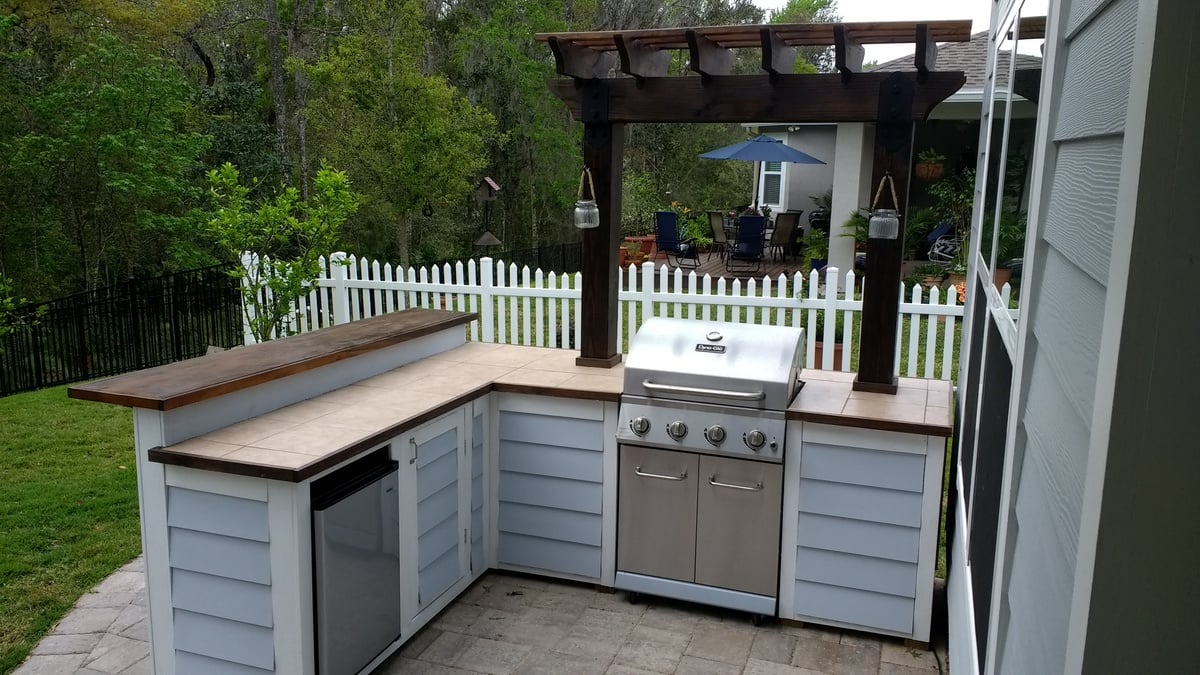
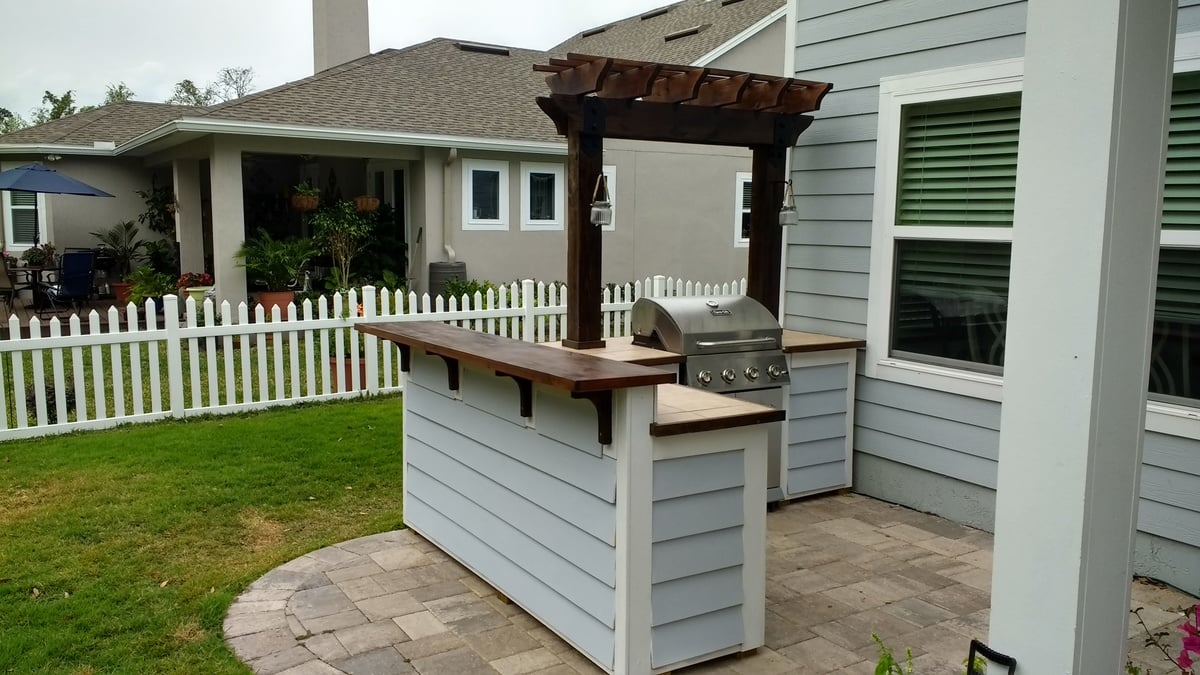
I wanted to build an L shaped outdoor bar with a 2 post pergola over the grill. I couldn't find any plans online that would fit the space I had, so I decided to build it myself with custom dimensions. The top bar is approx. 7'3" across, and 15" wide, while the distance from the right edge (next to the house) to the end of the bar is approx. 9'1".
I framed it with PT lumber and the 2 pergola posts are sitting on top of the pavers and supported internally within some of the framing studs. Since the pavers sit on top of concrete, I didn't feel the need to dig up the existing pavers and achor them in the ground.
I used hardiboard for the exterior and tiled the lower section of the bar.
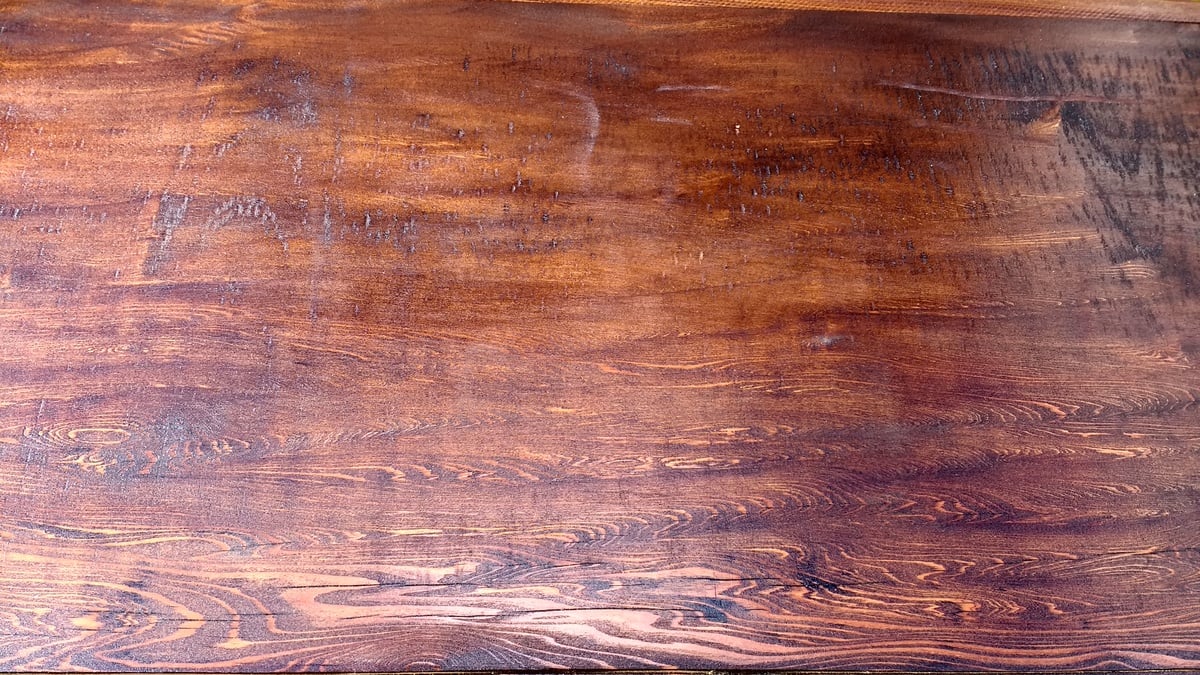
For the actual high bar top, I wanted to do something unique, and found a 900 year old scrap slab of Cypress at a local lumber yard. One side was smooth, but underneath was gouged out from different saw cuts and very uneven. I screwed a piece of 3/4" PT plywood underneath and trimmed it with 1-1/2" Cypress. I stained the whole thing with a dark honey colored stain and put a generous amount of poly on it once it was dry. There are a few cracks and nicks on it, but once it was stained, it looked awesome.

Wed, 06/19/2019 - 13:23
Looks awesome. I have been wanting something like this for a while now. Where can we can plans for this?
I have been looking at your blog and always been interested in making my own furniture. However, I was scared to try. Your diagrams and measurements were awesome. Thank you! Gave me the encouragement to try!
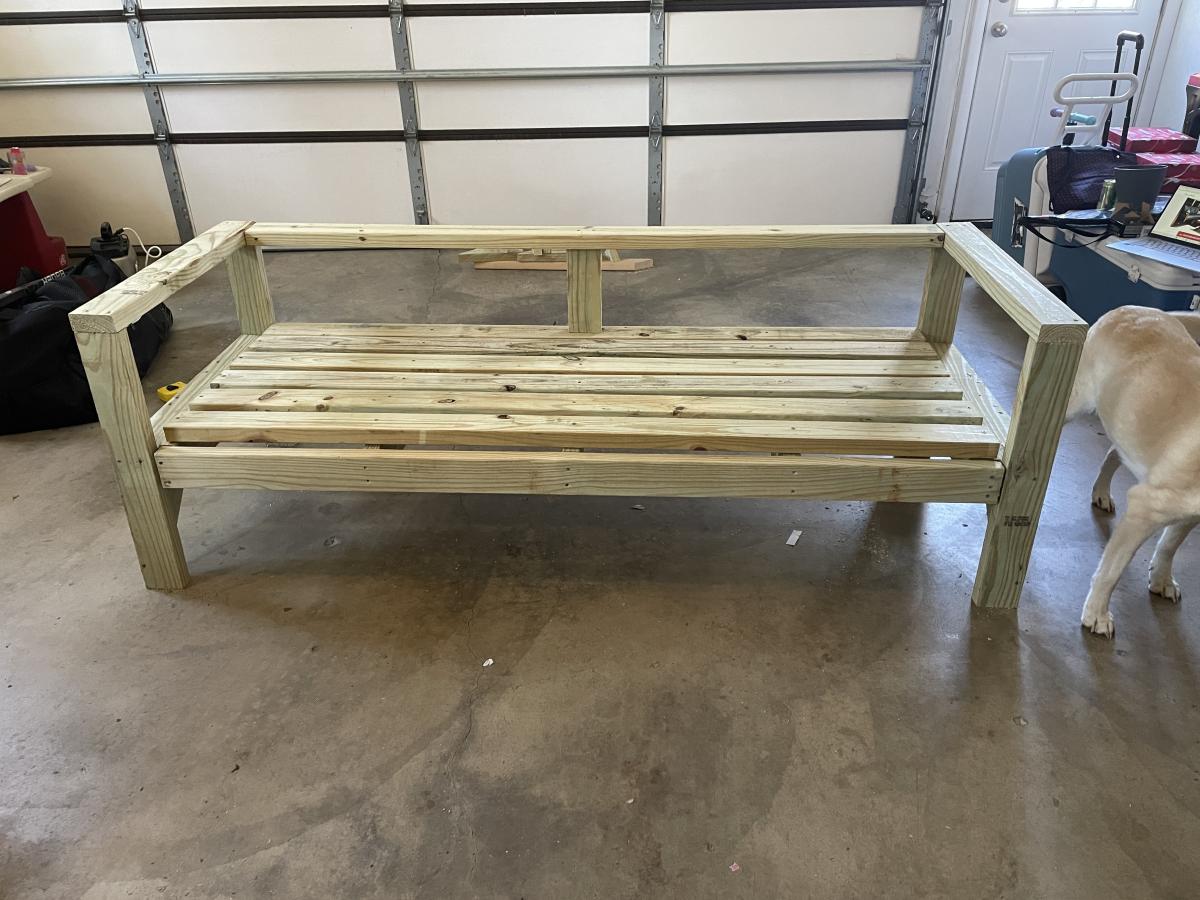

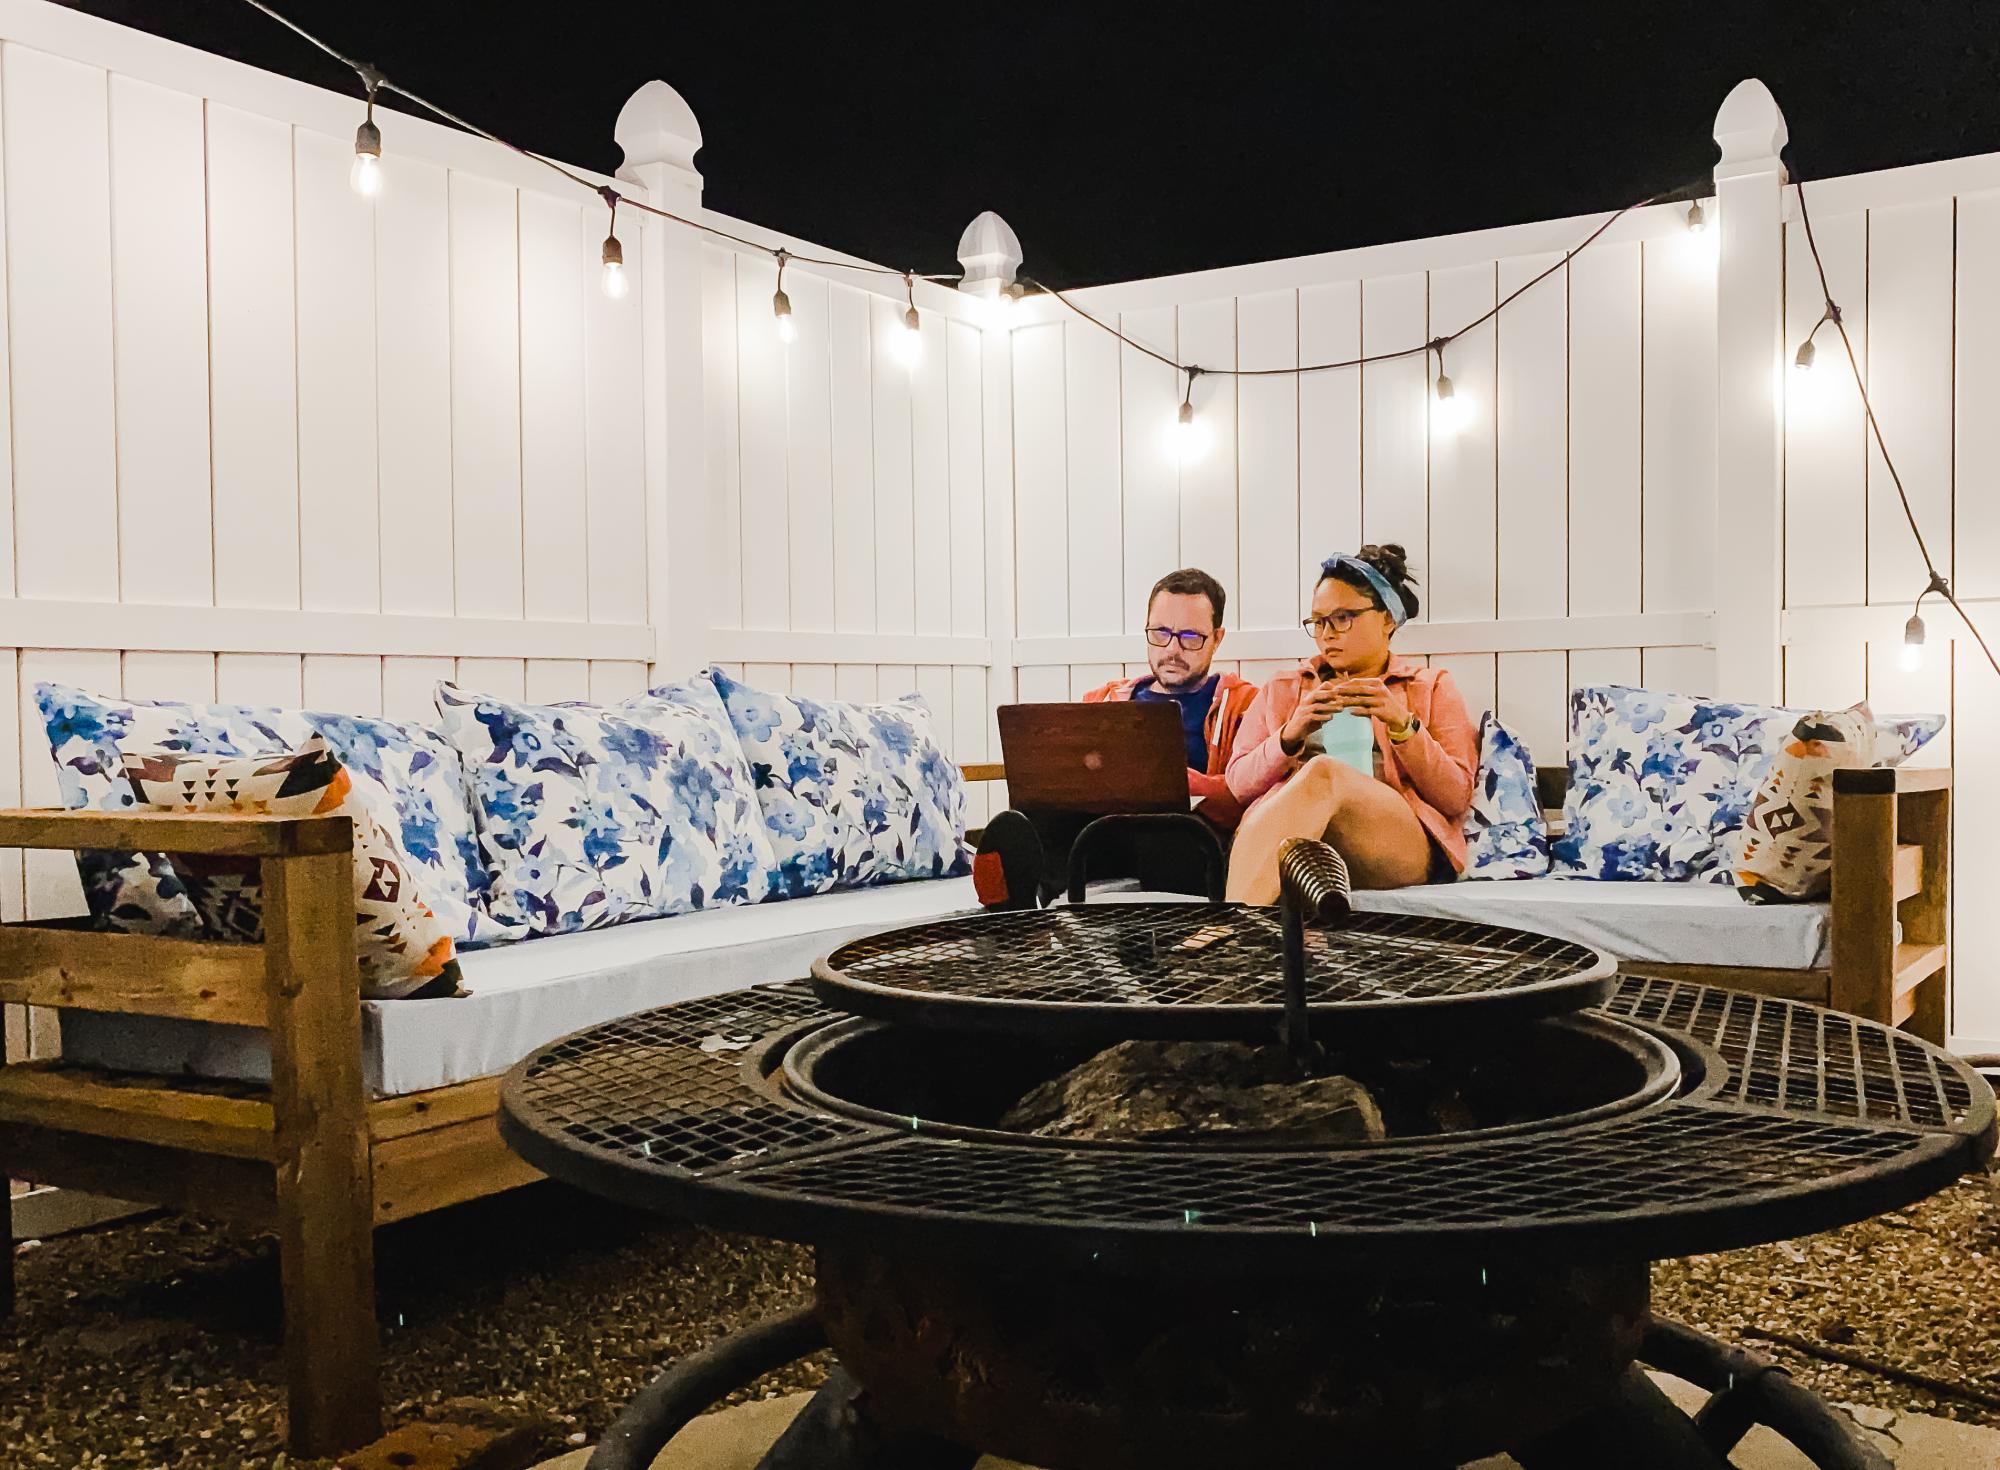
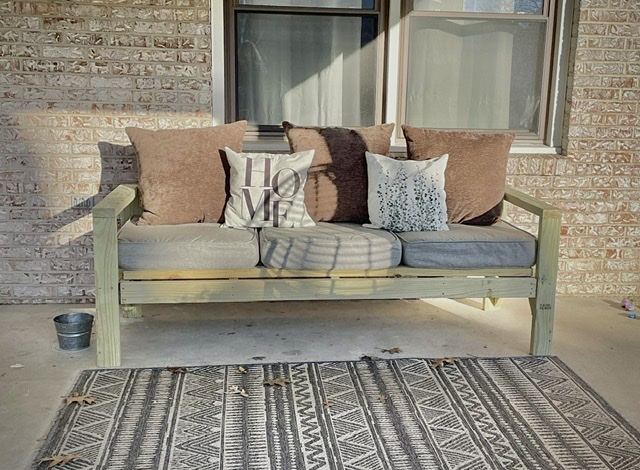
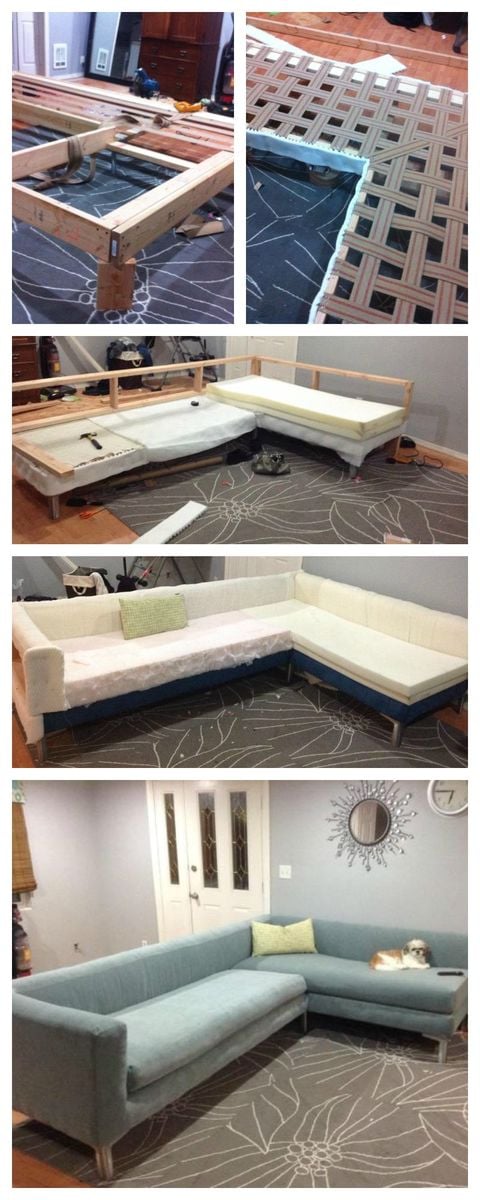
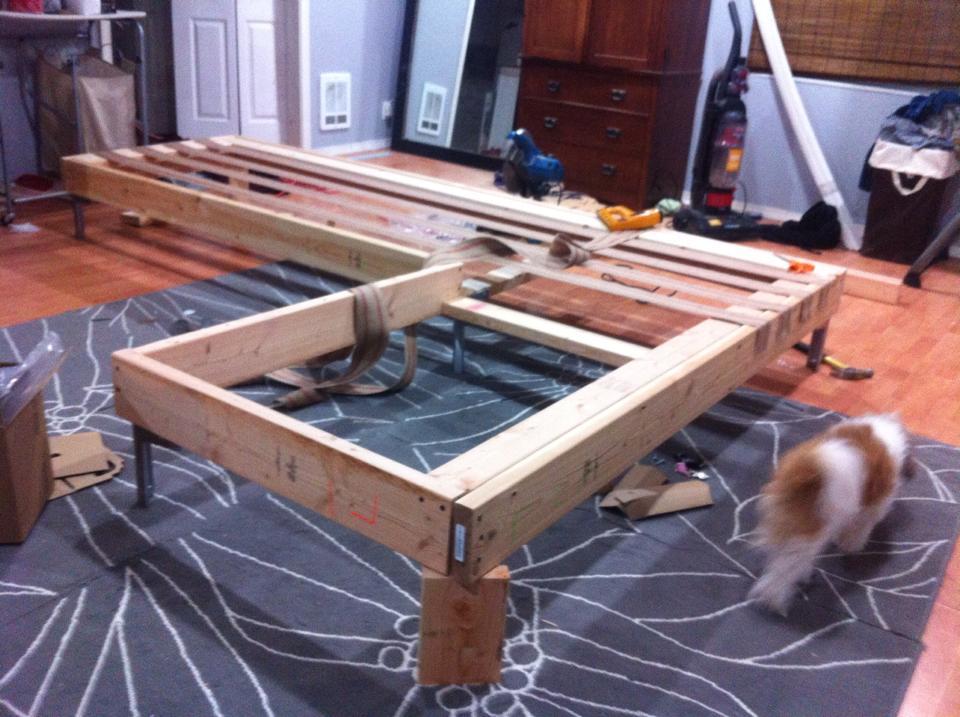
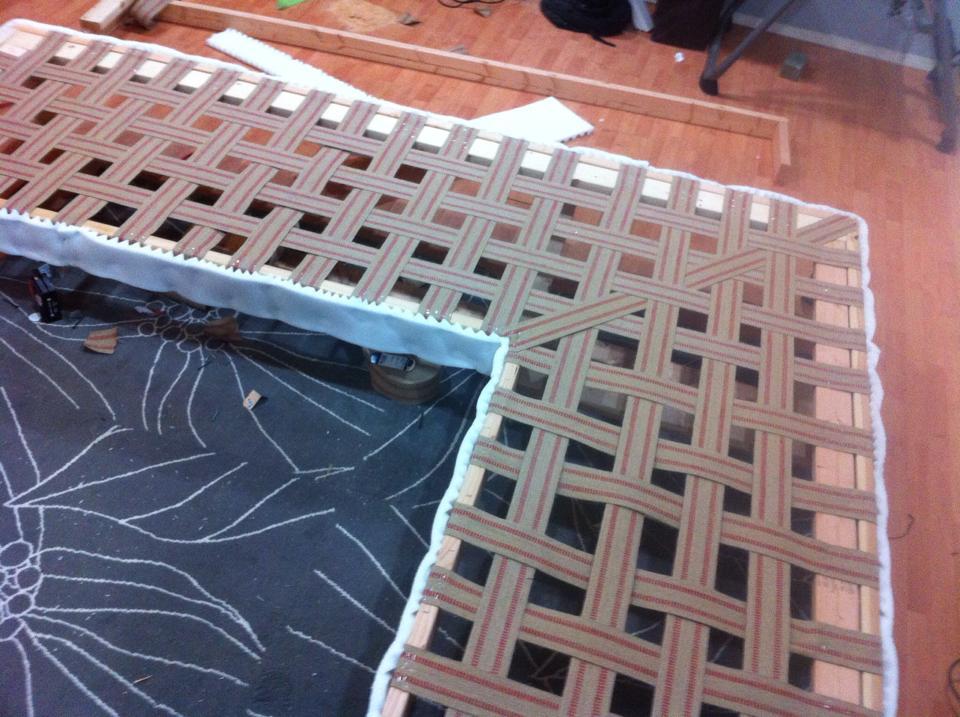
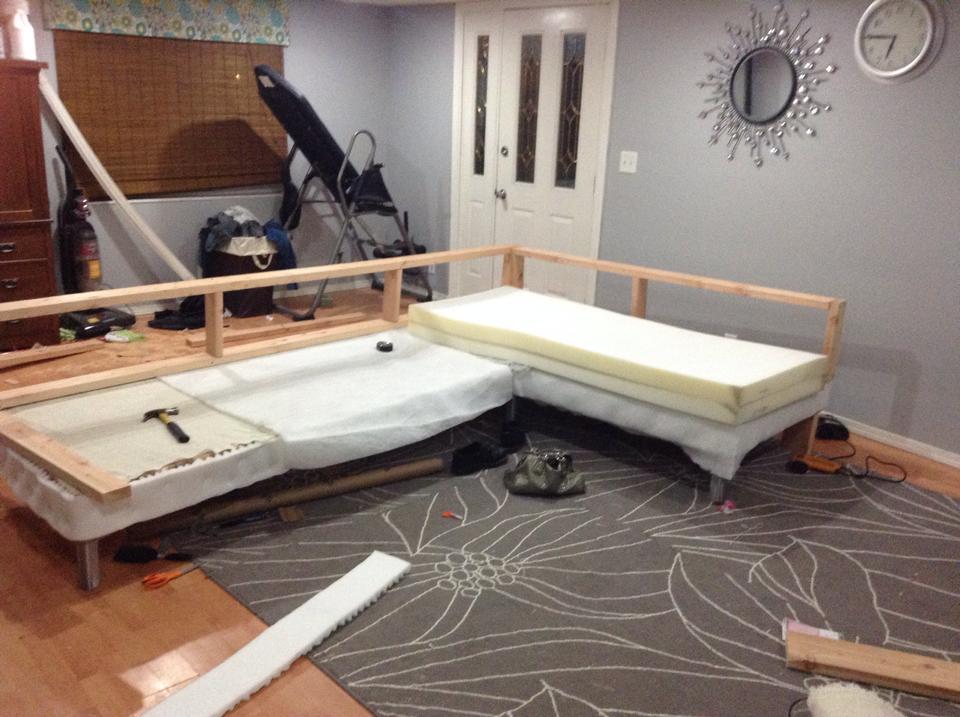
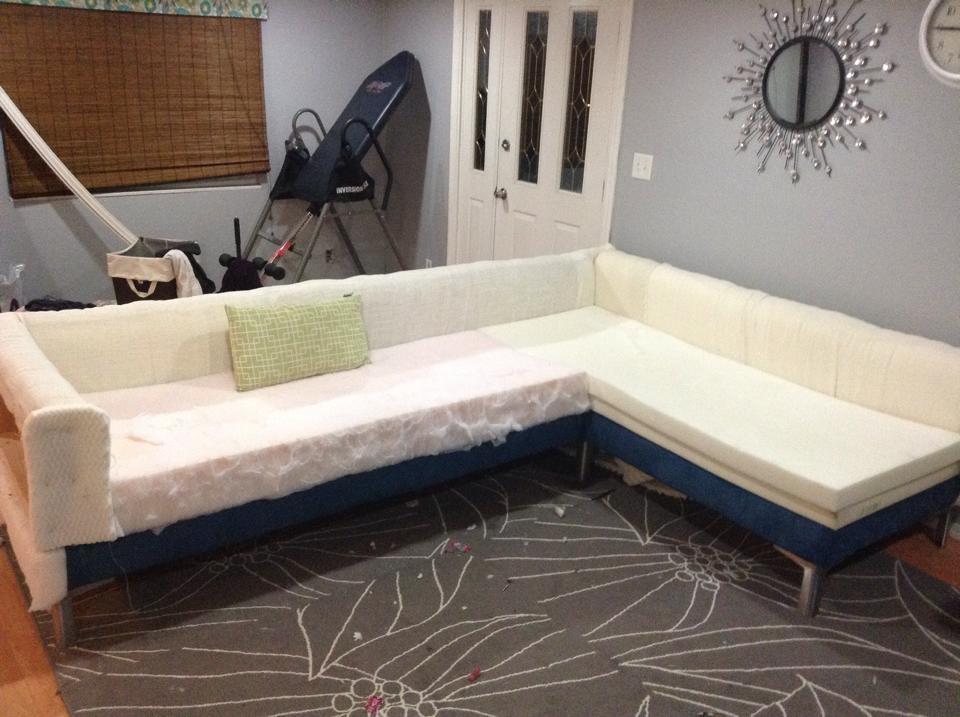
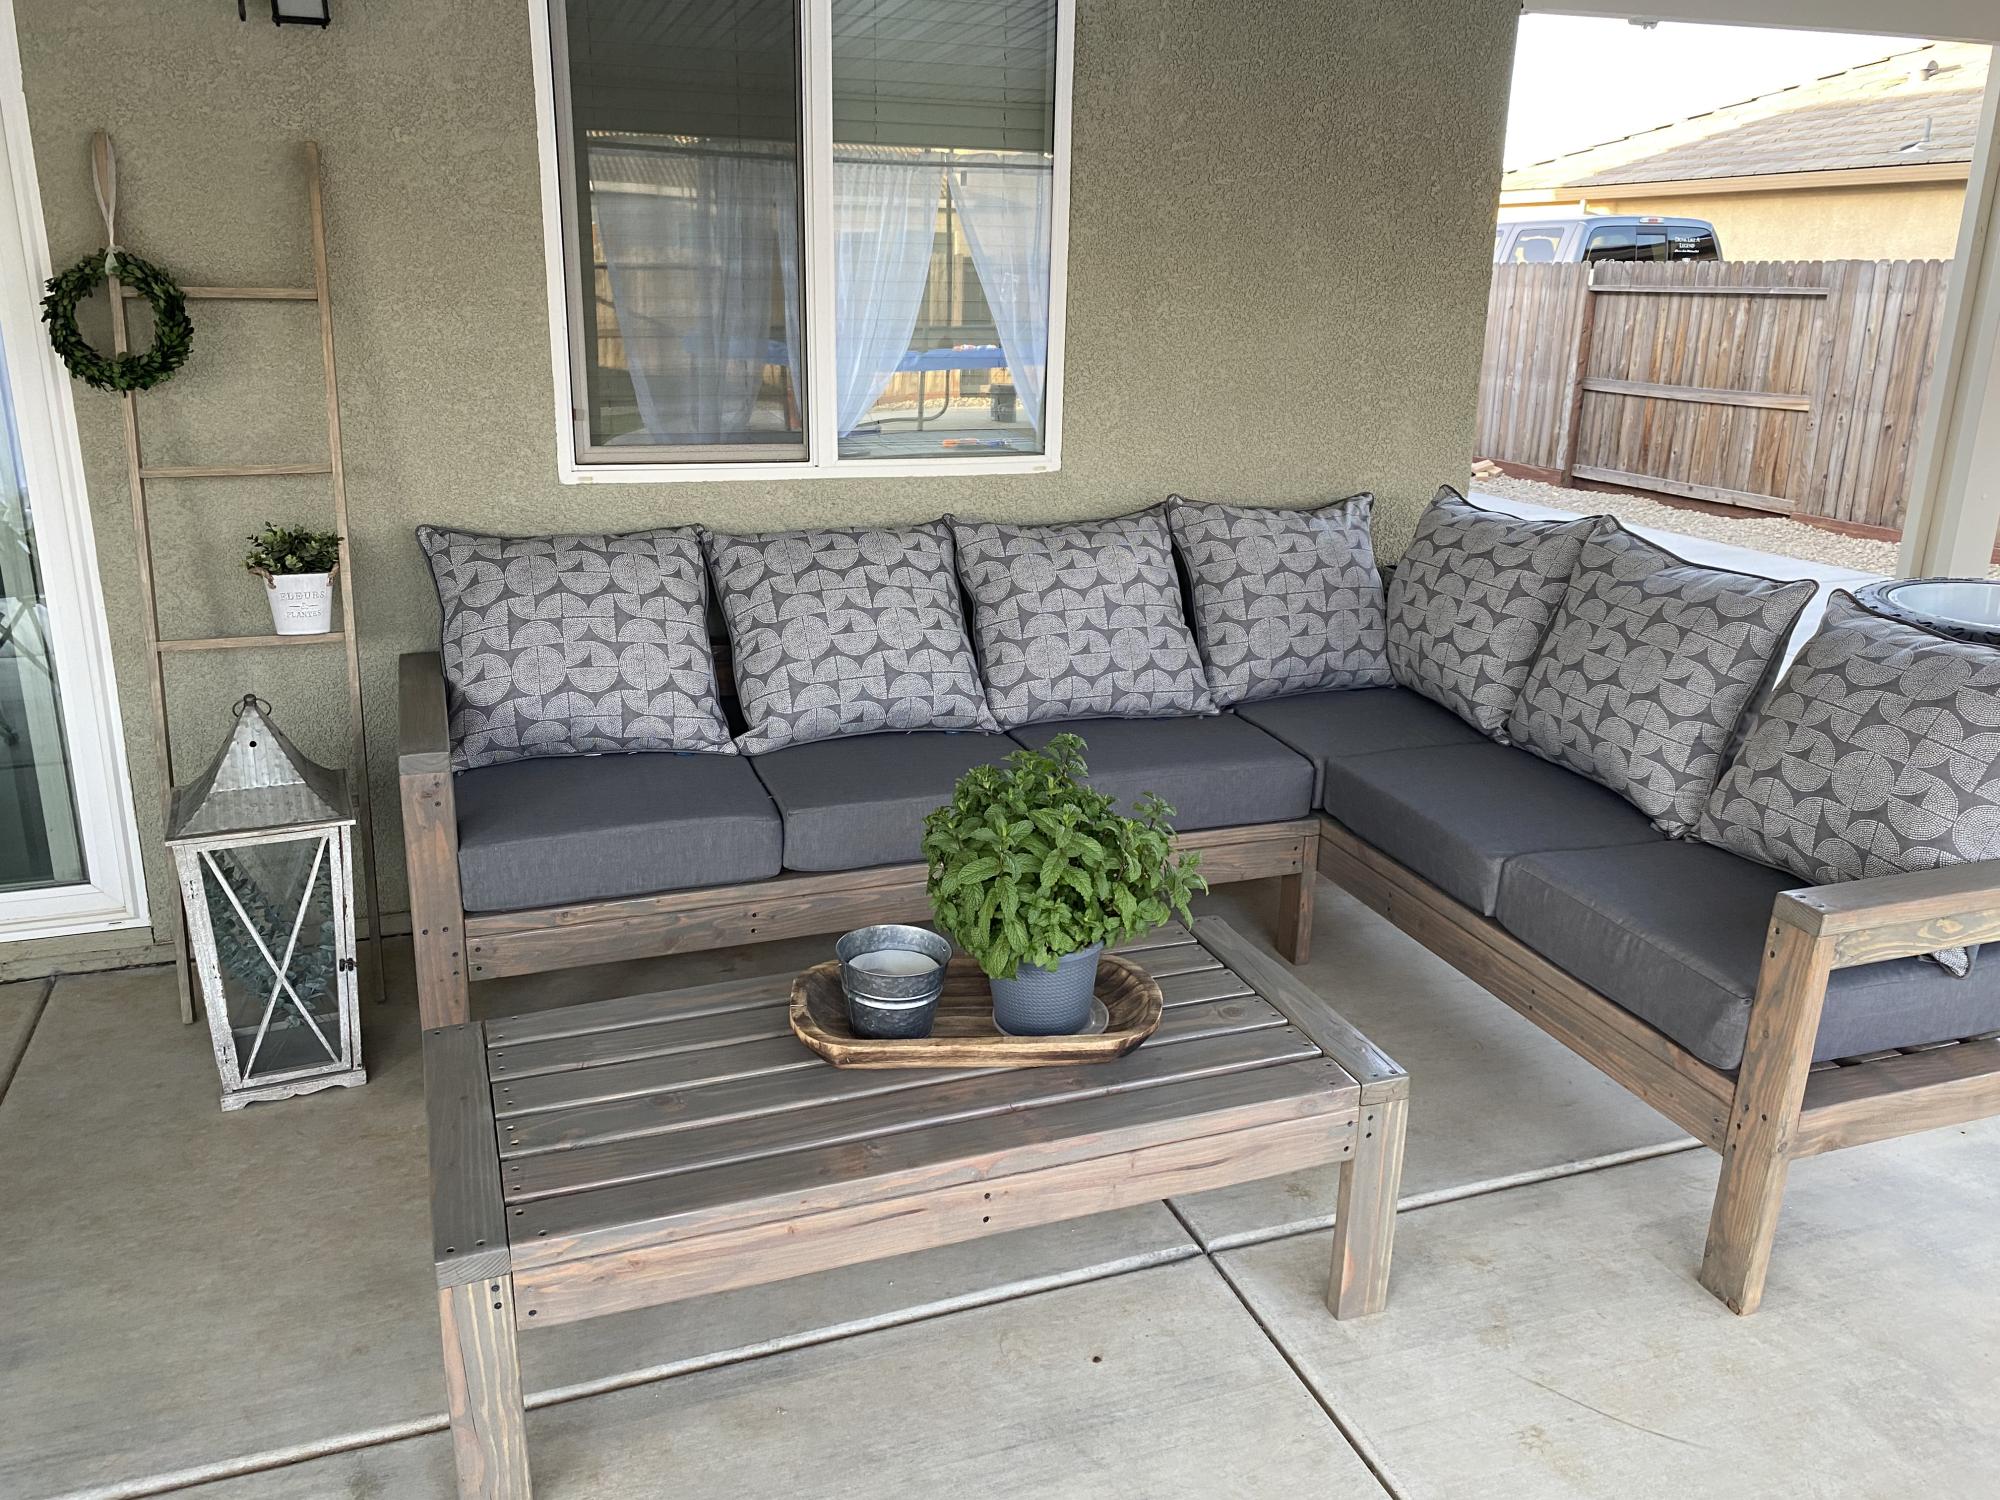
We have been looking for a deal on an outdoor sectional for a whole year. Nothing. The cheapest we could find was $899 for one that was much smaller than this one and with thinner cushions. So we upped and drove to the lumber yard and purchased the lumber on the list and got to building. The total cost of lumber was $200, the Spax screws we already had on hand. We used pocket holes for the joints. The wife made the cushions herself. She had most of the fabric on hand, we just had to buy 3 yards for the back cushions, which are made of standard size pillows. They have been sprayed with fabric protectant for outdoor use (I think she used the Scotch brand). The seat cushions are 5 inches thick (they are wrapped in silk film to protect them from getting soaked when it rains or when someone who just got out of the pool sits on them), around $100 for both. It took her a couple of days to sew the box cushion covers.


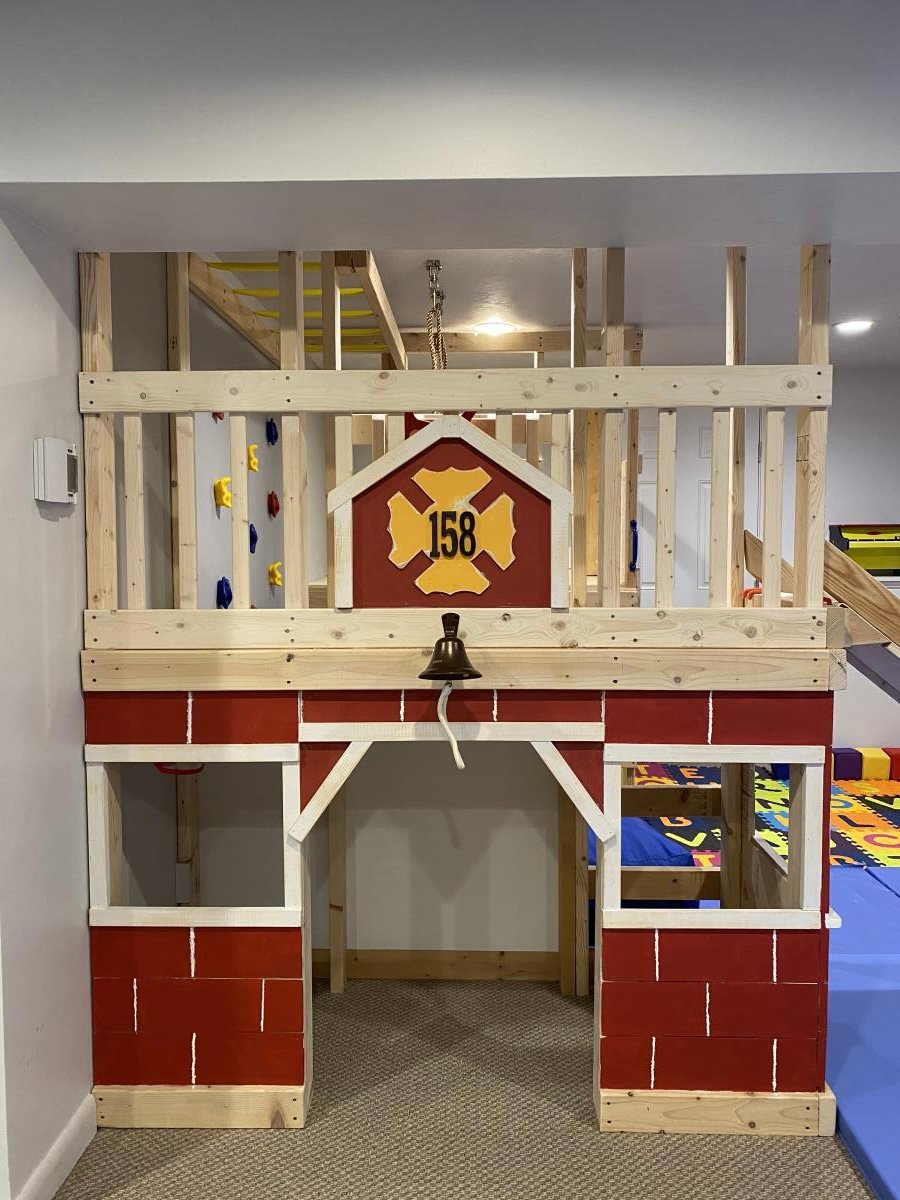
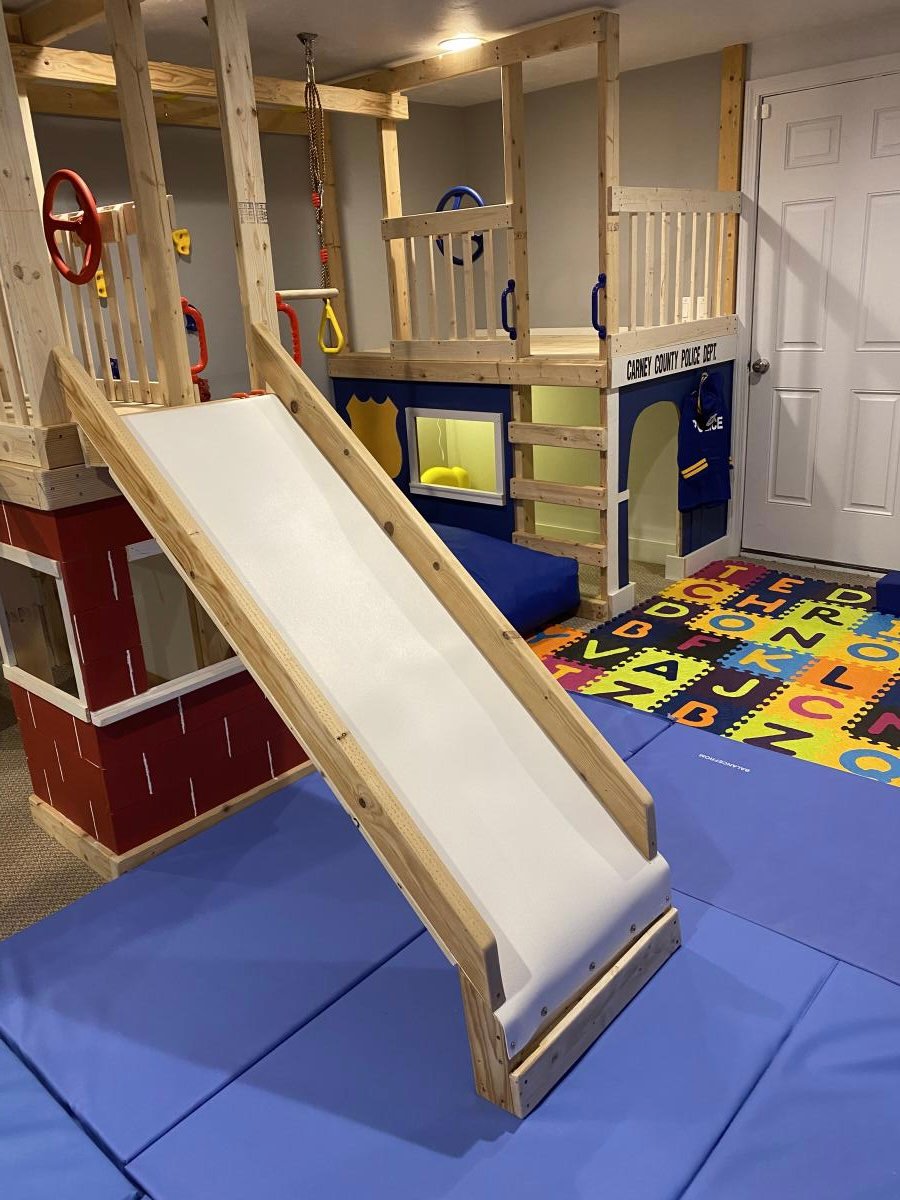
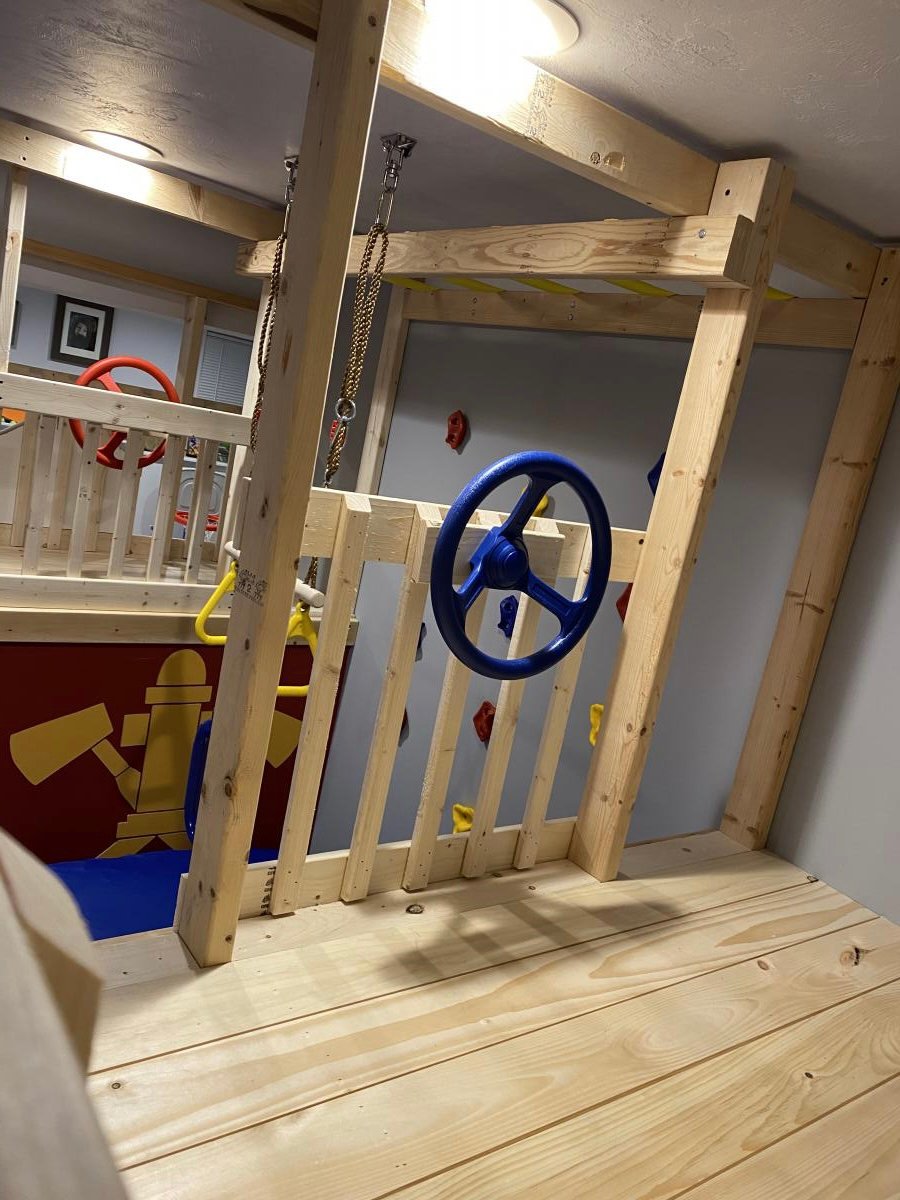
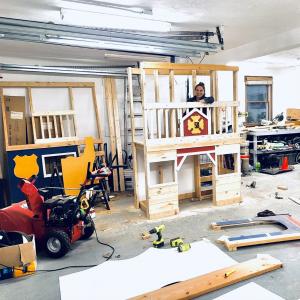
With Christmas approaching and the realization that my three young boys had way too much “stuff”, I enrolled the help of my dad to build this amazing basement play area. When I found Ana’s plans for the play gym with monkey bars, I knew we were in business. I modified the design to fit our space and we were off. Such a fun build and my boys absolutely love spending time down there. Thanks so much for your continued inspiration and the confidence you give us mamas to build with the big boys, Ana!!
In reply to Fabulous! by Ana White Admin
Fri, 01/08/2021 - 16:23
Thank you so much!! 🙏

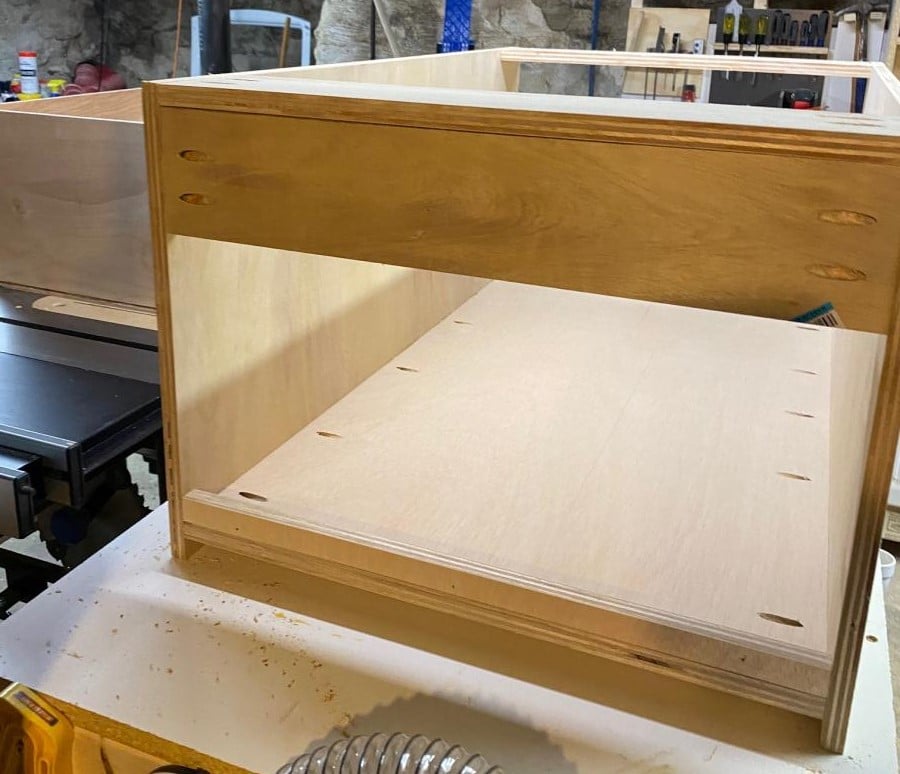
I modified the origianl plans by making the cabinet taller. I also built 2 cabinets and trimmed them both together to make it appear as if it is 1 giant cabient. It measure over 7 feet tall and just over 6 feet wide. I did add an additional 1x2 brace in the center of the cabinet to help support. I also cut an additional 1x4 to use a brace when anchoring it to the wall. I also chose to add an additional 2 trim pieces to each door because they are much taller than the original plan doors.


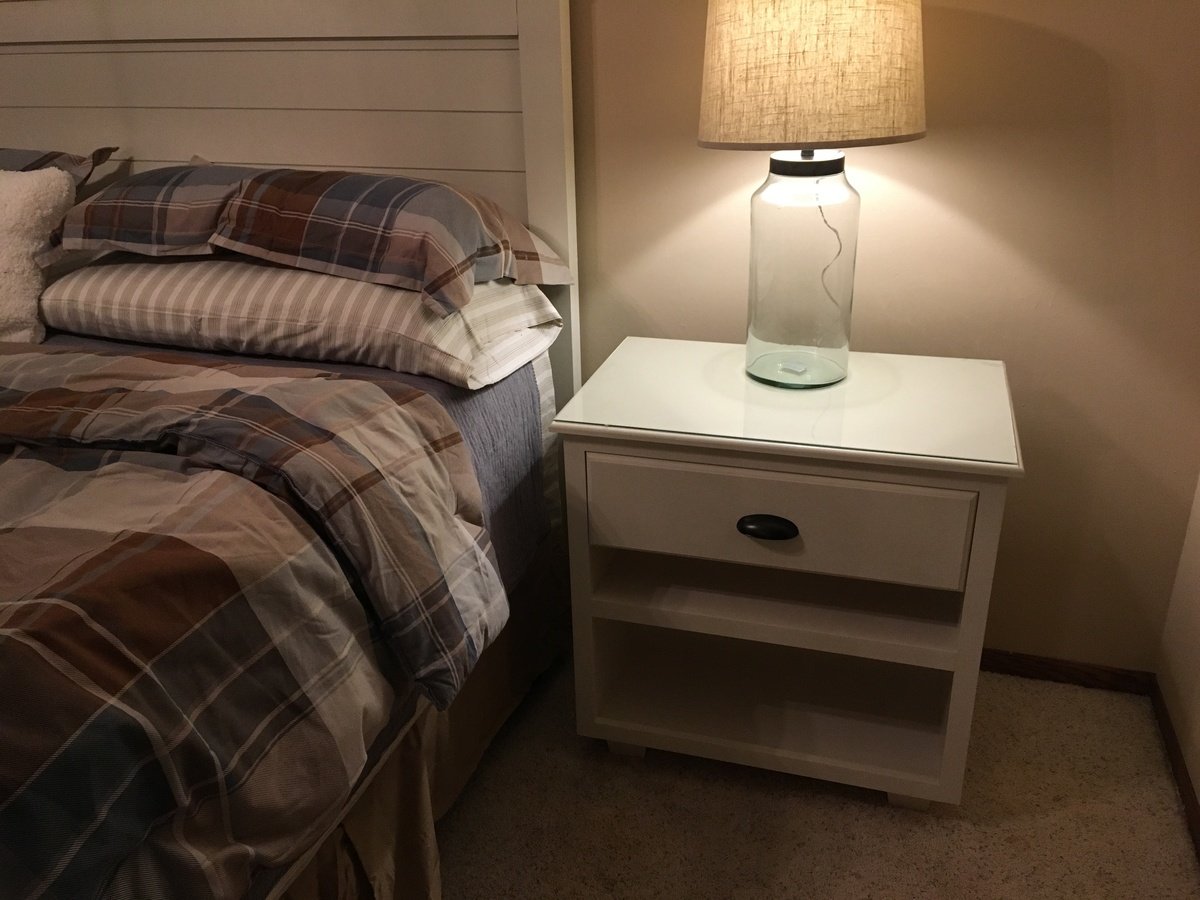
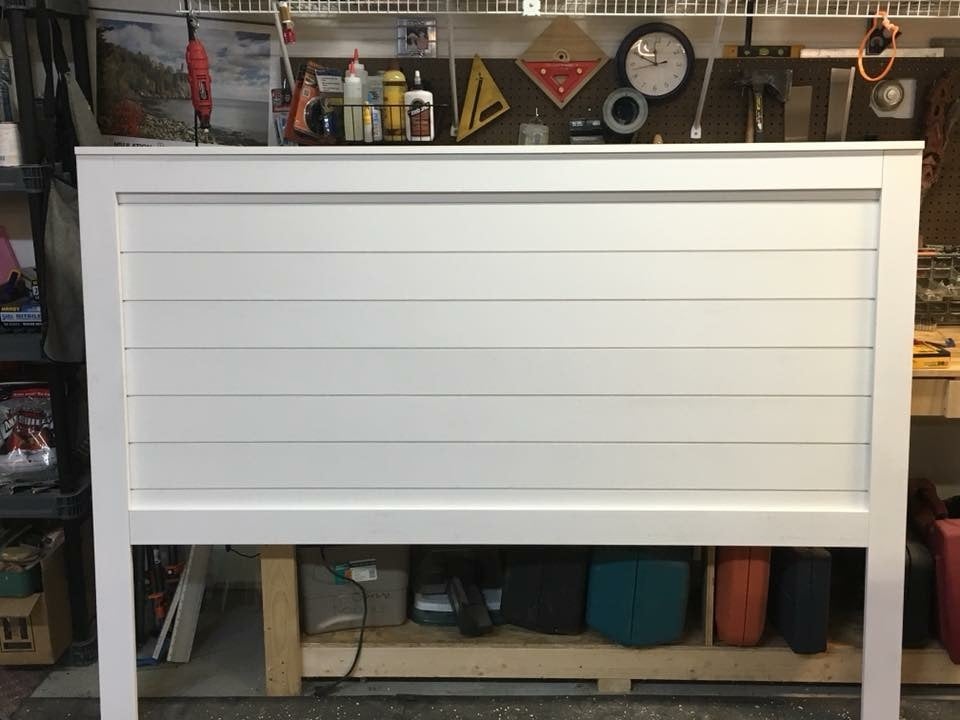
The Beauty Queen described a headboard with shiplap and sort of cottage style. I modified the Ana White plan to fit my needs and the wife’s taste. I used the preprimed shiplap and 1x material from the big box store so it was a little more expensive but still very reasonable. Then I made side tables.
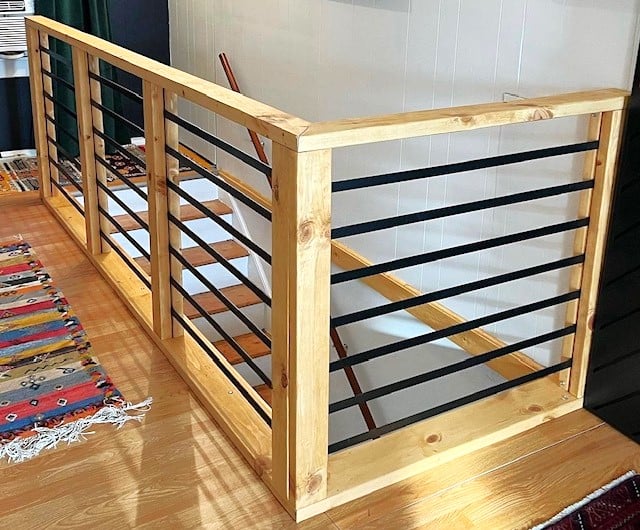
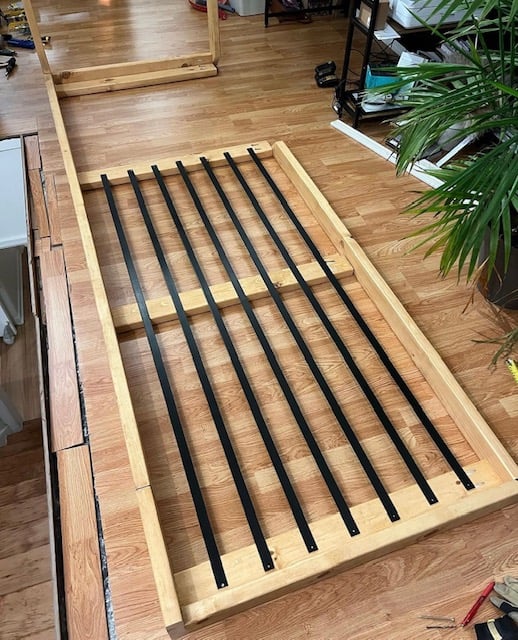
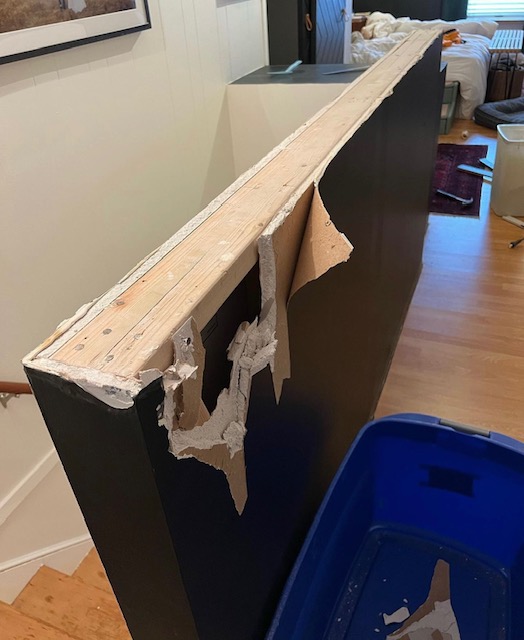
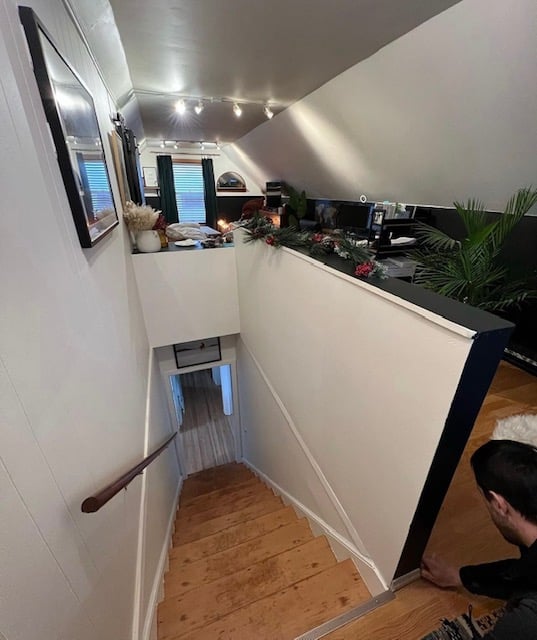
Amazing stair railing upgrade shared by Sara and Chris!
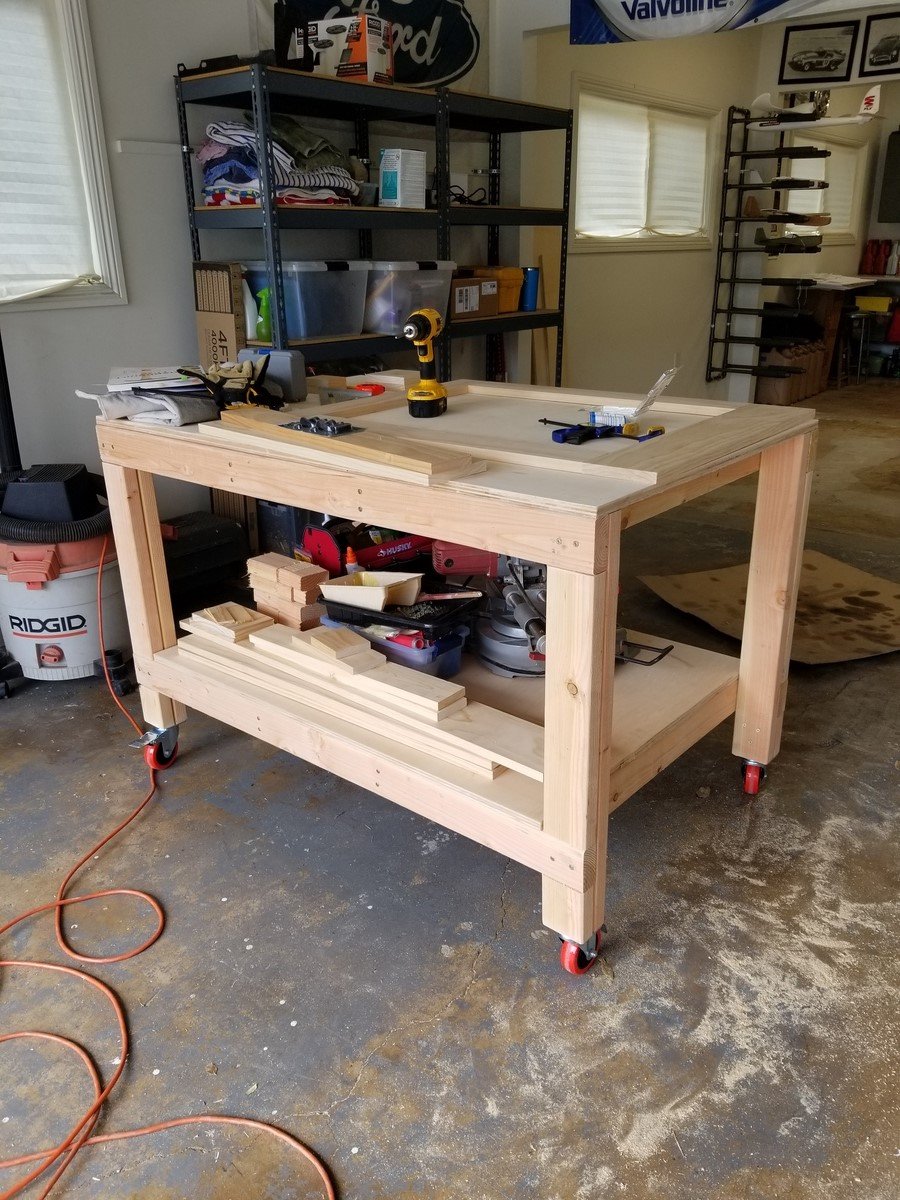
I love this workbench! I added casters so I can move it around the garage, outside, wherever it's needed. I just took 4 inches off the bottom of the legs. My hubby is admiring my handy work and planning on making one for himself.
Wed, 01/25/2023 - 14:31
Love this with the casters! So beautiful. I'm new here and wondering at what point you took 4 inches off the legs. Did you build the table and then just cut off the legs? Or did you adjust the measurements of the cuts? Thanks in advance! :)
Mon, 01/30/2023 - 02:32
The overall height of a 4-inch caster wheel is a little over 5 inches with the mounting bracket, so that also needs to be taken in to consideration. 2nd photo shows the overall dimensions, but to me the bracket and brake area appear to be a bit more than 1.03 inches. https://amzn.to/3DkMKzB
I think the best bet would be to have and measure the overall wheel height, prior to measuring and cutting the lumber.

Ana doesn’t have a plan for a catio but she does for a playhouse and a cedar shed made from 2x2’s. I sort of combined my knowledge from making her plans over the last 10 years and came up with this for my cats. It was fun to make!! My baby kitten is loving it. I used garden fencing and stapled it to the outside and pocket holes for the walls. I made each wall individually like the playhouse then connected them once in place.


Wed, 06/09/2021 - 12:36
Thank you for sharing! My daughter wants a cat for her birthday but it can't be inside due to our son's allergies. Roaming outside isn't really an option because we have coyotes. We are going to use one of these in combination with an underground electric fence.

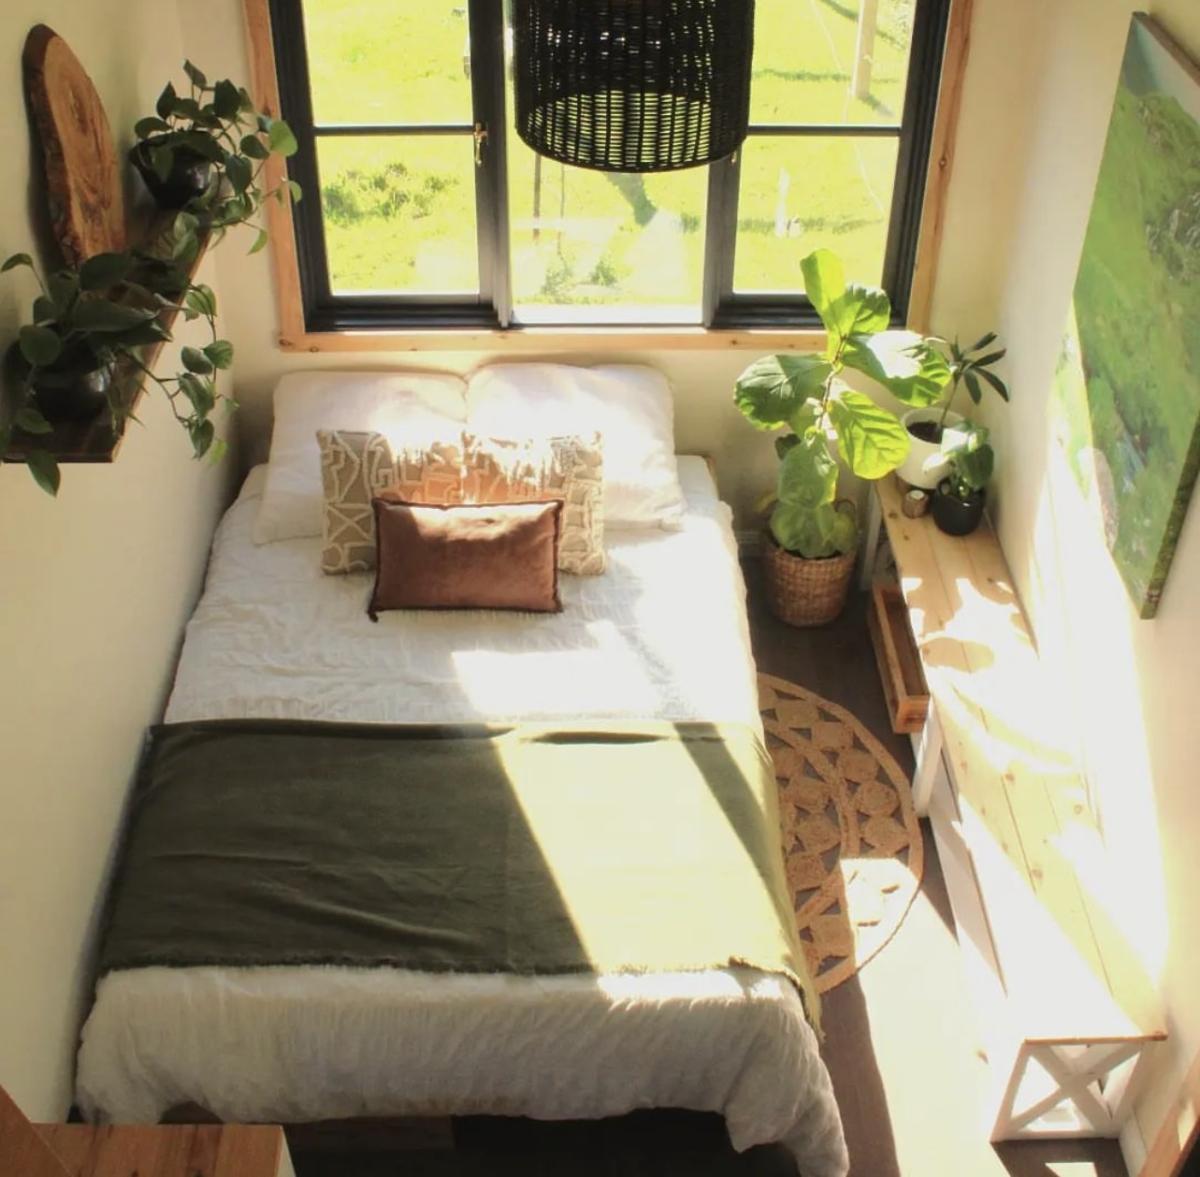
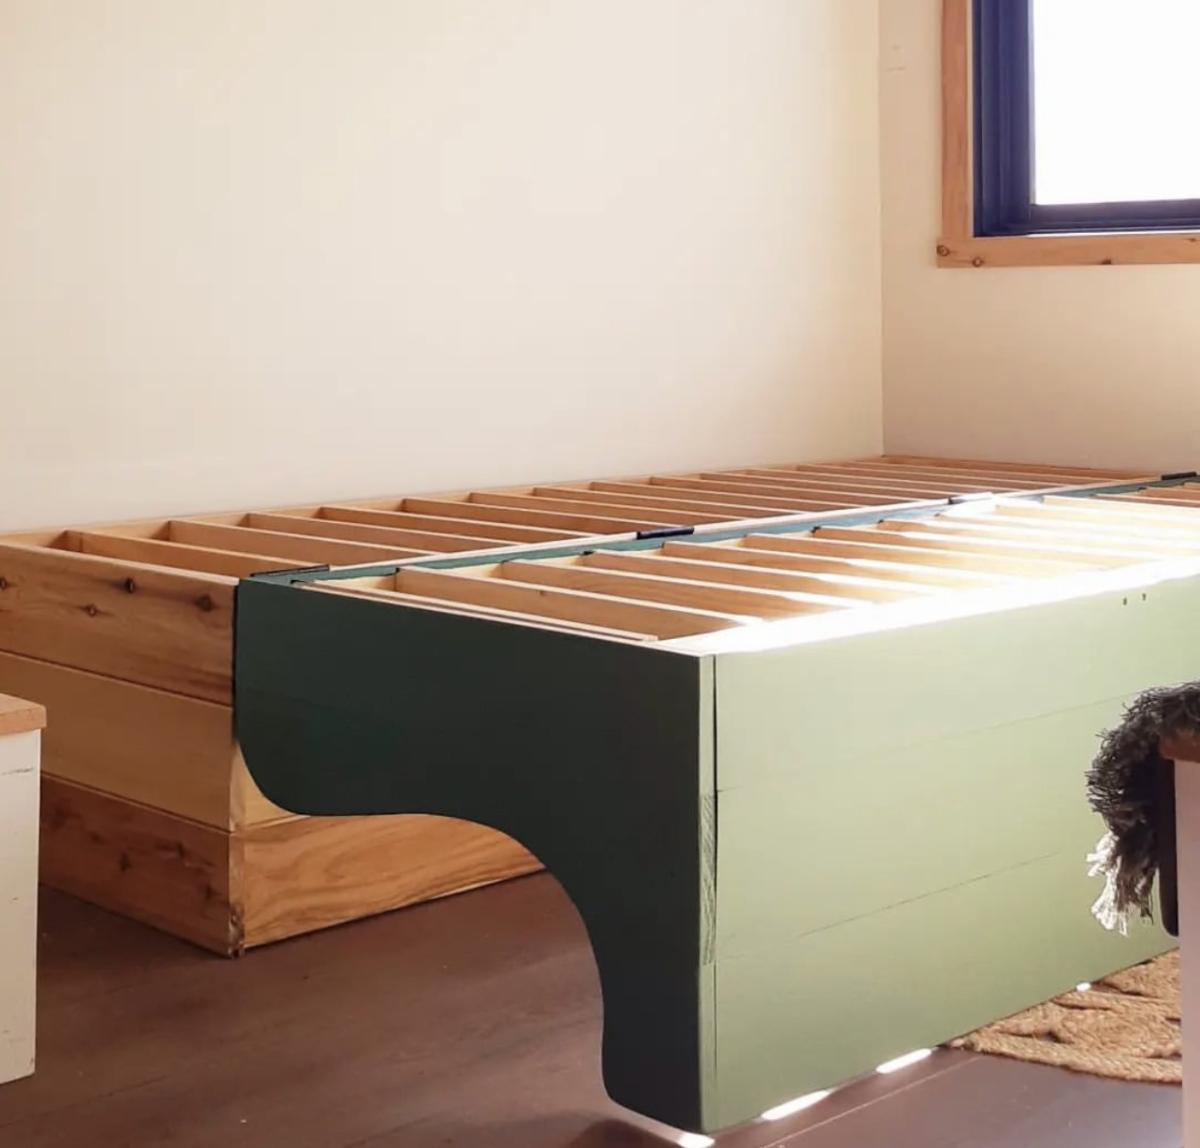
Modified from our twin sleeper chair plan, this amazing hinged sofa bed was built and shared by #tinybuilderau

We've been desperate for more storage in our little house and this build really helped. The whole bench is 103“ wide and each drawer gives us 24"x17" of usable space. We had to do some custom shaping for the benchtop (two joined fir 2x12's) fit as the walls are not square but in the end we were really pleased.
The hardest part of the project was getting all of this built and in place while working around a busy family as this is our only meal space and the majority of cutting/forming was done either on the weekends or after bedtimes. If I were to do this again I'd prioritize sending the kids to grandparents for the weekend and know king everything except for paint out in one go.
We could have spent less time with the benchtop by using plywood like in the plans but we wanted the look of a separate benchtop. We may replace the fir with stained oak down the line but this should be plenty sturdy for the next several years.

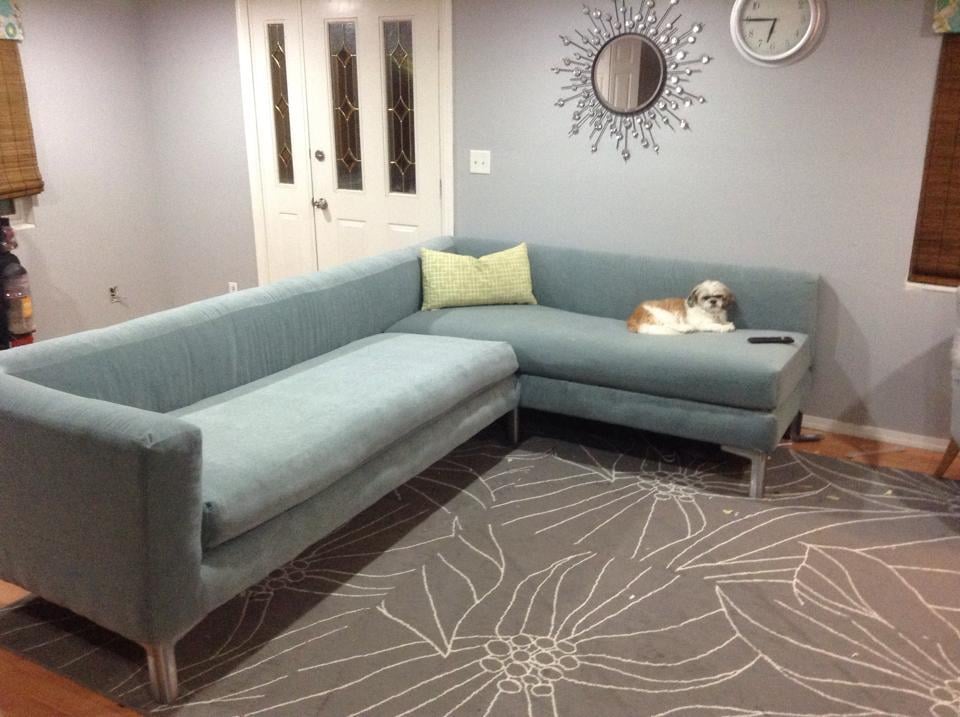
I looked all around my town for a sofa that meet my needs. I wanted something with tall legs, modern lines and fit my living room. I did not have $3,000 to buy one online so I said to myself why not???

Sat, 07/25/2015 - 12:28
You are my hero ! Your modern diy sectional is amazing, love the blue fabric! Thank you so much for sharing! Ana
Mon, 08/03/2015 - 14:52
I've been looking for plans for a big sectional this would be perfect!
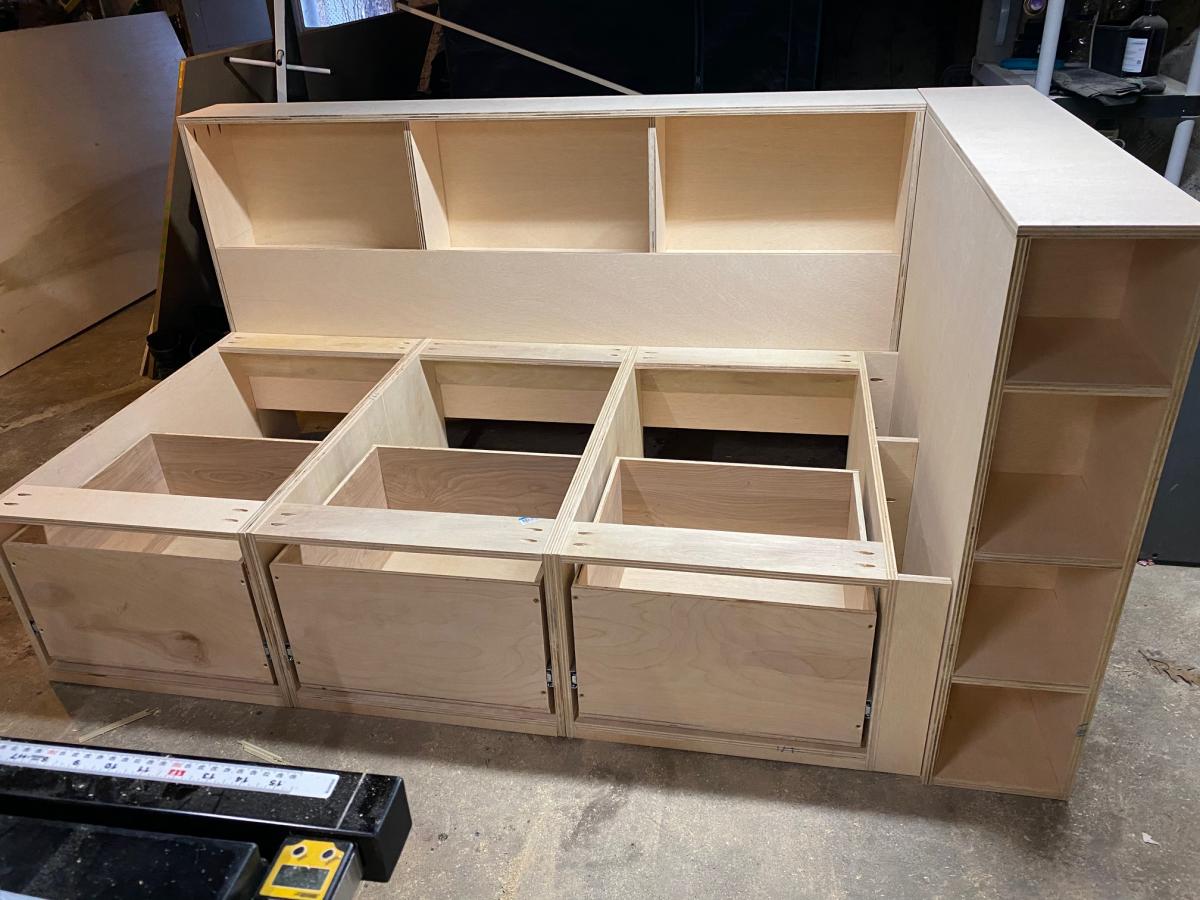
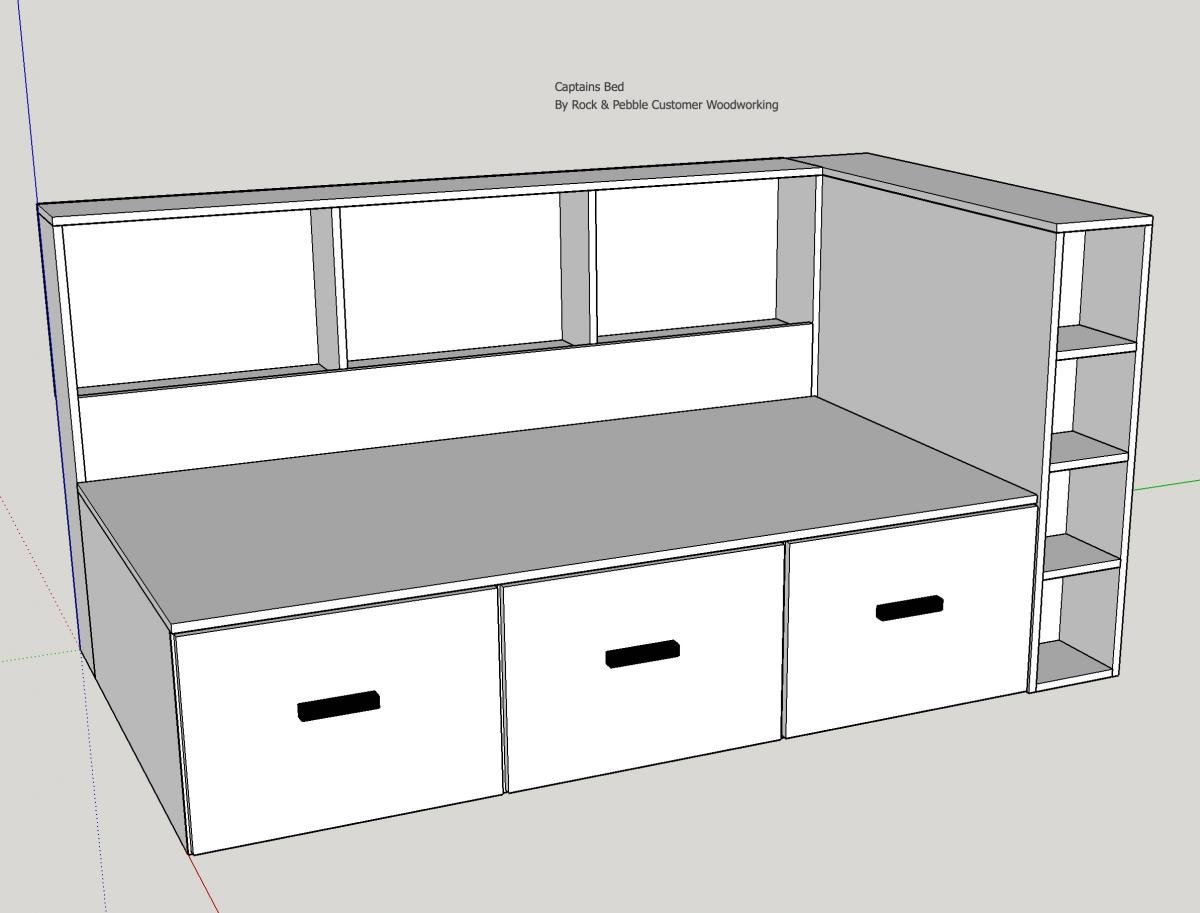
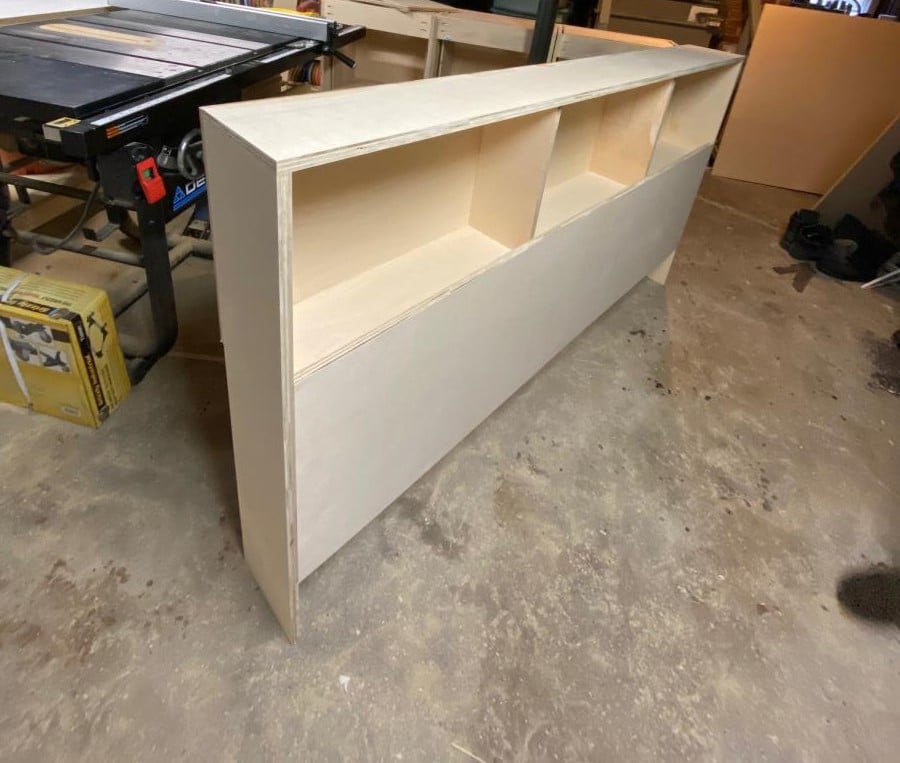
So this was a really fun project from start to finish, I wanted a storage bed with a place for my son to showcase his Super Hero collection!


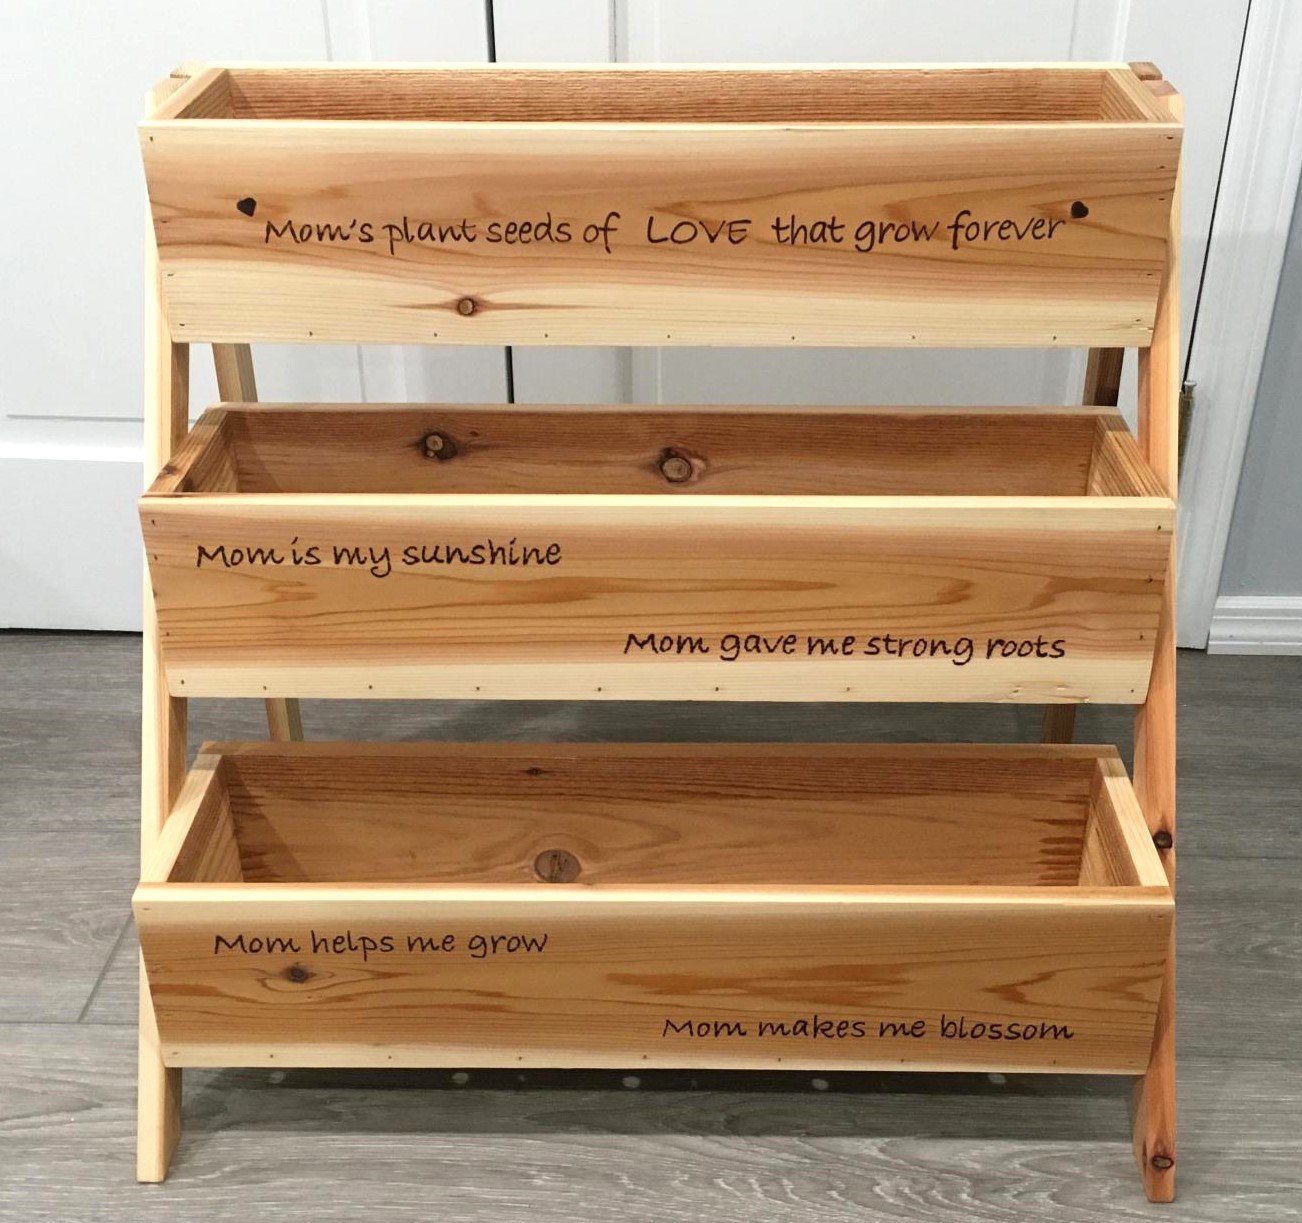
We made this tiered planter for a Mother's Day gift for my wife. It was a simple build and the plans are very easy to follow. I couldn't get any cedar fence pickets so I used standard 1x6x8 cedar boards that were available at the local big box store; that's why the cost is a little high. The planters were made 24" wide for more room instead of 16'" wide as per the plans. We personalized it by adding the quotes to the boards and burning them into the wood with a pyrography pen.
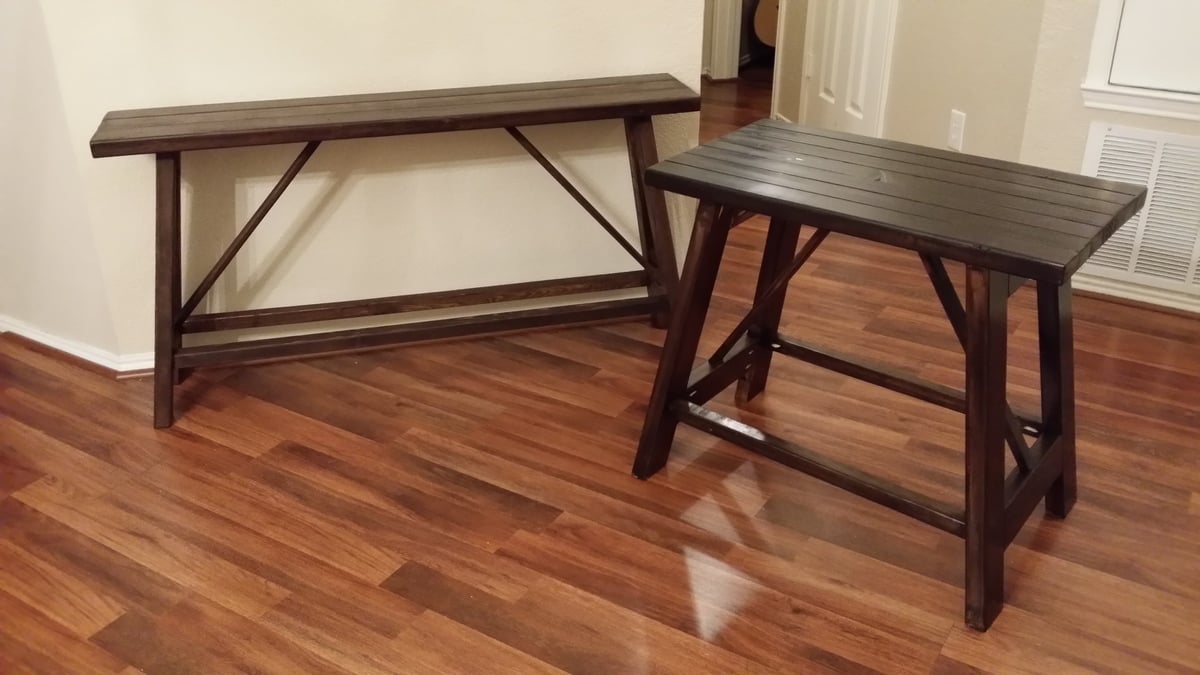
These were so easy to make. I actually messed up on the smaller one and used the 2x4's on the legs. By the time I realized it, I had to use the 2x3's on the top. I just used more of them. It still turned out great. My wife had me make another one for an empty space we had. I used the same basic layout and just modified my length and width. Thanks for the great plans.
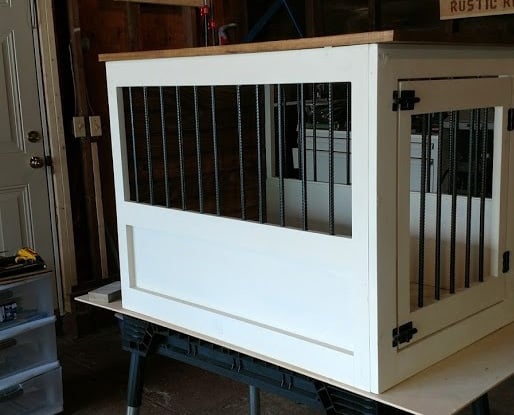
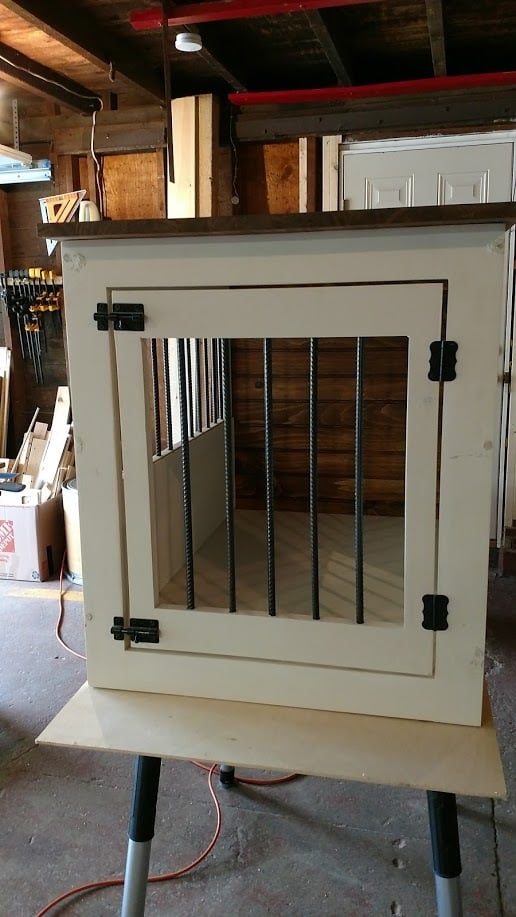
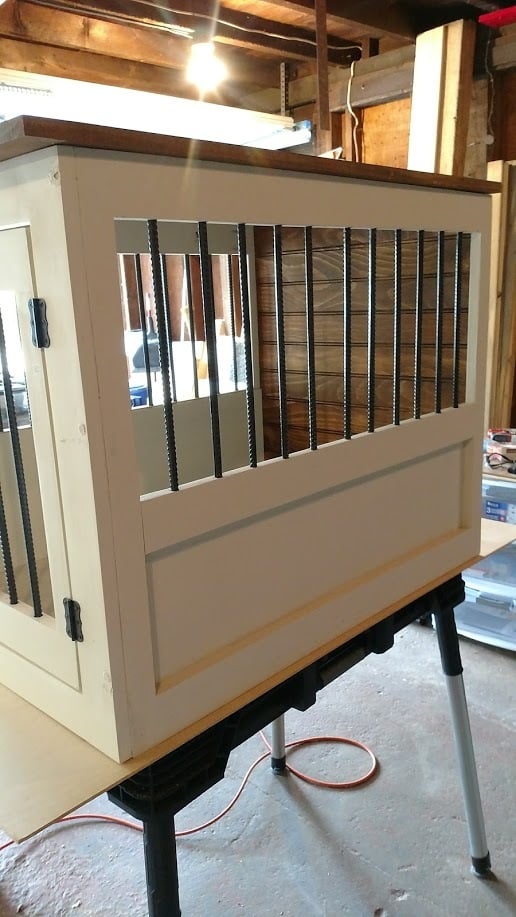
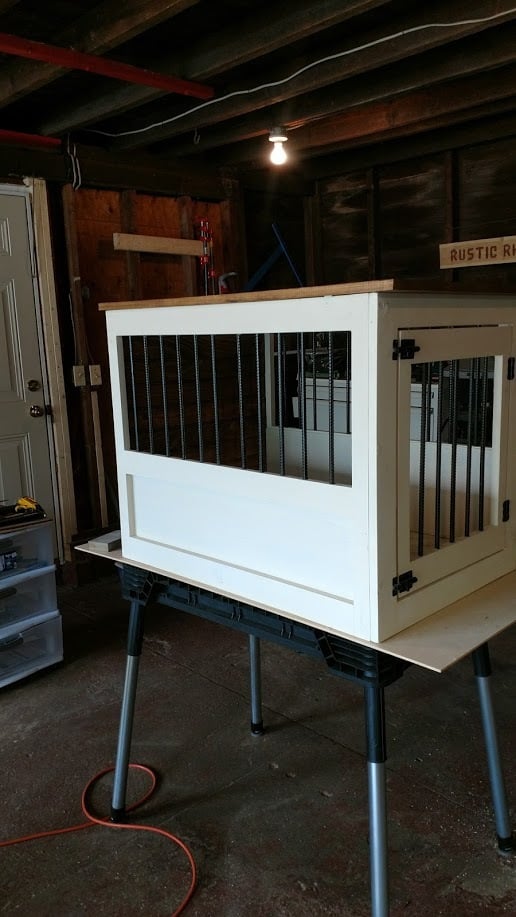
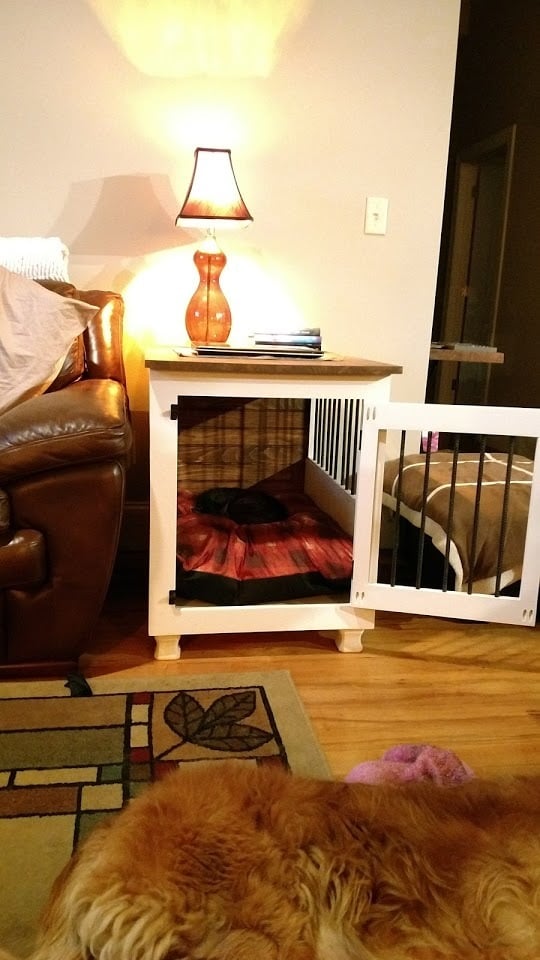
I really liked the Large Wooden Dog crate but wanted the sides to be lower and wanted to make sure there was no easy chew escape. Not sure if you can see from the photo but the cats have taken over... Will need to make a larger one for the dog!
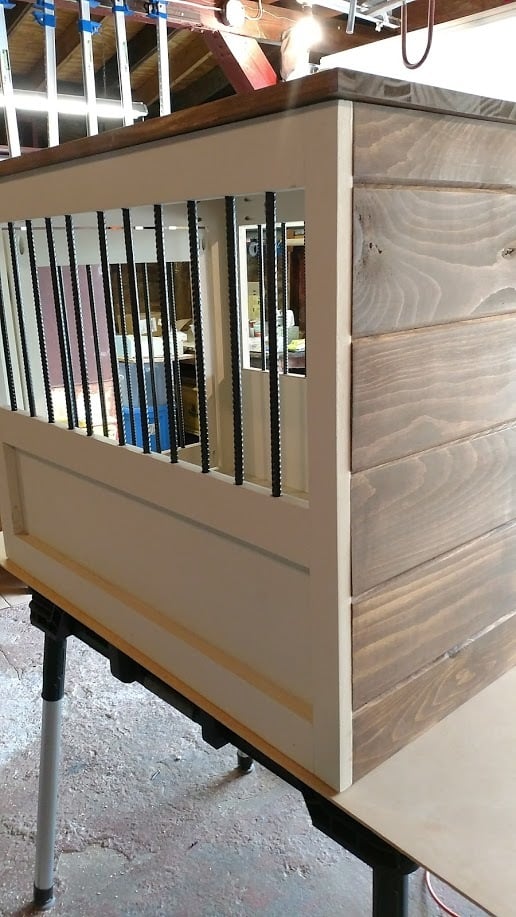
I followed the plan pretty much other than lowering the panel on the side and replacing the wooden bars with rebar. The rebar was a bit of a learning curve getting the holes lined up perfectly but I figured it out and I think it came out pretty good!
Used all pine 1x3 and 1x2s. Picked up a pine panel for the top and the bottom is a 3/4 plywood. Made our own chalk paint for the finish and sealed it with wax.
Oh, forgot, added tongue and groove pine for the back and finished it and the top with Antiguing wax.
Lots of fun and I think I will make a double one next!
This project was fun to build with hubby said the shopping list and the cut list was perfect! Love all your designs! King bed is next!
Fri, 04/28/2023 - 09:15
Very well done, thank you for sharing your beautiful space and build!
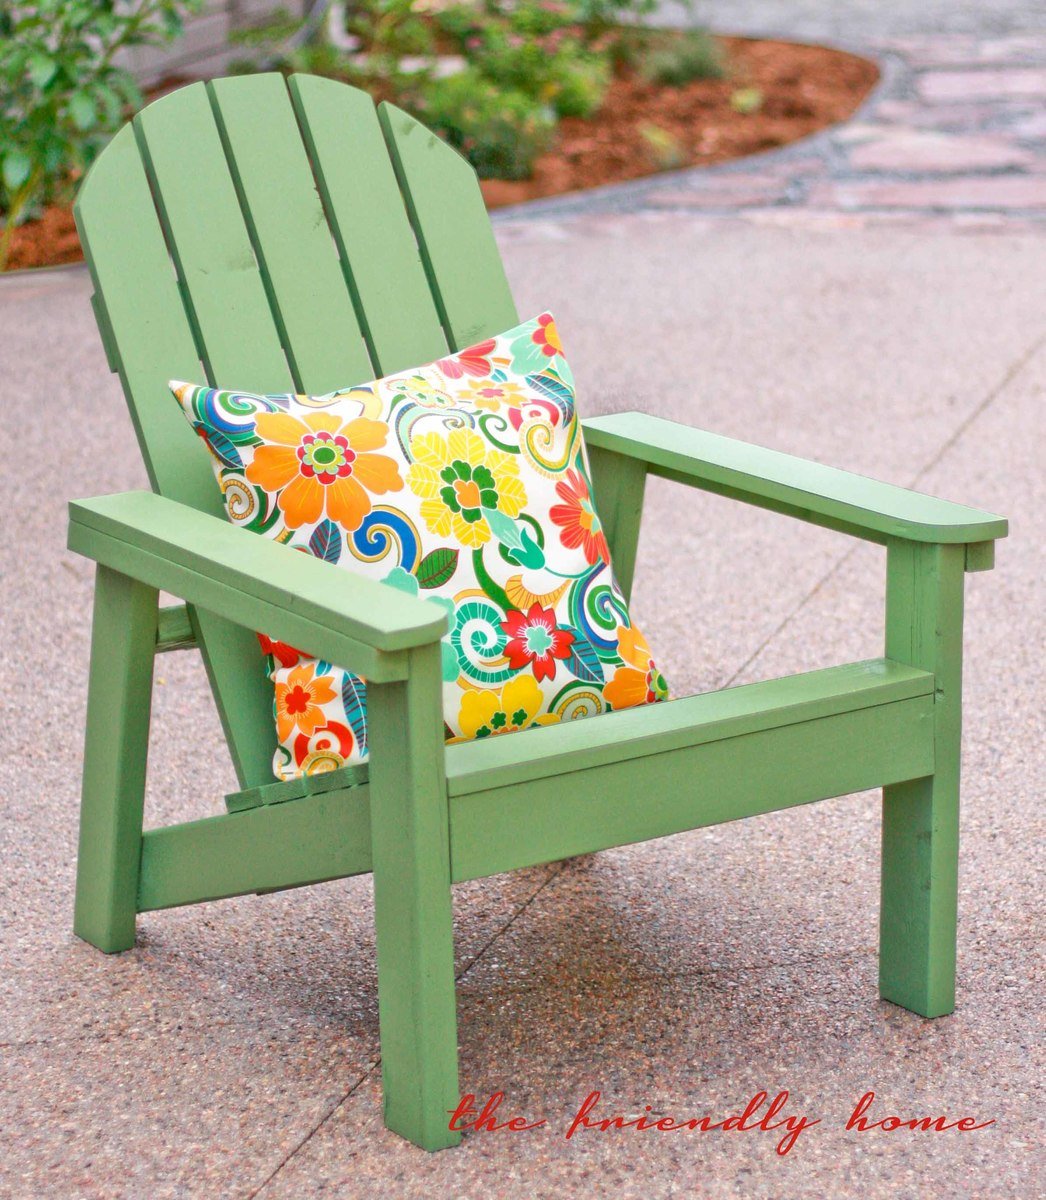
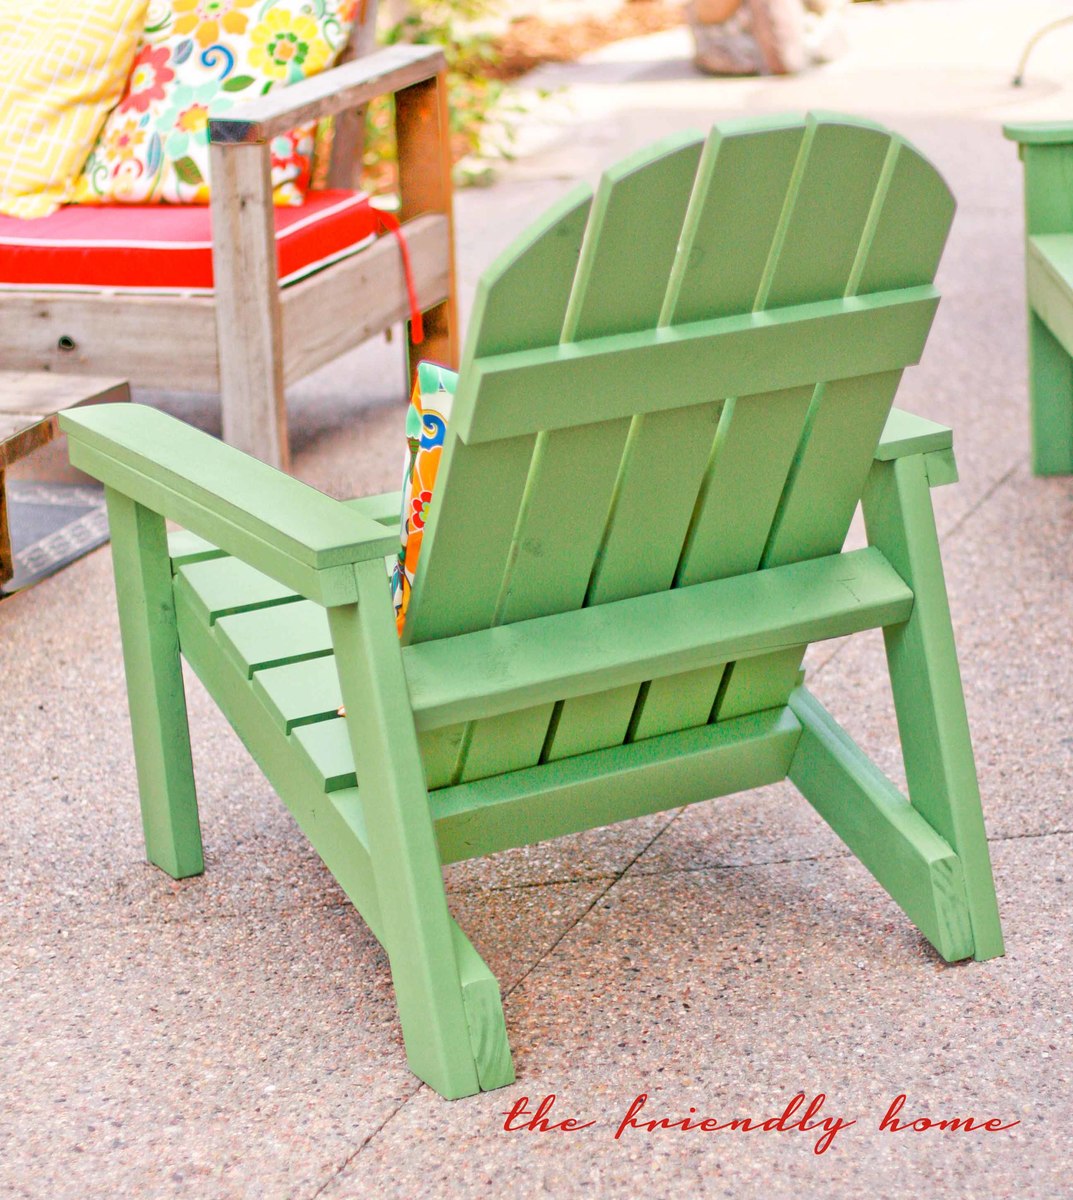
These are great chairs! Easy to build, comfy to sit in. Check out my blog post for more info.
Mon, 06/24/2013 - 10:59
Beautiful chairs Hillary!!!! I love the green!!!
Thanks so much for building and bragging!
Ana
Fri, 06/28/2013 - 15:58
I'll be making four of these this week in turquoise to match the little ones I made for the kids. Yours is an inspiration!

Sun, 05/10/2015 - 05:17
Are these kid size or adult, and where are the plans for them....
thanks bunches,
Debbie.
