Farmhouse Writing Desk

Brookstone desk with a white oak top and drawer that I built for my 8- yr old son. It is a very fun build.
Jerry from NC
Built from Plan(s)
Brookstone desk with a white oak top and drawer that I built for my 8- yr old son. It is a very fun build.
Jerry from NC
I saw this on the site, and I knew it would be perfect for my soon to be 4 year old boy's room. I wanted something that would be strong (hellloooo 4 year old boy!!) and not too "babyish" to last him through several years of preference changes and growth. This was not too difficult at all! Though I slightly modified some of the construction to make it easier to break down. I ended up using a box spring with a mattress, instead of slats to save a bit of money. (We got the box spring and mattress for free from a relative.)
I made this out of pine, and bought everything from Home Depot. Total cost for everything (including paint, sandpaper, wood glue, etc) was about $160! We are loving it!
Thu, 05/03/2012 - 23:09
Hi,
I love what you have done here. We have just finished our first build and am about to start on another for our oldest girl. Check out our blog, its the latest entry on this page.
Love it.
Thanks,
Shane
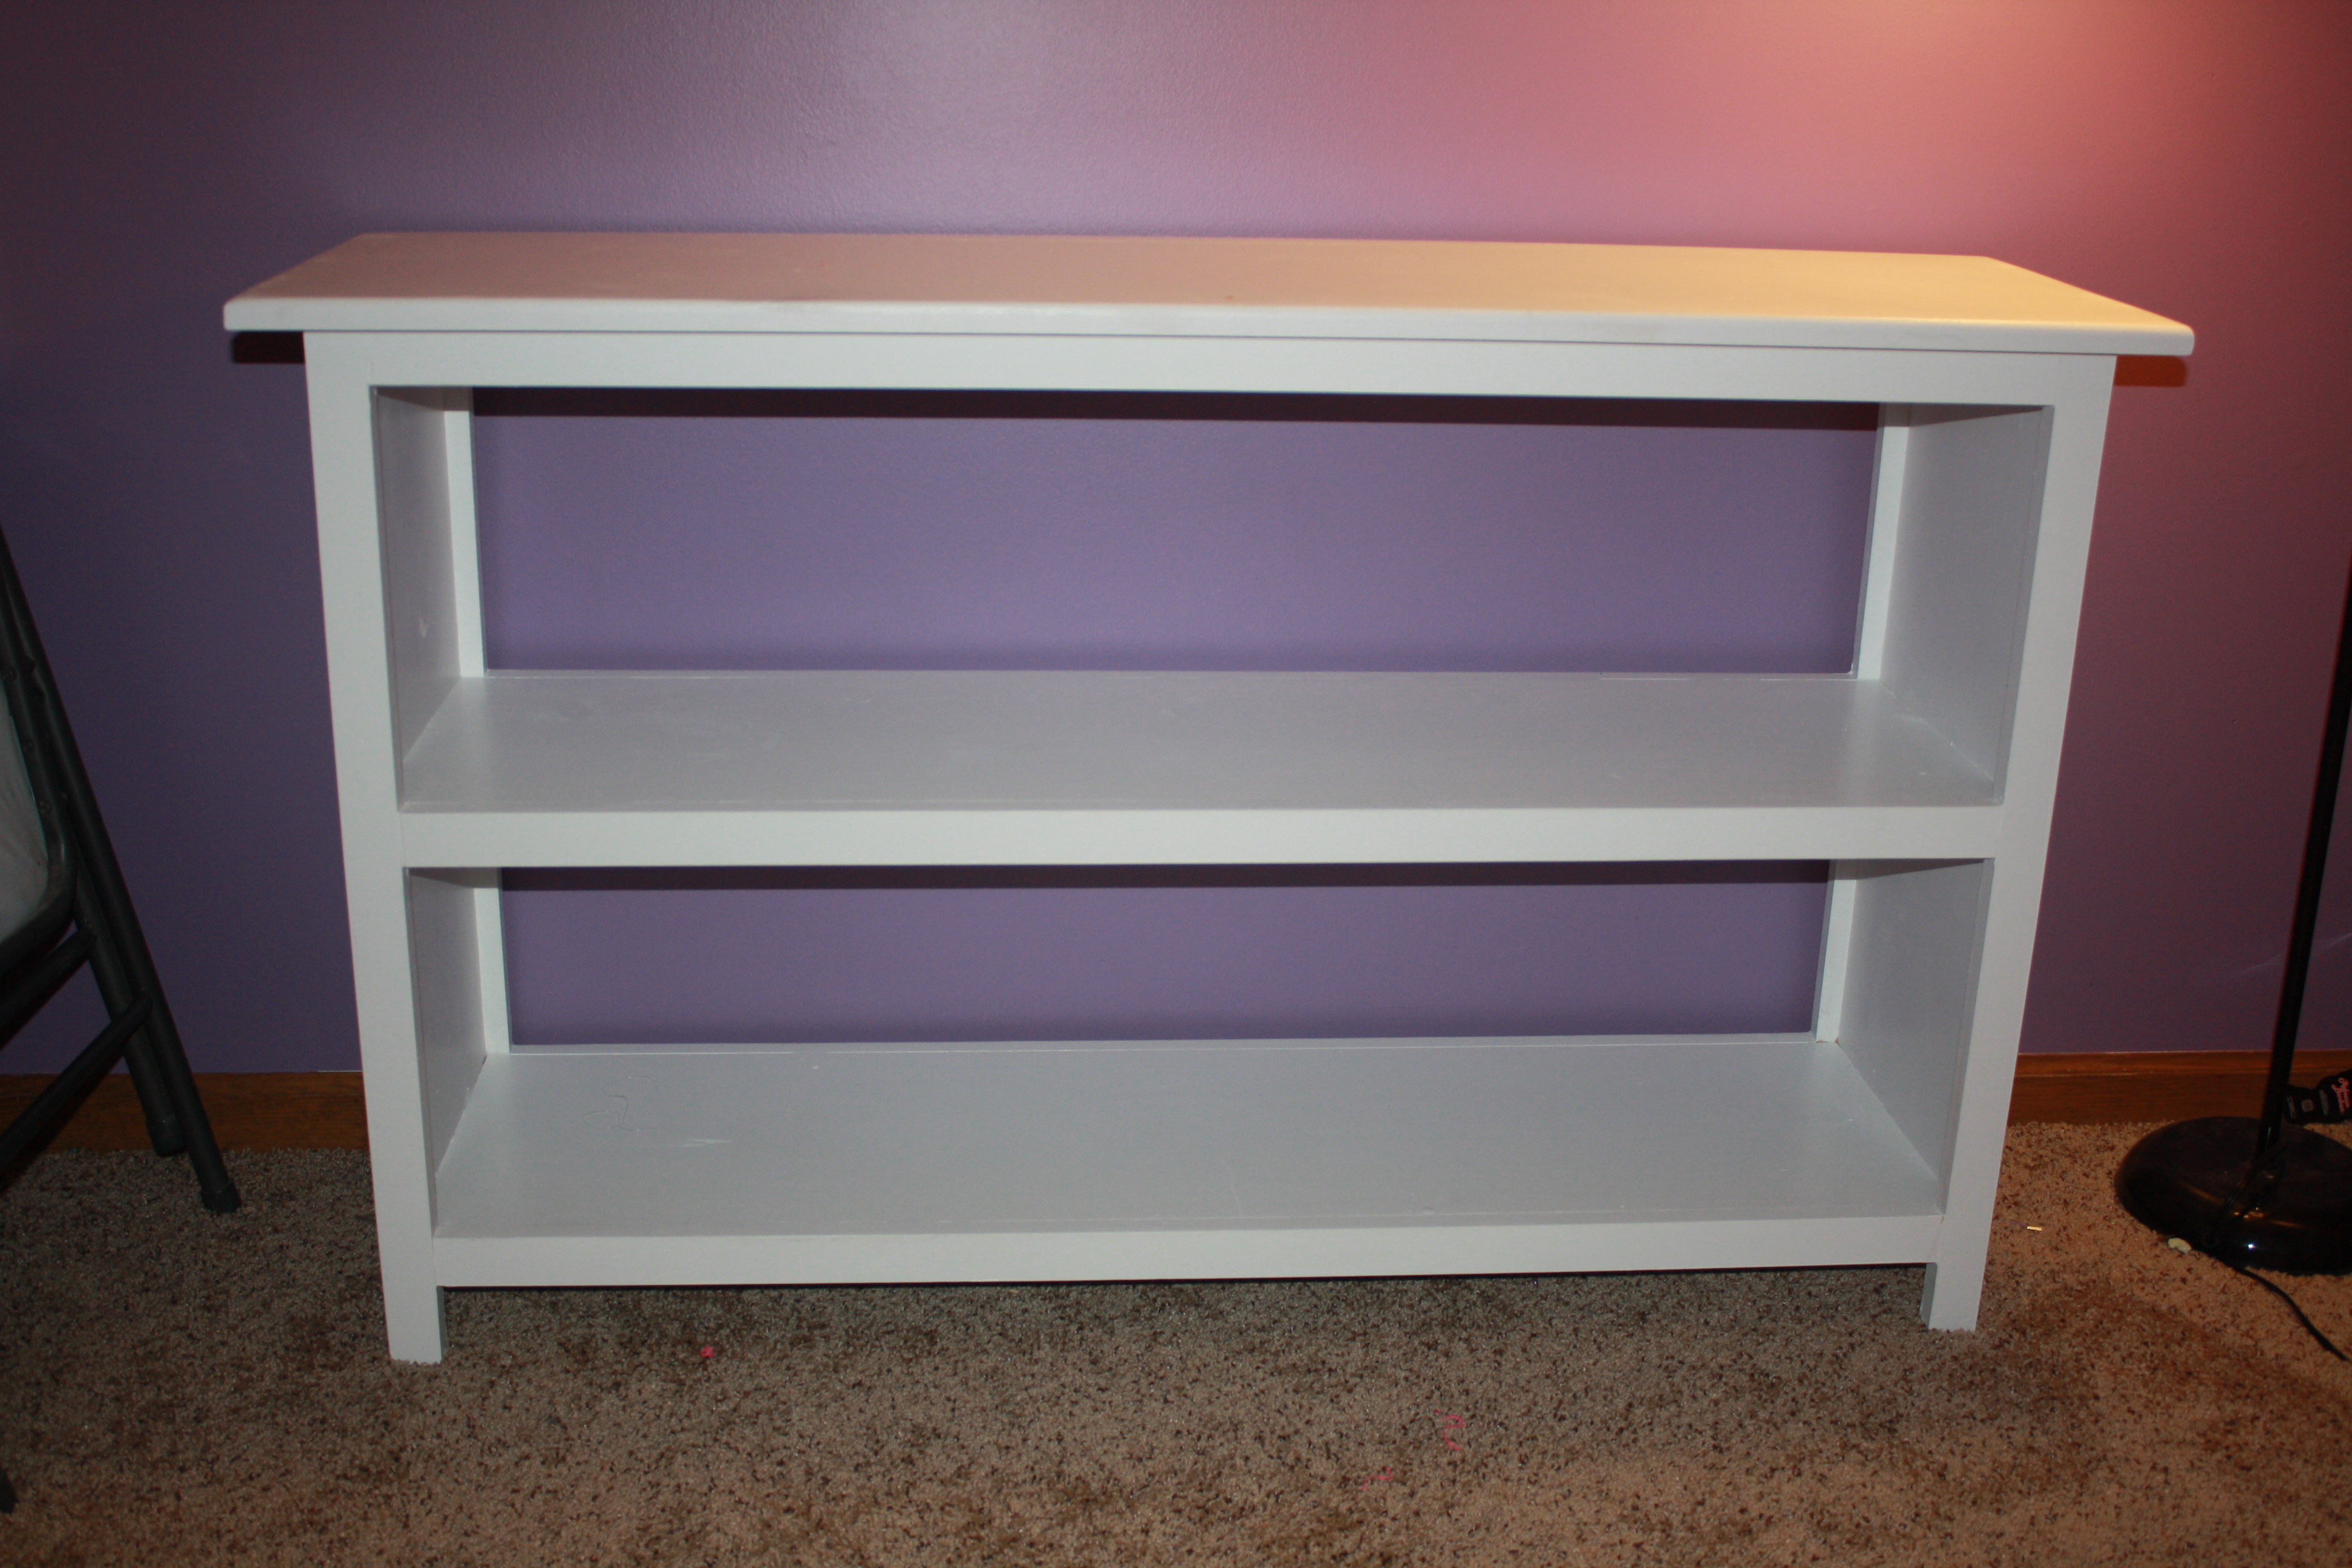
This design came from Ana's website. My daughter Alex asked me for a shelf to hold all her "stuff". She's a typical girl... lots of "stuff". I was able to snap a picture before she started to fill it all up!
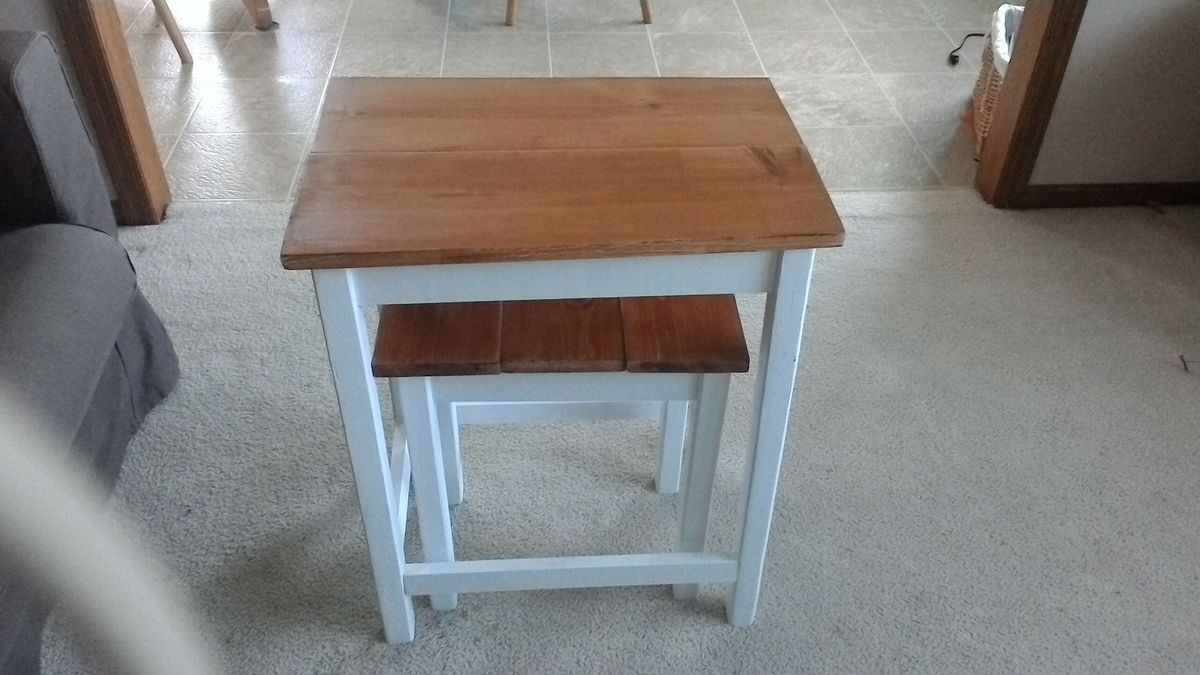
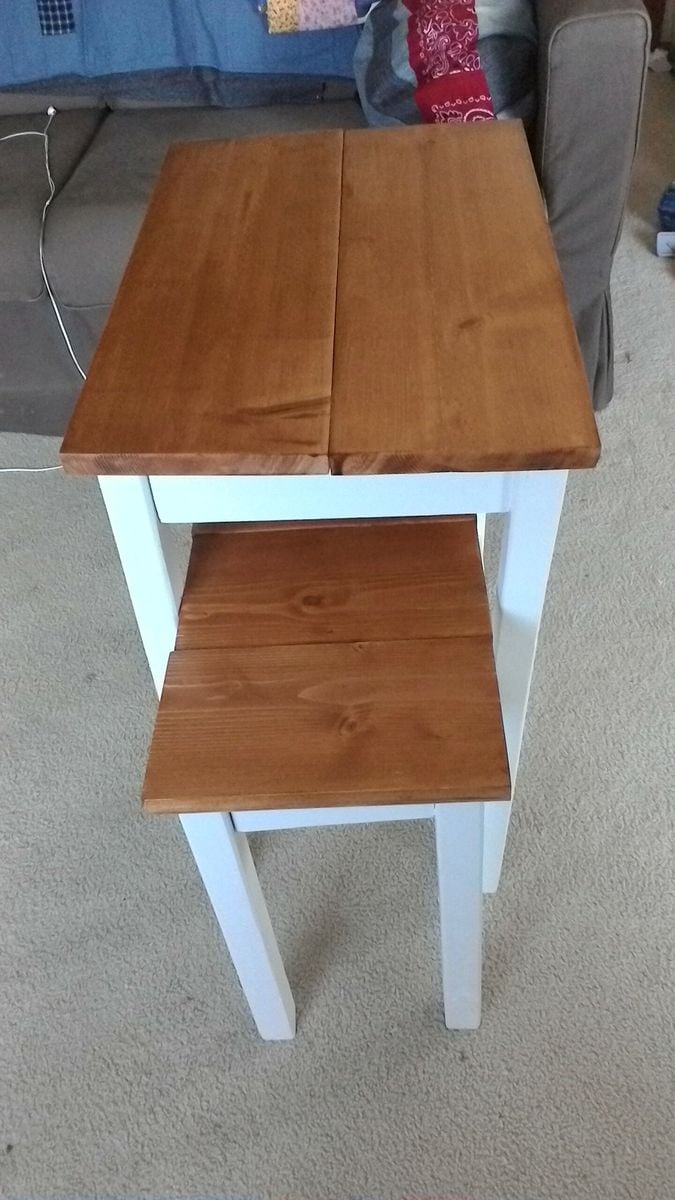
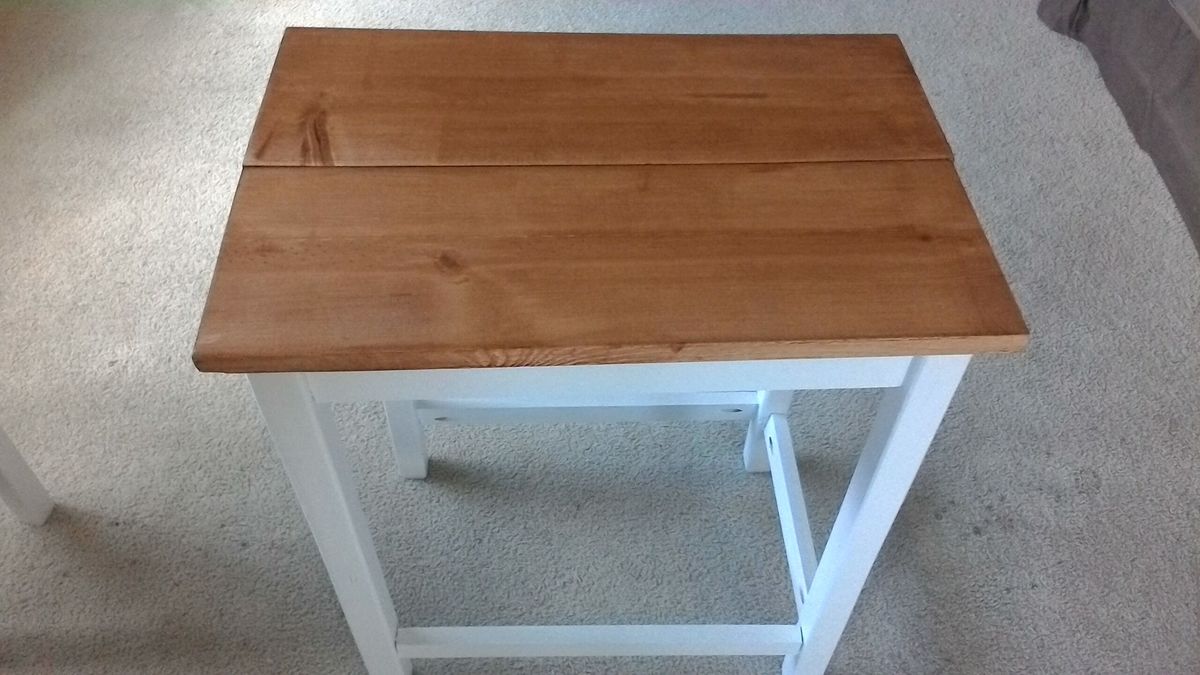
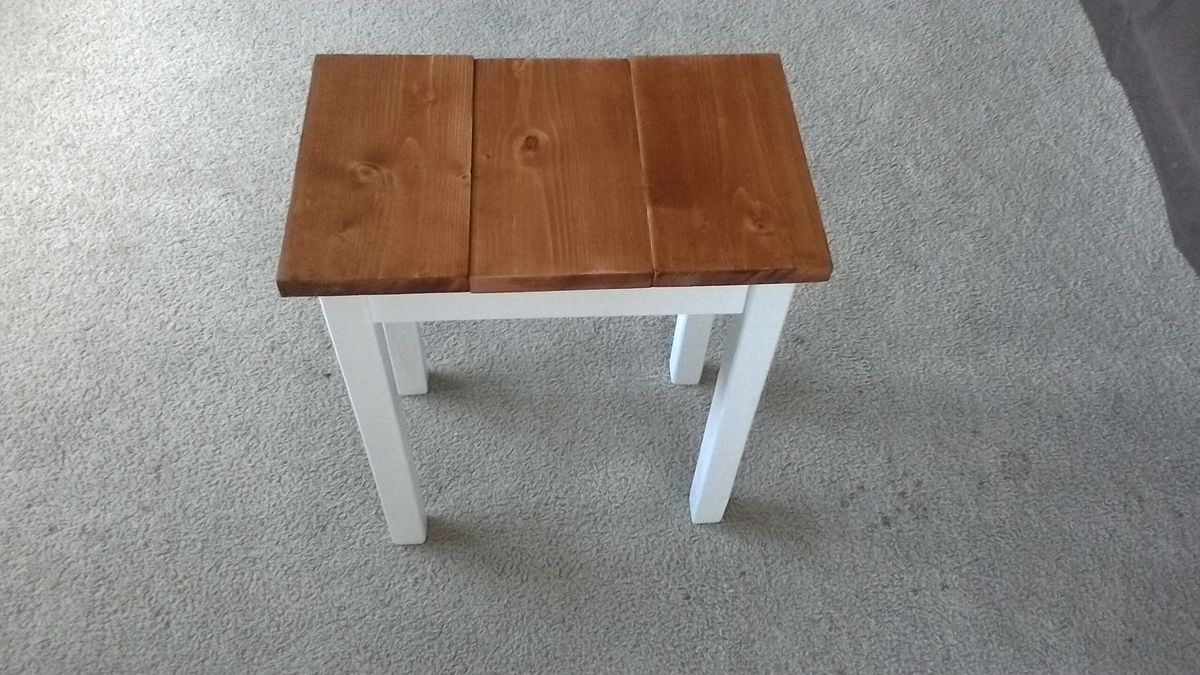
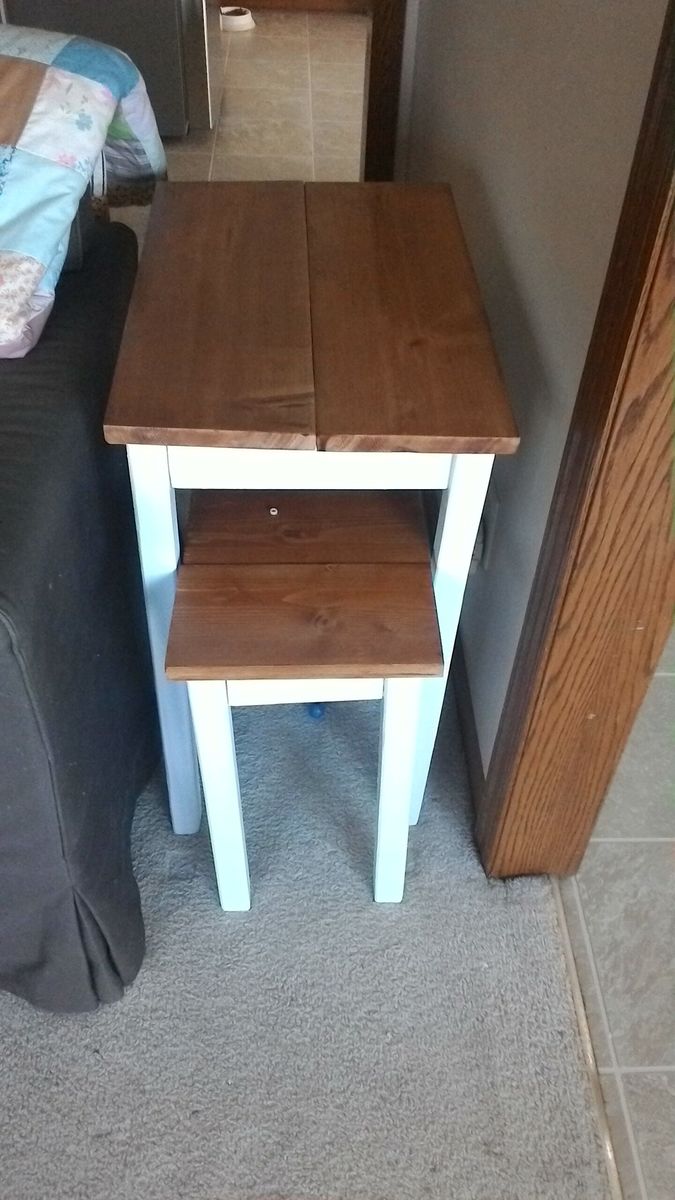
I needed a small rectangular table to put between the sofa & wall. I also wanted a small table to set elsewhere in the room temporarily. Nesting tables were the answer. I adjusted several measurements to fit the wood I had on hand for the tops. The larger table used 2 1x8's. The smaller table is topped with 3 1x6's. I also used 1by lumber instead of 2by except for the 2x2 legs.
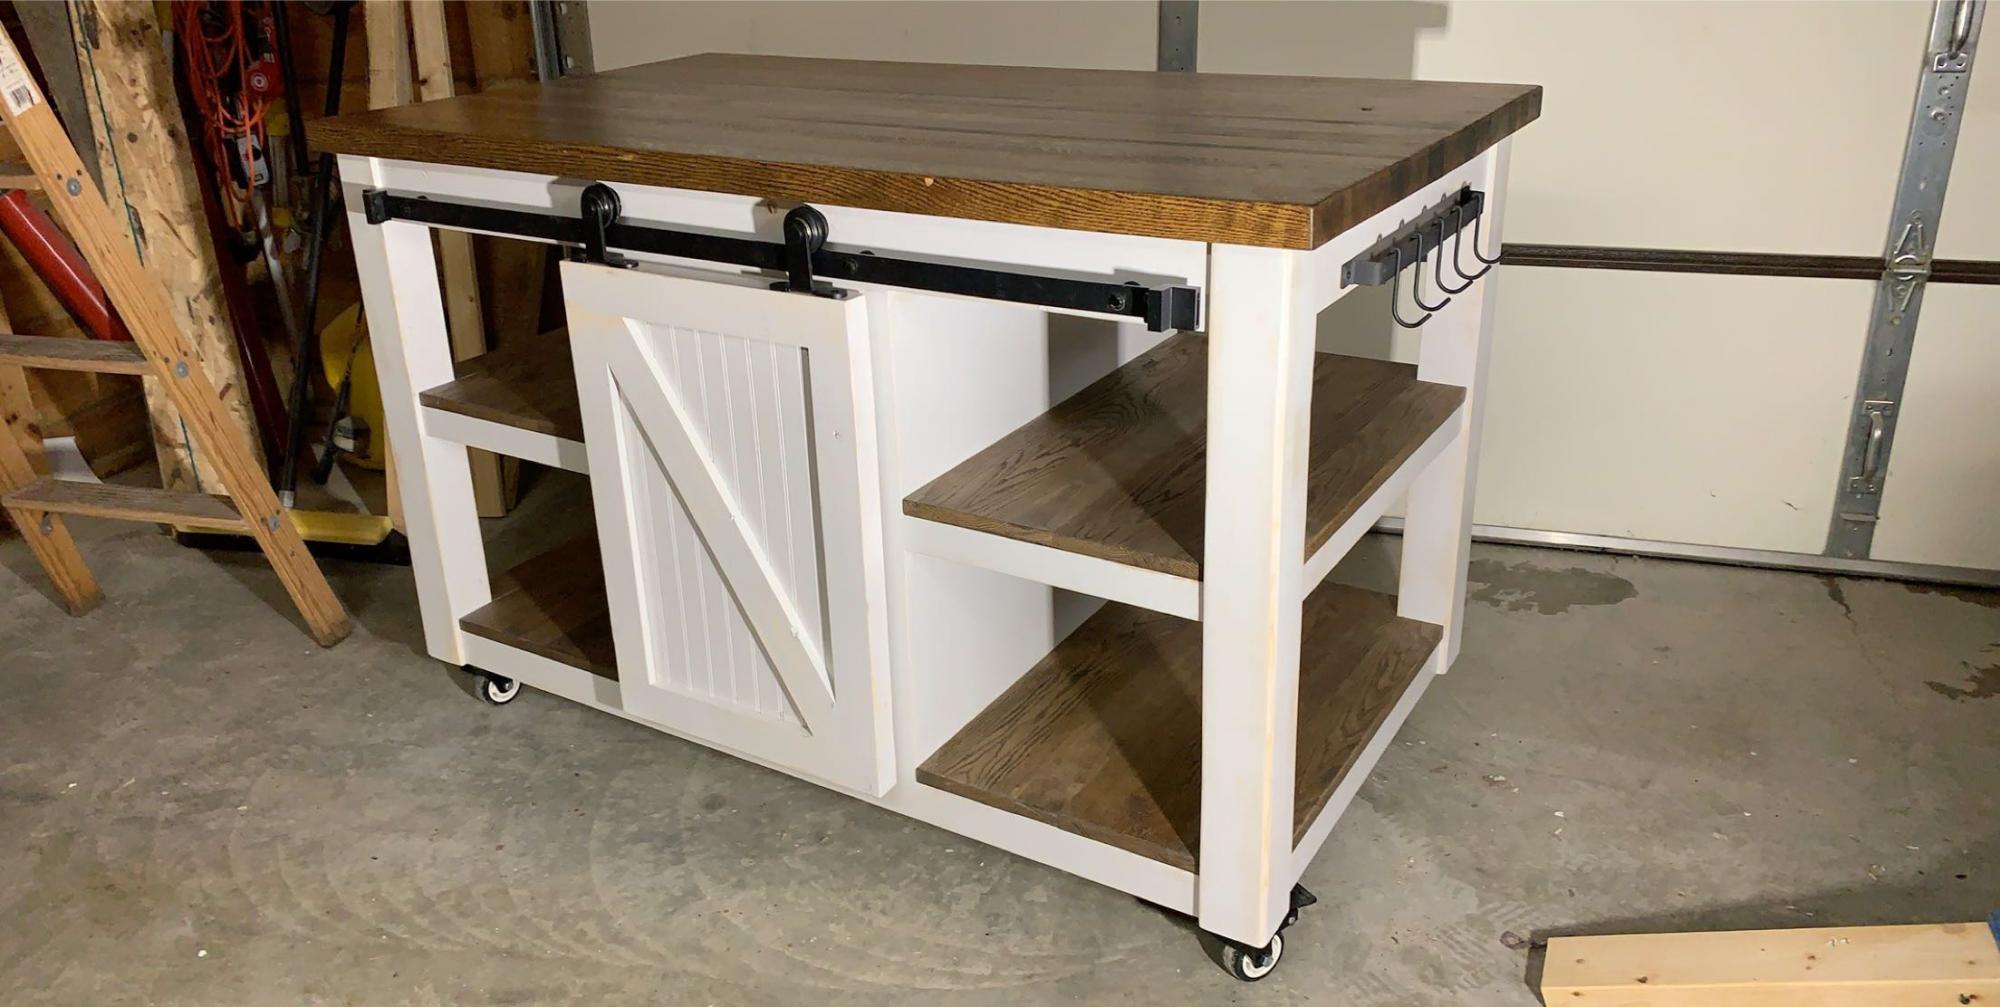
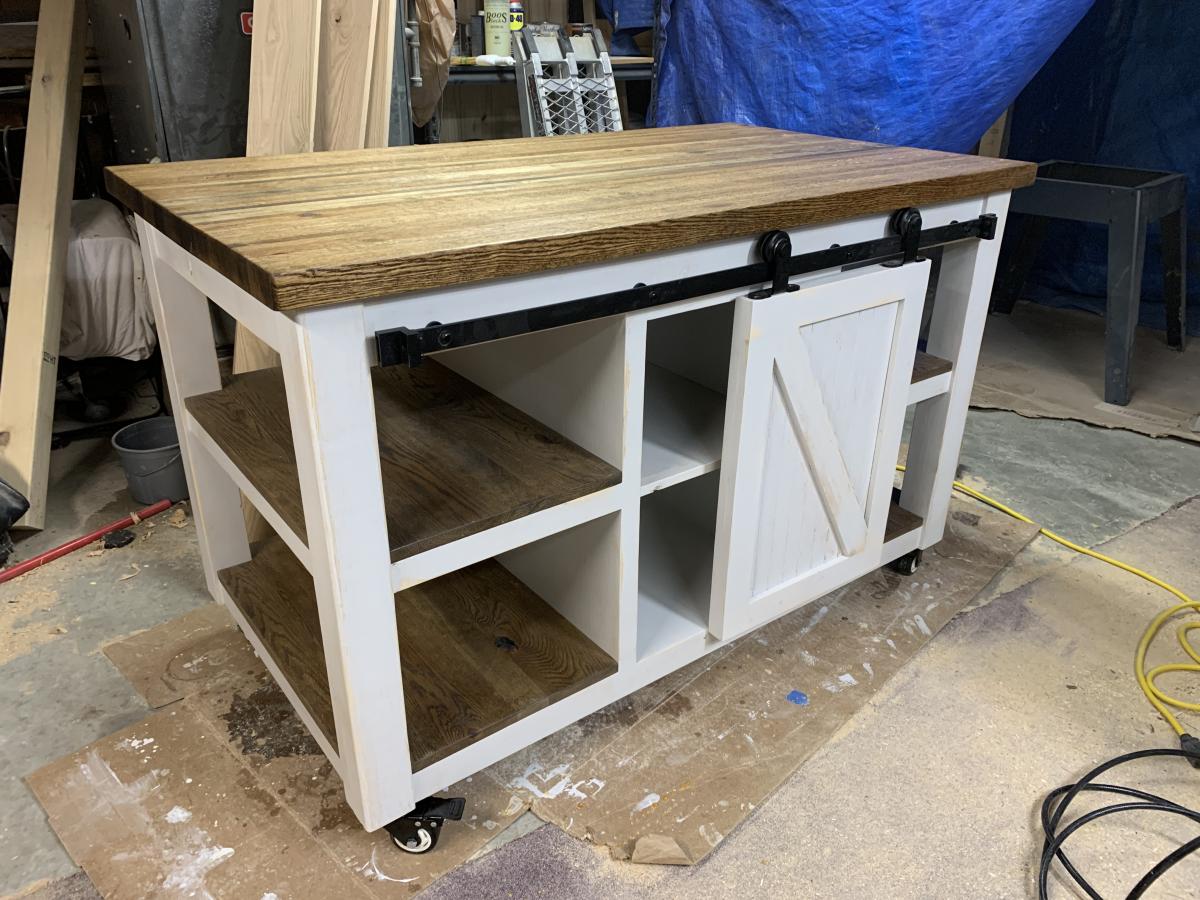
I built this custom kitchen island for a family friend that wanted something bigger than what can be purchased at a retail store. They also wanted to have a butcher block top for cutting meat. The base is made out of select pine and the stained parts is red oak with a couple strips of birch. The over all project took me 5 days to build. With the top being the longest because it consisted of 94 1 ¼” pieces glued together. Thanks for looking!
Tweaked your plans slightly but I'm happy with results!
Handy Kandi
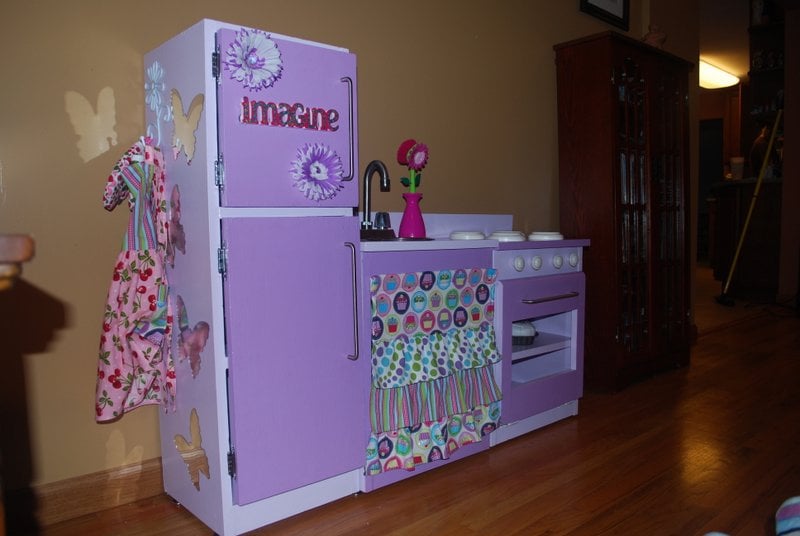
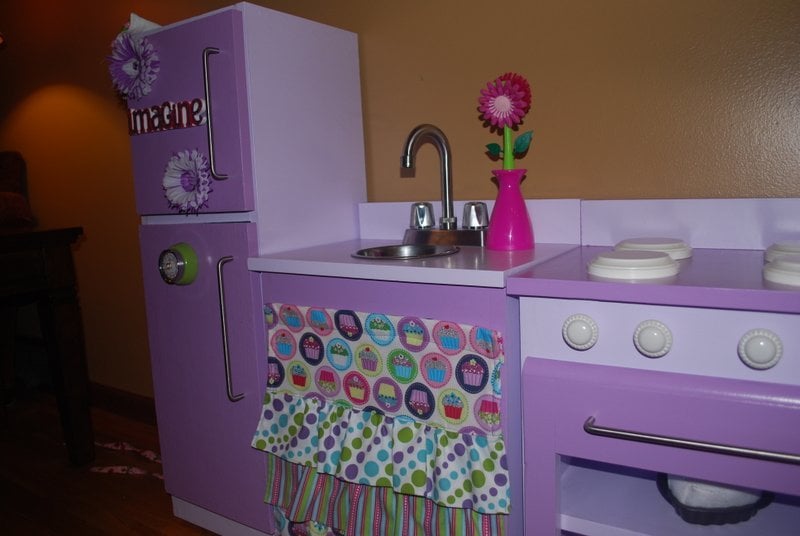
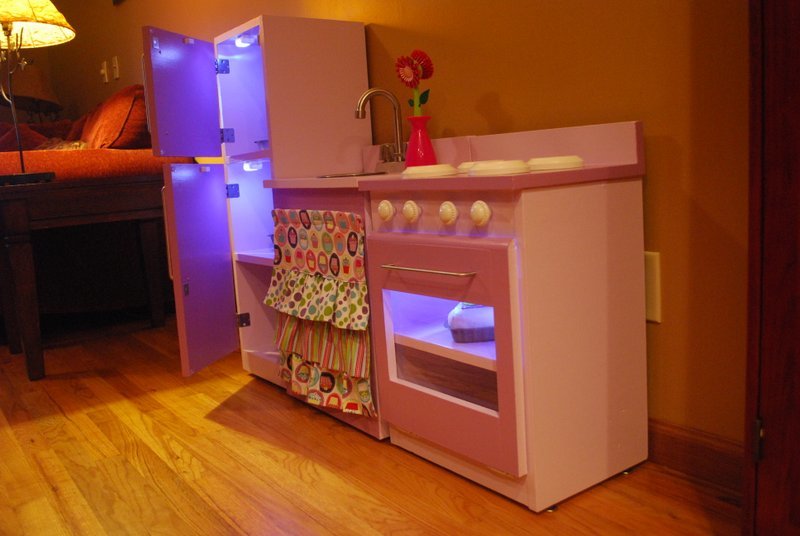
What do you want for your birthday? 'A purple kitchen'....
That's how it all started. My husband and I had no previous woodworking experience and we managed to build these guys.
The devil was in the details here! Building these didn't really take that long, It was the finishing and accessorizing.
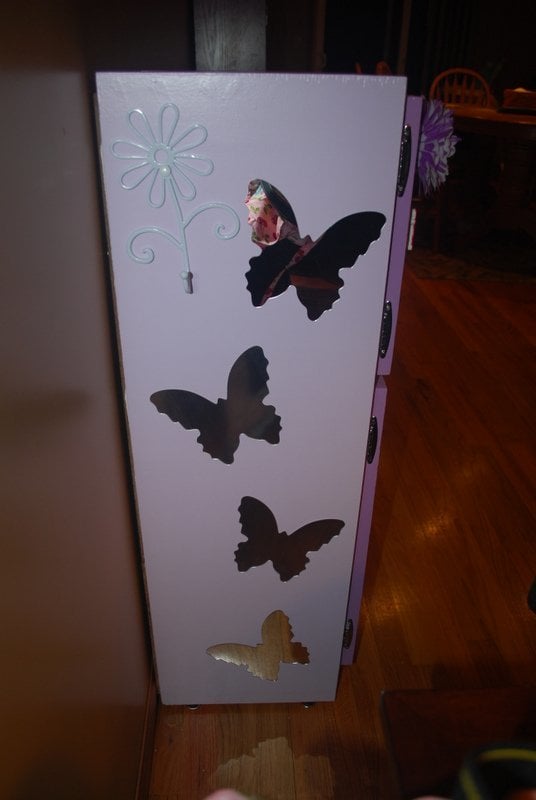
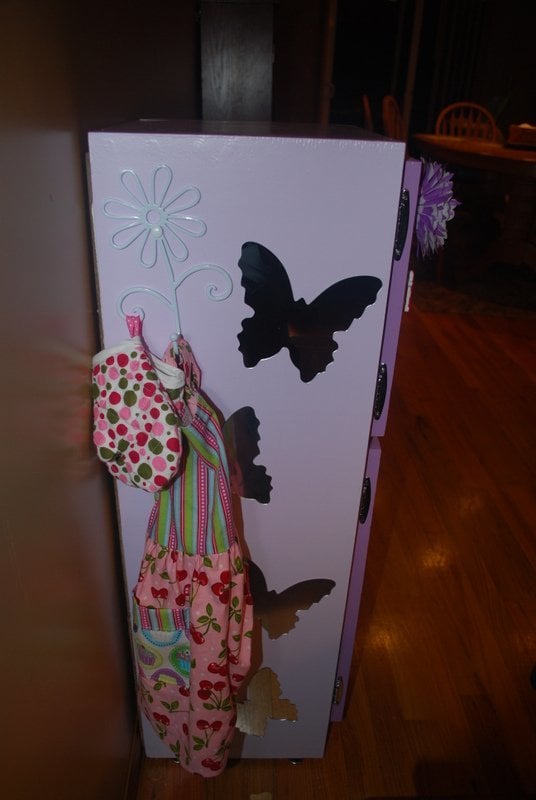
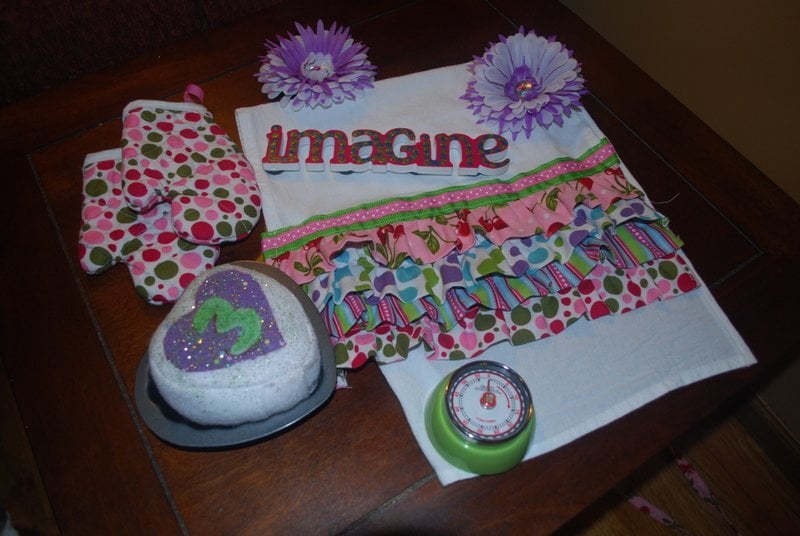
Thank God that I know how to sew/craft. I loved the ruffle curtain from crafting chicks so I made that. The apron and oven mitts were made from the same set of fabrics. I ordered the butterfly stick on mirrors on line....they didn't stick that well so we added double stick tape. The front of the fridge is magnetic primed. The flower magnets I made and the imagine was a primed wood precut from Michaels that I painted. Stove burners are plaques for wood burning. Stove knobs, brush, and flower hook all from Hobby Lobby. Bar faucet from ebay and the sink is just a bowl.
The lights were my husbands idea....the fridge lights are magnetic drawer lights that come on when the door is opened and off when closed - just like a real fridge! The oven light is a push button LED light.
My baby was thrilled to receive this. While I loved the PB kitchens, I really think this was much better because it gave my husband and I something to work on together and it was priceless to hear my girl tell everyone that Mommy and Daddy MADE that kitchen just for her!

Sat, 05/05/2012 - 19:27
Love it!! You and your husband did a great job! Really love the light ideas.
Thu, 11/29/2012 - 13:11
Love the color scheme and will be doing similar on the one I am working on now thanks to your posts!! How did you cut the stove door?
Wed, 12/12/2012 - 18:13
Do you have a plan for this, or know where I can find one? I would love to make this for my toddler girls.
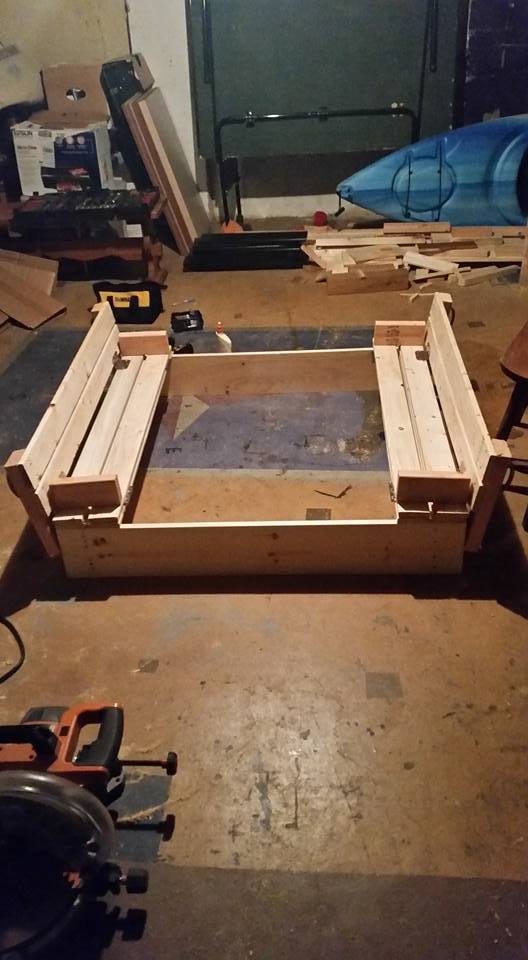
2nd project - added some additional supports on the back with scraps & fixed a bowing issue. We've had it in the bedroom since October 2013 & love it (especially the price tag)!
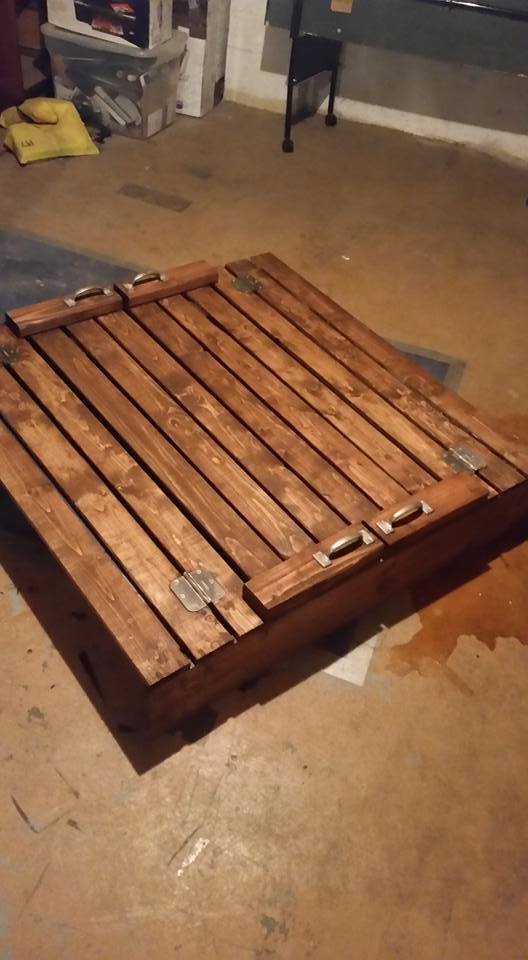
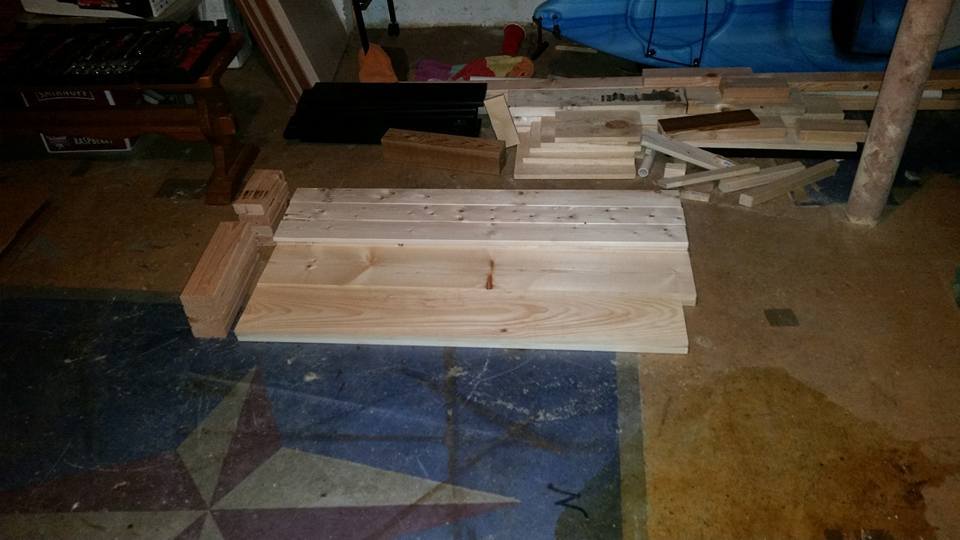
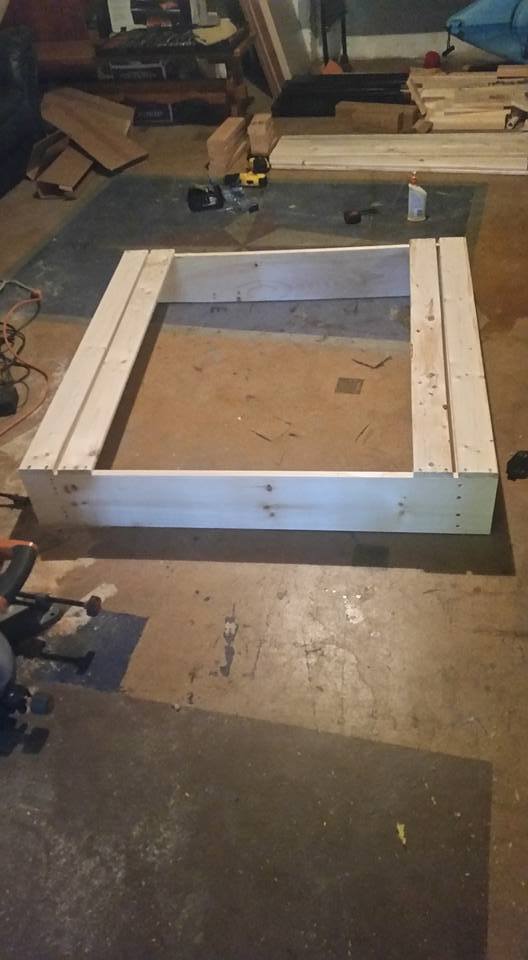
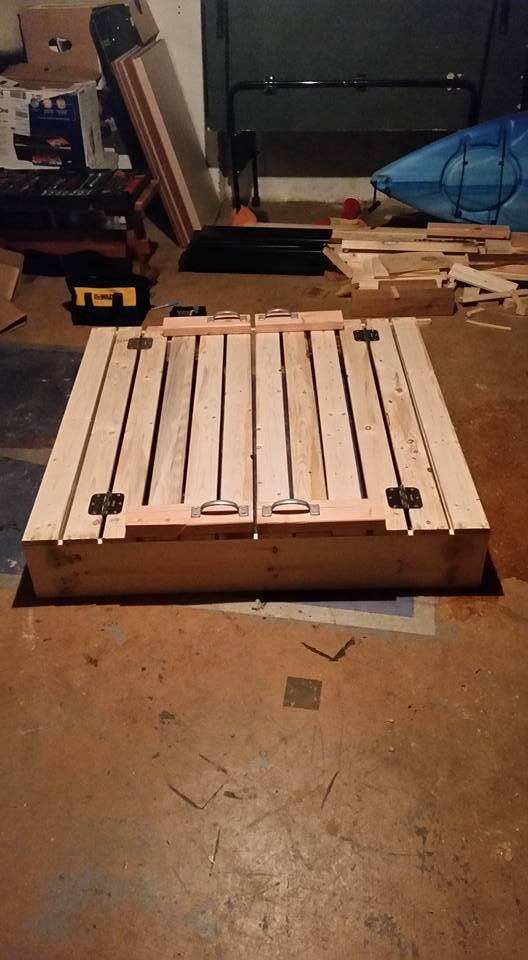
I followed Ana White's instructions to a tee and things turned out great! I chose a dark brown wood stain and used an exterior Helmsman Spar Urethane for protection. Because the sandbox will always be outdoors, I ended up putting 5 layers of urethane on it.
I also attached a tarp (not seen in the pictures) to the bottom to hold the sand in. This way the sandbox can be dragged if you want to move it's location.

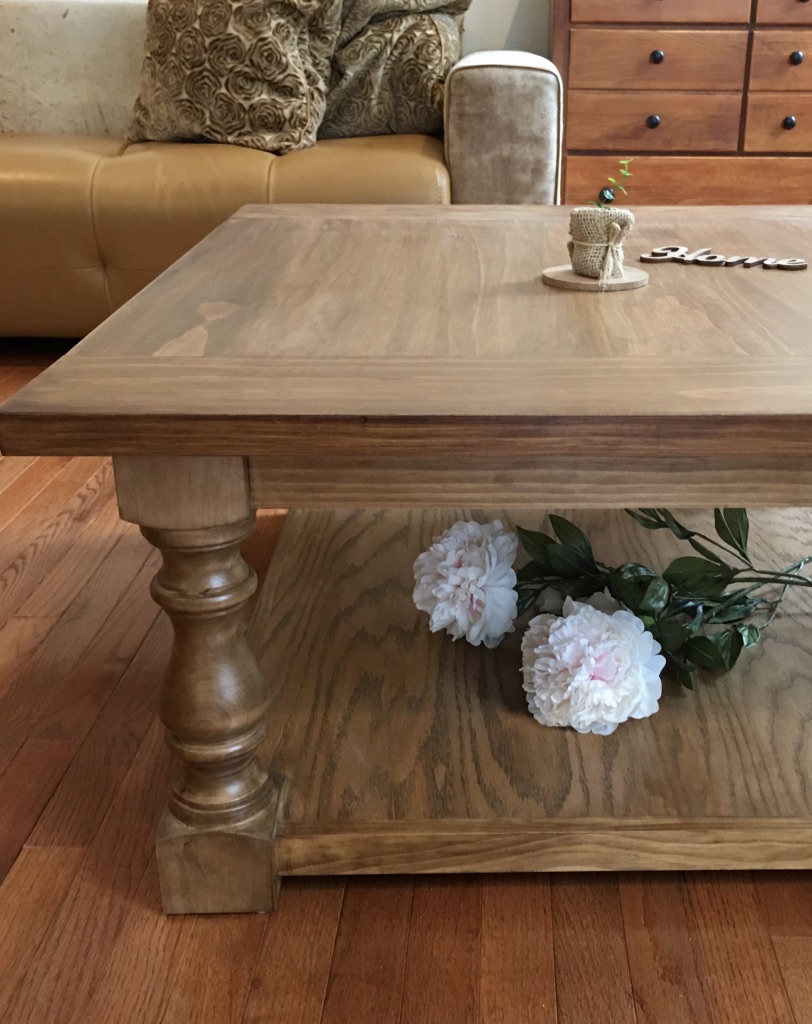
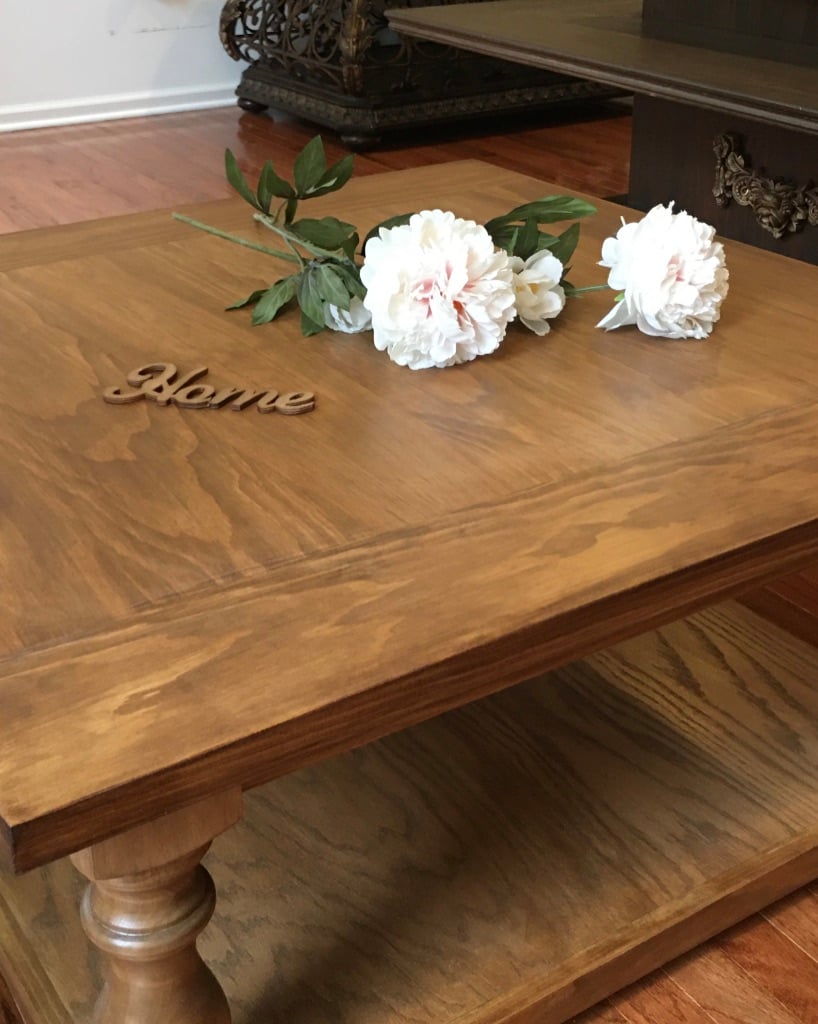
Farmhouse style wood coffee table with gorgeous balustrade legs, 38" x 38", 18" high. Stained antique oak, sealed for long life...
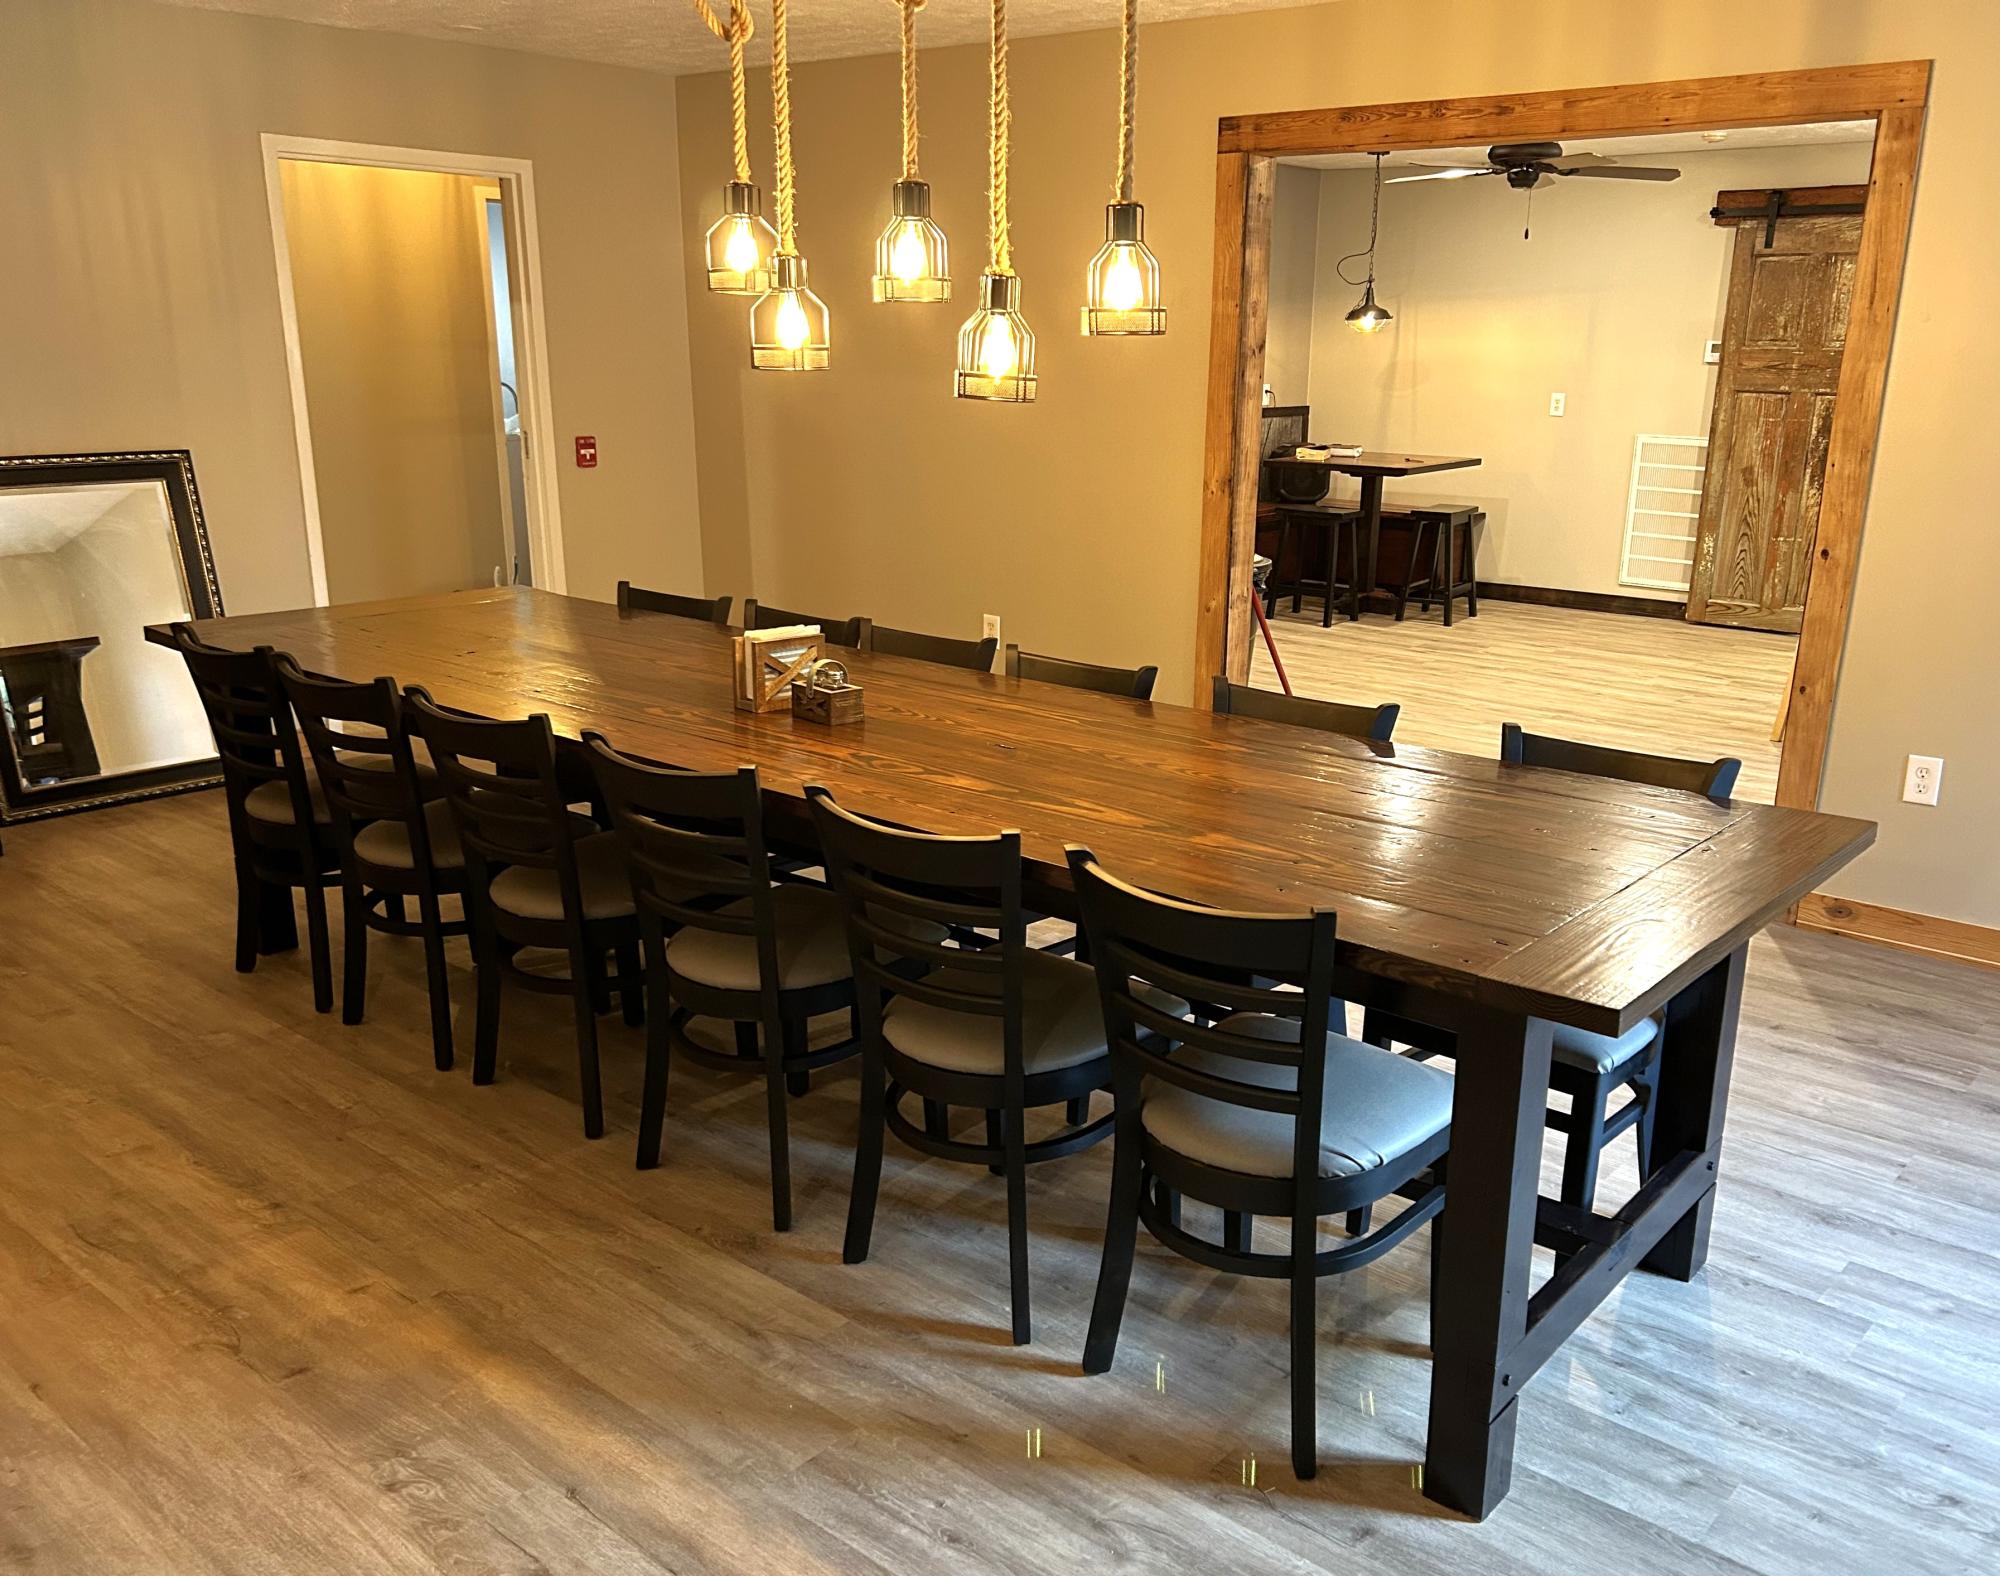
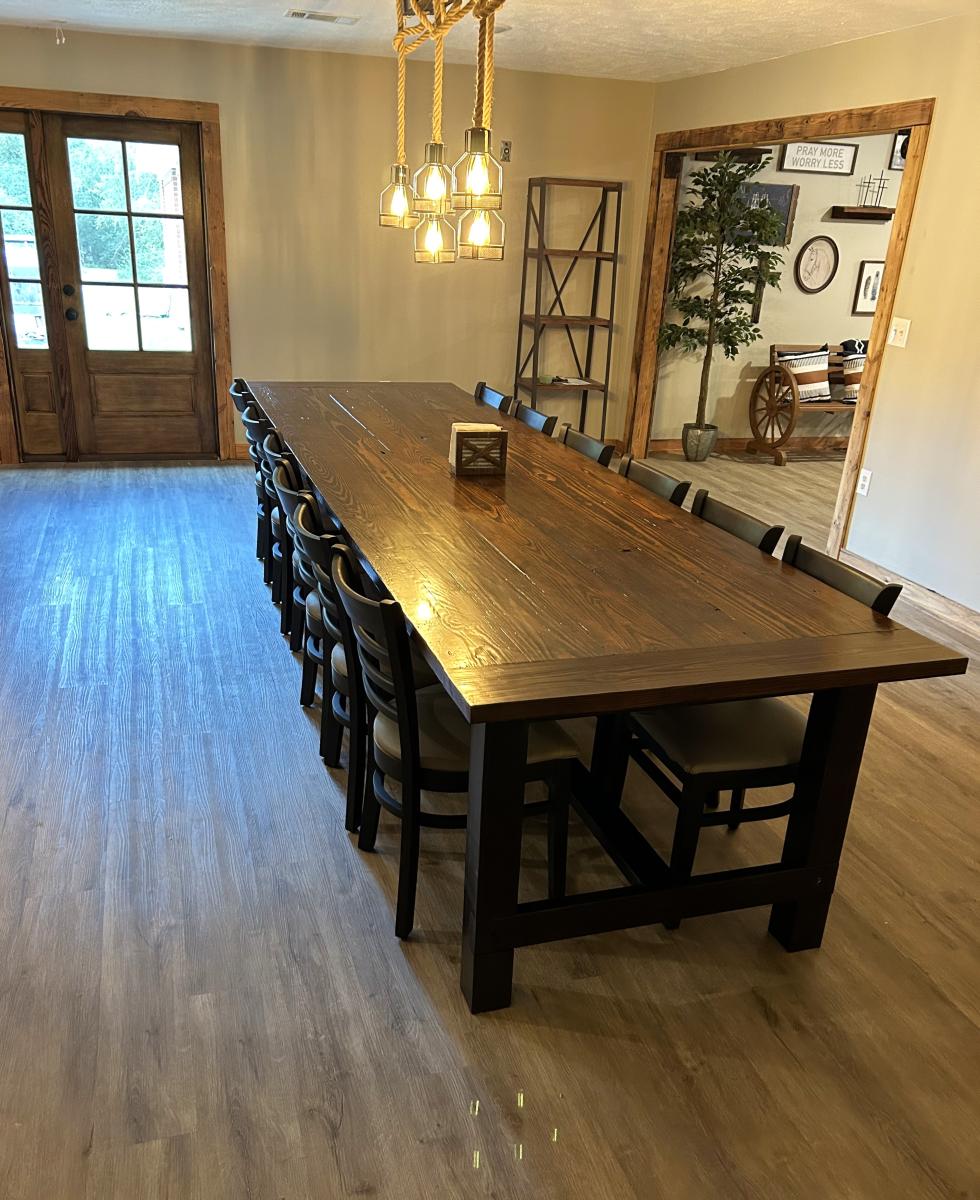
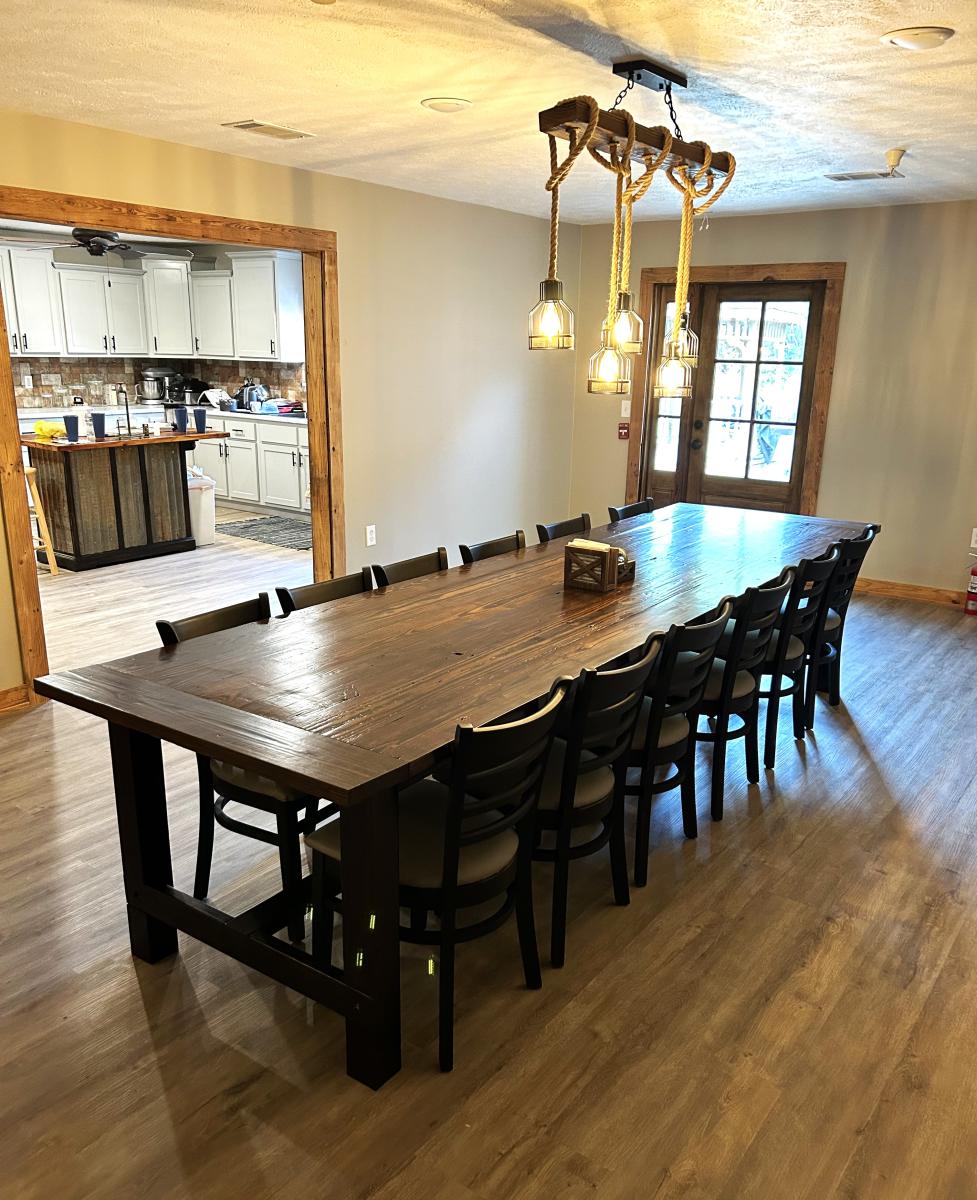
This is a 12’ Farmhouse Table made from old reclaimed barn wood. I used the plans from Ana White Farmhouse Table and just scaled it for 12’.
Shawn Imes

My husband made these for our God son's 1st birthday gift. He loves them so much. We can't wait to make these for our daughter's nursery as well. These are so easy & beautiful to make.
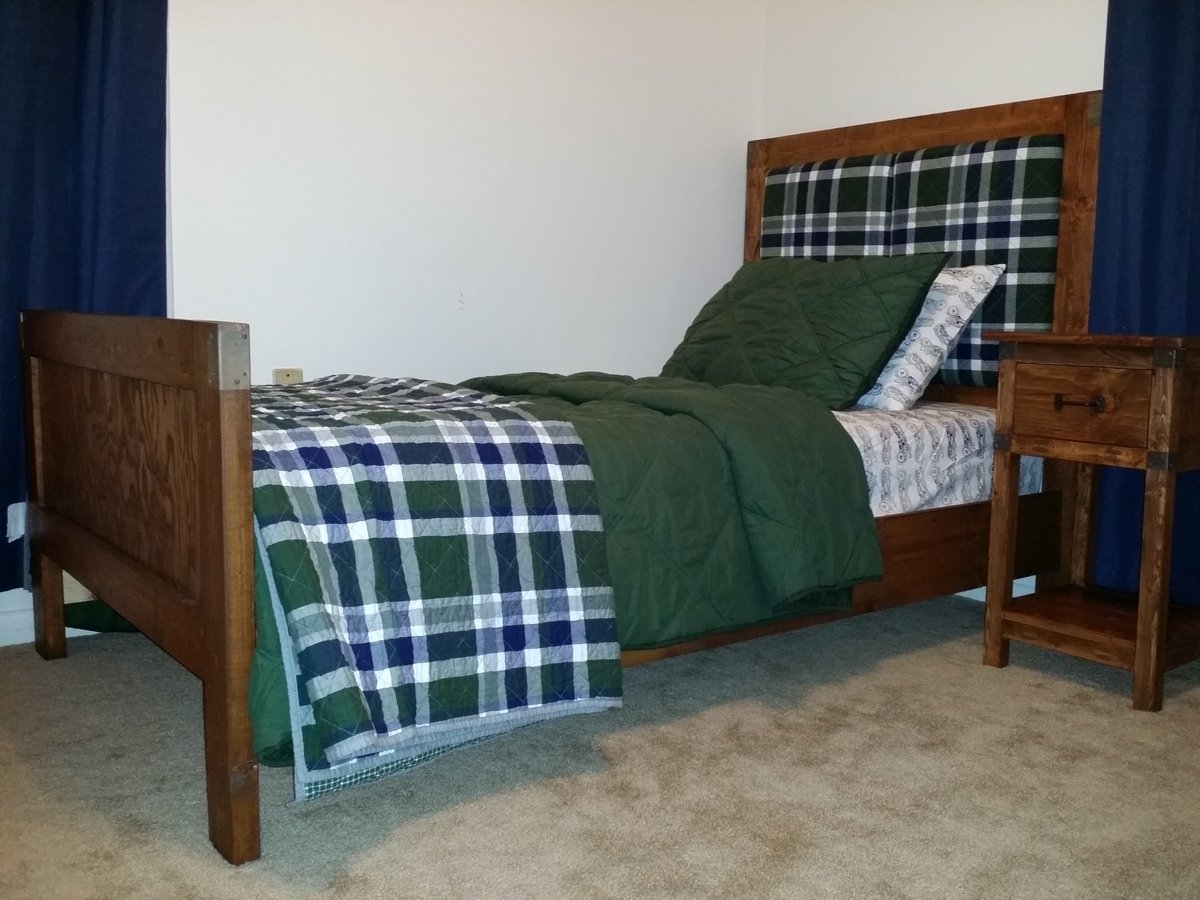
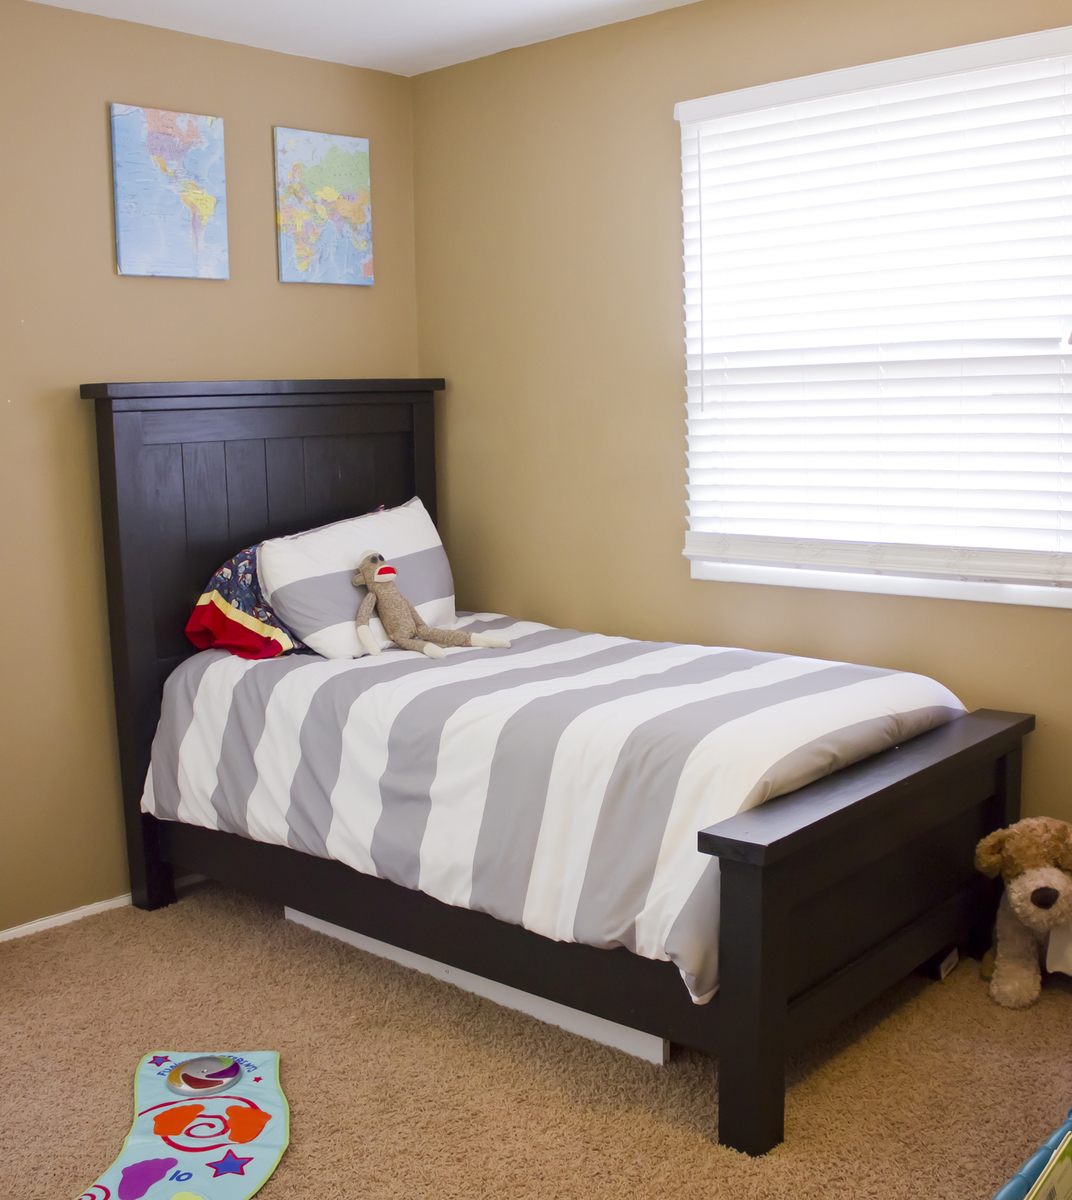
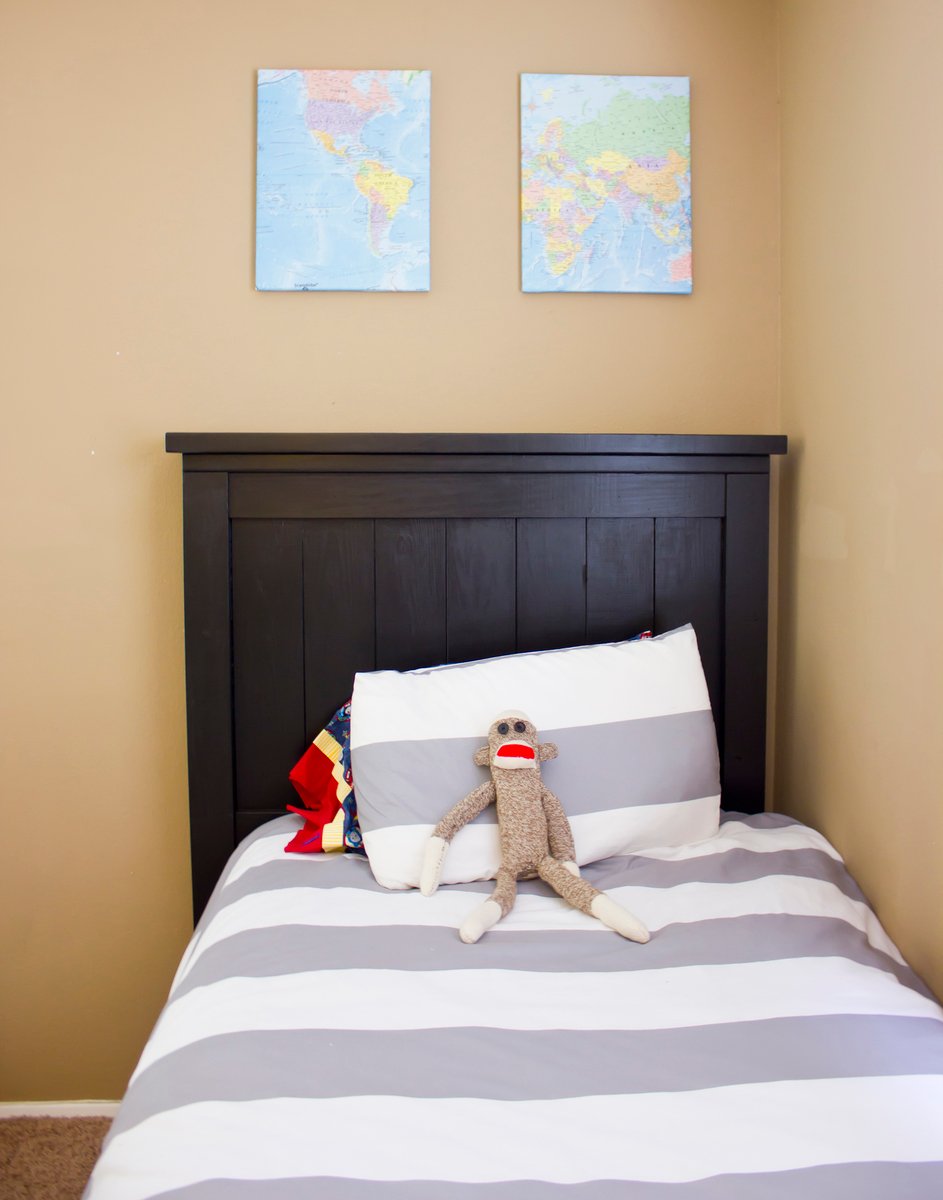
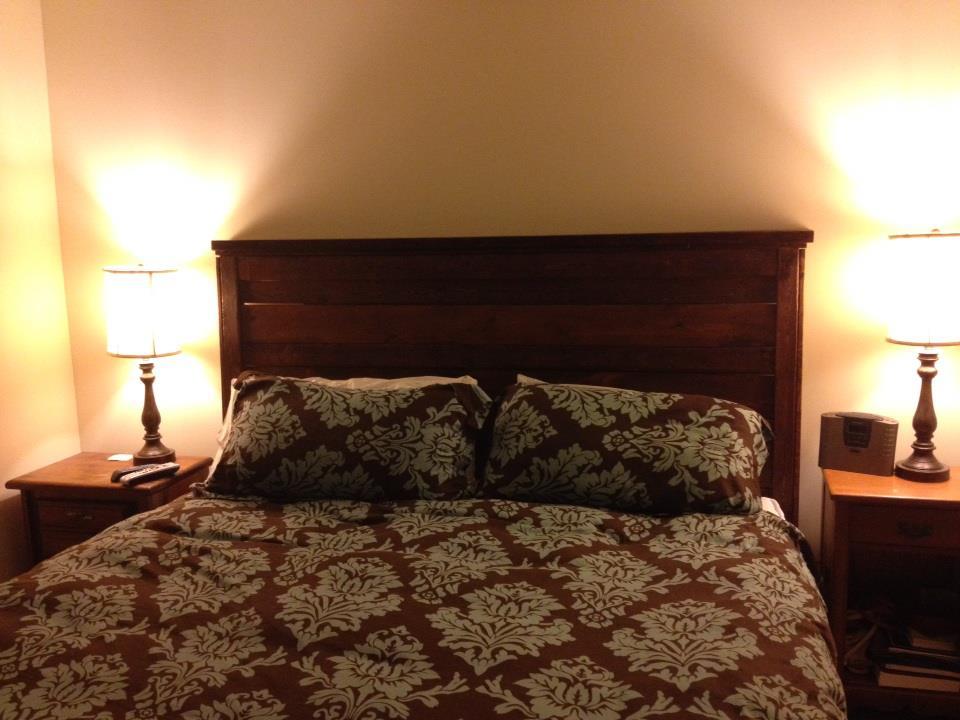
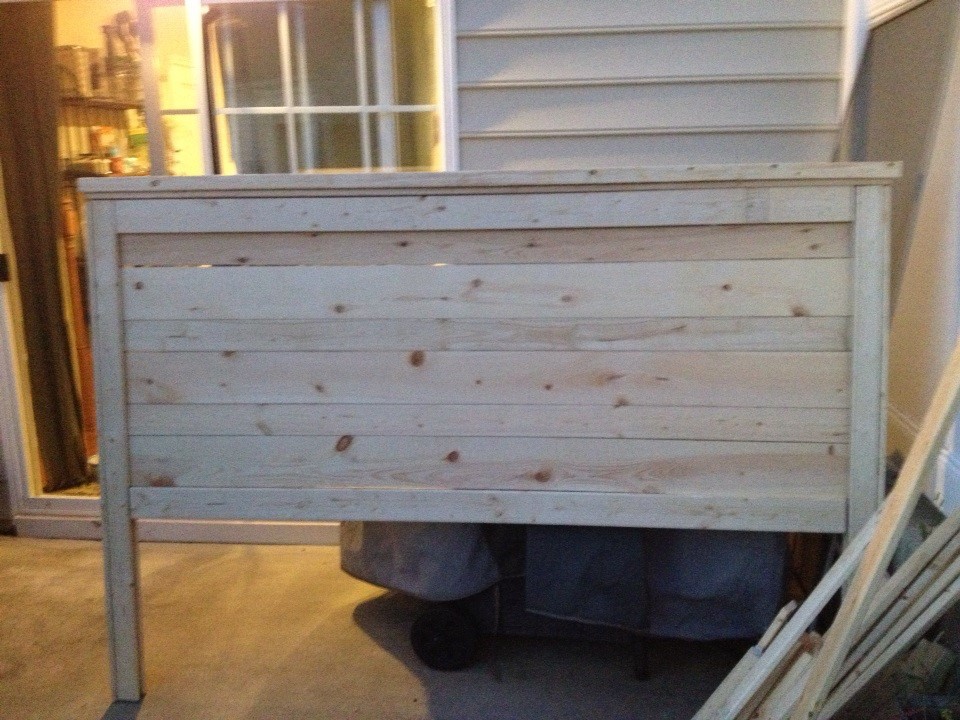
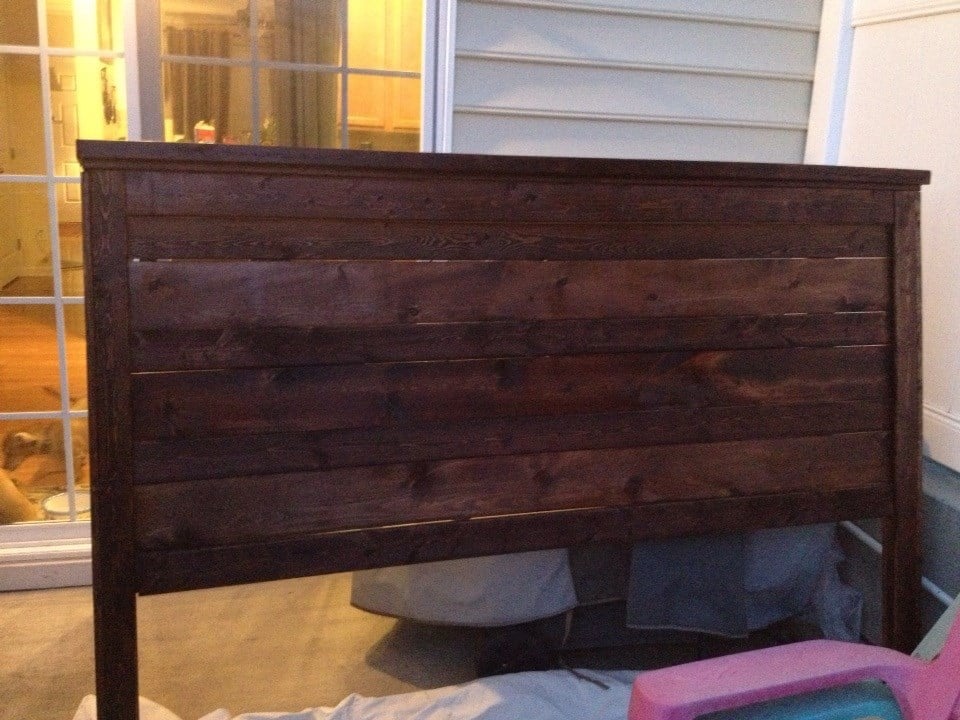
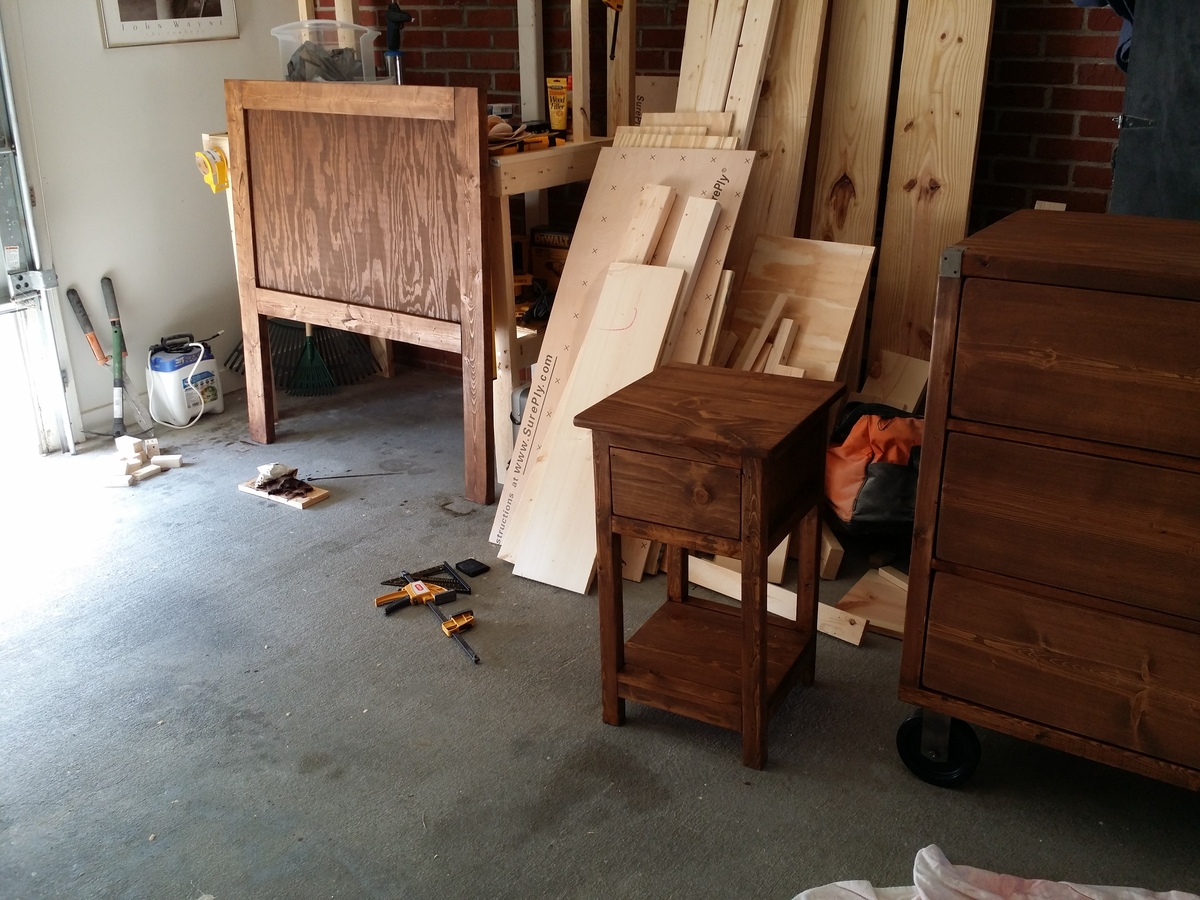
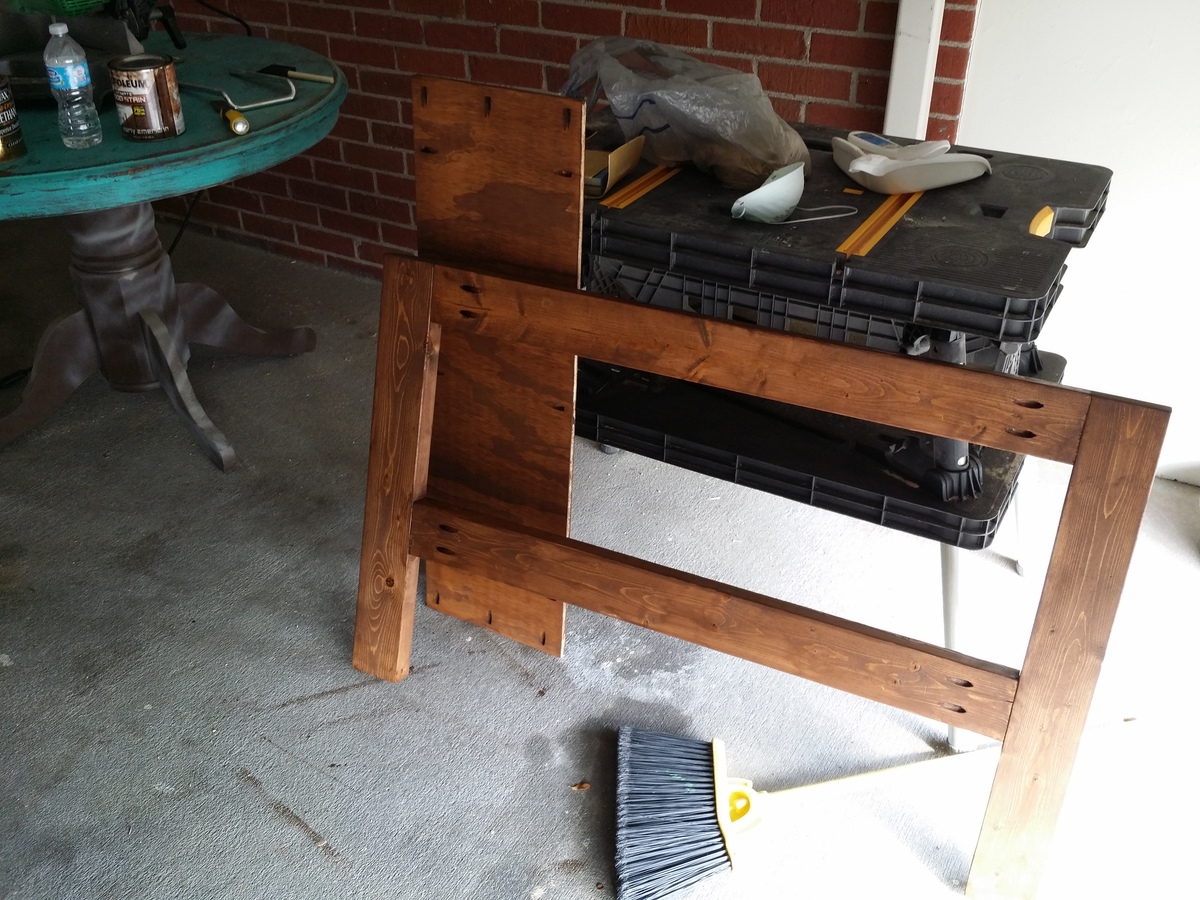
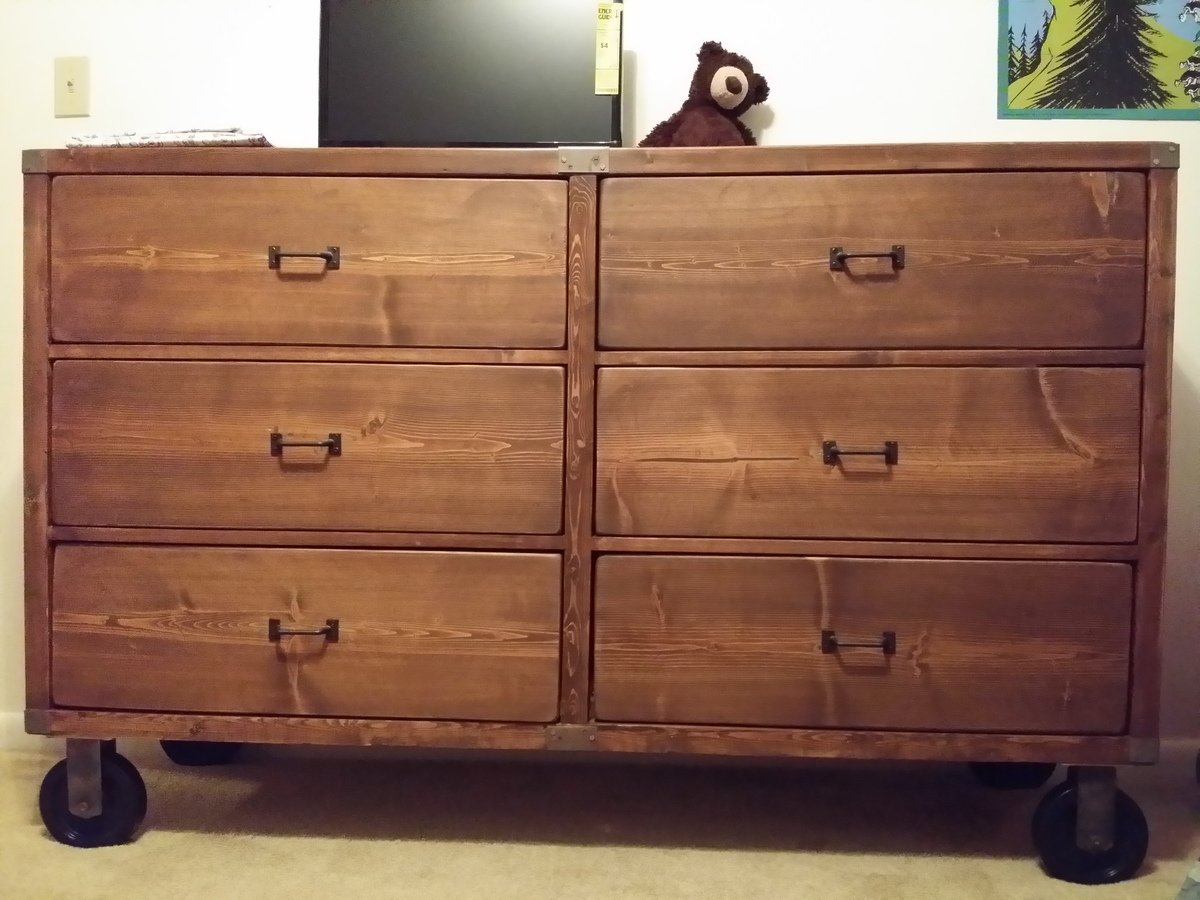
I started my son's bedroom set back at the beginning of January and have finally finished! I began by building the matching dresser (http://ana-white.com/2014/02/rustic-dresser-and-bedroom-set) and then started the bed only a week ago. The night table was taken from http://ana-white.com/2011/06/mini-farmhouse-bedside-table-0 - I had built it over the summer, but I couldn't get my pocket holes on the inside of the table because my drill wouldn't fit, so I wasn't going to use it.. until I realized it was the perfect little bedside table for a two year old who might destroy it anyways!
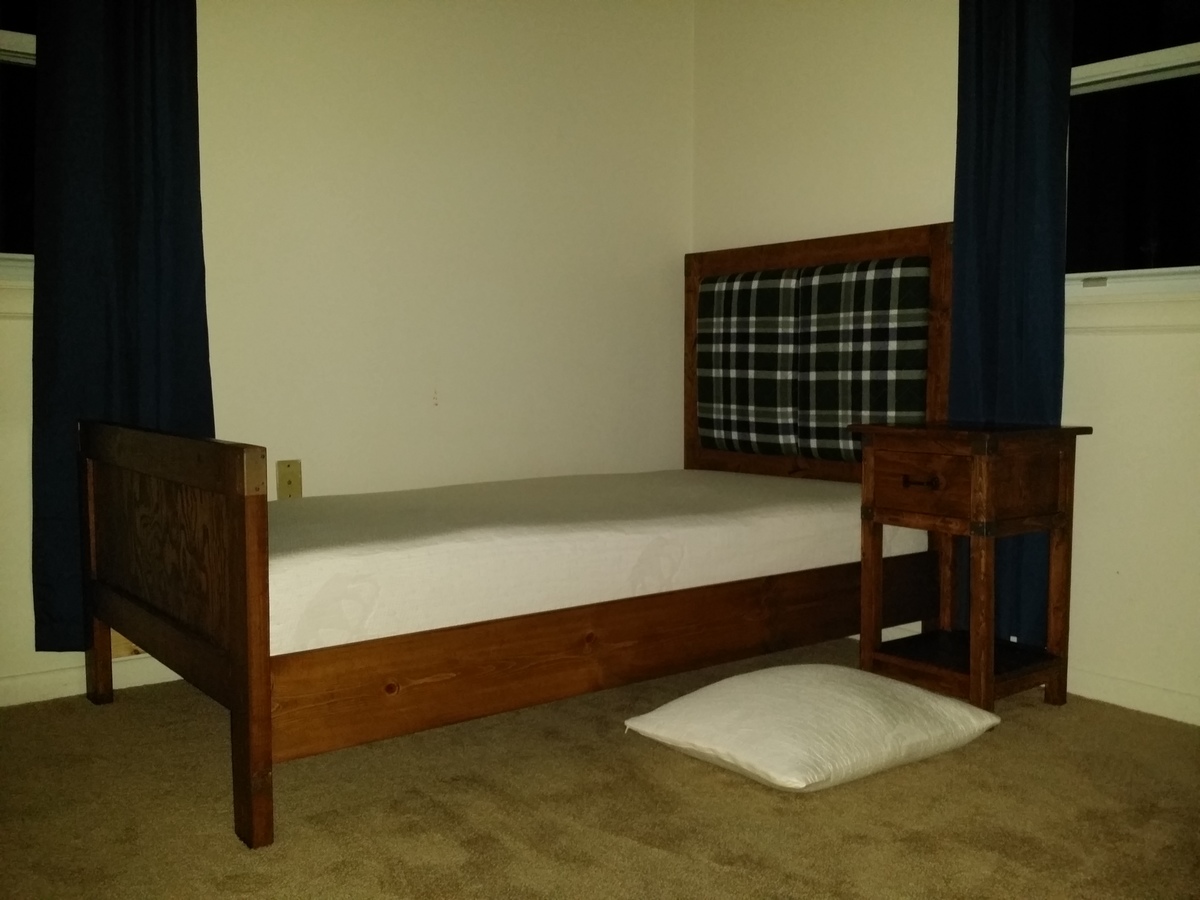
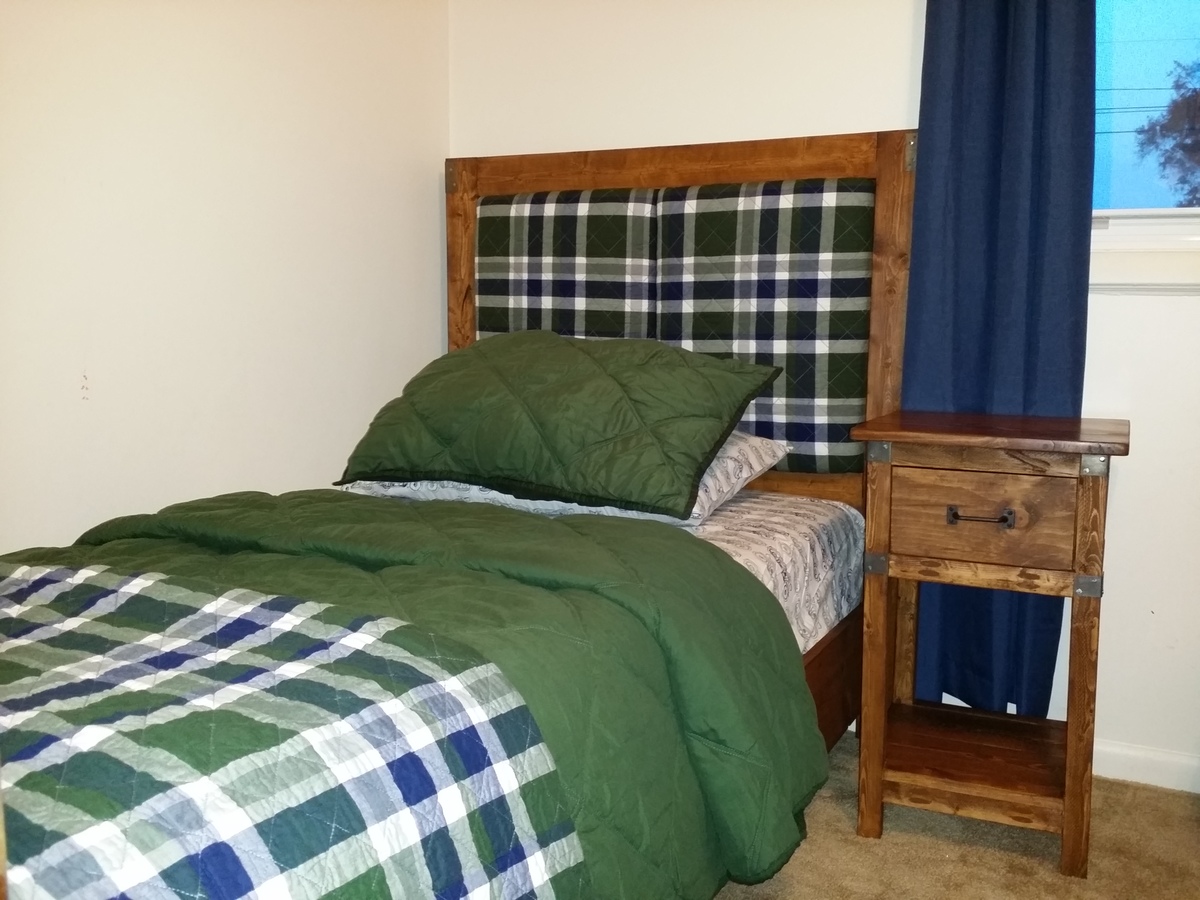
Back to the bed... I just had this vision of what I wanted my son's room to look like after seeing the rustic rolling dresser plan, and I stumbled on the Emme Twin bed plan. It was kind of perfect, but I didn't like the whole "window" look on the headboard. I still may add a divider on the foot board, but haven't decided yet. Regardless, so I envisioned something else with the same concept of the Emme twin bed. Building it exactly the same way without the dividers, I ordered the clearance shams from pottery barn that matched his new quilt and bought another piece of half inch plywood. I cut it in half and left about a quarter inch on each side of each piece of plywood to accommodate the fabric in between the 2 by 4s. I added one inch of foam and a couple layers of batting, matched up the two shams side by side, folded them each around the batting and foam, and stapled them. They fit perfectly into the headboard with some 1 1/4 or 1 1/2 inch screws (There is a gap from the fabric on the back, so your screw needs to account for that. You could put like a 1x4 onto each panel to screw through, but I placed the back plywoood attached to the 2x4s too far in, so it would have made the panels "float" and I wanted the fabric of the panels flush to the back plywood) holding them to the back plywood attached to the 2x4s. I wanted the padding on the back of the headboard because I always hear my son slam his head into the wall when he's sleeping and i just wanted to make sure he wasn't hitting the dividers that were on the EMME twin bed.
The bed was so easy to build, stain and finish. It turned out exactly how I had envisioned it. I had to lower the side rail 2x4s because I bought a ten inch memory foam mattress (You can see the foam mattress and pillow rising in the picture!) and didn't want it coming above the headboard, but now I don't think I'll need a guard rail since he is so close to the floor! The 2x4s sit 5.5 inches up from the bottom of each leg. I also added quite a bit of length to the foot board legs because I wanted the footboard to come above the mattress. I wish I had realized that there was much nicer plywood at Lowes, but when I asked, they told me "this is all of the plywood we have" and I got stuck with the ugly stuff.. I will fix the footboard with some nicer looking plywood, but it's good enough for now!
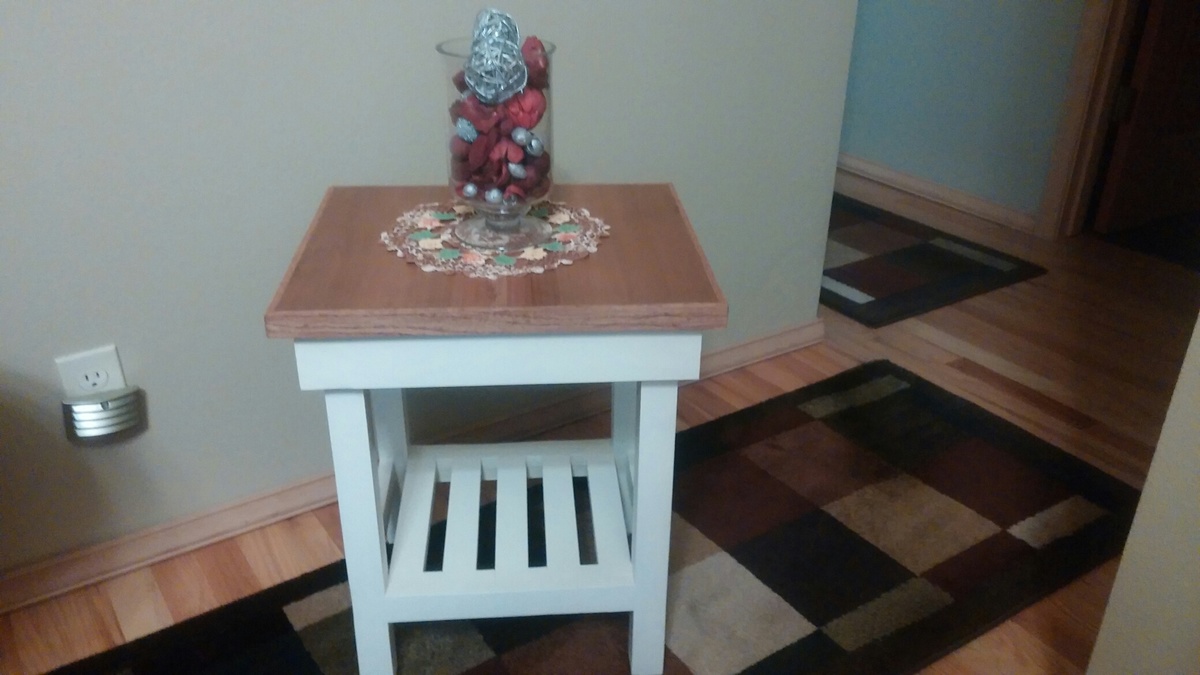
I made this little end table for my daughter-in-law to accompany the porch bench I made for her about 2 years ago. It's a simple little table but it does have one unique feature. My son and daughter-in-law cut down a large old cedar tree from in front of their house and gave me the wood. I thought it might be nice to build something for them from the tree so aI milled several pieces of the tree and let them dry in my shed for about one year. It took a while to run the wood through the planner to get it just right. I used the wood for the table top and the wood grain looks just beautiful. In fact, I'm just now leaving to their house on Bainbridge Island to give them the table. I know she'll love it!
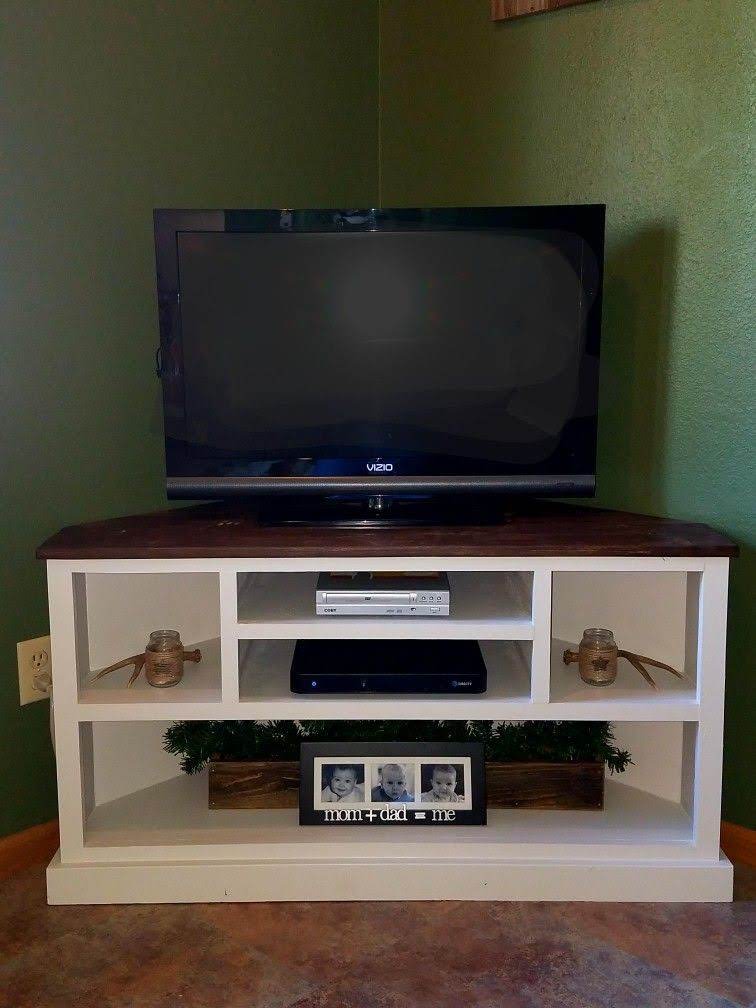
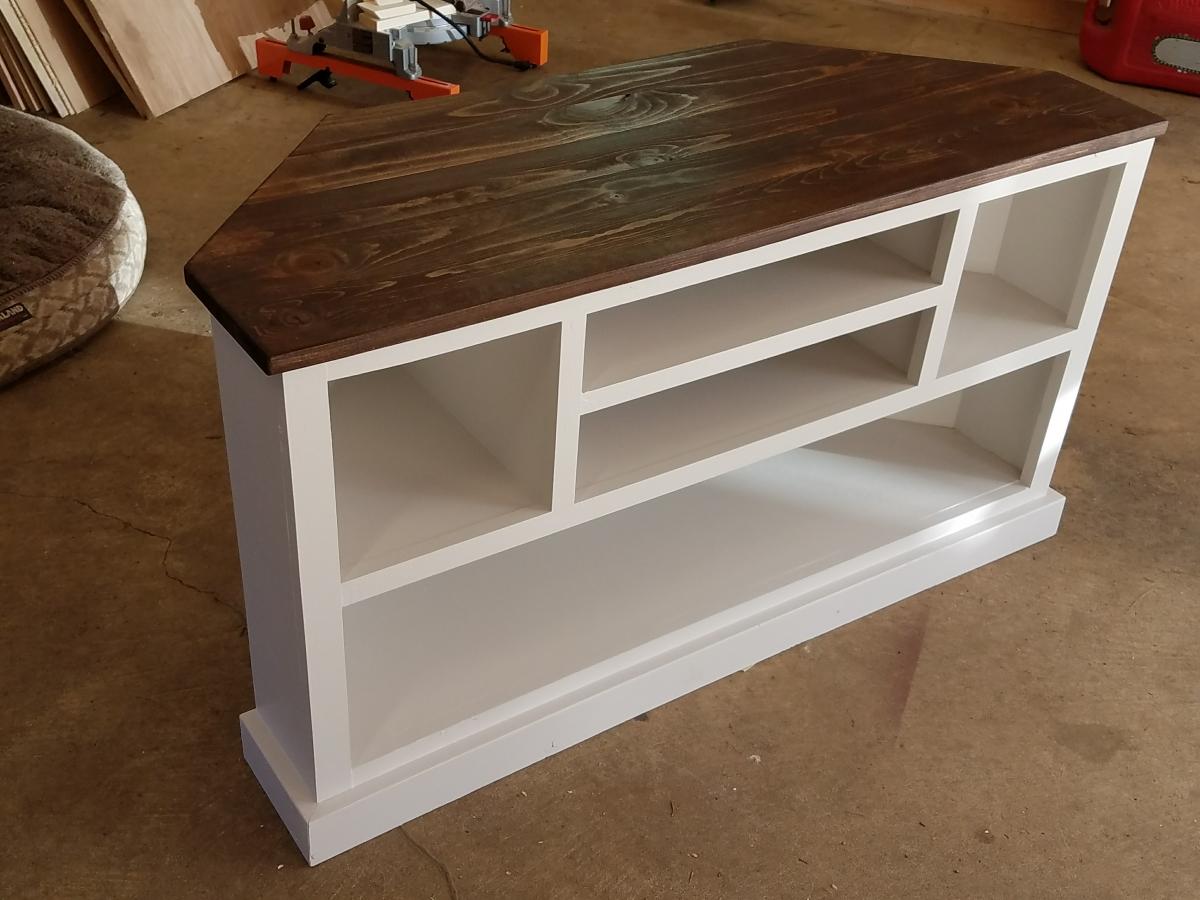
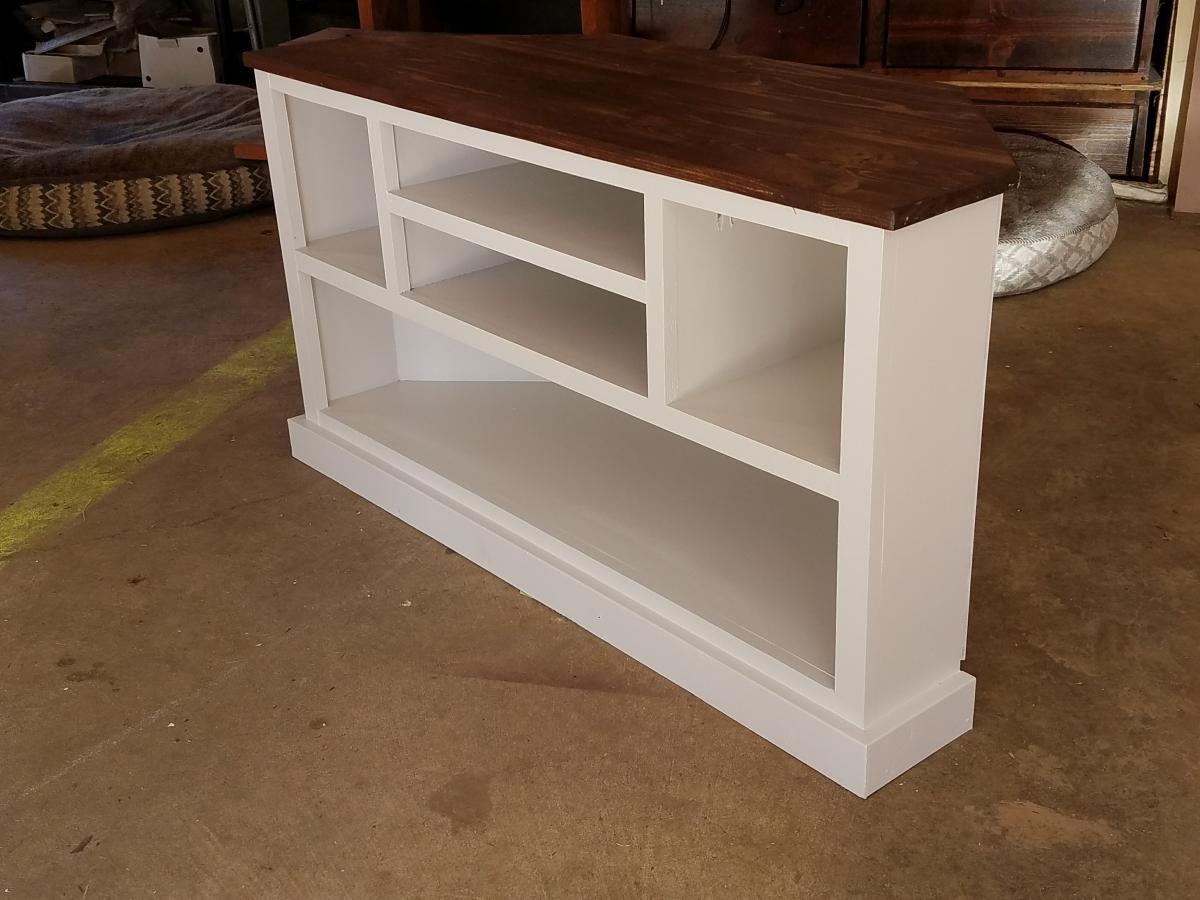
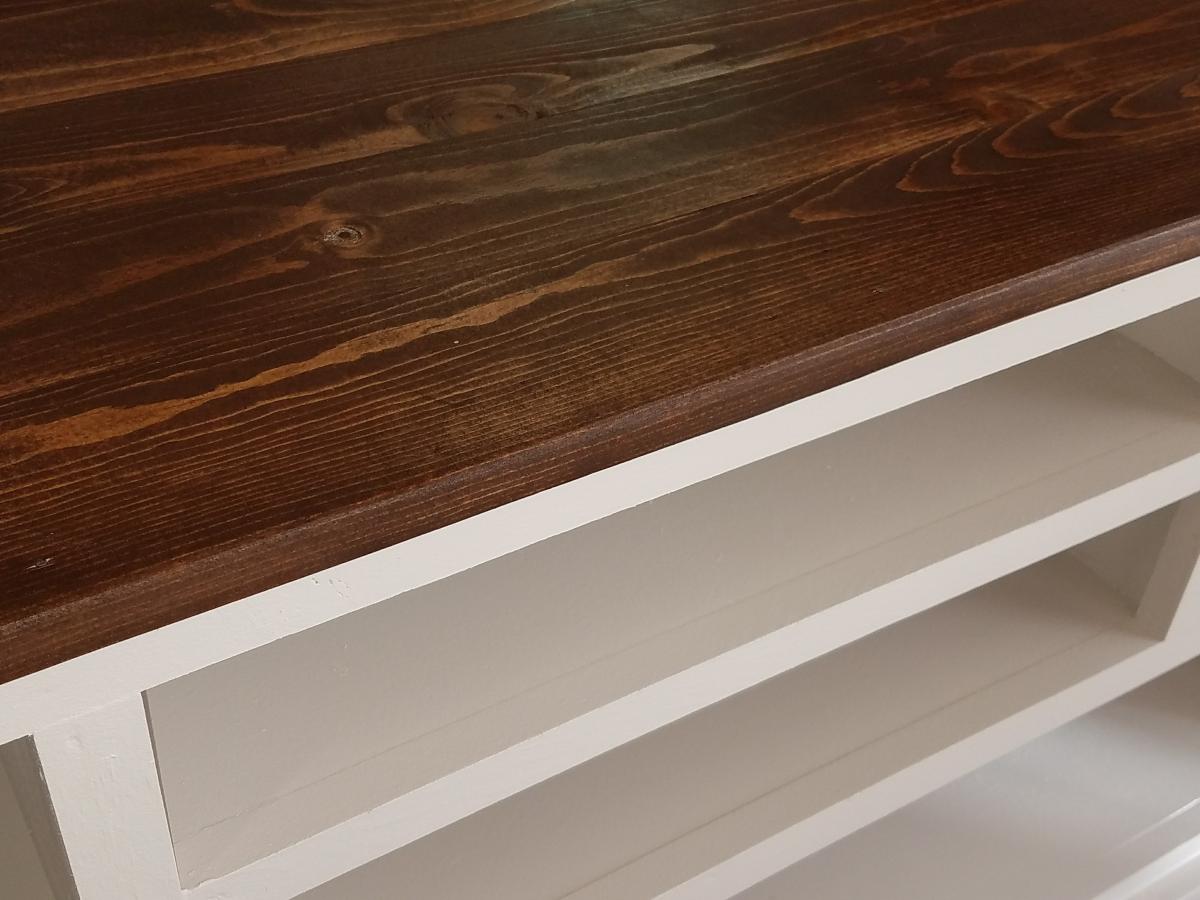
We had just moved into our new house and were using an end table for our TV stand I just didn't like it. I found this and modified it so it's shorter and fits in our room better. I also opted to not put doors on it and use it to display items instead. This was a relatively easy build and I'm learning new things with every build I make. It took about 2 days to complete not including filling holes/paint/stain. I love it, it looks so great in our room and I am planning on building end tables to match as well as replacing our buffet with movies in it to match also. Thanks for the easy-to-follow plans!
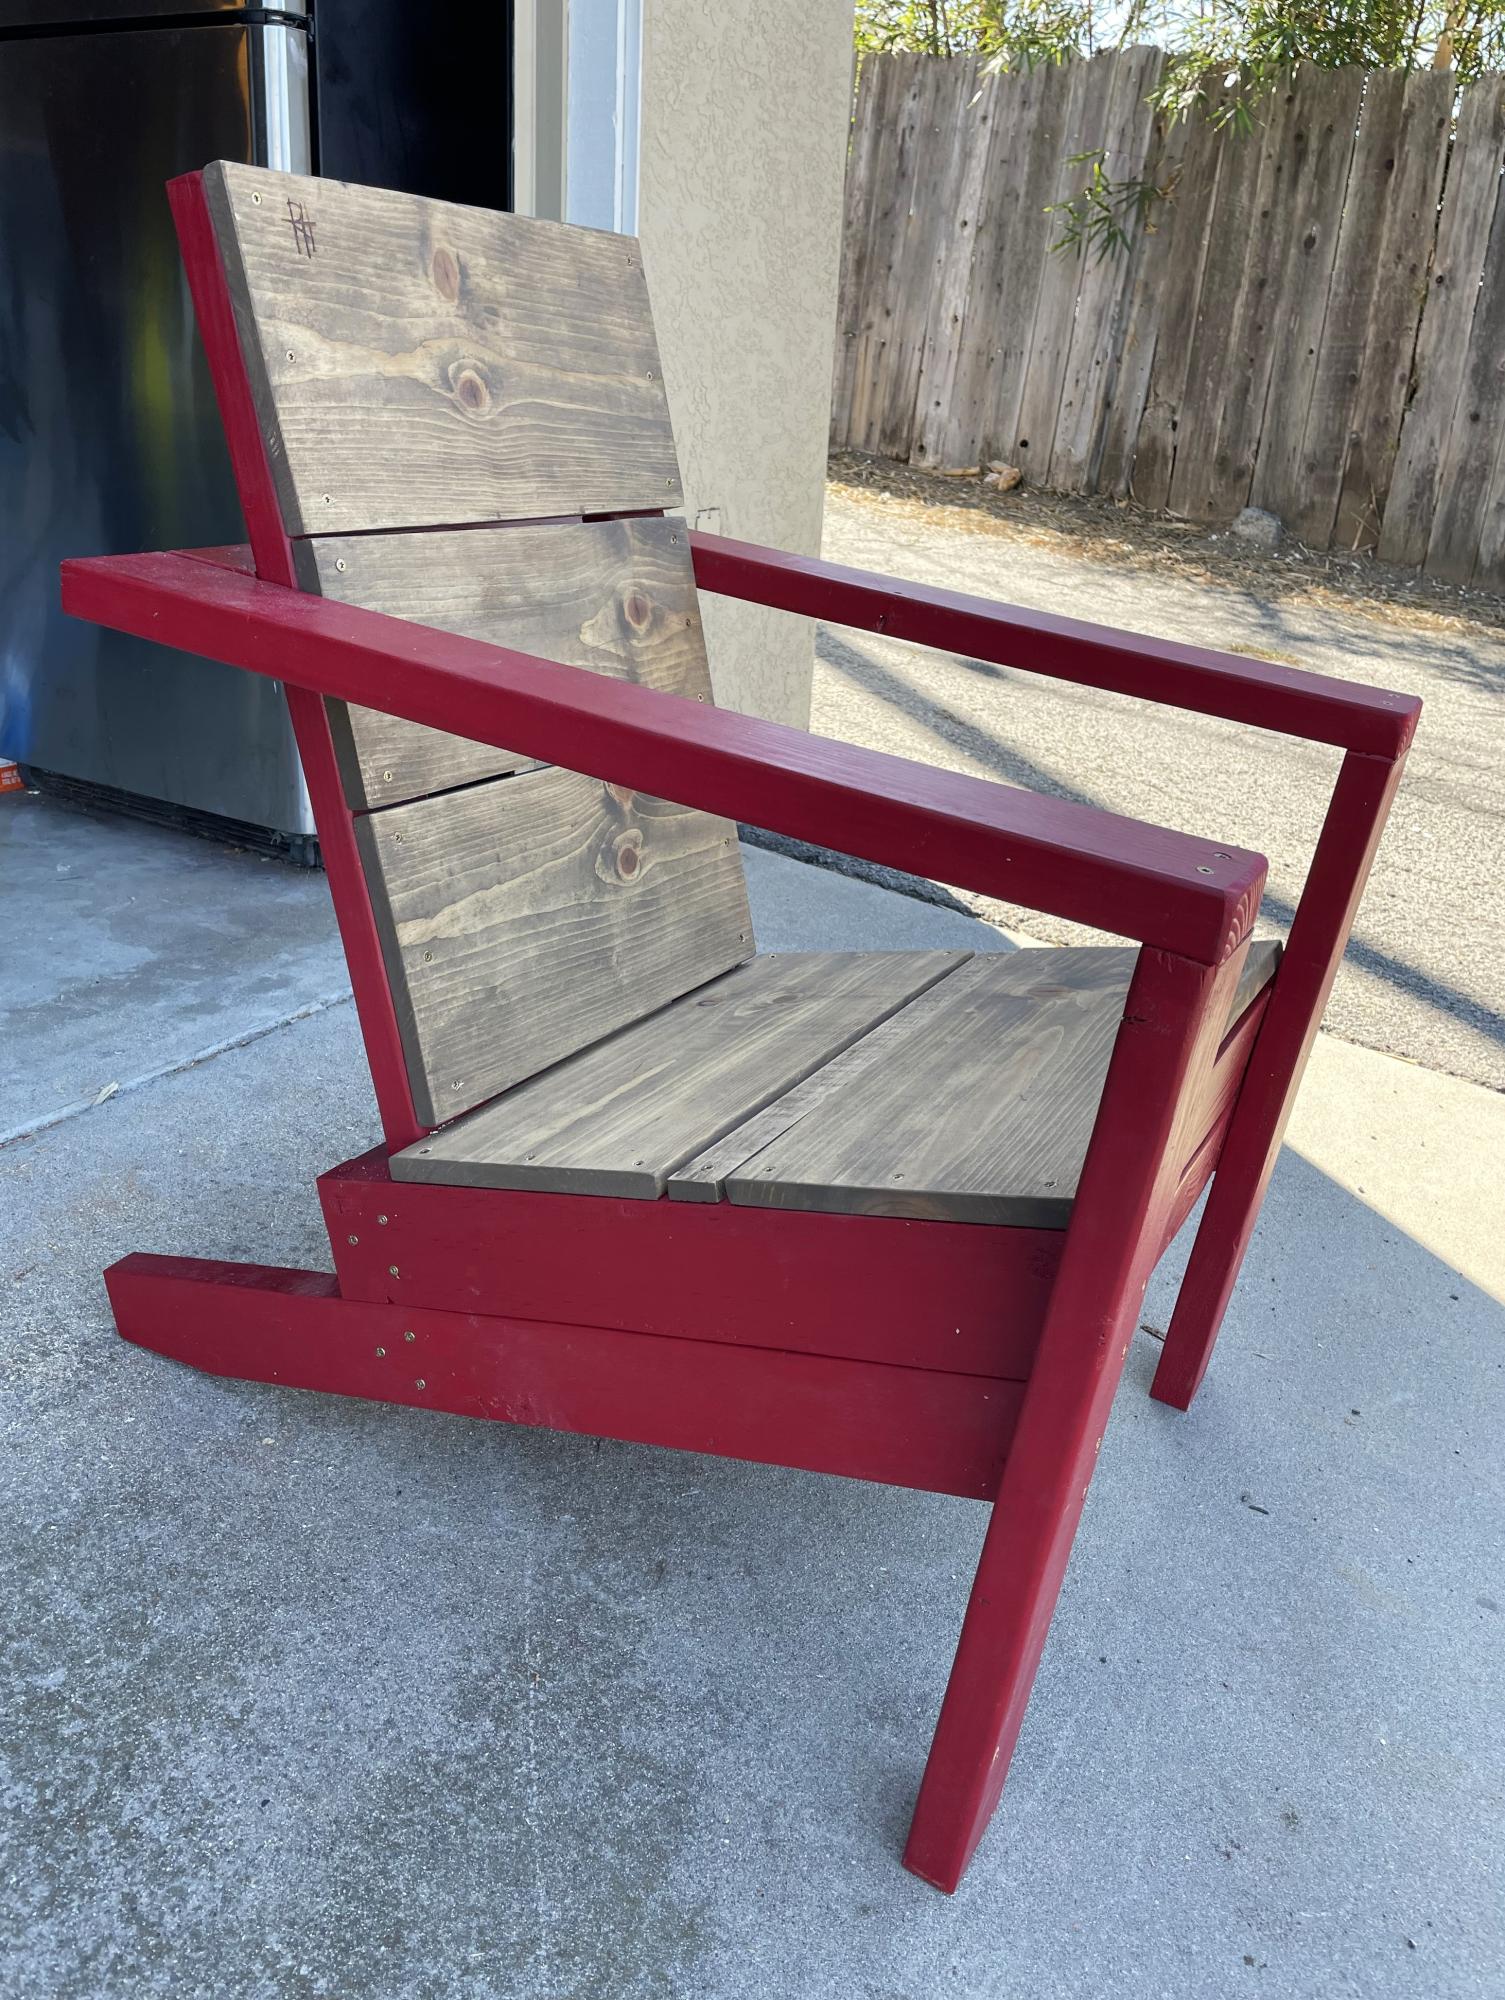
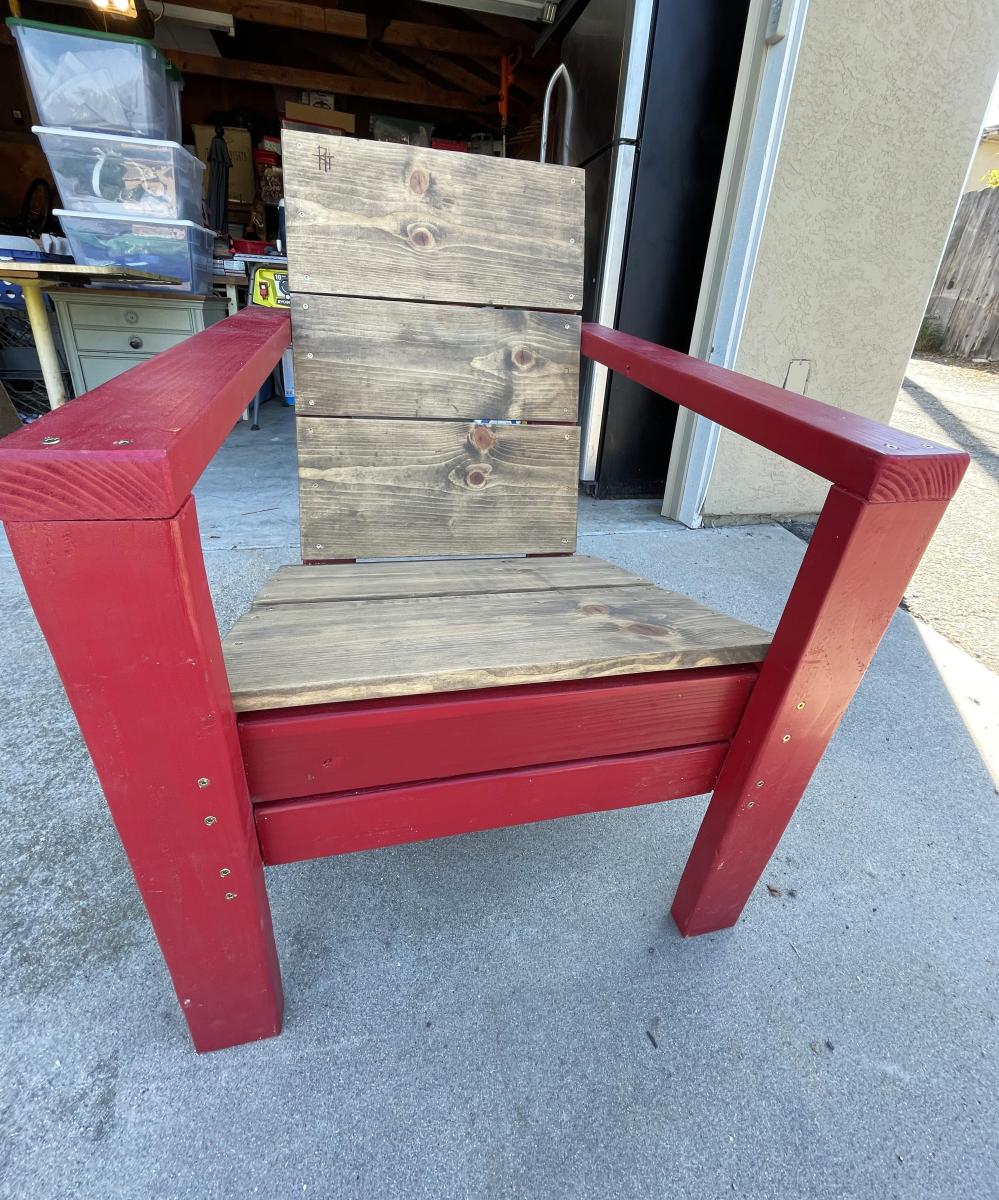
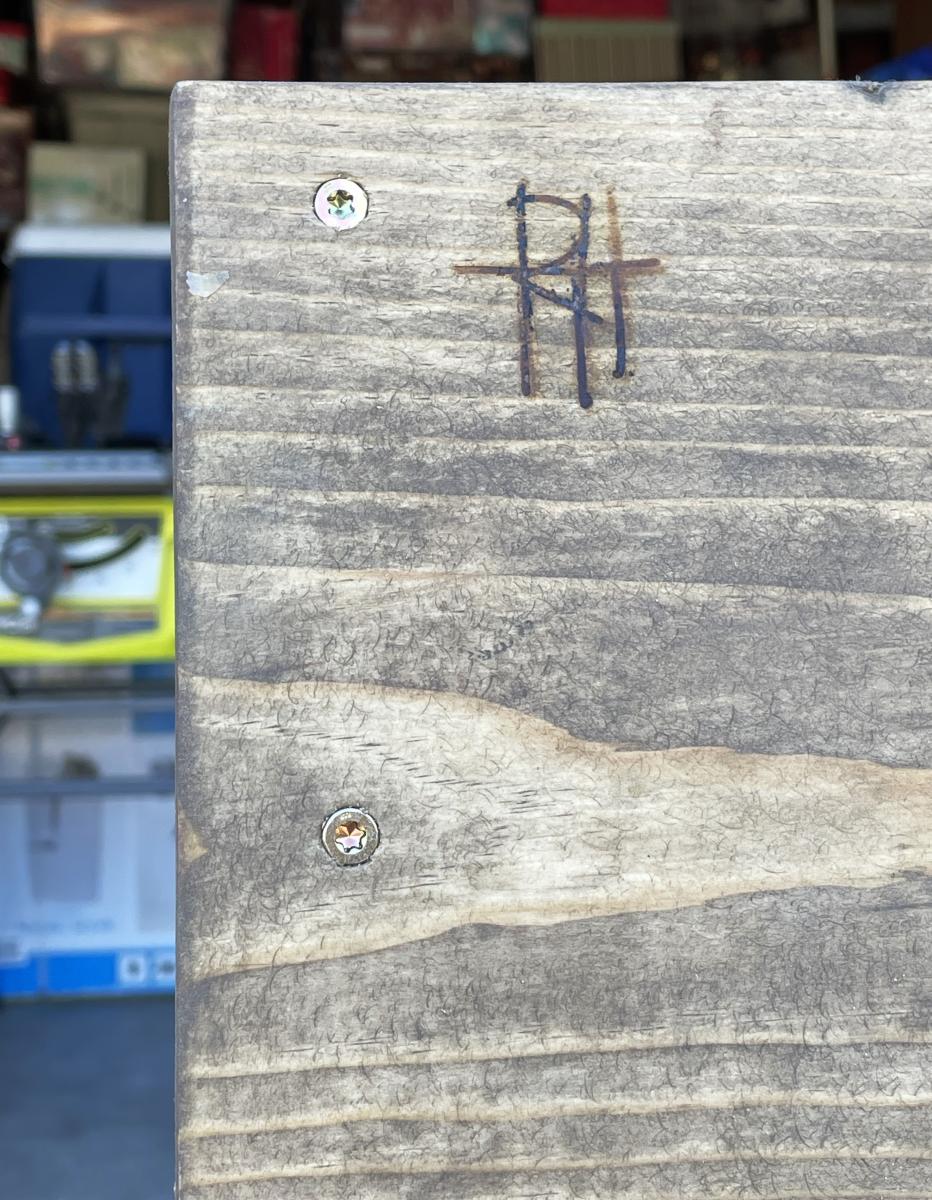
Modified Adirondack chair, six inches higher, making it easier for me to sit and stand, and my signature brand. A branding iron designed with my initials.
Bob Hartdegen
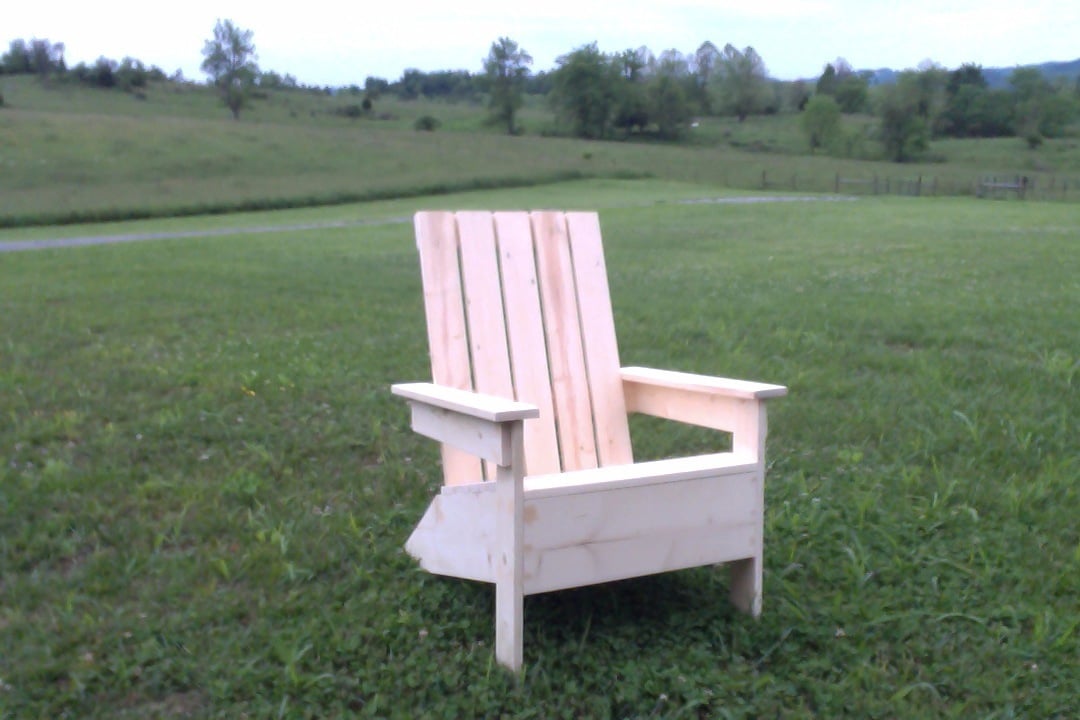
This was the second (larger) type project my husband has completed and I got to help this time! We made this for the loving ladies in our lives for Mother's Day. This one is his mom's and we didn't finish it because we don't know if she'll want to stain or just paint it. It was relatively easy!
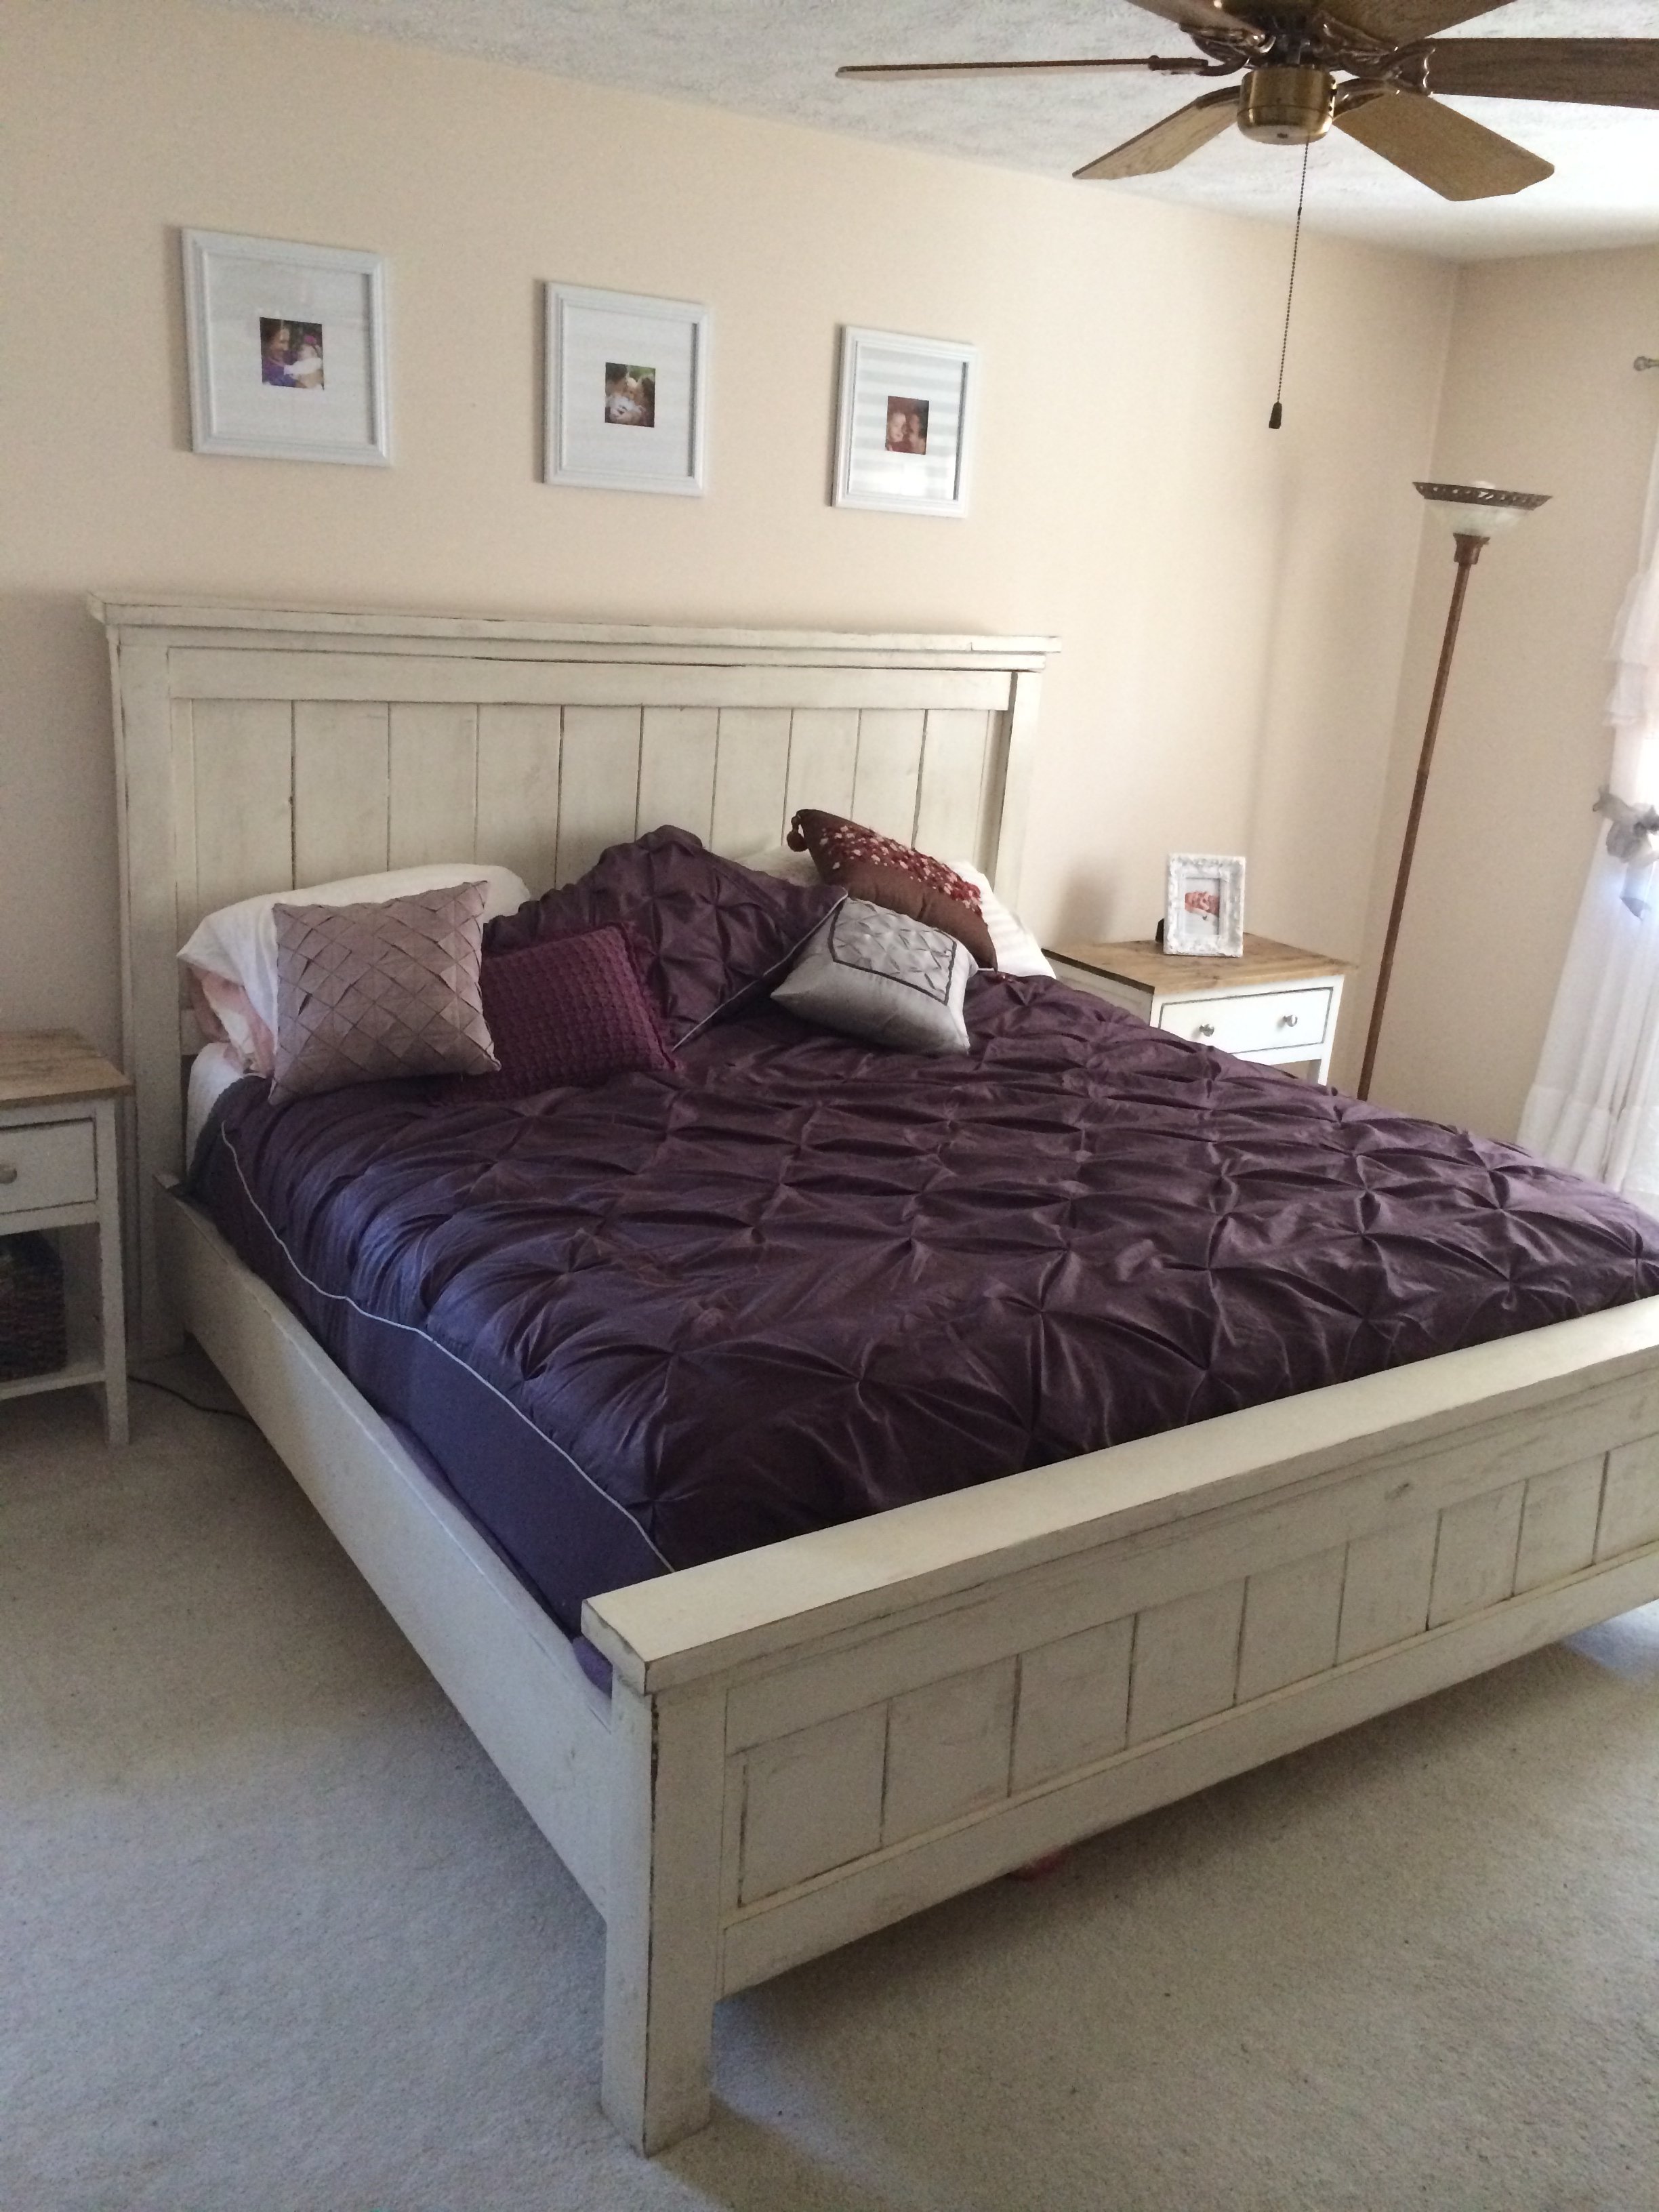
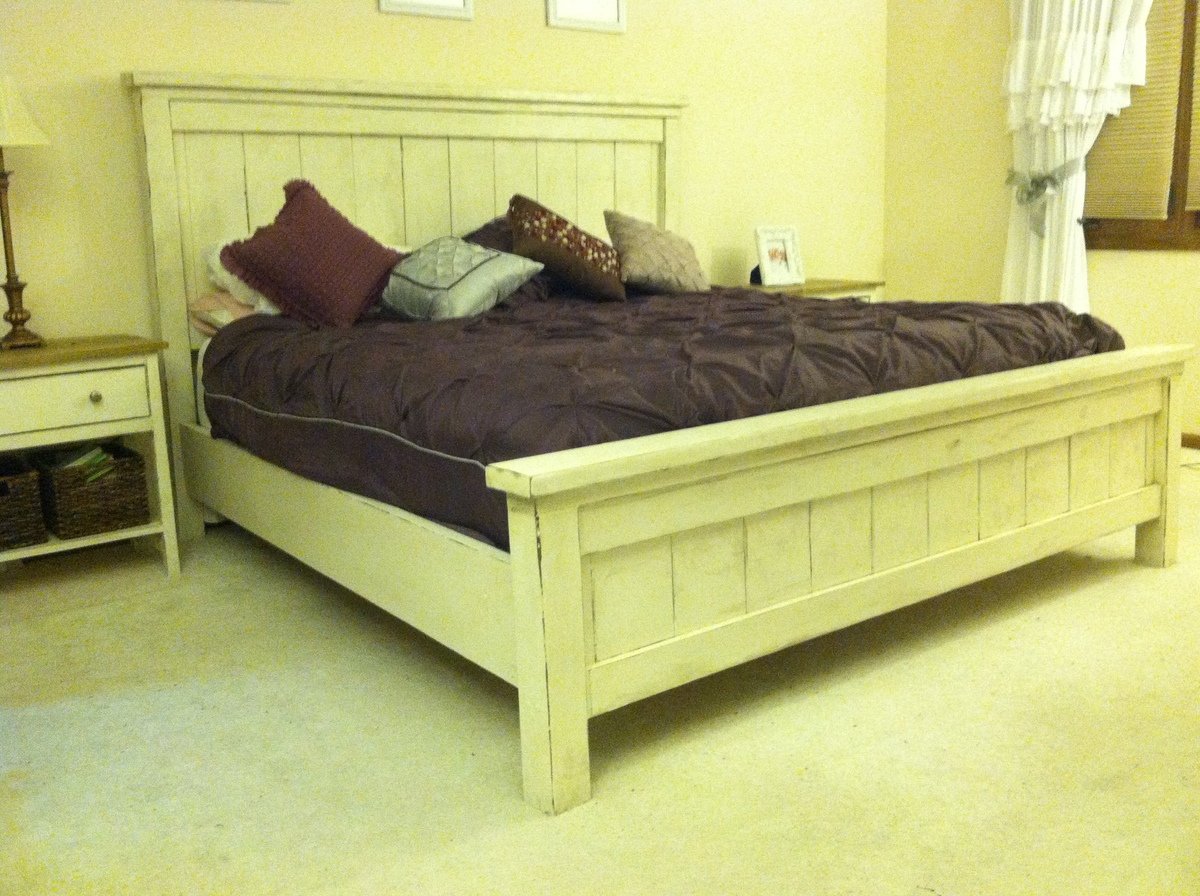
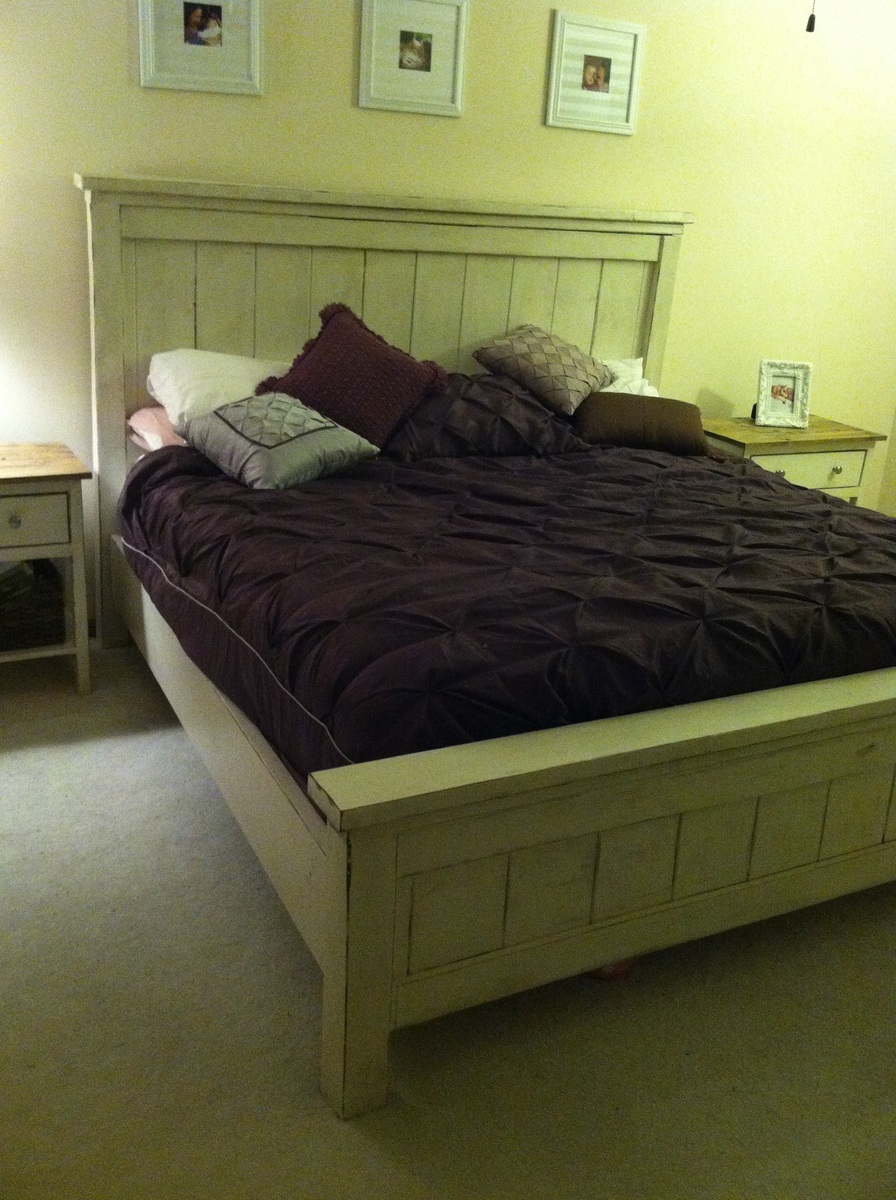
My wife has always wanted a king sized bed. While my hobbyist woodworking skills are not (yet) to the point where I can create the mahogany sleigh bed she has always dreamed of, I think she has enjoyed the farmhouse bed that I built for her X-mas present. We bought a new gel mattress for the bed, which sits on a few sheets of plywood over a frame of 2x4s. While we have no current plans to move anytime soon, using some of the advice of commenters/posters, I constructed our bed and frame with bed rail brackets and hanger joists that will allow us the option to disassemble/reassemble it in the future.

Sat, 04/22/2017 - 13:35
What did you ue to connect the bed rails to the Headboard and Foorboard.
I am at a loss.
Thu, 04/27/2017 - 18:57
Janie, I ended up buying some bed rail hardware with the idea that I might someday disassemble the bed: http://www.rockler.com/surface-mounted-keyhole-bed-rail-brackets
if you want to do it cheaper, joist hangers should work.
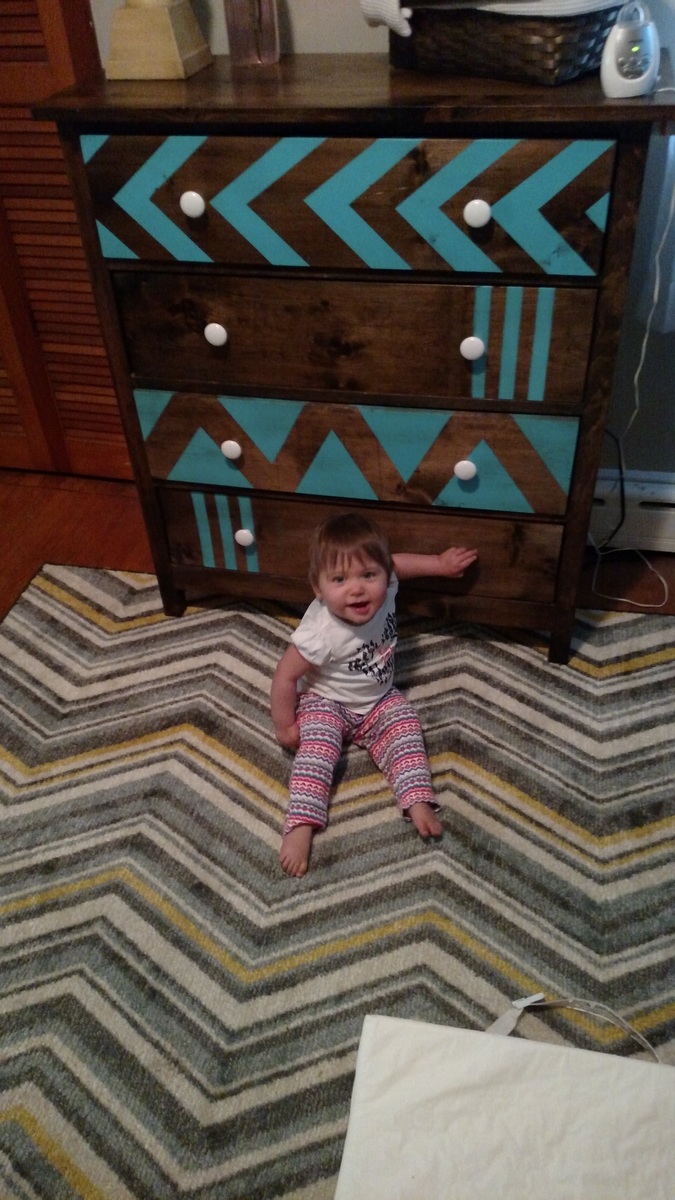
Loved making this dresser, and it works awesome in my baby girl's room.
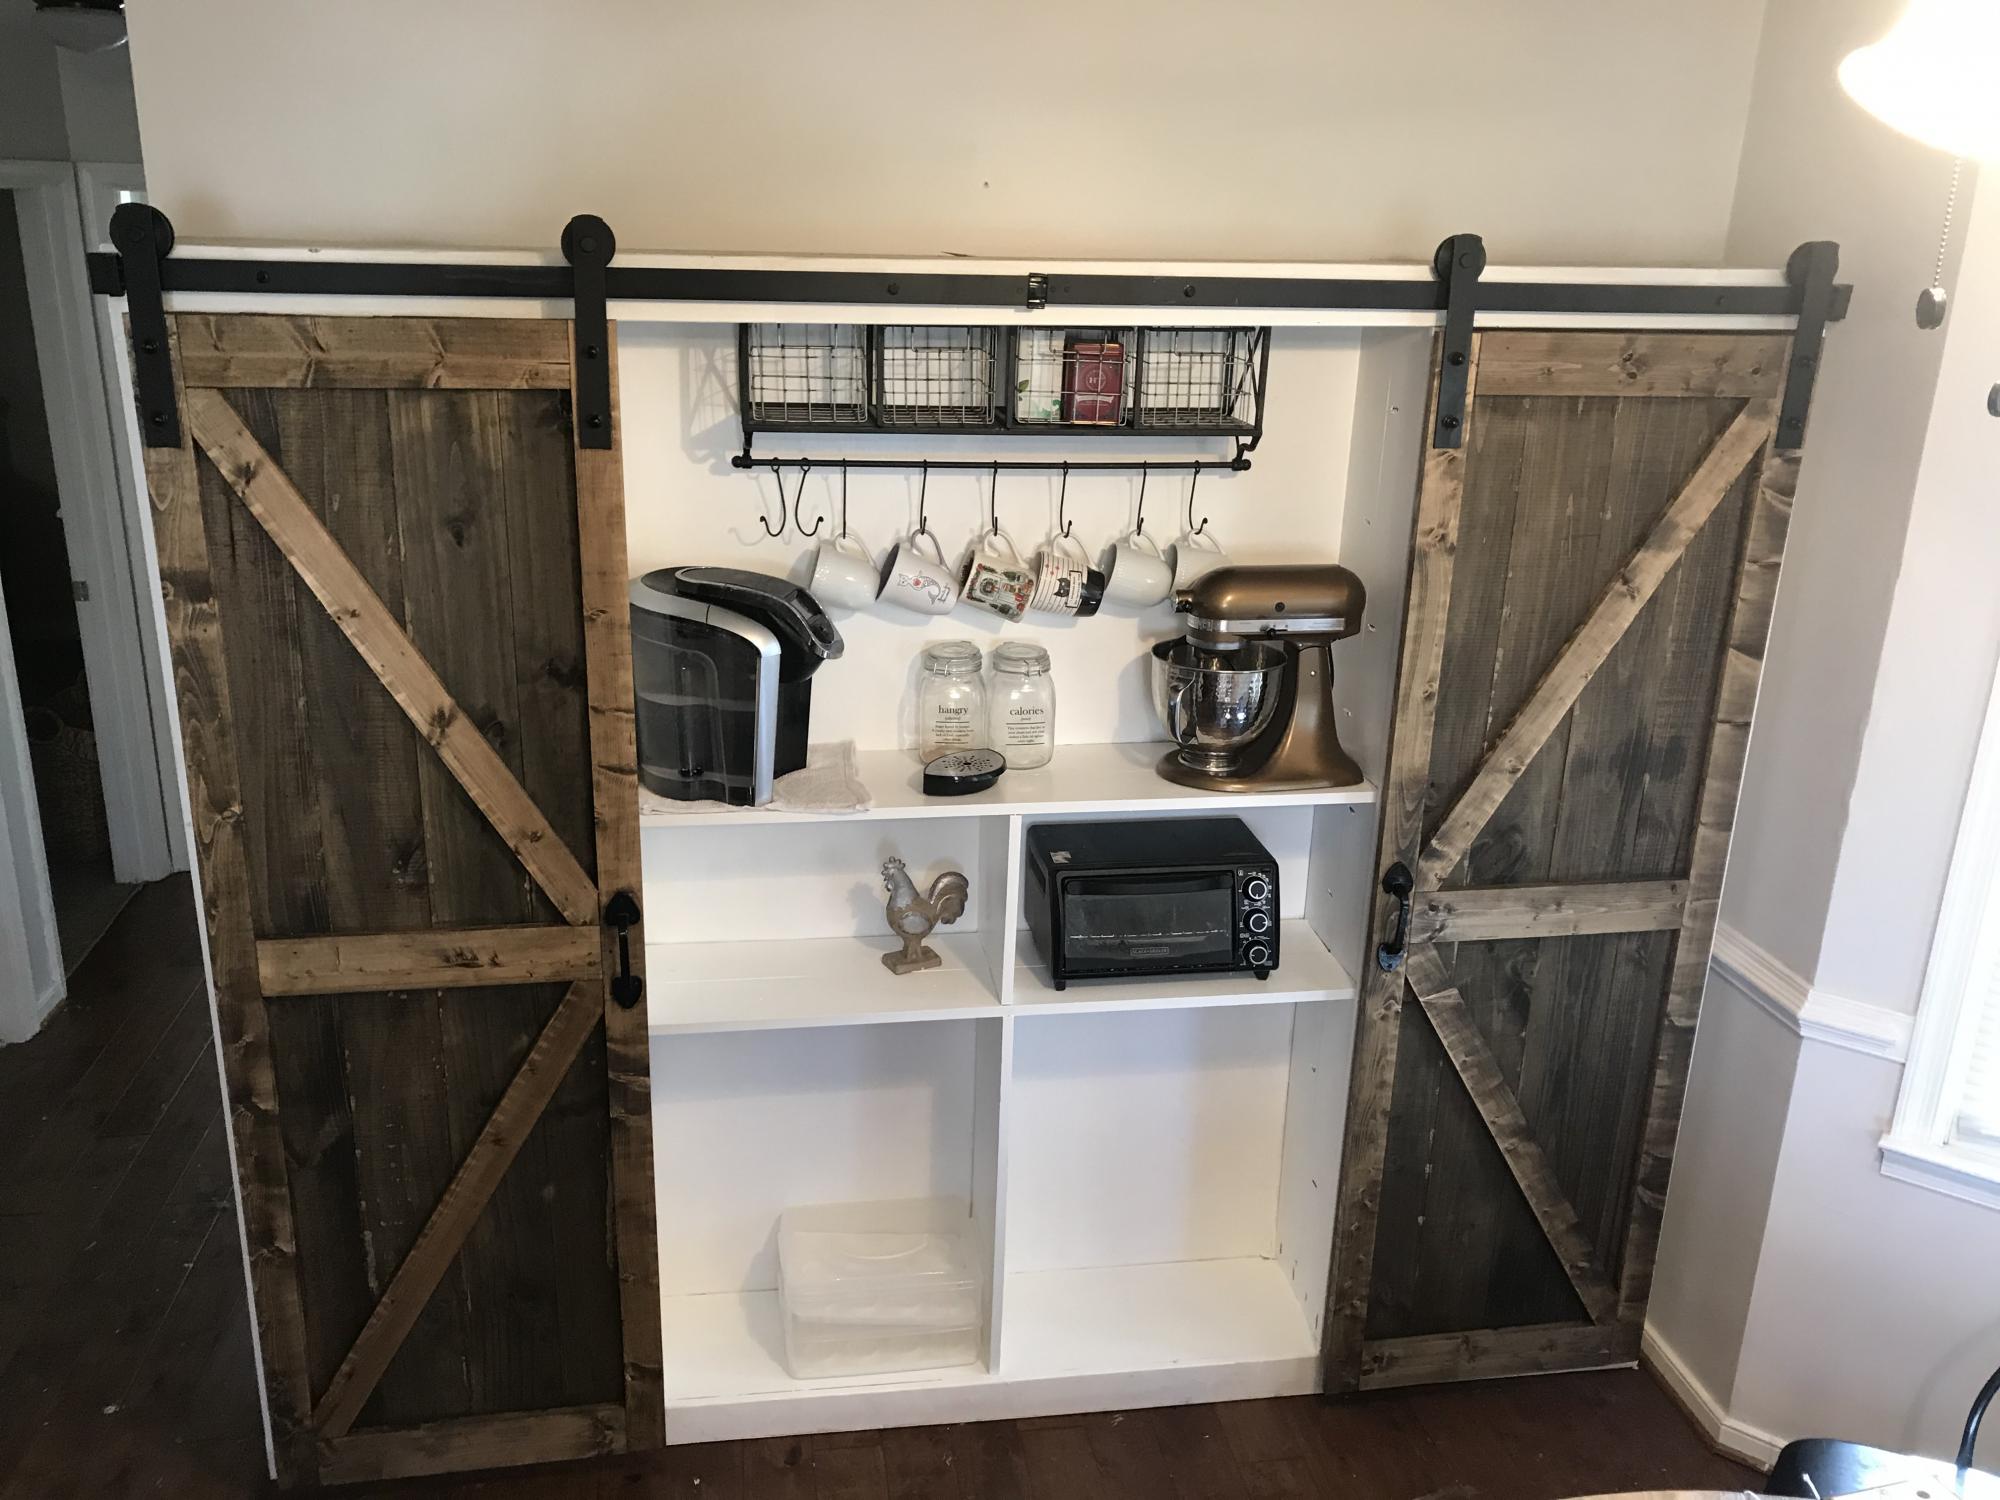
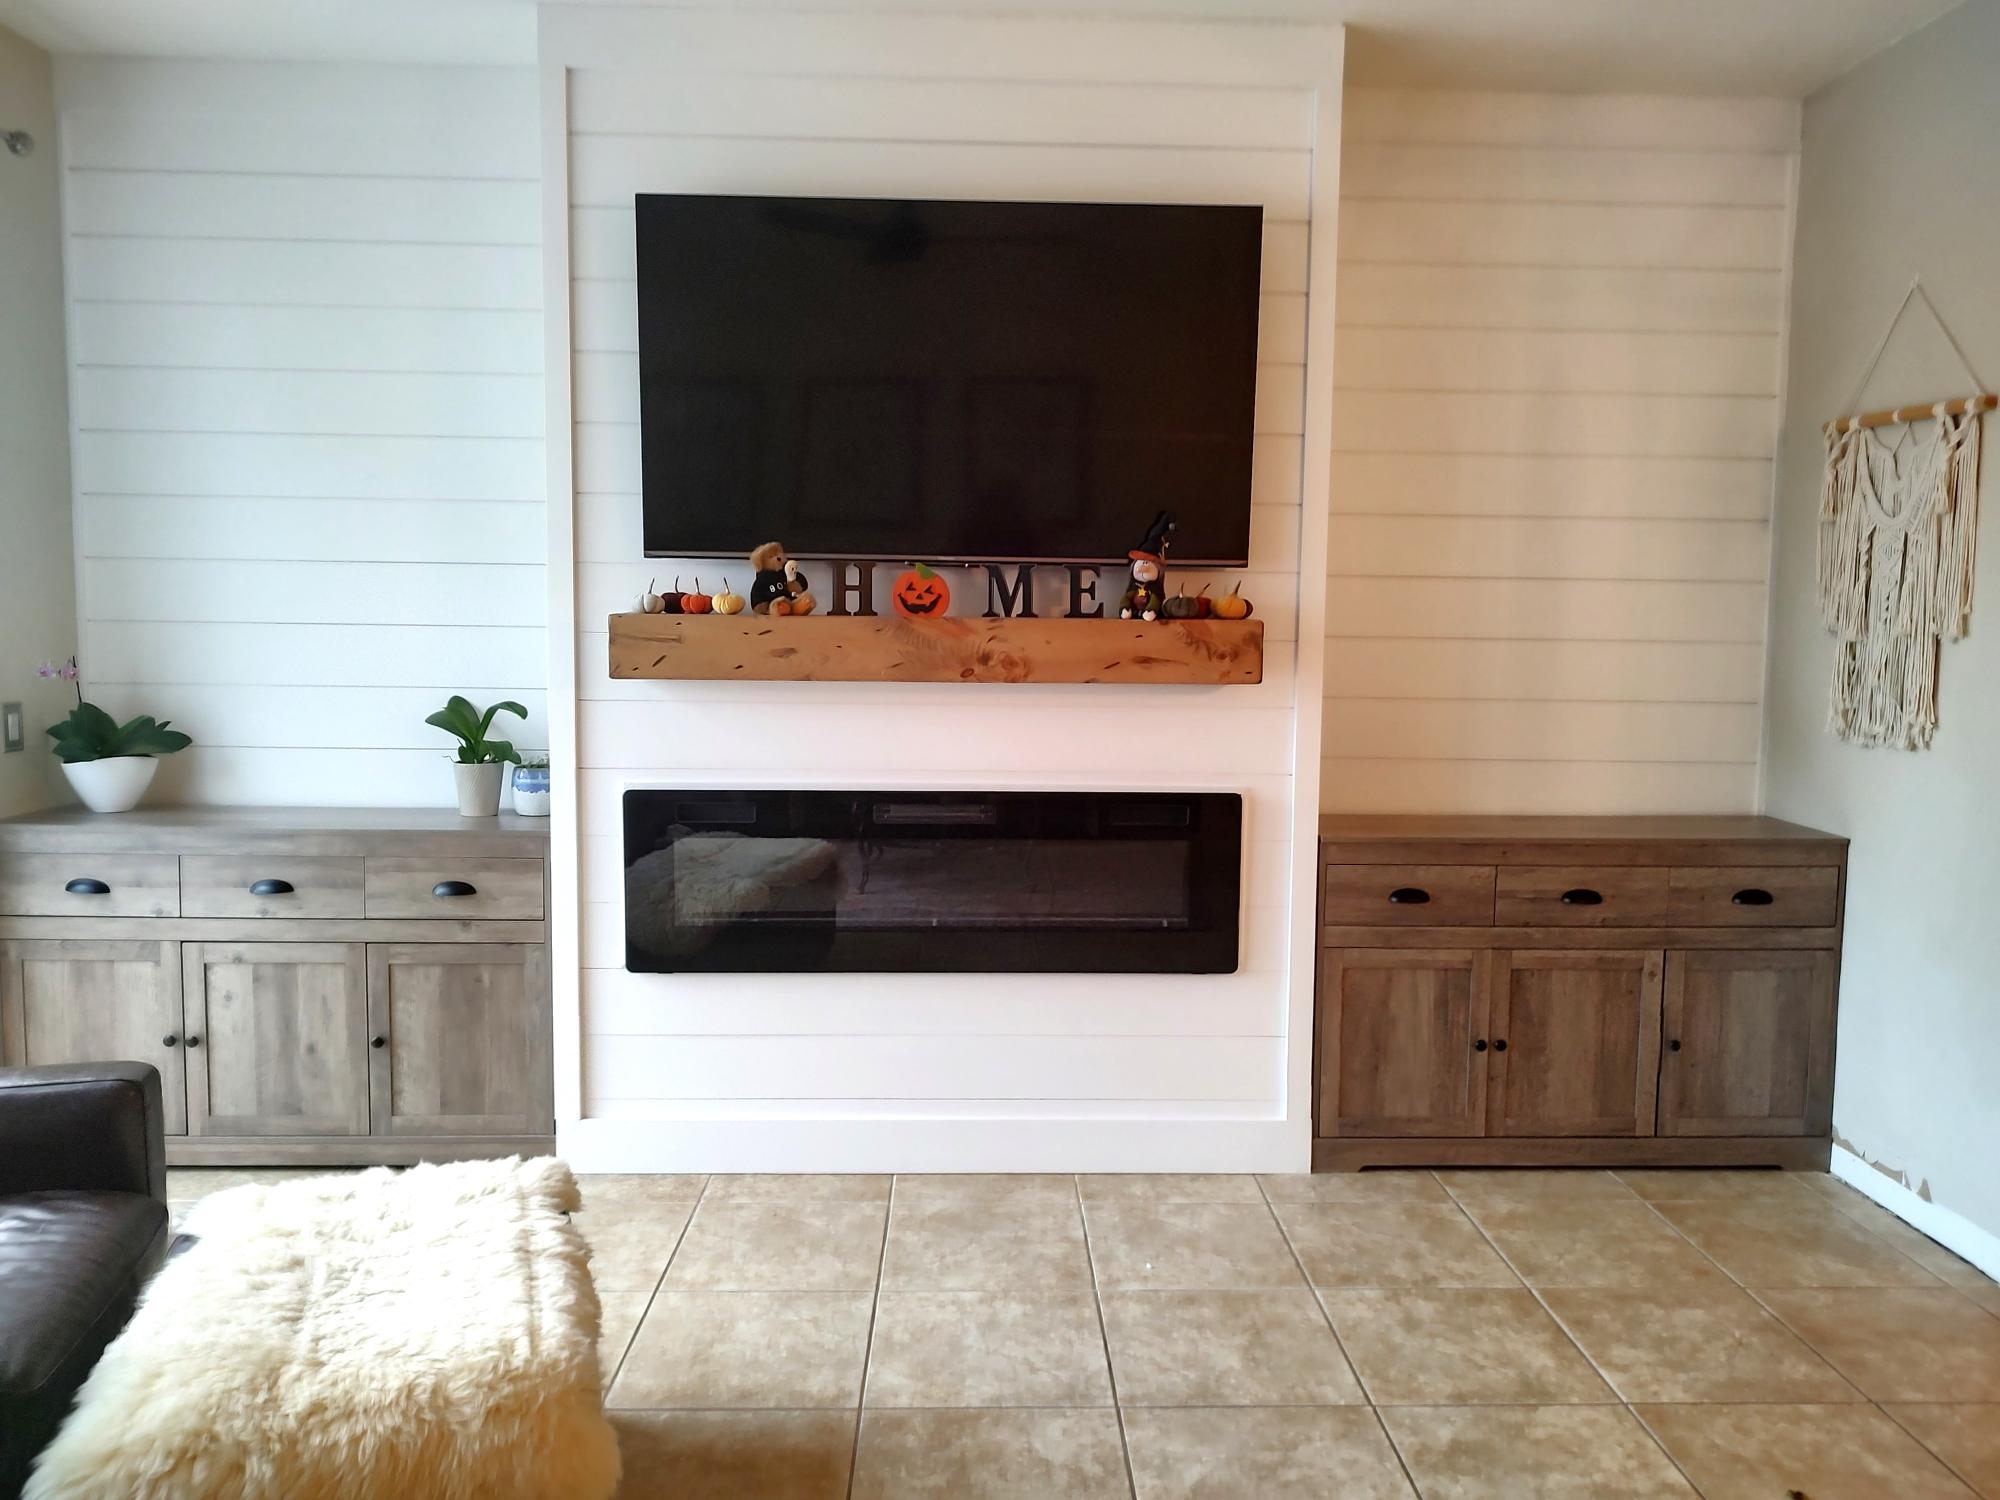
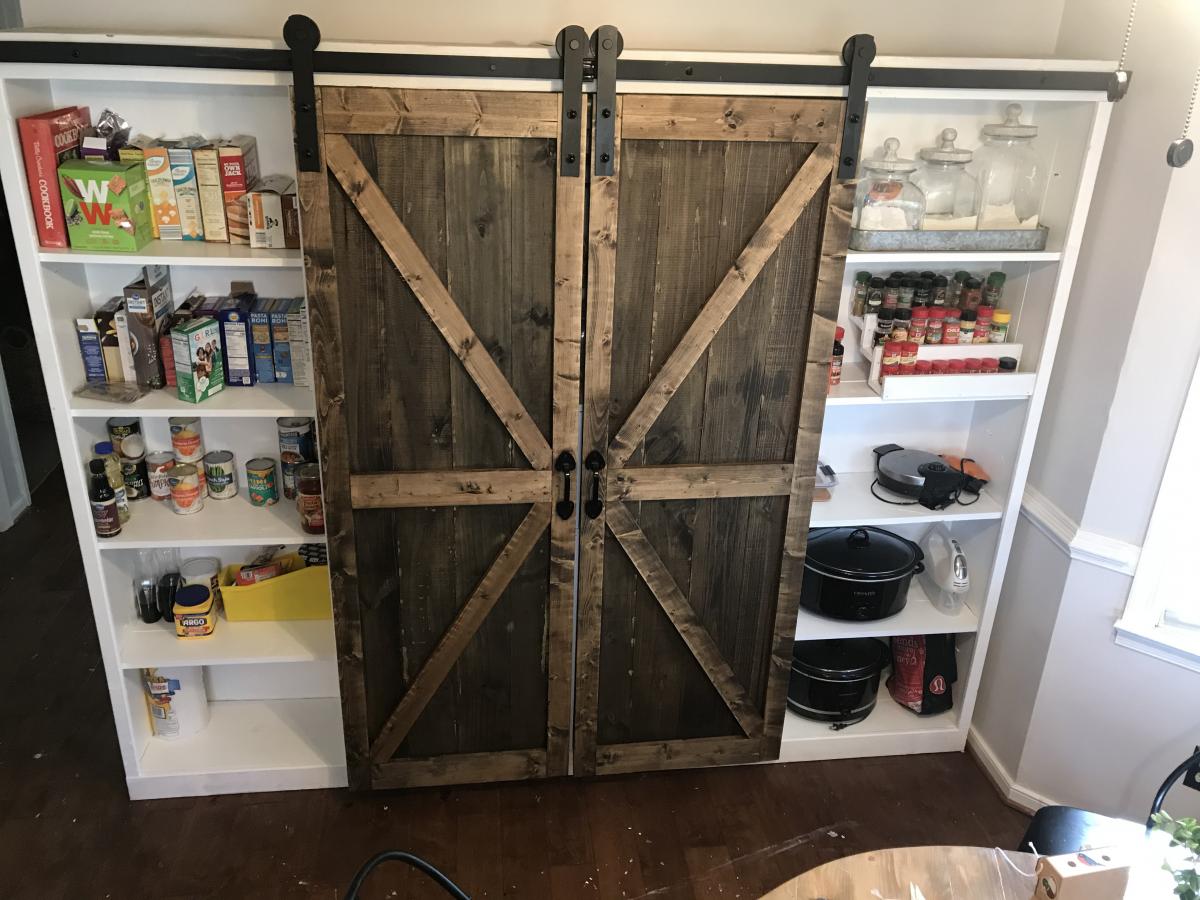
My wife has been asking me to build her a pantry since we bought our house last year and I finally got around to doing it. I used the Barn Door Entertainment center plans as inspiration but Instead of using the 1x12x8ft lumber suggested I used 1x6x8ft boards connected with pocket holes to save on costs. The Barn door hardware is the SMARTSTANDARD 8ft heavy duty (double door) which I purchased on Amazon for 73$.
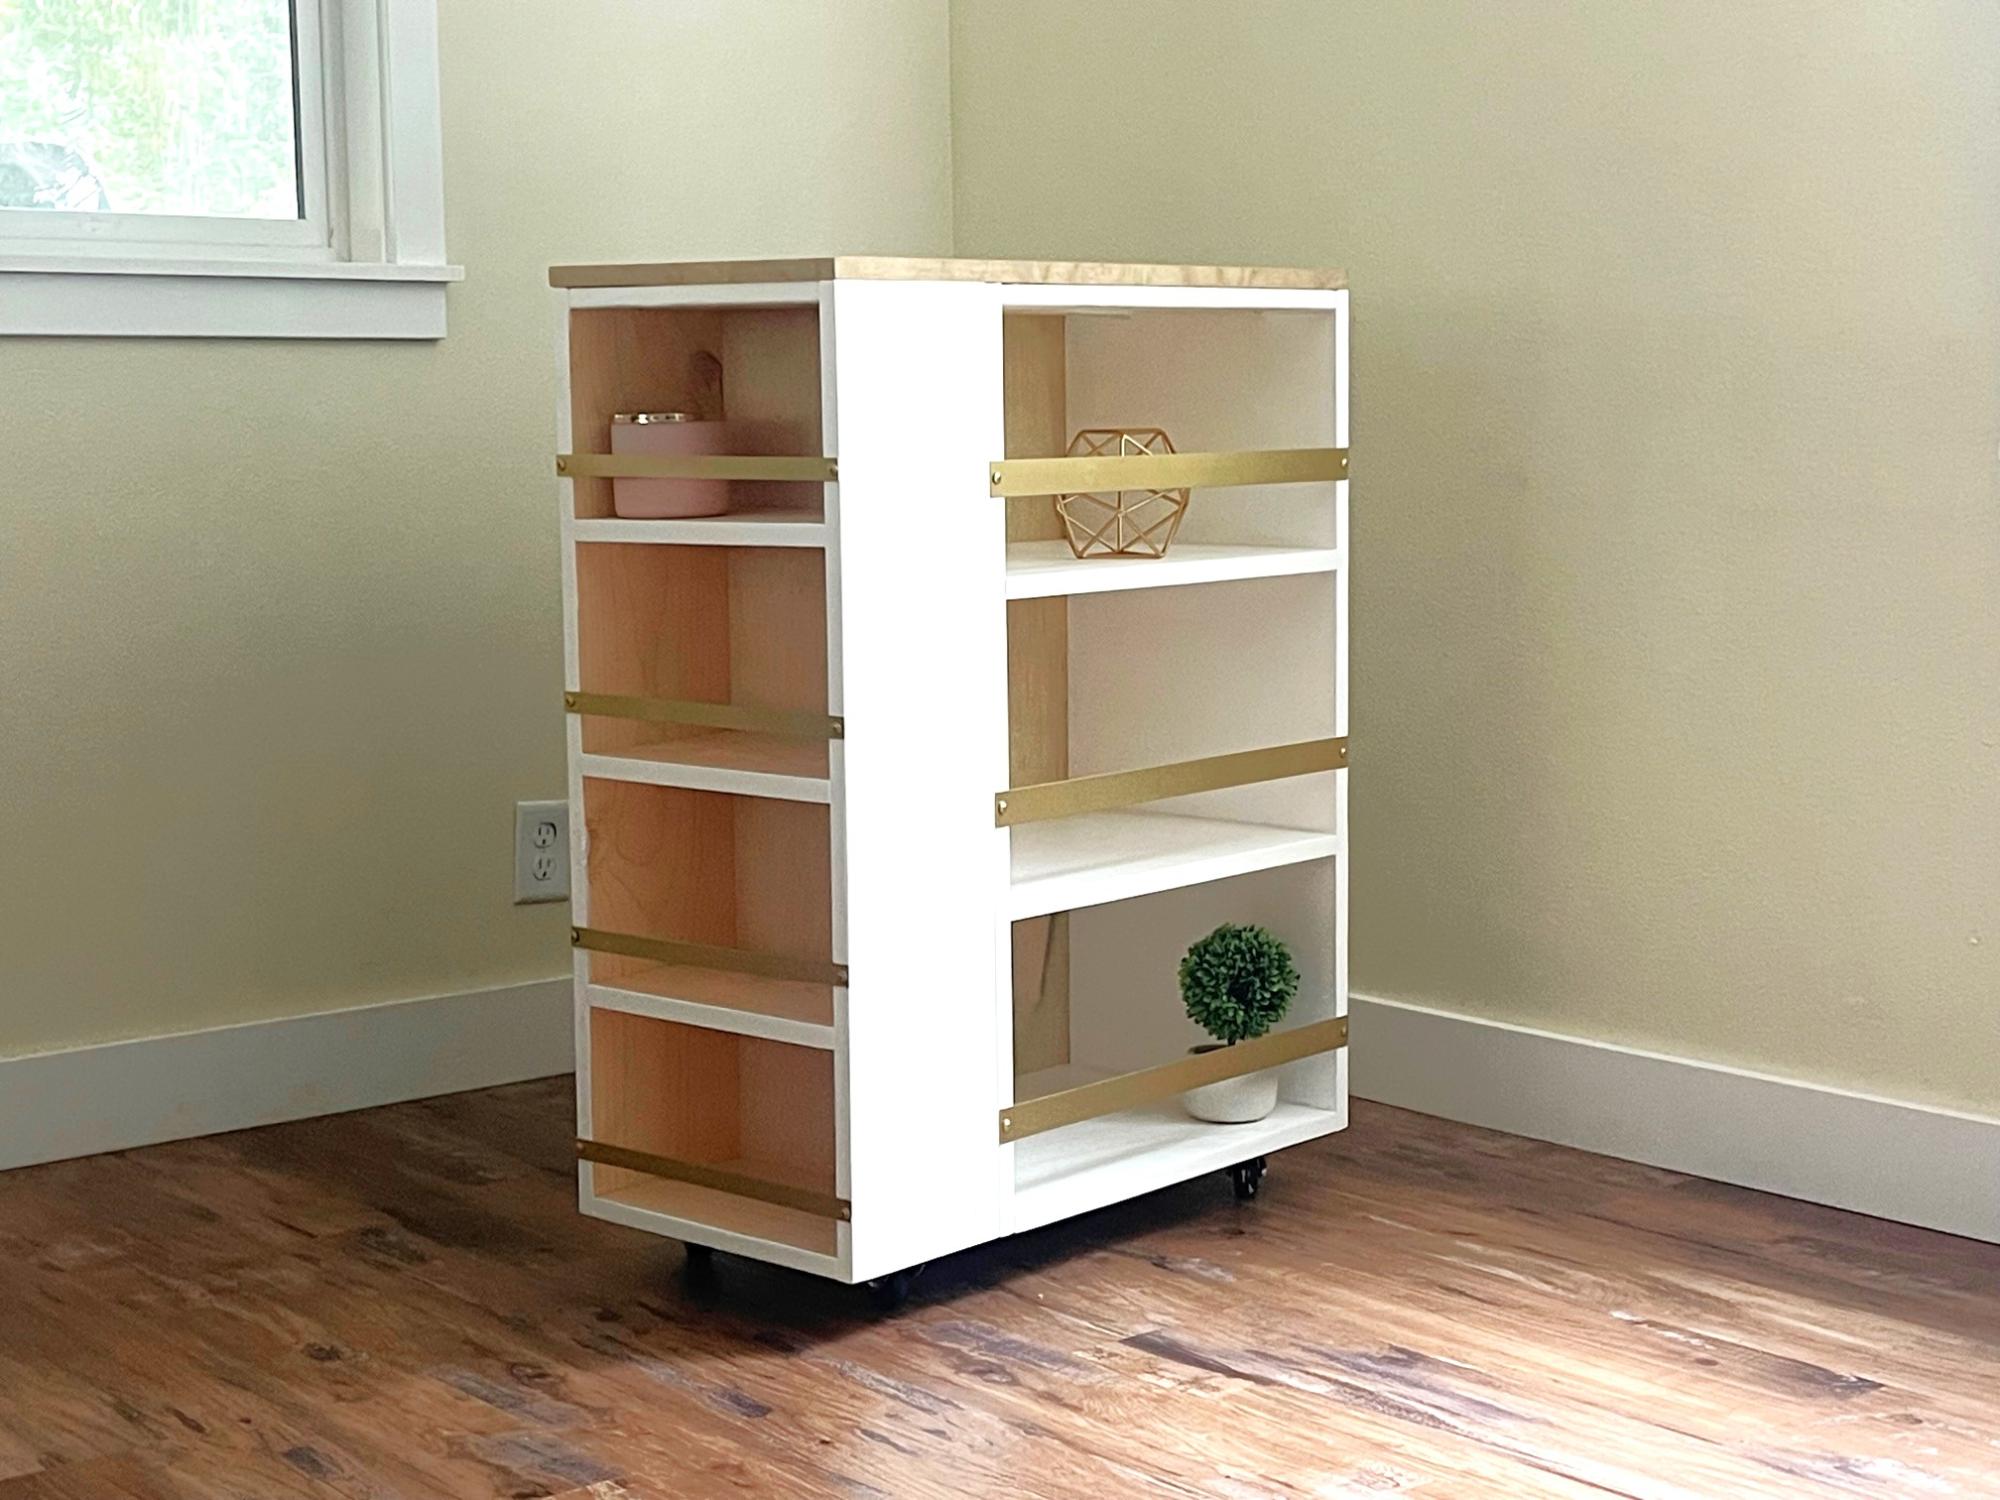
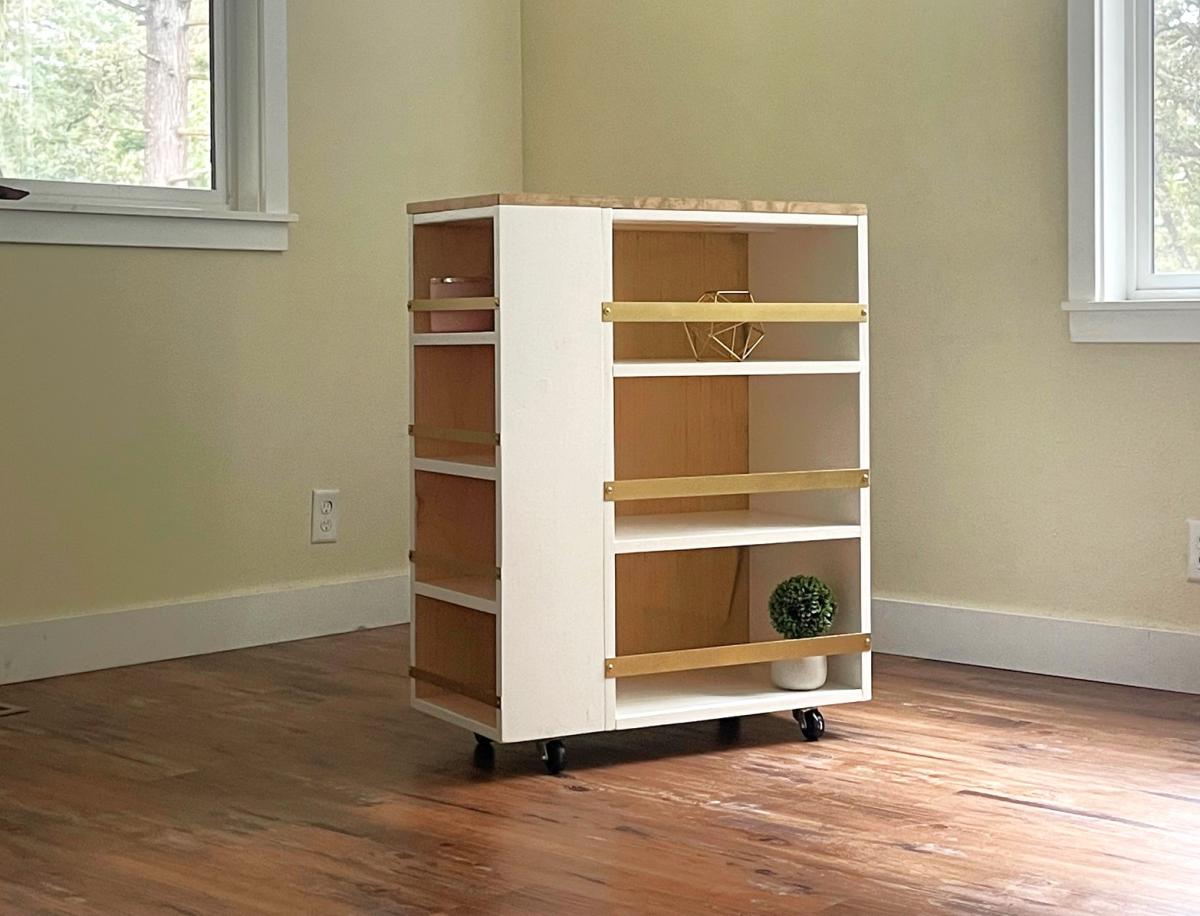
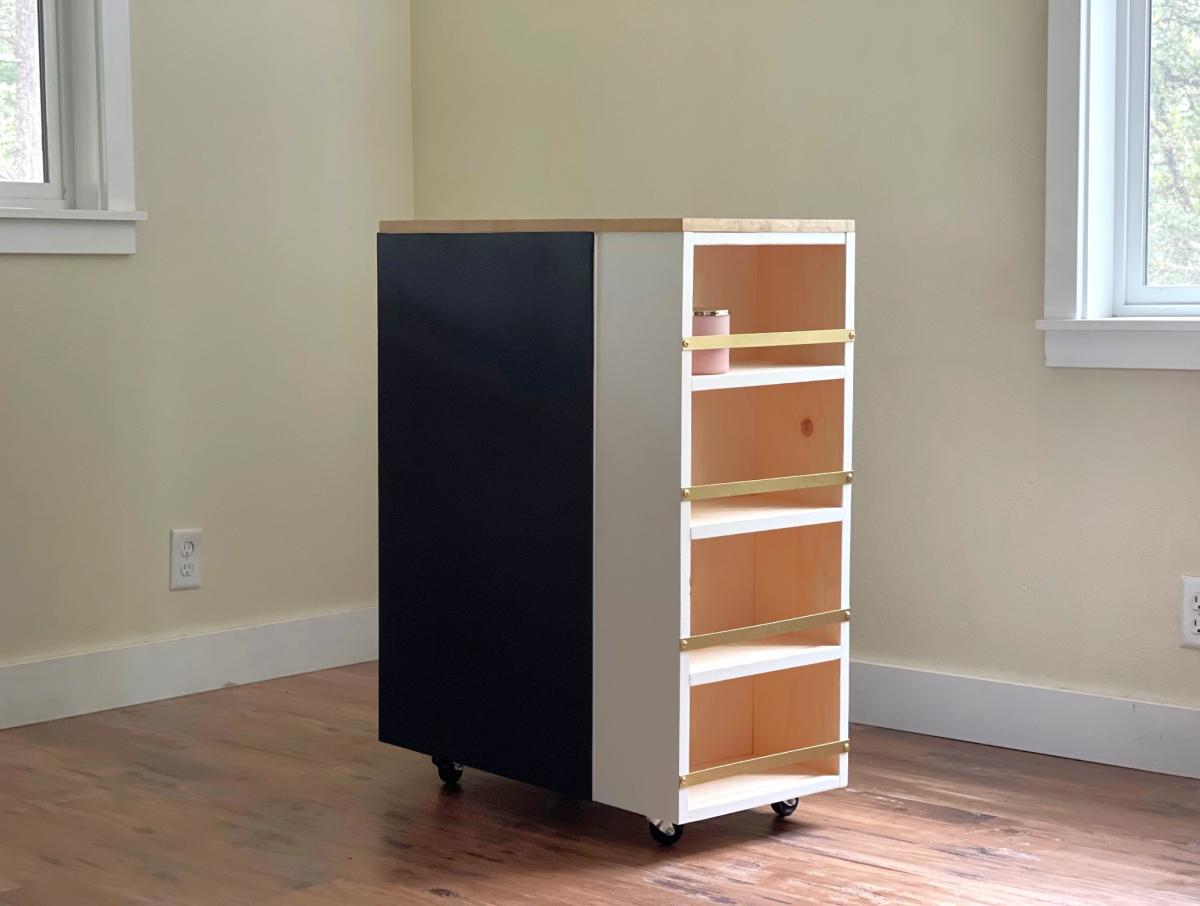
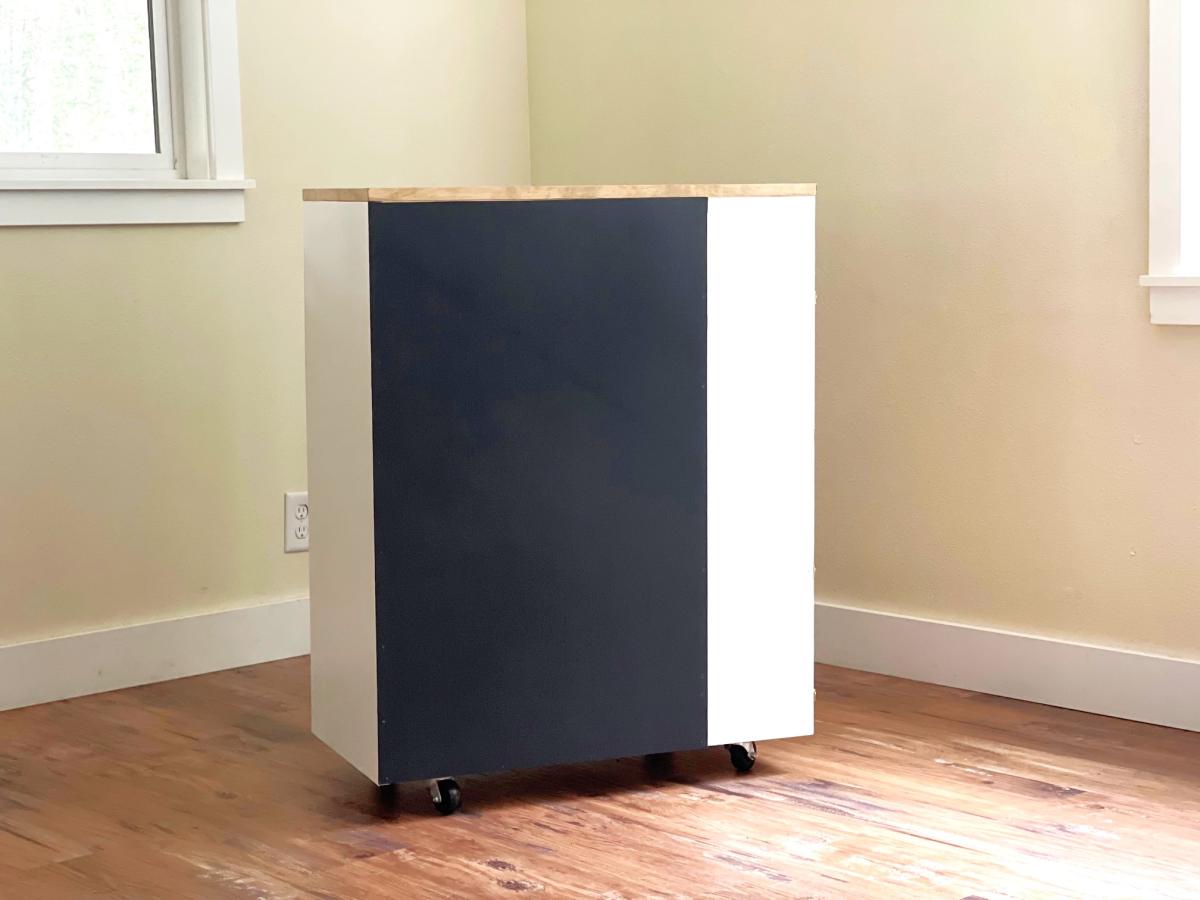
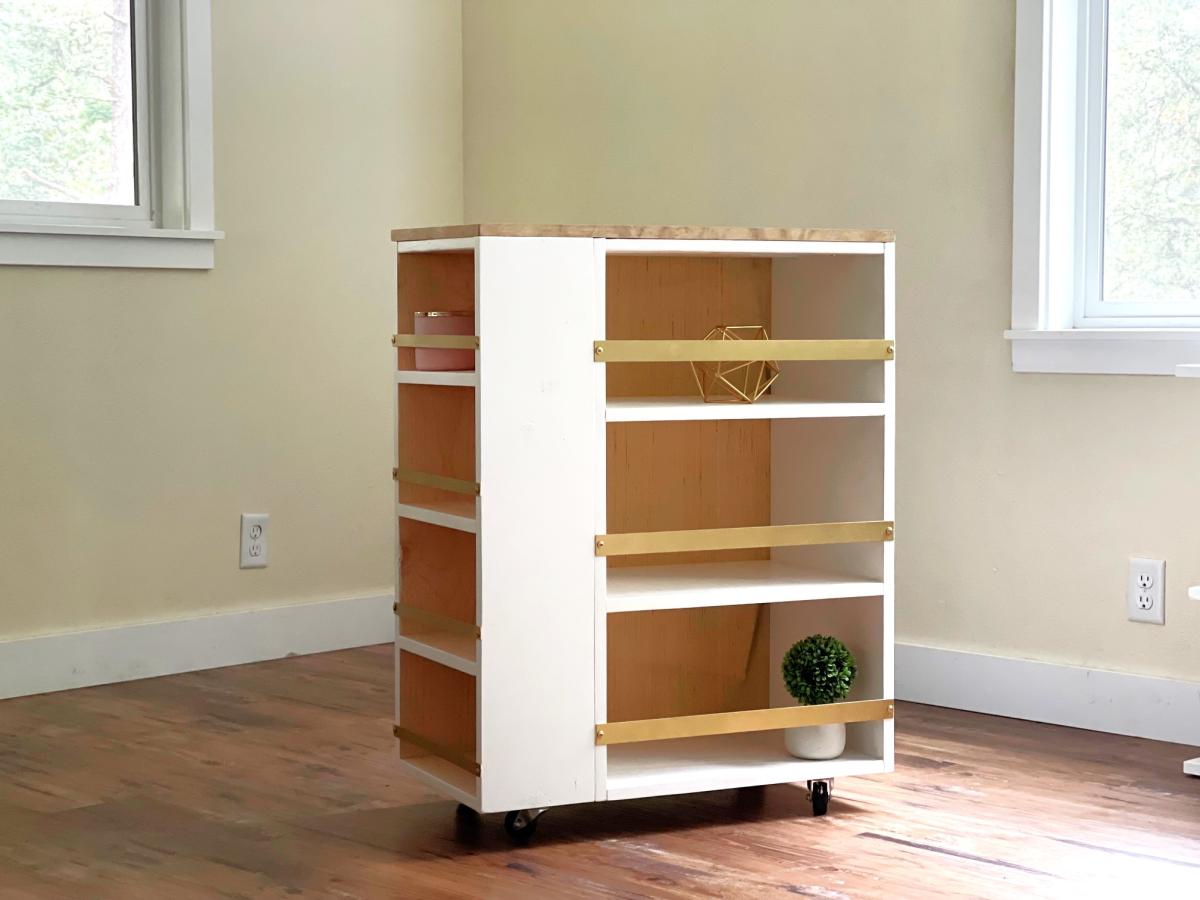
I was asked to build something for my daughters varsity basketball team room. There wasn't a lot of extra space, so this is what I came up with. I wanted to give parents a place to set treats or leave an inspirational message. I was inspired by Ana's modern craft table plans. The smaller bookshelf measures 14" wide by 33 1/4" high (using a 1x8), the larger bookshelf measures 21" wide by 33 1/4" tall (using 3/4" plywood), with a 3/4" plywood top and 2" casters, it's a nice 36" counterheight. I used edgebanding for the top and front exposed plywood edges. I used aluminum flat bar (spray painted gold) to the shelves adding a decorative element as well as to help keep items on the shelves. The back is 1/8" panel spray painted with chalk paint. I added some bay supports at the top of each bookshelf to attach the top from underneath. I'm happy with the results!

Comments
Monika
Wed, 03/27/2024 - 09:17
Having a well-organized…
Having a well-organized writing desk is very important for optimal productivity. While services like https://domypapers.com/creative-writing/ offer assistance with creative writing tasks, finding inspiration in a well-organized workspace is equally important for writing success.