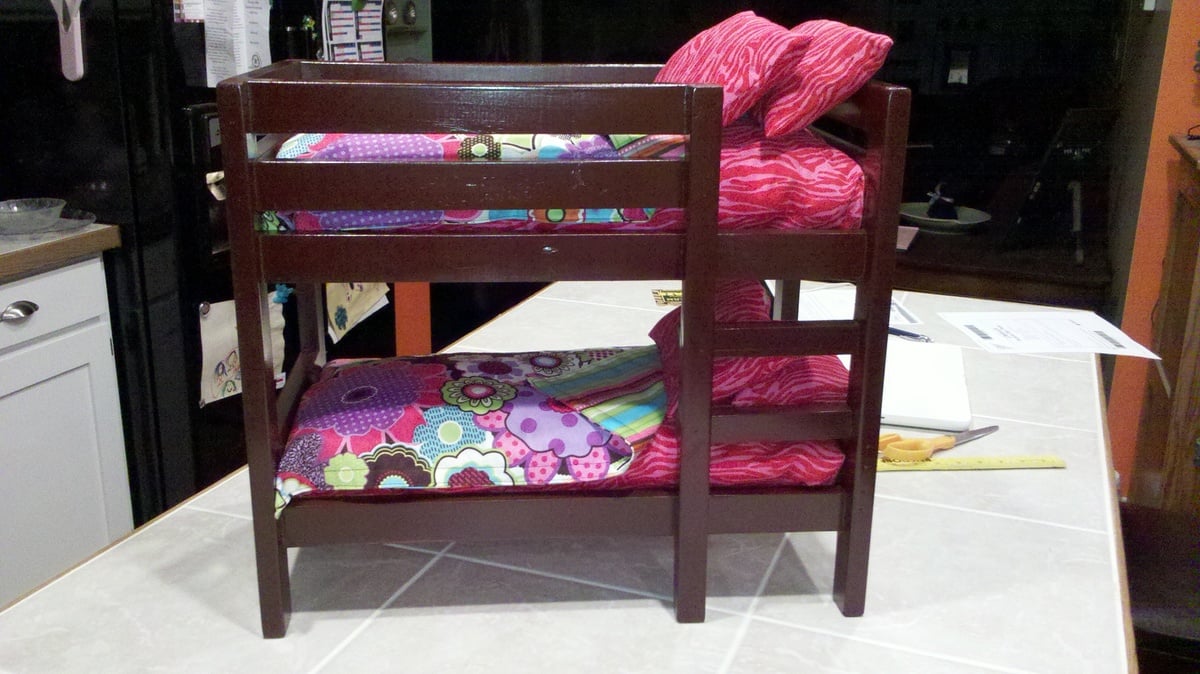
My daughter has really been getting into American Girl Dolls so I went on the official website to see if I could find some accessories for them for her birthday and YIKES - that stuff is expensive! So I went on Ana's site and found plans to make bunk beds. My daughter has four dolls so I figured we could build two sets at a fraction of the cost we could buy them at.
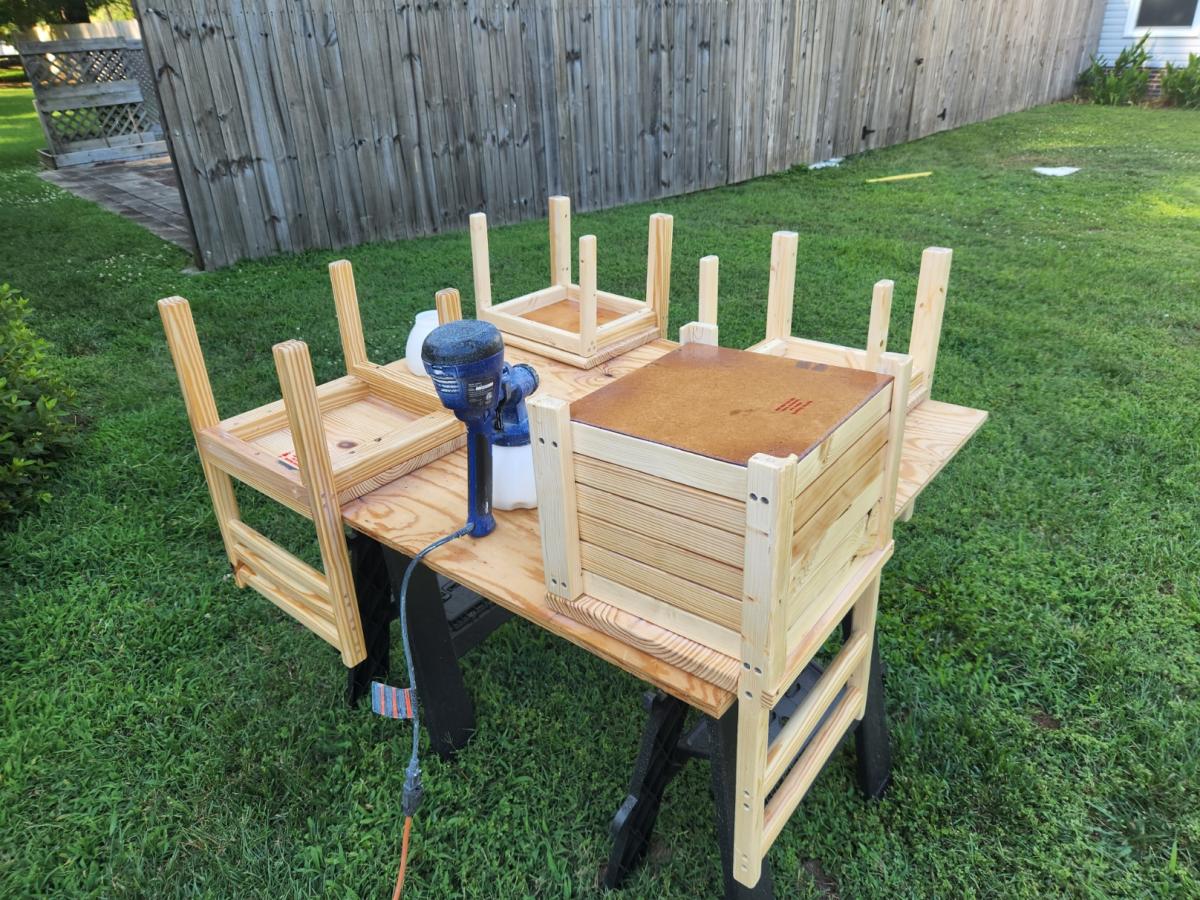
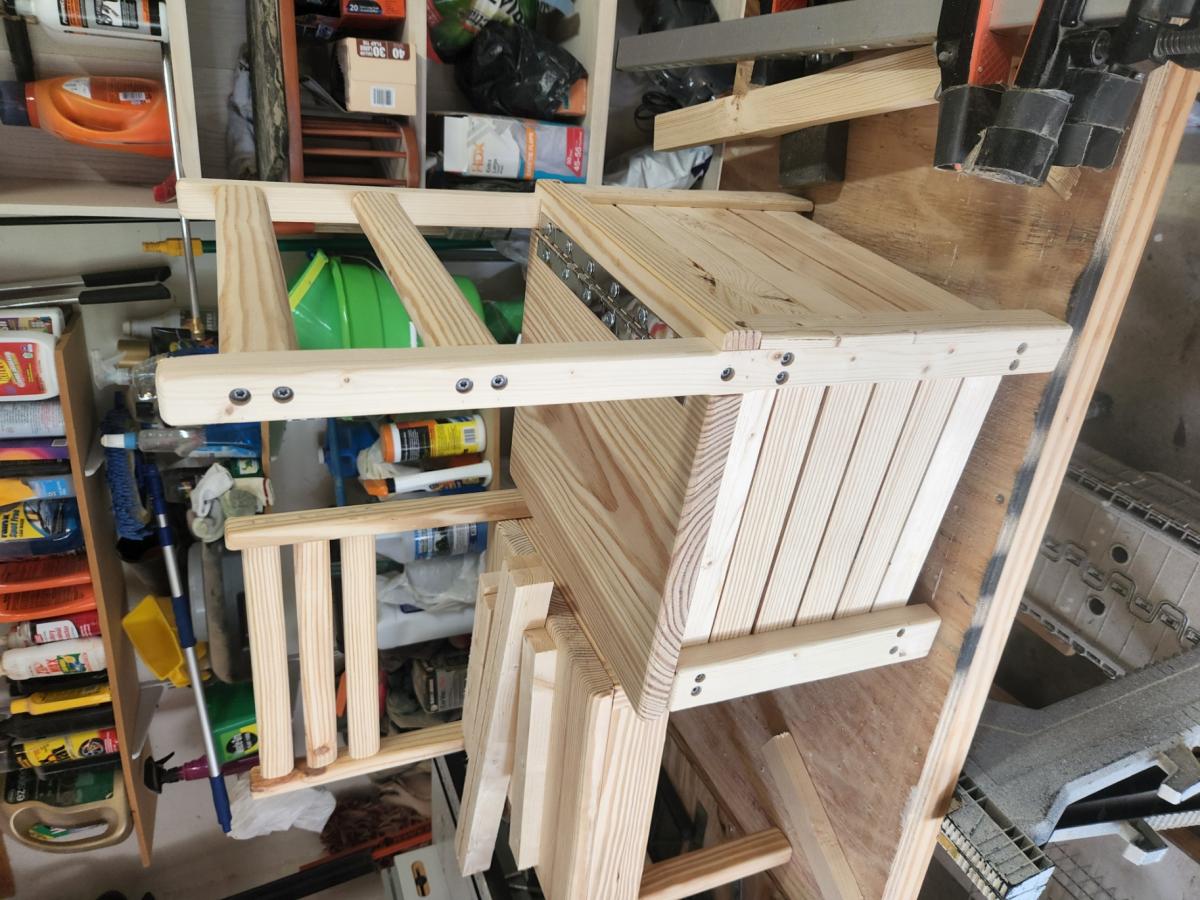
This was our first furniture project so we had to buy everything, which makes the project more expensive than if you have scraps laying around, but still totally worth it. My husband and I built two of these in about 3 hours. Sewing four of everything probably took another 2-3 hours.
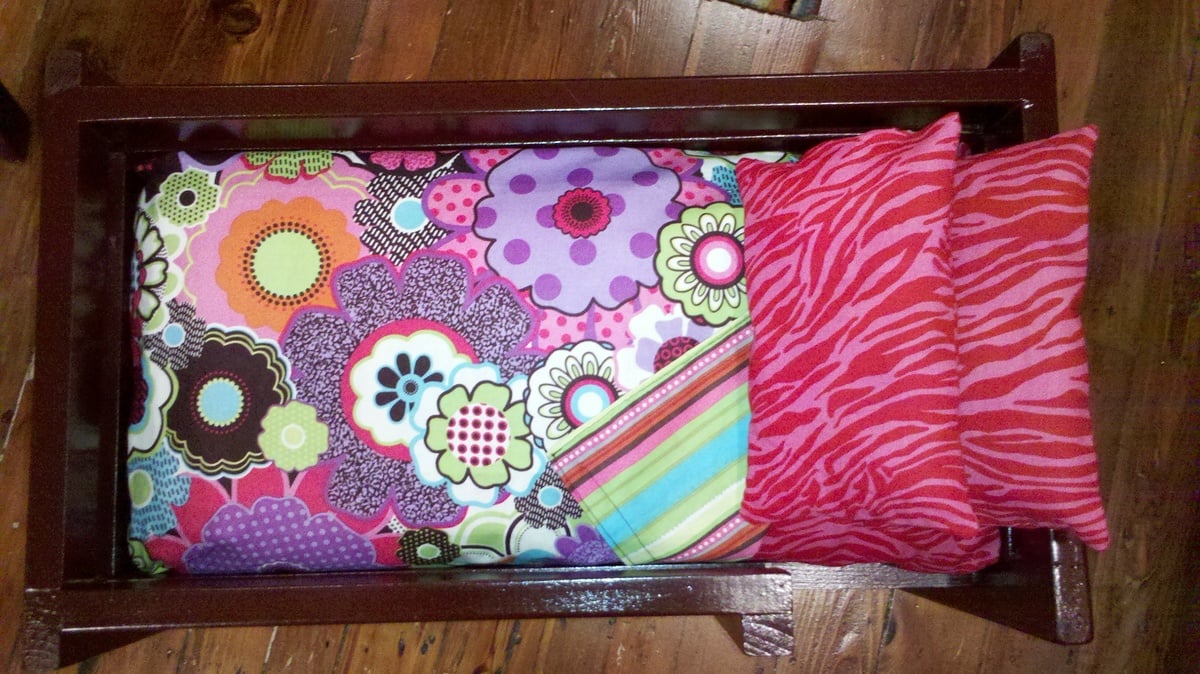
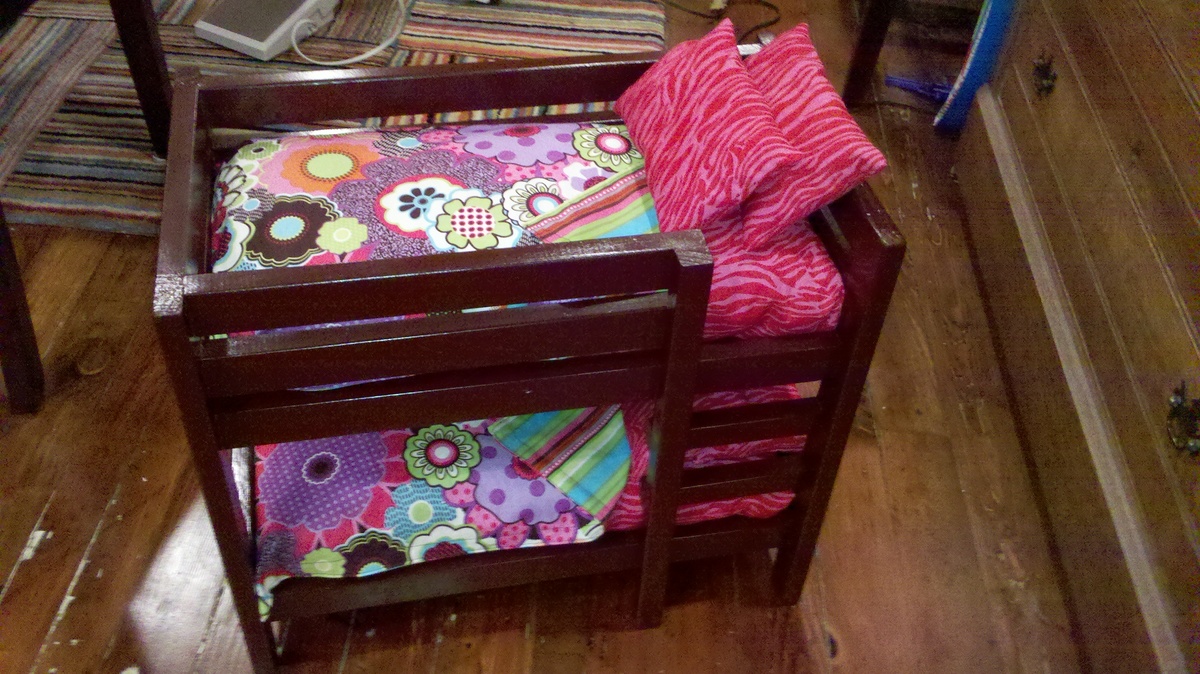
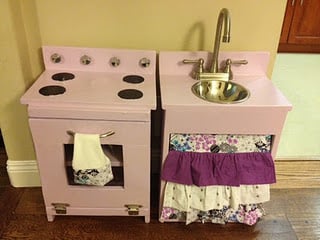
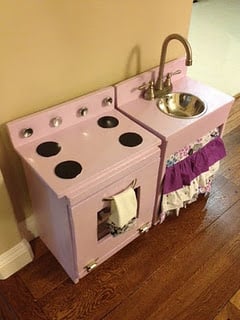
I made the blankets reversable - flowers on one side, strips on the other so she could mix and match as she liked. I think I am going to make a reversable pillow for each bed with the blanket fabric, but I haven't gotten that far yet. I totally misunderstood how much fabric to buy - I thought it was 1/2 yard for mattress and then another 1/2 yard for the blanket, but it's not, it's 1/2 yard for both so needless to say I have a TON of fabric left over. Since this project went so well we are going to build a doll table and chairs for Christmas so I figure I can use the left overs for placemats, etc. and carry the theme through the set.
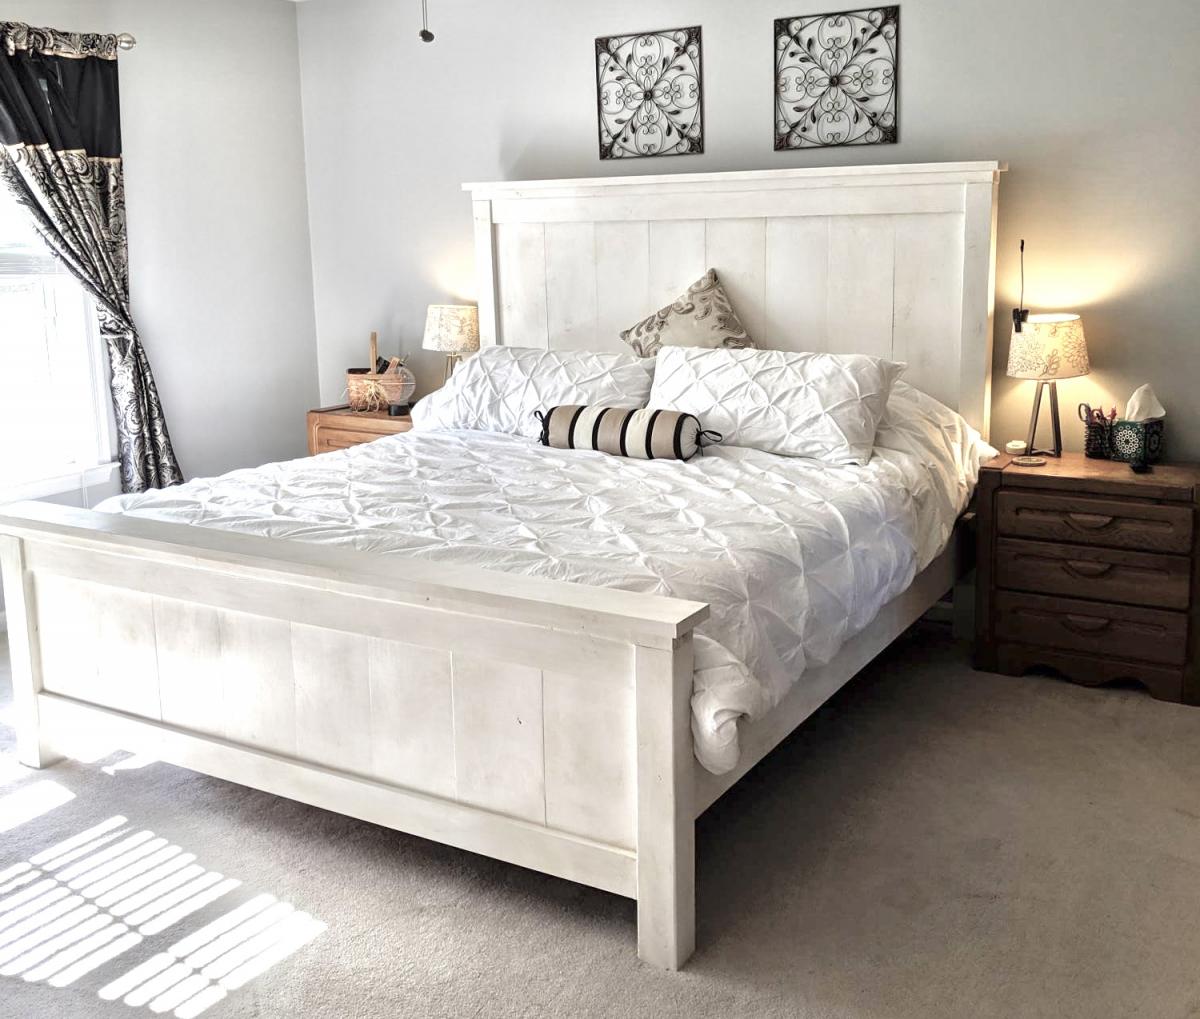
I love the way they turned out and I can't wait to give them to her for her birthday!!!


Comments
bozarthm1
Mon, 07/04/2022 - 18:26
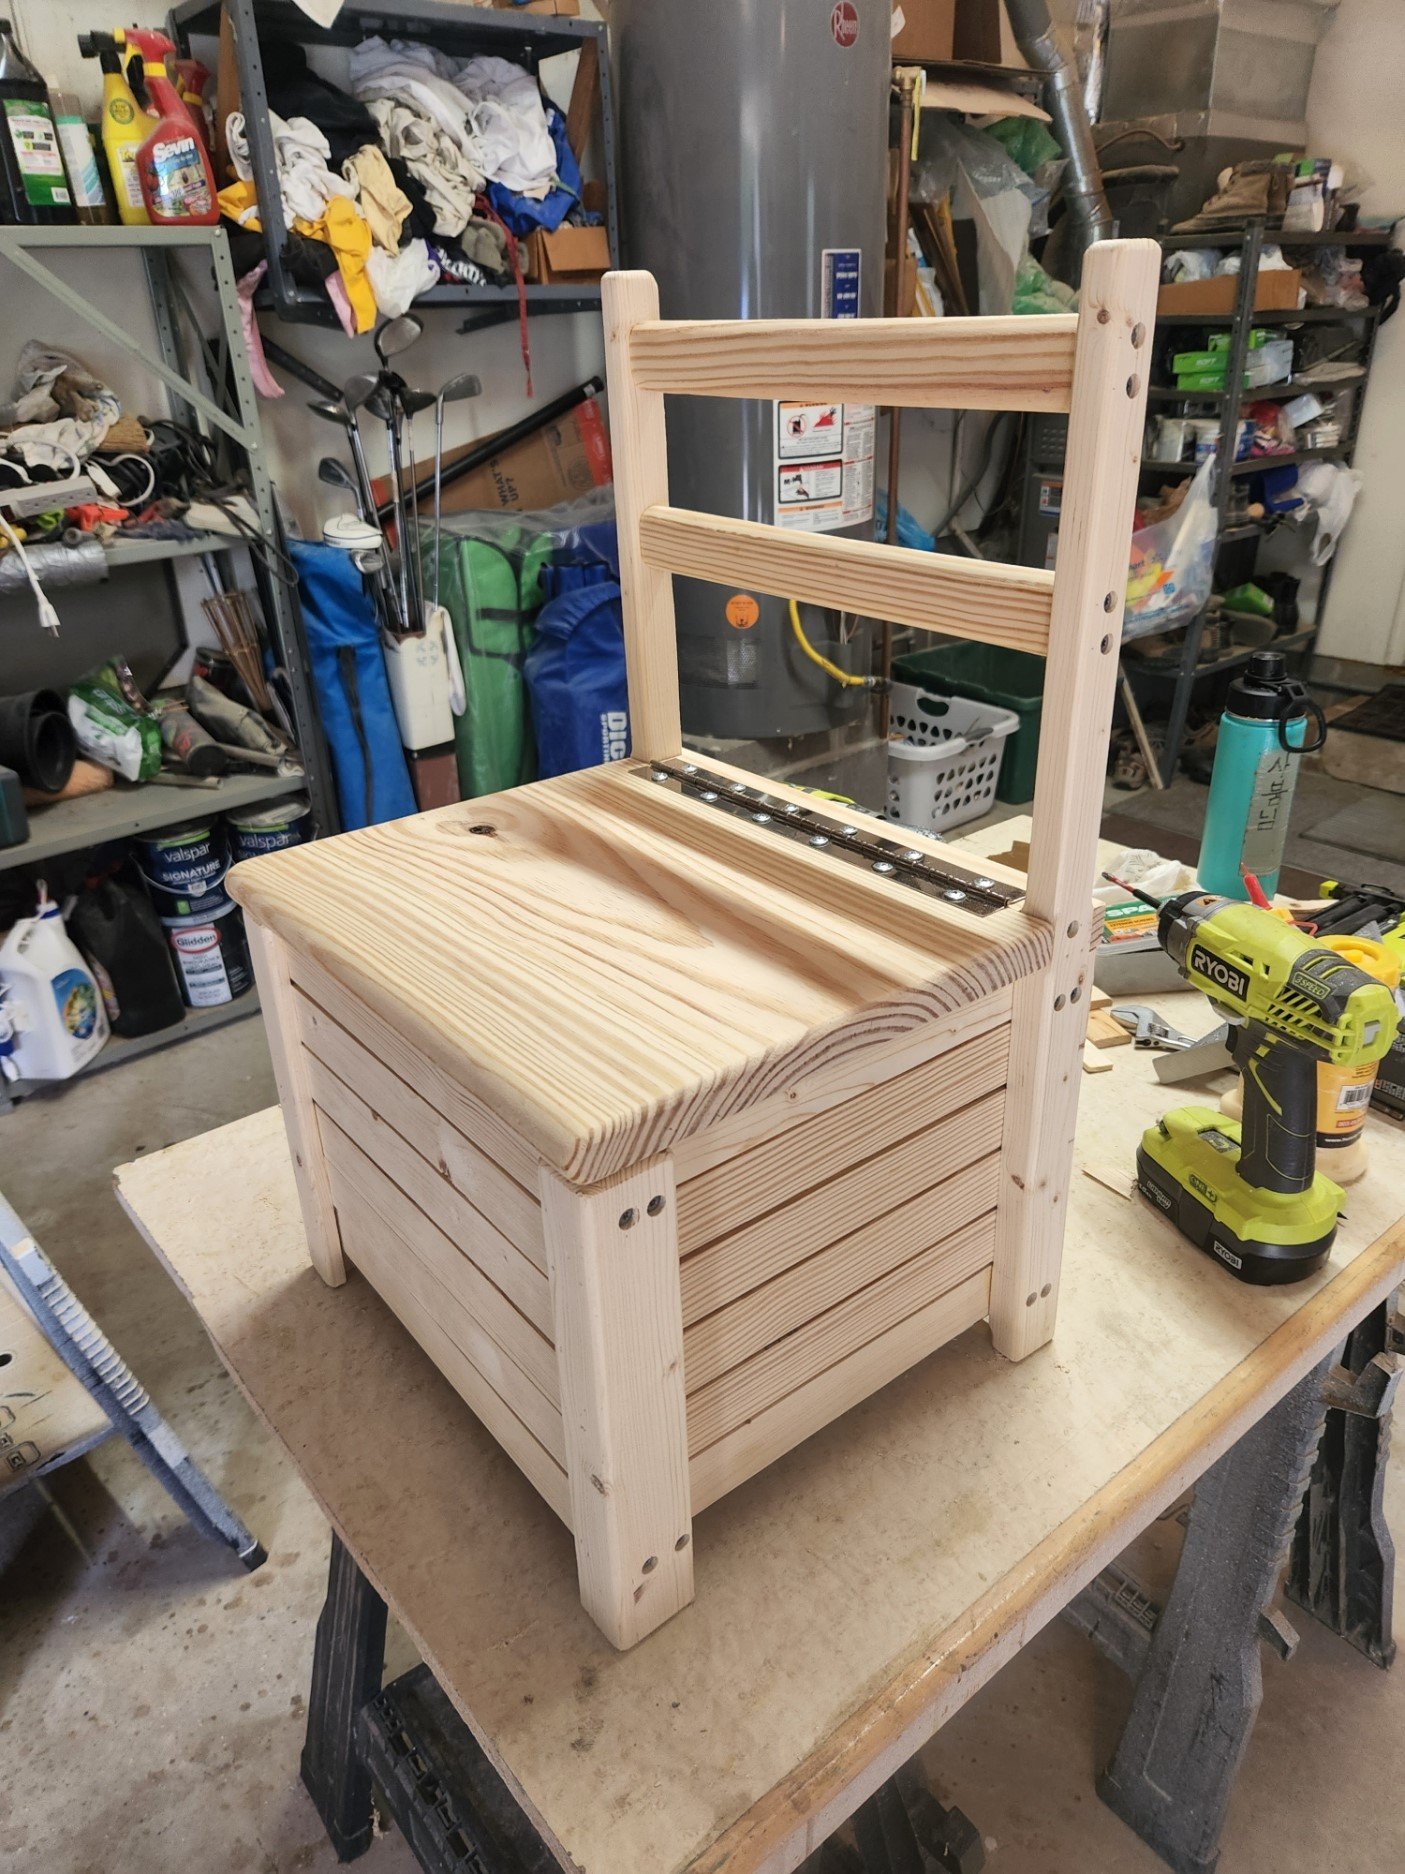
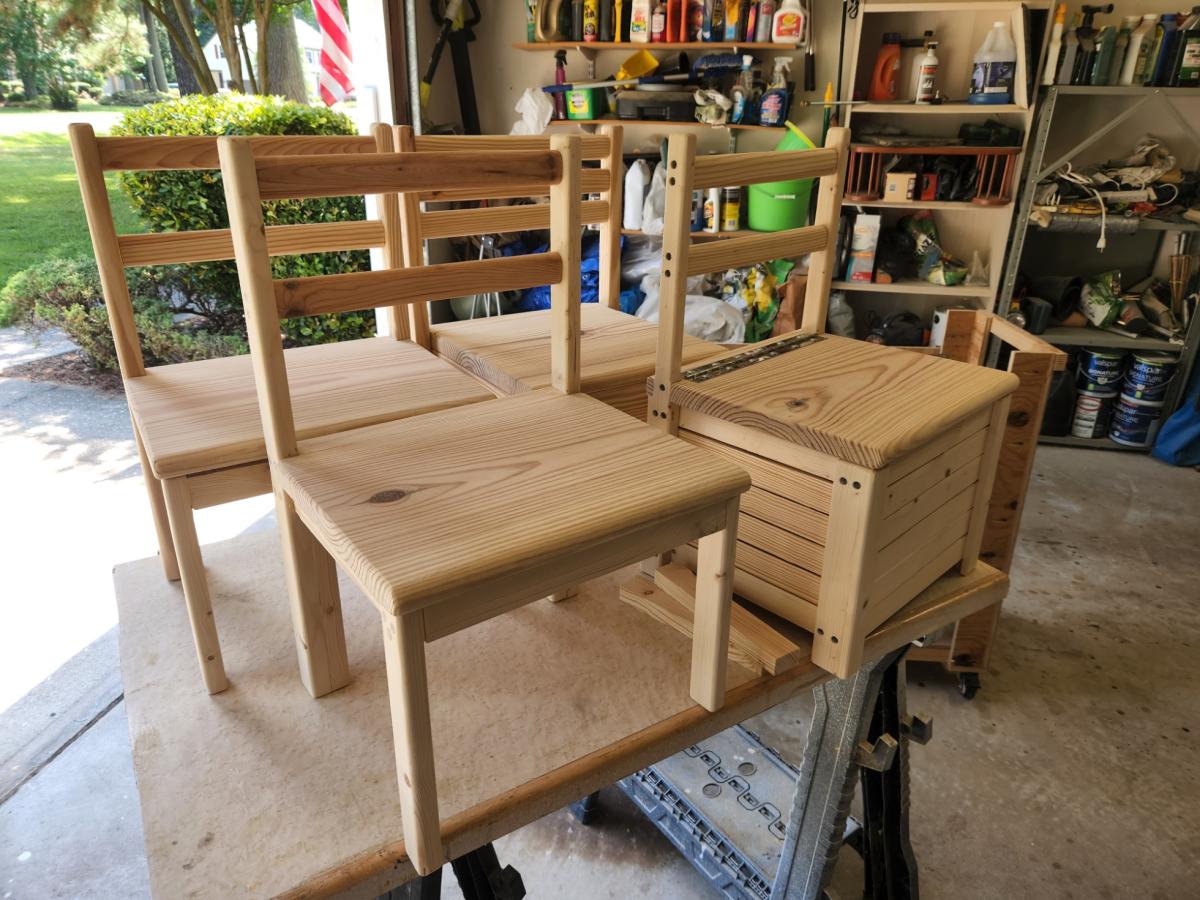
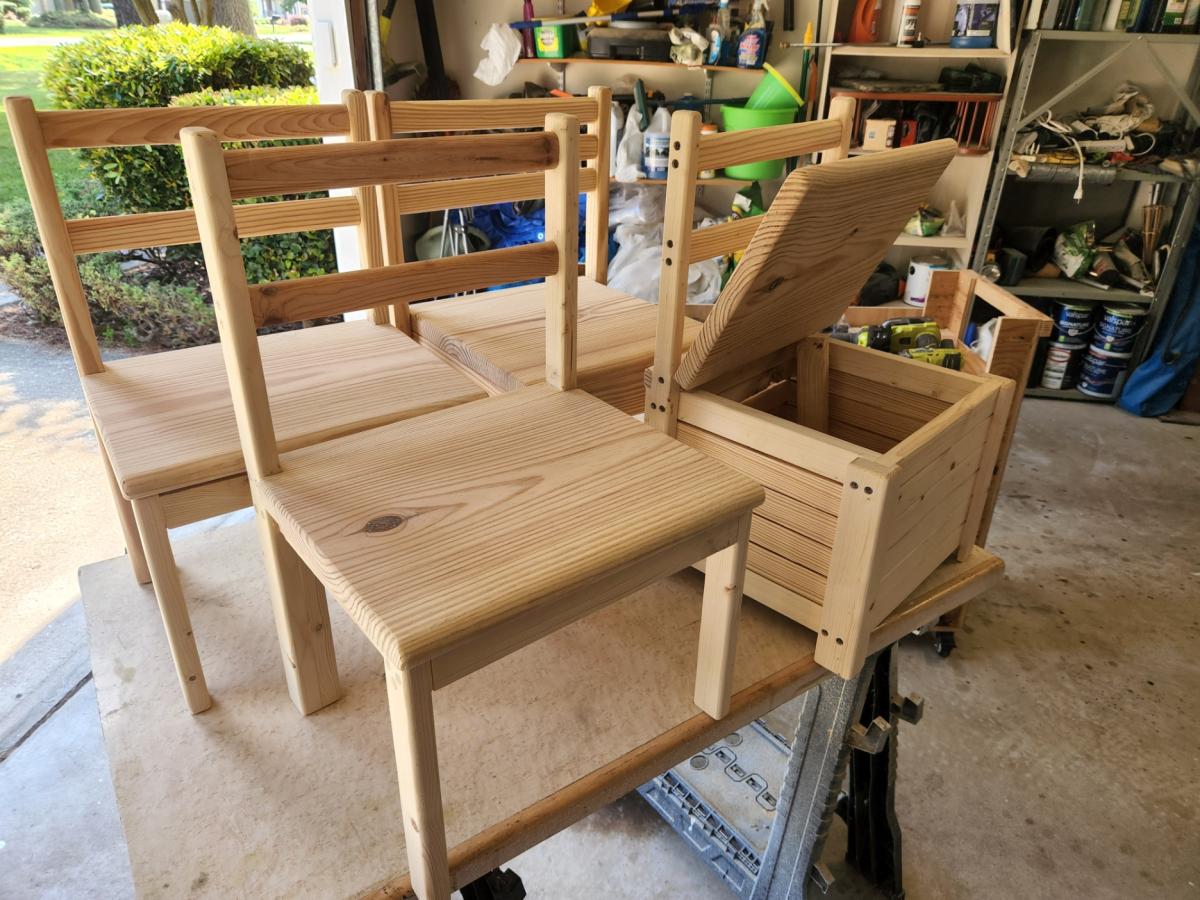
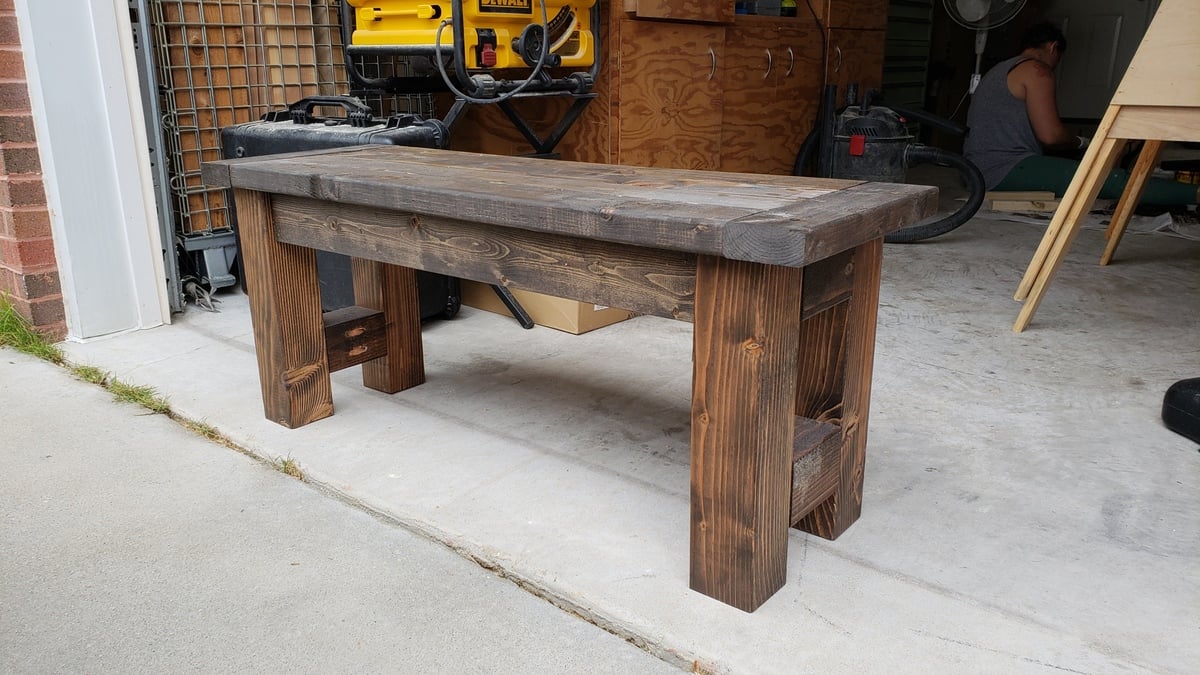
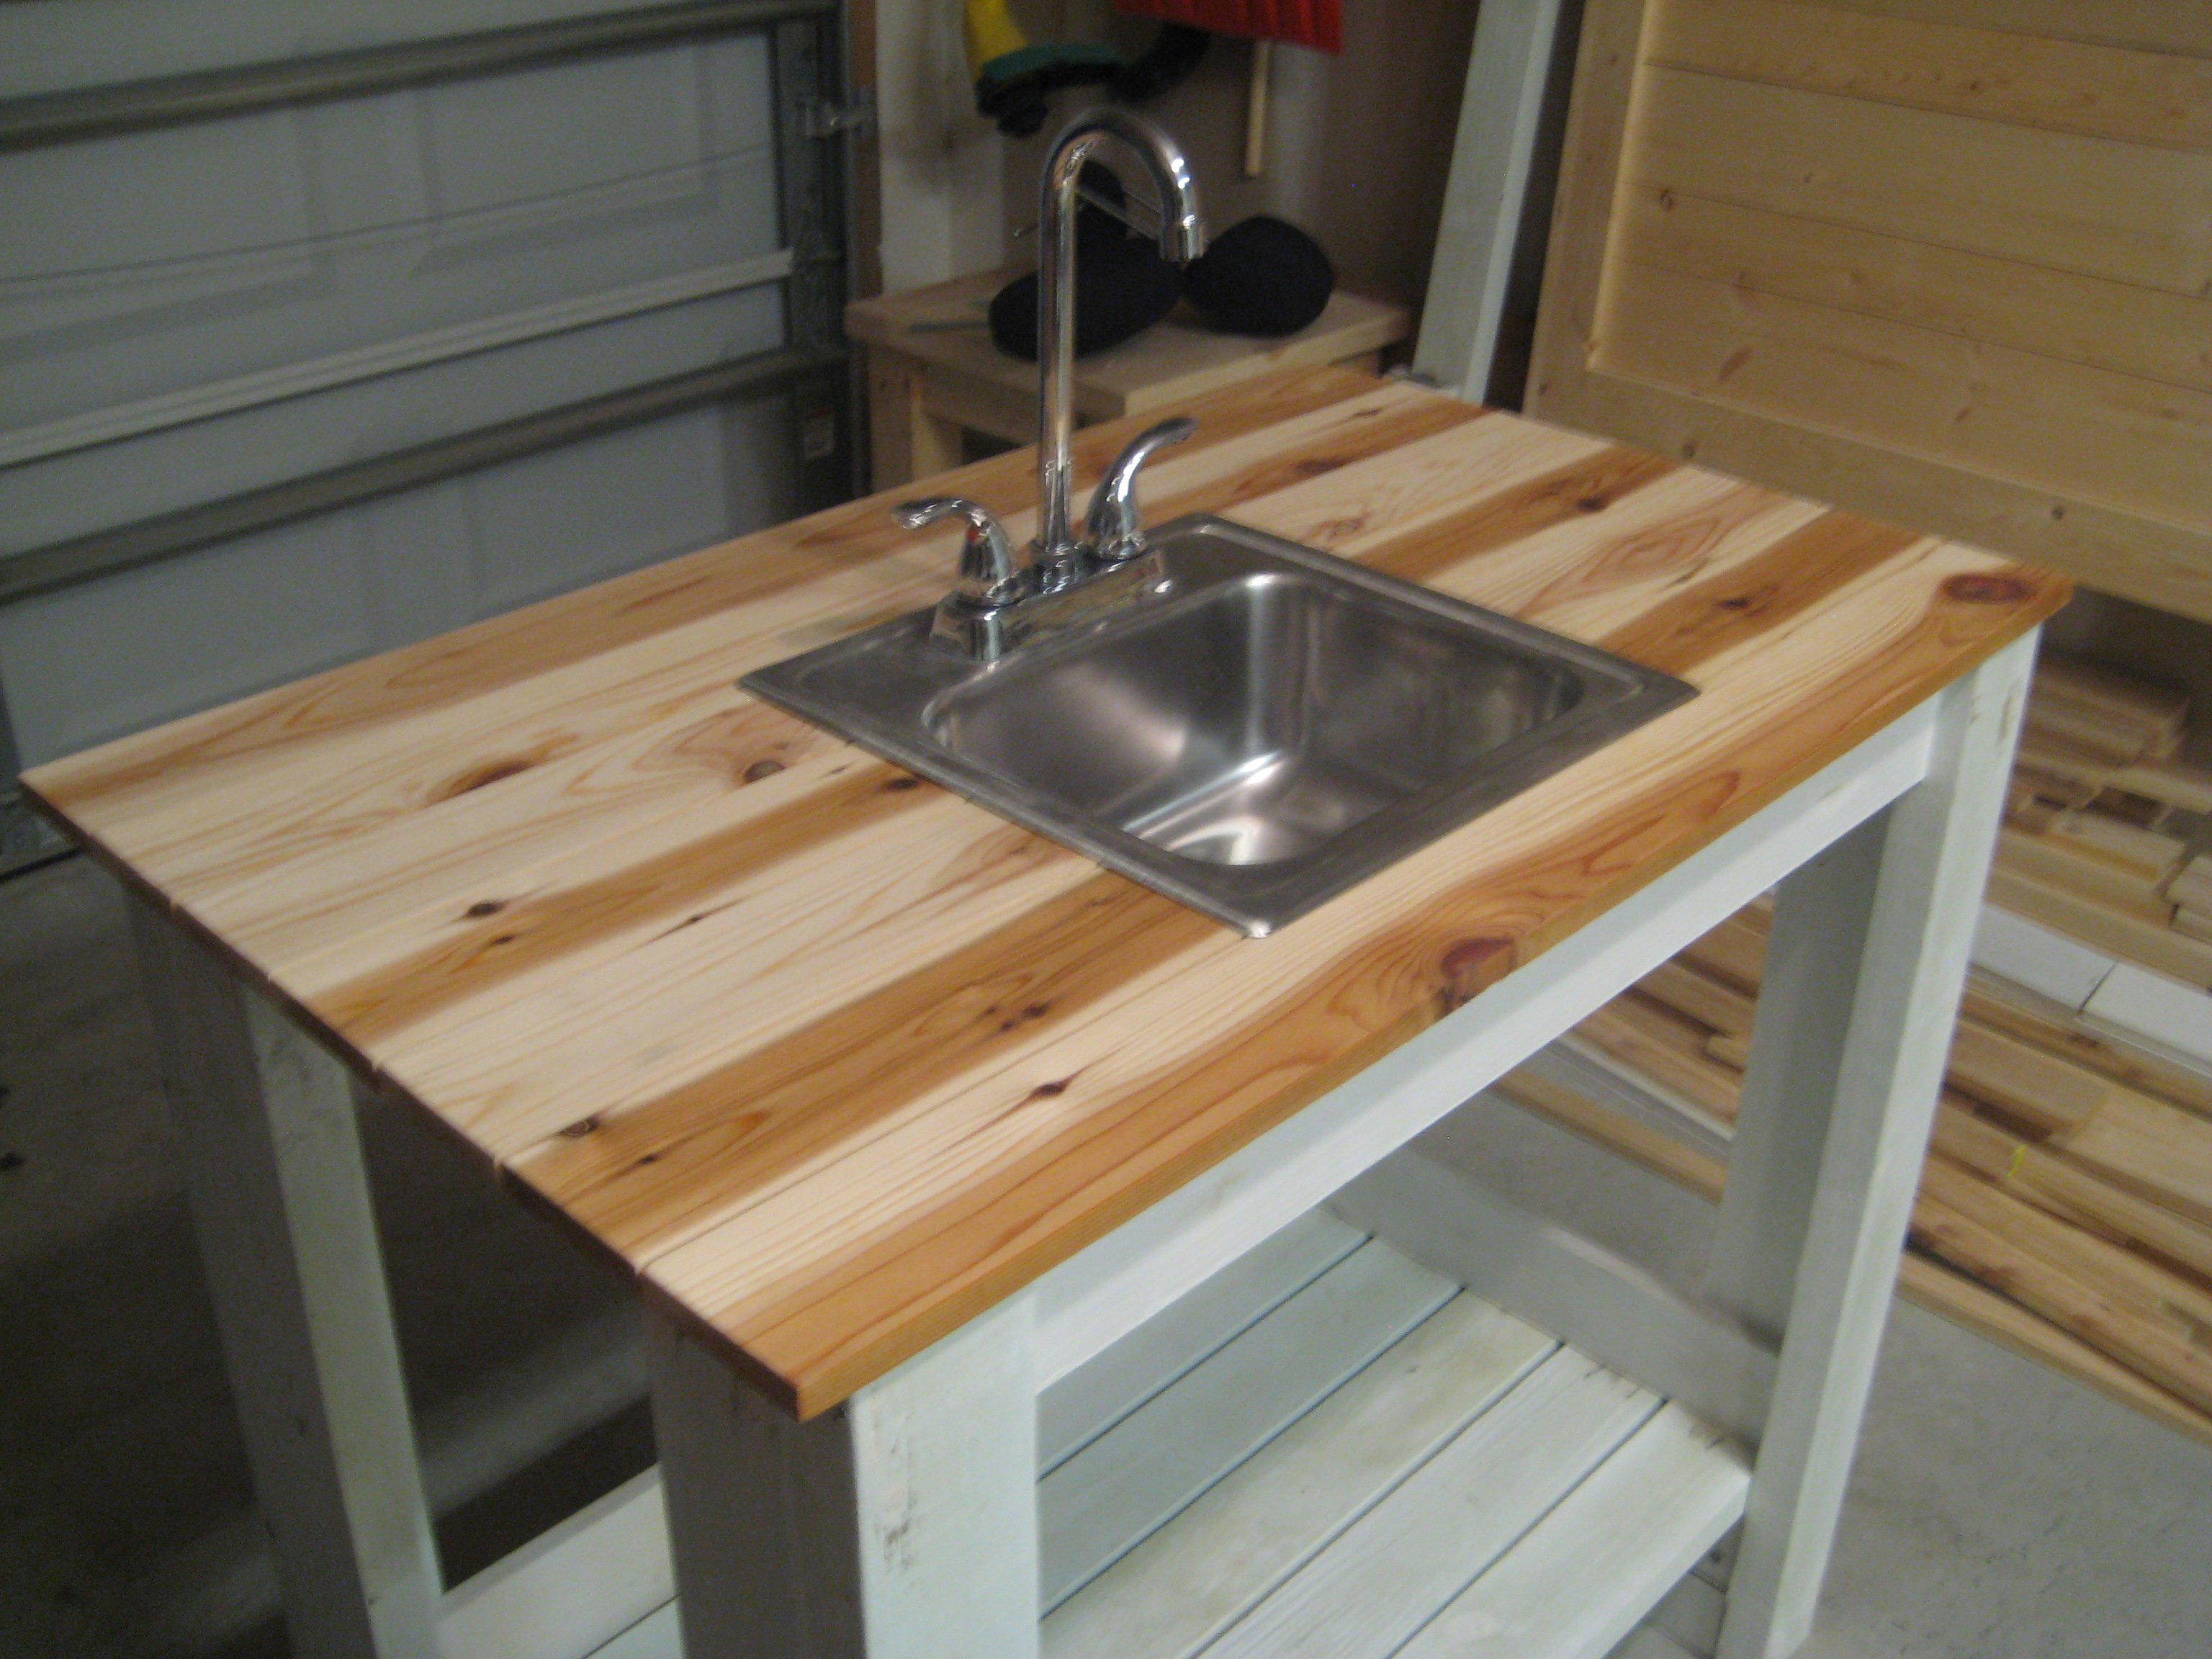
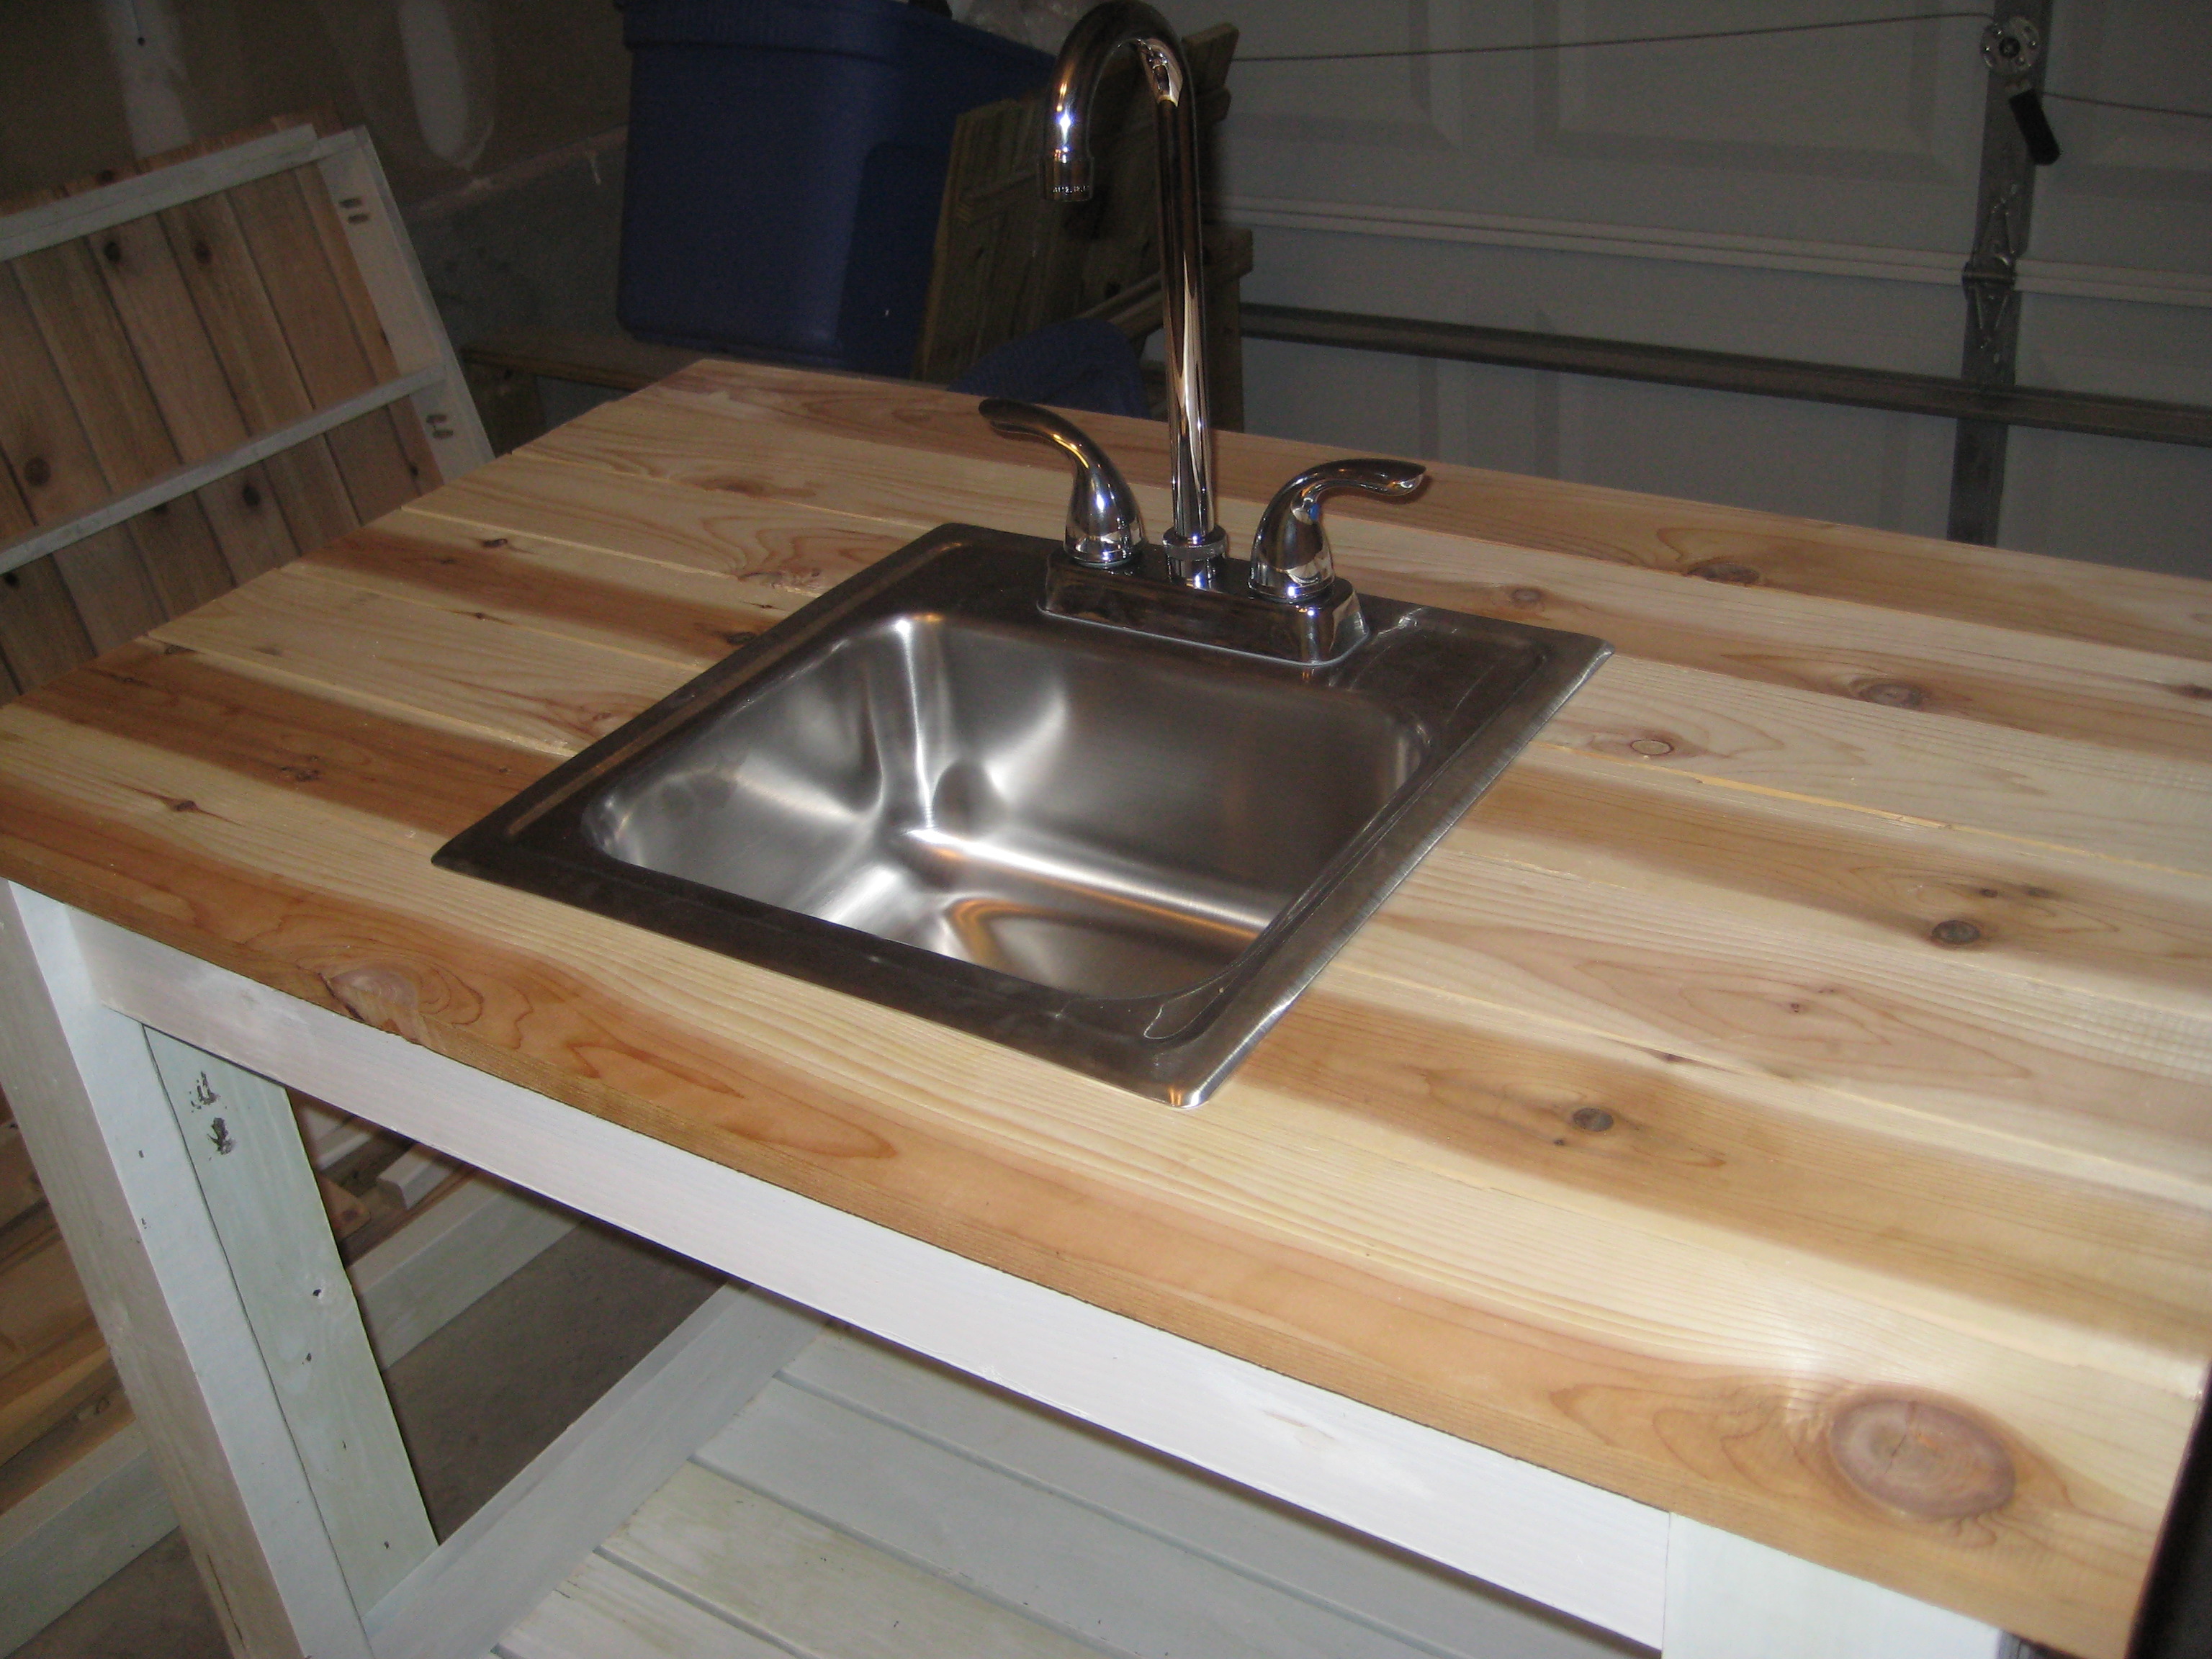
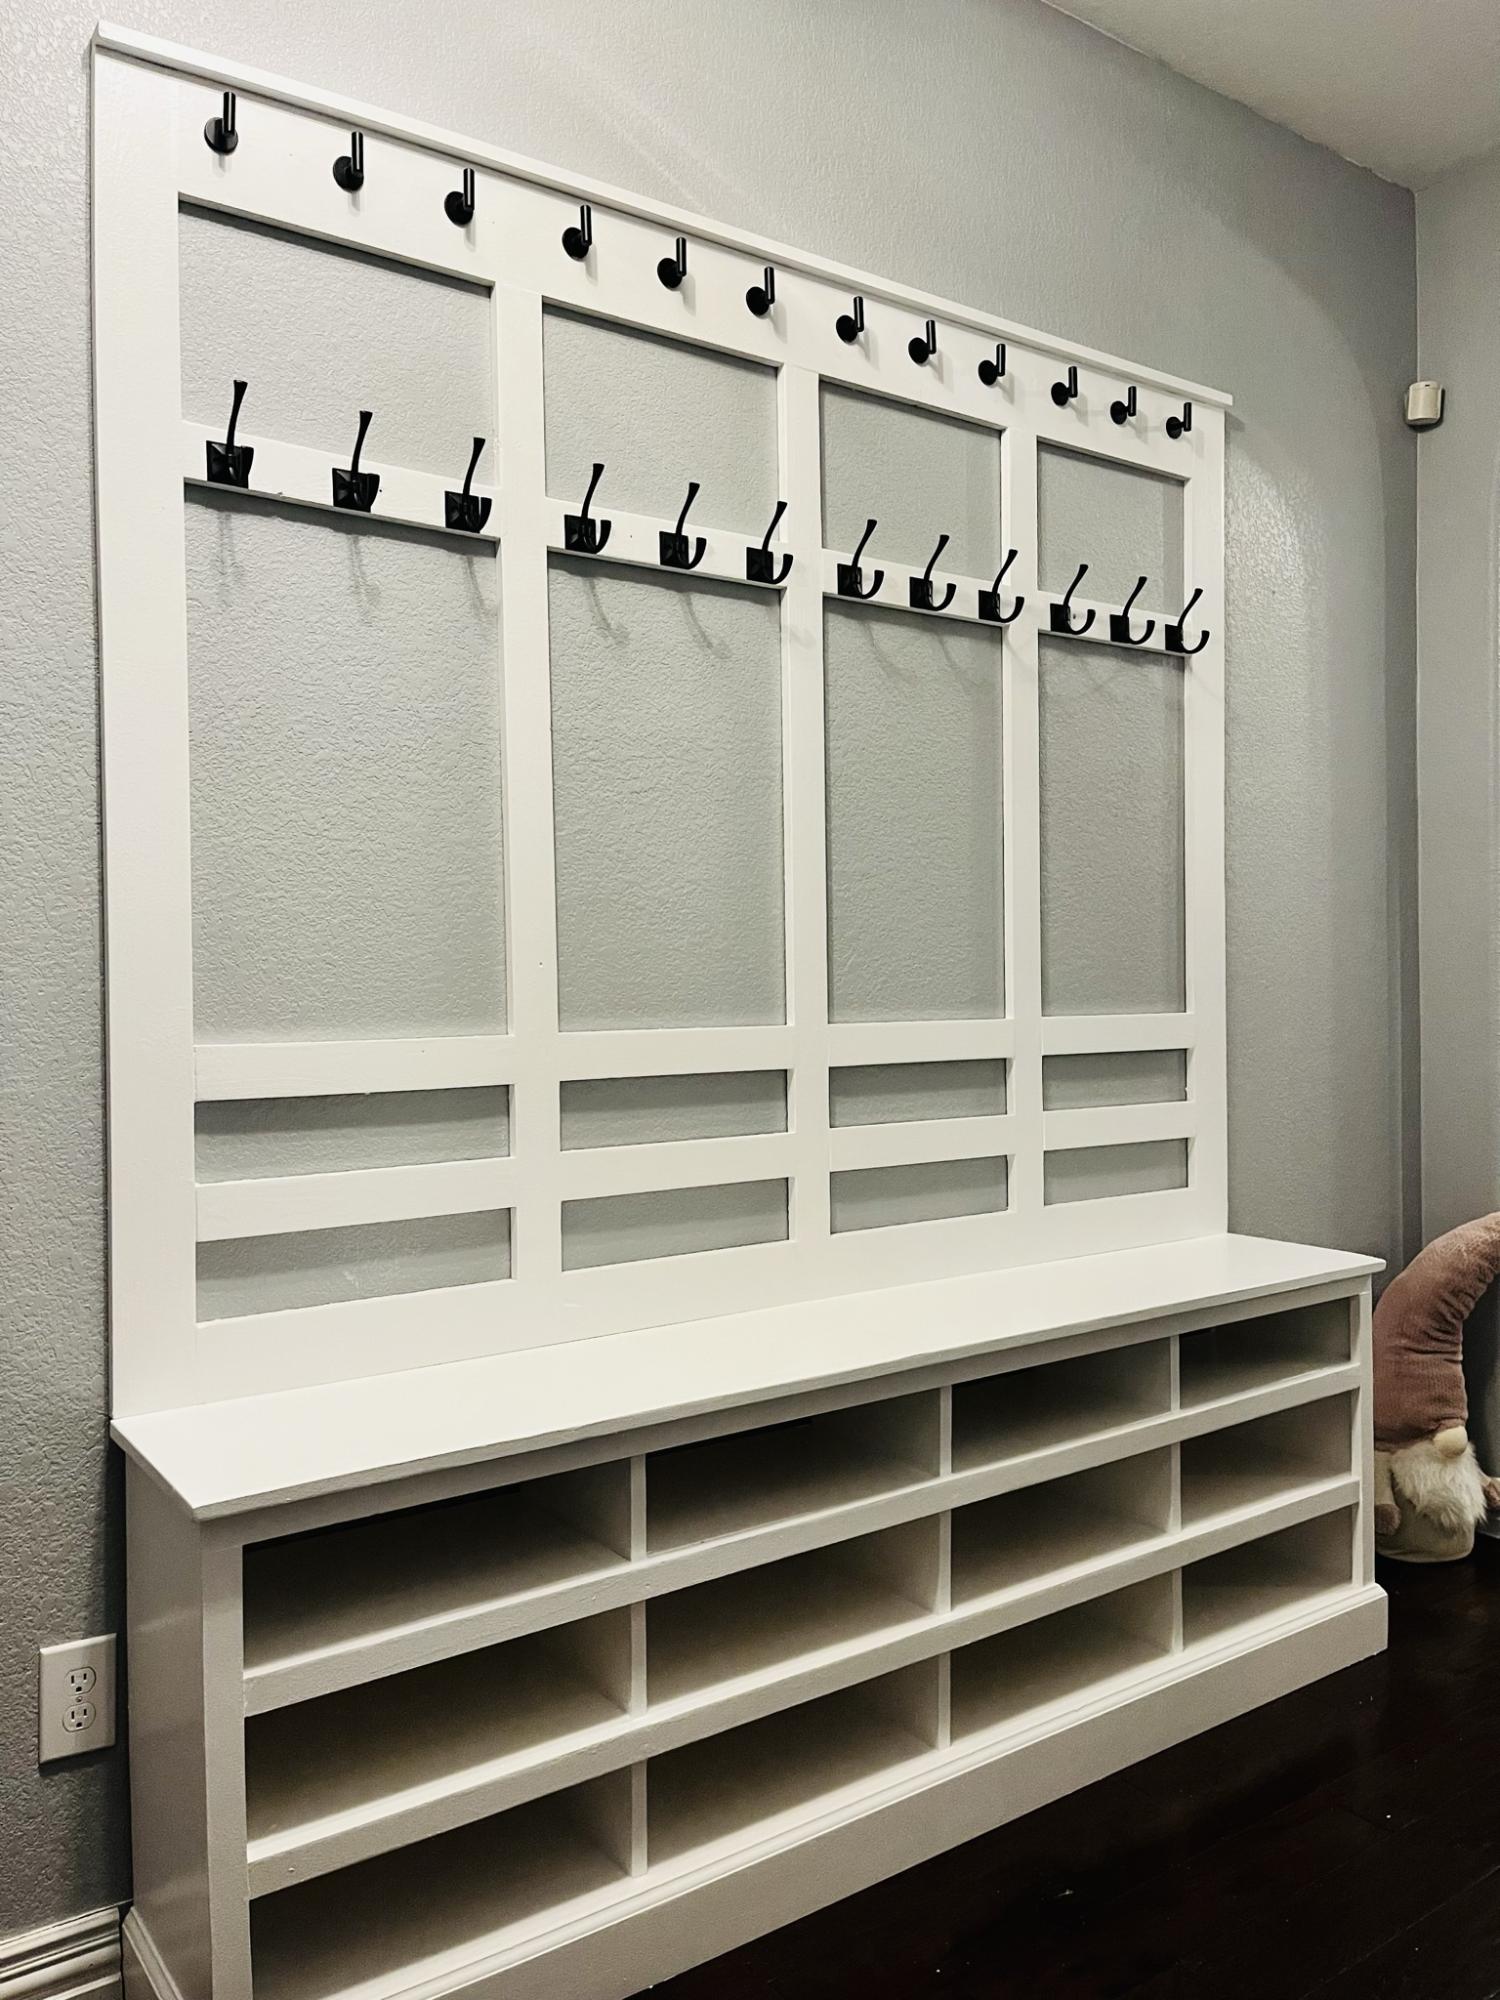
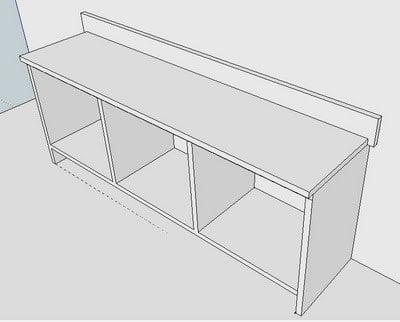
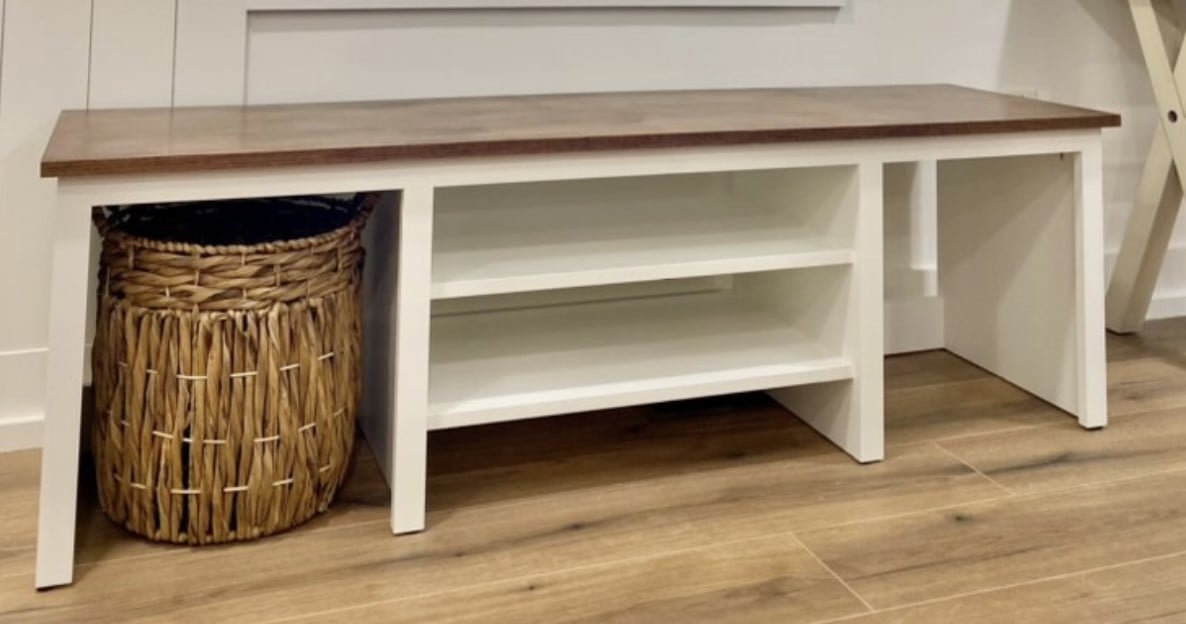
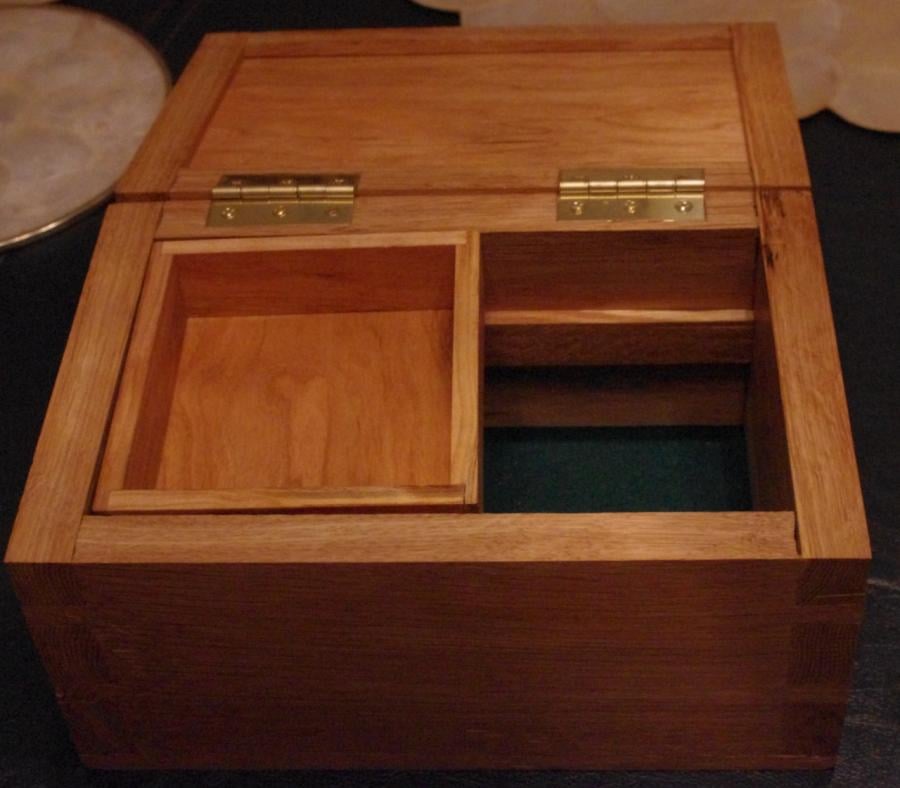
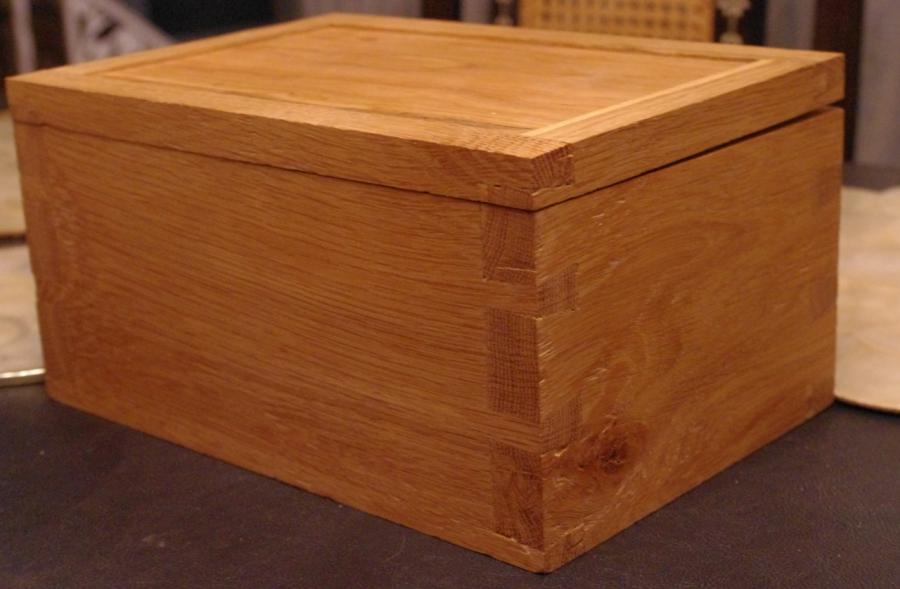
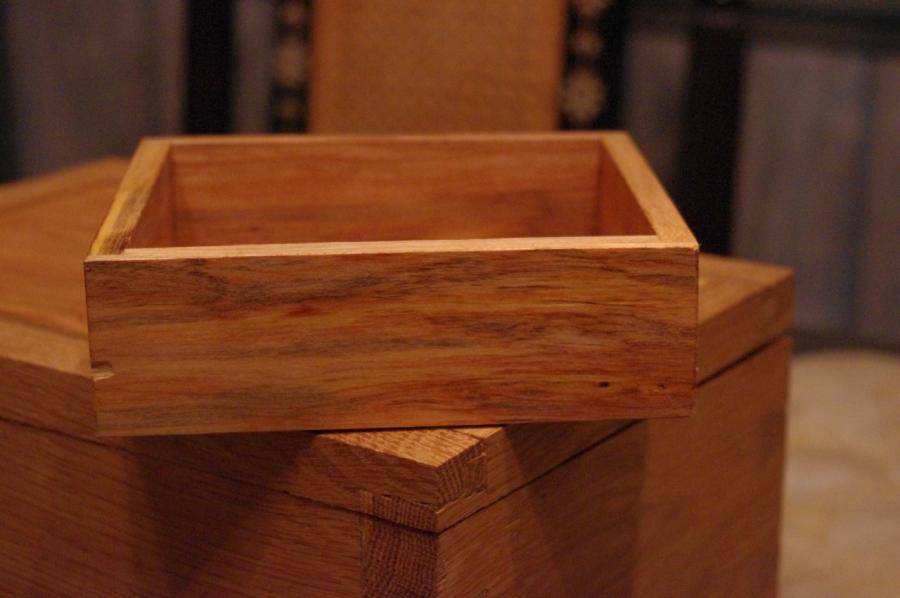
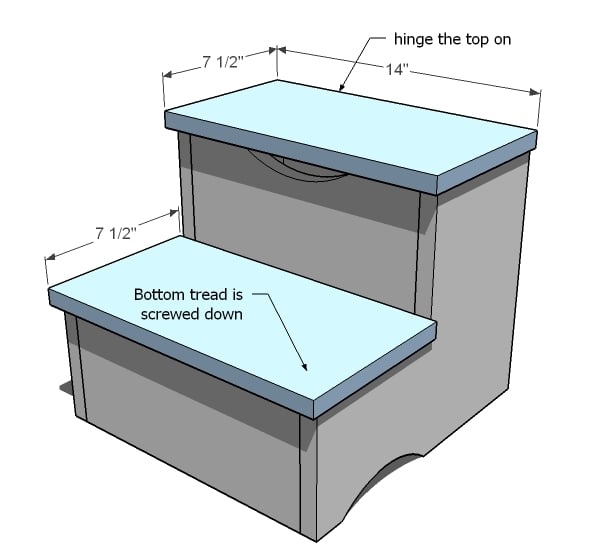
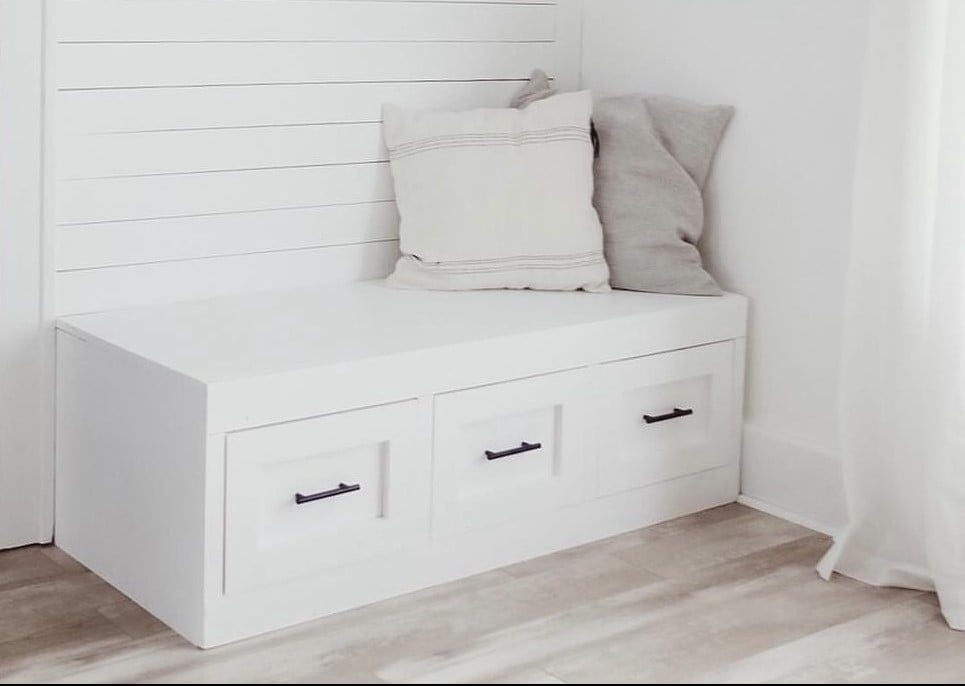
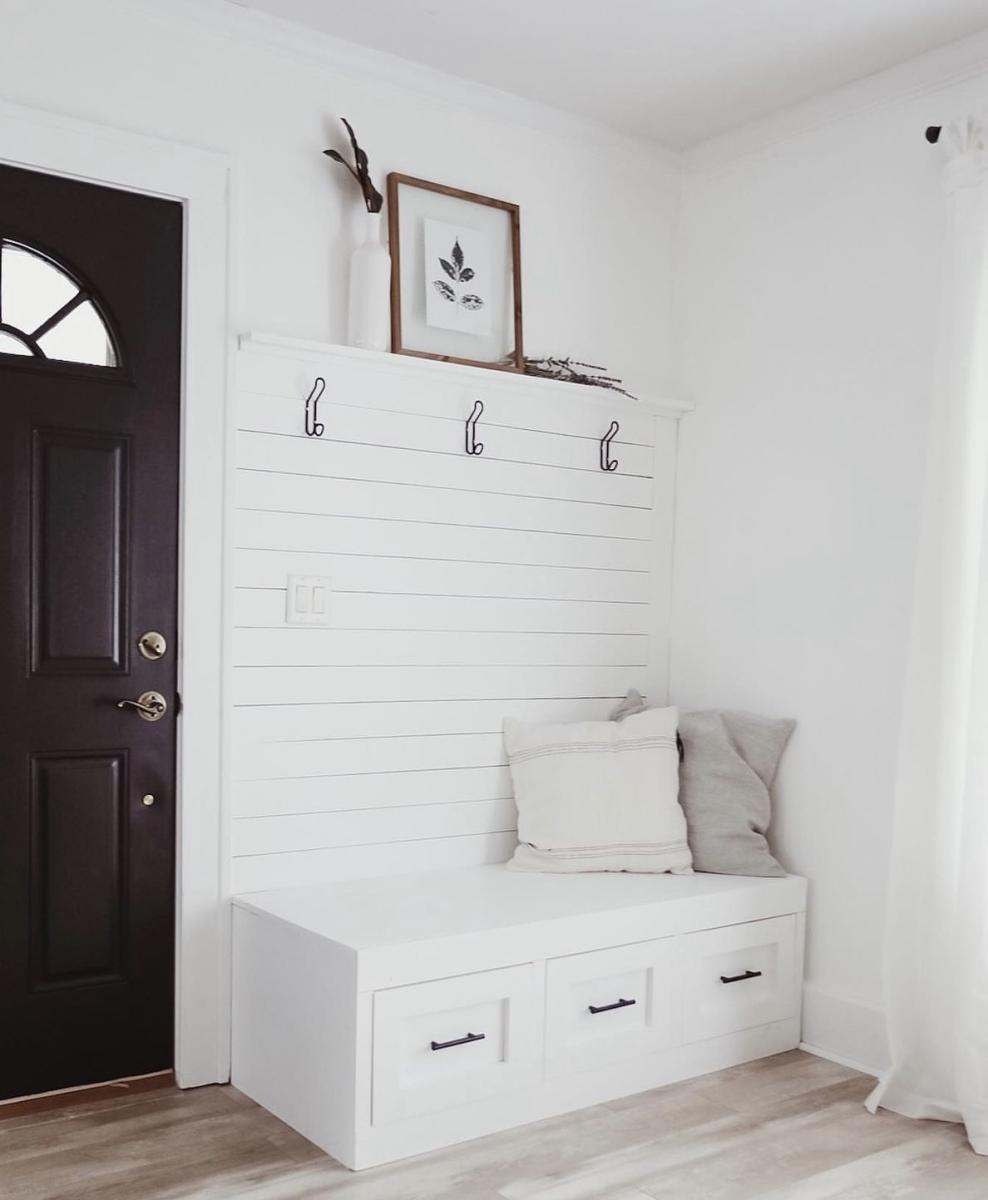
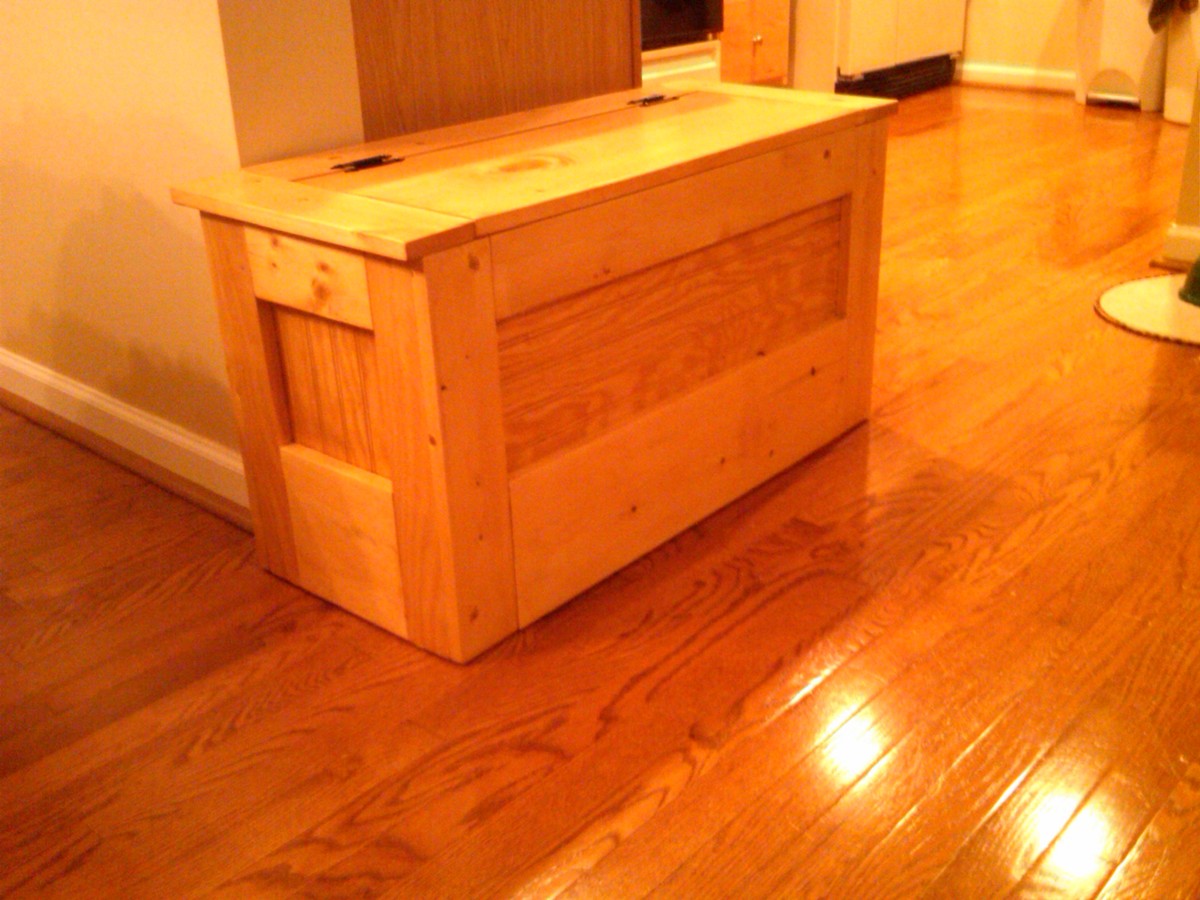
Built up the storage shelf…
Built up the storage shelf with some laths and added a piano hinge to the seat. Nice little toy box.
Ana White Admin
Tue, 07/05/2022 - 10:57
Love these!
Thank you for sharing, love the mods!