Snowflake shelf
I just loved this shelf that I made 10 of them for family for Christmas! We made the original size but decided to size it down by a third. :)
Built this from the exact plans given. Very easy to build and learned a lot. Built whenever I had time after work
Your outhouse design was modified for a snowmobile club project as the building needs to be towed across a lake to a site next to a warming shelter. An LED light with a timer switch and solar battery charger were installed to provide light in a remote area of Lake of the Woods.
A steel hitch and skids with hyfax were added to the design.
Thank you for providing a design that allowed us to make modifications for winter outdoor recreation accommodations.
When I saw someone post this sand box request on Ana's facebook page, it was like the sand box of my dreams! Our backyard is a work-in-progress, and we're constantly in different areas, so I knew that I would need a much smaller, transportable size. When the back yard is finished, I'll definitely build the full-sized sand box... But until then, I've got this 2' x 2' box, some sand in an IKEA bag, and a happy little toddler, who cries every time I try to close this to get photos. :-)
Wed, 10/19/2011 - 08:45
Awesome sandbox, may have to try this in the spring. I am home on maternity leave (in Canada where we get a year) and luckily managed to score one of those happy, content babies who don't need a lot of my time... so I am bored to tears and looking for projects. I found Ana's site which lead me to your sandbox and the picture of your gorgeous little girl crying when the sand box was closed; that made me laugh so much I had to comment; too cute!!
You and Ana look like the Charlie's Angels of DIY! Thanks for the pictures, inspiring.
In reply to Awesome sandbox, may have to by Andy O (not verified)
Thu, 10/20/2011 - 14:08
Your comment about the Charlie's Angels of DIY TOTALLY cracked me up! I LOVE THAT! Wouldn't really say that I'd make the cut, though... But thanks!!! :-)
I'm SO jealous of a year maternity leave. My baby was also VERY undemanding, and I built my first project when she was 5 weeks old. Yay, go us!!! :-) I'd love to see this if you do build it! What other projects are you planning?
Thanks to Ana White we learned how to make these cubbies. The wood for the stained bench is from trees milled from my husband’s family farm.
Using the Farmhouse Vanity plans as a guide, I built this enclosed farmhouse vanity out of a neighbor's old cedar fence and topped it with leathered granite and a ReStore sink. The finished vanity is amazing! For more, check out my blog.
While mine is not as good as some of these projects I am pretty proud of it.
I came some 12"x1"x18' (Actual size) redwood planks that were removed from the roof of a building here in town, built in 1876. Essentially these were milled over 125 years ago. You can still see the the blade marks. I did not want to shorten the planks too much so I built this table, just made two frames. I used rough redwood 2x4 and 2x6 for the frame. I made it a little taller.
Its the highlight of the back yard, we have dinners out there regularly now
Sun, 05/19/2019 - 16:42
Sounds like a wonderful table! I'd love to see a photo - if you have a chance to upload!
Tue, 05/21/2019 - 12:41
Is there a way to add a photo here or do I add a "Brag Post"?
Tue, 05/21/2019 - 12:54
Using the Barn Door Pantry plan, I partially built this in my shop then took it apart and transported it to my son's house where we reconstructed it. This is a massive project and I recommend that you have enough room (and help) to build it and move it. The door is built with 1/2 inch plywood, framed with 1 by 4's with bead board inserts.
Sat, 03/18/2023 - 19:18
Very pretty and functional, what more can you ask for! Thanks for sharing:)
Our dear friends built us a pergola over the summer and I wanted a big outdoor farm table to go underneath but had no interest in spending thousands on one already made. So, thanks to Ana White, I found the directions to making this 'anthropologie knock-off' for under $200! We made ours 10' long by @46" wide. And I included support boards on the underside of the table top for additional support and to try to address the fact that one of the boards us a little warped. It's not nearly as beautiful as our pergola and still needs to be stained/treated, but I can't wait for next spring and summer when we can hang and laze around out here! I'm so proud of us. Thanks Ana!!!
Storage bench using Shelf Help by Judith Noffz
"What can I say … we love Ana White’s Shelf Help Now.
We both love the quality of the wood. You just can’t find that around here. I love that I can create what’s in my mind with a drawing and rob can take her template and build!!!"
I decided to make beds for my kids after looking at ones to purchase that all had bad reviews about the sturdiness.
Thank you for providing such comprehensive plans here. I have never built anything from scratch before, and this project was a lot of fun. I'll be starting a second one this week.
Mon, 05/01/2023 - 08:25
You did such a great job, thank you for sharing and tagging on social media!
great plans, thanks! a girl can do. used scrap 2x4s from a concrete pour for the bar stools (ran them through table saw) and leftover 2x12 cutouts from pool deck framing so they are not as perfect as with new wood but it’s great to recycle
for the outdoor chairs I used scrap 2x4s as well but for the seat went with new 1x4
My first project using Ana's plans. Quite a learning experience with a few rookie mistakes but all in all I think it turned out pretty ok.
I followed the plans to the T. Trusted my lumber yard to make most of the cuts since I was not really equipped and that was a HUGE MISTAKE. So I went out, bought some tools, recut some boards and whatever mistakes I made, at least they were mine.
I followed other people advice on this site and added some casters under the boxes after I screwed them together. Makes it a lot easier to move around.
Thank you Ana - your website is truly inspiring.
Fri, 01/06/2012 - 07:35
Thank you:) I ordered the mattress online - Futon mattress - can't remember where from though... But for $118 I'm REALLY happy with it!
In reply to Thank you:) I ordered the by SophieW
Fri, 01/06/2012 - 08:34
Oh, ok, that was smart! I wouldn't think it was from a futon as it's pretty thick. Love!
I built the Channing Snack cabinet as a Christmas present for my husbands "man cave". It's bigger than the plans outline in order to accommadate the larger "mini-fridge" I bought from Target. He absolutly loves it and it looks like a piece you would get at a real furnature store and not something I built in my barn at night.
Thu, 01/12/2012 - 20:40
Love it!!! Gorgeous finish, what a sweet gift for the hubs man cave!
Sat, 01/14/2012 - 19:12
I love this! So fun. I love that you built this in your barn for your hubs mancave.
That makes you sound pretty cool!
Sat, 01/14/2012 - 19:34
Hey..that amazing. I have a brother who own a mini fridge in his room. This will look nice for him to put his mini fridge. It will also look nice if can add a door to it.
I made this bookcase out of solid hard maple lumber. The project was more expensive because I chose to use this wood. It also took more time because I had to do a lot of sanding in order to finish it with shellac and paste wax, but I think it was worth it. I altered the plans and made the bookcase 5' tall instead of 6' as it would have been a little large for the room I put it in otherwise. I used a kreg jig to create pocket holes on the undersides of the shelves so that I did not have to drill and make holes on the sides of the bookcase. I also used L and T brackets on the back to hold the whole thing together.
Tue, 01/24/2012 - 10:12
I really like this. I made a similar set a while back out of pine, because I needed a lot of book storage in a hurry, but nothing near this nice.
How is the side to side stability? I found a need to put bracing along the back, which also served to keep my books from falling off when the cats push up against them.
Tue, 01/24/2012 - 10:46
The side to side stability is pretty good. It'll rock a little bit, but it's really quite sturdy. The L and T brackets in the back helped significantly with the stability.
I combined the full-sized Hannah canopy bed plans with the Farmhouse Storage Bed with hinged footboard by birdandsoap here: http://ana-white.com/2011/07/farmhouse-storage-bed-hinged-footboard . Decided not to taper the ends of the 2x3s. There's so much storage underneath!
My granddaughter loved the console table she saw in your plans. Together, we made it! The same one at Pottery Barn was $1,299.
Nicole Stevens grandfather (pasta Joe)
I loved your farmhouse bed , so decided to make my own , but with wood wat is available here(Philippines) the post and the frame is made of Mango wood , the tree fell down during the typhoon, so I made boards and beams out of it , for the headboard and also the footboard used Moldave/Mahogany/Ipalipal/and a few kinds I don't know the name
My wife and I came across this site 2 years ago and immediately fell in love with the loft beds. I have never done any kind of project like this and really wasn't sure if I could do it. I'm an IT guy, so the idea of fumbling around with power tools was a bit intimidating.
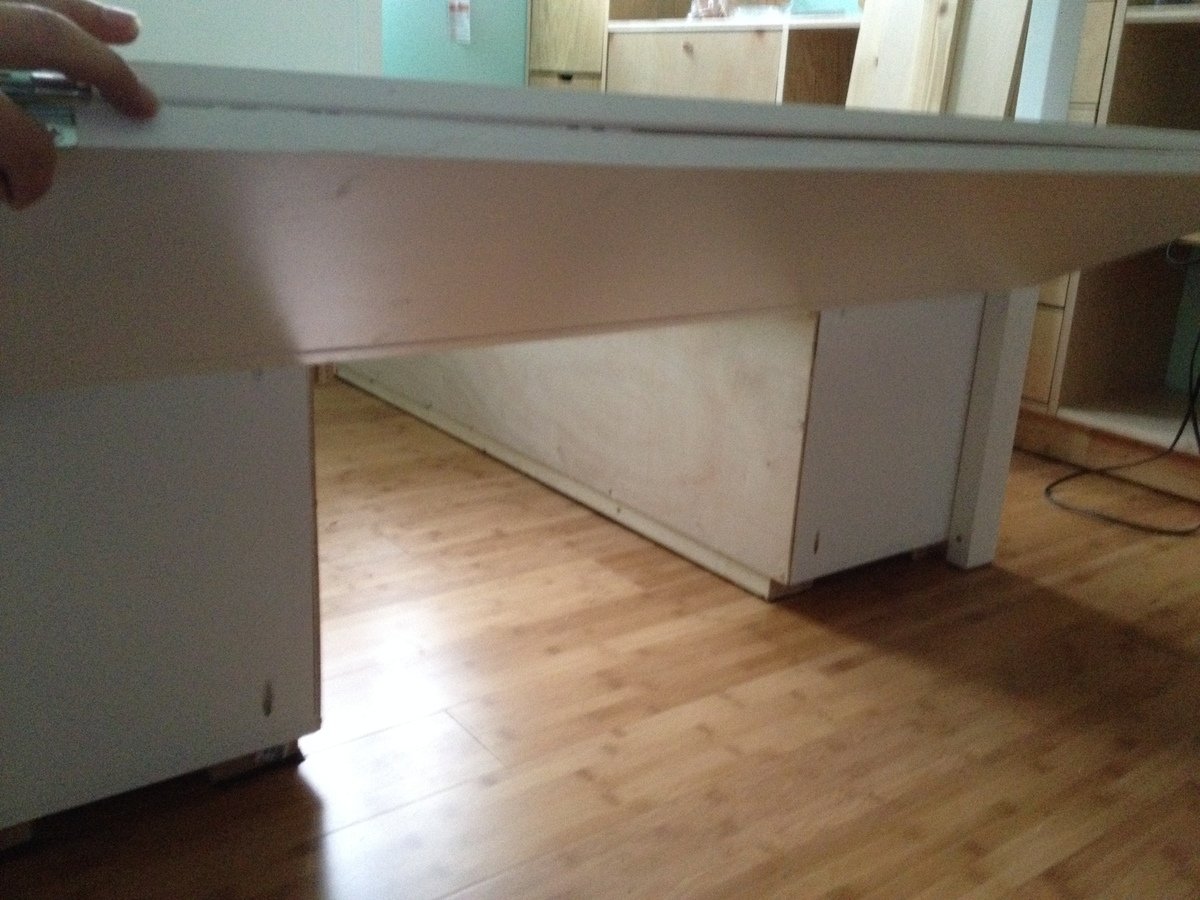
I decided to give it a try this year, 2013, as a Christmas present for my two girls, ages 9 and 7. I bought a chop saw and circular saw, had the wood delivered and proceeded to take over the garage. Following the plans, I started making my cuts. Made a few mistakes and had to go buy extra wood, but eventually I completed my cut list. I proceeded to prime and paint the wood, except for where I was gluing as I heard from a friend that wood glue worked much better on wood than paint. Go figure.
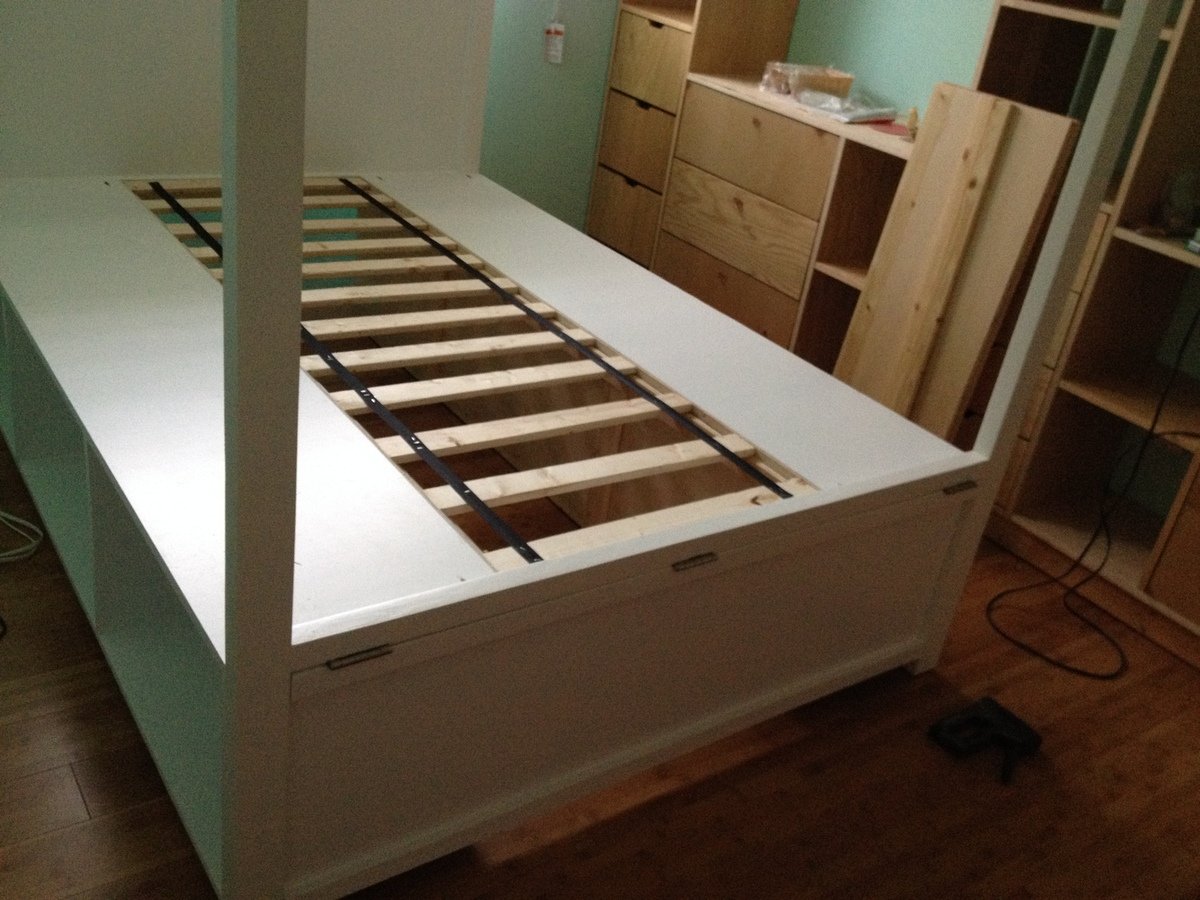
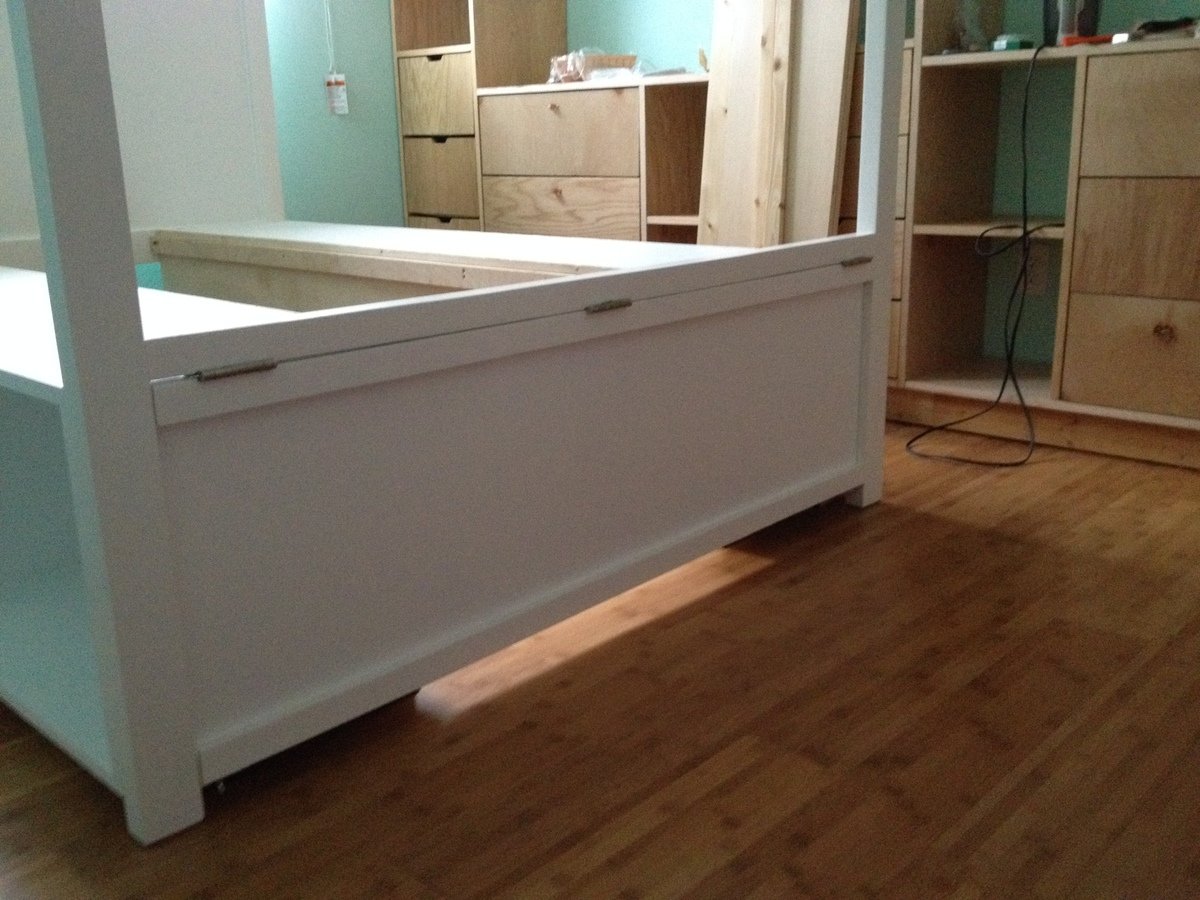
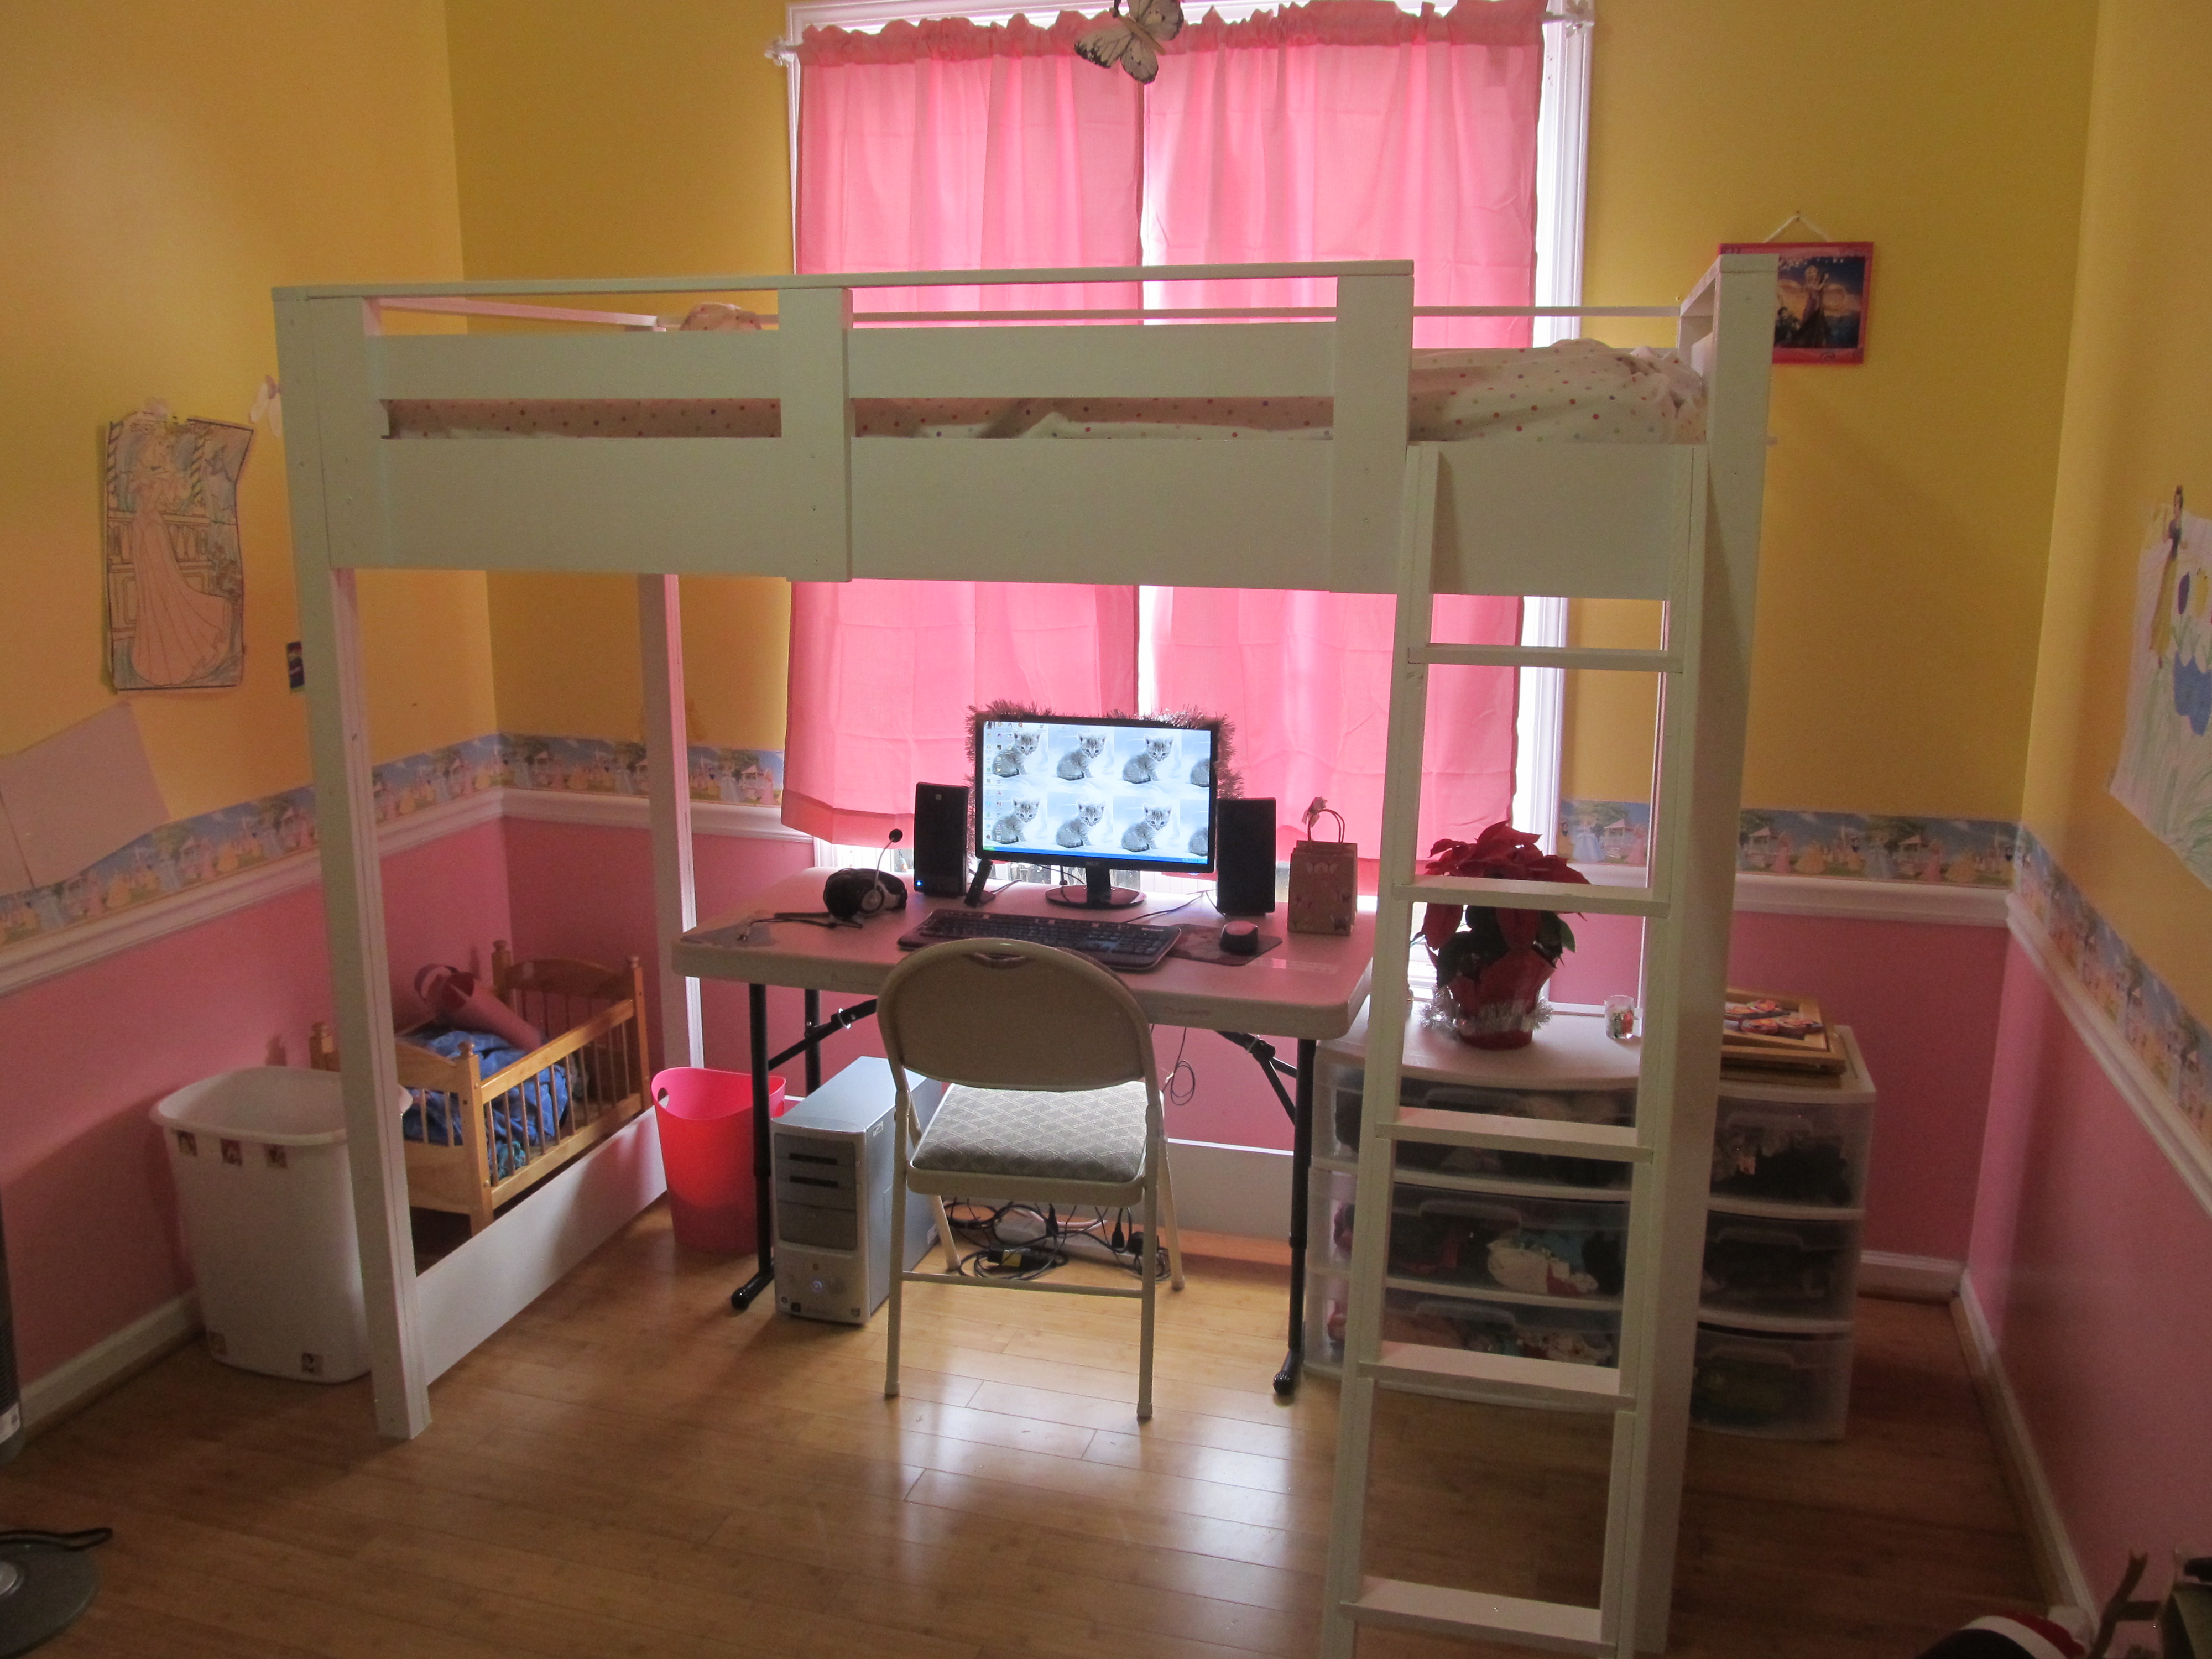
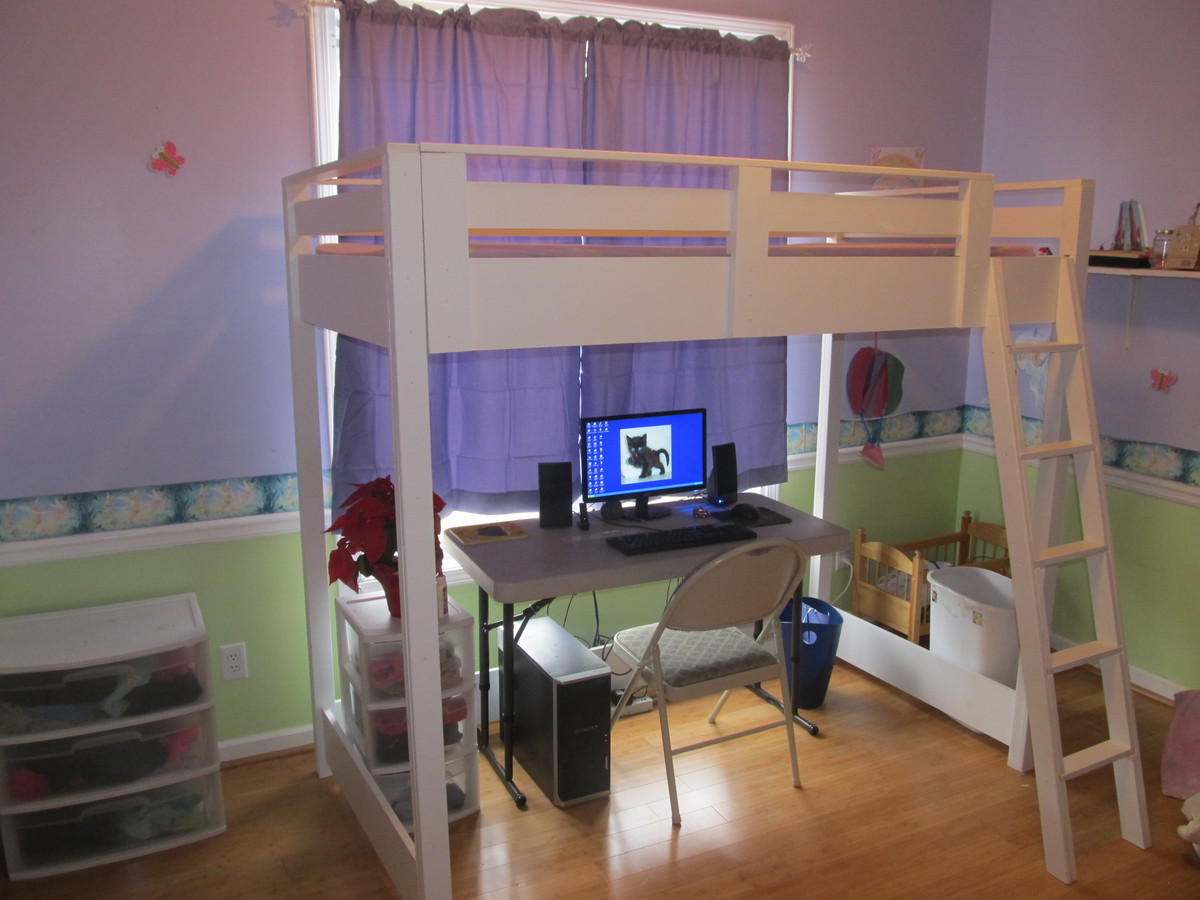
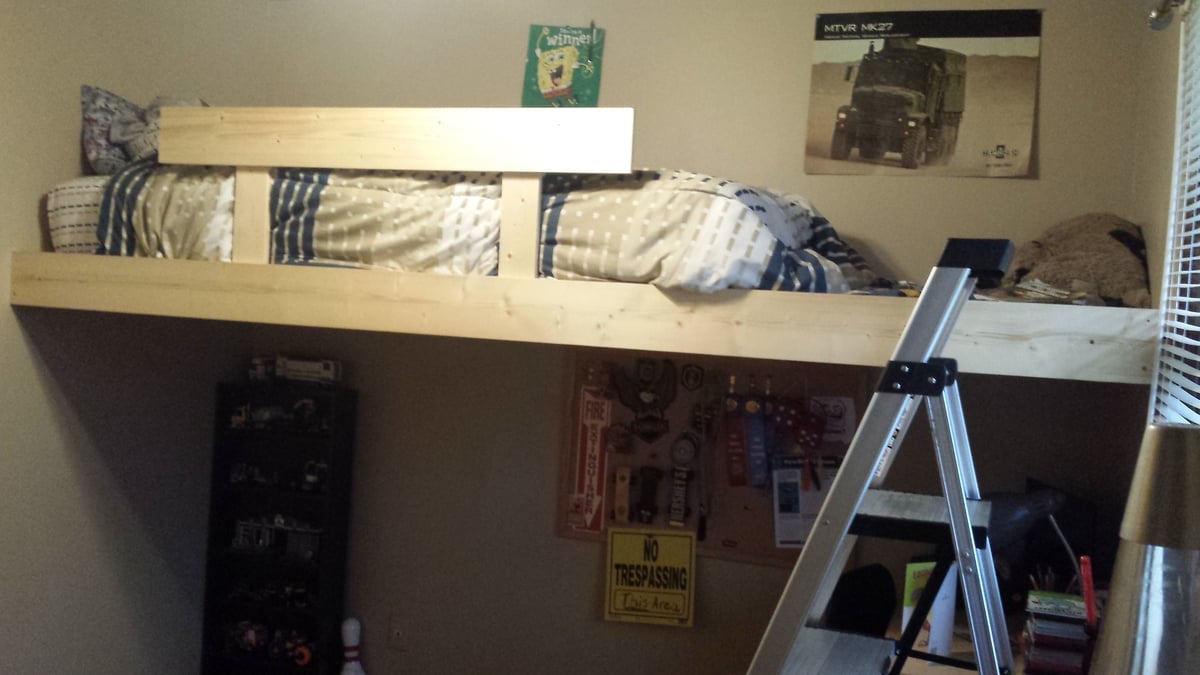
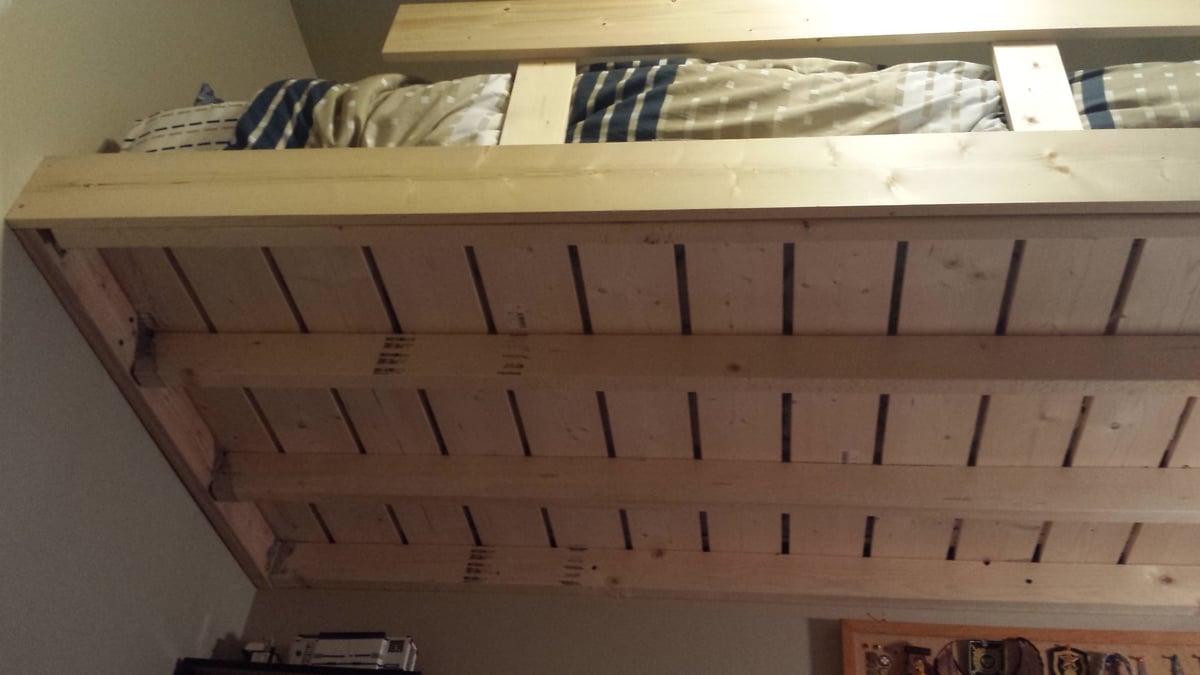
I sent the girls to my dad's the weekend before Christmas. They had no idea what I was doing out in the garage and I wanted to make it a complete surprise. I had a good friend come over and help me assemble. The first bed took just over 10 hours to complete. Neither one of us really knew what we were doing, so we were being extra cautious. The second one took us 4 1/2 hours.
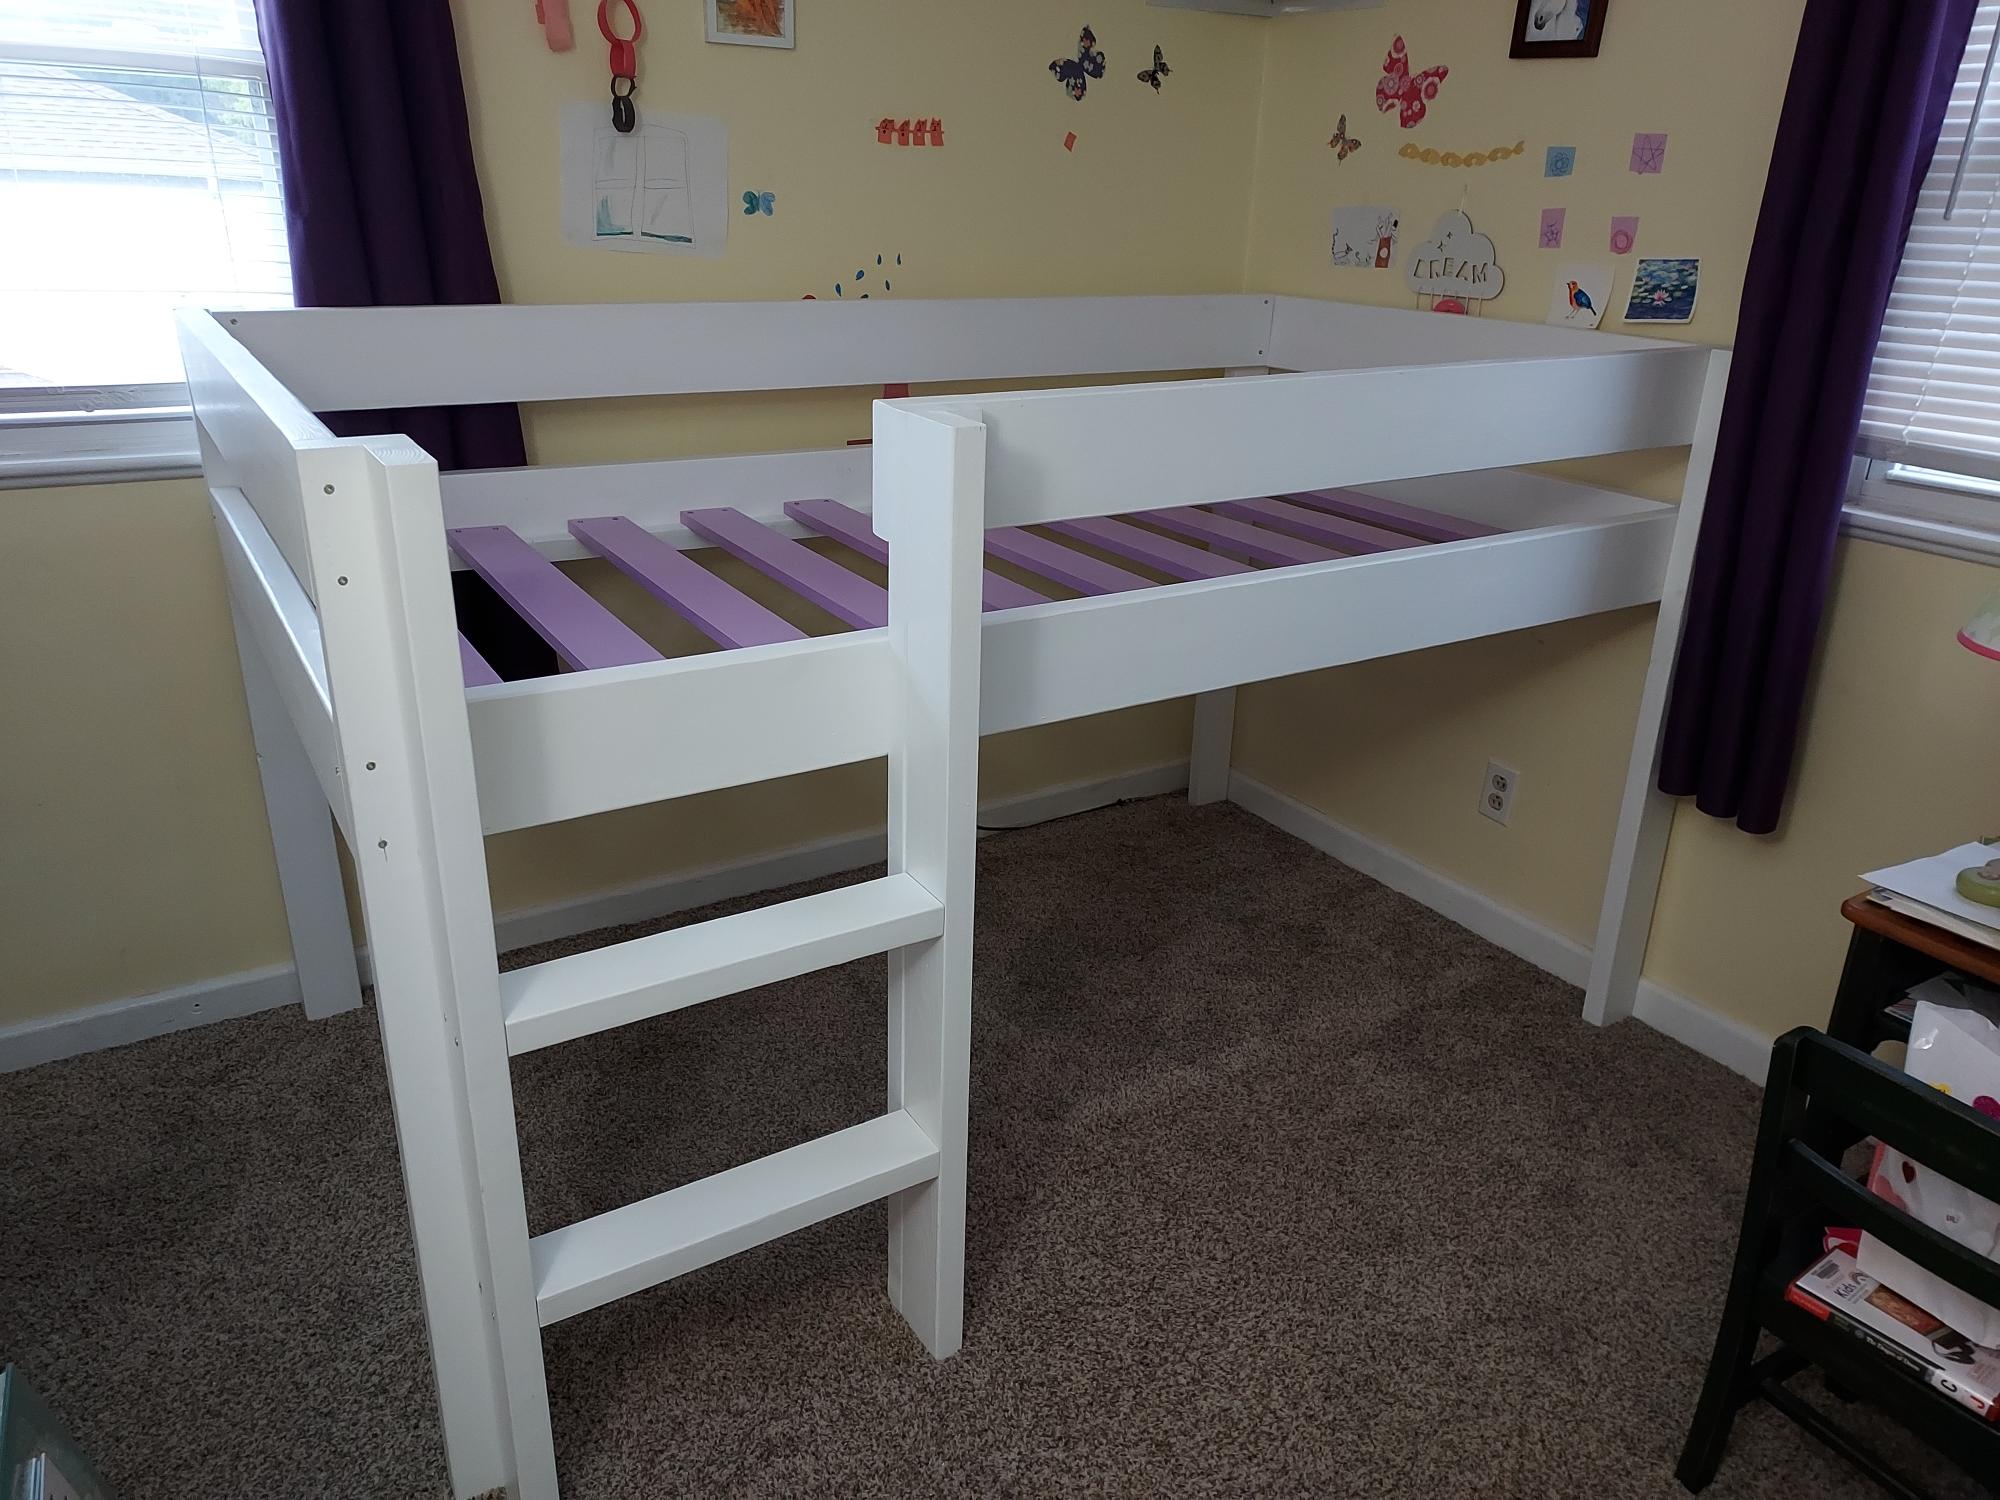
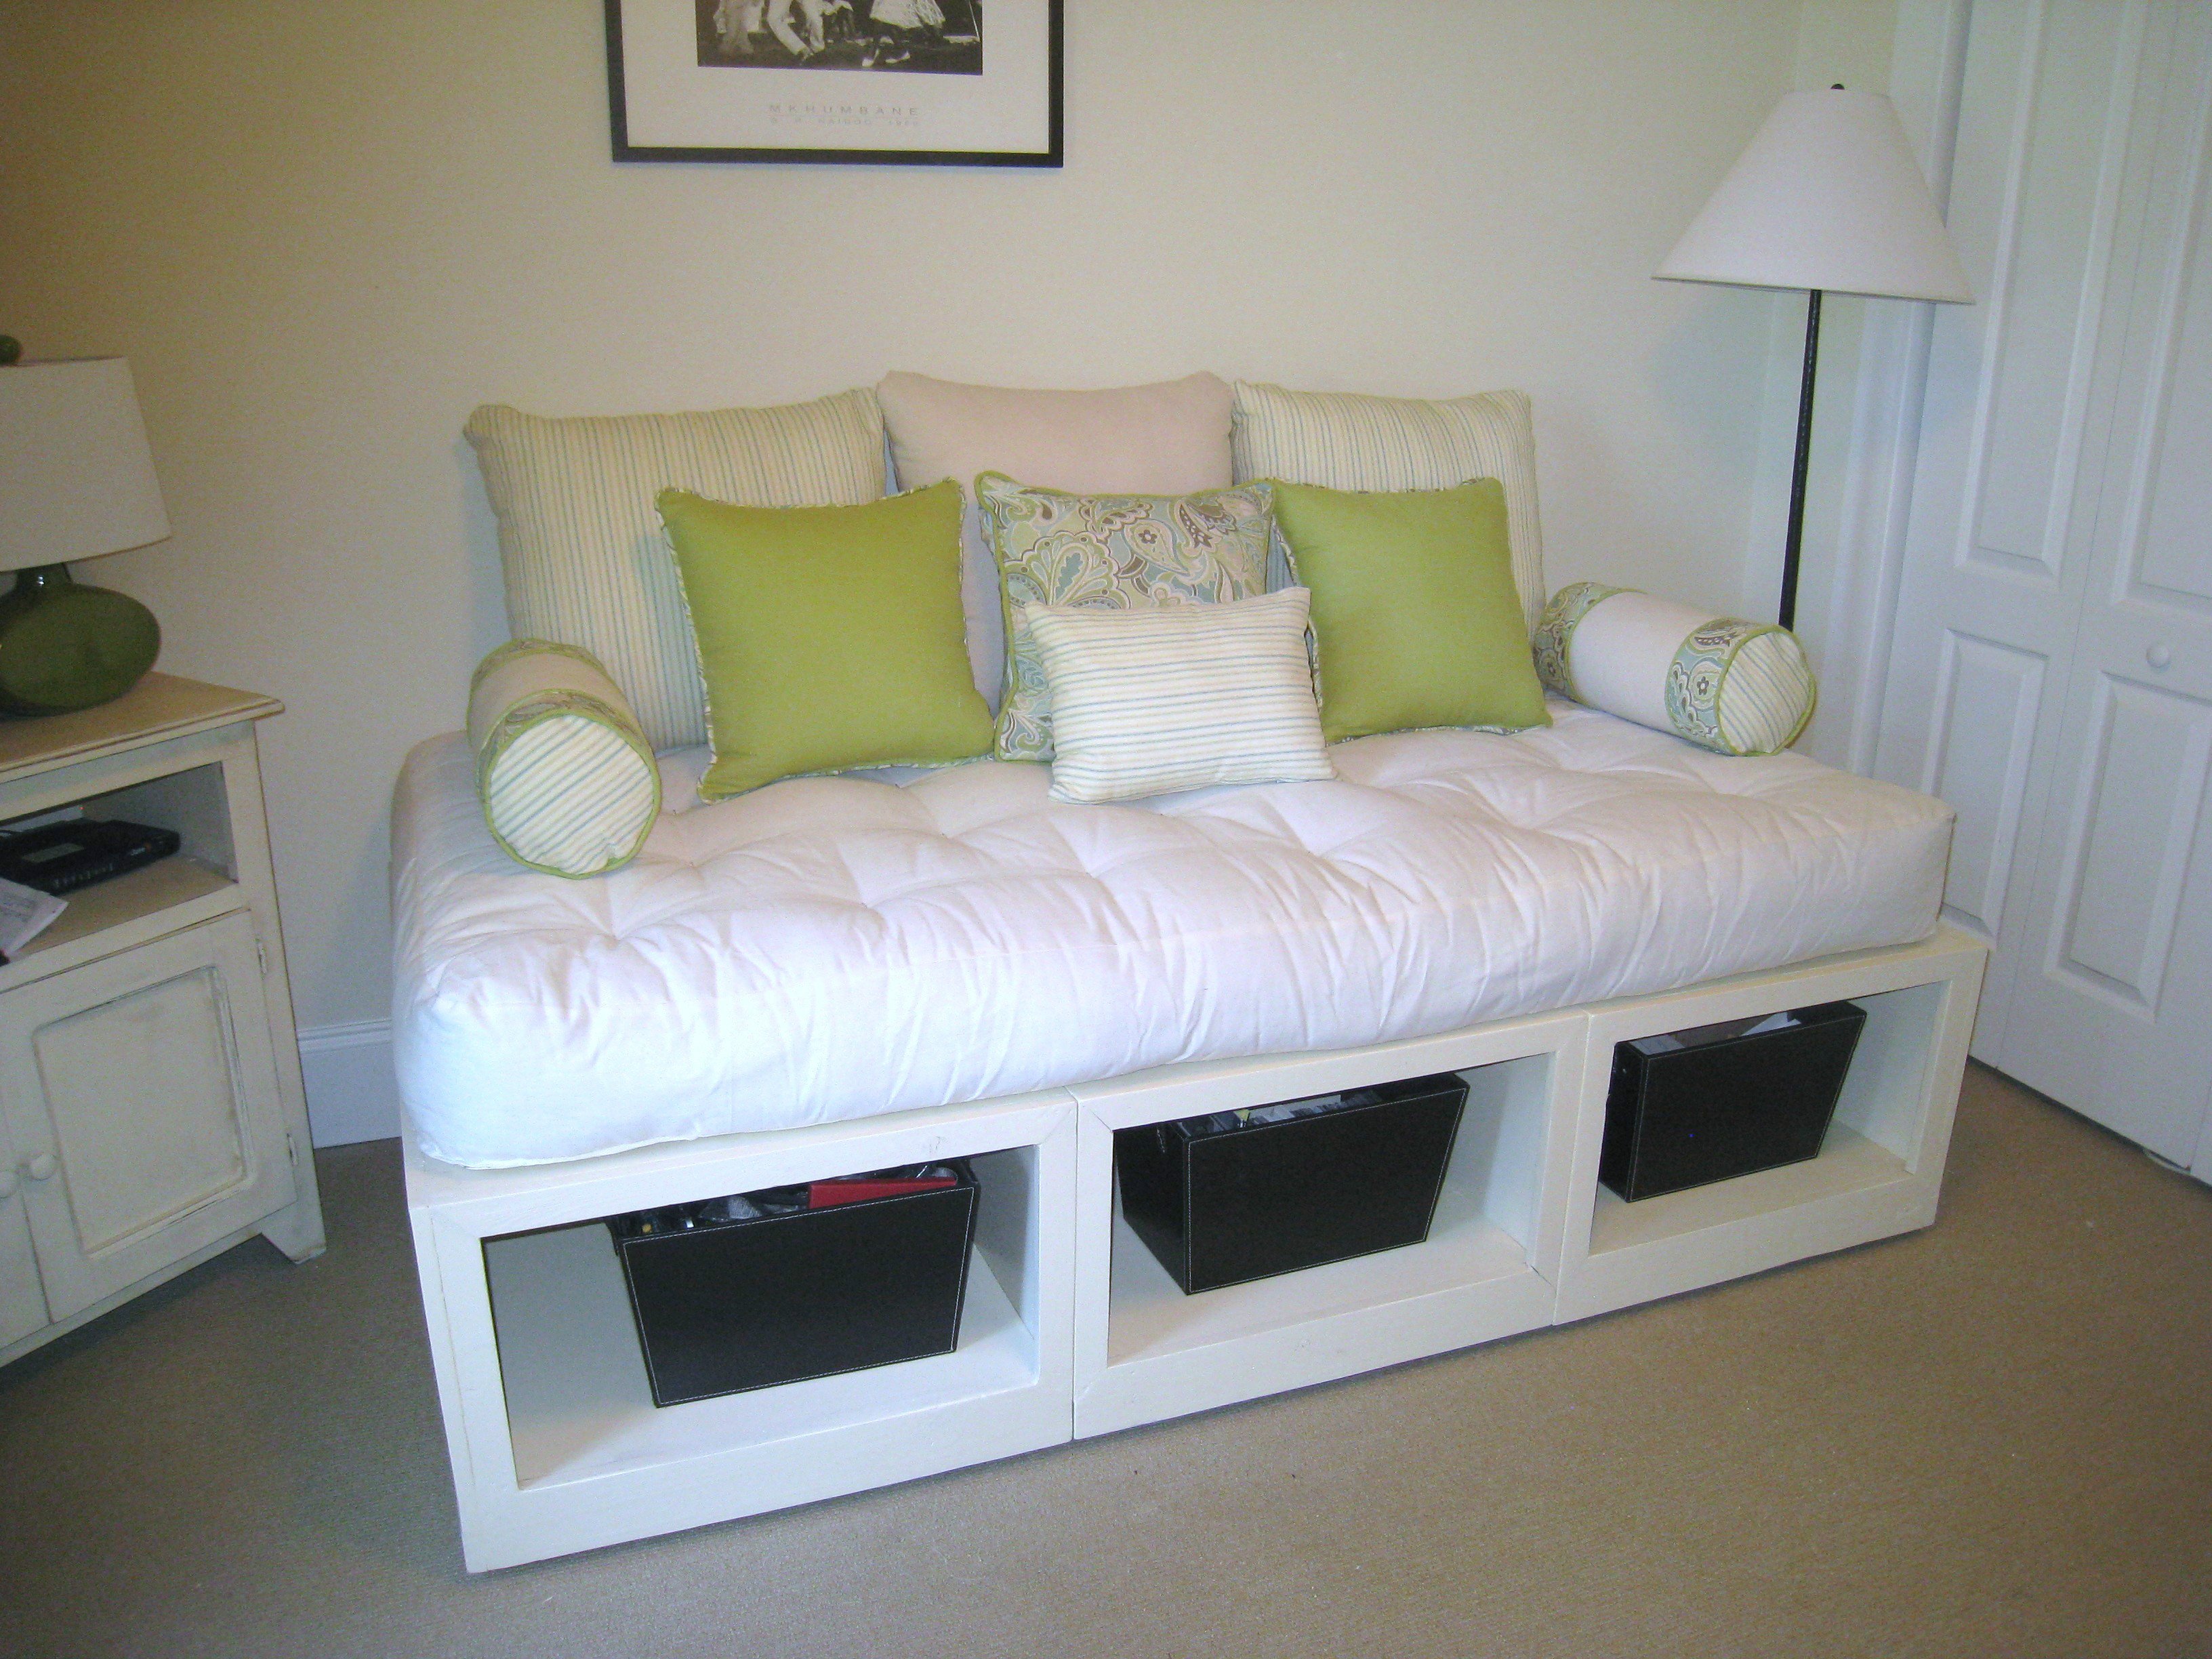
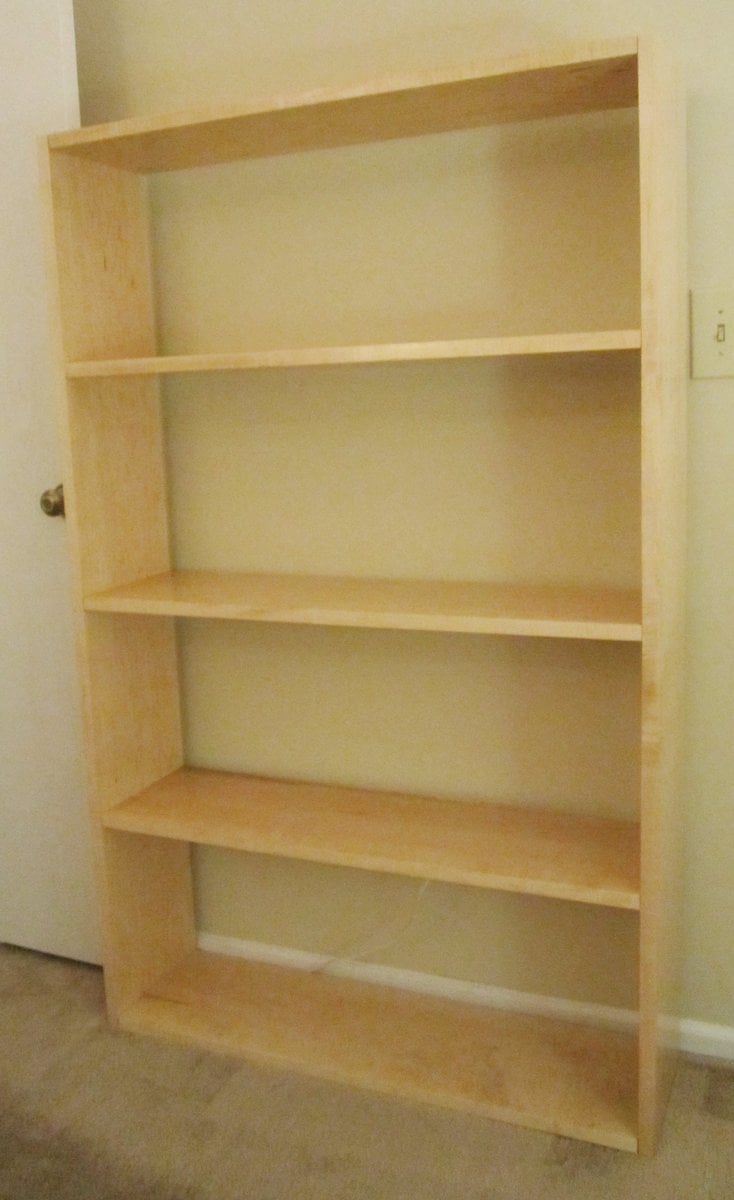
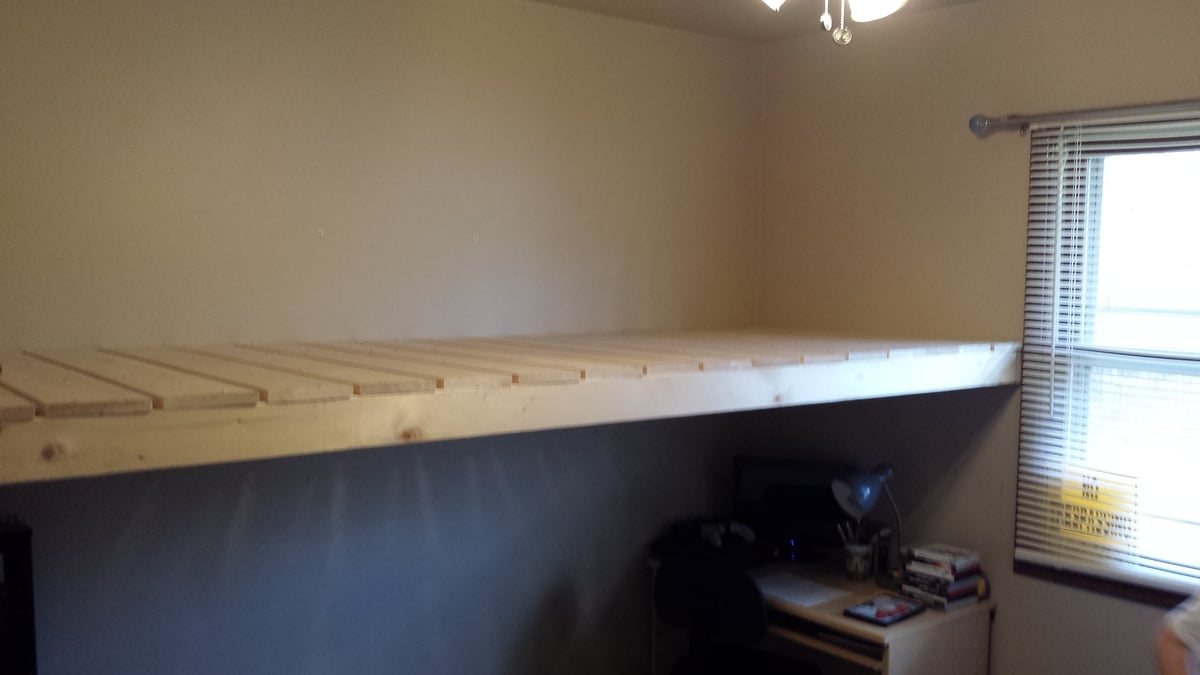
I have to admit, I was quite proud of how it turned out. The plans were really easy to follow, even for a complete novice like me. I was really surprised at how sturdy the beds were, no wobbling, hardly any creaking when getting in them, a really solid product. I did some touch up paint after it was all assembled and then I was done. I highly recommend this plan to anyone considering a loft bed.
Tal
Yes, really a bed in a day! It took 24 hours from the time we bought our supplies to completion. So much nicer than any store bought we looked at, these plans are really a breeze even though I had never tackled a project like this before.
Comments
skinnimama
Wed, 11/16/2016 - 12:57
Those are wonderful!!! What a
Those are wonderful!!! What a great gift idea!