Community Brag Posts

Hall Tree minus rustic X

I followed the Rustic X Hall Tree plans almost entirely. I chose to replace the “X” with vertical posts, though I may use the X in a future project. The bench top is two 1” thick oak boards milled at my farm. Love the contrast of the white and stained oak. The plans were perfect!

Built from Plan(s)
Estimated Time Investment
Weekend Project (10-20 Hours)
Recommended Skill Level
Intermediate

Comments

Wishing well projects

Submitted by Jason48 on Thu, 04/03/2014 - 08:02

Started these wishing wells as only having fun and for family it seems now that it is going to be a little more than I thought now taking orders from family friends

Estimated Cost
120.00
Estimated Time Investment
Week Long Project (20 Hours or More)
Recommended Skill Level
Intermediate

Comments

In reply to by Jason48

crafty_love

Tue, 11/19/2019 - 07:33

I love the wishing wells, but I can;t find a plan.  My mom has wanted one of these forever! She now has stage 4 squamous cell carcinoma Stage 4 and I would love to build her one before it is too late.

DIY Home Fireplace

Submitted by Anonymous (not verified) on Mon, 01/08/2024 - 09:16

We built this fireplace where nothing existed before. The instructional video was very helpful. We are so proud of how it turned out.

Jim and Susie Jacob 

Comments

hmillgarv

Wed, 02/28/2024 - 19:20

Hello! I’m wondering if you think this could be built as a temporary piece that could be moved? I live in apartment and wouldn’t want to leave something like this behind after spending time and money to build it. Maybe if I built in some removable access panels (a few of the slats?) to be able to attach it to studs (and later remove it) after building the entire piece. Thoughts? TIA!

Big Crate Shoe Box (A Test in Bri-wax)

Submitted by Joni on Fri, 07/13/2012 - 11:03

I needed a large box to use at the base of my stairs for shoe storage, so this is it! I made 2 compartments, and put handles on the side for easy moving. Being solid wood, this thing is heavy and a lot larger than it looks.

I wanted to do Bri-wax as a test on a smaller project before possibly messing up a larger one. Bri-wax advised me to wait a week to let the stain 'cure' prior to using the product. The stain was beautiful prior to using Bri-wax, but didn't look nearly as good when the wax took off some of the stain and kind of changed the color. I love the look of the Bri-wax finish, but probably won't be using it again (unless the finish has been cured for a long time). Bri-wax also told me not to use it over varnish or poly, as it would damage that surface. I would be interested in hearing from you guys who have used it successfully on top of other finishes.

Finish Used
Mixture of Minwax Water-based stain in American Walnut & Ebony, followed by Bri-Wax in Light Brown and Tudor Brown (3 coats)
Recommended Skill Level
Beginner

Comments

American Herit…

Sat, 07/14/2012 - 21:00

Hello Joni,
I've used Briwax over a clear, satin poly finish without any damage, though typically, I apply a 100% Briwax finish on the majority of my pieces as I prefer the natural finish and find it's complimentary to the reclaimed wood I use.
Simply a personal preference.
Looking at your other projects want to commend you on your table too. Nice color distinction and accents. Very nice!

Mike

My First Big Build - A Workbench

I have been wanting to build a workbench but just hadn't decided on a plan. I stumbled across one here and decided to go for it. It was easy to build, easy to follow the plans. I had fun building it and I'm super happy with out well it came out. This is my first big project and it's only my 3rd thing I've made.

The only deviation from the plan that I did was that I used 3/4" plywood for both shelves instead of just one. And I only did this so that I wouldn't have to buy a second piece of plywood. And I used 3" screws on the whole thing.
Also... I cut 3" off the height so that I could add wheels and it be the same height.

$18 - 2"x4"s
$ 7 - screws
$24 - Plywood
So about $49

The wheels... well... if you go to Lowes... I spent $30 including the bolts. Then I went to Harbor Freight and got some different ones for under $20. So I'd shop around on that. Or... you don't need them if you don't want them.

Built from Plan(s)
Estimated Cost
$50
Estimated Time Investment
Afternoon Project (3-6 Hours)
Finish Used
Just leaving it as it is for now.
Recommended Skill Level
Beginner

King Sized Farmhouse Bed

Submitted by stephsj on Fri, 07/20/2012 - 06:29

We have been sleeping on a inexpensive platform bed for the last 7 years and after falling in love with this website (thank you Ana, I am constantly bragging and showing your website to others) I decided to build us a farmhouse bed as my first project. I started this project back in October 2011....yes it took much longer than expected, but I have 2 kids a husband (so make that 3), a full time career in the military and a house to maintain. That and we got the news I am pregnant back in Nov!!! The head board and foot board did not take long and luckily we had a very mild winter here in NC (boo to no snow though). I decided to save some work and money by reusing the slats and hardware from my old bed to avoid buying more wood or having to get a box spring for our mattress. Unfortunately, that was my huge delay, I cut and stained my sideboards, bought what I thought would be great bed brackets and found myself with a space that was to wide for the slats and on top of that my husband managed to loose one of my brackets. Needless to say, months of sleeping on a mattress on the floor with my head board and foot board on either wall mocking us every night due to my overwhelming frustration and fear of having a colossal headboard fall on me while trying to work. I called upon the assistance of a good friend of mine (Christie you are amazing!!) to come over while my husband was out of town in May (I figured this would be a good time to surprise him, plus keep his opinions from making things take longer). So lots of how the heck are we going to do this and finding out the bed frame brackets I purchased were not as strong as they appeared (they broke!!). We got some new wood for the sides and some long bolts to get everything together and worked a whole Saturday to get it complete. Added a few L brackets to get rid of the wobble and its sturdy as a rock! It may have its flaws, but I love it and don't regret any of the time and stress it took to build it. I now have a beautiful comfortable bed to sleep in every night to patiently wait for my third little girl to arrive. It should last us for a very long time especially since I made sure that it could come apart and go back together for any future moves the military may take us.

I cannot wait to start my next project.....and hopefully it wont take as long this time ;).

Estimated Cost
$250 (using my local builder's supply saved a fortune compared to the local home improvement store....even though I did have to go to them for a few things)
Estimated Time Investment
Week Long Project (20 Hours or More)
Finish Used
I used 2 coats of Bombay Mahogany stain with the polyurethane already included in.
Recommended Skill Level
Beginner

Comments

Kendra Storage Console (aka Bookshelf Toybox)

Submitted by bdel on Wed, 05/14/2014 - 11:34

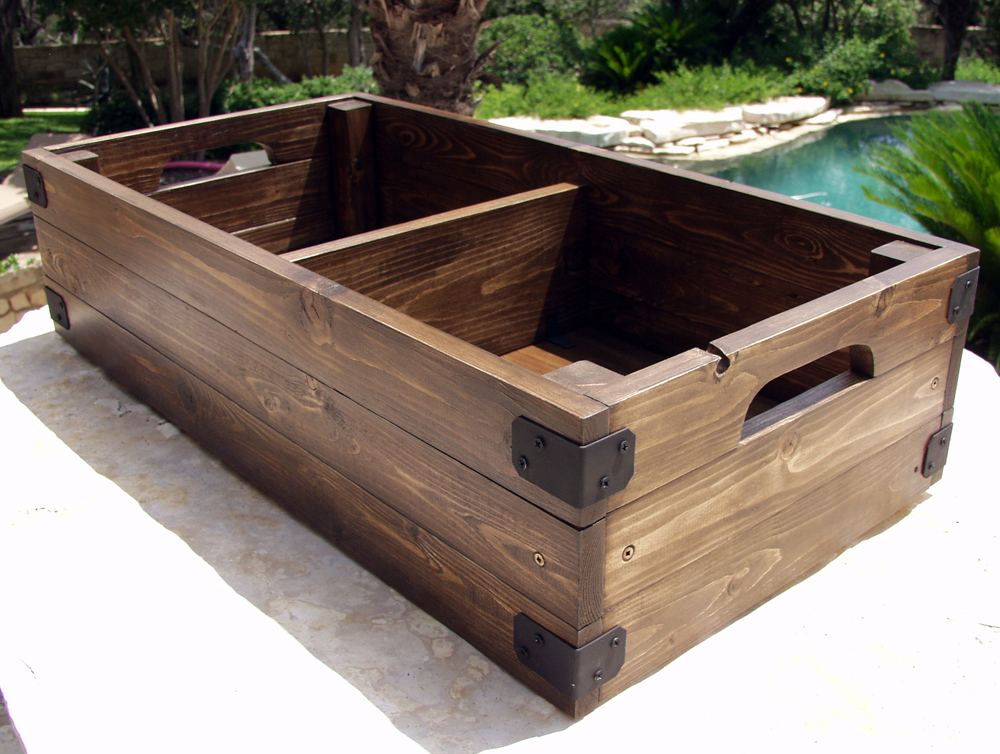
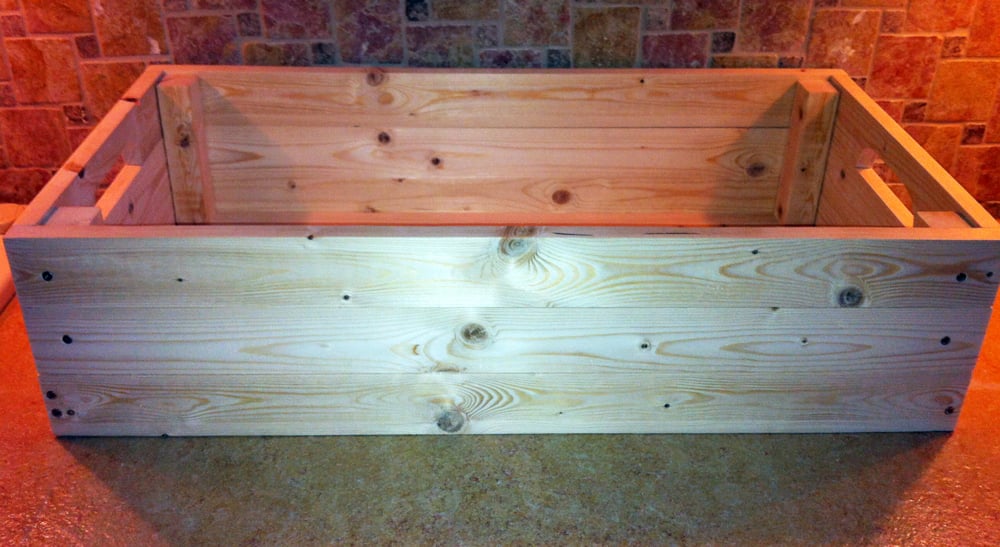
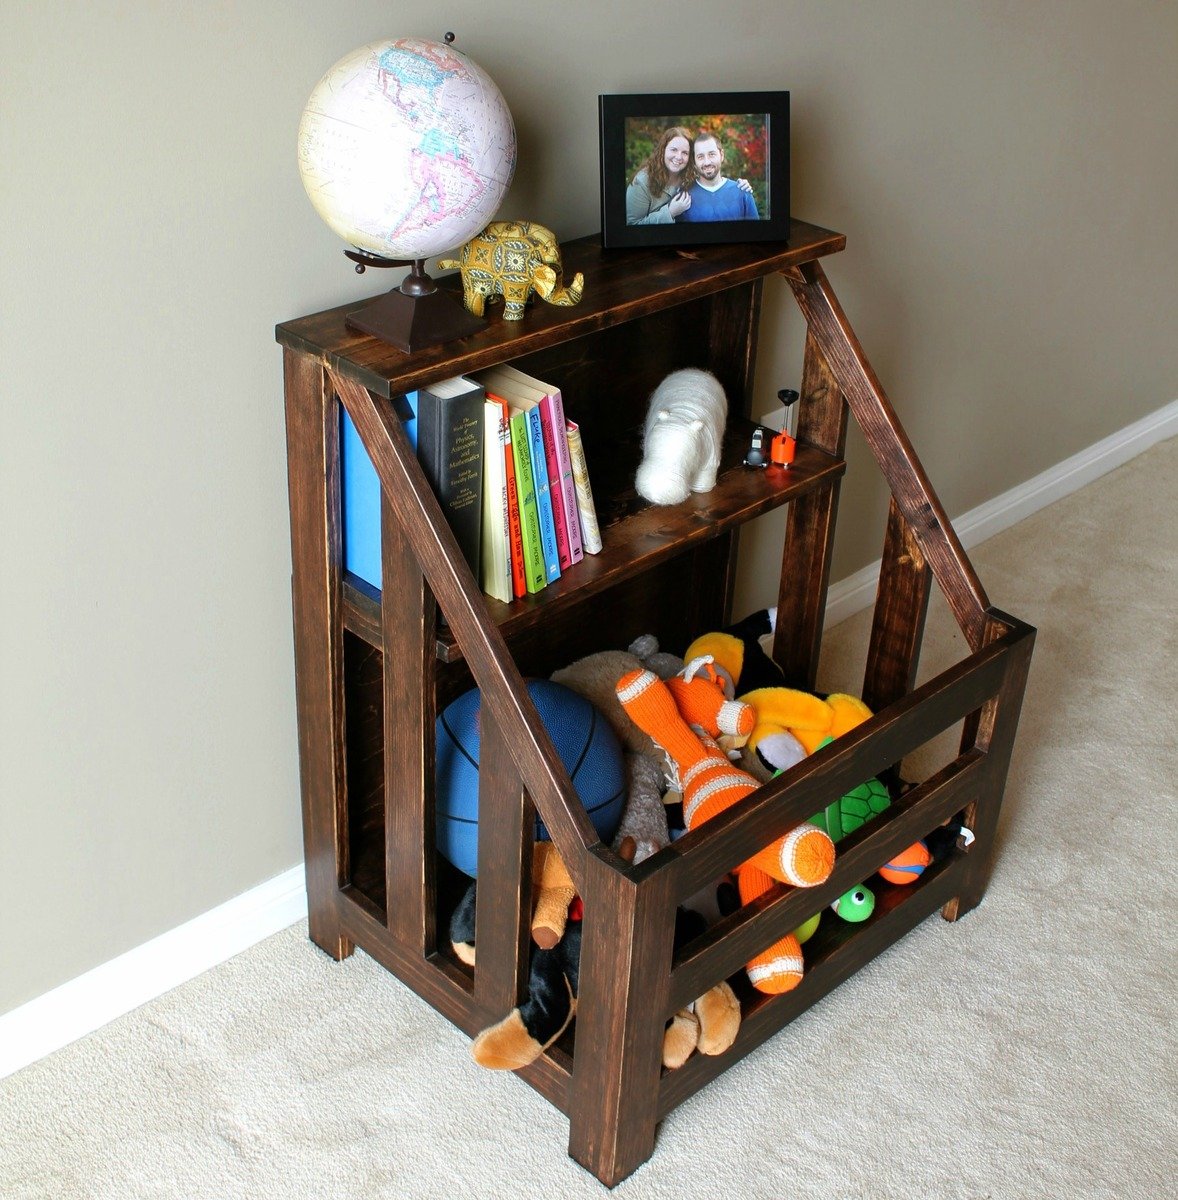
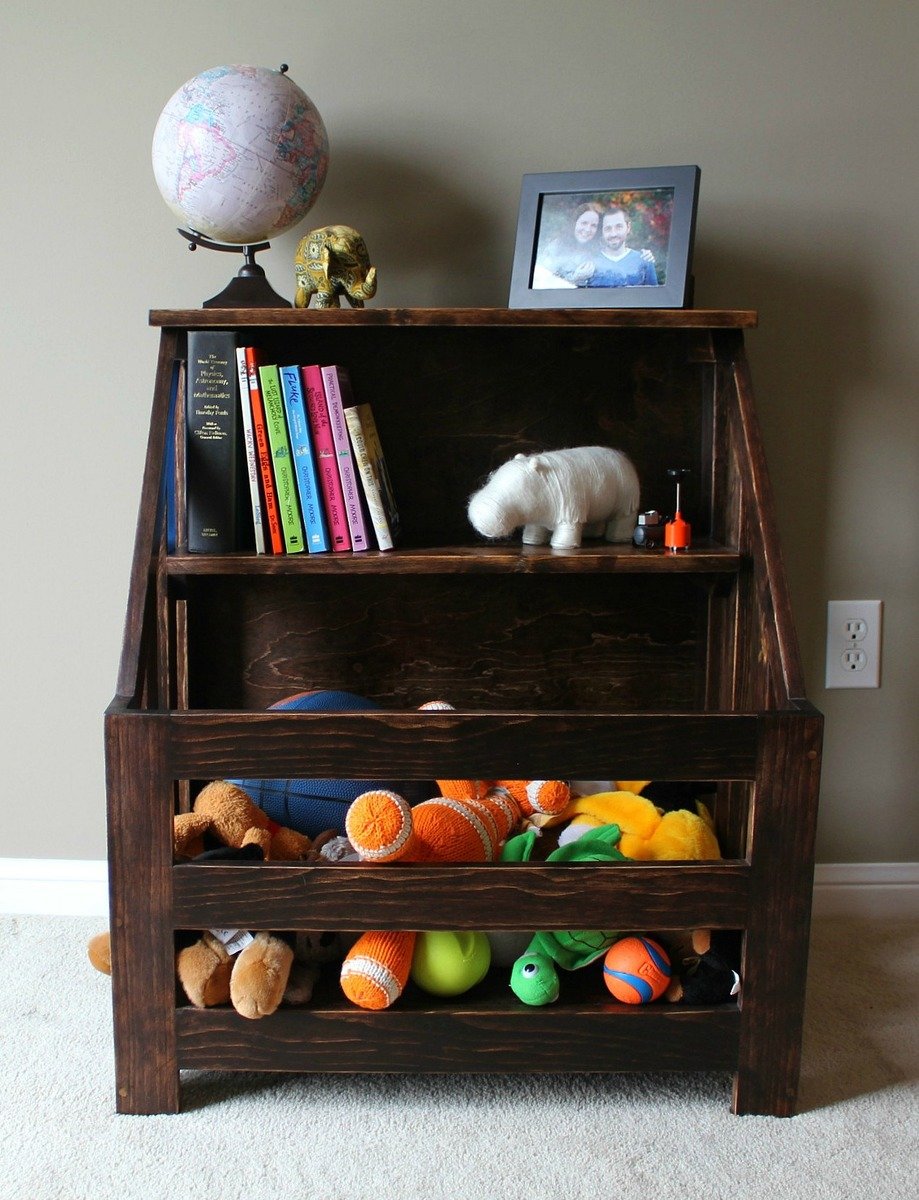
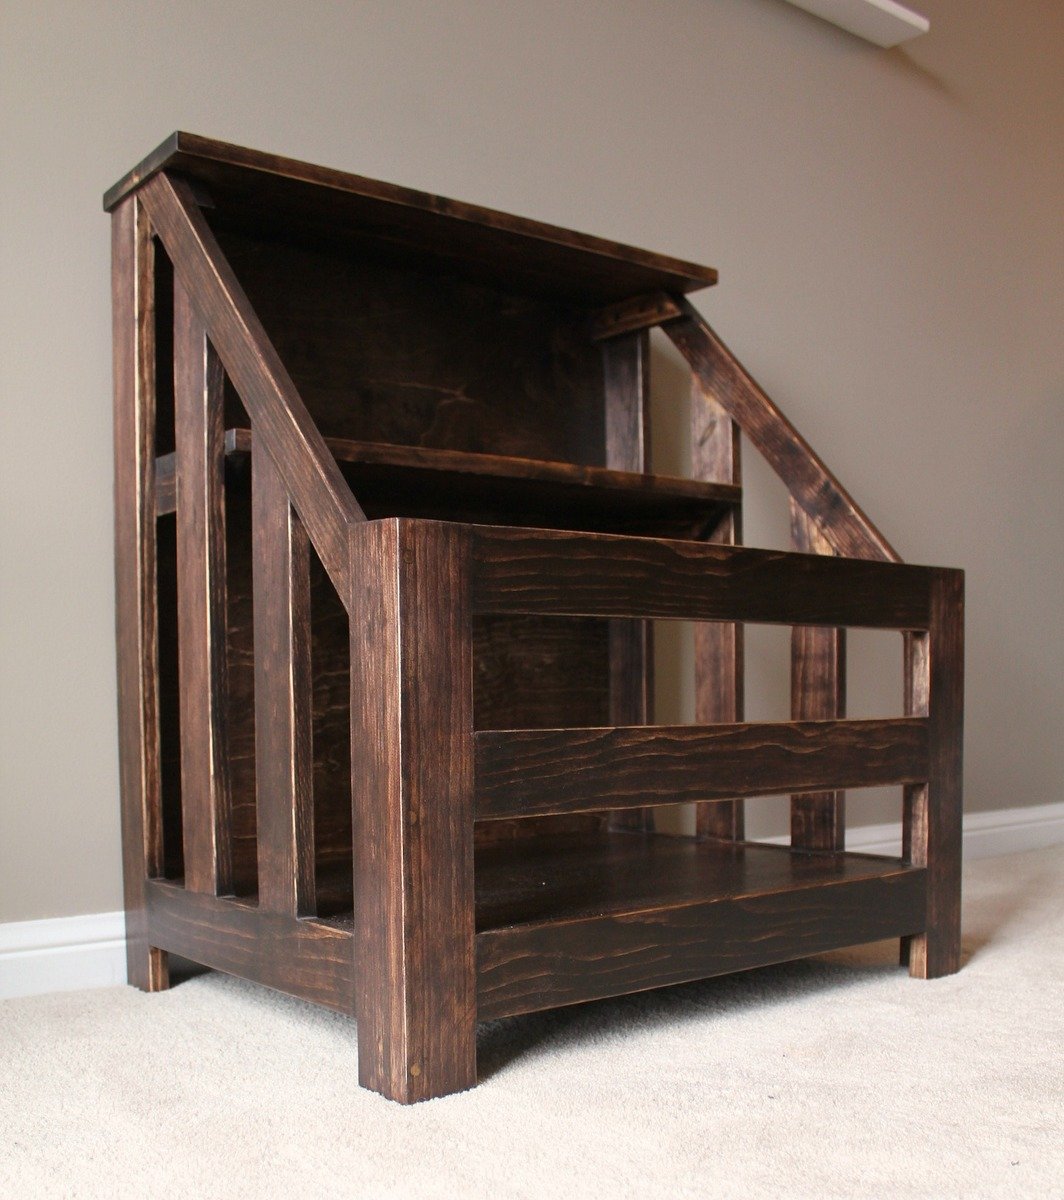
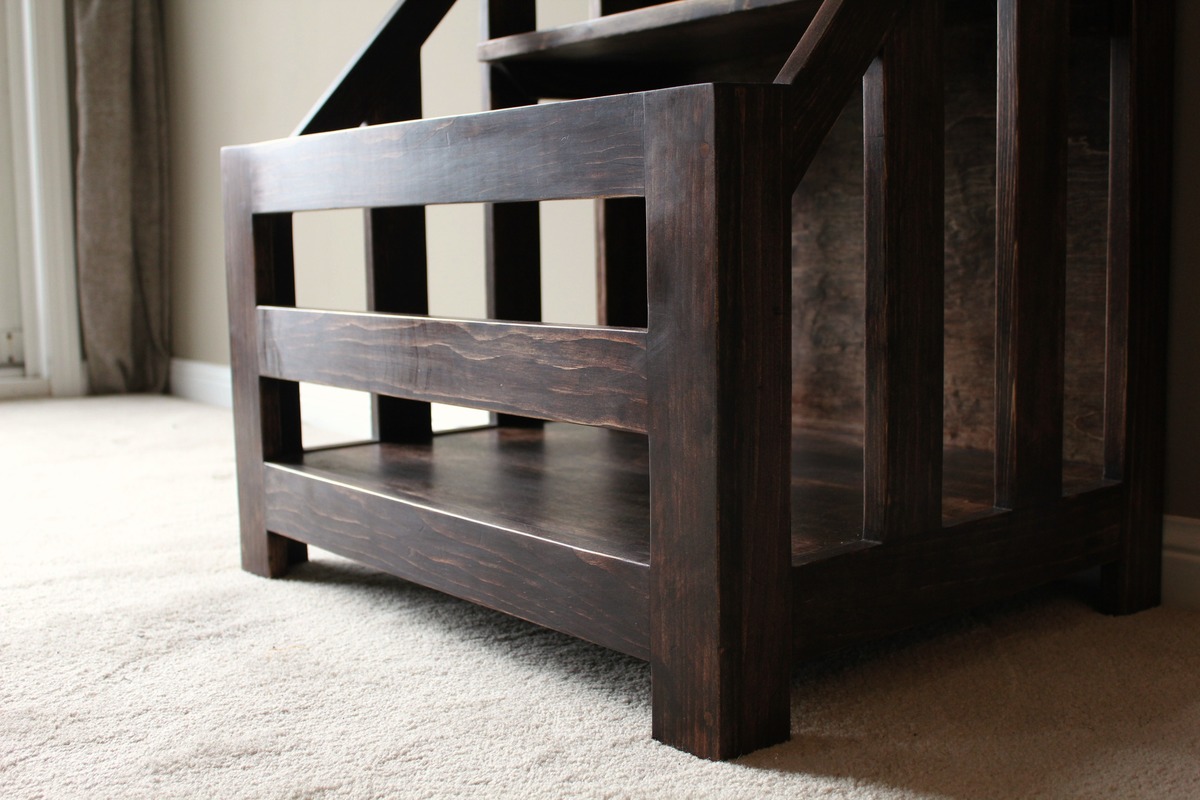
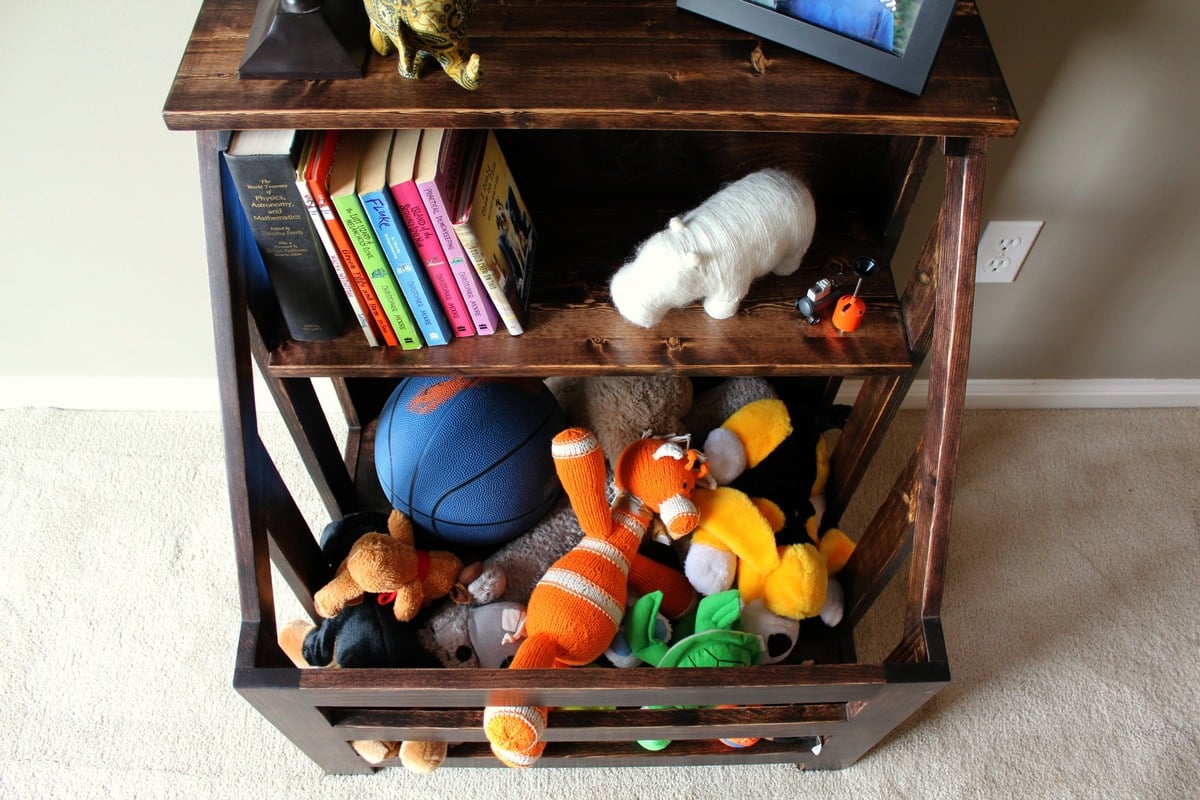
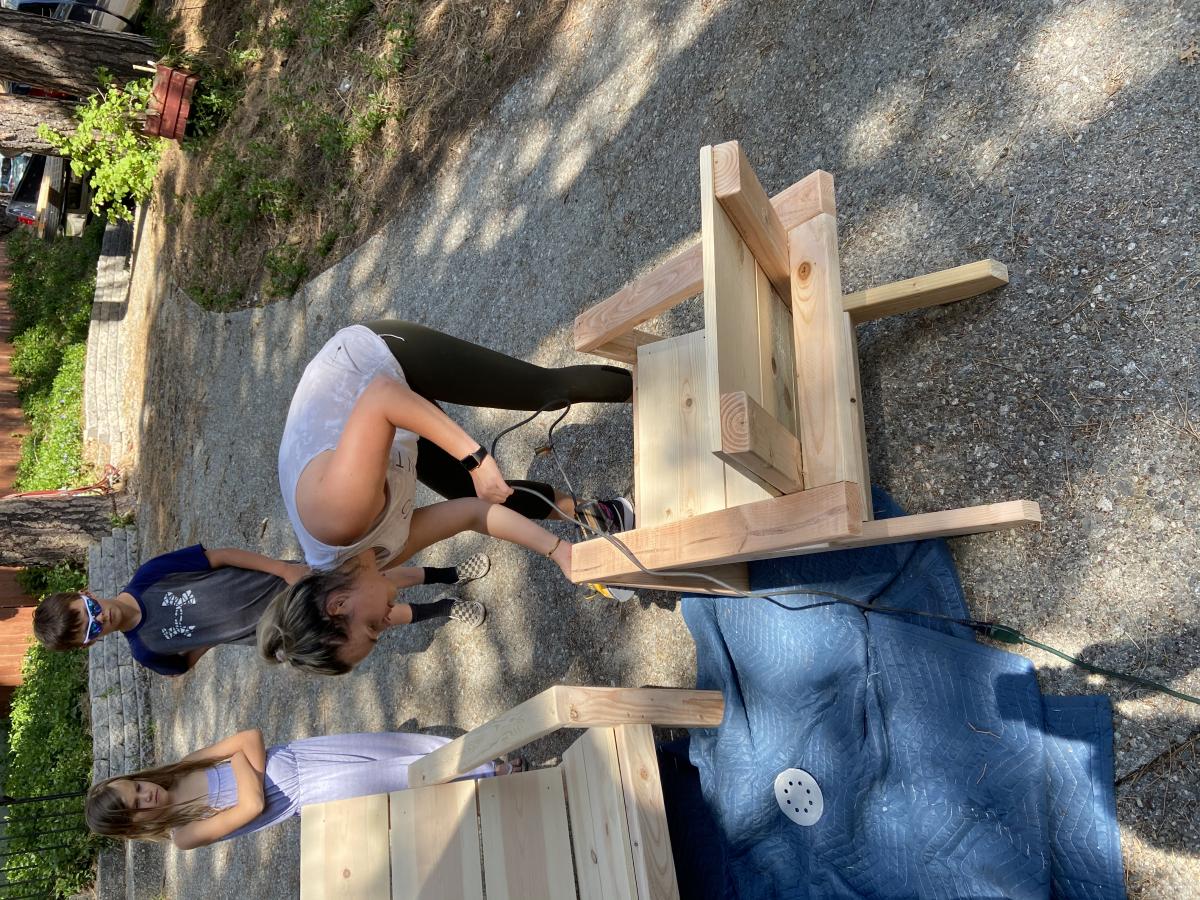
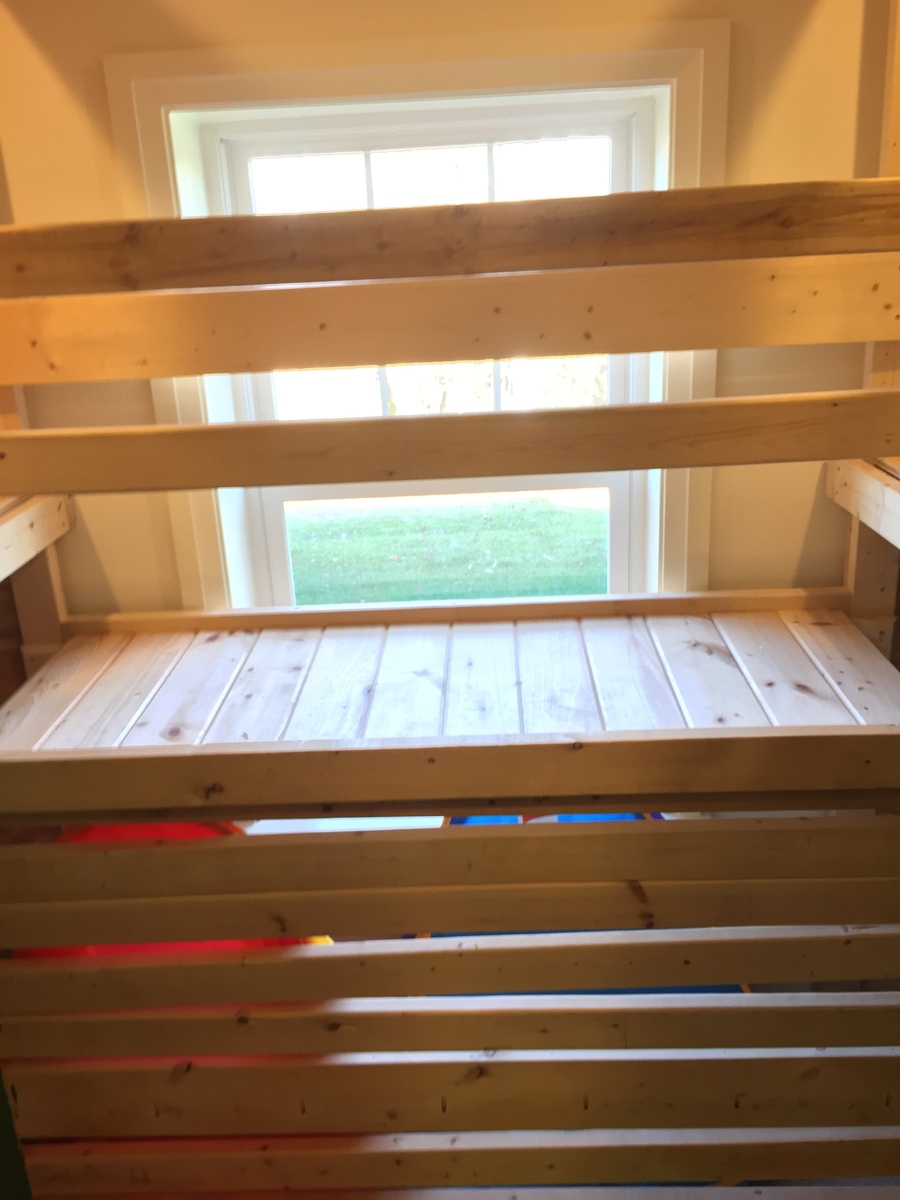
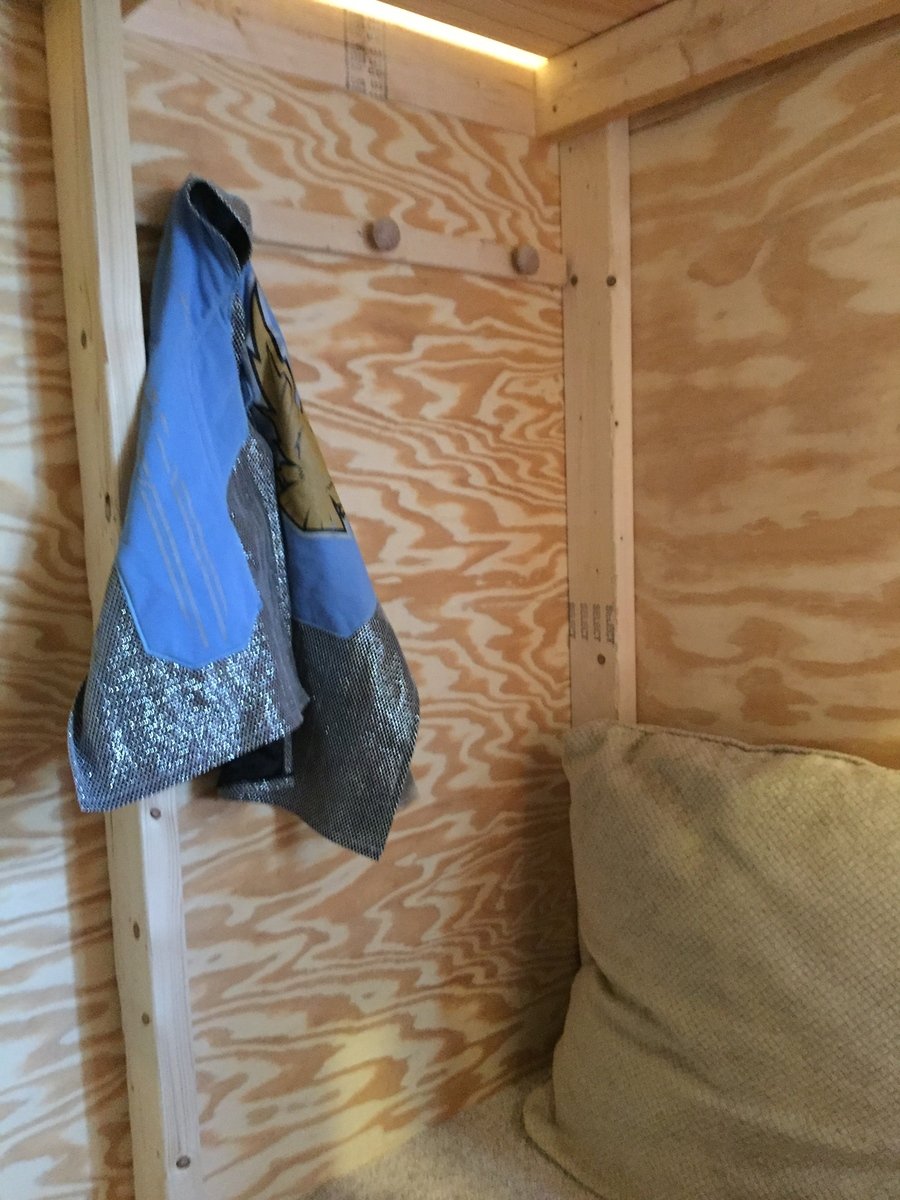
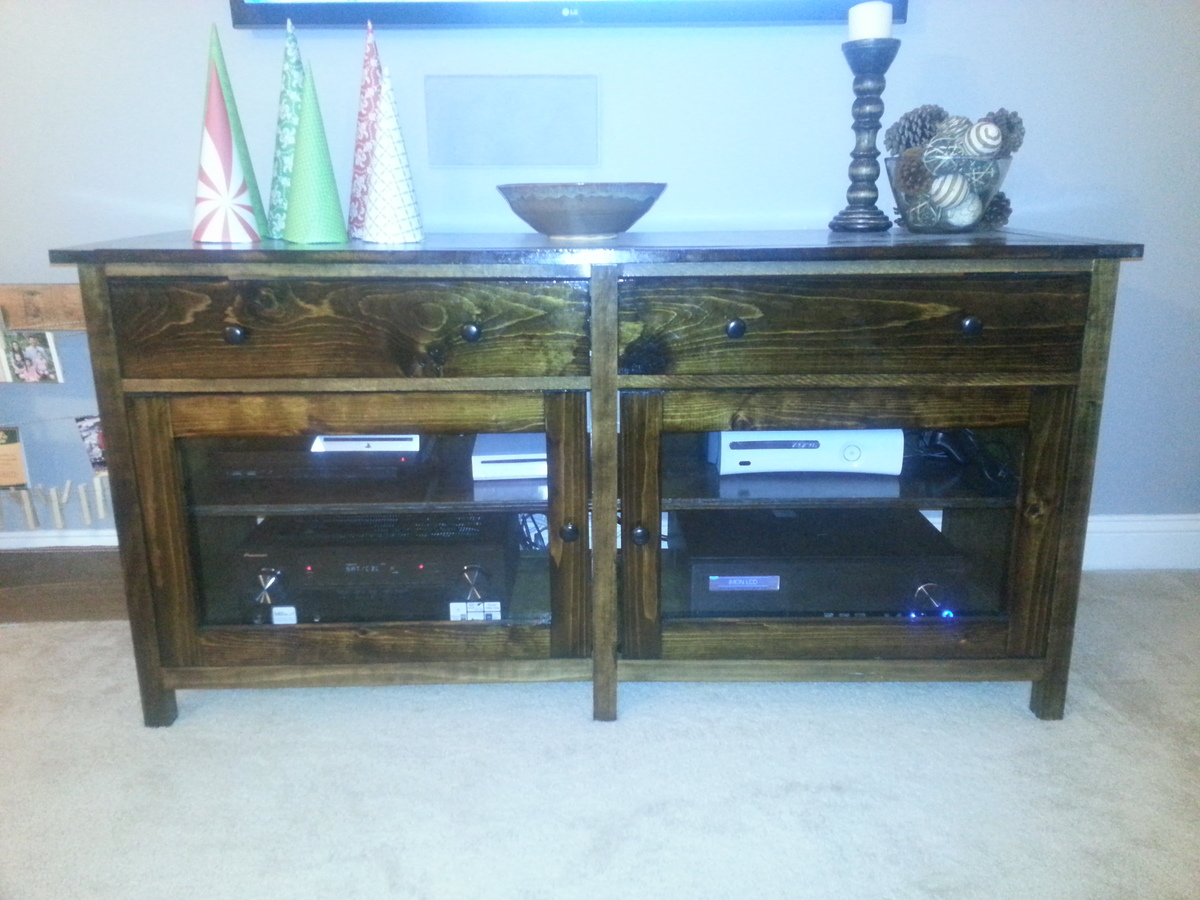
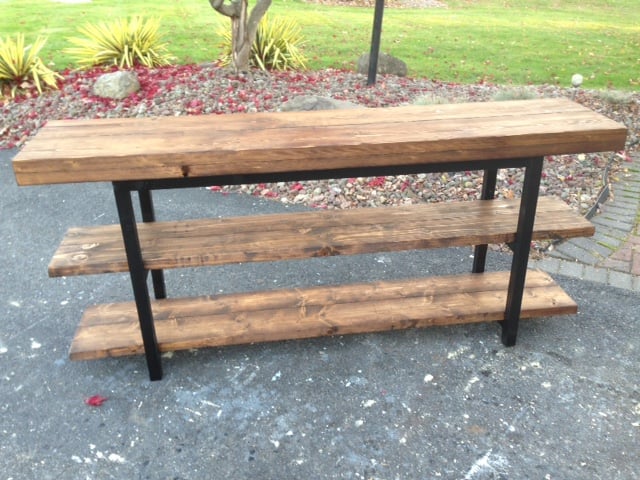
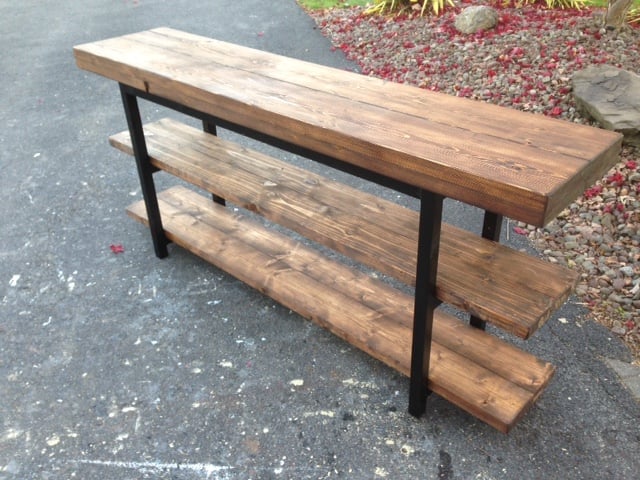
We built this bookshelf/toybox for our cousin's daughter - as a 1st birthday present. Overall, the project only took a weekend (including staining and waxing), and the cuts and assembly are pretty straight forward.

We wanted it to be larger than the one in the plans, so it took some time to figure out the dimensions before we started cutting. There was a bit of, "What do you think of this height?" and, "Is this too wide?"

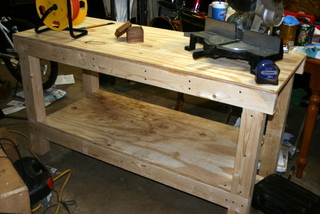
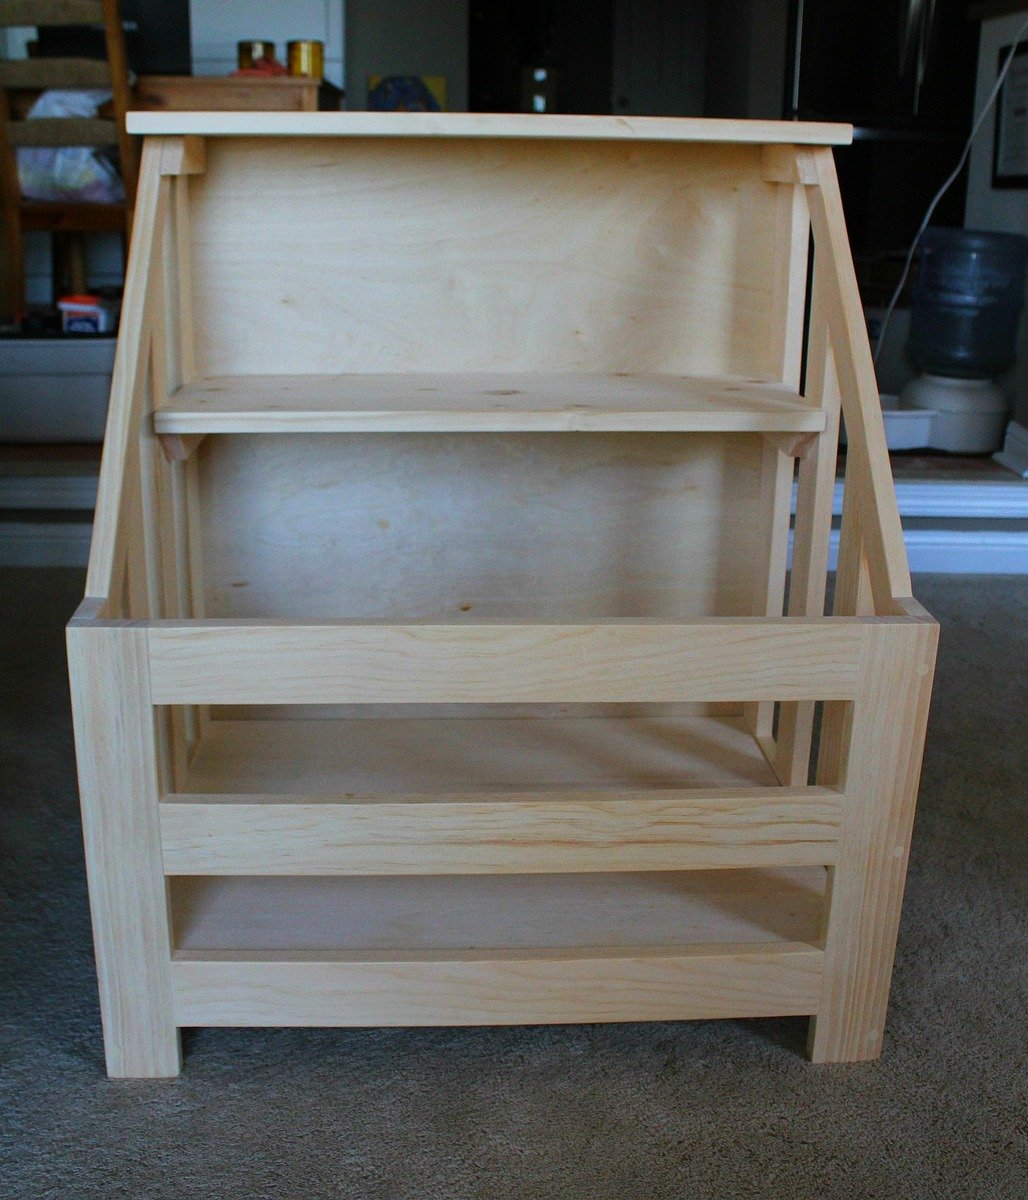
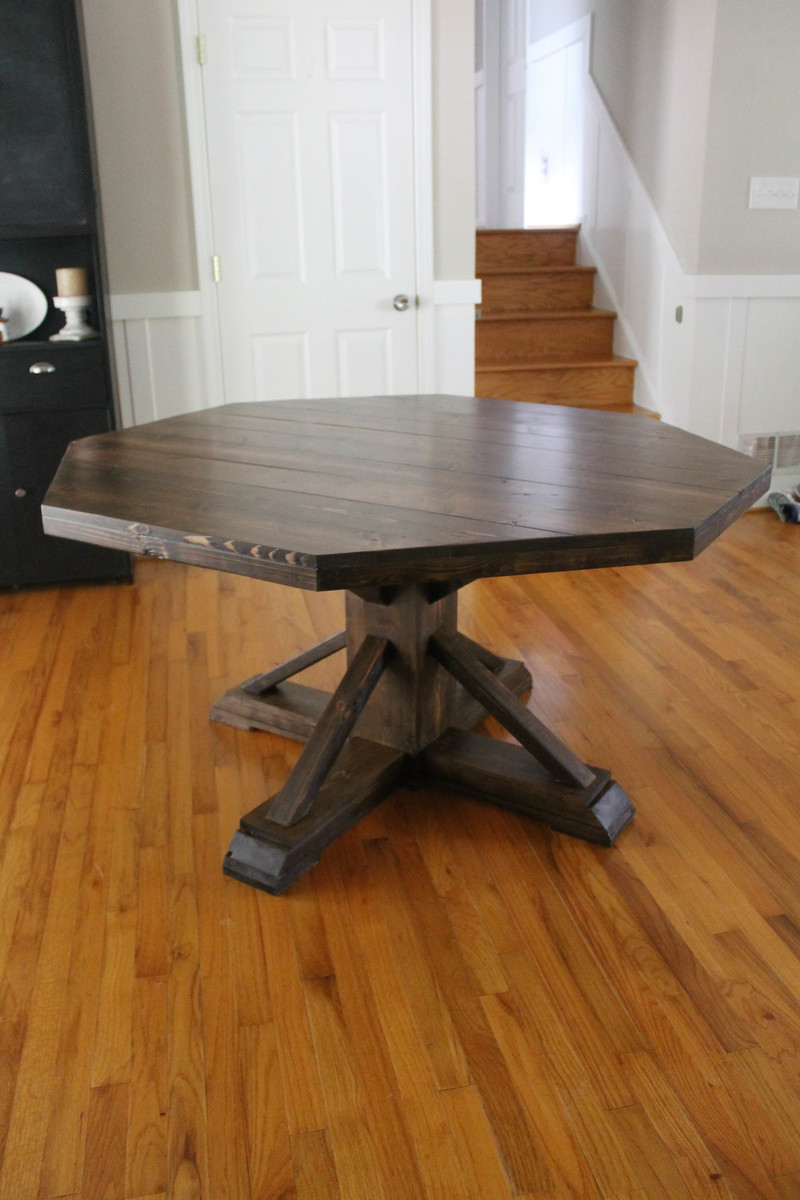
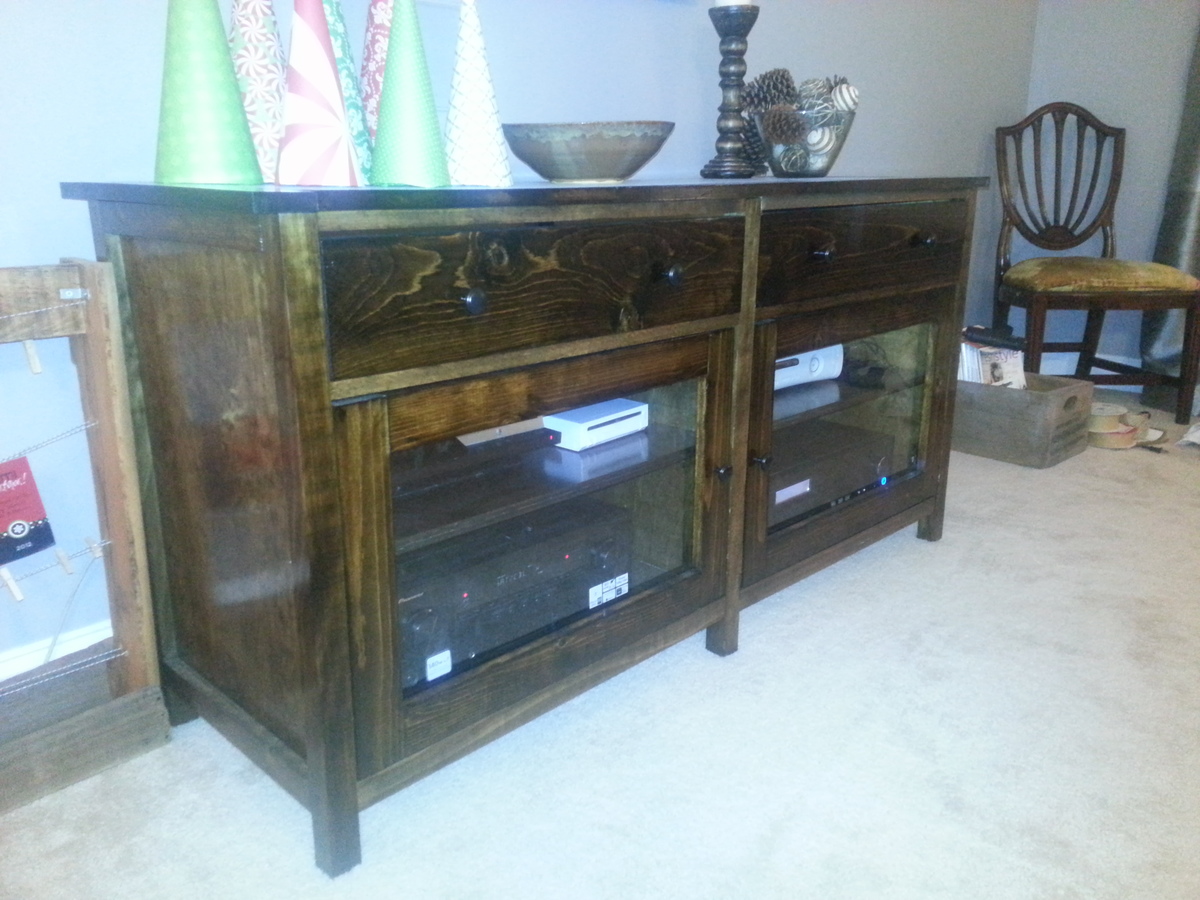
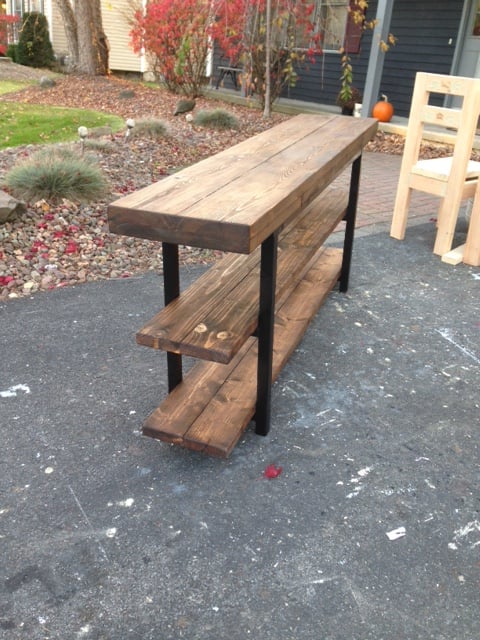
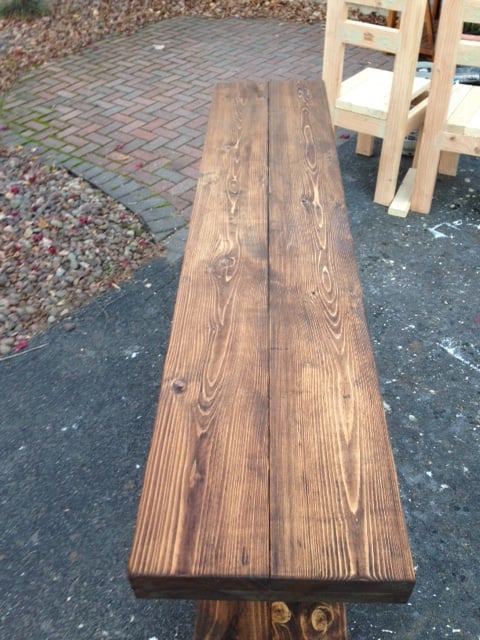
My husband and I have built quite a few projects together so this one was fairly low on the difficulty scale. As long as you are comfortable with a mitre saw, you can do it. The kreg jig made it easier to drill pocket holes, but even with only different-sized drill bits and a steady hand you can make them.

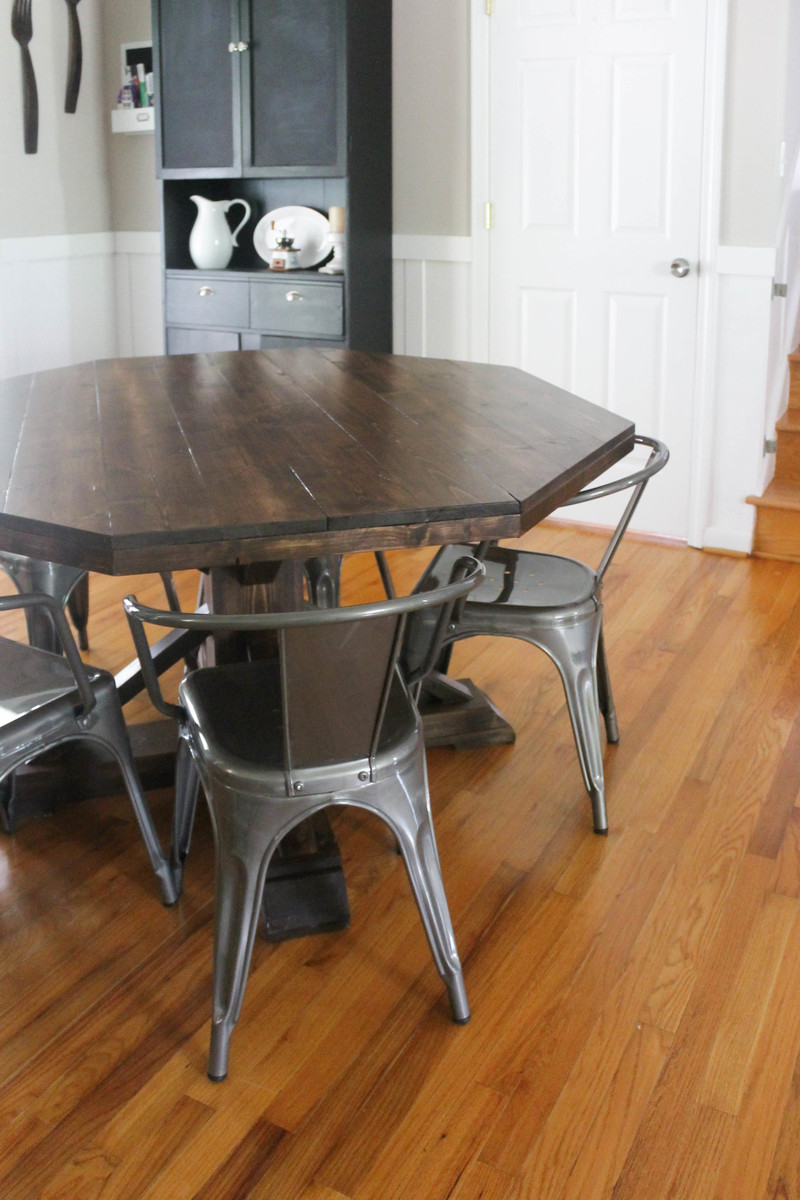
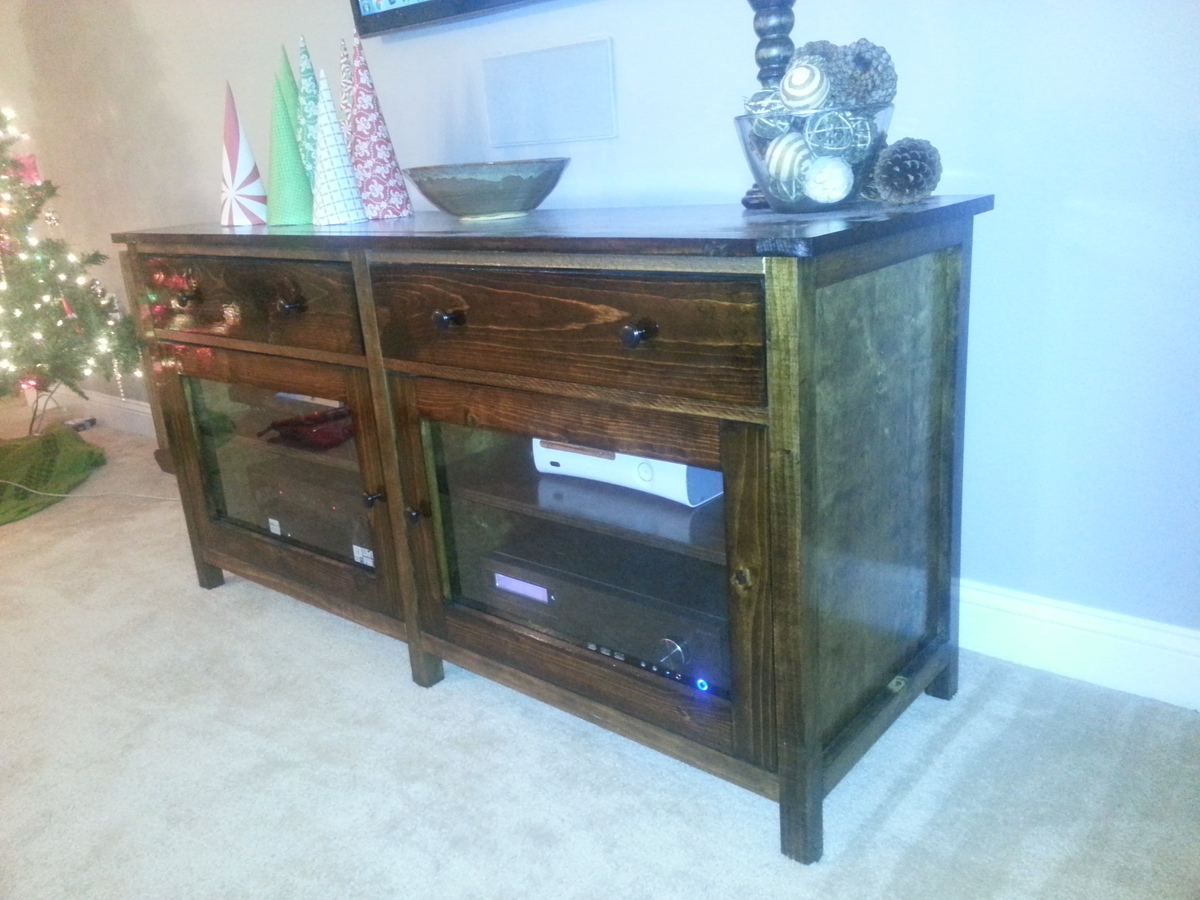
This is one of my favourite builds - maybe because it was a gift for the sweetest little girl. Plus others have shown interest in it, so I might just have to start a side business!

More details on what we did can be found at:
http://turtlesandtails.blogspot.ca/2014/05/child-sized-bookshelf-toybox…

Built from Plan(s)
Estimated Cost
$100 (CDN)
Estimated Time Investment
Weekend Project (10-20 Hours)
Finish Used
Minwax Dark Walnut Stain,
Minwax Red Mahogany Stain,
Minwax Furniture Wax,
Steel wool after waxing and buffing gives an even smoother finish
Recommended Skill Level
Beginner

Comments

Jon Barnes

Wed, 09/10/2014 - 08:13

I was thinking the same thing when I saw the original design.  I like it but the dementions are quite a bit smaller than I want to make for the toy box gift that I want.  I am doing the same thing.  It will be a 1st birthday present for a little girl  I am thinking of making it 36 wide and at least 36 high and 24 deep.  What would the dementions be and how much would that change the side angle cuts? 

Best Chairs Ever!

Submitted by Anonymous (not verified) on Tue, 06/09/2020 - 18:16

I made these modern Adirondack chairs for our business in Anchorage. GREAT and easy to build design by Ana - we upgraded the arms to tapered 2x6 and they're awesome!

Organizer for knitting needles & crochet hooks

Submitted by Wendy KT on Wed, 06/24/2020 - 13:47

I used Ana and Jaime's desk organizer plans to build this, but I'm using it in my craft room instead for my needles/hooks/small accessories. This plan was part of Ana's Handbuilt Holiday plans found here: https://ana-white.com/woodworking-projects/desktop-office-or-vanity-bea…

Estimated Cost
10.00
Estimated Time Investment
Afternoon Project (3-6 Hours)
Finish Used
Duck egg blue chalk paint and clear wax.
Recommended Skill Level
Beginner

Laundry Pedestal

Submitted by Kamoanui on Tue, 06/30/2020 - 09:42

This was quick build. First time for us using trim, so we wasted a few feet getting the angles right. We attached the legs directly to the frame, and did not use the metal brackets. We also did not build the floor frame. We measured how high/wide the laundry baskets ($3/piece at Target!) were, and made it to fit them. We added a piece of rubber mat to the top (bought at Lowe's). A few weeks later we helped our daughter and son in law build one for their new house!

Estimated Cost
$40
Estimated Time Investment
Afternoon Project (3-6 Hours)
Finish Used
White satin paint
Recommended Skill Level
Beginner

DIY Indoor Playground

Submitted by Leann on Sat, 11/12/2016 - 08:45

I built this project by myself.  My husband helped move the large pieces when I connected them, so one person really can tackle this project!   I had a combination of scrap wood from new home construction on hand and store bought lumber.  Most of my time was spent sanding, sanding, and more sanding, especially with the construciton grade lumber.  Yes, it was worth it!   I used tongue and groove wood for  upper level flooring and bridge.  It really made it easier to put the floors together.  I connected all the tongue and groove pieces with a snug fit and used my brad nailer to secure it down on the perimeter of the floor.   Therefore, not every peice had to be screwed down.

Estimated Time Investment
Week Long Project (20 Hours or More)
Finish Used
All the green paint is chalkboard paint! It seems to be working out quite well. I added inexpensive wood drawer pulls (as hooks to prevent poking an eye out!)) to hang costumes inside. I also cut the ends of the wood at an angle and sanded it to prevent sharp and pointed corners. Spacing around windows and the bridge was intentional to have that rustic look, yet allow for feet and hands to get in there for climbing. I need to add the monkey bars but definitely need help.
Recommended Skill Level
Intermediate

Comments

DIY Octagon Table

Why an octagon shape? I wanted a round table and my husband wanted square, so we met in the middle and built this! Very easy and fun to build!

Estimated Cost
$100
Estimated Time Investment
Afternoon Project (3-6 Hours)
Finish Used
Stain color Dark Walnut and polyurethane in matte finish. I applied one coat of stain with a sponge applicator and worked it in with a cotton cloth. I applied 4 coats of poly on the top and 2 coats on the base and legs.
Recommended Skill Level
Intermediate

Comments

booksnotbombs

Thu, 08/21/2014 - 07:40

Thank you for the reply! We have a beautiful old solid wood turned-leg farmhouse table (and matching chairs) that has been in my family since the 60's that needs to be refinished, but it just isn't our style. So we're thinking of building our own in our more modern style but would have to get chairs to accompany it. I LOVE these, so I think we've found our new chairs! I hope our table turns out as beautiful as yours.

I still have plans to refinish the old table and pass it along to someone who will show it as much love (aka abuse) as it received in my childhood...

Work Bench and Carts

I finally finished my workbench this summer. I started the bench 2 years ago for my miter saw. Got busy with other builds, things for family, clients, etc. I still had most of the wood cut for the carts. Here it is in all its glory!!! Finally organization and I can actually park my car in my garage. Thanks Ana for all of your plans.

Estimated Time Investment
Week Long Project (20 Hours or More)
Finish Used
primer

Benchmark TV stand

My wife and I wanted a nice TV stand for our new living room. Like always, we did not want to spend tons of money and I thought about building something anyways. My wife found the Benchwright series at Pottery Barn and loved it, but for almost $1,000 that was not in our budget. Of course I came straight here and found these plans! I had a great time building this. The measuring and cutting took only an afternoon, and the staining took a long time as this was my first real staining project. I also wanted to get nice glossy coats of clear coat, which took time.Overall we are thrilled with how it turned out! The biggest headache was the euro hinges. I followed the directions that came with them and they did not turn out right at all. It was trial and error to finally get this placed correctly.

Estimated Cost
$300
Estimated Time Investment
Weekend Project (10-20 Hours)
Finish Used
I used miniwax pre-stain for most of the project (although I couldn't tell much of a difference honestly). We used miniwax Dark Walnut for the color. I put on 2 coats of stain followed by water-based clear coat. 5-6 layers of clear coat were put on the gorgeous top and about 2-3 coats were put on everywhere else.
I tried out both oil based and water based polyurethane on this project to try them both out. I highly prefer the water based clear coat over the oil based. The water based is almost twice the cost, but it goes on much thicker so it is easier to apply and took less coats to get a glossy finish.
Recommended Skill Level
Intermediate

Comments

spiceylg

Thu, 12/13/2012 - 05:24

Really great job! Isn't it nice to have options rather than dropping so much money in over priced stores?!

Pallet wood potting bench.

Submitted by Anonymous (not verified) on Sun, 10/04/2020 - 19:34

Thank you Ana for the great plans! We adapted the project for wood we had on hand. It is only 40 inches wide instead of 42”. Our widest pallet board was only 40”.
Thank you for continuing to inspire us! We made two couches a couple of months ago. Great plans!

Estimated Cost
Box of screws!
Estimated Time Investment
Afternoon Project (3-6 Hours)
Finish Used
Potting bench.
Recommended Skill Level
Intermediate

Planter bench

I built this bench for a Christmas present. She loves to work in her garden and I thought this would be the perfect touch. The plans were easy to follow. I made a few minor adjustments to fit the lumber I had on hand. The center bench is only 4 foot wide so I could conserve on the amount of 2x4 I had to buy. I thought the bench turned out great!

Estimated Cost
$130
Estimated Time Investment
Weekend Project (10-20 Hours)
Finish Used
Golden oak stain
Recommended Skill Level
Beginner

Comments

My First Bunkbeds

Submitted by Mike B on Sat, 11/08/2014 - 14:48

This was the first piece of furniture that I ever built!  Plans were very helpful and easy to follow.  If I had it to do overagain, I would have painted instead of staining (less sanding required).

Built from Plan(s)
Finish Used
Stain, polyeurethane
Recommended Skill Level
Beginner

Griffen pottery barn inspired Media Console Table

Liked the Griffen Reclaimed look Media console, but not the $1099 price tag that came with it!  LOL

So with $100 and 3 hours of work, BAM! 

70L x 15W x 30H


Built from Plan(s)
Estimated Cost
$100
Estimated Time Investment
Afternoon Project (3-6 Hours)
Finish Used
Classic Black Polyshades by minwax for the base
Provincial by By minwax for shelfs
Recommended Skill Level
Beginner

Comments

jpujdak

Tue, 03/24/2015 - 06:21

Hi! I love your Media Console table! Do you have plans to go along with this? I'd love to create this for my apartment. Thanks!

Back