Community Brag Posts

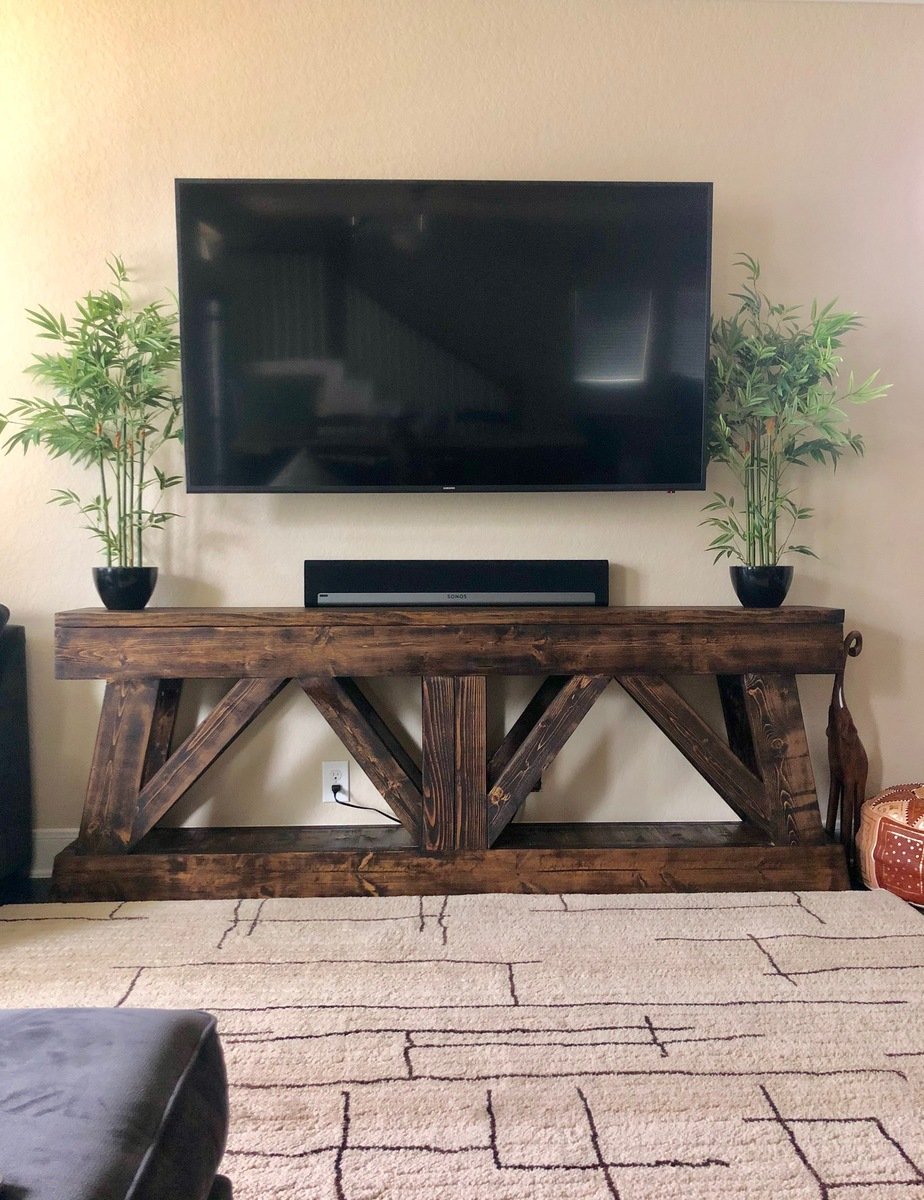
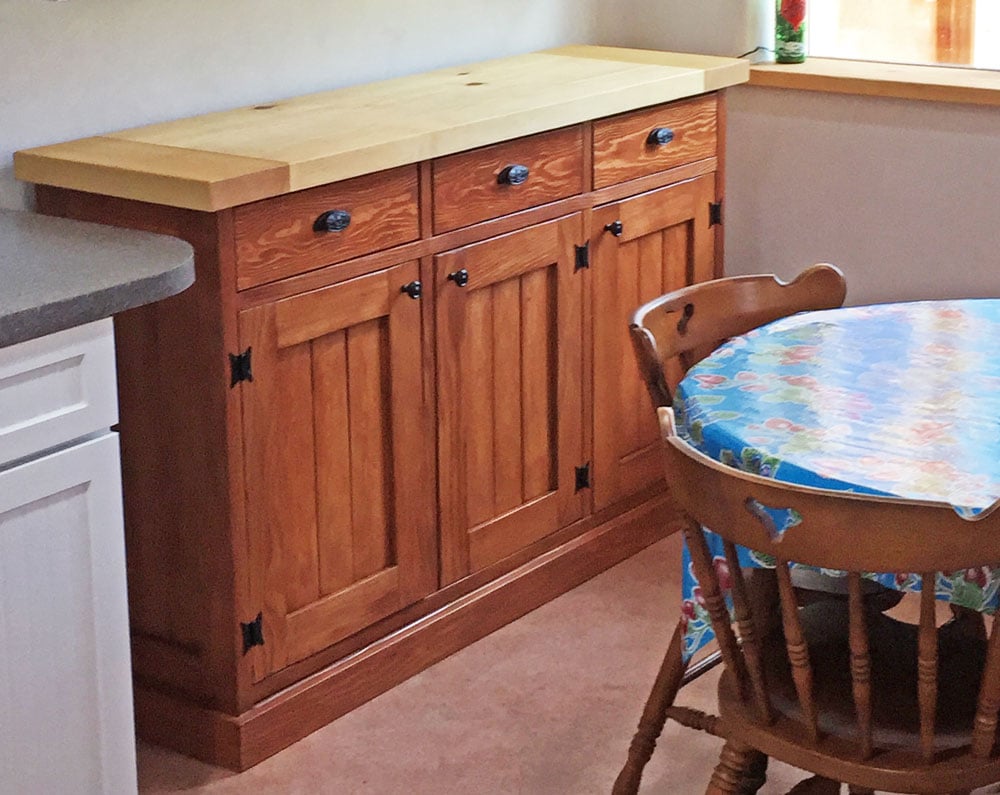
Turntable Console

Submitted by Anonymous (not verified) on Sun, 12/26/2021 - 16:00

Hi Ana and family,
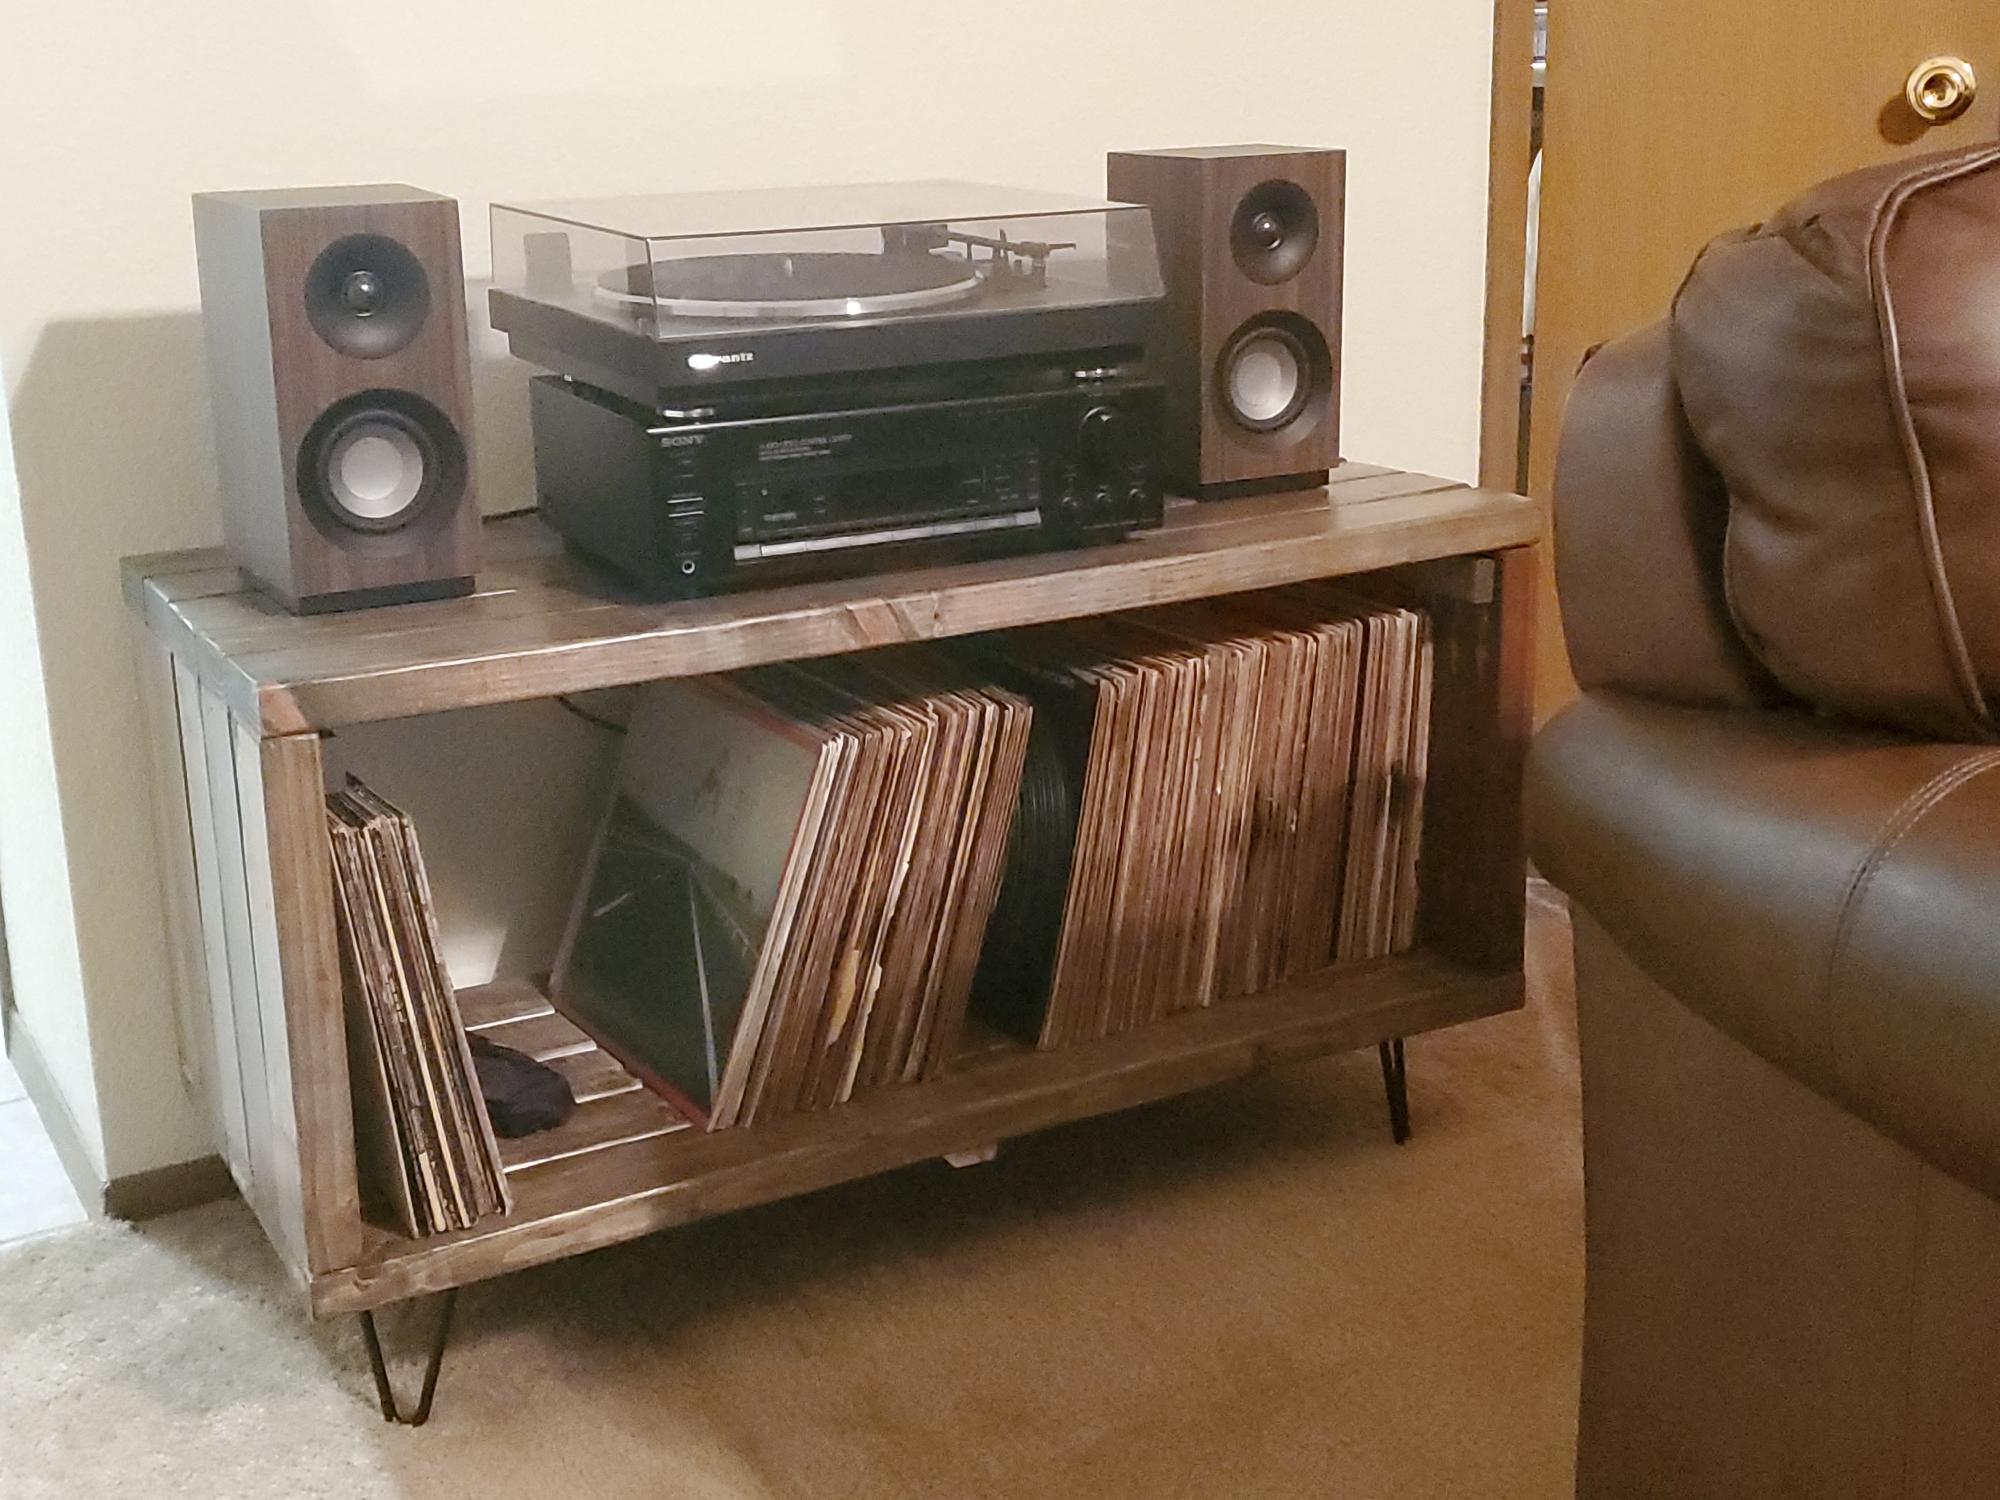
A couple of months ago I contacted you to see if you had a video on how to build a Turntable/media console out of 2x4s with a picture for inspiration. I did get feedback and it really helped. Thank you so much for always being available to help.

Comments

my new farm table!!

Submitted by downtownbb on Fri, 04/29/2011 - 18:30

I have recently started working with wood and I love it!!! It started with a few little cubbies, then a small primitive cabinet and today I built my farm table and I absolutely LOVE it!!! I kind of combined plans,,used the size of the narrow farm table and did the basic frame of michaelas kitchen island

Built from Plan(s)
Estimated Cost
50.00
Estimated Time Investment
Afternoon Project (3-6 Hours)
Finish Used
country white legs distressed with golden oak stain over it and golden oak stain on the top
Recommended Skill Level
Beginner

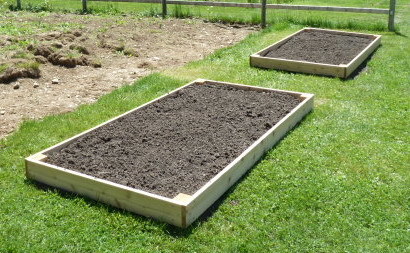
Raised Cedar Bed

Submitted by NitePagan on Sun, 06/30/2013 - 08:27

I built cedar raised beds out of cedar decking, 3 pieces 5/4" x 6" x 8', actual dimensions were 1" x 5.5" x 8', plus 1 - 2 x 4 cedar. I made 48" x 96" boxes. I cut 1 of the cedar deck pieces into 2 - 48" long pieces. For the corners, I cut the 2 x 4 into 8 - 5.5" long pieces. I then screwed 2 of the 2 x 4 pieces together to form a 4 x 4 block. I used these as the inside corner to screw the decking to. The total cost was $60 to build 2 cedar beds. The other option would have been to make them double height, by cutting the 2 x 4's 11 inches long. This is more expensive then the boxes Ana did, but I could not find cedar fence slats, they appeared to be Northern White Pine which would have deteriorated quickly. I obtained the lumber from Lowes.

Estimated Cost
$60.
Estimated Time Investment
An Hour or Two (0-2 Hours)
Finish Used
No Finish.
Recommended Skill Level
Beginner

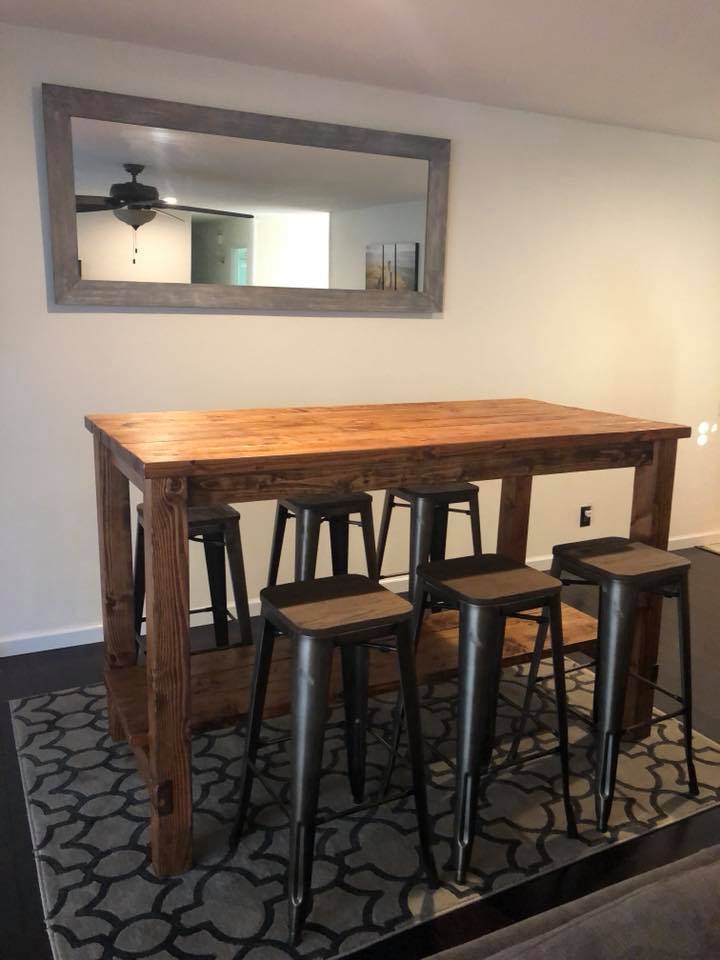
Farmhouse Style Bar Table - San Diego

My husband modified these plans by making it a 42" tall bar high table. He built it and I stained it with Dark Walnut Danish oil and it came out better than we imagined. Thank you for these awesomely cool DIY plans.

Estimated Time Investment
Weekend Project (10-20 Hours)
Recommended Skill Level
Beginner

Comments

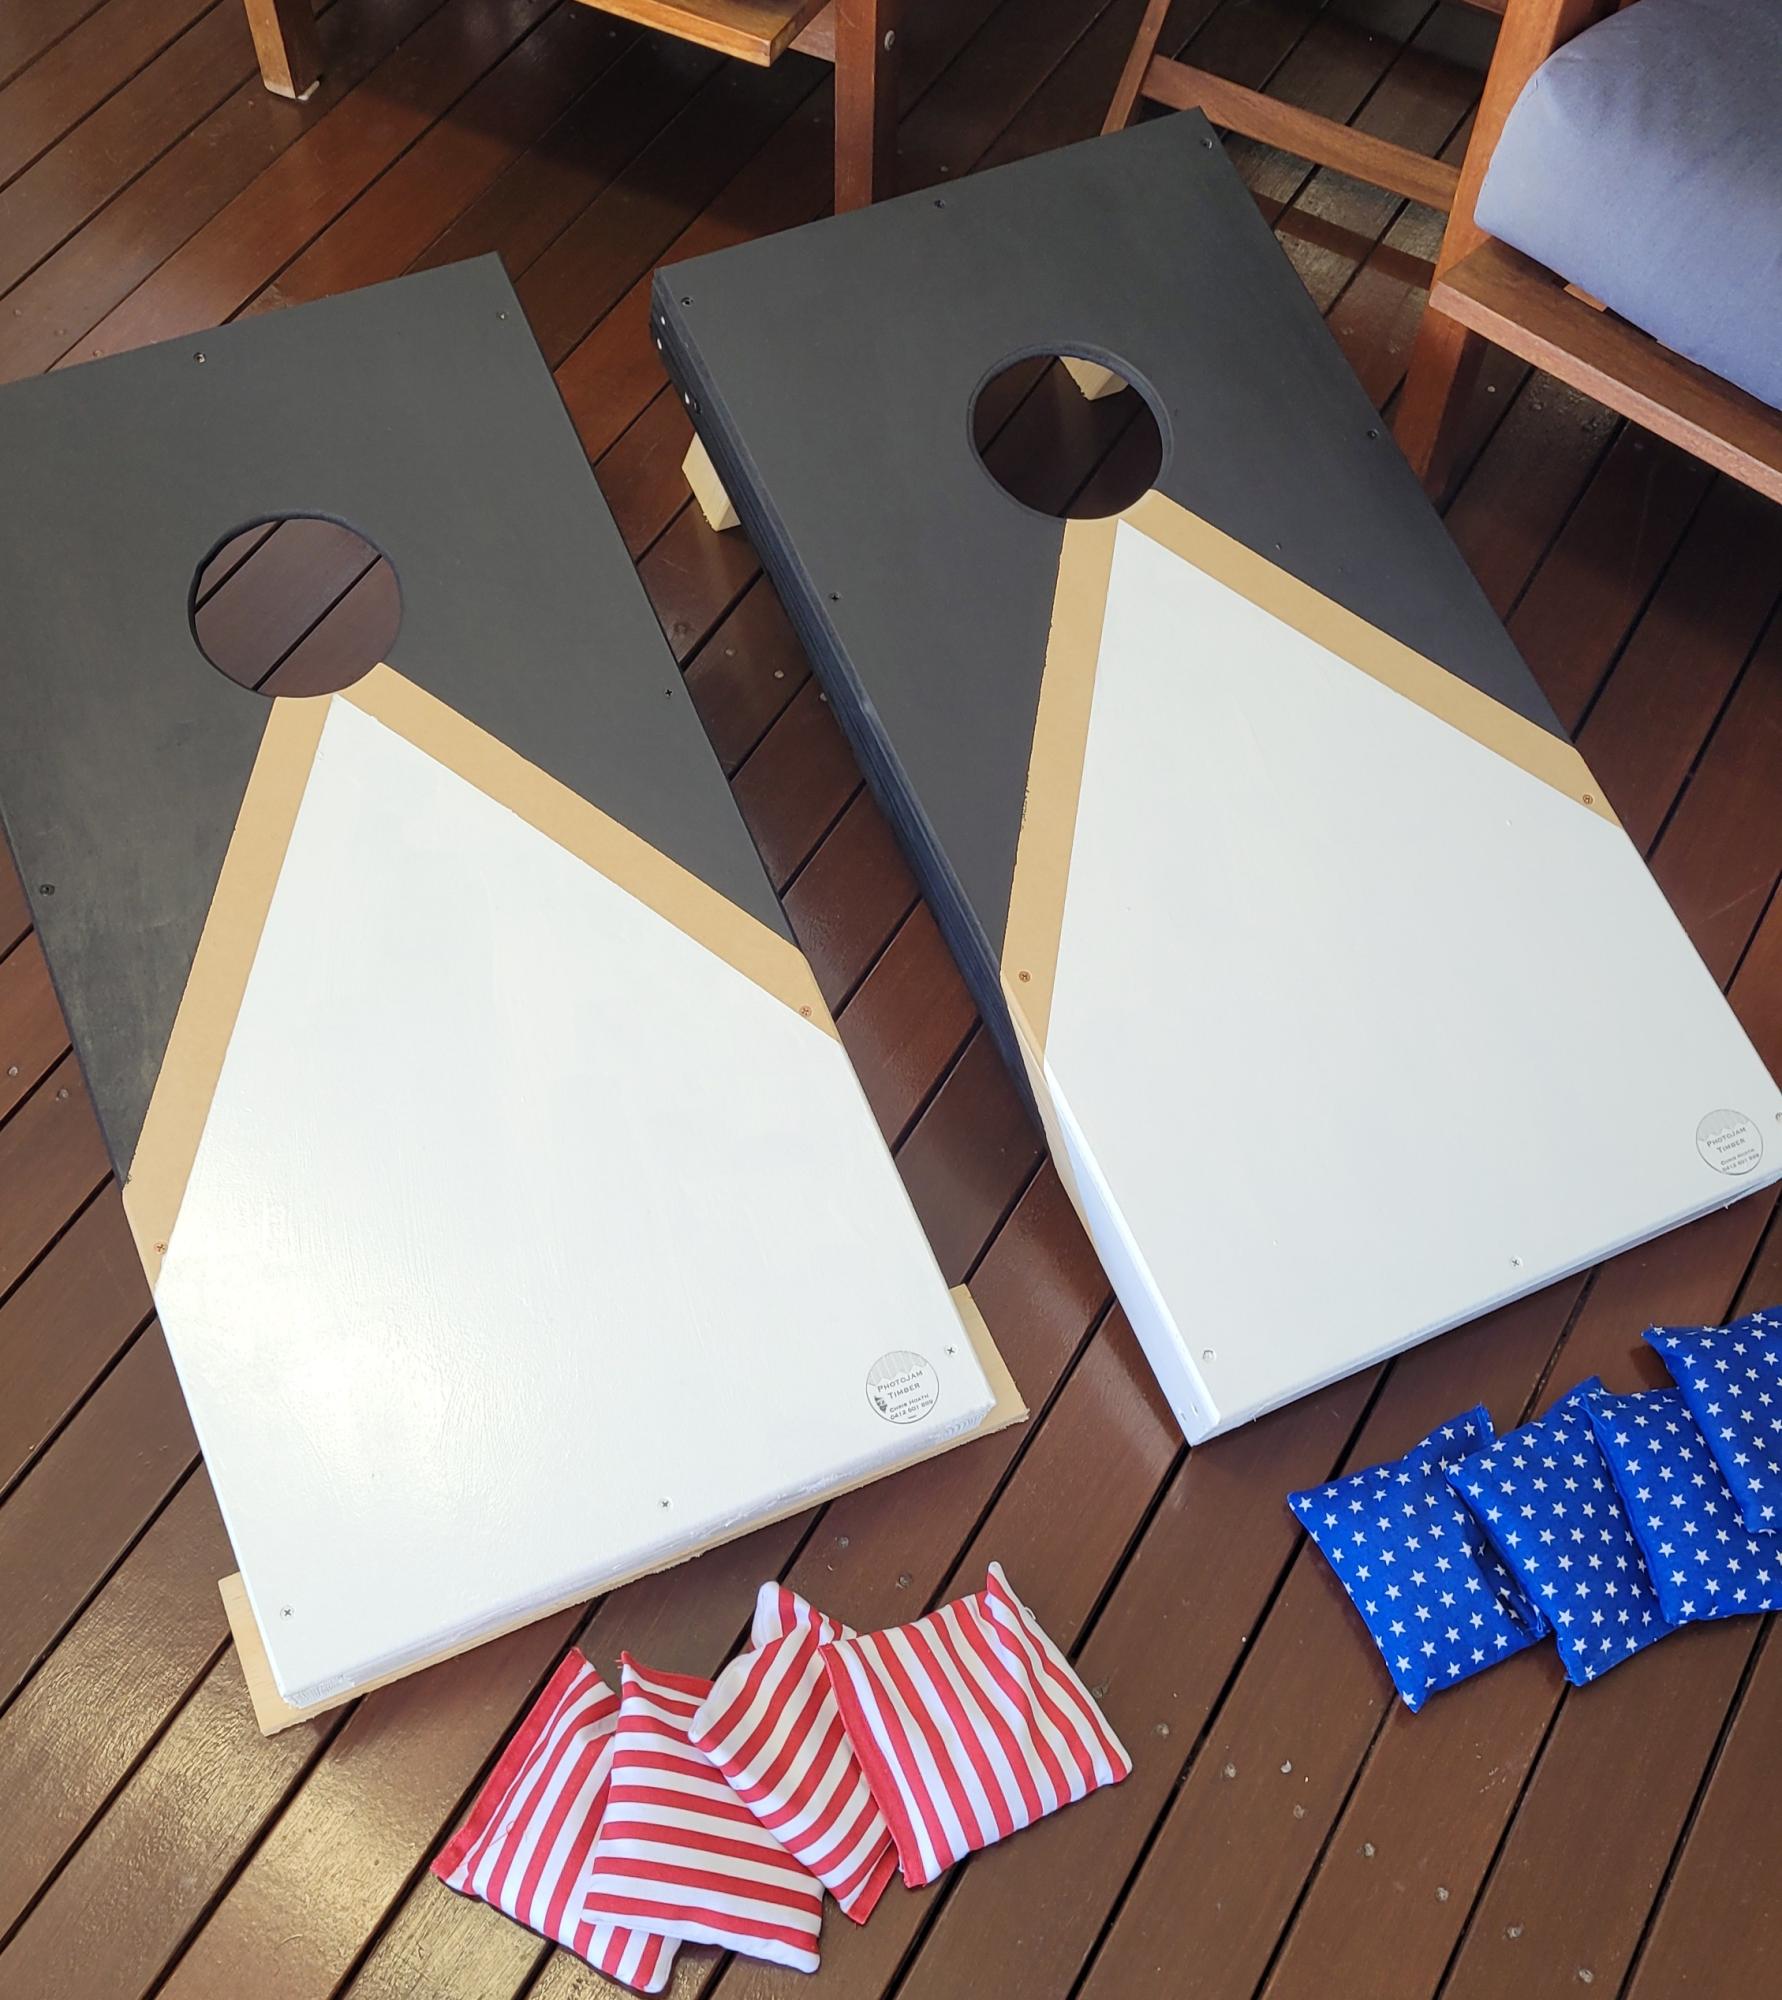
Corn hole

Another great tutorial and project done. Thanks Ana

Comments

Modified Simple Outdoor Dining Table

Submitted by ewood on Tue, 05/31/2011 - 08:04

Wanted a Patio table and when I saw the plans on this site I really liked it; I just changed the plan a bit. Everything was screwed from the underside of the table, also I attached the legs with 2" lag screws.

Built from Plan(s)
Estimated Time Investment
Weekend Project (10-20 Hours)
Recommended Skill Level
Beginner

Comments

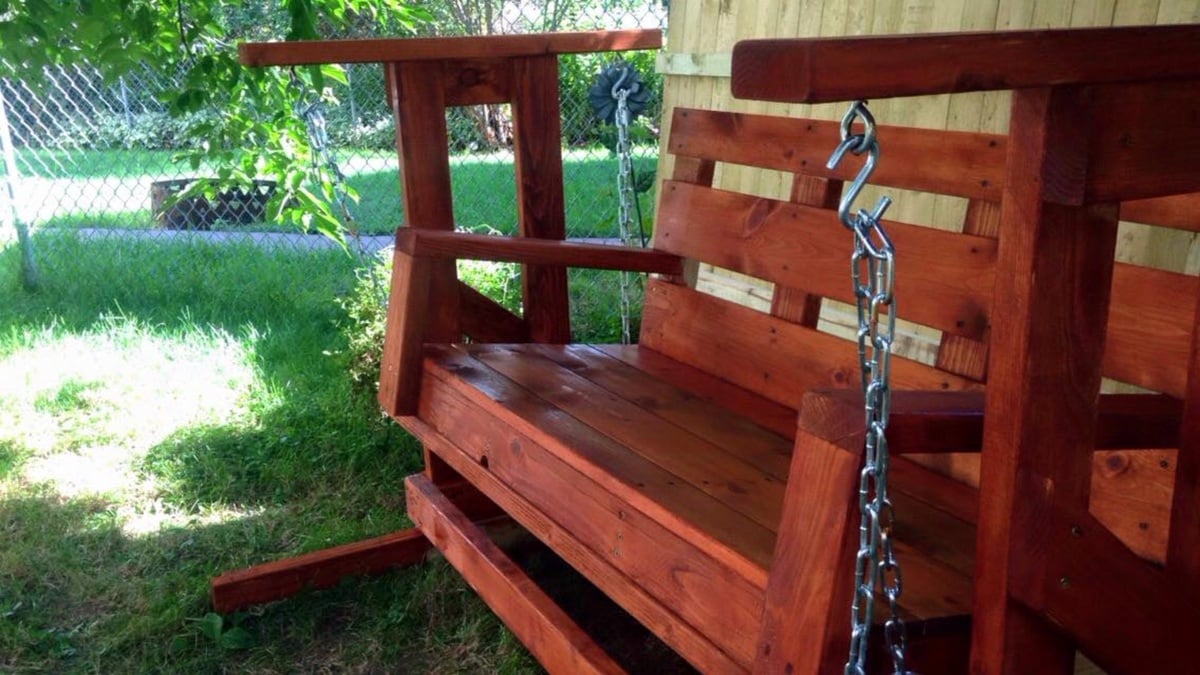
Glider

Submitted by Seansg5 on Sun, 08/09/2015 - 20:24

The bench was easy to build with great instructions. I had Home Depot make my cuts for this first project and then I went and bought a miter saw and other power tools for future ones. So much fun. 

Built from Plan(s)
Estimated Cost
$100
Estimated Time Investment
Afternoon Project (3-6 Hours)
Recommended Skill Level
Beginner

Comments

Cross35

Mon, 03/14/2016 - 08:35

Great work.  DId you do anything different to the swing itself?  How did you build the frame.  I'm looking to do this exact thing for my patio.  I don't have anywhere to hang the swing.


Thanks for sharing any info.

mbarland

Sat, 06/13/2020 - 16:54

Made the chair and then built the glider frame for it just eyeballing the picture. I can't figure out how to upload a photo of my design, but can try to describe it.

I made mine with a 4x4 on the base of each leg, but a 2x4 would work as well, it was just what I had on hand. The base board on each leg I made 48". From there I put two 48" vertical boards. The vertical boards were centered and from the front edge of the first board to the back edge of the second board. Two 16" boards were then used at the top and bottom of the vertical boards to hold them in place. Cap it off with a 30" board on top of the verticals. This is where you'll attach your eye bolts. I put both eye bolts 3 1/2" back from the front (a scrap of 2x4 works well as a guide). To join the two legs, I used two 52" boards on top of the base 4X4 of the verticals (one in front of the legs and one behind).

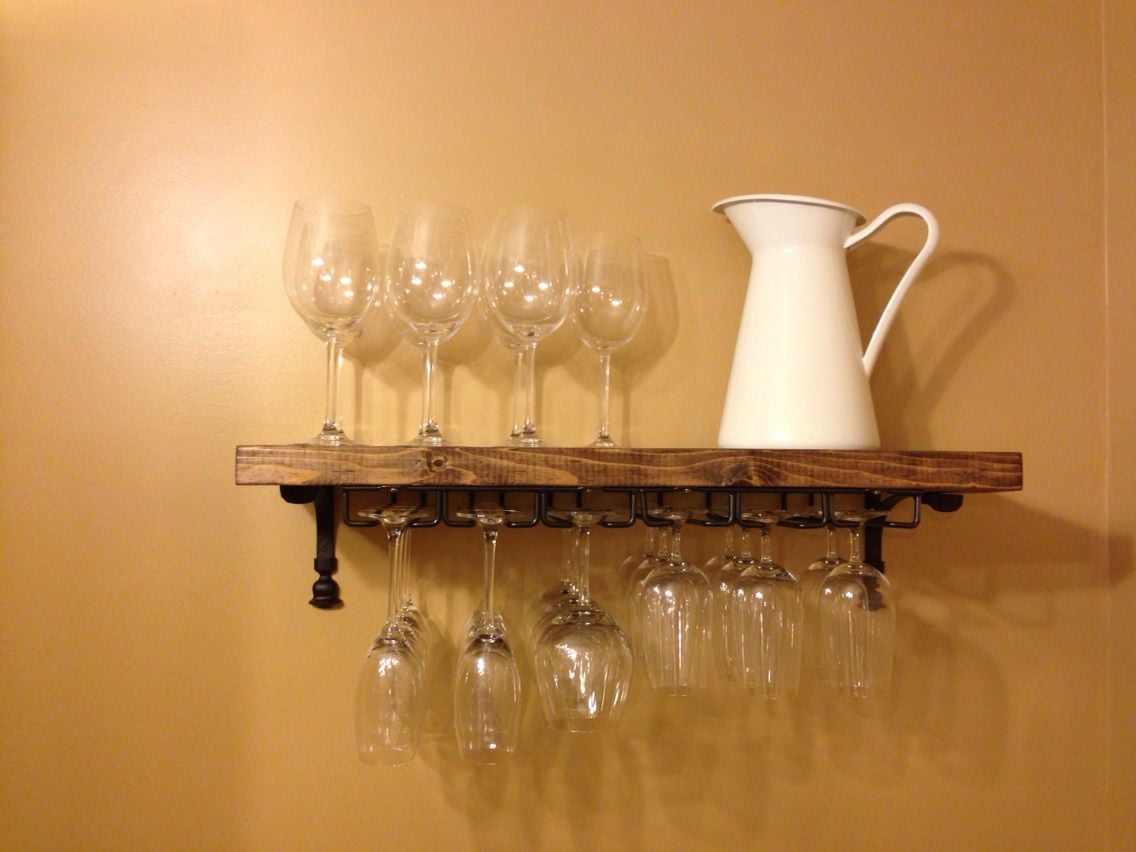
Wine Glass Rack

I made this after seeing the Rustic Wood Entertaining Shelves on the Pottery Barn website. I fell in LOVE with the wine glass rack, but $80 was way too much for me. I had some leftover 2x6s in the garage, so I Kreg jigged them together to make the shelf. I found some under cabinet mount wine glass racks at Bed Bath & Beyond for $10, so I bought them and spray painted them with Rustoleum oil rubbed bronze, and attached them to the bottom of my shelf. I found some shelving brackets at Home Depot and used those to hang the shelf on the wall. I could not be more proud of my wine glass rack/shelf!

Estimated Time Investment
An Hour or Two (0-2 Hours)
Finish Used
Rustoleum Stain in Kona & Rustoleum spray paint in Oil Rubbed Bronze
Recommended Skill Level
Starter Project

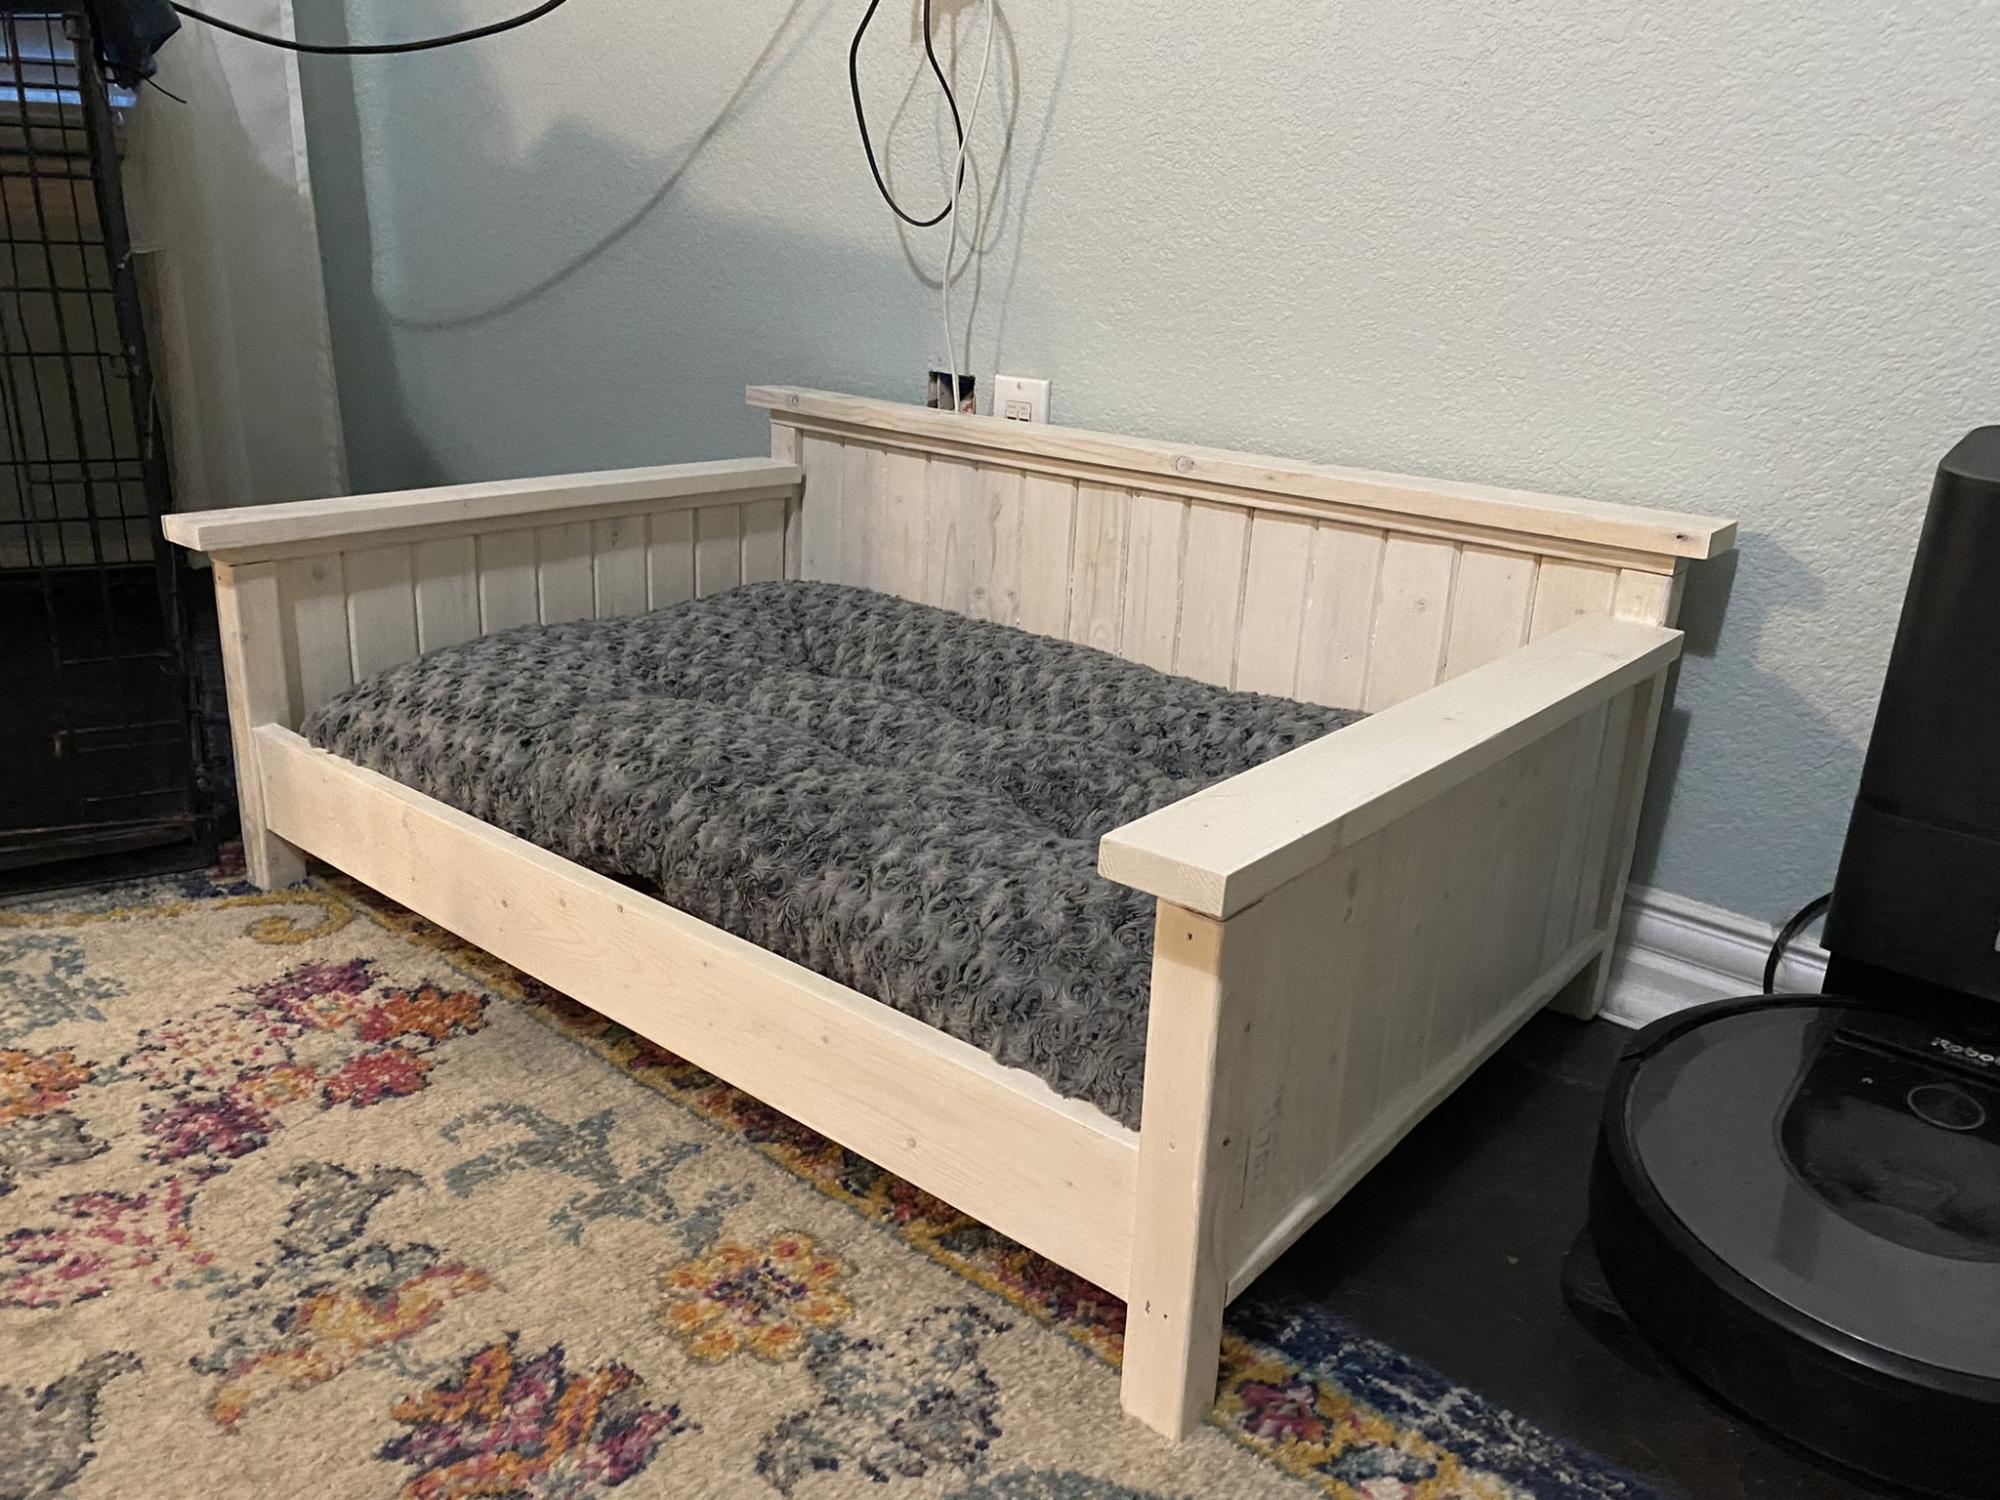
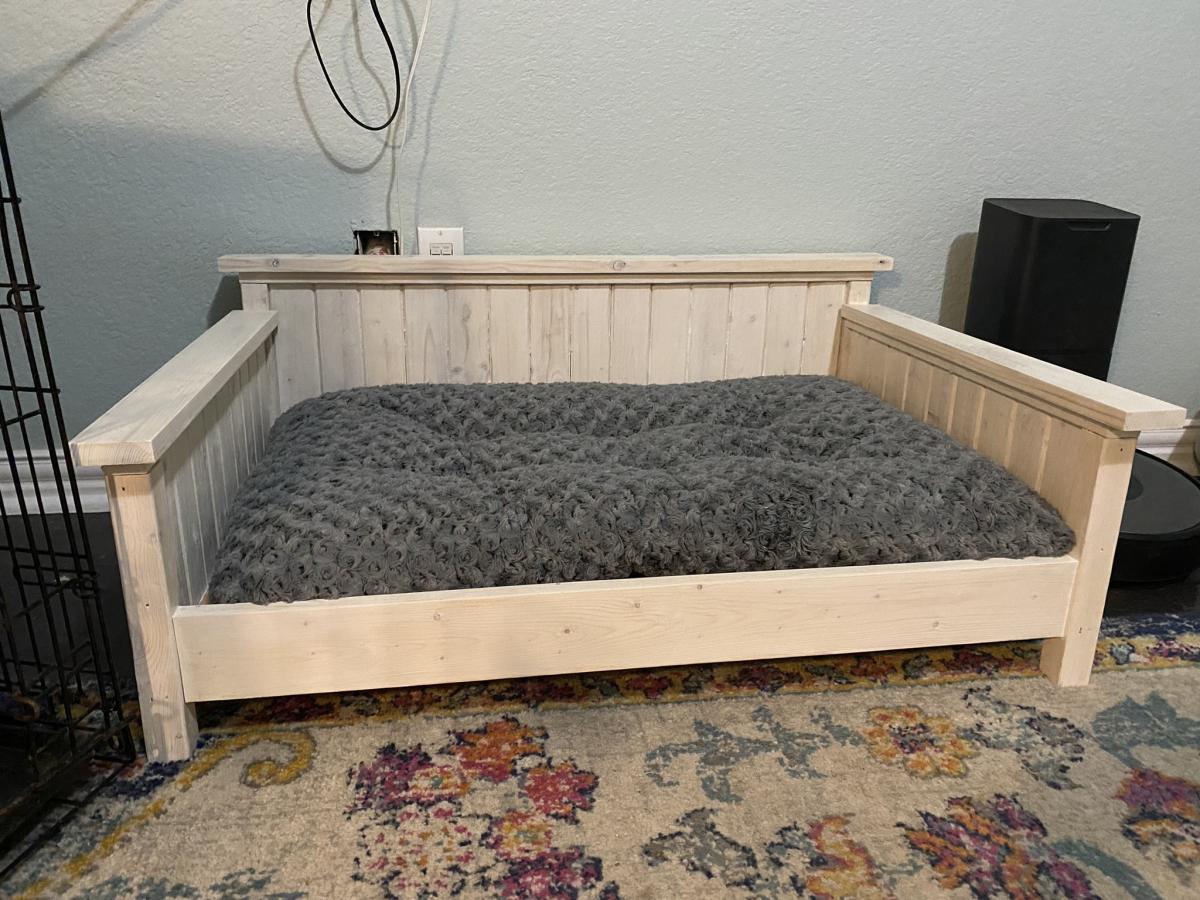
Farmhouse Doggie Daybed

Submitted by jkjackson on Sun, 04/24/2022 - 18:42

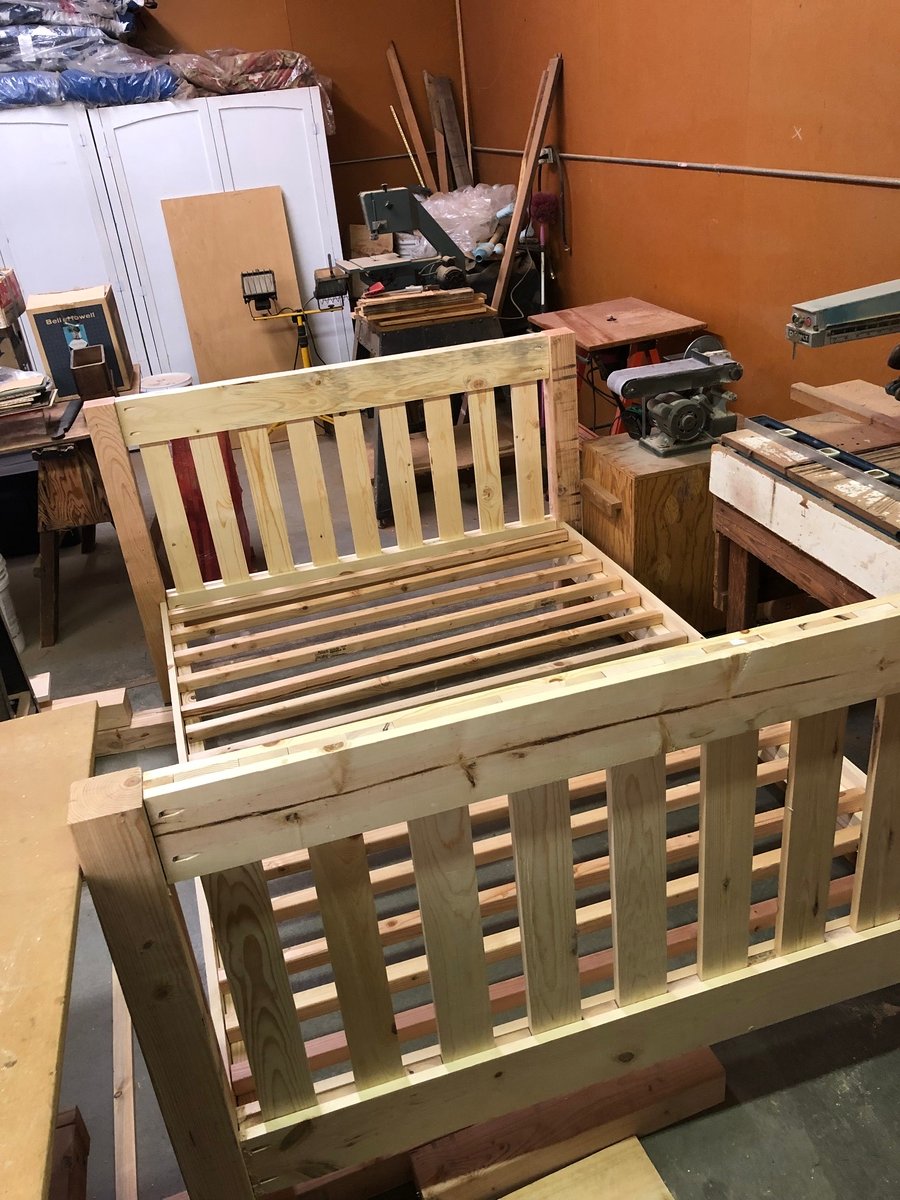
This was adapted from the Farmhouse bed plans to match our king size farmhouse bed.

Comments

Slim Trus Console Table by Drew Cameron

Submitted by deaconcam on Thu, 09/13/2018 - 09:30

This project was a great learning experience and turned out fantastic. The mitered/beveled cuts were a bit tricky for me, It took me a while to understand how to use my miter saw to make the cuts correctly. Other than that, the building plans were clear and easy to follow. Cara, an author at Inspired Workshop, posted the plans at the following link: https://theinspiredworkshop.com/diy-slim-truss-console-table/ 


-Drew Cameron

Built from Plan(s)
Estimated Cost
$100
Estimated Time Investment
Weekend Project (10-20 Hours)
Finish Used
Minwax PolyShades Espresso Oil-based Interior Stain
Recommended Skill Level
Intermediate

Comments

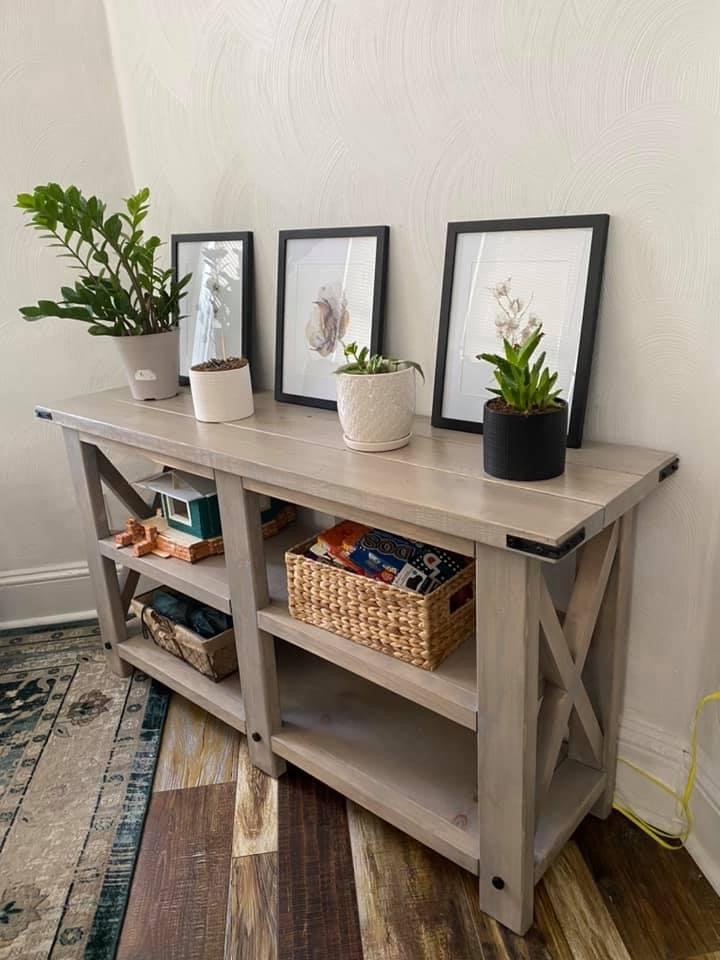
Rustic x console table

Submitted by Anonymous (not verified) on Sun, 06/26/2022 - 18:38

Built this for a friend of mine, but didn’t need it quite as long…I absolutely love this table!!!

Built from Plan(s)

Comments

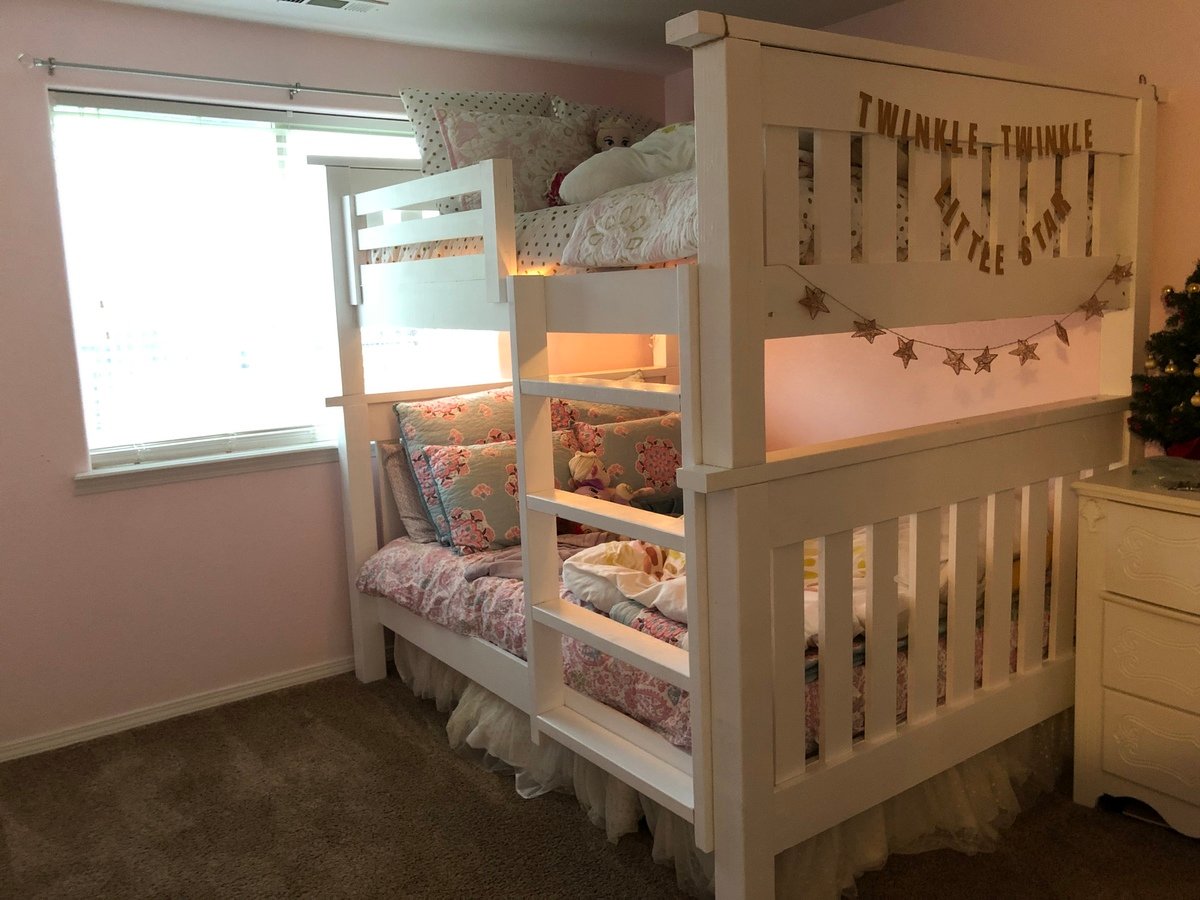
My very first build!!!

Submitted by Carriganm on Sat, 12/29/2018 - 21:11

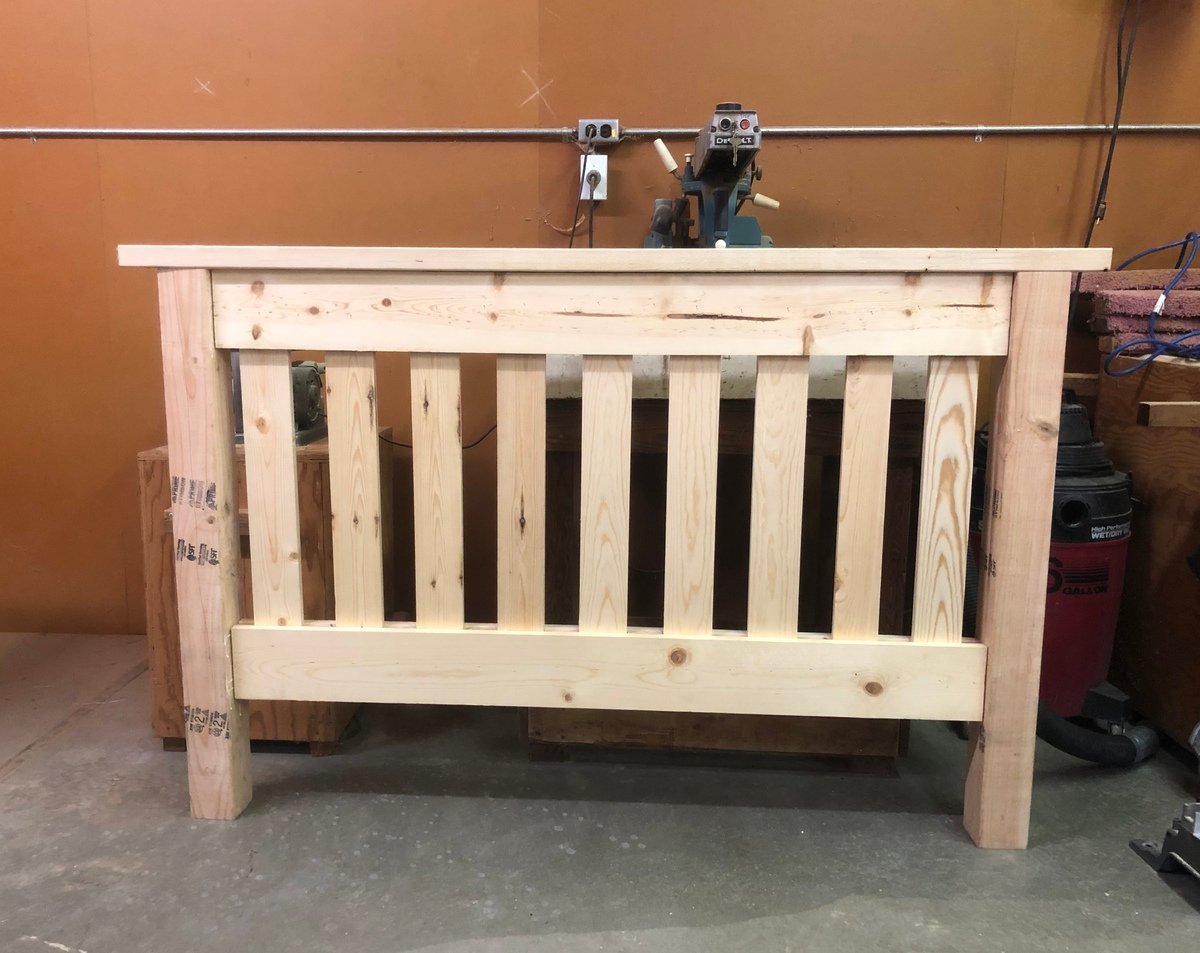
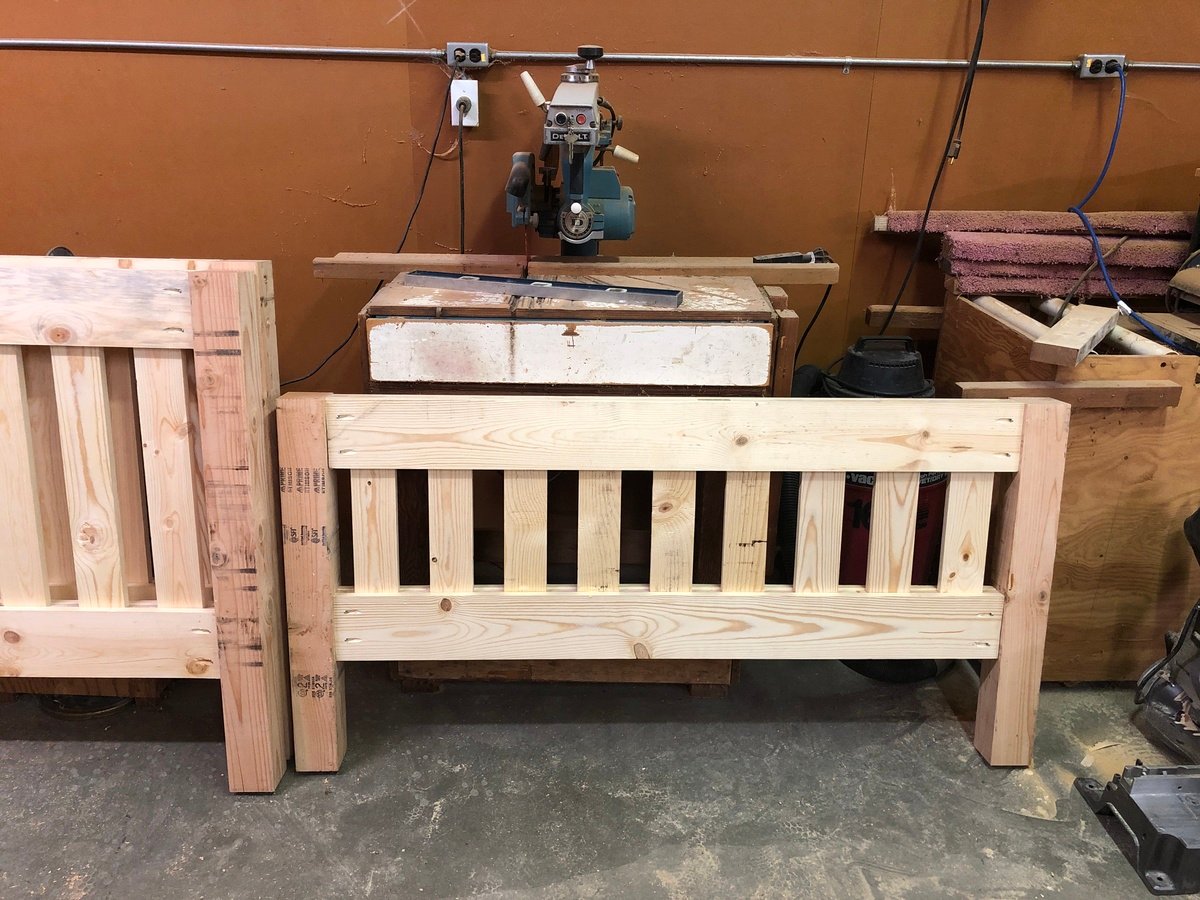
I decided to tackle my very first build this year. I built the full size bunk beds for my girls for Christmas!!!!! I built the rail and ladder (except the 2x4 long posts) out of scrap wood. It took 2 weeks to build & paint only because I did it weeknights after my kids went to bed. I’m in love!

Estimated Cost
I didn’t price out exactly. But roughly $350. That included all lumber and screws!
Estimated Time Investment
Week Long Project (20 Hours or More)
Finish Used
Painted white
Recommended Skill Level
Beginner

Comments

Leslie Is Ready

Fri, 12/04/2020 - 13:22

You should be incredibly proud, it’s BEAUTIFUL! I am planning to build full-sized beds for my twin daughters, and your post is very inspirational!

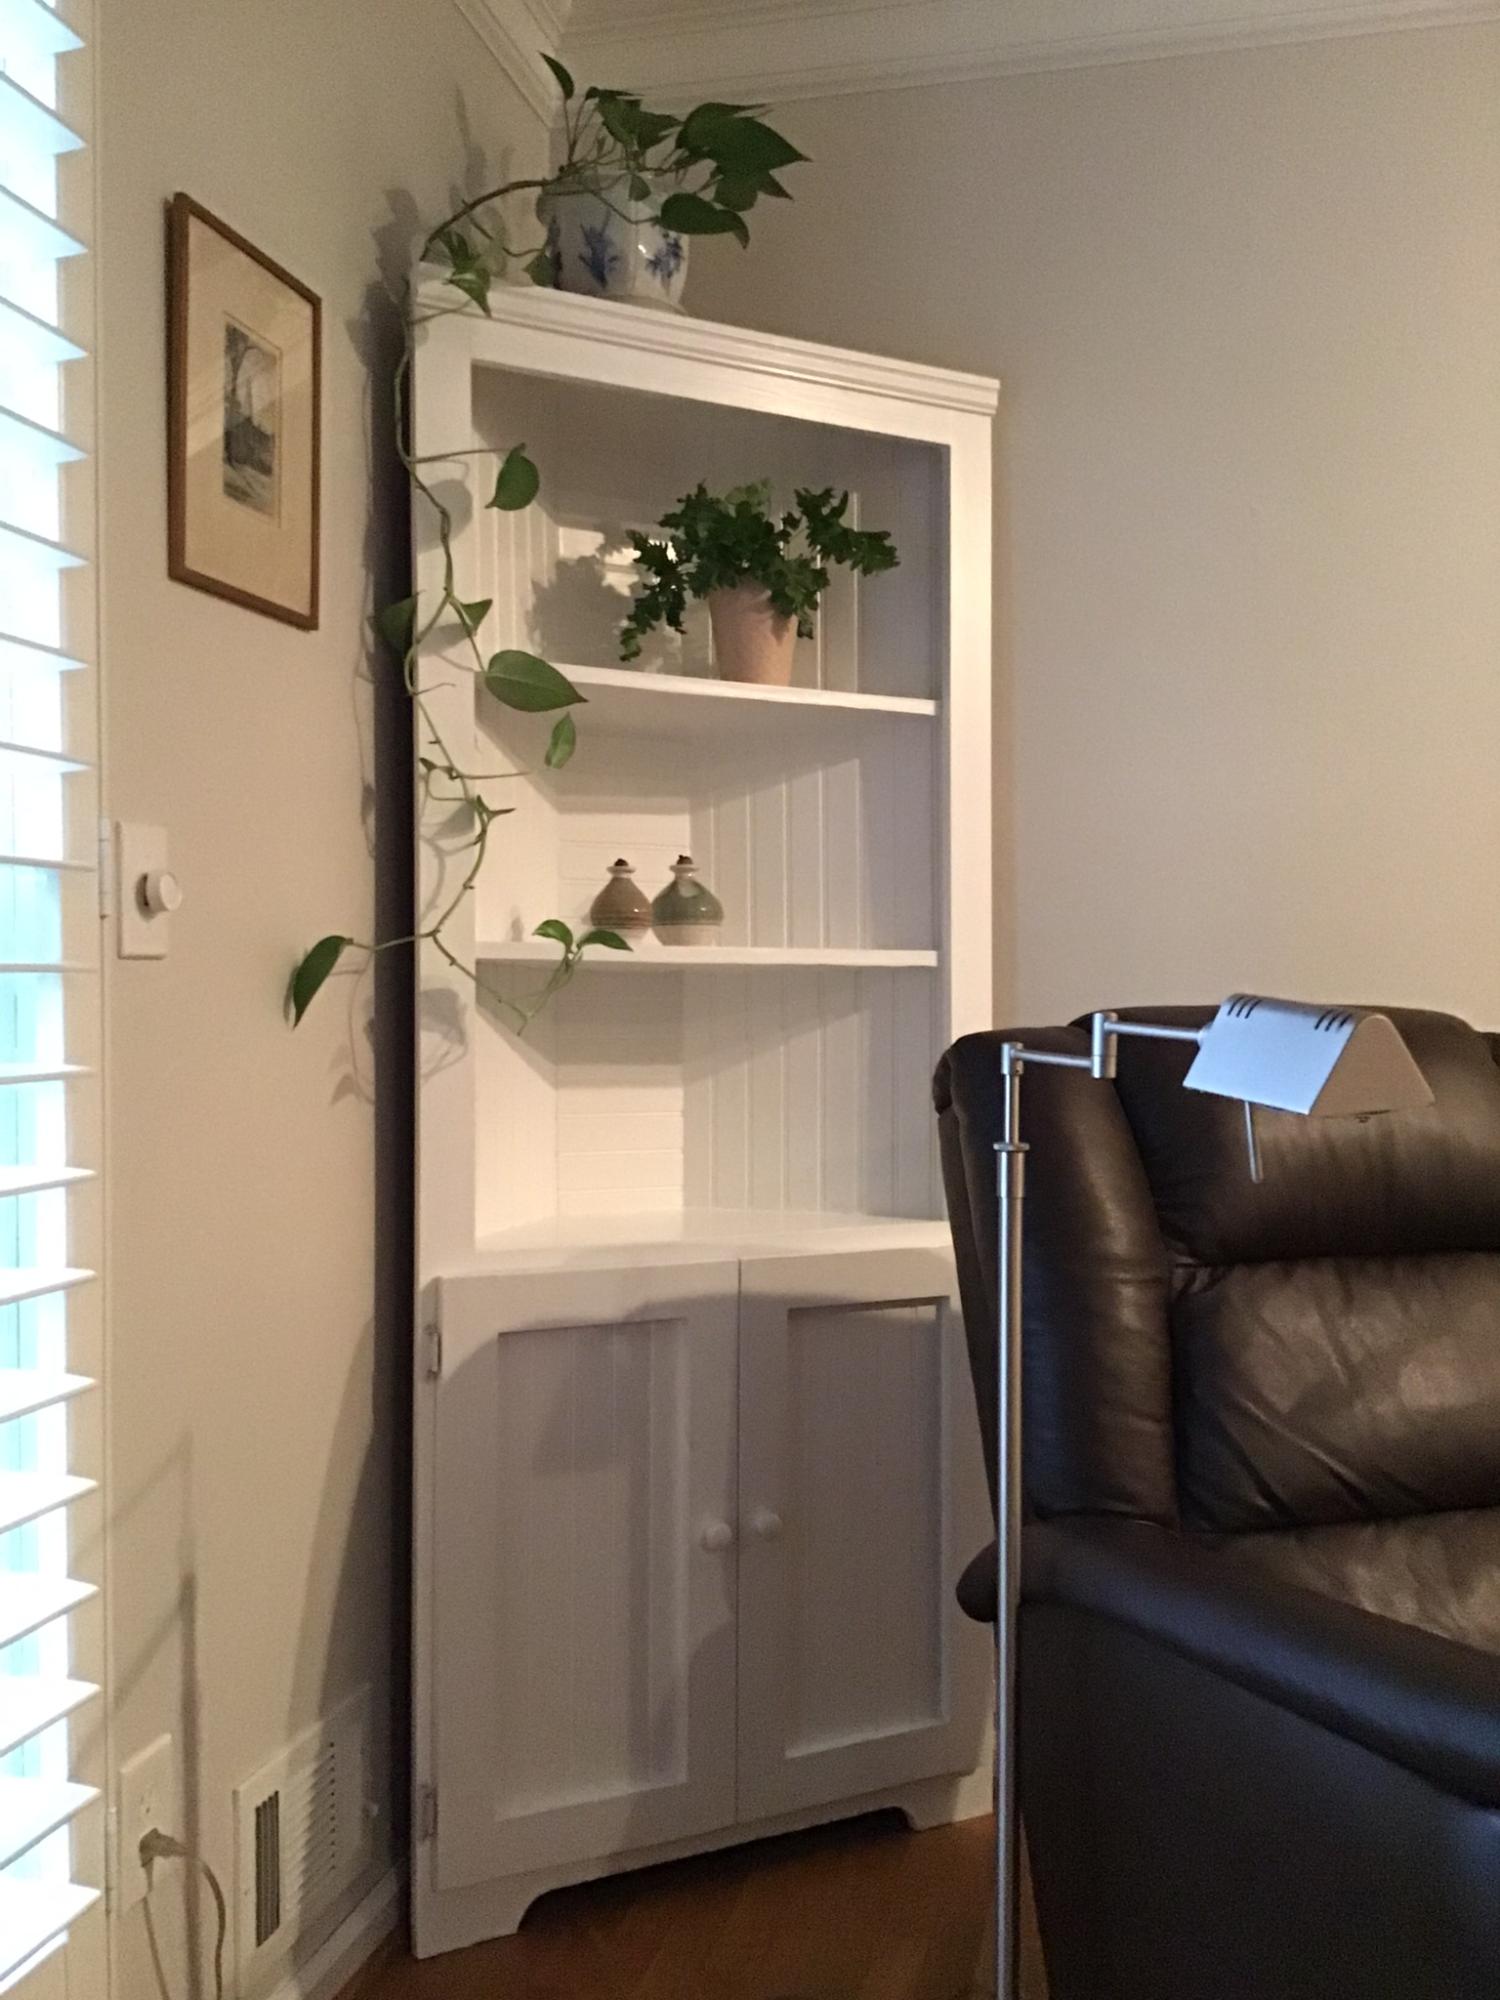
Corner Cupboard

Submitted by Anonymous (not verified) on Sat, 11/26/2022 - 06:16

Finally I have made a project that is nice enough for our living room. Now I am so i spired to build more!

Built from Plan(s)

Comments

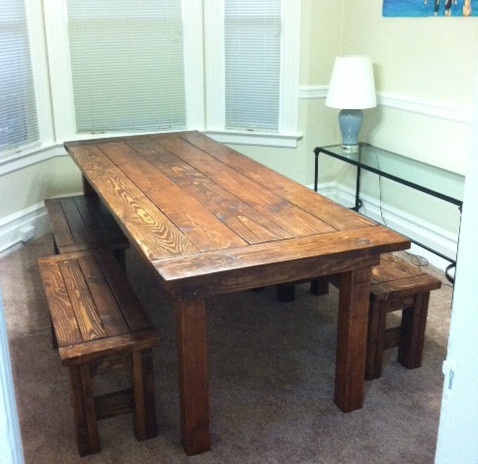
Farm House Table and Benches

Submitted by markelll on Mon, 09/12/2011 - 09:28

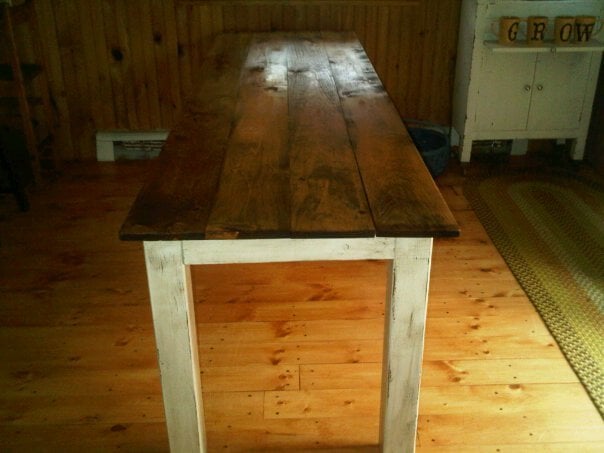
I wanted a big rustic farm table, didn't want to drop thousands on one from a store, so I decided to make my own!

I built it in the (formerly empty) dining room, with tarp on the floor and plastic to seal the doorways.

Was a big project and my first project so I started with the benches as this site and users recommended.

I used the farm house bench plan - just shortened the dimensions so that I could have two benches on either side of the table. Then I merged the two table plans so that I could have the top with the bread boards but legs that attached underneath (like the rustic table) so that they could be removed when we move. I'll work to upload my plans too.

Used Minwax Wood Stain in "english chestnut" and Deft Satin Wood Brushing Lacquer (instead of a Polyurethane).

Estimated Cost
approximately $300 (for wood, finish, sand paper, stain, screws..)
Estimated Time Investment
Week Long Project (20 Hours or More)
Finish Used
Minwax "English Chestnut" and
Deft Satin Wood Brushing Lacquer to finish.

I prepped the wood by sanding it down to 220 (could have done an even better job sanding, and sanded the table and bench tops even finer).
Used a sponge brush to apply the wood stain, wiped off rather quickly (only a few minutes on the wood).
Used brush to apply Deft Sating Wood Brushing Lacquer. Used spray can of Deft when I ran out of liquid. Didn't go on as thick. Although using a brush is more of a hassle, it had a better coat.
Recommended Skill Level
Beginner
Comments

Guest (not verified)

Sun, 09/25/2011 - 12:18

Your use of short benches makes the set more family and guest friendly. I usually hand rub my finish, I think i want to build this and probably use 0ak 2X12's (know it will be heavy).

Suggestions?

I will use it on a Florida roofed concrete deck for an outdoor dining area. Typically more formal dinners. Deck overlooks beautiful cove.

Guest (not verified)

Thu, 10/13/2011 - 11:00

Can you explain how you merged the plans to add the bread boards? I would love to do the same!

Jeff (not verified)

Fri, 06/01/2012 - 09:09

This is exactly what I am looking for in a table to build. We want bread boards on the end and we don't want stretchers on the bottom. How did you combine the two to do this. Can you send me a copy of your plan? [email protected]

Kimberly Dassel (not verified)

Sat, 08/04/2012 - 13:35

Could you please send me the plans for this table? I love it and would love to attempy making it. Thanks so much!

Joe (not verified)

Wed, 01/02/2013 - 15:53

Your farm table and benches were exactly what I was looking for. Please send me the plans if they are available. Thanks

Faye Sawatzky (not verified)

Wed, 01/02/2013 - 19:23

I would love a copy of the plans for this gorgeous table you made. I am inspired.

Kelly Lucas (not verified)

Tue, 01/22/2013 - 15:26

Would love, love the plans for this project if you are willing to share. Many thanks! :)

danno2084

Fri, 01/25/2013 - 20:57

I'm sure you've heard this a hundred times already, but we've been looking for a very long time for a table like this. We would also love the plans if you're sharing. Thanks for the great blog!

jsh2001

Tue, 01/29/2013 - 07:47

Getting ready to build my own and now you have me thinking I prefer this design with no stretchers on the bottom. Looks great!!!

Mammavof3

Sat, 03/16/2013 - 20:12

Can I please please please have the plans? I have a very narrow dining area and this table is PERFECT. Thanks

PorkyPok

Wed, 05/08/2013 - 13:30

I too would really love/need these plans. PLEASE. Thanks :)

Cbreck21

Sun, 05/12/2013 - 14:30

I would REALLY like the plans for his version as well. I am going to combine them. Can someone ask him to post or his he sending via email? If so, [email protected]

Thank you SO much!!!

wendykeeler

Mon, 07/15/2013 - 09:48

just bought a cabin and need all sorts of furniture. I love what you did and would sure love to have your plans and how you merged the two----both for the table and especially for the benches. Trying to do a 10' table for huge family gatherings. Thanks so much! You rock!

Sarina88

Tue, 07/23/2013 - 14:28

This table and bench set is exactly what I am looking for. You did such a great job!

Do you have plans that you wouldnt mind sending to my email? [email protected]

KailuaGirl

Fri, 09/06/2013 - 14:25

Hi There!
It seems like there are no replies to the many requests for the merged plans.
I'm guessing he used the top of one set of plans and the bottom portion of the other set of plans?? I will attempt to tweak myself..
Good Luck!

markelll

Fri, 01/09/2015 - 19:54

Hi everyone,
Well I didn't see all these comments! Sorry to have ignored your requests for plans!

This is the bench I made (I did four of these, and adjusted the measurements so they were each about 40" long)
http://ana-white.com/2011/01/farmhouse-bench

I was going to do this table, because it matches the benches, but decided I wanted a table with removable legs so it would be more maneuverable when we move!
http://ana-white.com/2009/12/plans-farmhouse-table-knock-off-of.html

I ended up using more of this plan in terms of how I assembled it, but adjusted the plans to have the tabletop include breadboards (the plank on top perpendicular to the long tabletop planks) and I used 4x4s for legs, plus the top was from 2x8s not 1x10s. I put in the optional cross supports too, and additional supports under the breadboard to connect it to the table frame and table top slats.. this is more info than you need, all to say, plans are flexible and you can do what you want!
http://ana-white.com/2010/03/plans-very-rustic-table-and-cool.html

Sorry I don't have detailed notes. I was very picky about the dimensions (based on space) and how high I wanted the table (about 1.5" taller than a normal table). I also measure the distance between the underside of the table and the tops of the benches so I could cross my legs under the table (an odd requirement).

Happy Building!

brentlbg

Wed, 04/01/2015 - 15:10

I like the english chestnut stain. That works so well with this type of lumber. Great job. I plan to use the same stain on the Tryde coffee table I am building. Thanks for sharing your work!!!

72 inch vanity

Submitted by Anonymous (not verified) on Thu, 03/21/2019 - 19:25

We needed an inexpensive alternative for our master bathroom remodel. After looking at Ana-White.com, I decided I should build a vanity myself. 

I had been gifted some newel posts, which I thought would work great for legs. The aprons and shelf slats were made with "choice" pine that I purchased from a big box store. I had two drawers leftover from a piece of furniture that was repurposed and I added new fronts from a piece of wood left from that same piece of furniture. I also had some leftover 1/4 inch plywood that I used to partition the drawers. 

The overall length once the counter is installed will be 72 1/2 inches by 23 inches wide. Because we are using vessel sinks (sitting on the countertop) I choose to make the base of the vanity 32 inches high. 


Estimated Cost
Under $100
Estimated Time Investment
Weekend Project (10-20 Hours)
Finish Used
Wood stain, custom color.
3 coats of poly acrylic in matte
Recommended Skill Level
Intermediate

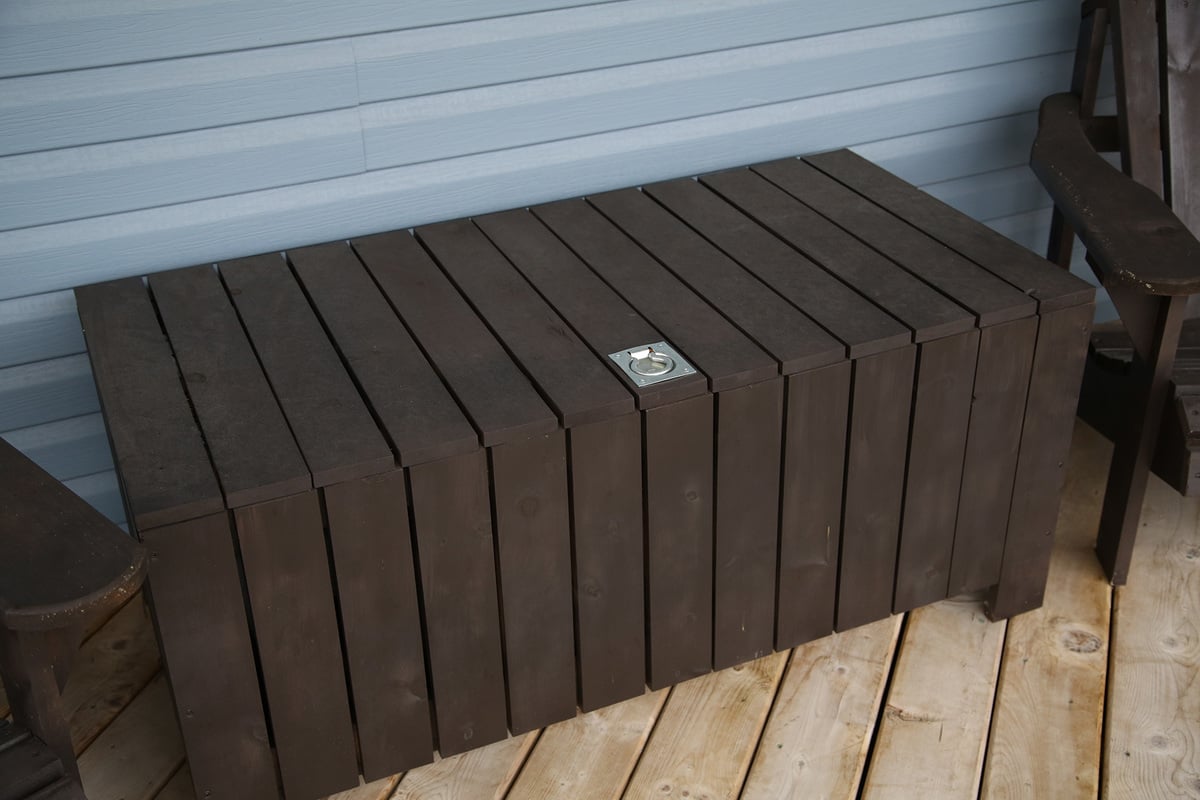
Outdoor Storage Box

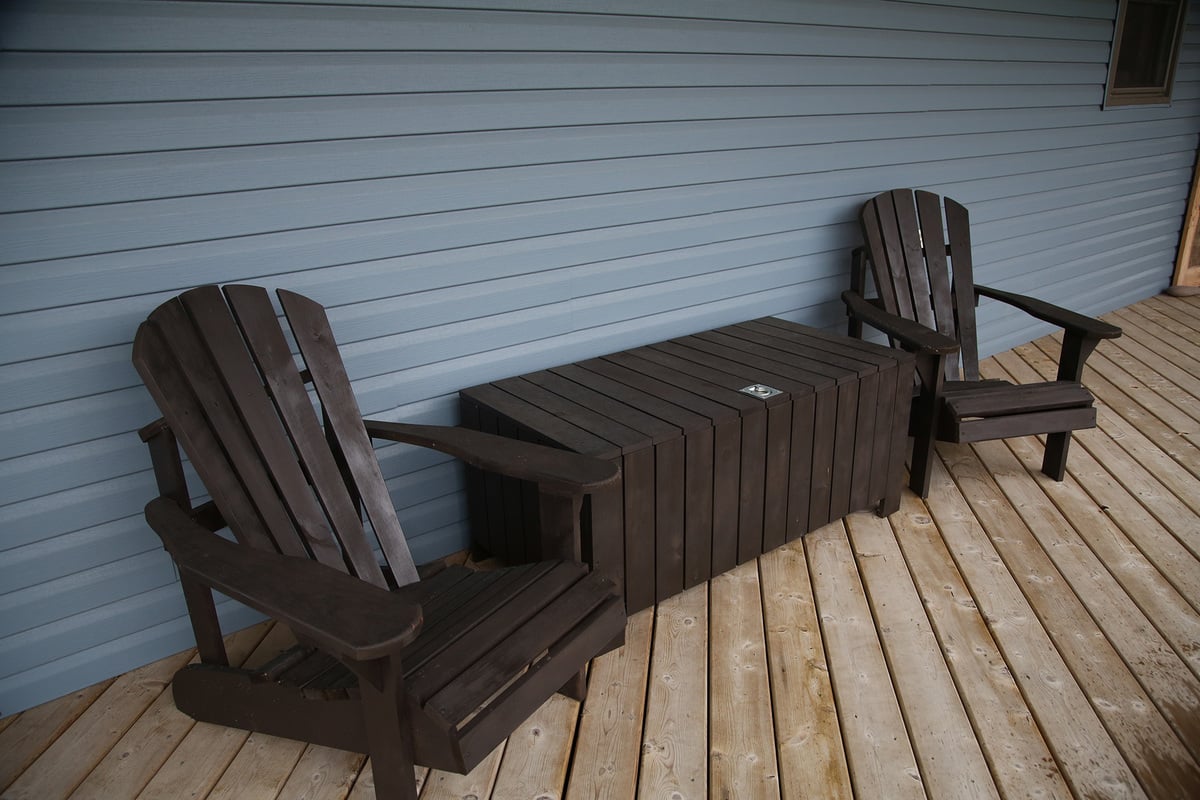
I built this to go with my outdoor sectional. It's perfect for storing the cushions and the gardening tools that I like to keep on the porch. It doubles as a table and extra seating in a pinch, so it's a great addition to the space.

I'd recommend either spray painting it or pre-painting the pieces- I wouldn't want to try and brush between all the slats.

Estimated Cost
50
Estimated Time Investment
Weekend Project (10-20 Hours)
Finish Used
spray painted with rustoleum 2x the coverage in ebony
Recommended Skill Level
Beginner