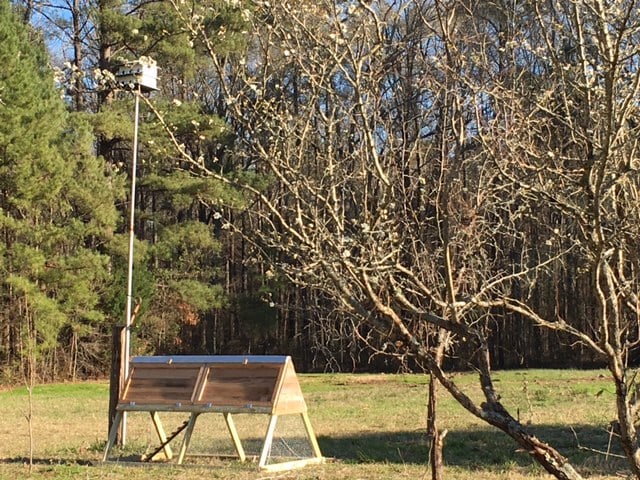
Community Brag Posts

8x12 Shed

Submitted by Anonymous (not verified) on Tue, 06/13/2023 - 03:26

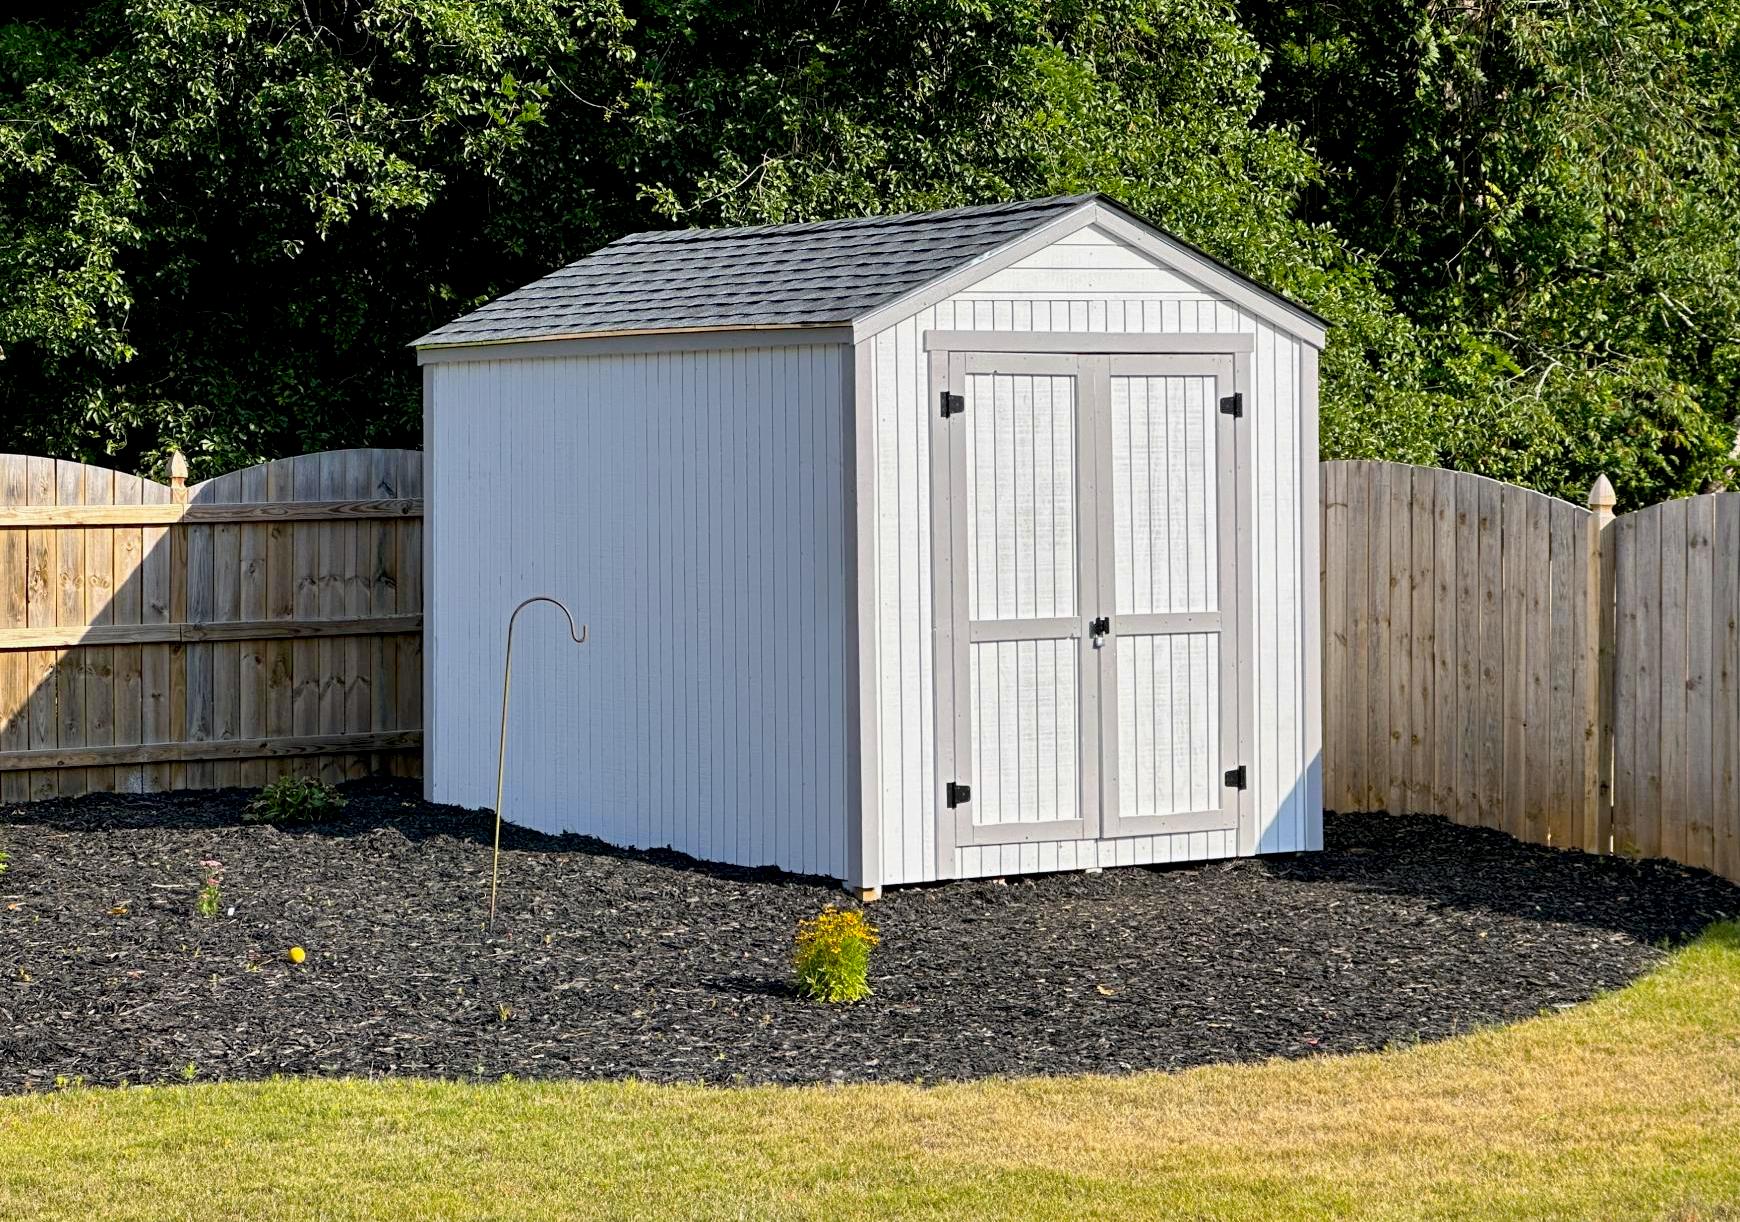
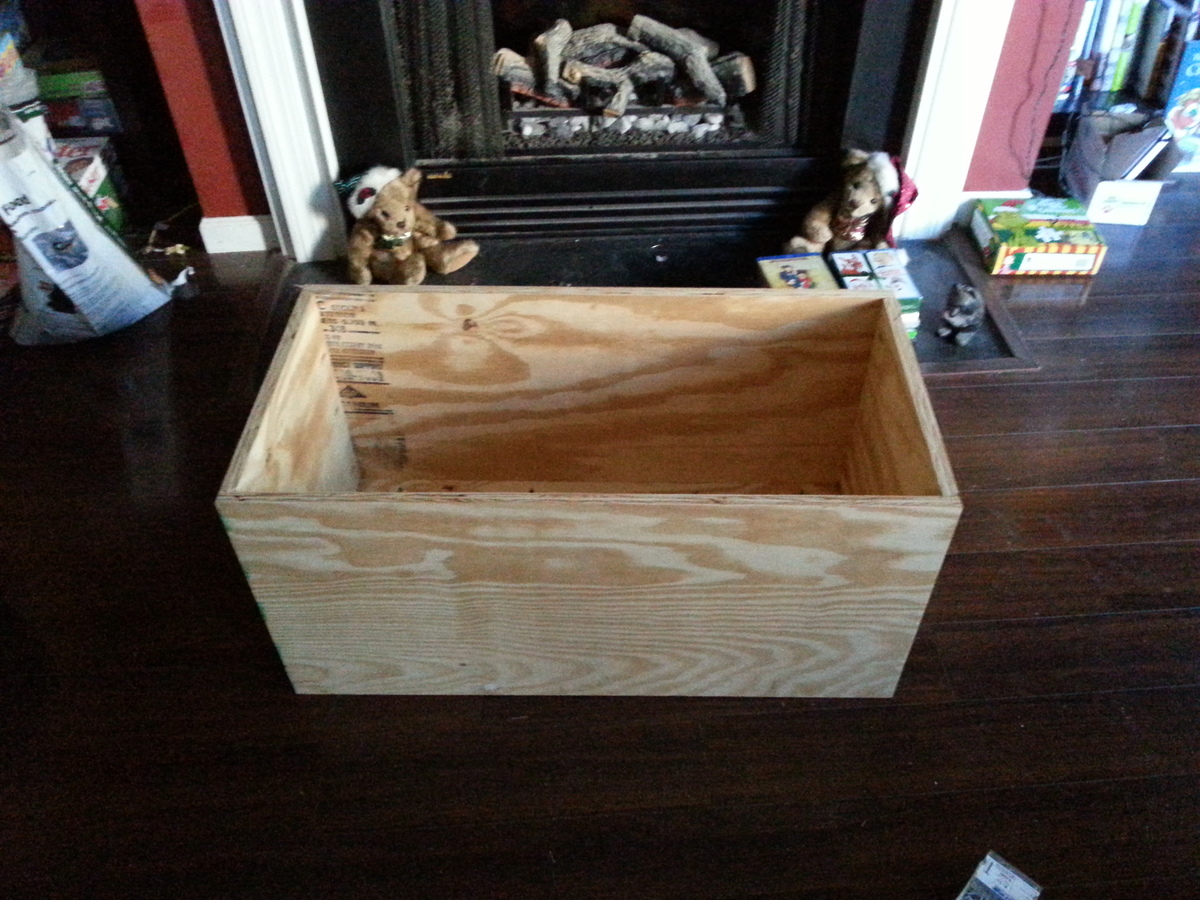
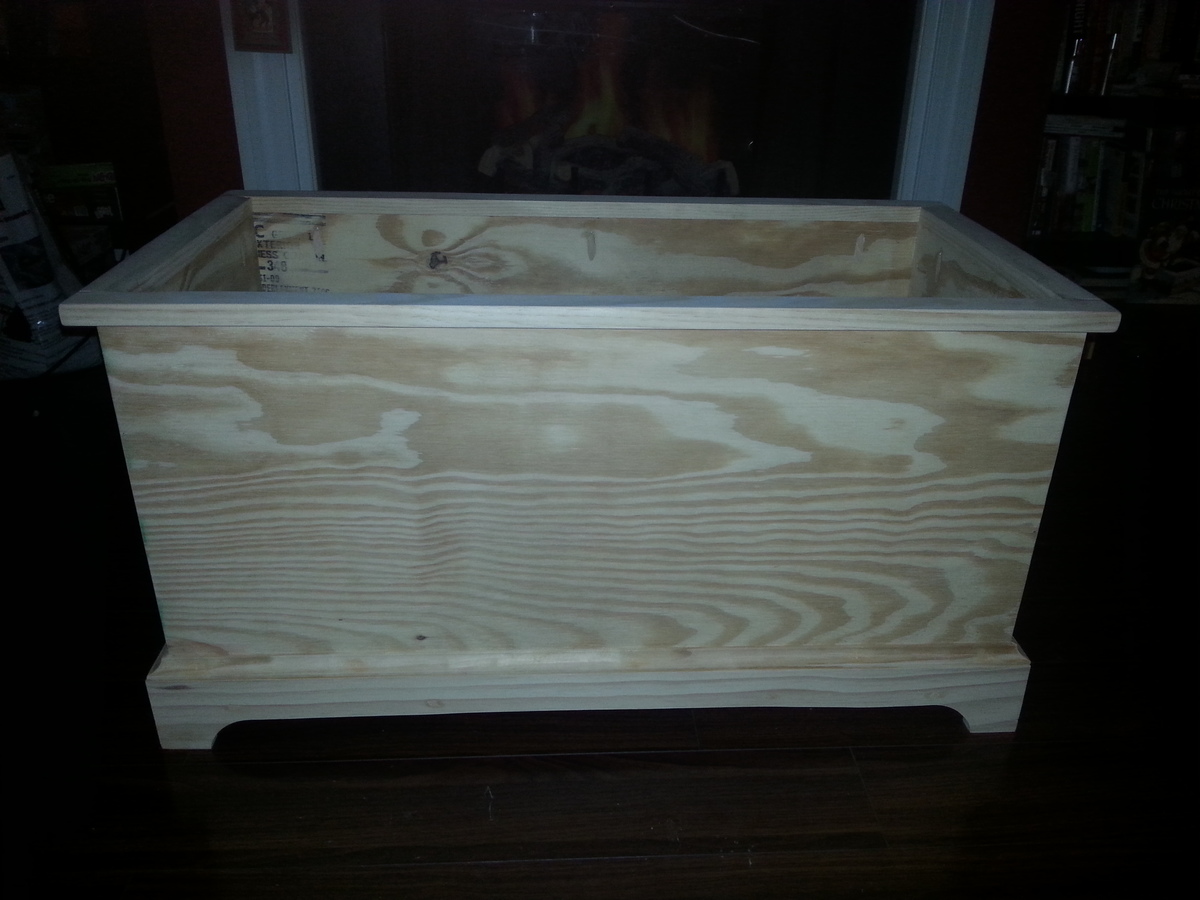
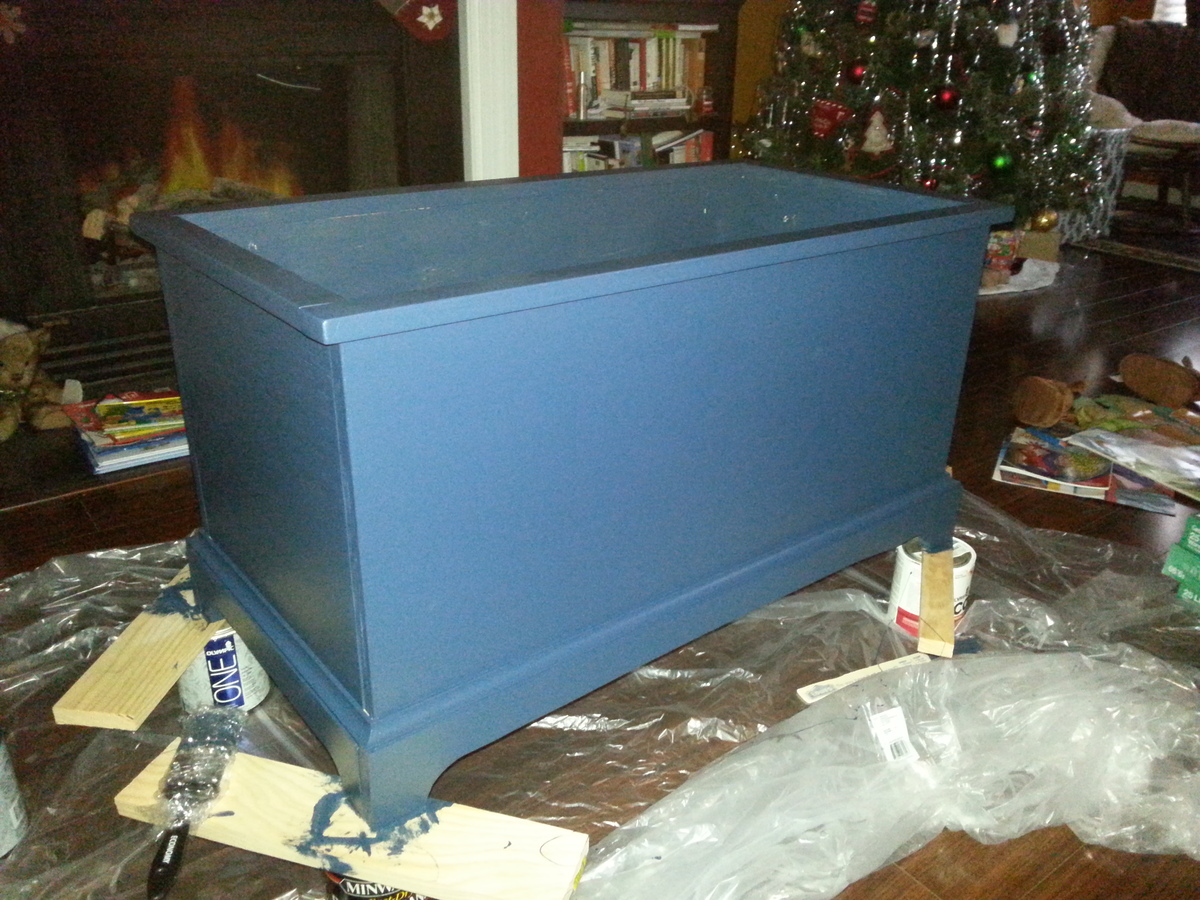
My new garden shed built from your premium plans! I'm 62, never built a shed before, and worked mostly alone. My sons helped with some of the wall and roof sheathing. In the end, I did everything except for the shingling. I painted it to match my house main color and trim.

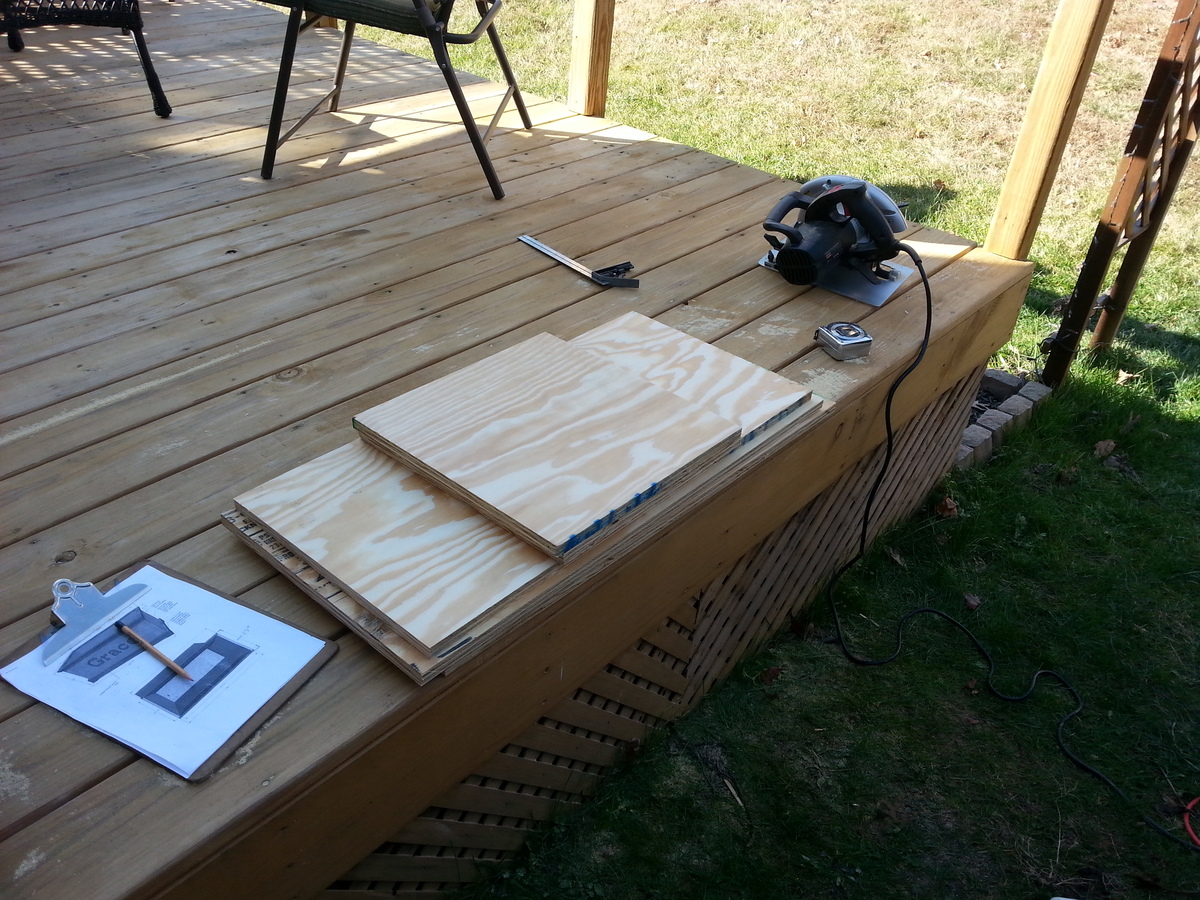
The video is very helpful - I watched it several times. My major change to the plans was using Simpson Strong Ties and hurricane ties to secure the rafters to the ridge pole and the top plates. Otherwise, I used all other methods. I recommend cutting the front wall sheathing before cutting the panels for the doors. I do not have a trim saw and thought my standard circular saw was too heavy for me to make the cuts like Jacob did.

Built from Plan(s)

Comments

Seasonal And Holiday

Kid Table & Stools

My wife and I did this table and stools for our son’s class art project. We did something similar last year and they auction the items off in a fund raiser in March. More details and information on the blog – www.atouchofarkansas.com.

Estimated Cost
$100.00
Estimated Time Investment
Weekend Project (10-20 Hours)
Finish Used
Extra paint we had from other projects, so the estimated cost includes buying paint, but if you have some already, obviously you can take that off the total costs.
Recommended Skill Level
Beginner

Comments

Console Table

Submitted by pdxbrit on Wed, 12/11/2013 - 10:57

Modified slightly for increased height, slightly larger gap between shelves and more underneath clearance (for Roomba Vacuum).

Very easy to make, used Google Sketchup to calculate new angles for X's based on the modified size of the console.

Most time consuming part was repeated sanding and final poly-whey coats.

Built from Plan(s)
Estimated Cost
$100 - Not including Kreg Jig & Screws.
Estimated Time Investment
Week Long Project (20 Hours or More)
Finish Used
Finished with Tea, Oxidizing Solution (Steel Wool & Vinegar) and three coats of Poly-Whey. Looks fantastic, and I'm hooked. Farmhouse Bedside tables next on the list!
Recommended Skill Level
Beginner

4 year old so LOVES his bed!!

Submitted by Anonymous (not verified) on Mon, 02/22/2016 - 22:58

These plans where so easy for my hubby to follow and put together. My son's room is small and even though it's a big bulky bed he has all that floor space to play now!! 

Estimated Time Investment
Afternoon Project (3-6 Hours)
Finish Used
We used a diy chalk paint to finish it off. Mix 1/3 cup plaster of Paris with 1/3 cup of water and 1 cup of acrylic paint.
Recommended Skill Level
Intermediate

King Size Farmhouse Bed

Submitted by Anonymous (not verified) on Thu, 10/03/2019 - 13:02

This farmhouse bed is a combination of Ana White's Farmhouse Bed/Modern Farmhouse Bed plans as well as some slight modifications. I modified the bed using materials already on hand and leftover from past jobs. The 4x4 posts are 2 - 2×4s glued and filled together. The headboard was made using 2x2's and tongue and groove boards. The side rails, foot board and matress supports are 2x10's since this was old material from a job site my husband was on. I opted for no footboard to make the bed feel less bulky. The finish was done using chalk paint in a light gray, giving it a more modern look.

Estimated Cost
$200
Estimated Time Investment
Day Project (6-9 Hours)
Finish Used
The bed is a painted finish using Rust-Oleum Chalked in Aged Grey. The paint dries quickly allowing for two coats to be applied on the same day. Between coats, I lightly sanded the paint to remove any roughness. I find chalk paint to be durable and easy to apply. I opted not to apply a clear coat as our bed doesn't see a lot of wear and tear.
Recommended Skill Level
Beginner

Comments

DVD hutch

Submitted by angiemicn on Sun, 02/05/2012 - 03:01

Living in a small house, 1100 sq feet, really needed an area devoted to DVD storage, then I thought, why not build my own Entertainment center? This is 1 of 6 pieces.

Estimated Cost
35.00 combined with logan base total 75.00 including paint!!! such a great price!
Estimated Time Investment
Weekend Project (10-20 Hours)
Finish Used
Stained a lot, 2 coats of White KILZ waterbased latex primer, with 220 grit sanding in between each coat. Think this is VERY important, as it gives you a wonderful canvas to work with.
2 coats of Behr Premium Ultra White High Gloss, again light sanding between each coat.
Modifications: 32 inches wide, 12 inches deep, 5 shelves, each 8.5 inches high, customized to fit dvd's, puck light inserted on top shelf, beadboard to the backing, 1x3 used as trim across top, put together with Kreg
Recommended Skill Level
Beginner

Comments

compartment depot bookshelf

Submitted by boutzak on Sun, 12/15/2013 - 15:01

This is my first serious project that I dedicated to my wife so she can arrange her many books and personal things. I used the undercover jig from wolfcraft (same as kreg jig).

Built from Plan(s)
Estimated Time Investment
Week Long Project (20 Hours or More)
Finish Used
white satin paint
Recommended Skill Level
Intermediate

Kitchen Console/Mini Island

Submitted by Marcie89 on Fri, 02/26/2016 - 09:14

I wanted to replace the awful cart we keep our coffee maker and toaster oven on, and have always wanted to see a butcher-block top in our kitchen. We are renters, so doing anything like countertop remodeling is out of the question. I decided to build this little console and present it to my husband, the coffee-drinker of our house, for Valentines Day. The actual construction of the console was very easy, it was the sanding, plugging of pocket-holes, and staining that took a week! My husband loves it, though, and immediately rid of the old cart and set up his coffee-maker on the new one. We are both very proud of it.

Built from Plan(s)
Estimated Cost
$75
Estimated Time Investment
Week Long Project (20 Hours or More)
Finish Used
General Finishes Gel Stain in Java, Candlelight, Prairie Wheat, New Pine, Brown Mahogany. I used masking tape on the top to create a multi-colored faux butcher-block effect. Quite time consuming, but worth the extra effort in the end, IMO :)
Recommended Skill Level
Beginner

American Made Woodworks Trestle Table

Submitted by Anonymous (not verified) on Sat, 10/05/2019 - 16:46

This amazing trestle table seats 8 people with the “not pictured” matching bench. The table legs are jointed with mortise and tenon and the ends of the table top are lose slot jointed to the 4”x4”s to prevent unwanted warping if there is any. The table top is secured to the apron frame by table top fasteners to allow for wood movement and easy disassemble for transport. All wood planed to required thickness and sanded to 220 grit. Then finished off with an 80/20 mixture of “carbon grey stain and Ebony stain”. 3 coats of oil based satin polyurethane to top it off.

Estimated Cost
$140
Estimated Time Investment
Week Long Project (20 Hours or More)
Finish Used
Oil based polyurethane(satin)
Recommended Skill Level
Intermediate

Adirondack Chairs

Submitted by Anonymous (not verified) on Sat, 06/24/2023 - 09:23

I made a pair of Adirondack chairs for my nephew and his fiancé. I use the old Home Depot plans (not sure if they're still online). I used treated 2x4's and cedar 1x4's.

Comments

Five Dollar Ledges for Doll Display

Submitted by angiemicn on Wed, 02/08/2012 - 02:32

These shelves are great because you can make them any size you want! As you can see, these were made to hold my daughter's monster high collection, took advantage of dead space between the wall and the window. I put these together with my Kreg Jig so they're very sturdy. I couldn't buy shelves as nice as these, TWO OF THEM! for under 10 dollars. If you're thinking of building these, stop thinking, start doing, they're well worth your time and effort.

Built from Plan(s)
Estimated Cost
5.00, used leftover stain and poly, screws left over from other projects
Estimated Time Investment
Day Project (6-9 Hours)
Finish Used
Sanded smooth, stained with 3 coats, light sanding in between each coat, of China Red Minwaxs, with 25% Black Onyx mixed in. Top coat is Polyurethane x2 coats. My daughter's favorite color
Recommended Skill Level
Beginner

Toy box

Submitted by adk_native on Wed, 12/18/2013 - 17:39

I have been wanting a good size toy box for my son and after finding this project here, I decided to build one for him for Christmas. Eli is going to be so excited!
This is a pocket hole version.

Built from Plan(s)
Estimated Cost
$75
Finish Used
Cavalry blue satin paint from Lowe's. Basic white in semi gloss letters
Recommended Skill Level
Beginner

Comments

HD

Mon, 12/23/2013 - 10:07

Thanks...I couldn't place the brand.

By the way...Eli will probably love the toybox. I made one last year for my daughter, and stuck her name on it using wood cutout letters. I added a lid, so I don't have to look at her ever growing collection of stuffies...

I made mine with a "MasterCraft" saw, a budget brand similar to Craftsman in terms of price and quality...
HD

Restoration Hardware Inspired Table

Submitted by cjddesigns on Mon, 02/29/2016 - 07:00

My wife wanted a farmhouse, rustic, restoration hardware type table but I wasn't about to spend the crazy money on one.  So I told her let me see if I can build one she would like and she loves it.  

Built from Plan(s)
Estimated Cost
$150
Estimated Time Investment
Weekend Project (10-20 Hours)
Finish Used
3 step process
Recommended Skill Level
Beginner

King Size Fancy Farmhouse bed

Submitted by Anonymous (not verified) on Tue, 10/08/2019 - 04:04

My hubby and I never really wanted a king size bed until we had grand babies and the bed just wasn’t big enough. I found the Ana White Fancy Farmhouse bed plans, ask if he thought he could make it....he did not disappoint!!! I love our new bed and it’s ready for Honey and Pepe’s first sleepover.

Built from Plan(s)
Estimated Cost
$300
Estimated Time Investment
Weekend Project (10-20 Hours)
Finish Used
Painted
Recommended Skill Level
Intermediate

Outdoor Furniture Builds

Submitted by Anonymous (not verified) on Wed, 06/28/2023 - 07:22

Hi Ana, after building your essential chairs I decided to build my grandson a small one I burned it with a torch and then clear coated it and it turned out so sweet. I also built a picnic table and added a different crossmember to it for strength. I also built a glider swing that I used from an old pattern from many years ago. Still without going to your site and watching you build on YouTube I would not have attempted any of this. I love all of the things that you build and you have inspired me so much. Thank you for all you do and keep those wonderful plans coming! My next project is going to be that little workshop that you build in panels and put together that you made for your friend. I'm going to make one and turn it into a lawn mower shed.

Darlene Sudderth the Twiddlebug woodshop

Arts and Crafts Table for My Daughter

Submitted by jpiller on Sat, 02/11/2012 - 07:32

This project was my first from Ana White's plans and my first wood working project on my own. I spent quite a bit of time w/ my dad as a young boy helping him w/ woodworking projects and have been looking forward to doing one on my own.

My daughter is a crazy artist of four years old and she makes more art in a month than we know what to do with. Along with that comes piles of crayons, markers, paper, and so on all over her room, so this table was for her to try and keep organized.

The only real modification from Ana's original plans was that I used plywood for the cover instead of a clear piece of plastic b/c I figured the wood would hold up better under a four year old's abuse.

Built from Plan(s)
Estimated Cost
40
Estimated Time Investment
Day Project (6-9 Hours)
Finish Used
Regular wall paint - same used to paint my daughter's room.
Recommended Skill Level
Starter Project

Comments

jpiller

Sat, 08/02/2014 - 09:46

Yes, i actually had to put two pieces glued together in order to get the correct height to fill it in. It's a little heavy, but my daughter really loves the table and it doesn't seem to be too much of a problem.

Mantle

We wanted to have a mantel for hanging the Christmas stockings this year and this fit perfectly! We modified the plans a bit by substituting 1x6's for the sides and a 1x12 on the top in order to gain a little more shelf space and to accommodate the LED fire logs. We added a piece of plywood painted black to mask the color of the wall and to give the "flames" a surface to reflect off of. We are debating giving a more realistic appearance by covering with mortar and brick tiles rubbed with charcoal. Thanks for the plan and for making these holidays special as the kids now believe Santa has a chimney to come down!

Estimated Cost
$80
Estimated Time Investment
Day Project (6-9 Hours)
Finish Used
Minwax botanical green stain with cottage white paint wash
Recommended Skill Level
Beginner

4x4 Truss Beam Table

Submitted by WolffA on Fri, 10/11/2019 - 08:15

Used Kreg Jig HD screws and pocket holes with glue. Stained in Dark Walnut. 

Built from Plan(s)
Estimated Cost
250
Estimated Time Investment
Weekend Project (10-20 Hours)
Finish Used
Dark Walnut Stain
Recommended Skill Level
Intermediate
Back