Community Brag Posts

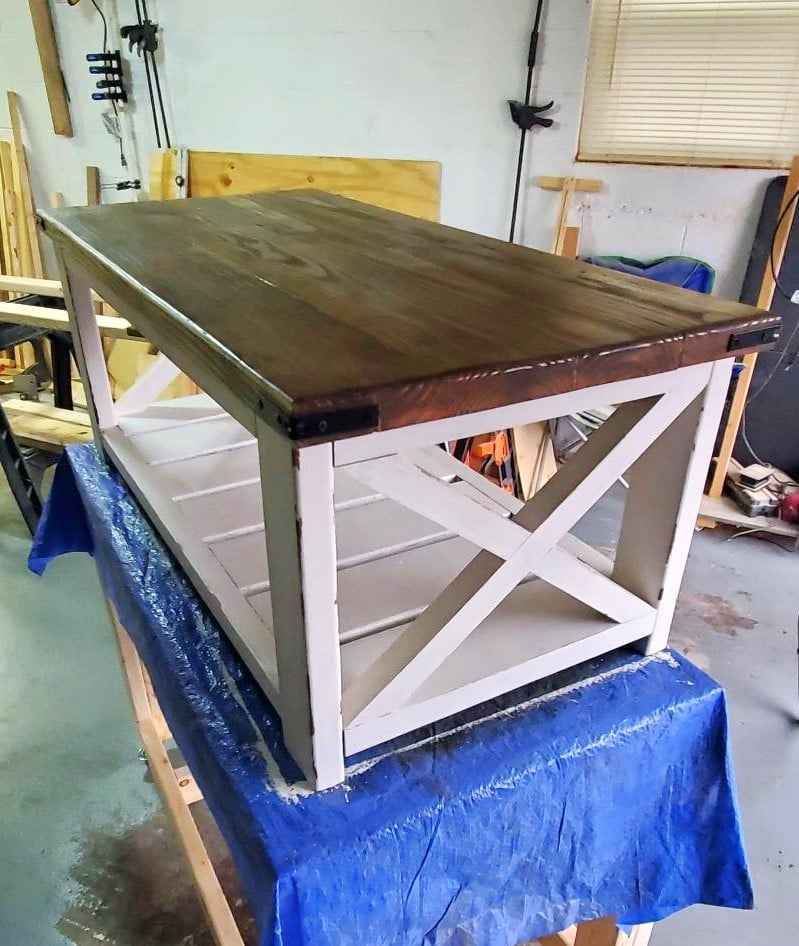
DIY Factory cart coffee table

Submitted by ACarrell on Wed, 03/05/2014 - 07:21

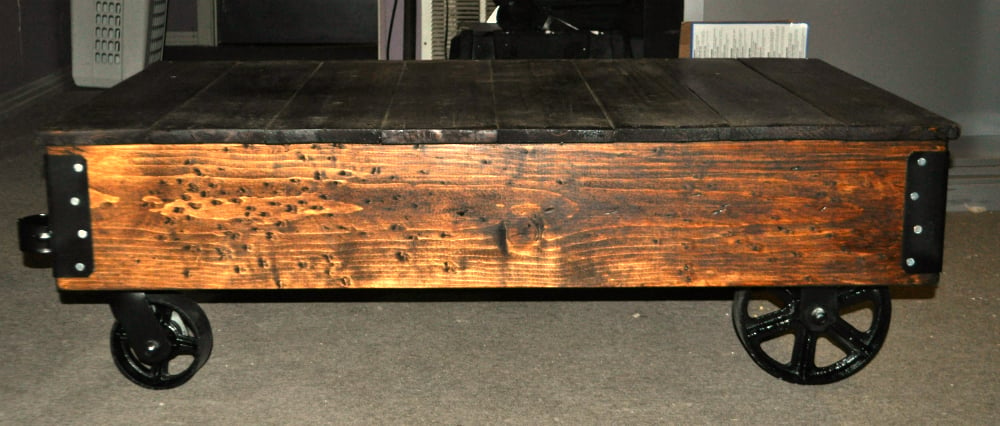
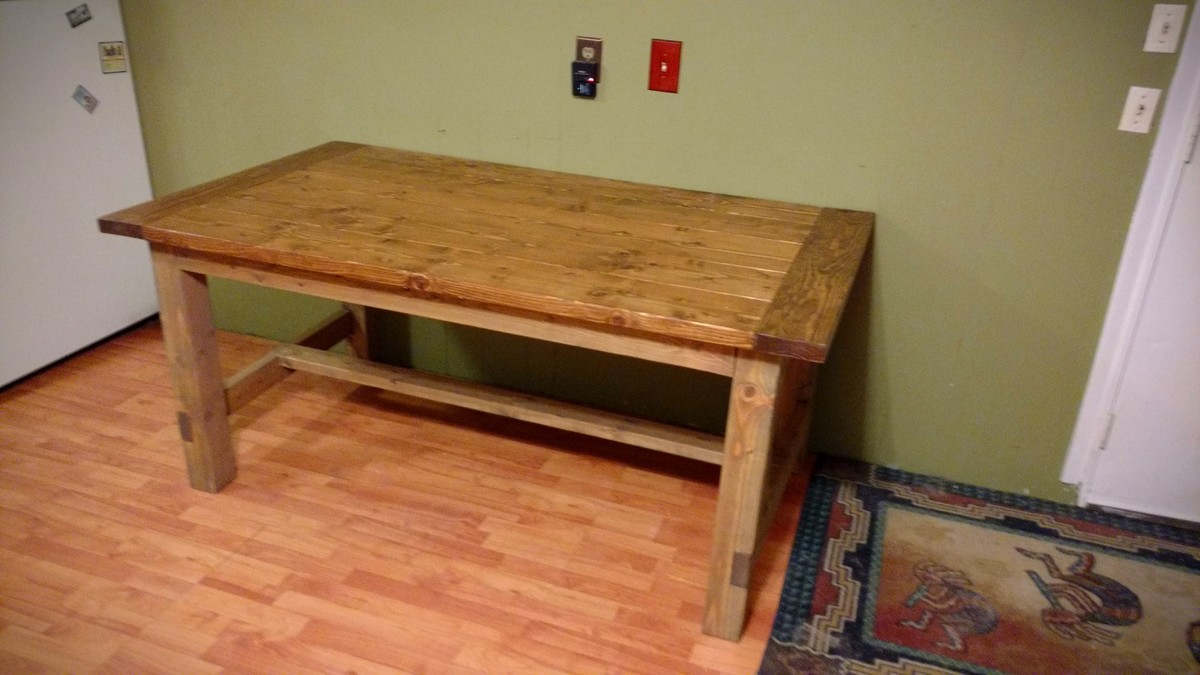
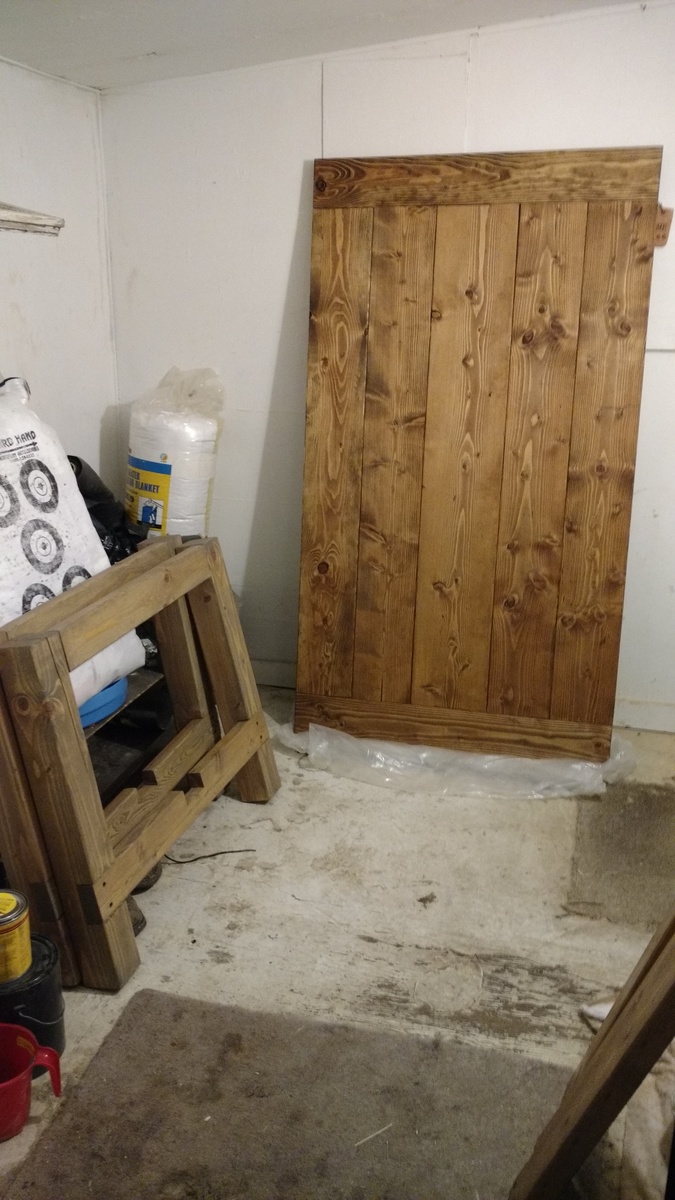
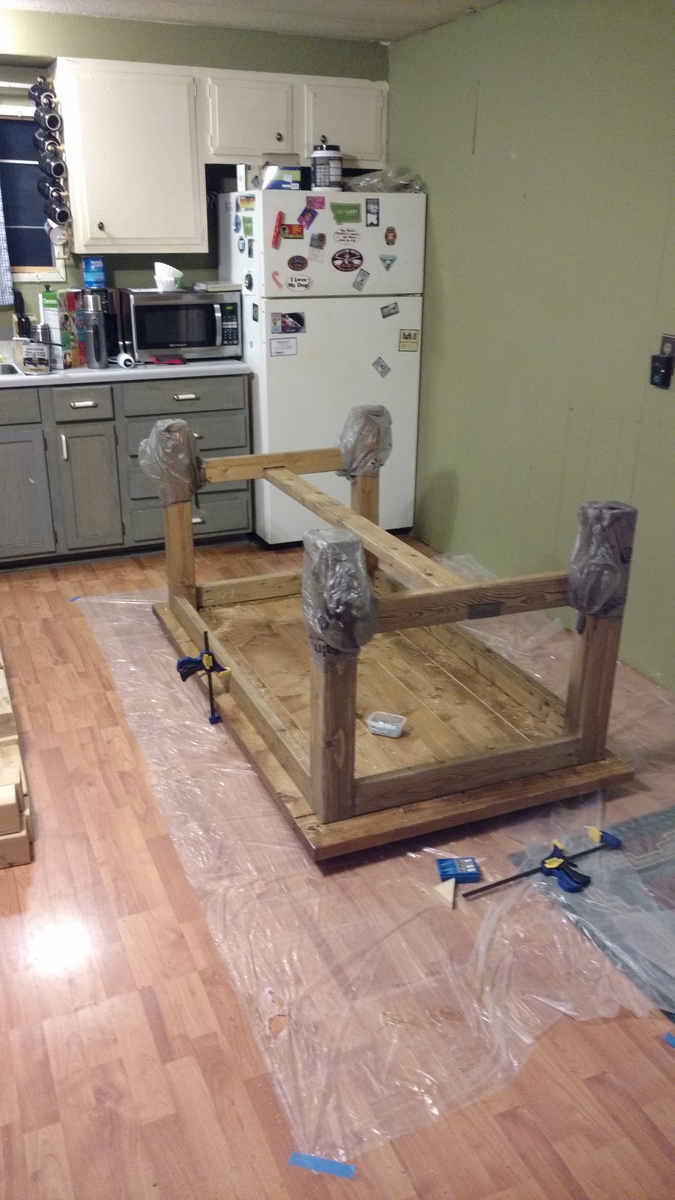
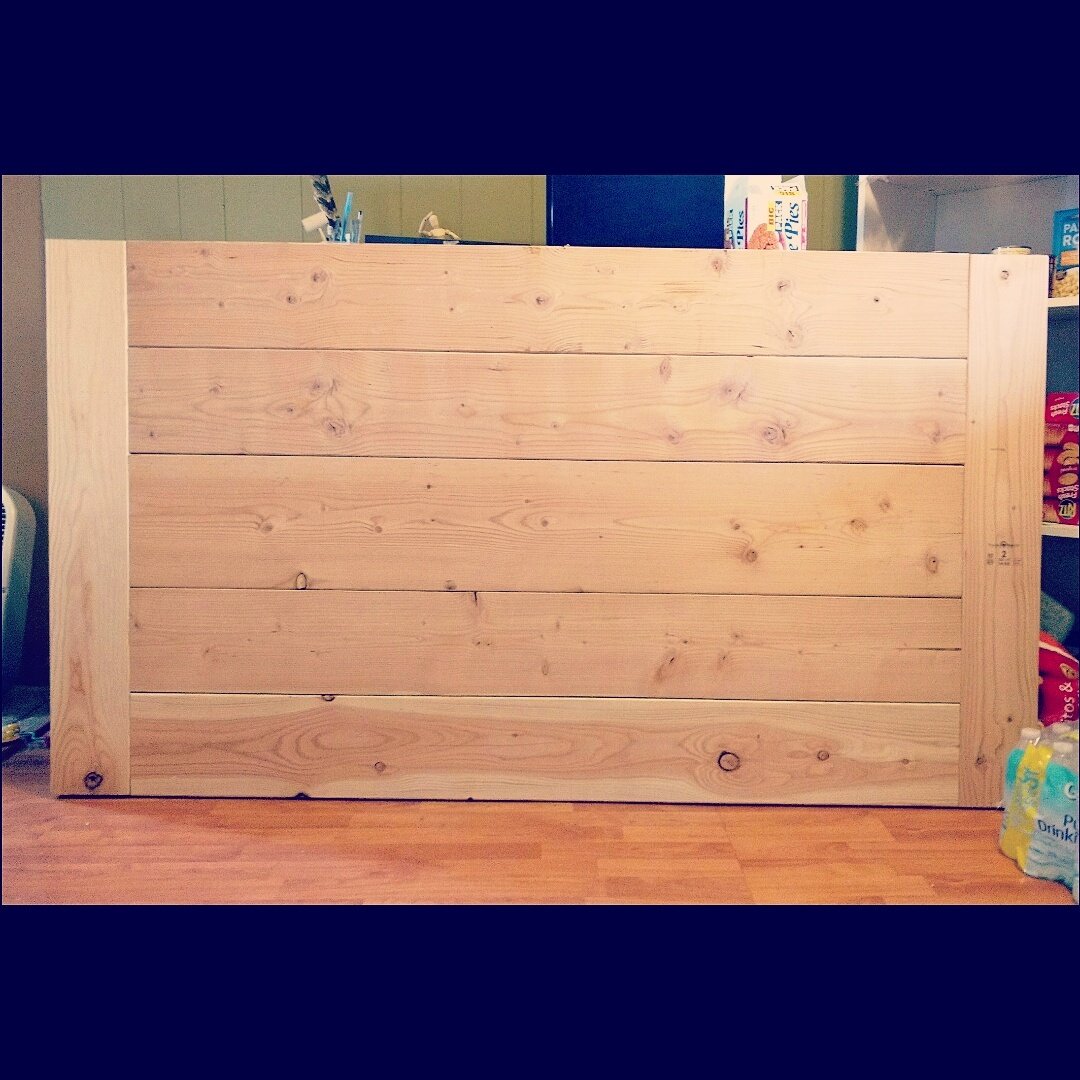
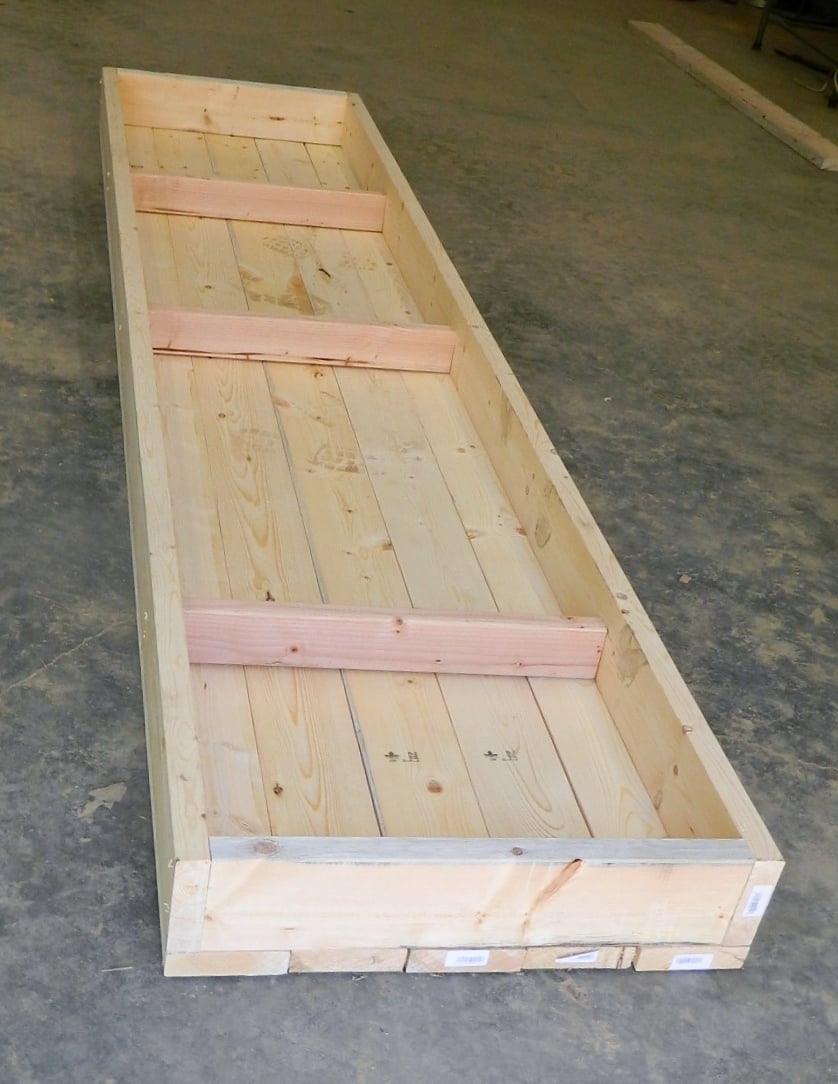
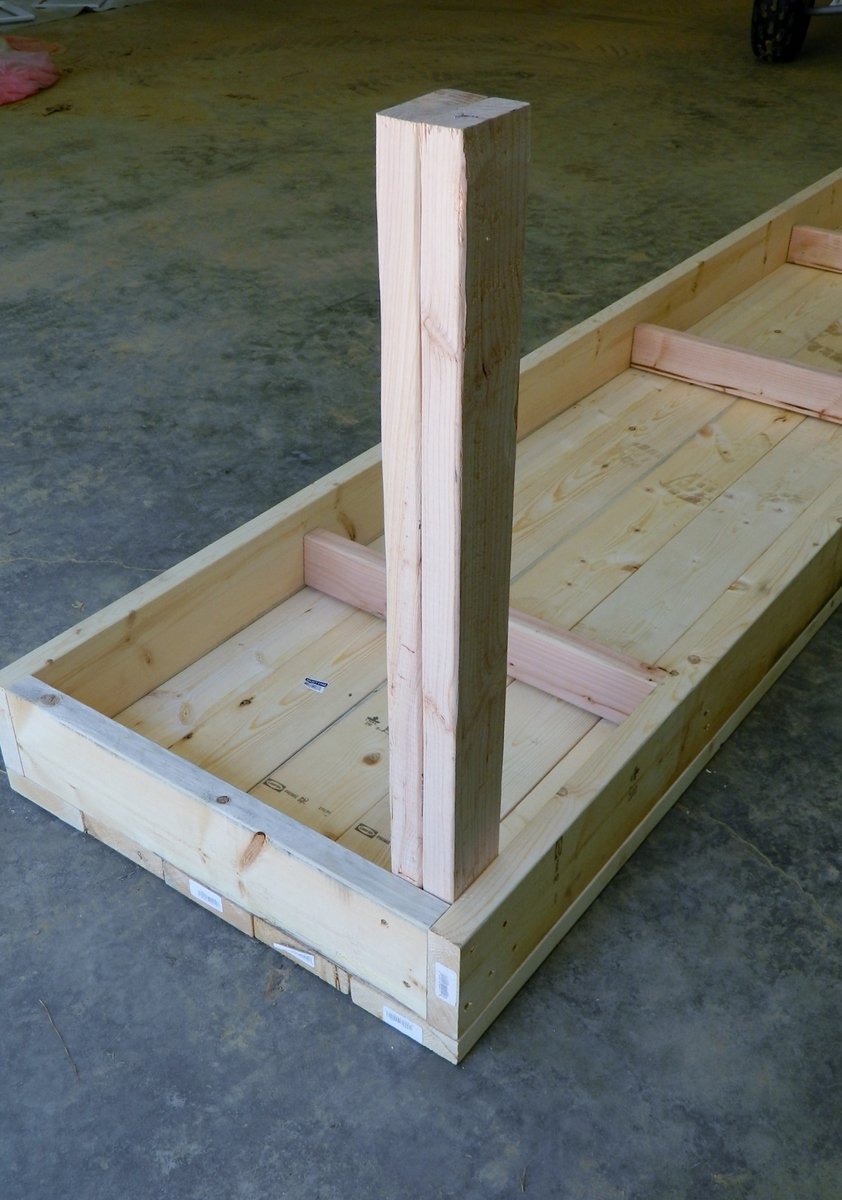
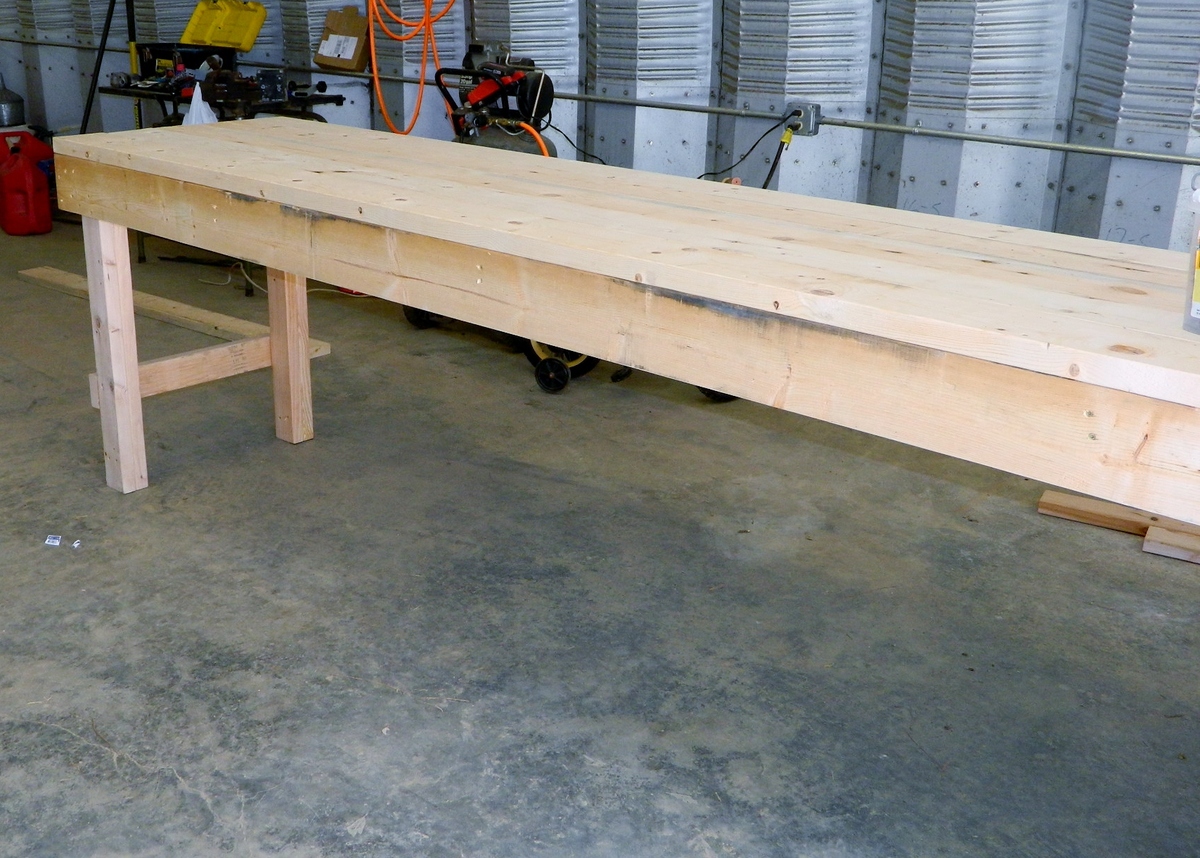
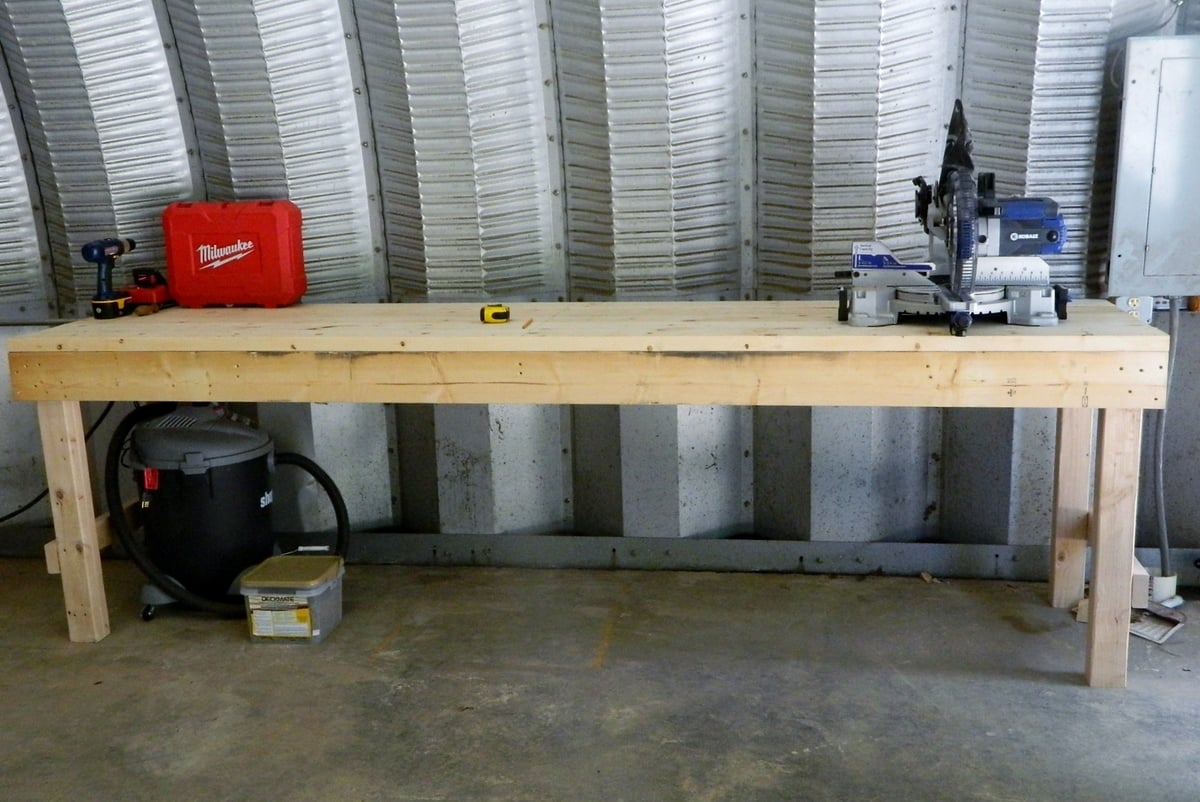
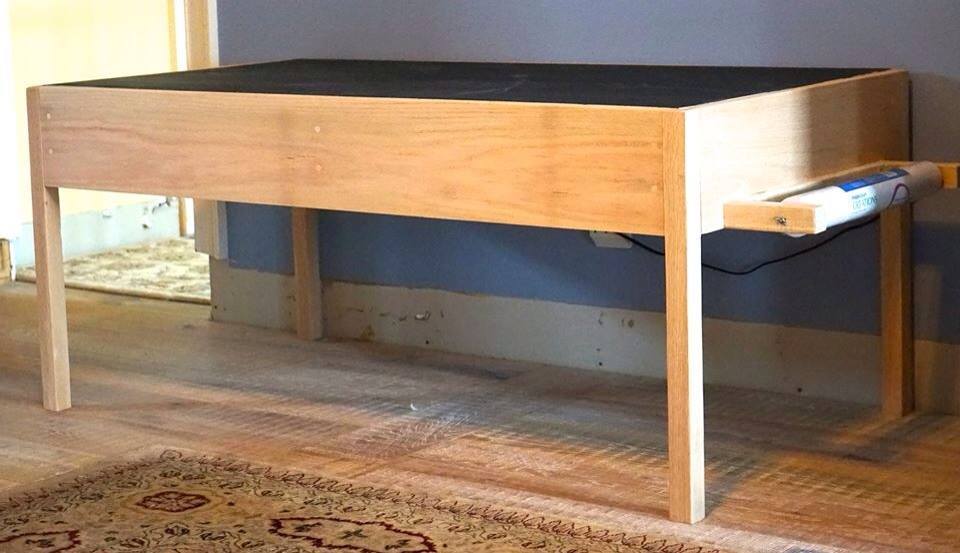
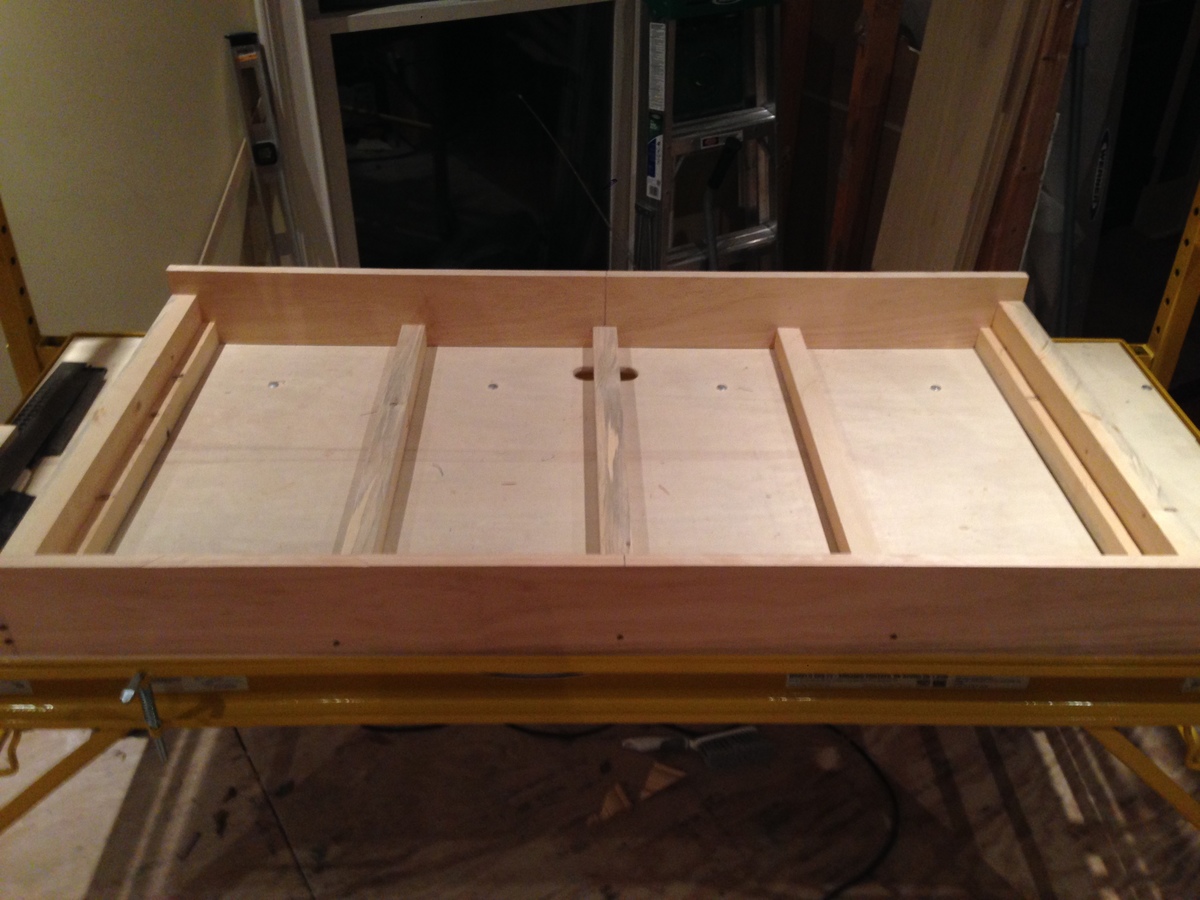
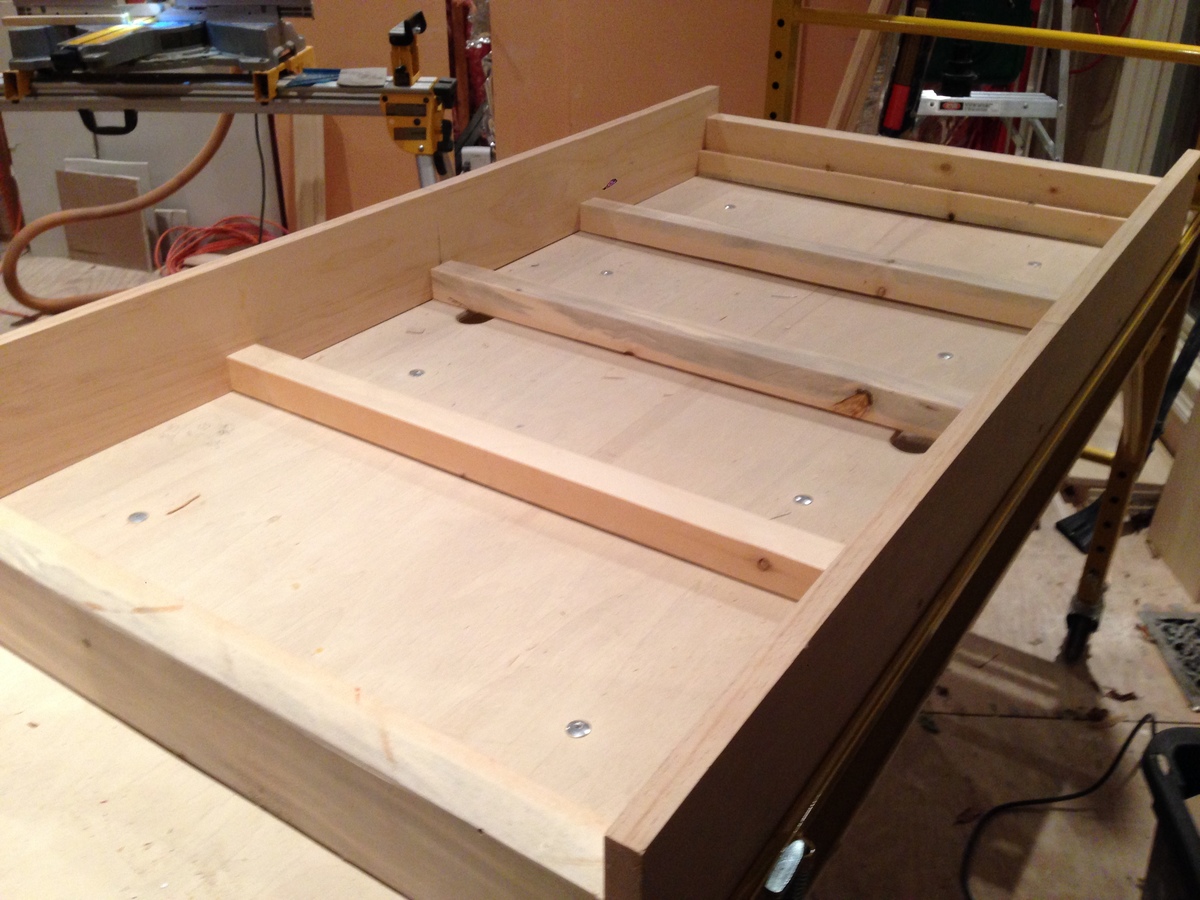
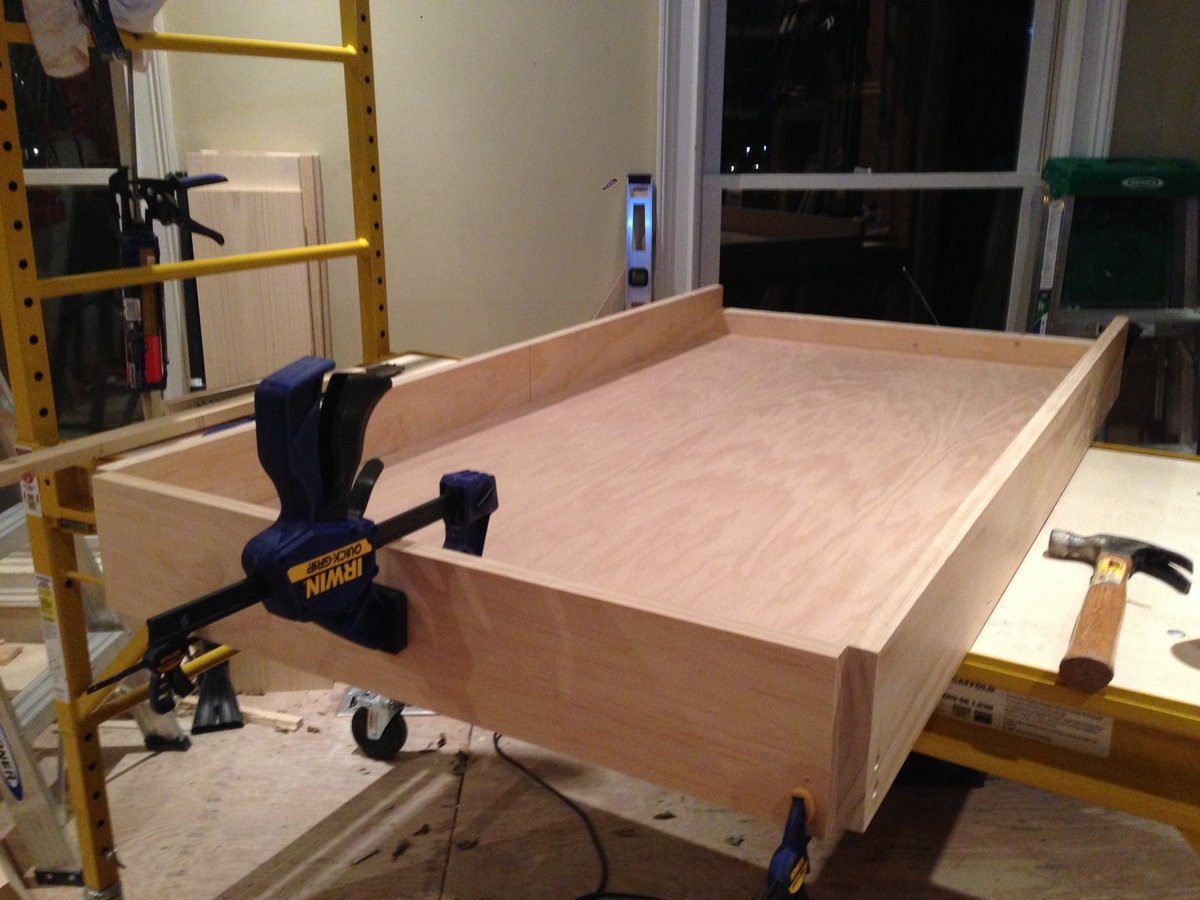
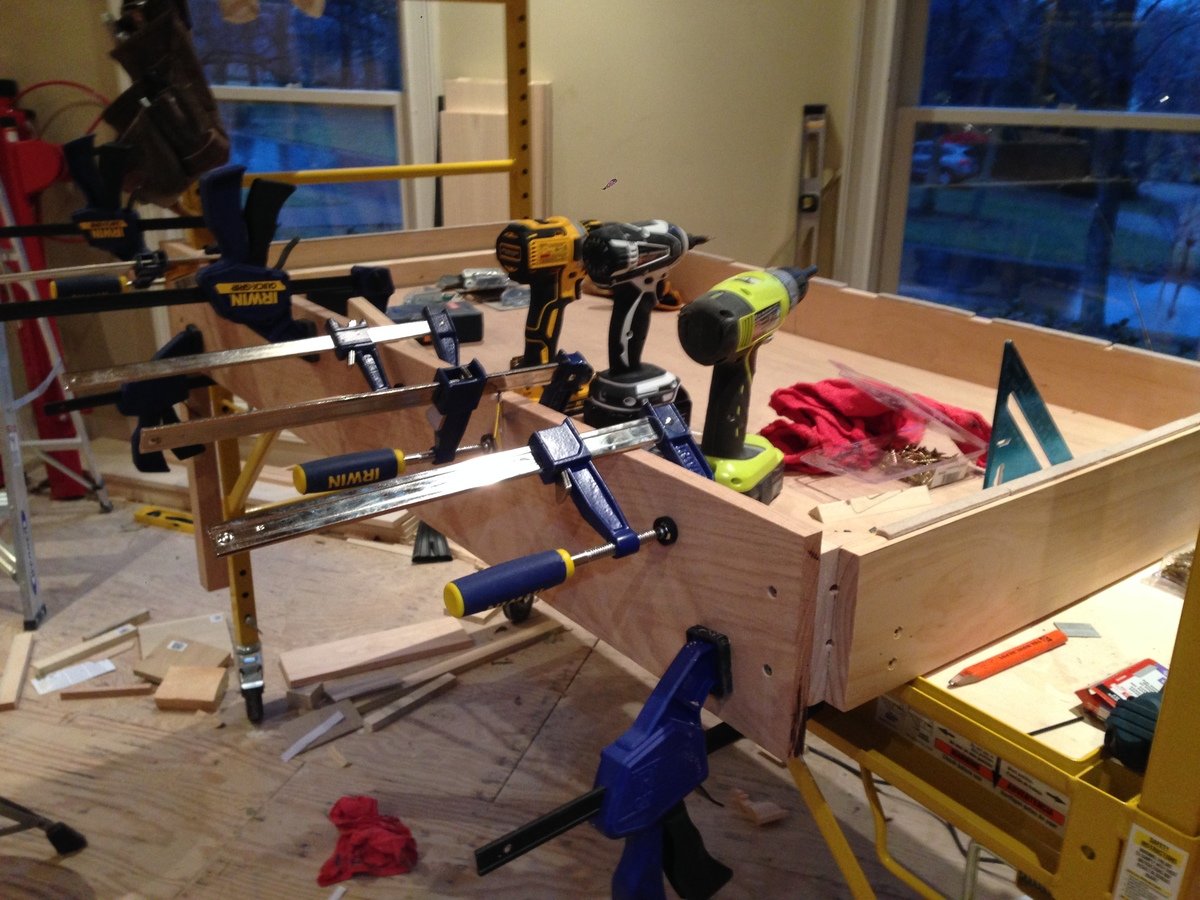
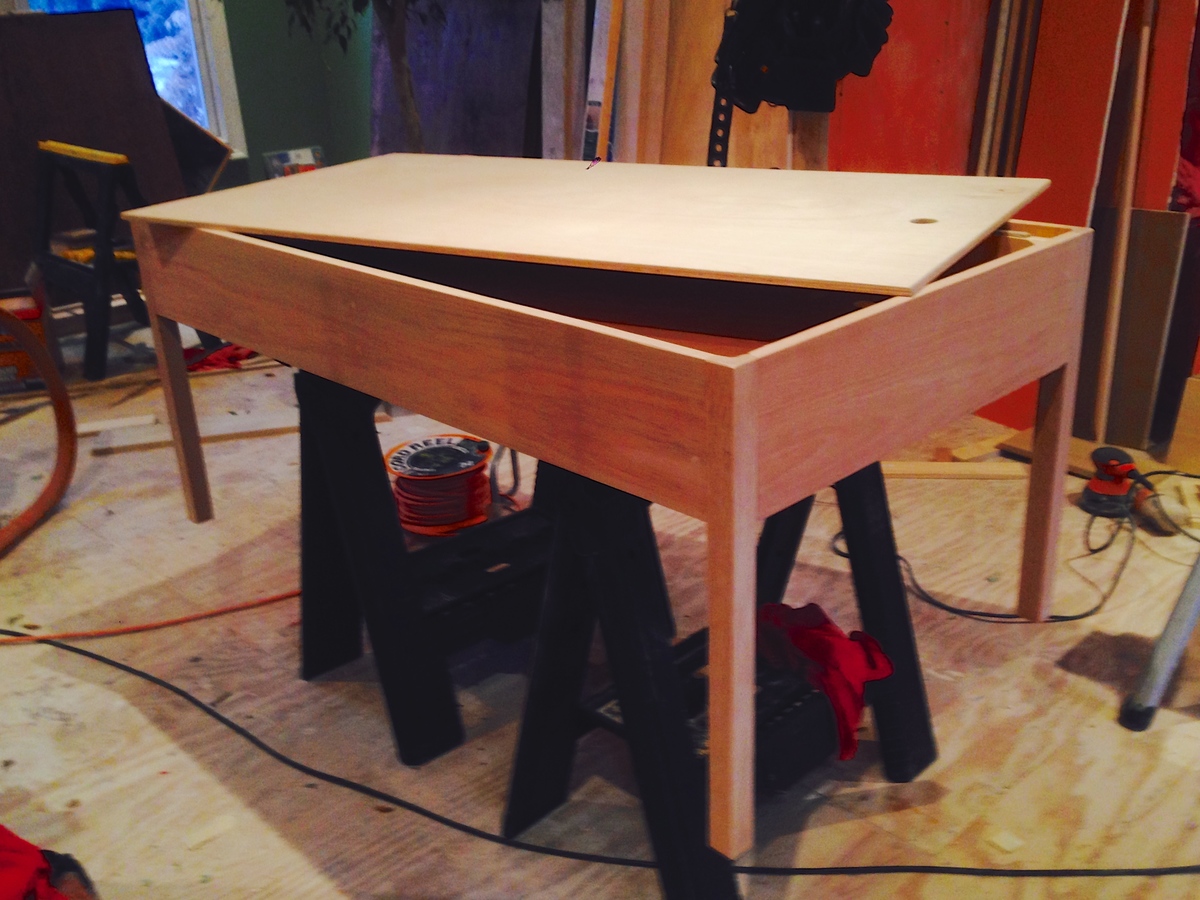
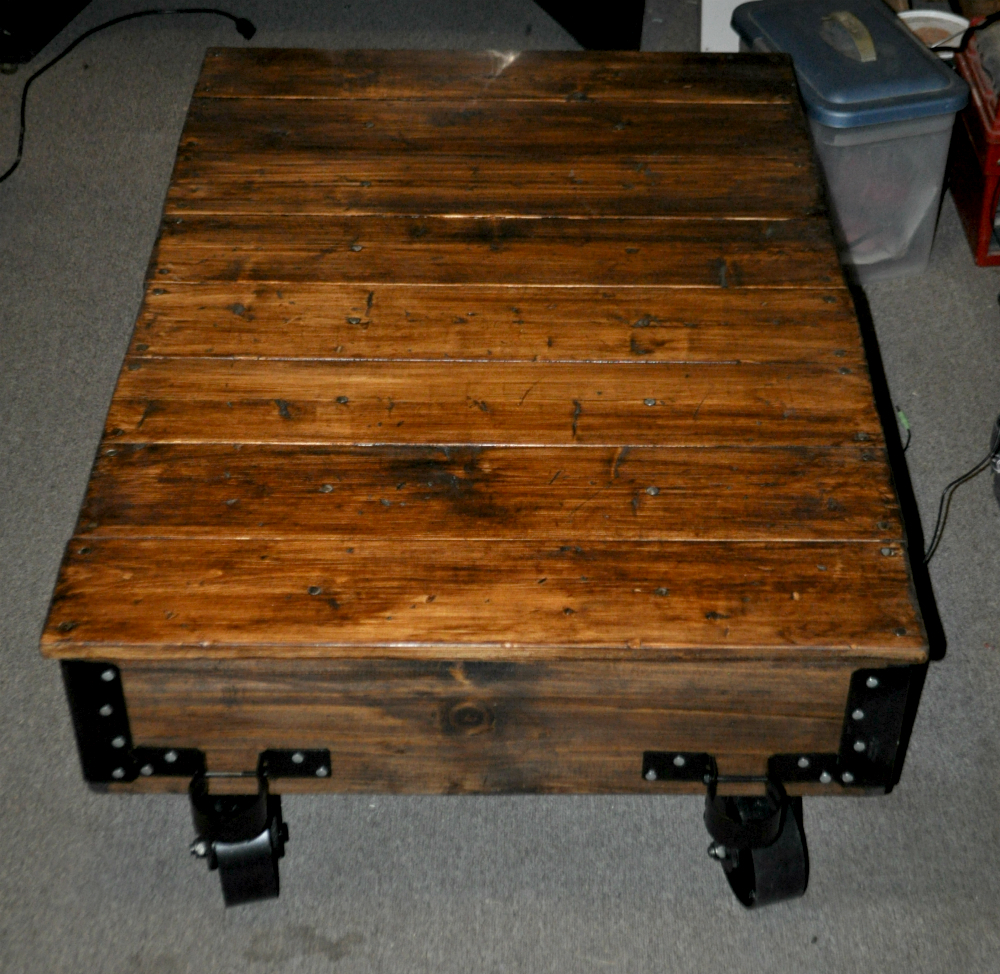
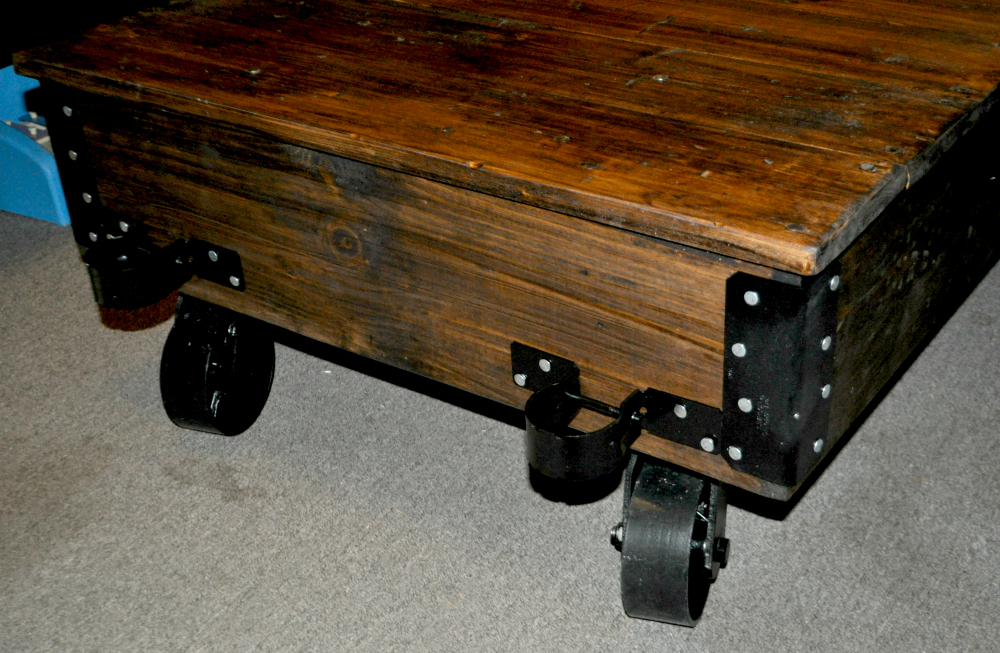
After seeing the plans for the Factory Cart Coffee Table on this site, I decided I should build one. I didn't actually follow the plans exactly...really just used them as "inspiration". I went with 5" swivel casters and 8" fixed casters, and the stain is Minwax hickory poly that has been sanded back a bit. I'm really happy with how it turned out.

Now on to the next project !

Estimated Time Investment
Day Project (6-9 Hours)
Finish Used
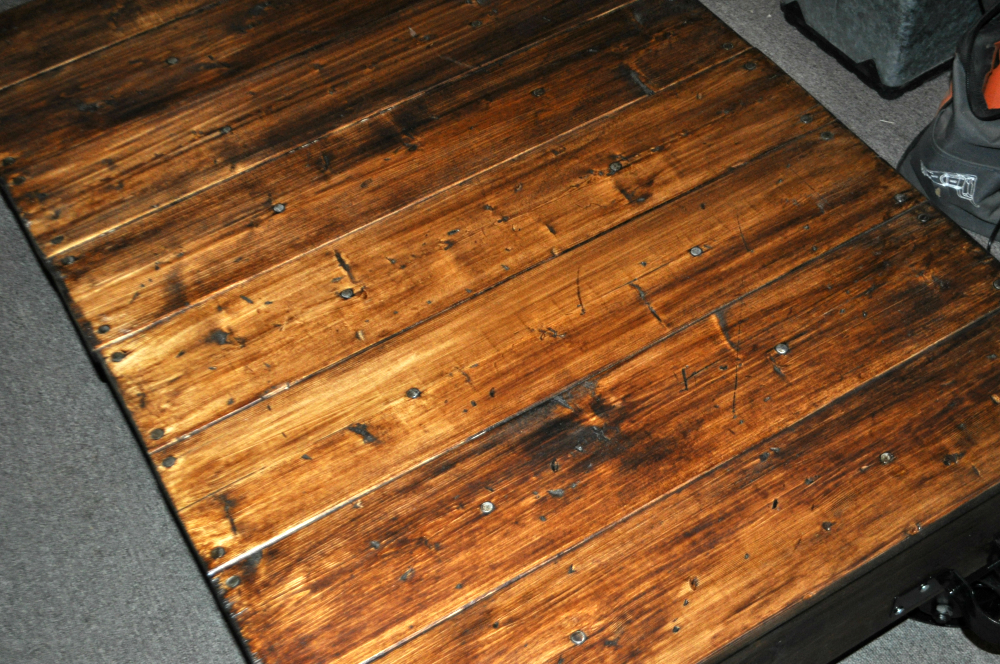
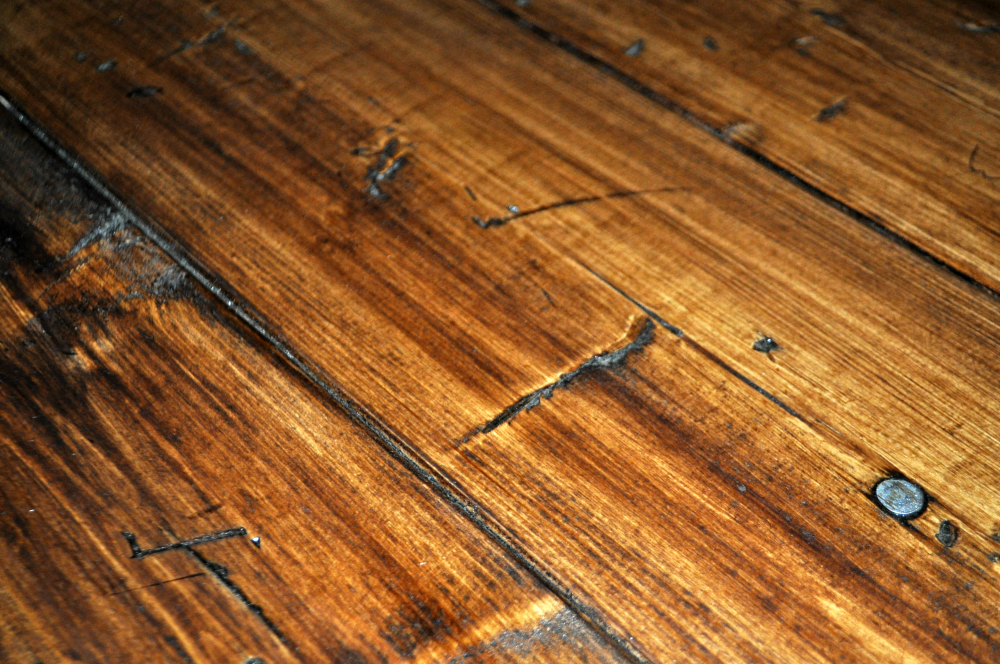
Minwax Hickory Polyurethane

Wiped on for about 5 minutes, wiped off, then sanded back a touch to give a more worn look.
Recommended Skill Level
Intermediate

Farmhouse Table

Submitted by Malka on Fri, 06/03/2016 - 23:32

This was my 5th build. Took a few weekends working in the morning. Table is Weathered Oak (base) and Early American (top) stain. Modified the plans to make it slightly smaller so it would fit better in my kitchen. Very sturdy and table looks gorgeous in person, very happy.

Estimated Cost
$110+/-
Estimated Time Investment
Weekend Project (10-20 Hours)
Finish Used
Minwax Early American and Weathered Oak
Rustoleum Triple Thick Polyurethane (2 coats on base, 3 on table)
Recommended Skill Level
Beginner

Round the corner bookshelf

Submitted by tanlines on Thu, 05/24/2012 - 07:44

My son needed organization and of course instead of buying something I thought I could build one. I've been eyeballing Ana's site and found this project. This is my very first one. I only had a manual mitre saw so it took a long time to cut all the pieces but it did get done and in the process my hubby bought me a mitre saw! It wasn't hard to put together but the instructions are very detailed. As u can see from the photo, my little man helped me with it!

Estimated Cost
$50
Estimated Time Investment
Weekend Project (10-20 Hours)
Finish Used
paint
Recommended Skill Level
Intermediate

Doing things big in Texas

Submitted by StewartTX on Sat, 03/08/2014 - 15:18

We decided to build this a bit bigger and taller. I will caution you to be careful as we came inches to not making it through our doorways. We expanded the depth 15" to make it a full bed and we extended the length of the legs to allow for 48" clearance underneath.

We also went with a rock wall instead of a ladder. I 1st built the angle too steep; recommend at least a 30 degree angle on a wall. Kid's love it; mom not so much when attempting to make the bed! :)

We went with military theme - green rope lights, camo netting for a roof, and sandbags filled with old clothes from my high school years for a bunker underneath.

Great project! Thanks for the idea!

Built from Plan(s)
Estimated Cost
$350 - materials. Needed to invest $250 in new tools
Finish Used
Natural Minwax stain then clear satin poly
Recommended Skill Level
Beginner

Modified Farmhouse Storage Bed (California King, headboard with bookshelves)

Submitted by Anonymous (not verified) on Tue, 06/07/2016 - 19:51

Modified the Farmhouse Storage Bed with Storage Drawers. Changed the design to california king and added booshelves to the headboard. Will eventually turn a shelf into a nightstand for water/light. I LOVE IT!! Thanks for the Design, Ana!

Estimated Cost
$400
Estimated Time Investment
Week Long Project (20 Hours or More)
Finish Used
minwax grey stain and light grey paint (I can't remember the color, but it's valspar prairie something)
Recommended Skill Level
Advanced

Little Helper Tower

Submitted by aoliaak on Wed, 03/12/2014 - 16:48

Loved building this for my son, much easier than I expected it to be.

Total build time was about 3 hours, and another 3 hours for finishing. We've had it only a few days and it's already a staple in the kitchen, used for everything from peeling potatoes to feeding his horse!

Thank you so much for making these plans freely available.

Built from Plan(s)
Estimated Time Investment
Day Project (6-9 Hours)
Finish Used
2 coats of Sico's Luster Gloss in Desert Sun + 1 coat of polyurethane spray.
Recommended Skill Level
Beginner

Rustic X End Table

Submitted by B.W.Martin on Thu, 04/16/2020 - 20:35

I used the rustic X end table plan to make a set, went a different route on the color and stain. I also used plywood on the bottom instead of 1" by 12".

Built from Plan(s)
Estimated Cost
$20
Estimated Time Investment
Day Project (6-9 Hours)
Finish Used
Eggshell antique white was used for the paint. I used minwax pre-stain, one cost of minwax honey stain, and two coats of minwax polyurethane.
Recommended Skill Level
Intermediate

Dog Walking Hall Tree

Submitted by Anonymous (not verified) on Sat, 11/18/2023 - 12:24

I made this for some friends who are fellow dog lovers. I used the Mimi’s hall tee and storage bench plans. They were very happy with it. This is the second time I’ve used these plans. It’s a very fun project to build.

M. Wold

Comments

Modified Hailey Platform Bed

Submitted by Jake on Wed, 05/30/2012 - 16:15

I took the Hailey Platform Bed plan and cut to a twin bed size. I used some old wood I found in the garage for the head and foot boards and the legs. Notice the legs are 4x4s. The grandkids had some old bed springs under their mattresses so I incorporated the spring into the build. That required that I lower the cleat a couple of inches and it meant I had a very complicated leg geometry in order to get it deep enough to support the bed. I built the frame with Kreg Jig pocket joints and they made the work very easy with such large and heavy timbers. Notice I attached the legs to the frame with 5/16" lag screws which allows easy removal of the legs if you need to make it easier to move. Came out very good but I think I will build the second bed without the springs and go for the slat method as shown in the plans.The result is beautiful. My neighbor commented that it looked very Pottery Barnish!

The second bed I finished yesterday is made with slats. A very smart move. The legs are so much easier to attach to the frame. Both beds are beautiful and sturdy. One grandkid told me that when the hurricane comes he is going to get under his bed because it is so strong. He may be right but I will be in Laredo or San Antonio.

Built from Plan(s)
Estimated Cost
$70 for two beds and I also got free wood from the garage.
Estimated Time Investment
Weekend Project (10-20 Hours)
Finish Used
Red Oak stain on the legs and head and foot boards. The rest was primed then given two coats of a good satin paint called Benjamin Moore Impervo. It is expensive but I used it on repainting the kitchen cabinets and it was worth the cost. Best advice is good primer, sand with 150 grit, then two coats of final paint but light sanding with 320 grit between coats.
Recommended Skill Level
Beginner

Sissy's Toddler Farmhouse Bed

Submitted by Wifey on Sun, 03/16/2014 - 15:16

I'm so excited, this is my first furniture project. My husband was a little hesitant initially but is happy with the completed bed. This bed is so sturdy, I can easily sit on the edge and even lay down with my daughter. She loves her new bed and her brothers are a bit jealous. I told them to go through Ana's site and find something they like! Thank you so much for the projects you offer on here.

I altered the plans for a 28" wide crib mattress. Instead of a 1 x 3 on the ends of the head and footboard, I used 1 x 4s all the way across.

I also altered it to be 3" taller because I need a little extra storage space under my daughter's bed.

I did not use a nailer, just a hammer and nails. I found that it helped to use legs and shims on the bed rails frame and get to perfect level and then nail the footboard to the frame. Next, I screwed the frame into the footboard. This might be unnecessary info, but as a beginner, this part gave me a bit of trouble.

I used Behr Premium in Ultra Pure White with an Eggshell finish.

Built from Plan(s)
Estimated Cost
$60
Estimated Time Investment
Afternoon Project (3-6 Hours)
Finish Used
Behr Interior Premium Eggshell finish in Ultra Pure White.

Used a small roller on larger areas and a brush in all others.
Recommended Skill Level
Beginner

Counter Height Chunky X Table Long and Skinny

This is an adapted plan from the:

Chunky X Base Table

http://www.ana-white.com/2016/02/free_plans/chunky-x-base-table-featuri…


I made it counter height, made it skinnier at 27" depth and really long at 72" long.

Estimated Cost
$100-$150
Estimated Time Investment
Weekend Project (10-20 Hours)
Finish Used
Red Mahogany Oil Based Interior Stain. First using wood conditioner, stain than a semi-gloss polyeurathane
Recommended Skill Level
Intermediate

Workbench

This morning my dad decided to help my build the workbench I've been wanting since we moved to our new house. I would usually do it myself but being 37 weeks pregnant I wasn't wanting to get out there on my own and lift a bunch of 10 ft boards. So we got a bunch of 2x4s and some 2x6s and threw one together... it ended up being 10 ft long and around 28 inches wide and a good 36 inches tall. Now I have a nice place to put my new saw I got for Mother's Day

Estimated Time Investment
An Hour or Two (0-2 Hours)
Recommended Skill Level
Beginner

Carolina Craft Table Modified

http://ana-white.com/2010/09/pb-kids-caroline-craft-table

 *** apologies for the missing baseboard in the photo- we are in the midst of a remodel ***

We wanted a high quality table so we researched the Parker Play Table ($1200) and the Carolina Craft Table- ($600). 

In the research i found the plans for the Carolina table on this site- and modified them a bit (we wanted the removable storage top). 

We painted the top with White board on one side and Chalkboard on the other. 

The table has 22" legs and they can be changed out with a second set of legs when our daughter gets taller.

There is plenty of storage for all the art supplies in the unit and a art paper dispenser on the end. 

The unit is made of poplar on the inside and the legs and facia are all red oak- a very dense and beautiful wood. 

All exterior screws are counter sunk and hidden under face grain wood plugs that are surface sanded.  i chose to do no finish as the wood grain is beautiful- although i may do a timber oil or tung oil at some point - 

the project took about 2 days total time- $150 in supplies (including paint) and the piece feels substantial..... like it will be used for my daughters children. 

you will want to have access to a table saw and some clamps, wood plugs and a countersink bit for your drill

Estimated Cost
150
Estimated Time Investment
Weekend Project (10-20 Hours)
Finish Used
none- light hand sand with 180 grit sandpaper
Recommended Skill Level
Intermediate

Just a beginner! Second Project

Submitted by Rifka on Tue, 06/21/2016 - 18:35

Great first project!

Built from Plan(s)
Estimated Cost
$20
Estimated Time Investment
Afternoon Project (3-6 Hours)
Finish Used
Annie Sloan chalk paint with clear wax.
Works great for outside too.
Recommended Skill Level
Beginner

Console Table w/Drawer & Raised Dog Bowls

Submitted by Booooozle on Tue, 06/05/2012 - 18:00

I actually designed & built this table on my own but it is very similar to Ana’s Simple, Cheap, & Easy Console Table. When we moved from an apartment to a house our lil neurotic jack Russell terrier decided he wasn’t going to eat unless we were both in the same room as him. So his food was put in a spot where he could see both of us even if we were in separate rooms, it just turned out that where that spot was, is the exact spot I wanted a console table. Well I couldn’t find a console table with a raised dog bowl shelf in it so I built my own. Now the dog bowls are up off the floor at a comfortable level for our fur babies & I keep all their vet paperwork, sweaters & toy stash in the drawer, all puppies things in one place.

Estimated Cost
$35
Estimated Time Investment
Afternoon Project (3-6 Hours)
Finish Used
Valspar Flat Black Indoor/Outdoor Enamel
Recommended Skill Level
Intermediate
Back