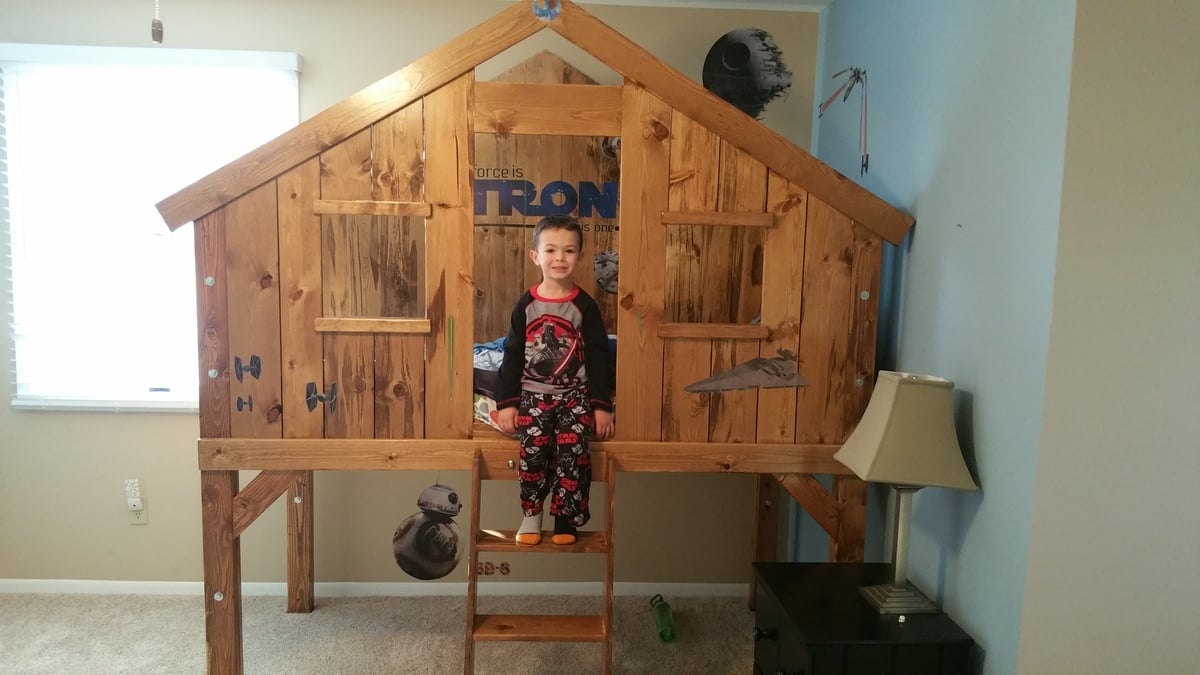
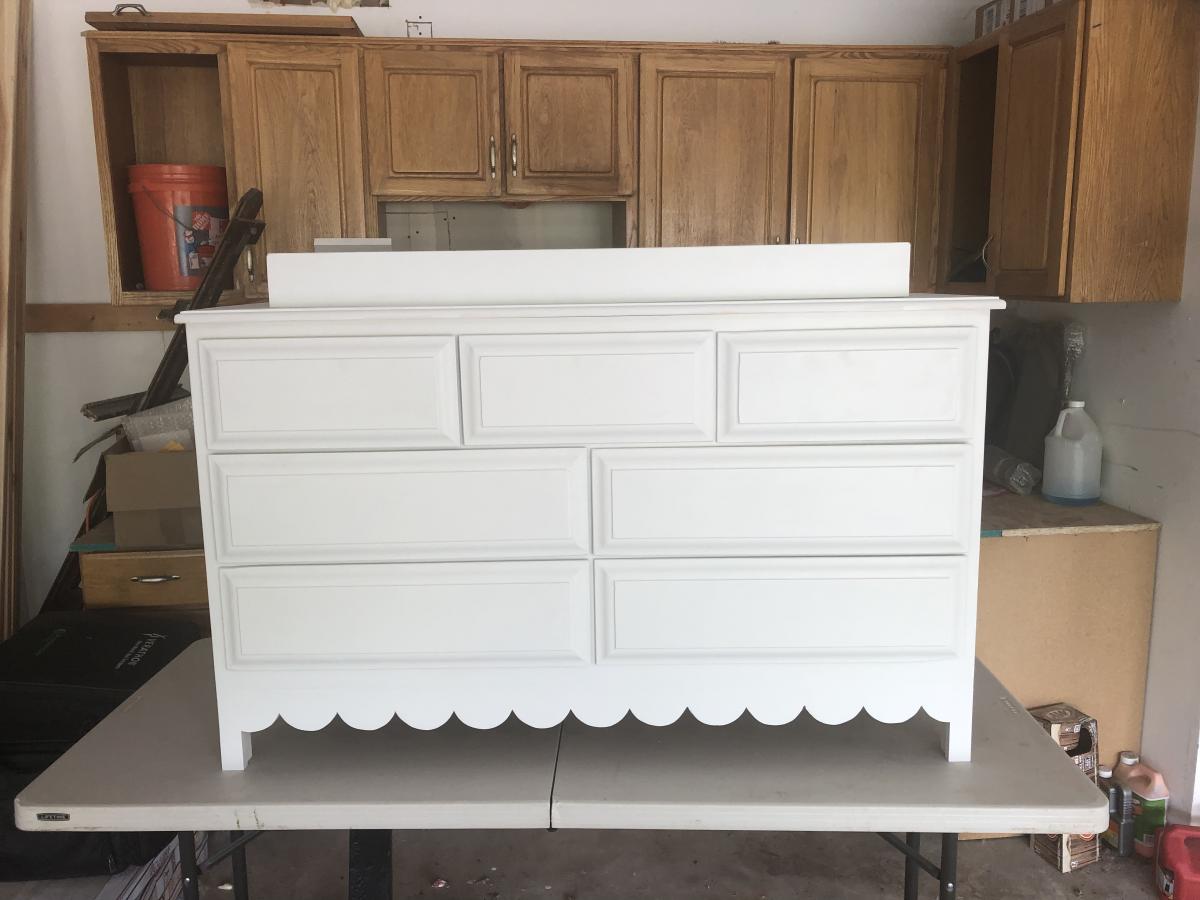
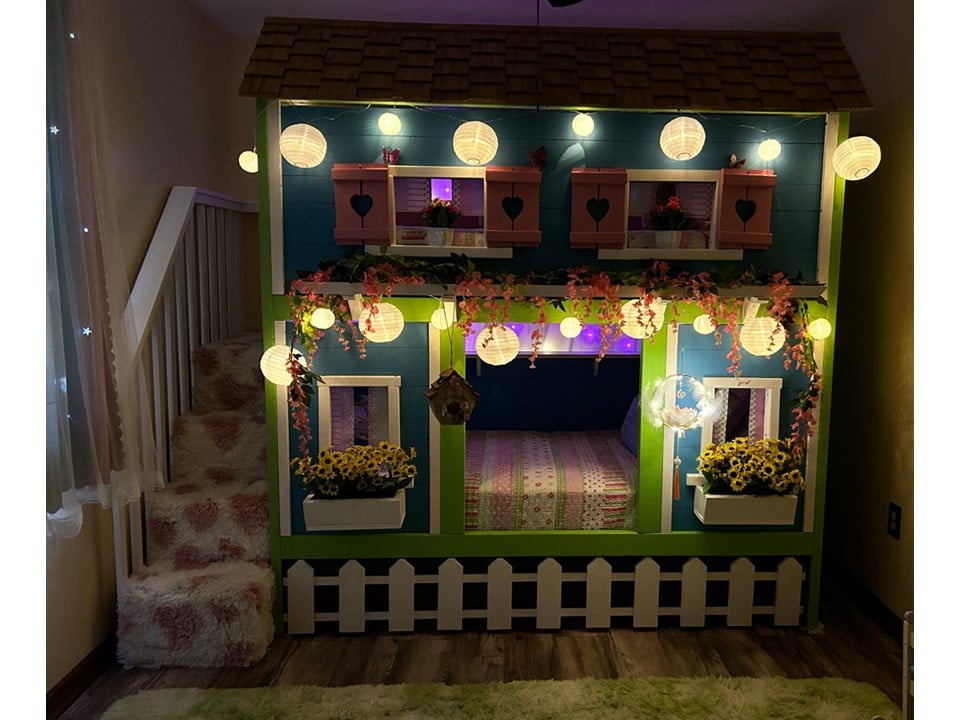
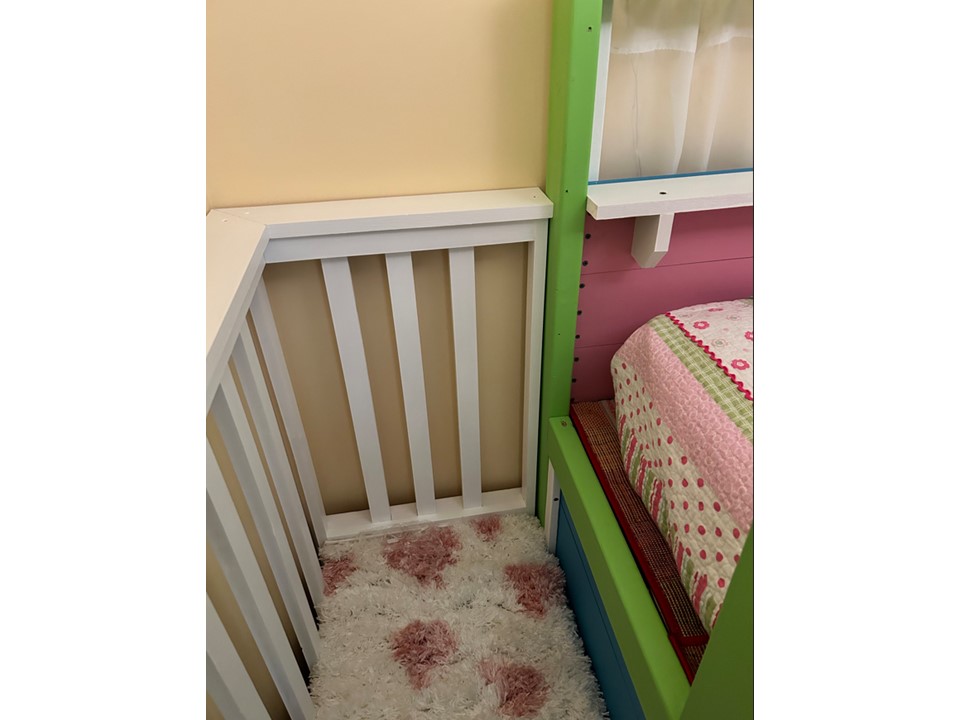
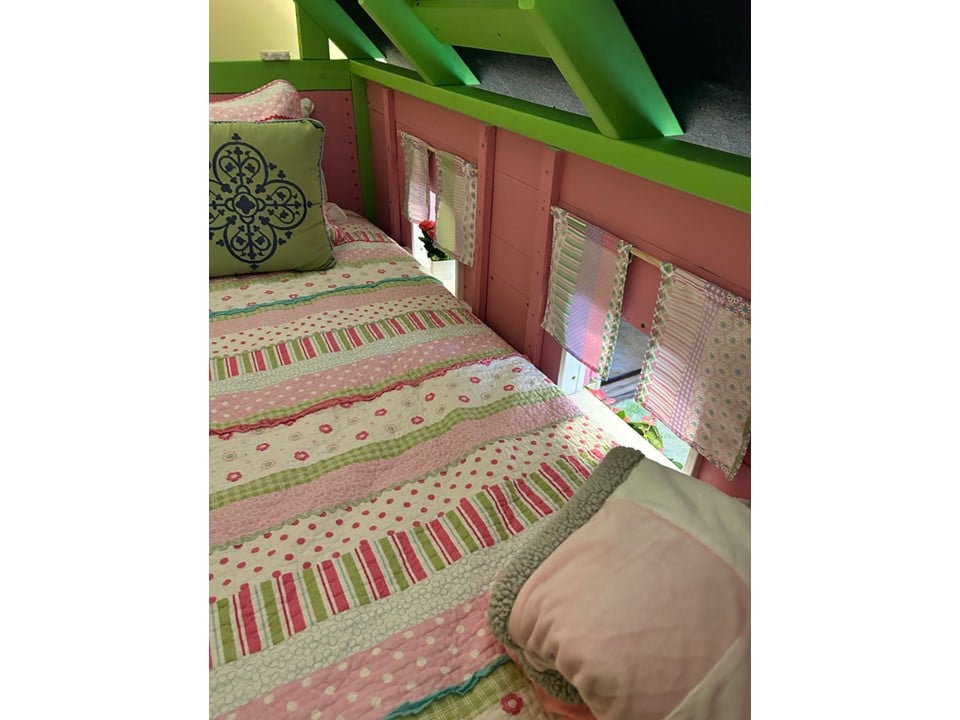
Community Brag Posts

Clubhouse Bed Build

Submitted by Mrthe2th on Sun, 01/10/2016 - 00:03

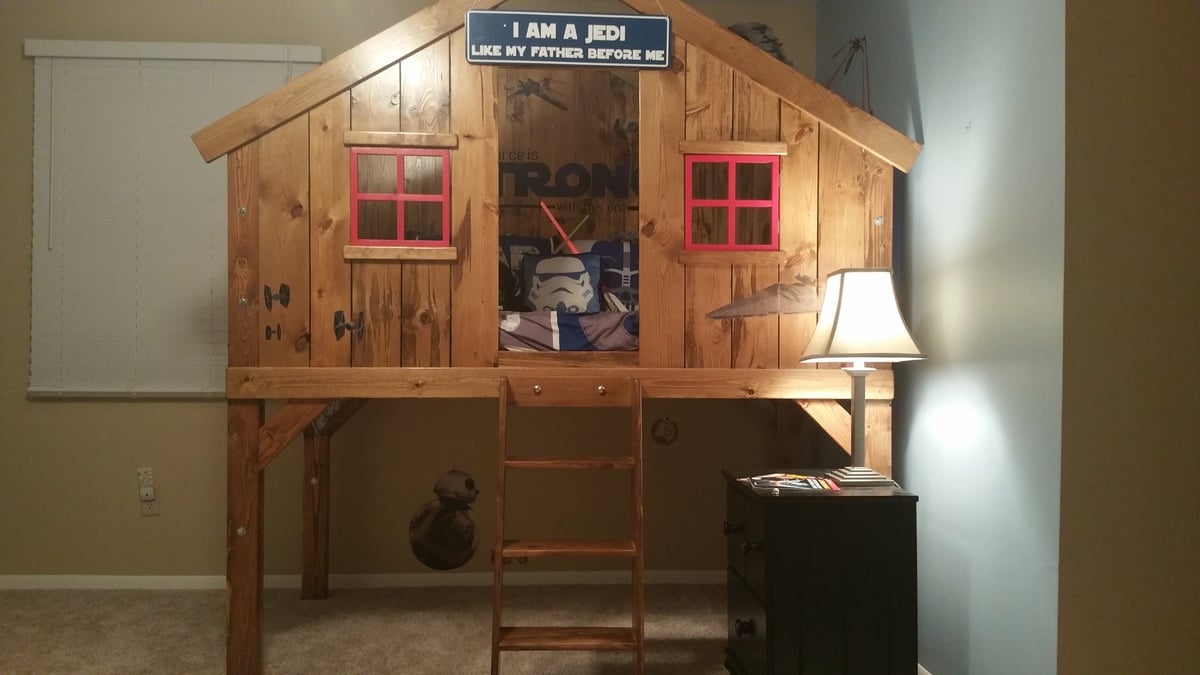
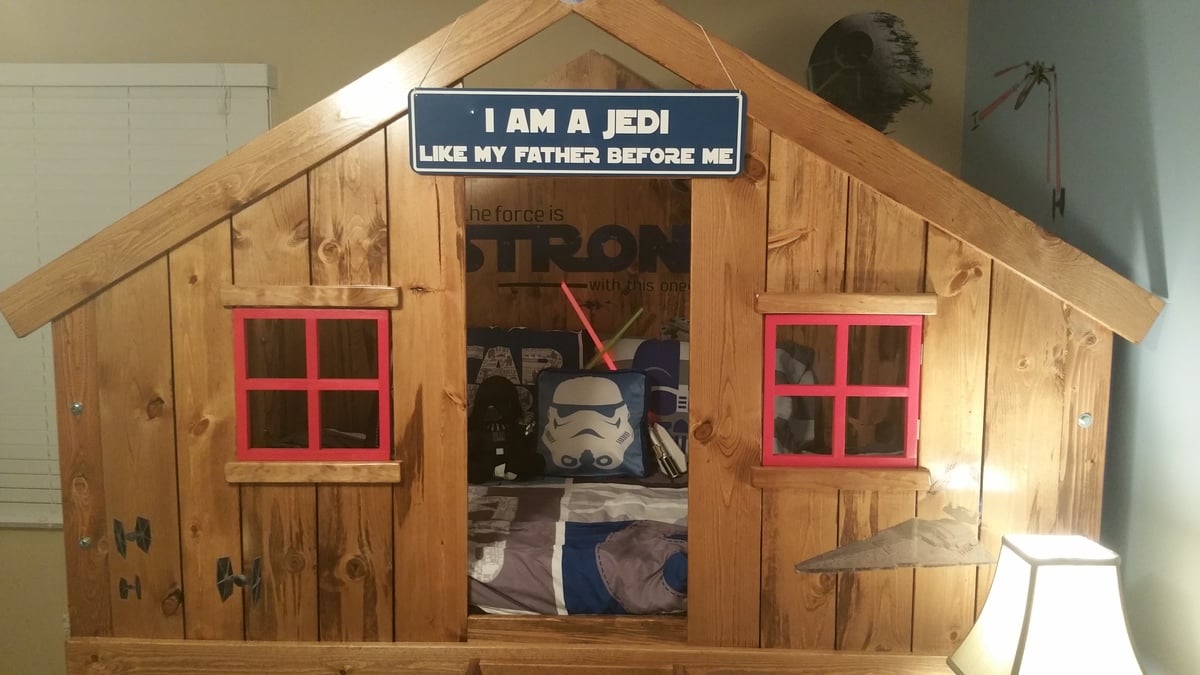
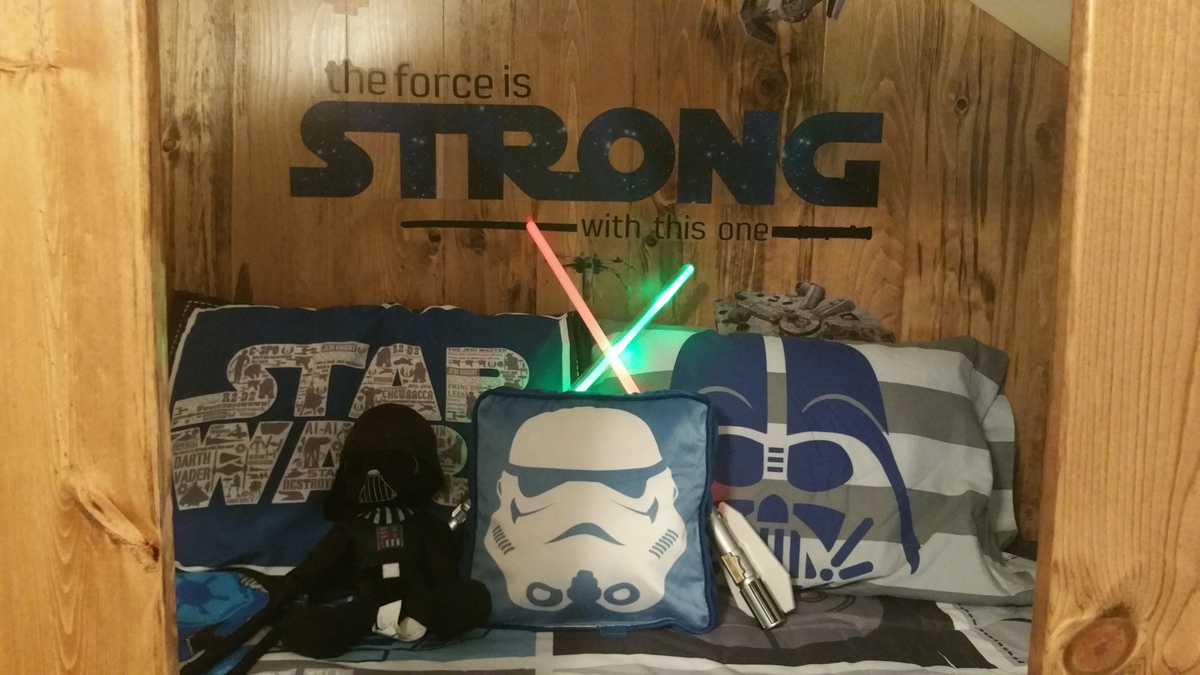
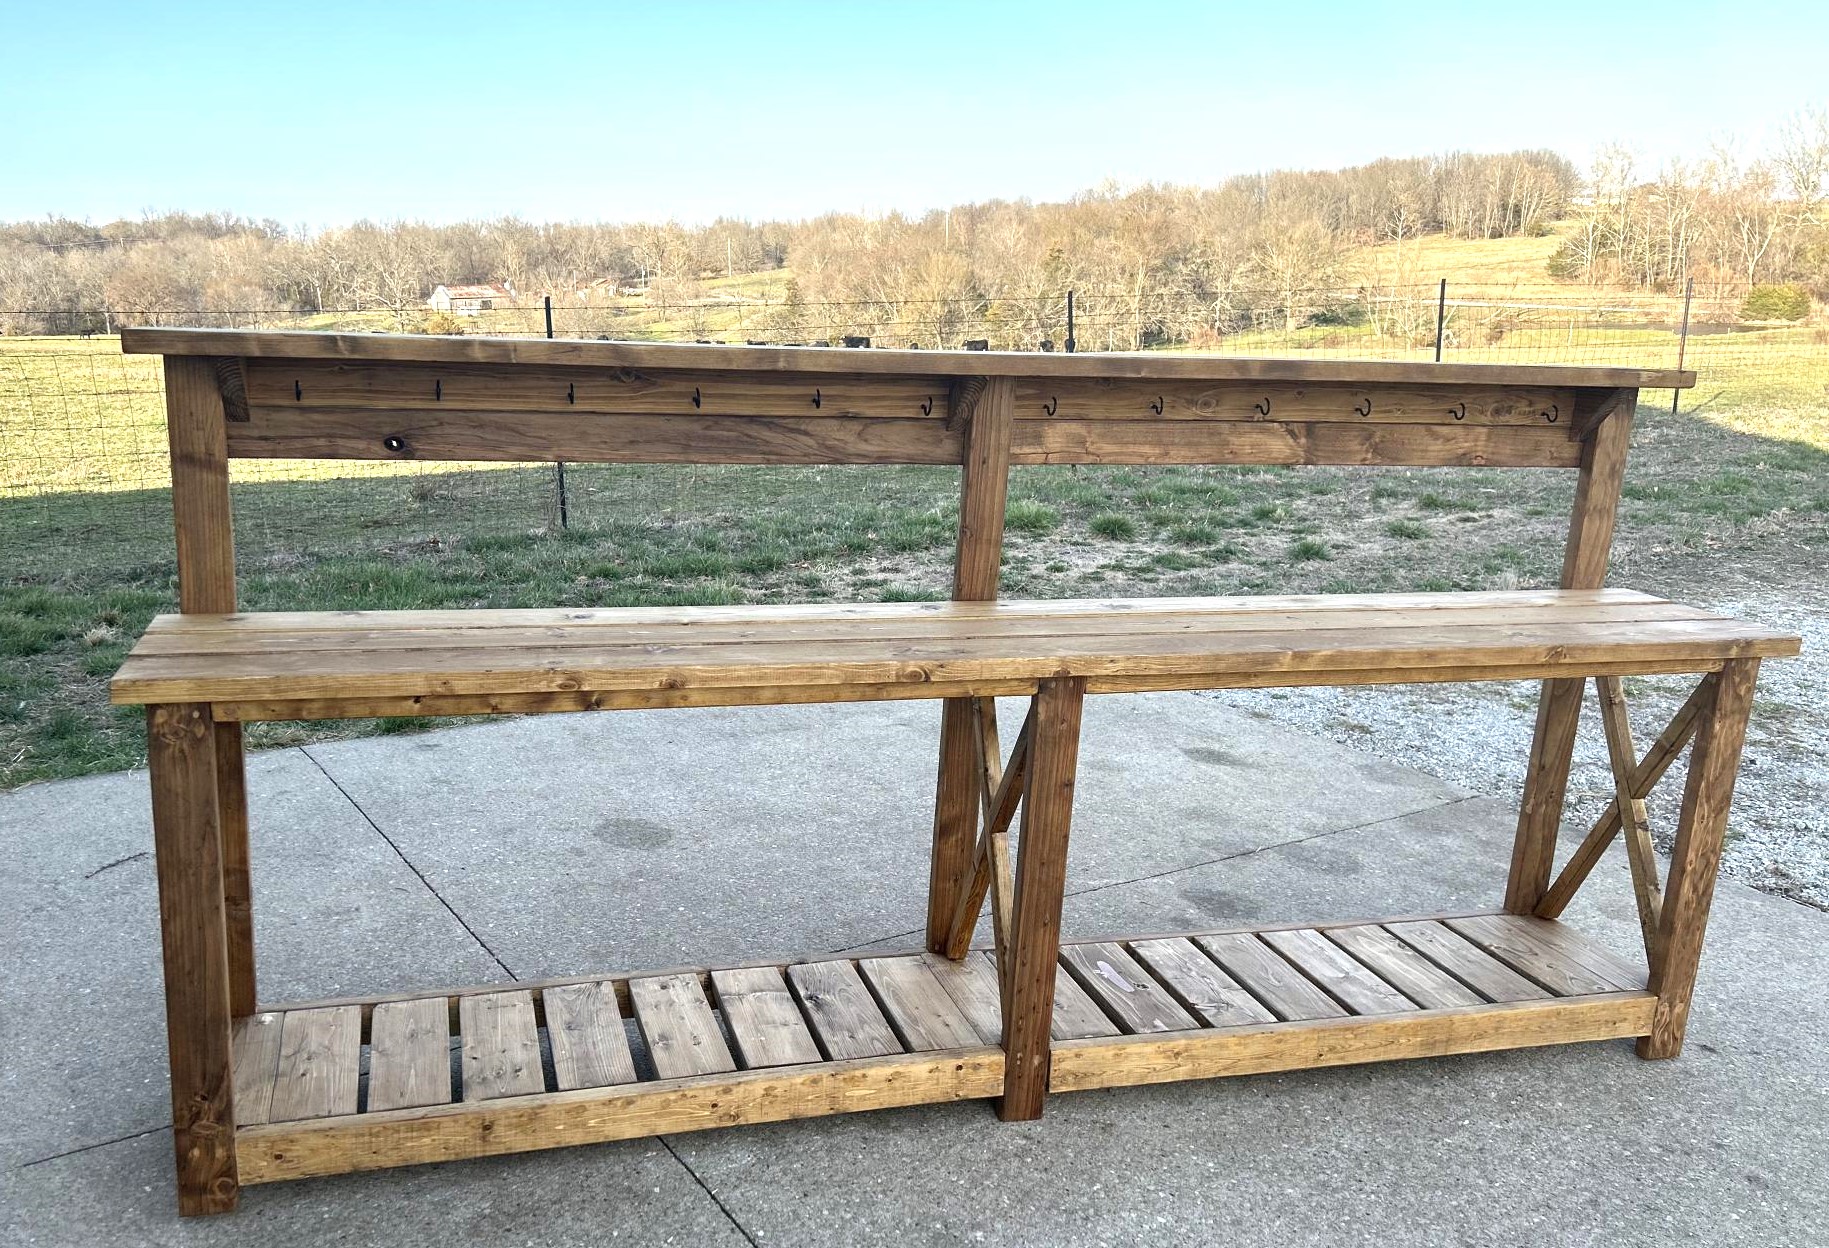
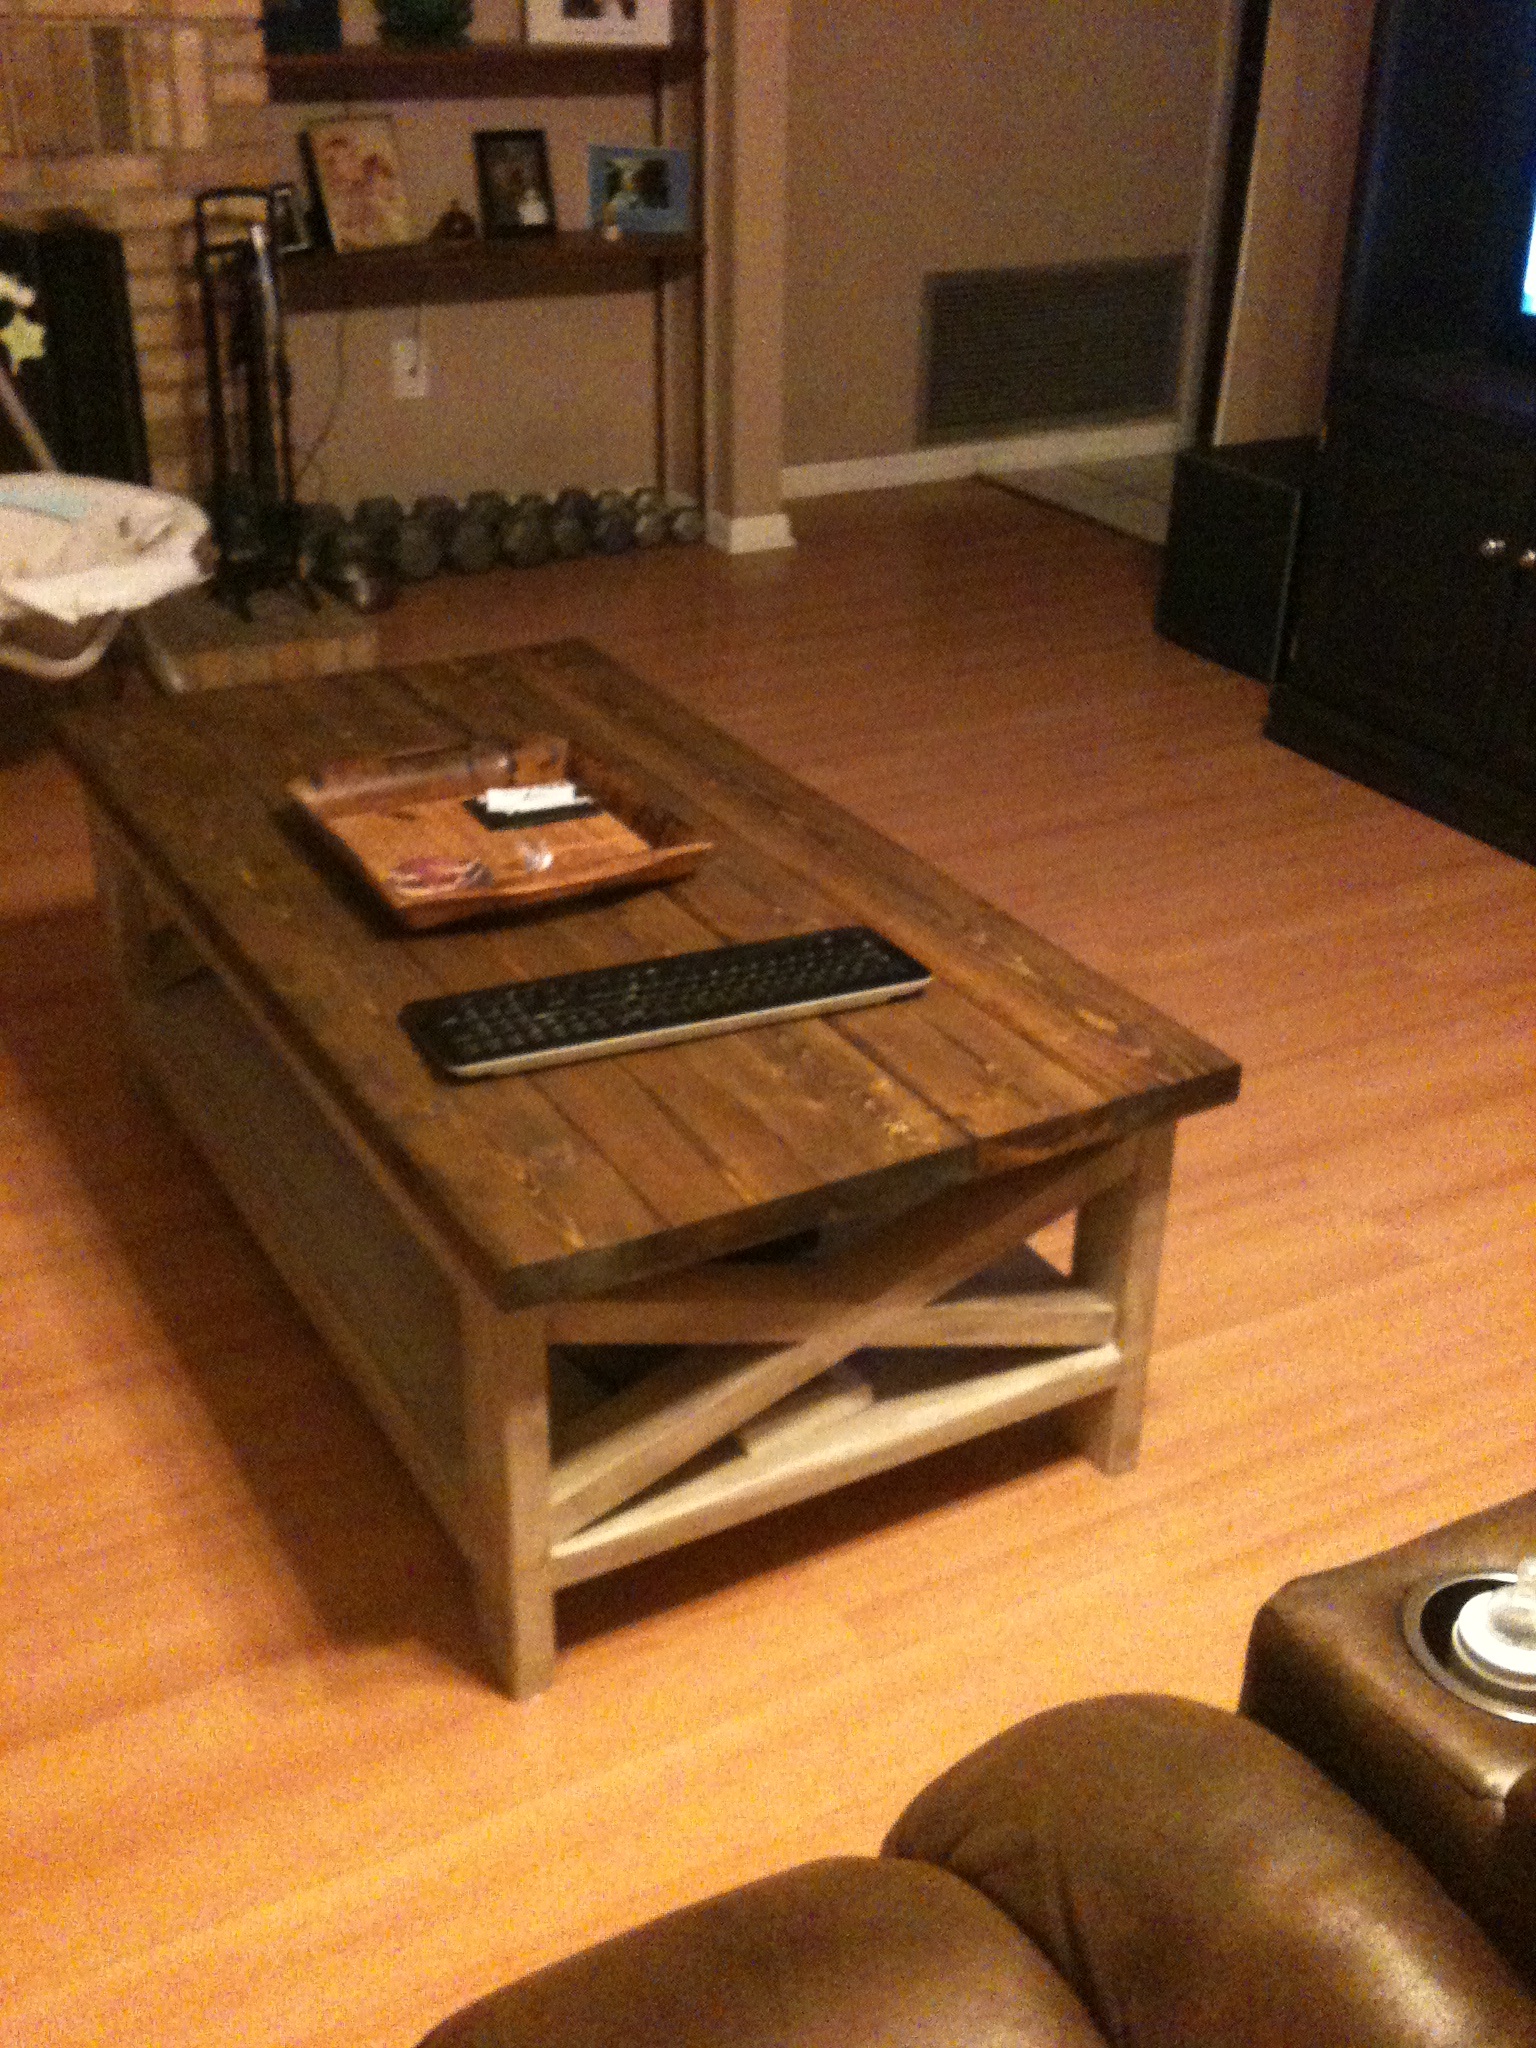
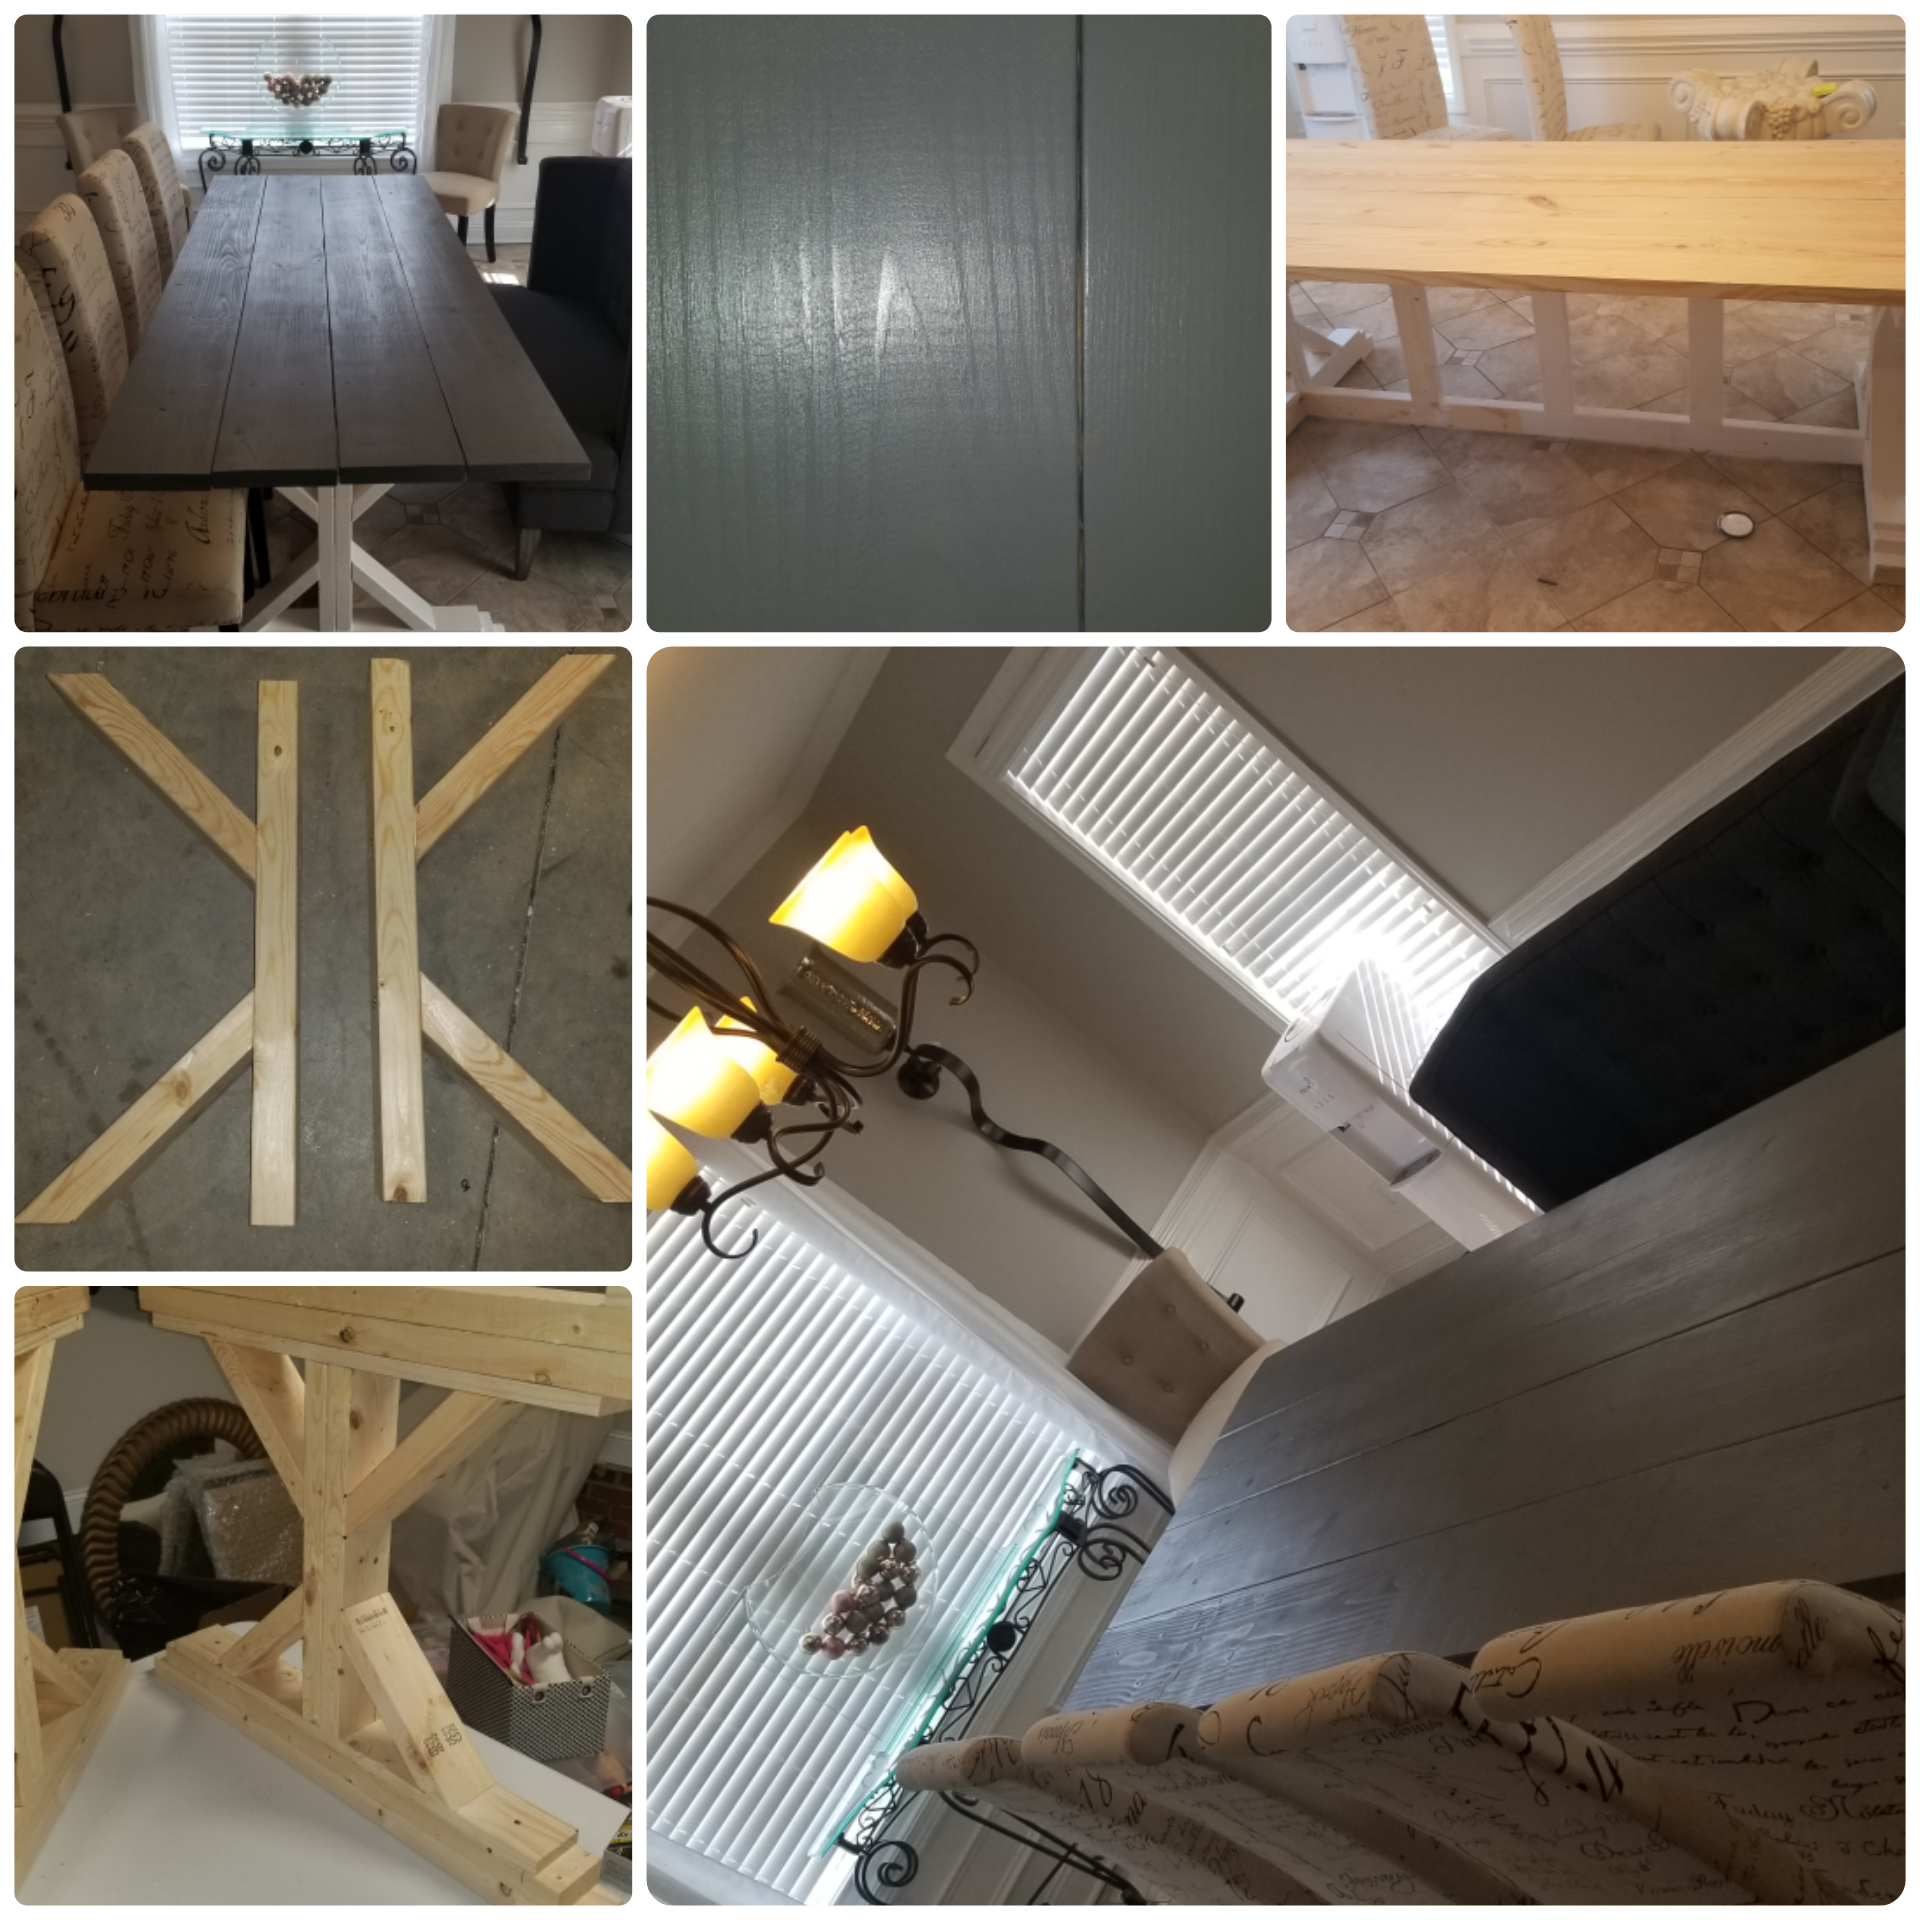
I originally got the idea to build a bed for my son when I needed to get something new for him and went looking online for beds for sale on Craigslist. I found a bed that looked like a barn and that made me search for plans to build one since why overpay for something you can build yourself?! I found Ana’s plan and knew immediately it was the one. I started at Thanksgiving and had it finished for Christmas. I can’t thank Ana and Jamie from That’s My Letter enough for such great plans. They were so detailed but easy to follow. I do all my own rehab work on my house and I am a weekend warrior carpenter so this was a really fun build. My son is about to turn 5 and is a huge Star Wars fan and so am I. I knew this had to be my theme so I bought him a bunch of stickers and a sign (couldn't help myself on this one, had to do the Jedi like my father sign) to decorate the bed on Christmas day. He was excited to get the stickers but he didn’t know I built this for him. I hid it in the garage the whole time and he never found out. So when we went to his room to see if for the first time he went nuts. My 2 year old daughter loved it too and they play in it together all the time. I had a few issues during the build with some measurements but was able to make it work. In the end I love it and so do the kids, especially my son! The window grilles take it to another level so I recommend them if you build this. I even sanded a lot of the edges around the windows and in the doorway to give it a more “weathered” look. I already have my next project chosen from Ana’s plans. I will hopefully be posting the results of the X desk build in the near future. Thank you Ana for all the plans, I will most definitely be showing this off and giving you credit every time. Chris

Built from Plan(s)
Estimated Cost
Not sure, haven't done the math yet. Probably in the neighborhood of $400-$500 but I acquired some new tools too.
Estimated Time Investment
Week Long Project (20 Hours or More)
Finish Used
Thanks to nleonard85 for the idea to use Minwax Early American. Applied with a brush and rag. St. Louis Cardinal Red for the window grilles
Recommended Skill Level
Beginner

Rustic Farm Potting Bench

Submitted by Anonymous (not verified) on Fri, 03/10/2023 - 06:24

I built this 10’ long potting bench to fit into a 12’ barn stall. It fills the need to have a work surface plus room for storage on top and underneath. The hooks provide a place to hang my many hand tools and my Bluetooth speaker.

Built from Plan(s)

Comments

Rustic X coffee table

I love this site. We needed new furniture in are house and didn't want to spend a bunch of money. Finding the Rustic x plans was a life saver.

Estimated Cost
$100
Estimated Time Investment
Weekend Project (10-20 Hours)
Finish Used
White paint and kona stain.
Recommended Skill Level
Beginner

Play Kitchen

Submitted by Anonymous (not verified) on Wed, 01/13/2016 - 13:35

I made this set for my grandchild!  Love the plans!  I modified the stove to include a range-top microwave, and included doors for the kitchen sink.

Estimated Time Investment
Week Long Project (20 Hours or More)
Finish Used
Dark gray, black, and white paint.
Recommended Skill Level
Beginner

My First DIY Farmhouse Table

Submitted by gablack83 on Fri, 05/24/2019 - 06:36

This is my first (but not last) large DIY project. My wife wanted a farmhouse style table but not the price that went with it. So while she took the LO out of town, I surprised her with this and she loved it. It's not as hard as it seem, but as a beginner, a lesson that I learned was to always cut the boards yourself to make sure the measurements are correct. Don't let a big brand named store cut your wood because, well, just because. I had to recut a few boards myself because of their lack of correct measuring. Other than that, this was fun.

Estimated Cost
$70 for wood
$100 for tools
$30 for paint and polyurethane
Estimated Time Investment
Weekend Project (10-20 Hours)
Recommended Skill Level
Beginner

Mantle

Submitted by Anonymous (not verified) on Fri, 03/17/2023 - 14:14

The second one was before. It was the very first project I ever did all by myself. It only took me a couple of months to get the nerve to go to the store and buy everything. Then I cut and did everything on my own. 😬 I am so stinkin proud of myself.

Comments

I love my new bed! Thanks Ana!

Submitted by elisabet3 on Wed, 11/30/2011 - 19:38

While doing some renovations on our house we gave our kids the largest bedrooms while my husband and I took the smallest. We desperately needed extra storage in the Master bedroom since not even a dresser would fit. The Queen Sized Storage Bed plans were the perfect solution and the bed looks gorgeous! More details on my blog...

Built from Plan(s)
Estimated Cost
$350
Estimated Time Investment
Week Long Project (20 Hours or More)
Recommended Skill Level
Advanced

Comments

engineer2mommaof2

Fri, 12/02/2011 - 08:26

WOW, we've been trying to find the time to complete these same plans and seeing your results make me want to put it on the top of our list. Your bed is BEAUTIFUL!!!!

But the hanging lights next to your bed and your flooring also add to the beauty. Would you mind sharing where you got these two items? Thanks!

elisabet3

Fri, 12/02/2011 - 13:28

engineer2mommaof2: Thanks for your kind words about our bed. We love it too! The lights are mercury glass pendants from Pottery Barn. Our hardwood floors are red oak that were original to our home (built in 1939). A couple months ago we sanded them down and stained them a dark walnut. The dark color is gorgeous...but pretty hard to keep clean with young kids around since they show every speck of dirt. Good luck on making your bed. Go for it! You won't regret it!

Plant Stand or Side Table

Submitted by mtairymd on Sun, 01/17/2016 - 11:08

This project was made with two 2x4s and two solid wood round discs. Although it’s hard to see in the photos, the pillar has a unique shape due to the v-notched 2x4s. This design is very sturdy and should hold about anything you would like to place on it.  See Link for full build Instructions:

http://www.instructables.com/id/Side-Table-or-Plant-Stand-Made-From-2x4…

Estimated Cost
$20
Estimated Time Investment
Afternoon Project (3-6 Hours)
Finish Used
Stain
Recommended Skill Level
Beginner

Awesome Adirondack chairs!

Submitted by Naboo on Mon, 06/03/2019 - 07:45

Thanks for sharing. Added a smal table to match!

Estimated Cost
$125 a chair for cedar
Estimated Time Investment
Afternoon Project (3-6 Hours)
Finish Used
Deck sealer
Recommended Skill Level
Beginner

Comments

DIY KidKraft Chic Dollhouse

We're short on money this year so we decided to make our Christmas gifts for the kids. The KidKraft Chic Dollhouse is perfect for my daughter, but it's soo expensive. I used Ana's plans to make one that matches the decor in her room. This dollhouse is so sturdy, we can definitely use it as a bookshelf when she grows out of it!

Content was too heavy to post to please visit http://blog.prettyinprints.com/2011/12/diy-kidkraft-chic-dollhouse/ to see the entire thing (:

Estimated Cost
$100 with paint & floors, $60 or less without
Estimated Time Investment
Day Project (6-9 Hours)
Finish Used
Antique white high gloss for the frame, pink high gloss for the roof & stairs, decoupage walls, decoupaged textured (and paintable) wallpaper from Lowe's for the floors.
Recommended Skill Level
Intermediate

Comments

In reply to by spiceylg

Draftmen888

Fri, 12/11/2015 - 12:02

To my mind very important when out little ones so happy with their toys such as dollhouses from Kidkraft.

Agree with you - really cool job!

Emily W. (not verified)

Mon, 12/19/2011 - 07:35

I'm currently working on this dollhouse, so it's fantastic to see one that another reader has completed. Sometimes I look at what Ana has come up with and think, "Is it possible for someone else to make one that looks that awesome?"

Thanks for proving it can be done. Your dollhouse looks amazing!

As far as hiding it, I second using a neighbor's garage. I remember my brother and I scouring the entire house when we were young, looking for Mom and Dad's secret Christmas stash. Good luck keeping it hidden!

guest (not verified)

Wed, 12/21/2011 - 08:23

We are almost done making our girls house and needed some more ideas on how to finish it. Yous looks great.

Guest (not verified)

Sat, 12/31/2011 - 00:16

Made this for my daughter this Christmas. It was perfect. She loved it. I know she will get years of use out of it. Thank you so much.

JoseO1998

Tue, 07/15/2014 - 02:28

I'm building one for my niece for her birthday in August... I am about 60% done but I really love the job you did...

King size farmhouse bed

Submitted by Jeepers on Sun, 11/03/2013 - 19:25

Used cedar for the planks in the headboard and footboard

Added some common trim pieces like the rope

Built the frame as described in the Queen plans - found that a standard metal ammo can on its side is the perfect height to set up the side panels at the corners.
Used 2x4 studs for the cross slats, but set them on their side to give some added height.

Used minwax Walnut stain - really looks nice on the cedar - just one coat for the cedar

Waxed top of the footboard

Stained a small footstool using Walnut.

Kingsize version is a monster - very solid, no movement or creaking

Estimated Cost
$400
Estimated Time Investment
Week Long Project (20 Hours or More)
Finish Used
Minwax Wipes - Walnut
Recommended Skill Level
Beginner

Comments

Grandy Sliding Door Console

This was my favorite project I have made so far! And was a challenge to get the hardware just so. But I highly recommended giving it a try!

Built from Plan(s)
Estimated Time Investment
Weekend Project (10-20 Hours)
Finish Used
Custom blue paint, with early american stain to age paint.
Recommended Skill Level
Intermediate

Dresser with changing table top for nursery

Submitted by mjolgren on Thu, 06/13/2019 - 06:44

I used the Kendal extra wide dresser plans which were super easy to follow for this project. I wanted to add some of my own touches so I made the drawers with box joints, my first attempt at this. I also changed the drawer fronts and added my own scalloping at the bottom. The changing table frame on the top of the dresser was also added which is removable once we are out of diaper changing! I am using half moon aged brass pulls for the drawers once delivered. Overall I am happy with the way this turned out.

Built from Plan(s)
Estimated Cost
$400-500
Estimated Time Investment
Week Long Project (20 Hours or More)
Finish Used
Flat white furniture paint, sanded and coated with water based poly.
Recommended Skill Level
Intermediate

Sweet Pea Bunk

Submitted by Anonymous (not verified) on Mon, 03/27/2023 - 10:54

This was fun project! Changed up a couple of things, but am very proud of myself. I can't wait to see what my Grandkids think :)

Built from Plan(s)

Comments

Easiest Chalkboard Shelf from Scraps

Submitted by carbogast on Tue, 12/13/2011 - 18:20

Chalkboard

Estimated Time Investment
An Hour or Two (0-2 Hours)
Finish Used
Chalkboard paint
Recommended Skill Level
Starter Project

Comments

Mail bin

Submitted by Brad Wills on Tue, 11/05/2013 - 19:47

I liked the pb mail bin, but wanted to build the entire piece. Learning experience, measure twice. File folders will not fit, as the inside measurement is to small. Still turned out cool.

Estimated Cost
25.00
Estimated Time Investment
Afternoon Project (3-6 Hours)
Finish Used
Varathane ash stain and light blue flat behr paint. Varathane poly to finish 2 coats
Recommended Skill Level
Beginner

Comments

A Work in progress

Submitted by 914934 on Thu, 01/21/2016 - 10:10

We haven't had a chance to hang the first bed but had to make it functional asap. So, we gave it temporary legs on the front and attached it to the wall in the back. We are thinking of replacing the desk and making a smaller toddler sized version there for one of our little guys as well.

Estimated Time Investment
Afternoon Project (3-6 Hours)
Finish Used
Primed with kilz, painted with Wet Sand (leftover paint from walls)
We've got a lot of little ones with crayons around here. We've got to have something washable!
Recommended Skill Level
Beginner

Modern Outdoor Chair & Love Seat

Submitted by Wilsjac1 on Wed, 06/26/2019 - 13:59

After building the first chair I decided I did not like the sizing, it felt like the arms were to low and the back cushion really did not have any support so I modified the chairs a bit and rebuilt the chair and also made a matching loveseat. 

I also decided to reverse the arms so the 2×6’s are on the outside instead of the inside, Originally I did this by mistake but I decided to keep it that way because it helped hold my cushion in place and I like it better that way. But most people I have asked say they prefer the arms the original way that Ana-White had them though.

I ended up making the legs 3" inches longer to raise the height. 

I made the side slats and the armrests 3" shorter to reduce the depth to make my cushions fit better

For the love seat the only thing I had to change was I made the back slats the front slats and the seat slats 48" and I added in a 2x4 for support under the seat slats that attached from the front slat to the back slats.

Overall I love the way they came out very sturdy and we use them everyday! 

Estimated Cost
$75
Estimated Time Investment
Afternoon Project (3-6 Hours)
Finish Used
I sanded all of the 2x4's and 2x6's with 80 grit & 220 grit, I then used minwax primer before applying the stain, I used the color "Honey"
Recommended Skill Level
Beginner

Farmhouse potting bench

Submitted by Anonymous (not verified) on Thu, 04/06/2023 - 23:12

Had so much fun building this project for my moms birthday present.

Built from Plan(s)

Comments

Scrap wood shelves

Submitted by chelseawa on Sat, 12/17/2011 - 17:16

The kids and I worked together to make these shelves from wood I dug up in the scrap pile. I had to be creative to come up with enough wood of the right dimensions, some of the 1x4's started life as 1x6's and the front pieces are baseboard moulding. I didn't use a back piece because it seemed sturdy enough as is. I used removable velcro type hanging strips to attach them to the wall.

Built from Plan(s)
Estimated Cost
Free
Estimated Time Investment
Afternoon Project (3-6 Hours)
Finish Used
Latex paint.
Recommended Skill Level
Starter Project