Spa Bench
So excited!~ I've got big projects in mind but I just wanted to test it out first with a simple one. So easy to follow and I can't wait to do more!
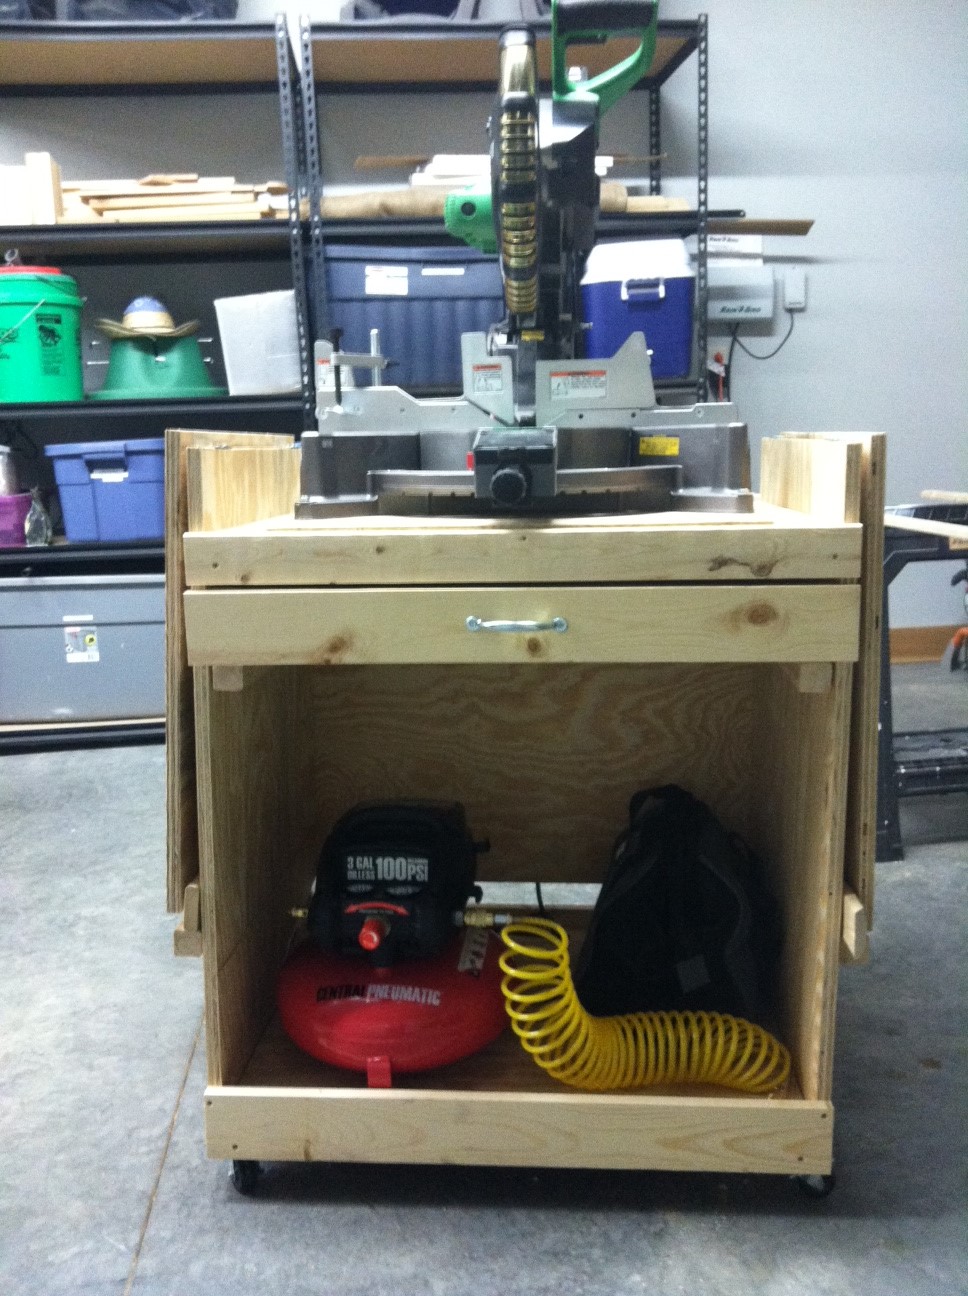
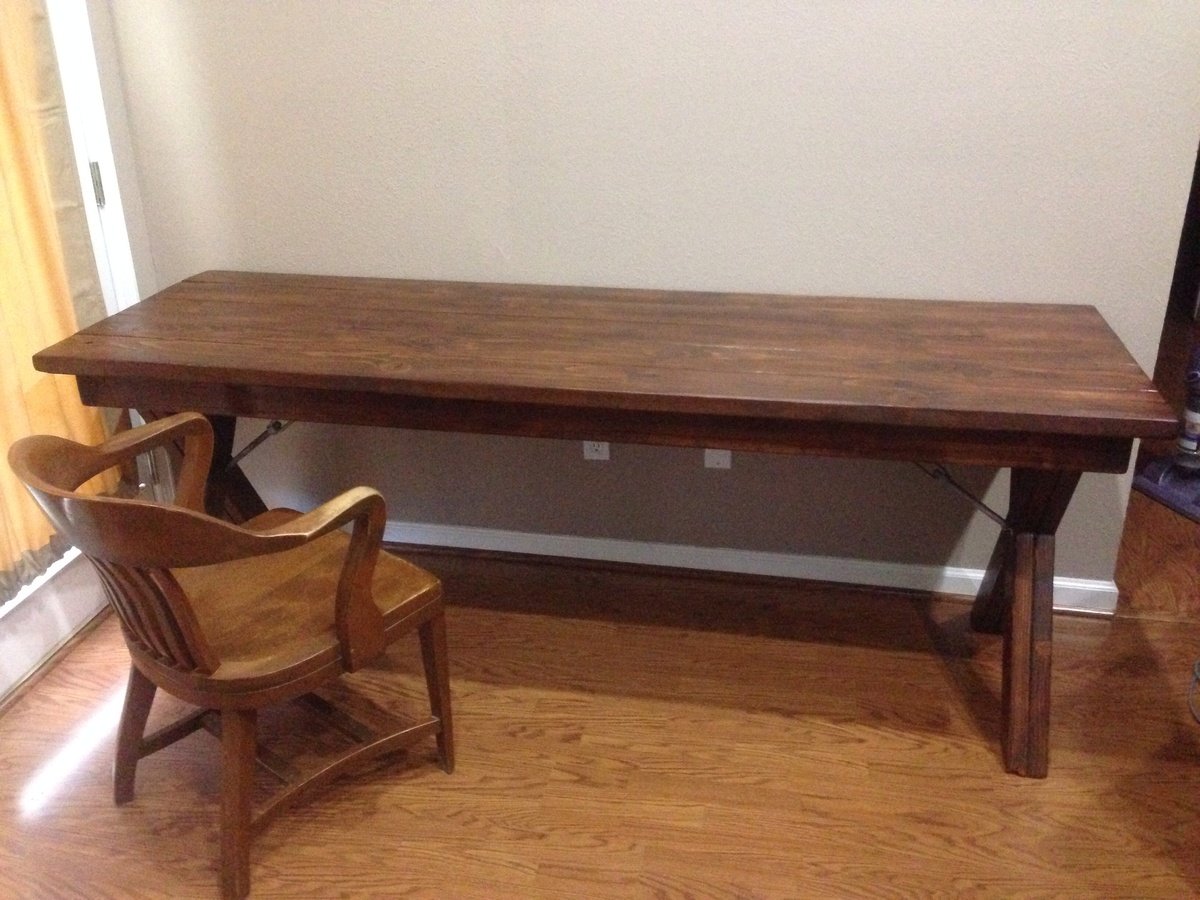
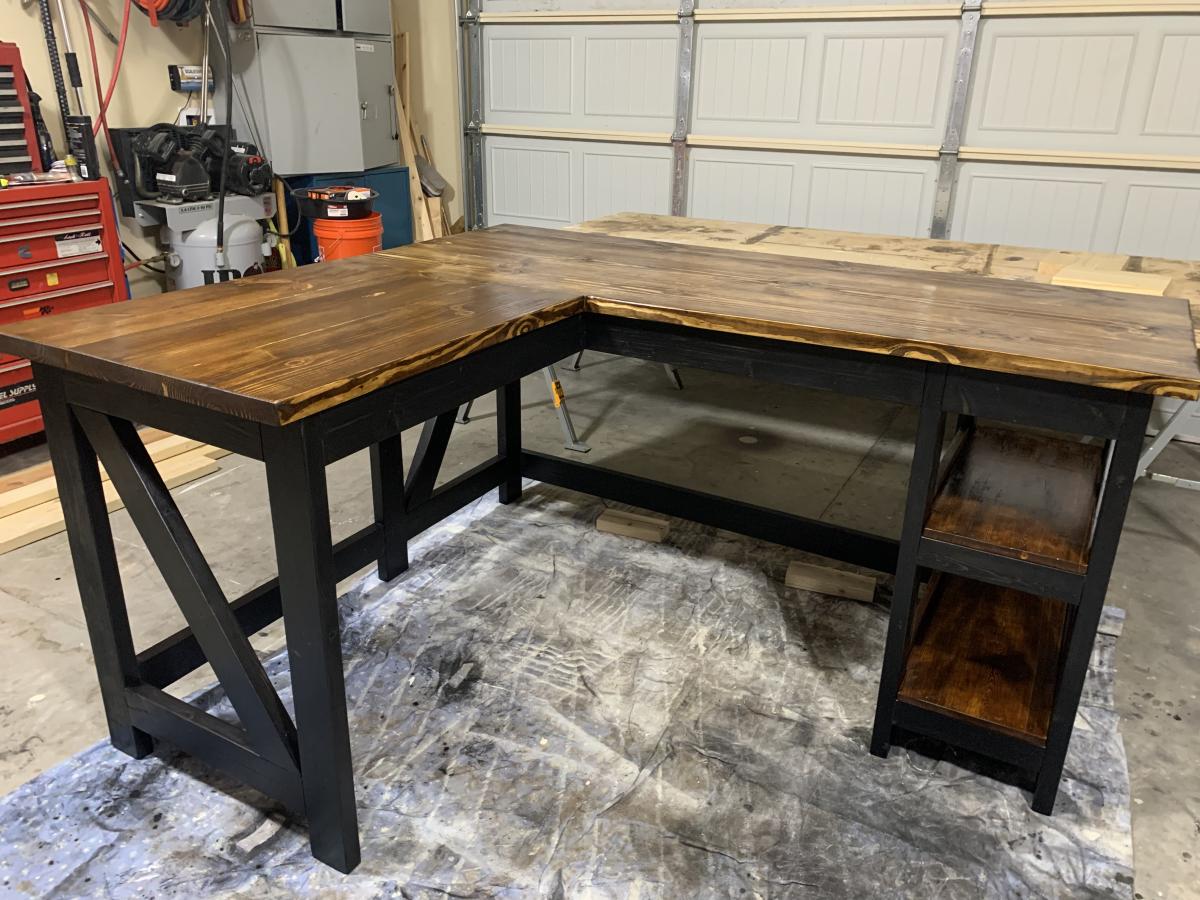
Great project - fun to build and helpful for wheeling my new miter saw around the garage.
I made a few modifications from the original plan:
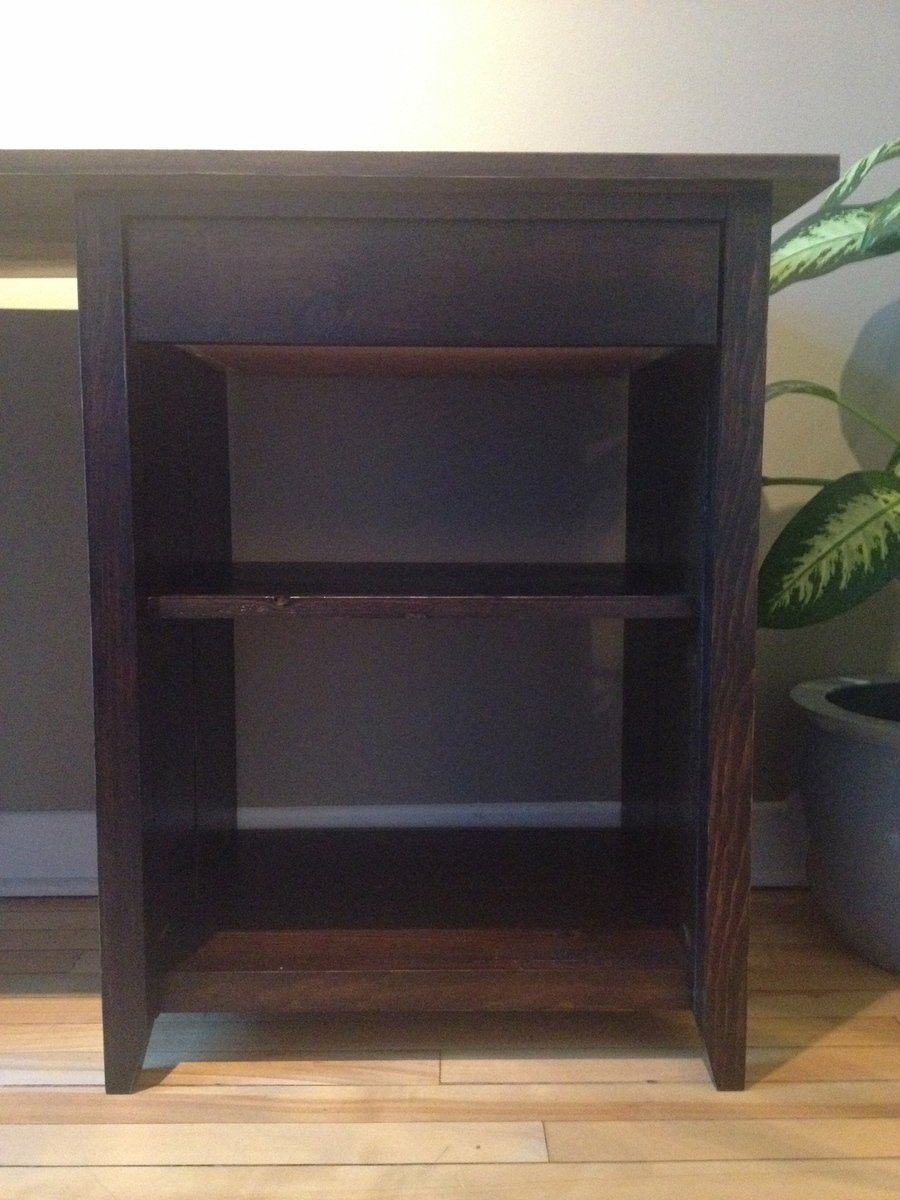
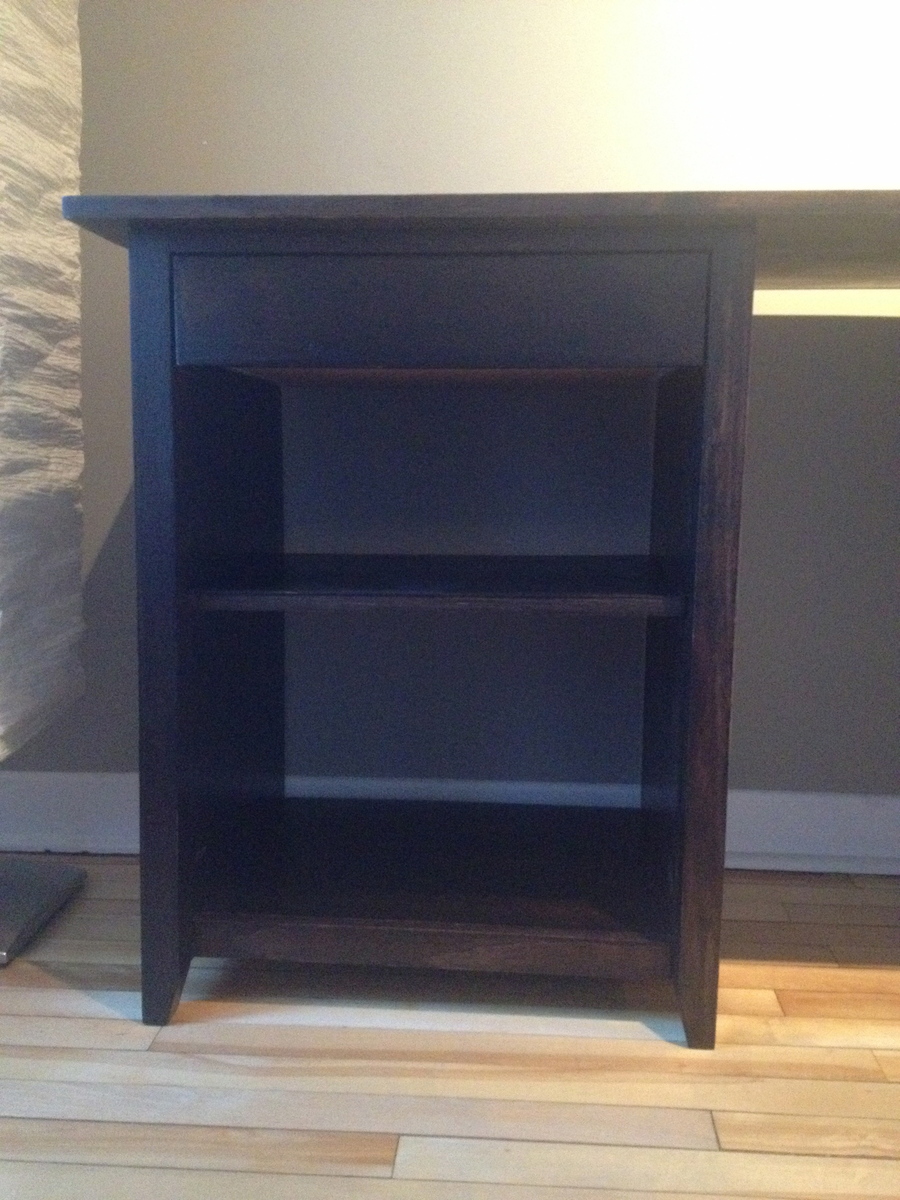
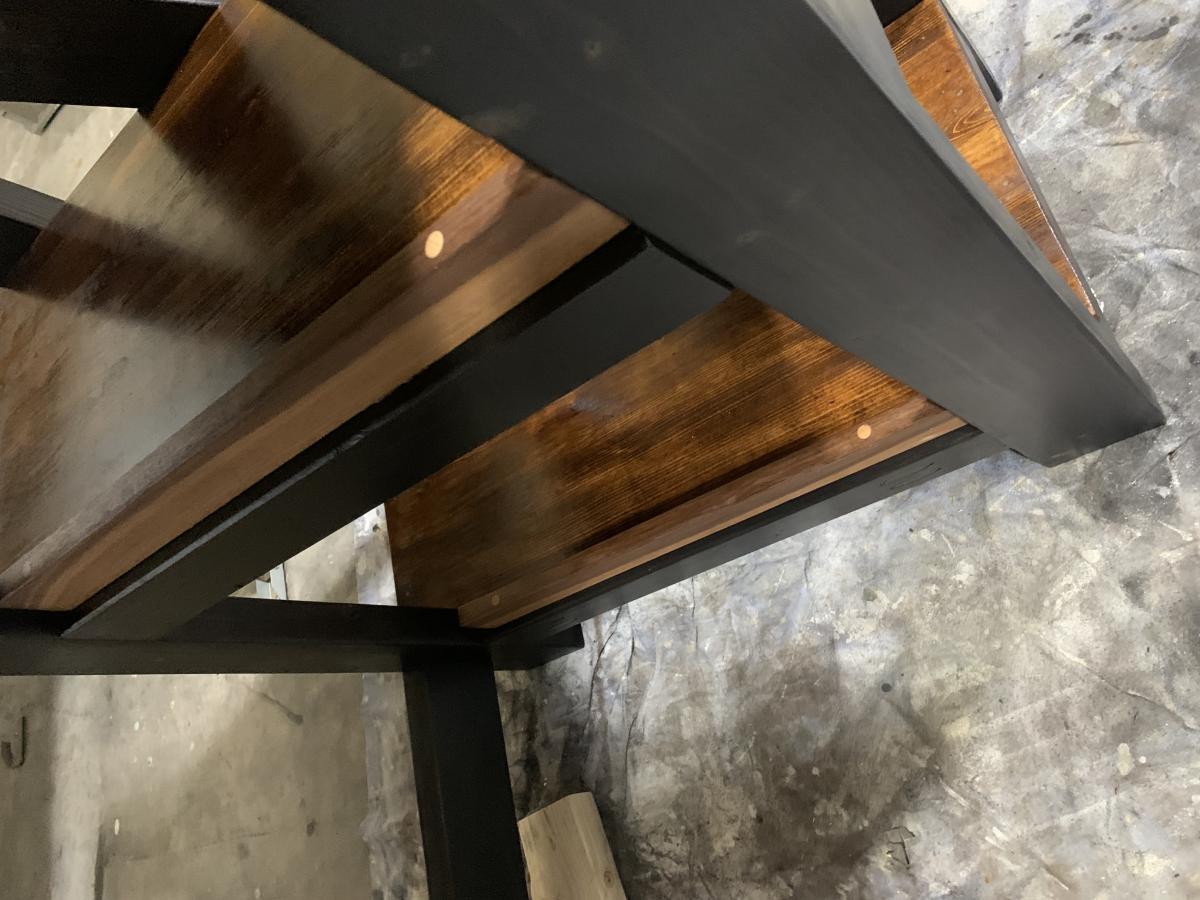
- I used a 1x4 instead of a 1x3 for the bottom supports to add a bit more of a lip to keep things from rolling off of the shelf. The shelf is big enough to hold my small pancake compressor and ciruclar saw.
- Like others, I added a drawer (1X4 front/sides, 1/4" plywood bottom, 2x2 drawer guides).
- Like others, I went with simple strap hinges and then used some wood to support the wings when open. When closed the supports tuck neatly under the wings.
- I added some 1/4" plywood to make a back. I left enough of a gap at the bottom to be able to sneak my extension cords out to a power strip I mounted on the back.
- I made a fence extension out of a 1x4. I attached this to the left wing using wing nuts and hanger bolts so it is easy to remove if I need to. I spent time measuring carefully to make sure it lined up exactly with the saw's fence. It is nice for supporting longer boards and keeping them straight.
Sun, 09/22/2013 - 05:27
I love the way this came out. I believe I have your exact saw and I intend to use Ana's plan as well. Do you know how long you made the sides to accommodate the saw fence, or what your measurement was on the saw fence?
Sun, 09/22/2013 - 06:54
I followed Ana's plan for the main carcass. My flip-up sides are a bit shorter than the plan, but only because I failed to follow the directions carefully and cut both of my sides from the same 24" strip of plywood (instead of a 36" and 30" per the directions) and was a bit short on 3/4" plywood. My sides are 24" long.
I made my fence extension from a 1x4. You can cut it to length so that it will fit any side.
Sun, 09/22/2013 - 17:49
What I meant to write was saw deck, not saw fence. Lol whoops.
Mon, 09/23/2013 - 06:12
The deck is 3 3/4" from the top of the sides. That makes it level with the extensions when they are flipped up.
I have a 12" hitachi saw (not sliding), so if your saw is not the same then the measurements might be different.
Found this on the website and had to build it. Turned out perfectly.
Finally I have made a project that is nice enough for our living room. Now I am so i spired to build more!
Sat, 11/26/2022 - 14:48
Beautiful job on your corner cabinet, thank you so much for sharing!
My best friend (and upstairs apartment neighbor) was looking for a "grown up" bed for her apartment. When she saw the Swedish Bed, she fell in love. We built the frame out of 1×10′s and the “guts” were reclaimed wood from my Dad’s barn (to cut down on costs). She painted it a flat black using mistint paint pints from McCoy’s that were $1 each. The pipe legs were from Lowe’s in the plumbing section, and they’re threaded for easy installation. You just thread them into a little square base that you can screw straight into the wood, and pop on a threaded endcap so it doesn't scratch your floor or rip your carpet. Her first choice of 10" proved to be much too tall after she plopped on her enormously tall pillow-top mattress. So we exchanged them for the 6" version for a much more balanced look. She loves it!
I was looking for a long desk for two people and wasn't able to find anything that wasn't custom. I decided to try and here it is! I now have a massive and sturdy desk I can be proud of.
Mon, 01/23/2017 - 13:47
I love your desk and would love to build it for my home office. Are there existing plans you worked from? Or was an original design of yours? In either case, can you forward the plans to me? [email protected].
Thanks!
Chaz
I changed some of the original dimensions so that it better fit my dining area. My table top is 41" wide x 87" length. To accomplish this width I used 2" x12"s for the outer boards and 2"x10"s for the two inner boards. My inside supports were all cut to 72" (6 ft) so that we could comfortably seat 3 chairs on each side. I used 2"x4"s instead of 2"x10"s as the breadboard ends (just personal preference). I used 6" lag style screws to assemble most sections and I left the heads (black in color) of the bolts exposed for a more rugged apppearance. The top was secured through the bottom of the 4x4 using counter-sunk 4" screws and 2" pocket screws for the 2"x4" cross boards. I distressed the entire table and sanded smooth.
Rustic X coffee table I built from the plans on this website. This is the first piece of furniture I’ve built.
This narrow farmhouse table brings a feeling of elegance and grace to an entryway.
Built by The Rhino Home
Built this cute doll bed for a friend's daughter's 3rd bday. I hear she loves it :)
The bedding (which took the longest) was made from my stash, followed loosely the plans at
http://fromanigloo.blogspot.com/2010/11/dolly-bed-fitted-sheet.html
and http://fromanigloo.blogspot.com/2010/11/dolly-pillows-and-pillowcases.h…
I wish I had a nailer; this project would have been faster with that. Predrilling etc took more than I care.
Mostly used left over 1x3s, and the rest was brand new pine.
Note to self: don't sit in chair out back when you have a dog that likes to lick. This chair puts you right at licking height....
This was a fun project to build! The plans were very easy to follow and the table and chairs turned out just like they were supposed to. I ended up buying a Kreg jig to put the furniture together. The jig cost $40.00 at Home Depot and it was well worth it because I'll be able to use it on other projects. The plans showed the furniture being prepped and painted but my daughter wanted the pieces to look close to their dining room table so I took the time to stain and varnish them. I built the table and chairs out of pine and I used average dimensional lumber so the whole project only cost around $35.00. If you're looking for good children's furniture these would be good to build.
My first big project! Decided to make two cabinets and drawers to make the desk more symmetrical and a better fit to the room. Also decided to go without the knobs and bottom trim under the drawers so that I could just pull them out from the lip underneath. Just a personal preference for me.
I definitely had lots of fun building this desk!
The project was easy and fun. The plans are perfect, provided you follow instructions. I assembled the back legs backwards and that complicated the instalation of the back rest. I liked the result in the end.
We built this desk over Christmas break with my son for his bedroom.
Ran all wood through a planer and used pocket hole screws and Tite bond 3 glue. Black stain and satin polyurethane (3 coats) for the frame and my own stain concoction for the shelves and top treated with 2 coats of Odies oil.
He was very pleased and we enjoyed our time working on this project
I loved this project and knew I had to do it. I decided it would work great for all that little stuff I had accumulating on my scrapbook table like glues, pens, scissors etc, now I will have room to actually scrapbook!
I changed the overall width (now 42" & height 34") to fit my space. All roof/shelf angles are cut at 22.5 degrees still. I used a circular saw beveled and upon assembly, I needed to caulk the seams. I also caulked the joint of divider and shelf and filled in the pocket holes to make it "prettier" before painting. I made a barn door to go in the middle cubby on the bottom to make the bookshelf interactive, but the dividers weren't quite square and the door made it more obvious. Definitely a fun build!
Cut changes:
bottom - 40.5 inches
middle shelf - 42 in at longest point
loft shelf - 32.5 inches
top roof pieces - 17.75 inches (I originally cut these at 18.25" & then removed another .5" from each piece)
All hand cut accept for runner are attached with biscuits
This was easier than I thought. My kids helped me with it. I decided to leave the bottom shelf off as it can be added at a later time if desired.
I'm going to take the same concept and make two loft beds for my kids.
I modified the plan to allow for wider shelves on the legs. I also made the width of the desk 22” instead of 24” to accommodate the size of the repurposed coffee table I used for the desktop.
Mon, 01/09/2023 - 18:49
Love everything about this table from the repurposed top to the color choice! Thanks for sharing.
Comments
ciara5545
Sun, 07/03/2016 - 20:22
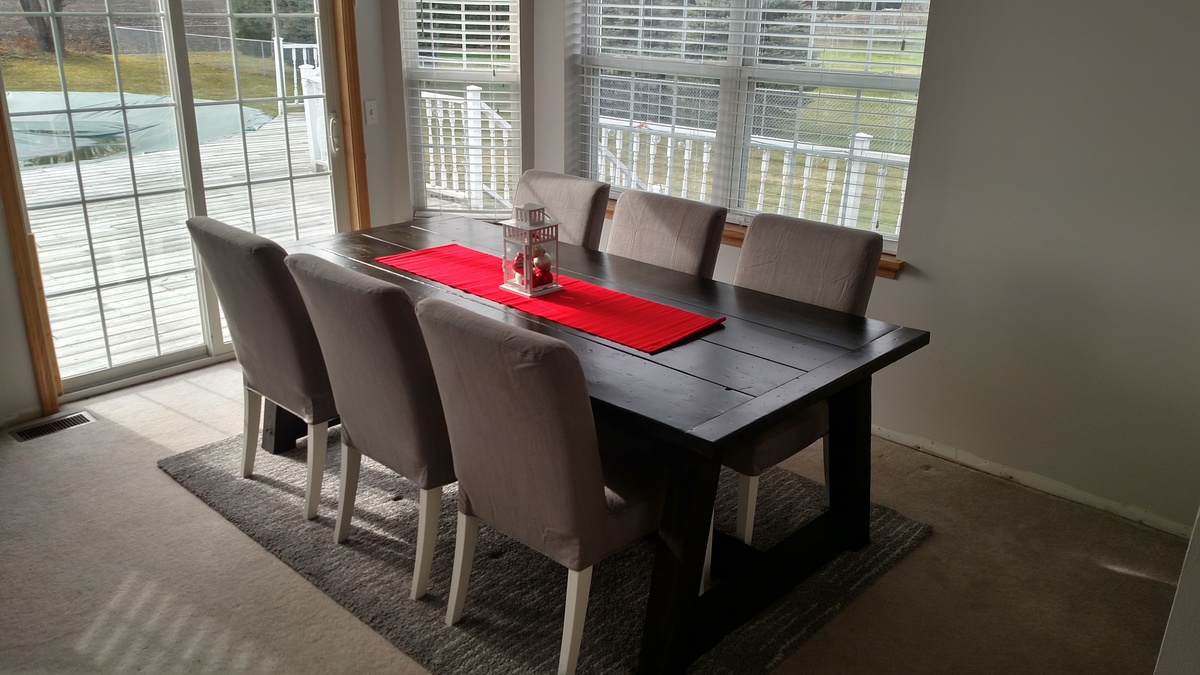
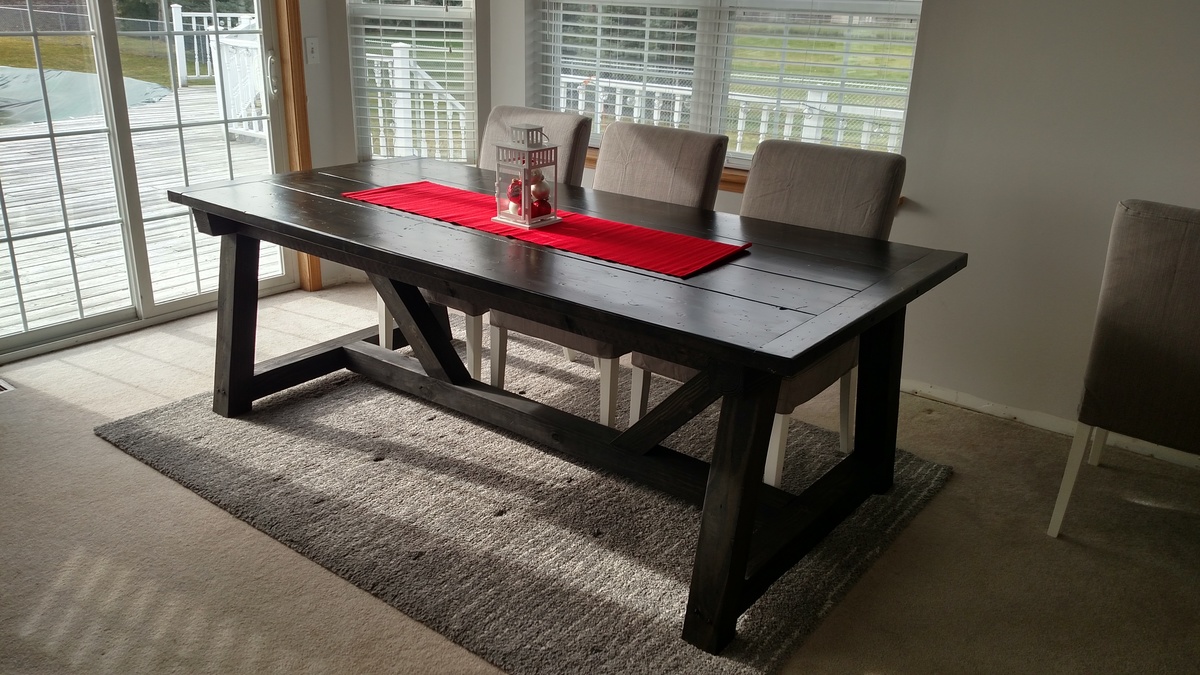
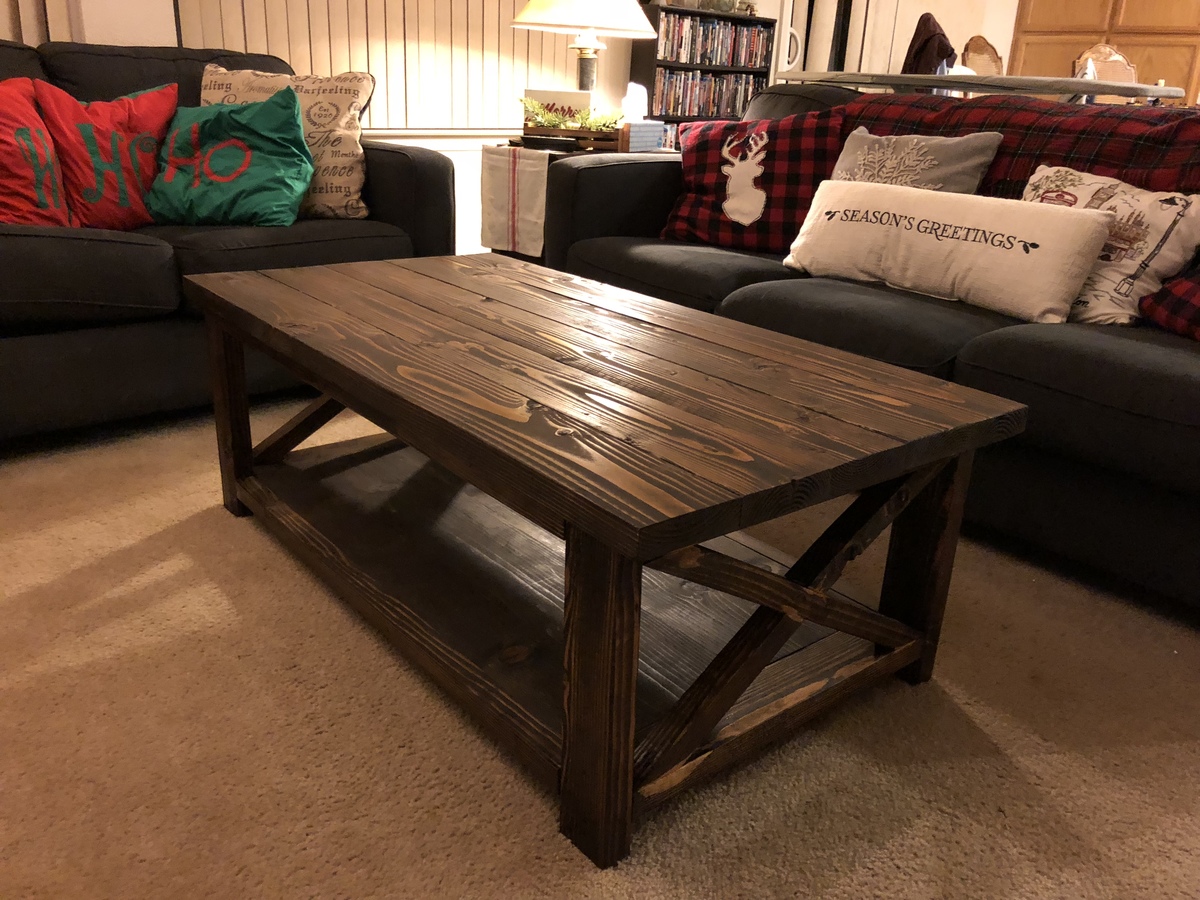
Beautiful!
What color stain did you use? It is absolutely beautiful.