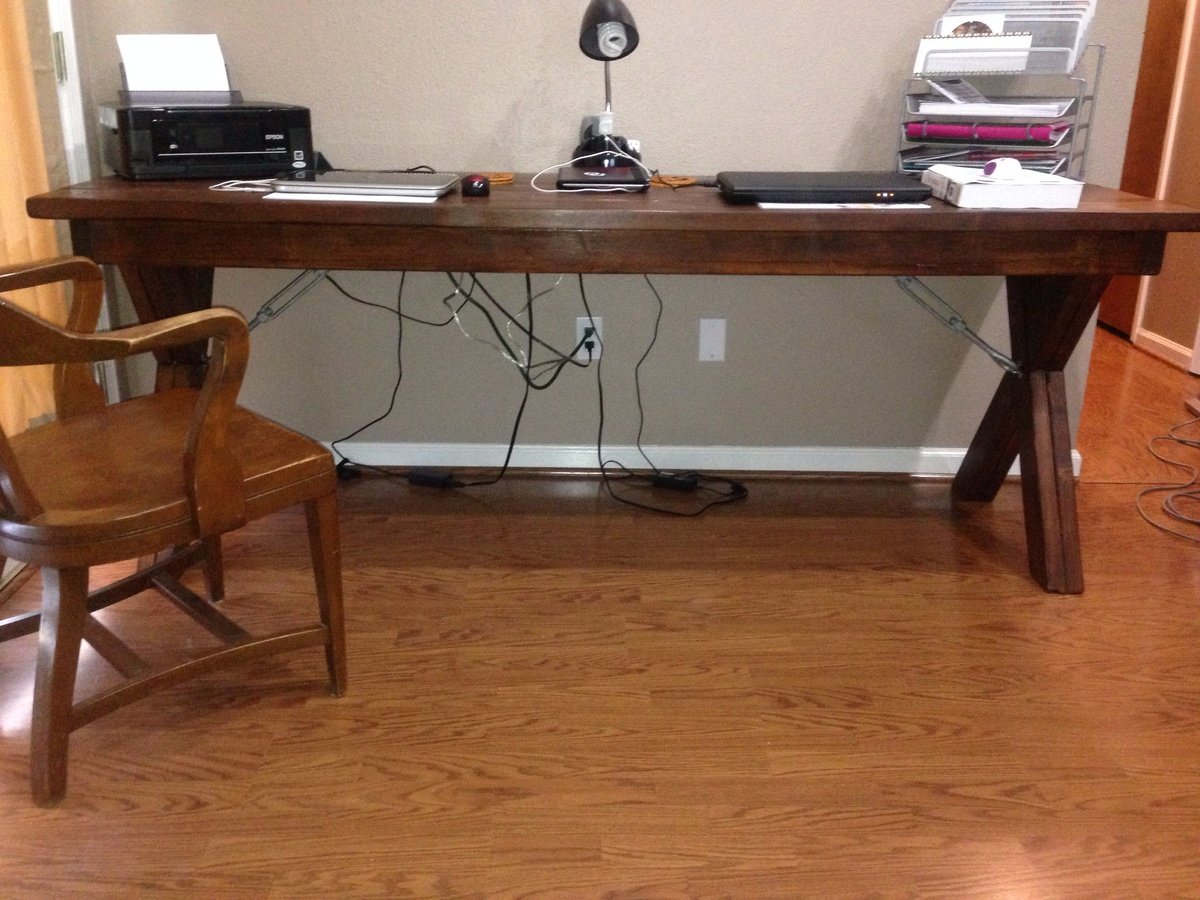
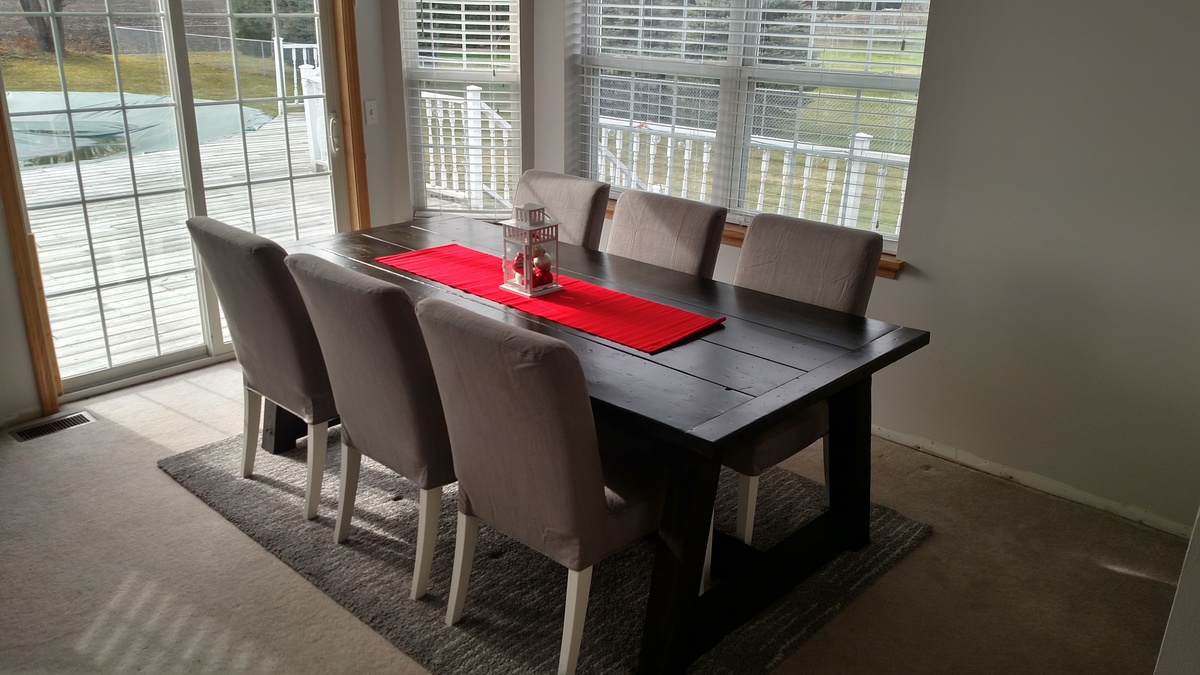
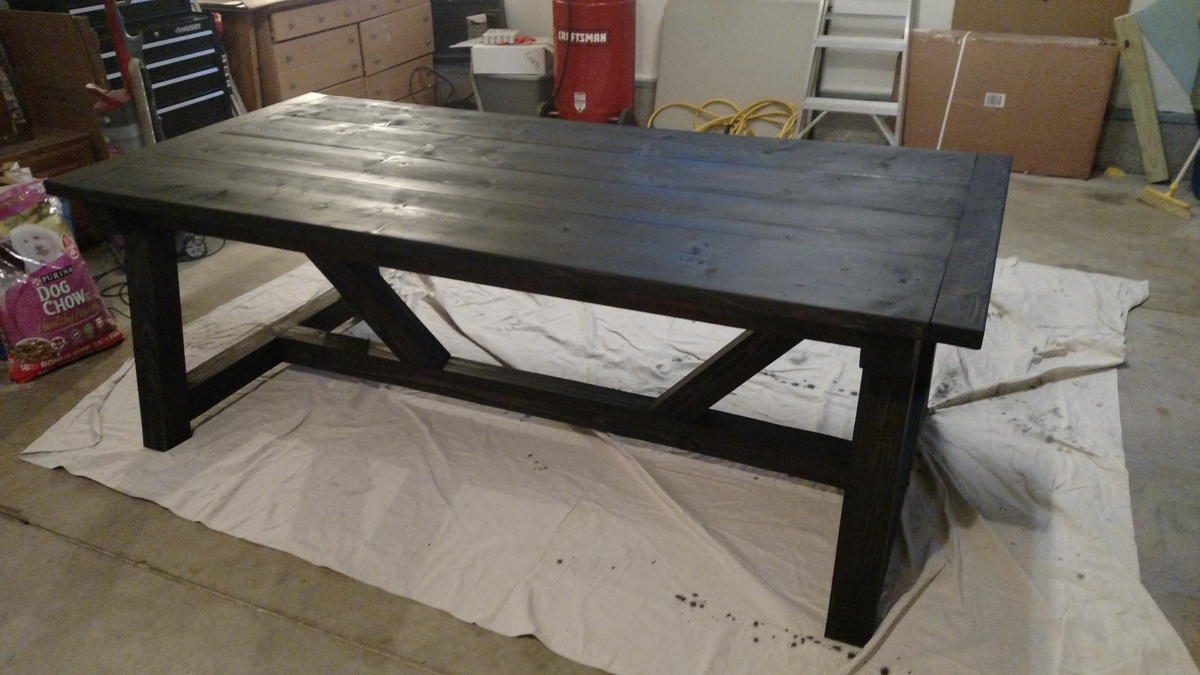
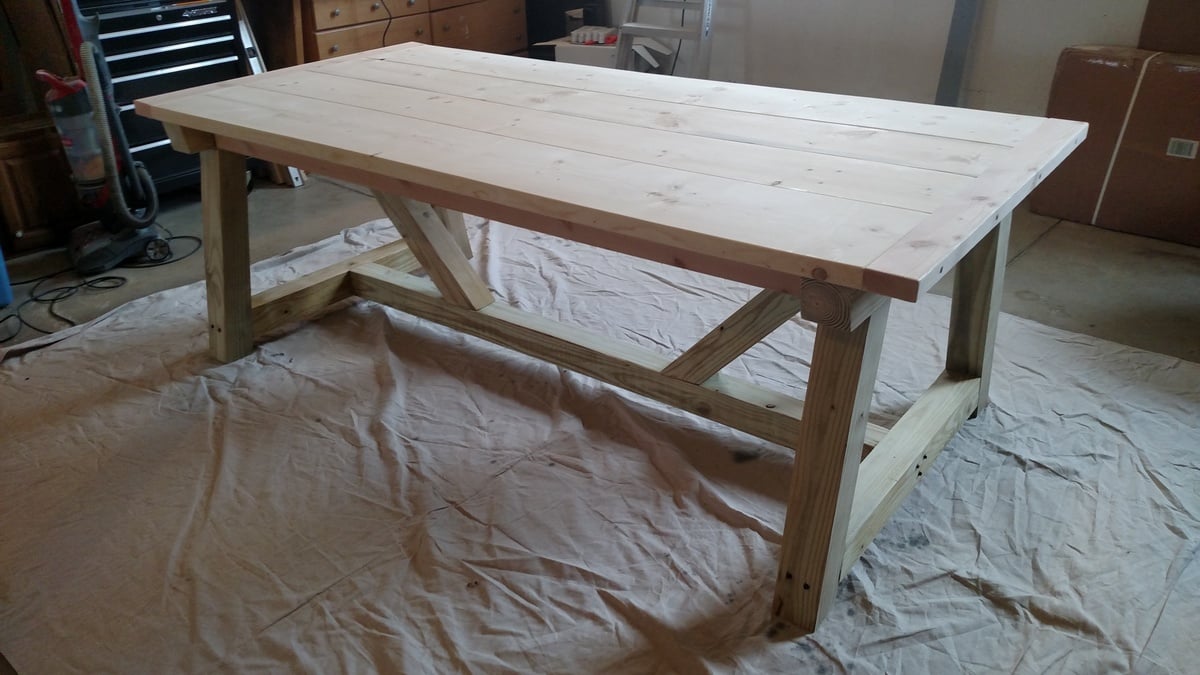
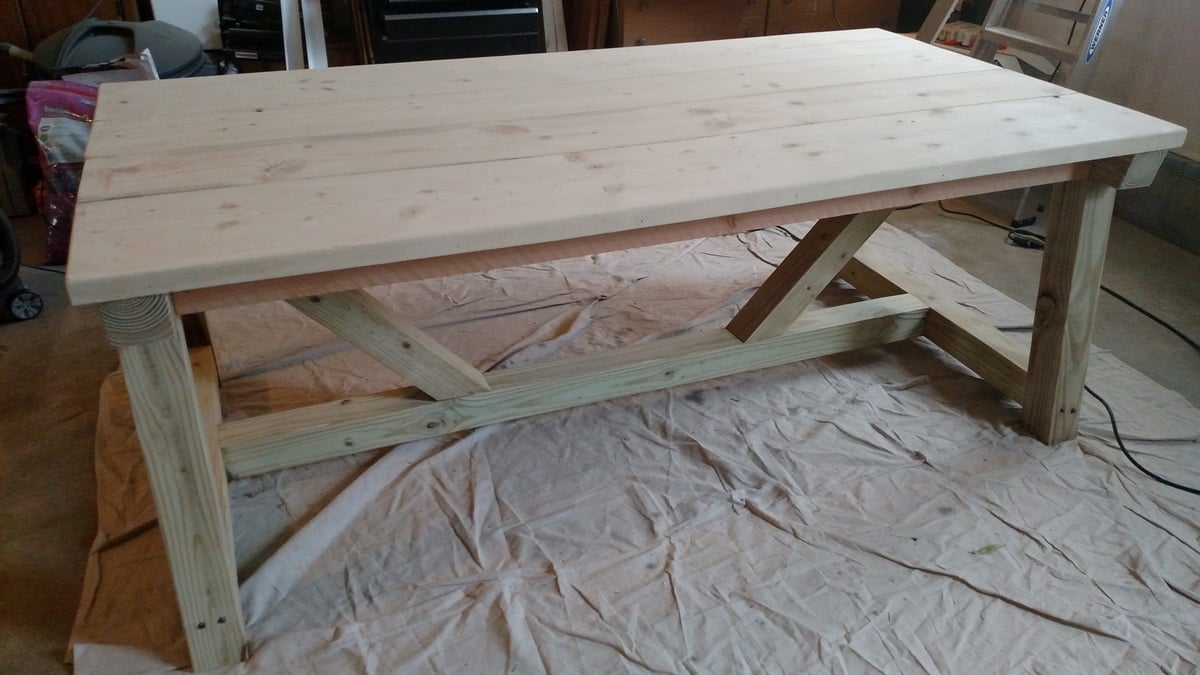
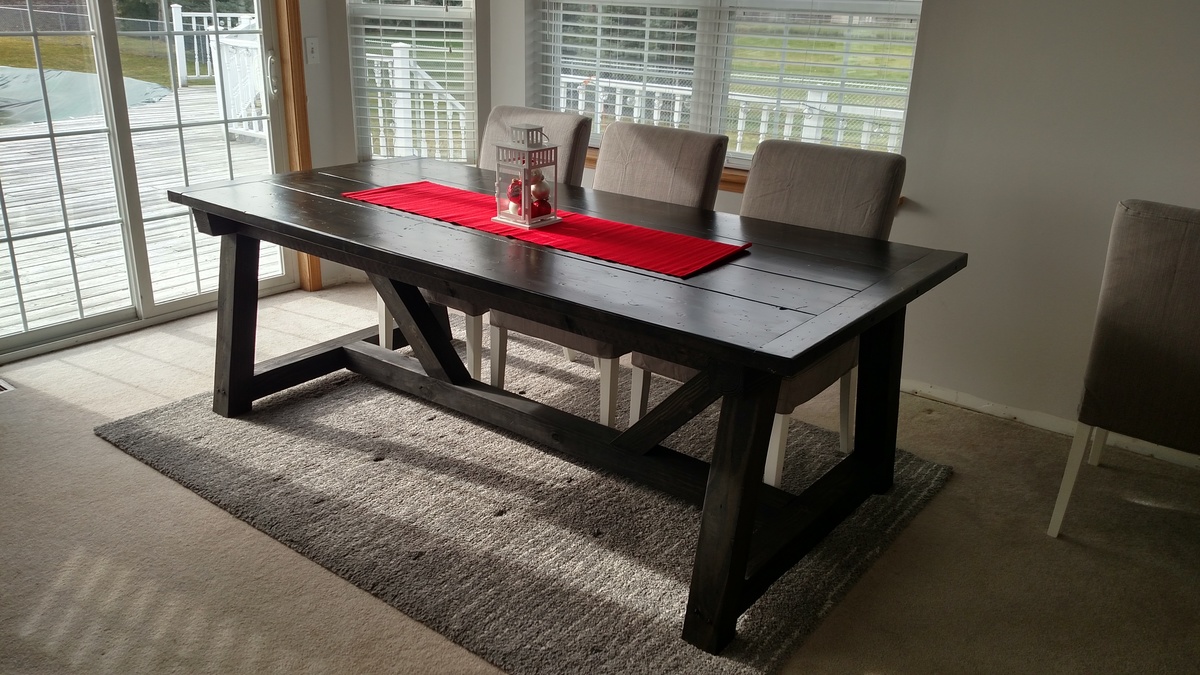
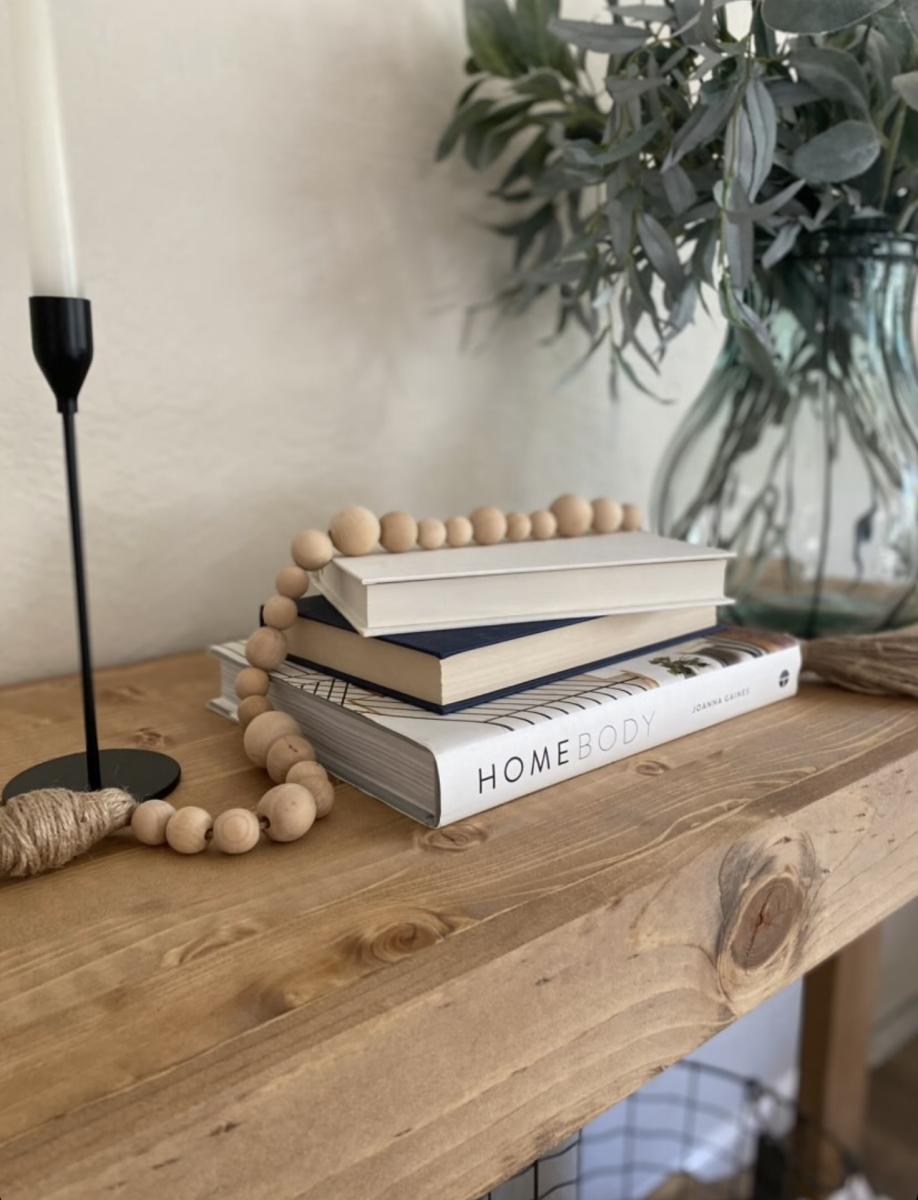
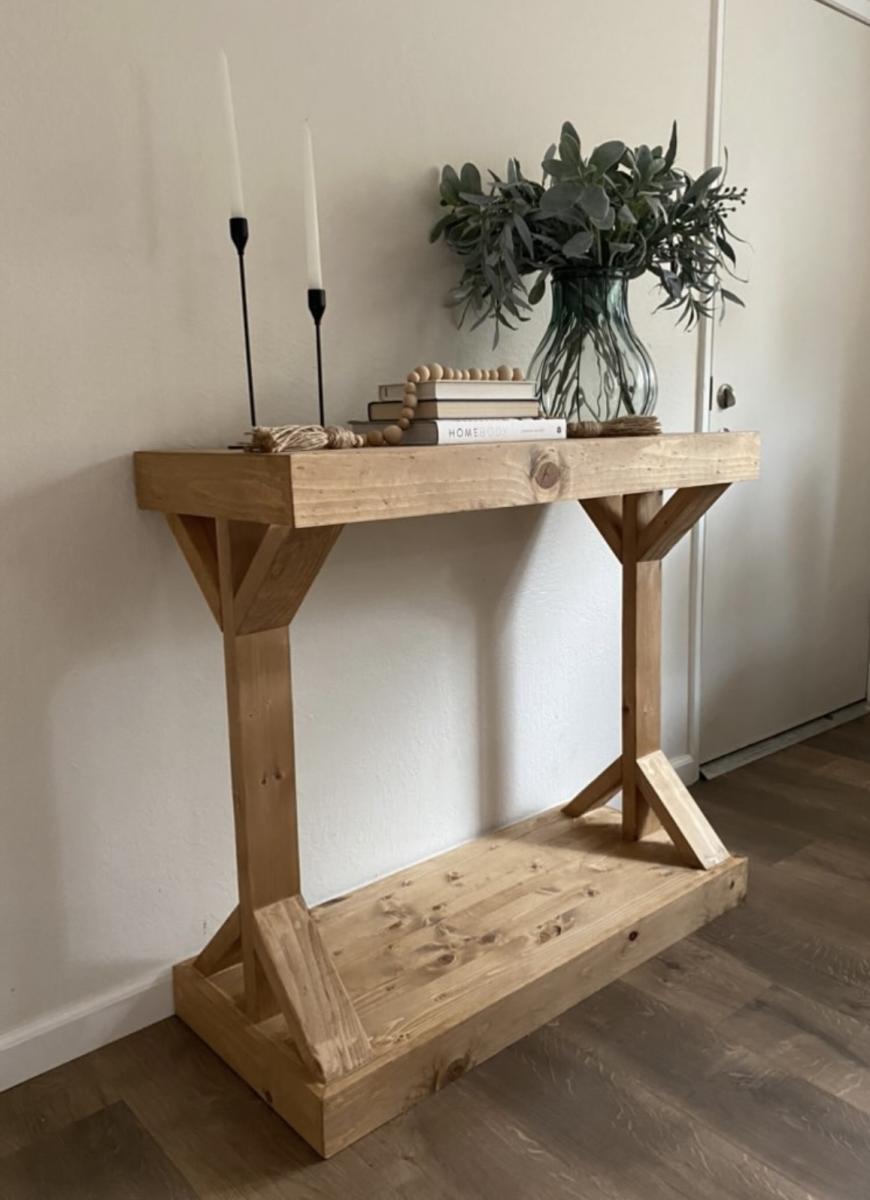
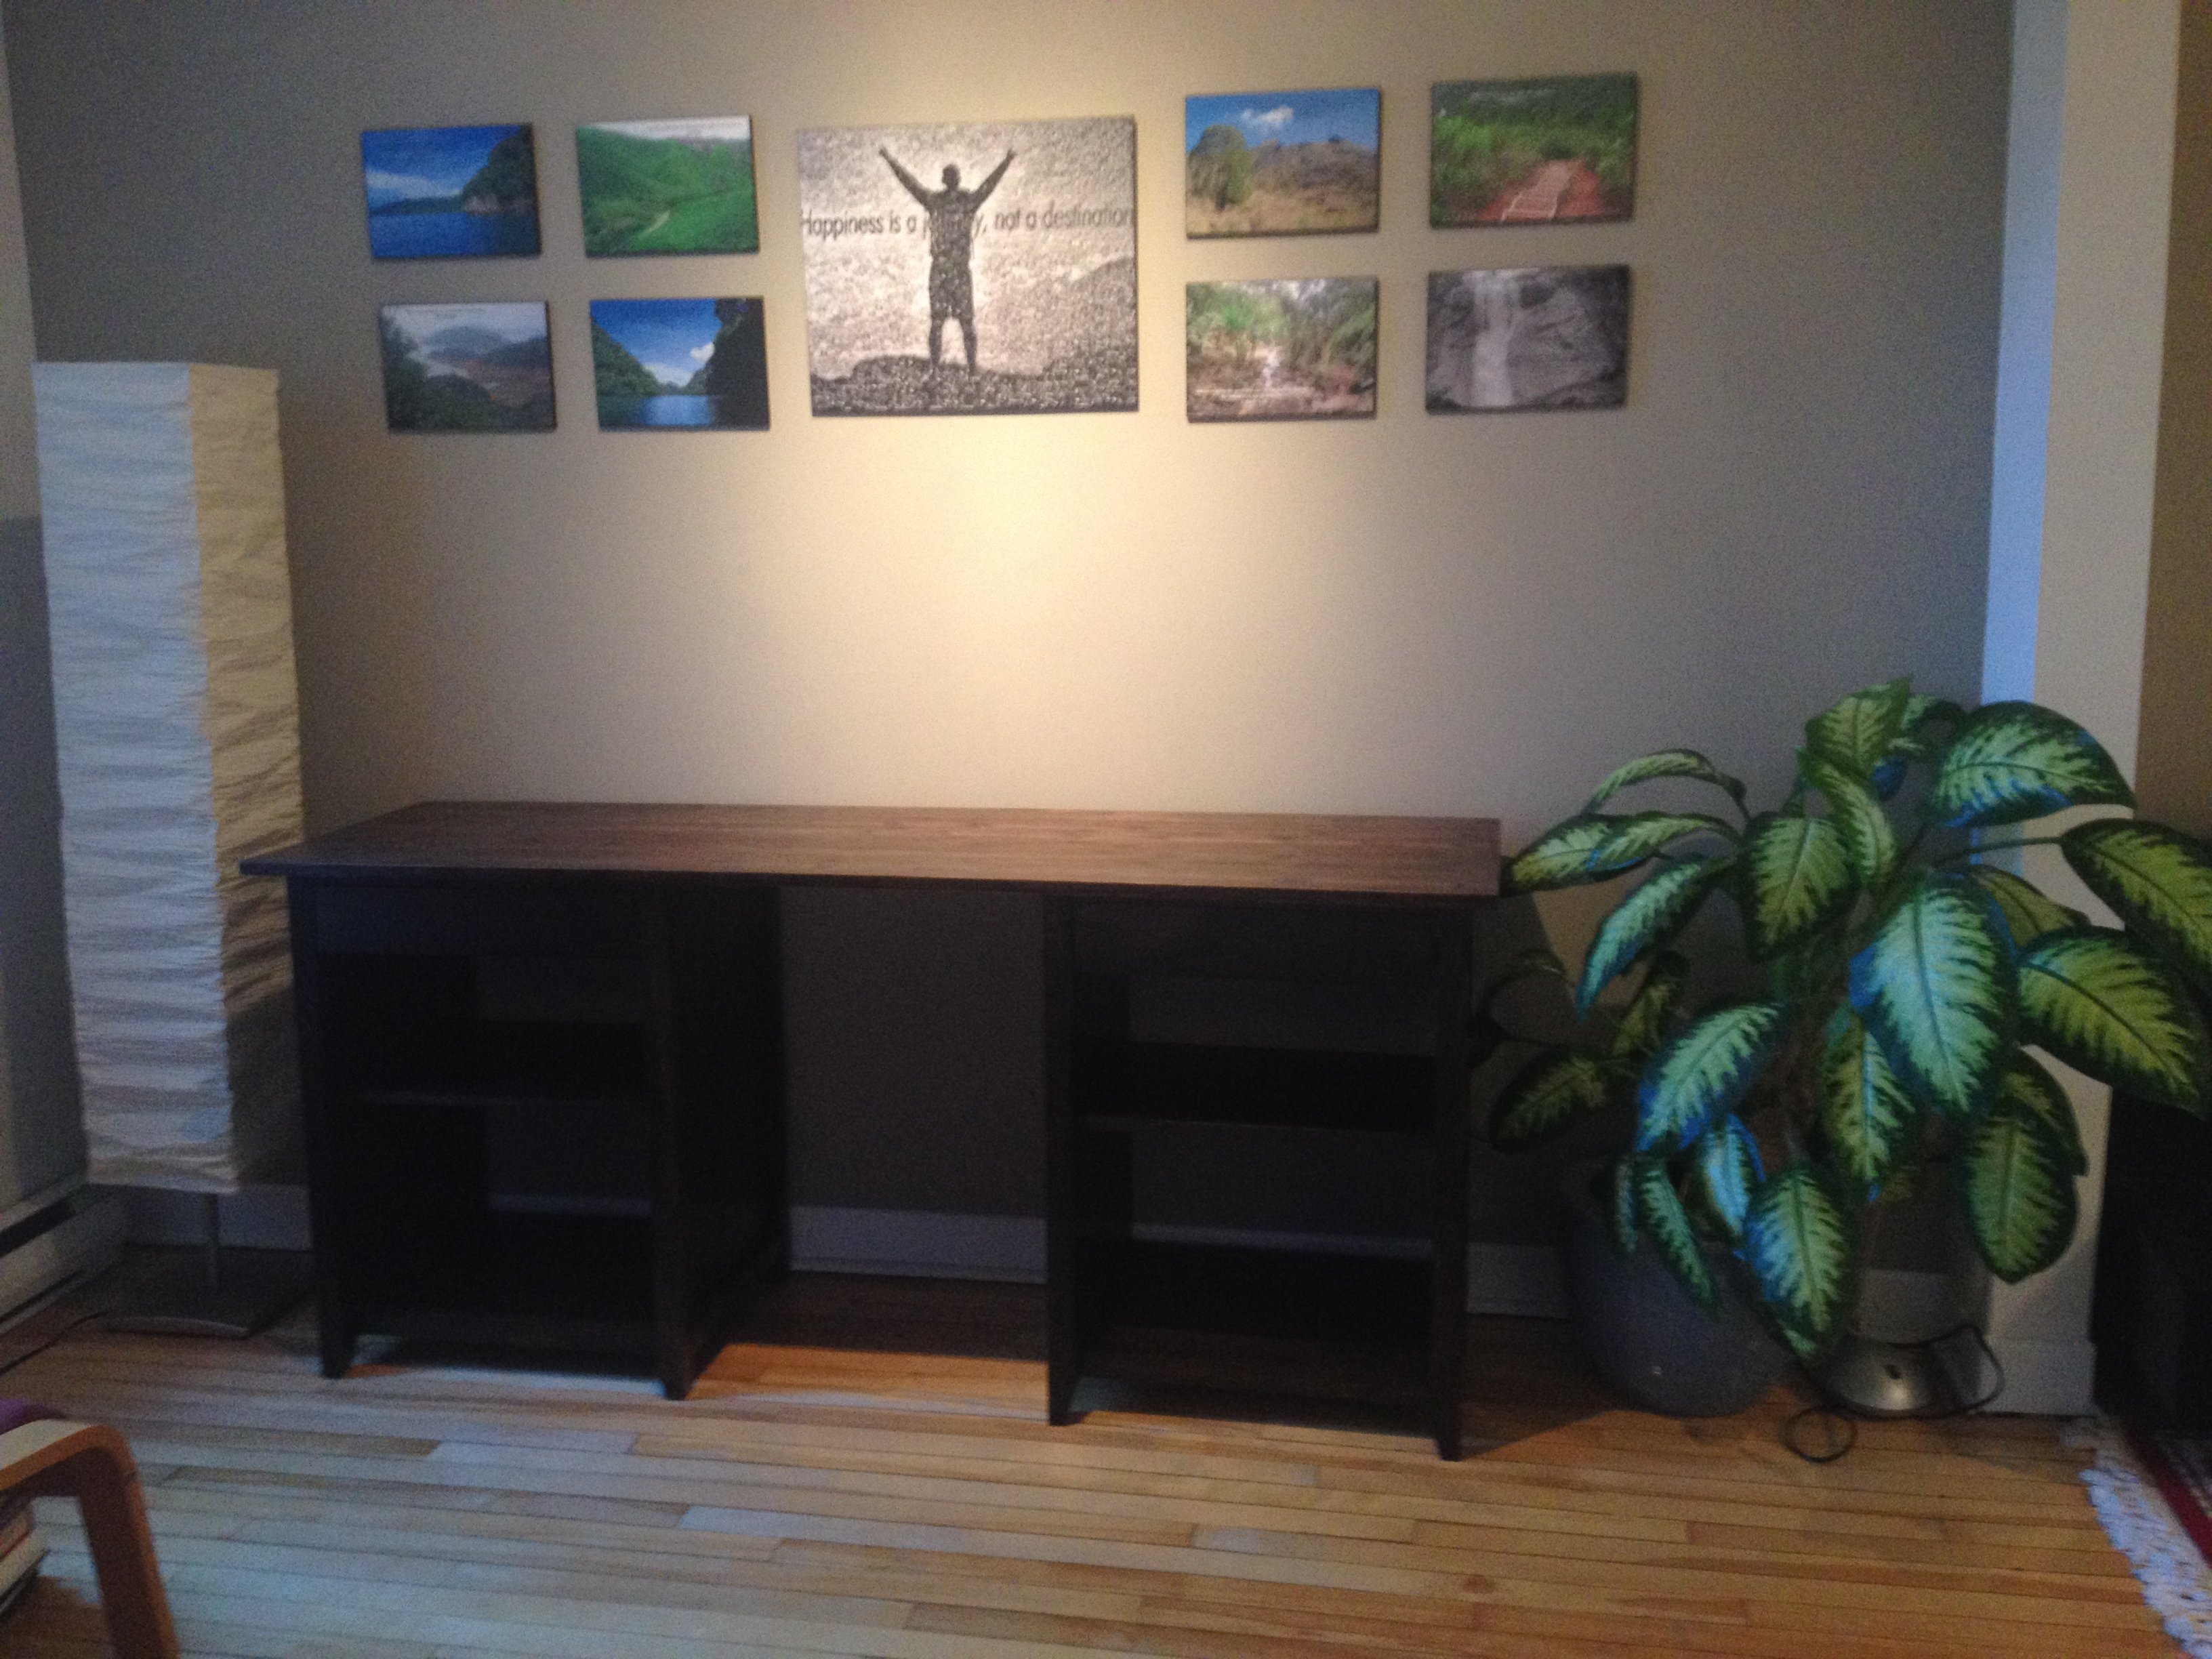
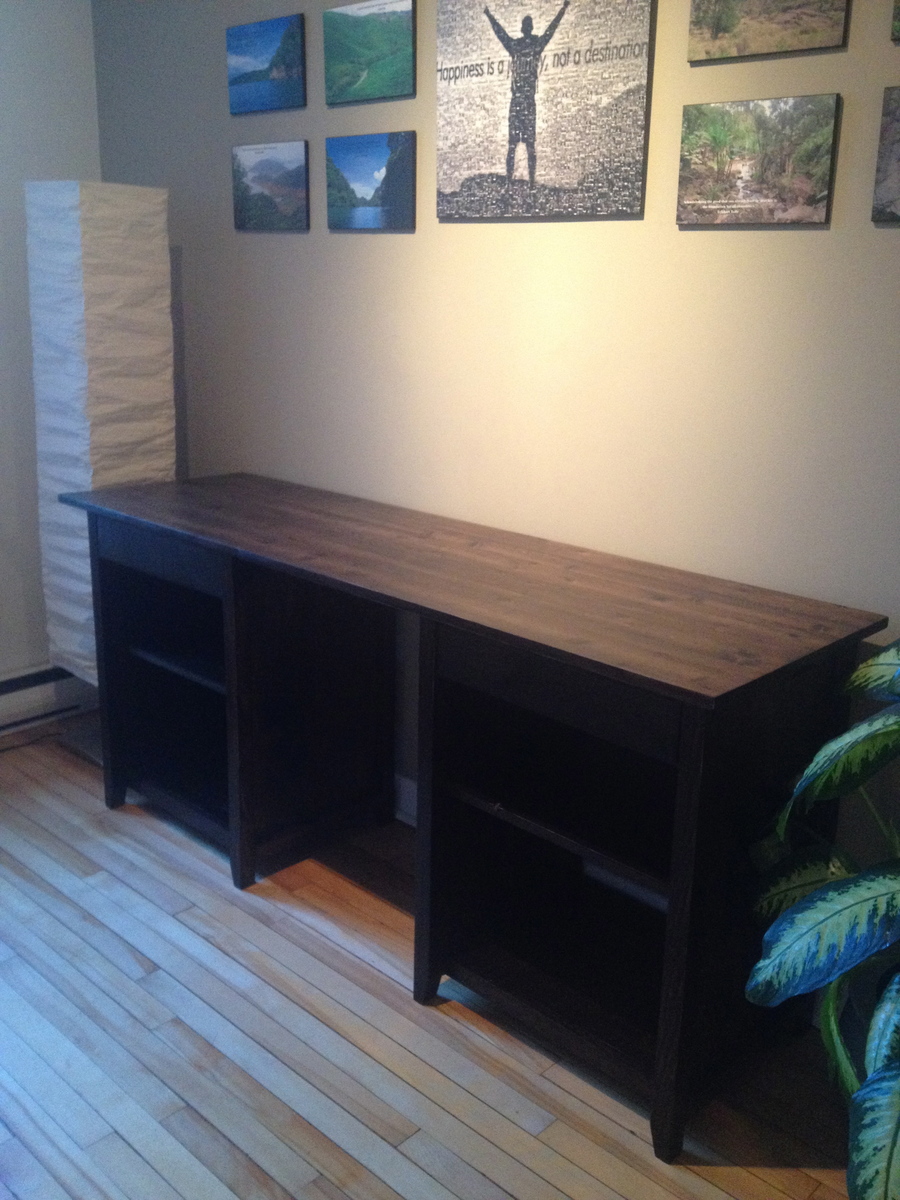
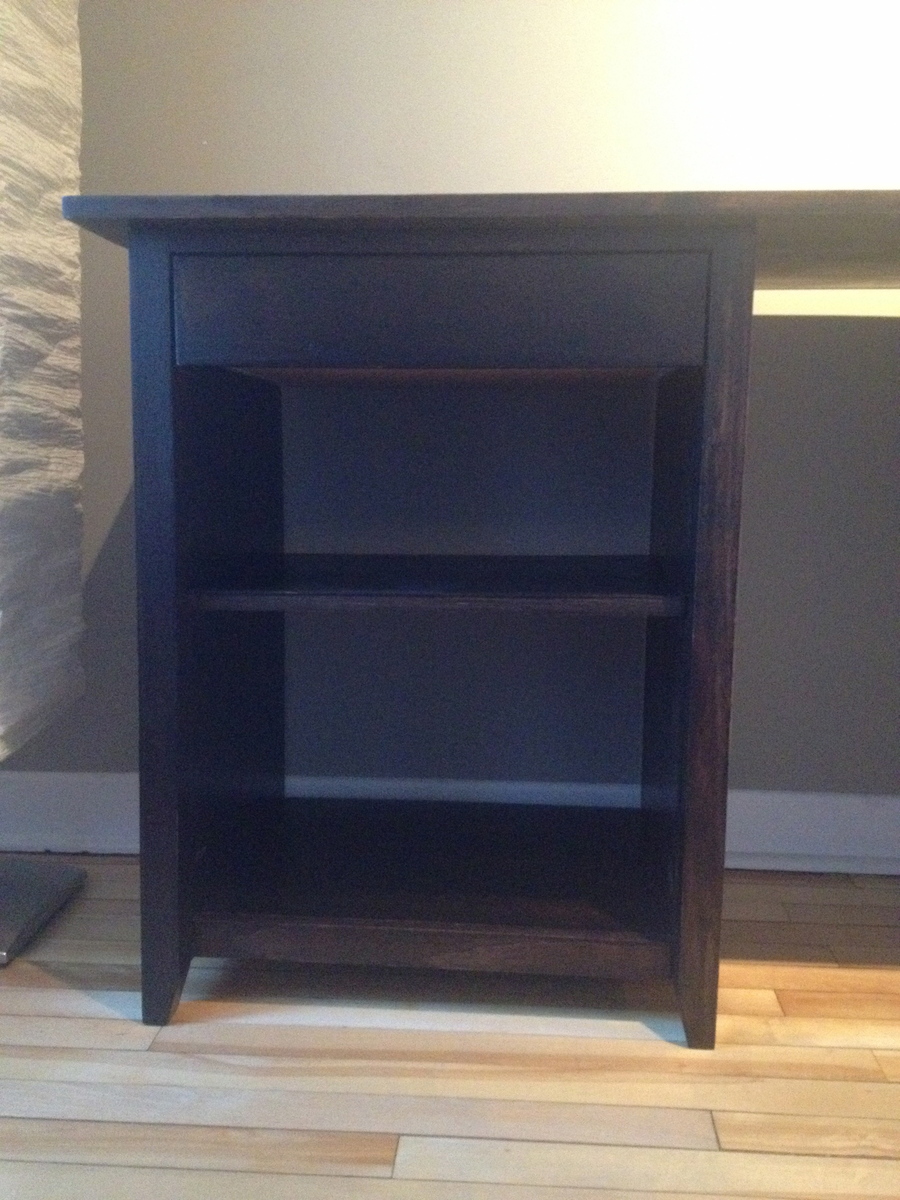
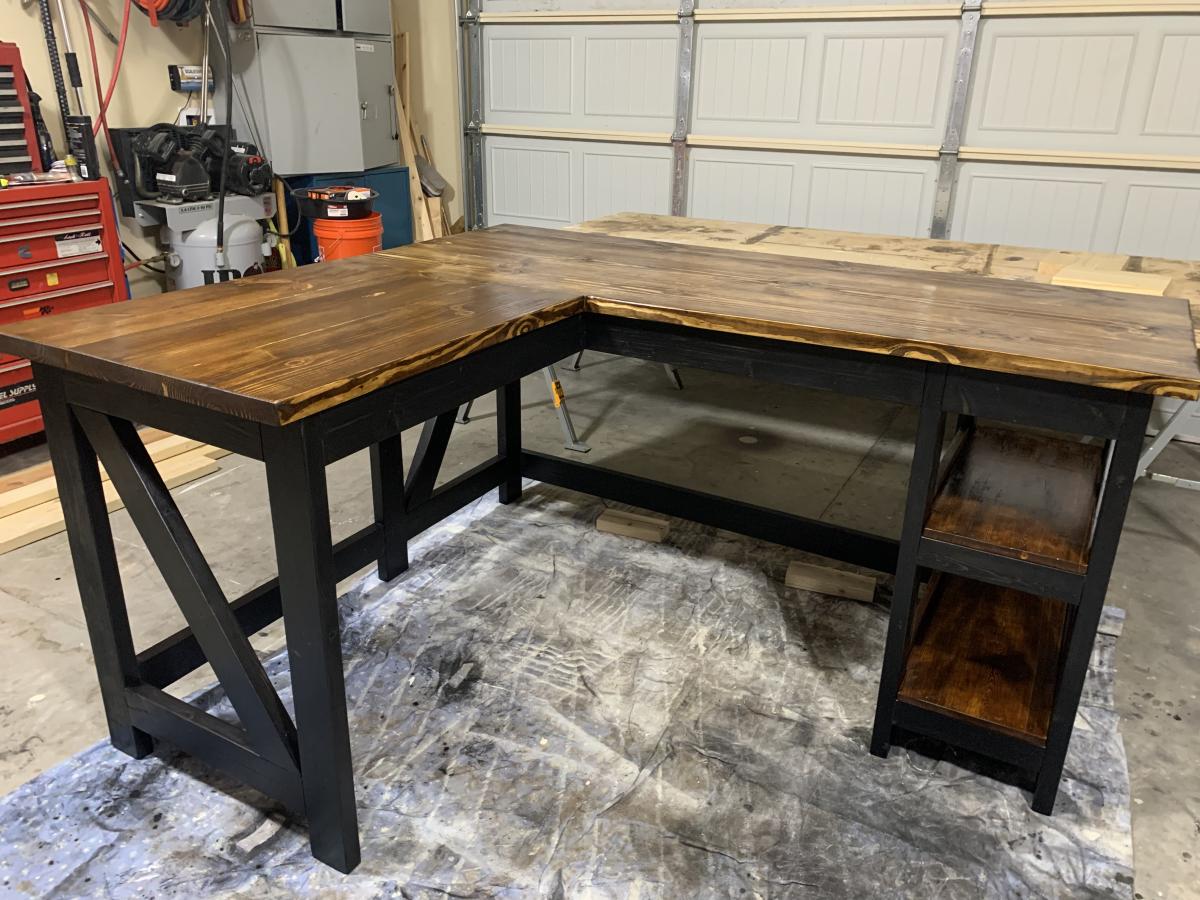
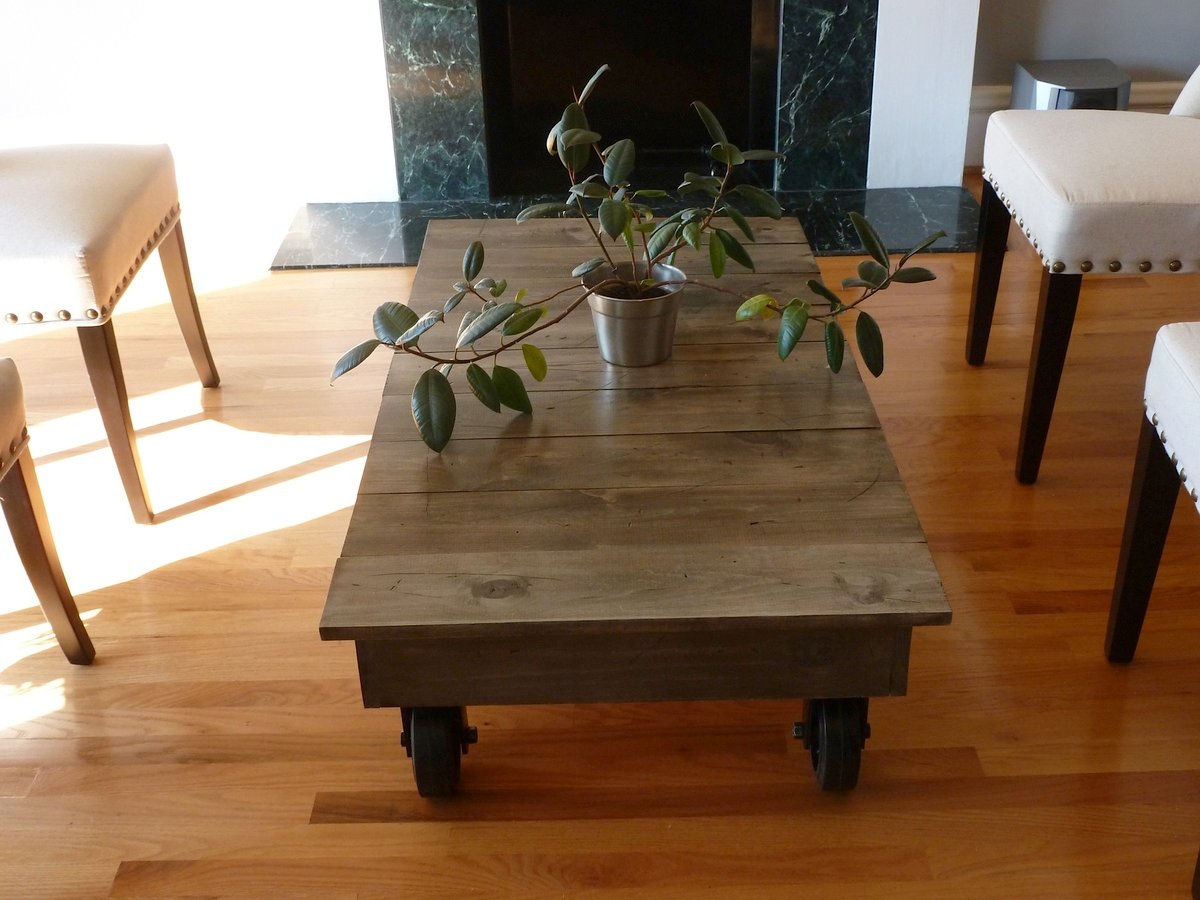
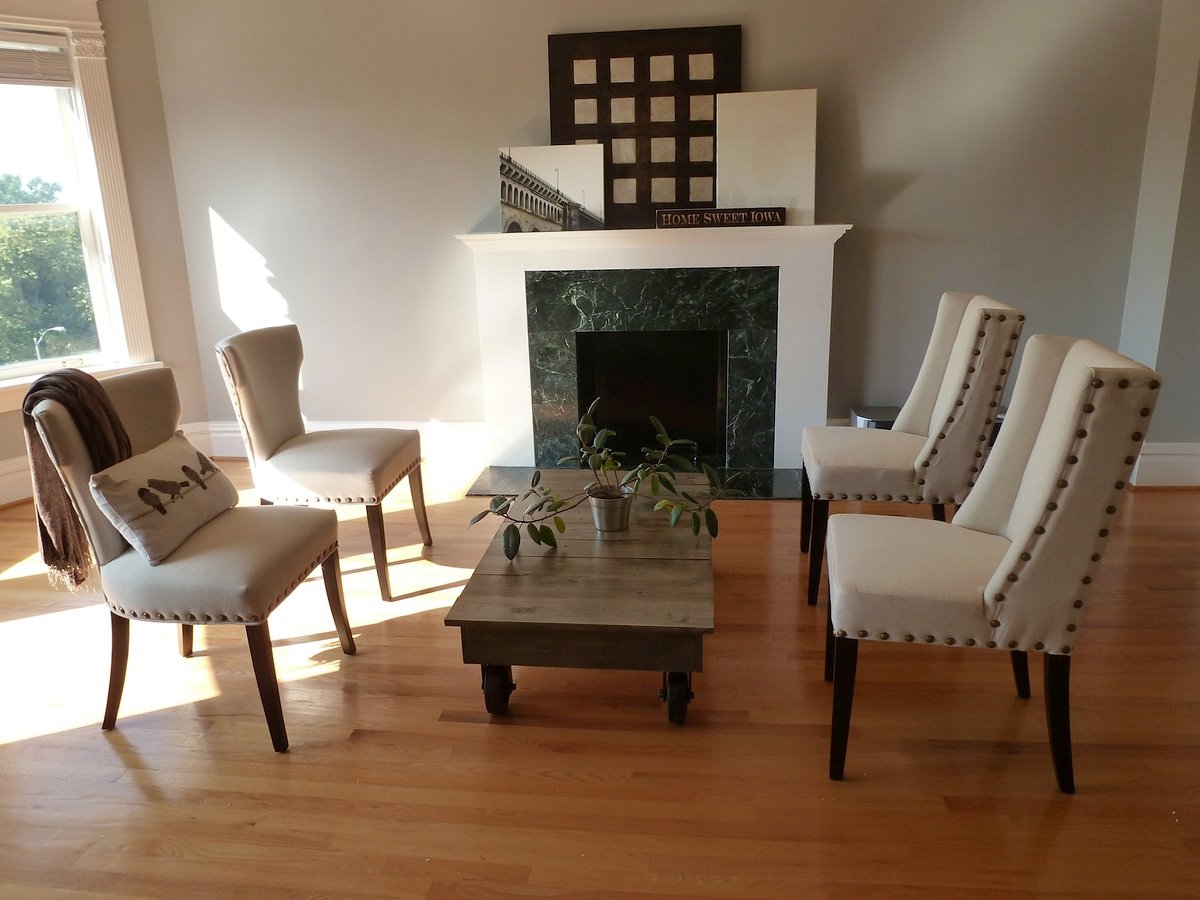
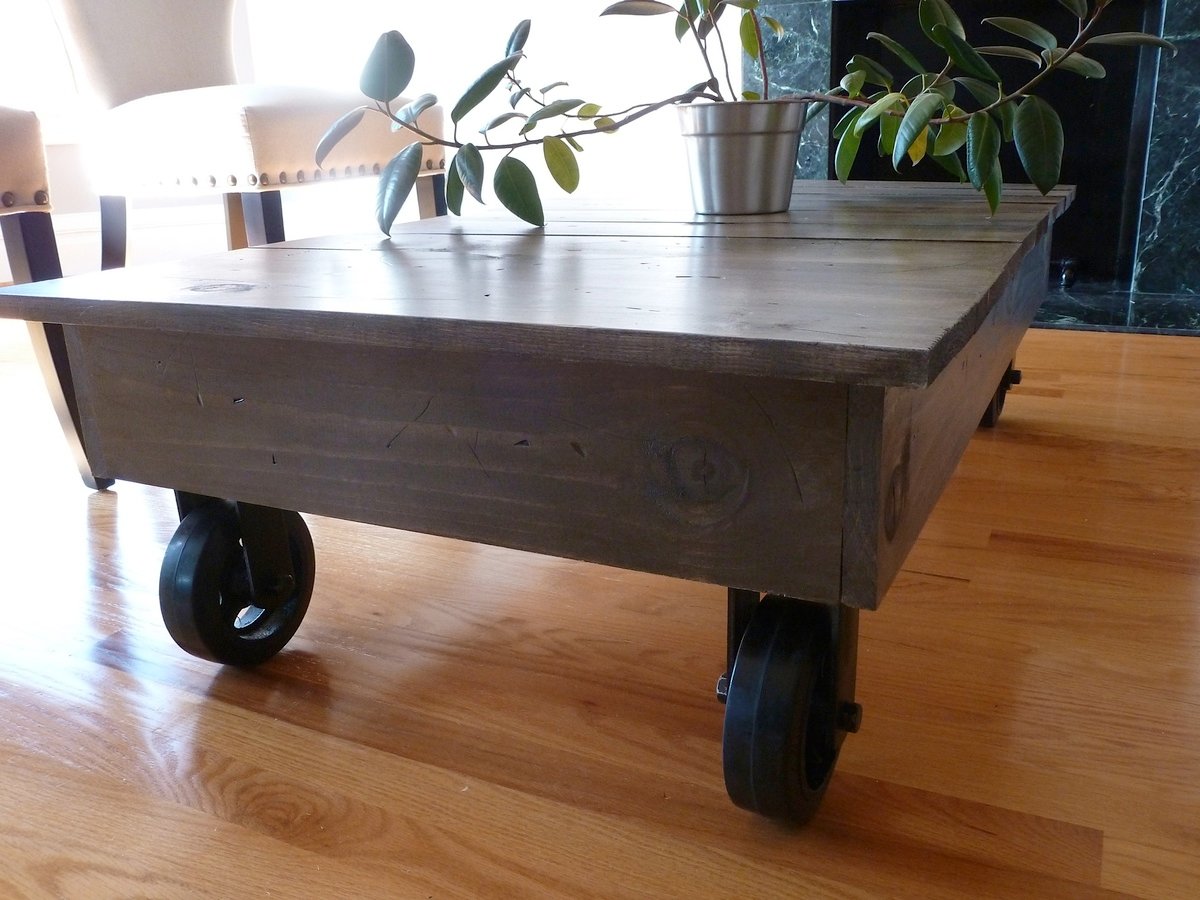
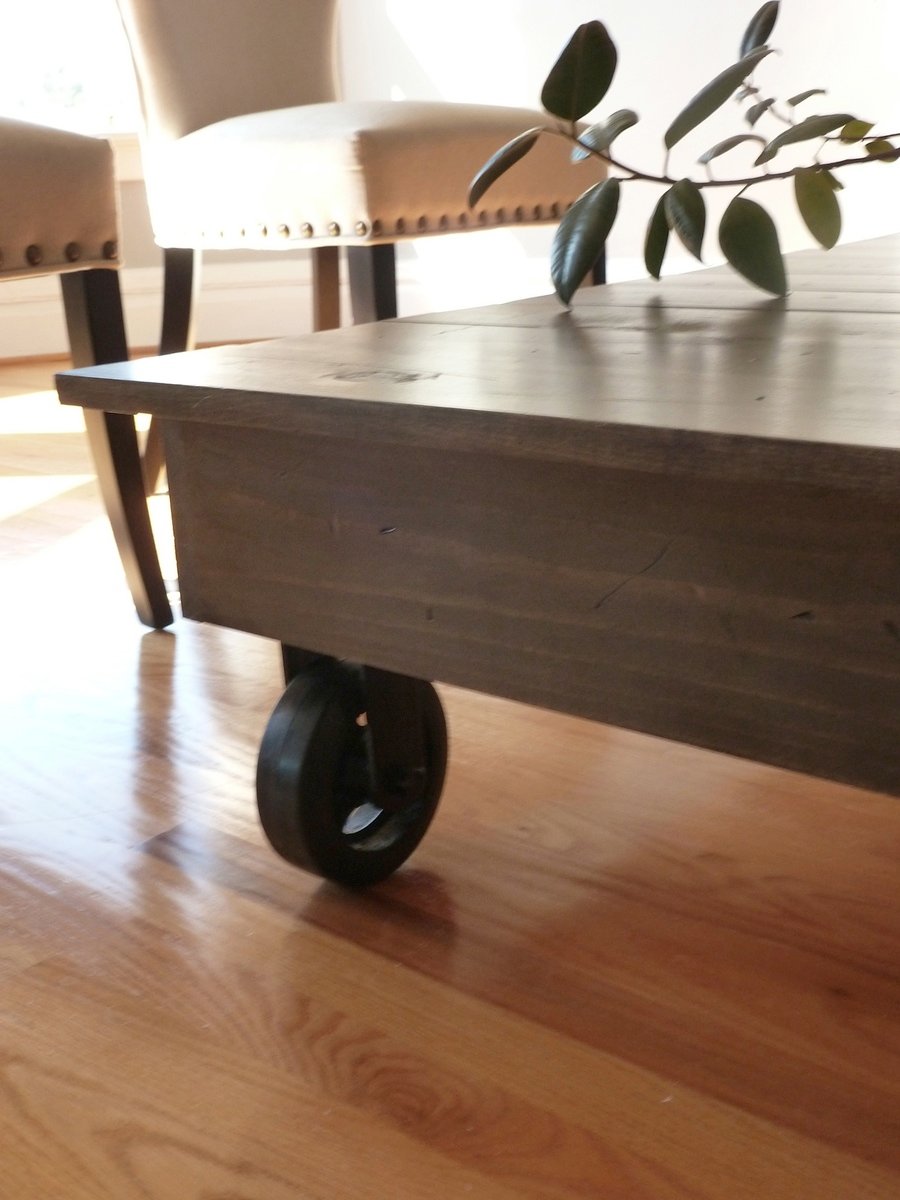
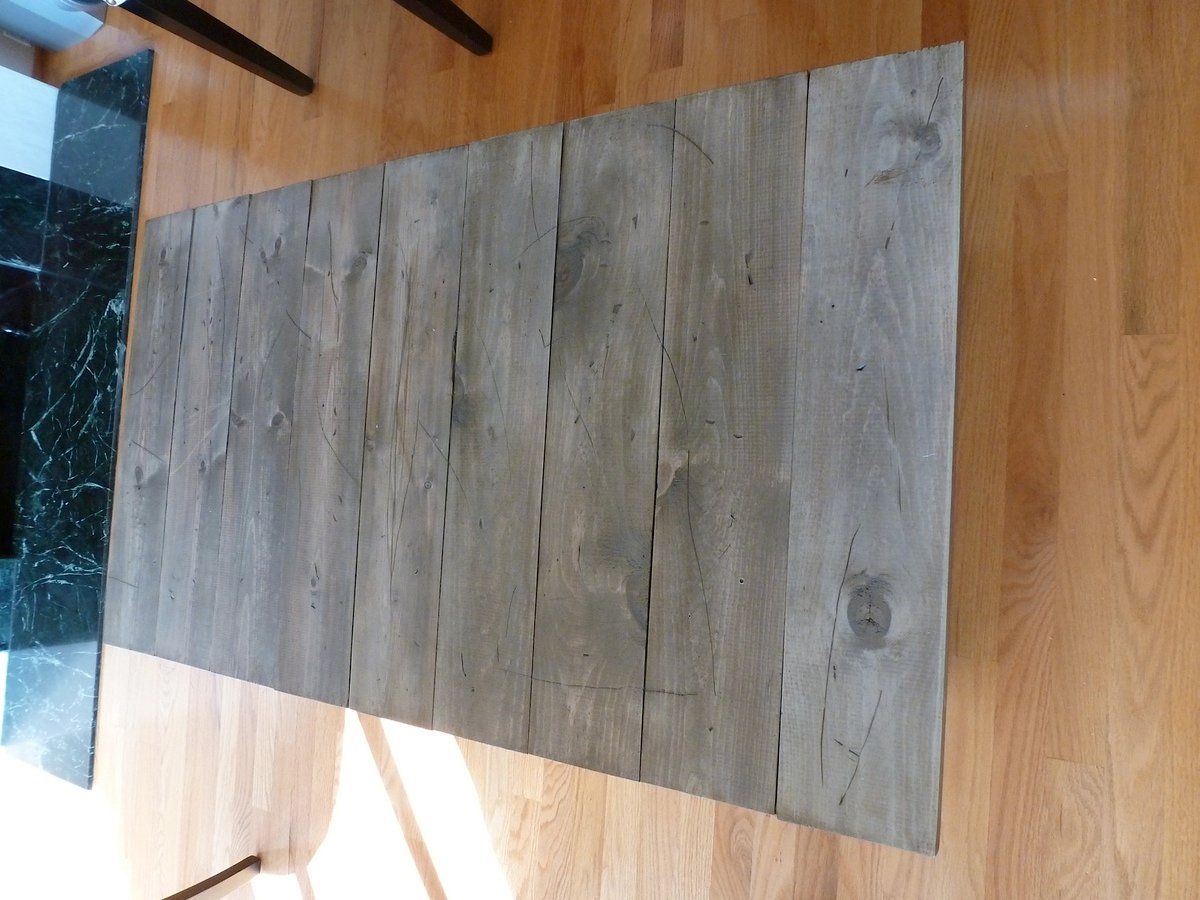
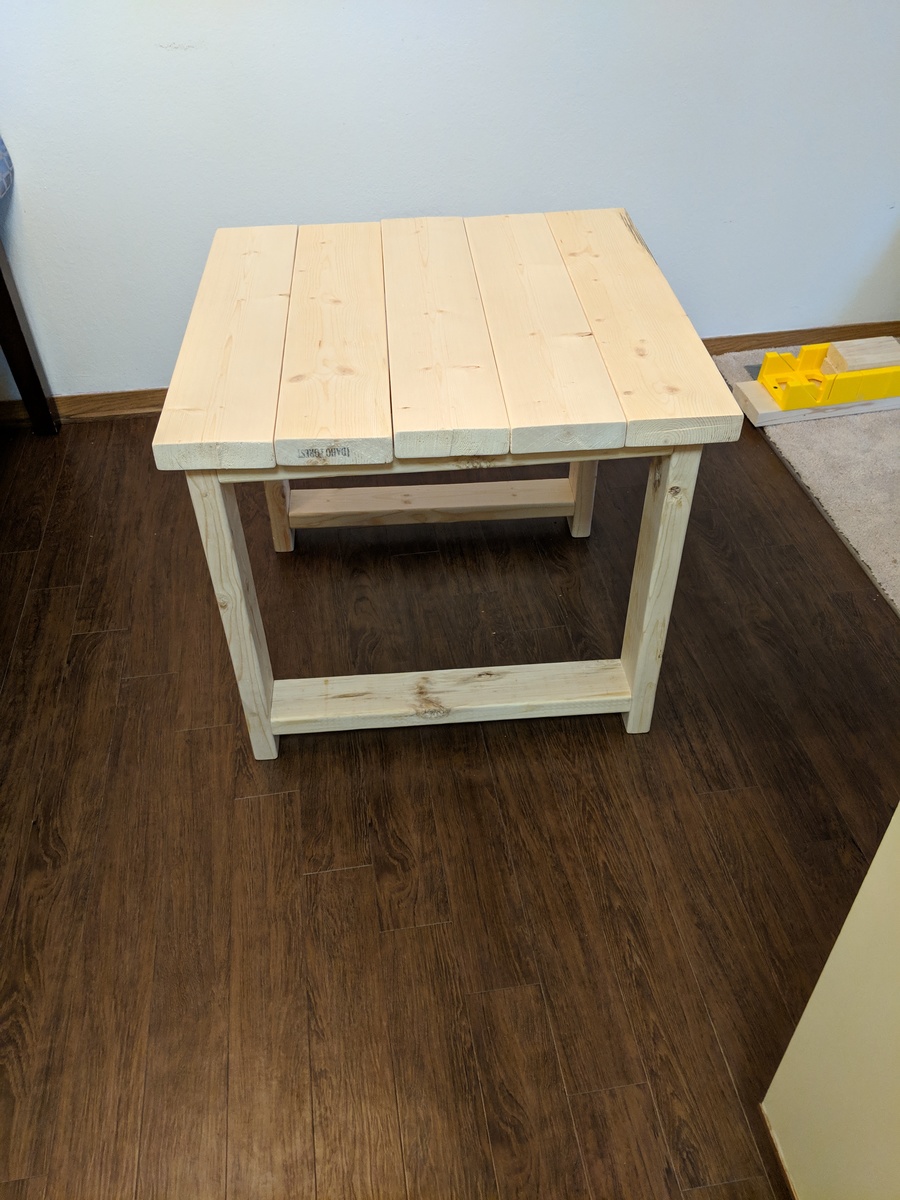
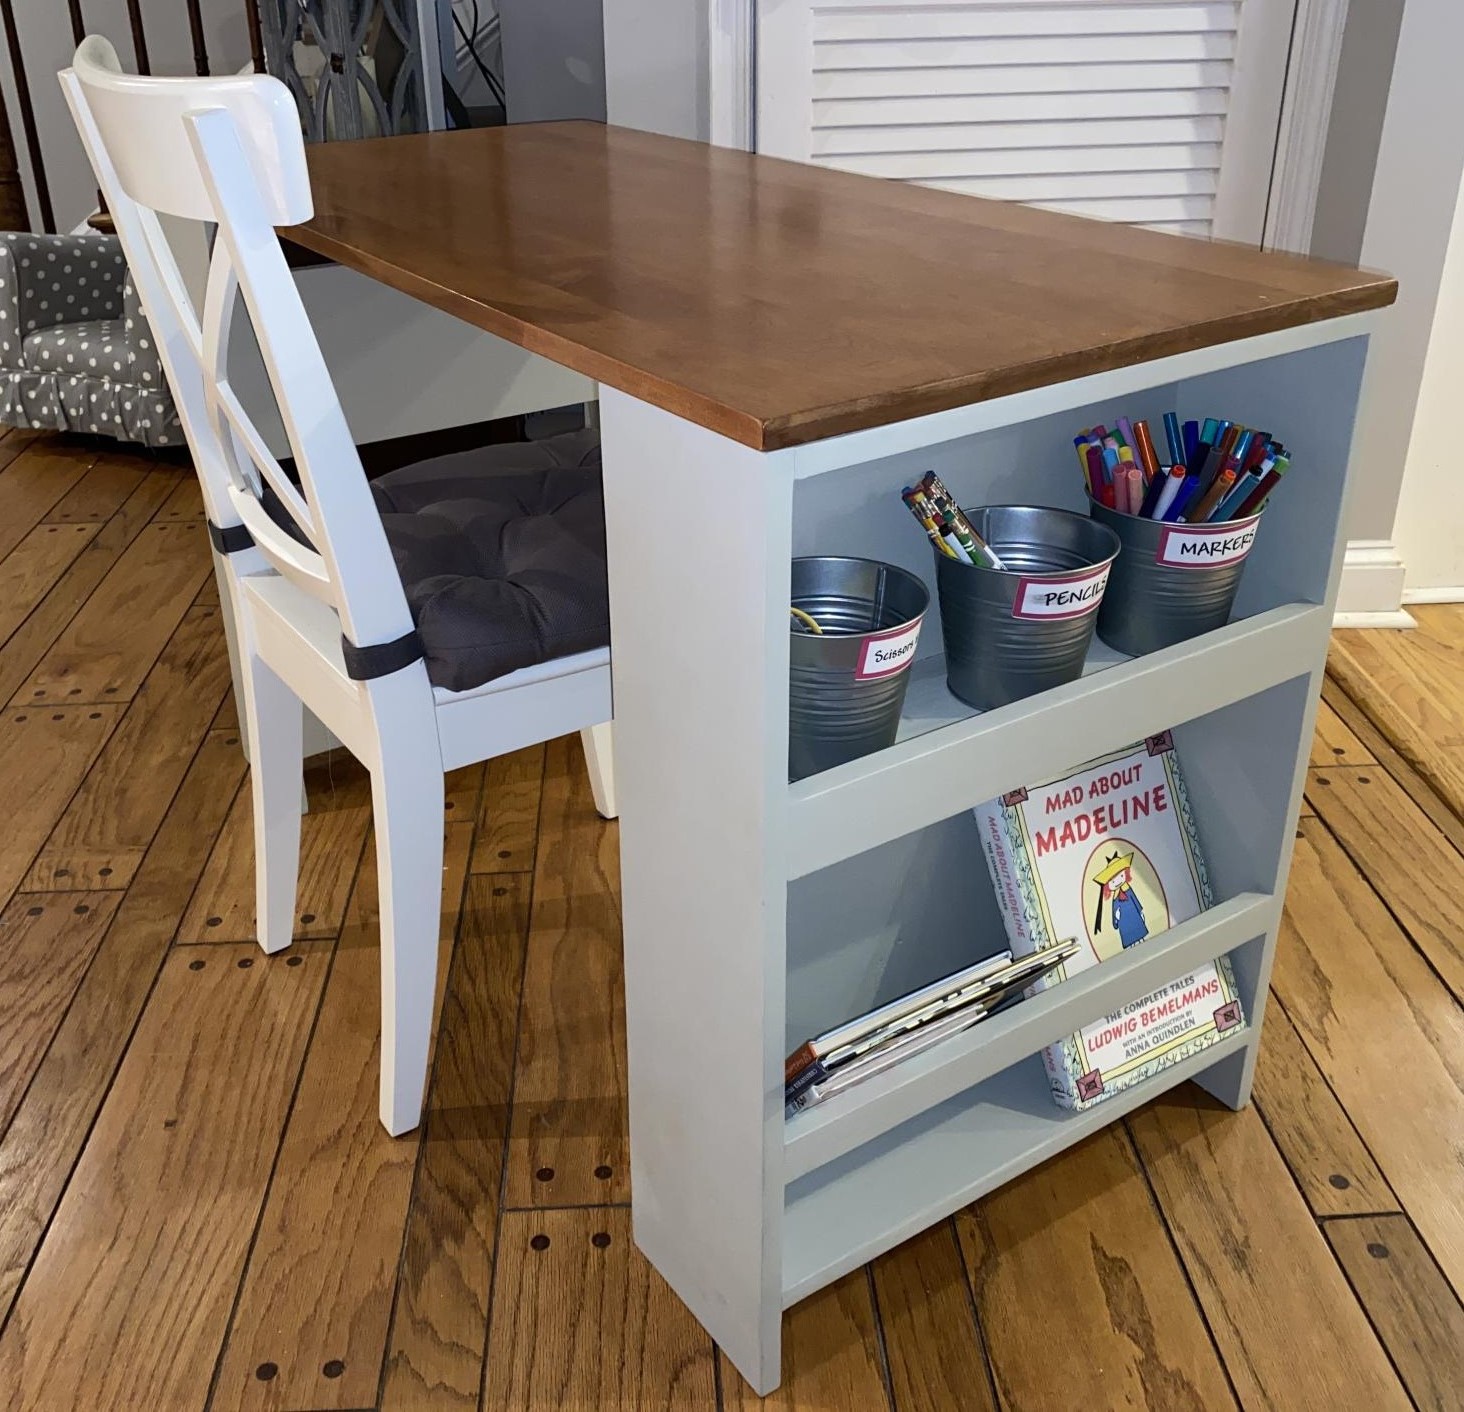
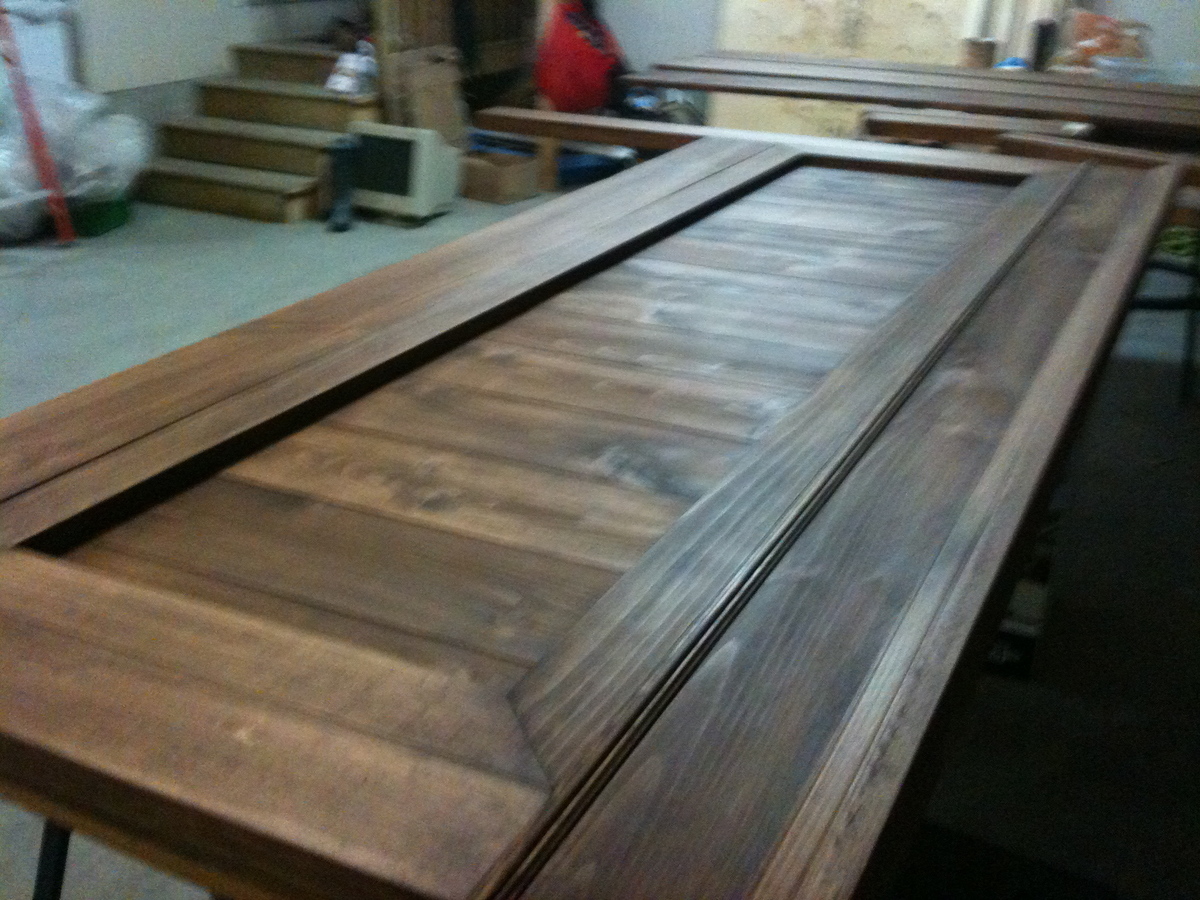
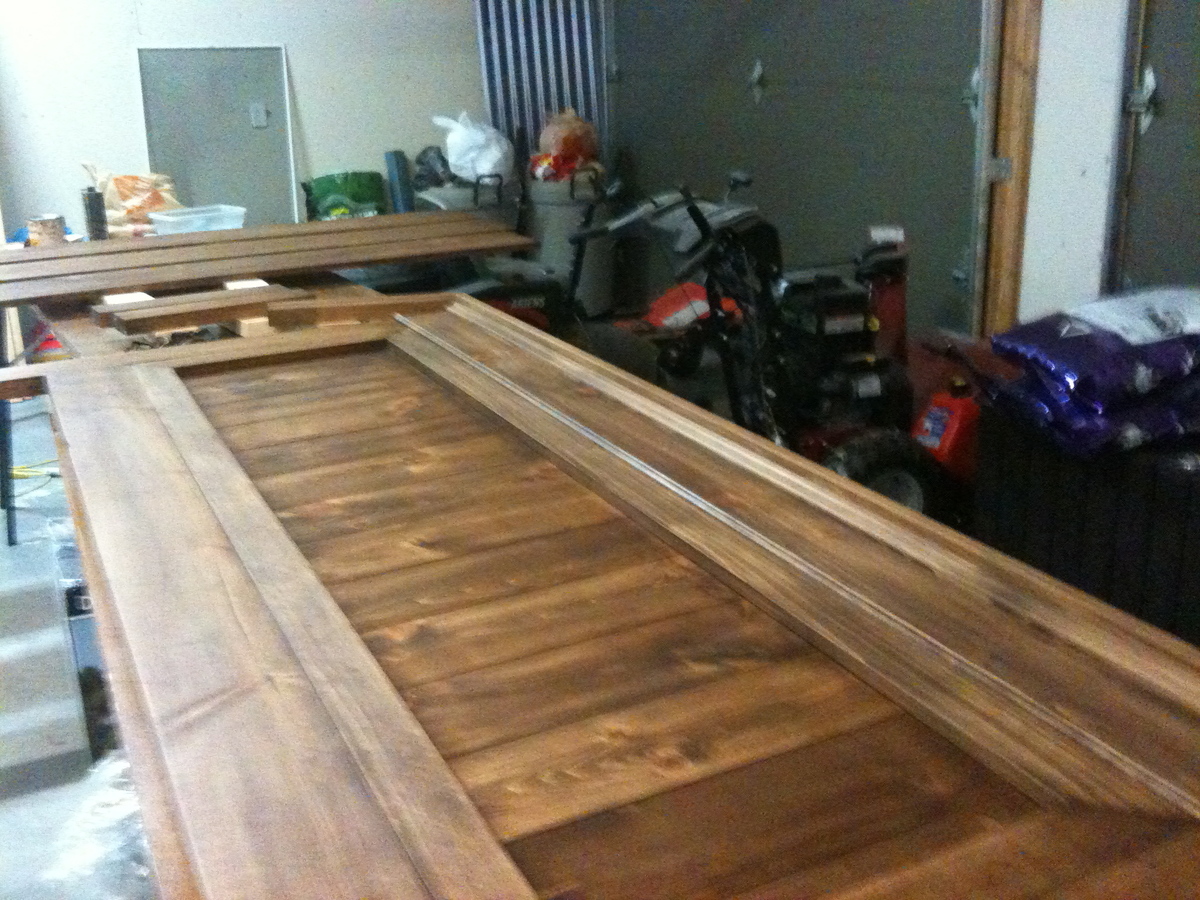
Long desk
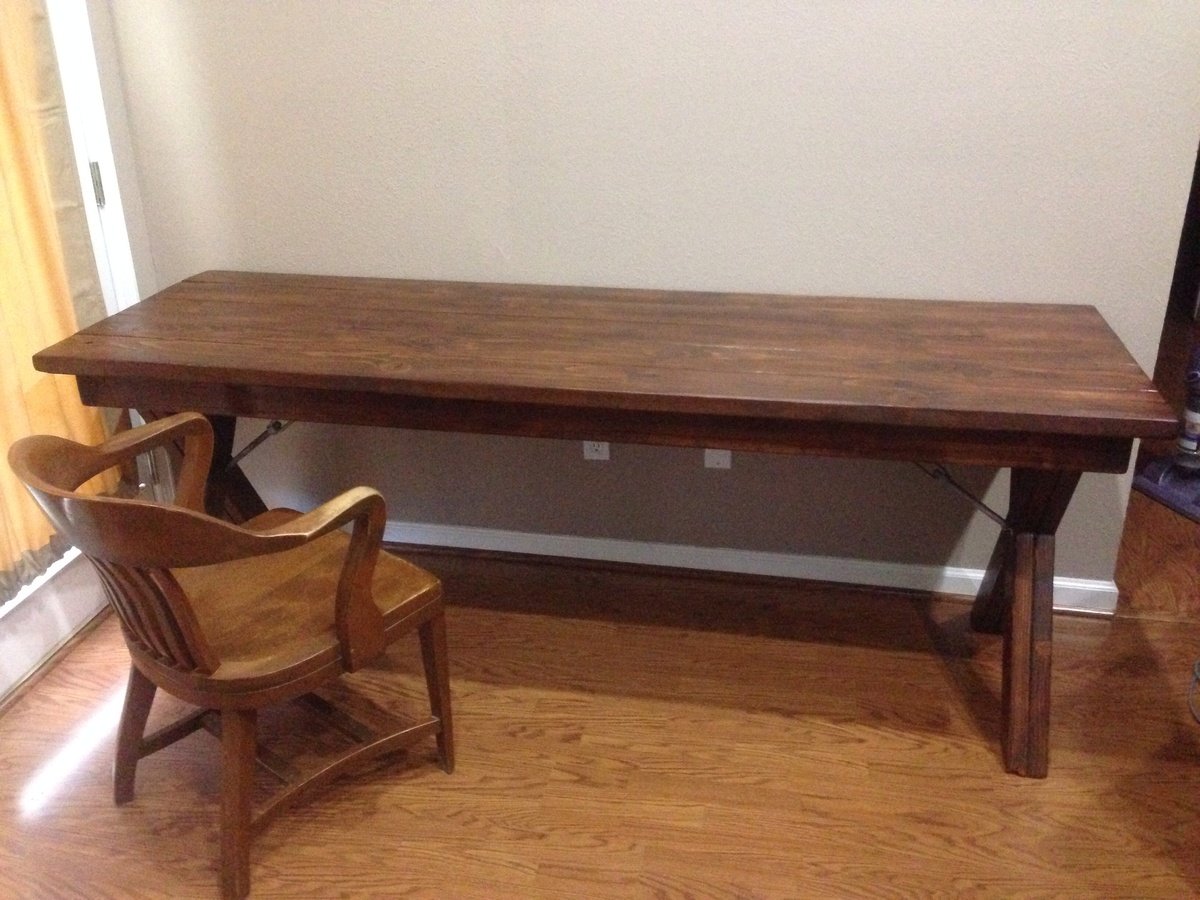
I was looking for a long desk for two people and wasn't able to find anything that wasn't custom. I decided to try and here it is! I now have a massive and sturdy desk I can be proud of.
Estimated Cost
$100
Estimated Time Investment
Weekend Project (10-20 Hours)
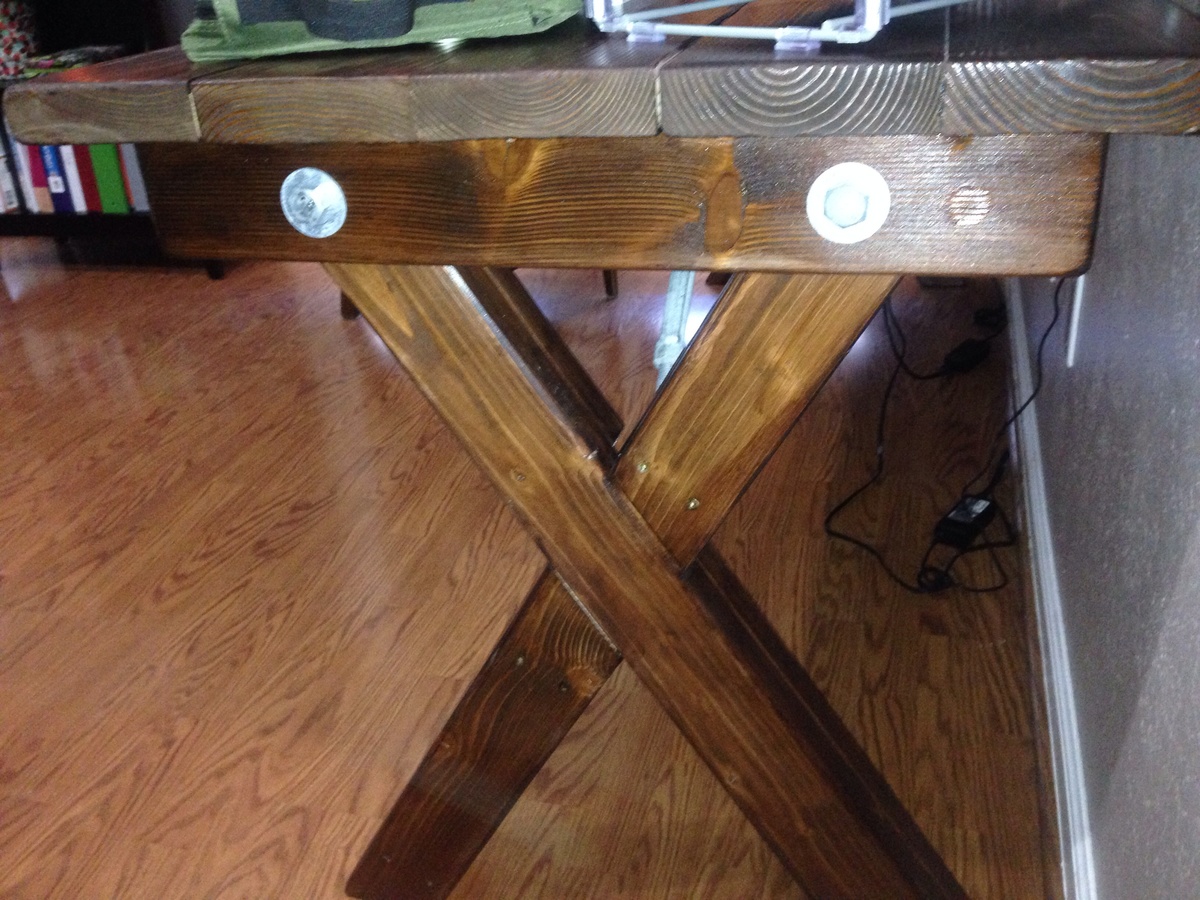
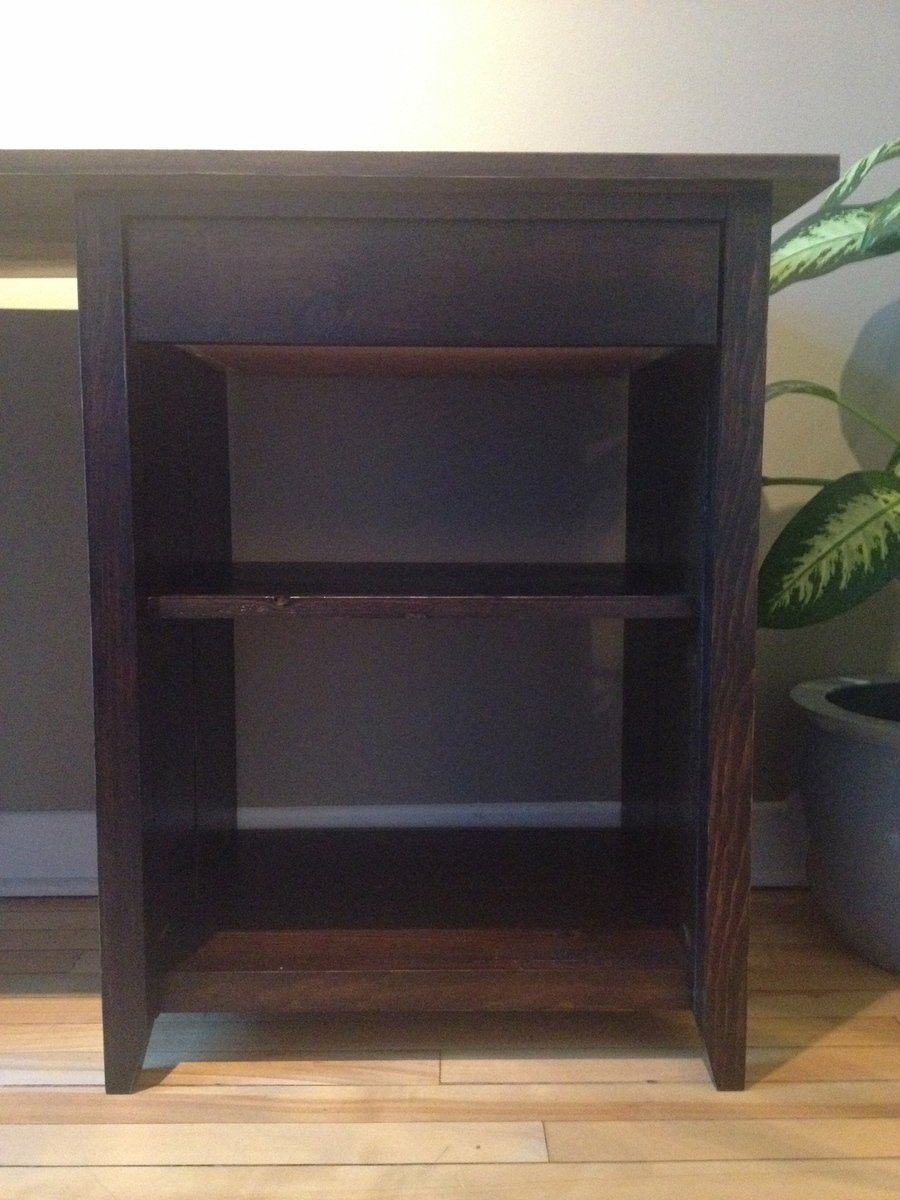
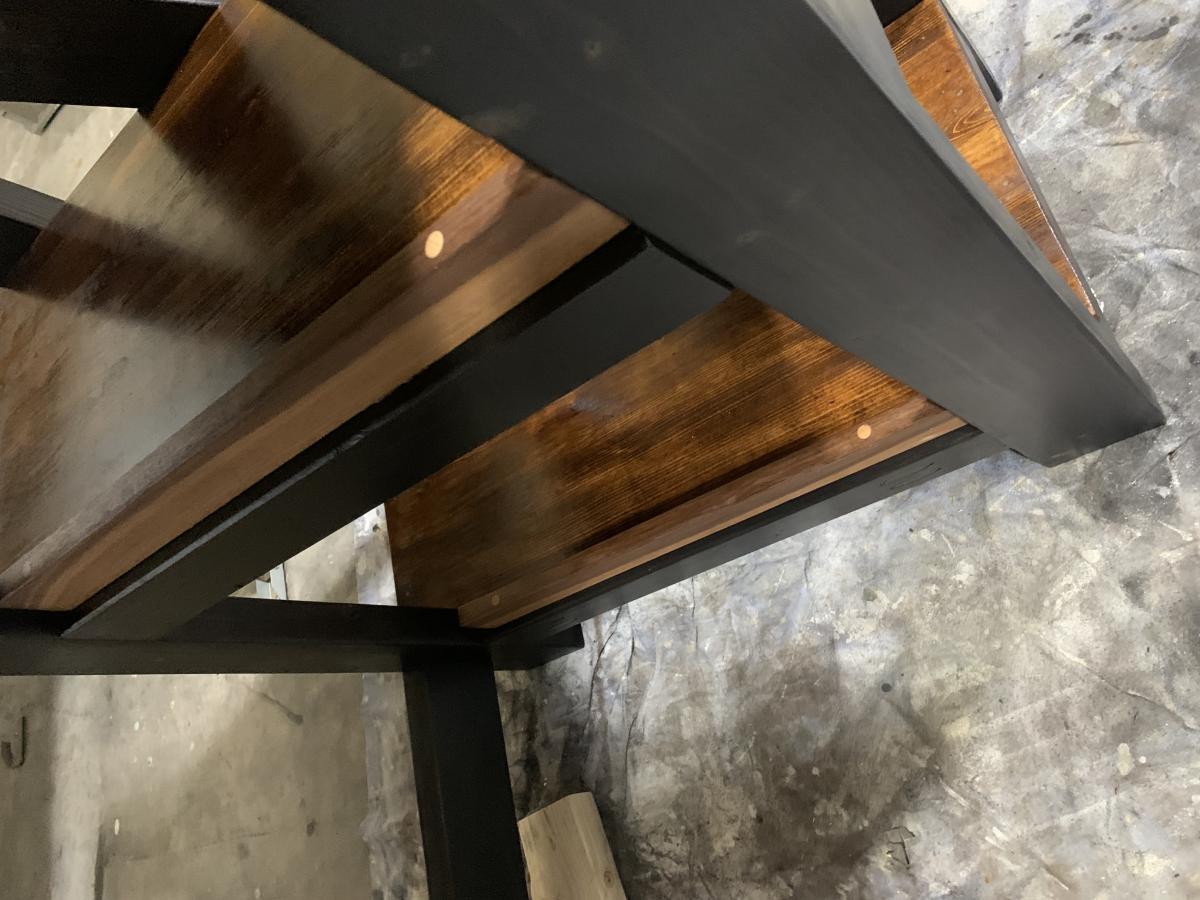
Finish Used
Stain/poly mix
Multiple coats and used steel wool between each.
Multiple coats and used steel wool between each.
Recommended Skill Level
Beginner


Comments
Chaz Inez
Mon, 01/23/2017 - 13:47
What plans were these from?
I love your desk and would love to build it for my home office. Are there existing plans you worked from? Or was an original design of yours? In either case, can you forward the plans to me? [email protected].
Thanks!
Chaz