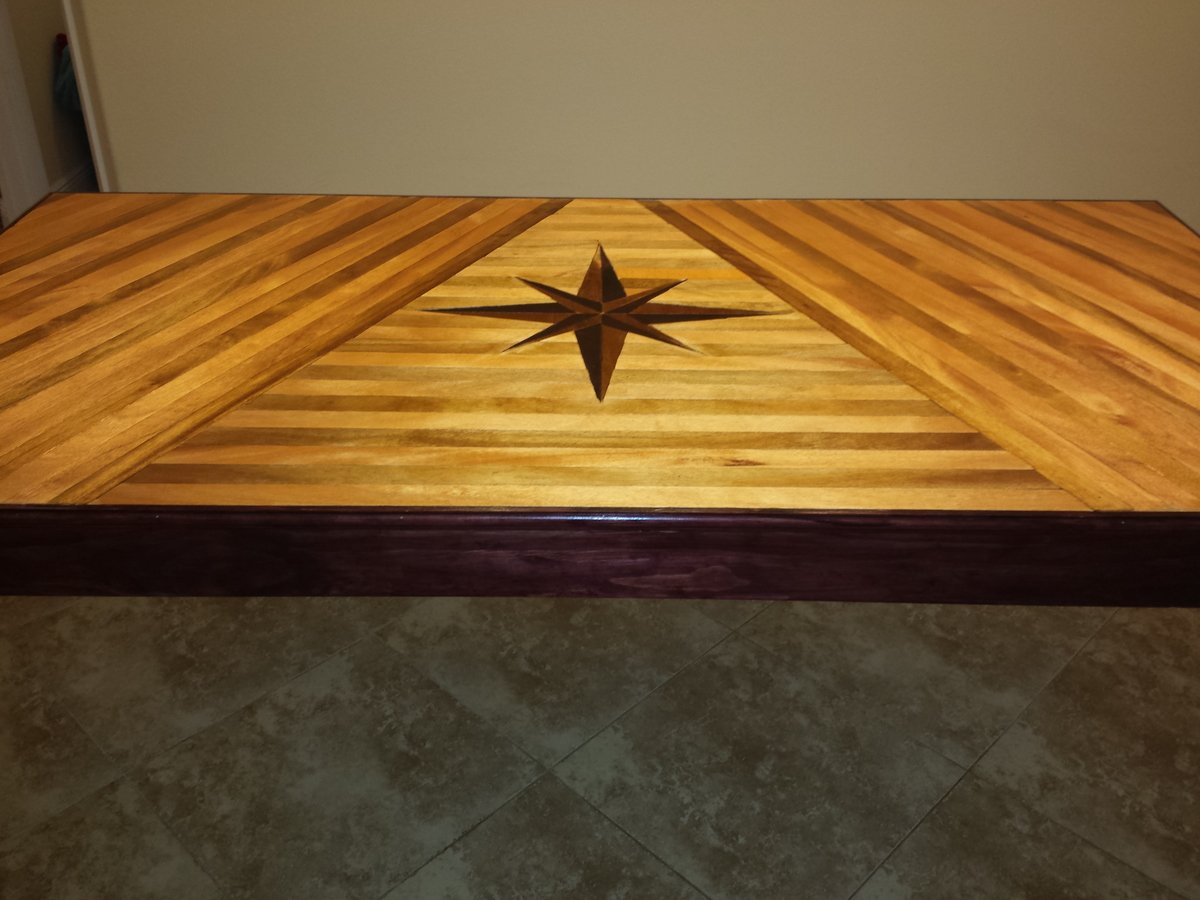
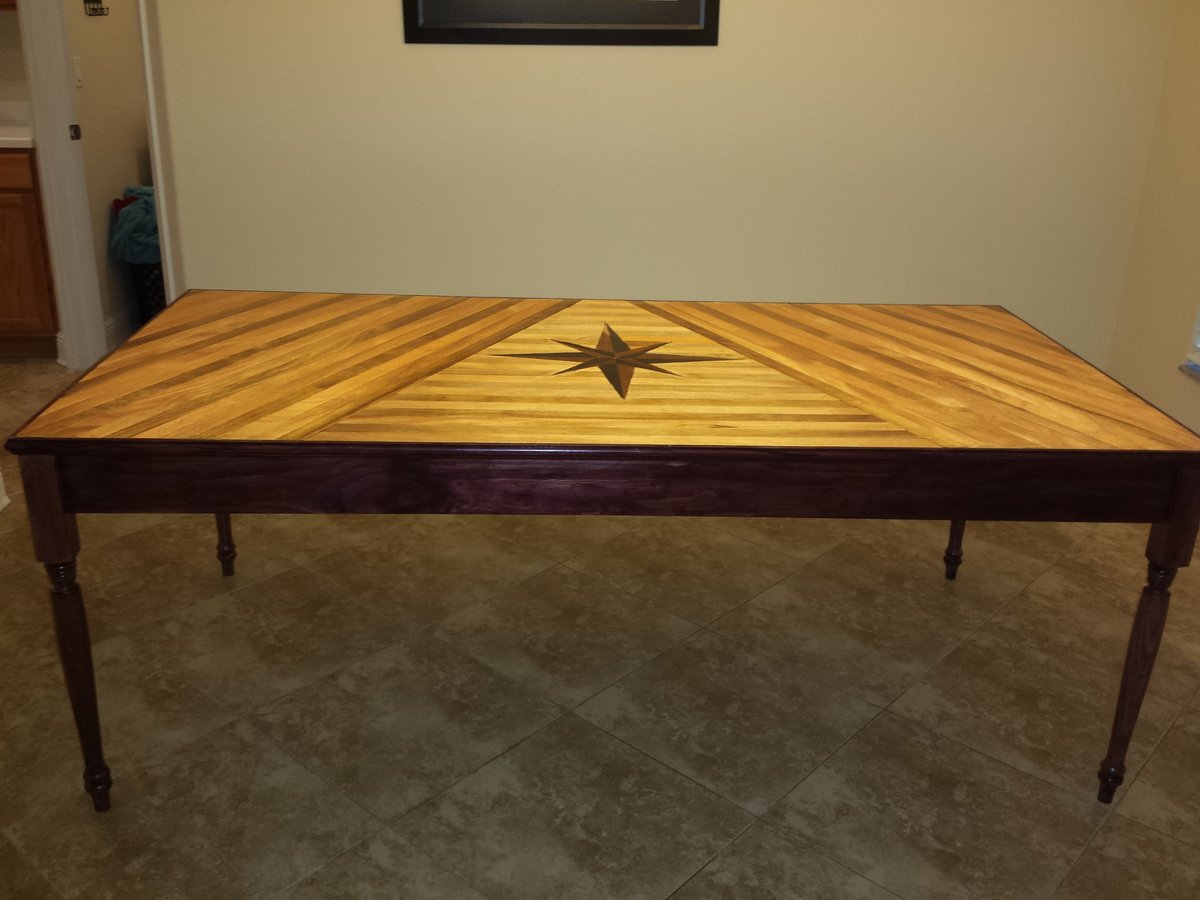
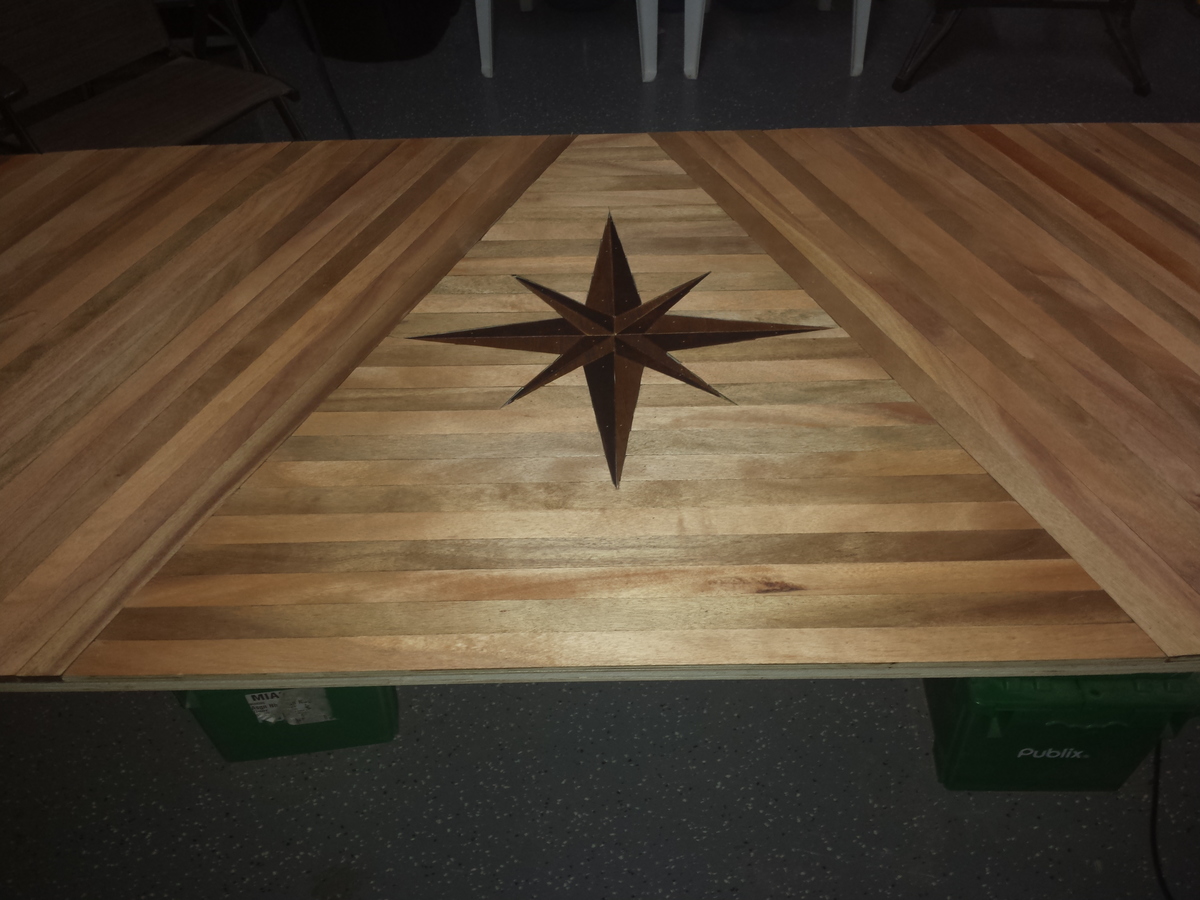
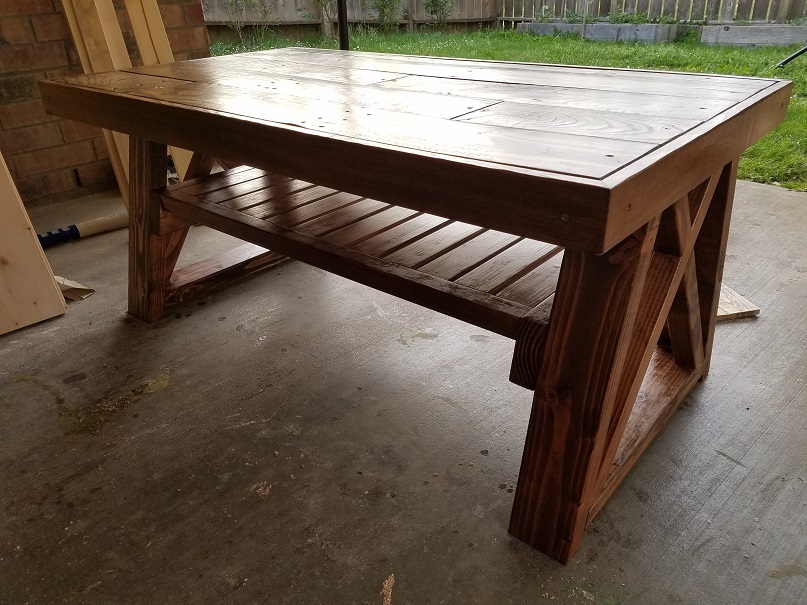
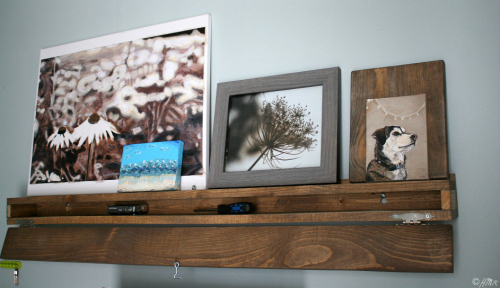
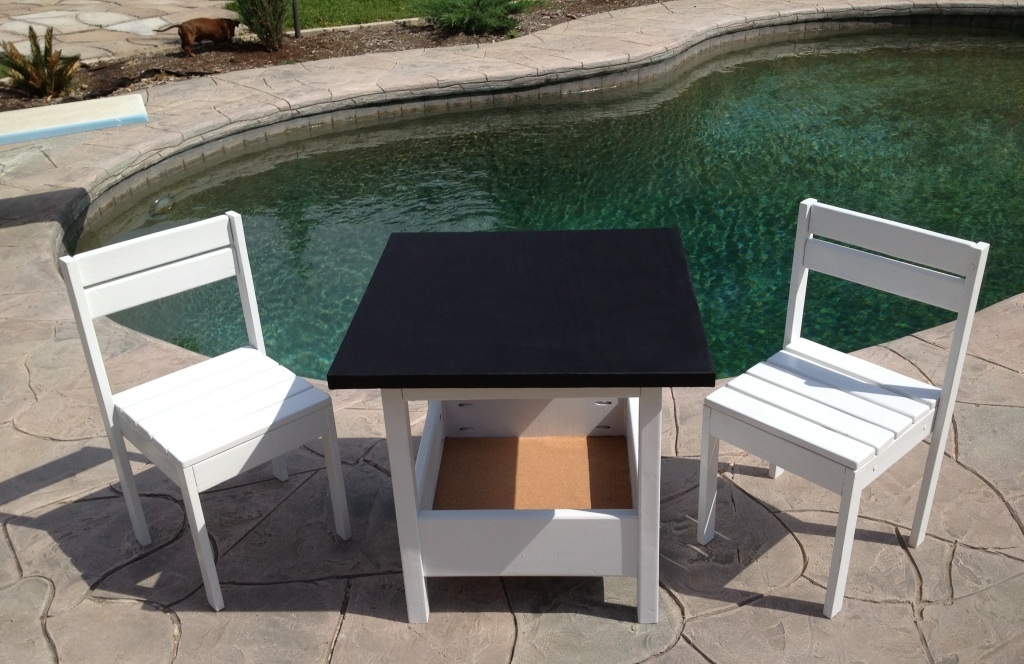
Compass rose plywood table
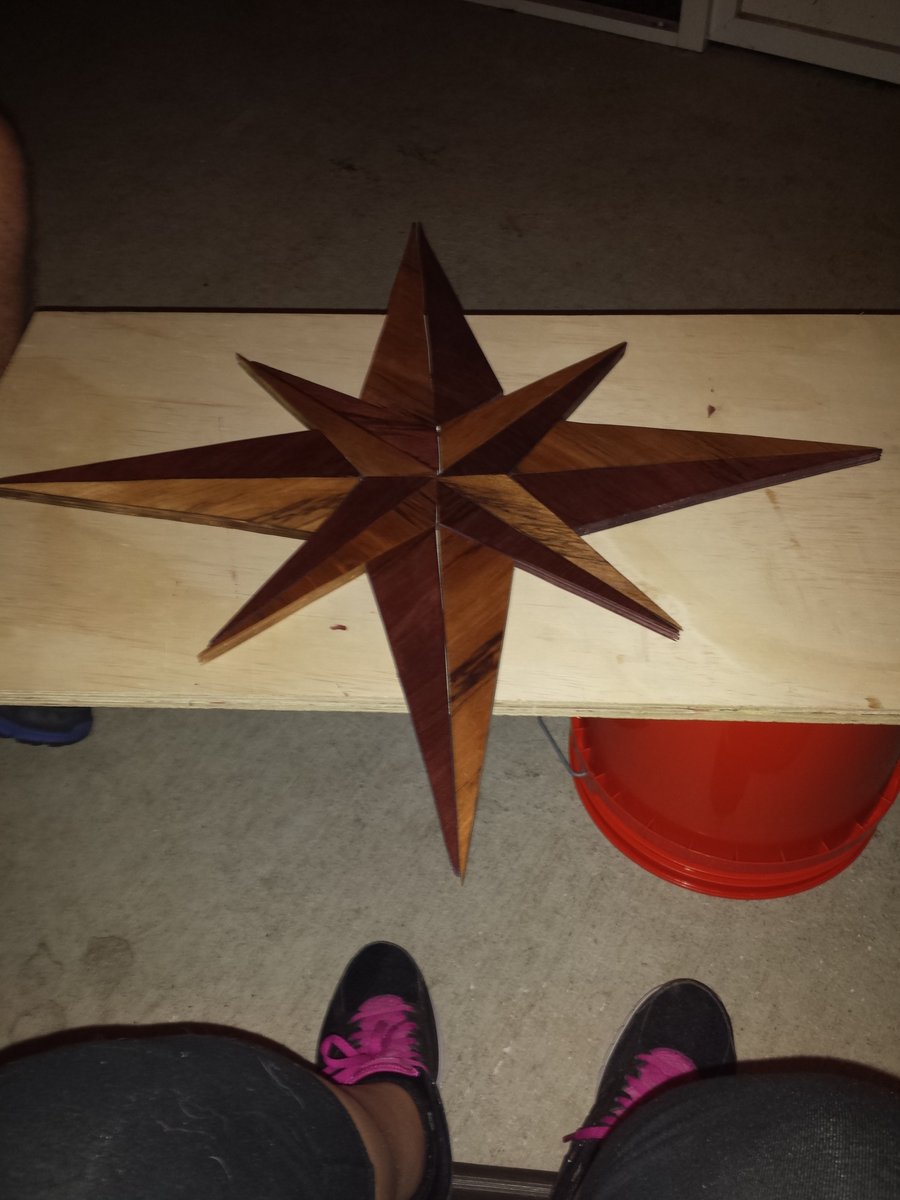
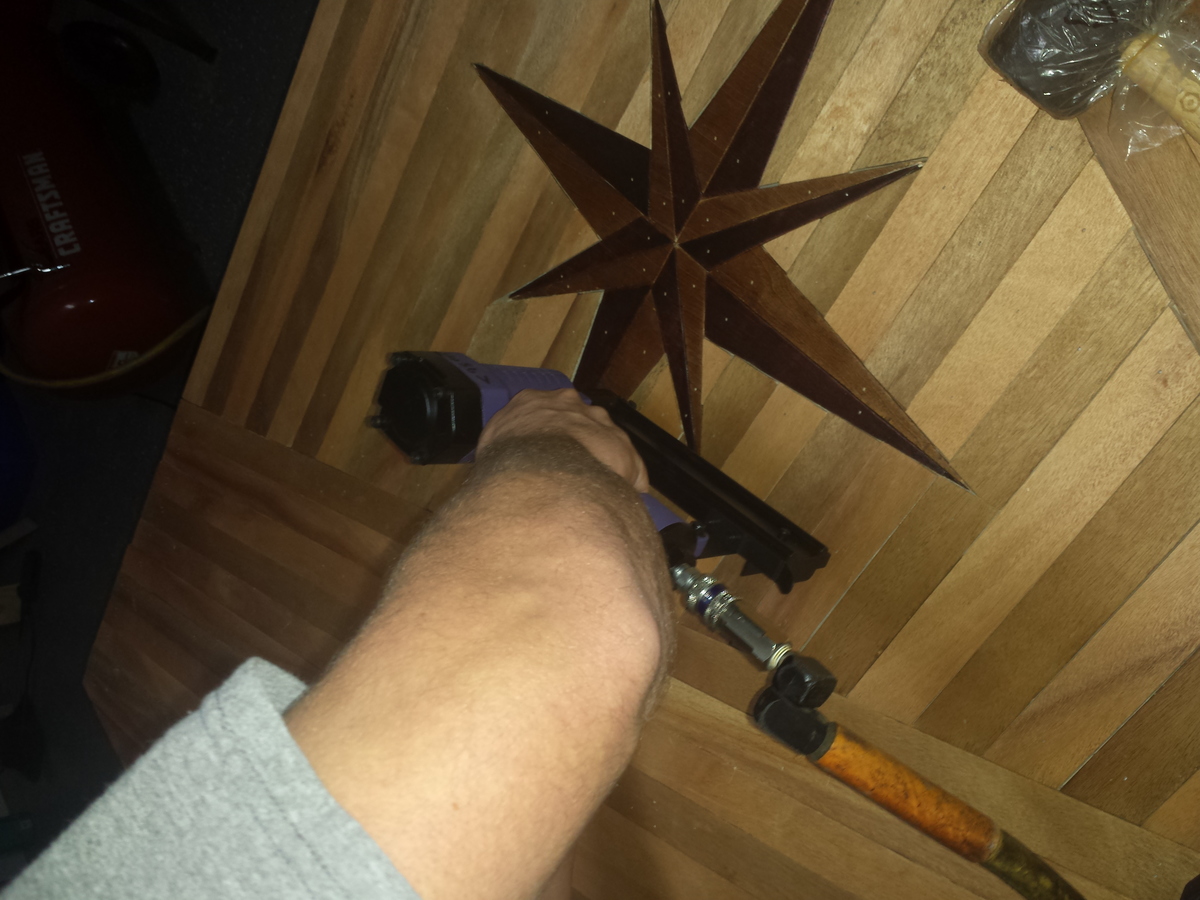
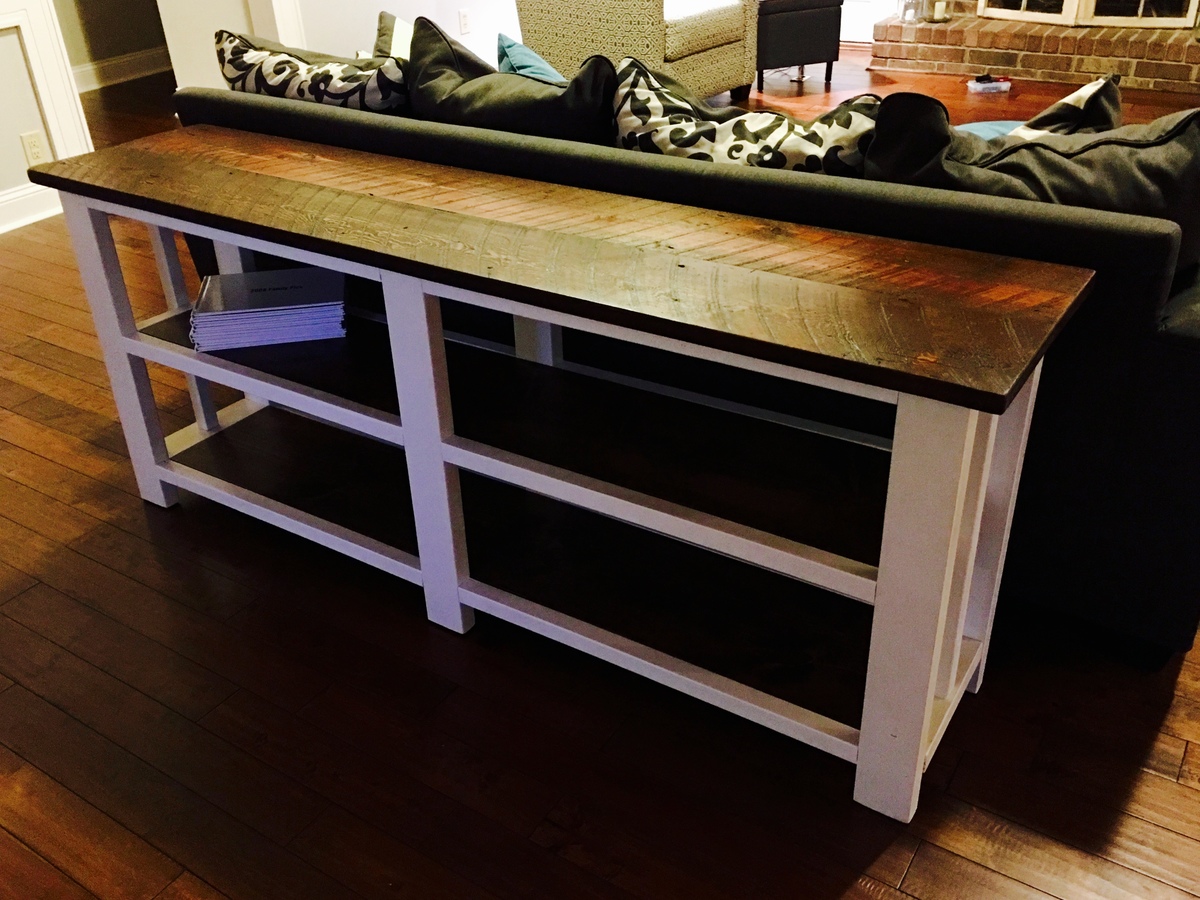
Compass rose dimensions: 22×22 (90 degree cross) tilt 45 degrees 16×16 (90 degree cross) then connect lines with a ruler, start with the 16" lines connect from outer point to 2" from center of the 22" crossed lines, once that star is complete make lines from point of the 22" lines to 2 1/2" down side of star adjacent to that point (hint: it's much easier to look at a picture of a compass rose while trying to sketch it). Cut sizes should turn out to be: 8- 9"×7"×2 1/2" triangles and 8- 8"×7"×2" triangles (hint: we had best results using a table saw to make all the cuts)...
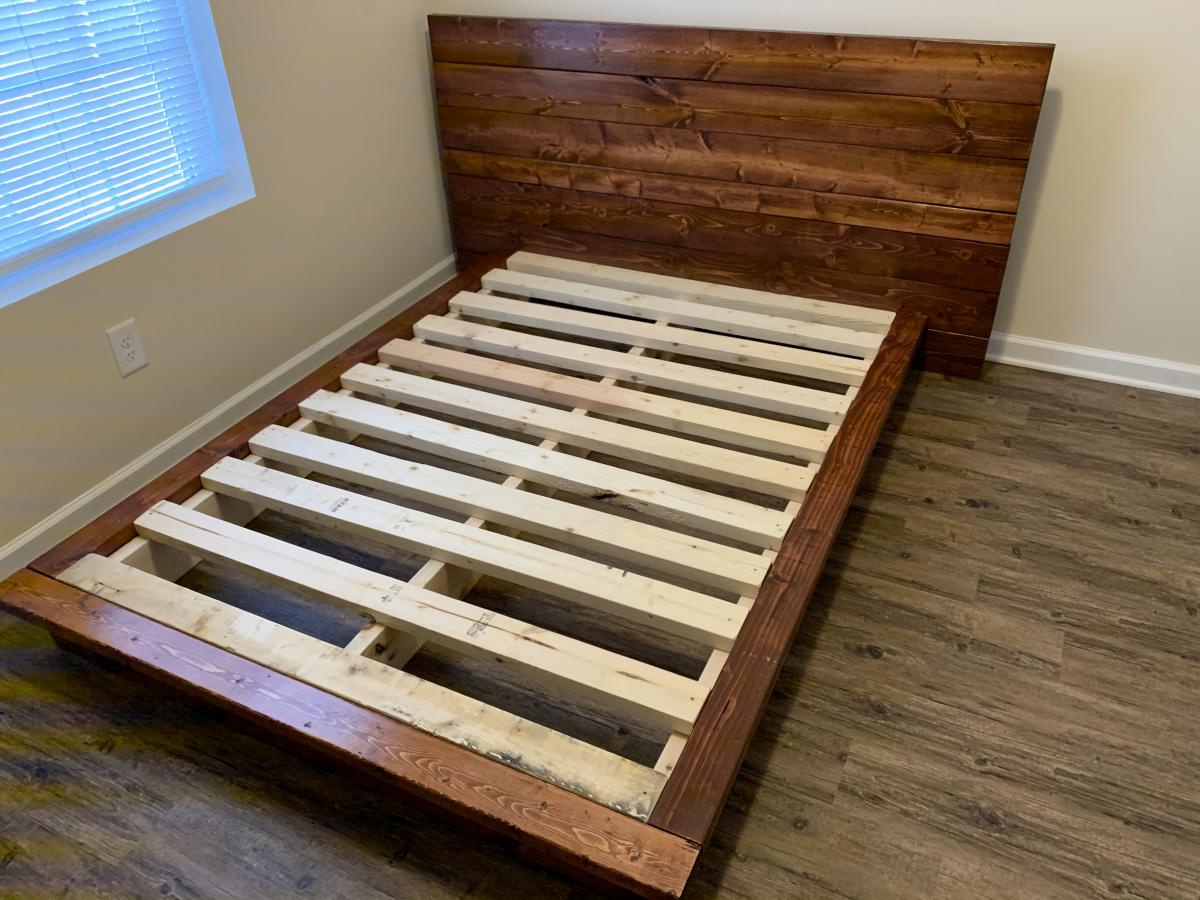
Built from Plan(s)
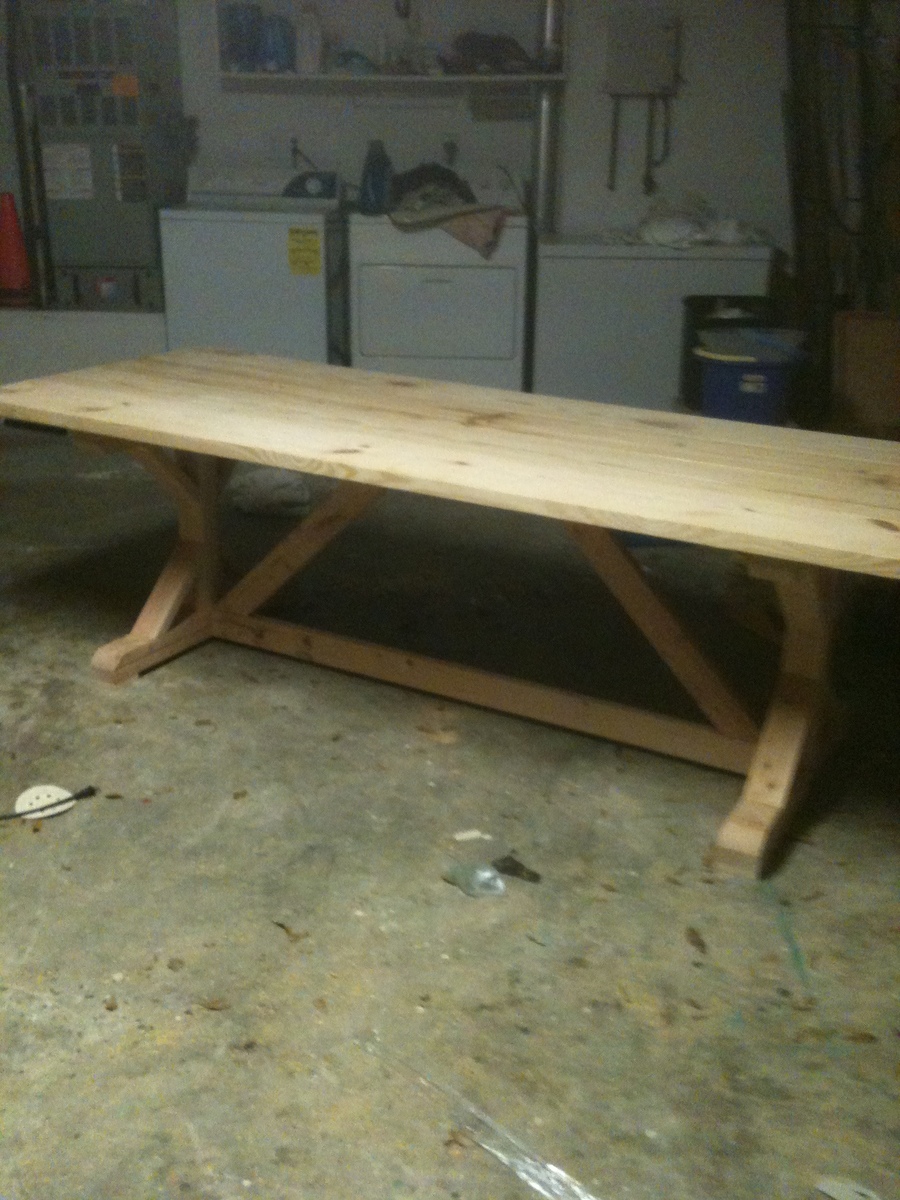
Estimated Time Investment
Week Long Project (20 Hours or More)
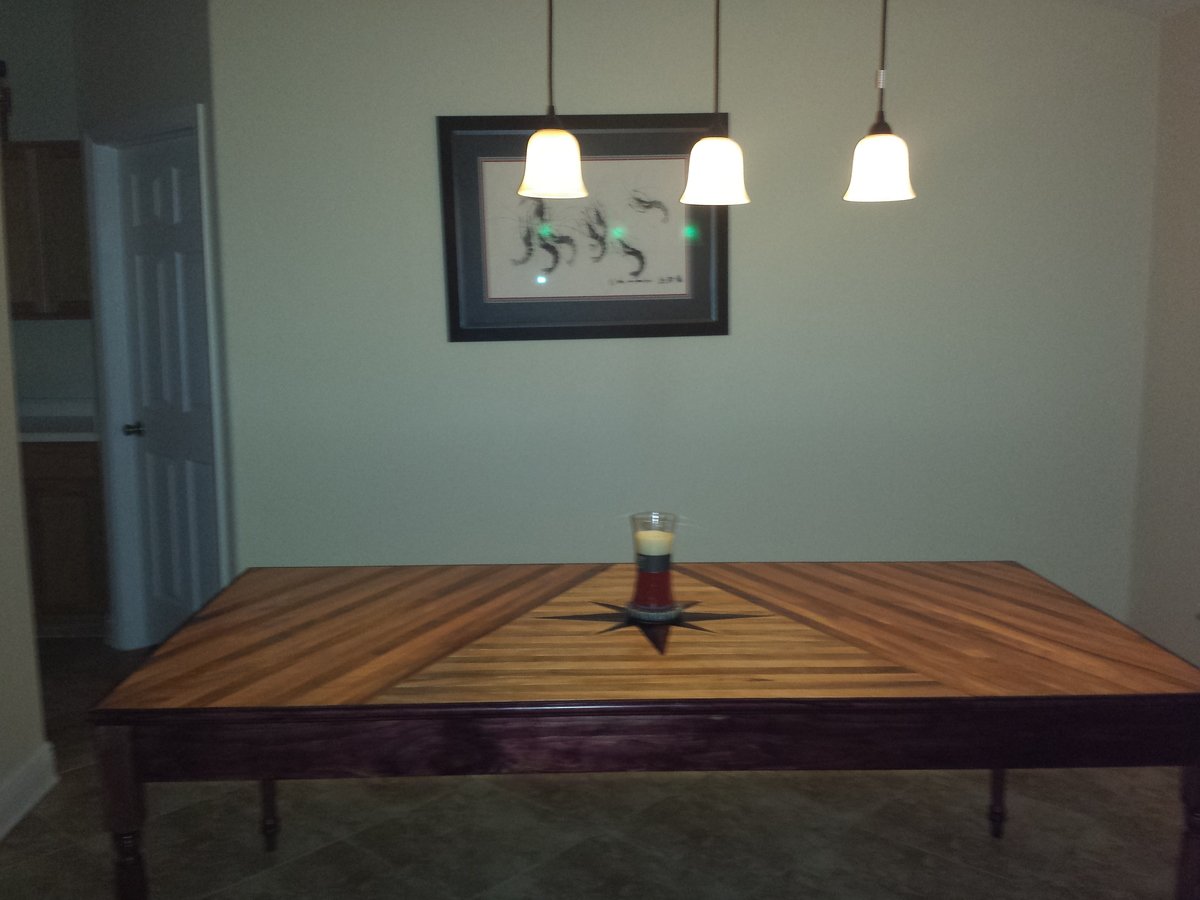
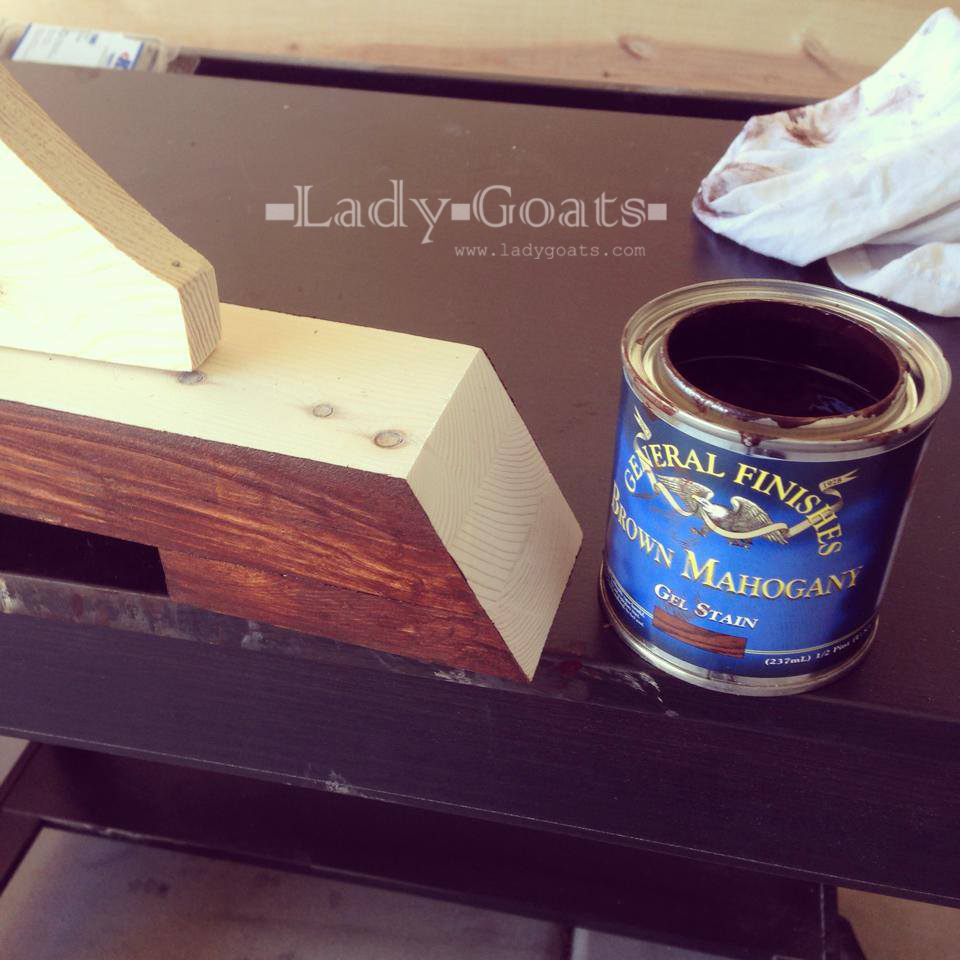
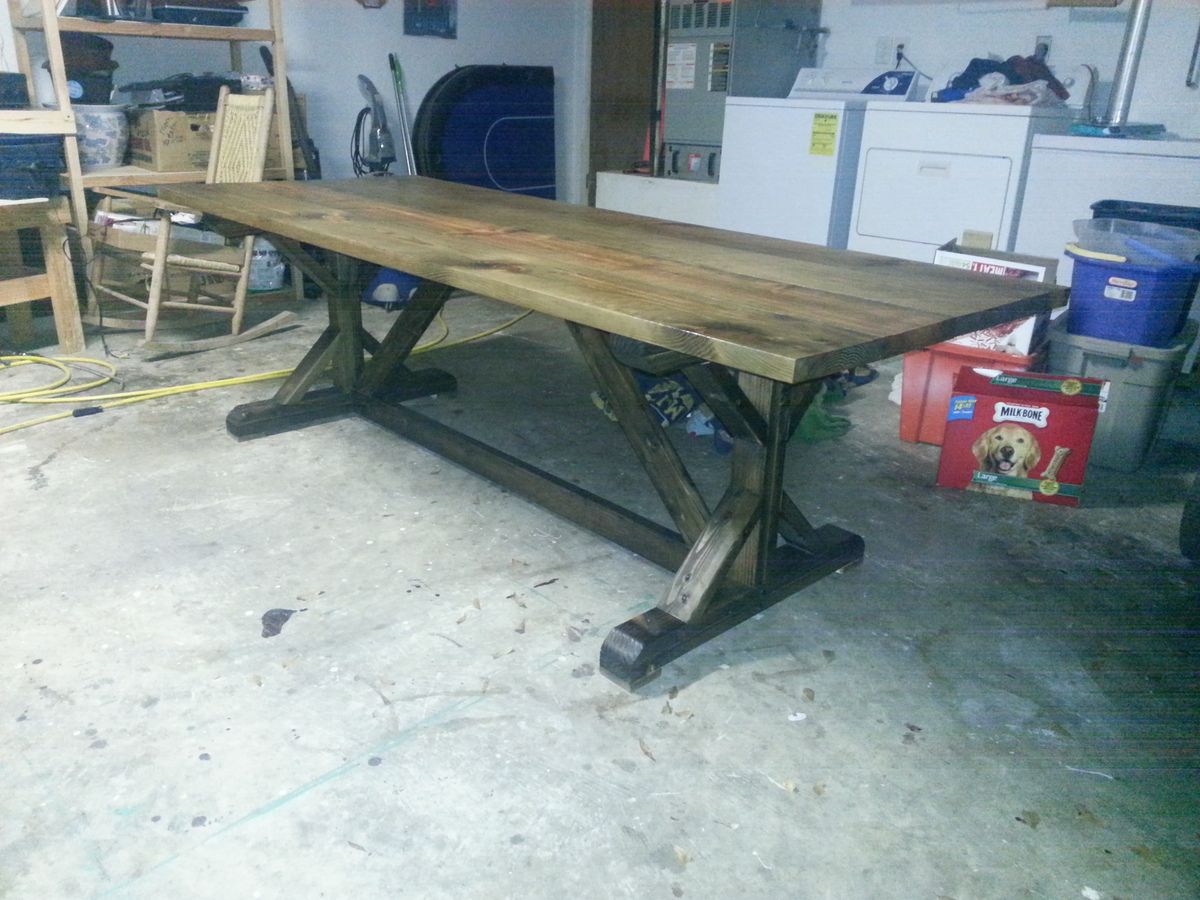
Finish Used
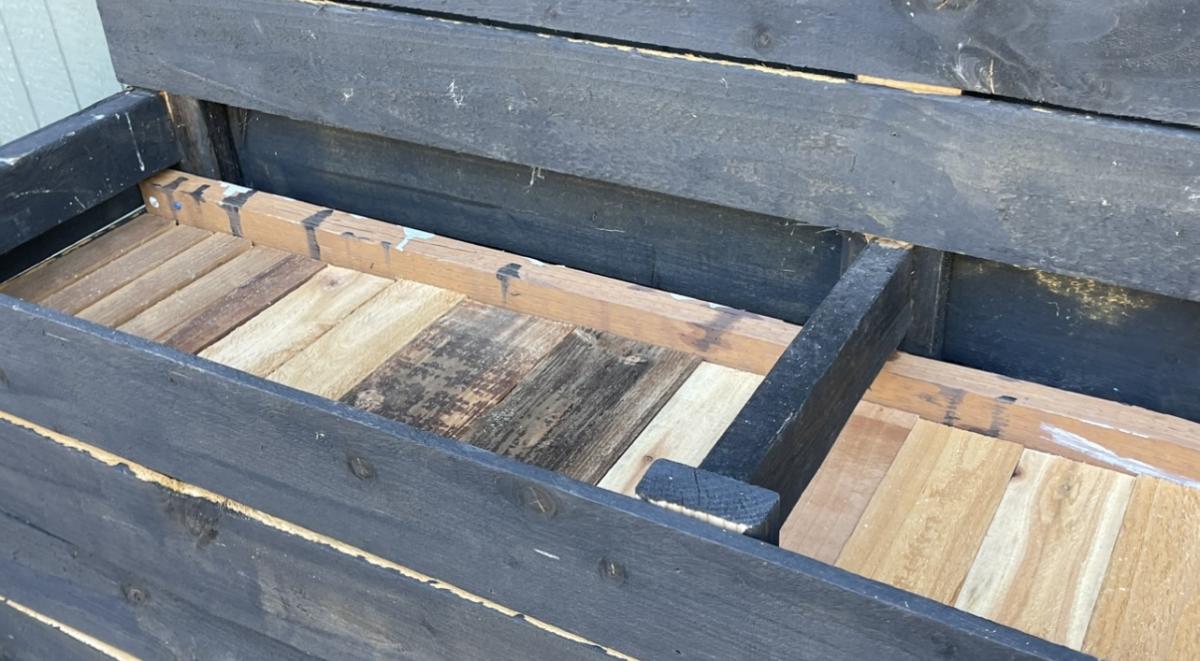
Minwax stains (black cherry (half the star and the frame), golden oak (other half of the star and strips), golden pecan (strips), and American walnut (strips)); minwax water based polyurethane (blueish green can) for the finish (Awesome Finish Because It Can Be Used With Both Oil and water based stains).
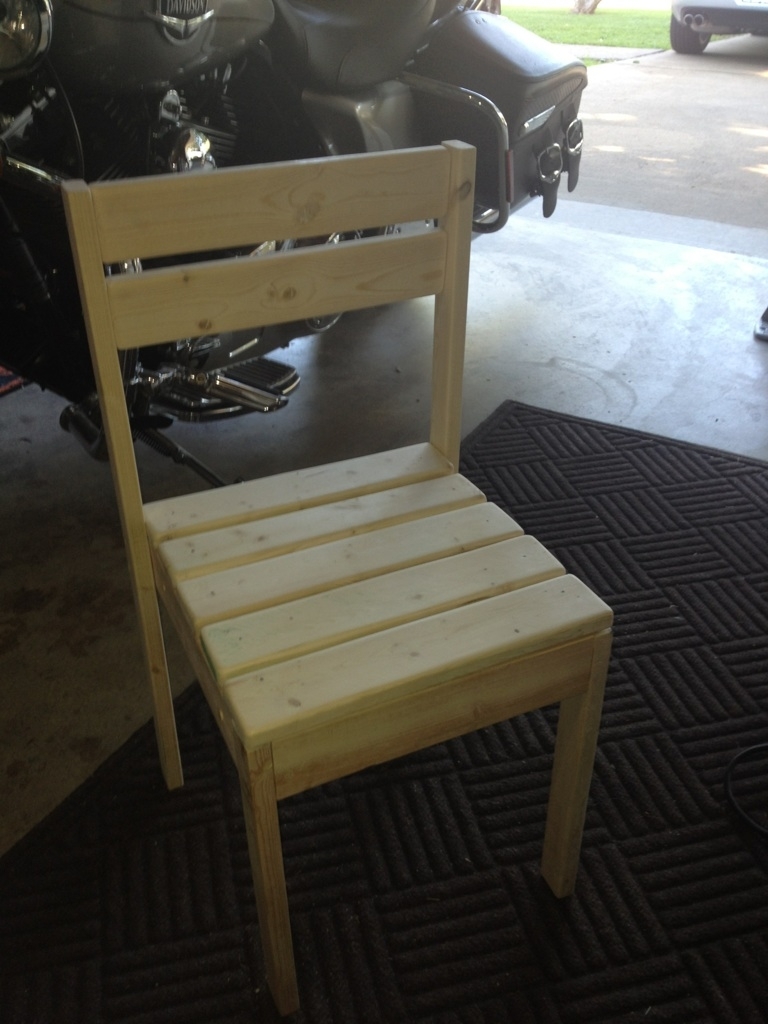
Recommended Skill Level
Beginner


Comments
joelstalcup
Sun, 11/02/2014 - 06:26
Love this!
This is amazing!