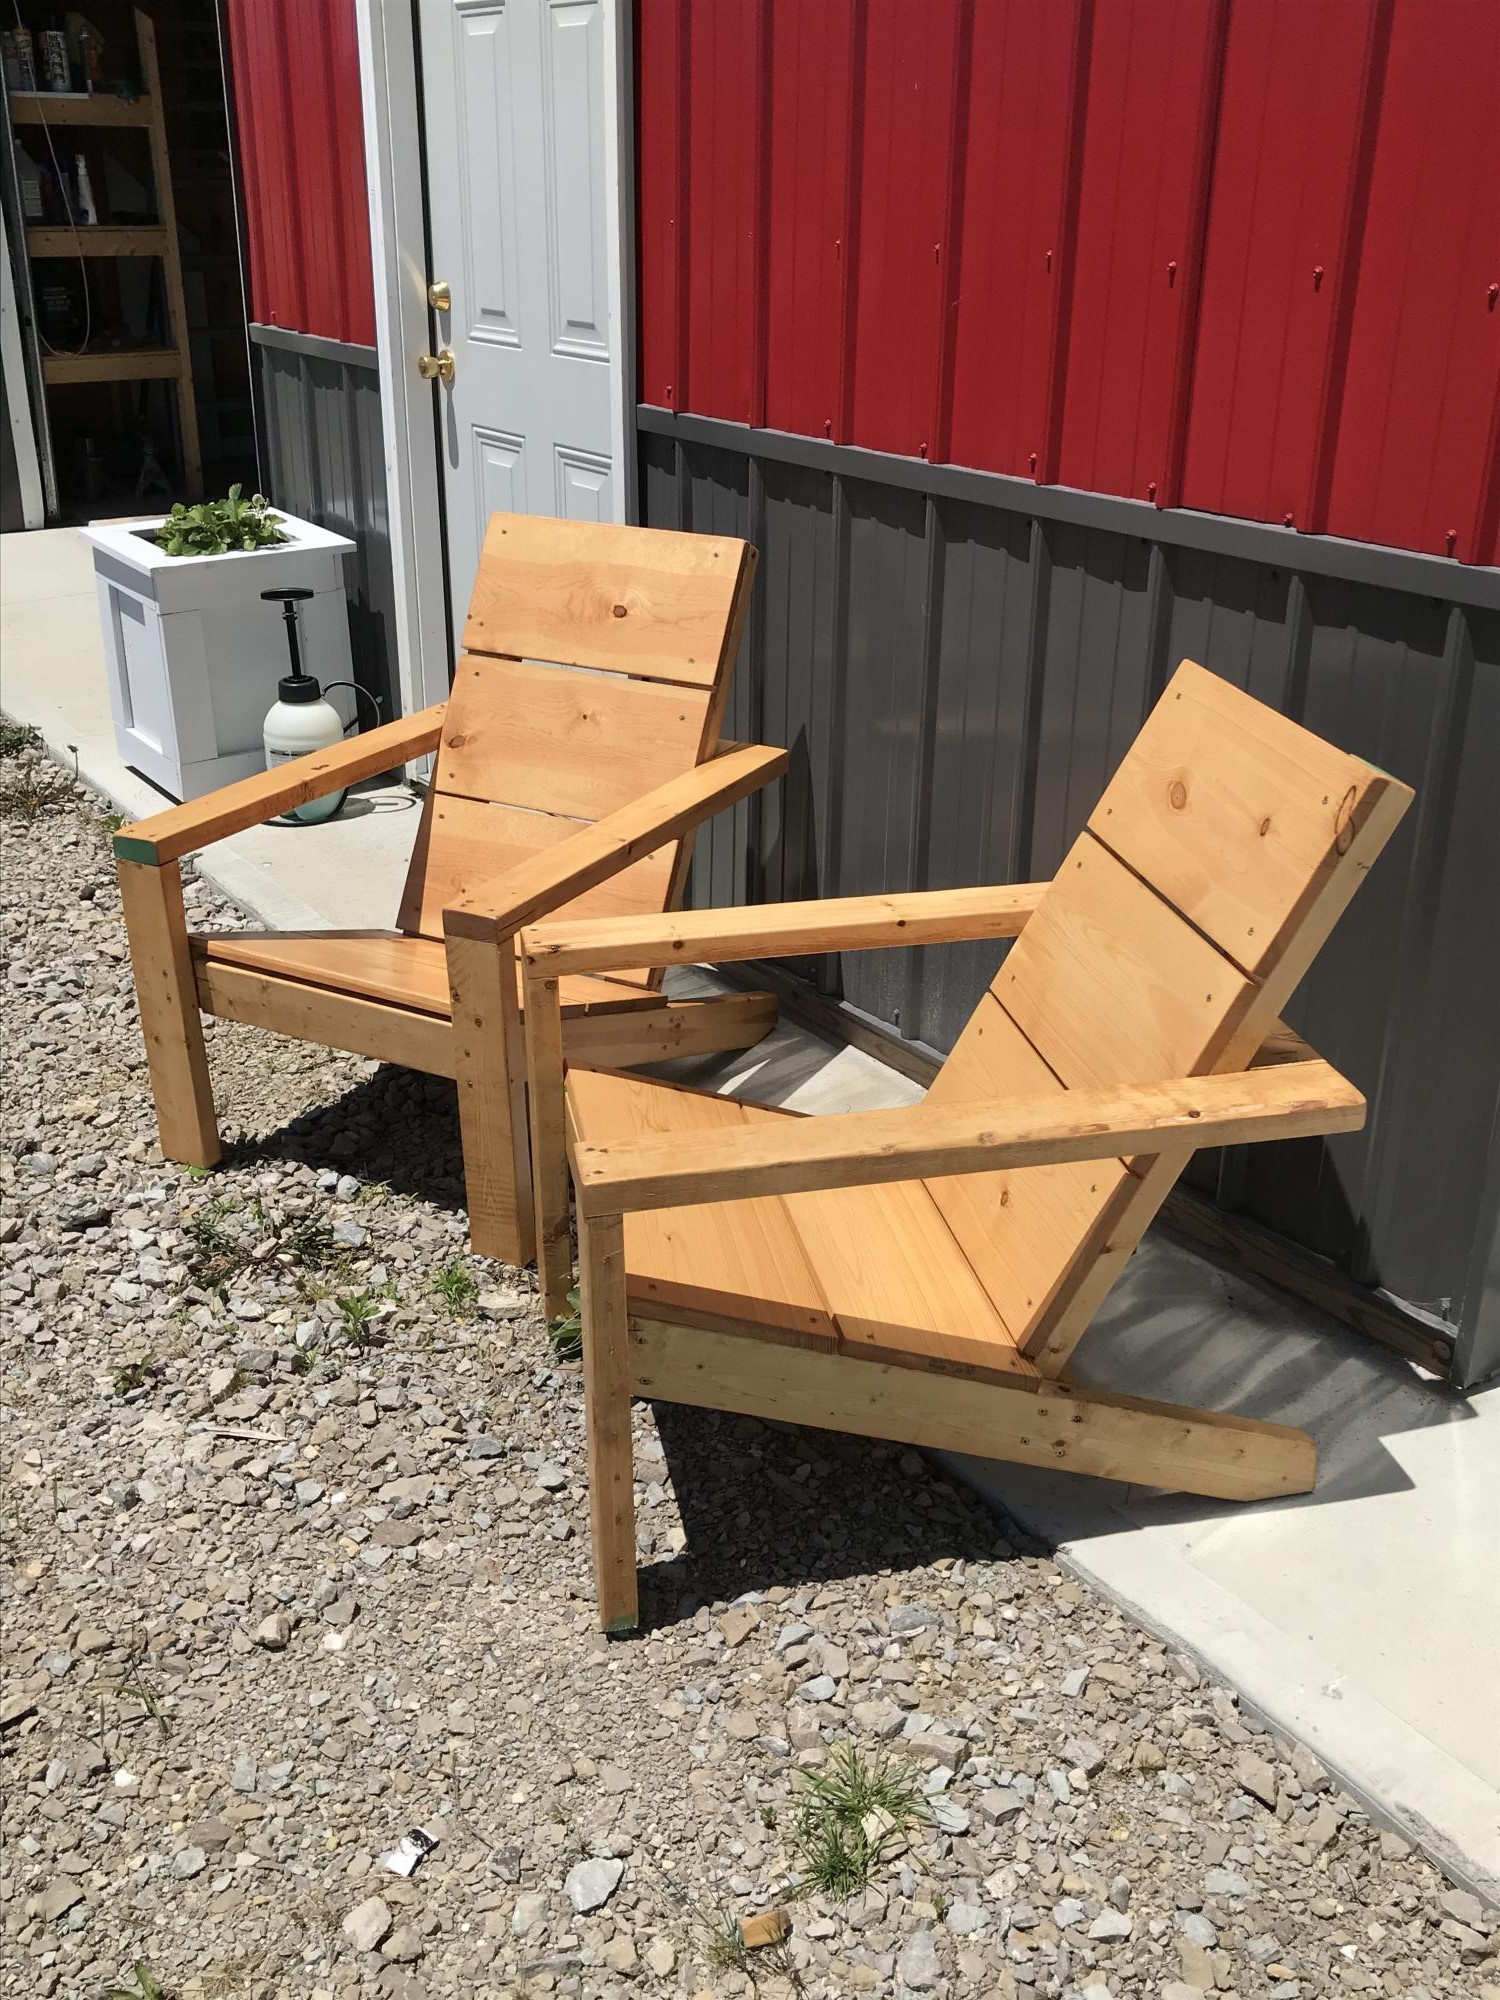
My interpretation of Modern Adirondack Chair
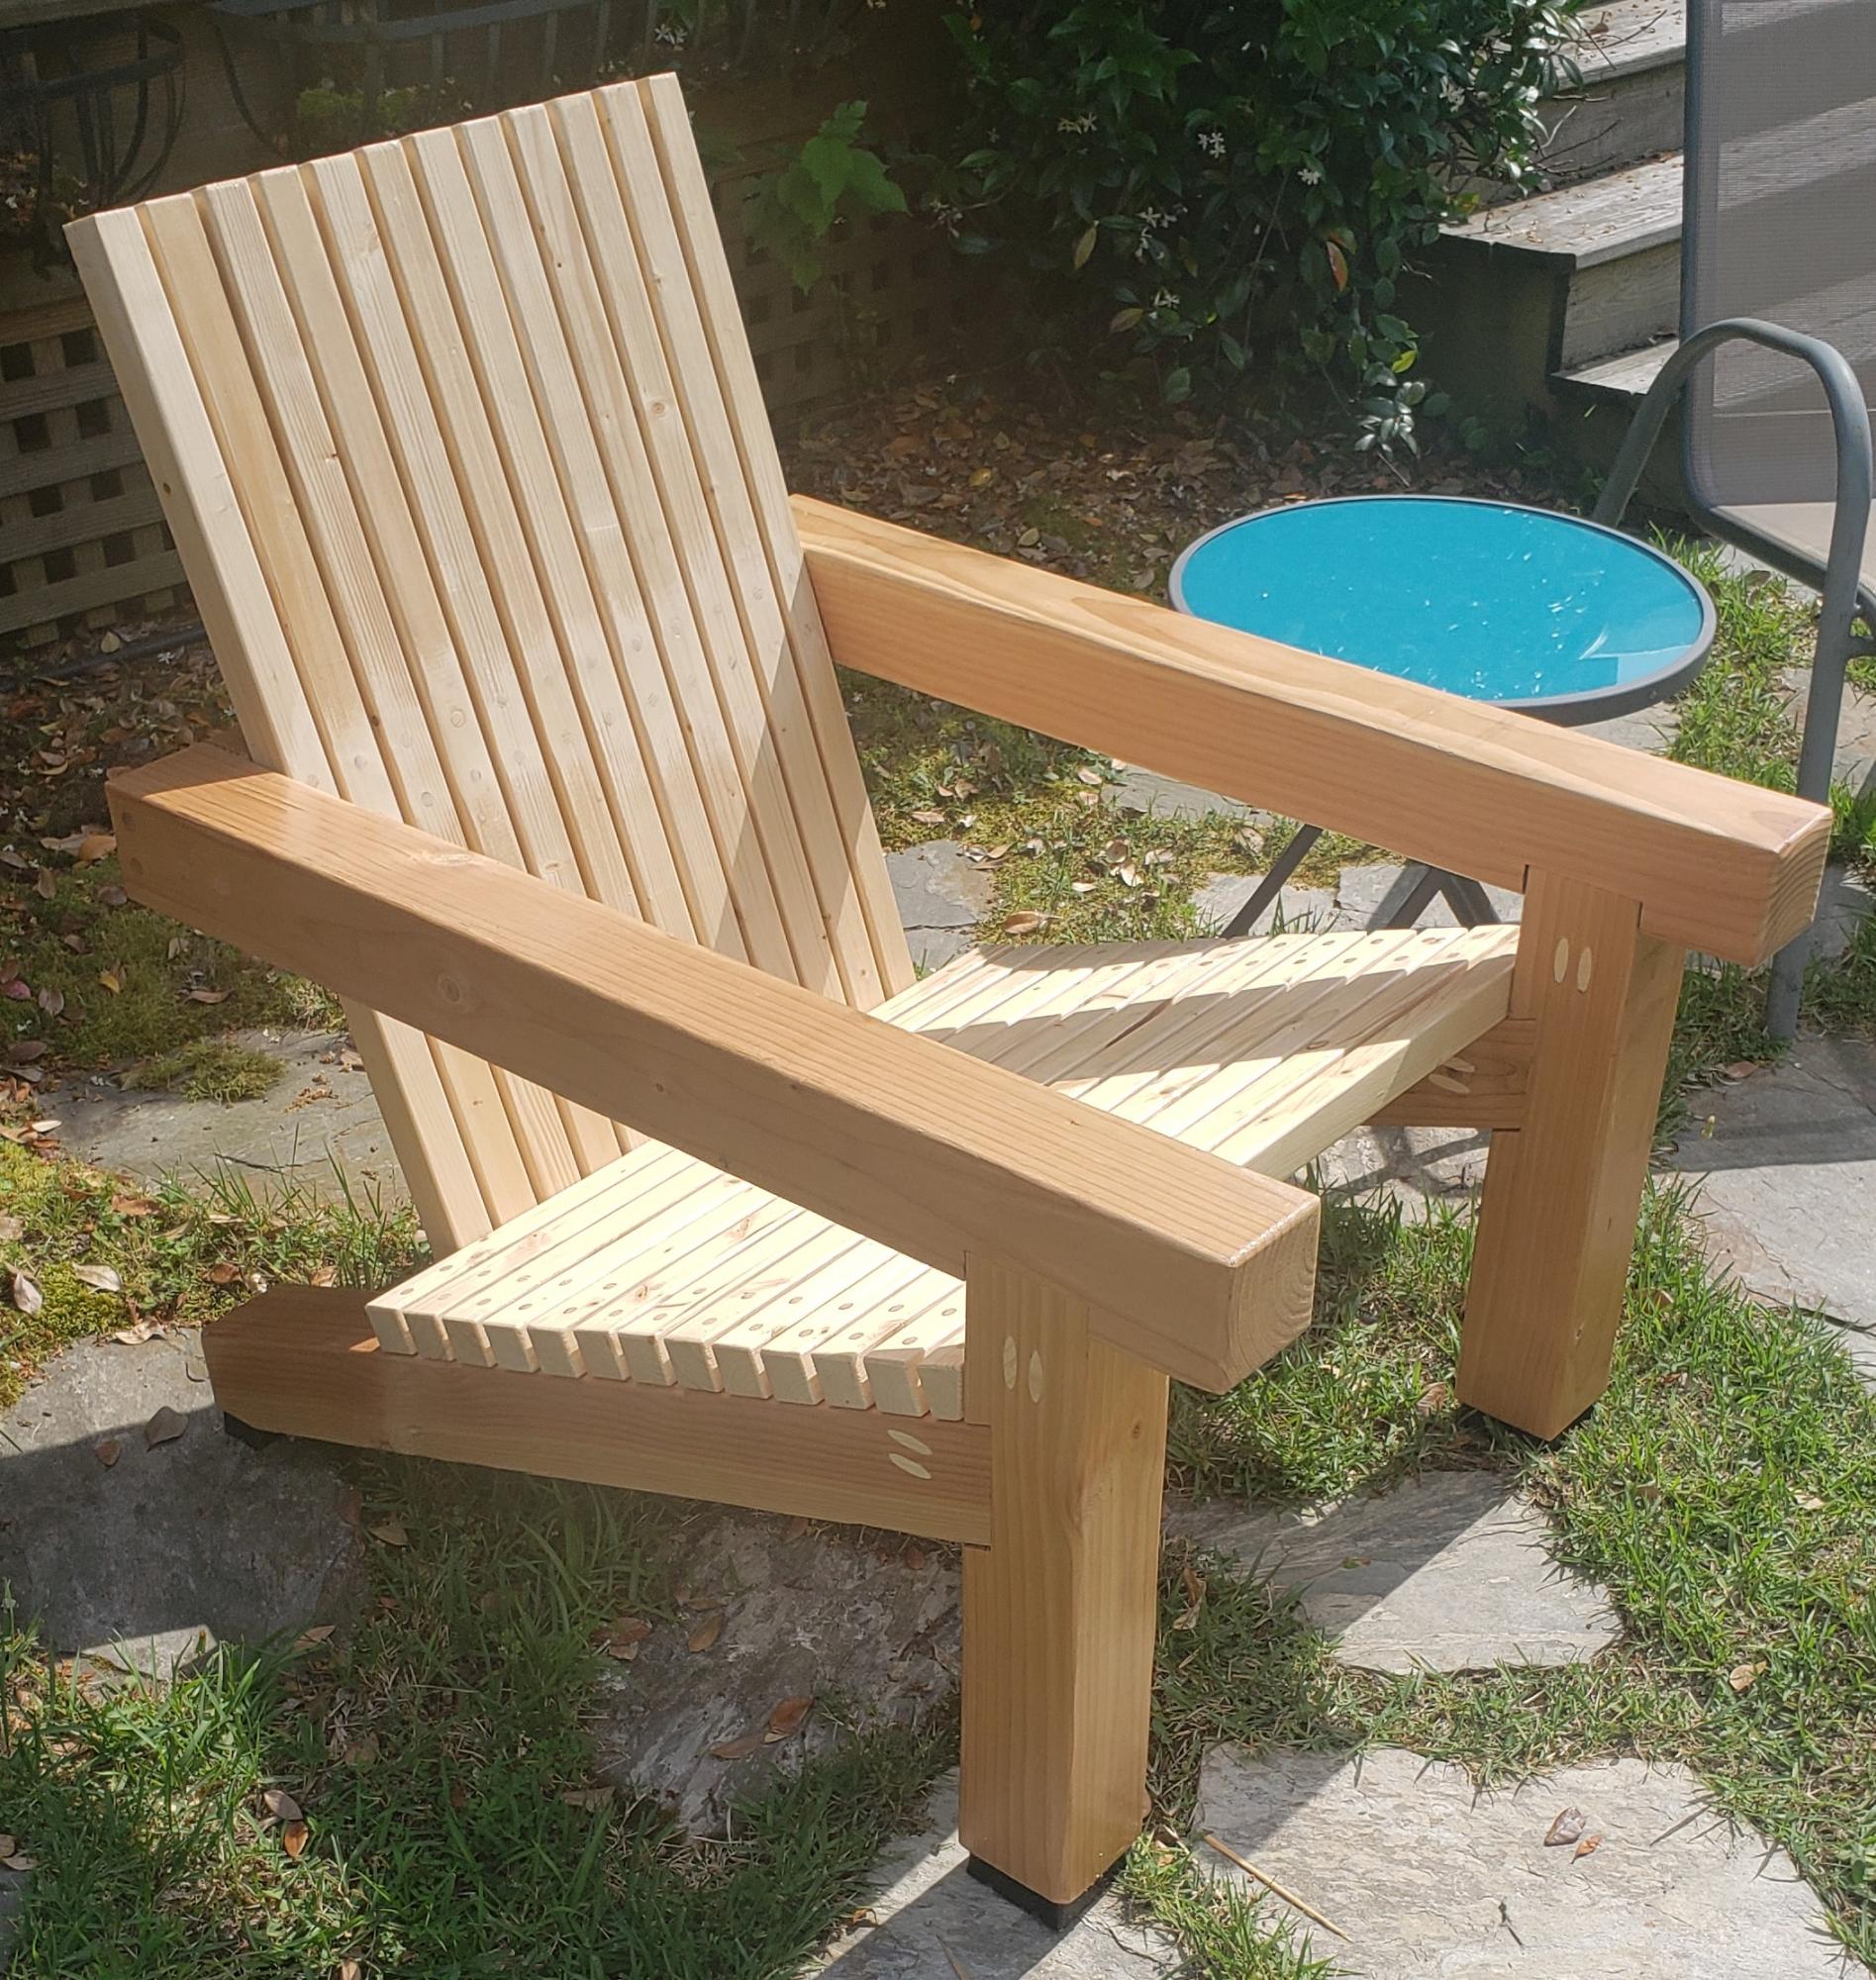
Went beefier.
Built from Plan(s)
Went beefier.
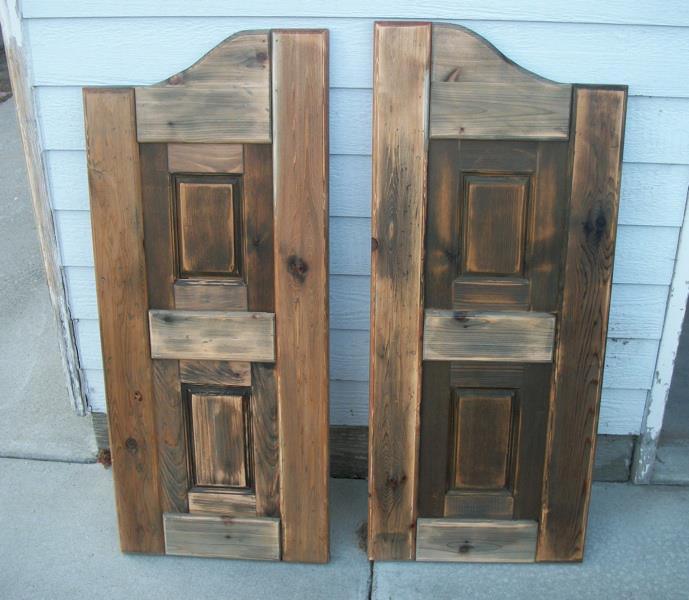
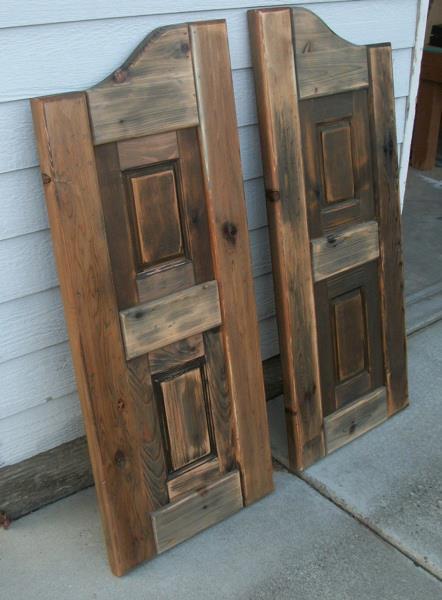
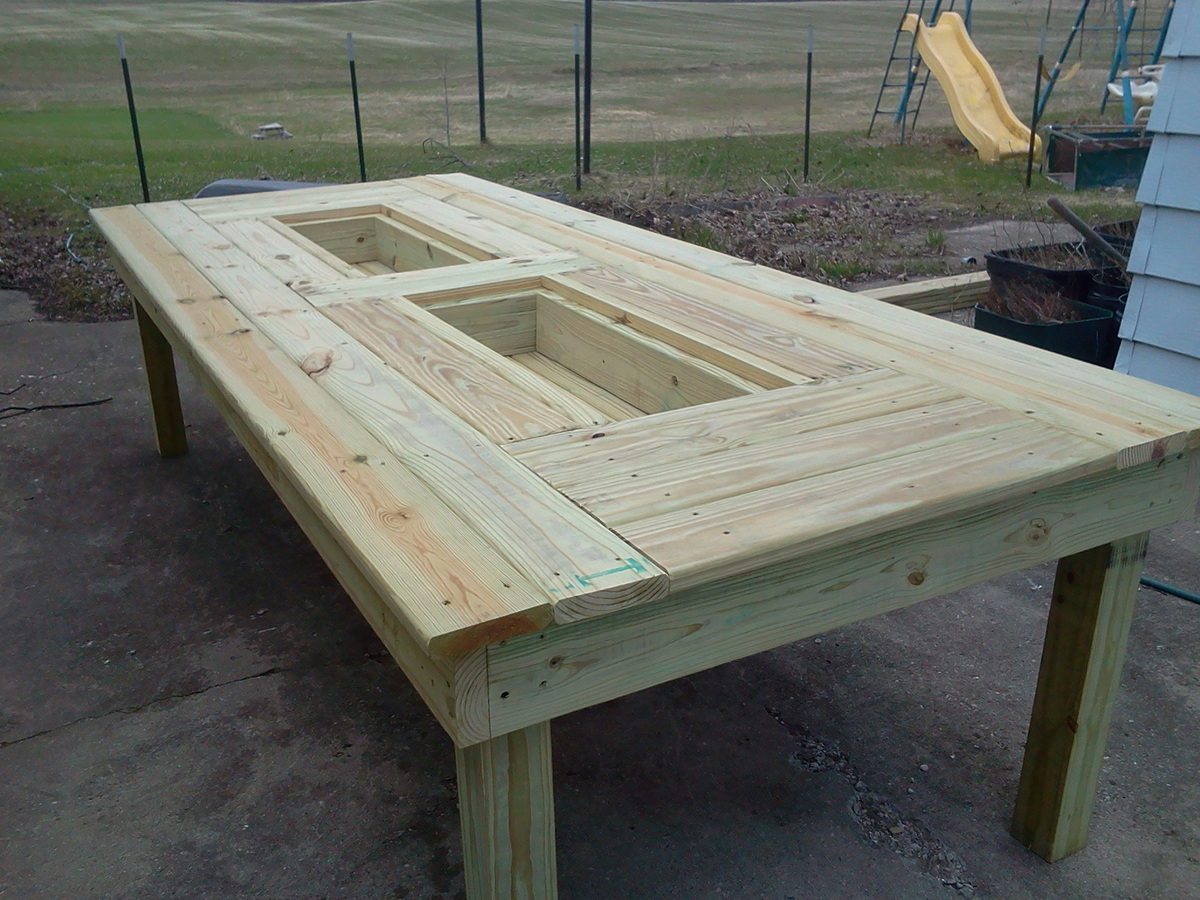
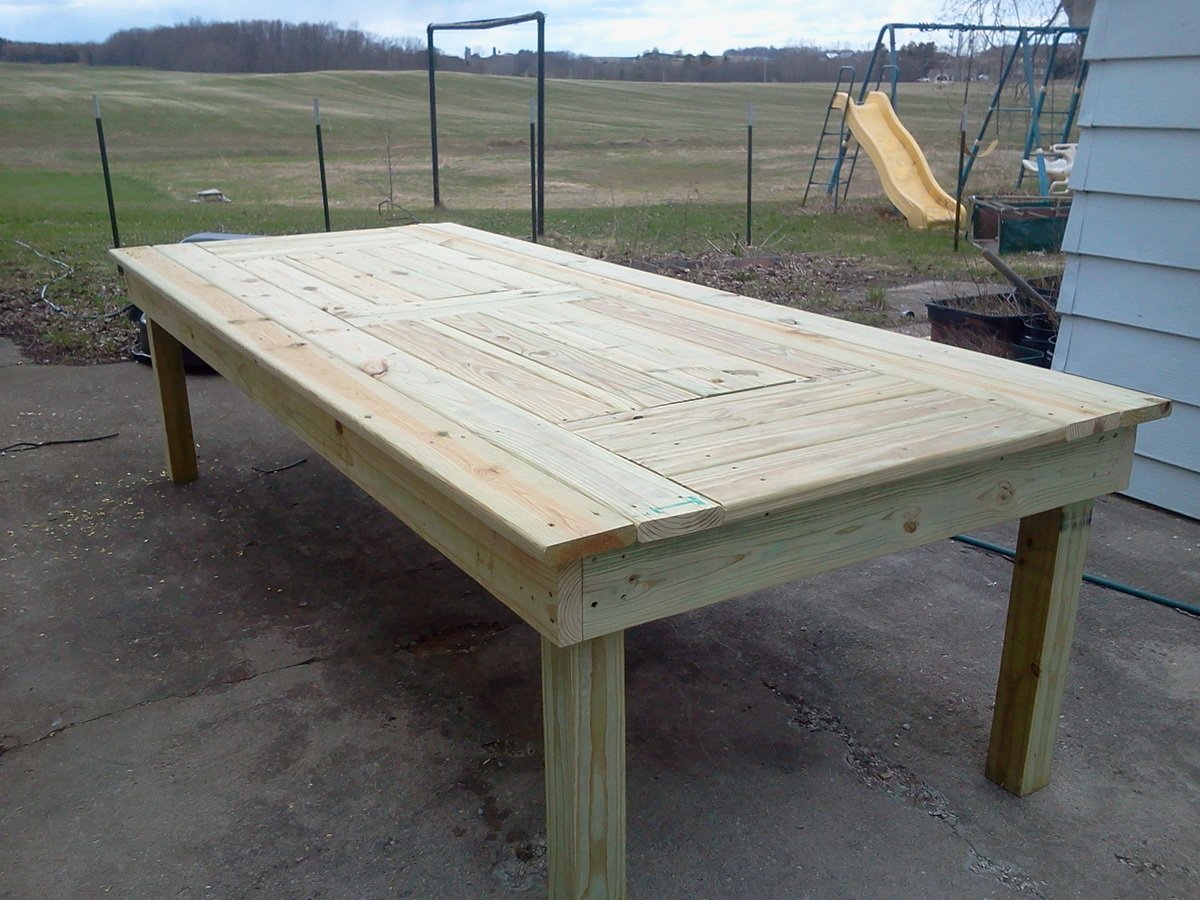
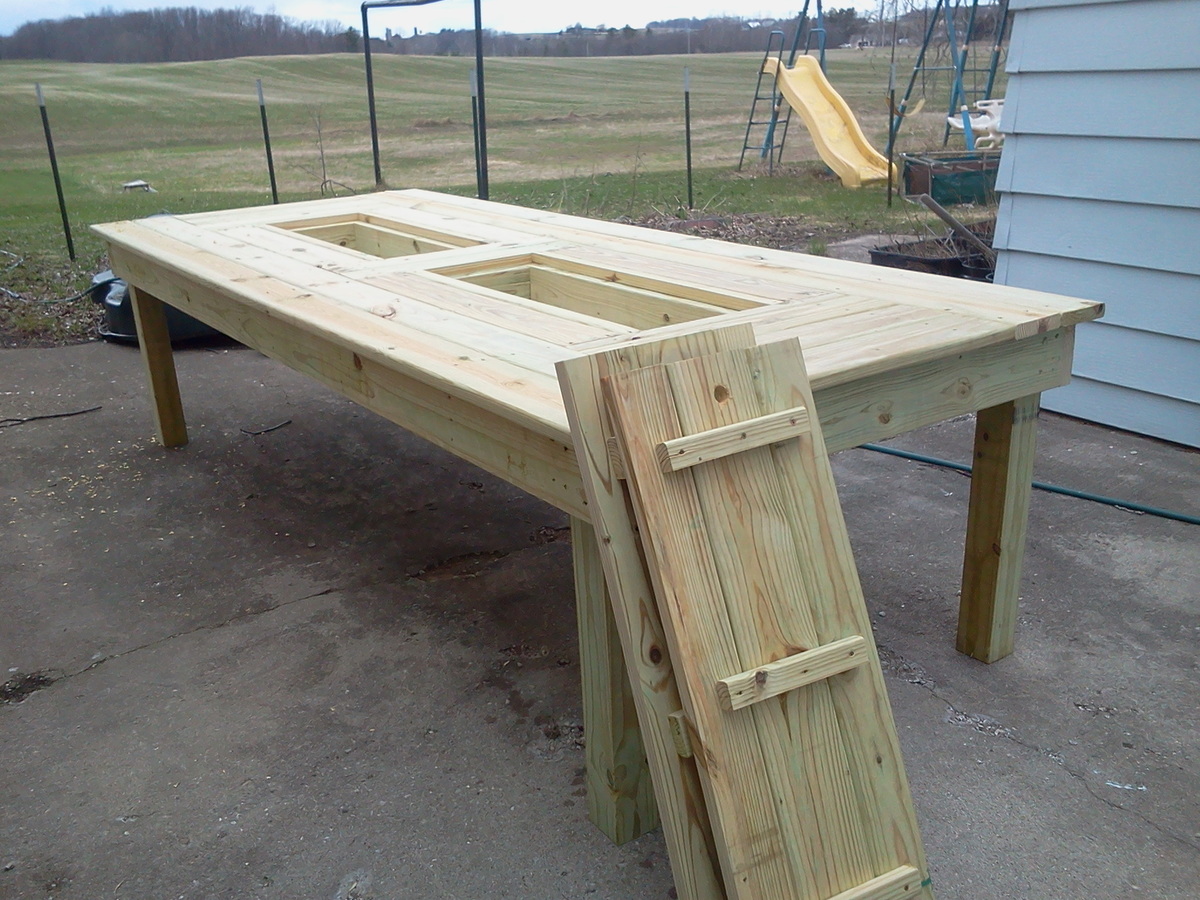
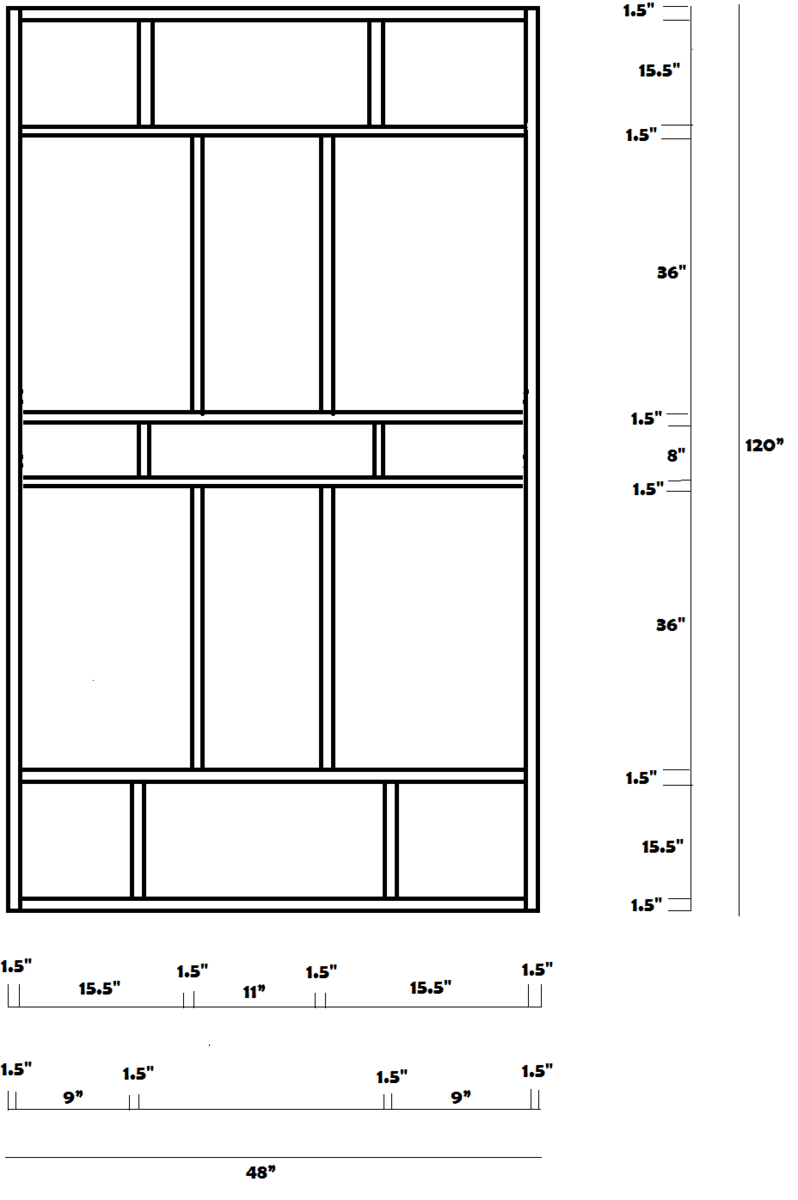
I built these doors for a very good friend of mine who actually helped me get started turning my new love for building (after finding Ana's site) into a way for our family to make some extra money.
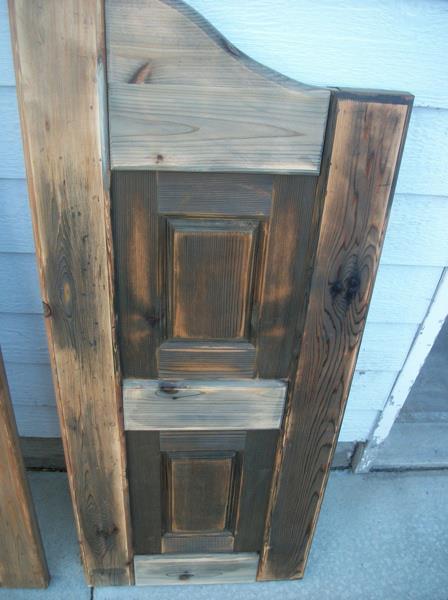
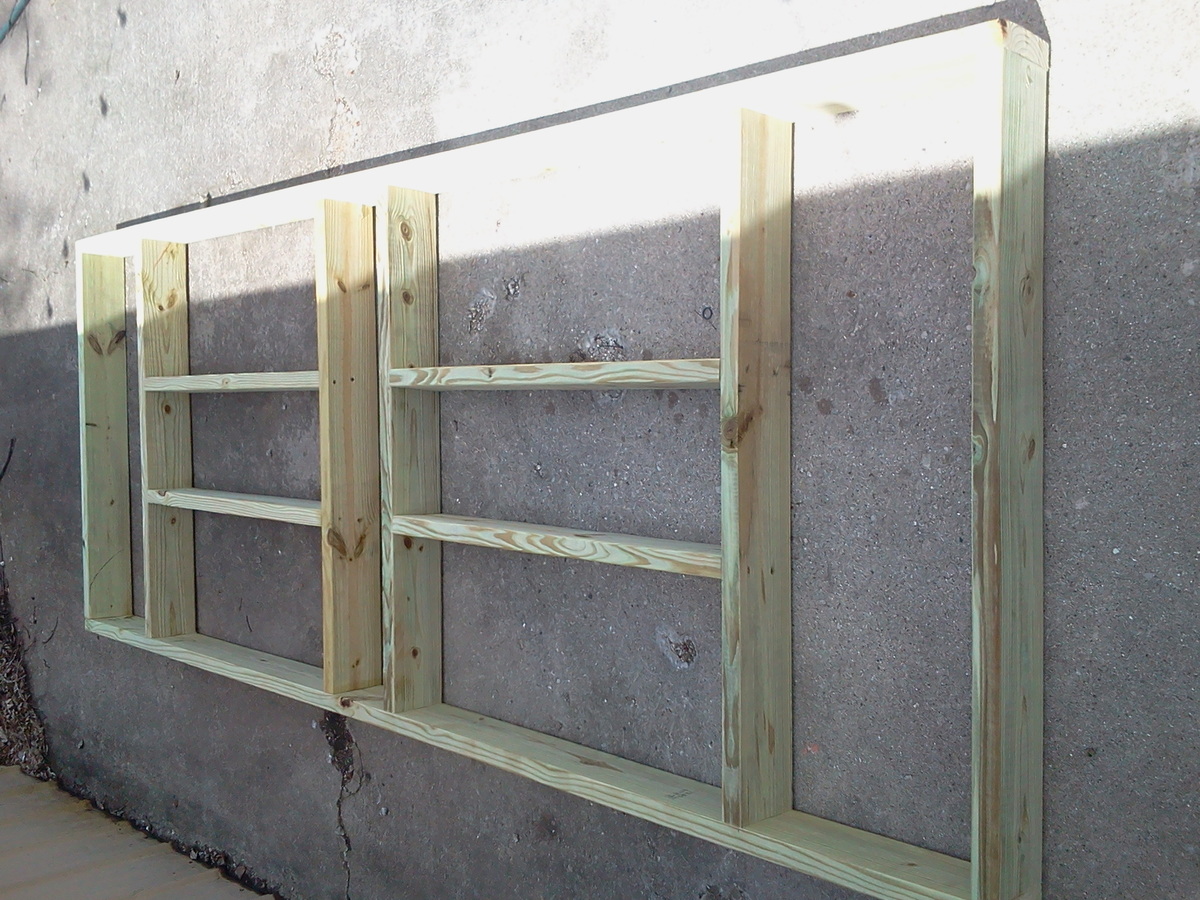
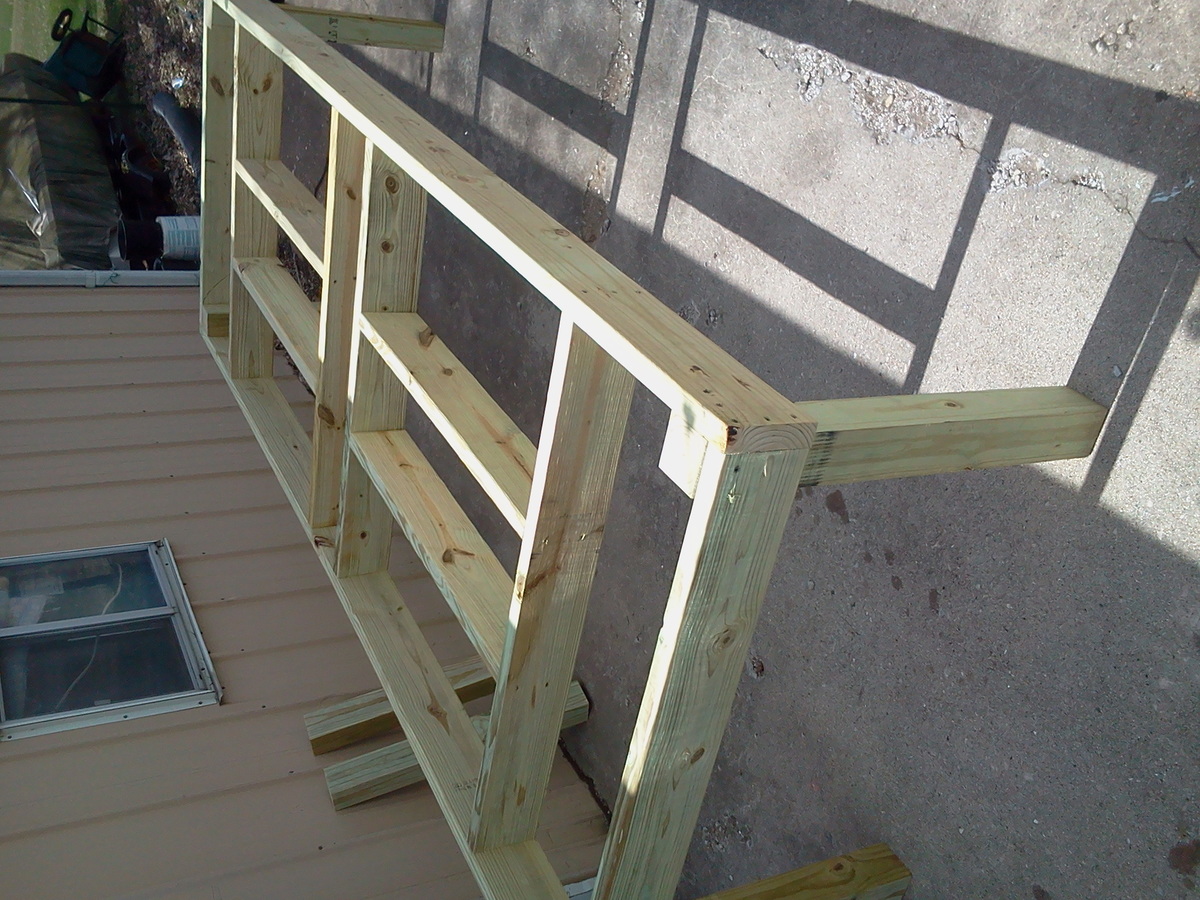
It took me a little while to wrap my brain around building something without using my Kreg Jig. I used a router table set up with some raised panels bits and put the whole thing together with glue and nails! Wonderful experience!
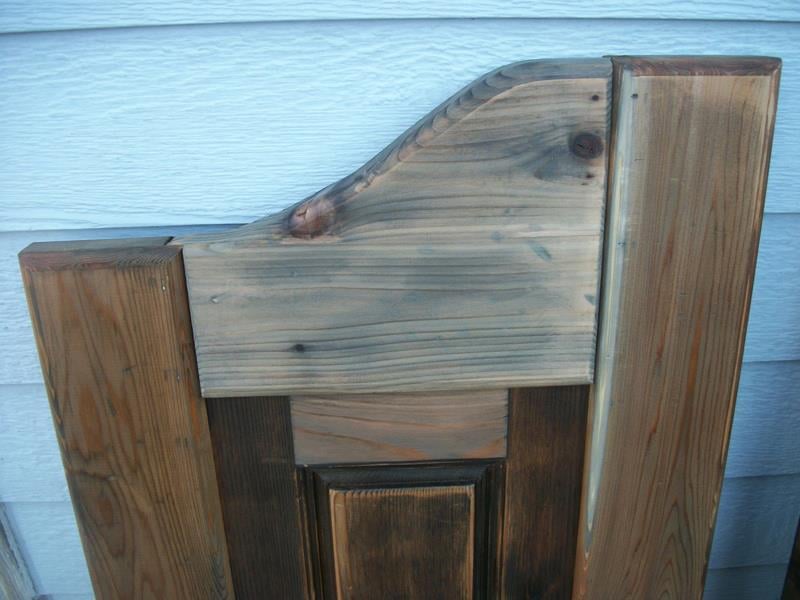
For the finish, I used a vinegar solution to give the cedar wood an old barn look. I think the final result turned out great and the final step was a clear coat sprayed on out of a rattle can.


Thu, 08/02/2012 - 10:51
These turned out great! I haven't seen this style of door in forever! They used to be really popular, I remember my Aunt and Uncle having these in the entry to their kitchen. They were the coolest thing ever when I was a kid! Maybe they are a making a comeback?
I'm really impressed with your routing skills, that's a task I have yet to tackle, but I've got the bits laying around waiting.
Nice job!

Thu, 08/02/2012 - 21:10
Thanks a bunch! My friend is replacing an old set of louvered doors that went into her laundry room. Her family are farmers and rodeo people so the western decor really fits in their house. Great western stuff there. They made a chandelier out of a wagon wheel! Really cool!
This was my first attempt at routing so I really appreciate your compliment! It's really simple if you can get the basics of it. I'm sure you'll do just fine when you get to that point. If I can do it, anyone can do it! Thanks again!!
Mon, 01/23/2017 - 09:32
I really want to try and build this for a closet. Are there any instructions for this? This is the first door of this style that I have come across that I absolutely love.
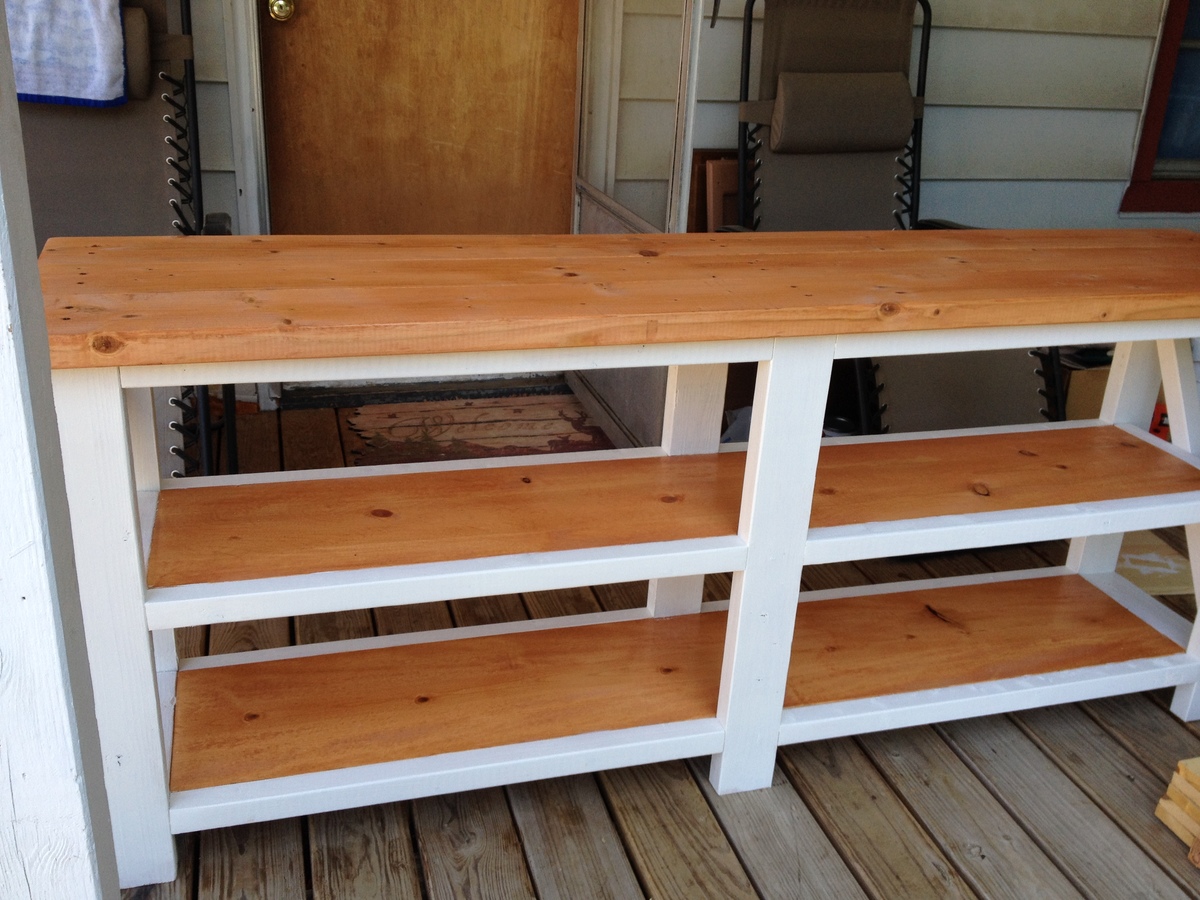
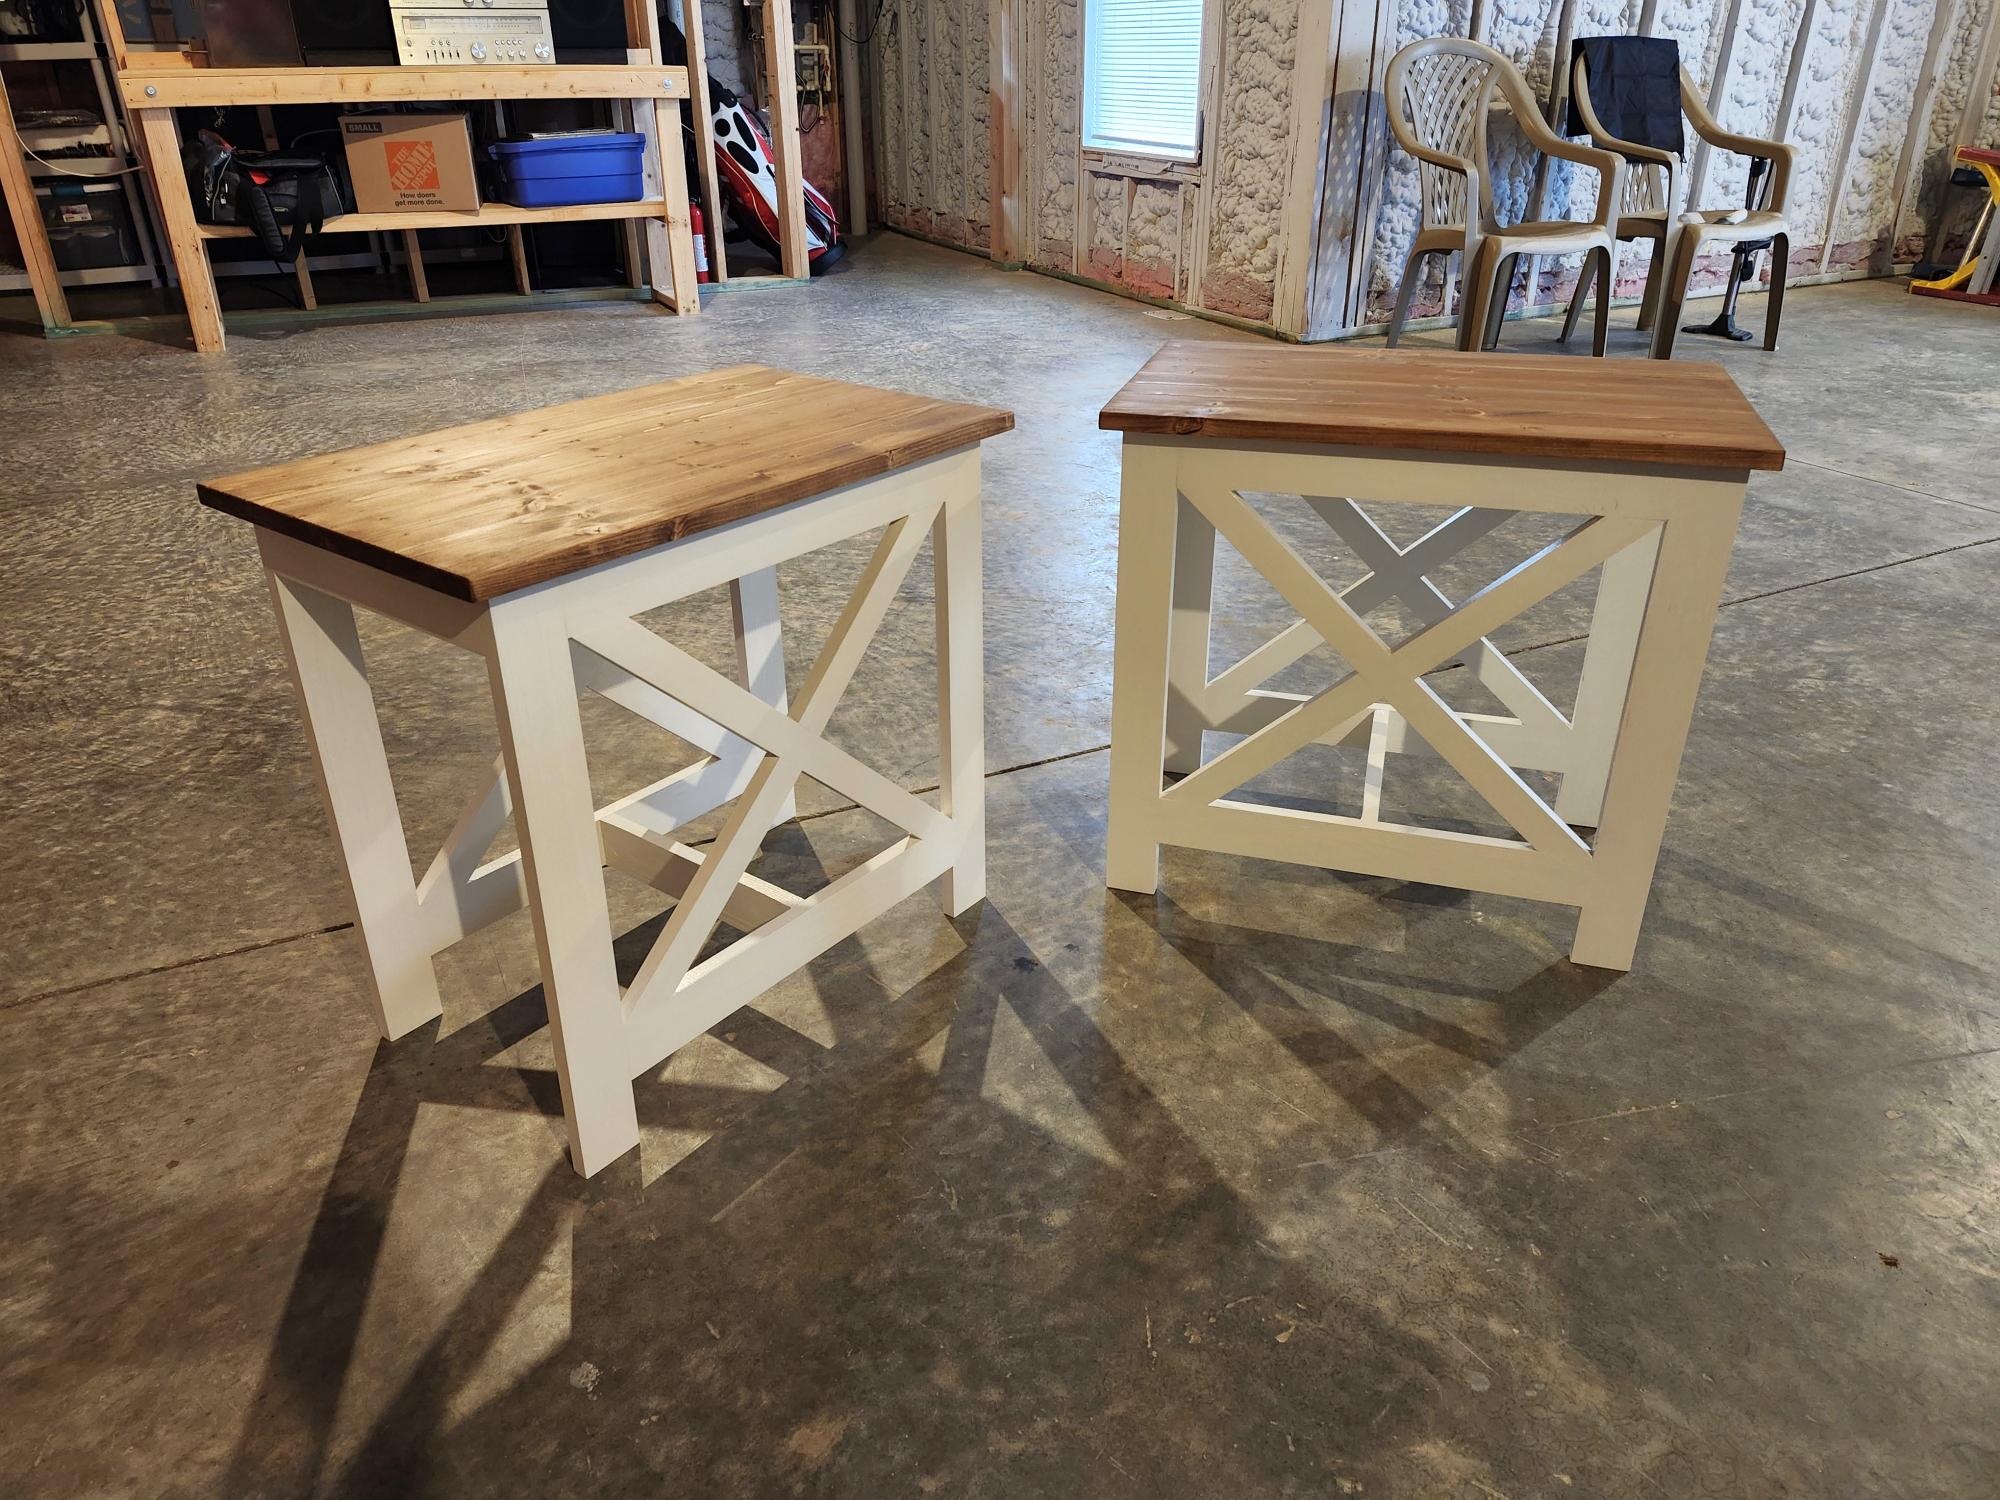
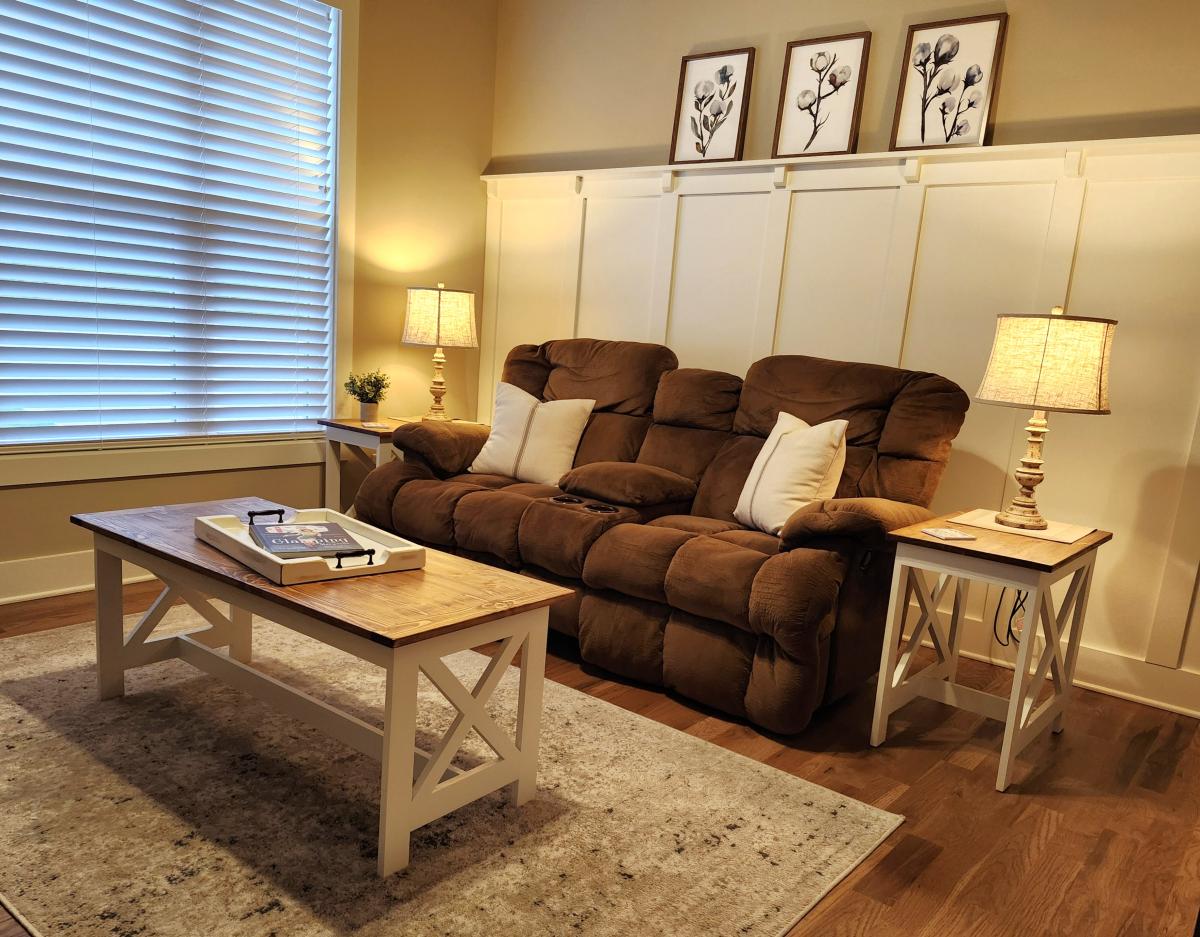
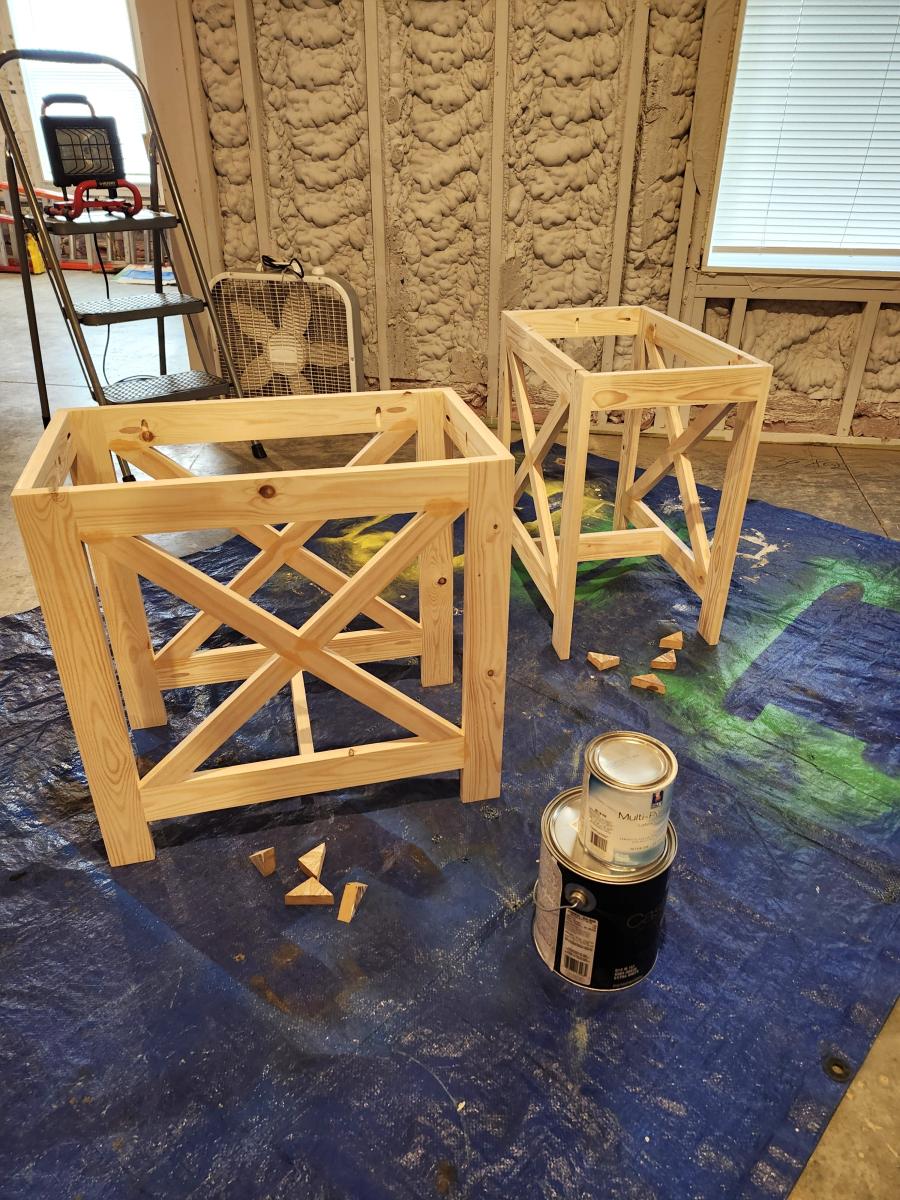
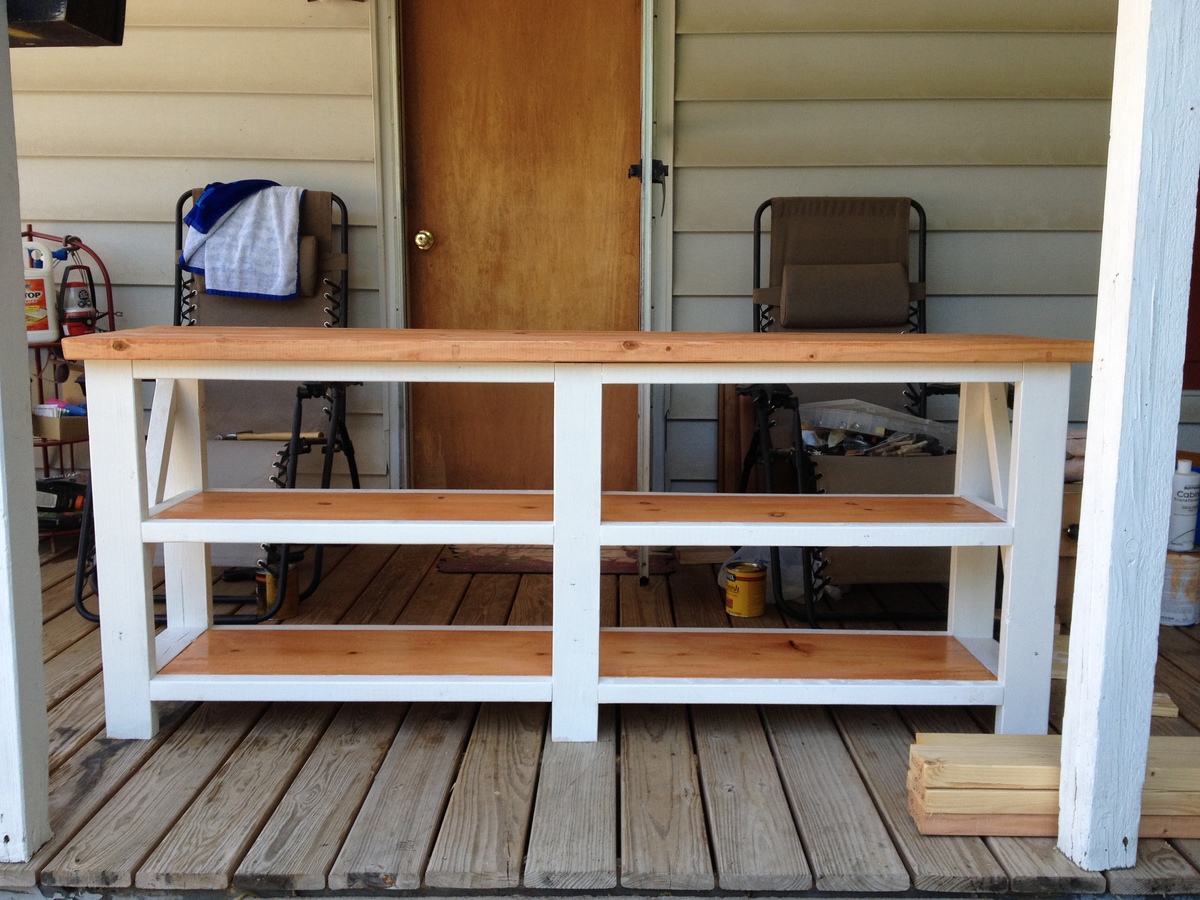
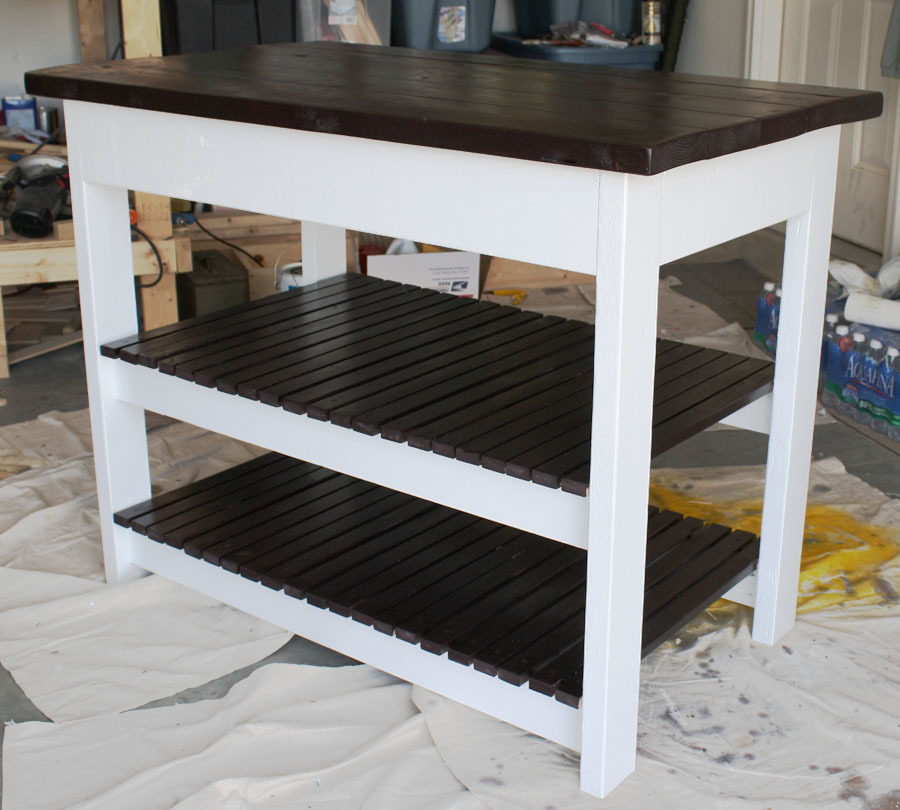
I took the plans from the Fancy X Console table and made all but the end "X's". I painted the legs and trim with a vanilla white, and stained the top and shelves with a golden pecan. Turned out great and looked amazing in the house of the woman I made it for......AKA my mother.
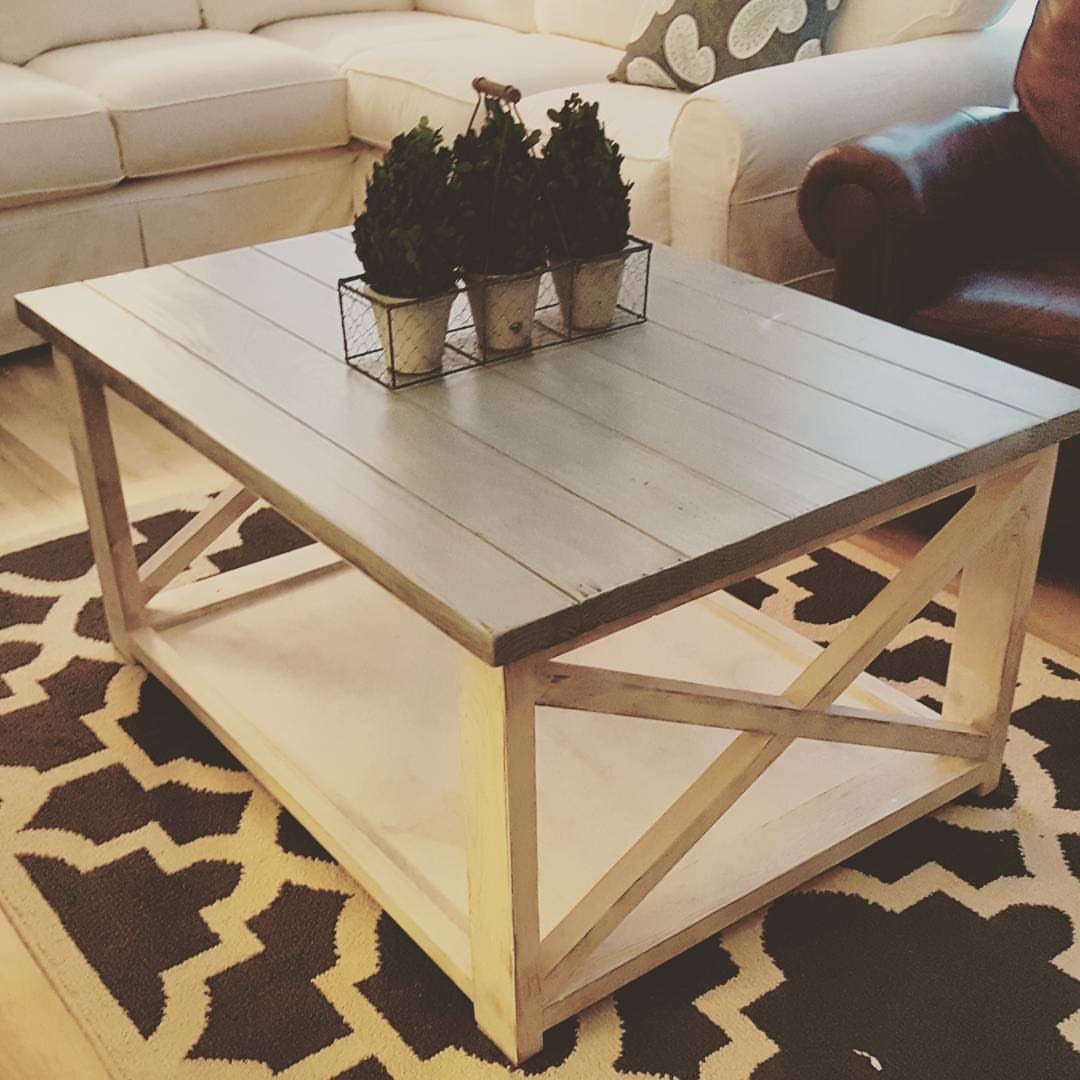
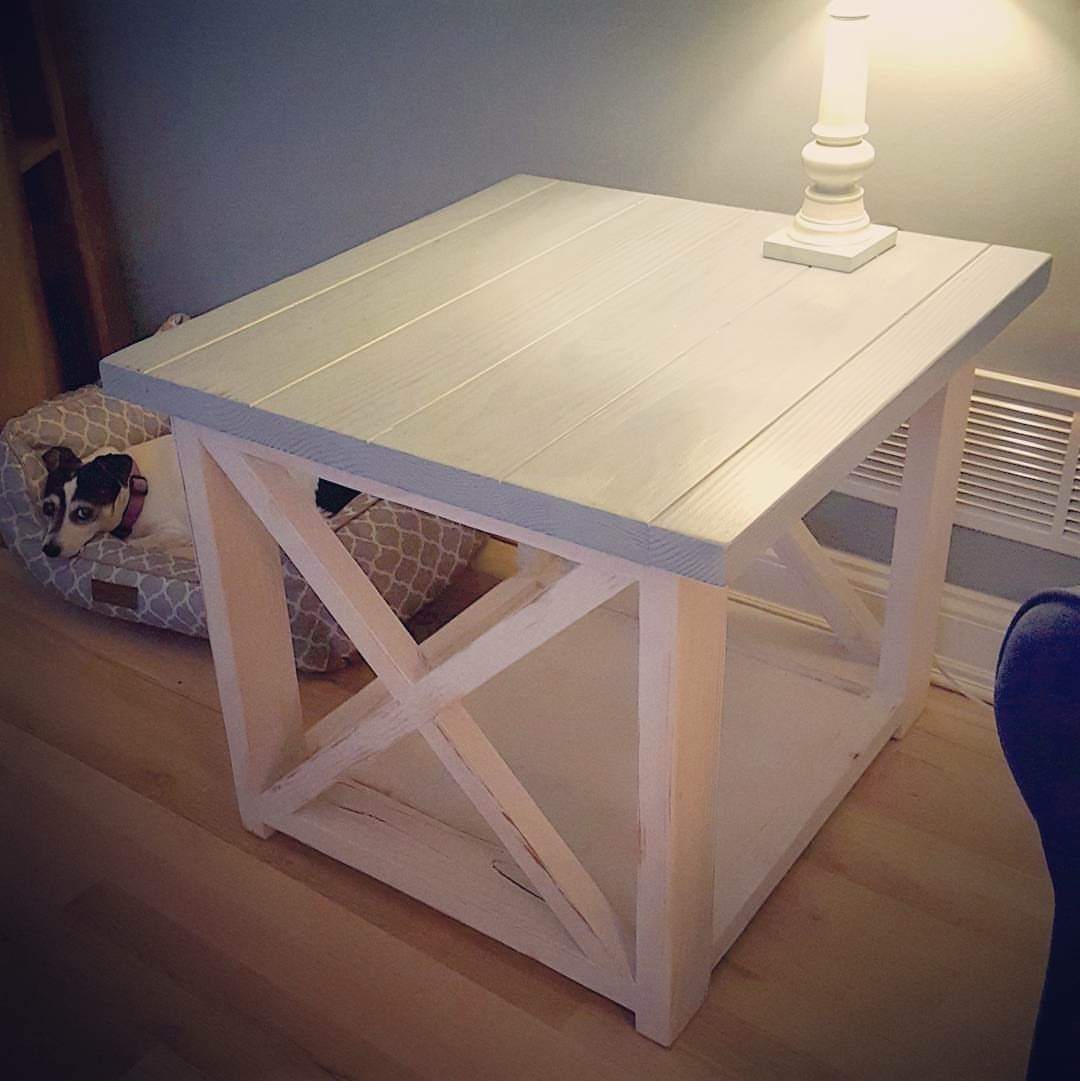
I really appreciated the build article. I customized the sizes and used plywood for the bottom shelves. I oxidized but painted with milk paint then sanded to distress. I also only painted one coat to still see some grain. I top coated with water based poly.
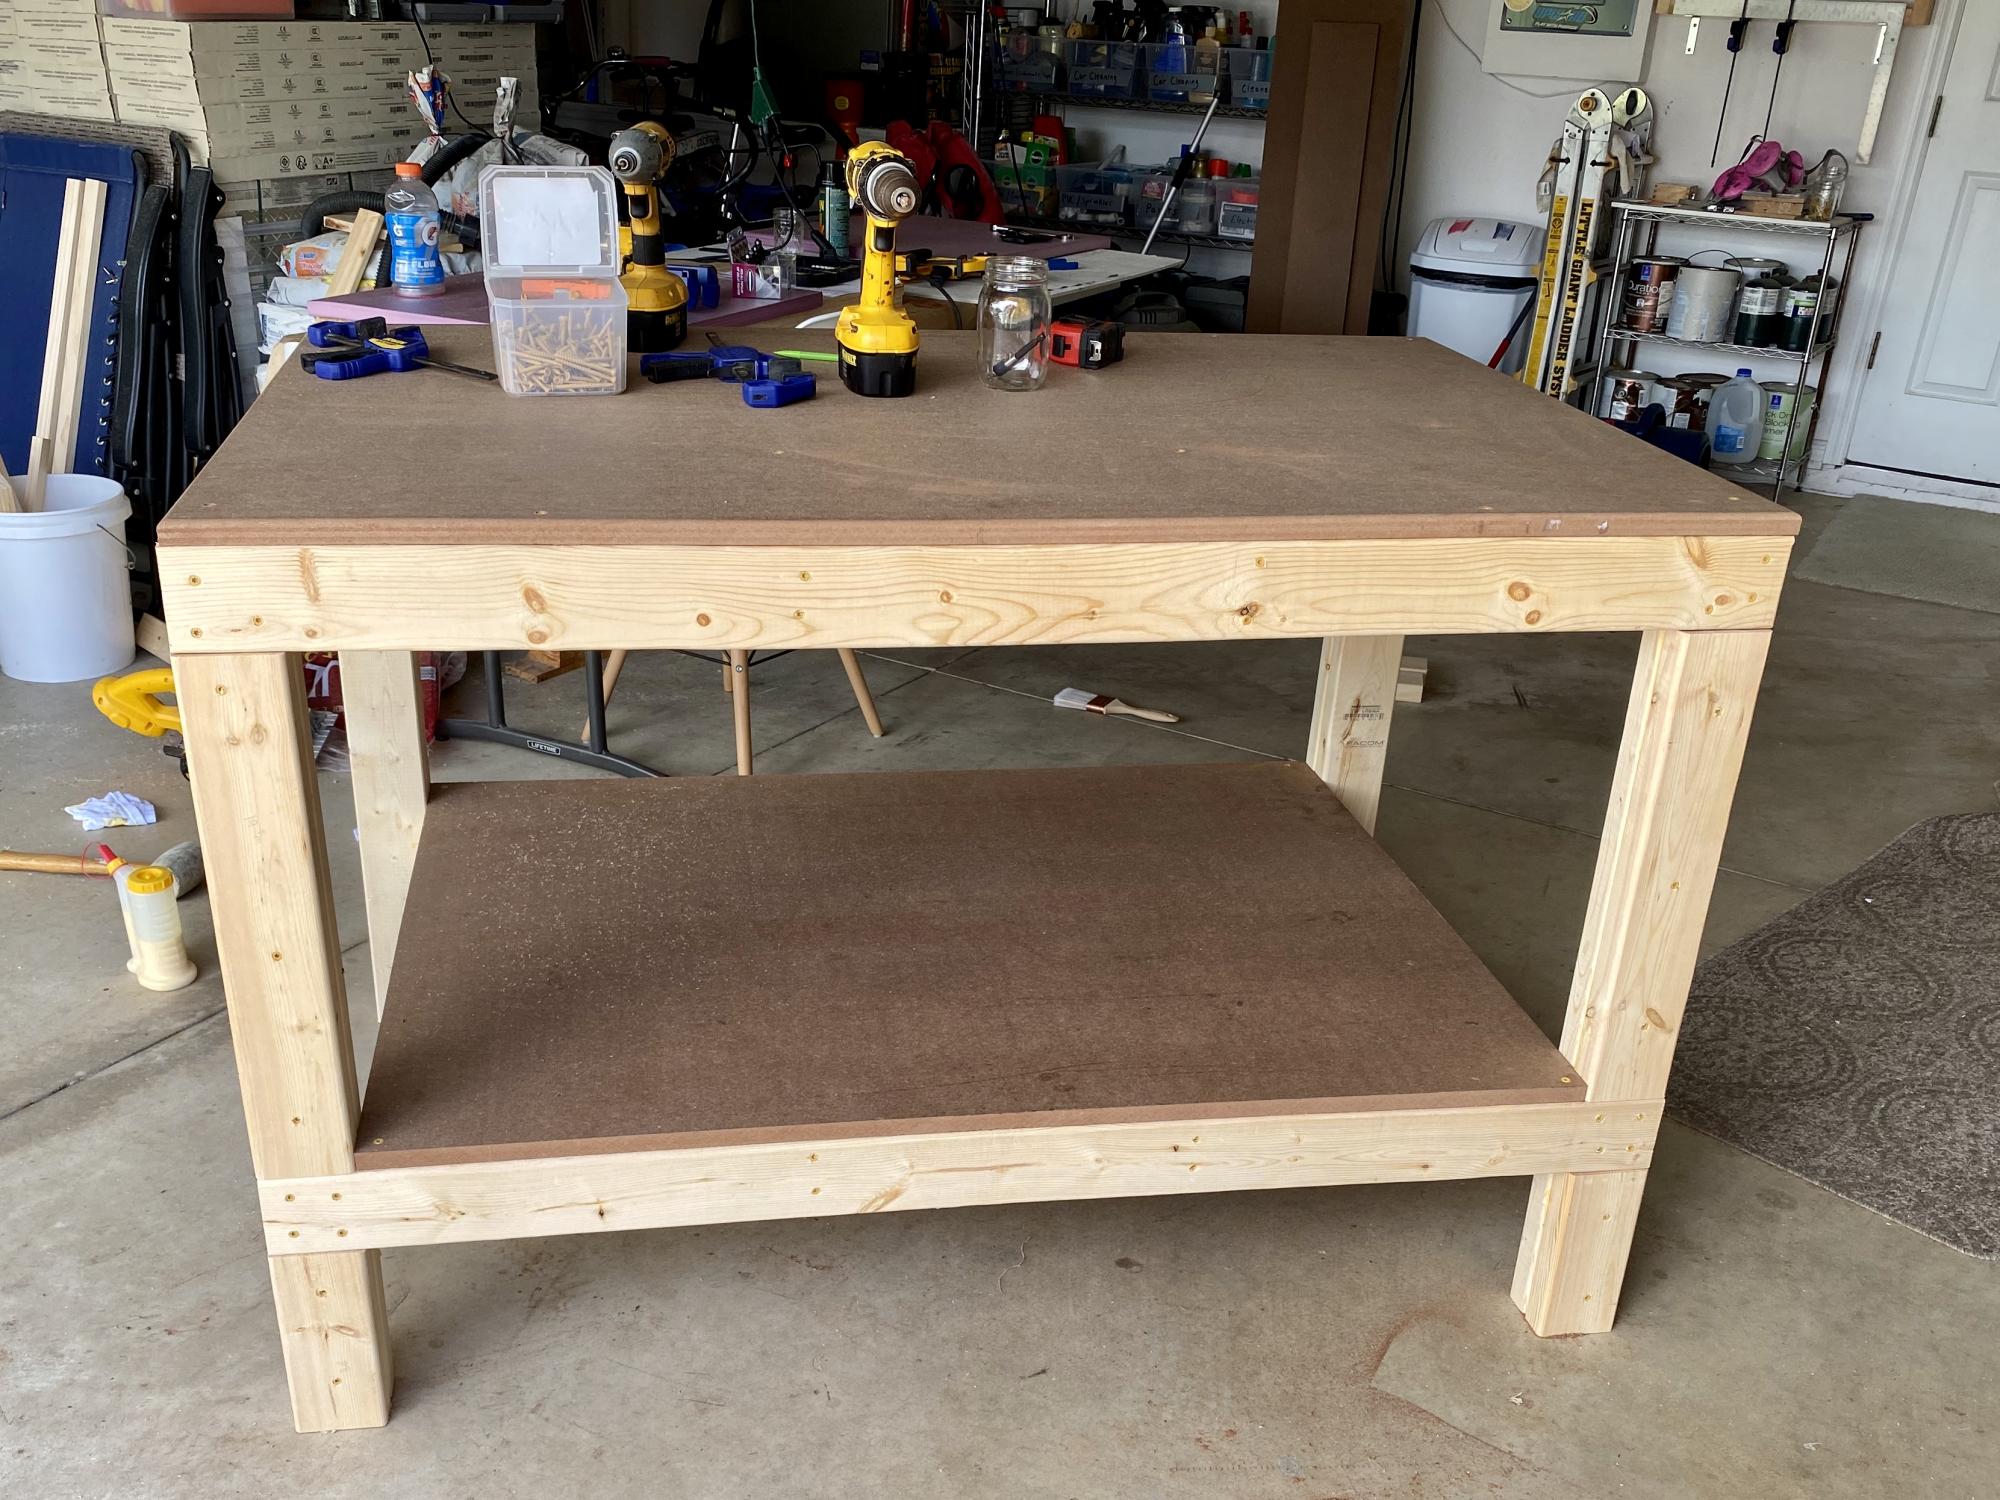
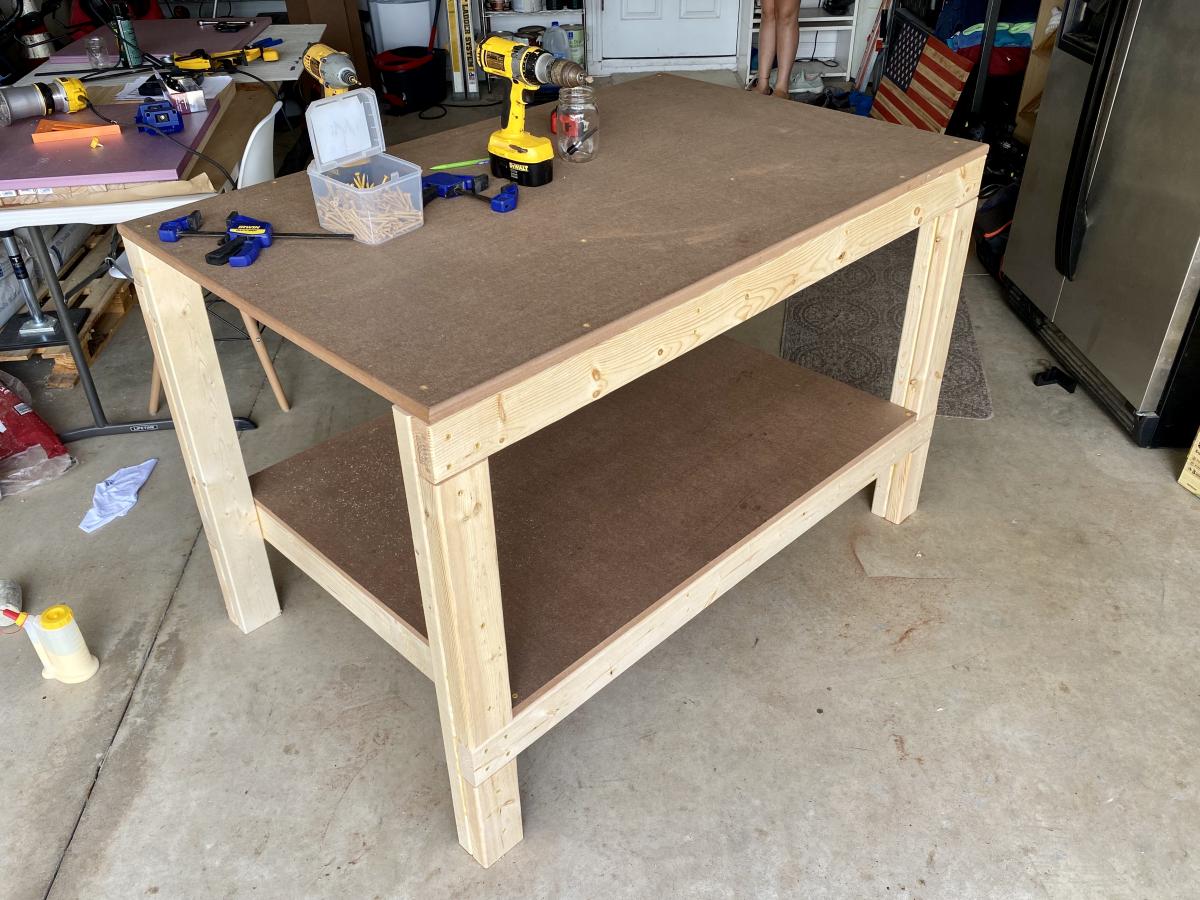
I have been tinkering with a few projects for months doing most of my work on a foldout 6 foot table. Needless to say, this table was not the ideal work space or level surface for that matter. Decided to go ahead and make myself this work bench. I opted to use MDF rather than plywood for my top. All the plans were right on and everything came together without a hitch. The bench height is perfect and my back is thankful for it. Thank you and keep up the great work, Ana.
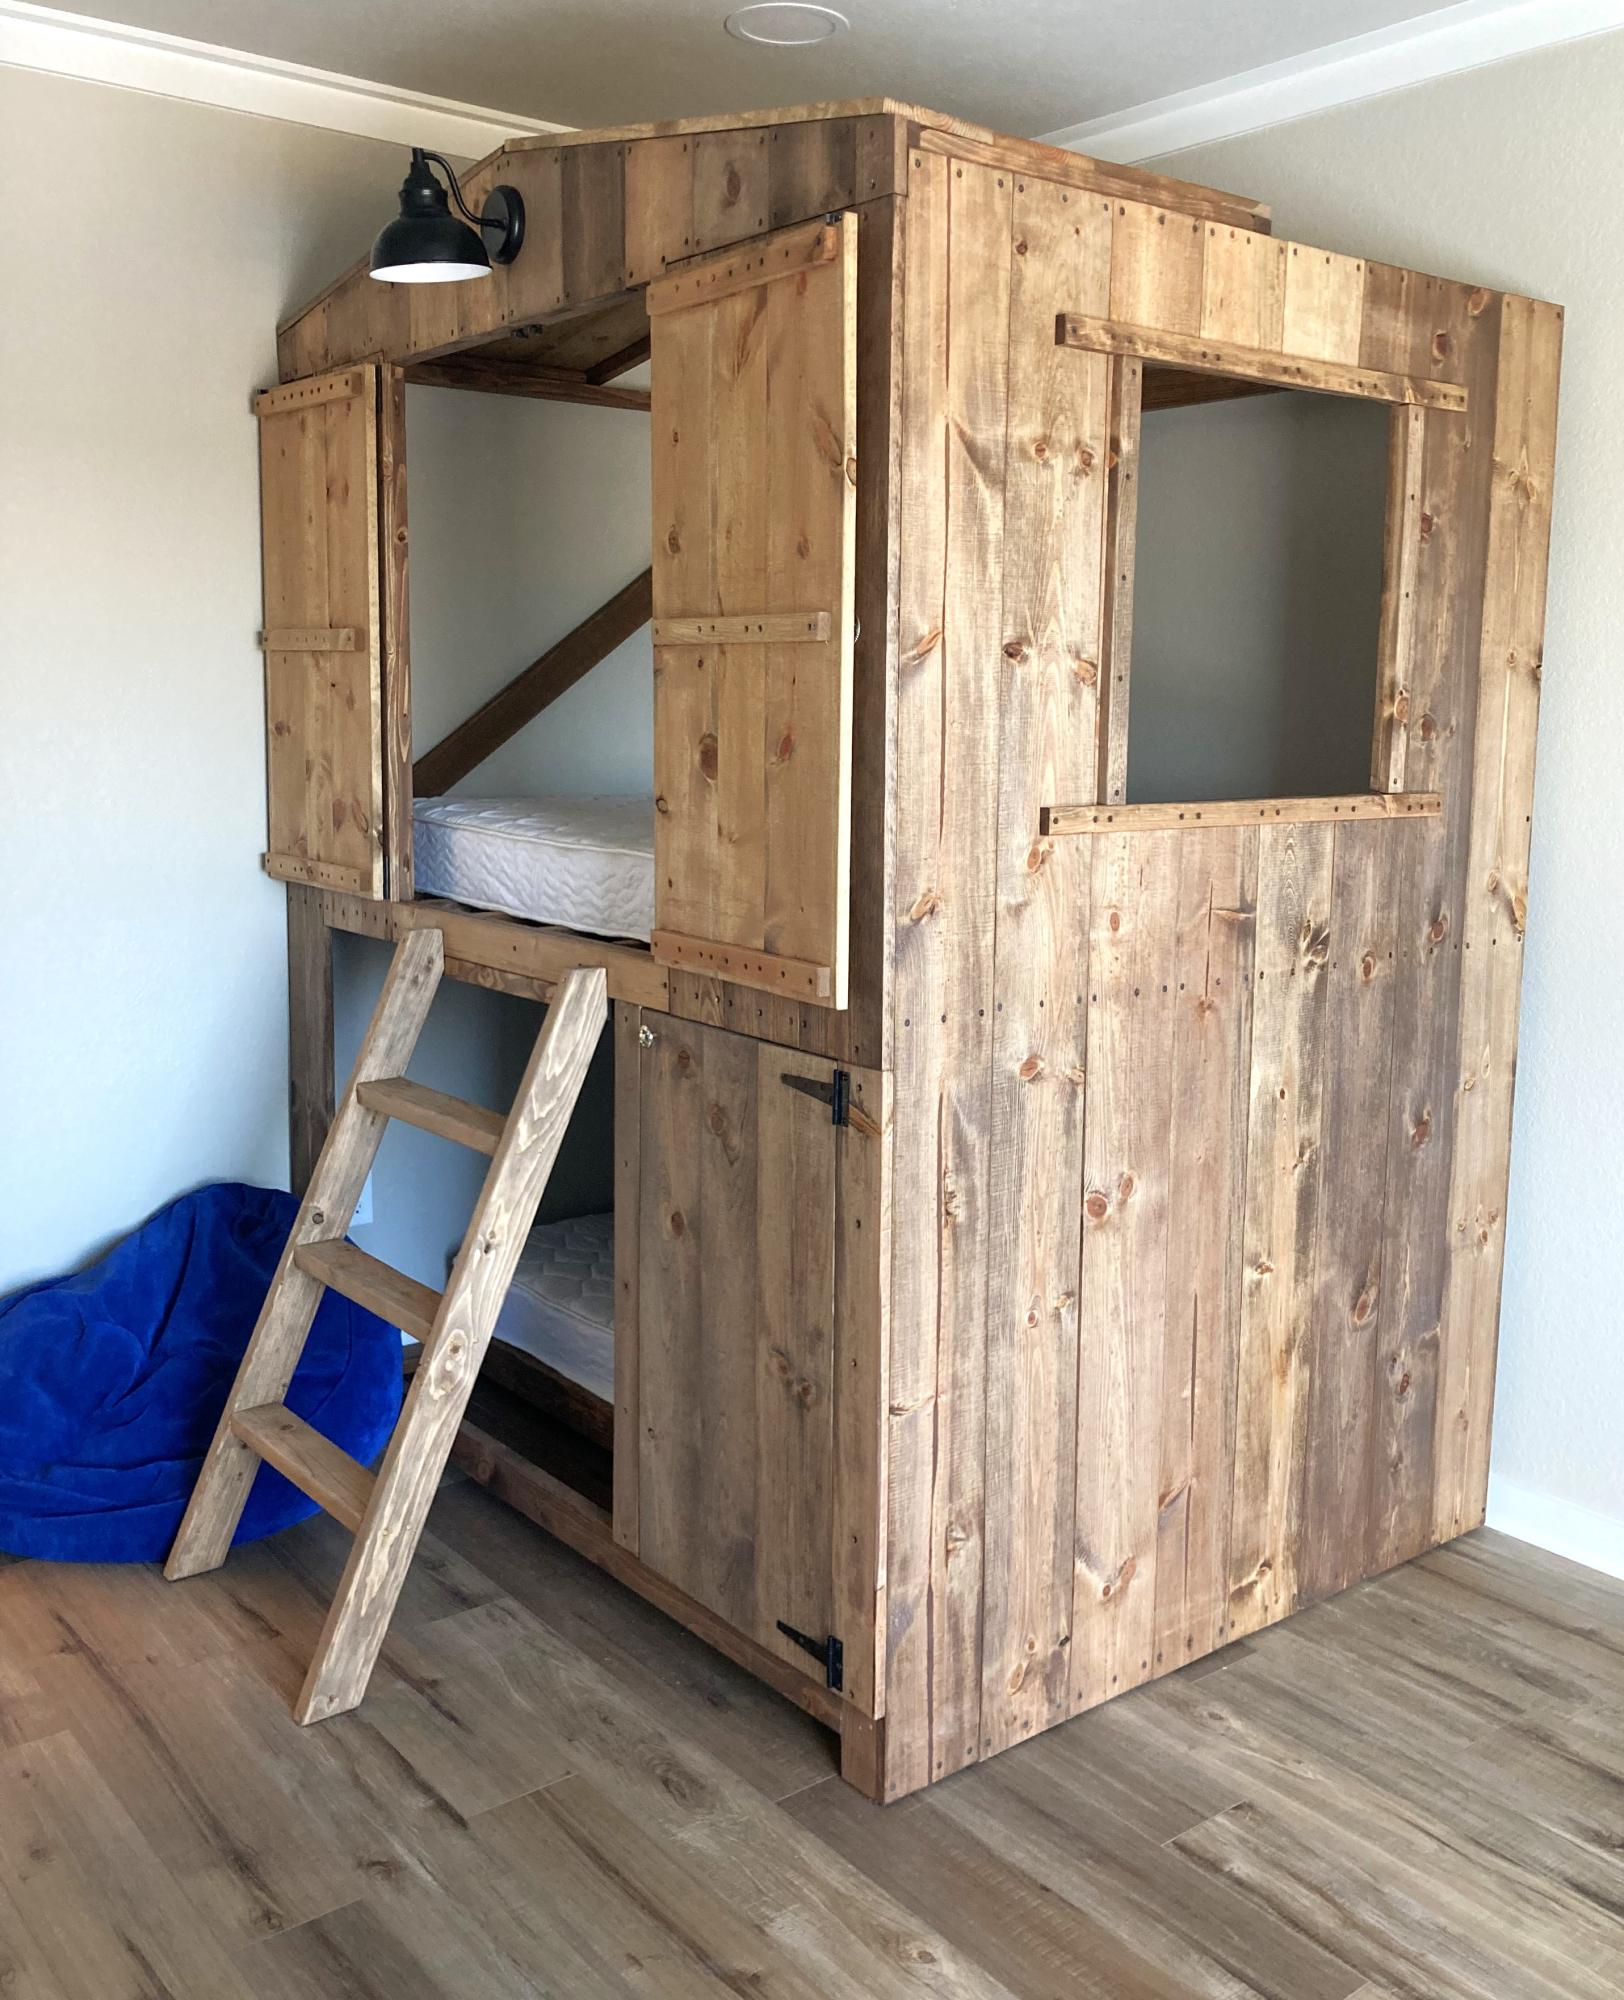
I saw this and built it for our oldest grandson . He is 8. My wife and I have built 6 different beds for our grandchildren ages 2 - 8 plus numerous other projects for their parents . Having a lot of fun with woodworking and this website.
Fig Tree Lane [email protected]
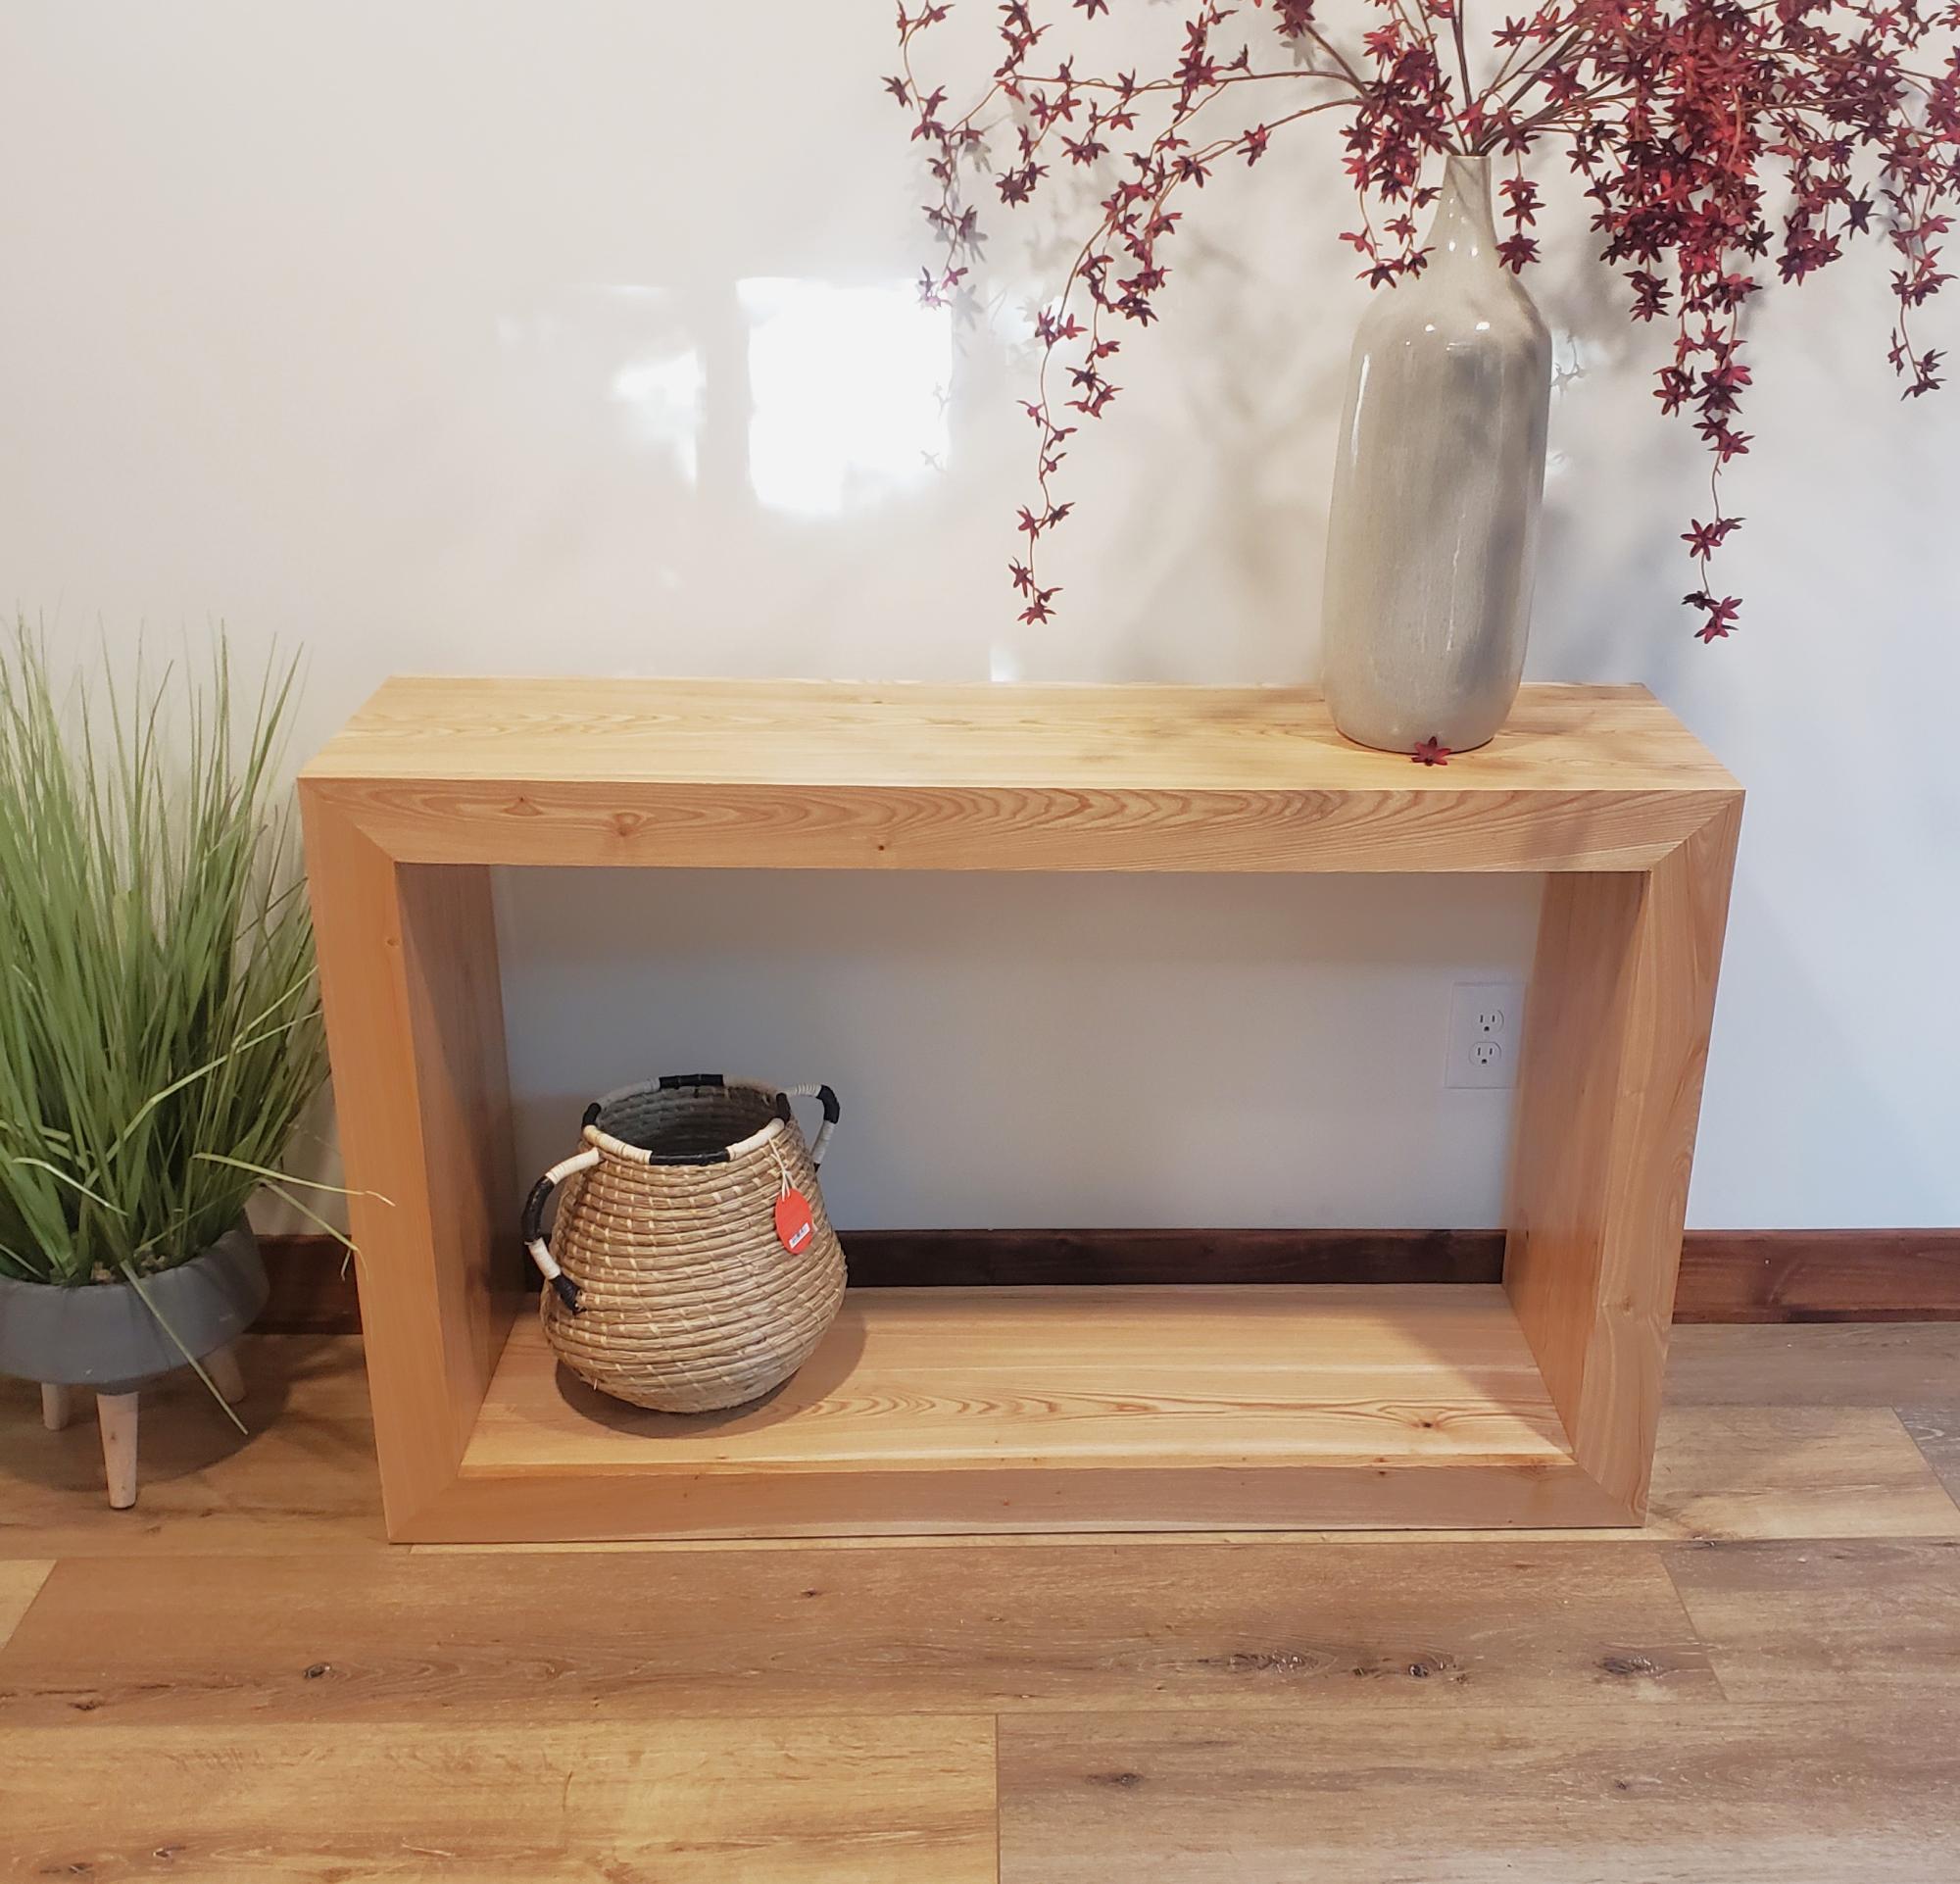
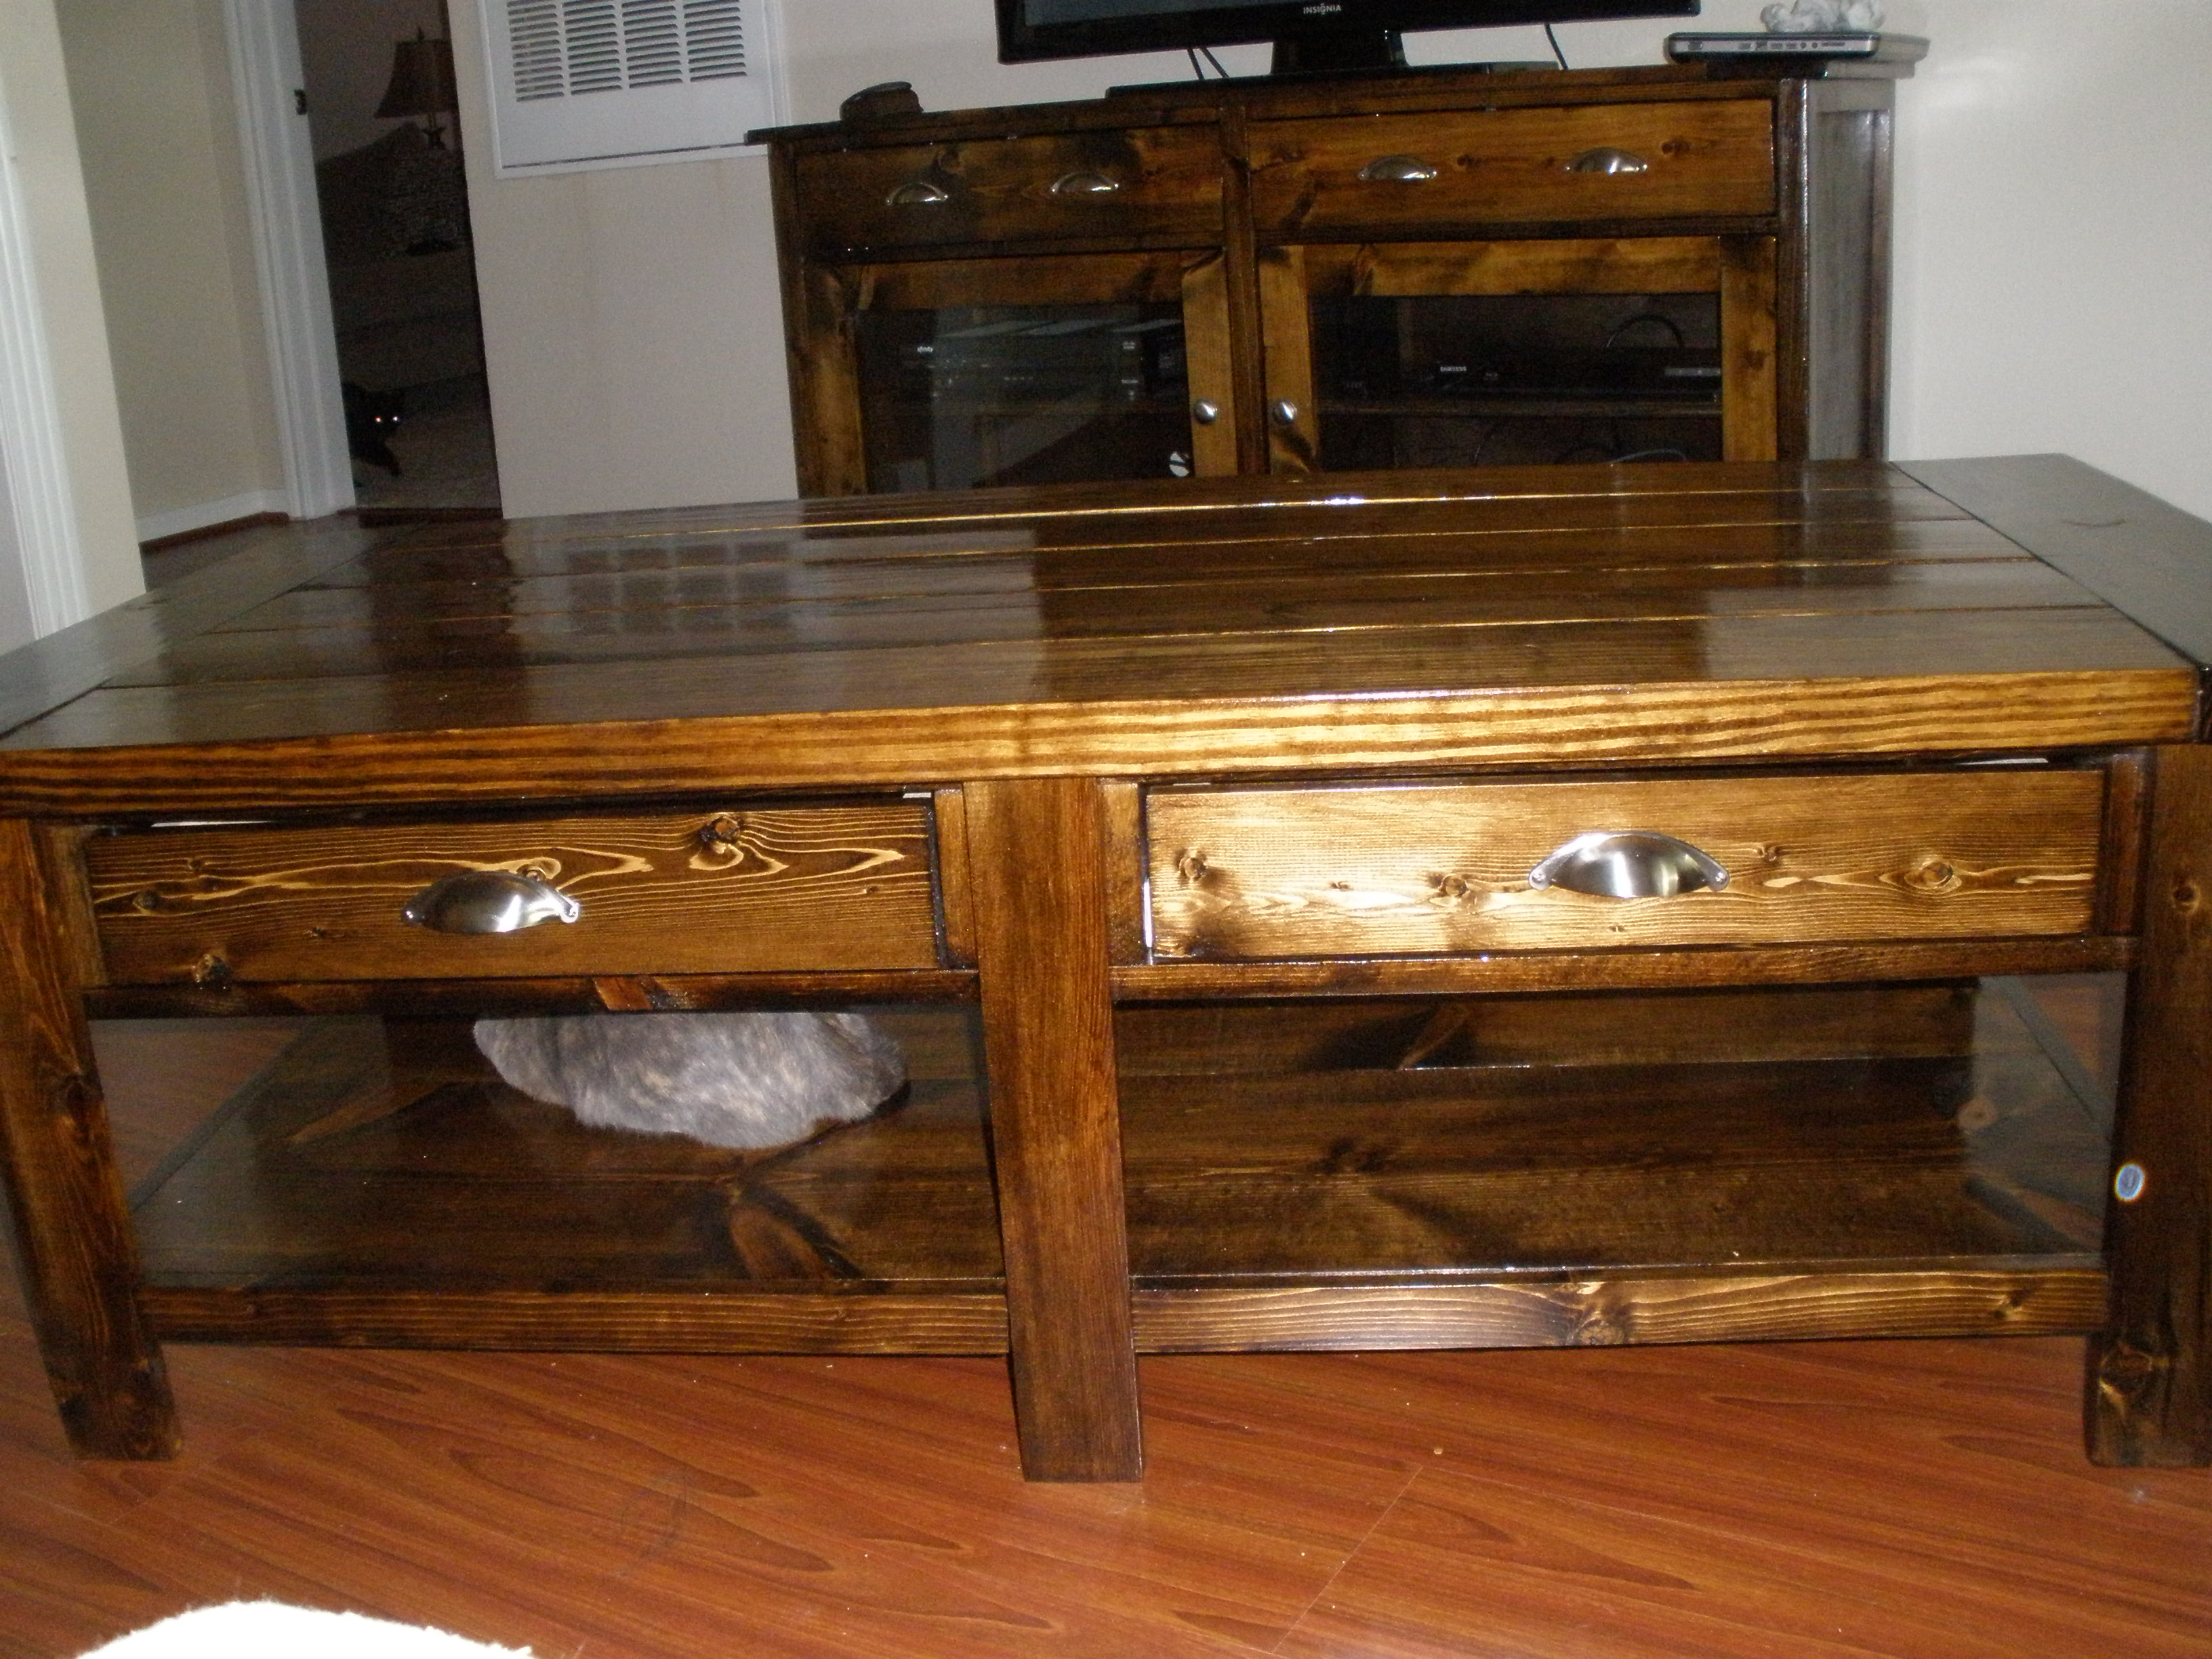
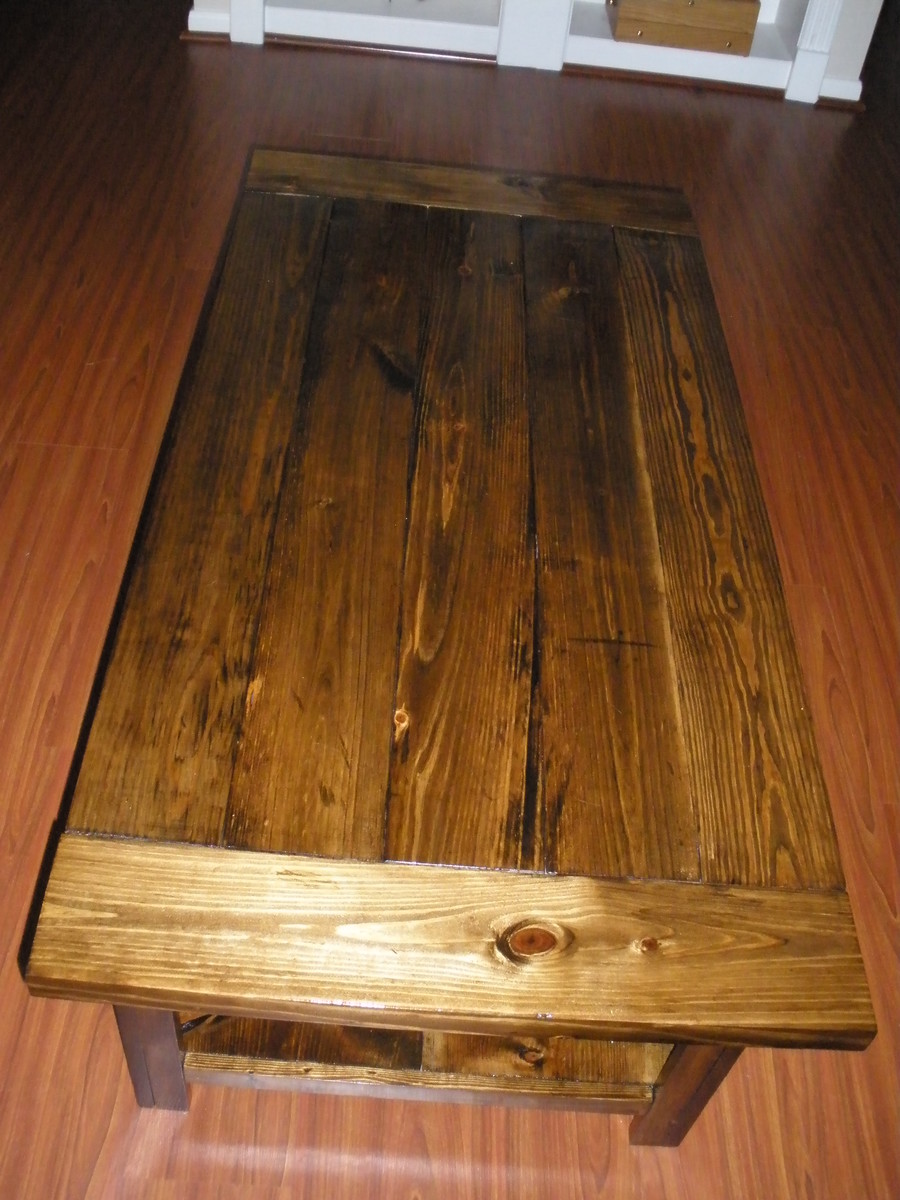
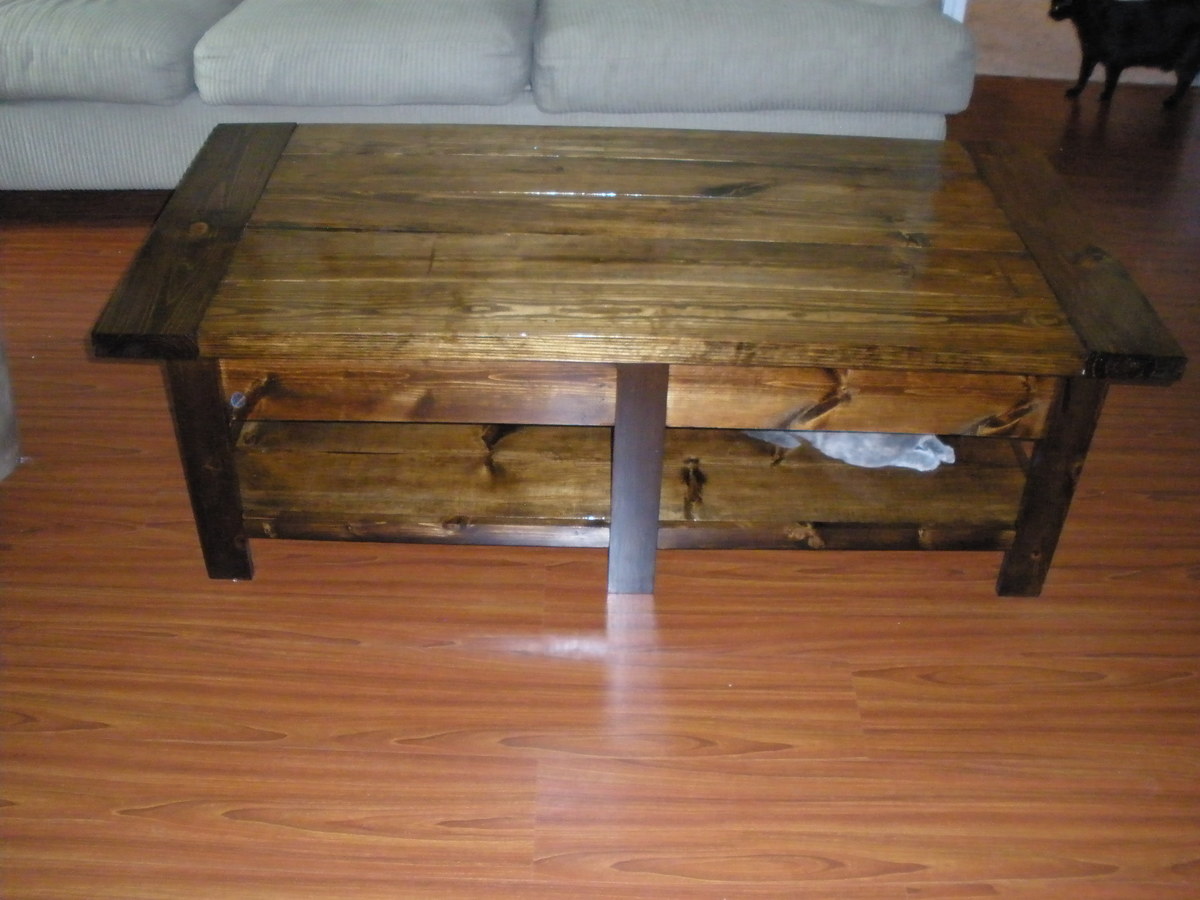
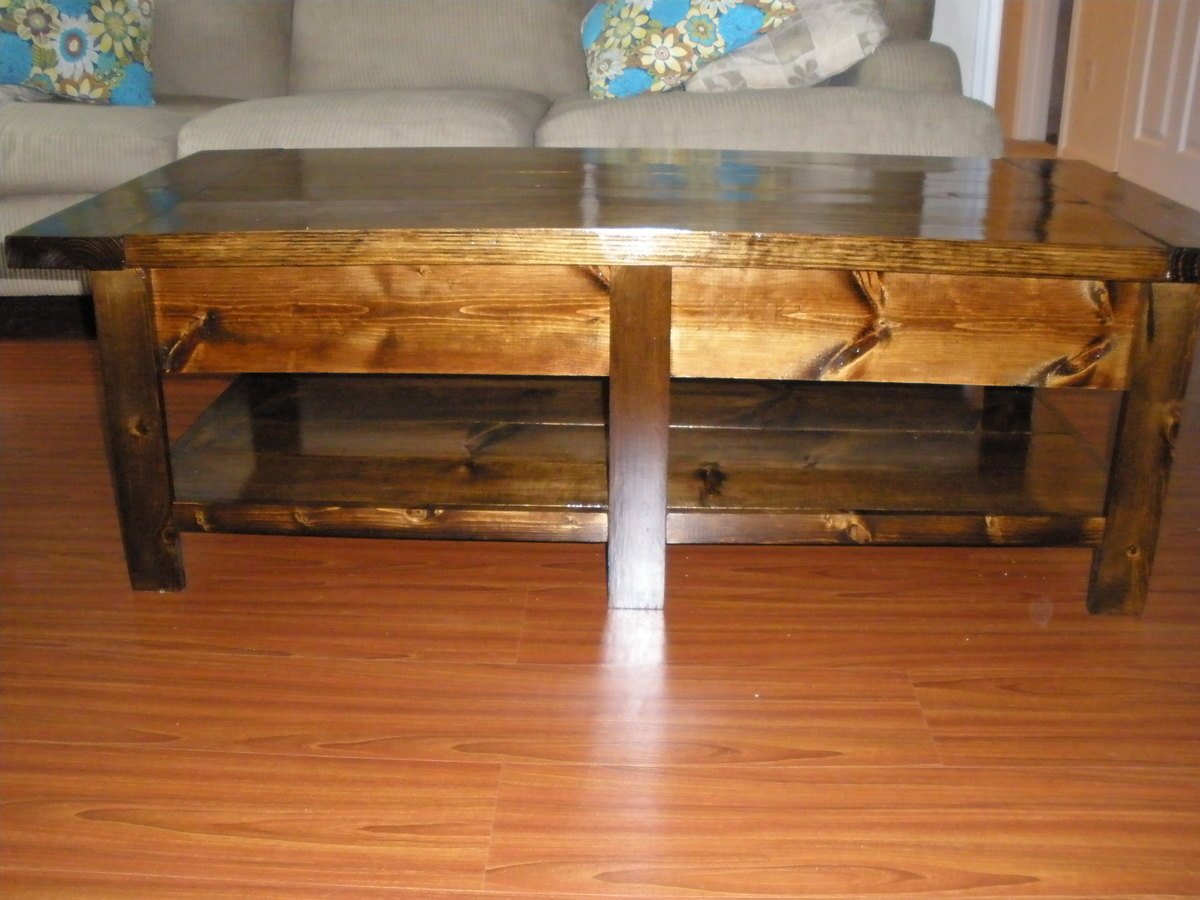
I built this table for my friend who is moving away in a couple days :( She's going to use it as a coffee bar in her new home. Visit my blog link for the complete play-by-play!

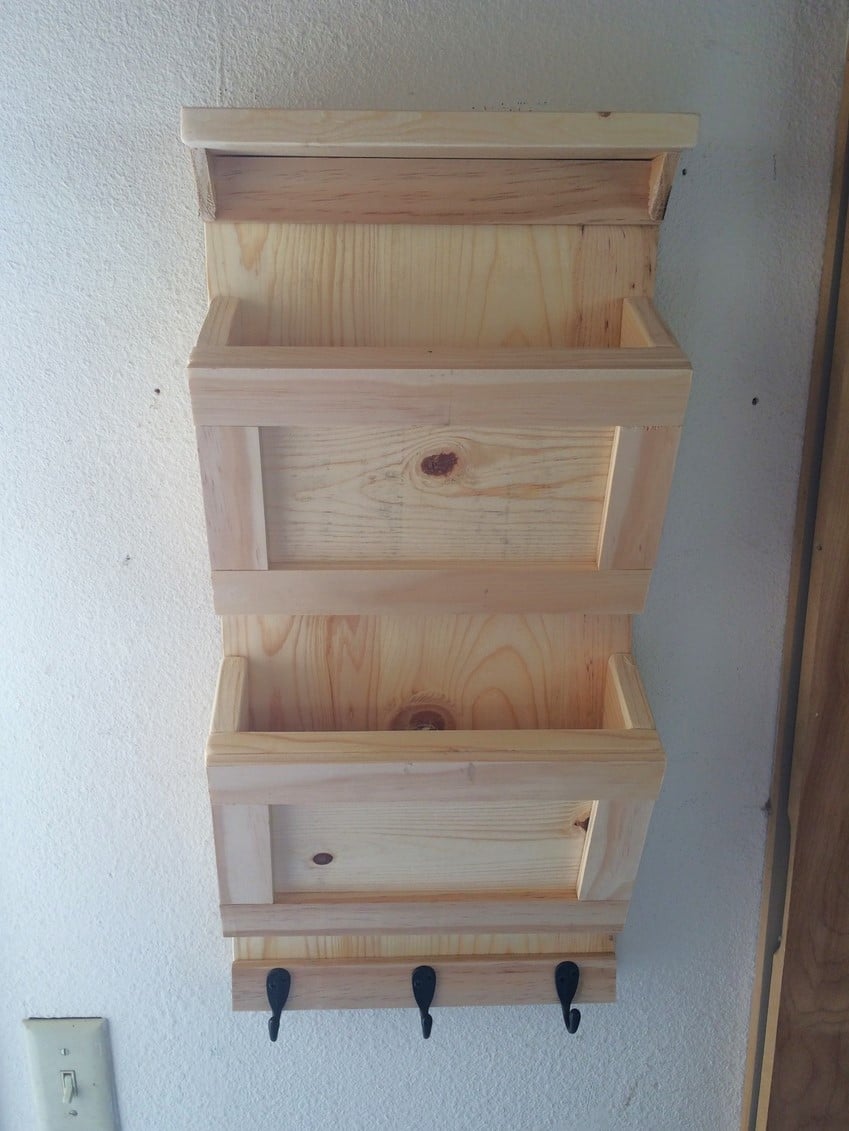
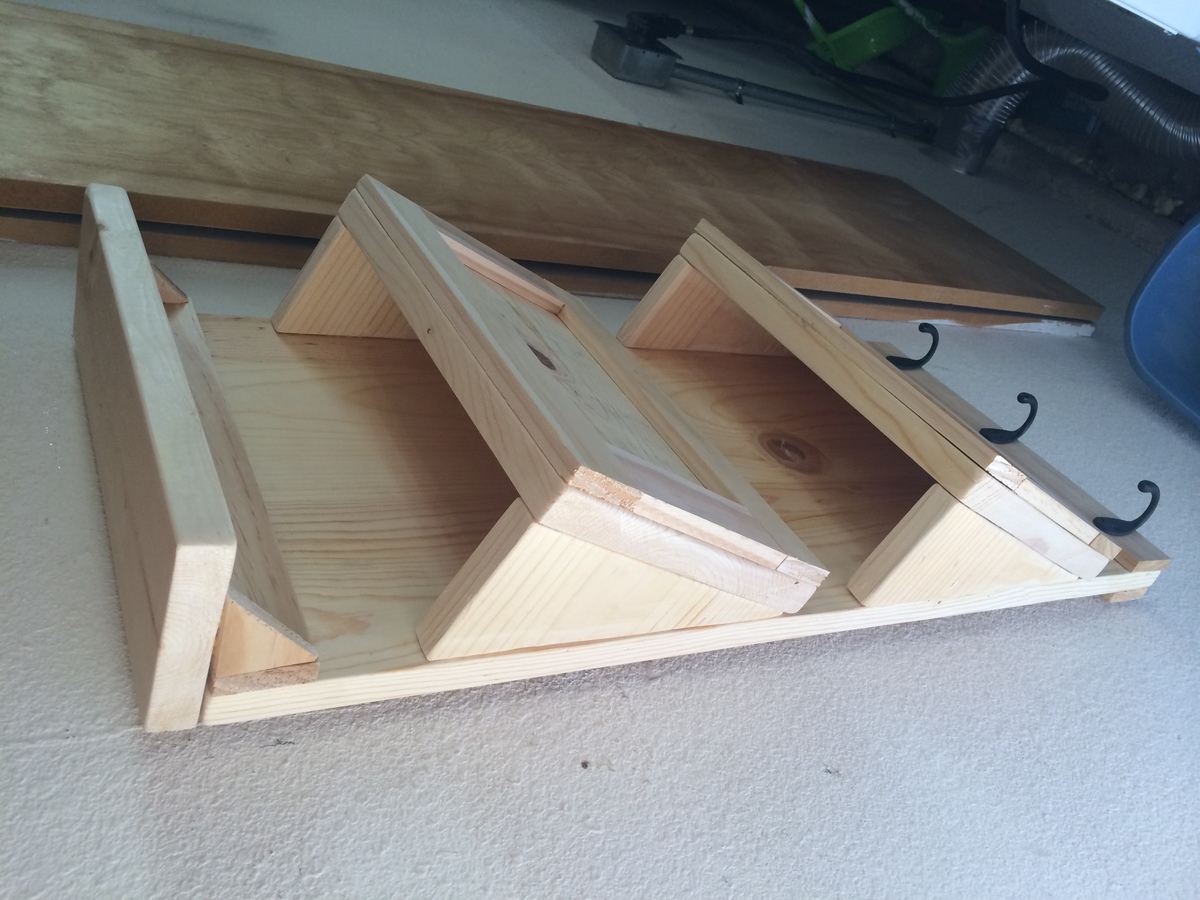
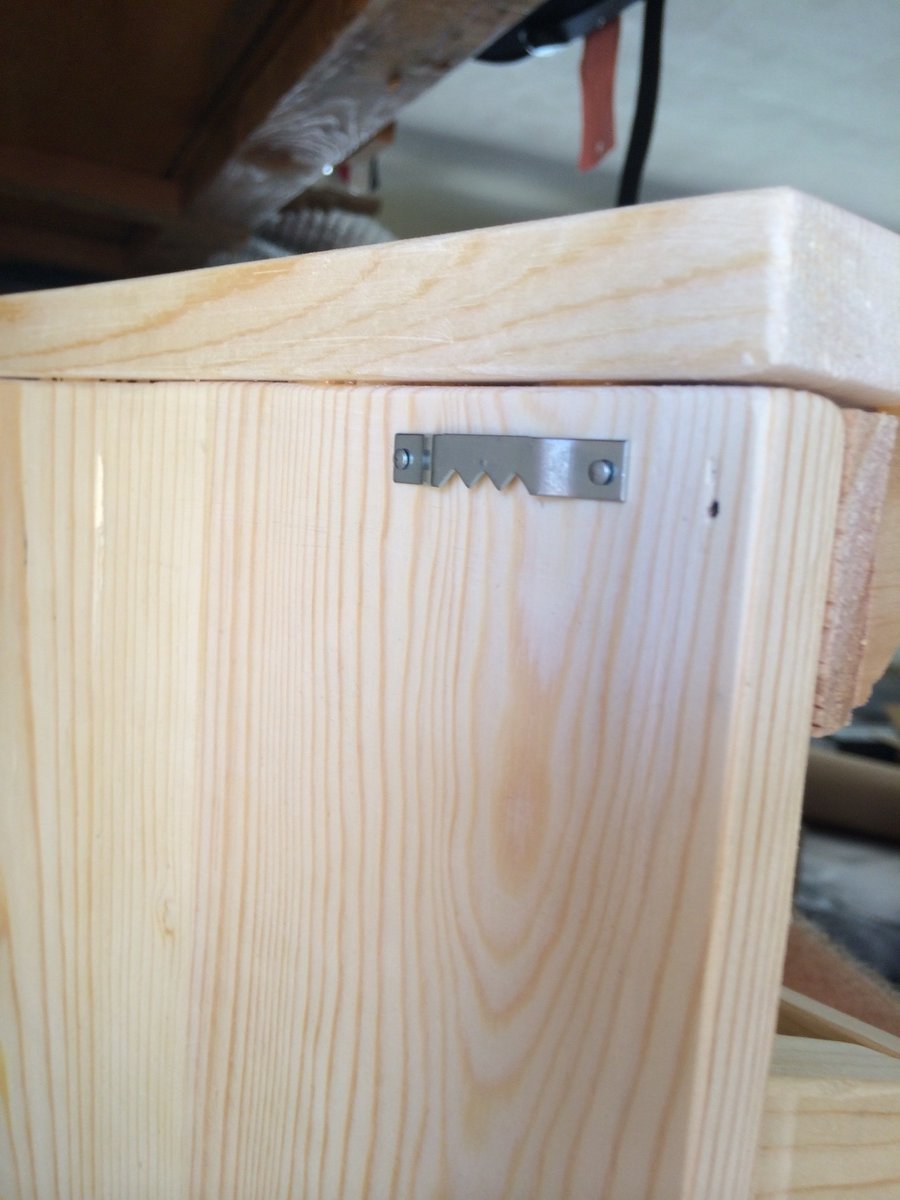
Threw this together in a couple hours with scrap wood that I had from an Ana White project I did over spring break. Had to buy some hooks and the hanging brackets and that was it. Very simple! Not sure how I'm going to finish it. I don't have time for the finishing right now anyways so I'm going to use it as is and finish it later!
A huge thanks to Ana, her inspirational blog, and her clear and easy-to-follow plans for convincing me that I could take on and complete this project. I had lots of fun doing it!
Really enjoyed this project and they turned out great. Already getting orders to make more for friends. Thank you Ana!
Built it from Black Ash
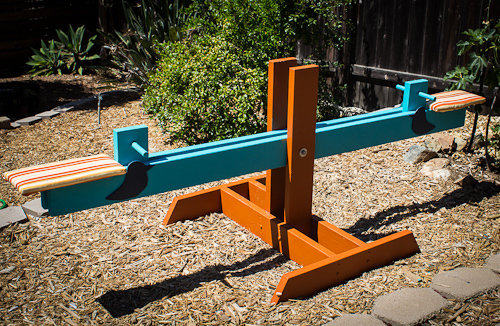
The seesaw is like a dinosaur: the extinct relic of the playground, still held in awe by kids the world over. No longer available to the public in its original form, the original seesaw is the perfect DIY project. My older daughter had been asking for one for a couple of years, and after finding the plans on Ana White’s website I was able to build one cheaply for about $50 in wood and screws. This was the perfect weekend project, and I was able to use up some leftover paint and fabric to create this nice addition to our yard.
Check out my blog post about this seesaw here:
http://sandiegocountypropertymanagement.com/diy-kids-seesaw/
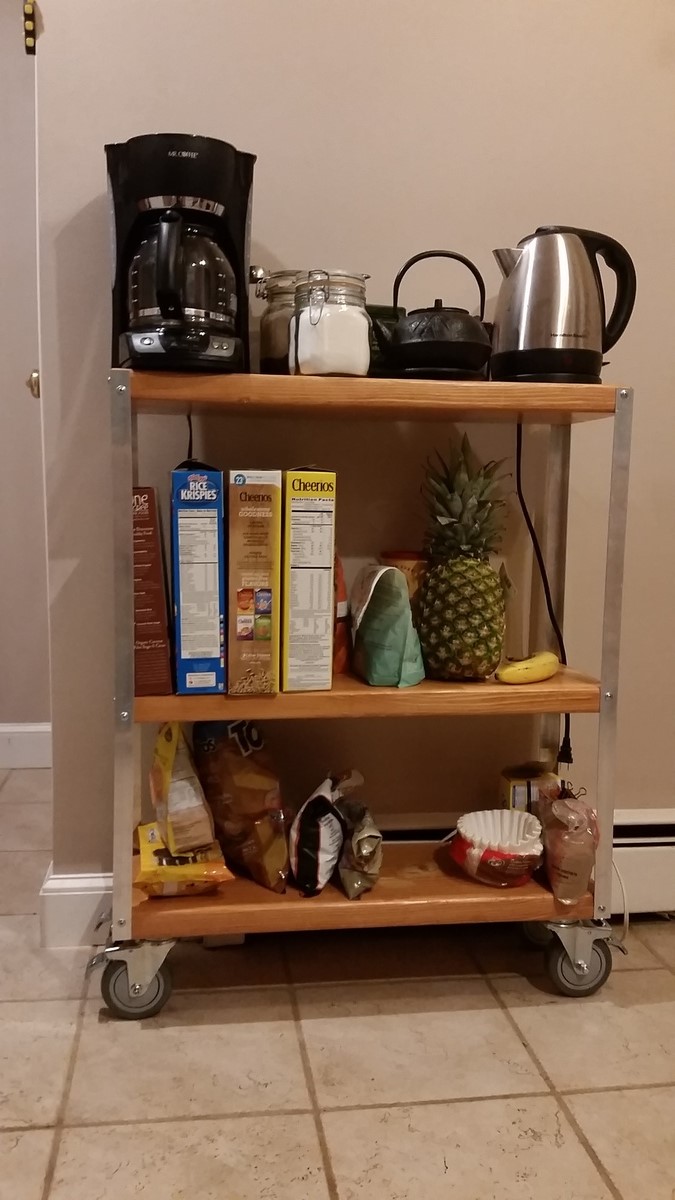
I followed the basic Industrial Cart plans, but made it 36" high instead of 24"ish. We wanted a countertop type of space for tea/coffee and a shelf big enough for cereal boxes.
Lessons learned: Treatign (sanding/staining/sealing) the wood takes the most time, and regular wood fill is ugly - next time I will try to find transparent fill or leave the suface uneven.
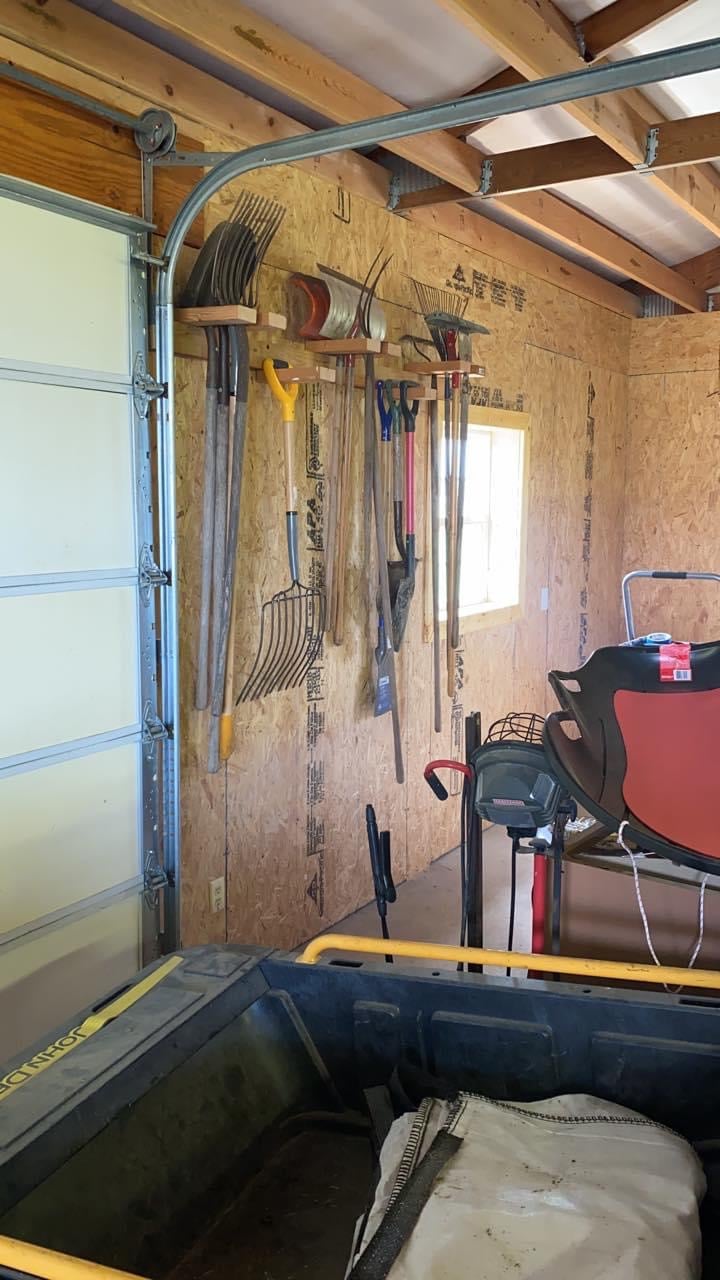
Had all my tools leaning up in the corner of my shed until I saw your post. Thanks
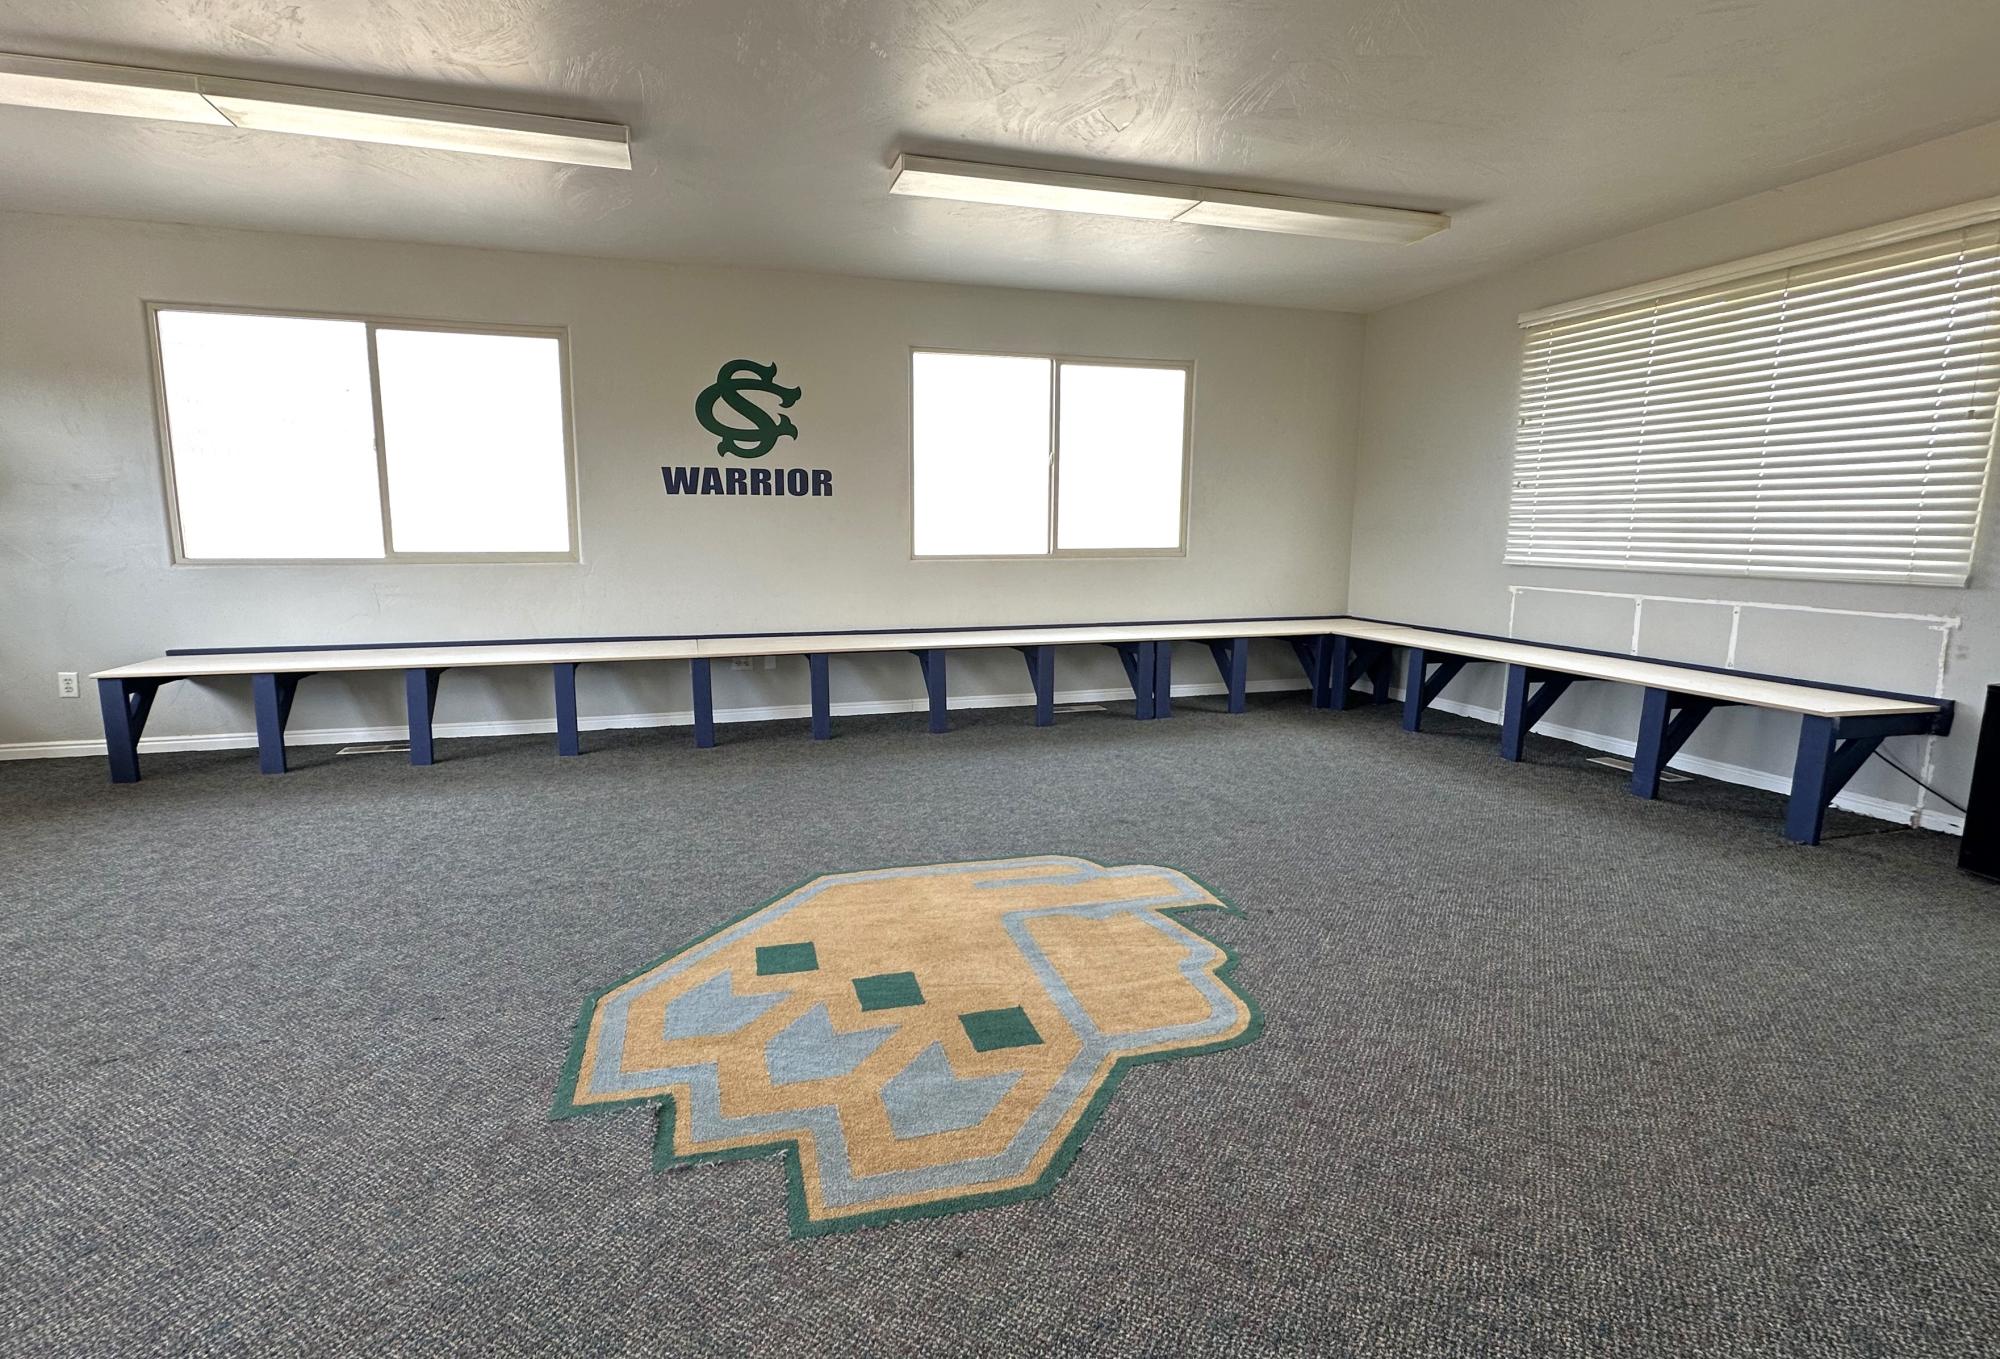
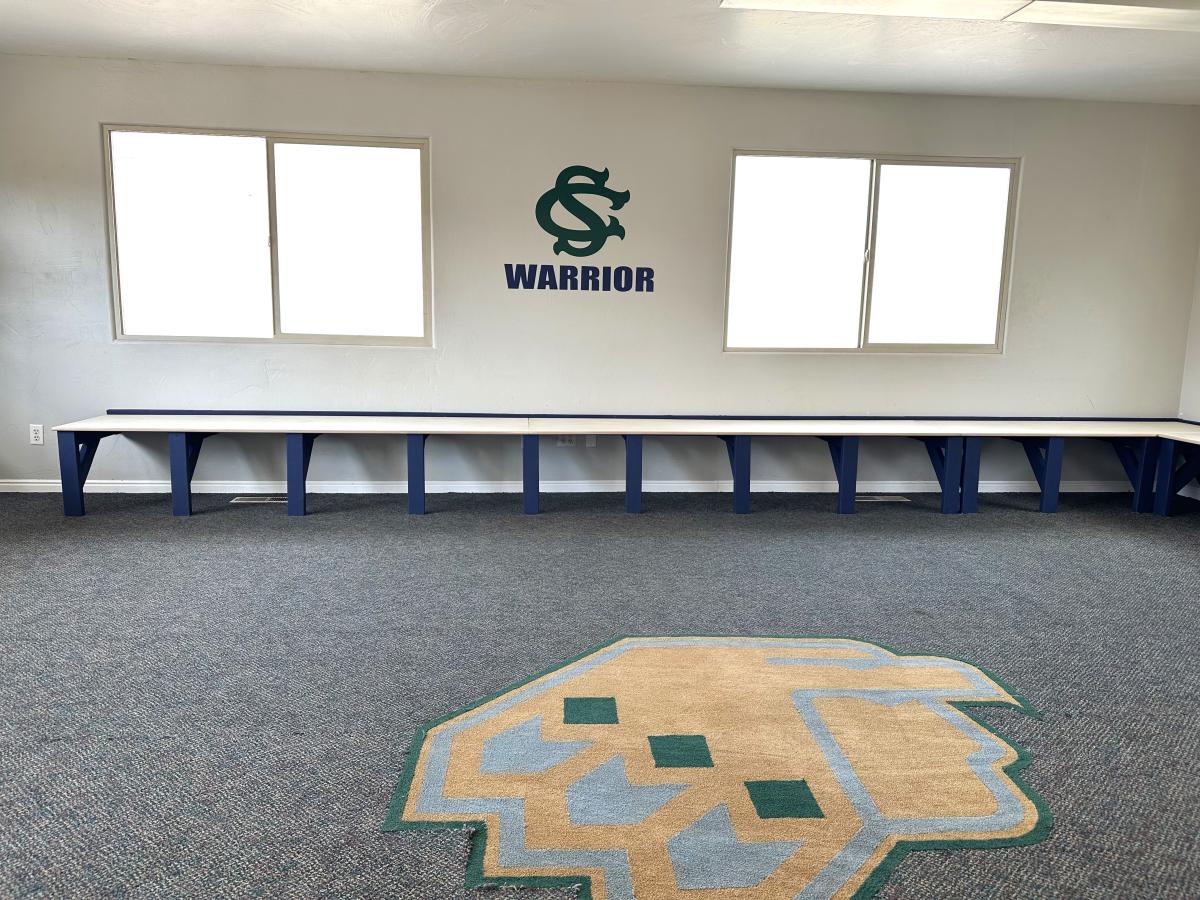
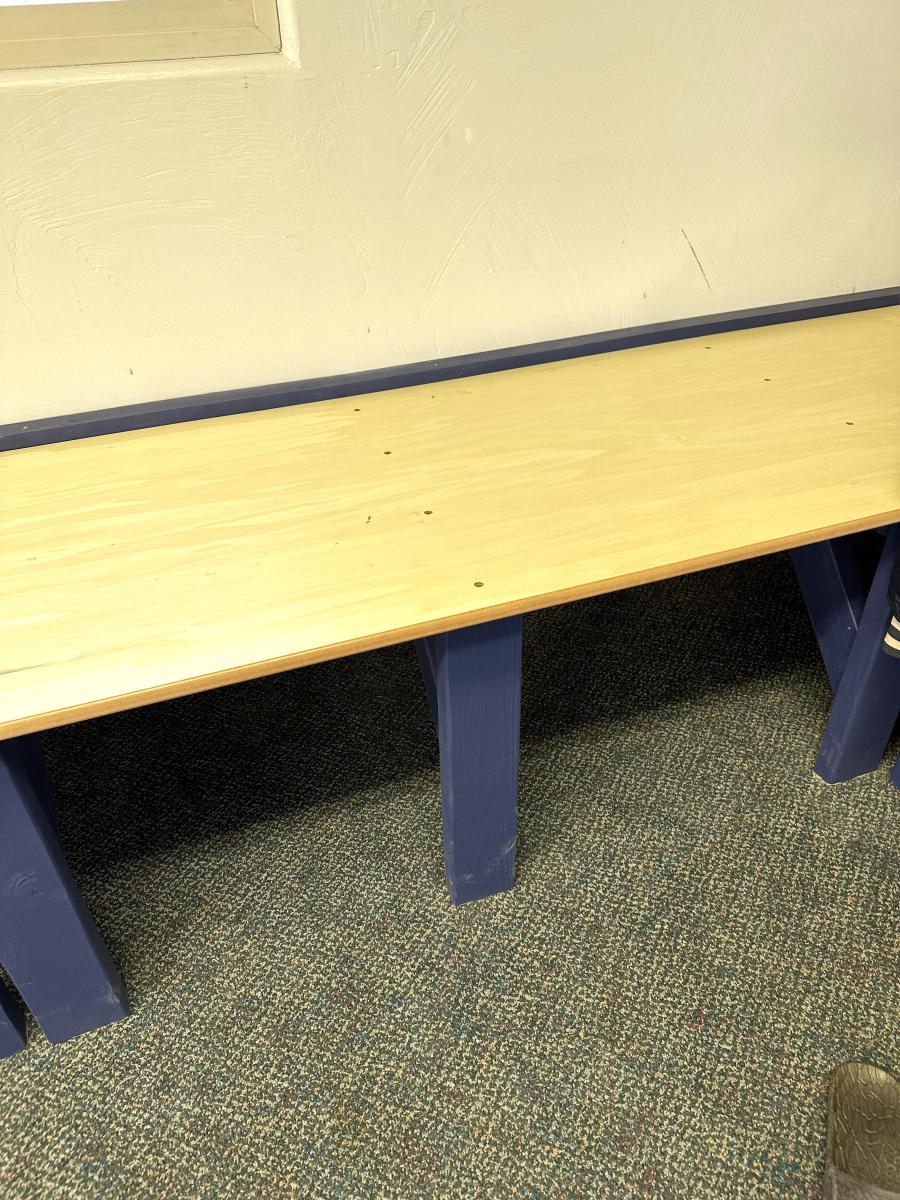
I was asked to build a bench for our high school softball team room and used these plans to build the support. I was planning on building it exactly as it was in the plans, but a kind soul donated some poplar plywood mdf for the top, making it a smoother and more polished finish. I added some accent trim along the wall. Finished it off with school color (navy blue) on the legs and a clear satin lacquer finish on the bench. Love how it turned out!

Part of the Benchright collection. This was easy to make and it turned out so much prettier than I imagined. I love it!
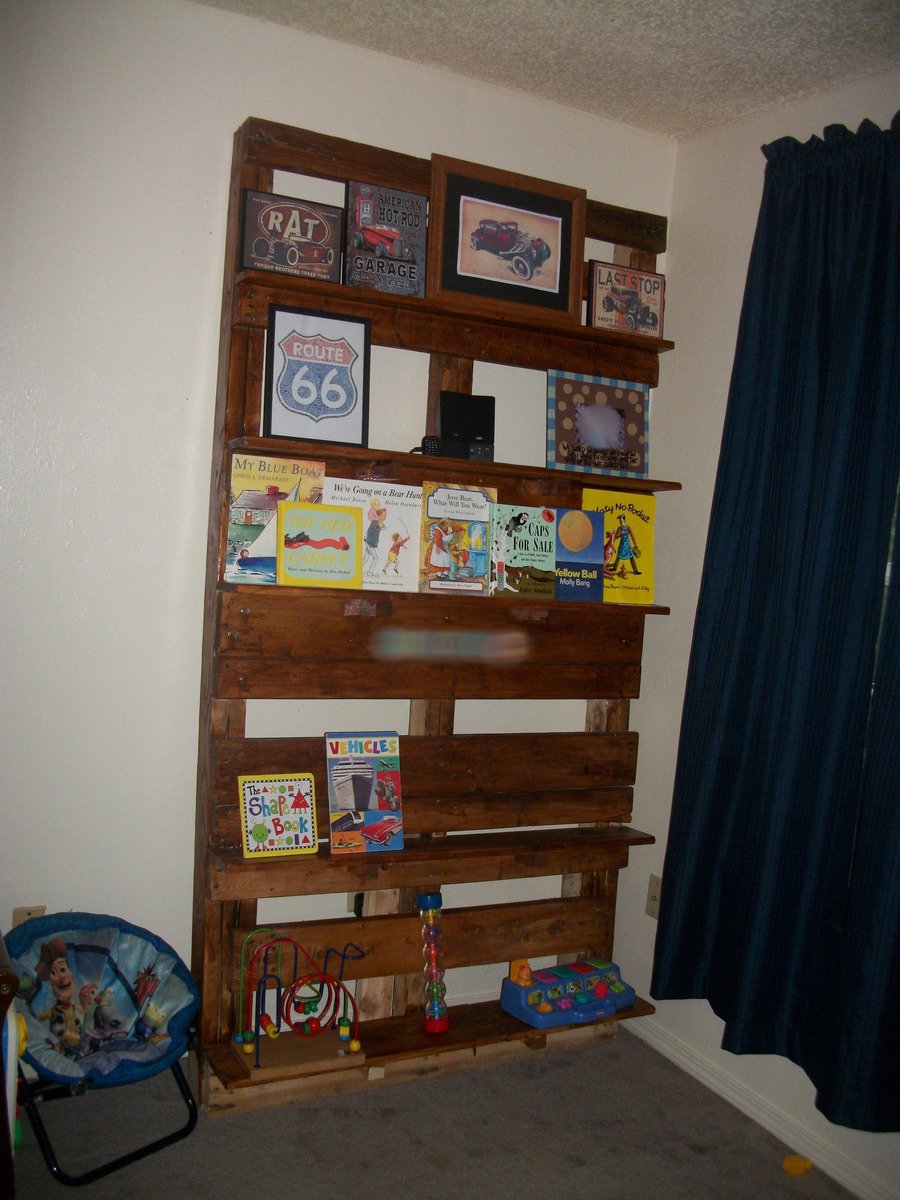
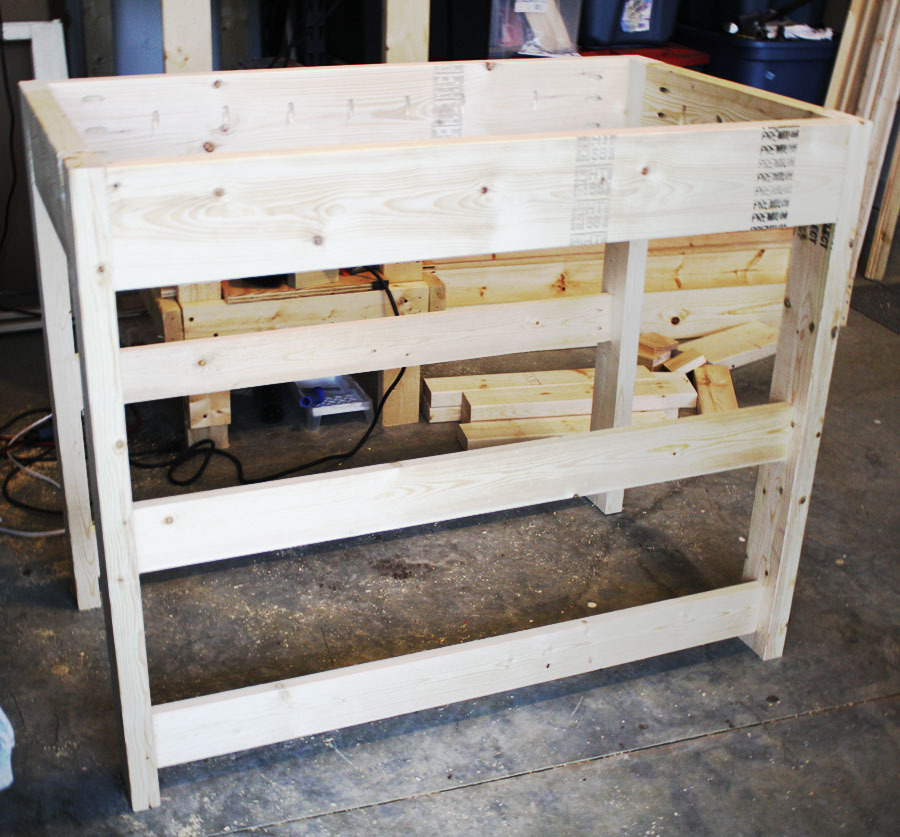
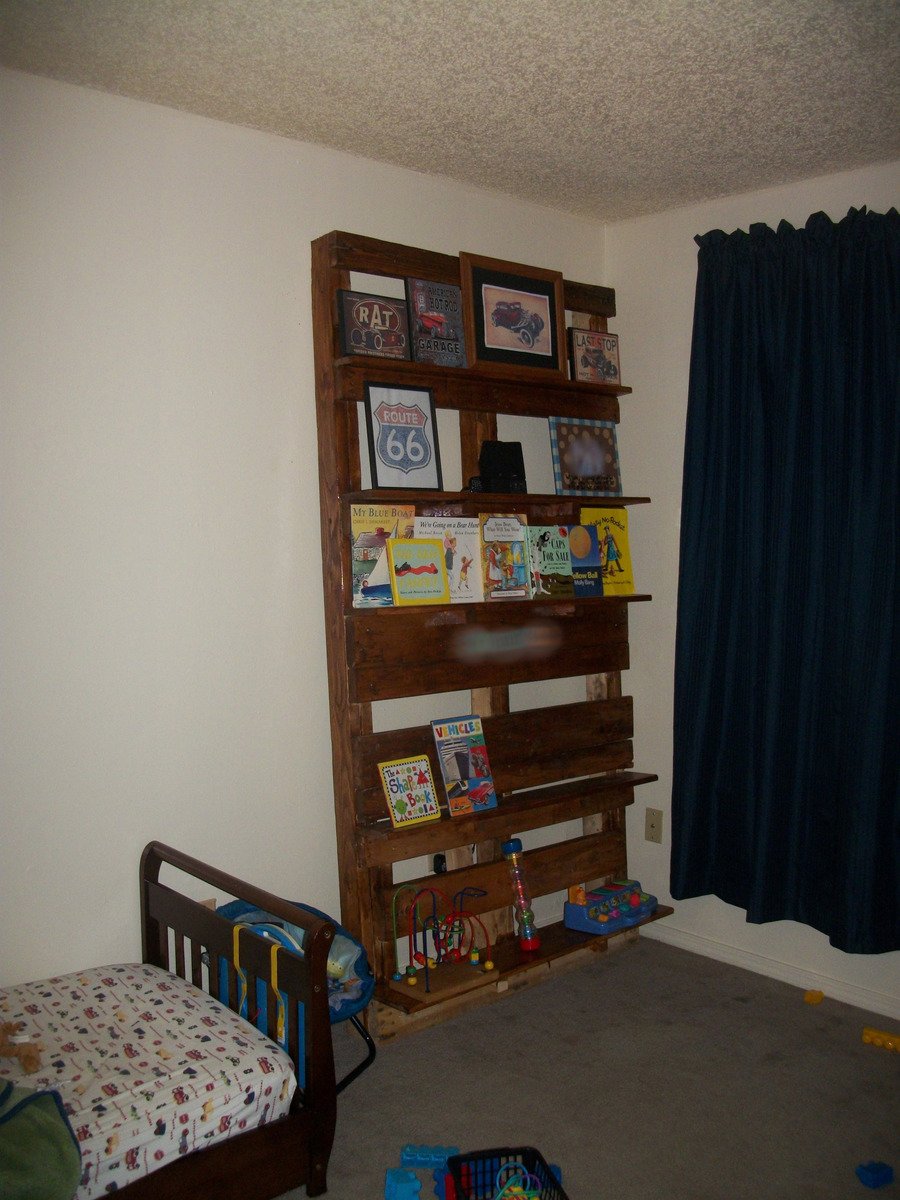
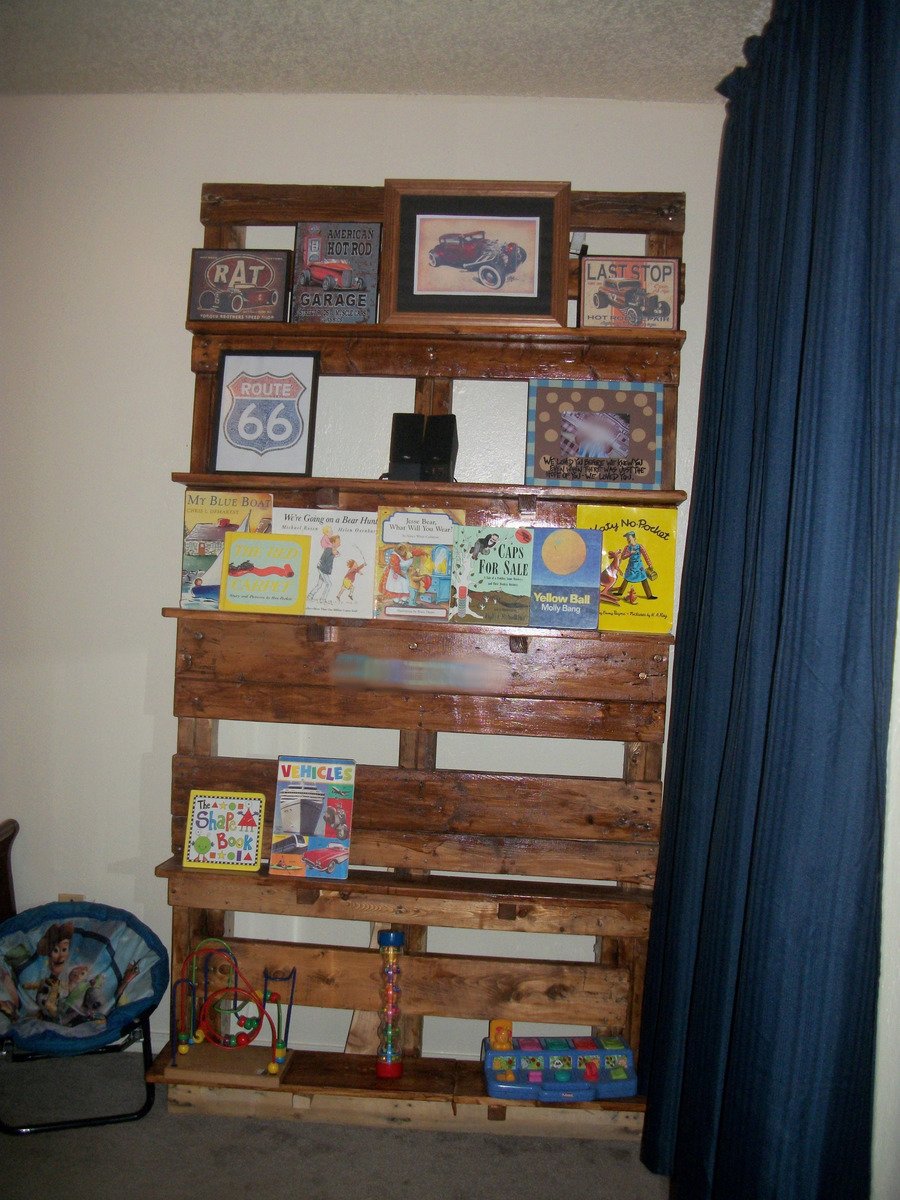
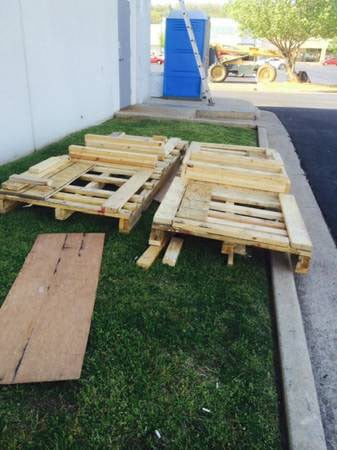
I found an ad in the Craig's List free section advertising two pallets on a first come, first serve basis behind the new pizza place near our apartment. I talked my dh into going a checking it out and there was one left when we got there. These pallets were HUGE! Nine feet long! It hung a good 3 feet over the end of the tailgate on my husband's truck! The manager of the pizza place wandered out while we were loading up and told us that their new pizza ovens had been delivered on the pallets. Cool story to tell our son about his bookshelves!
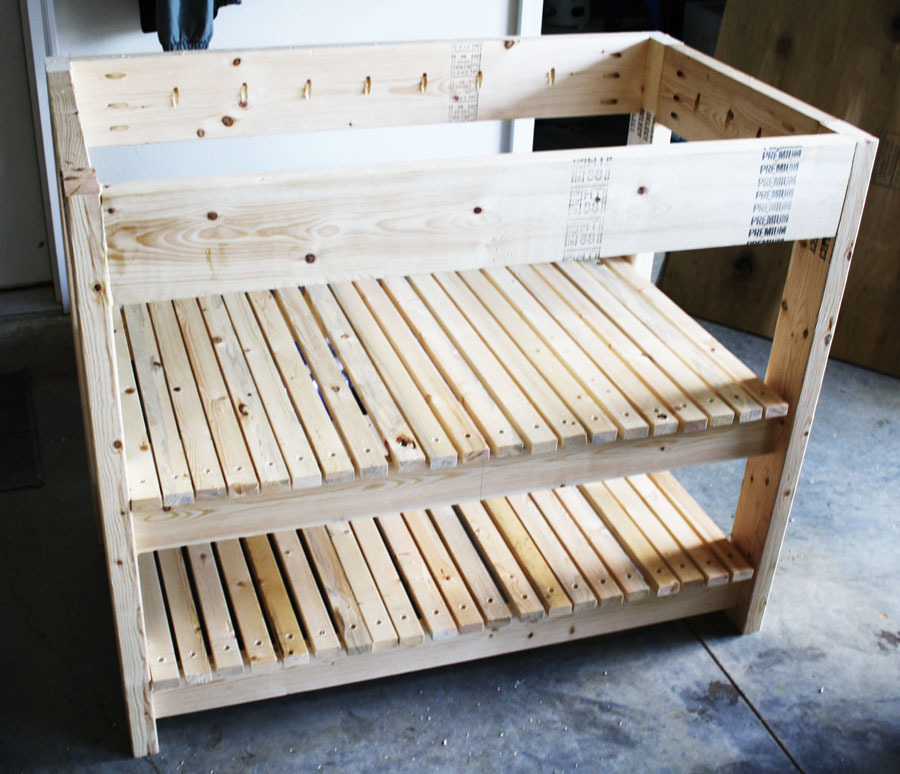
We got the pallet home after a quick stop at Lowe's for a crow bar. Dh taught me how to use a crow bar to remove the excess wood used to stablize the pizza oven on the pallet during shipment. I also learned that they use an insane amount of nails to put these things together! After pulling off about 40 pounds of useless scrap wood (literally, 40 pounds, these suckers were HEAVY!) I used some of our own scrap boards from other projects to make the shelves. We live in an apartment complex. People wandering by all day asked what I was doing. Even dh didn't understand exactly what I was trying to do but he went along with it and helped when I needed extra hands.
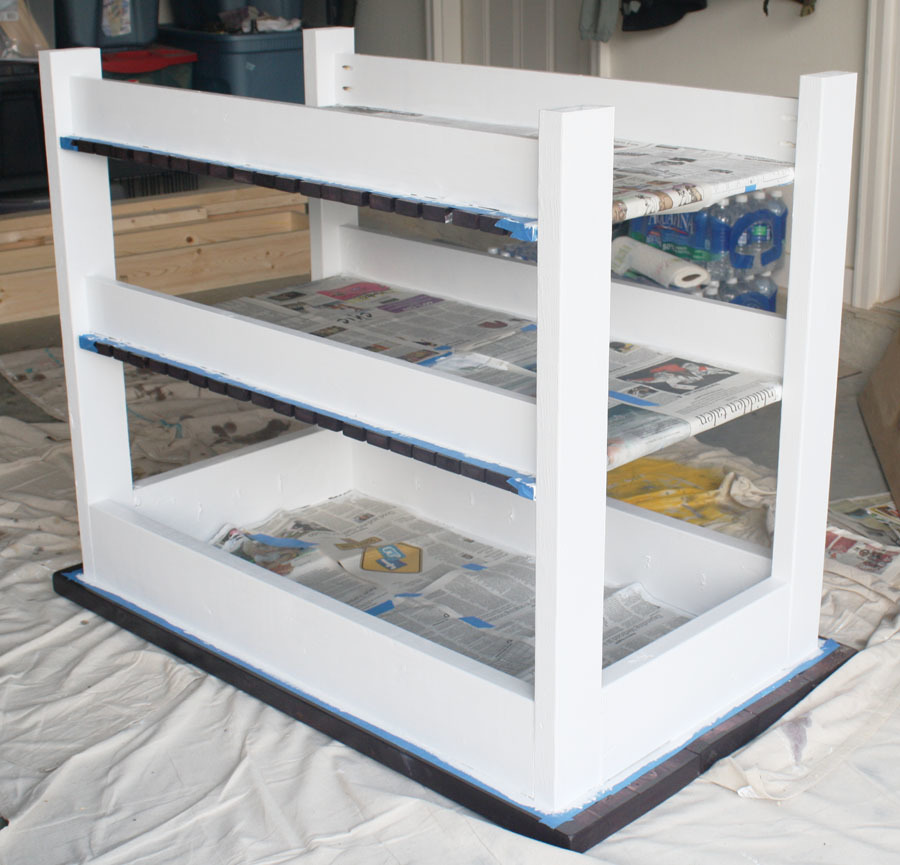
After getting it all put together, I used some left over poly-and-stain-in-one that we had left over. I got most of it stained with that but then I ran out. I haven't gotten around yet to getting some more. That will be the only cost associated with this project, the rest was free. Oh and the letters used for my son's name on the shelves. I blurred it out in the picture but I used dollar store vinyl letters to put his name on the shelf.
We anchored the shelf to the wall, it's stable and sturdy but I never doubt the ingenuity of a small child and even with the 40 pounds of wood we removed from this sucker, it is still H-E-A-V-Y!!!! Since it's going in a toddler's room I figured better safe than sorry. I went to Lowe's and asked for earthquake straps and I was told that we don't get earthquakes around here so they don't carry them.... I had to explain to her that earthquake straps also keep small children from toppling heavy furniture and she said they might have something in the childproofing area. They did have furniture straps as they called them in the childproofing area. Note to self: we no longer live in an earthquake prone area, people look at you like you've lost your mind if you want to strap your furniture down in case of earthquakes or curious small children.
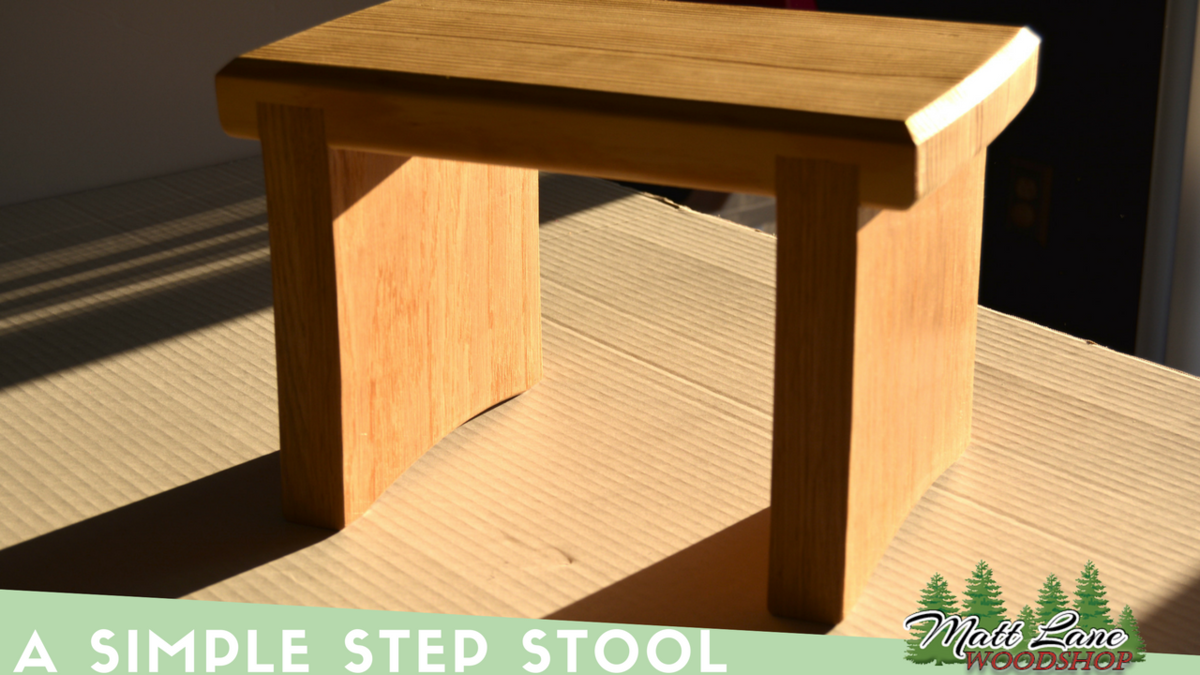
This is a simple wooden step stool I built for my daughter using some wood I had around the house. I wanted to build a small stool that was easy for her to carry around and access items that she needed.
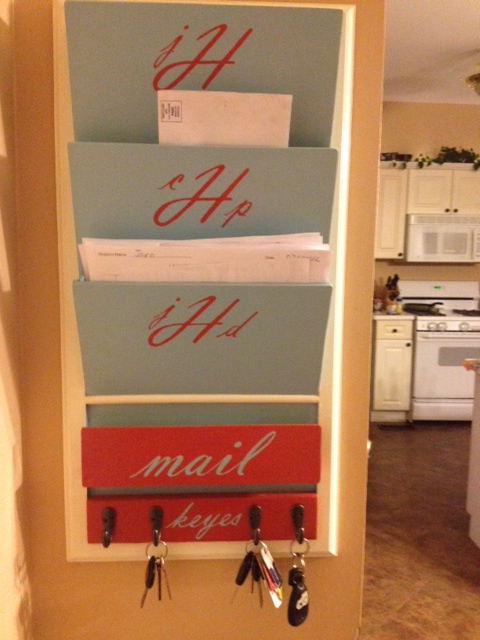
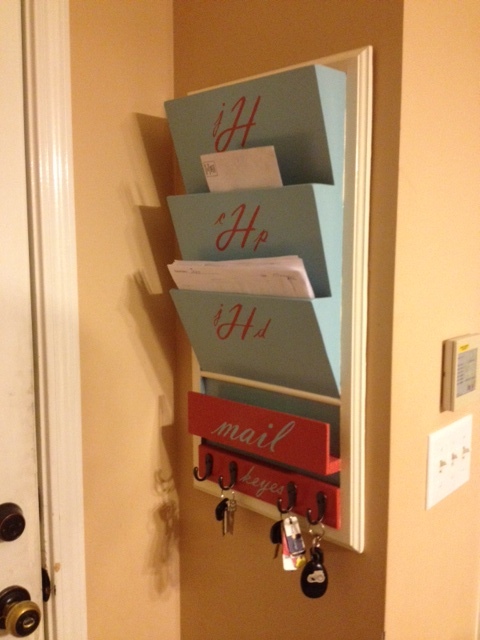
I loved the post from Lady Goats on the PB inspired daily system and the modifications from debandtom25!
I knew this was an answer to clean up our counter, before items even make it to the counter this is right at the door when you walk in our house!
I didn't use a picture frame but used plywood with molding of my choice for the "frame." I selected paint at Home Depot and just purchased the sample paint in three different colors. The wording was done on a computer and used as a stencil (cut the letters into contact paper, stuck contact paper on and painted).
This project was inspired by the post I found on Ana-White.com however I changed some of the dimensions and cut list to make it my own. I built one of these for my Mother and her and her friends keep talking about it to this day.
Thu, 06/05/2014 - 08:02
Aren't you concerned about eating/drinking on a pressure treated surface?