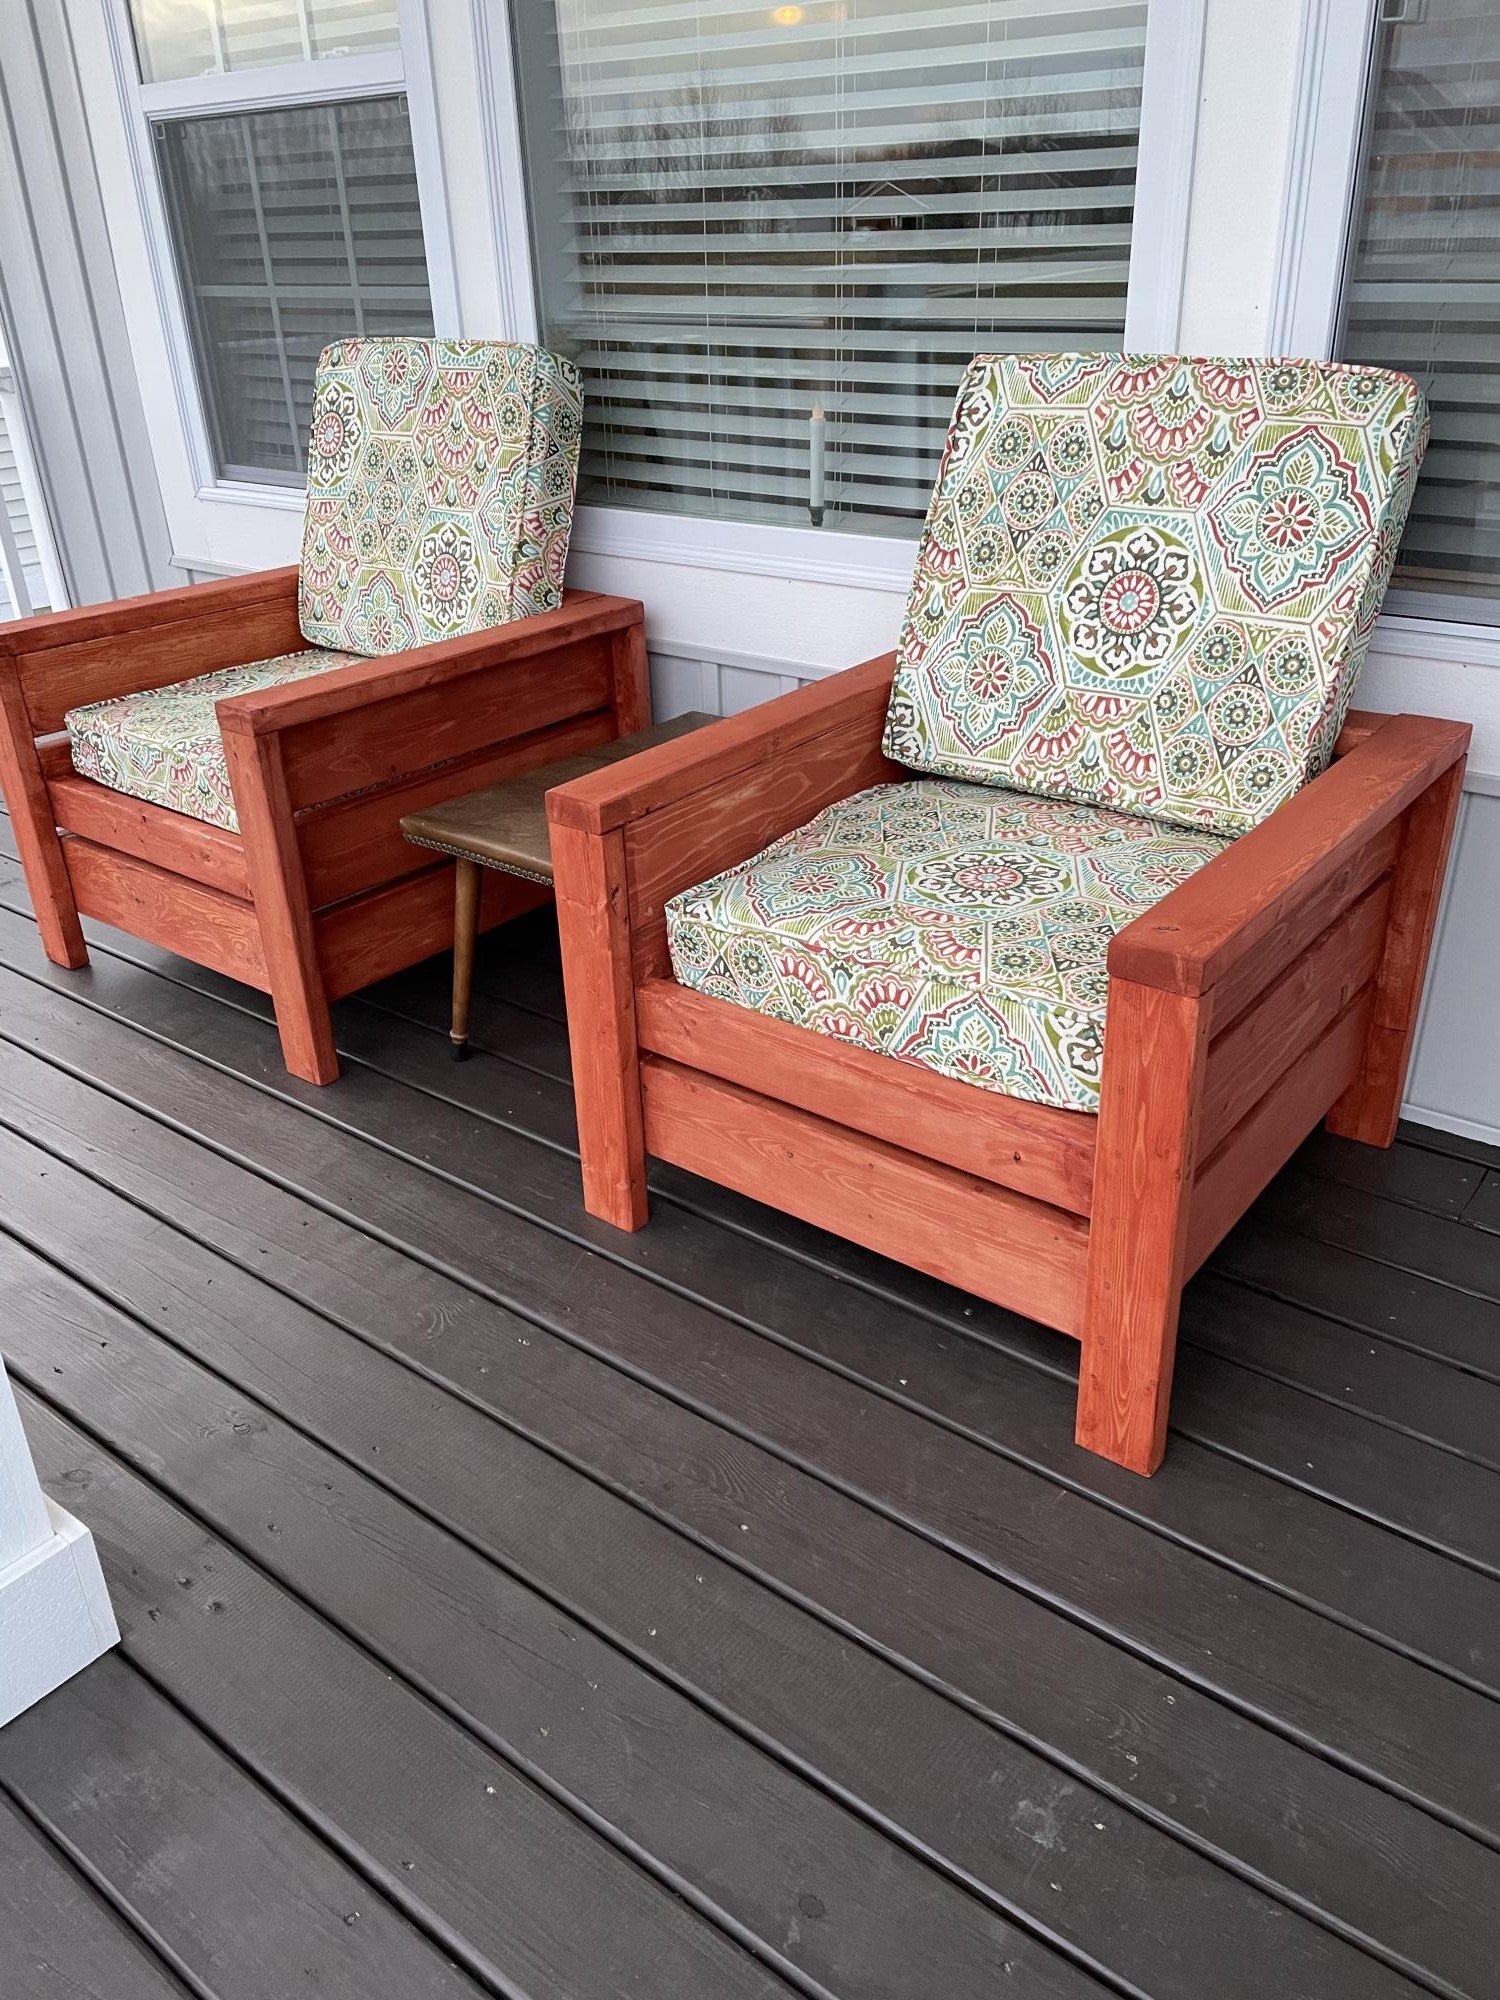
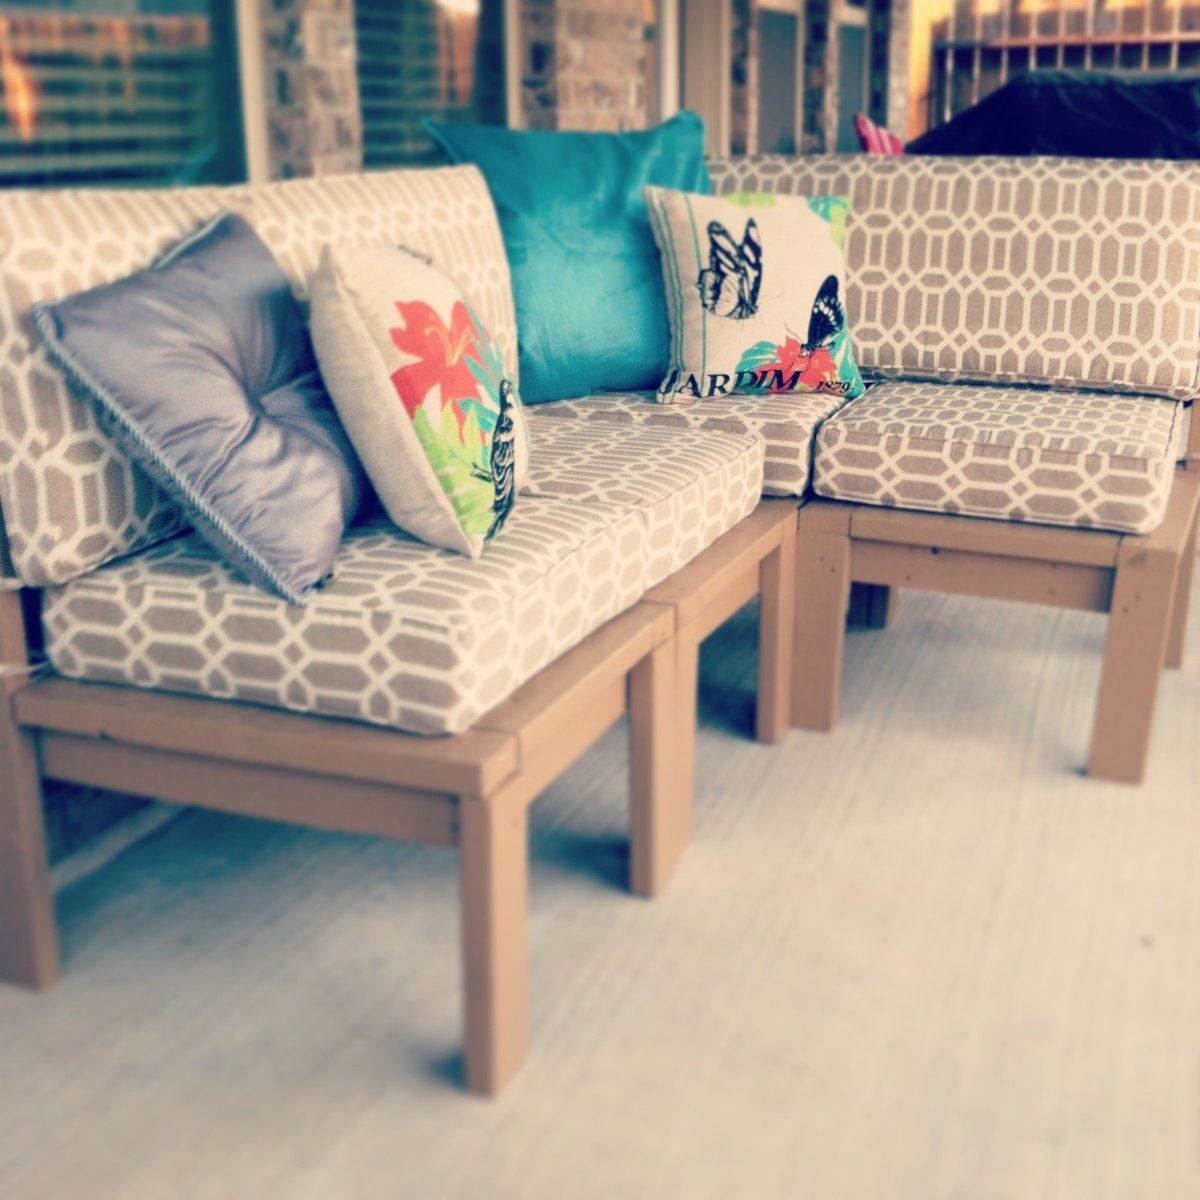
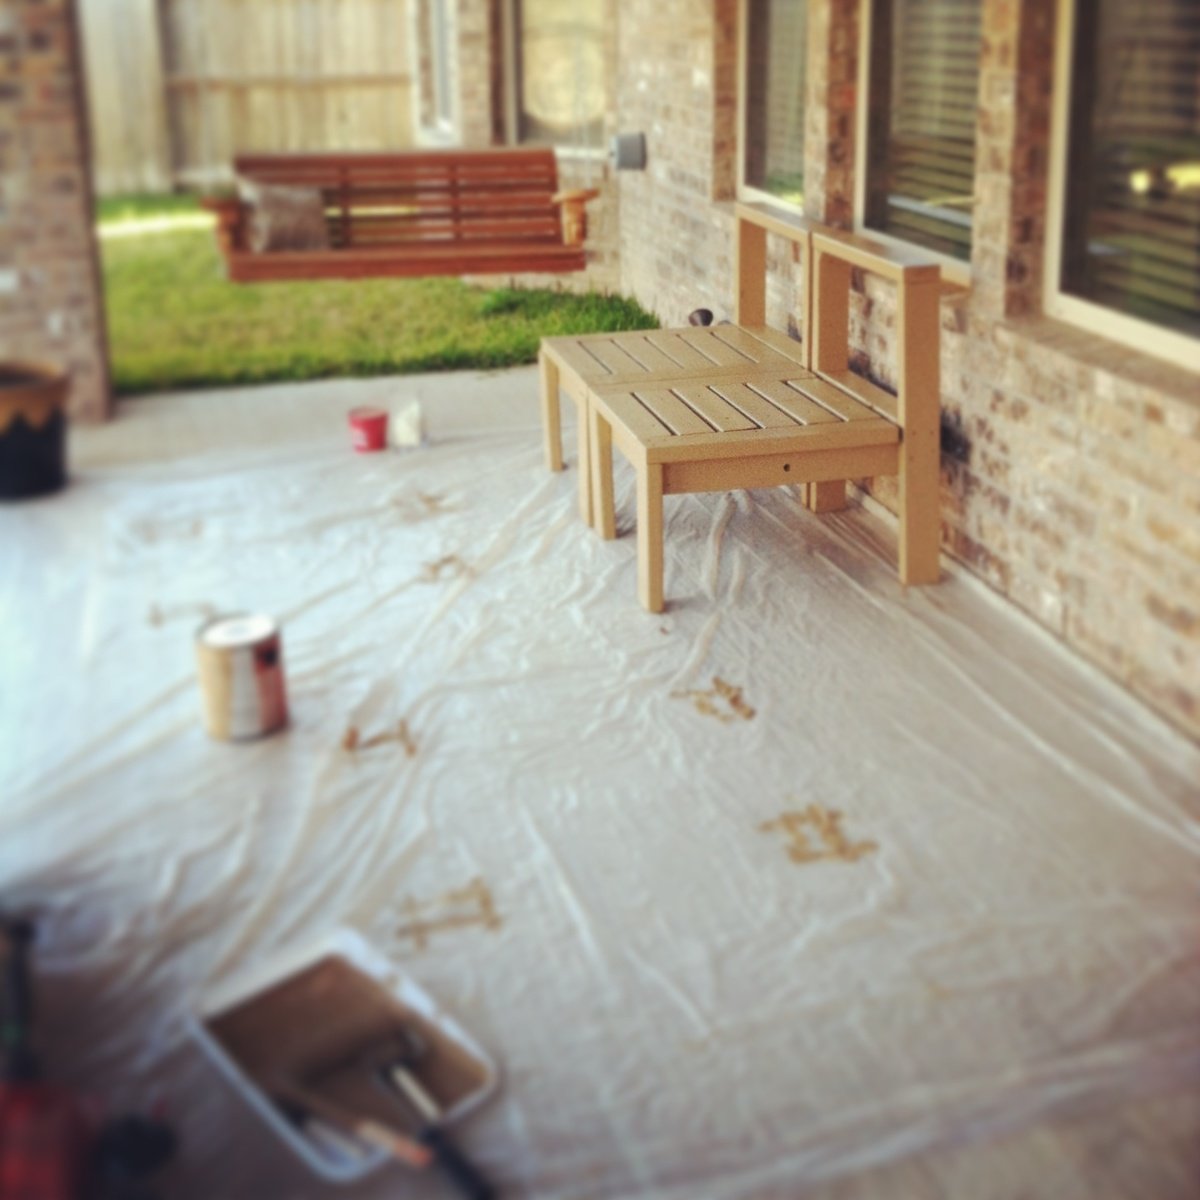
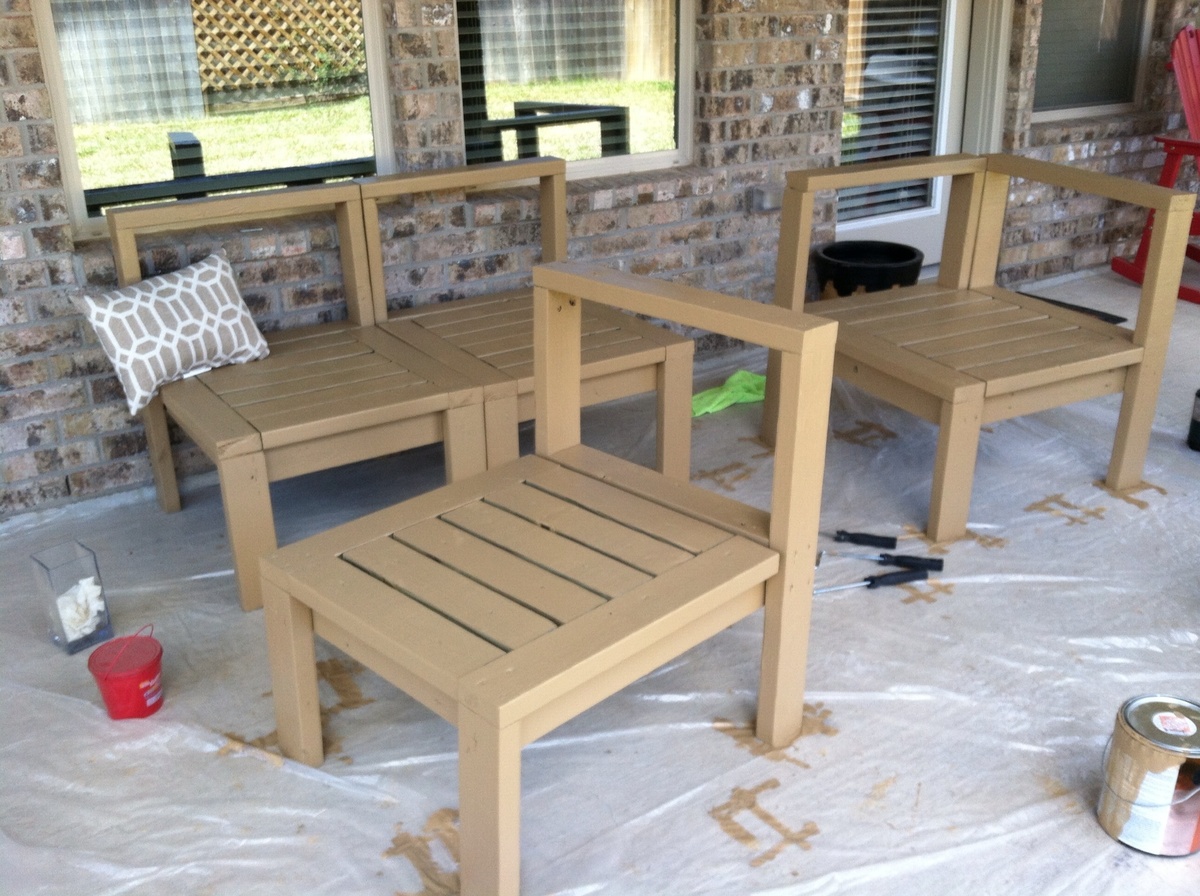
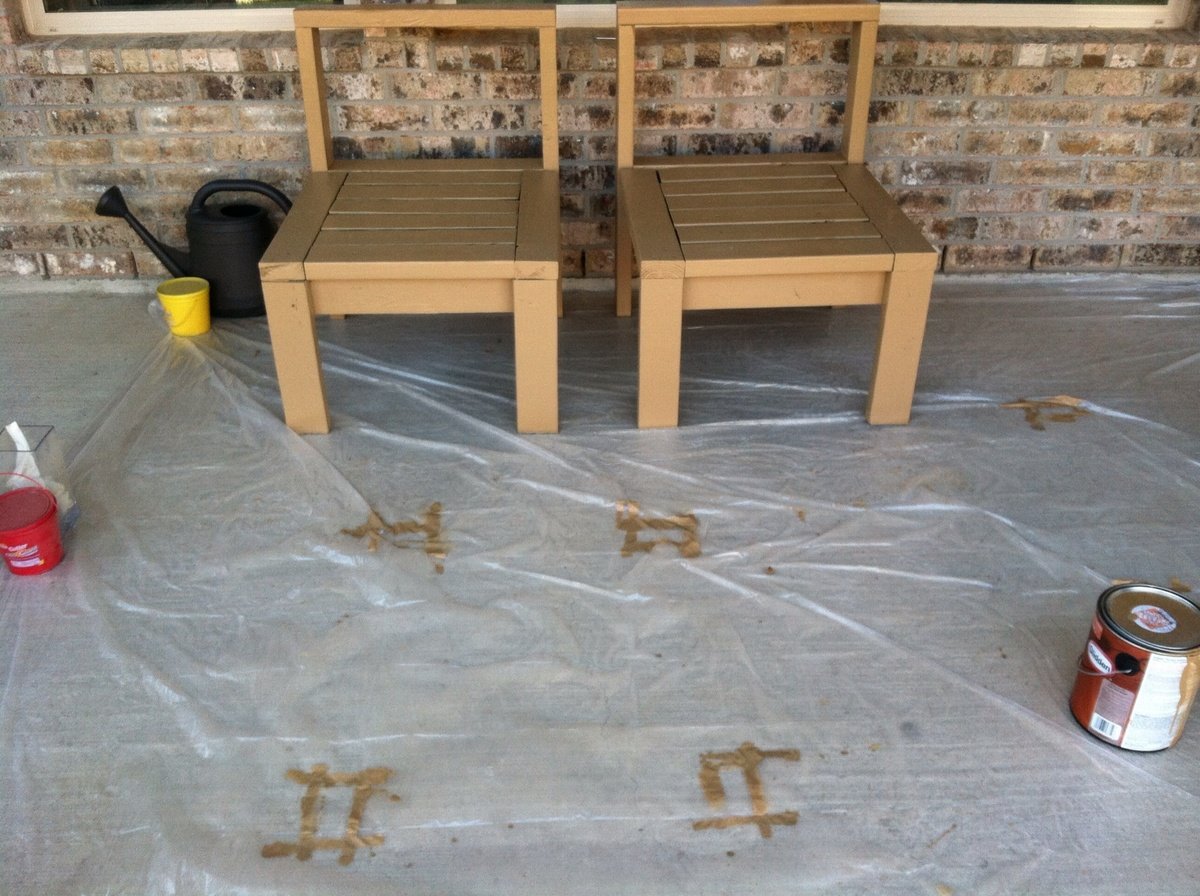
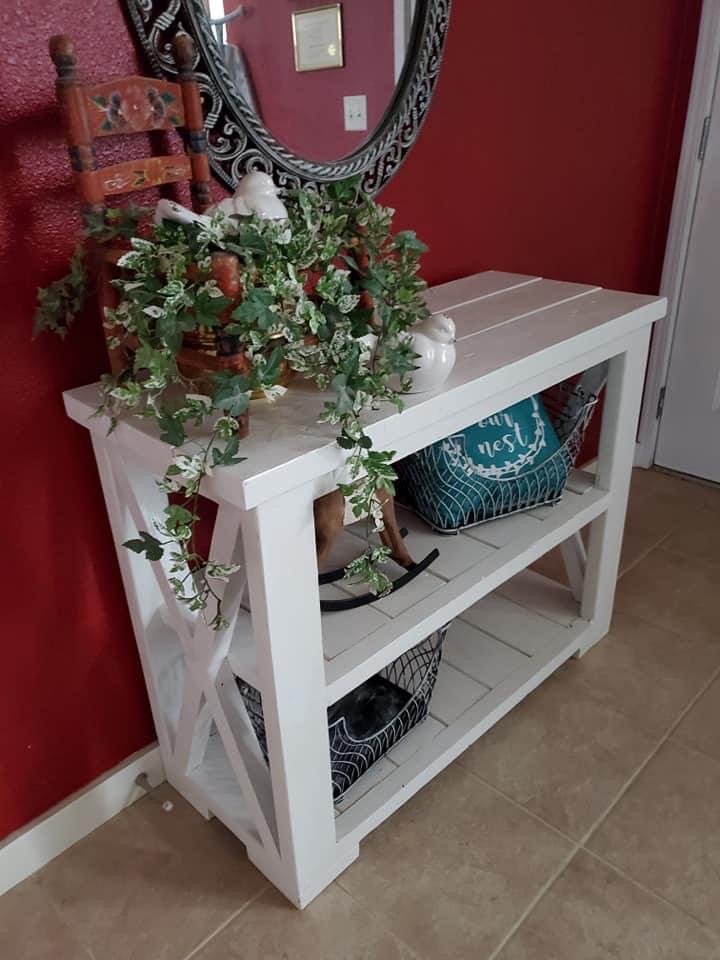
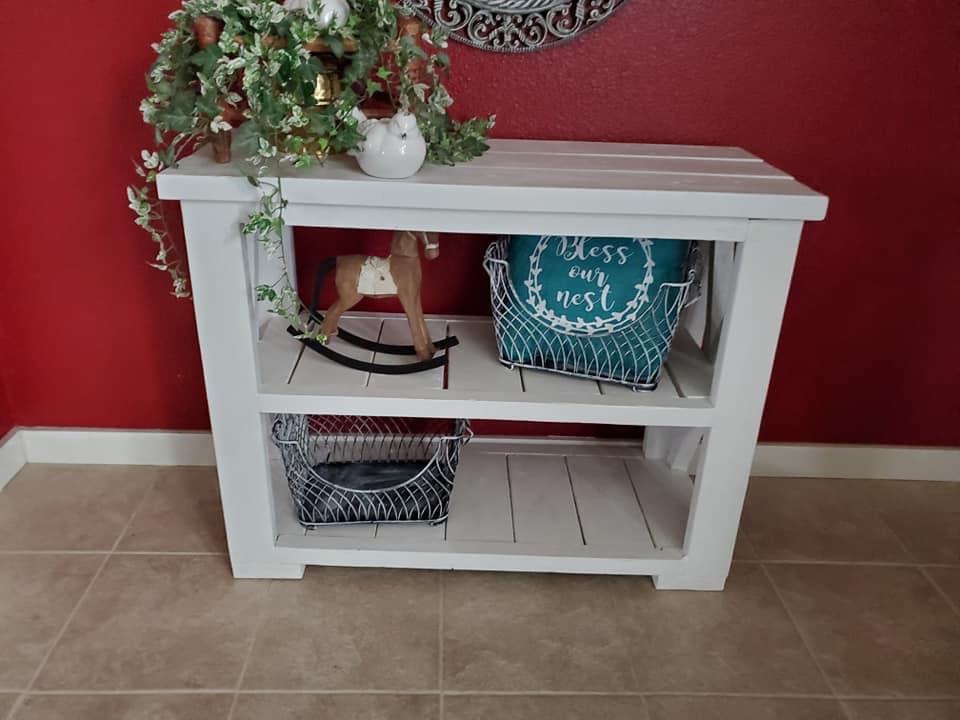
Modern Adirondack Chair
Love it! . I used a clear coat. Usually I have a hard time getting up from this type of chair...Not this one. Now I have a few more to build.😇I rounded the edges to make it less sharp. I am new to wood working.
This table is made from beautiful reclaimed wood from local Washington DC buildings.
The matching benches are a great space saver for a small space!
I built the headboard out of reclaimed barn wood that I purchased on Craigslist. The seller worked for the DOT and was responsible for demolition of old barns that were in the path of new roads in North Carolina. He takes the barns down and salvages all of the wood he can and sells it on Craigslist. The wood I purchased used to be the interior walls of an 80+ year old barn that used to stand somewhere outside of Raleigh. I built the bed mostly out of red oak plywood, but the posts for the footboard are cedar (the only non-pressure treated 4x4's I could find in my area). I used Minwax Wood Finish Classic Gray for the stain. The drawer pulls are hand made from a local NC blacksmith named Northern Crescent Iron who I found on Etsy. Here is a link to his Etsy site: https://www.etsy.com/shop/NorthernCrescentIron
This was a fun project and my wife LOVES the size of the six drawers. :)
I made this for a friend! She has cubbies on all four corners.
This was born out of the need for more counter space in our galley kitchen. We don't have the space to add an island. Especially around the holidays, it would be great to have extra space for making cookies, serving big meals, etc. I used Ana's Small Kitchen Island Prep Cart plans for inspiration. I adapted the dimensions to fit at the end of our counters when not in use and added a drop leaf to give us almost 4 additional feet of butcher block counter top when we need it. I used scrap lumber that I had for the cabinet and had an extra drawer handle that matches our kitchen cabinets but bought the butcher block, locking casters, drawer slide and hardware for the legs. Also, the weight of the butcher block makes it want to tip when it's away from the cabinet with the drop leaf down so I added a lead counter weight inside the drawer.
Tue, 04/27/2021 - 18:09
I am so interested in doing this, but would like more details on how the drop leaf was constructed. Would it be possible to get more information?
In reply to I am so interested in doing… by haartd
Sat, 07/24/2021 - 16:59
Sure! I used a 4 foot butcher block and cut it down. The horizontal part is 13 1/2" and the drop leaf part is 32 1/8" attached with a piano hinge. The legs need to be cut and hinged to fit when folded up. This one is made so that the drop leaf fits right under the overhang of the kitchen countertop that it is next to so it's snug against the cabinet and not an issue but, if you want it to be freestanding, the weight of the butcher block will pull it over if you don't weight the cabinet down with something as well. I got a 5 pound lead bar from Amazon in case we need to use it somewhere else. I hope that helps! Let me know if you have any other questions.
I built the Lydia Daybed for my nephew's new big boy bed. Was a little worried about doing the fancy decorative corner pieces, but just adapted the design a little so it was not such an intricate cut. Everything turned out great and there are a few more pictures on the blog, www.atouchofarkansas.com. Thanks! JM
Fri, 03/08/2013 - 18:58
Hey Jeff!
The details on this Lydia Daybed are beautiful! Looks great!
My wife is always annoyed with me. I make something for our home, and a few months later I decide I dont like it and want something better! I sold our 5th bed set months ago (Farmhouse Bed made through Ana White) and have been sleeping on the floor for the last few months.. Figured it was time to create something I wouldnt sell! Took some plan ideas from the Farmhouse King Bed Plans and came up with something a little more extravagent.
Hopefully I dont sell this one.
In reply to Whoa! by Ana White Admin
Wed, 01/14/2015 - 18:49
Thank you very much!
Wed, 01/14/2015 - 21:37
Awesome!!! This is so cool!! Thanks for posting!
In reply to Awesome!!! This is so cool!! by Ana White
Thu, 01/15/2015 - 05:03
Thanks Ana!
Thu, 01/15/2015 - 03:34
Very nice, would love the plans for it as it is awesome! :0) I need a new bed as well upgrading from queen to a king. :0)
Thu, 01/15/2015 - 05:06
Thanks thewoodbuilder, its super easy and you could probably figure it out just by looking at it. =)
I extended the legs 2" past top of footboard, and 4" past top of headboard with caps on top. And layed 1x4 vertically over top of the 1x6 planks, and horizontally across the top of both foot and head board.
Cheers!
Justin
In reply to Stain technique by tbednarick
Fri, 01/23/2015 - 13:50
Lol, actually its one that Ana wrote a small tutorial on! im not sure where her Finish tutorials are on this new site but im sure you can find it somewhere.
Fri, 01/23/2015 - 15:05
I found the tutorial at http://ana-white.com/2013/05/vintage-graybrown-stain-pine. Thanks for mentioning it.
In reply to Thanks! by tbednarick
Sat, 01/24/2015 - 13:06
great! be sure to mix that weathered oak well!
Wed, 01/21/2015 - 20:47
This bed is gorgeous!!!! If you don't mind I have a couple of questions... For your stain combo of Weathered Oak and Special Walnut do you layer the weathered oak, wipe it off then apply special walnut? Or do you mix the two stains? Your footboard looks taller than the plan calls for , did you make it higher , if so by how much? And what dimensions are your footboard posts? This seriously is an amazing build. Great job!
In reply to Awesome! by tracygator
Fri, 01/23/2015 - 14:04
Thank you! I don't mind at all. =)
The stains I do seperataely. I start with weathered oak and let sit for 15min, wipe off. Than do special walnut right after for 15min than wipe off. I repeat this until I like my color. From the farmhouse plans I really only took the planking idea and how to attach planking section to legs. The foot board is higher by 11" while the headboard posts are higher by 10".
The posts are reclaimed fir 6x6's. Thank again very much tracygator! Its a super easy design! if you have any other questions just let me know. =)
Cheers,
Justin
Sun, 03/01/2015 - 08:13
Okay.......how much do ya want for the bed? ........
Ha! Seriously, it's beautiful and a source of inspiration,
Sat, 05/23/2015 - 20:13
Do you have any other pictures of the side rails? I'm curious how you did them? Specifically, how did you mount them to the head and footboard?
My first project of this size. I think it turned out great! Did a gray weathered stain and drybrushed bright white over the base. Sanded the top 60, 120, 220, 320, and just for fun I finished it with 1000 grit. Stained dark walnut, finished with three coats of poly, sanding 320 in between coats. Love this table!!!!
So this is the very first thing I have ever made. It may not have the x detail on the sides, but I felt comfortable without doing them.
Before I went out and spent money on tools to aid me, I wanted to see if I had a small amount of talent. There are mistakes if you look closely, but overall I am happy with the overall build and lesson learned when I build my next table!
Thu, 03/18/2021 - 10:45
I'm excited for you, can't wait to see your next project!
Such a great, simple project! Thanks for the plans Ana! I'm doing my best to send people your way via my blog, iliketomakestuff.com
Tue, 03/12/2013 - 22:56
I made Ana's coat tree recently as well, but I painted mine white. I love that high gloss red that you used! It turns your coat tree into an accent piece. :)
My husband made these for our 5 year old daughter and our 1 year old granddaughter. They turned out adorable! Our first project with a kreg jig, best tool ever! It took a few weekends, but we are also building a house. The longest time was spend waiting for paint to dry!
This is the end Table I built from Anna's plans. If you wanna watch how I built this table. go to https://youtu.be/qaFfvO2nfm0
After making the coffee table, I wanted to add a pop of color and design to the front porch. Each of these projects have strengthened my beginner wood working skills. I am excited on how this turned out and cannot wait for my next challenge. Thank you again Ana, for the plans and video. They both help beginners like me. Jennifer
This bookcase was really easy to make and provides tons of storage! I am doing my girls playroom in blue, purple, and pink so I painted one room each color and also modge podged matching scrapbook paper into 3 of the rooms.
Made this corner cabinet for my office to shelve all my music books and camera gear. It has tidied up things perfectly! No more cluttery bookshelves taking up valuable floor space! This was a super easy build- used leftover bead board I had sitting around and some extra moulding for the edges of the shelves. I hand routered the top and footer, giving it a nice little detail. Love it!
In reply to Very Pretty! by Ana White Admin
Thu, 06/04/2015 - 09:54
Thanks! It really has helped with organization in my office. Cheap build, too.
Thanks for your video, Ana!
I had a bunch of salvage wood boards and wanted to offer my wife the space she'd always wanted for gardening for our wedding anniversary.
Your plans inspired me to build her this bench, adapting the design to the materials I had.
She loved it!!
Elodie :-)
Super easy and looks beautiful on the porch. Surprisingly comfortable!
My husband built this sectional from Ana's outdoor seating plans. Overall, it was a simple and easy project for our spring break. The paint is Glidden's Water Chestnut all cushions are from Garden Ridge. We love it!
Until now I've been doing the majority of my project cuts with my $30 jigsaw. Yes, it took about ten times as long as yes it was not quite as accurate so I ended up putting more time into sanding to clean things up after but I just didn't feel comfortable using the circular saw.
Well, I've got a list a mile long of things I'd like to build so it's time to put on my big girl panties and get comfortable with the circular saw. So...I read a ton of tips and tricks online and saw a number of different guides.
Taking a little from a few different pictures of guides and using the scrap wood from an old dresser, I put this together. I clamp it to the top of my work table and go to town. I love it and now feel comfortable using the circular saw. I'm sure it's helped me make more accurate, straighter cuts than I would otherwise have made too.
Fri, 01/23/2015 - 07:12
By using this jig, you are losing the full potential of your blade depth. A speed square would work just as well as this system and provide you with a full blade depth worth of cuts. I've seen systems like this before but really only useful for ripping long lengths of plywood/MDF/etc and not for cross cuts. I'm not trying to knock the way you do wood work, simply providing others with an alternative and easier way.
Fri, 01/23/2015 - 12:39
You're absolutely right that by using this I'm limiting the depth of my cuts to some degree. I have used the speed square as well and it's definitely a great tool that I'll use more in the future. The jig just offers me a little control until I grow more comfortable with the circular saw. Just an option for other newbies like me who might be apprehensive about using the circular saw.
I made this table smaller to fit in my entryway. Fun project, got my son and husband involved. Love how it turned out.
We were finding the wall behind our couch difficult to decorate. The couch is nine feet long, so everything we put up lacked the scale the couch demanded. I decided to build a reclaimed wood shelf to go behind the couch. The shelf is 6.25 inches deep, so is perfect for displaying items without losing space in the living room.