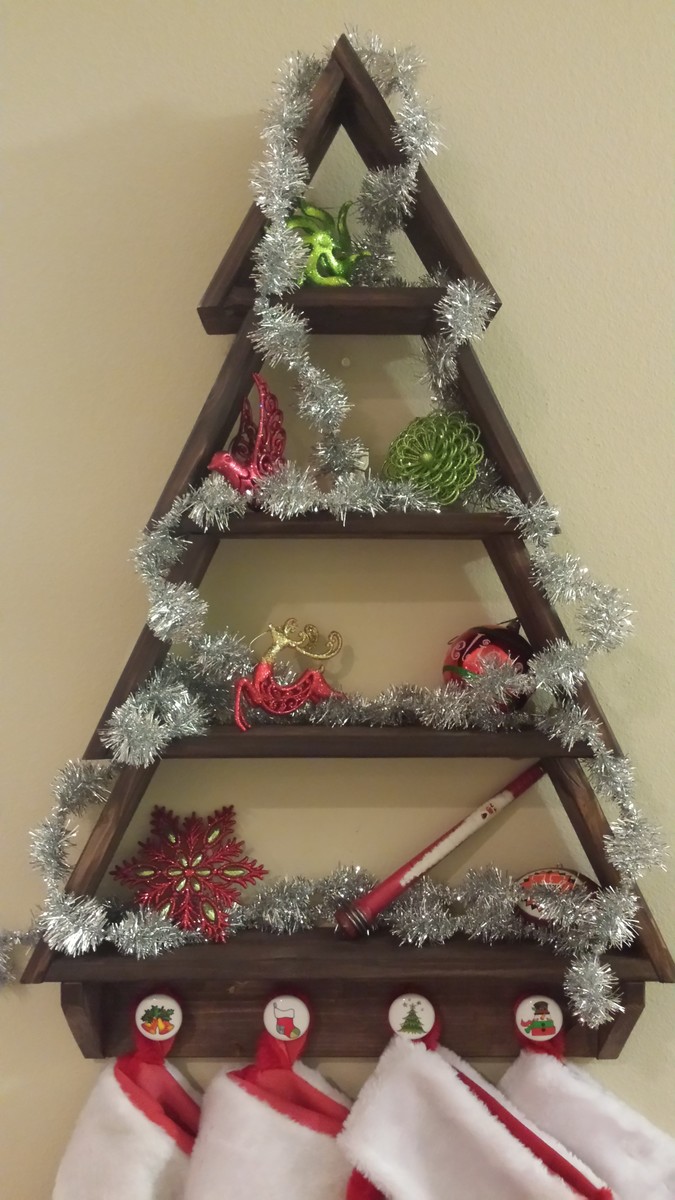
Christmas Tree Wall Shelf
Christmas Tree Wall Shelf
Stockings hung using cabinet/drawer pull knobs that I found on Amazon
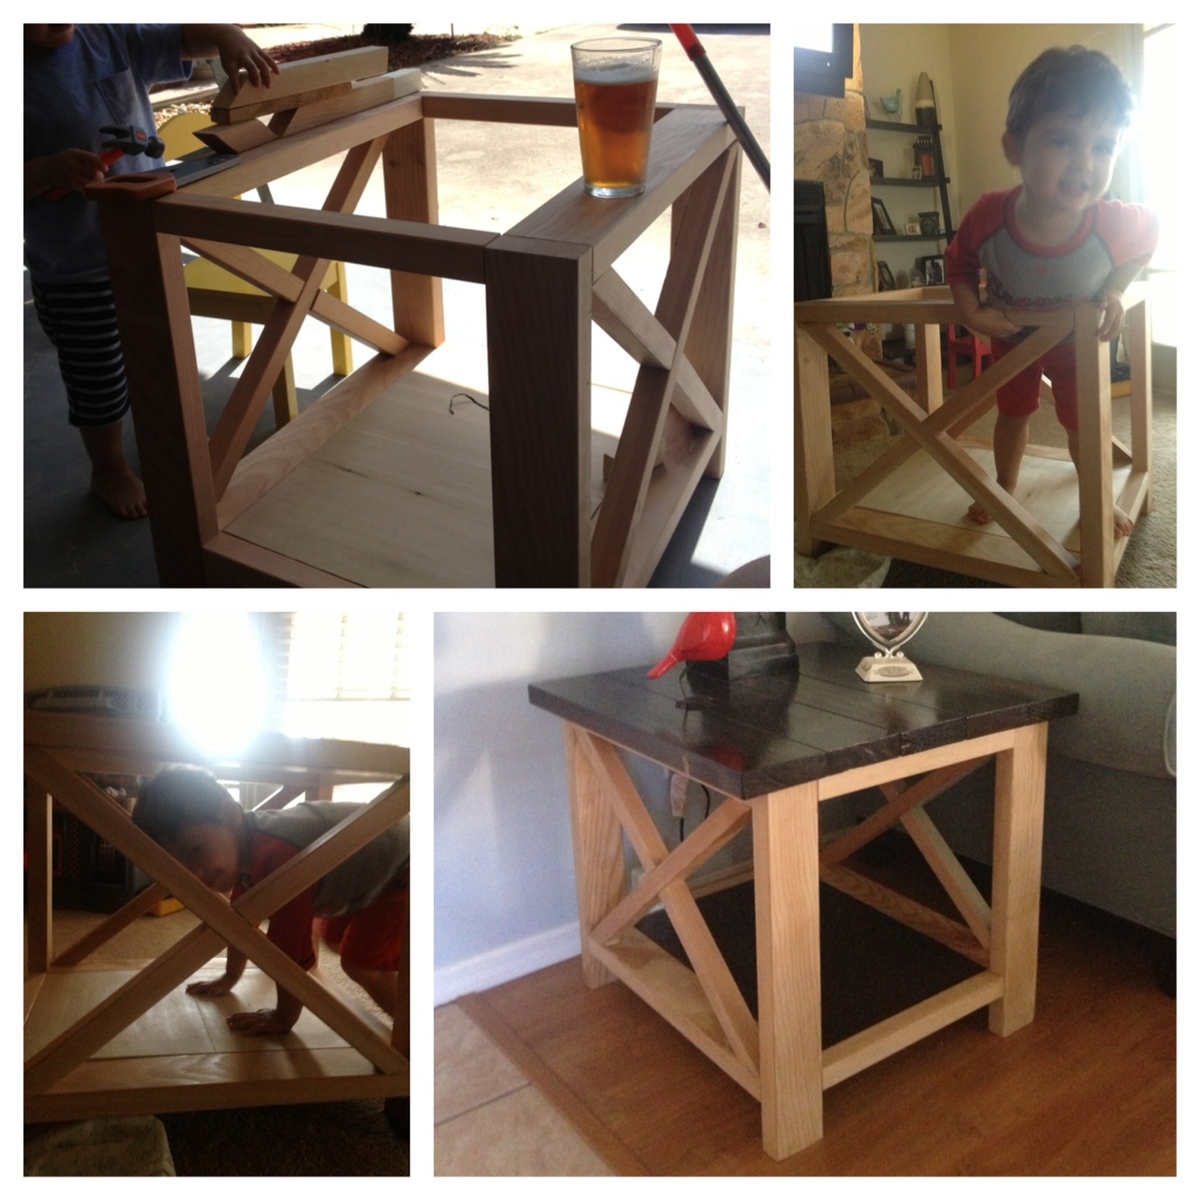
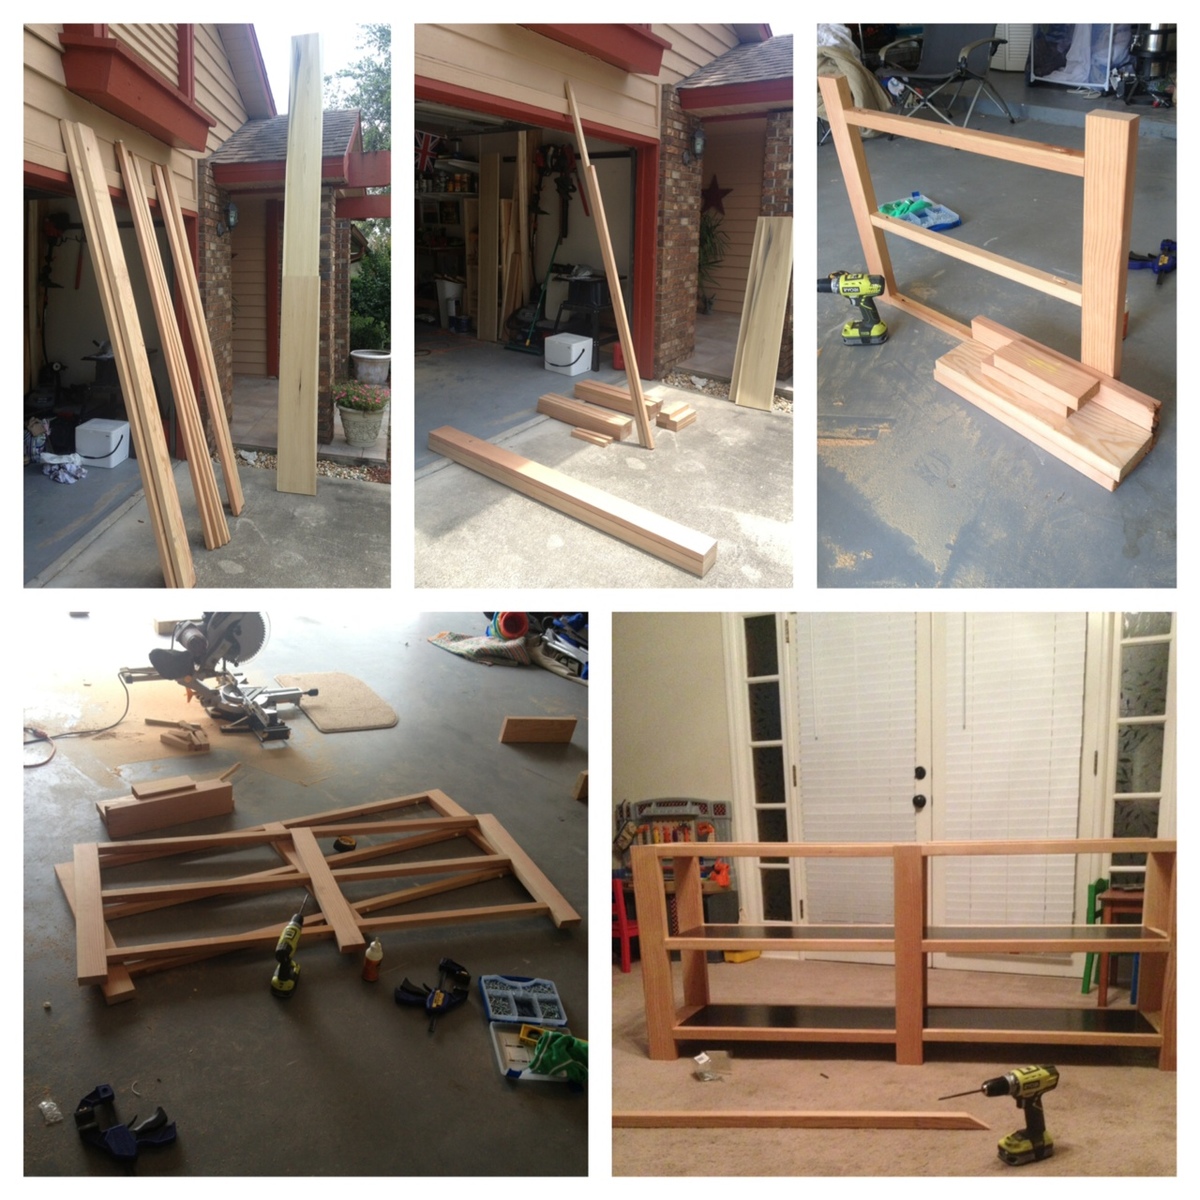
Built from Plan(s)
Estimated Cost
<$20
Estimated Time Investment
Day Project (6-9 Hours)
Recommended Skill Level
Beginner