Community Brag Posts

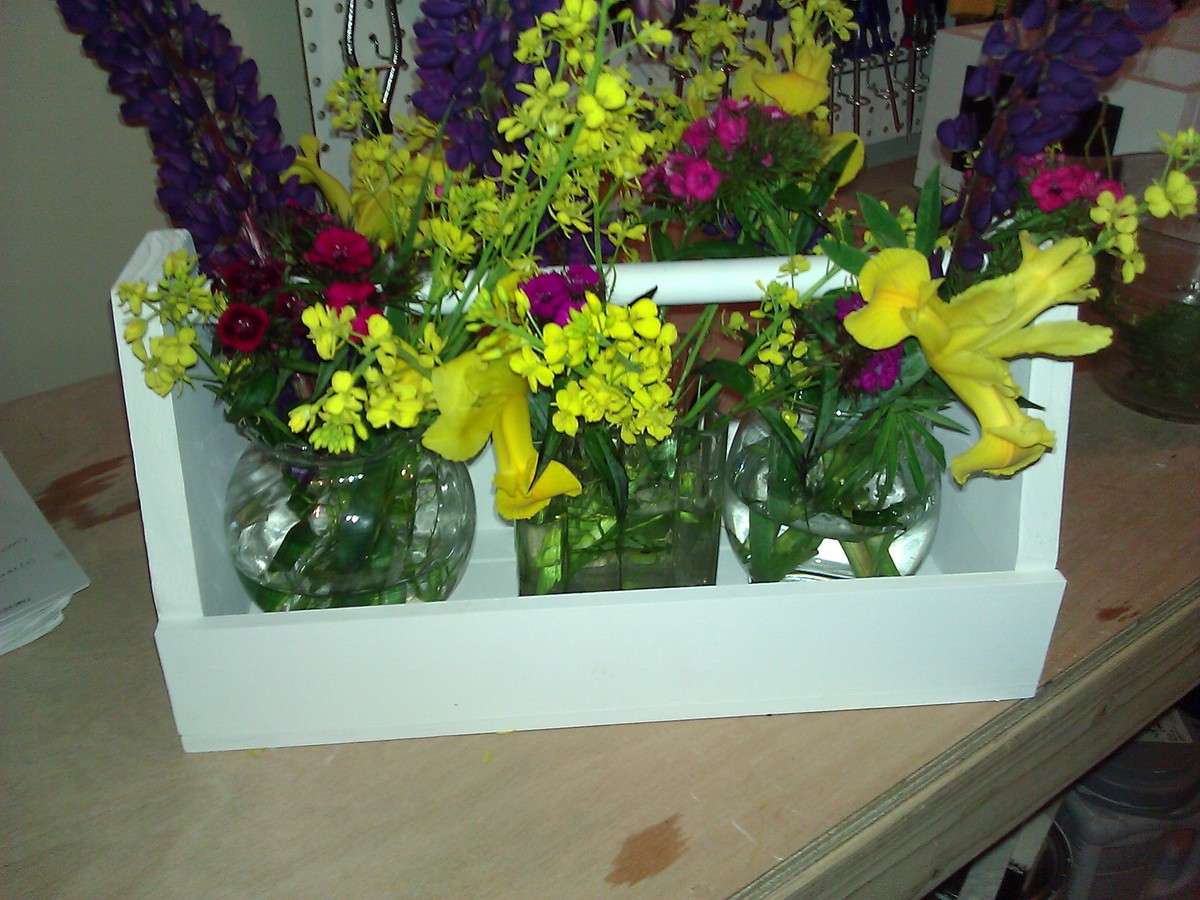
Tool and Garden Caddy Gift

Submitted by donnamarie on Sat, 01/03/2015 - 12:07

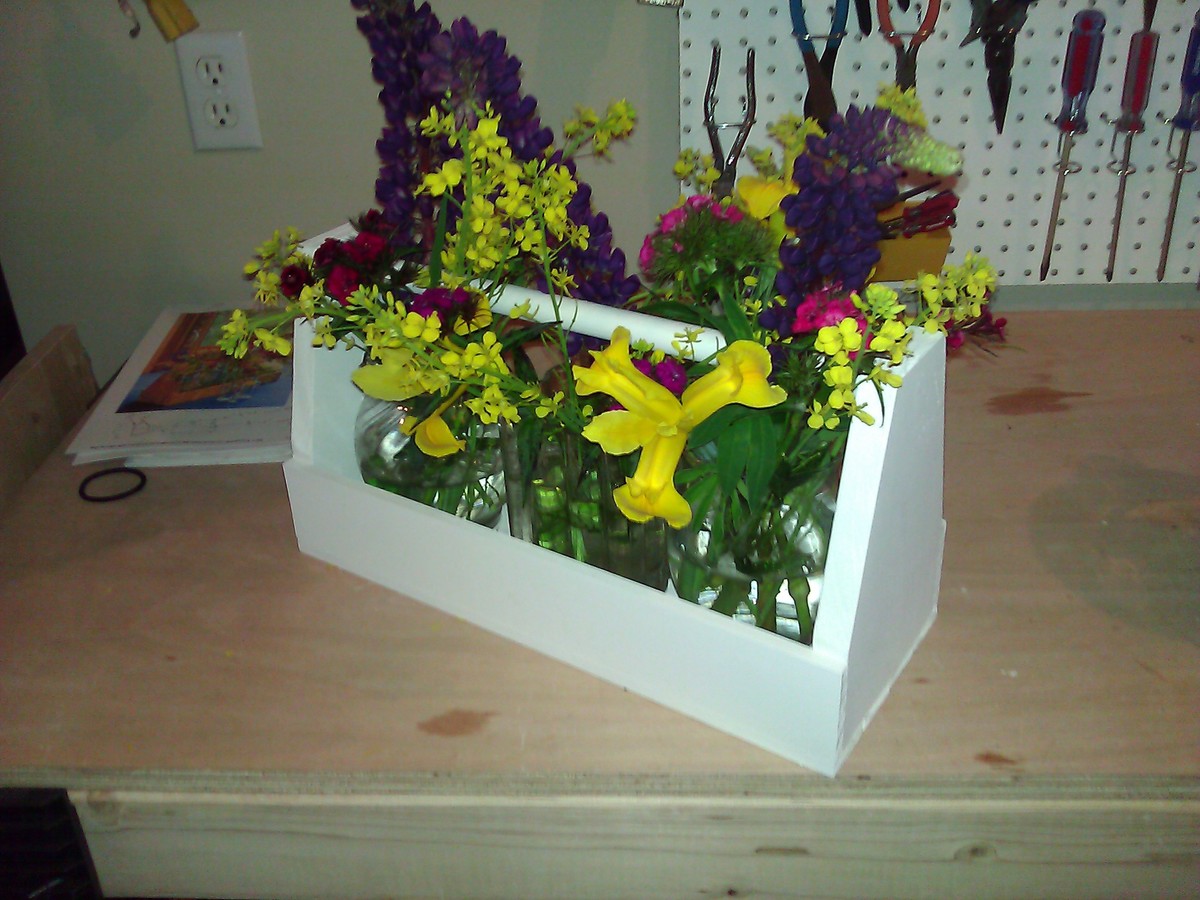
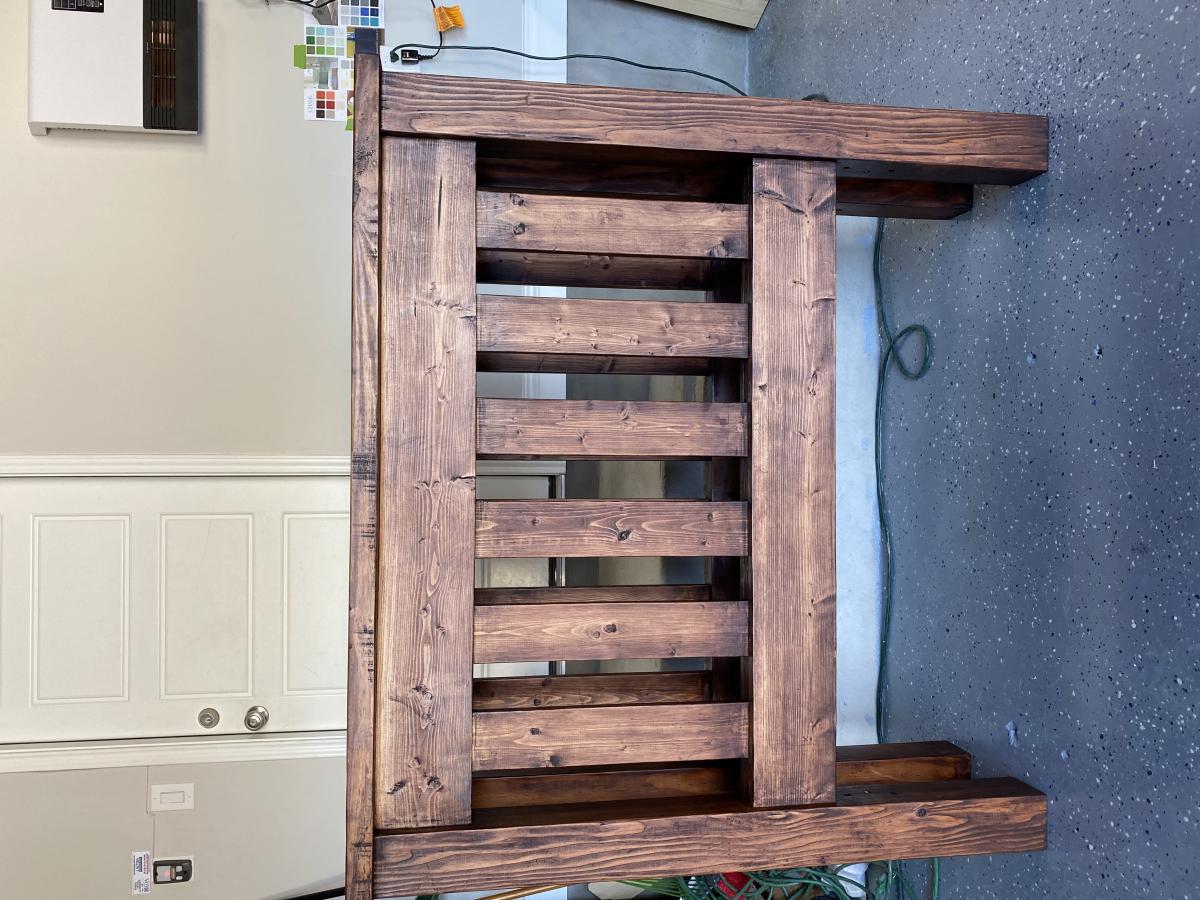
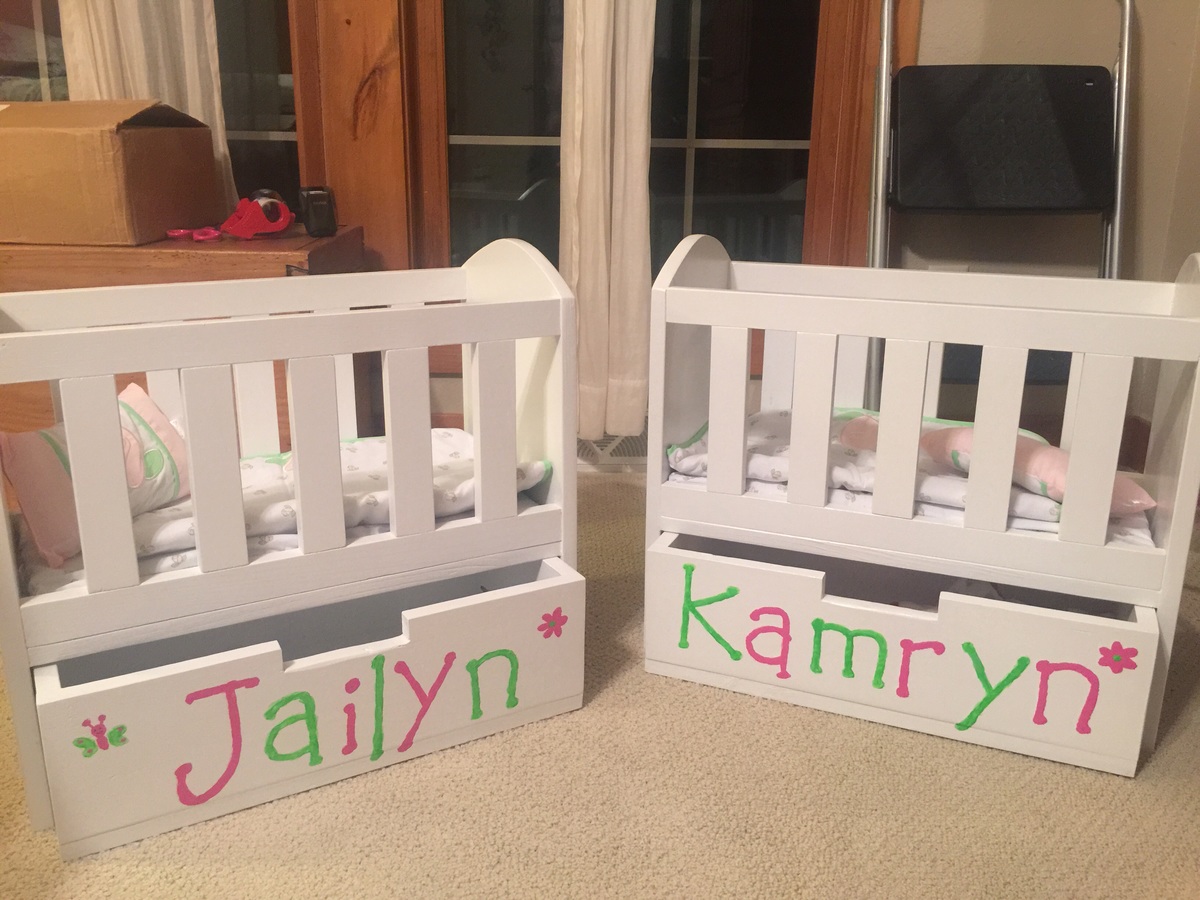
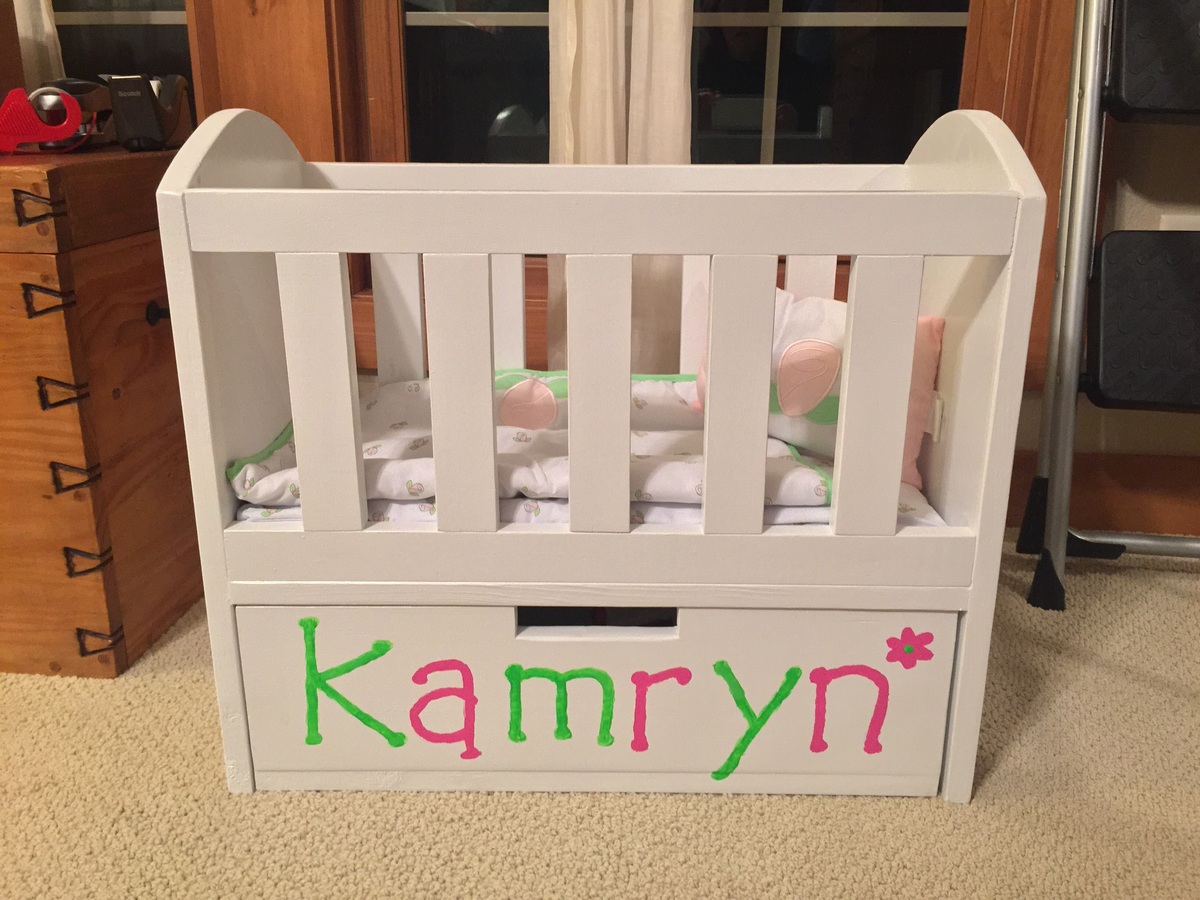
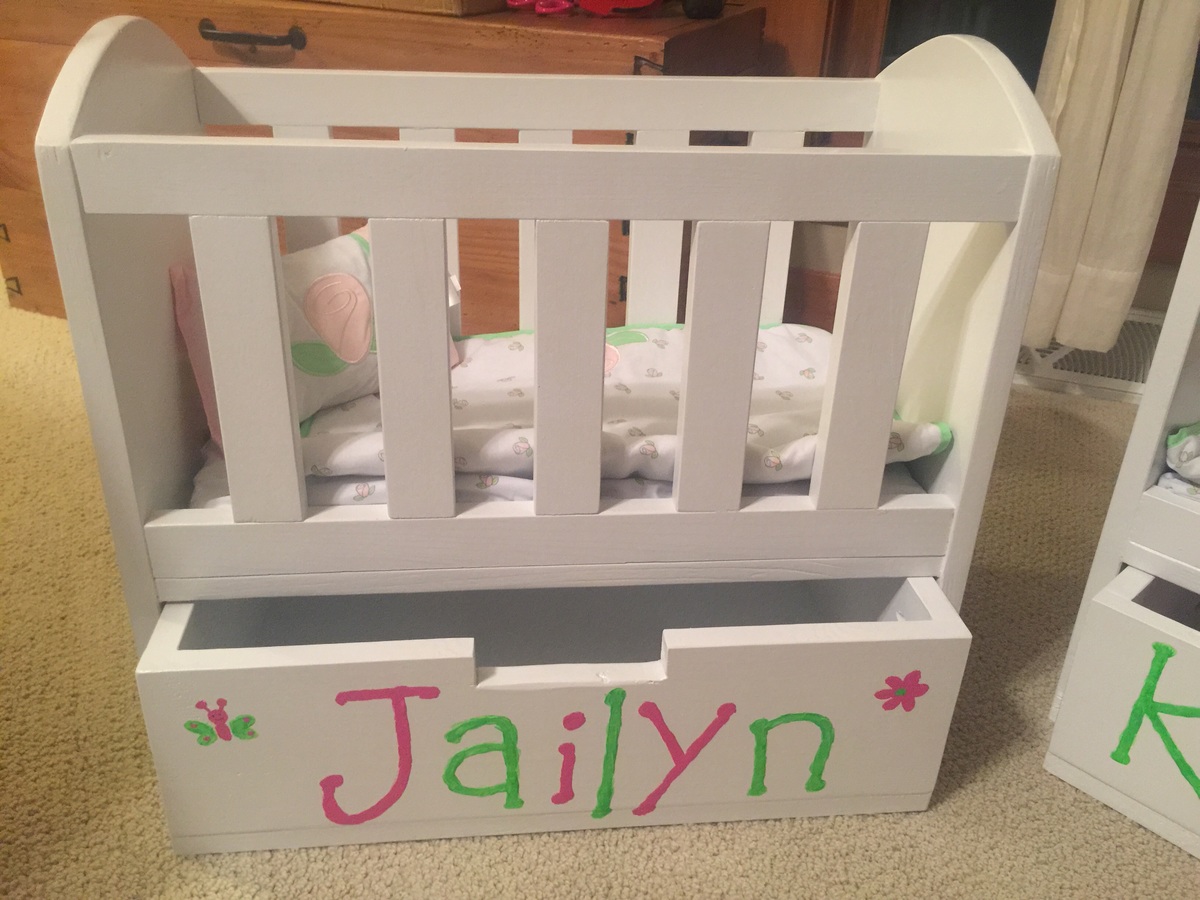
I made this little tool caddy in one afternoon from some 1 by various width board scraps.  I pretty much followed Ana's 'Give the Gift of Building' plan for construction, while being able to use up some scrap wood.  I was making this as a 'just because' gift for my BFF, so I made it to fit three of those free little floral vases, filled it with flowers from my yard, and voilà! 

This is a great beginner project, or one for anyone who needs a little something to project during a free afternoon.

Estimated Cost
Free with scraps, or about $15
Estimated Time Investment
Afternoon Project (3-6 Hours)
Finish Used
One coat of primer followed by light sanding, then one coat of Sherwin-Williams Dover White in semi-gloss.
Recommended Skill Level
Starter Project

Twin Bunk Beds

I made these for a special order. Used the Simple Twin bed plans but modified them because they want to use the beds as separate twins first, then convert to a bunk bed. In order to make the beds look uniform when separated, the head and foot boards are identical. One bed fits directly on top of the other, secured with 1/2” dowels.

Estimated Cost
365.00
Estimated Time Investment
Week Long Project (20 Hours or More)
Finish Used
Carrington Stain and a satin finish poly.
Recommended Skill Level
Beginner

Mirrored Monogram Craftsman Frame

Submitted by cece3660 on Tue, 02/26/2013 - 11:18

I only was able to complete this project for less than $10 because I happened to have most of the supplies I needed lying around the house already. If this isn't the case for you, it will cost slightly more, but not much.

I had 2 extra 12x12" mirror tiles left over from another project that I've been saving for something creative. When I saw the plans for this picture frame I knew I had a winner. I figured out how much wood I needed and purchased the cheapest type I could that wasn't warped. Since I wanted a bit of the "weathered" look, I didn't mind wood with knots in it. I followed the original plan exactly, the only exception being the specific measurements I knew I needed to fit these mirrors. I also had some extra burlap lying around and made my own stencils for my "M" and "L" monogram letters. After cutting them out, I simply hot glued them directly to the mirrors. Finally, I attached the mirrors to the back of the frames and hung them in place!

I originally wanted more of a rustic look with the paint (similar to the original blue one), but I think the burlap brings that in enough. Overall, I'm very happy with how this turned out!

Built from Plan(s)
Estimated Cost
less than $10
Estimated Time Investment
Afternoon Project (3-6 Hours)
Finish Used
Since this is a small project, I just used acrylic craft paint. One 2-ounce bottle was just enough for 2 coats of paint on both frames!
Recommended Skill Level
Starter Project

Wall to Wall Custom desk

Submitted by EAlmquist on Sun, 01/04/2015 - 14:15

We used the plans to build the center console piece, and then left off the support shelves under the ends, and instead bolted our desk to a support system directly on the walls. Then we installed a steel support beam under the desk to prevent bowing.

Estimated Time Investment
Day Project (6-9 Hours)
Finish Used
Clean polyeurethane
Recommended Skill Level
Beginner

Comments

Loft med with modification

Submitted by Anonymous (not verified) on Mon, 04/03/2017 - 13:36

My husband built the loft bed and added a side rail on the landing just in case our little one was drowsy during the middle of the night. We added an extra rail to the top (...mommy didn't read the measurements correctly on the website for the mattress but it all worked out). I dont have the picture with her new bed on top with twinkle lights on the bottom but you get the idea. p.s. mommy built the desk on the left :) 

Estimated Time Investment
Weekend Project (10-20 Hours)
Recommended Skill Level
Beginner

Ladder Shelf

Submitted by Anonymous (not verified) on Tue, 02/23/2021 - 07:18

These plans were modified slightly from your bathroom storage shelf plans to make a bookshelf for my daughter. Made from cut-offs and spare wood. Fun little project.

Built from Plan(s)
Estimated Cost
$5-10
Estimated Time Investment
Afternoon Project (3-6 Hours)
Finish Used
2 coats of Pure White enamel paint applied with a foam brush and sanded in between for a smooth finish.
Recommended Skill Level
Starter Project

A twist on Modular Family Entryway Mudroom System - Pullout Rolling Bench Cart

This is a twist on the Modular Family Entryway Mudroom System - Pullout Rolling Bench Cart . There have been many posts on the net for a mudroom locker set such as the one I have. In our case we had a mudroom with a closet, not much room to move when sliding the doors open, and as well we have kids that need a place to sit in order to put boots/shoes etc on. I took advantage of my husband's work assignment out of the country to rip back the closet,to 20 inches deep and open it up and added a bench for seating, baskets above for out of season/rarely used stuff, and used rolling cubbies below, but in my case I wanted storage bins instead. My thinking was so that I could make it look clean pretty quickly by just chucking every thing in to the bin... These are tall enough for our boots. In the bottom of the bins I put a piece of outdoor carpeting, then a plastic grid, and over that another layer of outdoor carpeting so if the footwear is wet it will drain and dry-no biggie to vacume or sweep out. Best deal: I can simply roll them out of the way when I want to sweep underneath! I measured cubby space to basket size above, and made the bins below after doing the bench and middle supports, to ensure a good fit. The bench top is an old piece of pine board I sanded, stained and used 4 coats of marine varnish so it would take lots of wear and tear.

Estimated Time Investment
Week Long Project (20 Hours or More)
Finish Used
minwax walnut stain, and marine varnish benchtop
behr marshmallow paint
Recommended Skill Level
Intermediate

Comments

Basement Storage Shelves

Submitted by dmozer74 on Tue, 01/06/2015 - 08:46

Using Ana's plan for the garage shelves I was able to shorten them up and turn my basement storage area into a well-organized storage area.  This was my first real wood working project ever. The detailed plans from Ana's site made this a very doable and easy project.

Estimated Cost
For all the wood, glue and self-tapping screws the project cost right at $170 to build both shelves.
Estimated Time Investment
Afternoon Project (3-6 Hours)
Finish Used
Unfinished.
Recommended Skill Level
Beginner

Red Oak Table

Submitted by Anonymous (not verified) on Thu, 04/06/2017 - 11:58

Fun Project. Wife loves it! Adds a much better look to our dining room!

Estimated Time Investment
Week Long Project (20 Hours or More)
Finish Used
4 Coats of Minwax Stain-Red Oak

3-4 Coats of Minwax Wipe on poly Satin
Recommended Skill Level
Beginner

King Bed

I built this using tongue n groove boards instead of 1x6's and it added some dimension to it. I also made it higher to allow for storage under. Turned out pretty good

Estimated Cost
250.00
Estimated Time Investment
Weekend Project (10-20 Hours)
Finish Used
Weathered Grey
Recommended Skill Level
Beginner

Providence Bench

This bench is on my back porch. Its nice to have a few extra seats when entertaining!

Built from Plan(s)
Estimated Cost
$20-$30
Estimated Time Investment
Afternoon Project (3-6 Hours)
Finish Used
I wanted this bench to have a weathered look. So I first applied Sunbleached stain all over & then applied Kona stain after, in random spots. Last, I used spar varnish since it will be outside!
Recommended Skill Level
Beginner

Comments

The most beautiful bench

Submitted by Anonymous (not verified) on Sun, 04/09/2017 - 11:04

This bench is the most beautiful bench I have ever seen. My husband made ours long so all the grandkids to sit on it at one time. Made with love. I am having him make another one for our deck.  Thank you for the plans. 

Estimated Time Investment
Weekend Project (10-20 Hours)
Recommended Skill Level
Beginner

Modern Adirondack Chair

Submitted by Anonymous (not verified) on Sun, 03/07/2021 - 15:38

Love it! . I used a clear coat. Usually I have a hard time getting up from this type of chair...Not this one. Now I have a few more to build.😇I rounded the edges to make it less sharp. I am new to wood working.

Estimated Cost
$40
Estimated Time Investment
Afternoon Project (3-6 Hours)
Finish Used
Spar Urethane. I will use a deck finish next build.
Recommended Skill Level
Intermediate

Farmhouse Storage bed with 80+ year old reclaimed barn wood headboard

Submitted by anthropete on Sat, 01/10/2015 - 12:03

I built the headboard out of reclaimed barn wood that I purchased on Craigslist. The seller worked for the DOT and was responsible for demolition of old barns that were in the path of new roads in North Carolina. He takes the barns down and salvages all of the wood he can and sells it on Craigslist. The wood I purchased used to be the interior walls of an 80+ year old barn that used to stand somewhere outside of Raleigh. I built the bed mostly out of red oak plywood, but the posts for the footboard are cedar (the only non-pressure treated 4x4's I could find in my area). I used Minwax Wood Finish Classic Gray for the stain. The drawer pulls are hand made from a local NC blacksmith named Northern Crescent Iron who I found on Etsy. Here is a link to his Etsy site: https://www.etsy.com/shop/NorthernCrescentIron

This was a fun project and my wife LOVES the size of the six drawers. :)


Estimated Cost
$900
Estimated Time Investment
Week Long Project (20 Hours or More)
Finish Used
MinWax Wood Finish Classic Gray, Valspar Flat Clear spray finish on headboard
Recommended Skill Level
Intermediate

Lydia Daybed

I built the Lydia Daybed for my nephew's new big boy bed. Was a little worried about doing the fancy decorative corner pieces, but just adapted the design a little so it was not such an intricate cut. Everything turned out great and there are a few more pictures on the blog, www.atouchofarkansas.com. Thanks! JM

Built from Plan(s)
Estimated Cost
160.00
Estimated Time Investment
Weekend Project (10-20 Hours)
Finish Used
Painted it black
Recommended Skill Level
Intermediate

Comments

Antiqued dark walnut

Submitted by Anonymous (not verified) on Sat, 04/15/2017 - 20:42

My first project of this size.  I think it turned out great!  Did a gray weathered stain and drybrushed bright white over the base.  Sanded the top 60, 120, 220, 320, and just for fun I finished it with 1000 grit.  Stained dark walnut, finished with three coats of poly, sanding 320 in between coats.  Love this table!!!!

Built from Plan(s)
Estimated Cost
$89
Estimated Time Investment
Week Long Project (20 Hours or More)
Finish Used
Dark walnut and poly
Recommended Skill Level
Intermediate

My first table

Submitted by Anonymous (not verified) on Wed, 03/17/2021 - 14:54

So this is the very first thing I have ever made. It may not have the x detail on the sides, but I felt comfortable without doing them.

Before I went out and spent money on tools to aid me, I wanted to see if I had a small amount of talent. There are mistakes if you look closely, but overall I am happy with the overall build and lesson learned when I build my next table!

Estimated Cost
60
Estimated Time Investment
Afternoon Project (3-6 Hours)
Recommended Skill Level
Beginner

Comments

My coat tree build

Such a great, simple project! Thanks for the plans Ana! I'm doing my best to send people your way via my blog, iliketomakestuff.com

Estimated Cost
$10
Estimated Time Investment
An Hour or Two (0-2 Hours)
Finish Used
High Gloss Spray paint
Recommended Skill Level
Beginner

Comments

yurra-bazain

Tue, 03/12/2013 - 22:56

I made Ana's coat tree recently as well, but I painted mine white. I love that high gloss red that you used! It turns your coat tree into an accent piece. :)

Christmas Doll Cribs

My husband made these for our 5 year old daughter and our 1 year old granddaughter. They turned out adorable! Our first project with a kreg jig, best tool ever! It took a few weekends, but we are also building a house. The longest time was spend waiting for paint to dry!

Built from Plan(s)
Estimated Cost
100 dollars for both including the kreg jig, glue, paint and of course the wood.
Estimated Time Investment
Day Project (6-9 Hours)
Finish Used
White semi gloss. Acrylic paint for the names.
Recommended Skill Level
Beginner

Comments