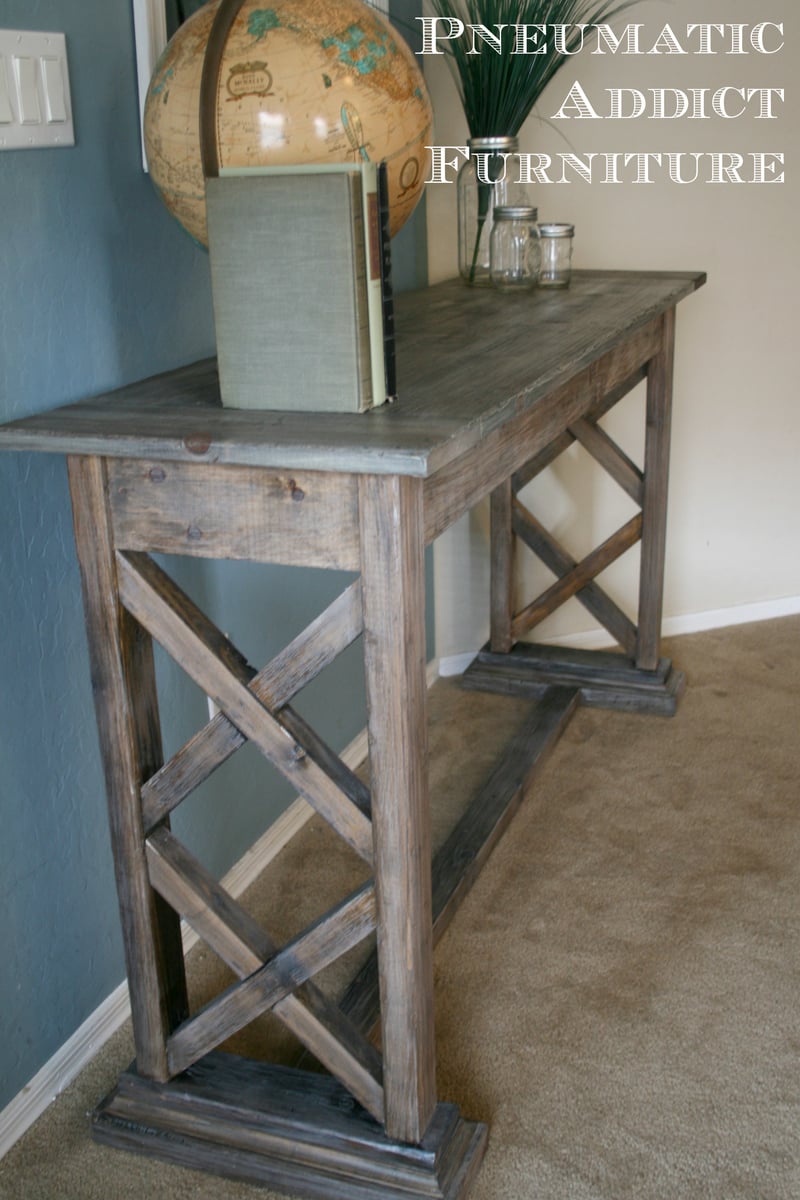
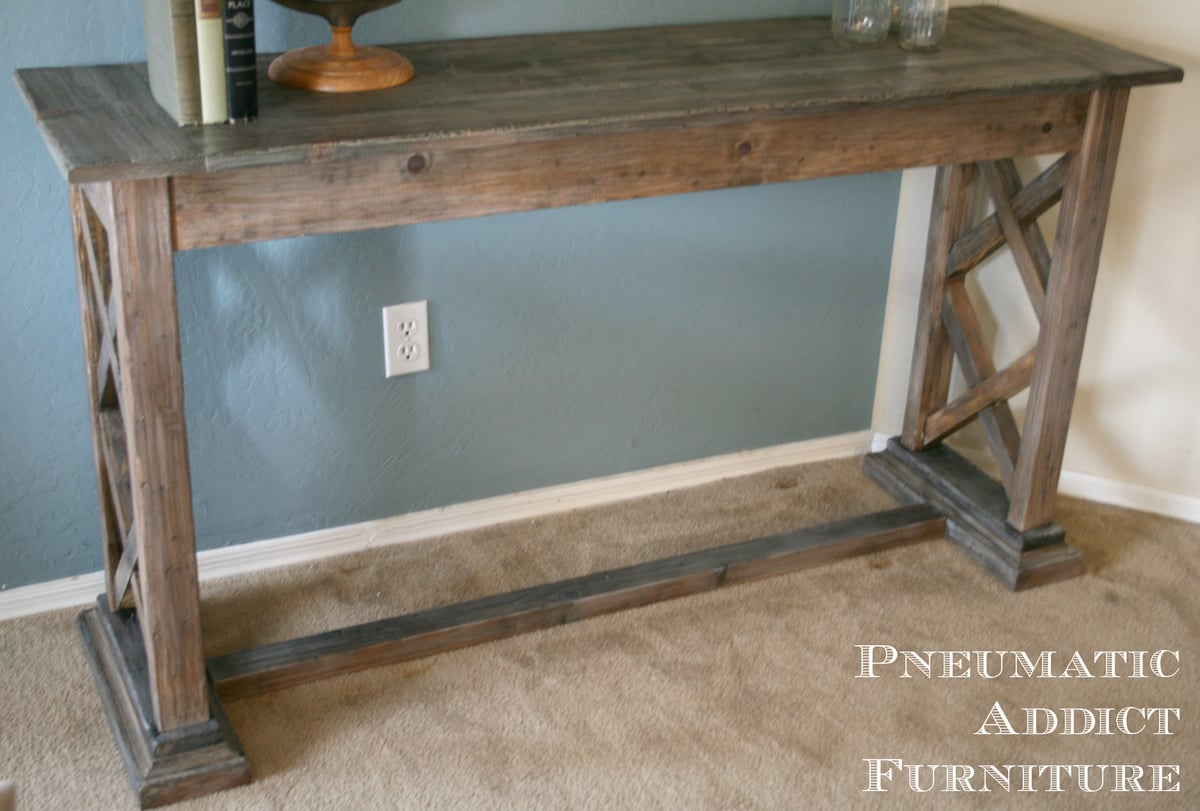
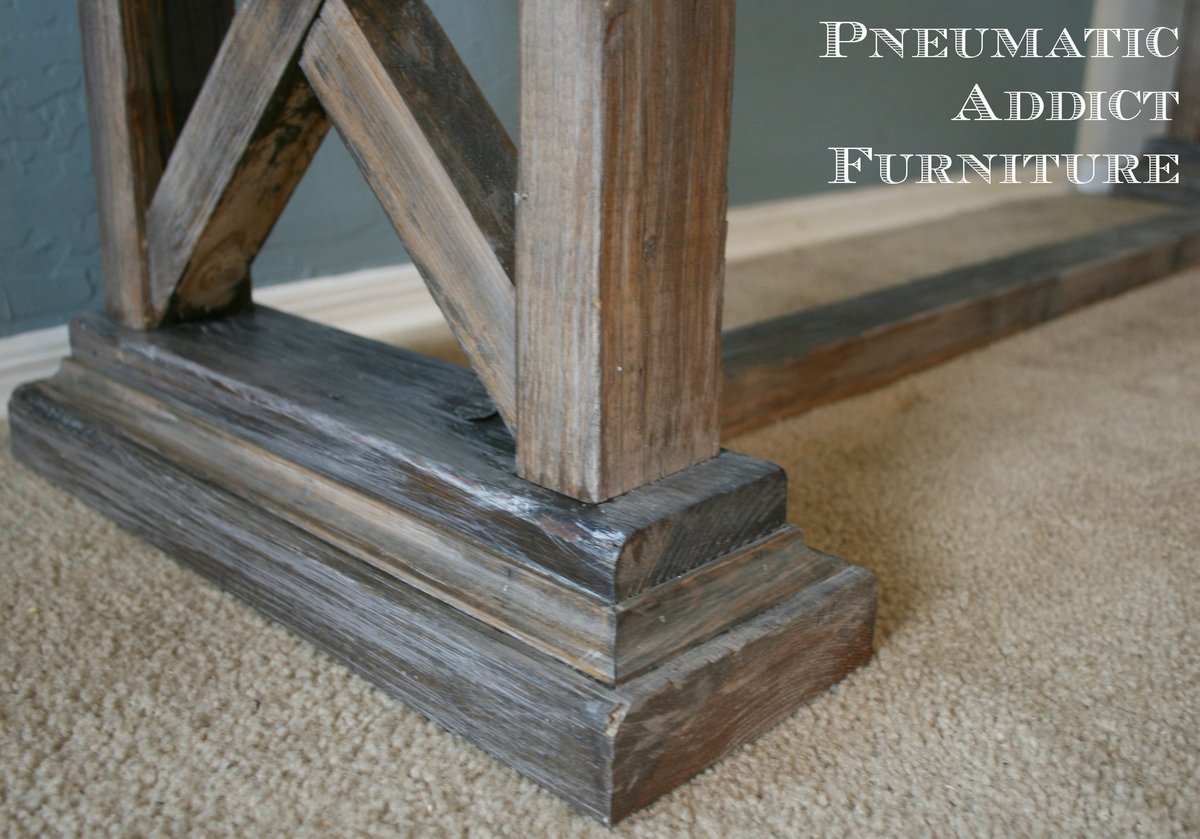
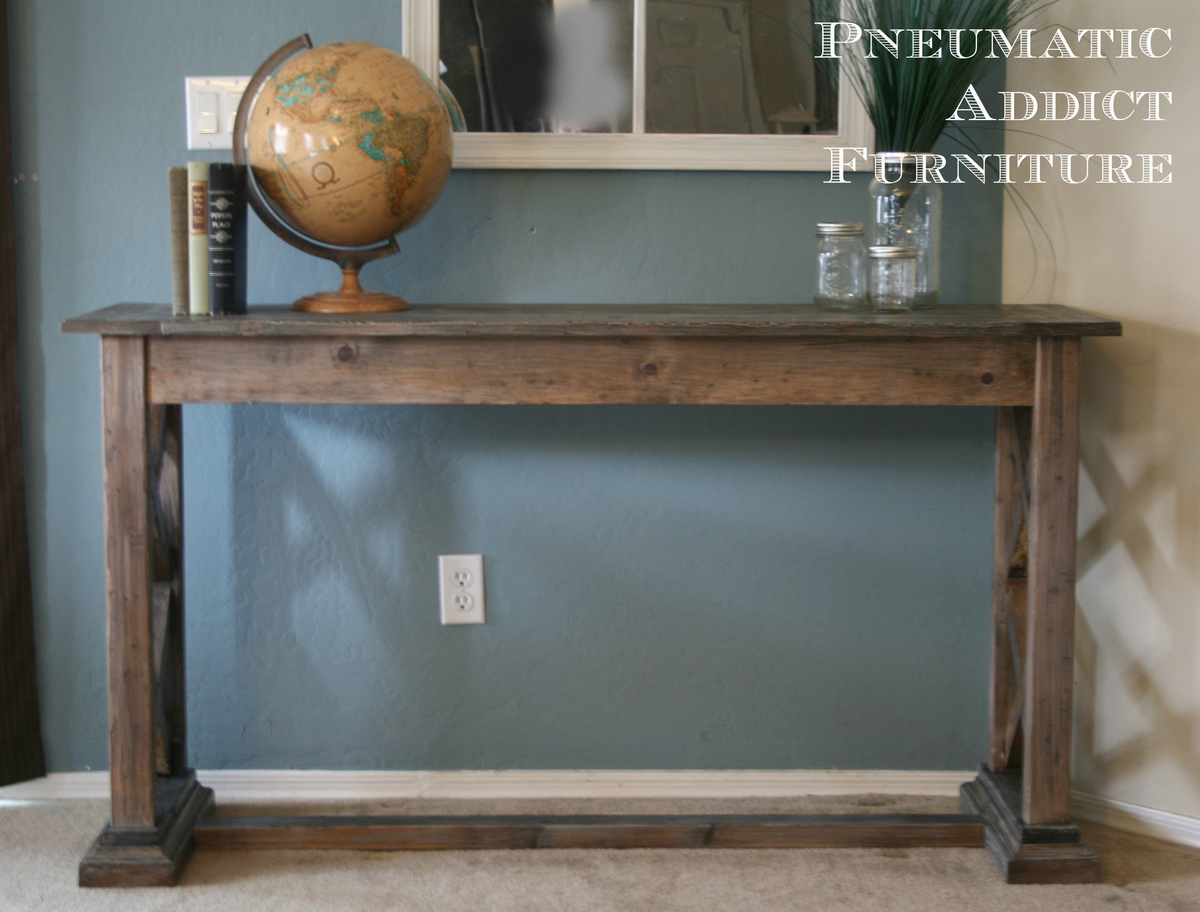
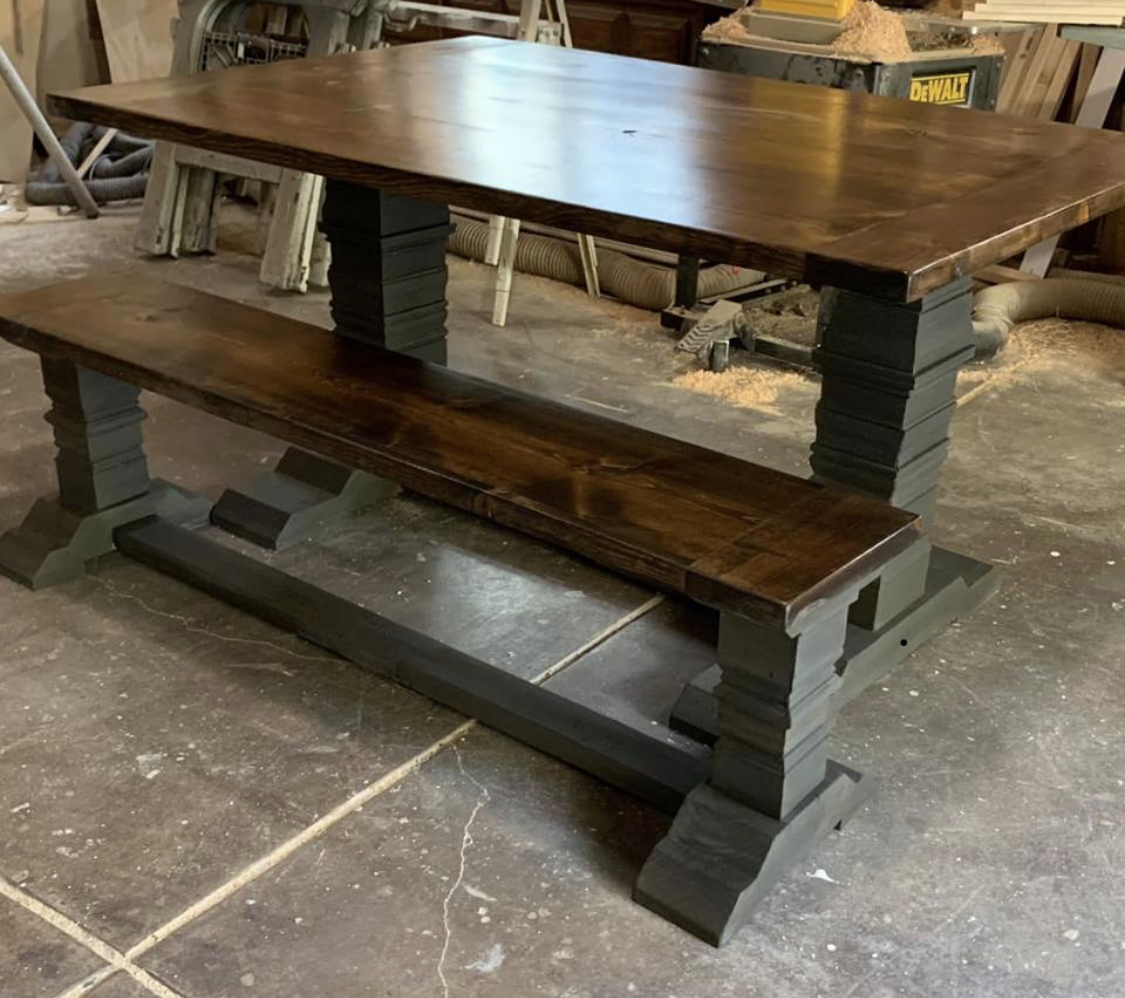
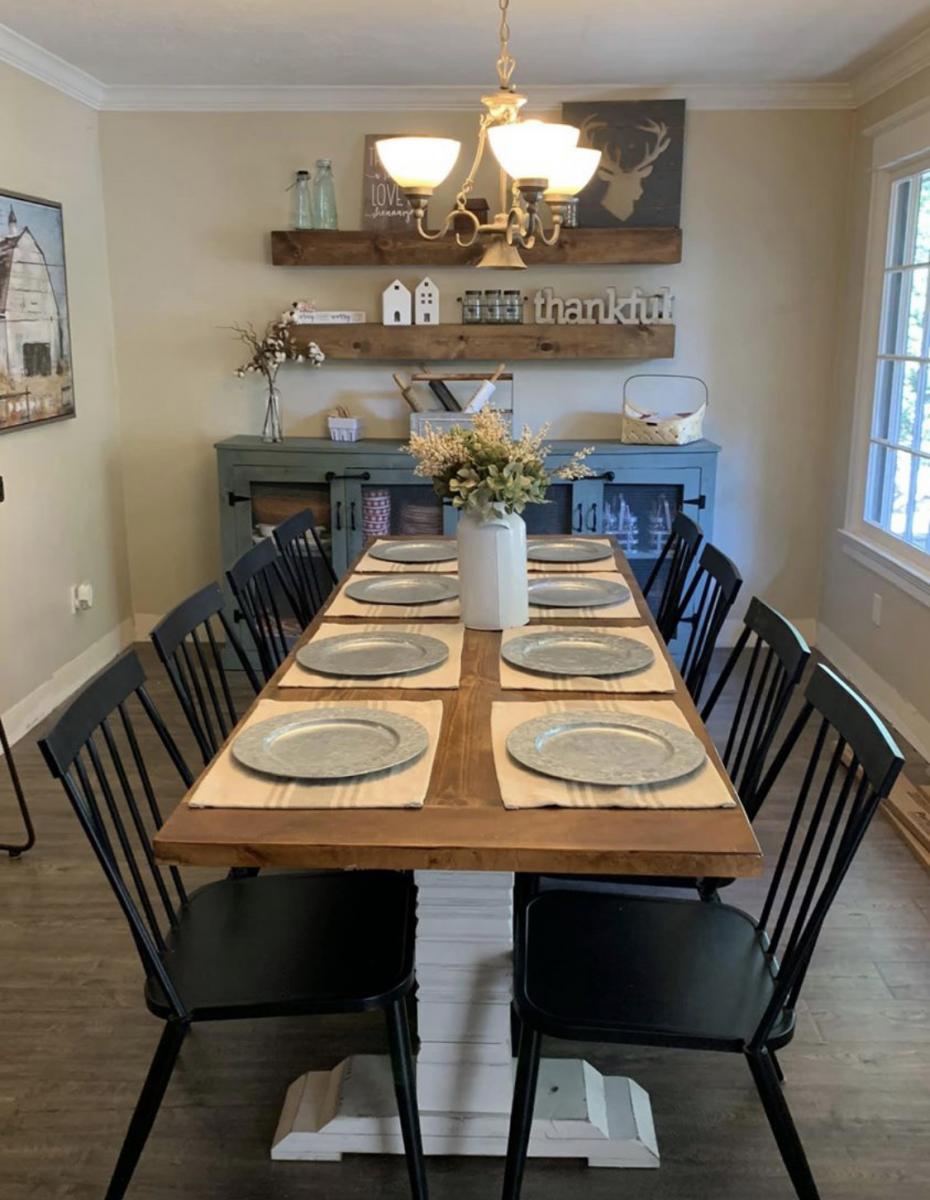
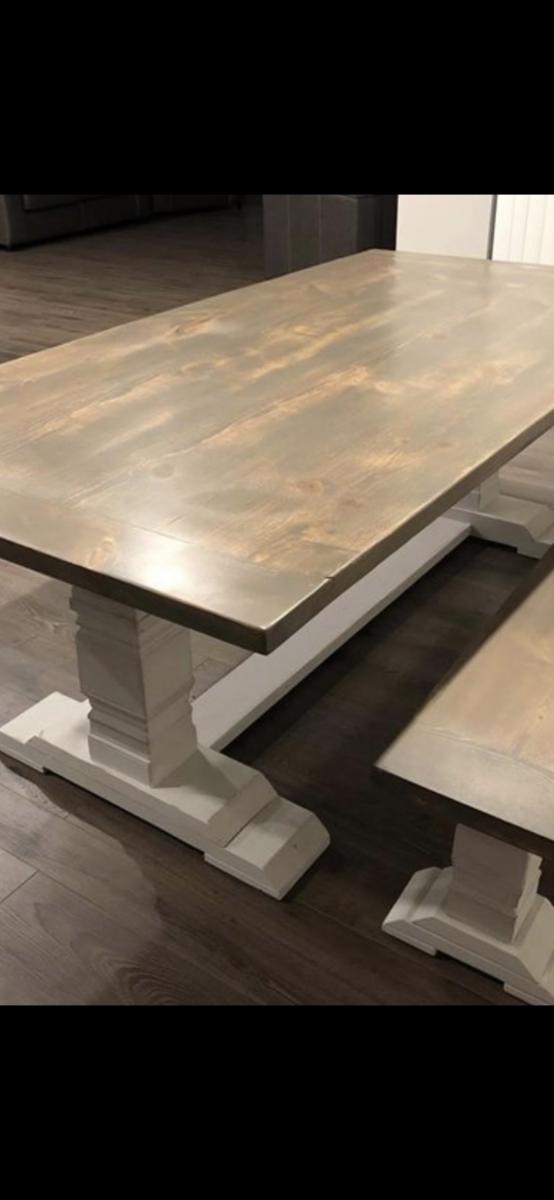
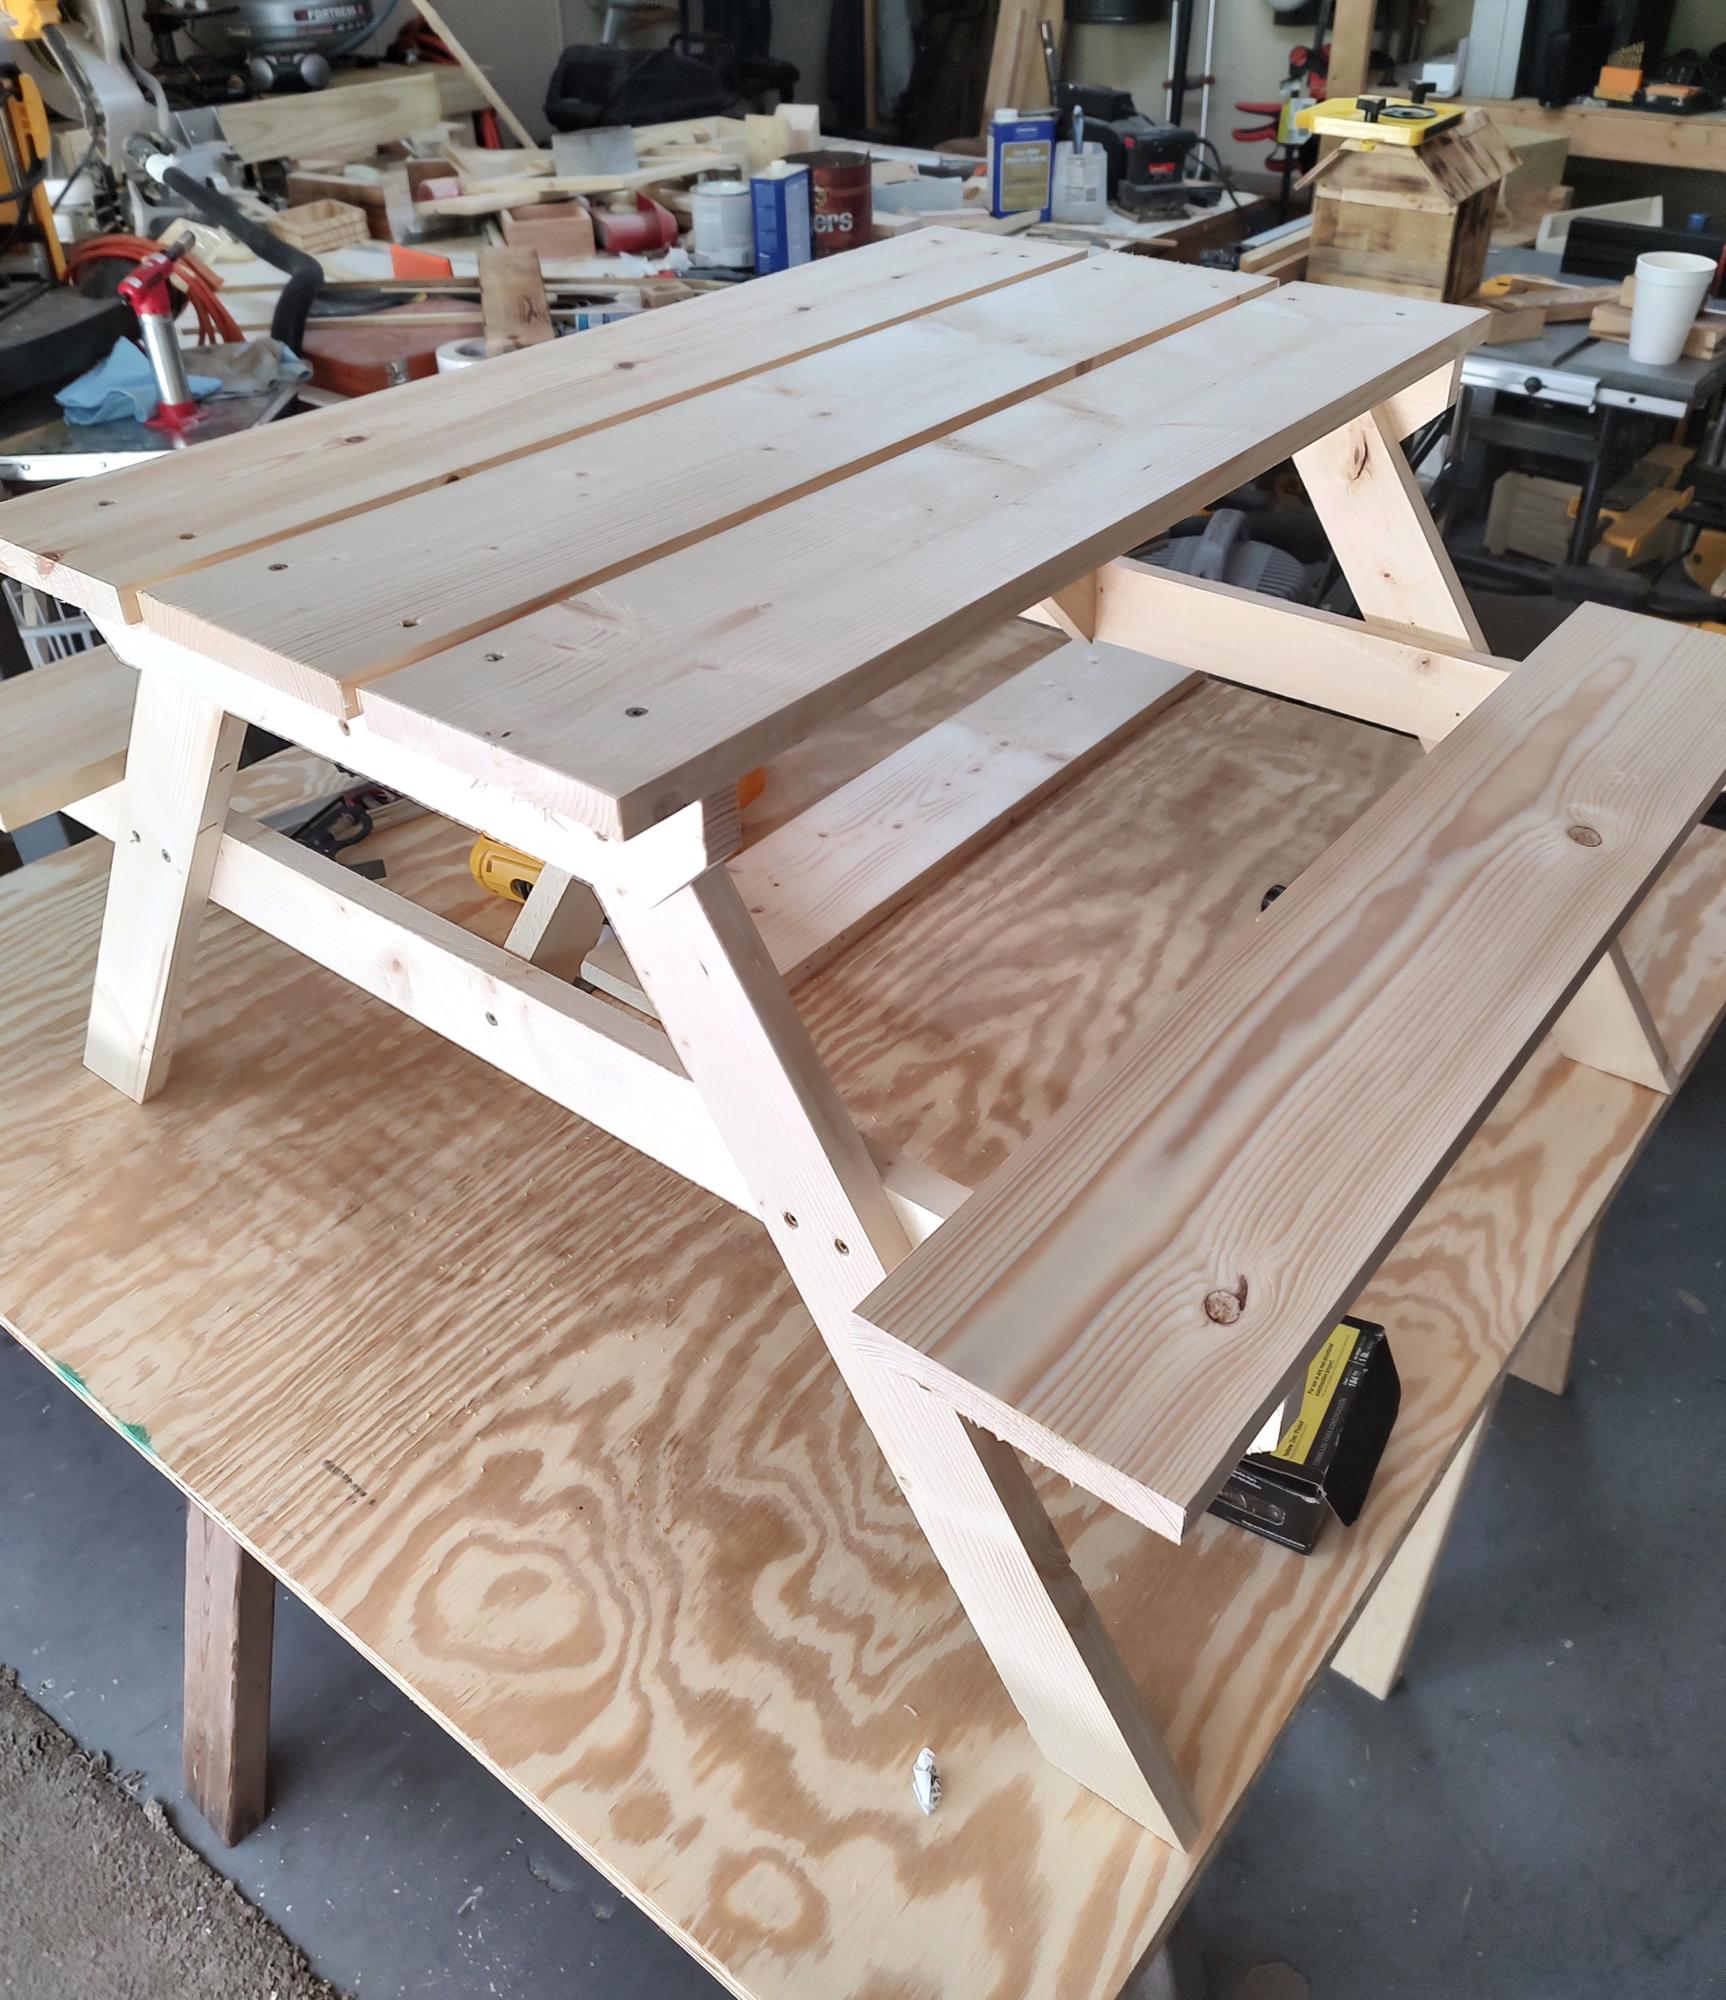
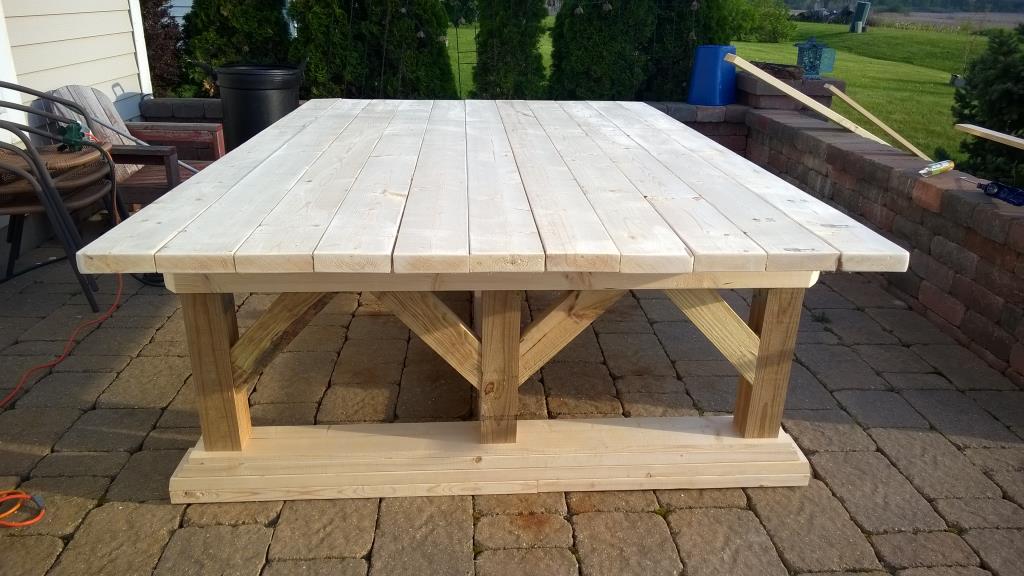
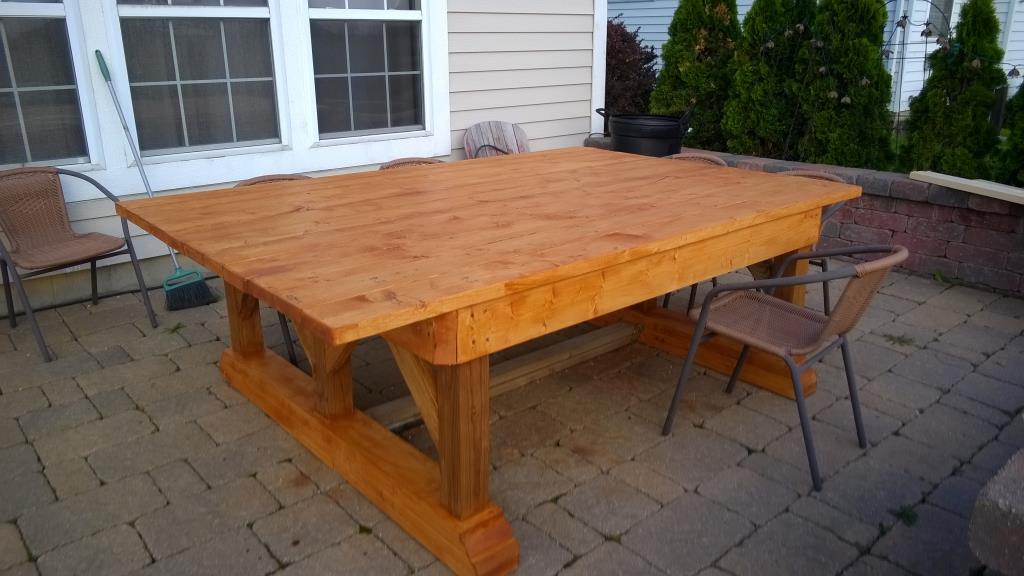
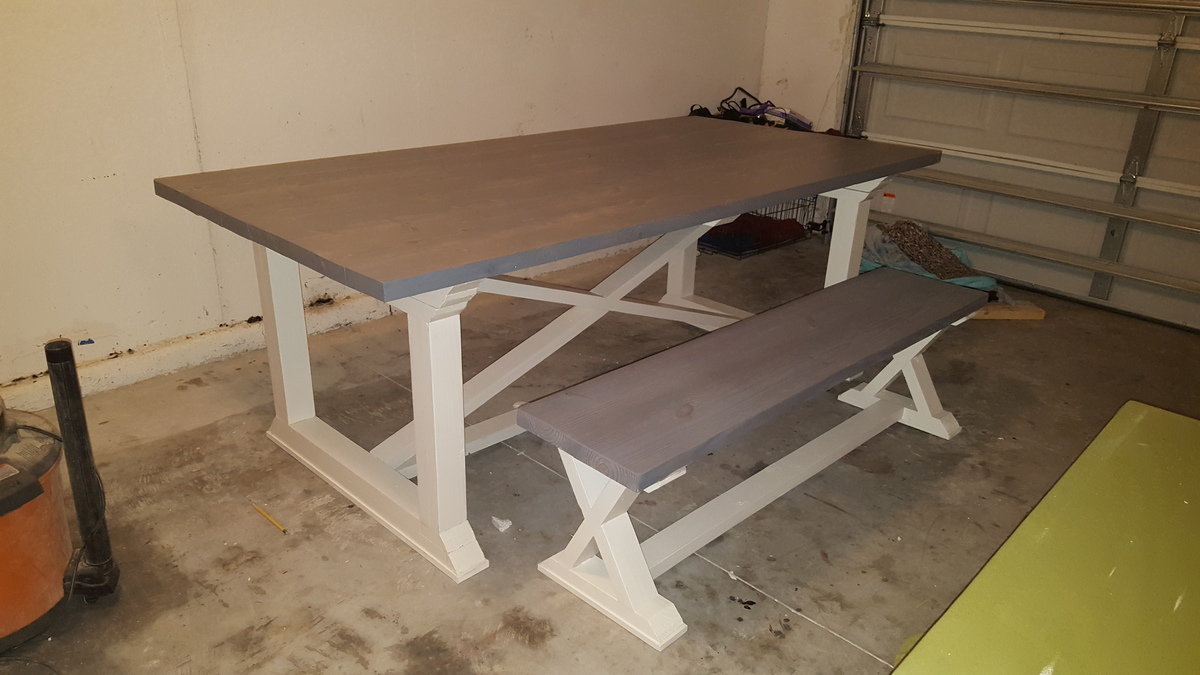
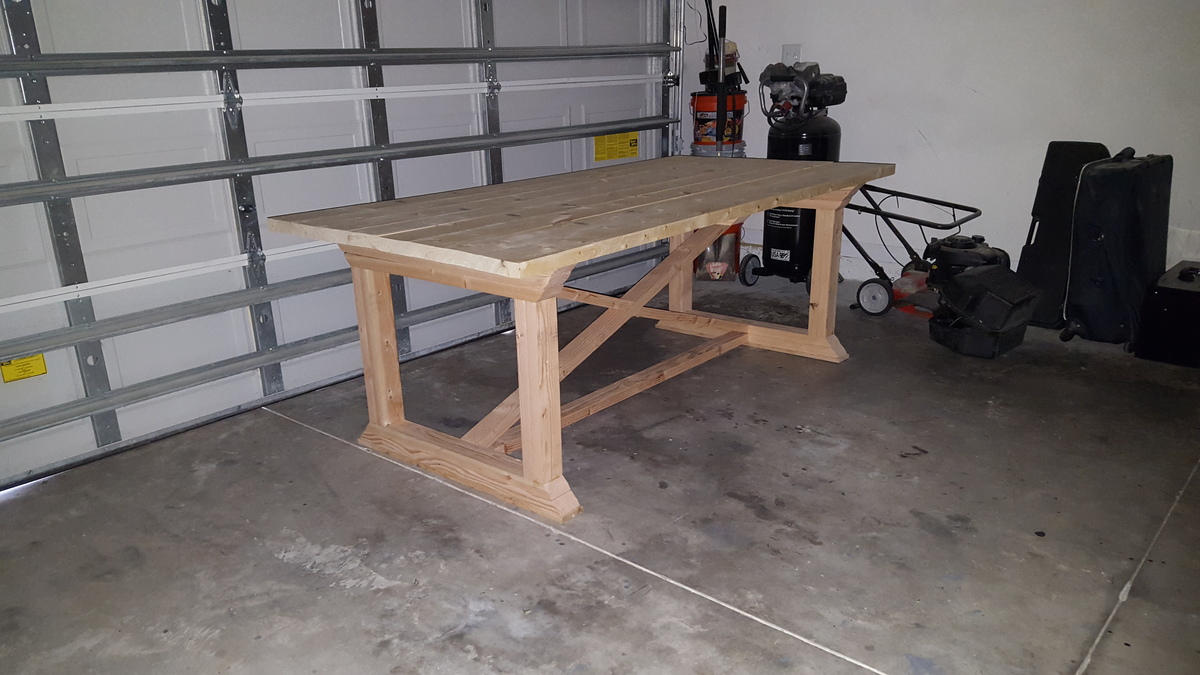
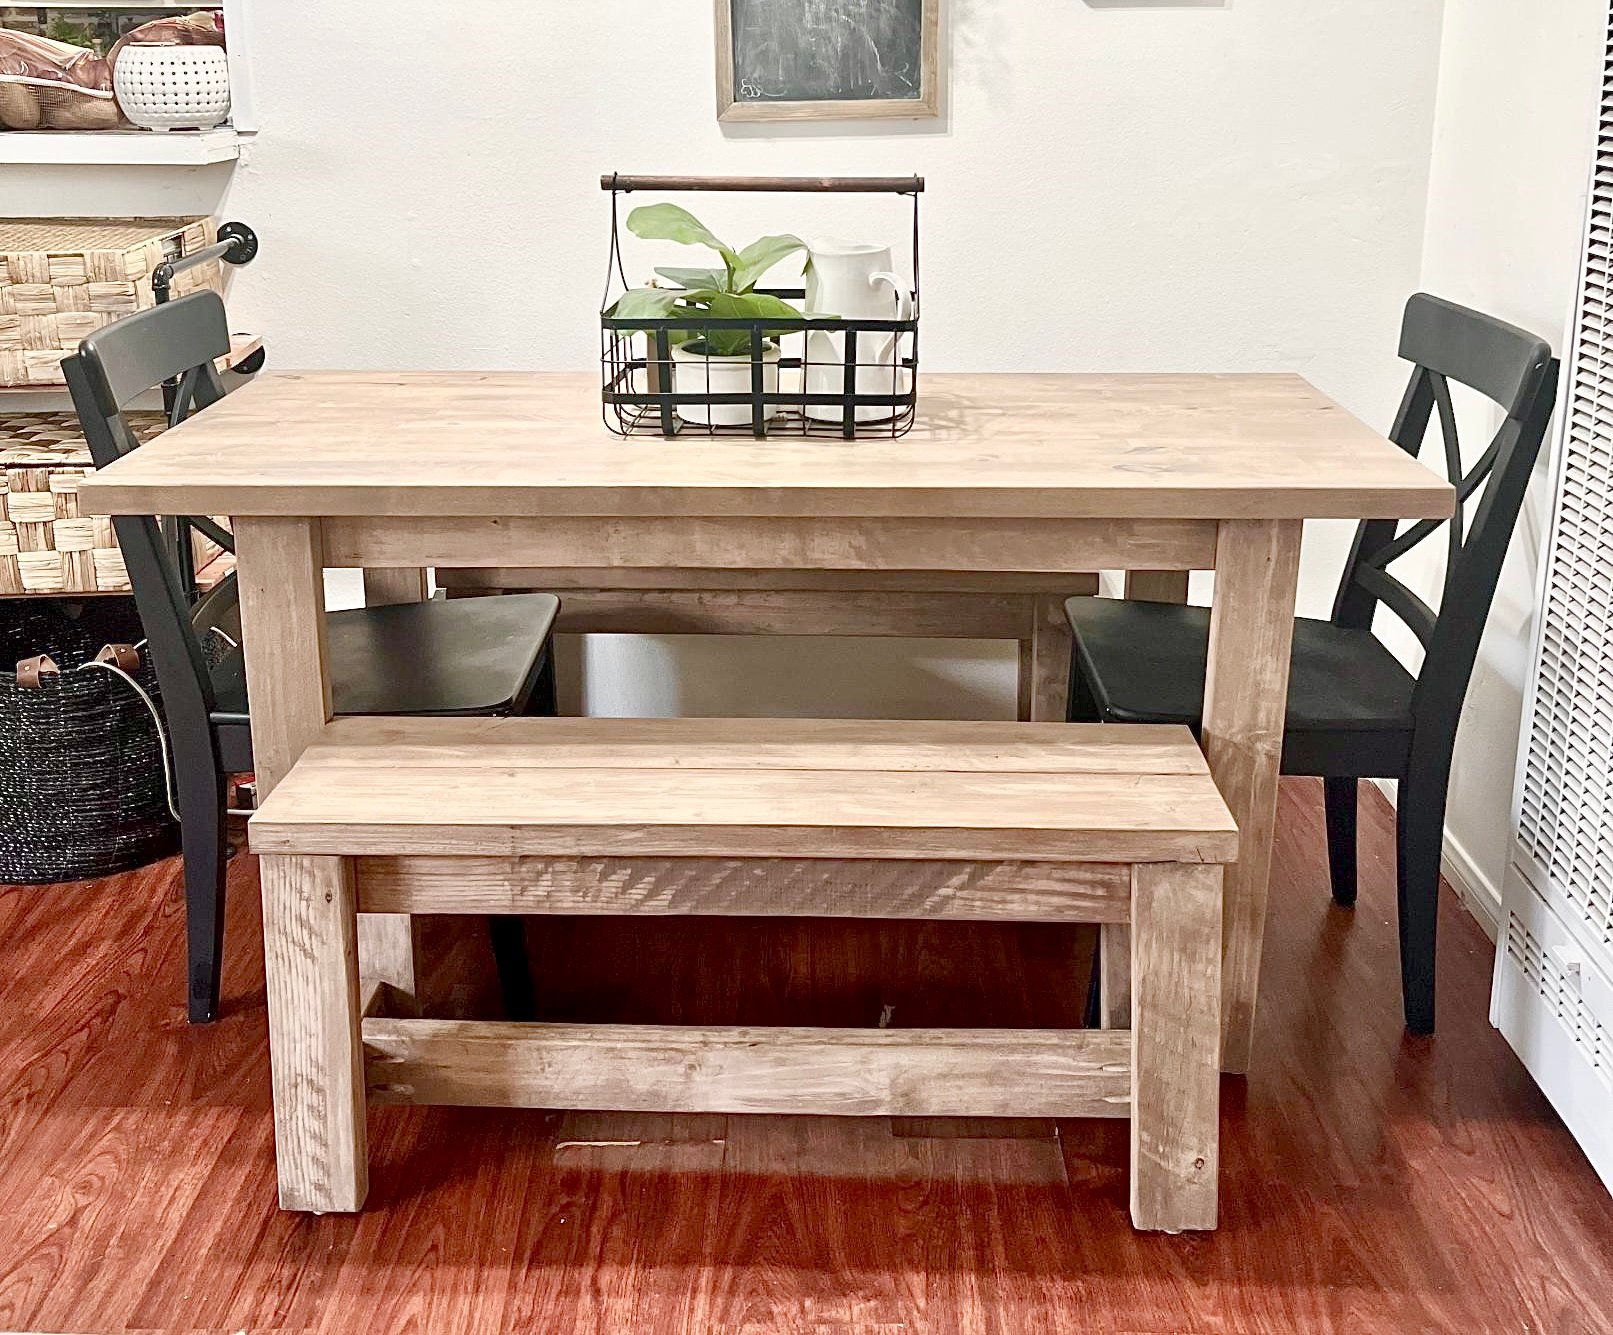
Farm table and bench
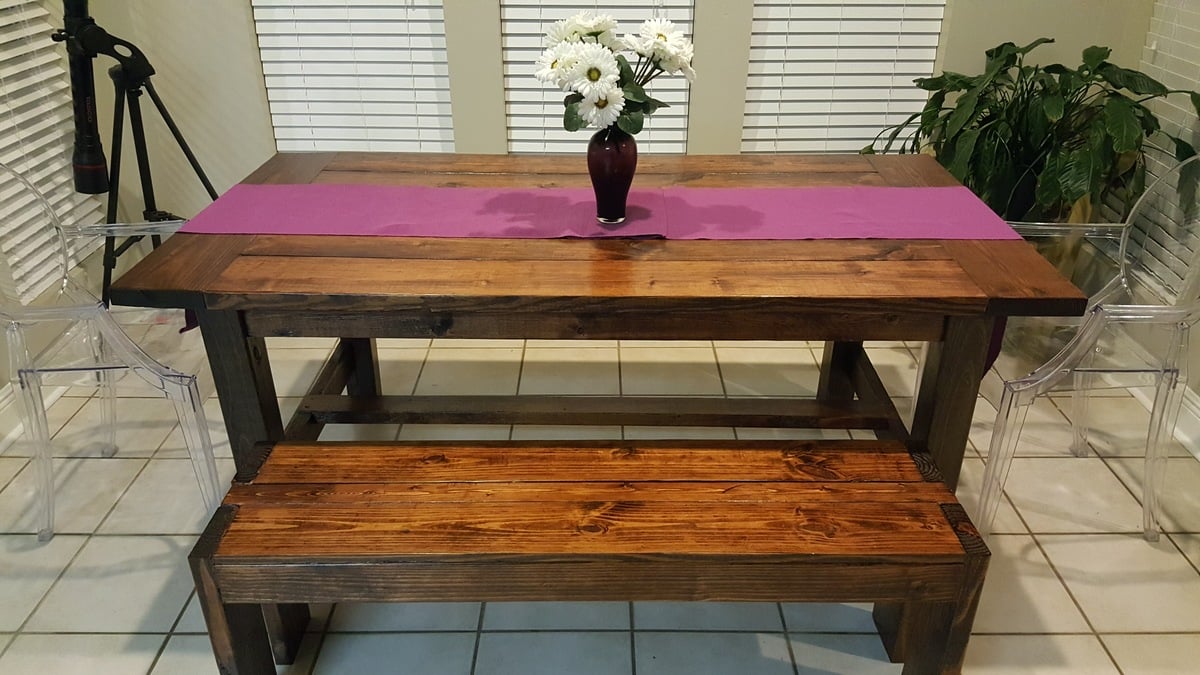
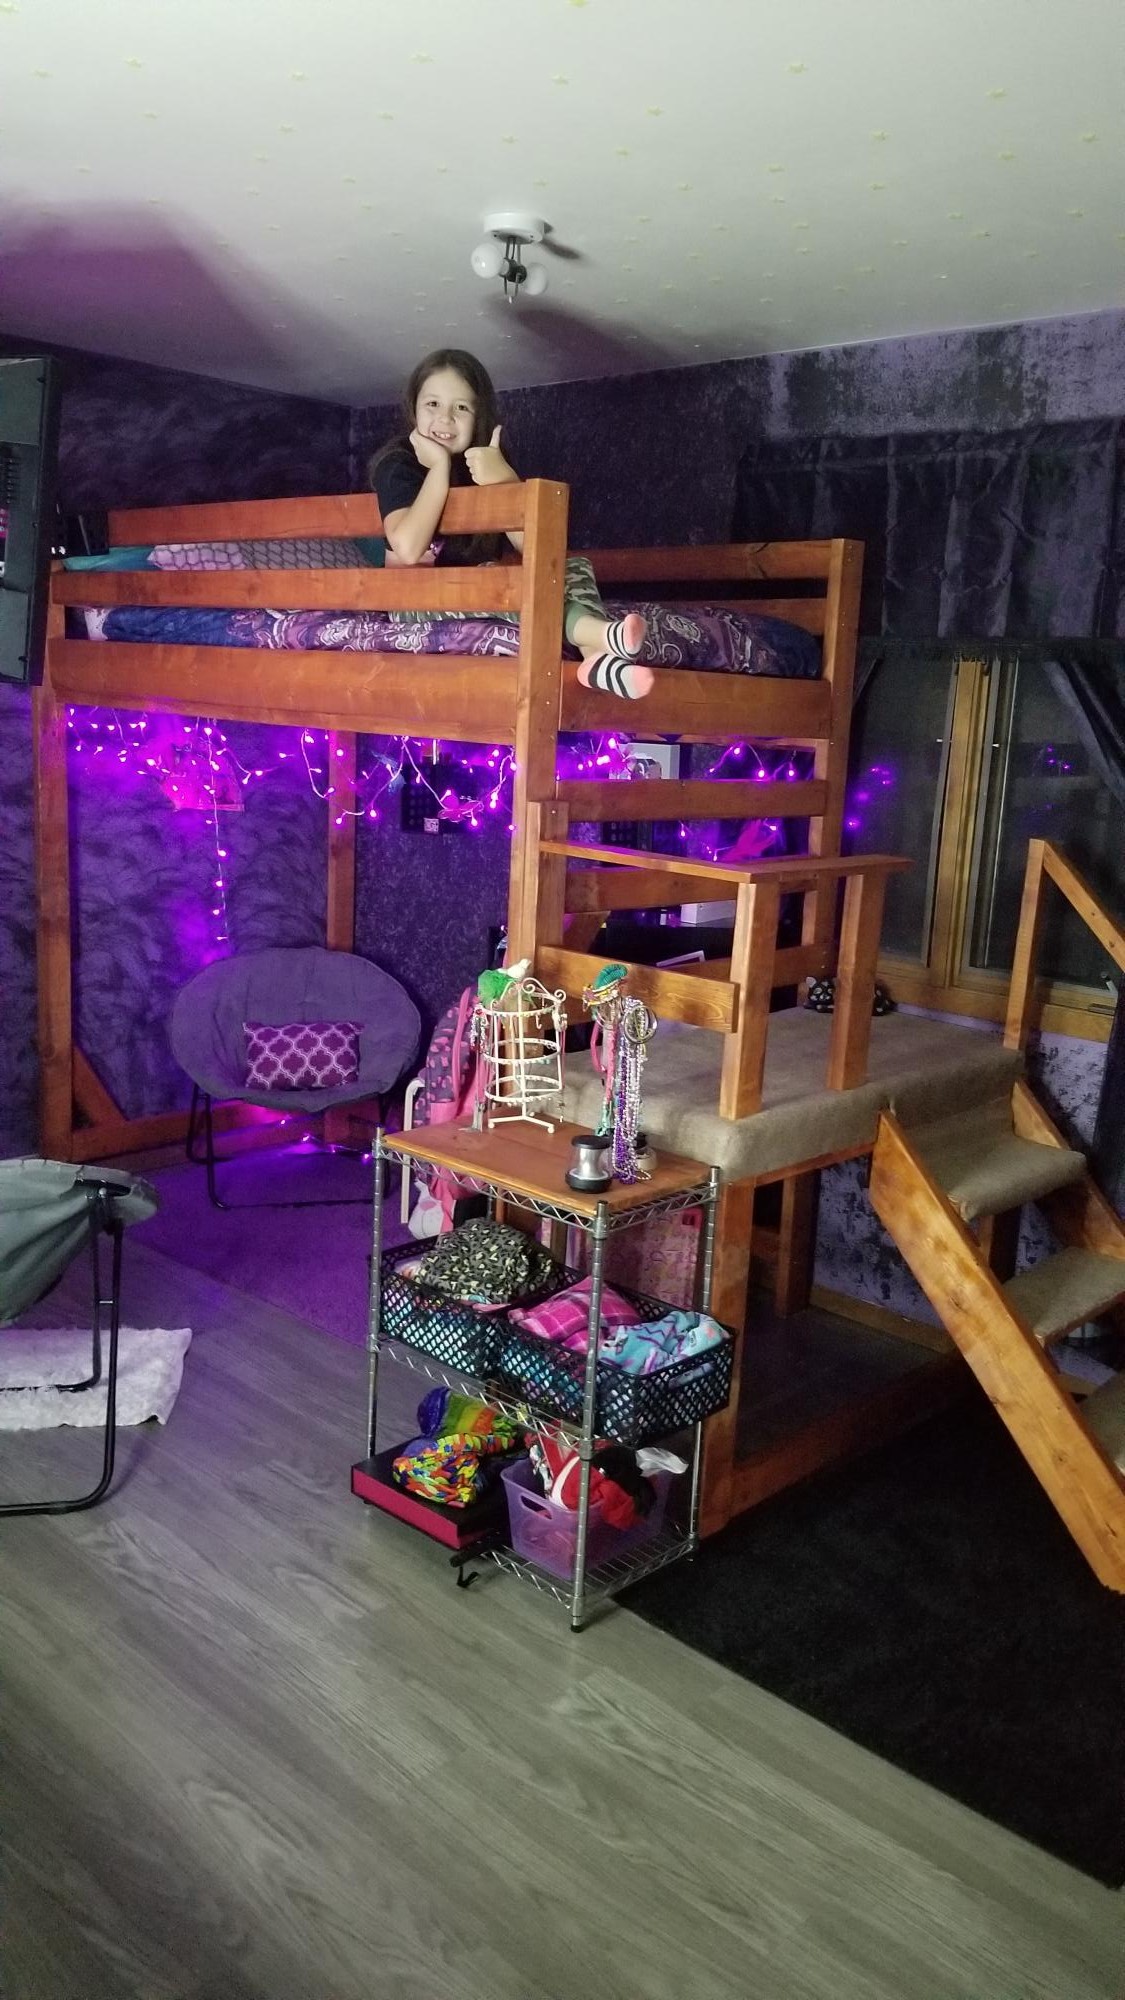
The table was my very first project and with the help of my Dad, we completed build, stain, and finish in 2 days. I've had it over a year now and of course it is still beautiful (I've learned not to move it around too much to clean because the legs have a few splits in them now!). Just finished the matching bench ($17 project). I adjusted the legs to make them longer, so that my kids will sit up higher at the table :-)
Built from Plan(s)
Estimated Cost
Table about $75. Bench $17.
Estimated Time Investment
Weekend Project (10-20 Hours)
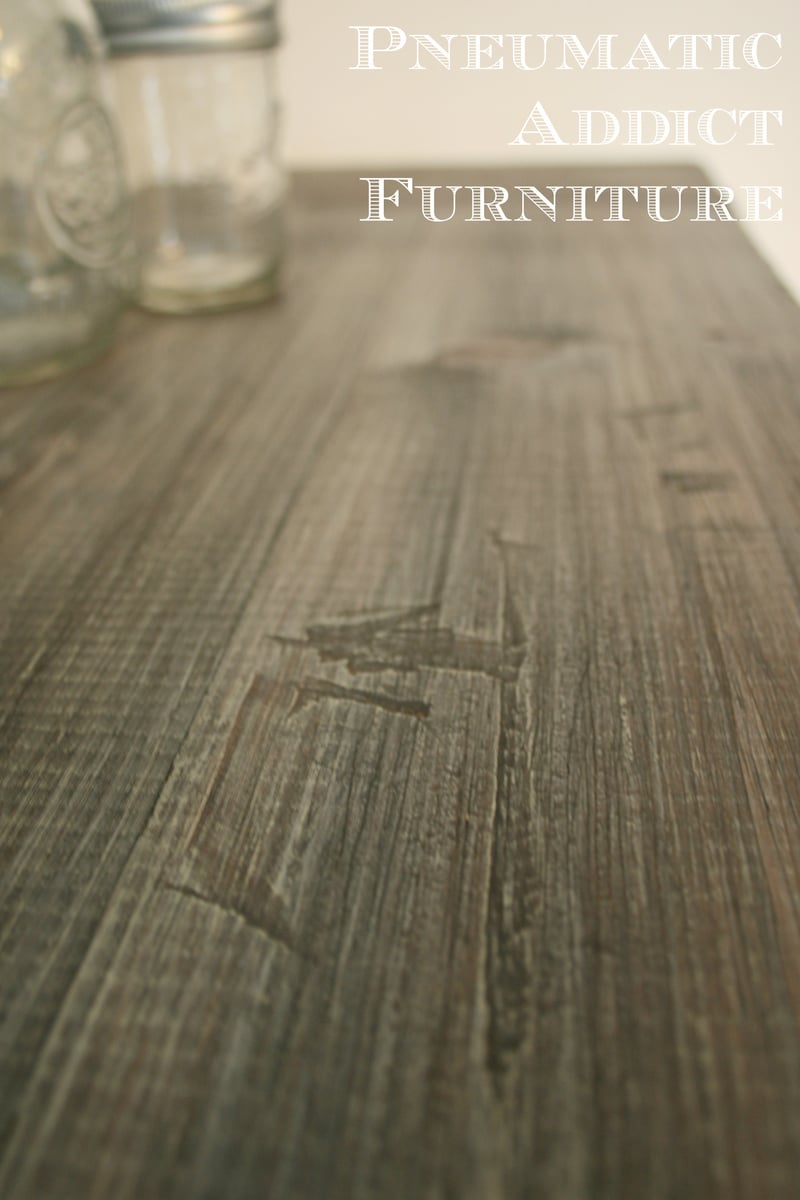
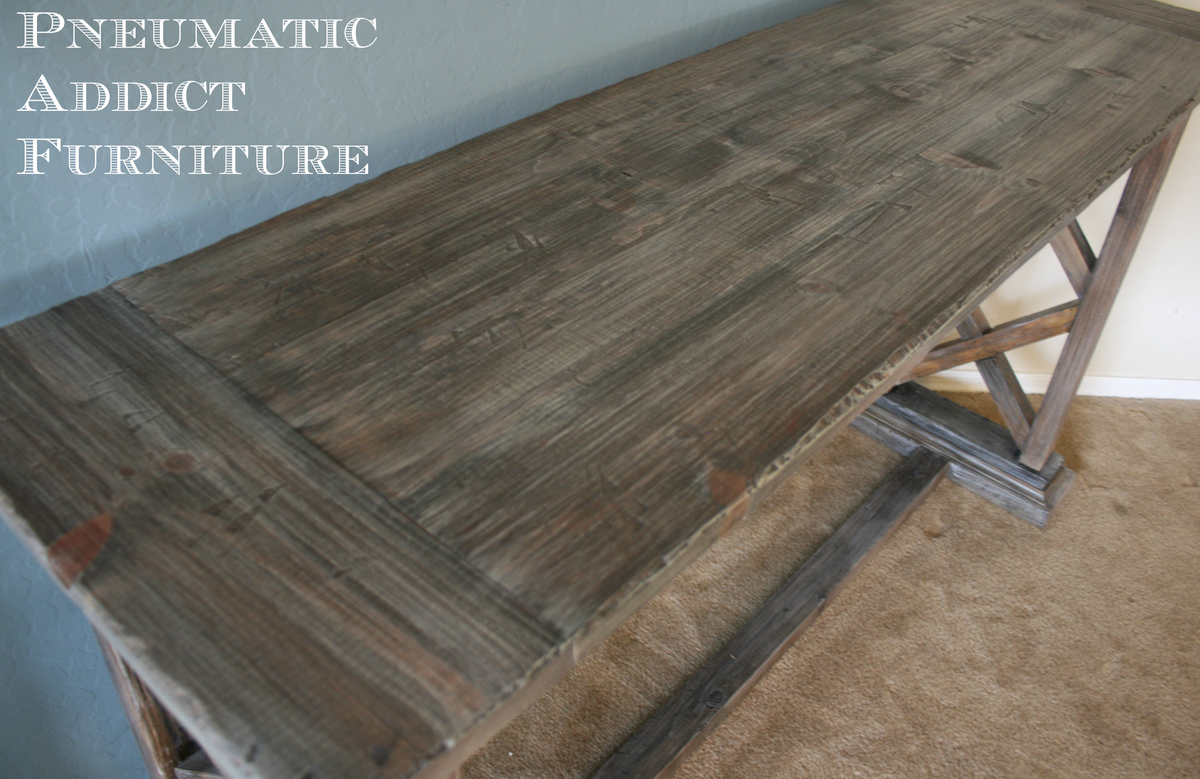
Finish Used
minwax honey stain and polyurethane
Recommended Skill Level
Beginner