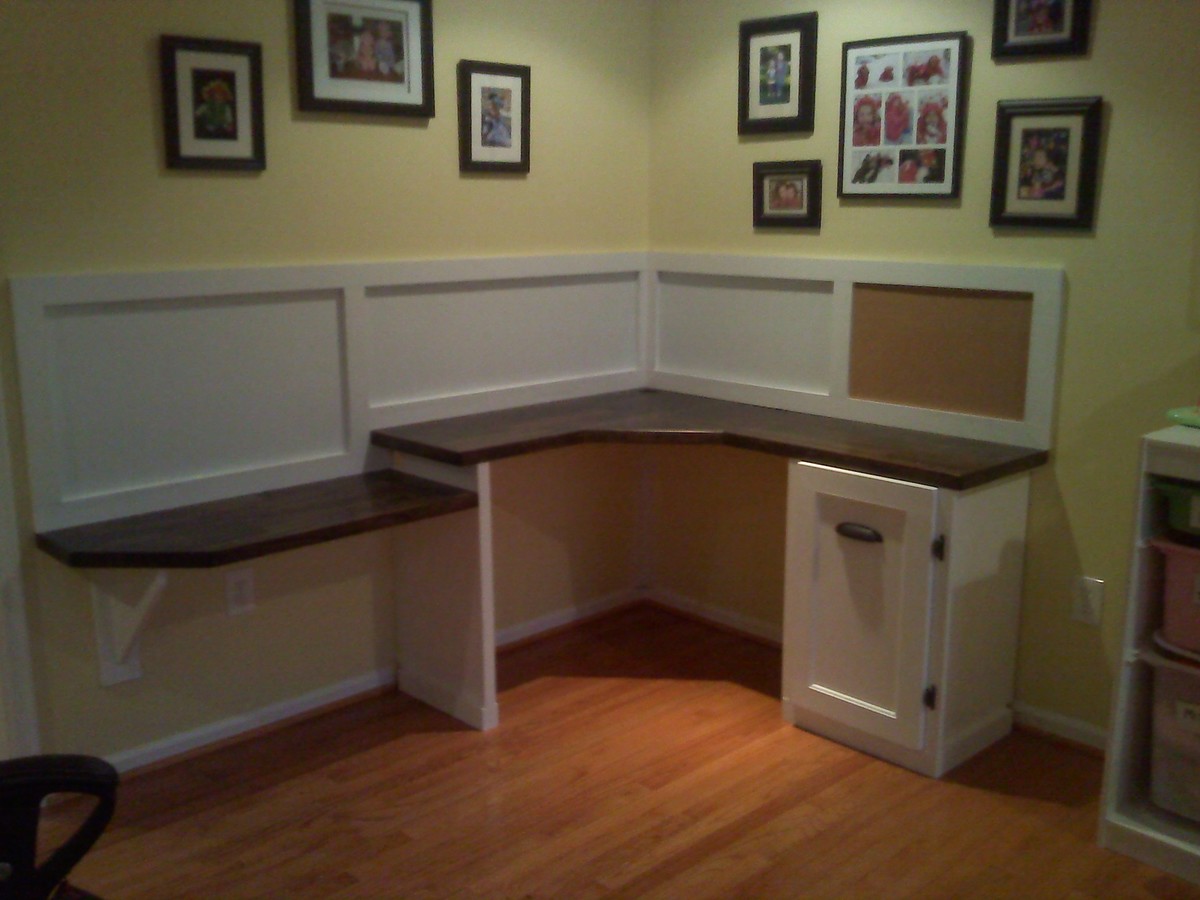
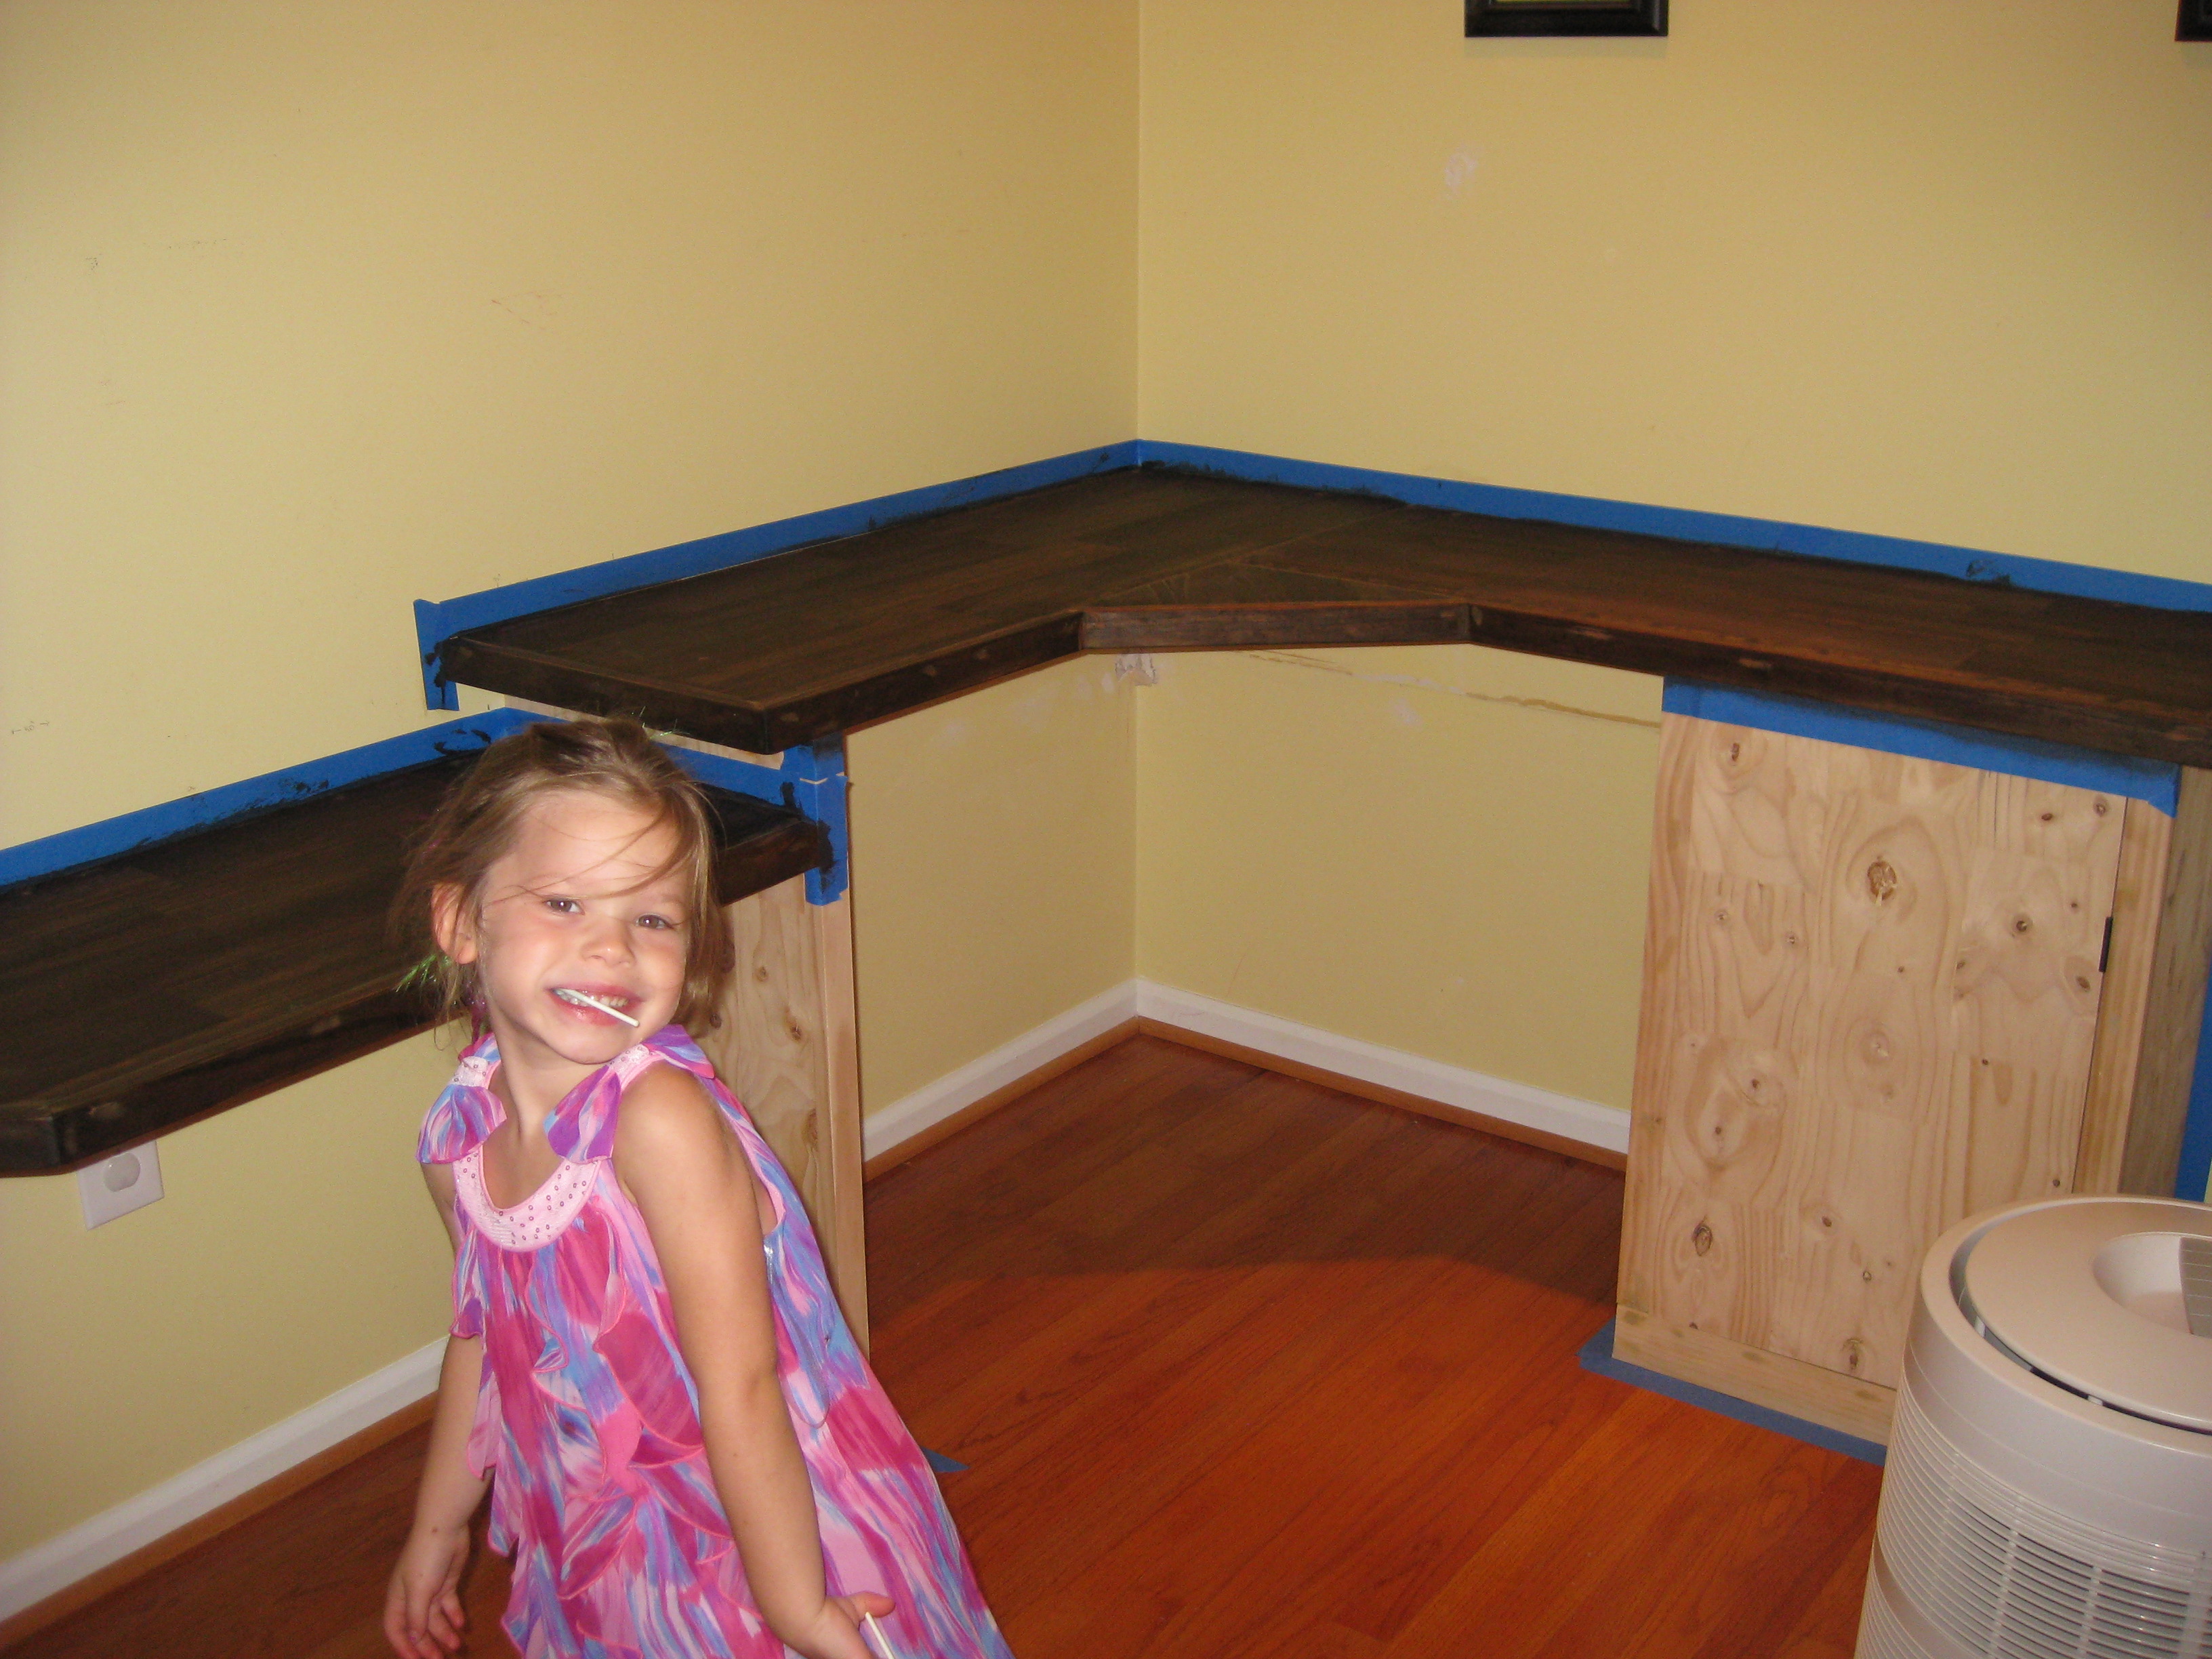
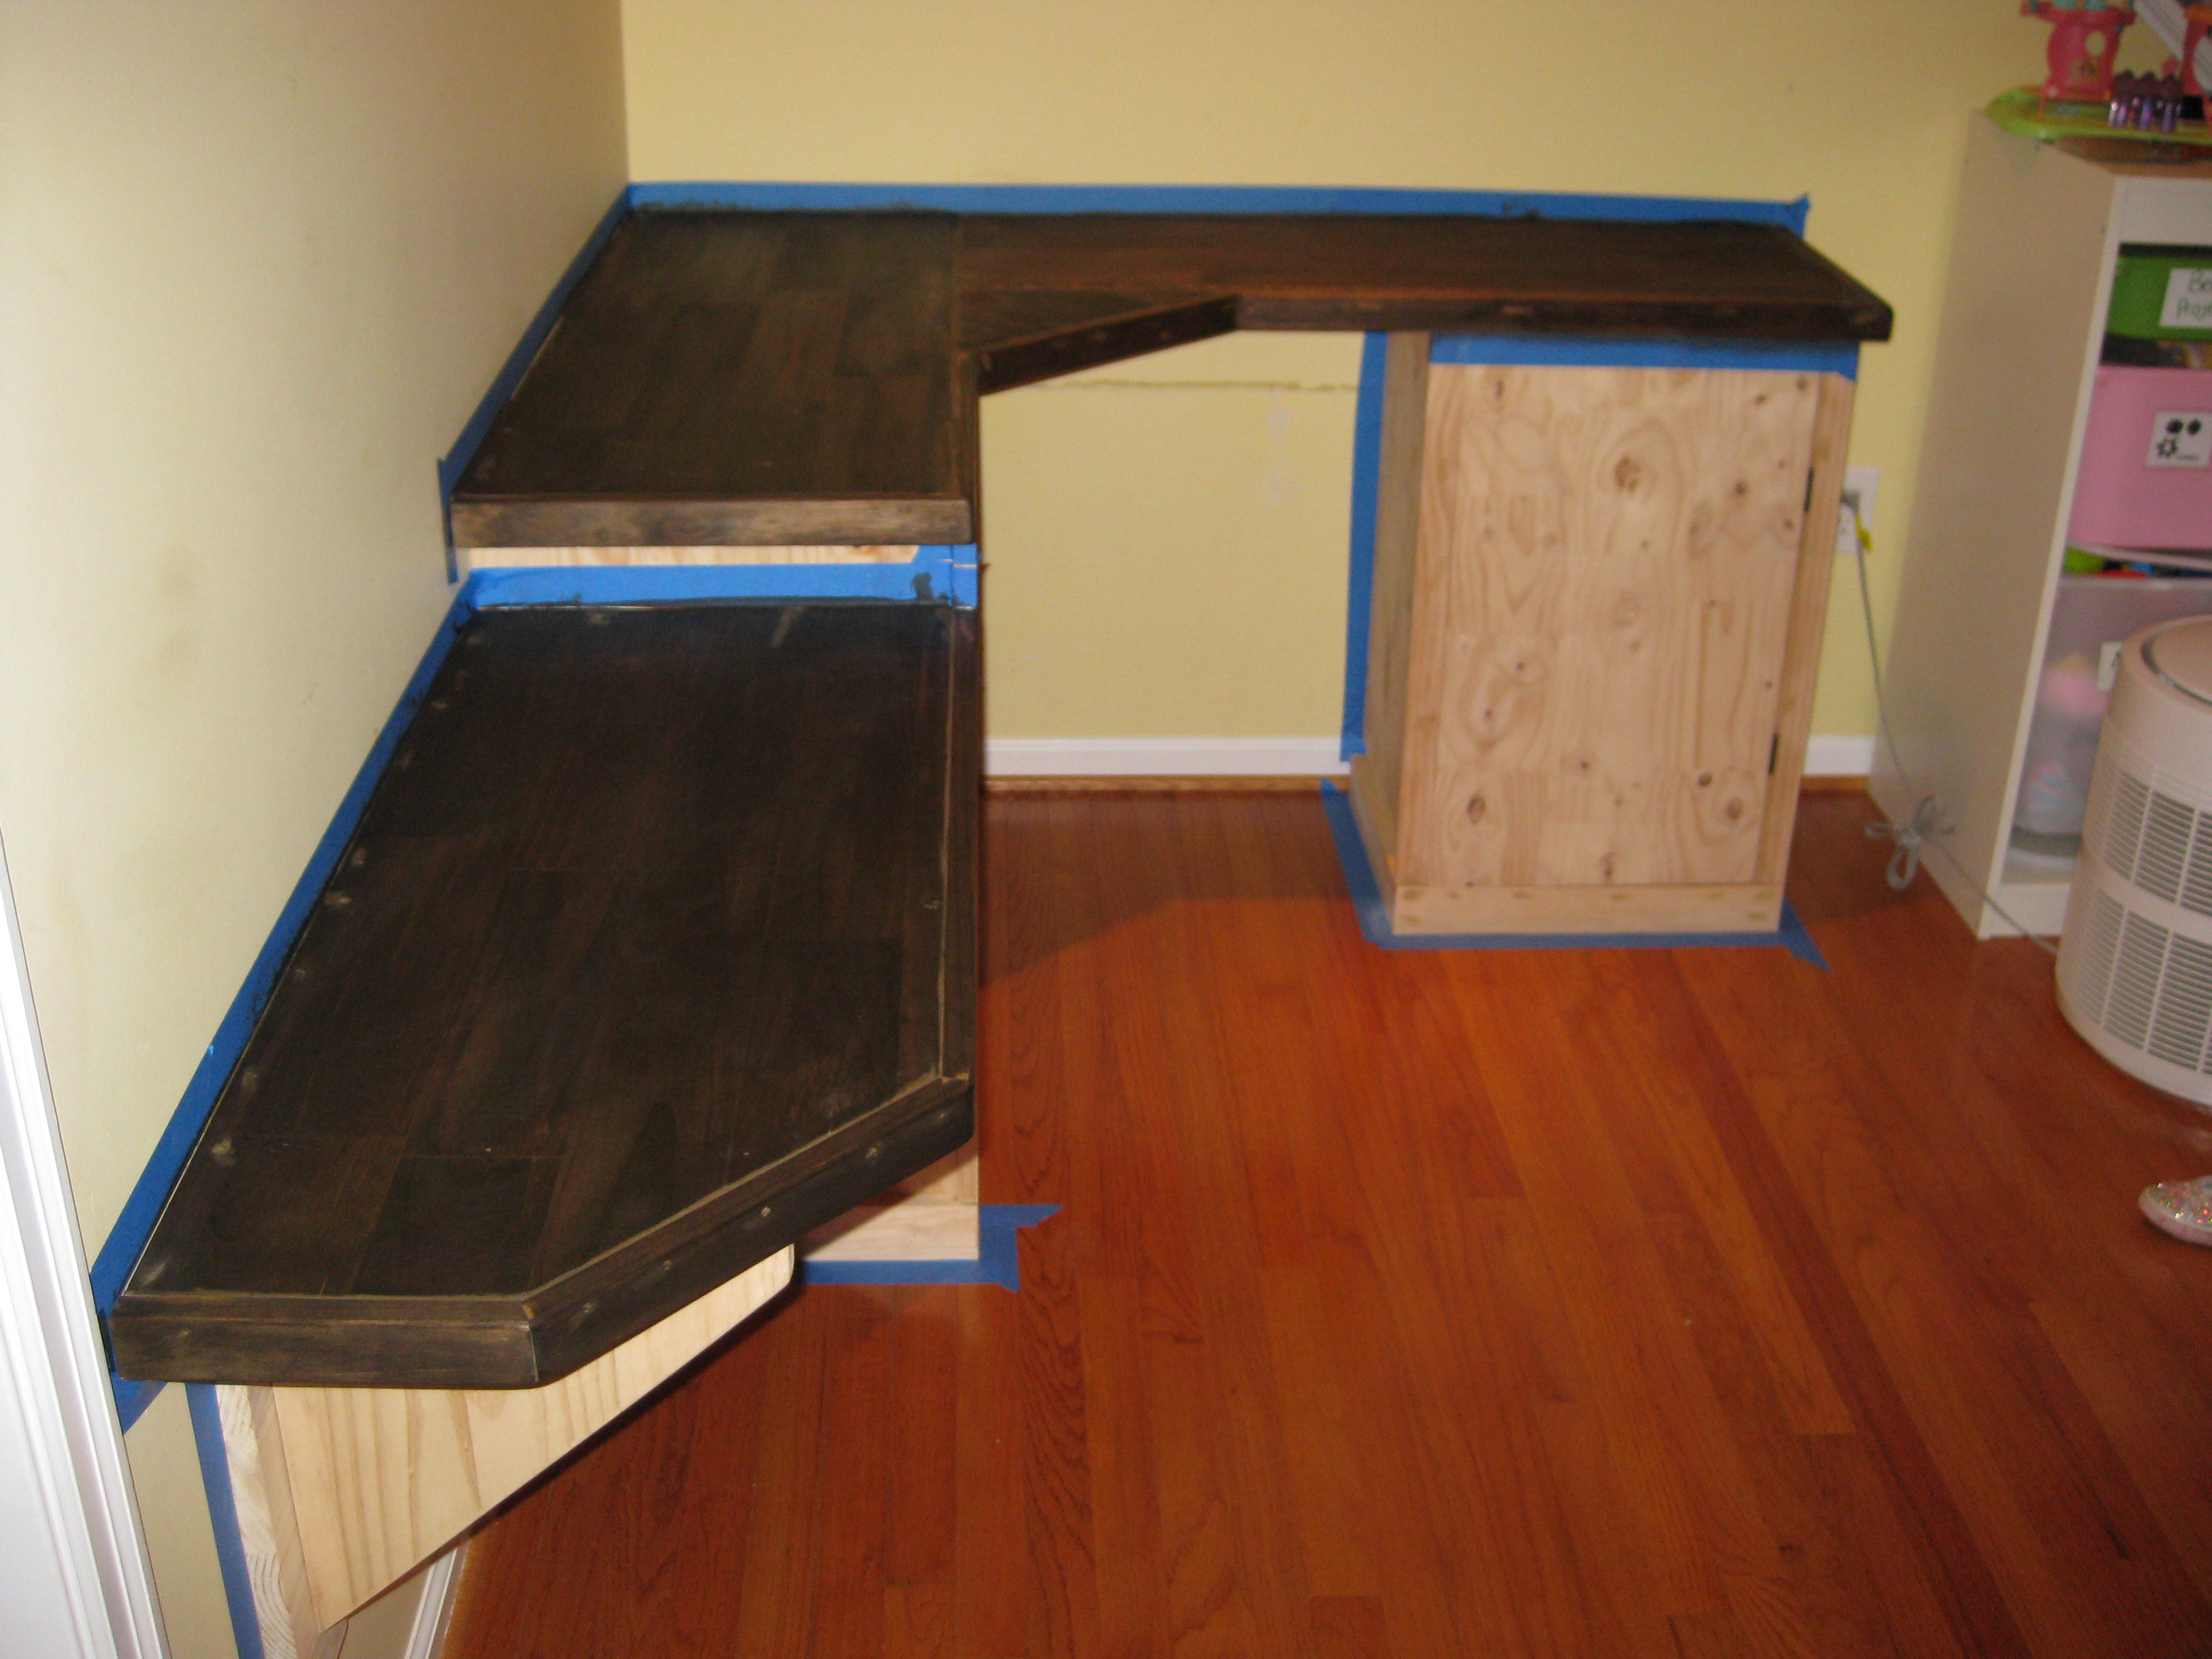
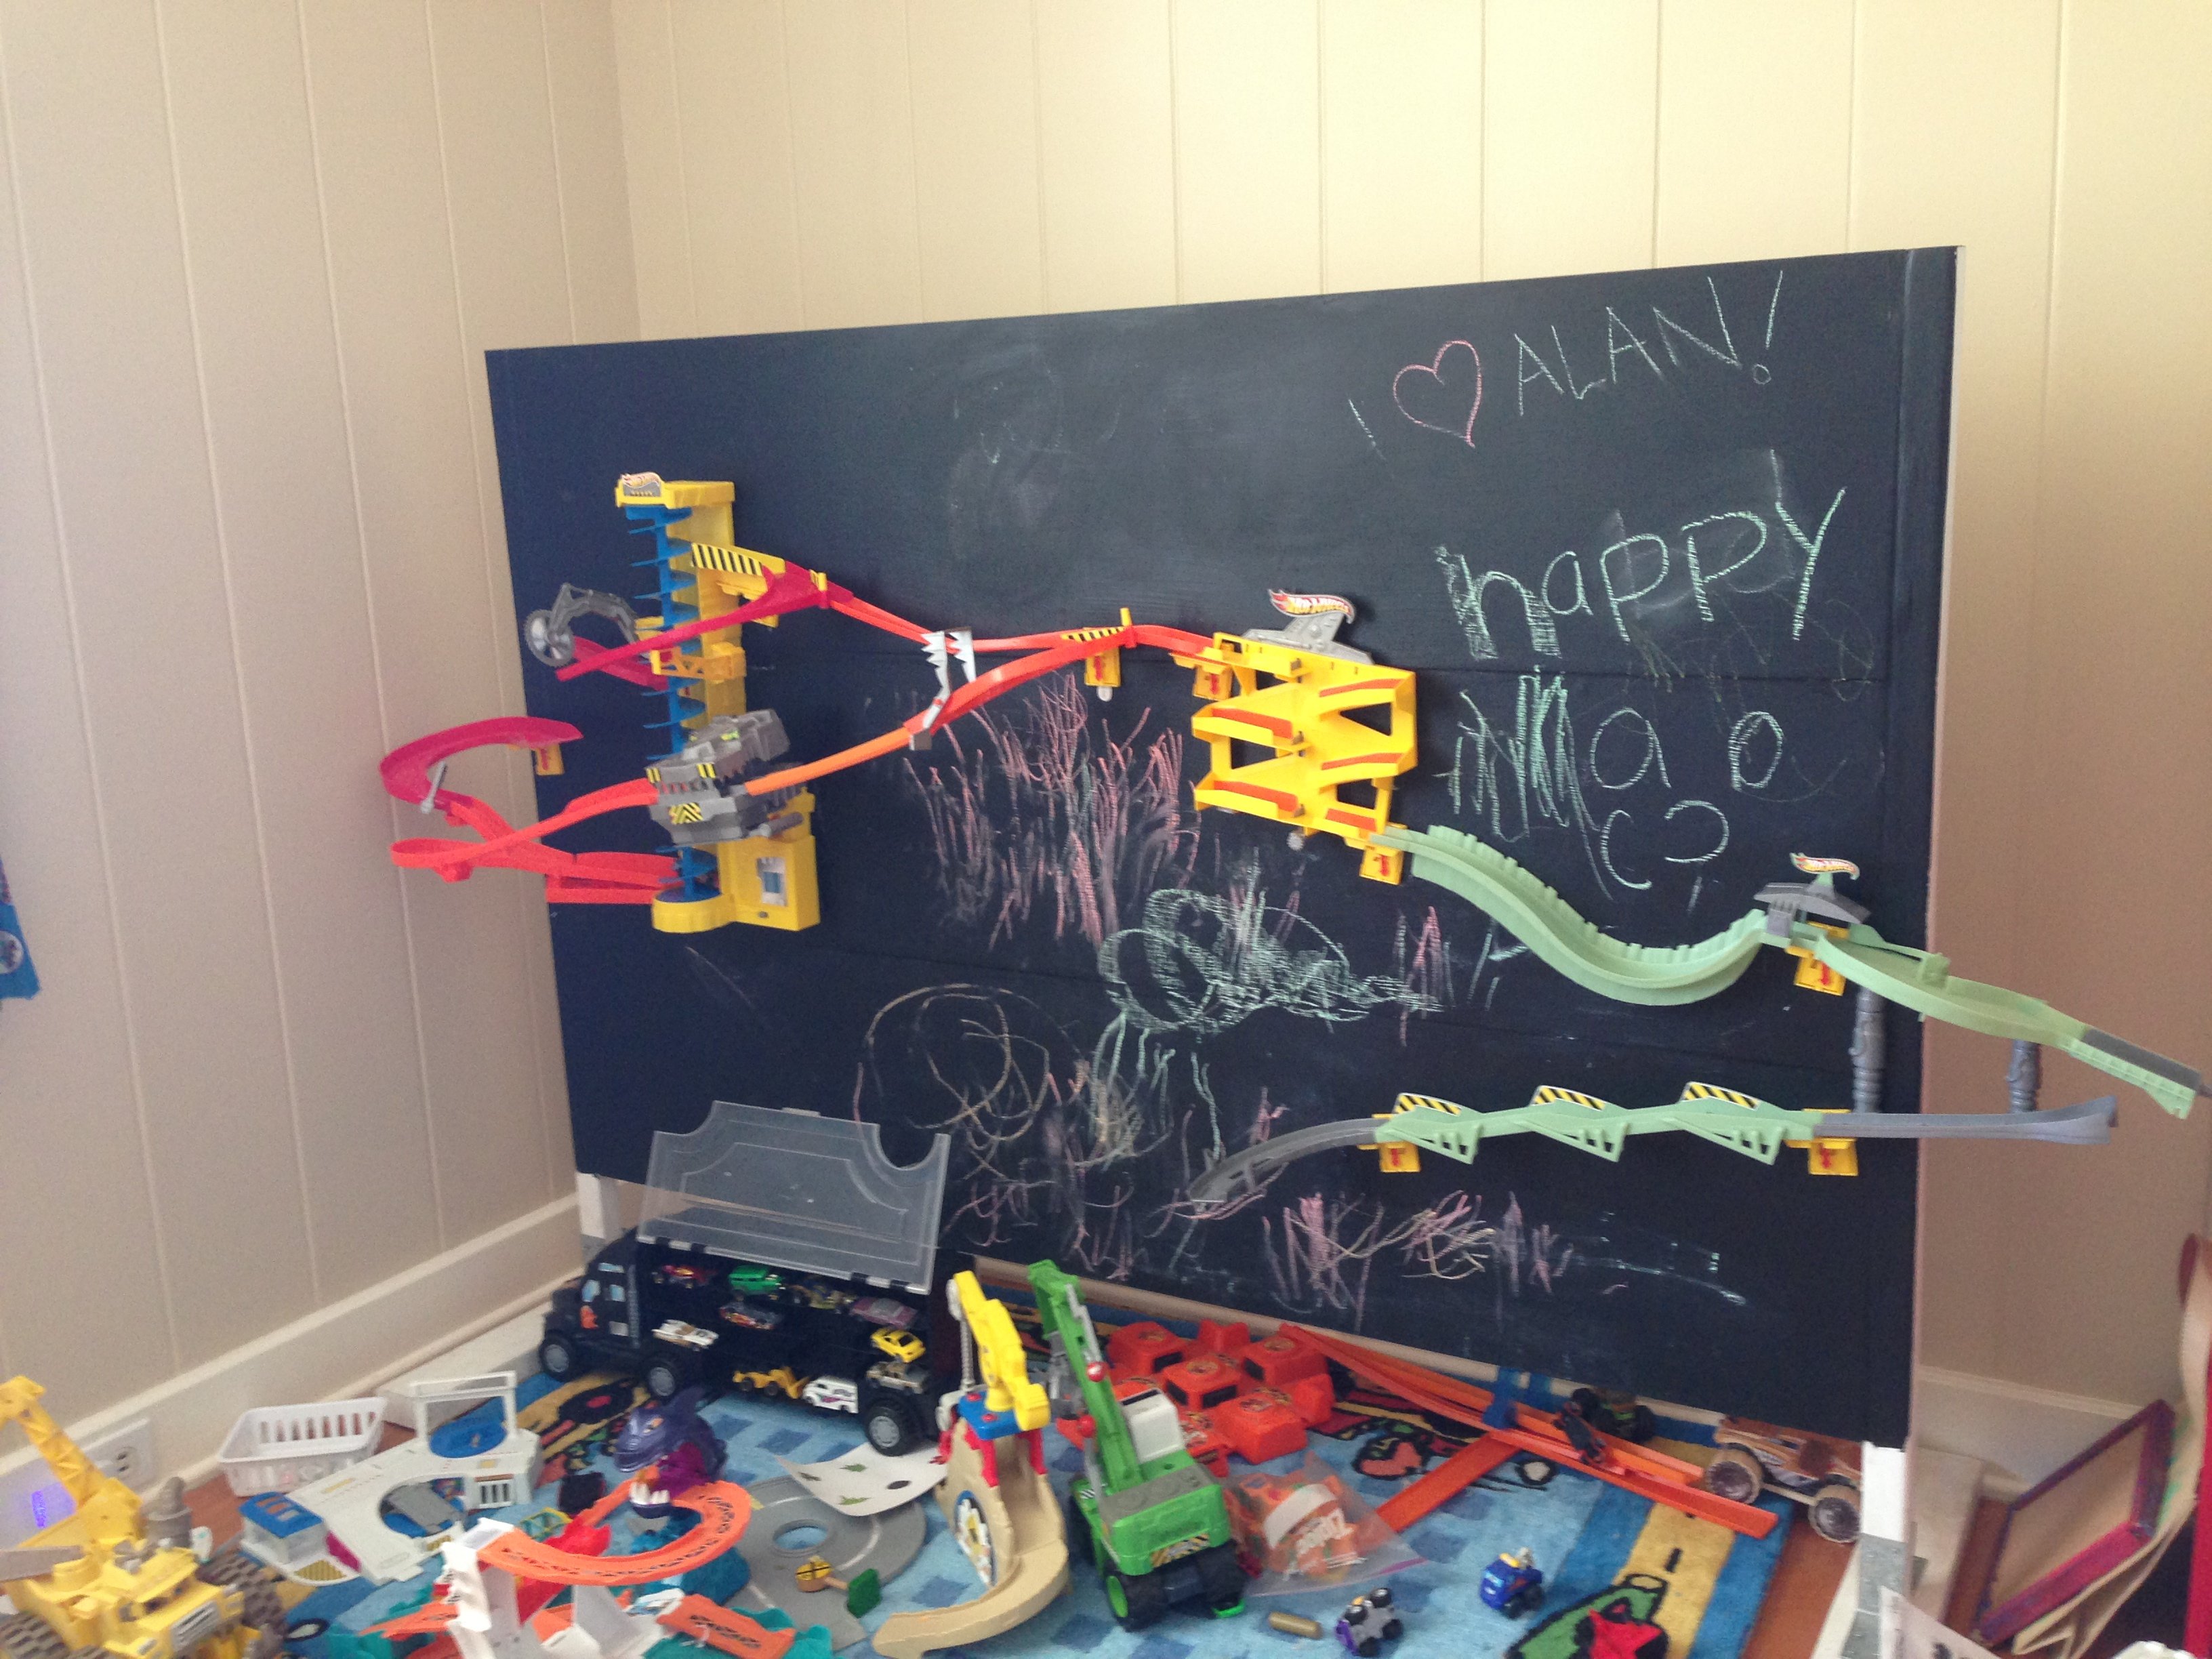
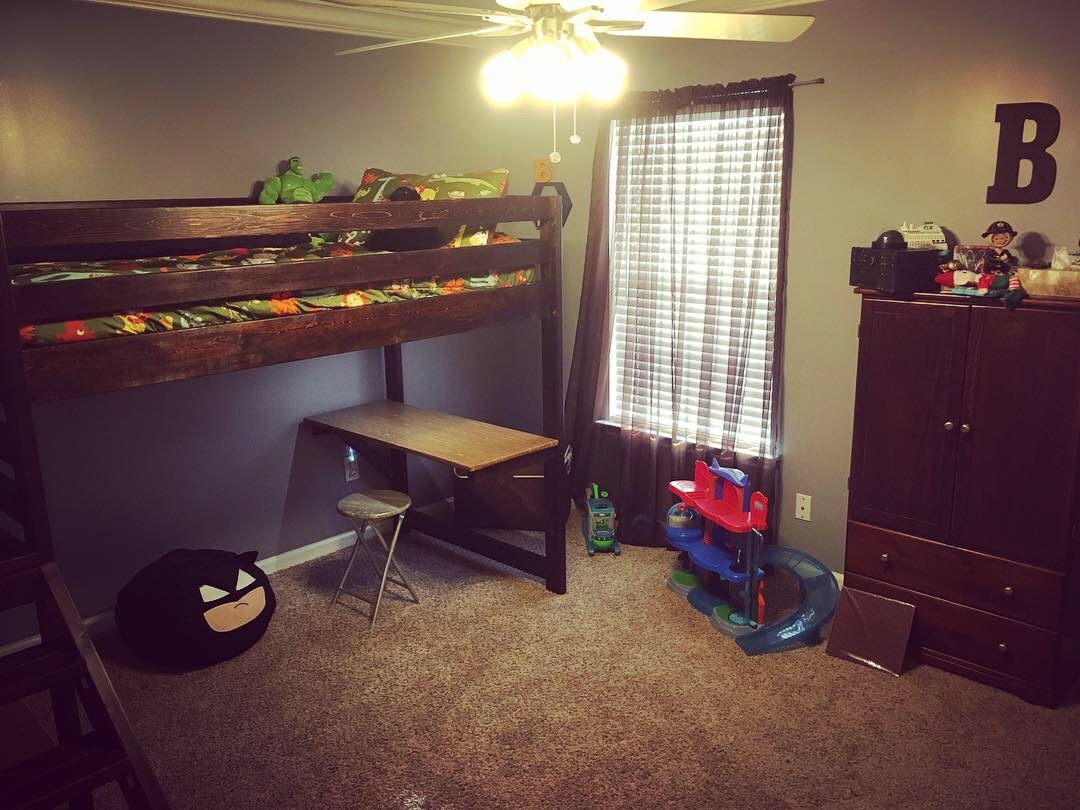
The Hot Wheels Wall Tracks are designed to stick to your wall, but ours kept falling off. My husband hates putting extra holes in the wall, so what to do? Build your own wall!
I just used 2x2s as side supports, kreg jigged 3 leftover 1x16 pieces of plywood from another project (if I were to do it over again, I would use one piece of plywood to make a smoother surface) as the wall, and screwed the 2x2s onto scrap 2x4s as the base. I added some 'L' angle pieces as supports at the bottom where the 2x2 join the 2x4s to ensure that that the sides would not start to lean over time... The overall size is about 5 feet across and about 4.5 feet high - I wanted something big enough to fit our wall track pieces on, but not too big...
We painted the wall with chalkboard paint, so we can draw on the background as desired, then mounted the various wall track components on using screws. Voila - wall tracks without messing up your wall. And, the wall is easily movable too.


Comments
Elise Alpha
Mon, 10/26/2015 - 08:30
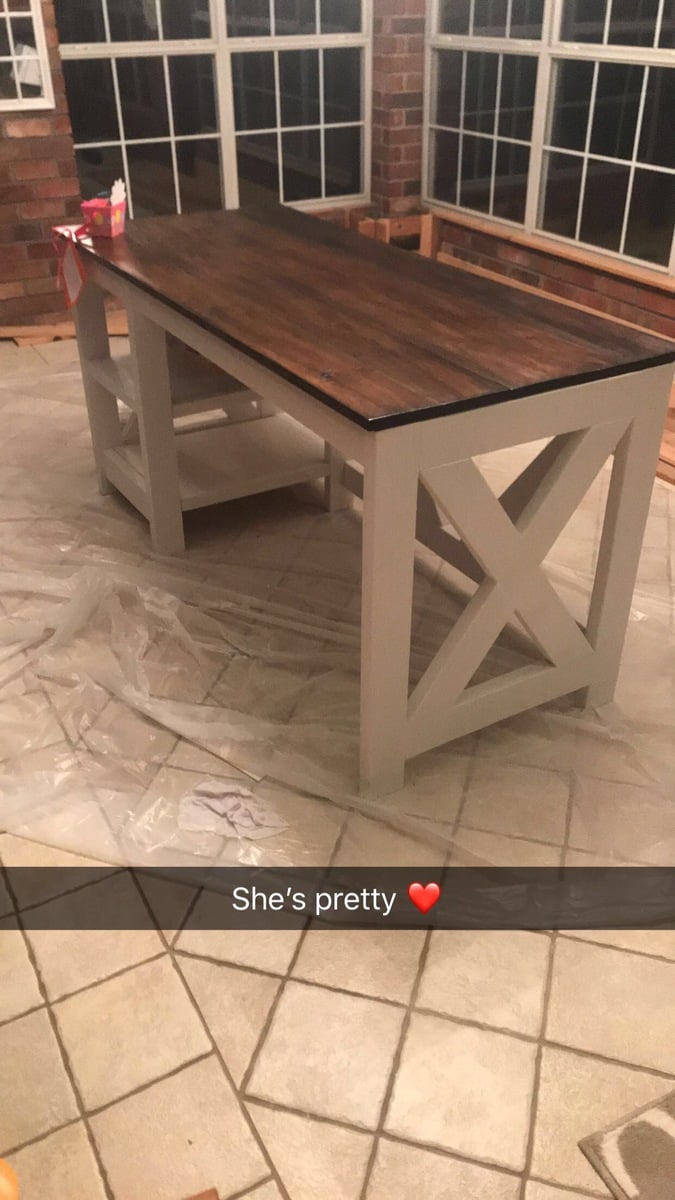
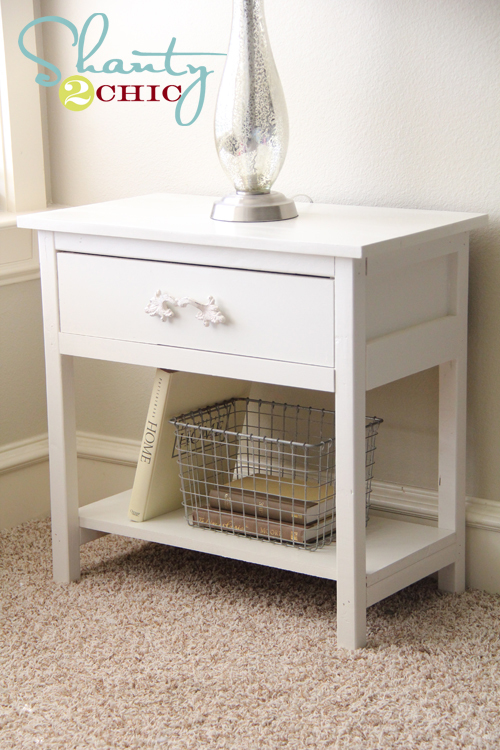
Lovely color and it looks
Lovely color and it looks really great along the rest of the furniture. Congrats!
Ana White Admin
Mon, 10/26/2015 - 13:19
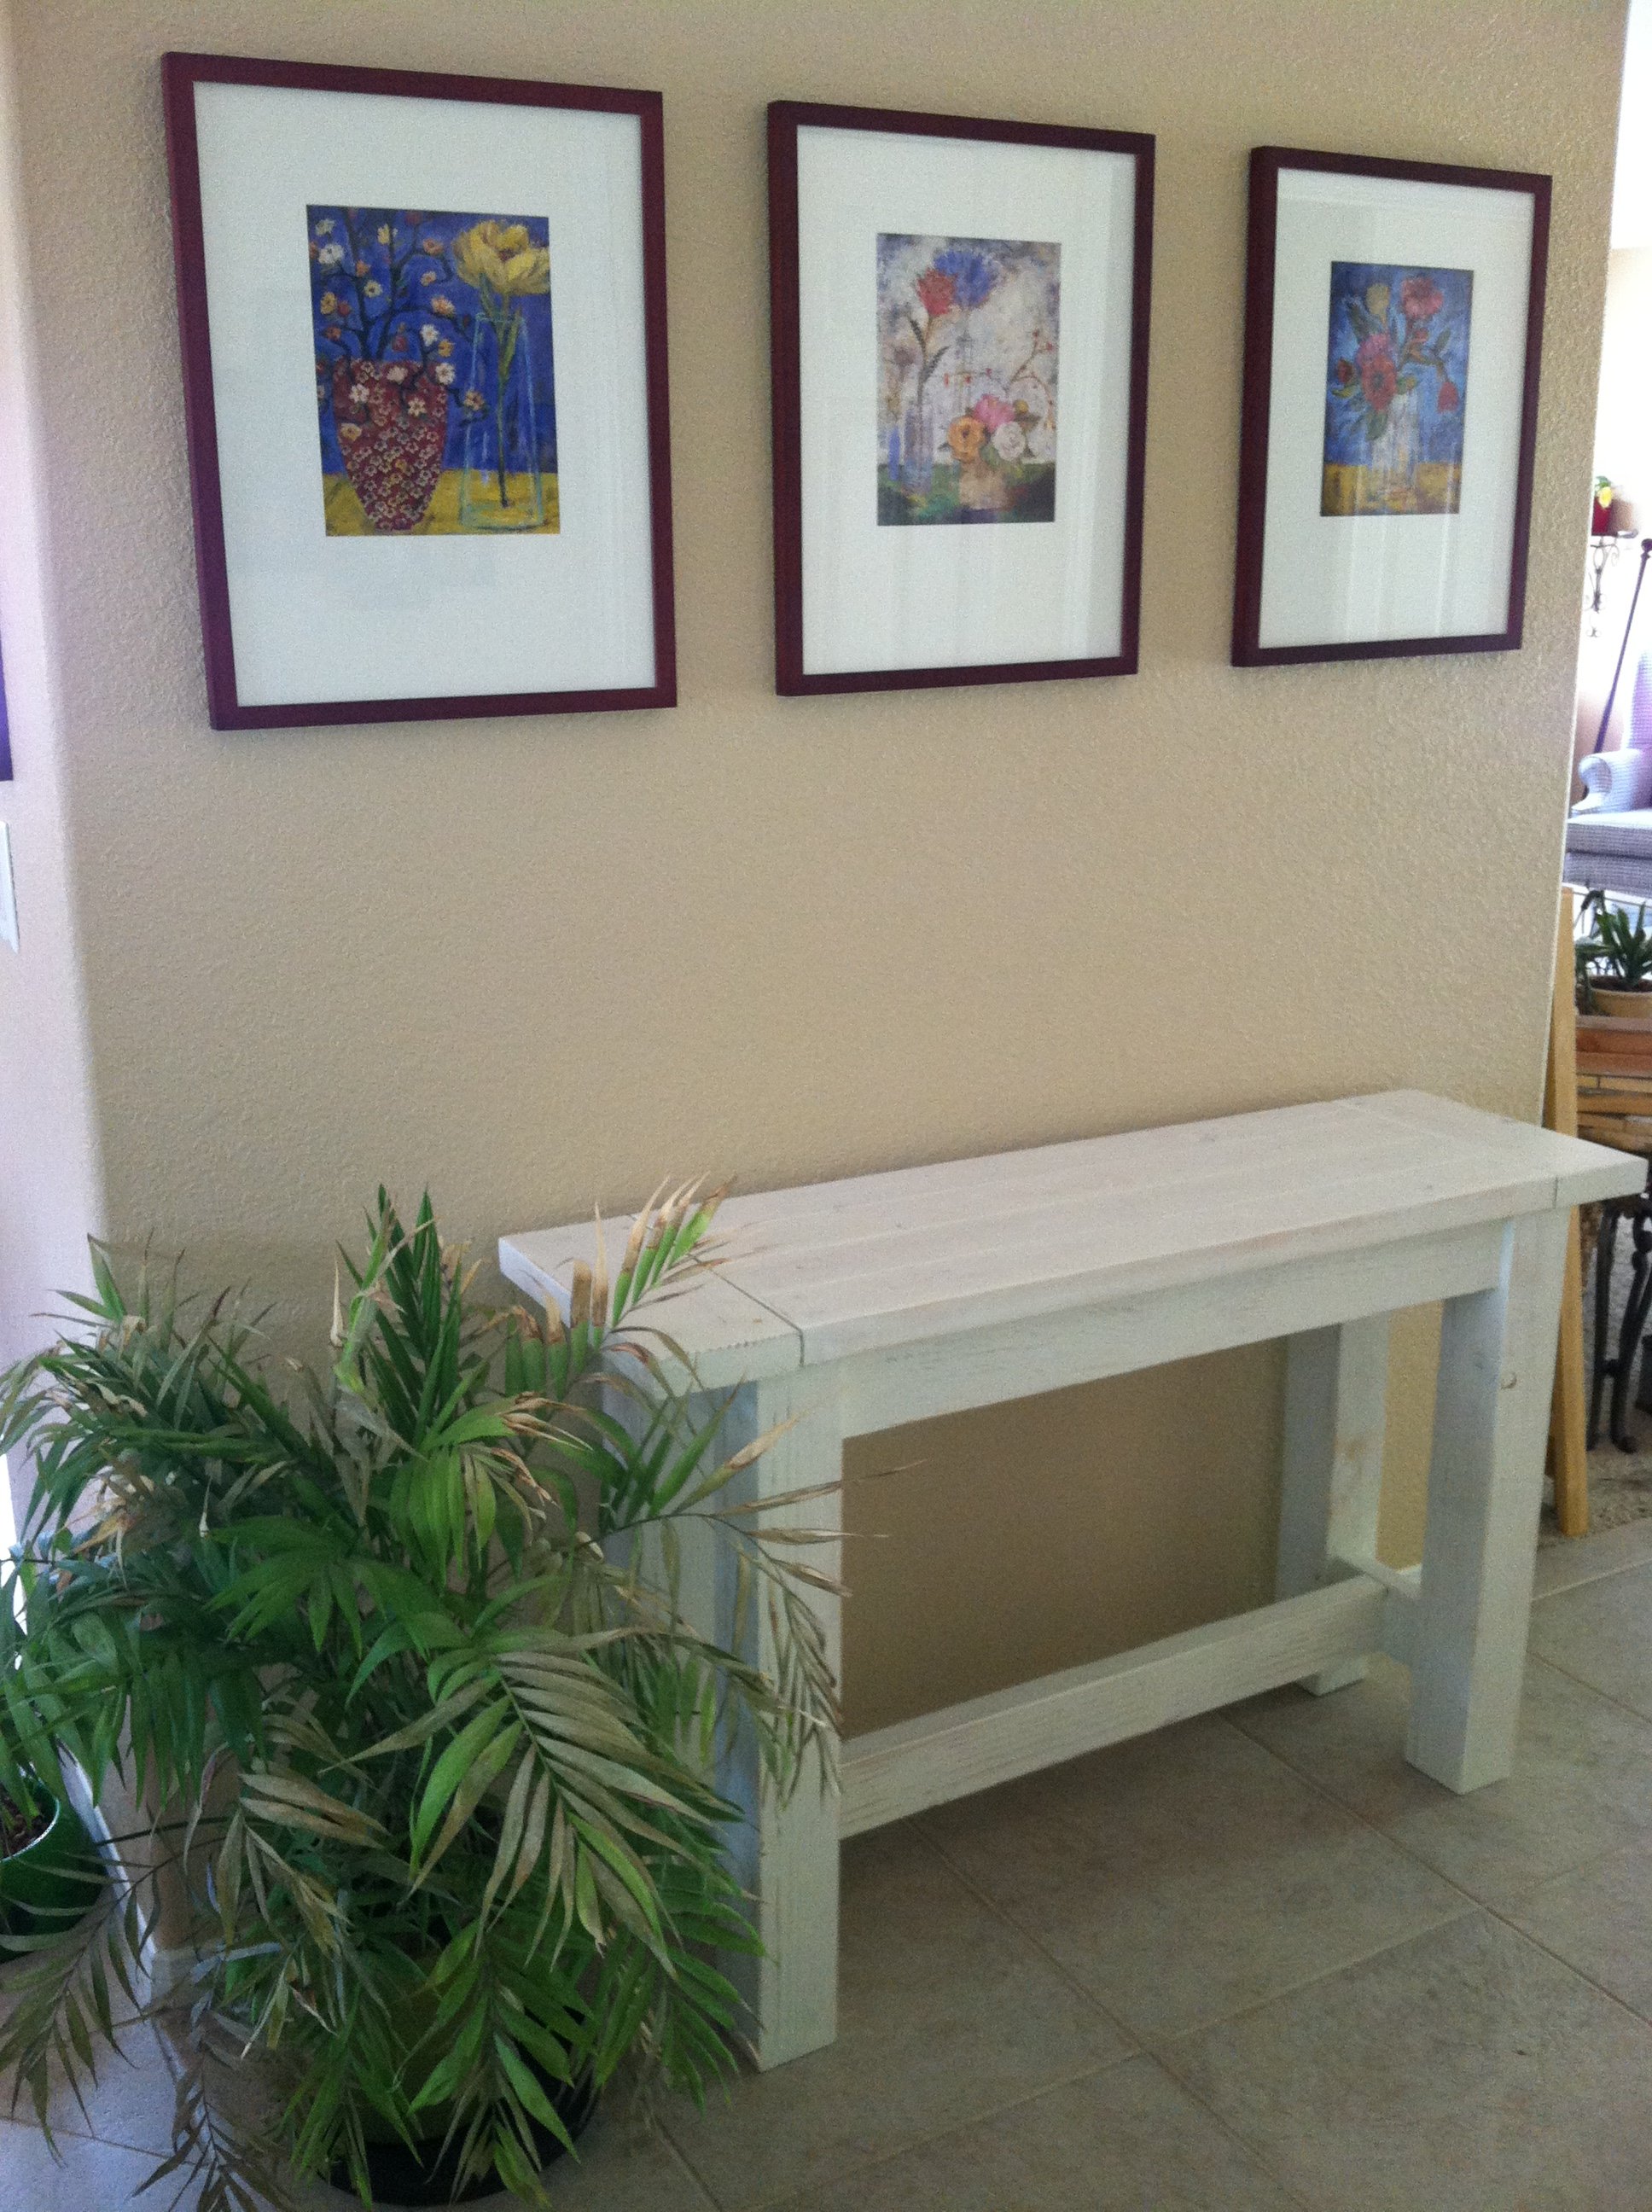
Stunning!
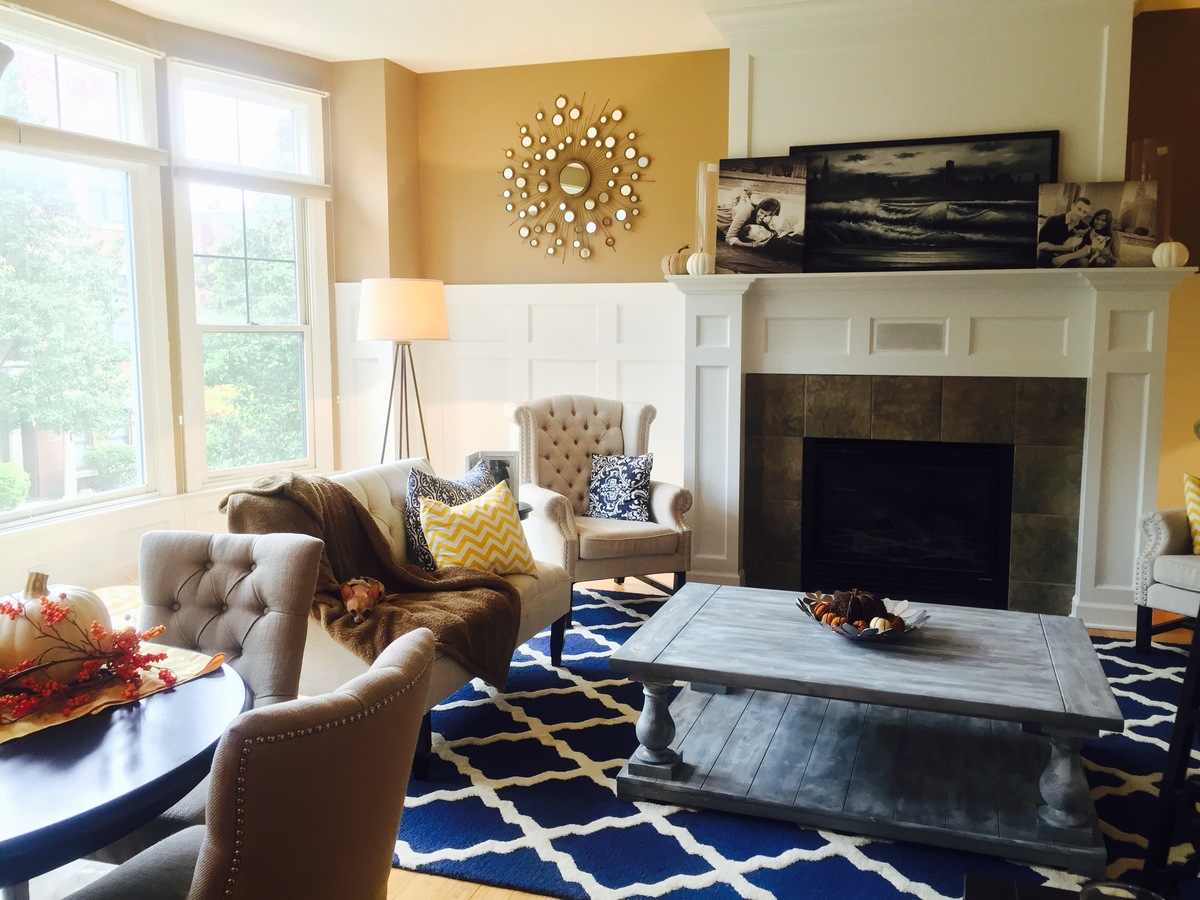
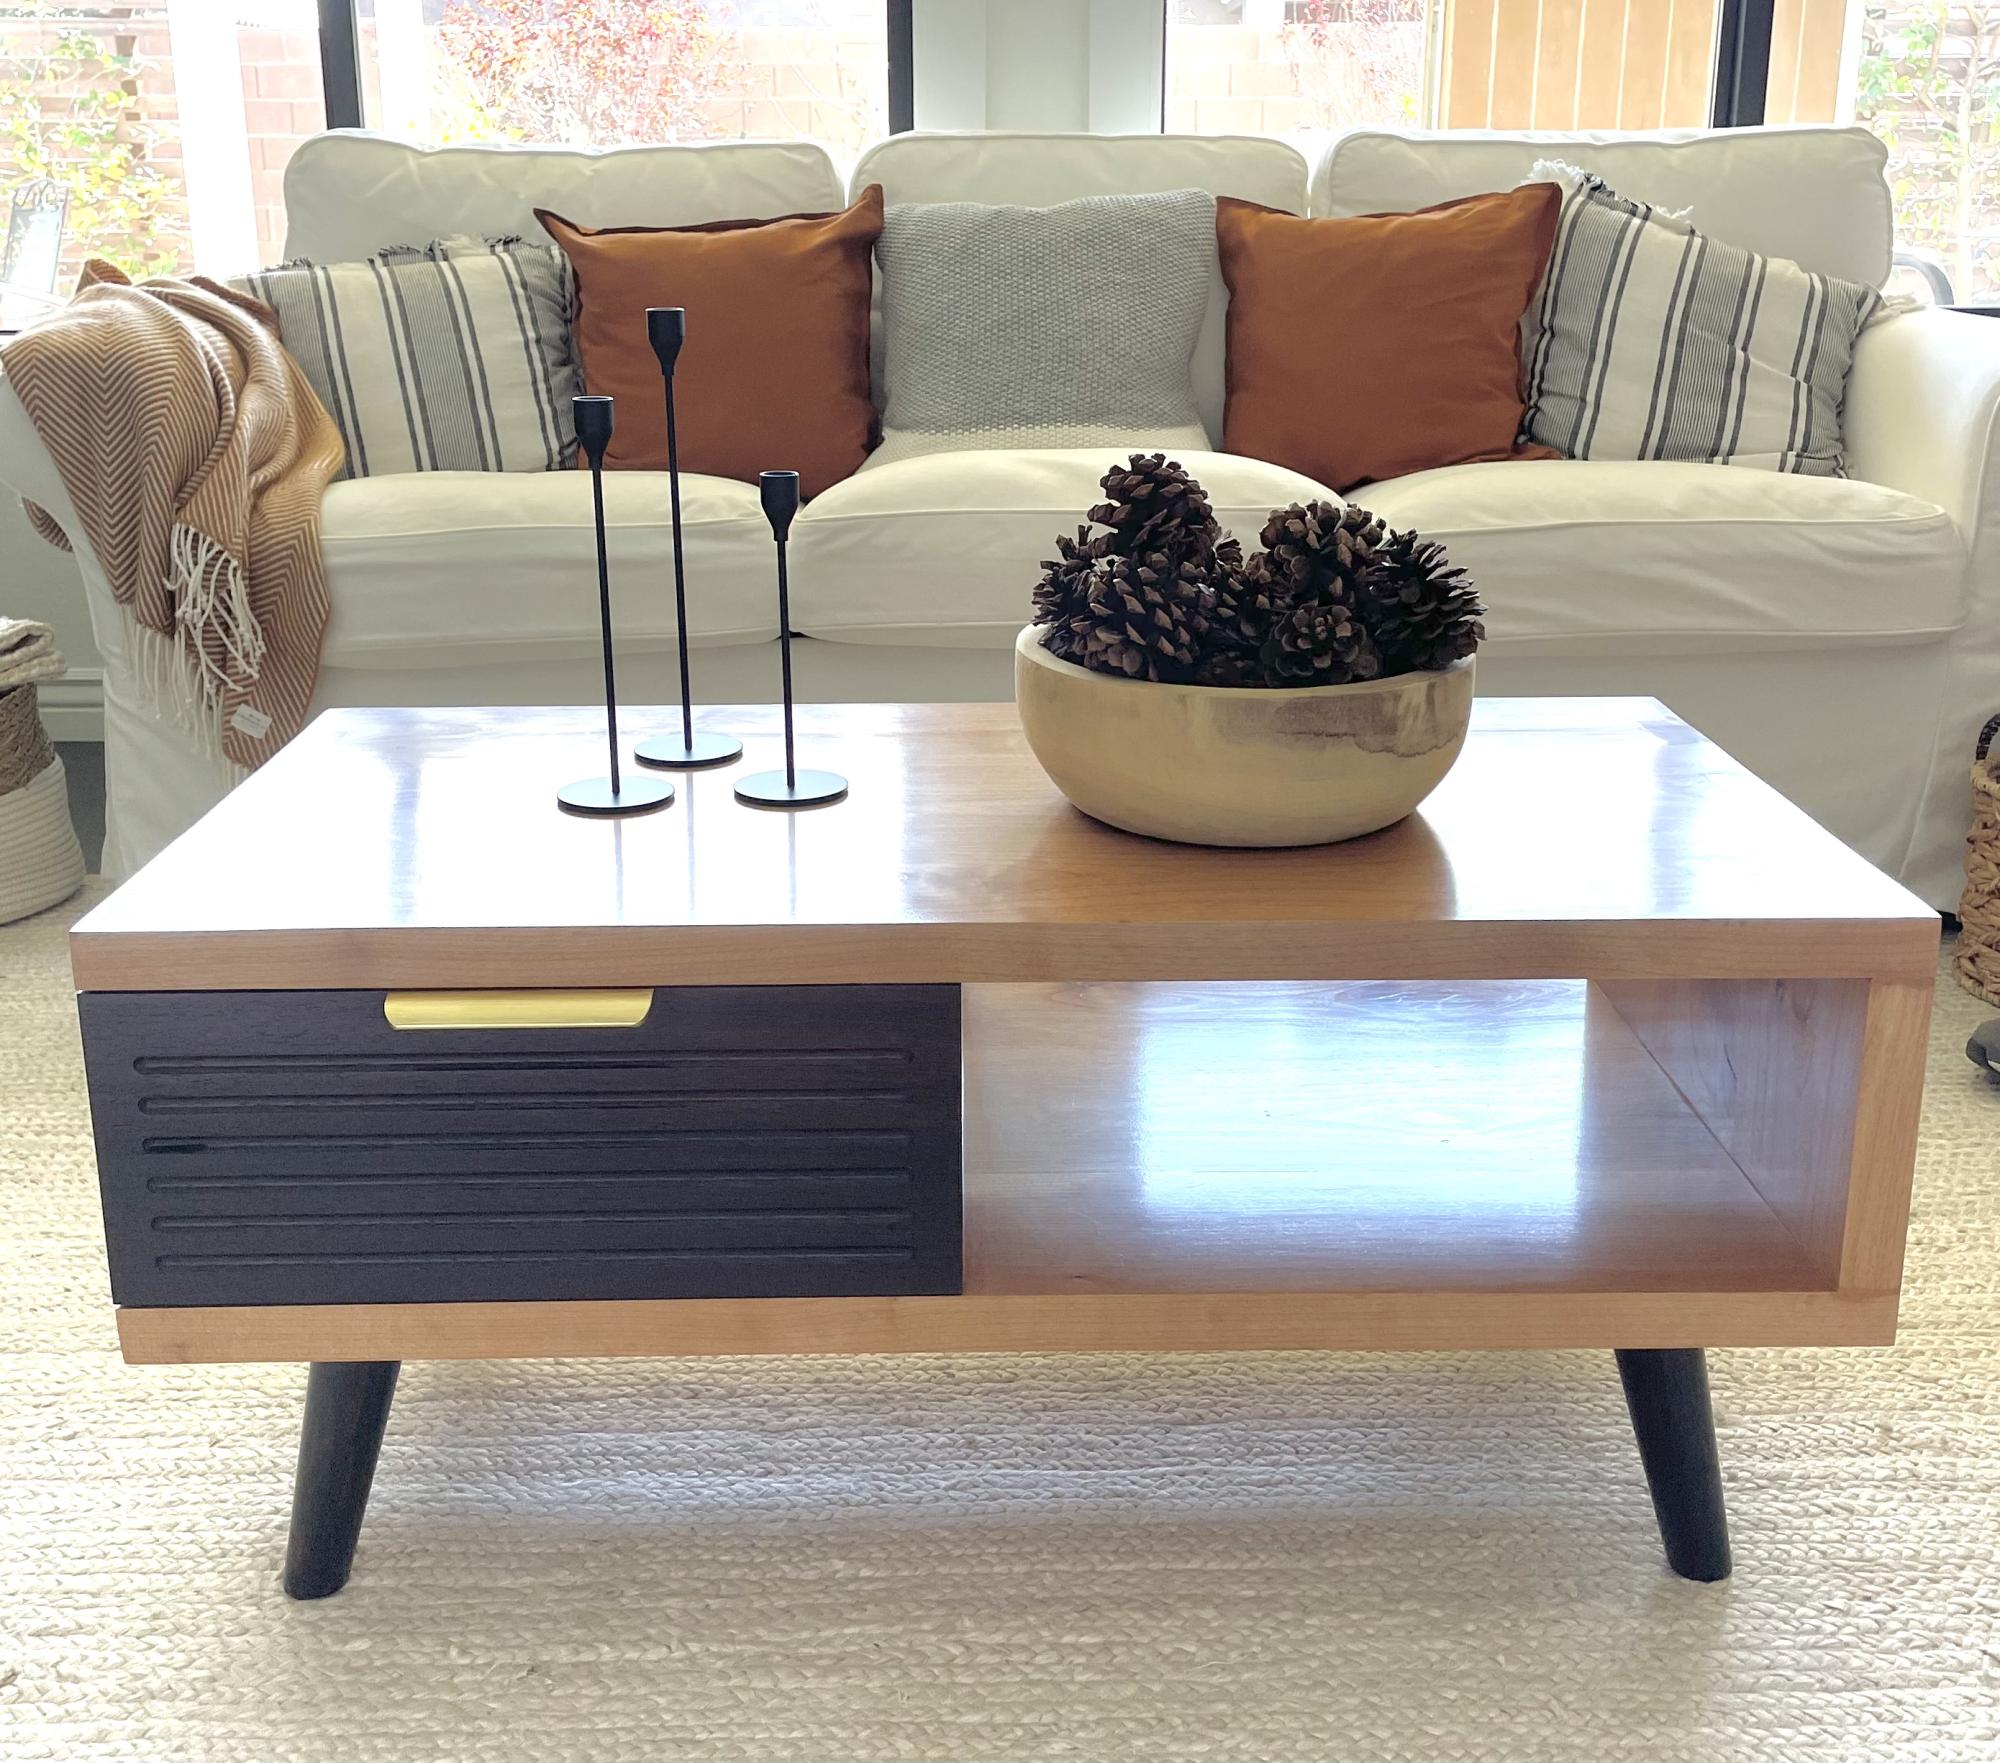
Absolutely gorgeous room and table! Thanks for sharing~
In reply to Stunning! by Ana White Admin
Wilsonorahem
Mon, 01/02/2017 - 15:31
Thanks! I've made a dozen of
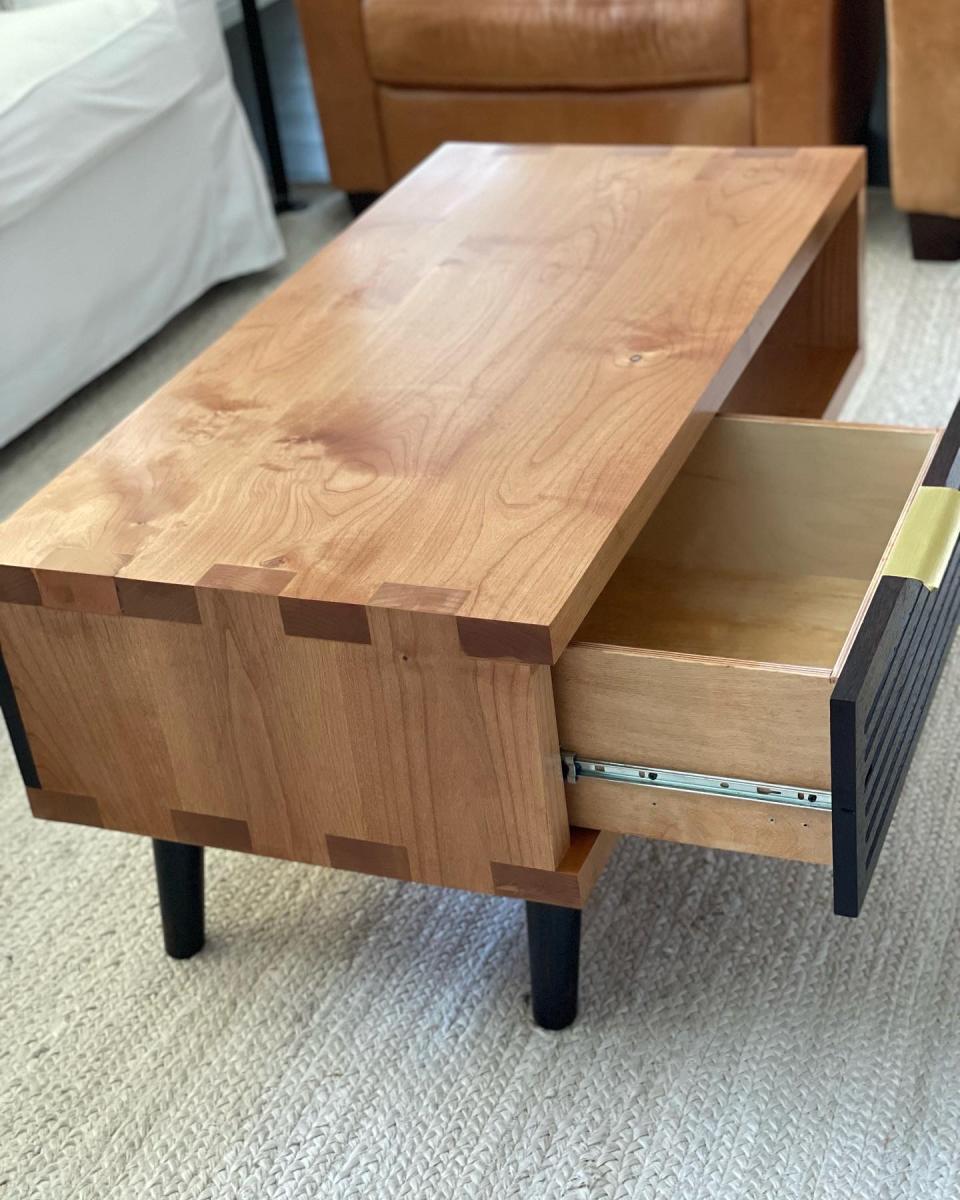
Thanks! I've made a dozen of these over the last few years for friends and paying customers. One major modification that I've made is to use tongue and groove instead of pocket holes. I also use a sliding breadboard end to allow for wood movement. If not, you get cracking and separation during the various seasons. I can try to take photos to include in the plans during my next build if you're interested.
j9keller
Tue, 10/27/2015 - 15:52
Stain
I love the stain. Could you give details on how you got the looK? Thanks!
In reply to Stain by j9keller
Wilsonorahem
Mon, 01/02/2017 - 15:33
Sorry for the delay. I never
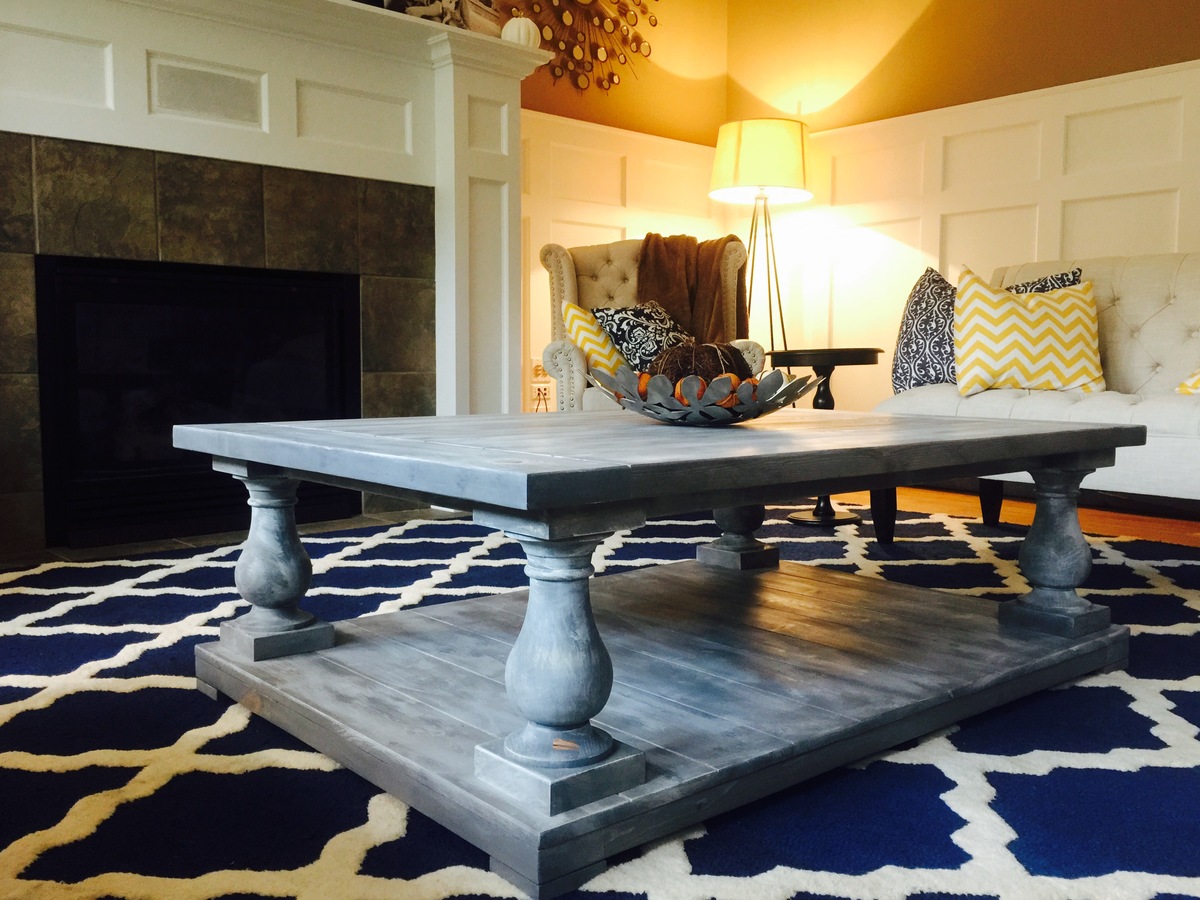
Sorry for the delay. I never got notifications for these comments. I use minwax gray first. Then I whitewash using whatever white paint I have laying around mixed with water. Finally, I dry brush with minwax ebony here and there to add depth.
melissafontes
Thu, 09/15/2016 - 11:42
STAIN PROCESS
Could you please tell us how you did your stain? I have a table ready to stain and would love to achieve this color.
In reply to STAIN PROCESS by melissafontes
Wilsonorahem
Mon, 01/02/2017 - 15:36
Hi. Sorry for the delay. I
Hi. Sorry for the delay. I use minxway gray first, fllowed by whitewash with whatever white paint I have laying around (half water/half paint). Finally, I accent with minwax ebony using a dry brush technique. Good luck!