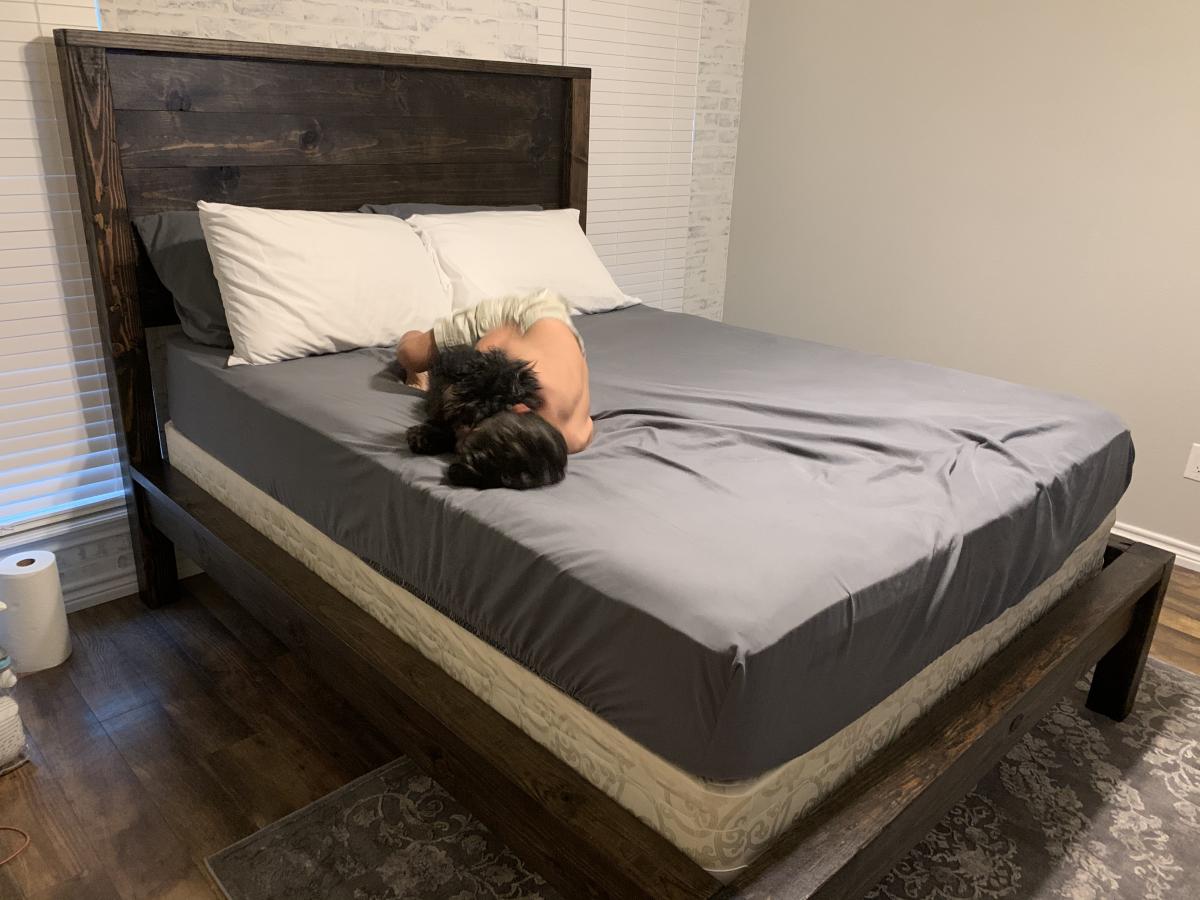
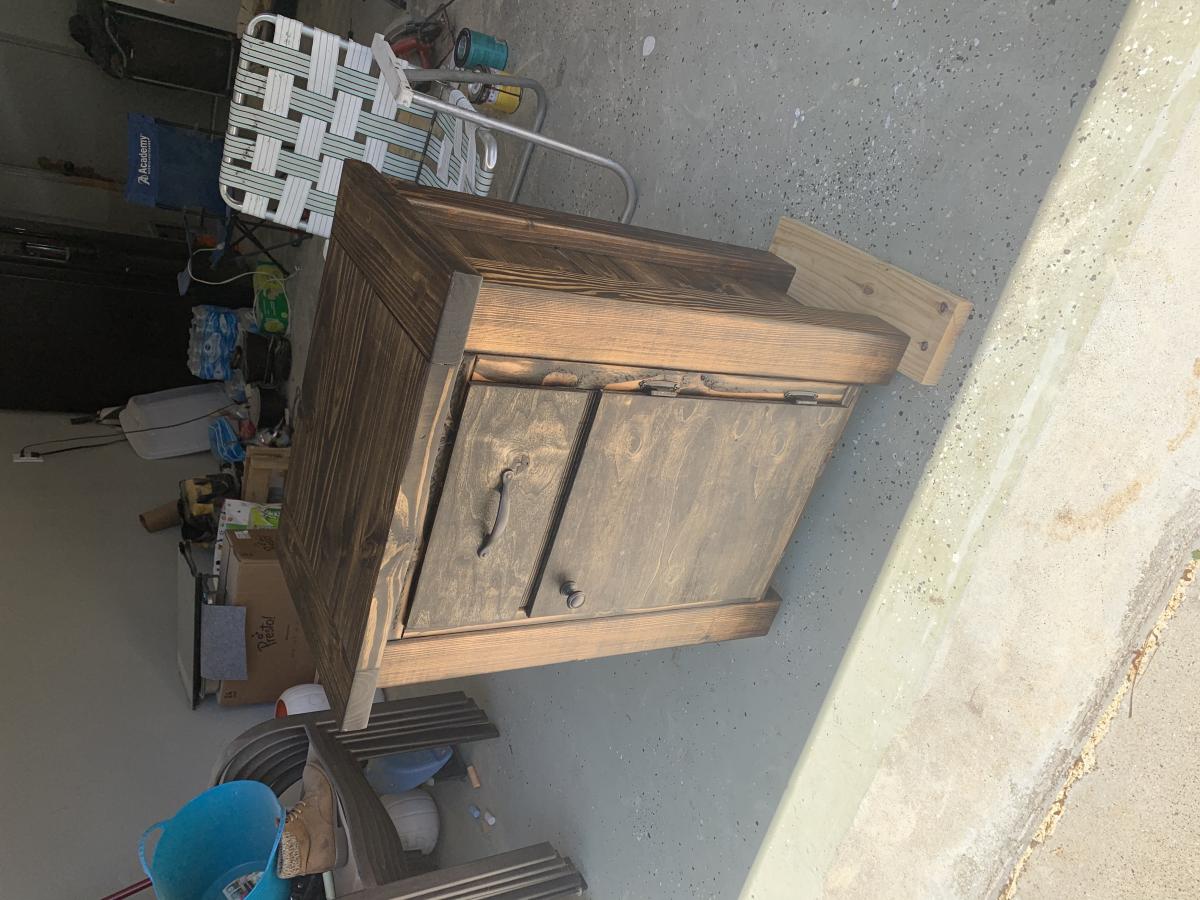
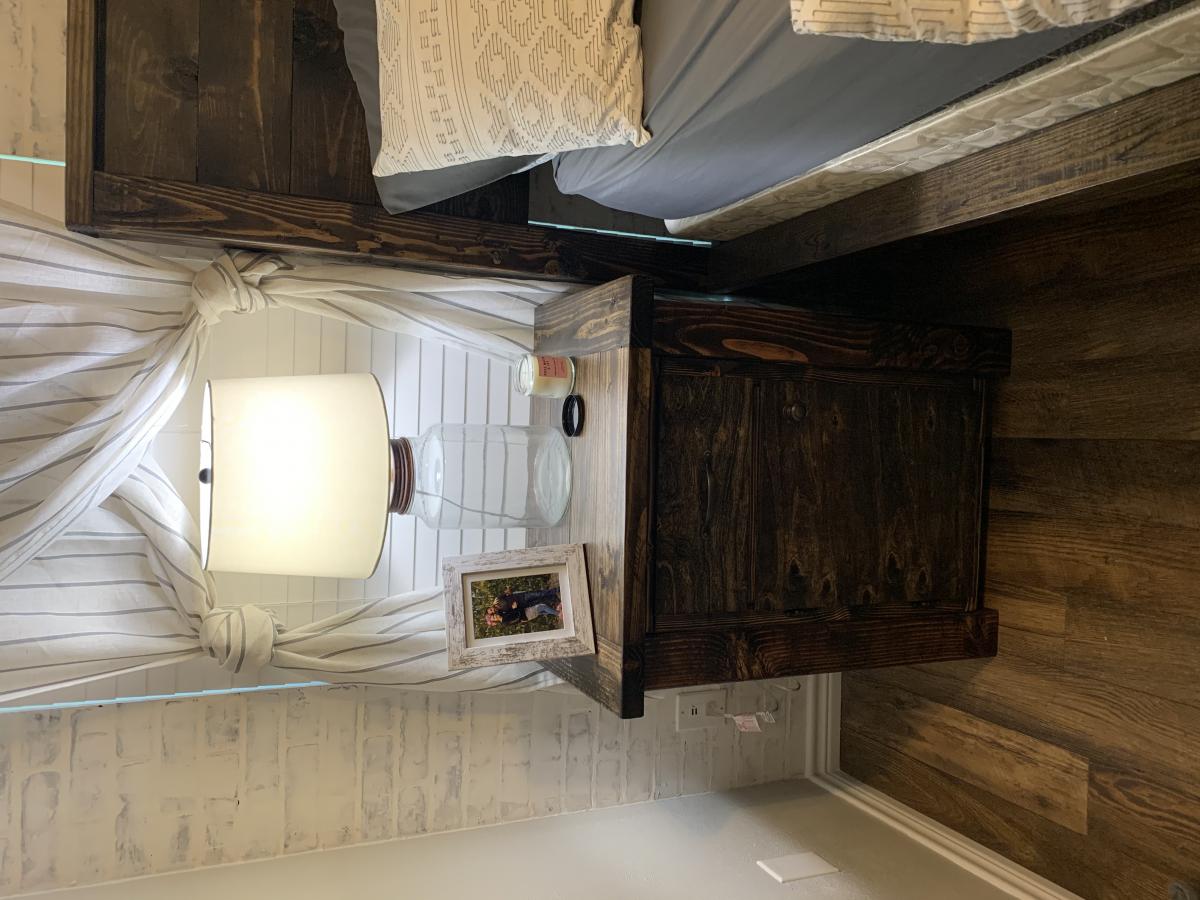
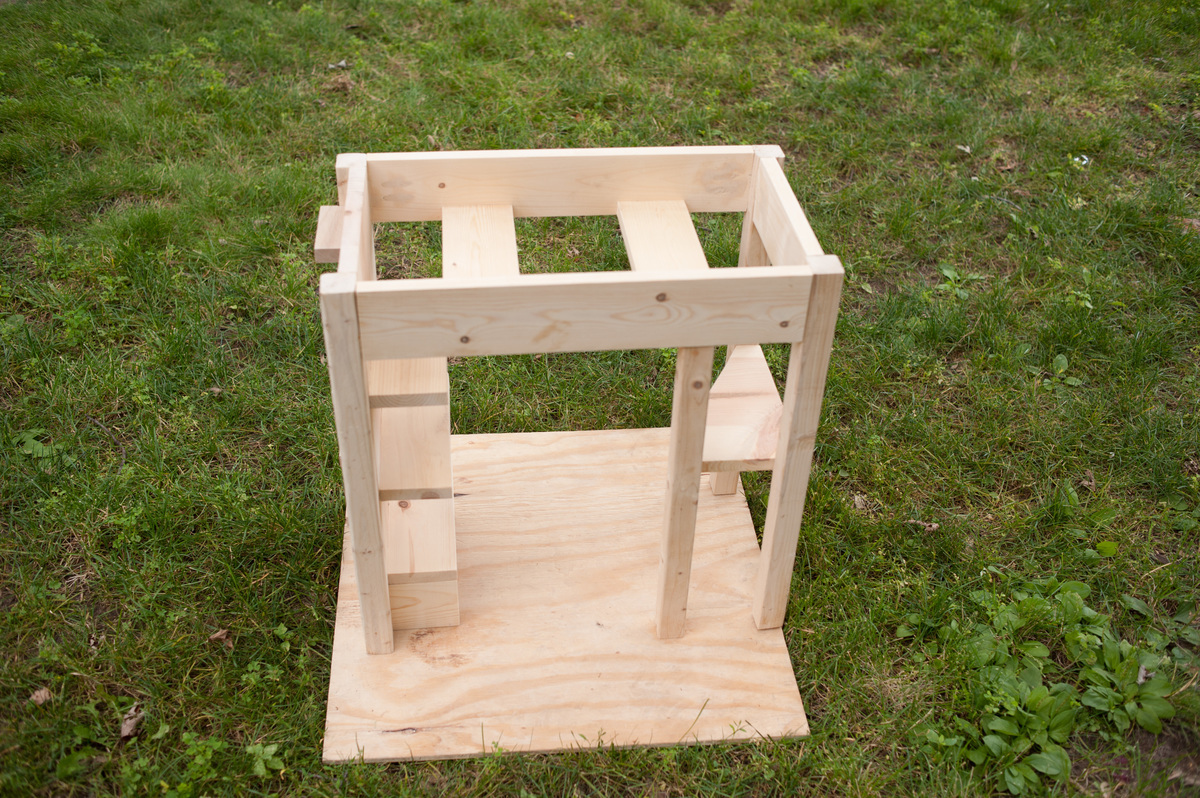
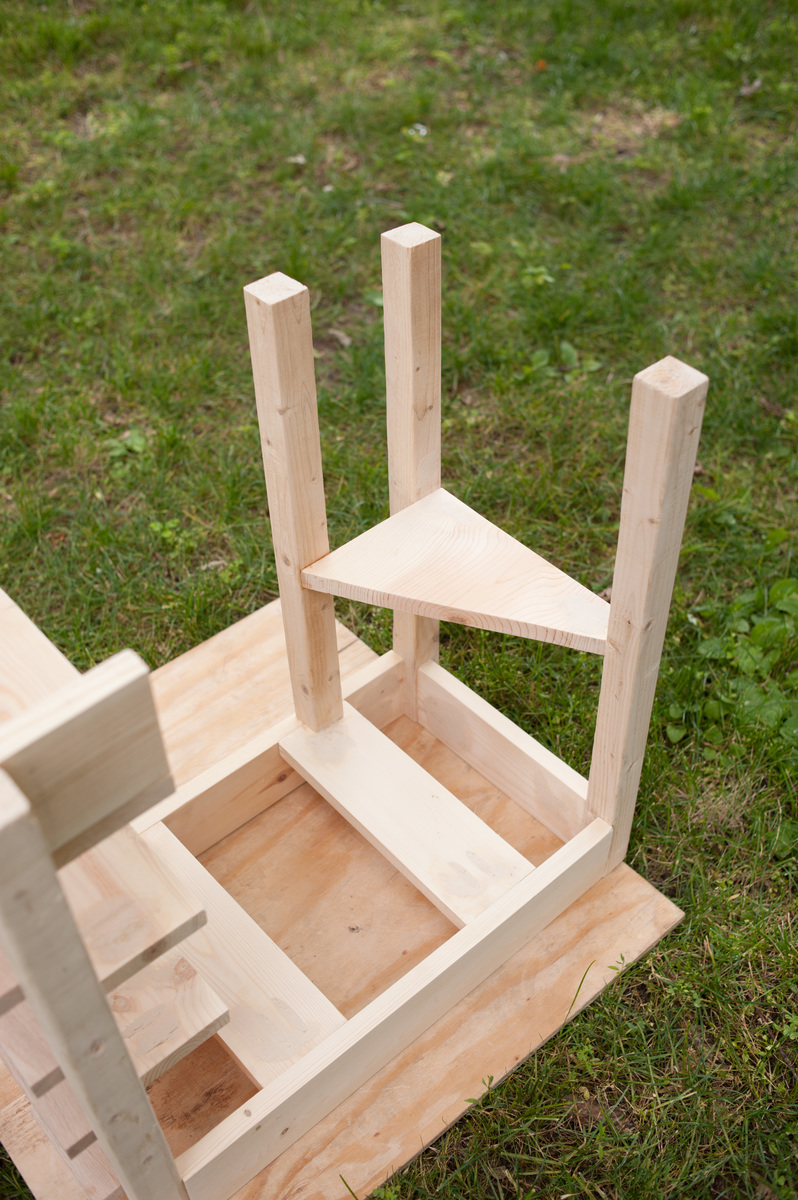
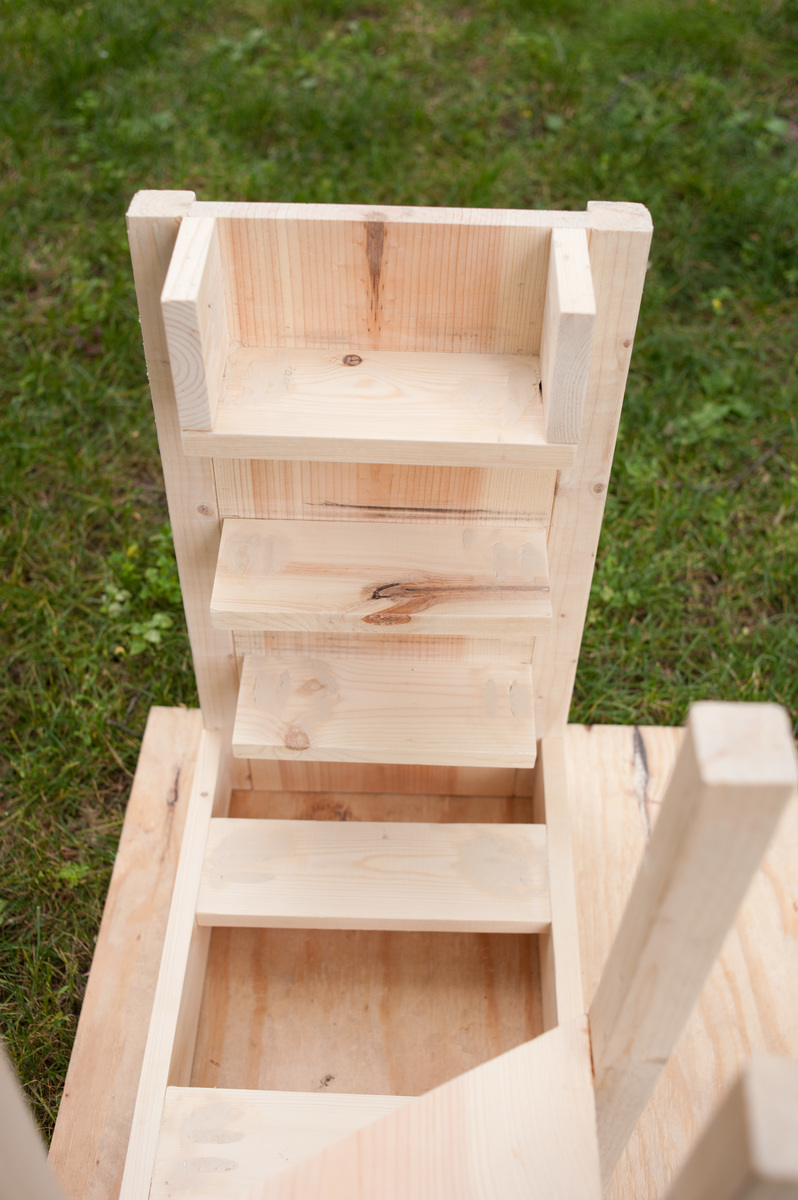
Distressed cabinet
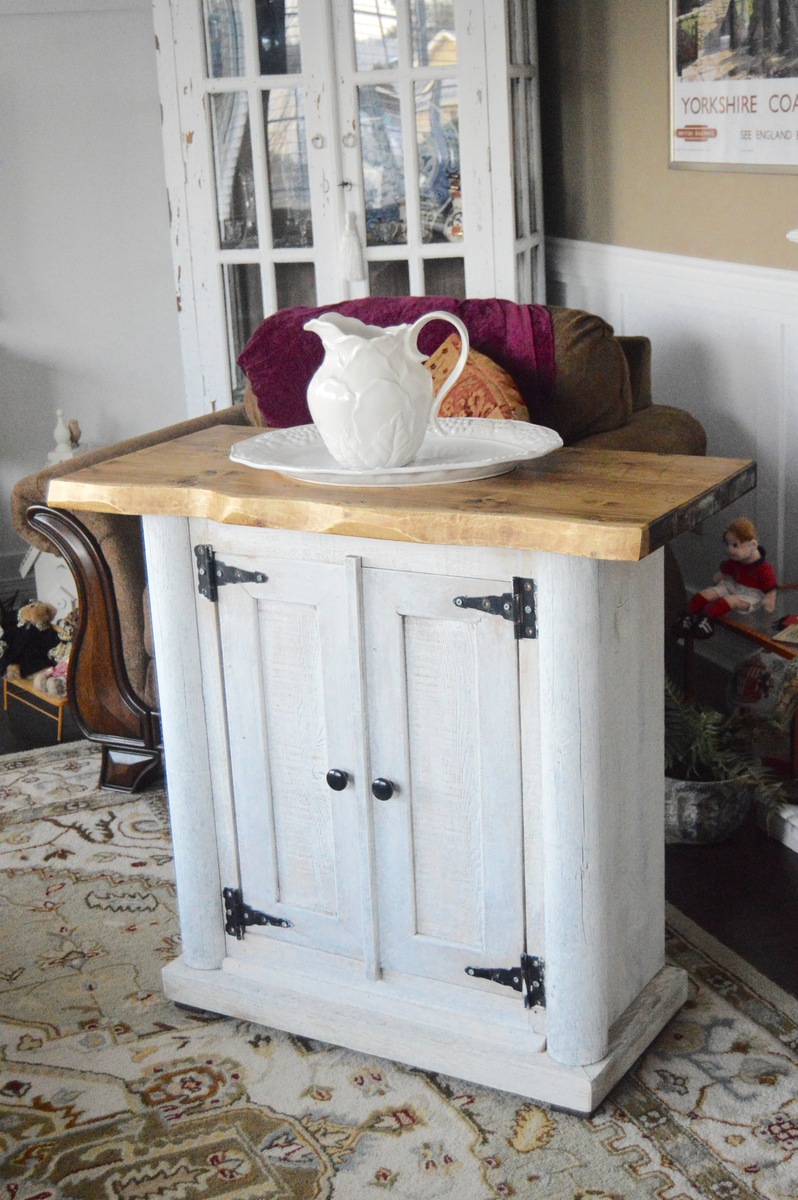
A cabinet that I built from inexpensive material. The top is construction grade 2x6 with the front edge cut with a jigsaw set on an angle to form a faux live edge, biscuit join with pocket screws from the underside to add other 2x6 boards to obtain the depth required. After sanding I masked off about 1 inch in from the live edge with a wavy edge before staining then removing the masking tape to apply varnish. I have replaced temporary screws in "gate hinges" with better quality screws since this photo was taken.
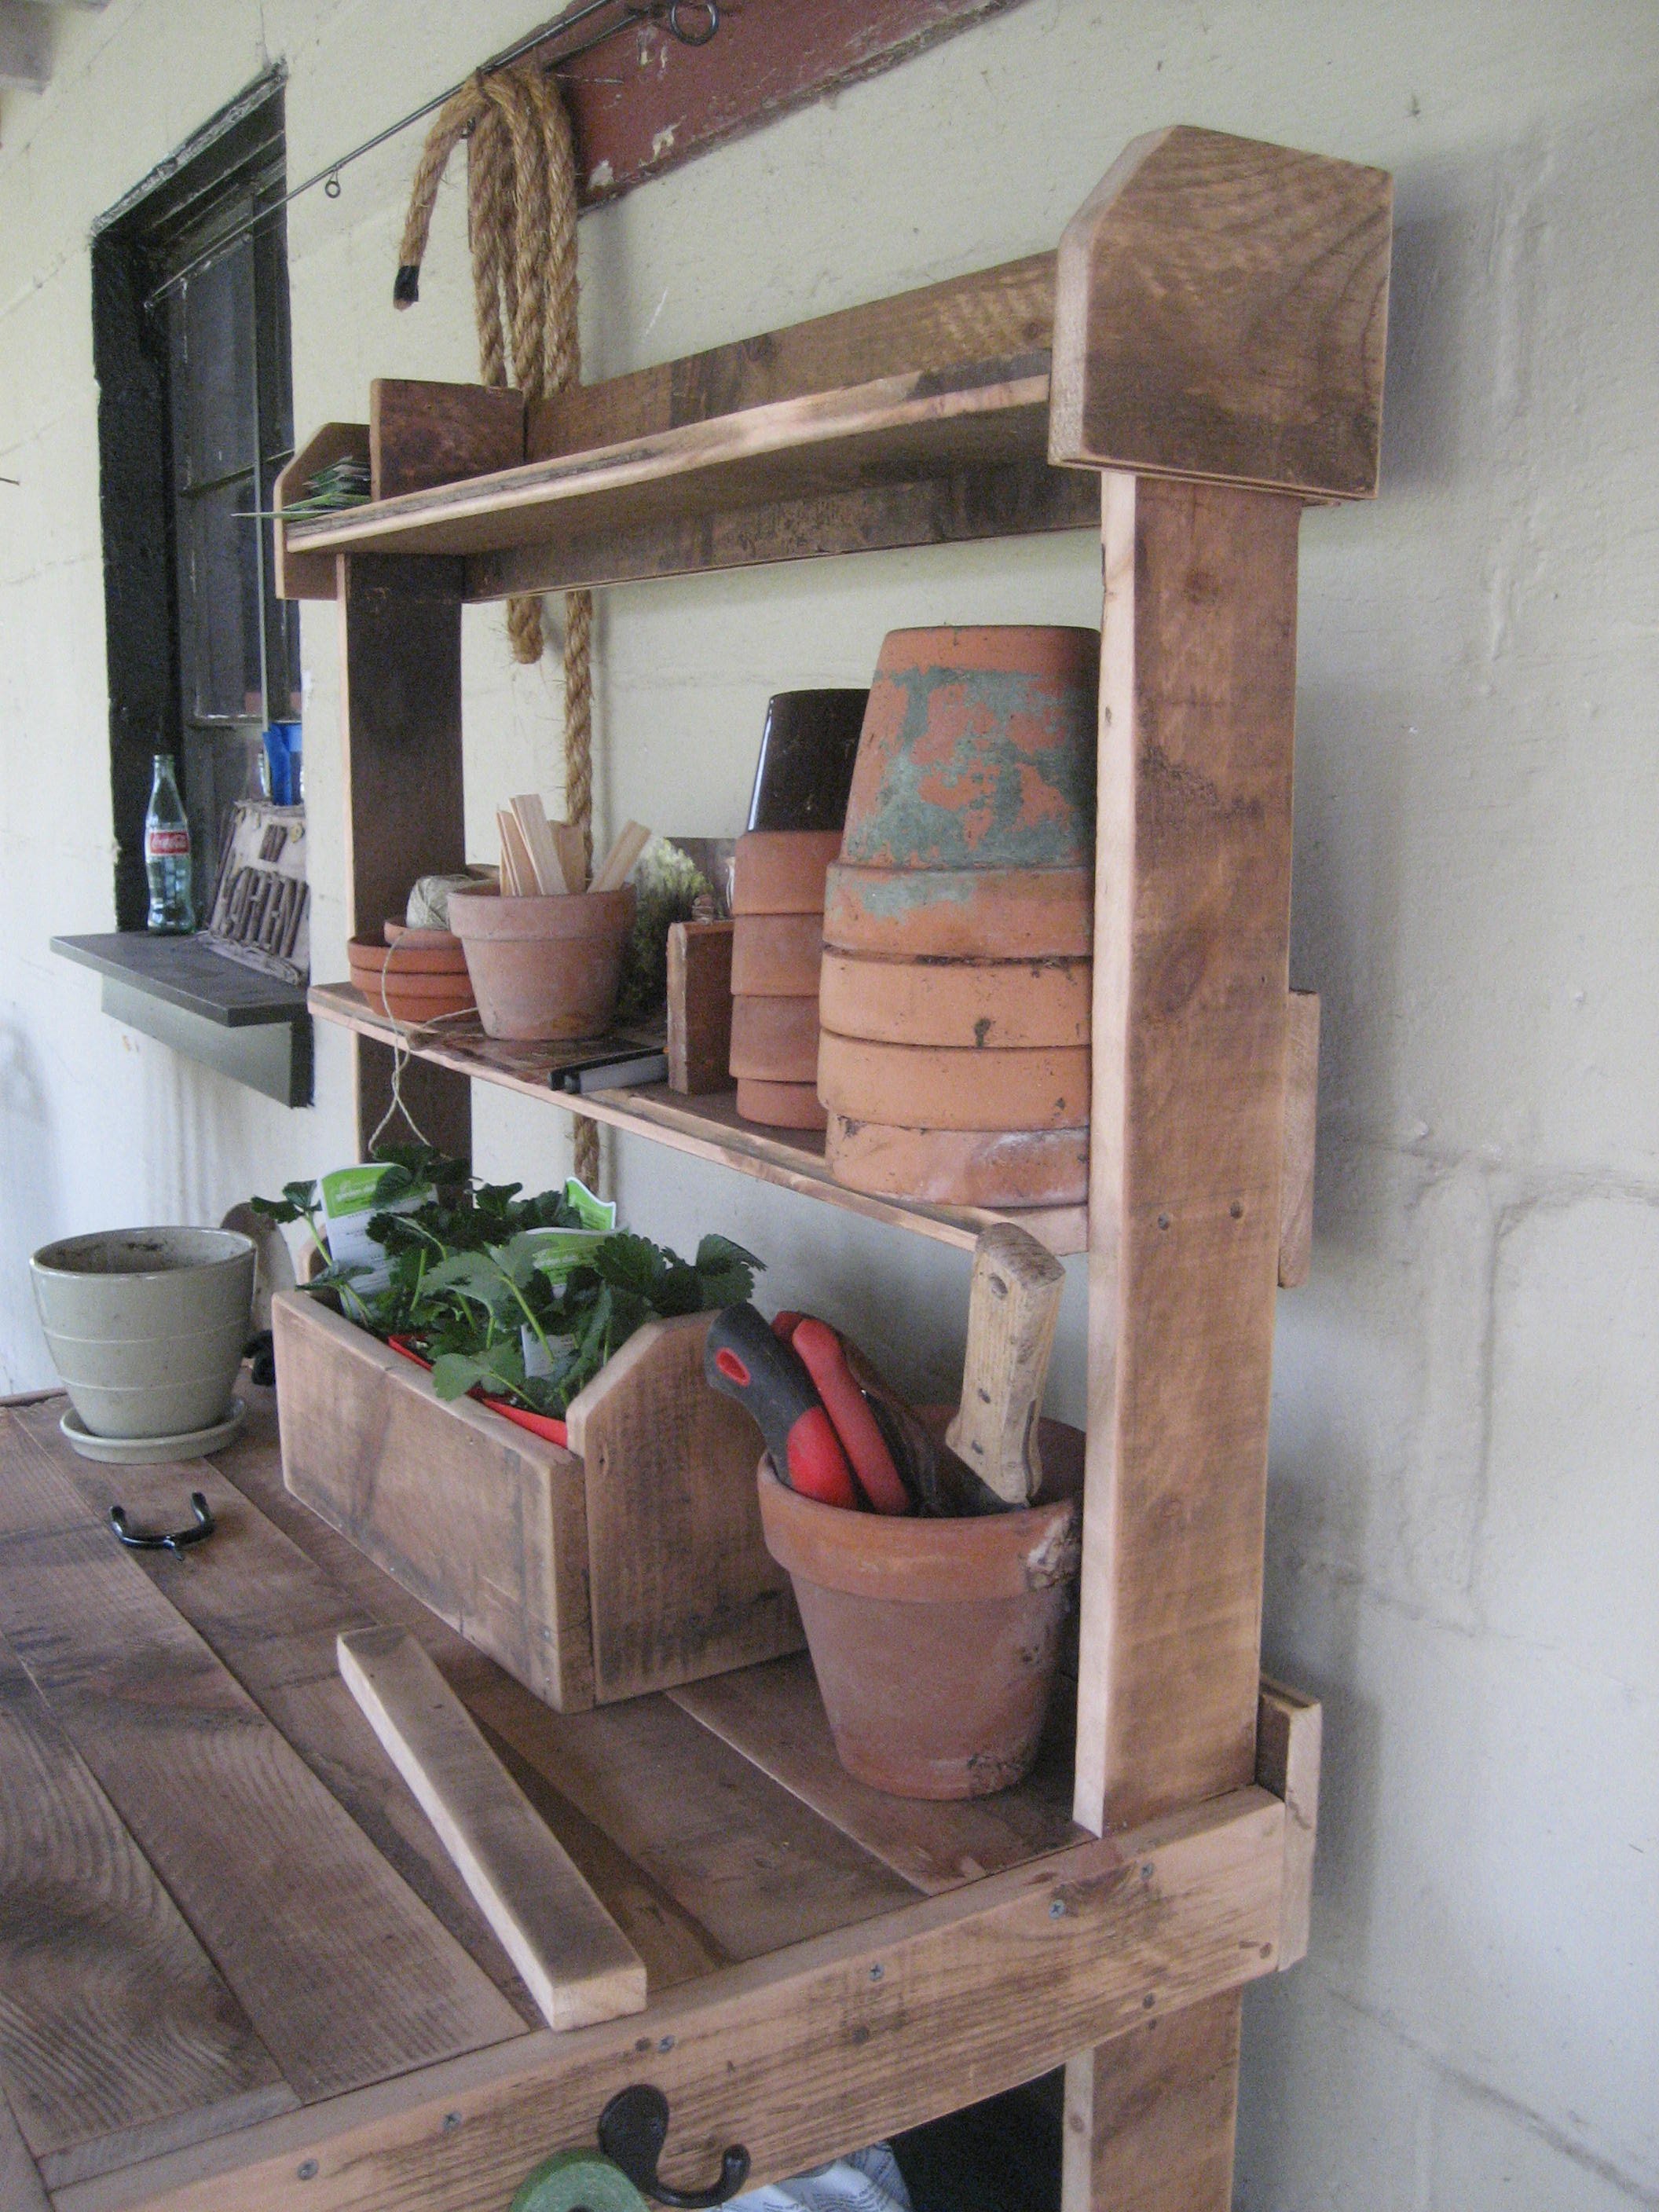
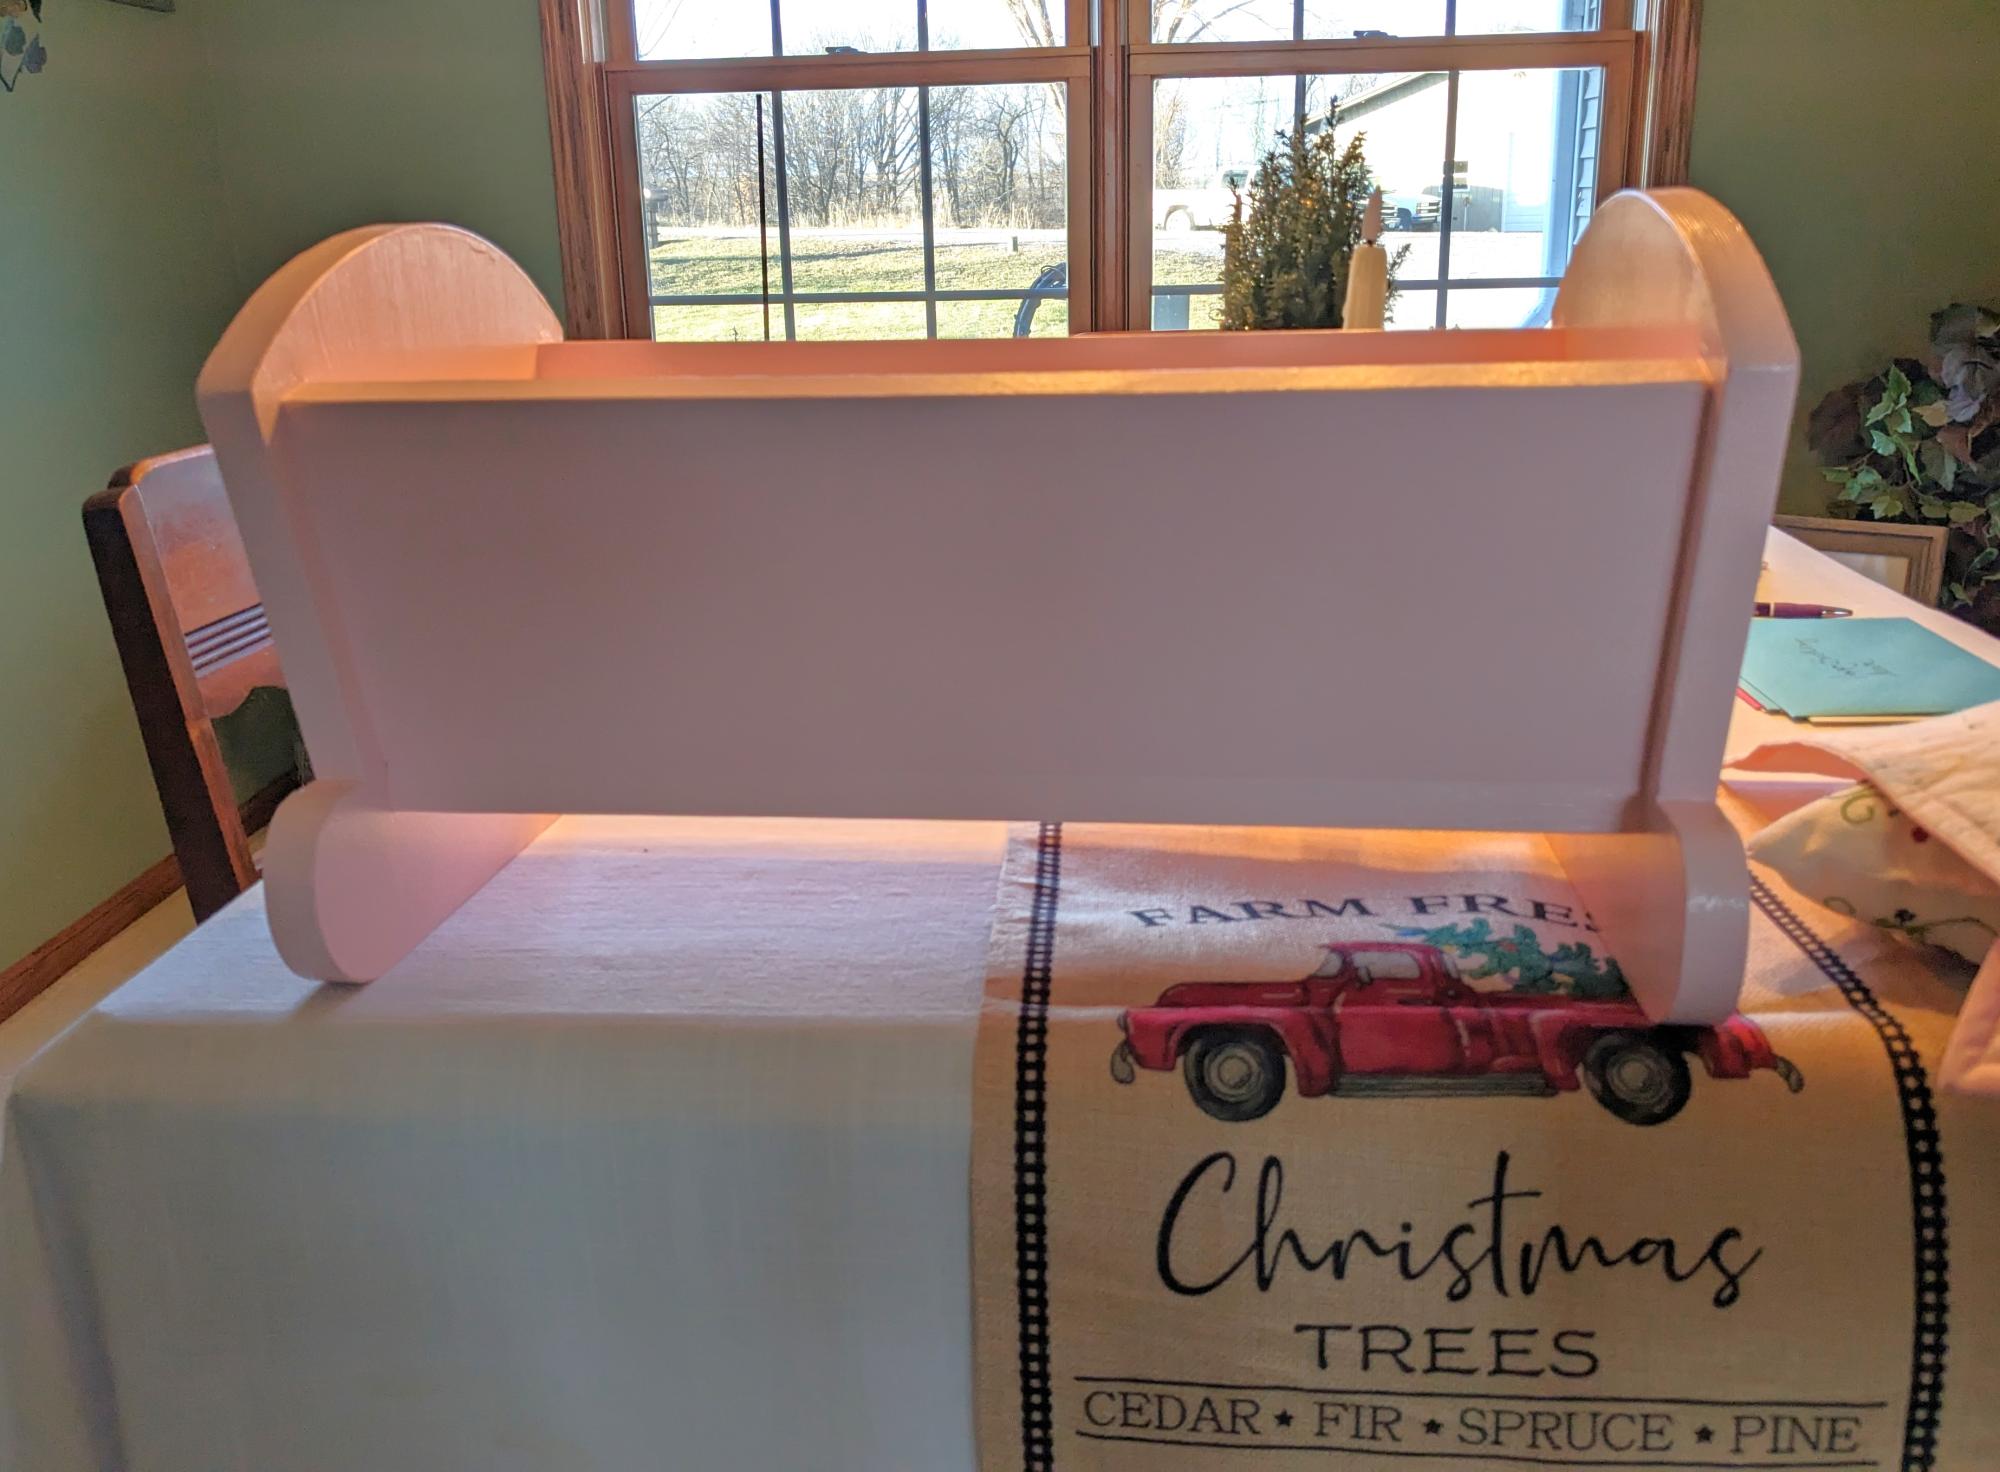
The cabinet was built from new cedar fence boards & the rounded corner pieces at the front edges are round fence posts with a 1/4 notch cut out to wrap around the corner.
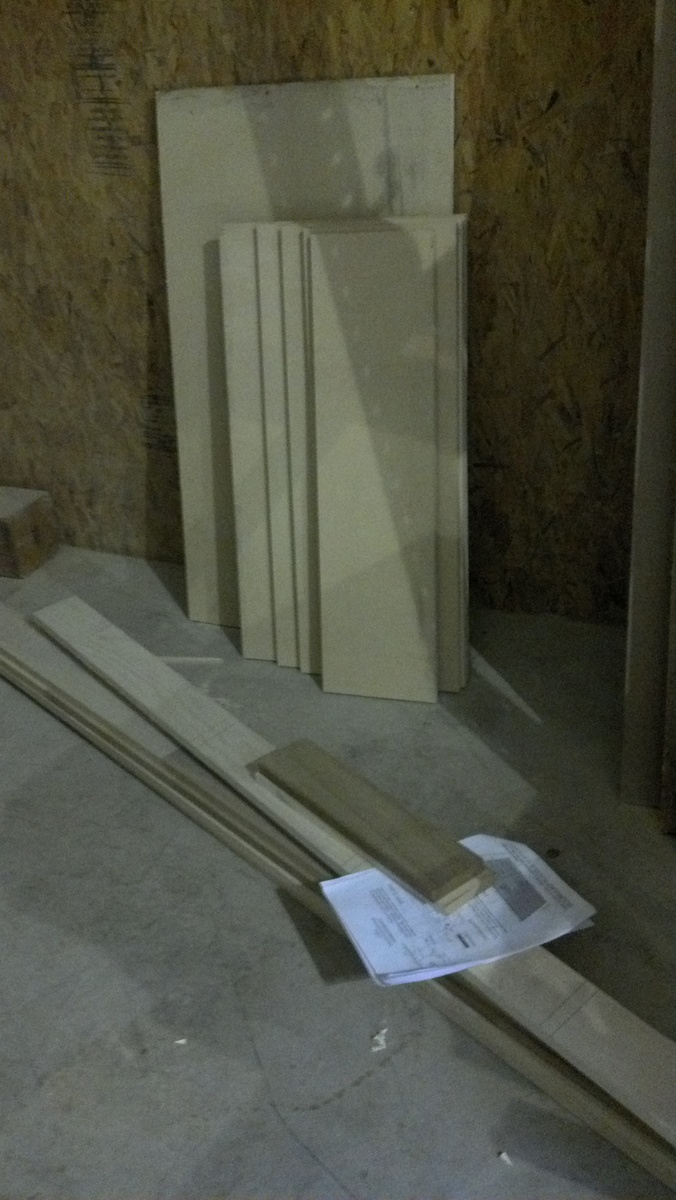
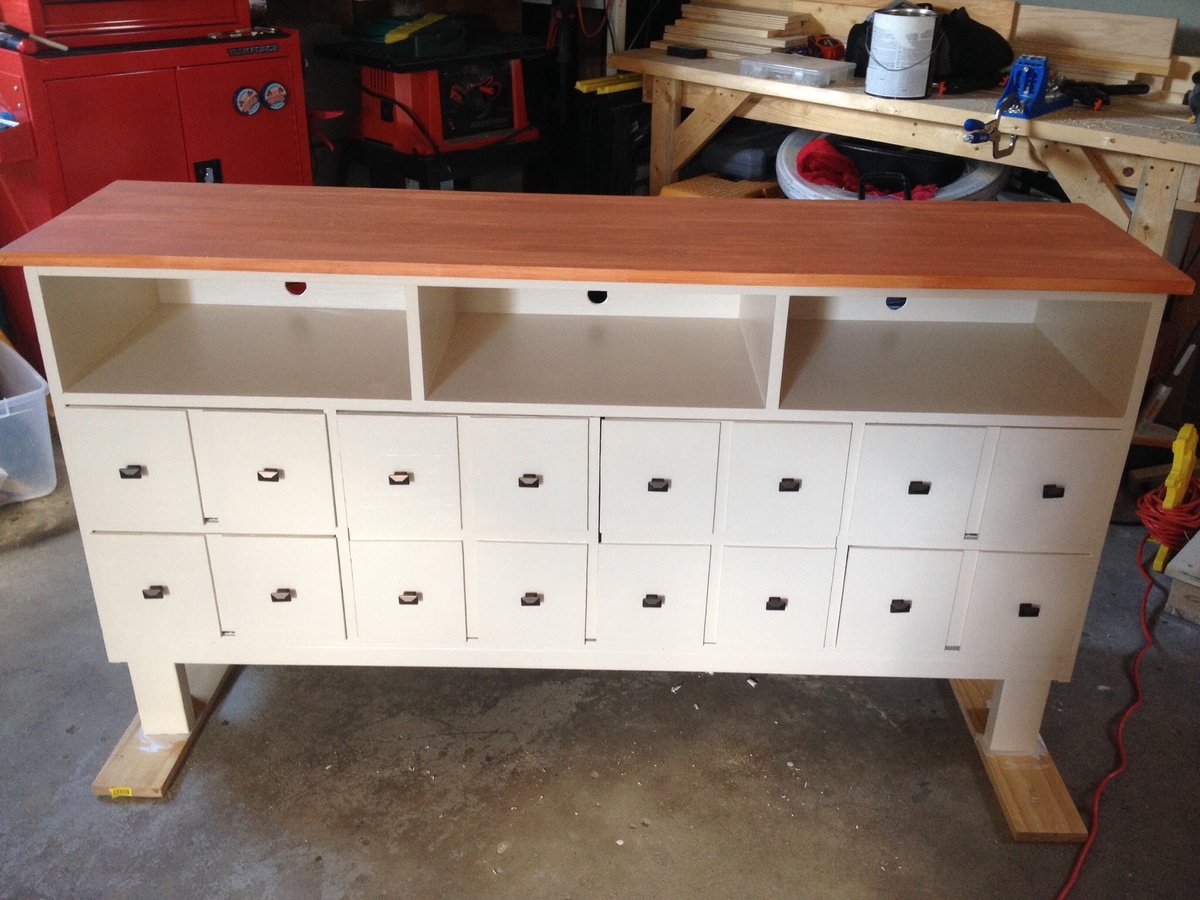
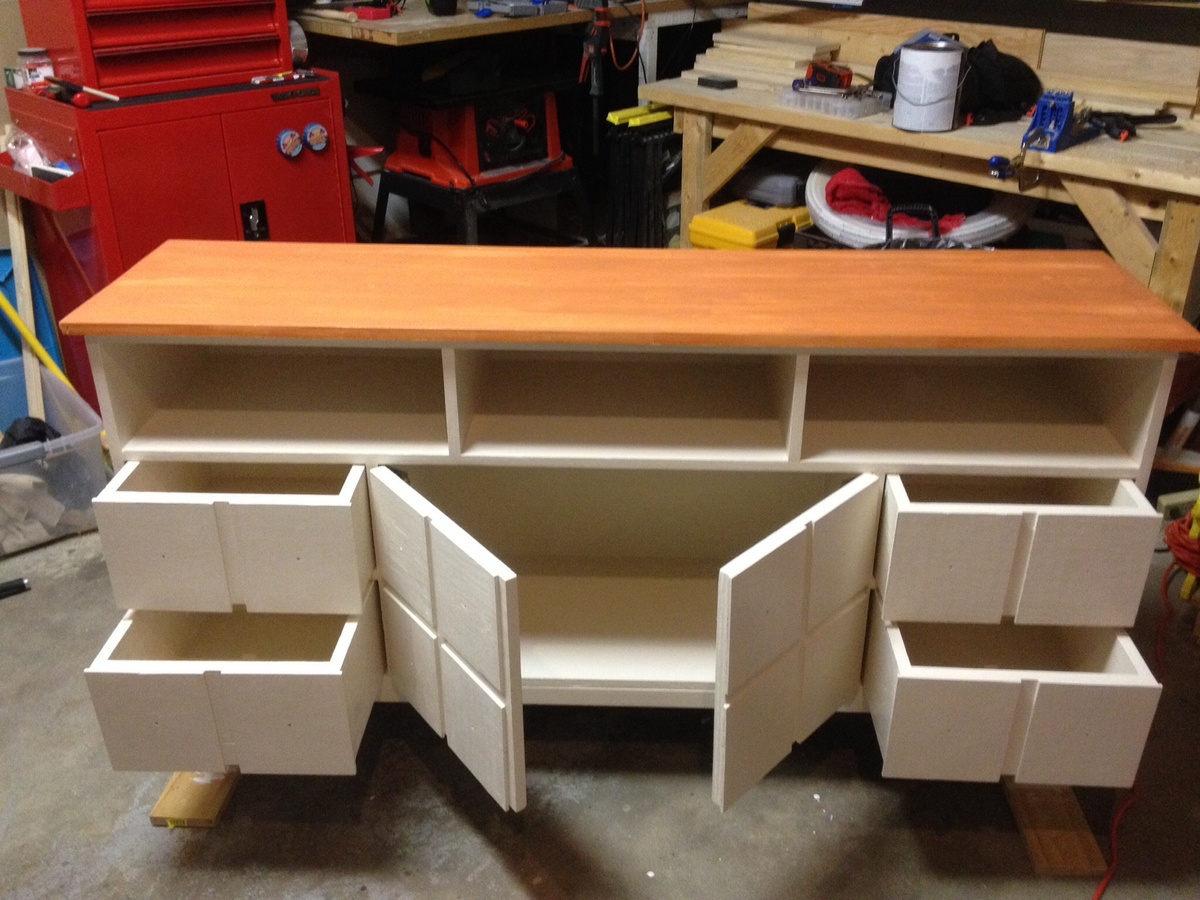
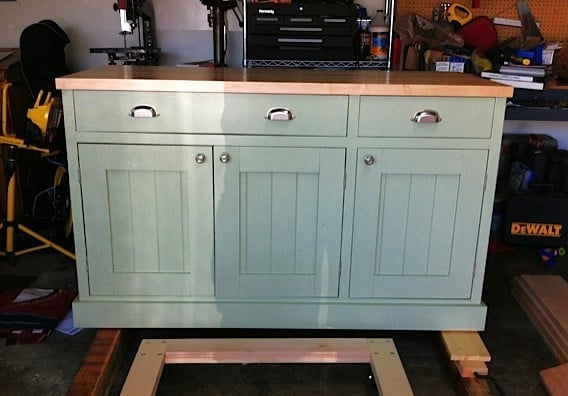
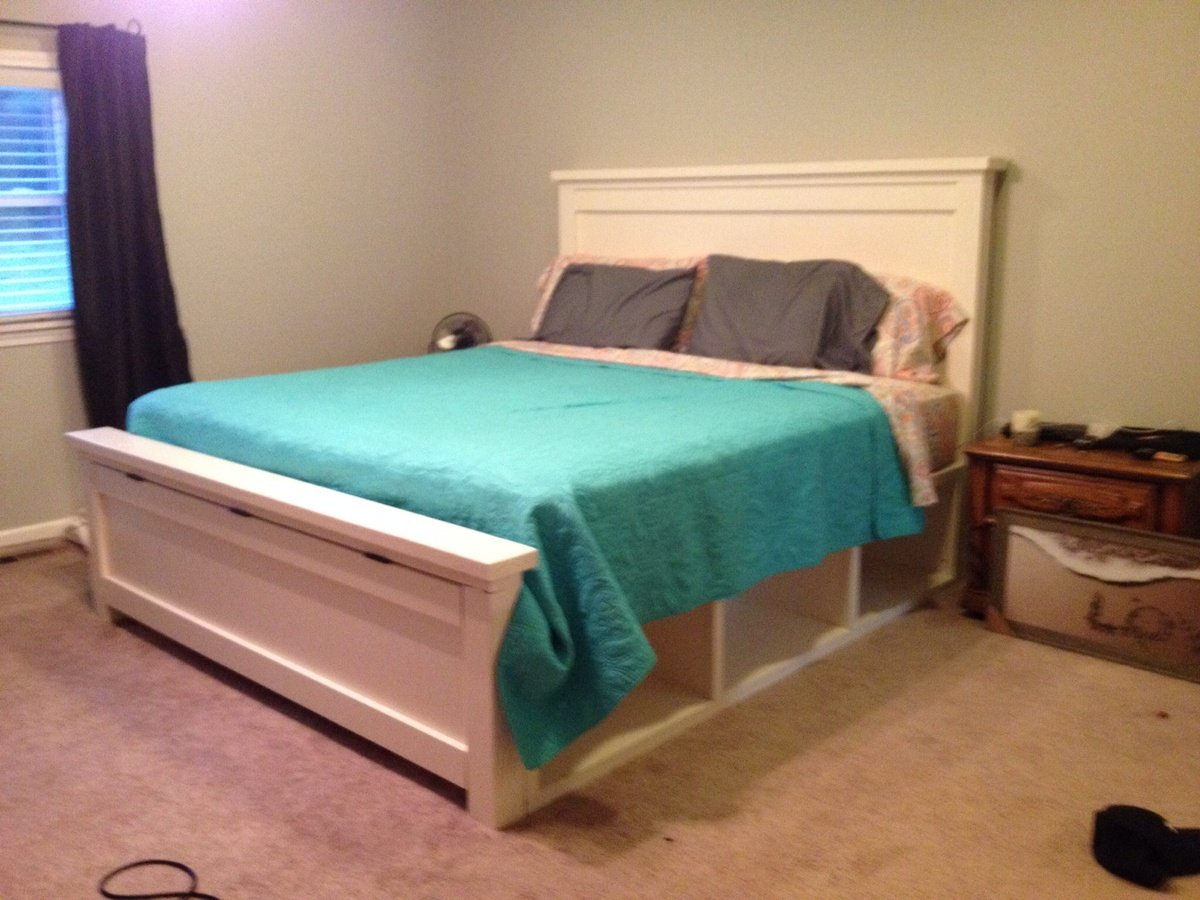
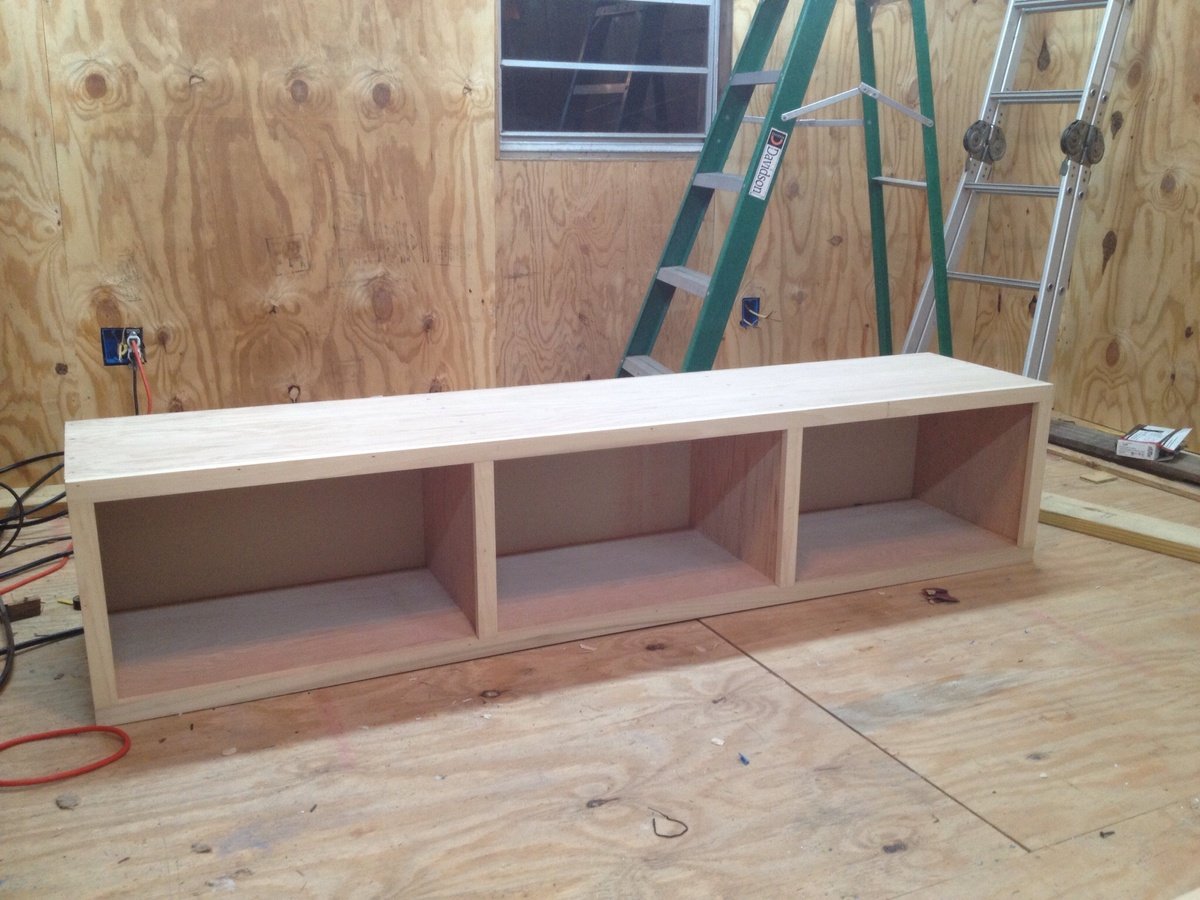
Estimated Time Investment
Weekend Project (10-20 Hours)
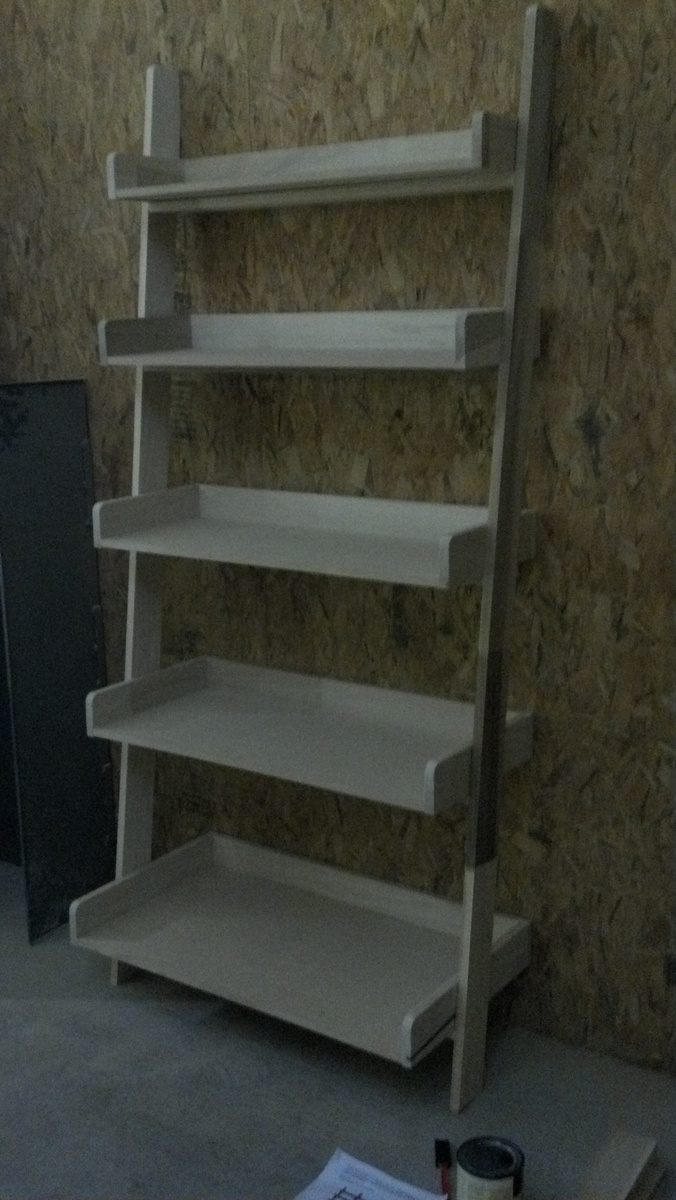
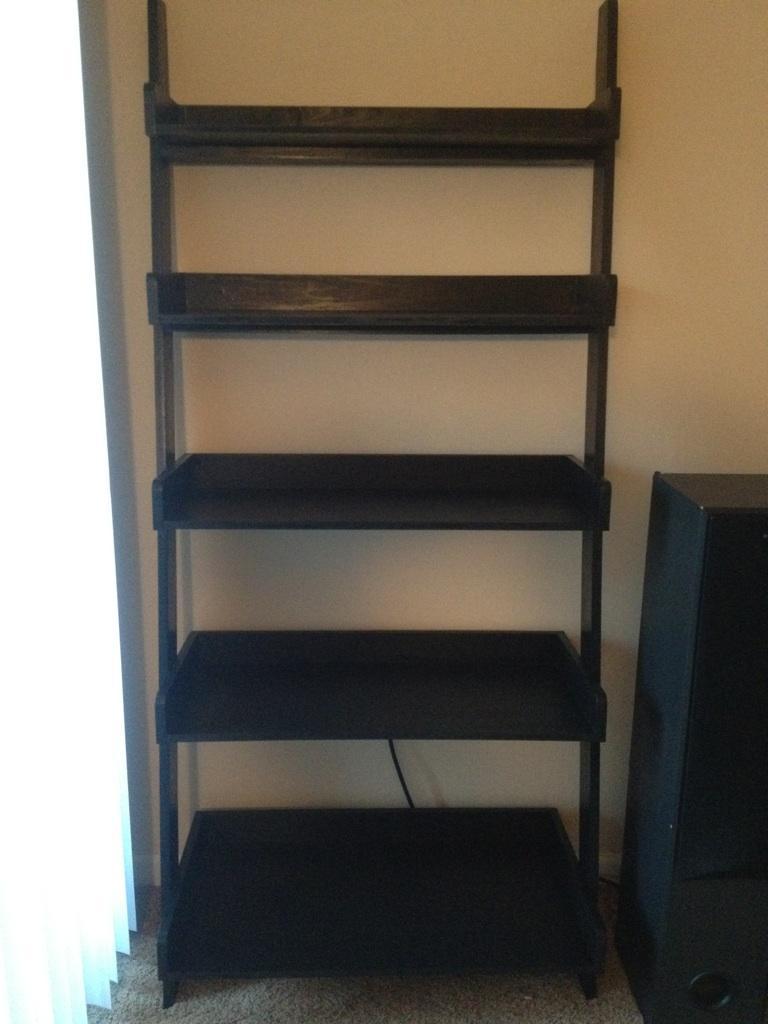
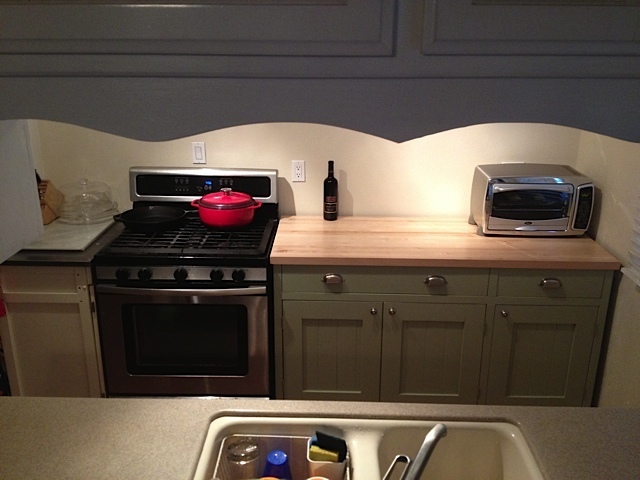
Finish Used
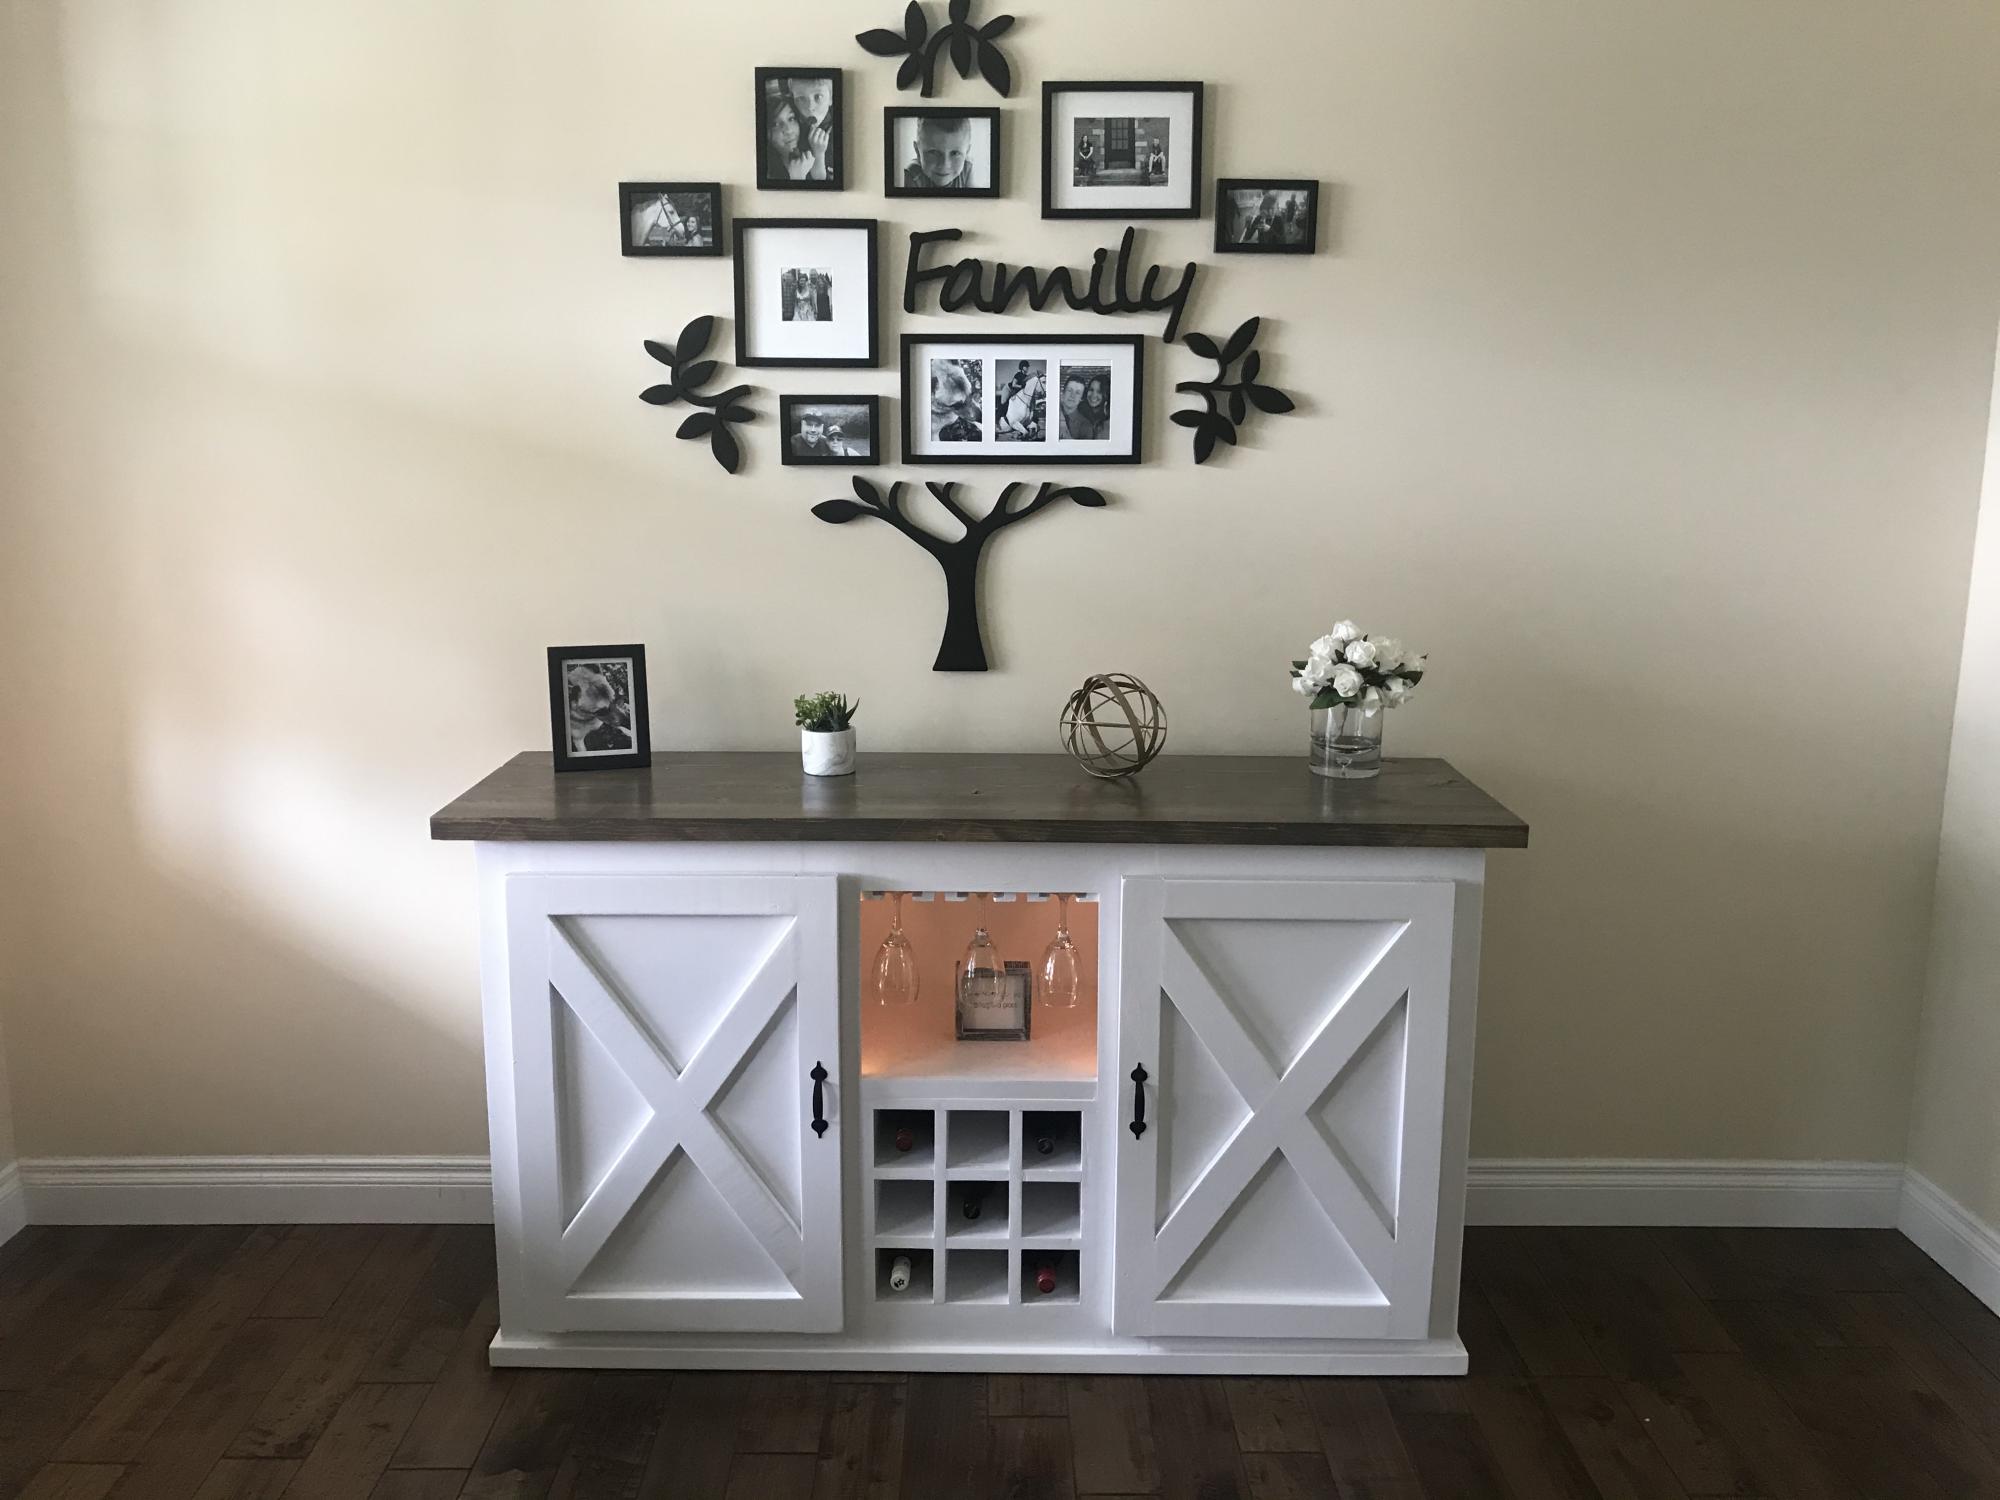
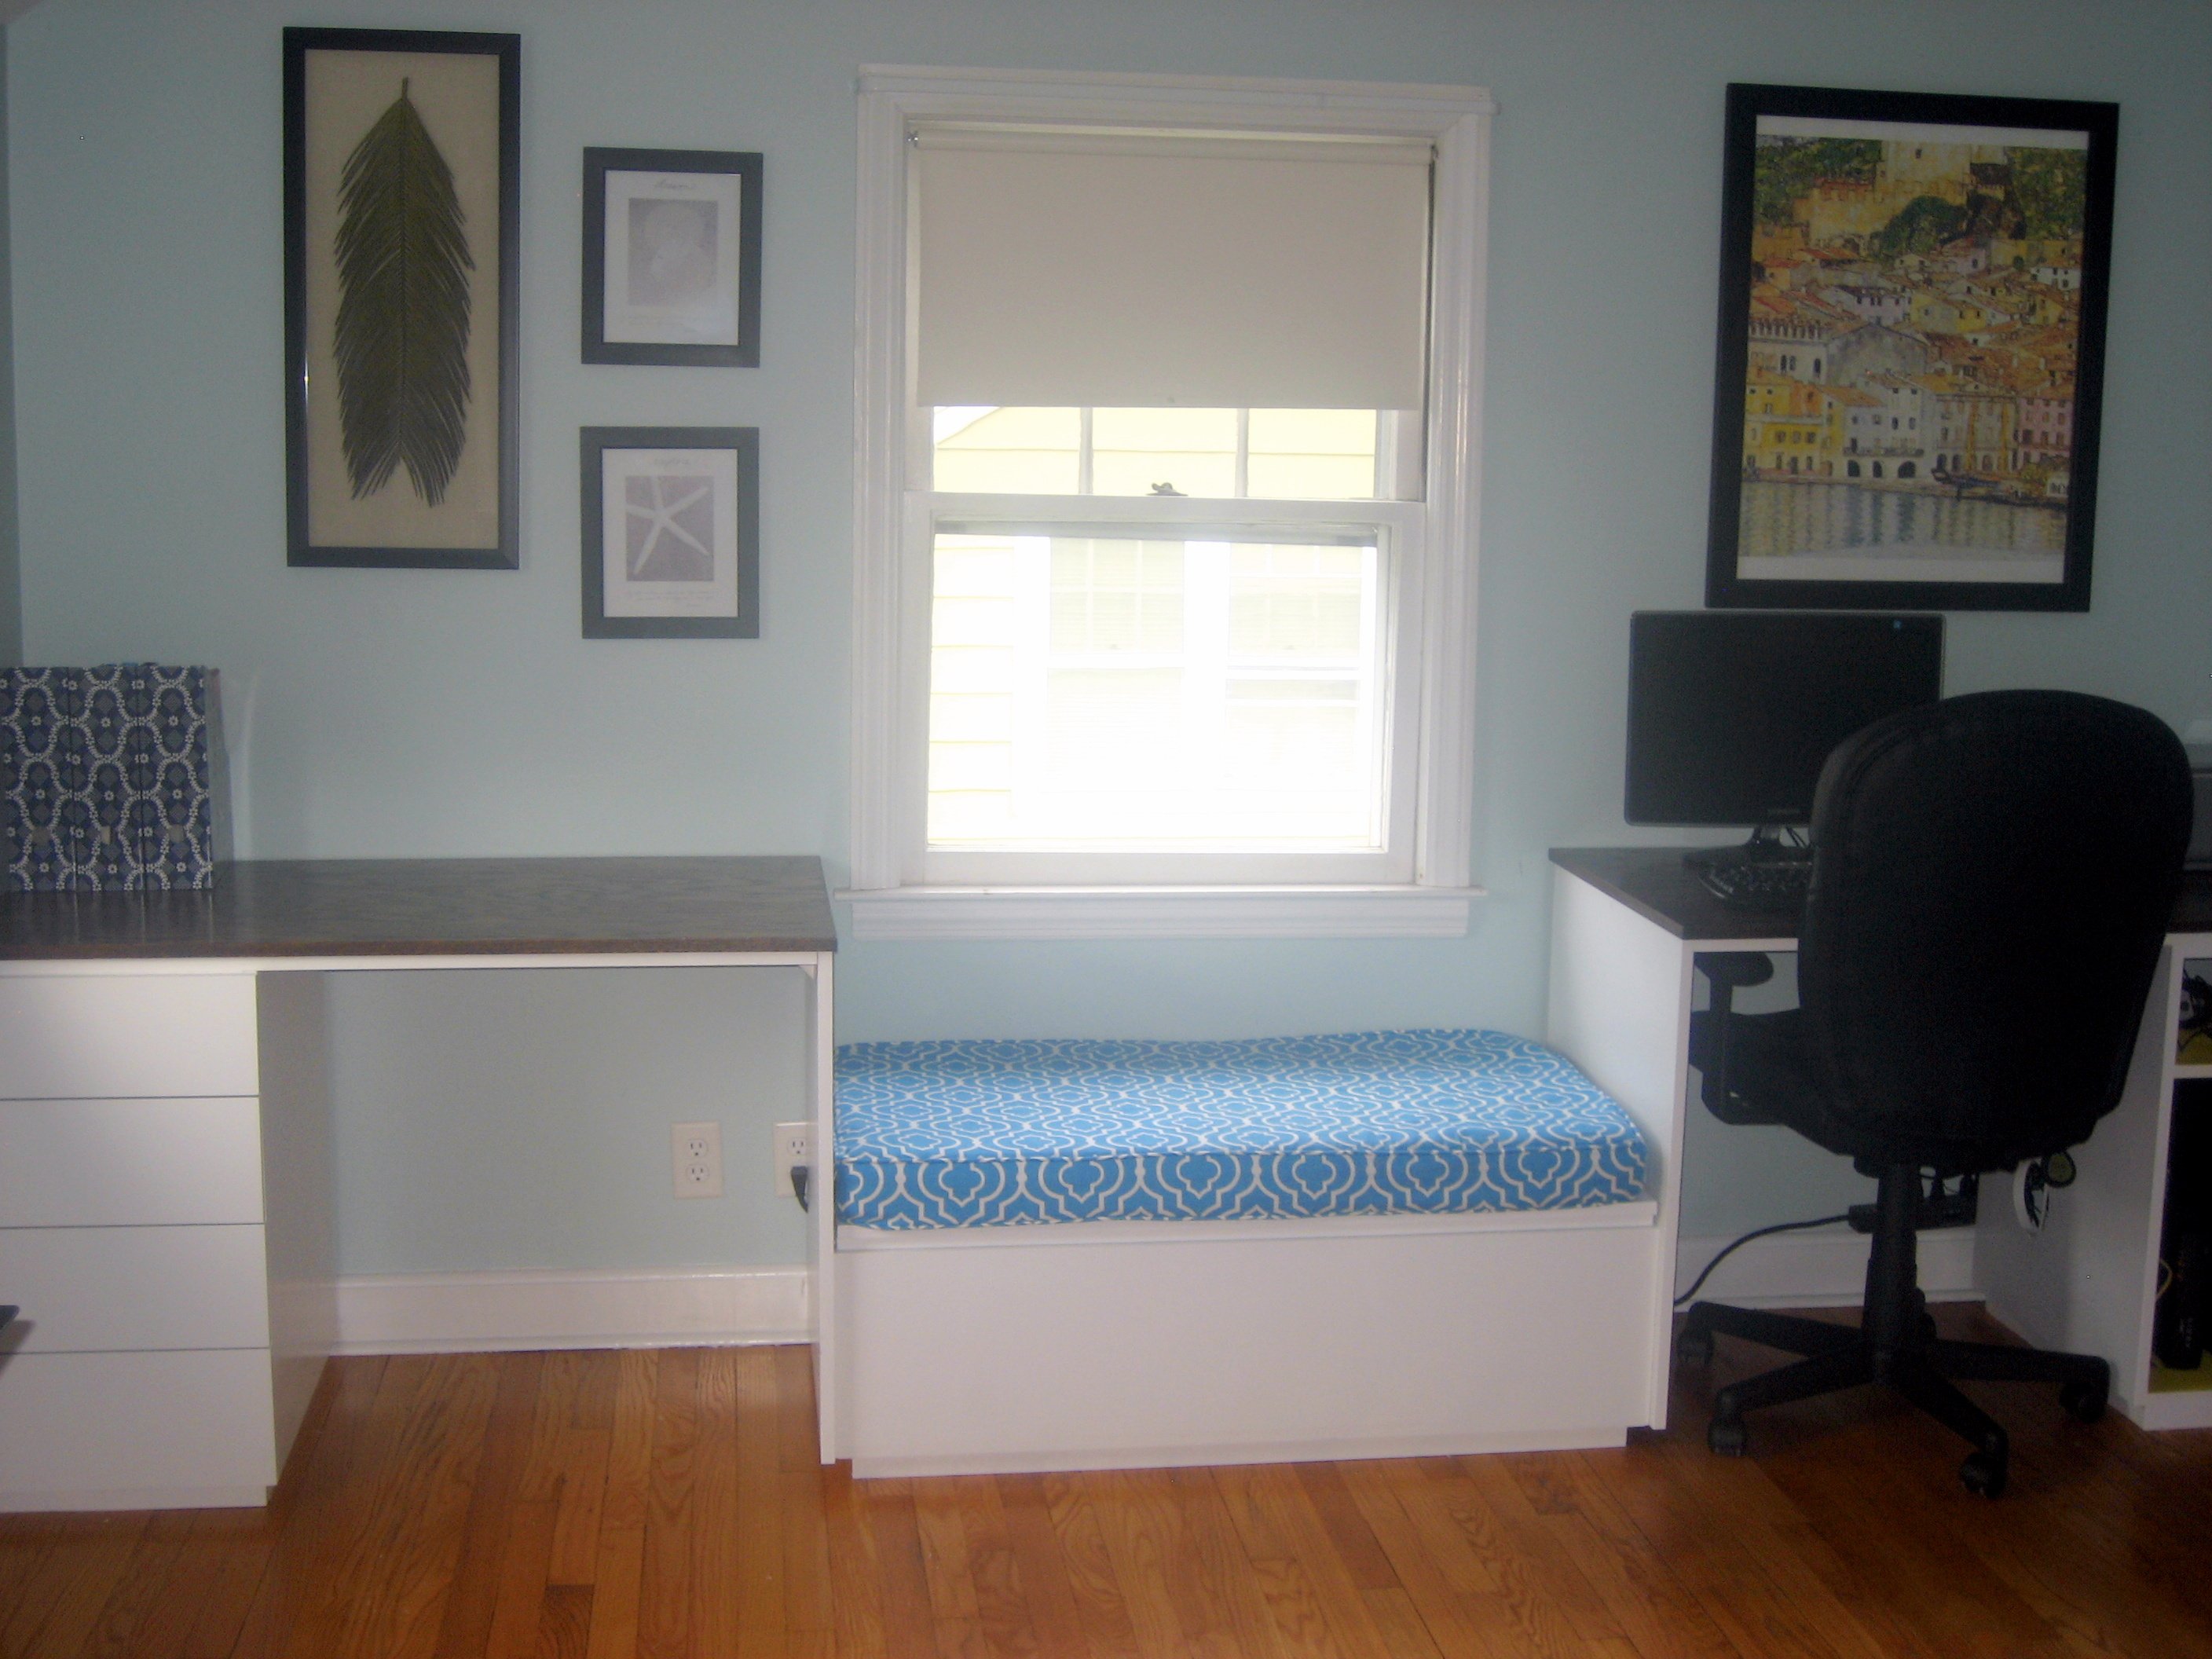
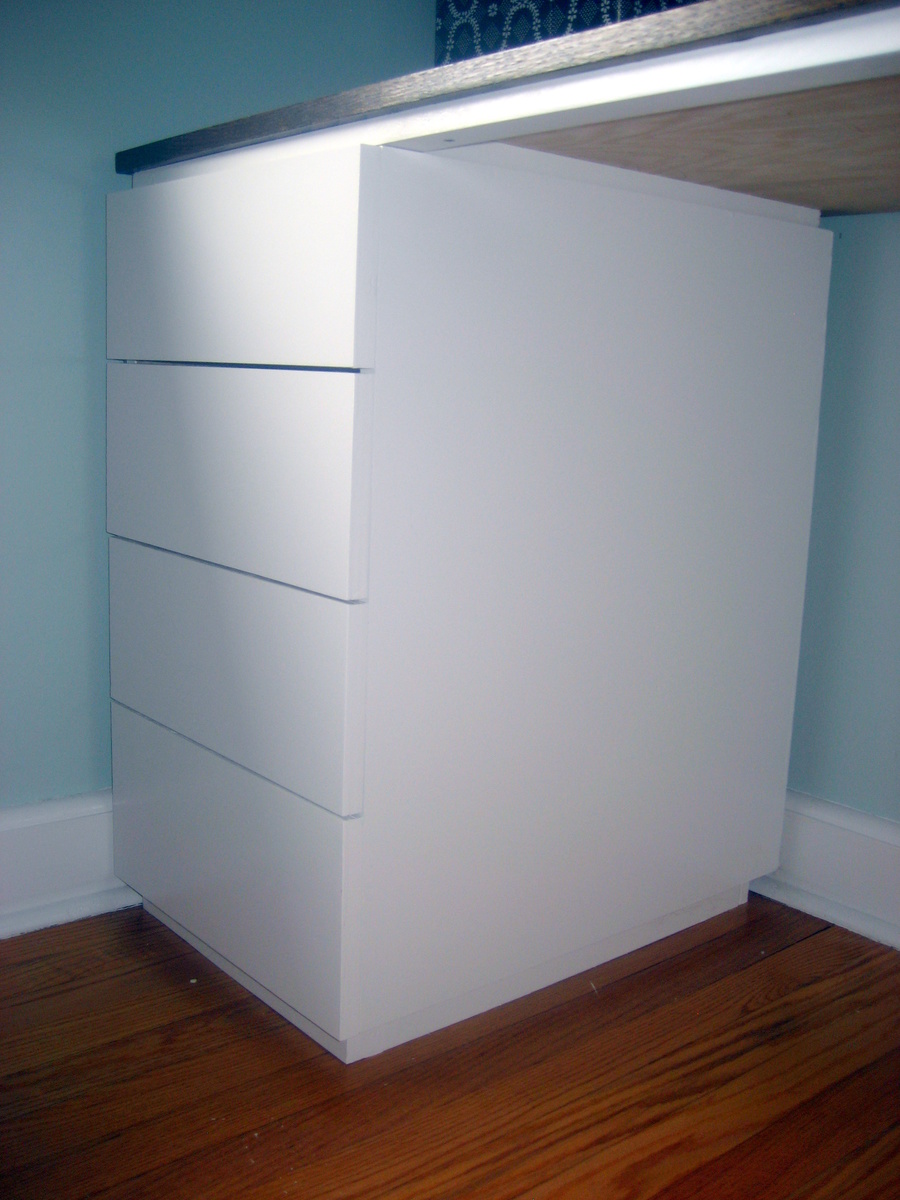
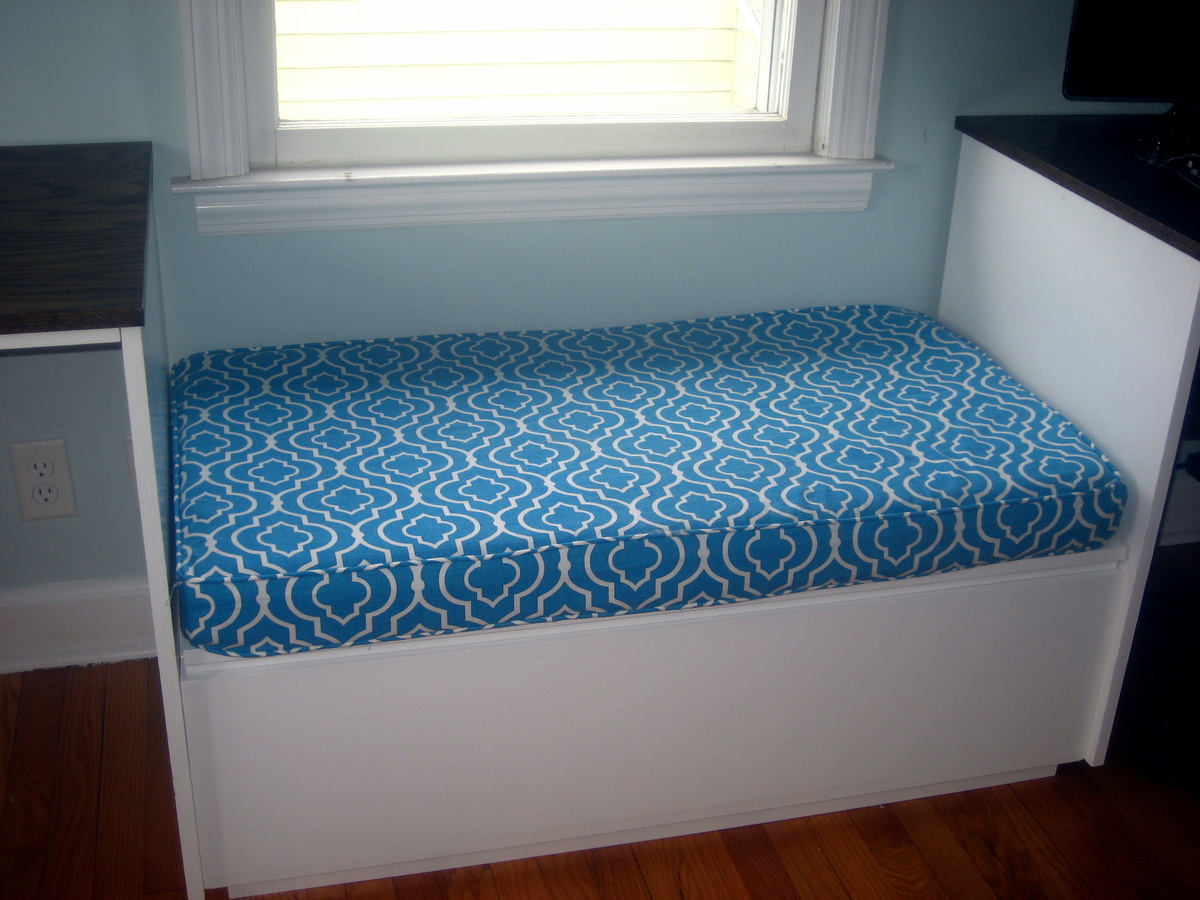
Flat white paint.
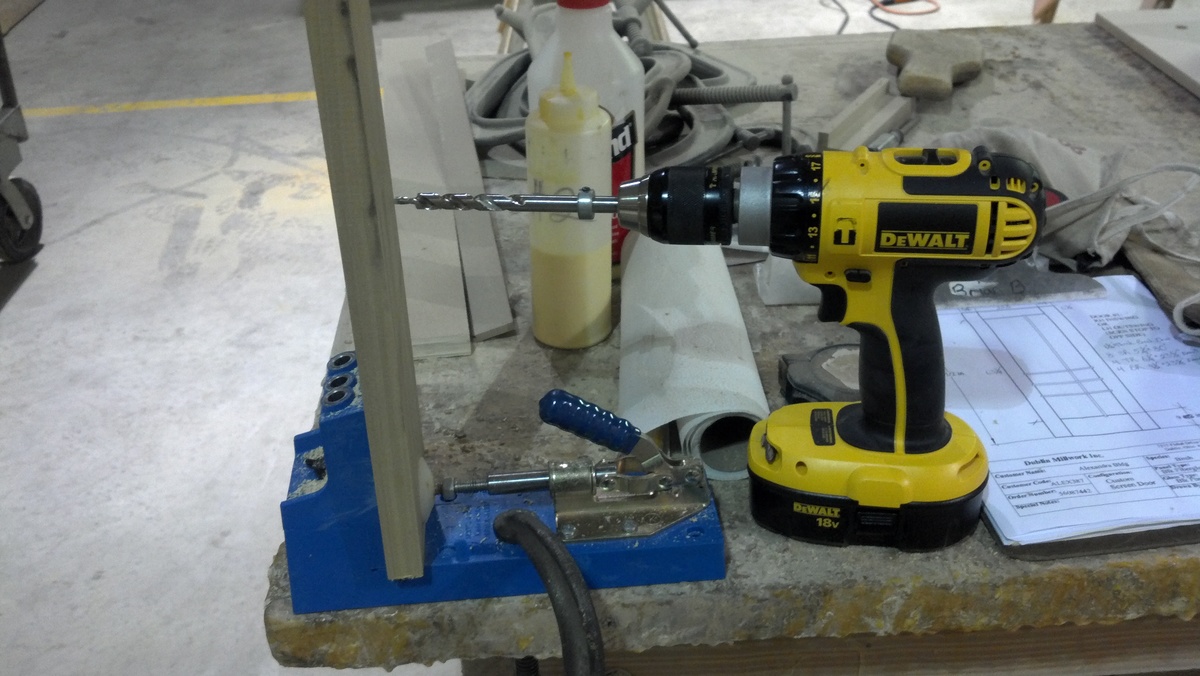
Recommended Skill Level
Intermediate