Community Brag Posts
Quilt Rack

Build Instructions: http://www.instructables.com/id/Quilt-Rack/
This is a nice little project that can be made in an afternoon. The simple design allows for easy construction with only a few basic tools. All joints are interference fit with glue added for extra strength.

Estimated Cost
$20
Estimated Time Investment
Afternoon Project (3-6 Hours)
Finish Used
Optional
Recommended Skill Level
Starter Project
My wife built a bed.
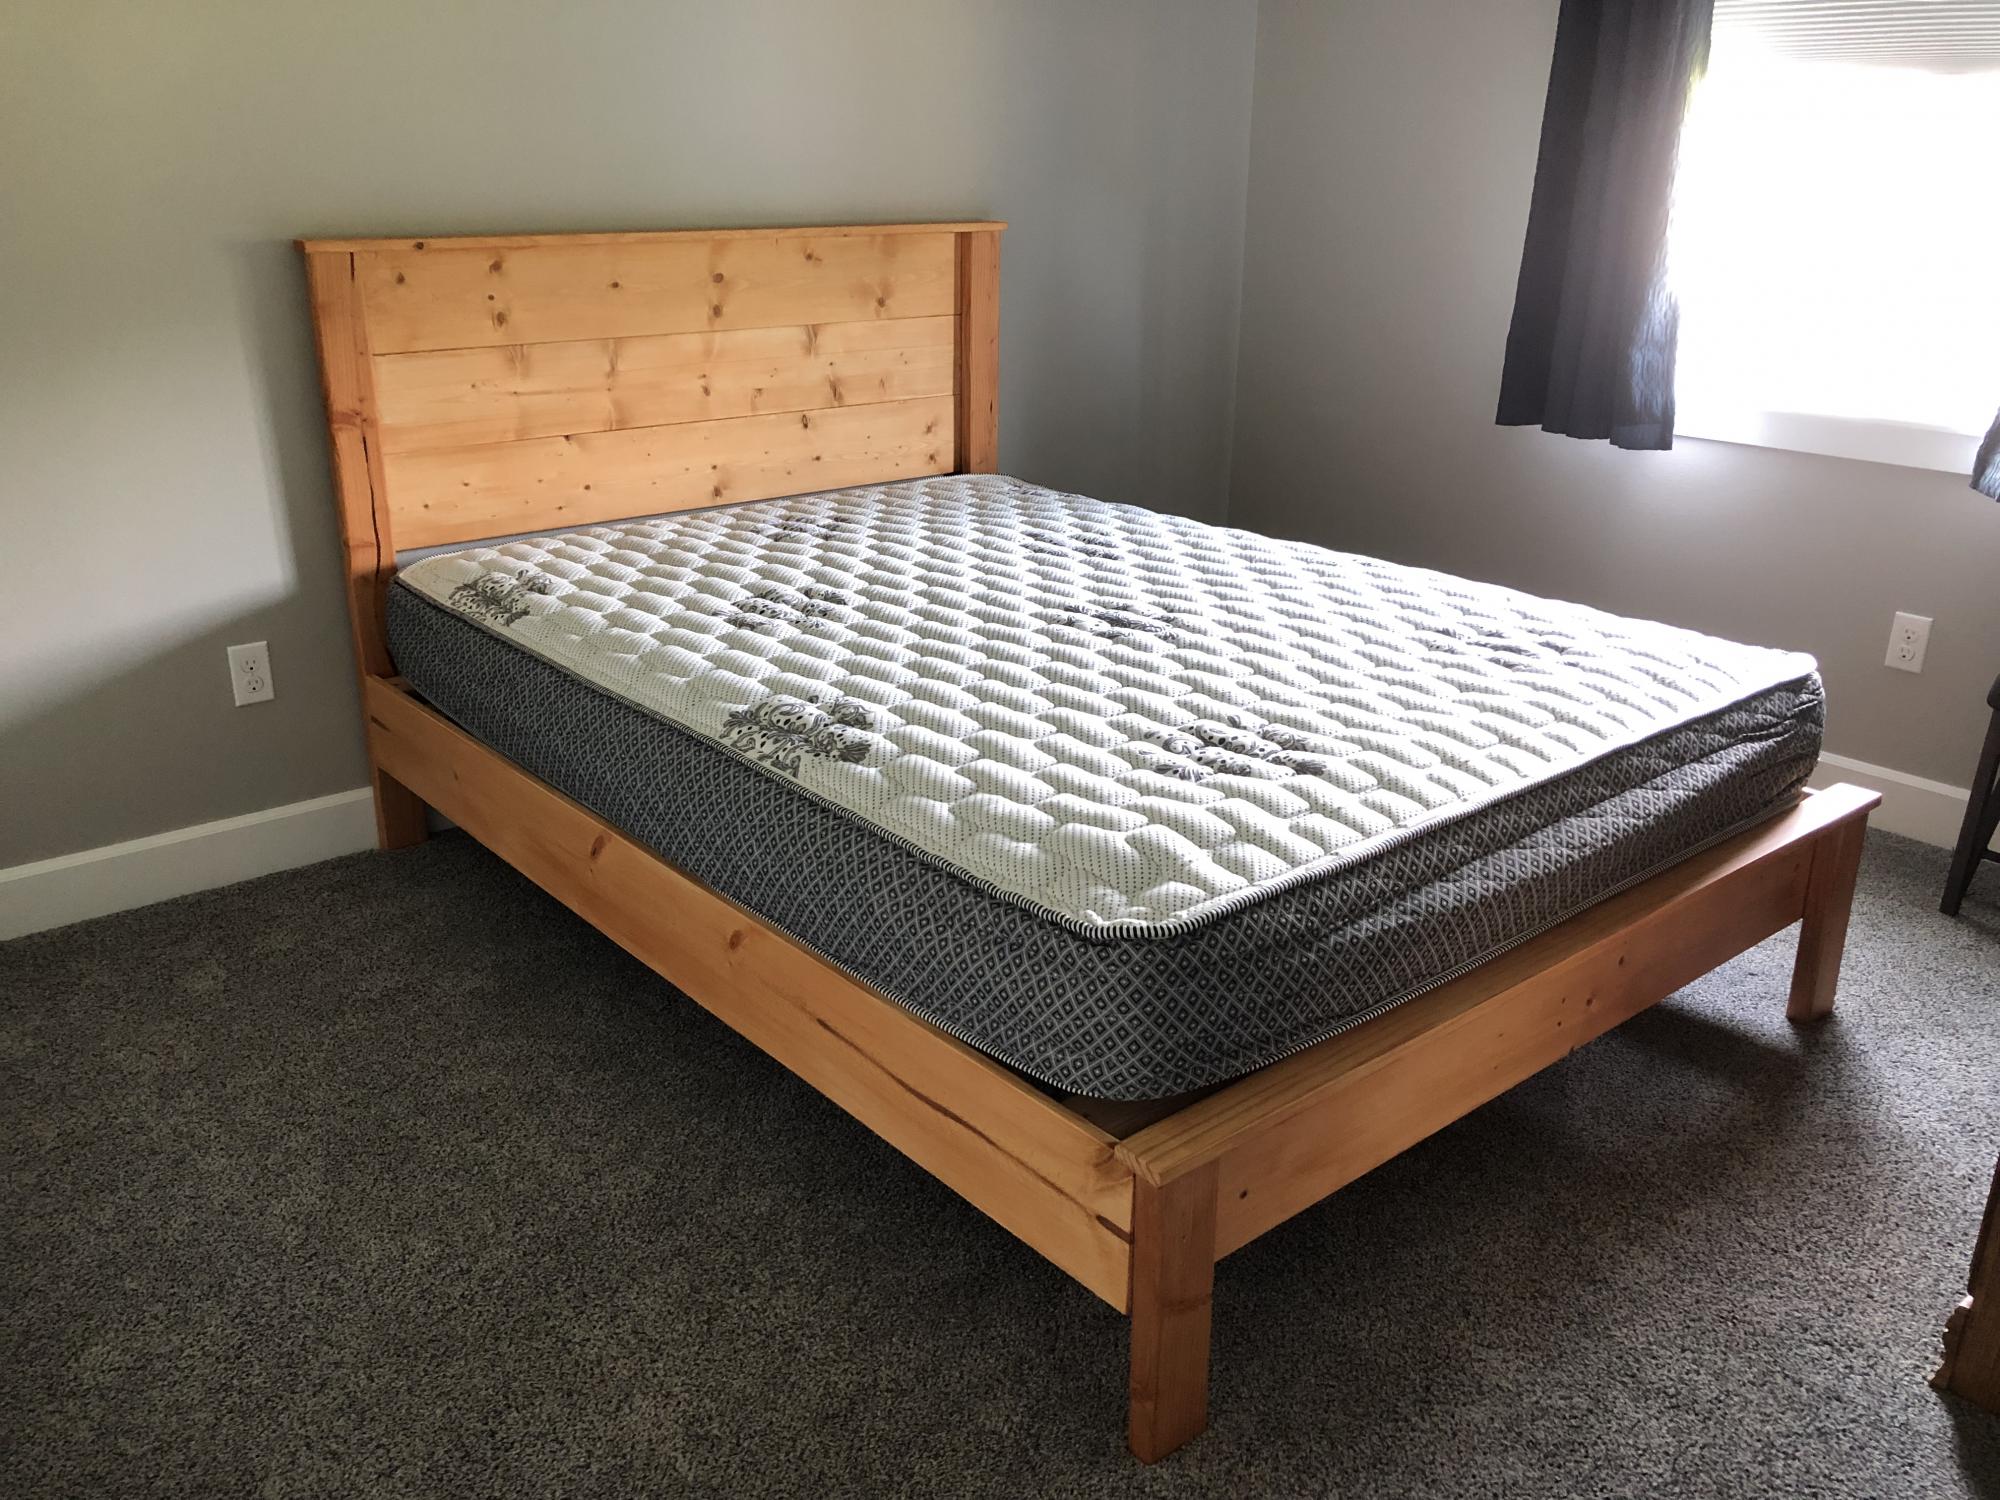
We looked for a simple plan for a bed and found this one on Ana’s site. Easy to build in a weekend.
Built from Plan(s)
Estimated Cost
$140 with all lumber and stain.
Estimated Time Investment
Weekend Project (10-20 Hours)
Finish Used
Poly stain
Recommended Skill Level
Beginner
Comments

Mon, 06/03/2019 - 11:35
Thank you so much for…
Thank you so much for sharing a photo! I've been looking forward to seeing how the bed turns out! Great job!
Outdoor Chairs
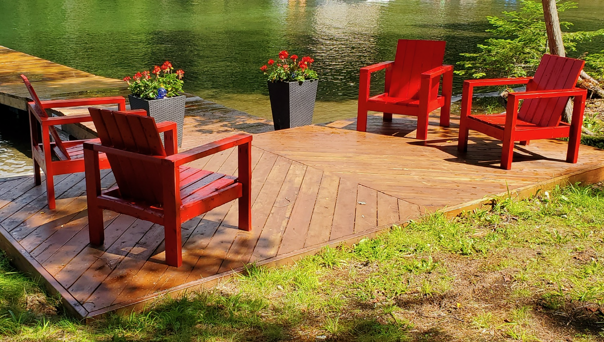
"I had a great time building these chairs."
Peter
Built from Plan(s)
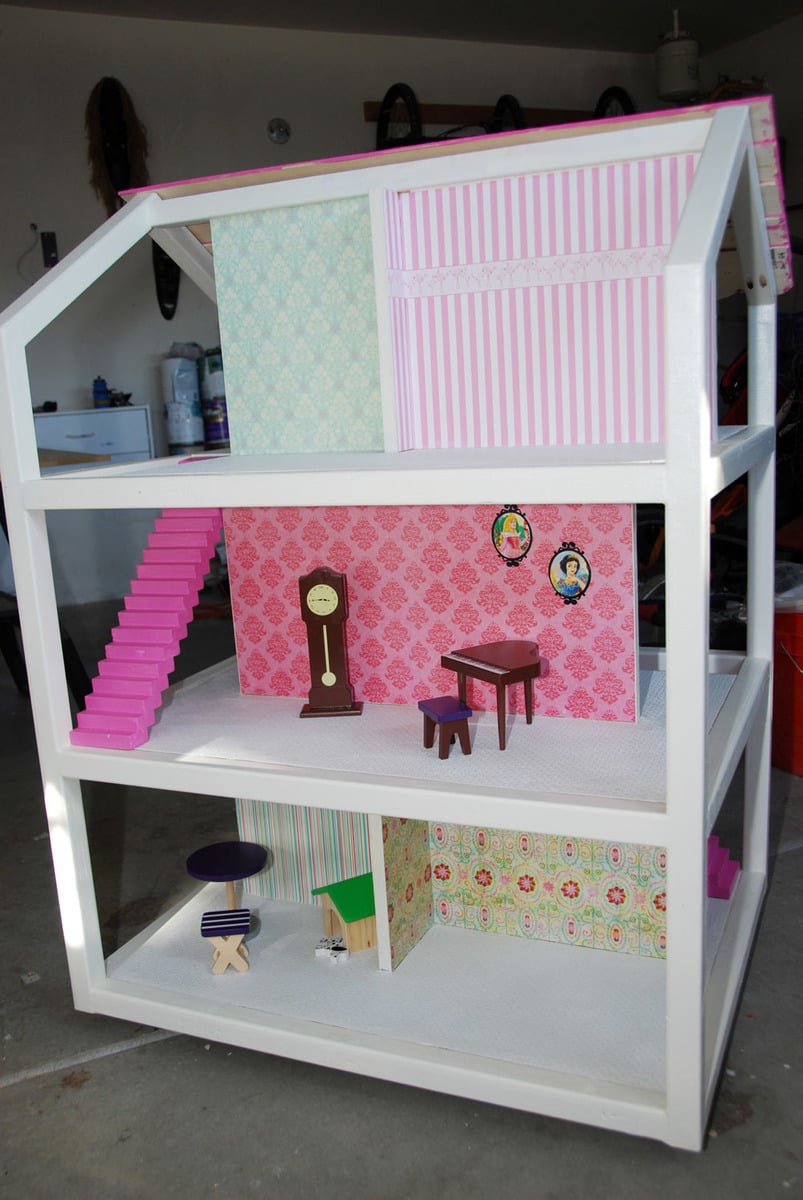
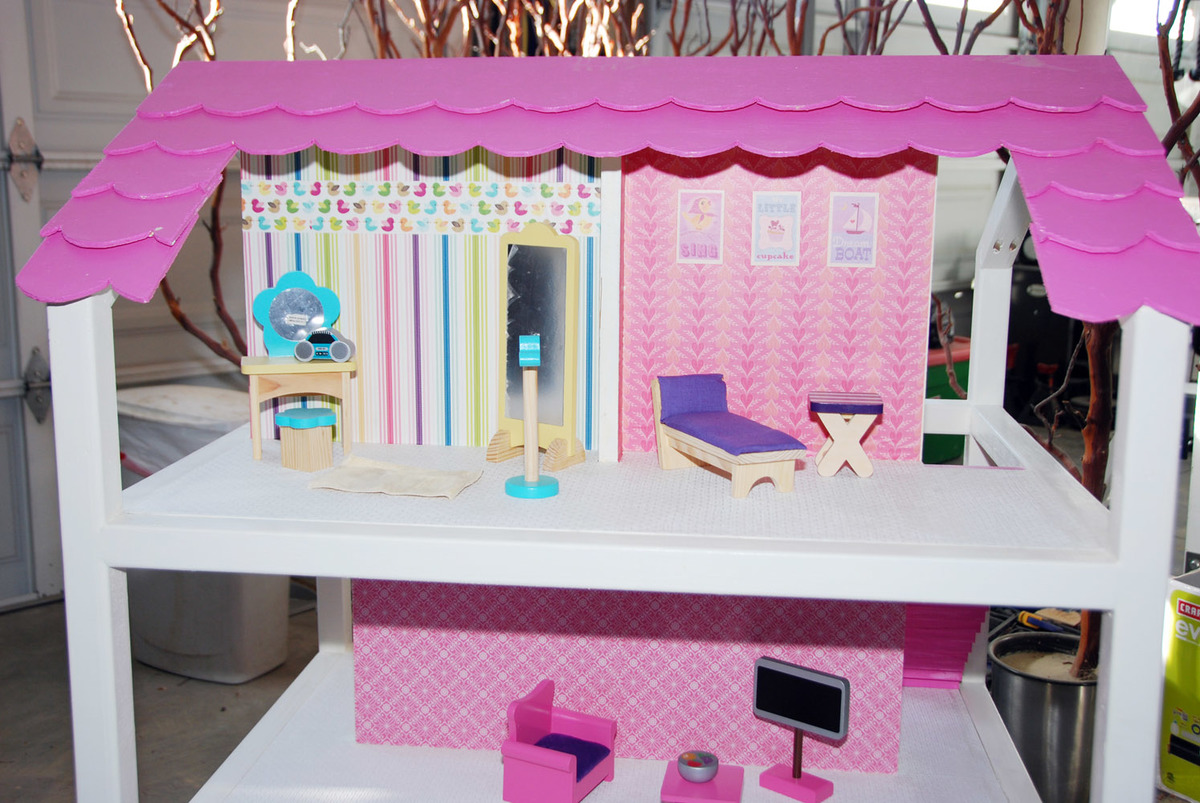
DIY KidKraft Chic Dollhouse
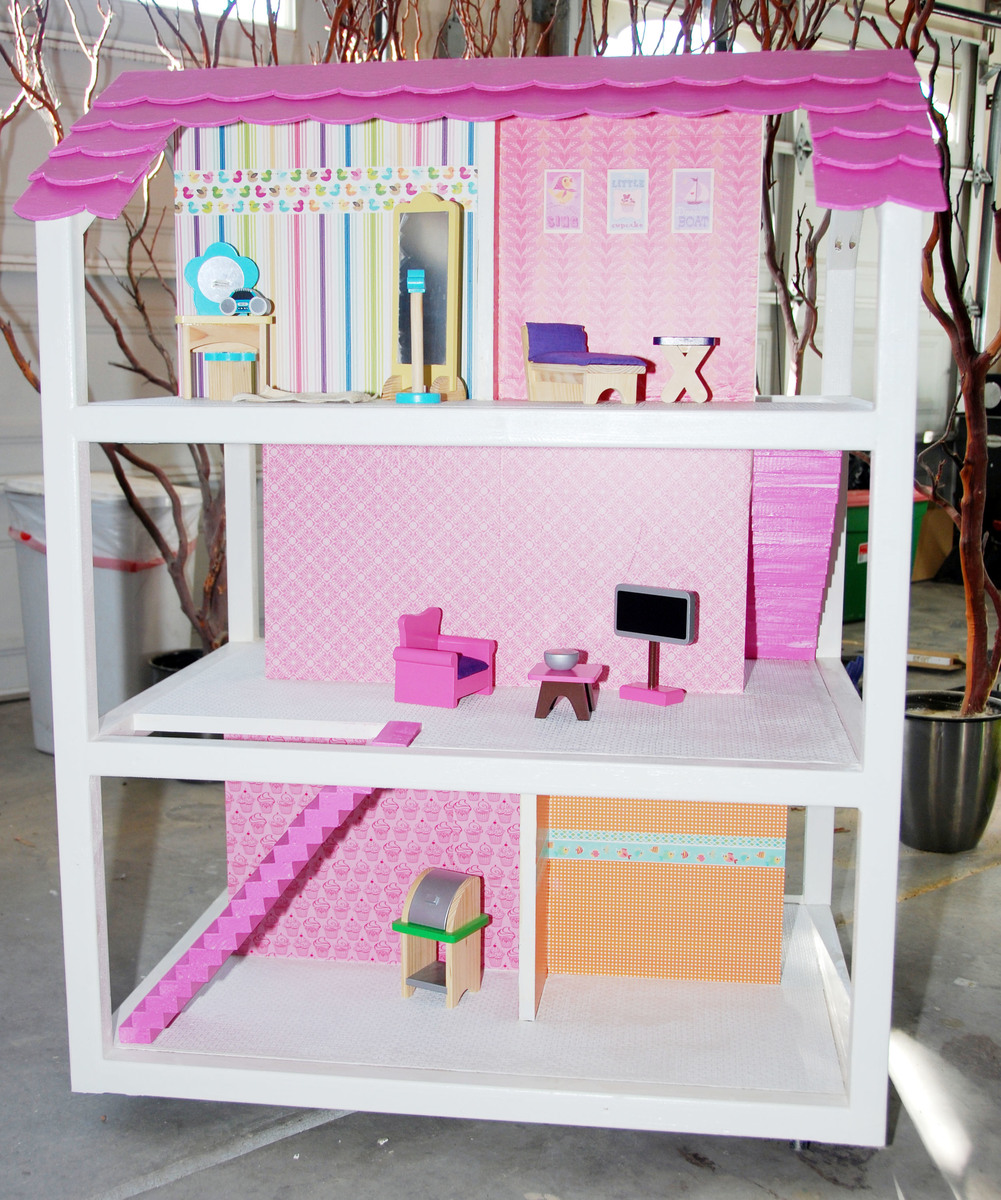
We're short on money this year so we decided to make our Christmas gifts for the kids. The KidKraft Chic Dollhouse is perfect for my daughter, but it's soo expensive. I used Ana's plans to make one that matches the decor in her room. This dollhouse is so sturdy, we can definitely use it as a bookshelf when she grows out of it!
Content was too heavy to post to please visit http://blog.prettyinprints.com/2011/12/diy-kidkraft-chic-dollhouse/ to see the entire thing (:
Built from Plan(s)
Estimated Cost
$100 with paint & floors, $60 or less without
Estimated Time Investment
Day Project (6-9 Hours)
Finish Used
Antique white high gloss for the frame, pink high gloss for the roof & stairs, decoupage walls, decoupaged textured (and paintable) wallpaper from Lowe's for the floors.
Recommended Skill Level
Intermediate
Comments

Tue, 12/06/2011 - 14:30
Thank you!!
Now we just need to figure out how to hide it until Christmas (:

In reply to Thank you!! by prettyinprints
Wed, 12/07/2011 - 06:42
Tough one
In somebody else's garage perhaps?
Mon, 12/19/2011 - 07:35
Thanks for the pics!
I'm currently working on this dollhouse, so it's fantastic to see one that another reader has completed. Sometimes I look at what Ana has come up with and think, "Is it possible for someone else to make one that looks that awesome?"
Thanks for proving it can be done. Your dollhouse looks amazing!
As far as hiding it, I second using a neighbor's garage. I remember my brother and I scouring the entire house when we were young, looking for Mom and Dad's secret Christmas stash. Good luck keeping it hidden!
Wed, 12/21/2011 - 08:23
Thanks for the inspiration
We are almost done making our girls house and needed some more ideas on how to finish it. Yous looks great.
Sat, 12/31/2011 - 00:16
Excellent plans
Made this for my daughter this Christmas. It was perfect. She loved it. I know she will get years of use out of it. Thank you so much.
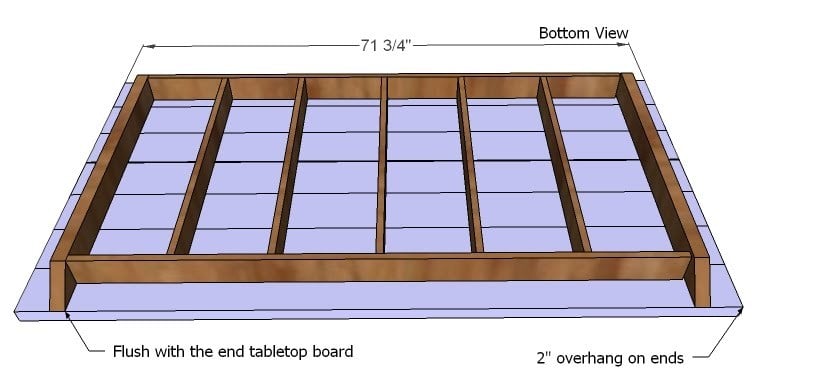
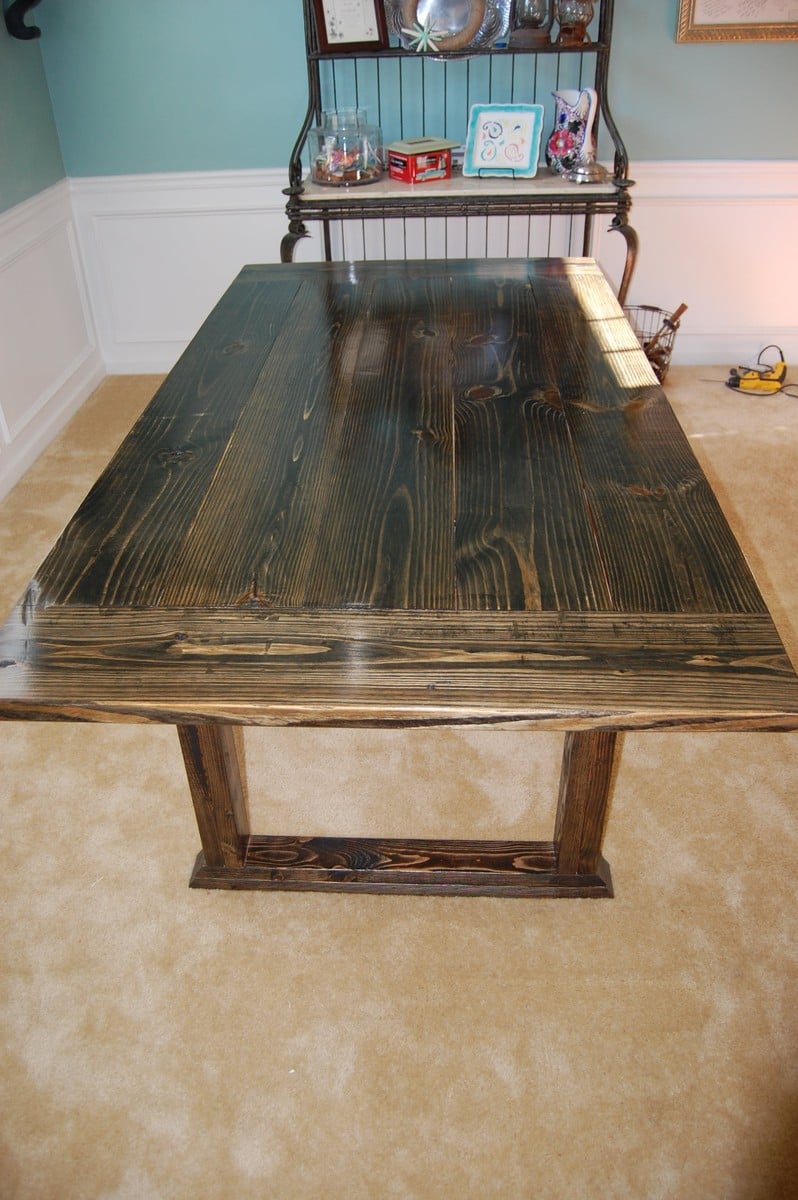
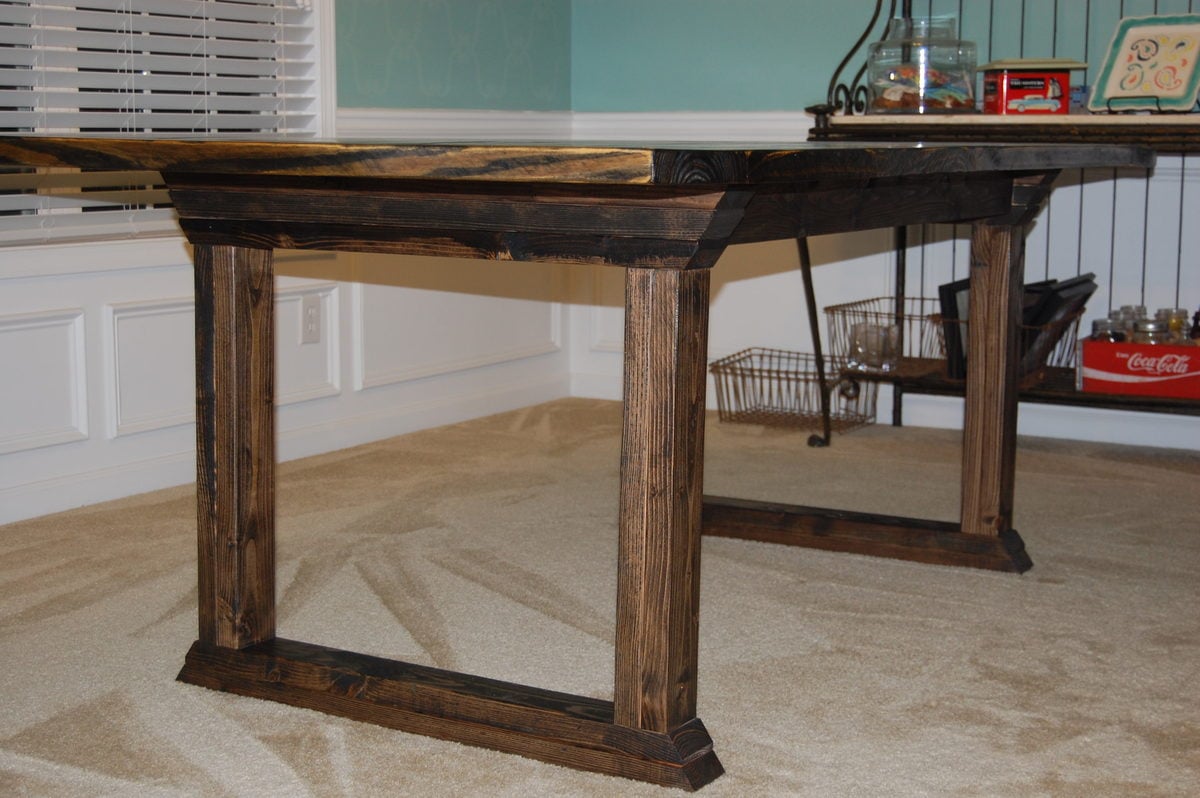
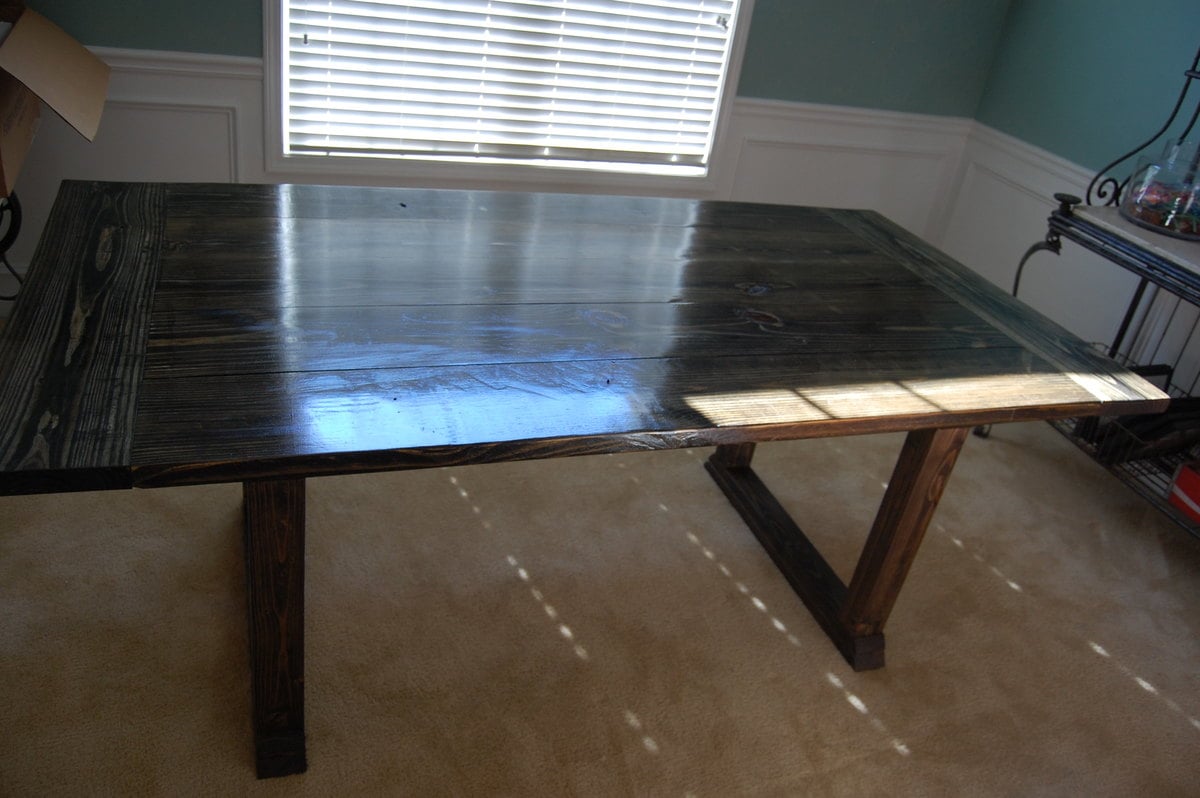
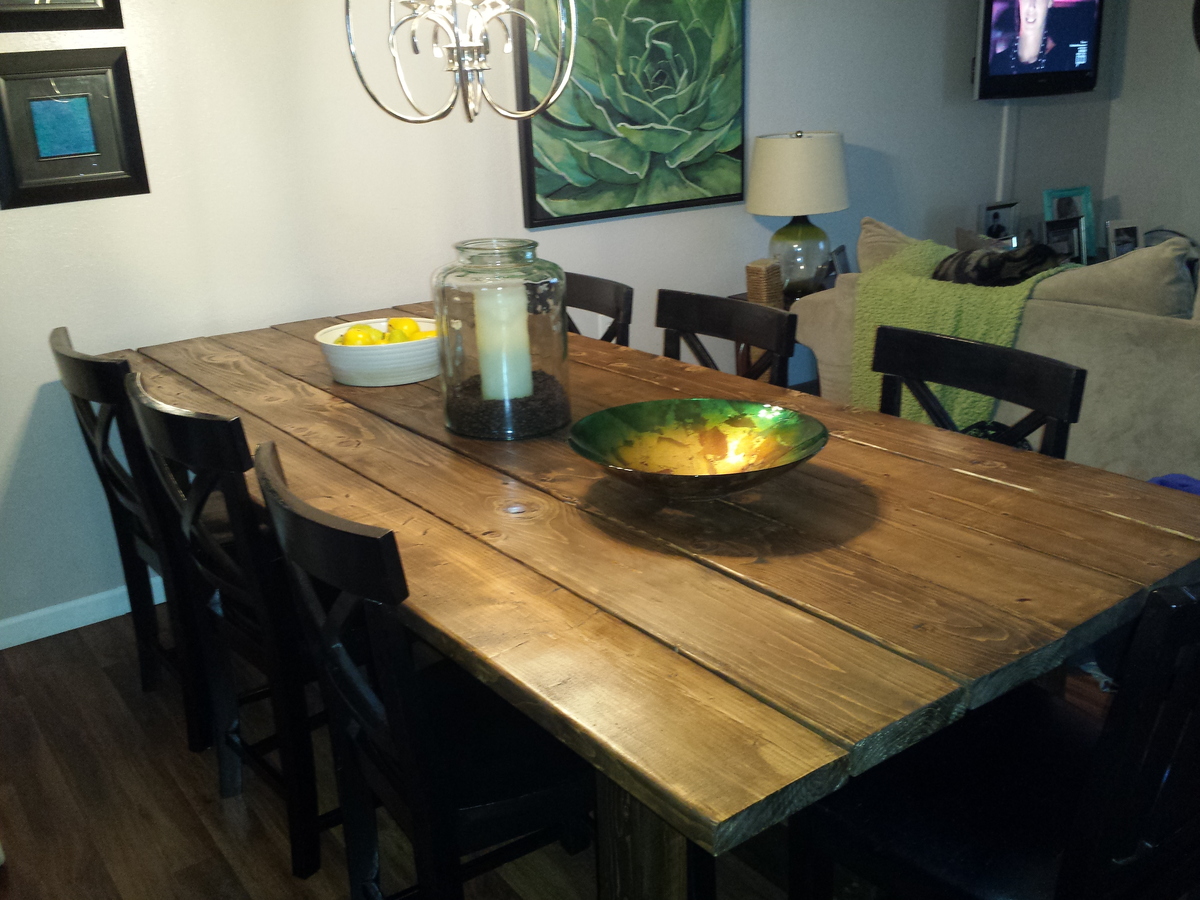
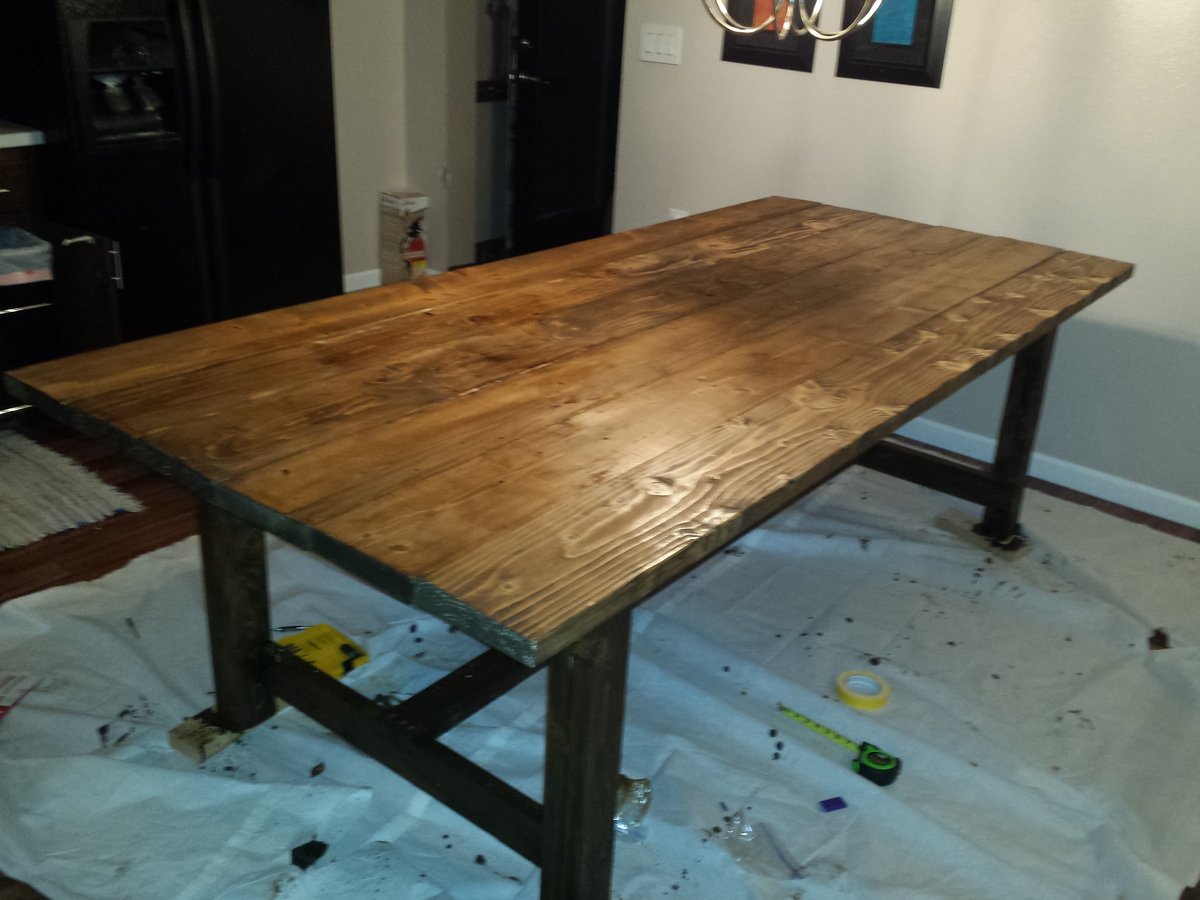
Dining Room Table
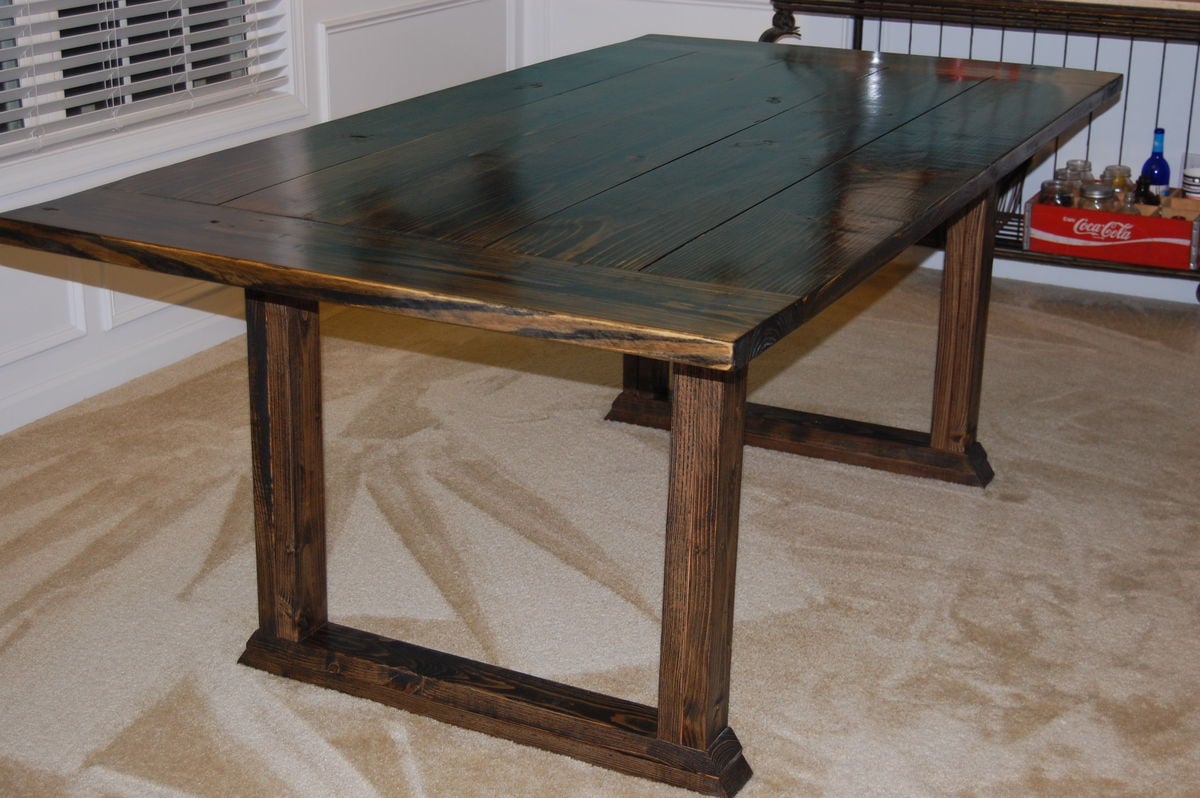
Check out thepaisleypeanut.com for more details, but we just loved this plan, so we tweaked it a little, but it's perfect!!
Built from Plan(s)
Estimated Cost
$40
Estimated Time Investment
Afternoon Project (3-6 Hours)
Finish Used
Ebony by Minwax
Recommended Skill Level
Intermediate
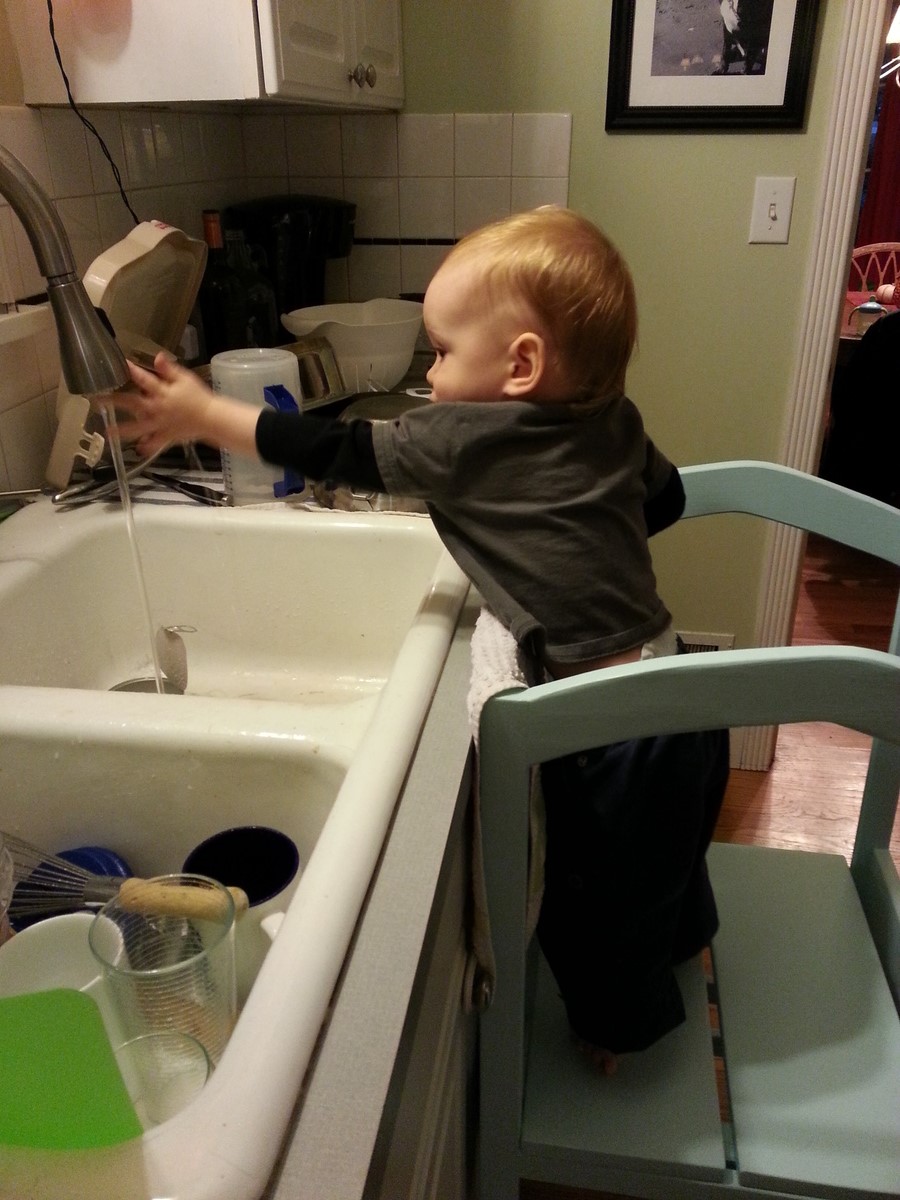
Small Rolling Kitchen Island Rustic X
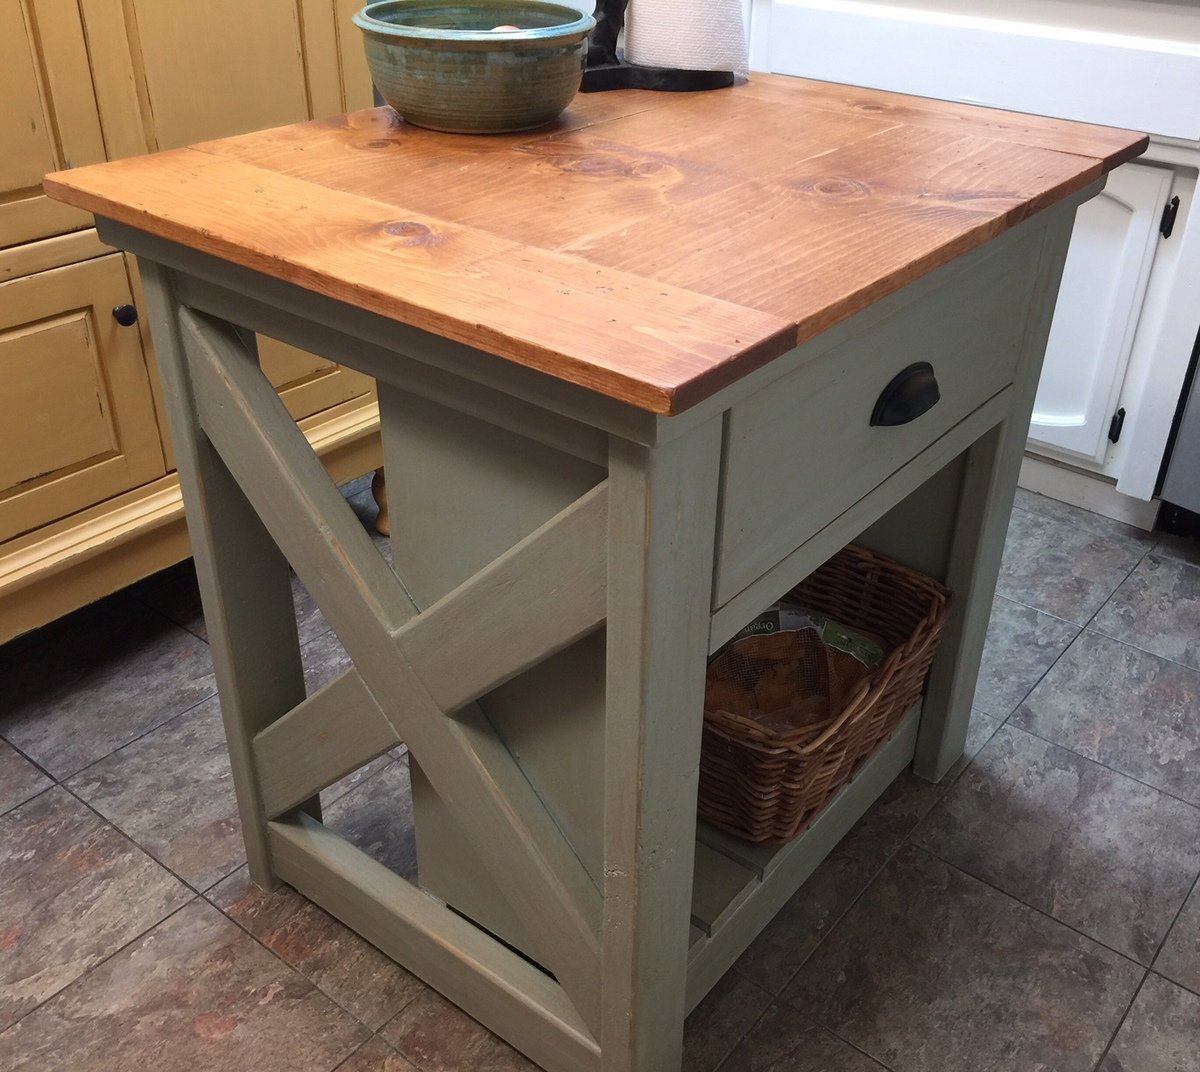
This was my husband's first furniture build and he really enjoyed it. The whole project took about three or four hours to build. He changed the top to a plank style with Douglas fir pine planks which I then beat up with a hammer and a screwdriver to look old. The top was then stained with five layers of Minwax Ipswich Pine and sealed with two coats of satin polyurethane. The base of the island was chalk painted, then distressed. I then took the Minwax furniture stain and wiped it on over the chalk paint and immediately wiped it off to age it and darken the chalk paint. I then sealed it with Rustoleum Chalked Matte Clear. We love our new kitchen island and it really fits in with our little cottage!
Built from Plan(s)
Estimated Cost
$75-$100
Estimated Time Investment
Afternoon Project (3-6 Hours)
Finish Used
Chalk paint, Minwax Ipswich Pine
Recommended Skill Level
Beginner
Farmhouse Mirror
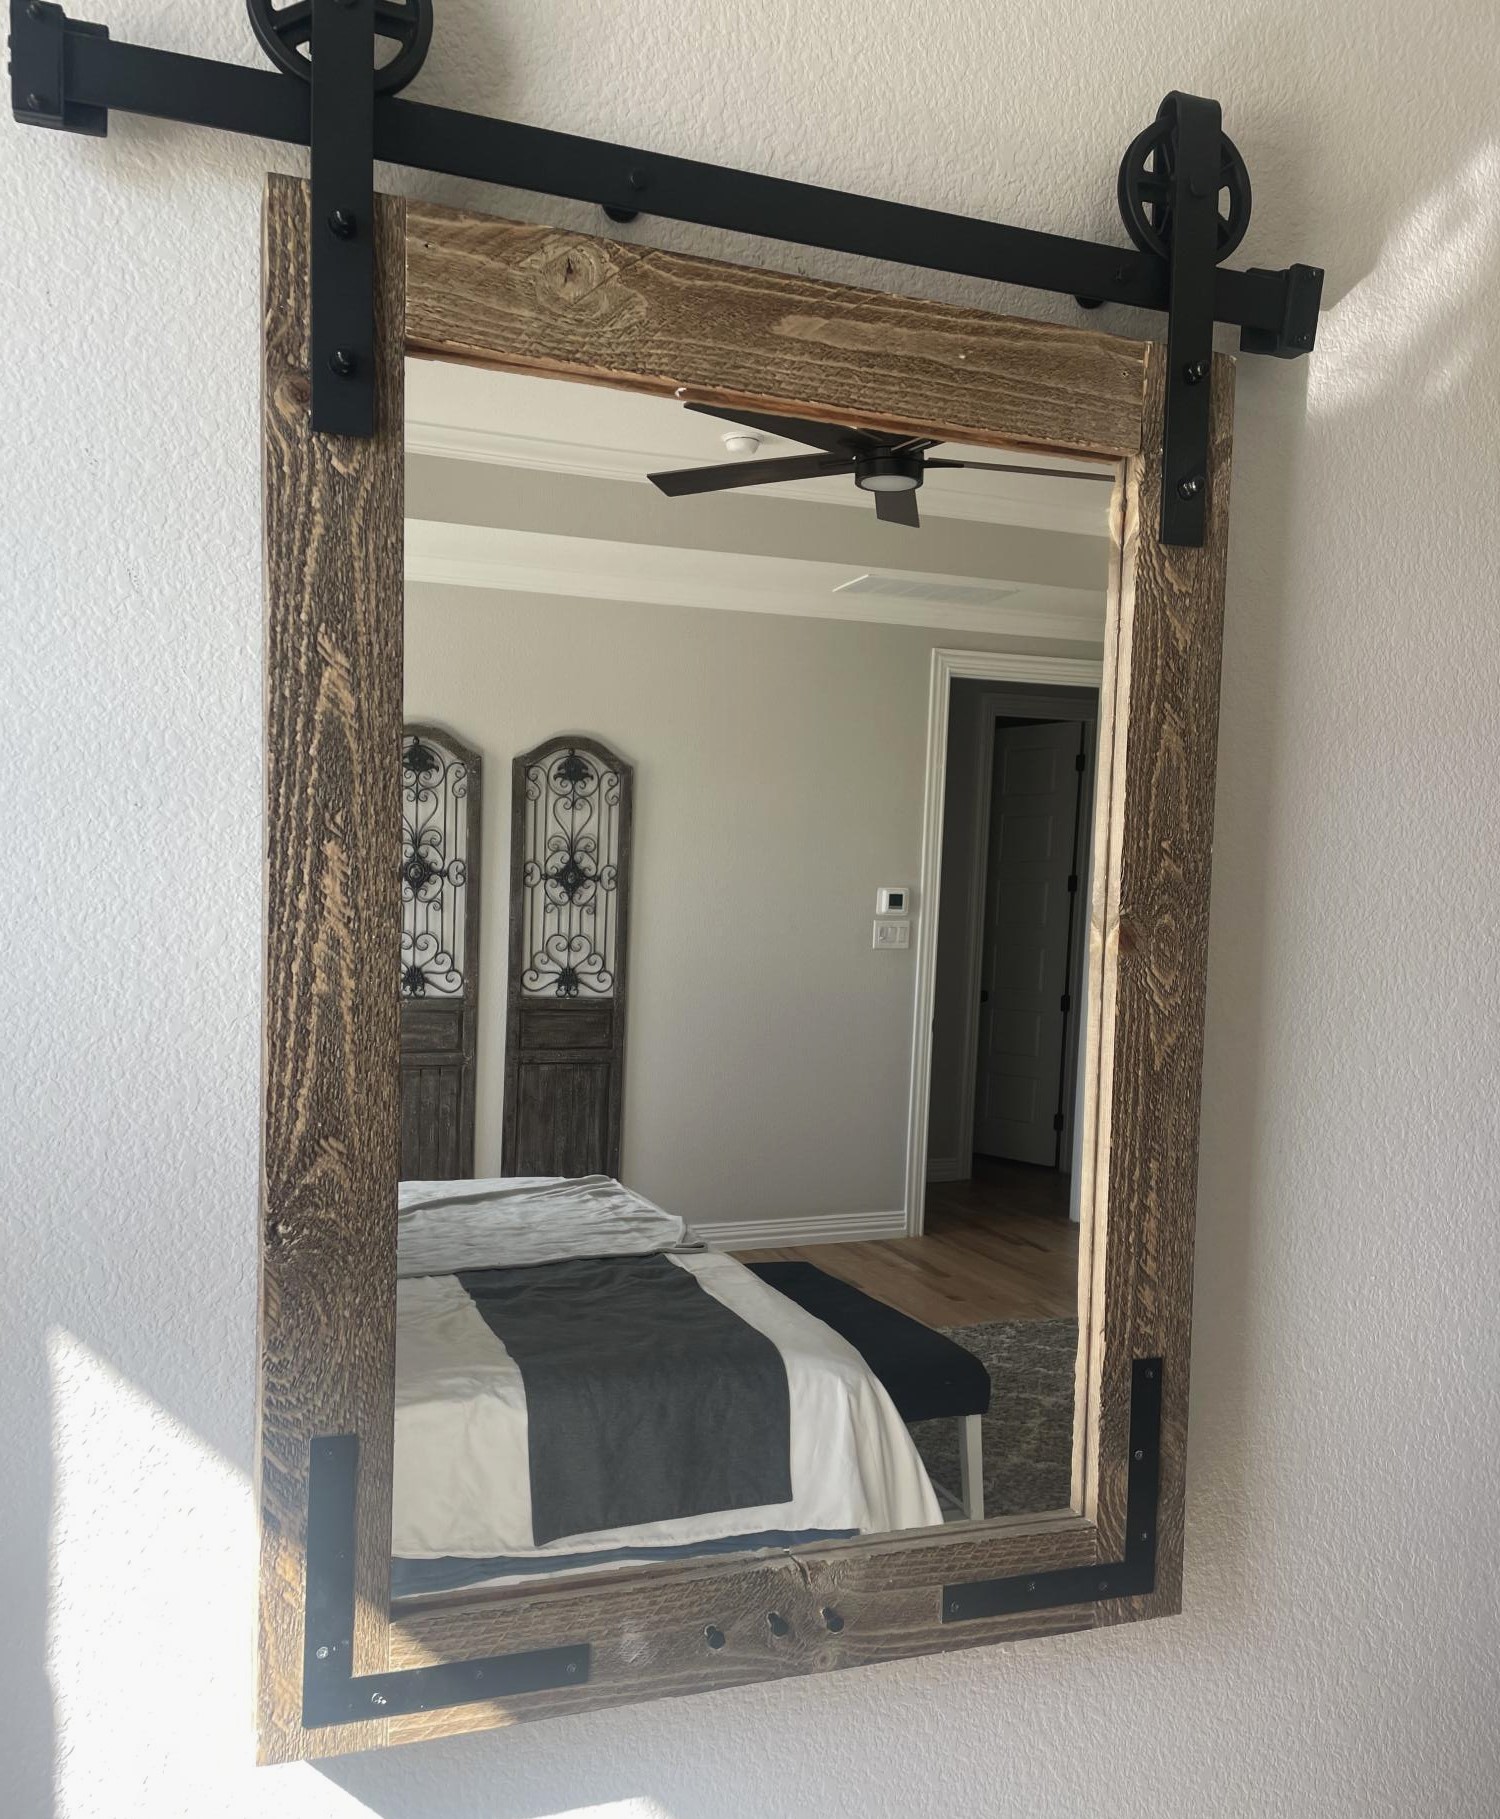
This is a simple project that requires very few tools and a beginners level took about a hour to make:)
Comments
Mon, 03/27/2023 - 15:35
Great farmhouse mirror project!
This looks fantastic, thank you for sharing!
Easiest Chalkboard Shelf from Scraps
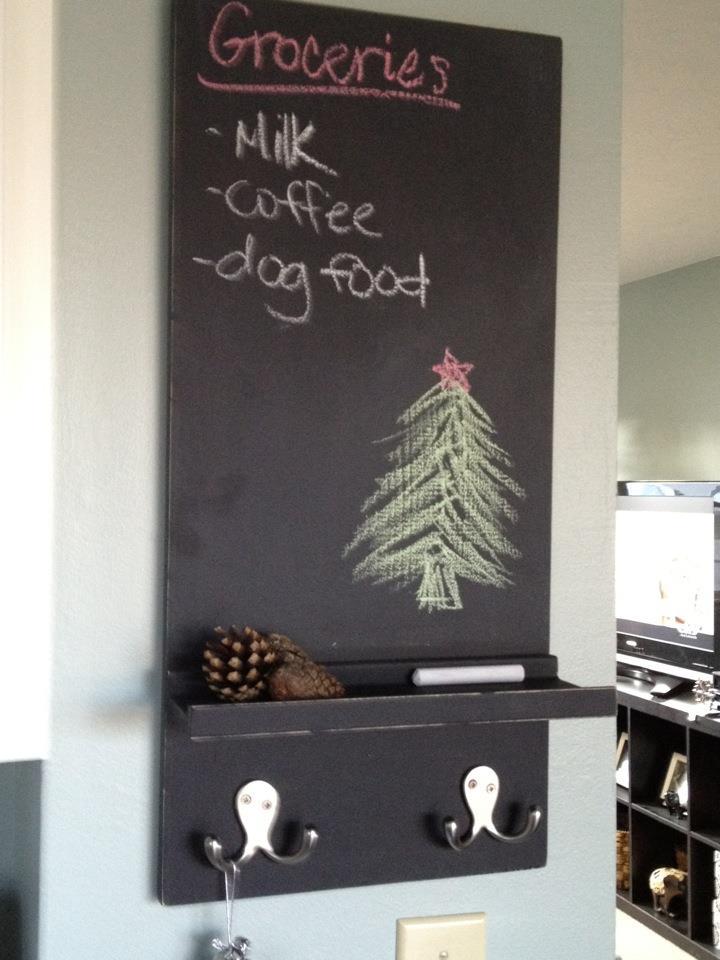
Chalkboard
Built from Plan(s)
Estimated Time Investment
An Hour or Two (0-2 Hours)
Finish Used
Chalkboard paint
Recommended Skill Level
Starter Project
Comments
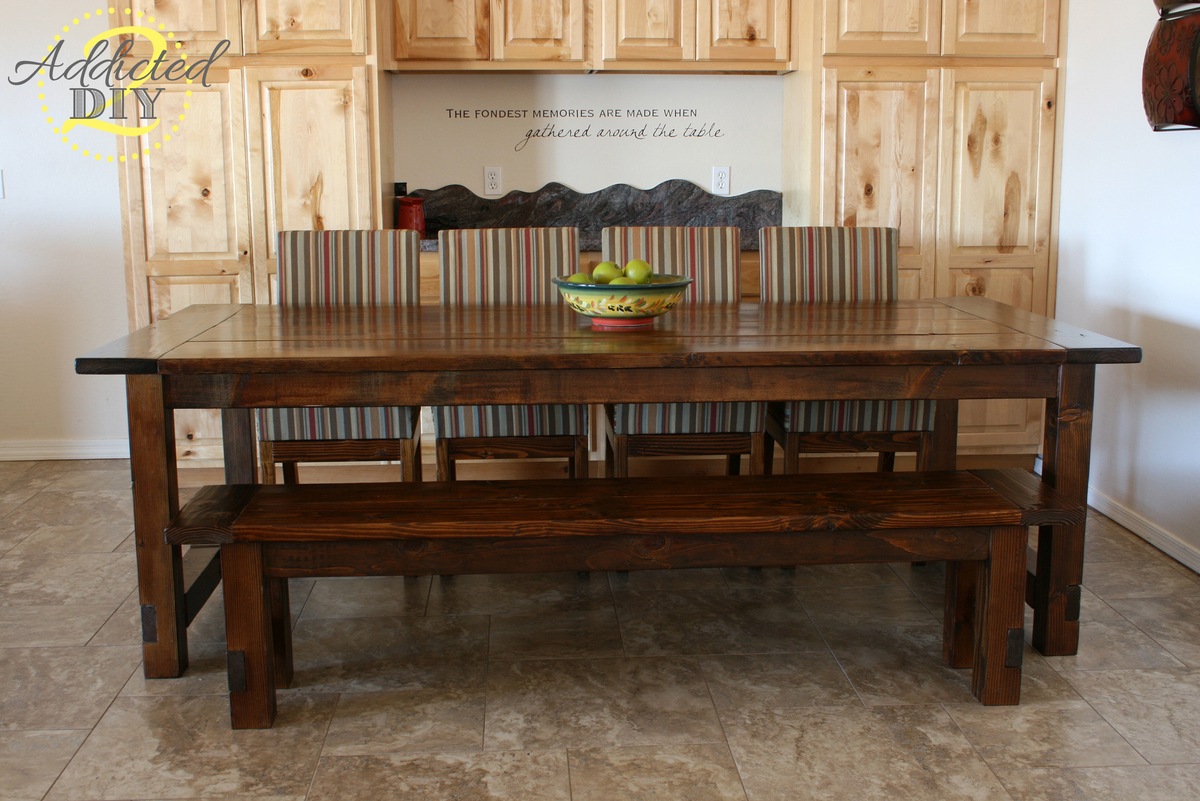
Farmhouse table
We originally re-sized these plans smaller to make a worktable for my office. Once that was built and we realized that we actually could make a table, we decided to make the full sized version. It turned out beautifully! A couple of clients have actually asked if they could pay us to make them one! Thank you, Ana, for the plans. :-)
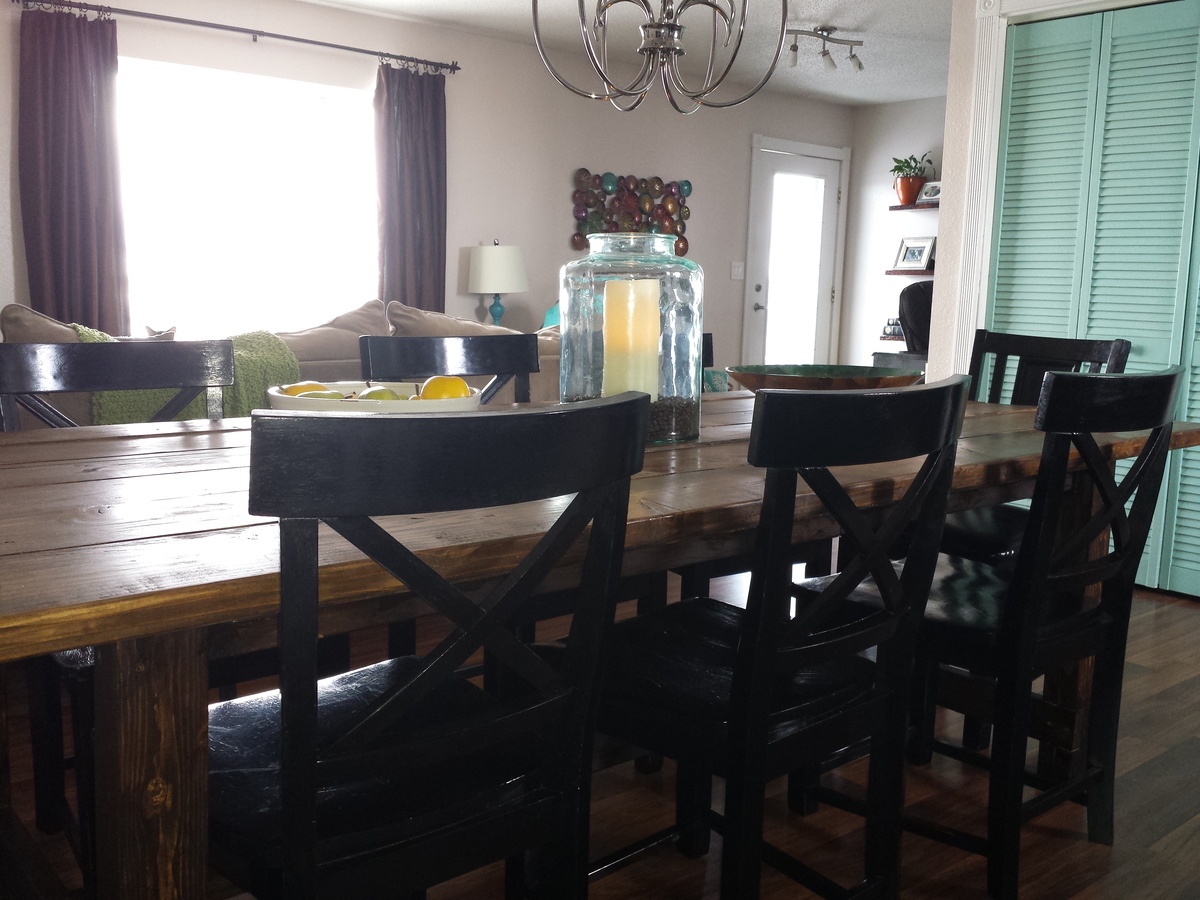
Estimated Cost
$110
Estimated Time Investment
Weekend Project (10-20 Hours)
Finish Used
Cabot walnut with semi-gloss poly
Recommended Skill Level
Starter Project
Rustic coffee table
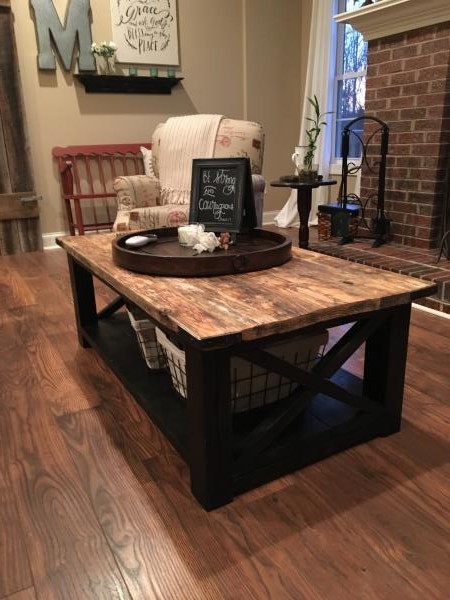
I used pallet wood on the top and regular 2x4's on the bottom section.
Built from Plan(s)
Estimated Time Investment
Day Project (6-9 Hours)
Finish Used
Polyurethane on the top, and black paint below
Recommended Skill Level
Beginner
Comments
Outdoors couch
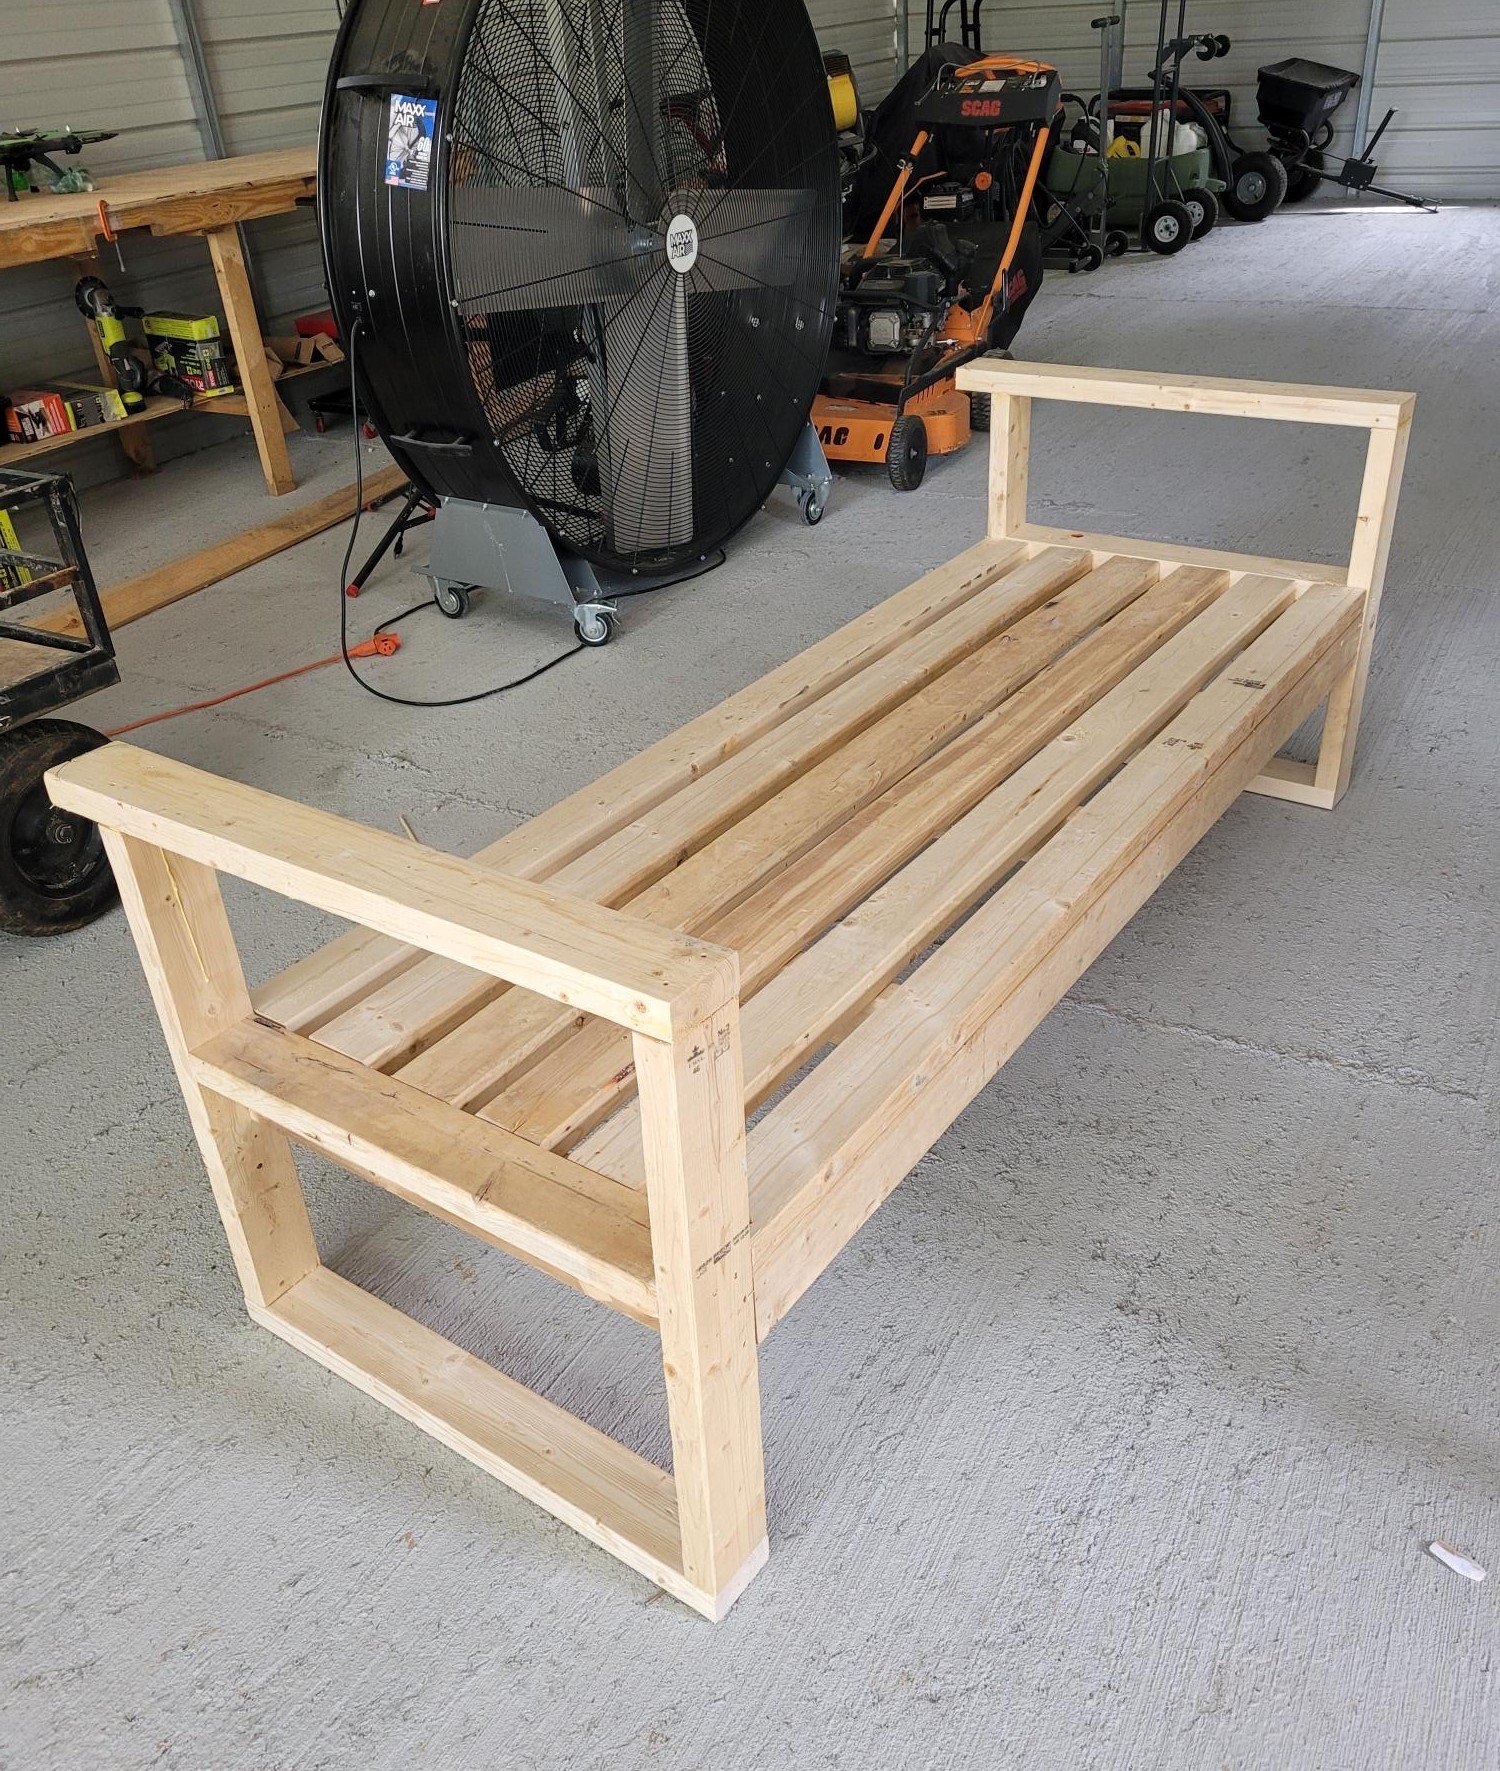
After thinking about it for 2 weeks, going over and over in my head of the sizes to cut and remembering the video of what went where, I put it to action. Took me about 2.5 hrs to build and modify where I needed to.
Comments
Scrap wood shelves
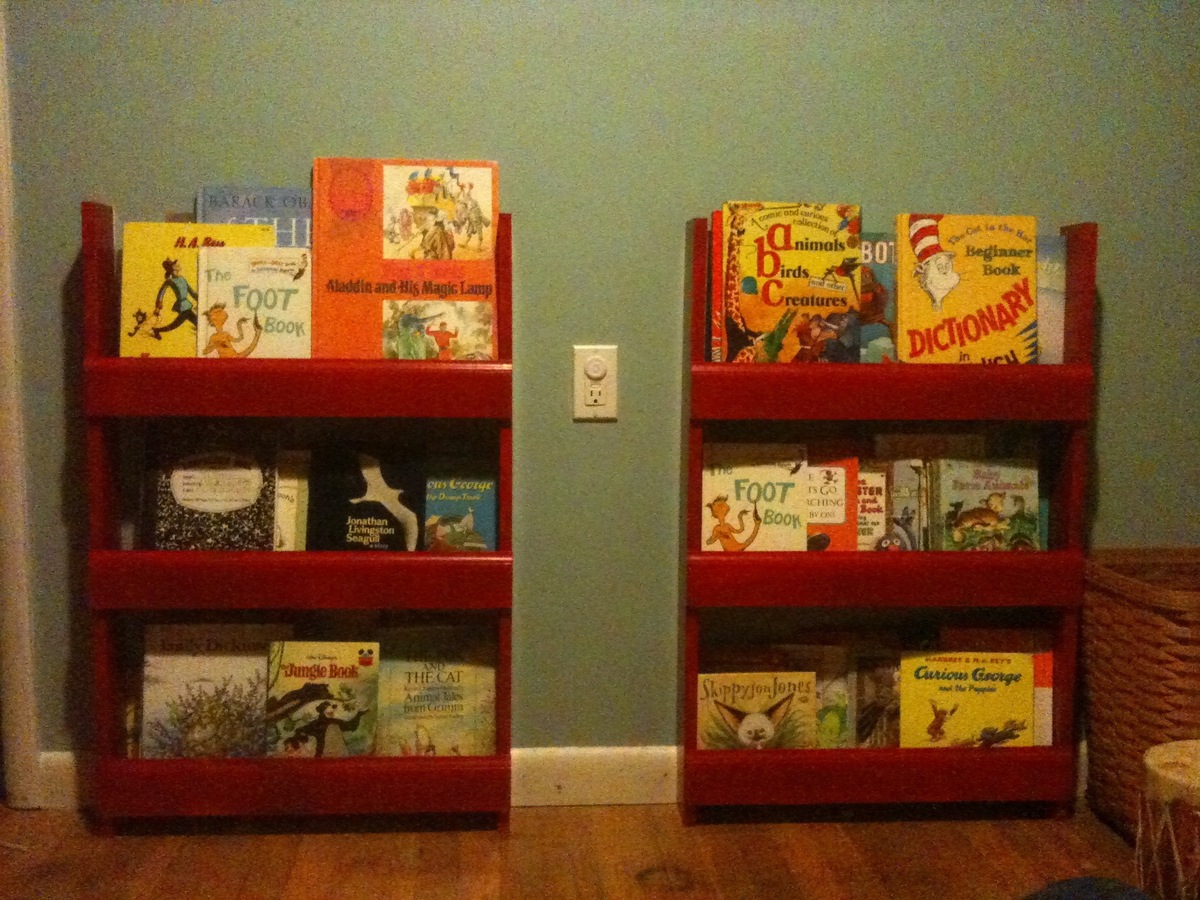
The kids and I worked together to make these shelves from wood I dug up in the scrap pile. I had to be creative to come up with enough wood of the right dimensions, some of the 1x4's started life as 1x6's and the front pieces are baseboard moulding. I didn't use a back piece because it seemed sturdy enough as is. I used removable velcro type hanging strips to attach them to the wall.
Built from Plan(s)
Estimated Cost
Free
Estimated Time Investment
Afternoon Project (3-6 Hours)
Finish Used
Latex paint.
Recommended Skill Level
Starter Project
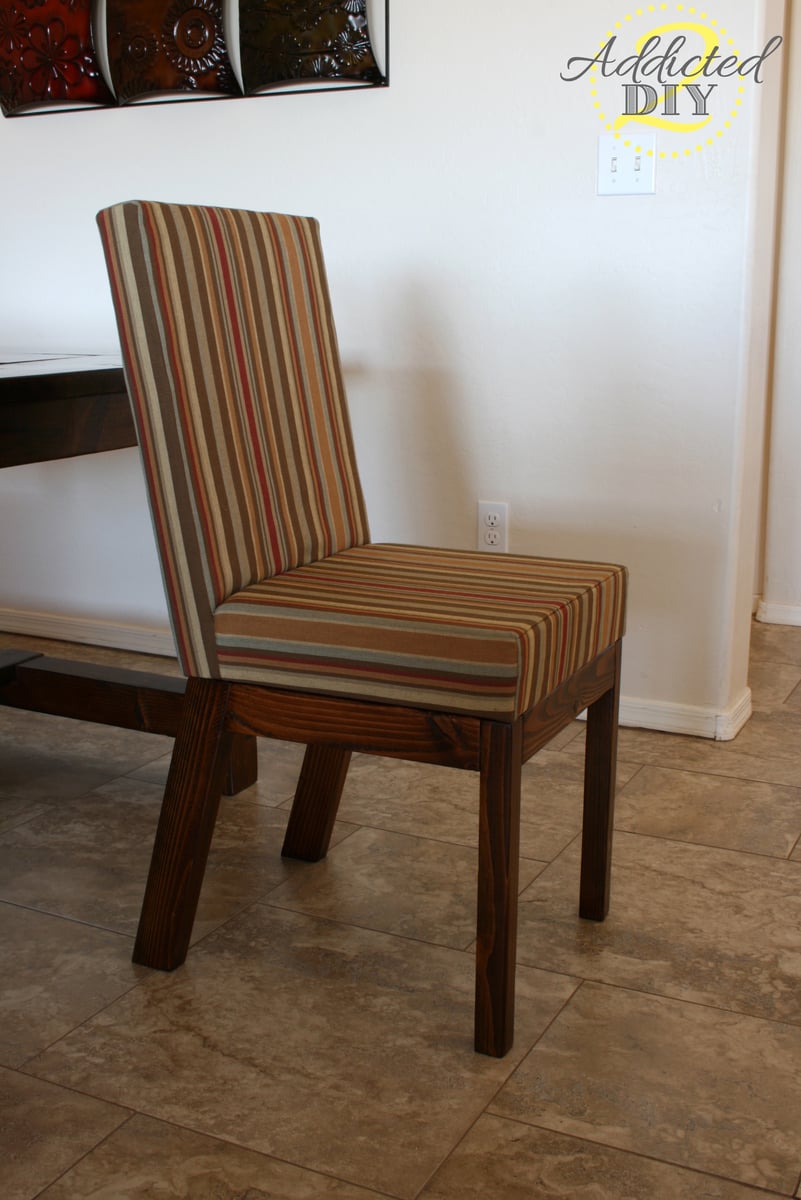
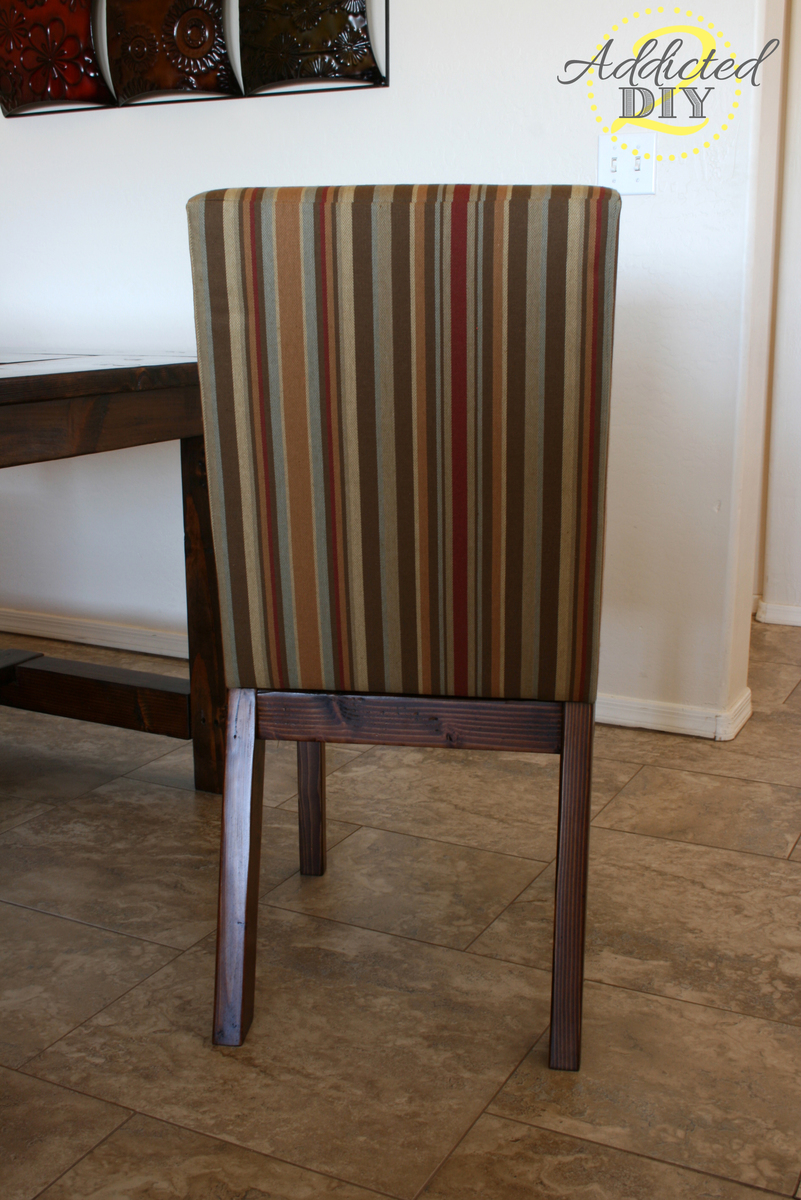
DIY Upholstered Dining Chairs
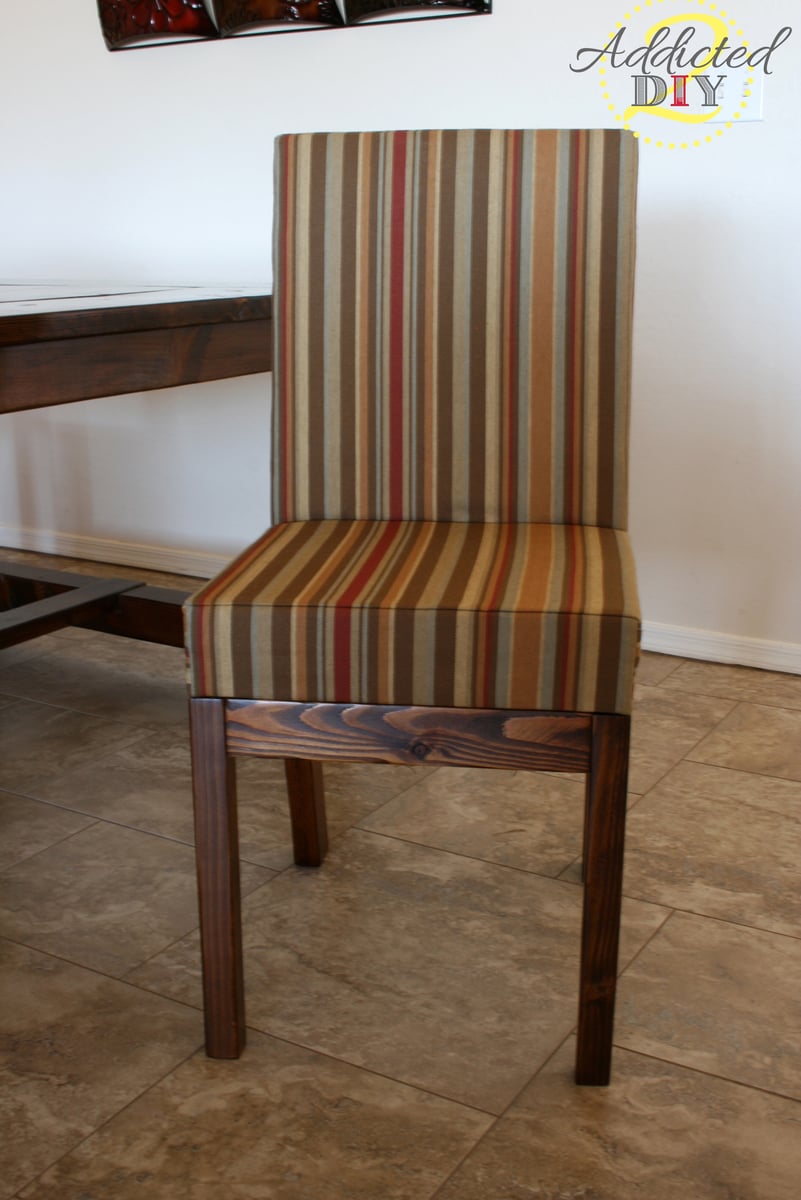
We built these Parson chairs to go with our farmhouse table. We wanted to save some money as well as have chairs that matched our table perfectly. We absolutely love them! I modified the plans a bit, so please check my blog post to see how I made these to fit our table.
Built from Plan(s)
Estimated Cost
$40 each
Estimated Time Investment
Weekend Project (10-20 Hours)
Finish Used
Minwax Provencial
Minwax Polycrylic
Wood conditioner
Minwax Polycrylic
Wood conditioner
Recommended Skill Level
Beginner
Comments

Fri, 11/08/2013 - 17:00
Marvelous chairs!
Your chairs look awesome! Beautifully done and the upholstery looks very professional. The finish and colors look perfect with your table. Great build!
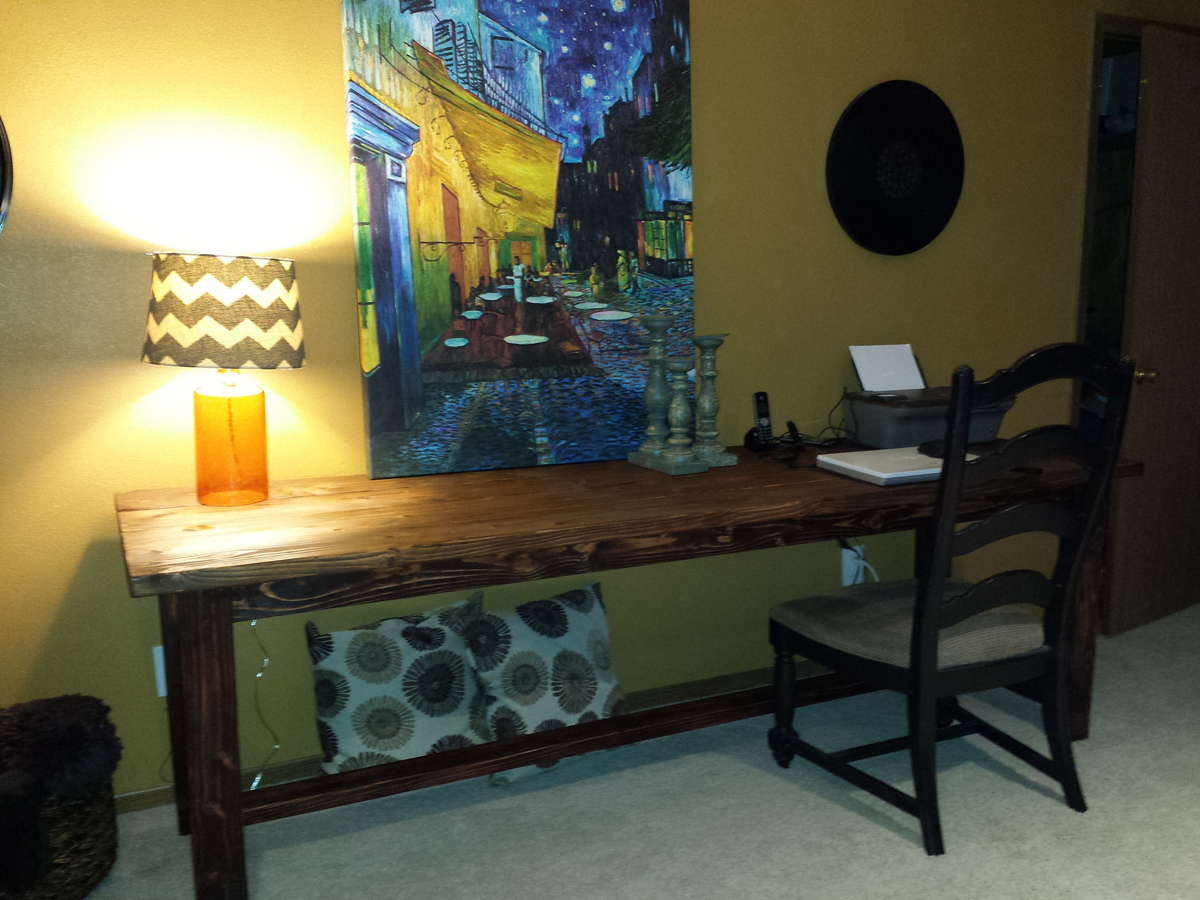
Double art desk

We have two girls of drawing age so we made this one a double desk, so each of them could have there own paper roll. We used eye hole fastness on the top and elbow brackets on the bottom to secure to the wall.


Recommended Skill Level
Intermediate
Comments
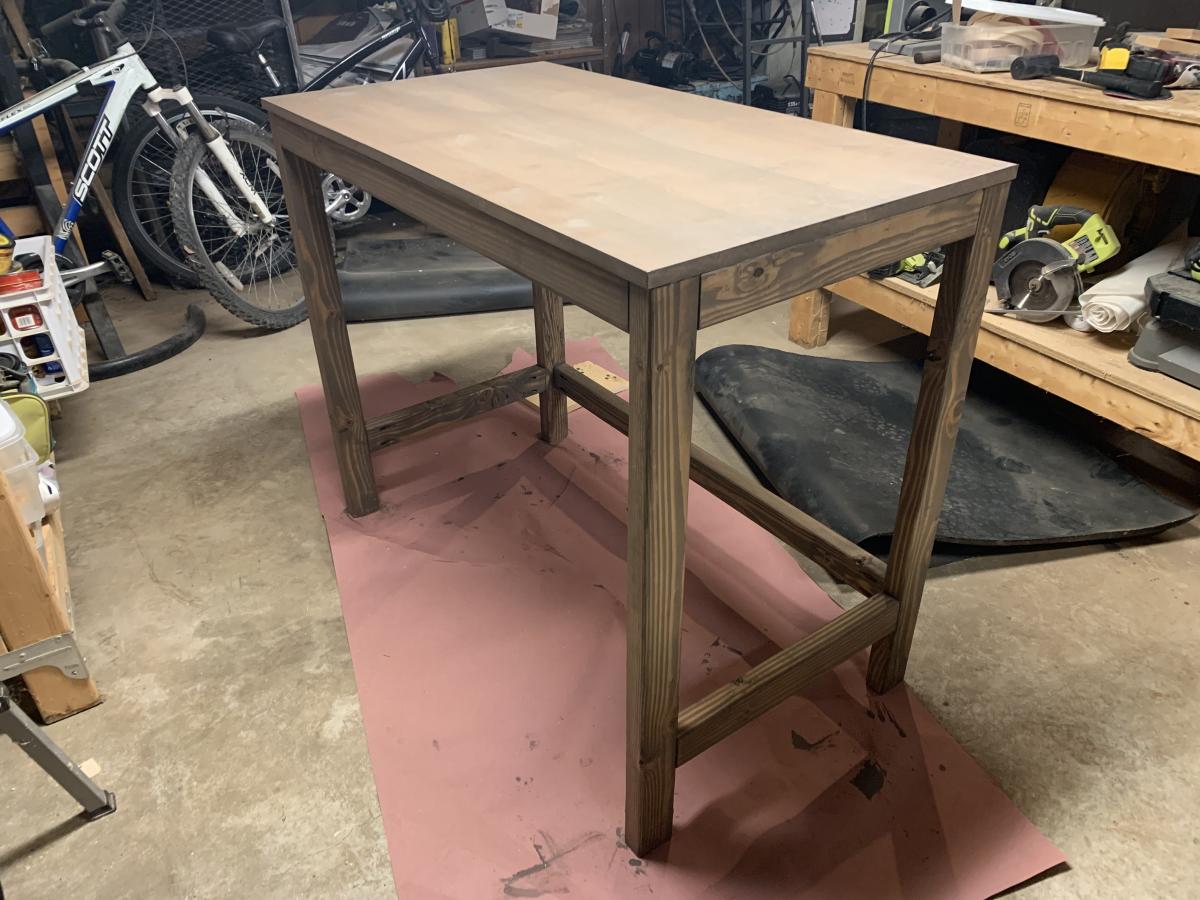
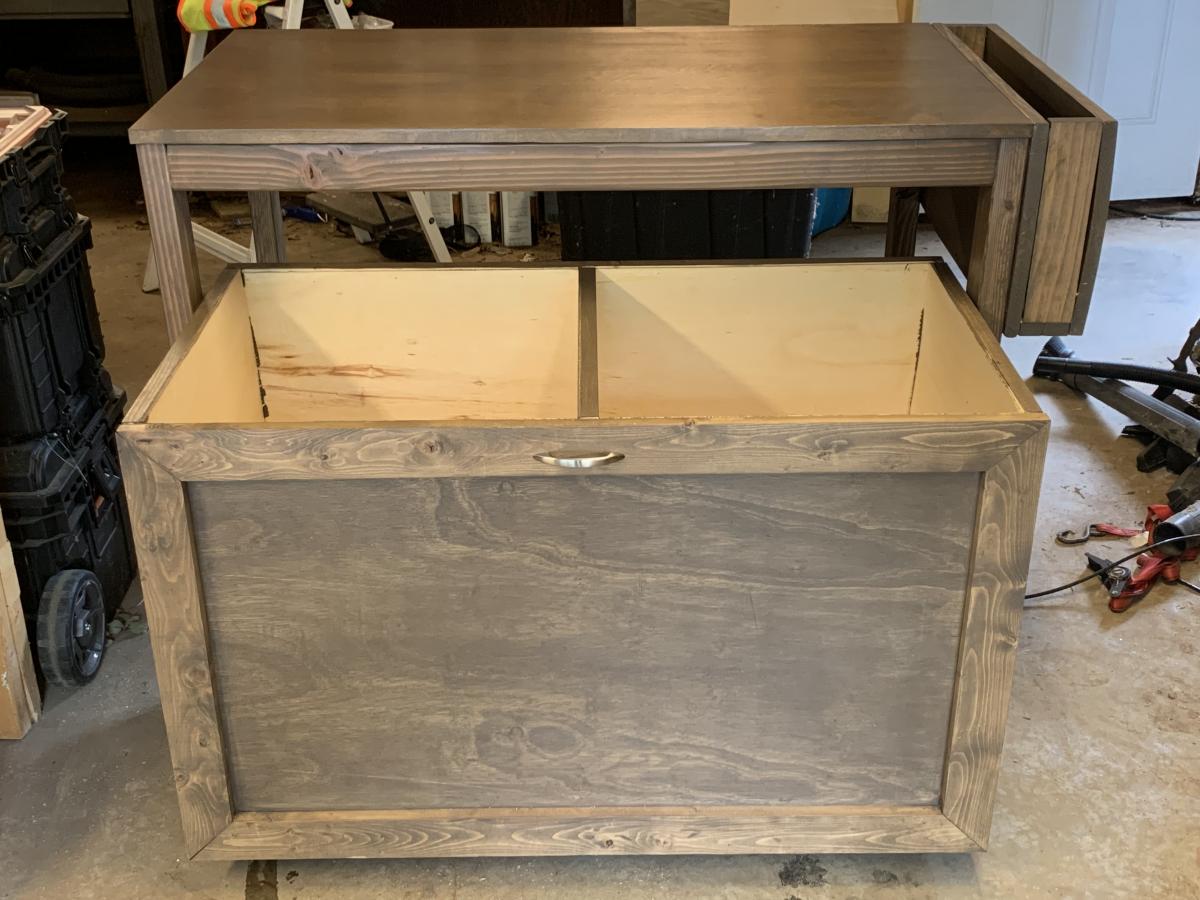
Laundry Sort/Fold Station

A laundry room remodel is on the to-do list but by using the laundry station pattern as a base I made a few adjustments to complete my station.
Stain is Varathane Briarsmoke. Absolutely love the color!!
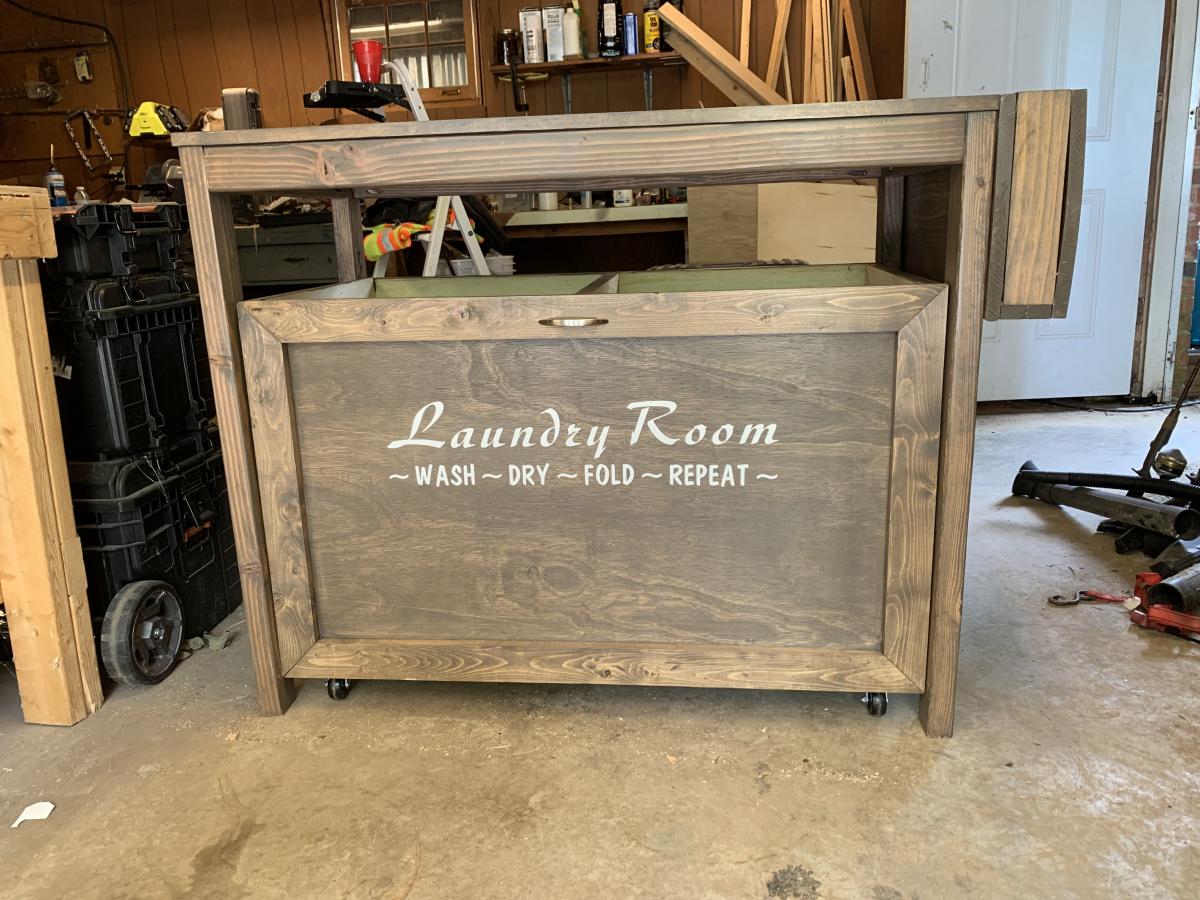
Built from Plan(s)
Estimated Cost
$100
Made from pine common board with a sanded birch tabletop.
Made from pine common board with a sanded birch tabletop.
Estimated Time Investment
Weekend Project (10-20 Hours)
Finish Used
Varathane Briarsmoke
Recommended Skill Level
Intermediate
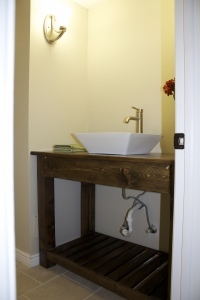
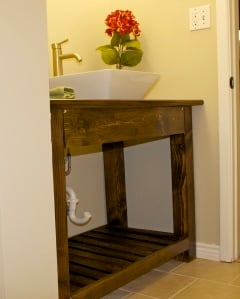
Rustic open vanity
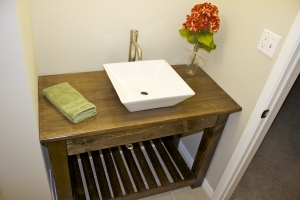
I decided to take on the third bathroom renovation all by myself. No help from the husband. I knew that I wanted a rustic open faced vanity - so I modified some plans that I found here on Ana's site. I used the basic design of the Farmhouse Vanity and added in the spa splatting for the bottom shelf so I could add baskets to hold extra tp and towels, etc.
This was one of the easiest projects I've done and I'm so happy with how it turned out! Total time was an afternoon - and that included the staining and poly!
Built from Plan(s)
Estimated Time Investment
Afternoon Project (3-6 Hours)
Finish Used
Minwax Jacobean stain
Recommended Skill Level
Beginner
Outdoor Side Table
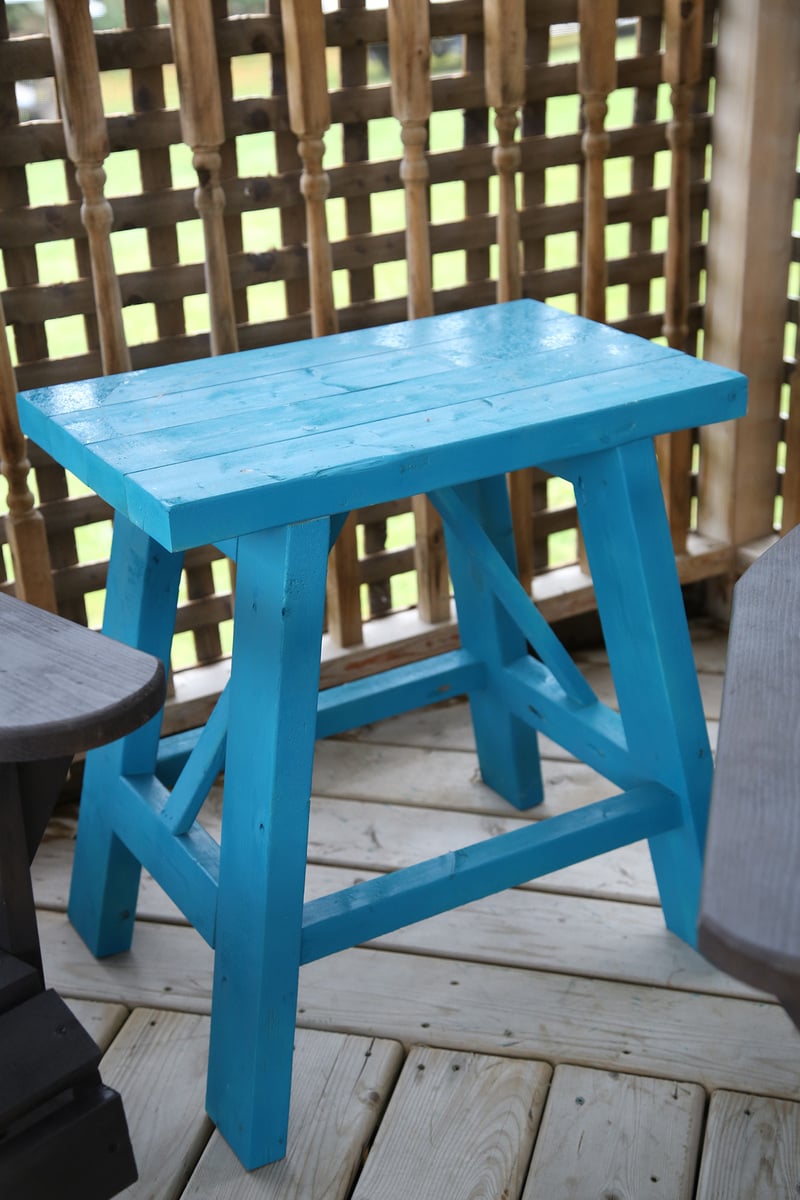
I adjusted the size of this table for the space between the chairs in our screened in porch. It's a cute little addition, it it was a cheap, fast project.


Built from Plan(s)
Estimated Cost
15
Estimated Time Investment
Afternoon Project (3-6 Hours)
Finish Used
I spray painted this in a fun bright blue.
Recommended Skill Level
Starter Project
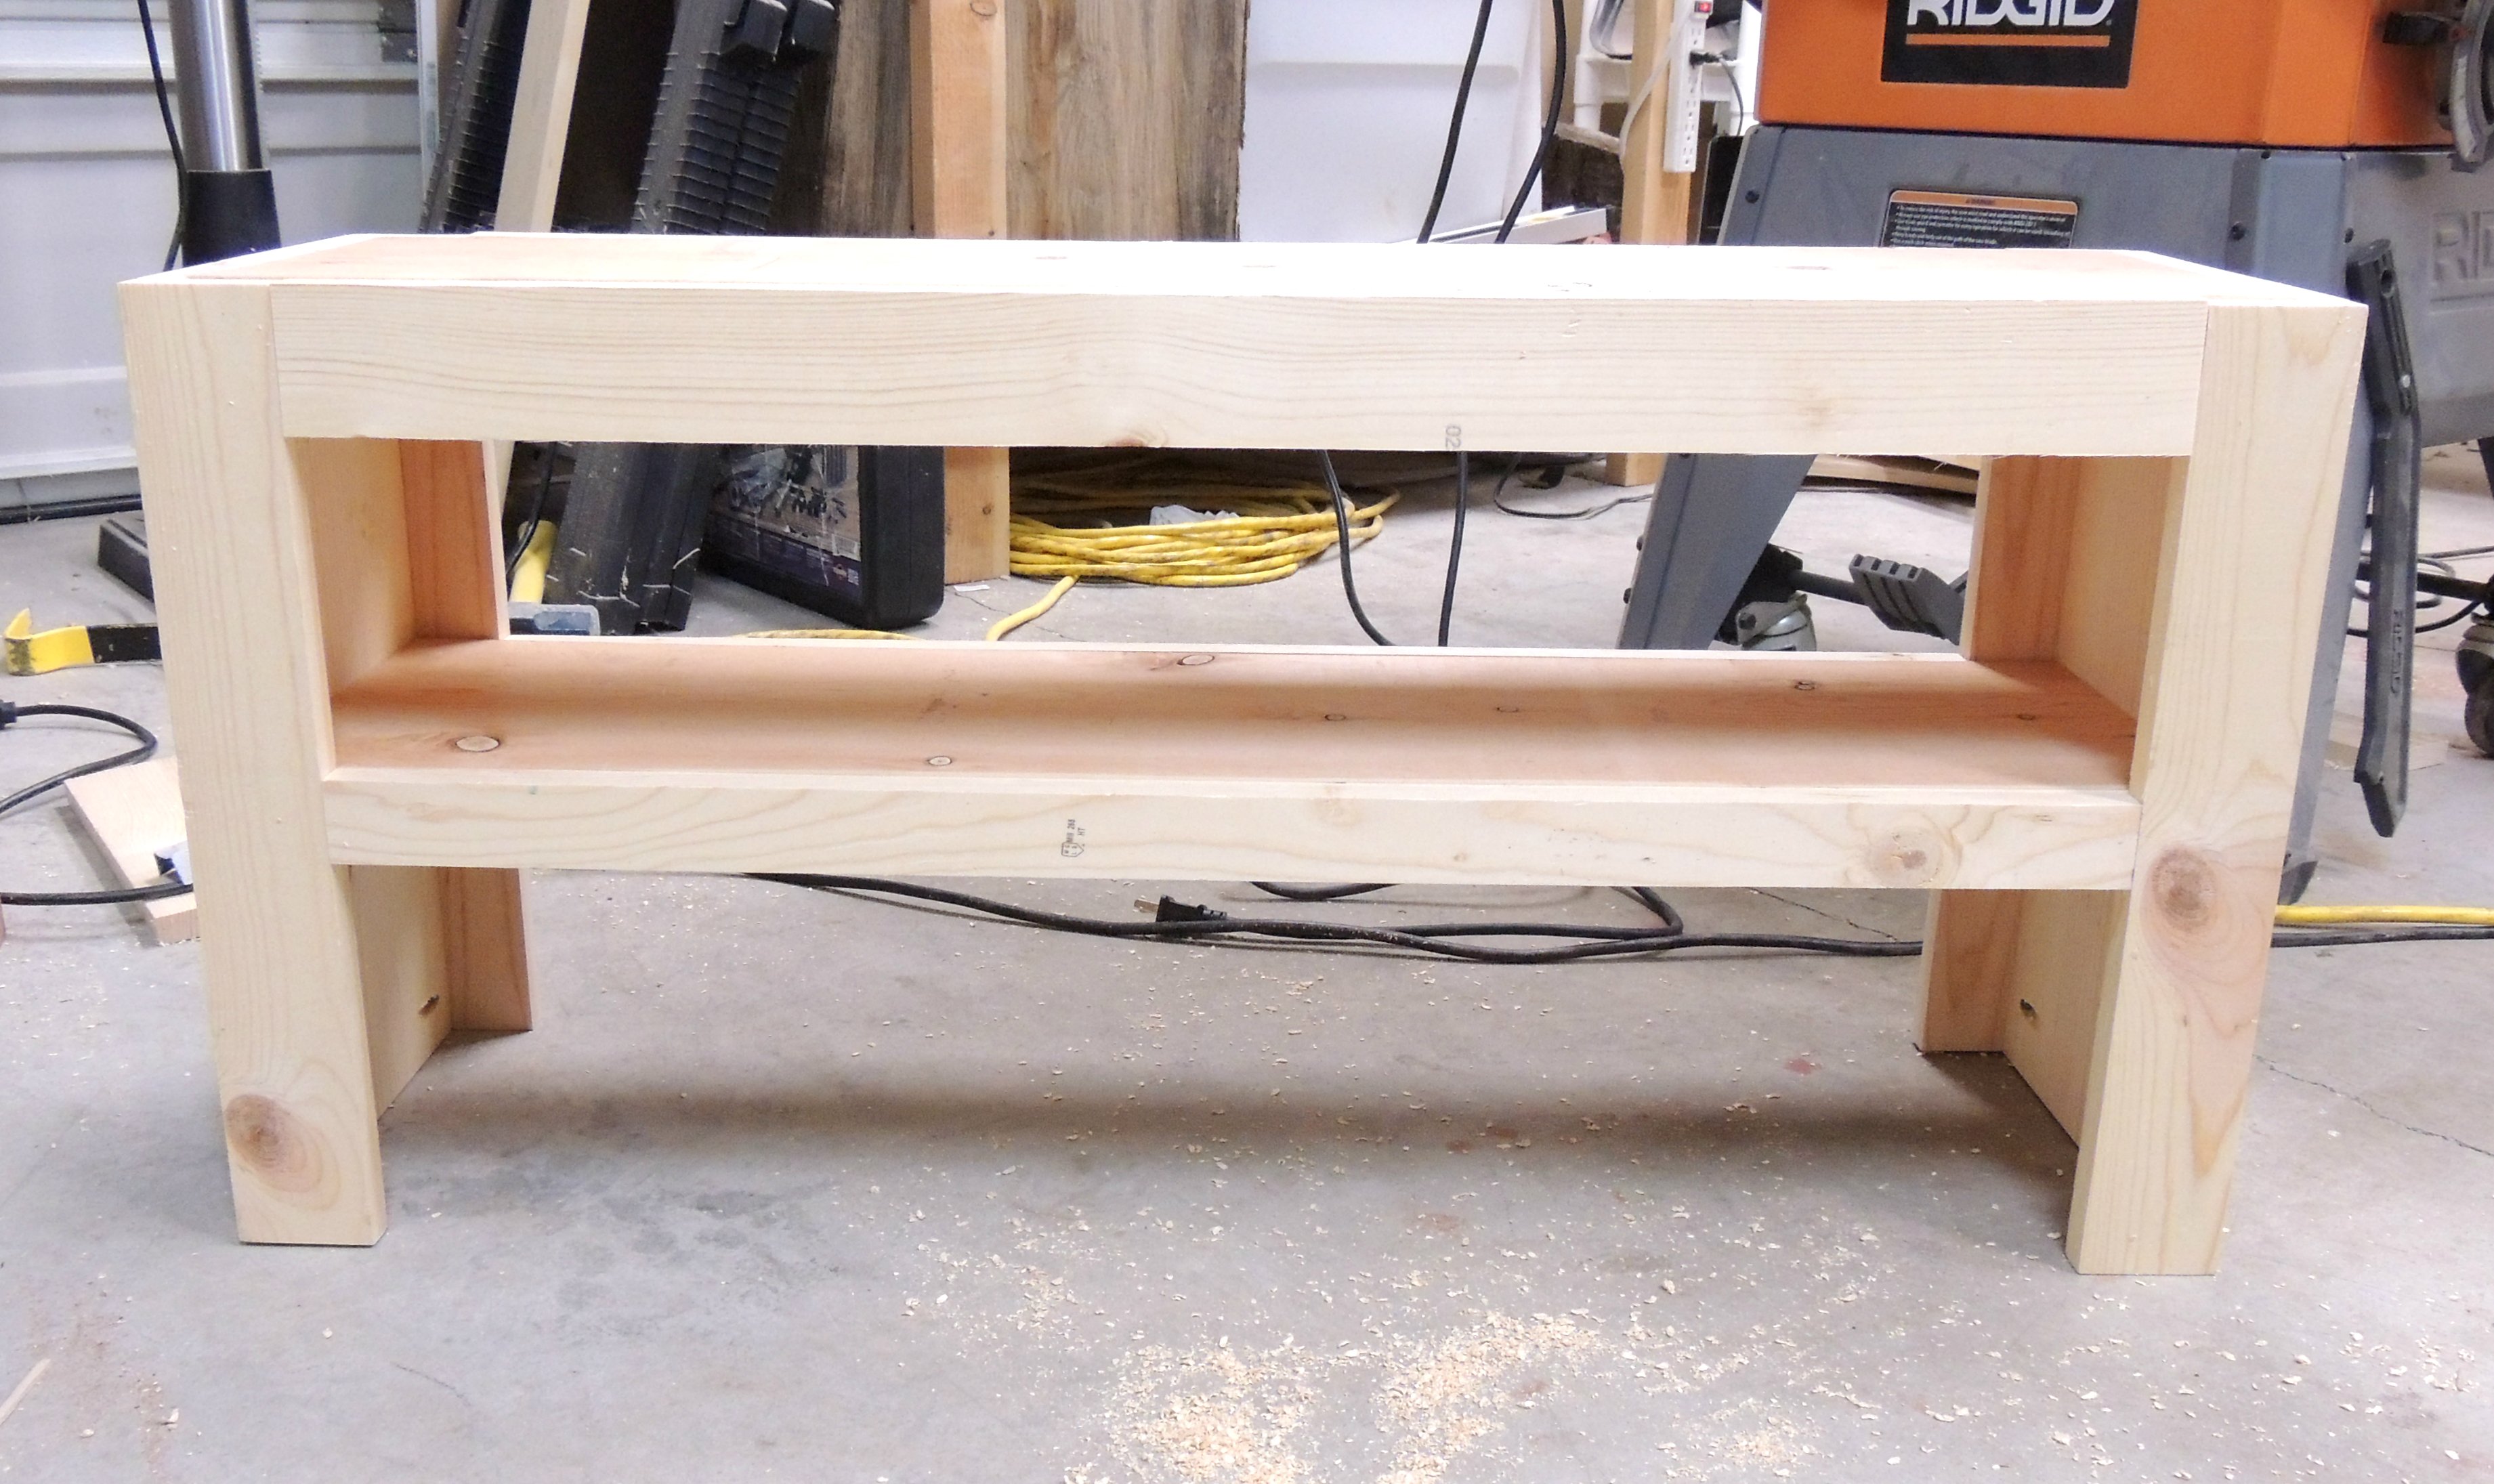
Shoe Bench

I needed something to control the shoe situation by the front door. After looking at several Ana White plans, I knew the Spa Bench would be perfect. I modified it just a little, and you can get more details in my blog post.
Built from Plan(s)
Estimated Cost
$30 in wood
$10 finishing products
$10 finishing products
Estimated Time Investment
Day Project (6-9 Hours)
Finish Used
Paint (Behr marquee sample)
Stain (Minwax)
Polycrylic
Soft touch varnish
Stain (Minwax)
Polycrylic
Soft touch varnish
Recommended Skill Level
Beginner
Comments
2x4 outdoor sectionals, modified 2x4 coffee table
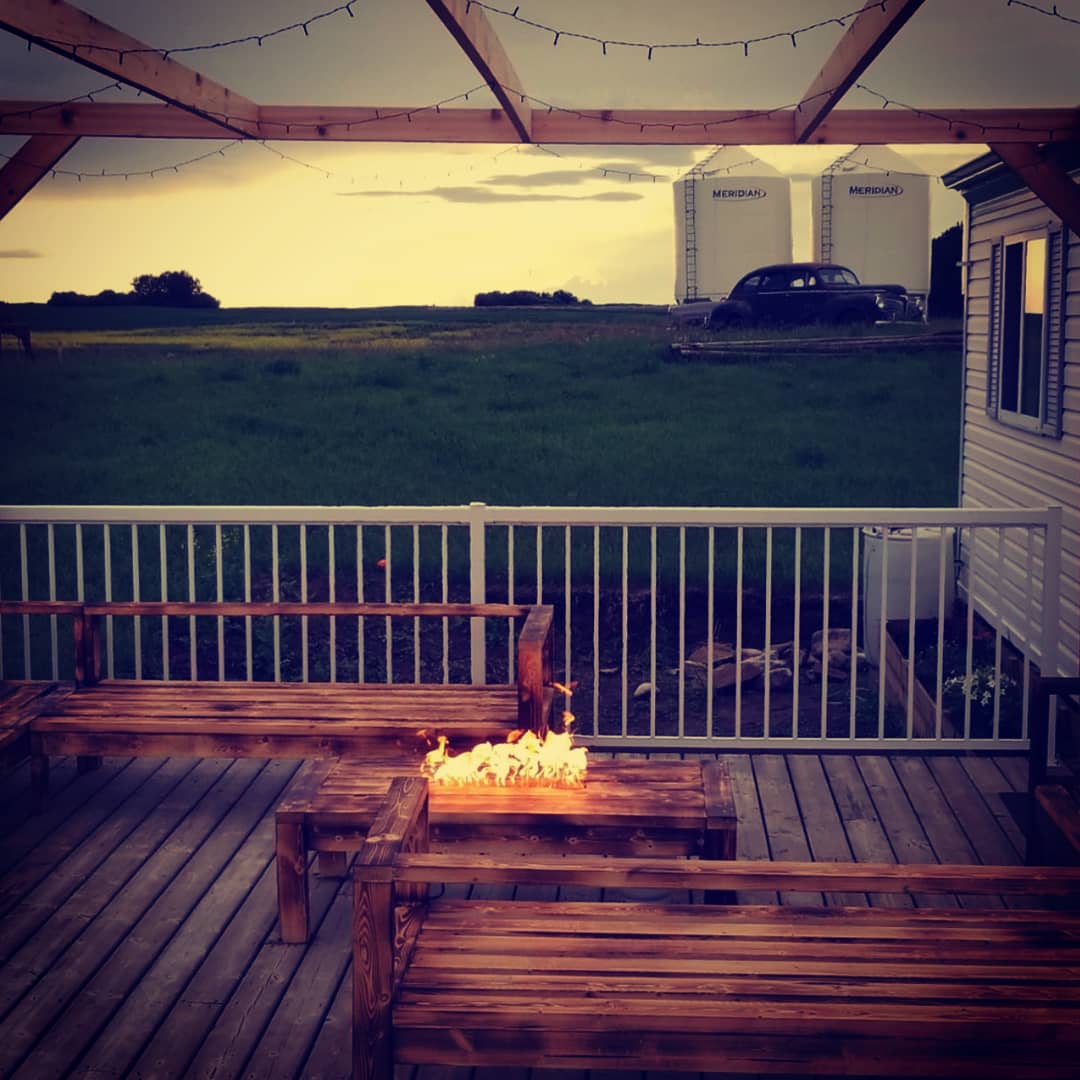
I took the 2x4 outdoor sectional plans and built two complete sectionals, then I modified the 2x4 coffee table plans to accommodate a home made fire table. I built the burner and plumbed the system using an old stove top from an RV and some black iron pipe. To finish off the set, I used my tiger torch to burn the wood and sealed it all with spar varnish. I love it!
Built from Plan(s)
Estimated Cost
$200
Estimated Time Investment
Day Project (6-9 Hours)
Finish Used
Wood burning and spar varnish
Recommended Skill Level
Beginner