Community Brag Posts
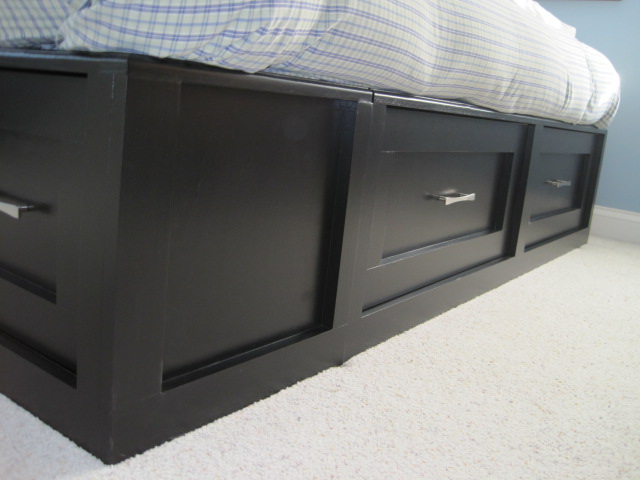
Twin-size Storage Bed
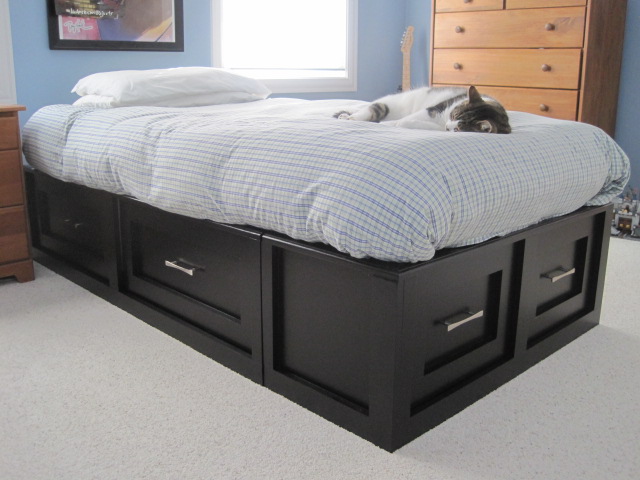
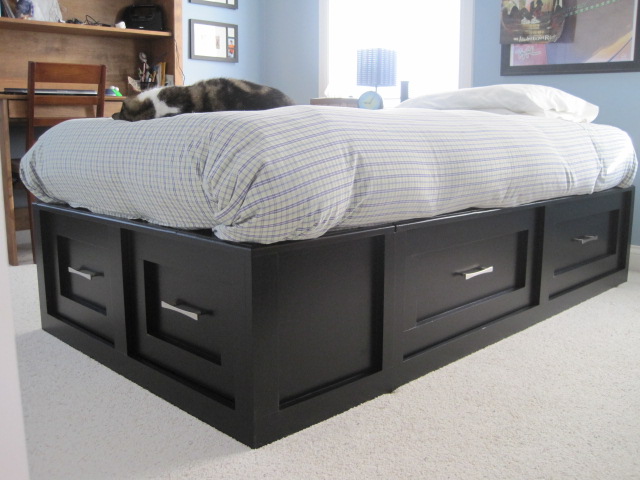
I recently finished this bed in white for my daughter, when one of my sons decided he'd like one for his room. So this is my second time building this bed. I like the drawers Ana has in the Queen storage bed, but I needed it in a twin, so I used two of Ana's plans to modify the bed to our needs. Drawers make me nervous (but less so now that I've done them a few times) and these work great, so all is well!
The only problem? Now with the bed in his room, I feel the need to paint the rest of the furniture, change his duvet cover, paint the walls...you know what I mean?

Built from Plan(s)
Estimated Cost
$325
Estimated Time Investment
Week Long Project (20 Hours or More)
Finish Used
Benjamin Moore Super Spec D.T.M. Acrylic low-lustre in black (comes off the shelf in black)
Recommended Skill Level
Intermediate
Comments

Thu, 10/06/2011 - 17:05
Definitely paint the rest of
Definitely paint the rest of his furniture to match, but with a black and white graphic design of some sort. All black would be too dark, but with the white trim in the room you could get away with some really creative graphic art on those dressers.
Sun, 03/10/2013 - 21:31
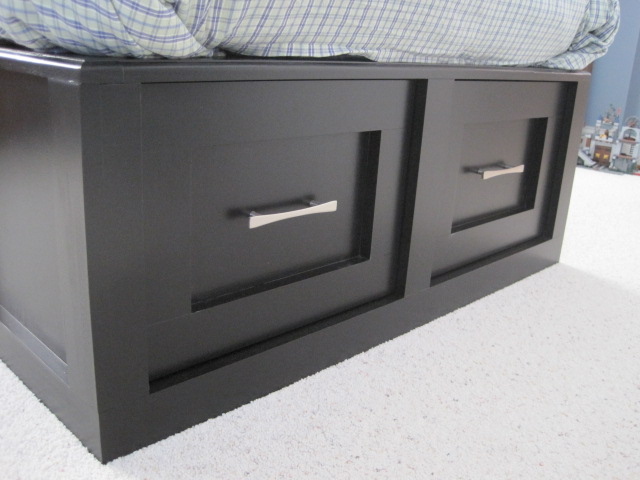
drawer faces
looks like the face of the drawers are trimmed out instead of being just plywood in the front...how did you modify this?
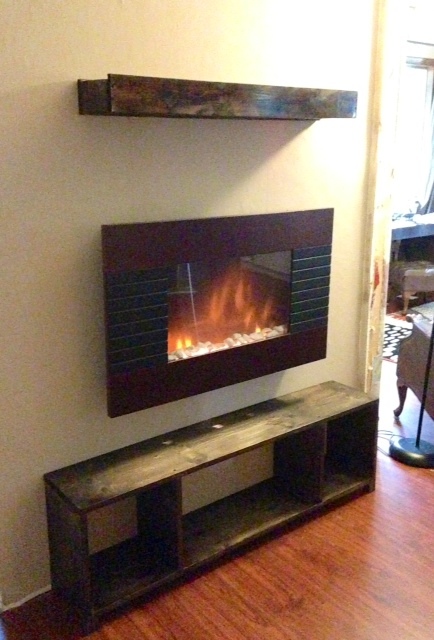
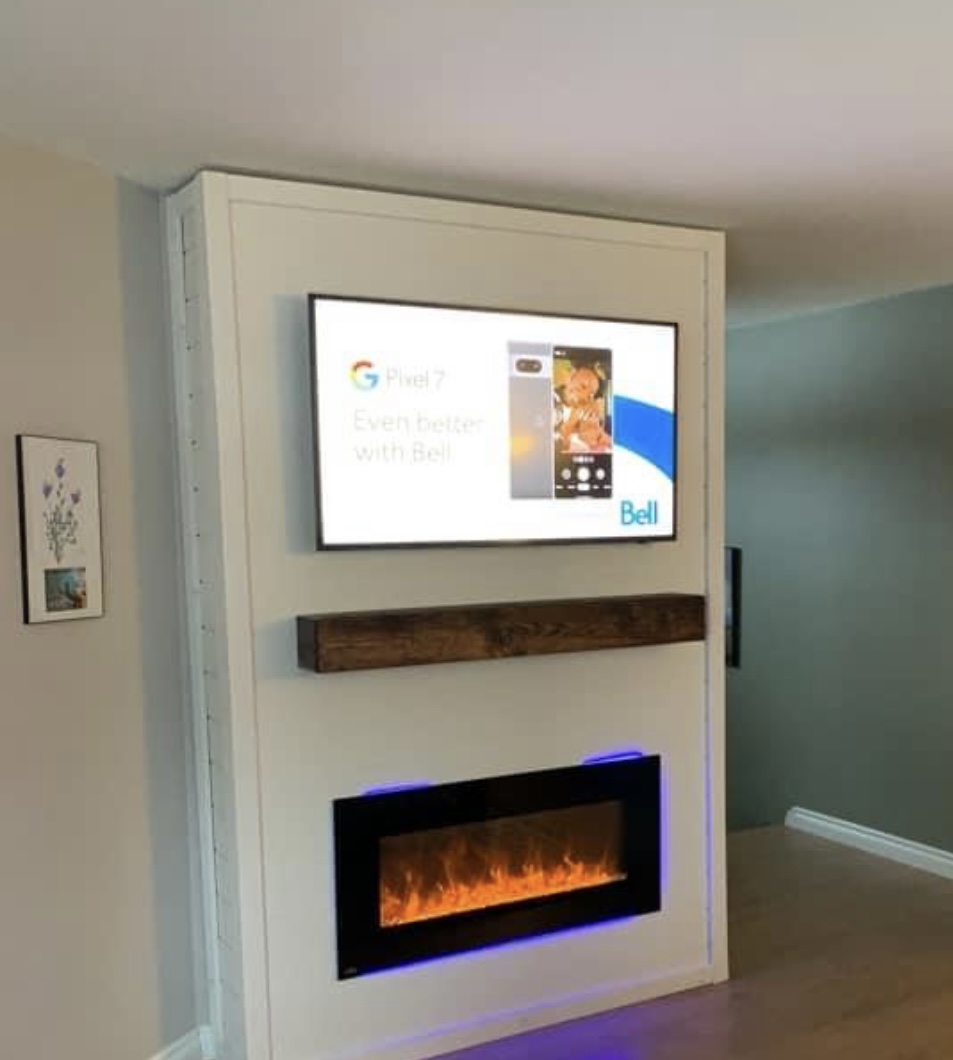
"Fireplace"
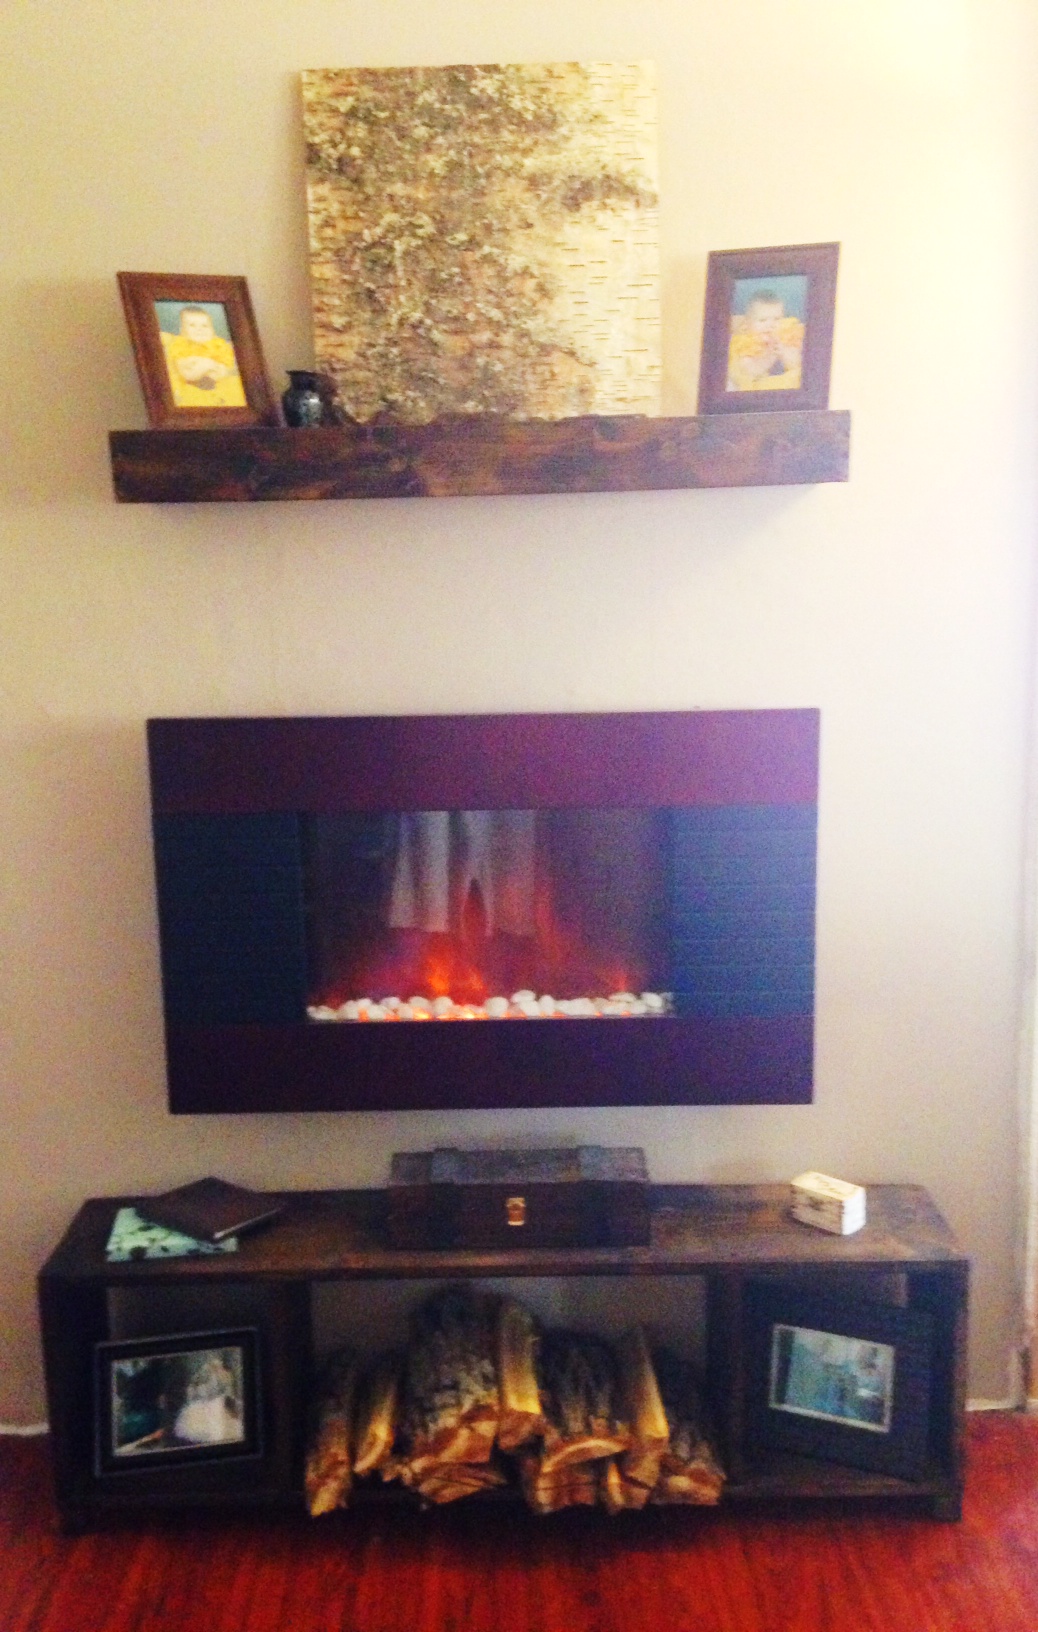
Only heating source for our house have been wood stove and some mornings we don't feel like starting a fire even if it is chilly, so we bought electric fire place. As our house is Scandinavian country romantic style, I wanted to make modern fireplace a bit more rustic.
We are missing some beams and moldings, so it looks a bit "naked" now.
More about this project you can read in my blog:
http://ourleaningtree.wordpress.com/diy/fireplace/
Built from Plan(s)
Estimated Cost
left over lumber
Estimated Time Investment
An Hour or Two (0-2 Hours)
Finish Used
Minwax Dark walnut
Recommended Skill Level
Beginner
Pottery Barn Benchright Inspired Side Table
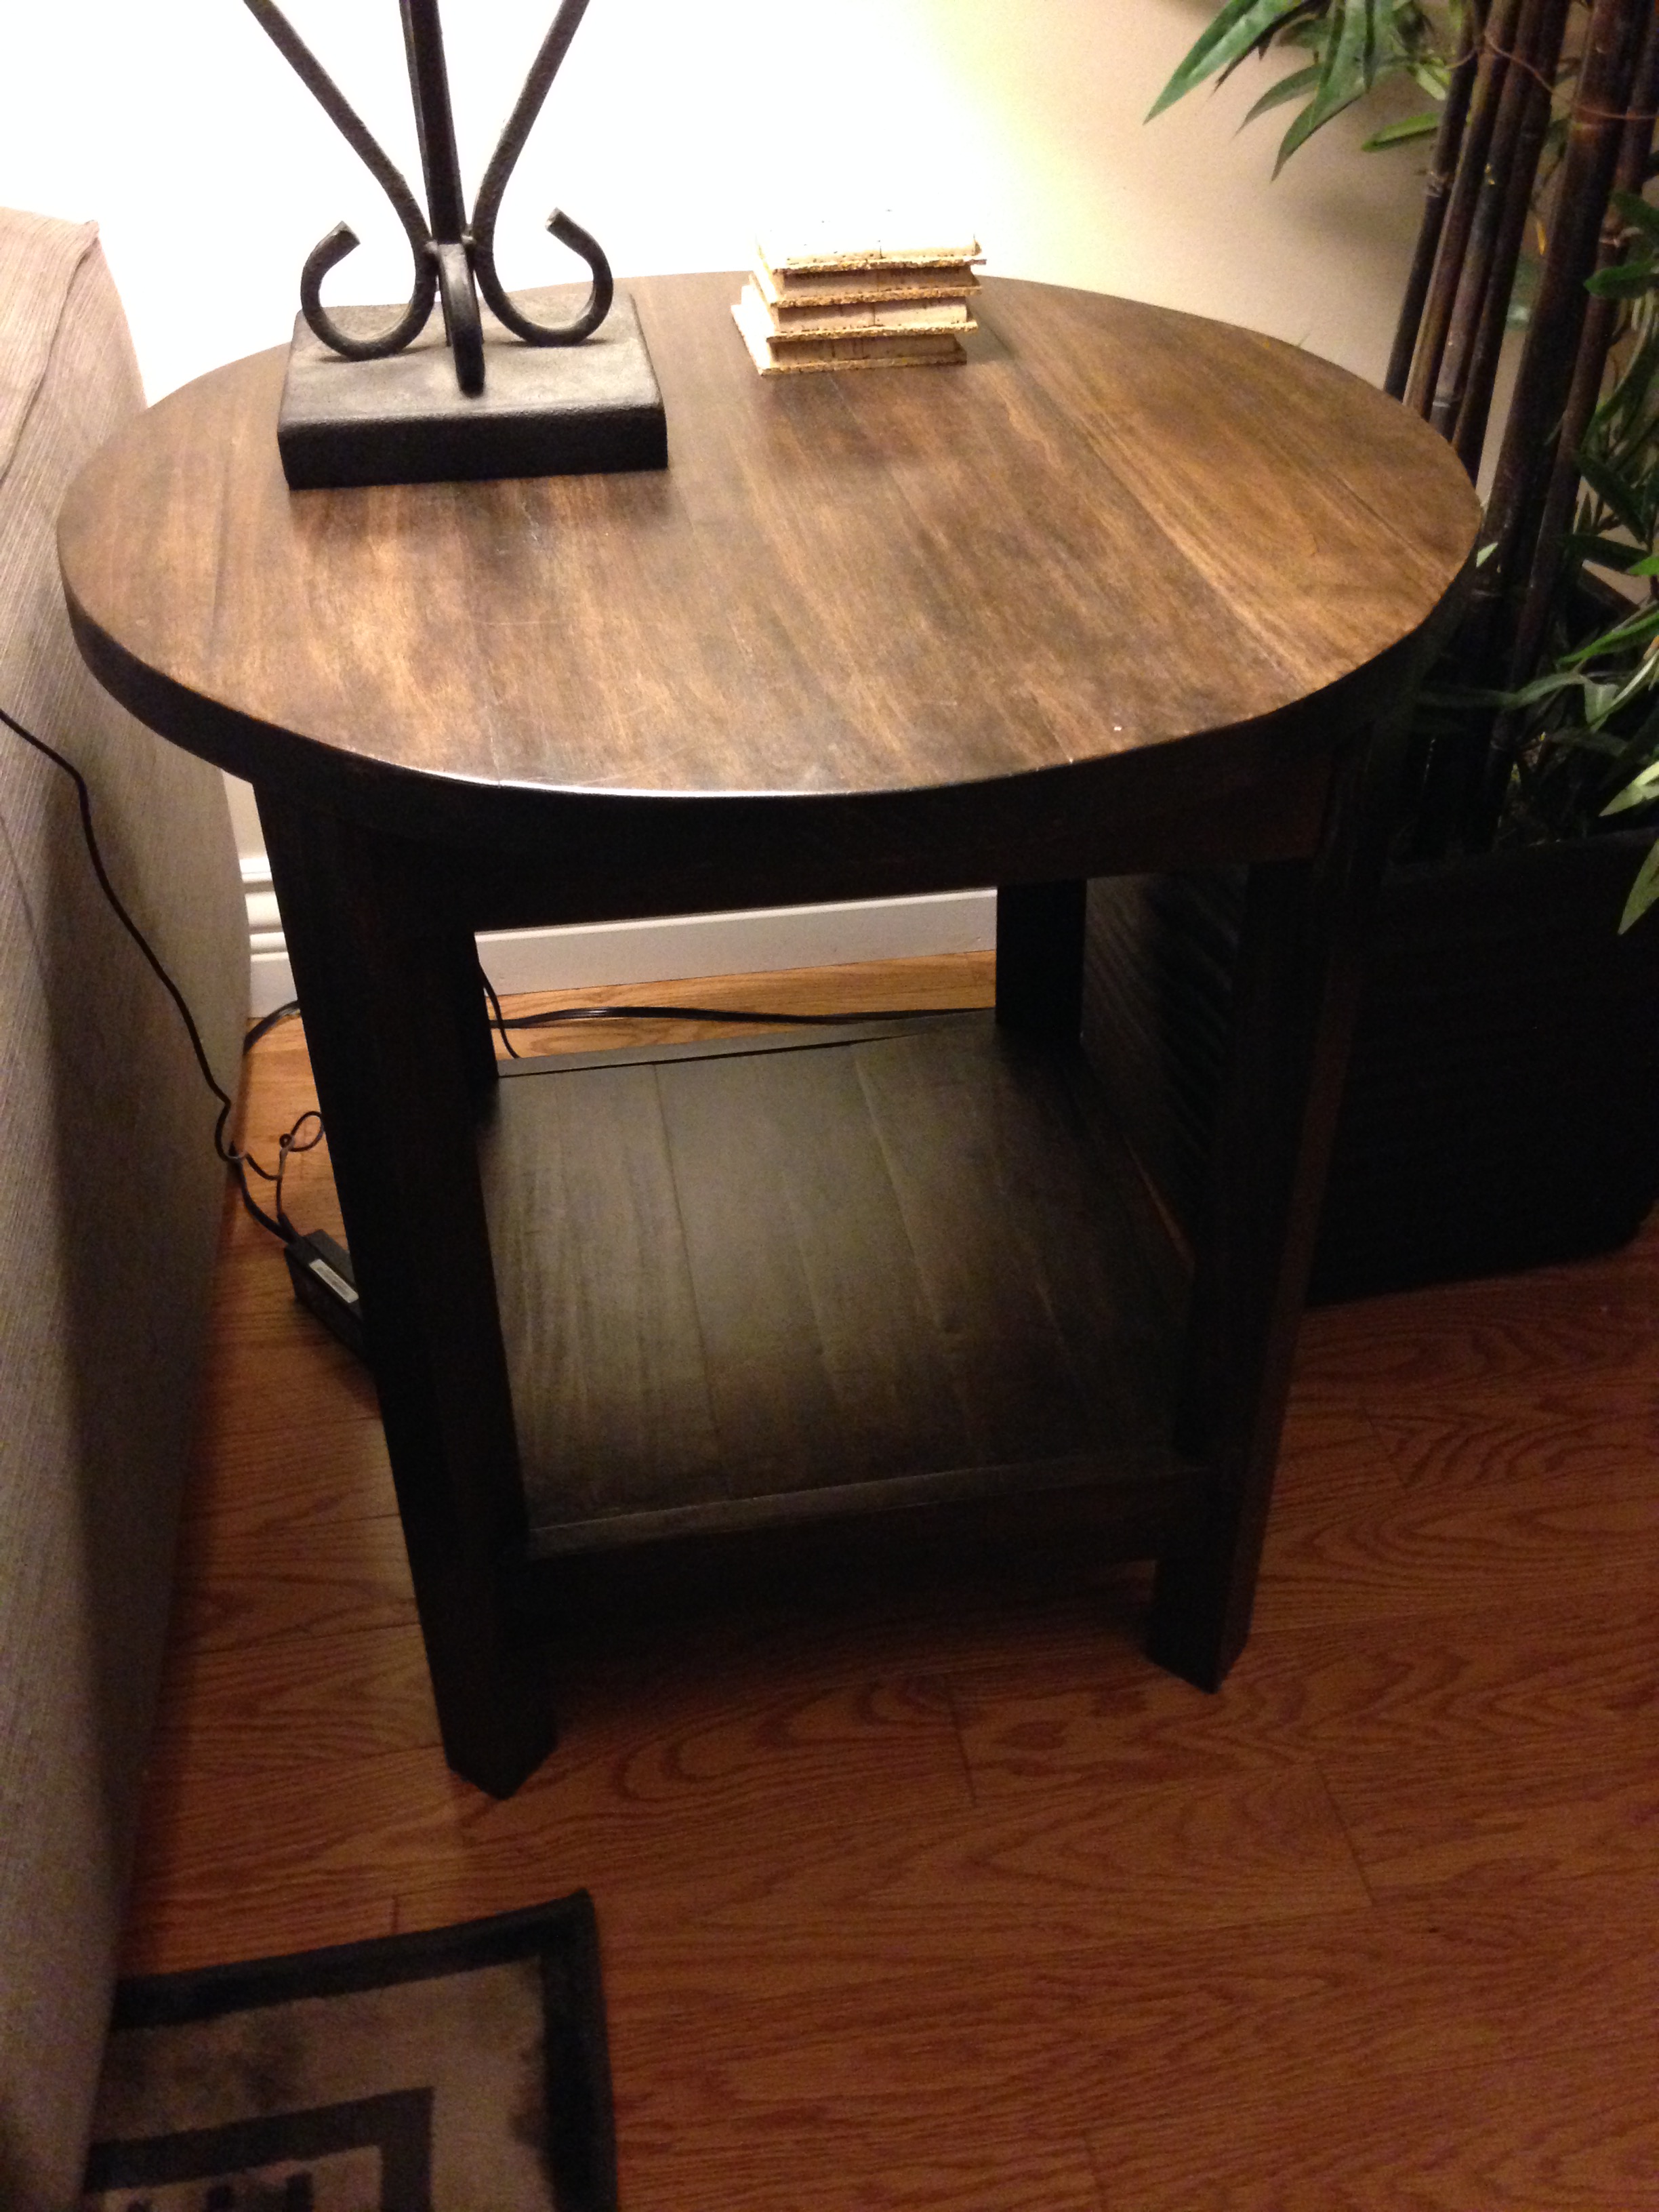
A great project!! I love how it turned out! I used Poplar wood because I wanted a larger top than 1 inch but smaller than 2 inch. Poplar had an in between size. I love how it turned out! Need to make another one now for my living room so that I have a matching set! Thanks Ana!!
Built from Plan(s)
Estimated Cost
$60 because poplar wood is expensive. I already had the stain and hardware.
Estimated Time Investment
Afternoon Project (3-6 Hours)
Finish Used
Dark Walnut followed by 3 coats of Satin Polyurathane. Sanded with 1000 grit sandpaper in between poly coats.
Recommended Skill Level
Intermediate
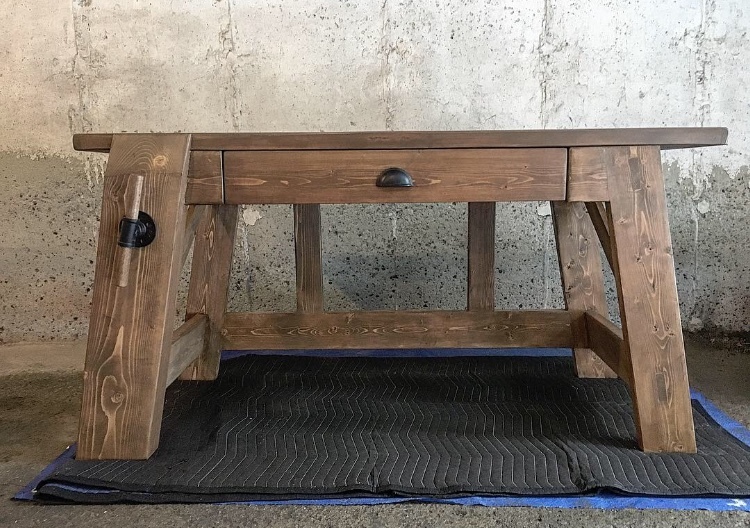
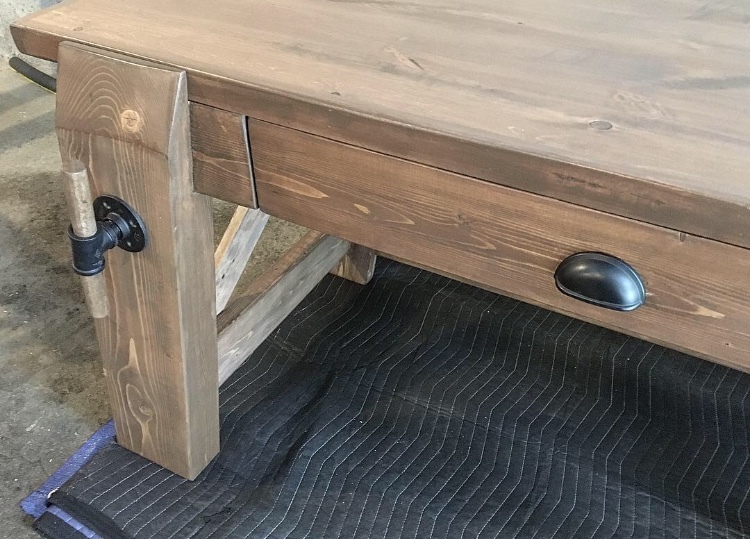
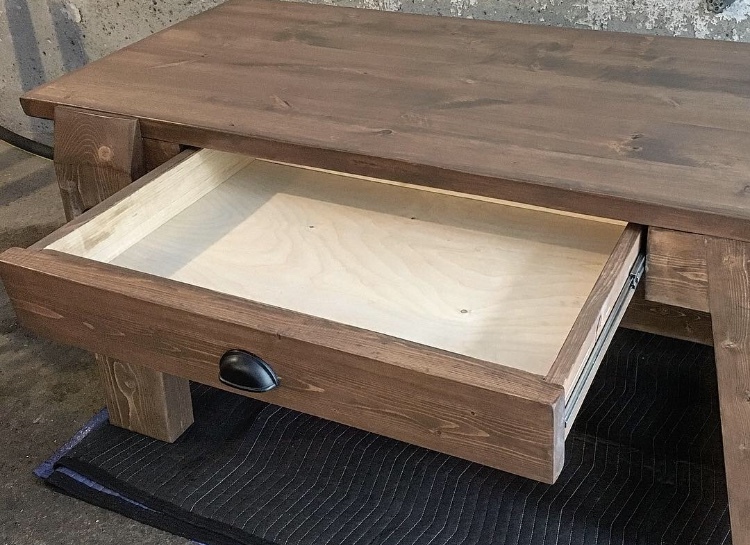
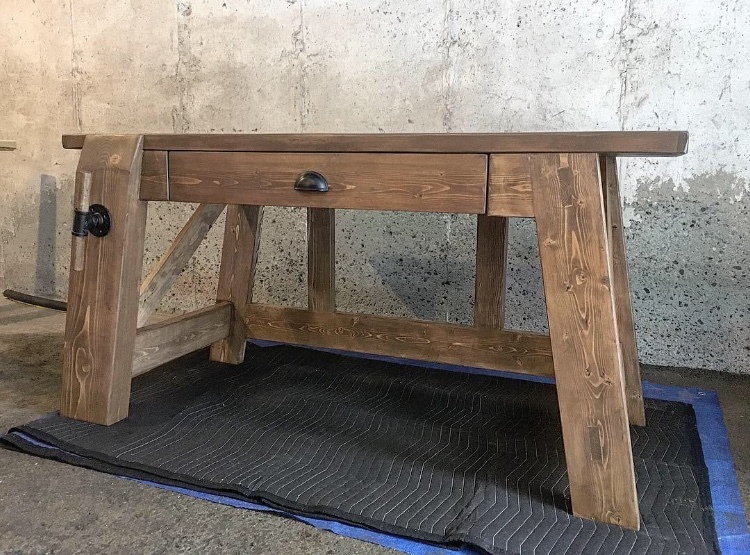
Henry Desk
Hey guys,
Here's my version of the Henry Desk following Ana's plans. There are a few minor differences that were requested by my client:
- A thicker top. I used 8/4 dressed pine (basically 2x6 knotty pine) and I laminated them together.
-Smaller desk - Top 60 inches long.
-A large drawer.
-Through tenons on the right leg that I made by using a drill press, chisels and lots of elbow grease.
I used mainly glue and dowels to assemble the pieces together, but also some pocket holes here and there.
Very helpful plan Ana. Thank you!
Erika
Rustic Charm Woodshop
Built from Plan(s)
Estimated Cost
$200 CAD
Estimated Time Investment
Week Long Project (20 Hours or More)
Finish Used
Stain: Minwax water-based stain - 1 part Colonial Pine to 1 part Coffee.
Clear Coat: Varathane Diamond Satin finish
Clear Coat: Varathane Diamond Satin finish
Recommended Skill Level
Intermediate
Outdoor end tables

I made these two Ana White outdoor end tables for my patio. Next up will be the matching coffee table

Built from Plan(s)
Comments
Sun, 01/29/2023 - 16:04
Great little side tables!
Thanks for sharing, they will be a nice outdoor additon!
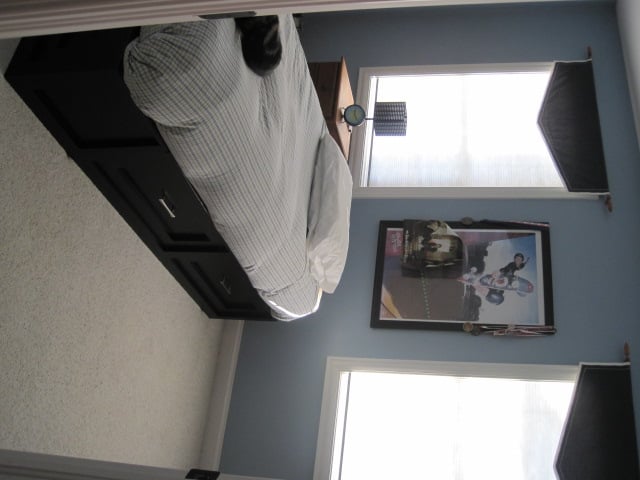
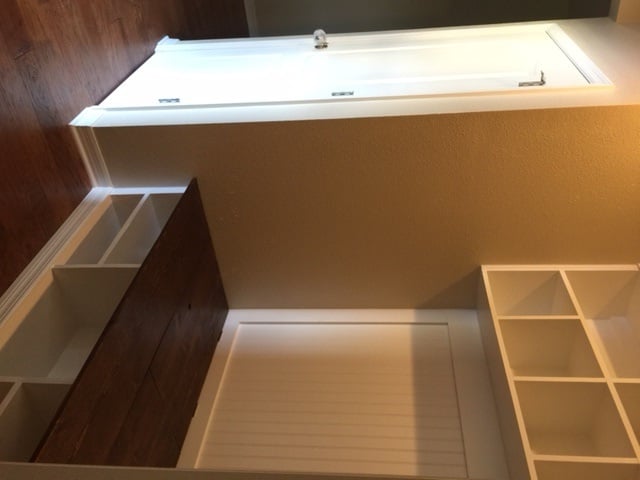
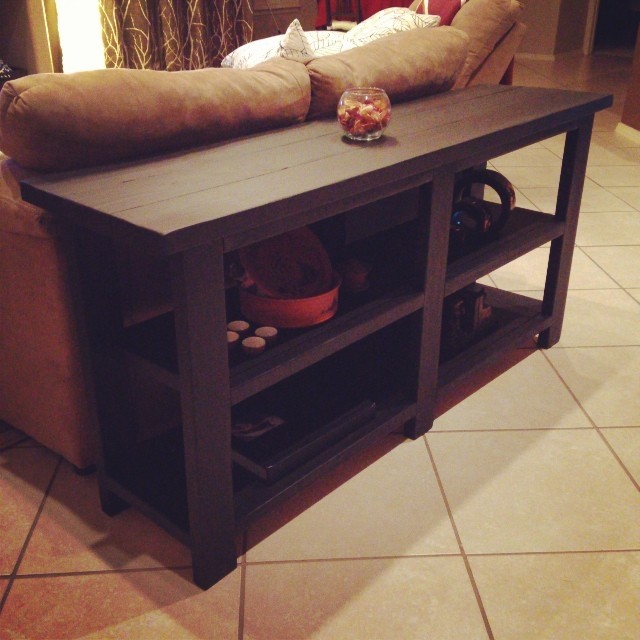
Dog Kennel into Entertainment stand
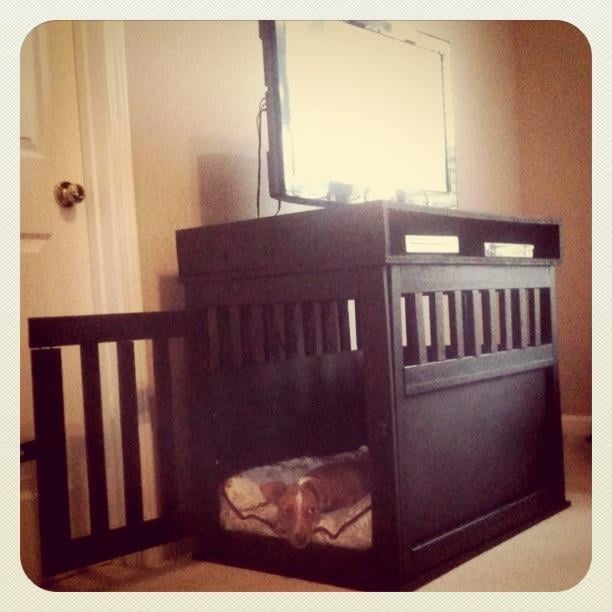
This was my first ever woodoworking project. I was looking for a good plan for me to use. At first, the kennel was going to be in the living room, but we couldn't imagine spending nights without our little girl in the room with us. The only thing is that the bedroom is quite small. However, the TV stand she was using at the time was lower than the level of the bed making it awkward to watch TV. I decided to create an entertainment stand out of the kennel in order to save space and make the TV at a viewable height.
Well, I already had a kreg jig for a project I am planning in the future. I borrowed a circular saw from my dad and I had a few tools of my own. It took a total of two days from start to finish. I ran into a few hitches because I wasnt using the jig properly, and a few other rookie mistakes, but I fought through and managed to get it done! I can't wait to do some more plans from this site!
Built from Plan(s)
Estimated Cost
$50 for Lumber about $20 for screws and stain
Estimated Time Investment
Weekend Project (10-20 Hours)
Finish Used
Minwax black stain and polyurethane finish
Recommended Skill Level
Beginner
Comments

Tue, 10/11/2011 - 06:21
That is Brilliant!
It looks to be plenty large enough for your pup and an attractive and functional piece of furniture too. I just love multi-function furniture. Nice job!
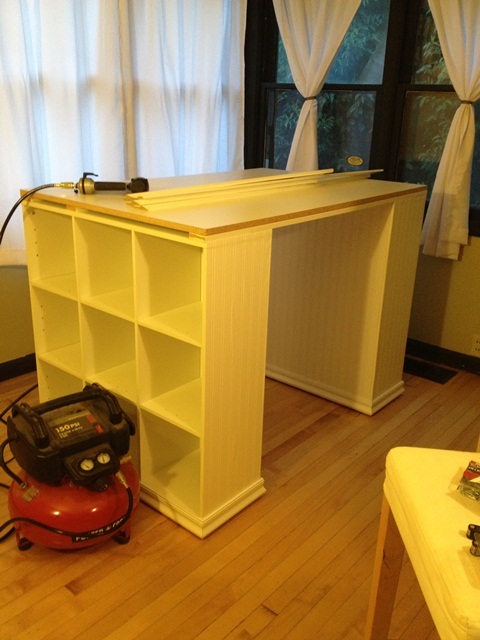
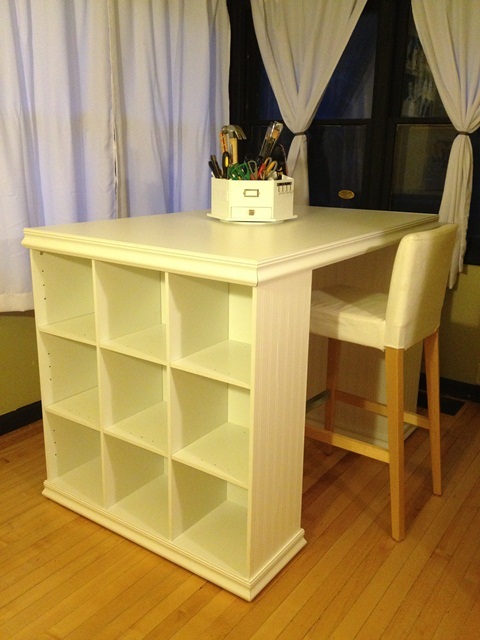
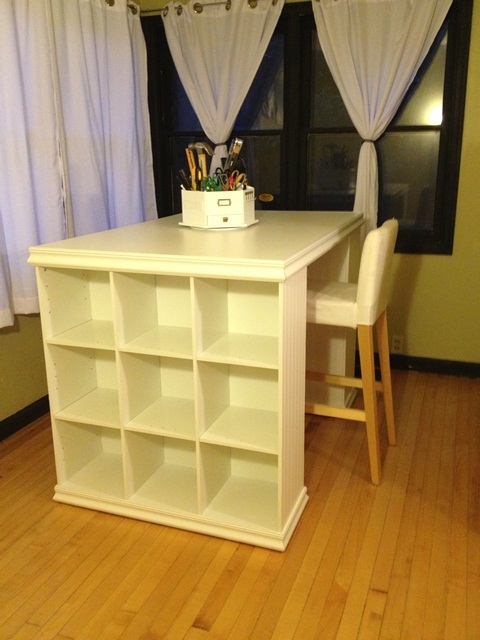
Kristi's Craft Desk
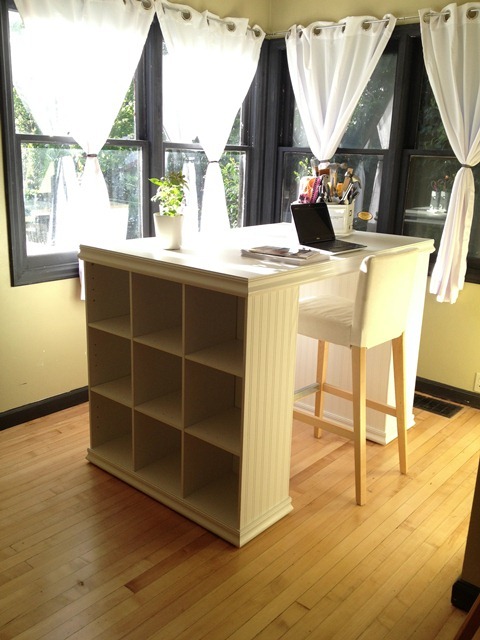
This was my FIRST Ana White project ever! I really wanted the PB version of this desk, but didn't want to spend $1,200 (cough, cough, gag)!! I started out with Closet Maid cubbies (since I had never used a power tool - ever) just to be safe. Then, I went to Home Depot and got the MDF for the table top, and had the hubby help me figure out how much moulding to get (because it HAD to be fancy, darnit). I raised the height with 3 support boards across the top and the hubby made some feet for the cubbies. Then I attached the moulding. On the sides and back of the cubbies I used spray adhesive and paintable beadboard wallpaper! That stuff rocks! And it's really cheap at Lowe's.
I didn't get very detailed photos as this was my first project and I was so excited I didn't want to stop. Now all I have to do is fill in the nail holes and throw a coat of paint on it! The best part: The whole thing cost under $300!! AND the Ikea chair that I almost gave away fits and matches perfectly! Someday I will build matching chairs (1 for each side so I can craft with a gal-pal), but for now my craft room looks pretty awesome. Thanks Ana!!

Built from Plan(s)
Estimated Time Investment
Afternoon Project (3-6 Hours)
Recommended Skill Level
Beginner
Extra wide shoe bench and cubby area
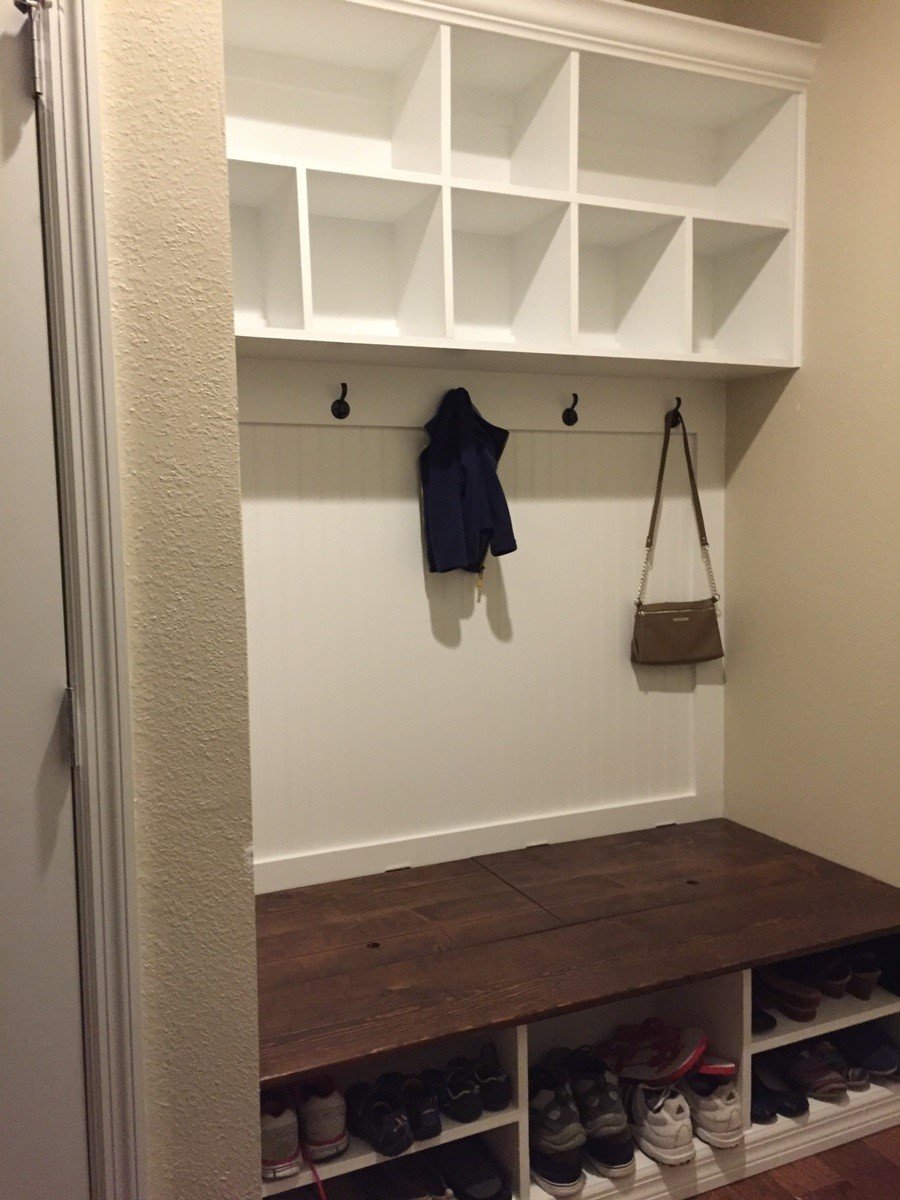
Modified the cubby plans to just be 5 cubby's wide. My wife wanted white so I dressed it up a bit with the bead board, trim and crown moulding.
Built from Plan(s)
Estimated Time Investment
Week Long Project (20 Hours or More)
Finish Used
Early American Stain/Lacquer/ Sherman Williams Extra White
Recommended Skill Level
Intermediate
Comments

Wed, 12/30/2015 - 11:11
I love your entryway! The
I love your entryway! The white is great, the moulding really makes it beautiful! Thanks so much for sharing it!
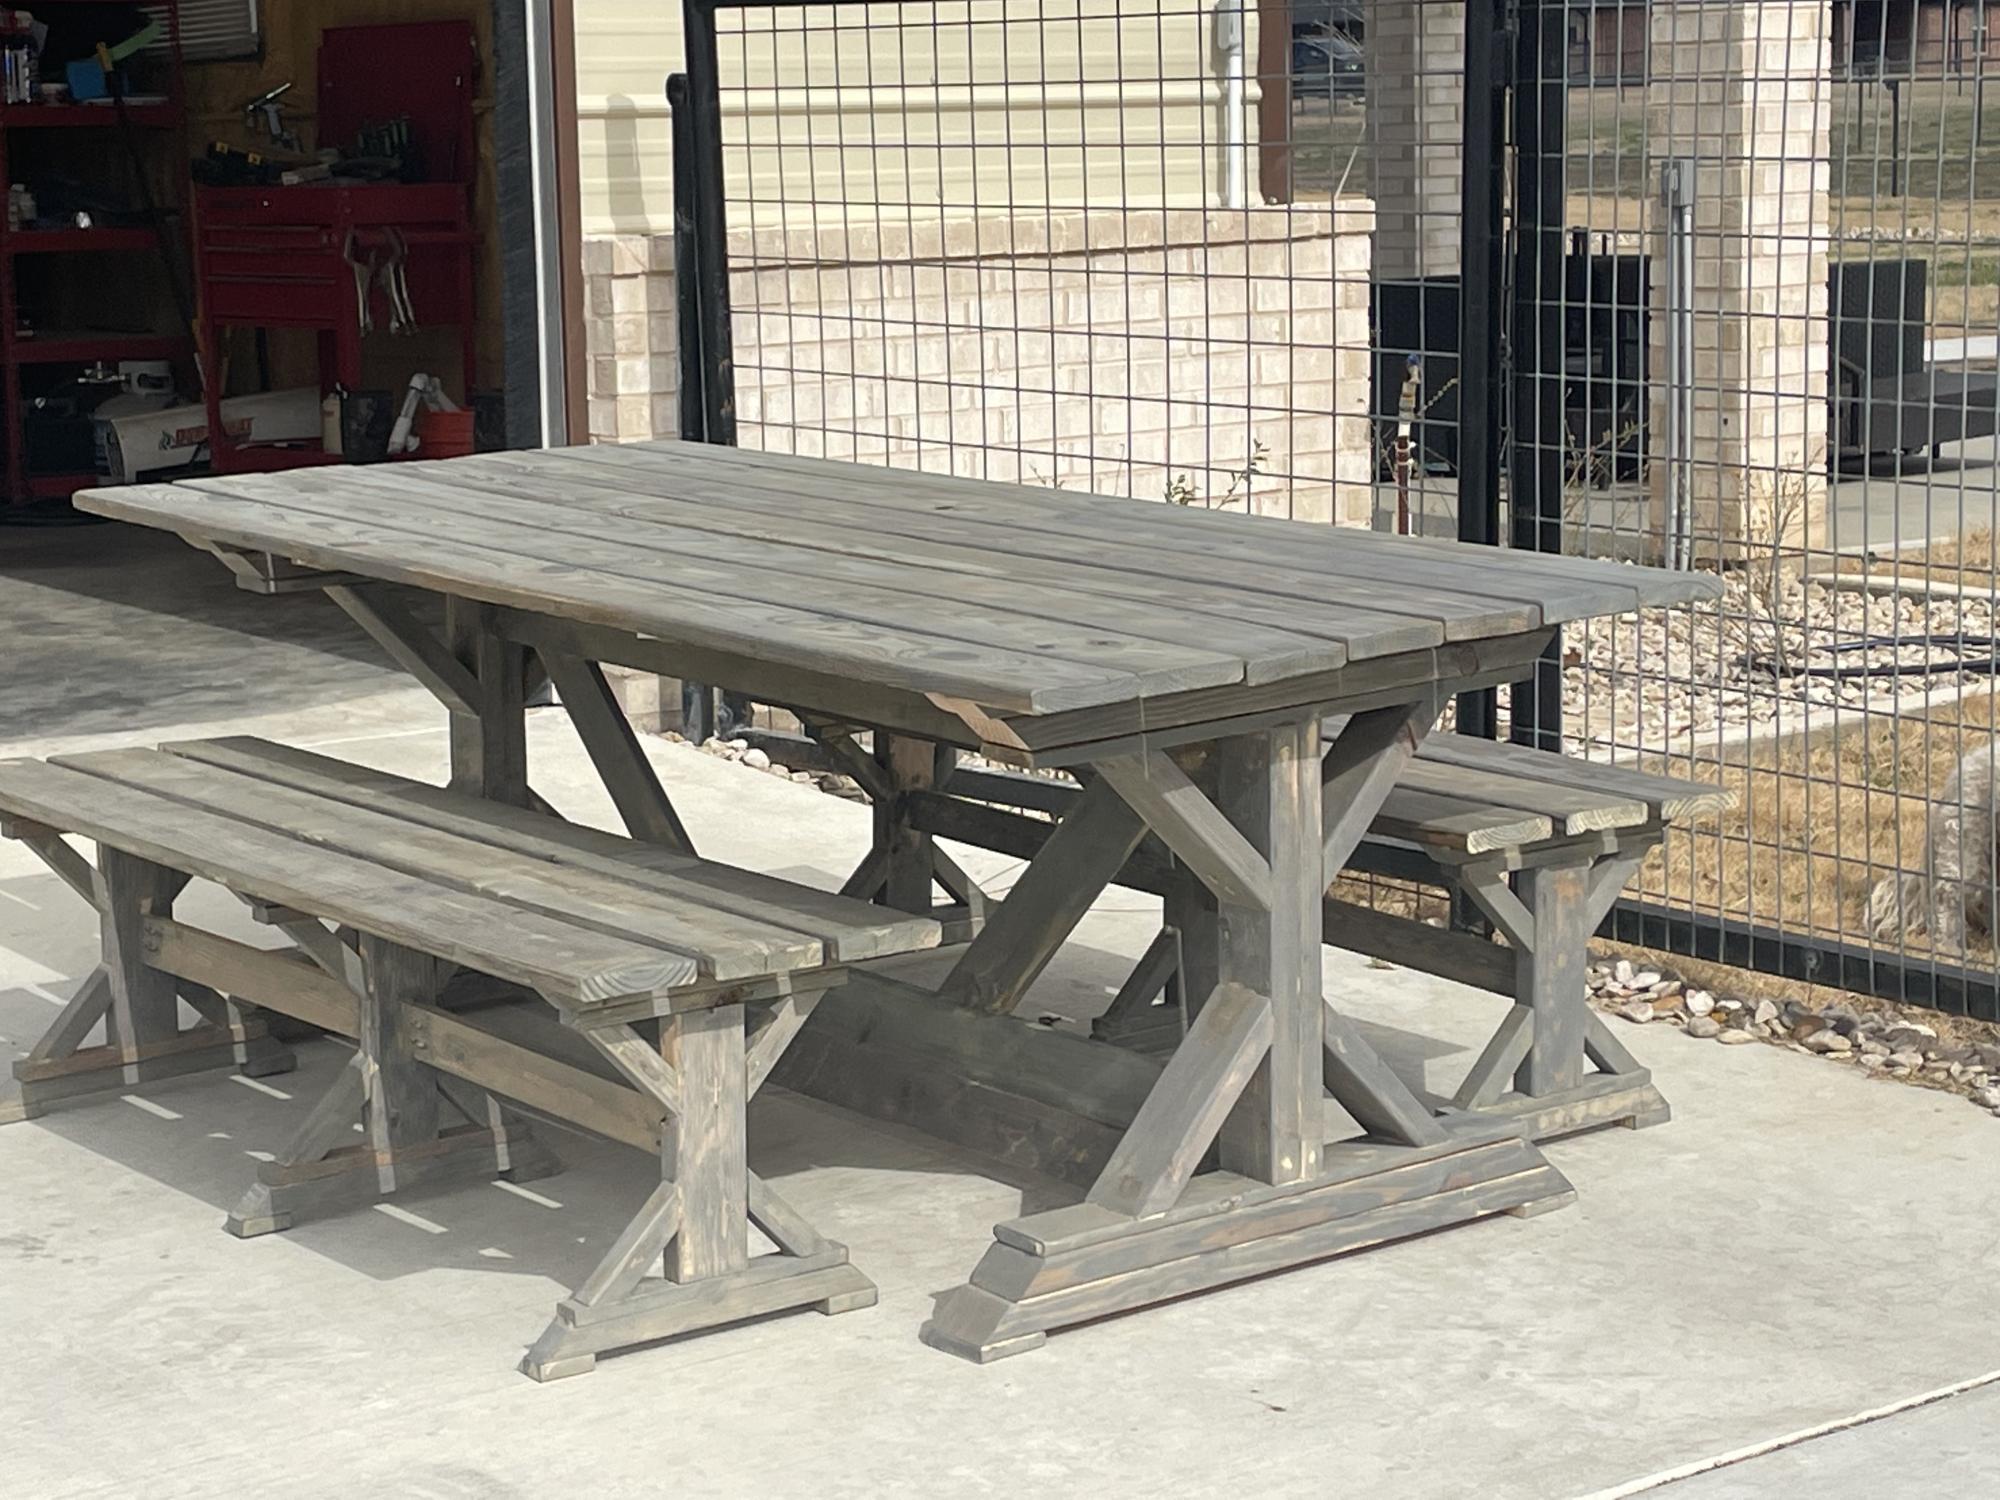
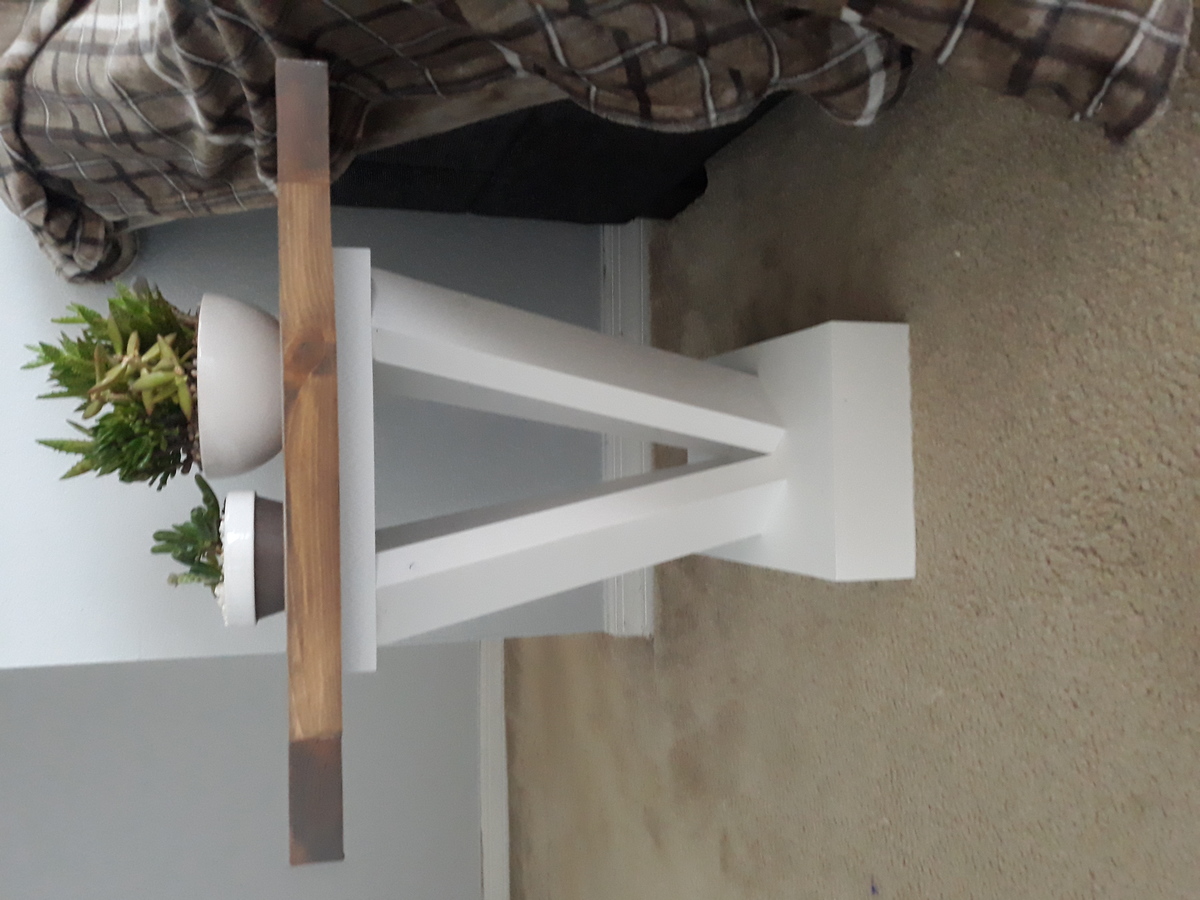
Handcrafted table set
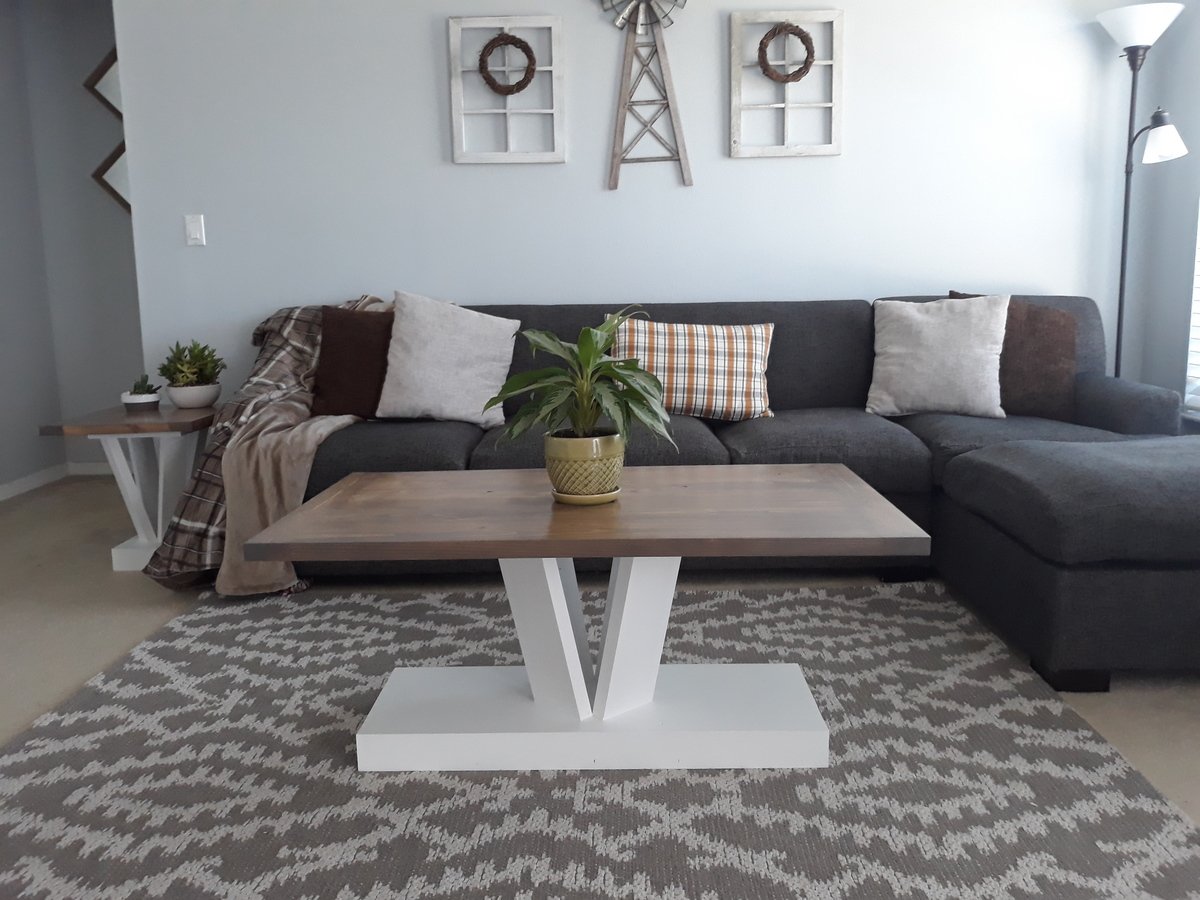
I was tired of browsing the market place and seeing the same traditional farmhouse design coming from just about everyone in the woodworking industry. It seems as though the market place is inundated in the same 4 leg, and cross support design. I designed these to go against the grain. They were my first project ever and were sold within days. They had nearly 3k views within the first 2 weeks on facebook. I am particularly proud of them.
Estimated Cost
$120
Estimated Time Investment
Weekend Project (10-20 Hours)
Finish Used
Briarsmoke varathane stain
Lacquer finish
Swan white legs support w/ poloycrylic finish
Lacquer finish
Swan white legs support w/ poloycrylic finish
Recommended Skill Level
Beginner
Comments
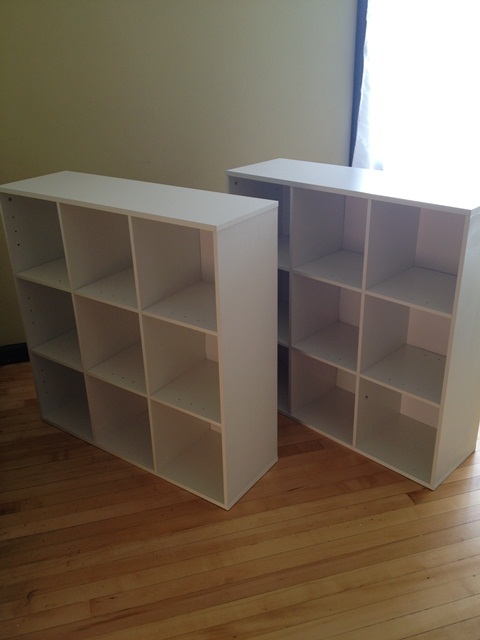
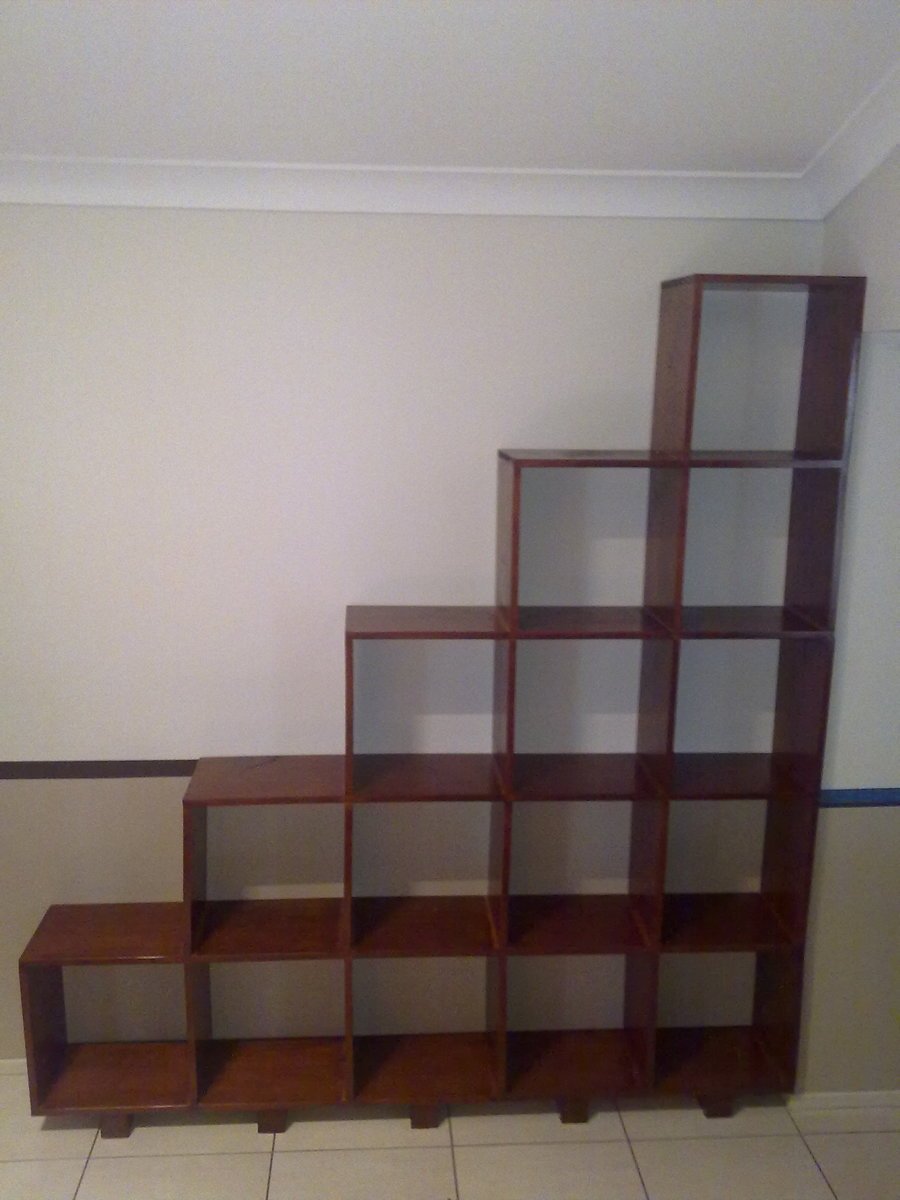
My First Ever Project
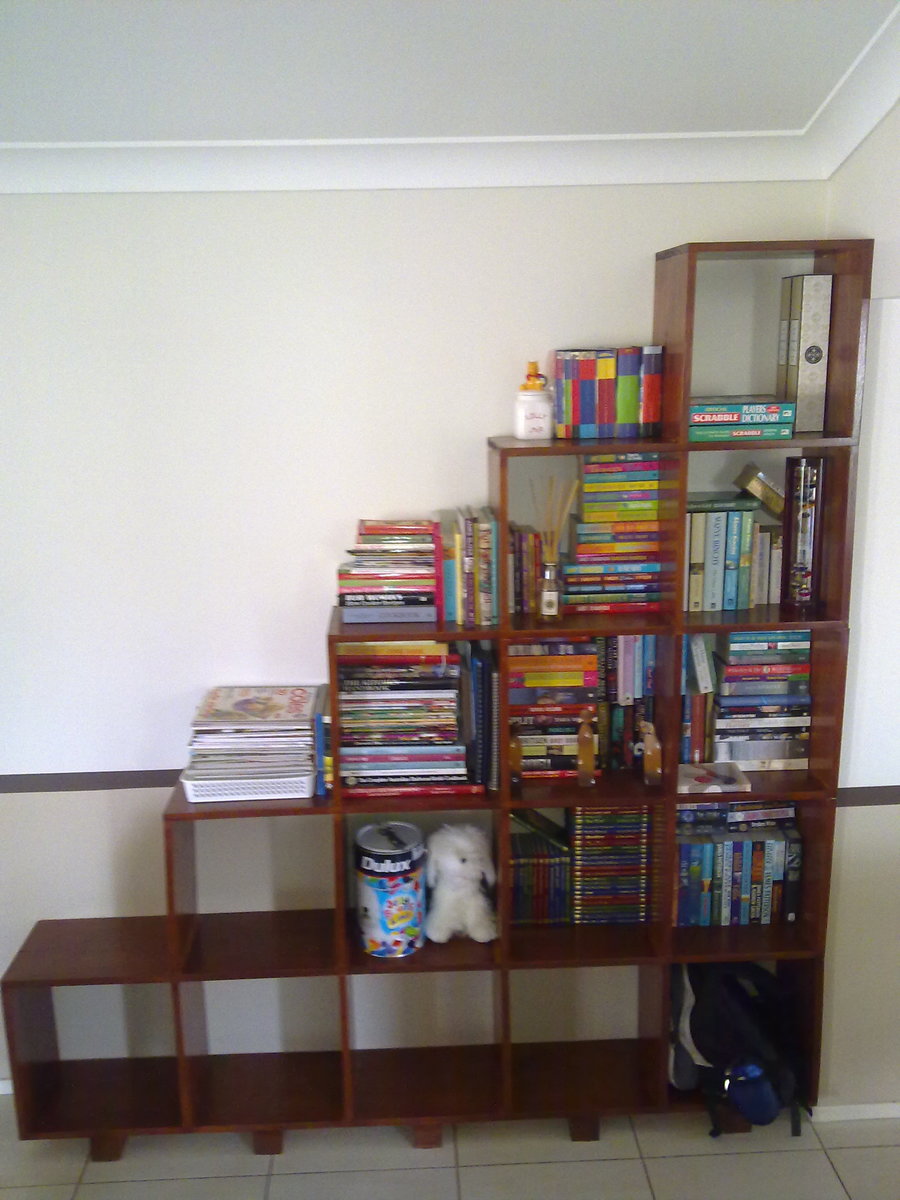
I've never built anything before. Not a single thing. When I couldn't find a bookshelf I liked in any stores I decided to build one and modified the 25 Cubbies On A Wall design to make it something a little different.
I'm stoked with the result.
Thank you for such a great site with wonderful plans.
My partner has now asked me to "whip up" a kitchen island, entertainment unit, more bookshelves and the list goes on.
I might need to look at some more of your plans.
Finish Used
Gloss stain and vanish - water based
Recommended Skill Level
Beginner
Comments
Wed, 10/19/2011 - 16:19
Type of timber
I don't really know how to describe the wood because I'm truly a novice, but here goes:
It's 29cm deep and approximately 2cm thick.
The bottom shelf is 2m long and each cube is 40cm x 40cm. So to build this I got 2x 200cm sheets, 1x 160cm, 1x 120cm, 1x 80cm and 21x 40cm.
I measured and marked then glued and screwed the verticals to the shelves, then used dowel and glue to attach each row to the row below.
I decided to put feet on the bottom so I could lift it above the skirting boards on the floor and have it sit more flush against the wall.
I hope this explains it OK.

Sun, 10/16/2011 - 11:58
Lumber size
looks like 1x12, but you could do it with 1x10 just as well.
That's a slick design, too.
Wed, 10/19/2011 - 16:27
Slick design
Thank you for your comment. I knew I didn't want a standard everyday bookshelf design and when I saw the "25 Cubbies" design my little head started ticking over and this is what I came up with.
I've seen a few similar things around, but nothing fit exactly what I wanted and there was certainly nothing of this size for a reasonable price.
You can imagine my joy when I found this website and the plans that I could modify to build exactly what I wanted.
I'm really very happy with how it worked out!
Wed, 10/19/2011 - 16:36
Re: Congrats
Thank you for taking the time to post your comment.
I'm really happy with the end result.
I never thought I'd be able to put together something like this. I always knew I could hammer a nail or put in a screw, but to build something that's actually functional and looks kinda good too, I never thought I'd be able to pull it off.
Needless to say, my confidence is now soaring and I'm looking forward to my next few days off work so I can do some more projects for around the house.
My father has asked me where I get my building skills, to which I reply with a grin that I don't know but I always thought I looked a little like the milk man :)
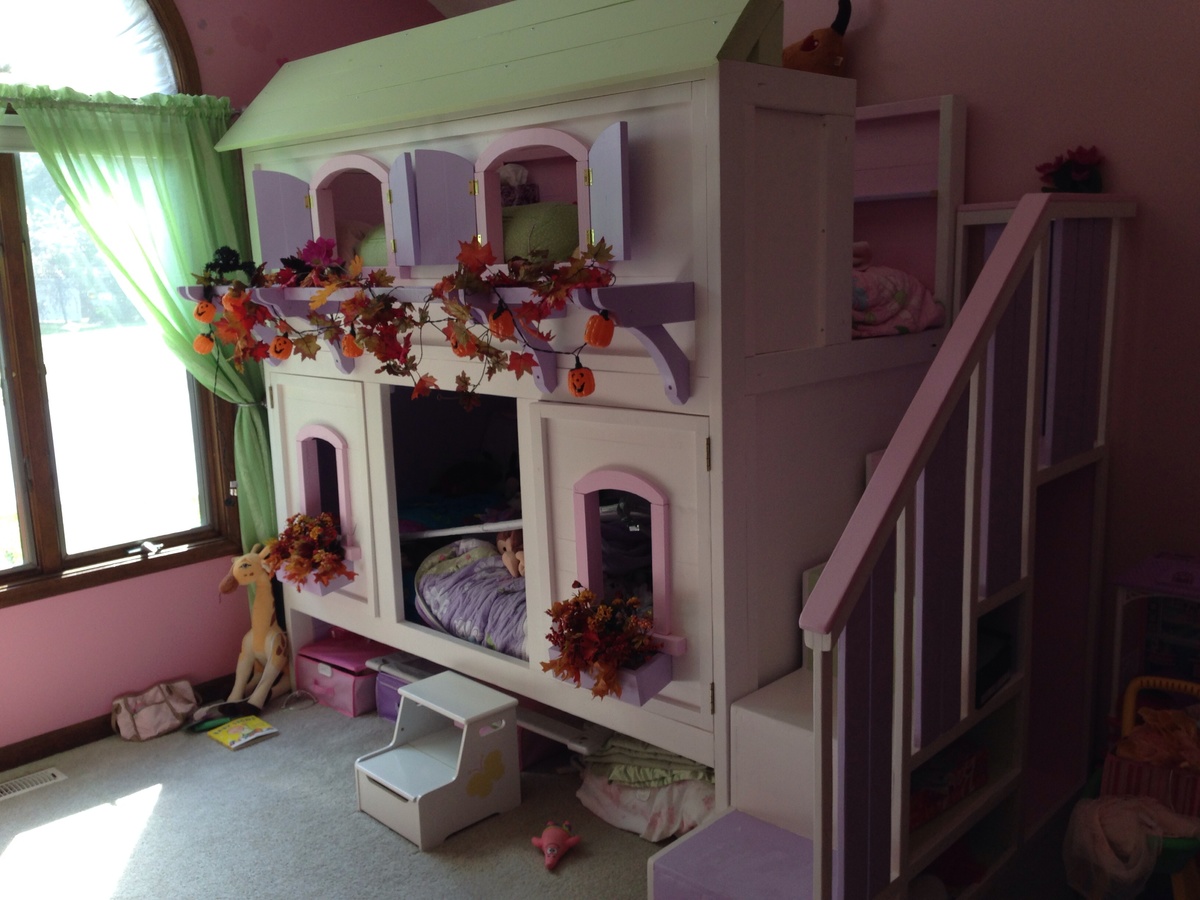
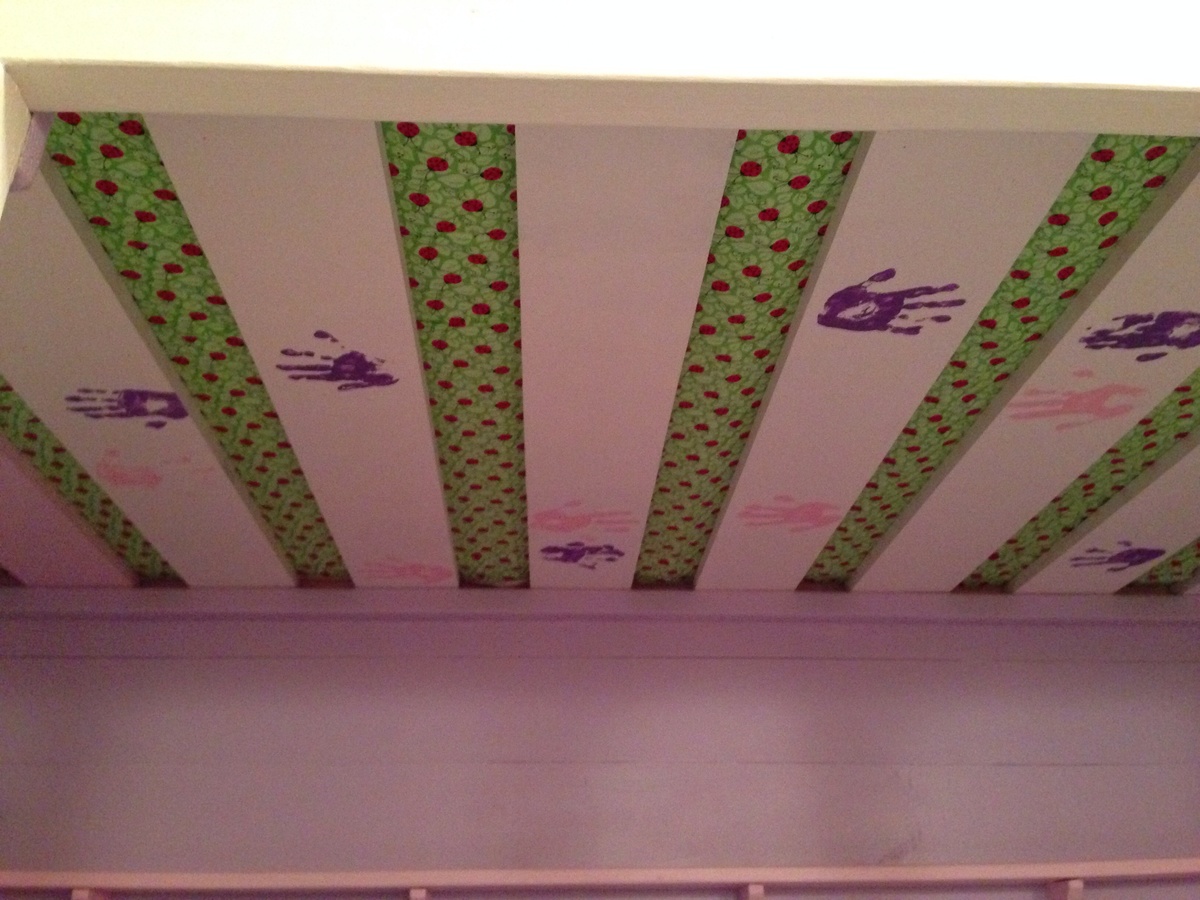
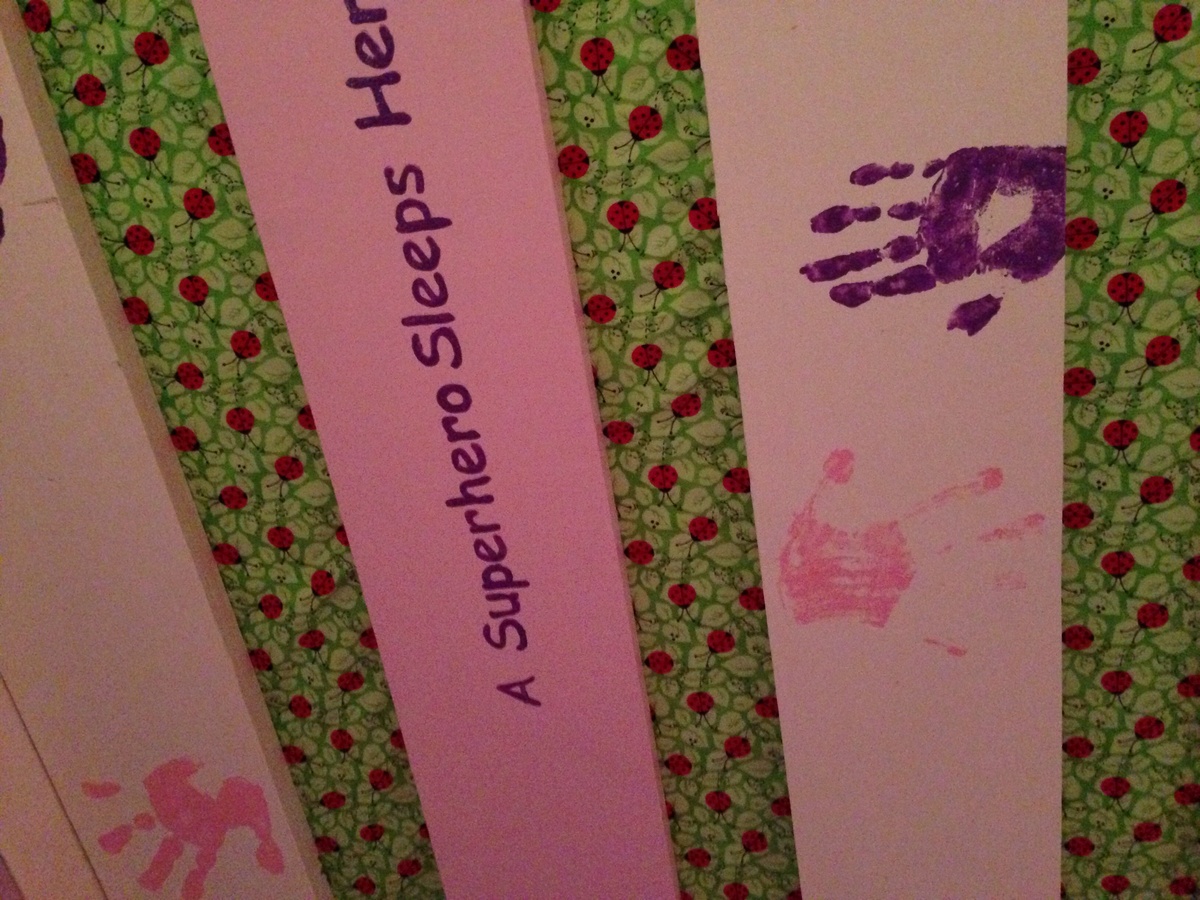
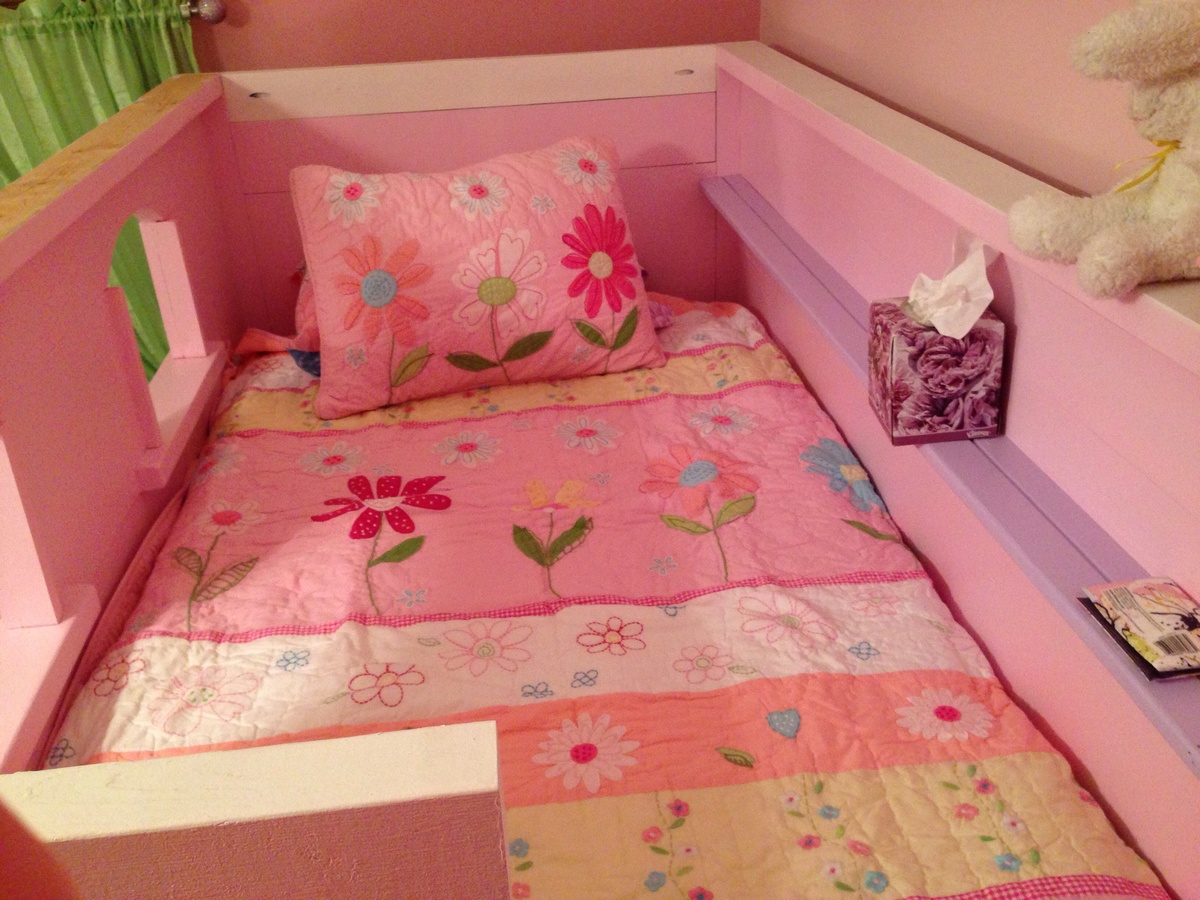
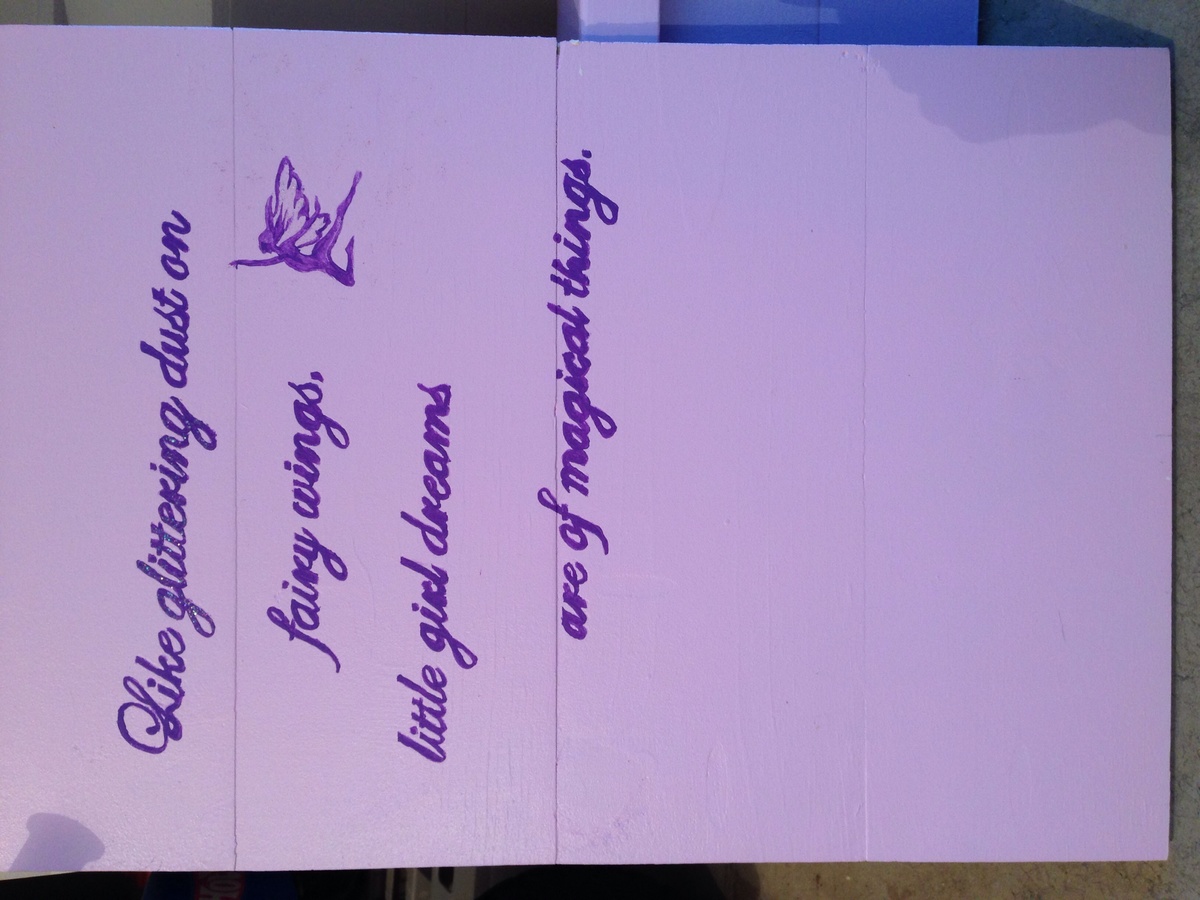
Sweet Pea Garden Bed
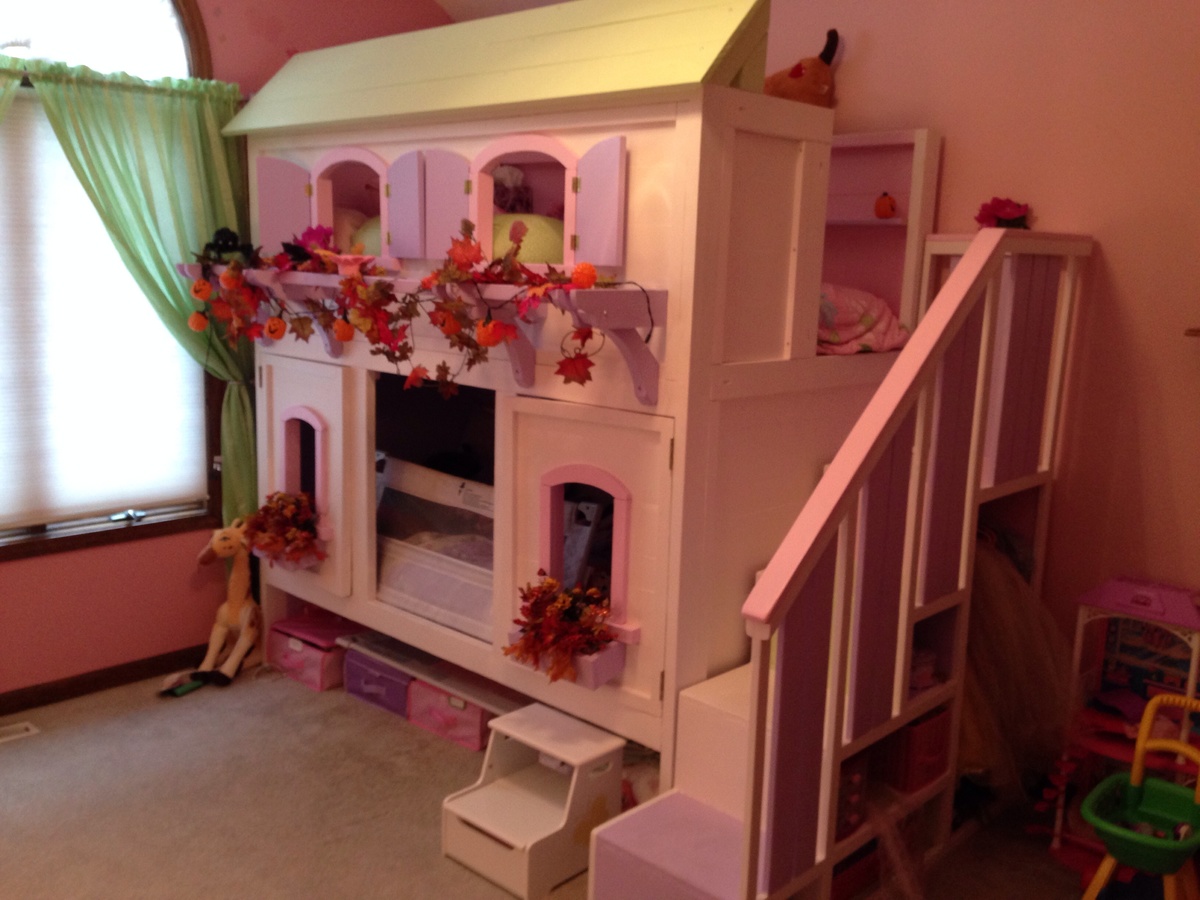
This project was a lot of work, but was so worth it. It took my husband and myself a month of working weekends and some evenings. We have 2 little girls that adore it. I think the little touches make it perfect. We have not completed the storage boxes, but they are in the beginning stages. We did alter the plans slightly as we liked the bottom doors to open so that I didn't have a tiny hole to crawl into to make the bed. We also made the space under the tallest step a closet area to hang up all their dress up clothes. I think this is one of those great projects you can make your own.
Built from Plan(s)
Estimated Cost
$700
Estimated Time Investment
Week Long Project (20 Hours or More)
Recommended Skill Level
Beginner
Comments

Sun, 10/13/2013 - 12:10
Great Job!
I love the modifications you did on the lower bunk for easier access. And the little touches on the bed slats are fantastic. My girls say they want a bed exactly like this, nevermind that they already have it, haha!
Thu, 10/17/2013 - 08:24
Thanks!
We love this bed! Your plans were fantastic! Although it was a lot of work, it was so worth it. We have 2 friends now that are looking into making this bed for their girls. This bed is a dream come true. What little girl wouldn't want to have this in their room?
Garden bench
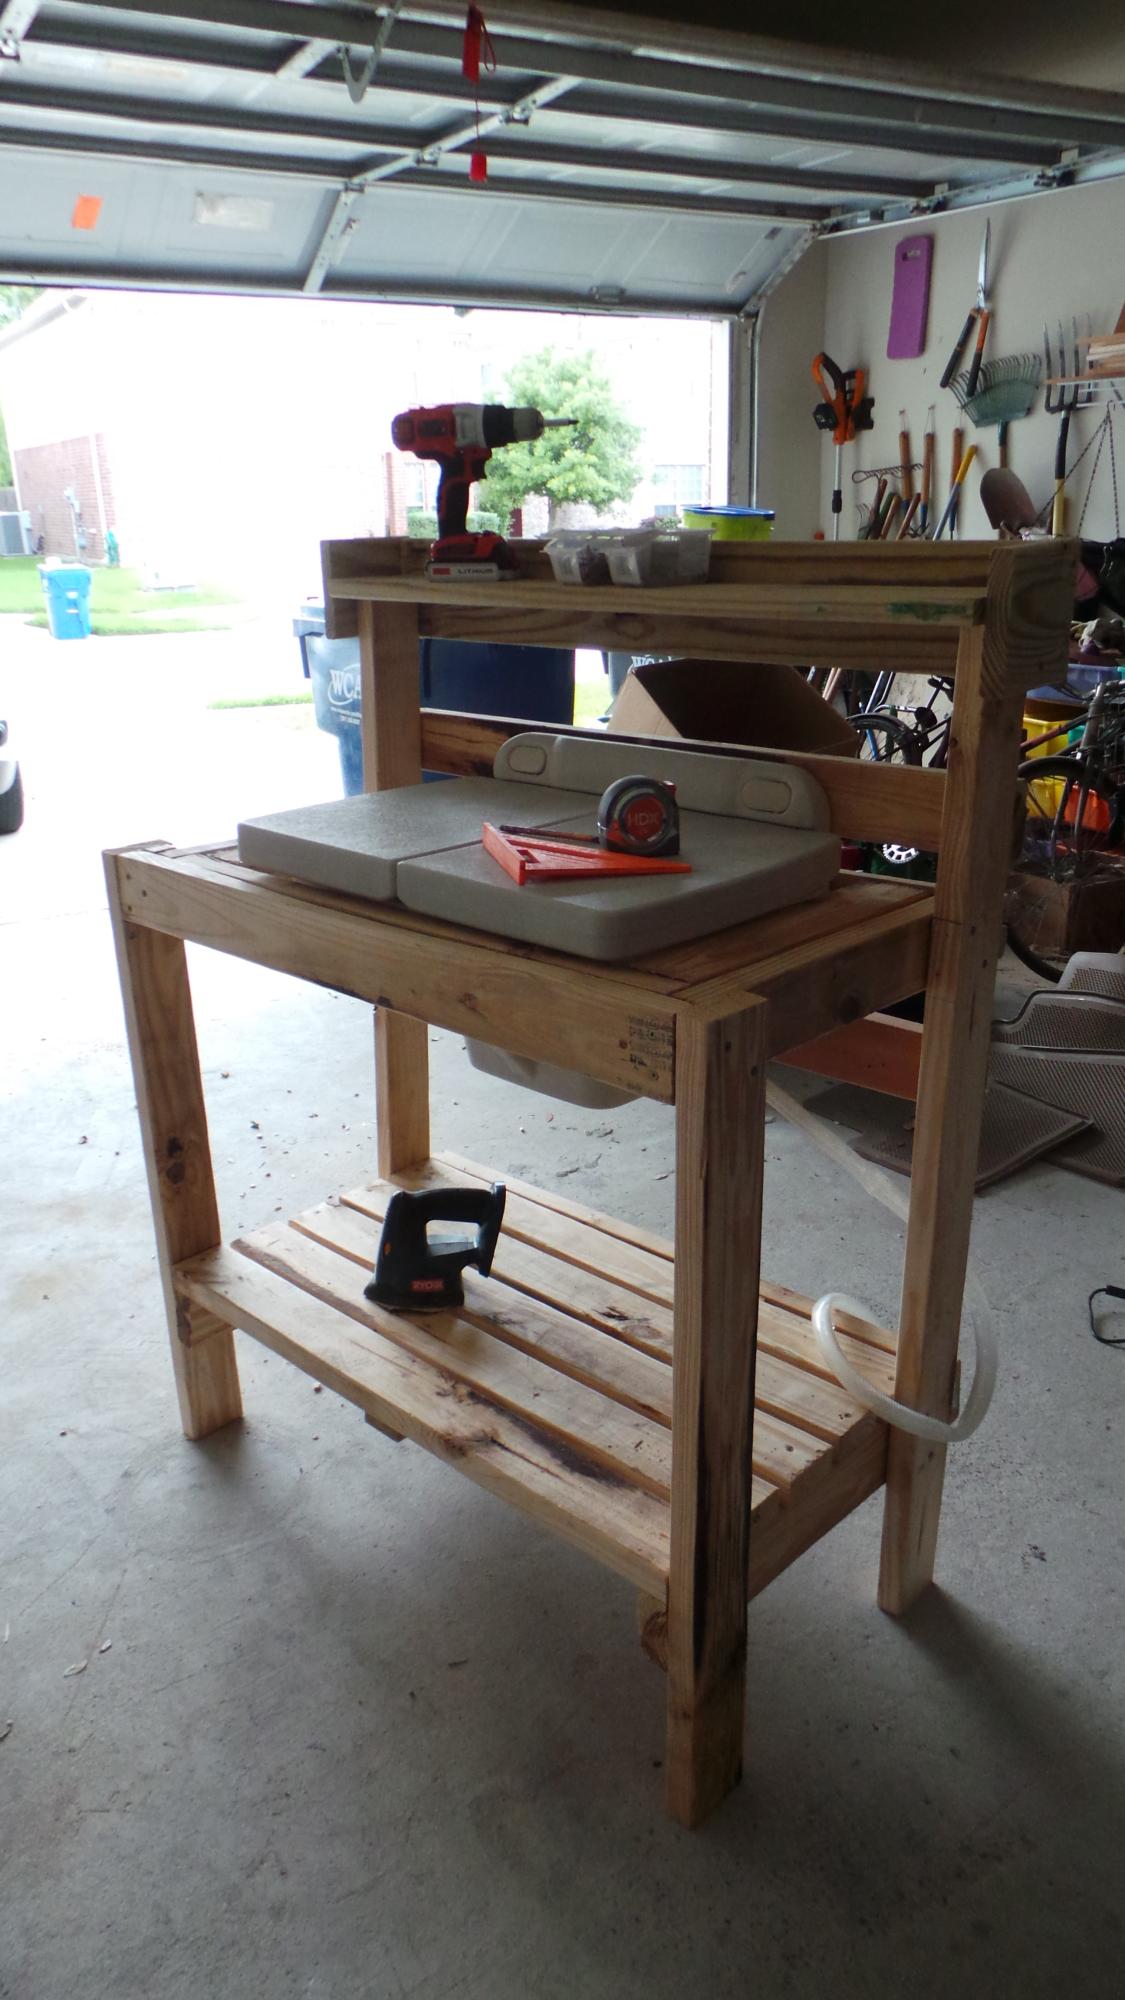
The plan had excellent bones, though I modified the top to hold a sink for rinsing and cleaning. It is now painted "San Antonio Rose", and resides happily in the backyard.
Built from Plan(s)
Estimated Time Investment
Weekend Project (10-20 Hours)
Finish Used
Benjamin Moore San Antonio Rose, enamel
Recommended Skill Level
Intermediate
Comments

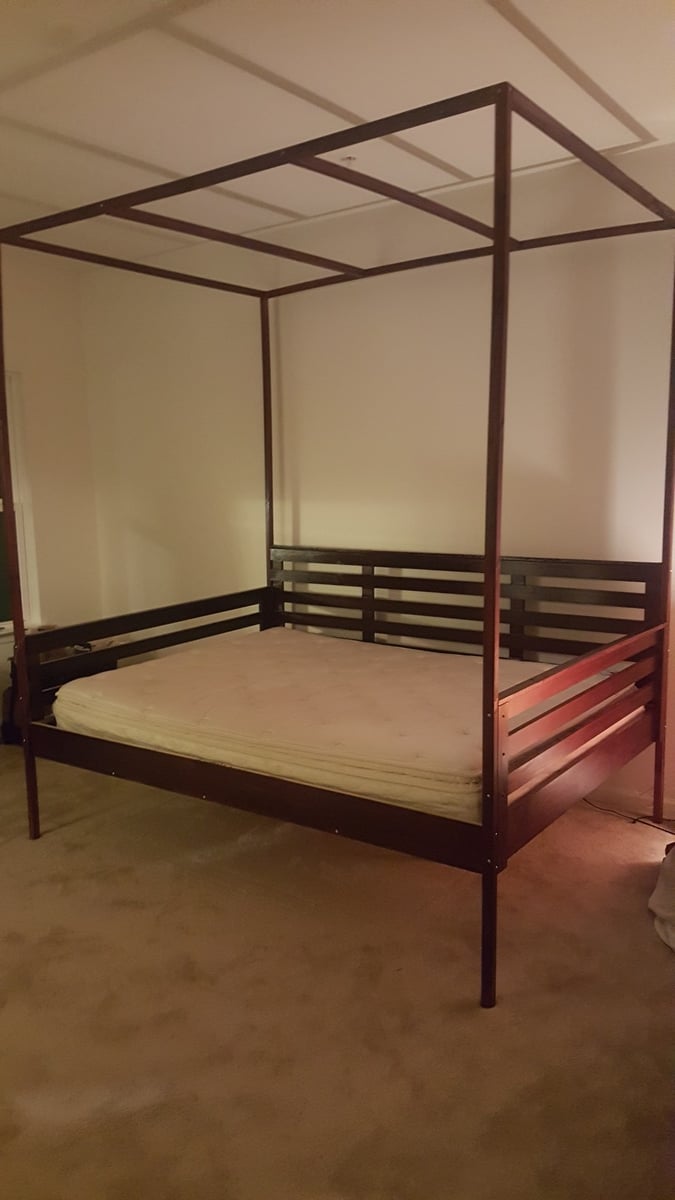
Queen Size Day Bed
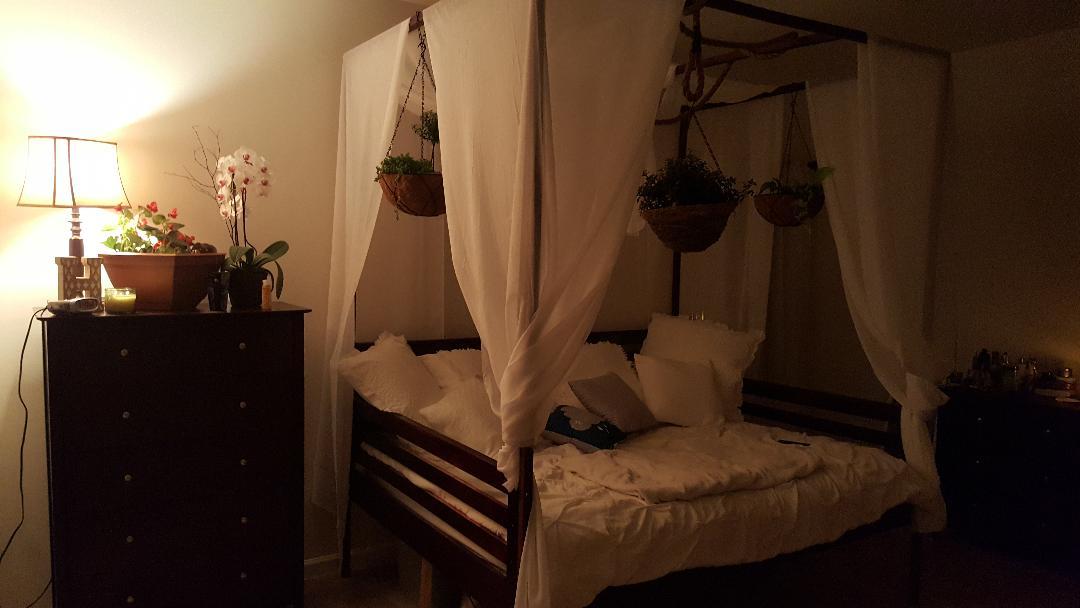
This is such an easy plan to make. It was my first time making ANYTHING but I was motivated by saving money. The original bed like this from a store was 1700 dollars. I did make a few beginner mistakes but figured it out. I changed some of the measurments to fit my queen size mattress and of course its for my actual bedroom and not patio... I get so many compliments!! Hope you like it.
Estimated Cost
400.00 it was only so expensive because I had to by all the tools... worth every penny
Estimated Time Investment
Weekend Project (10-20 Hours)
Finish Used
Mahogany stain with a satin finish
Recommended Skill Level
Beginner
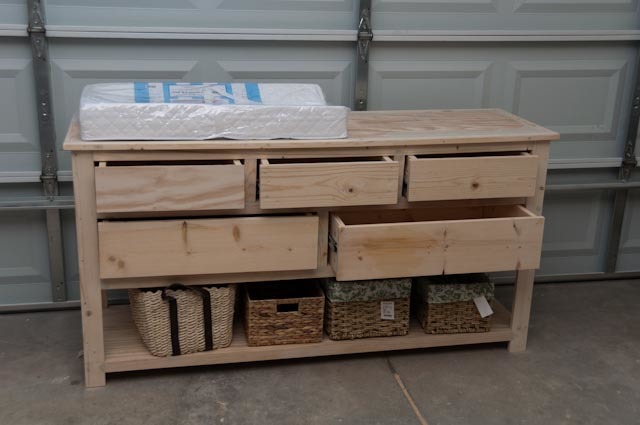
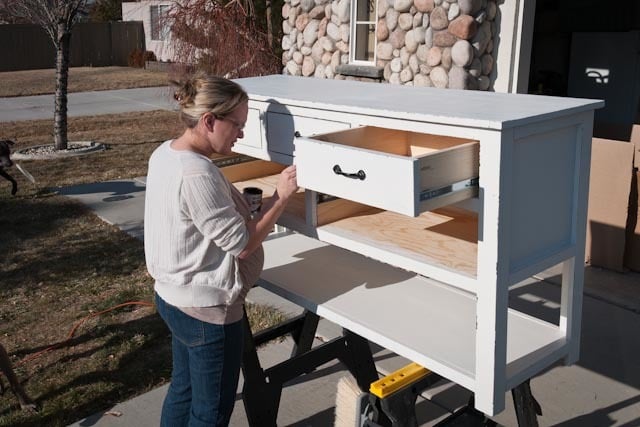
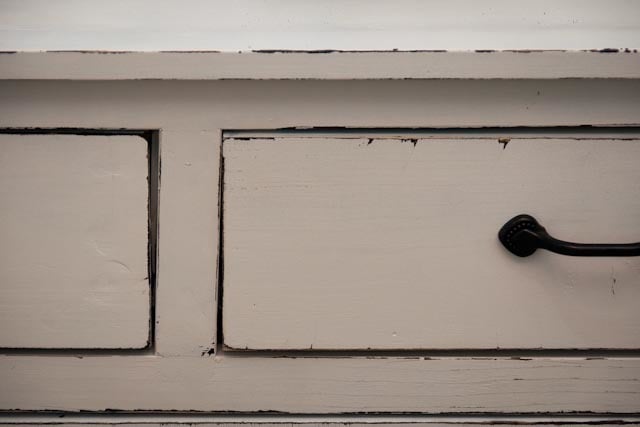
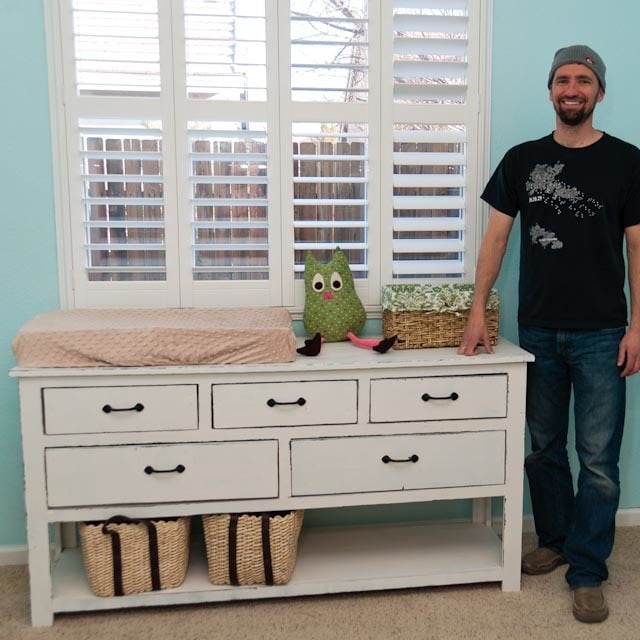
Nursery Changing Table Dresser
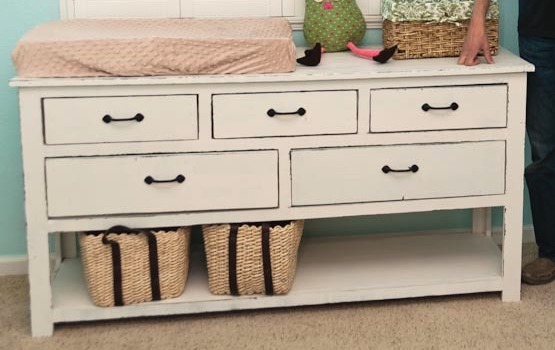
Had fun watching husband figure this out. Drawers were tough and trying to antique something for the first time was too. But I am so thankful for it!
Built from Plan(s)
Comments
Tue, 02/07/2023 - 10:54
Great changing table dresser!
Looks like you got it figured out, beautiful job! Thank you for sharing:)
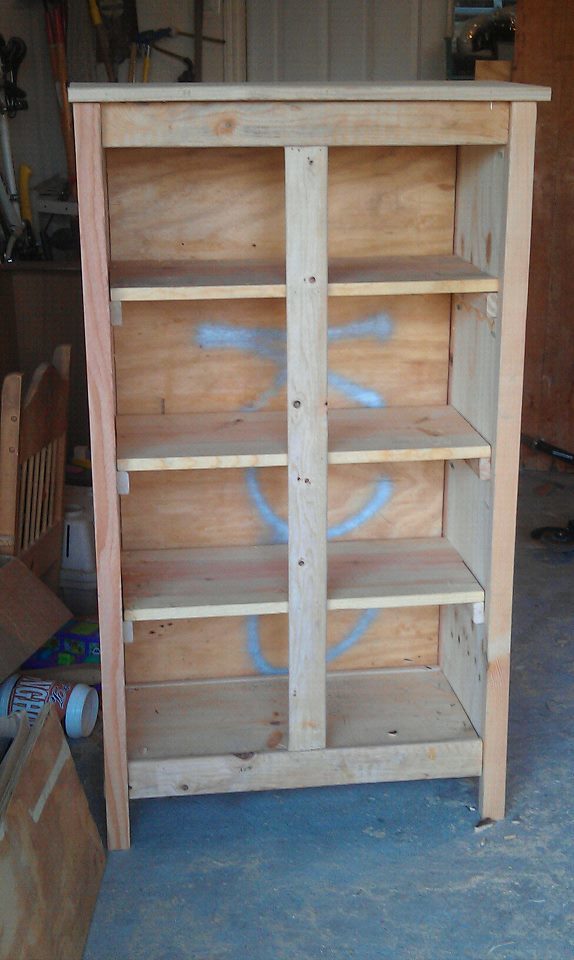
Firefighter Locker
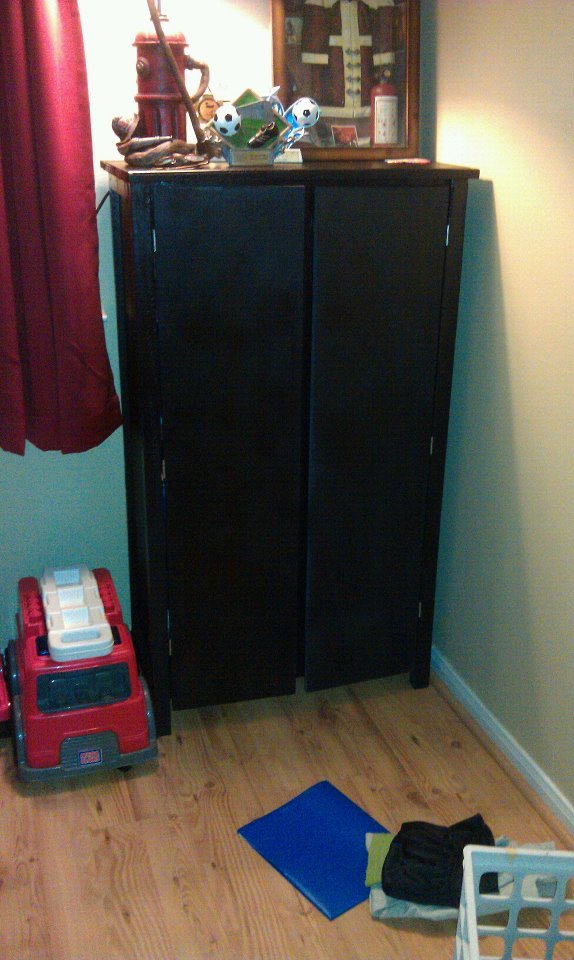
IKEA dresser drawers bit the dust....SURPRISE! So I needed a dresser and quick. Then after a trip to our fire fighter museum I decided to make lockers instead.
I used the basis from the beach cottage dresser, omitted drawers and used shelves and doors instead.
Built from Plan(s)
Estimated Cost
20
Estimated Time Investment
Day Project (6-9 Hours)
Finish Used
dark grey primer
satin black spray paint
satin black spray paint
Recommended Skill Level
Beginner
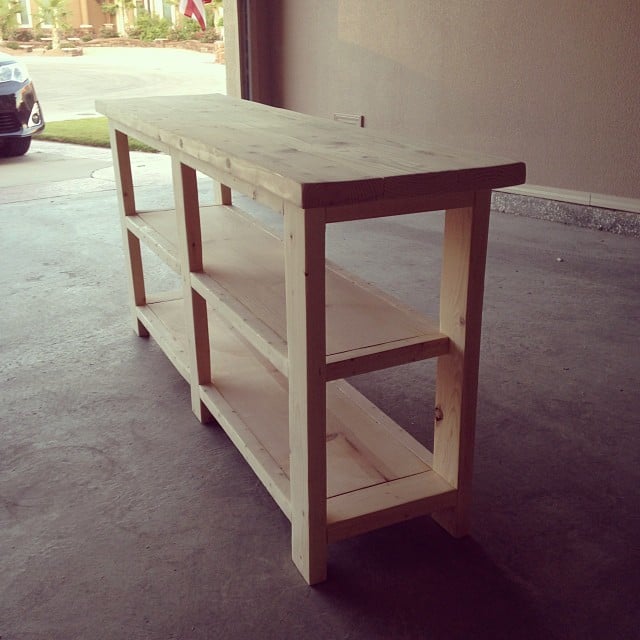
Rustic X Console Table
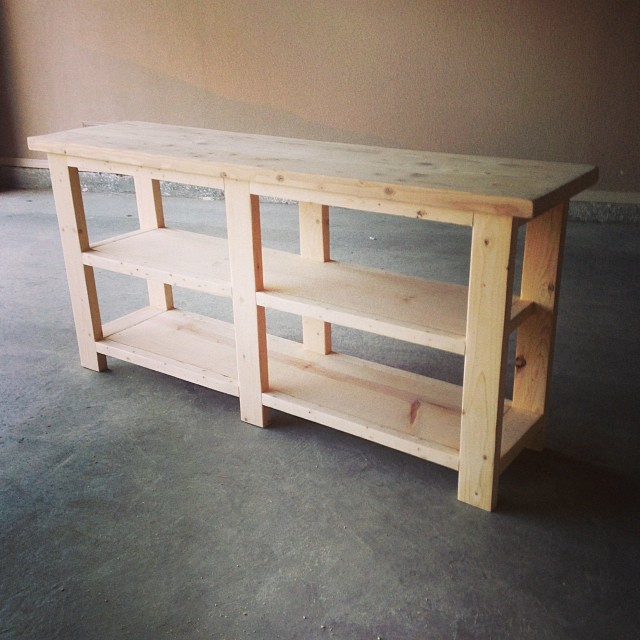
We built this console table after the rustic X coffee table and end table. We have learned from previous experience to cut the "X" last, marking them against the frame instead of measuring to cut. This time, my husband made a suggestion to leave the X's out and it was great! The console table still goes very well with the rustic X coffee table and end table, but without the X, it also fits well into other rooms we can use it for. In the end, we are very happy with the result!
Built from Plan(s)
Estimated Time Investment
Day Project (6-9 Hours)
Finish Used
Conditioned, stained in Kona, and matte finish
Recommended Skill Level
Beginner
Planter
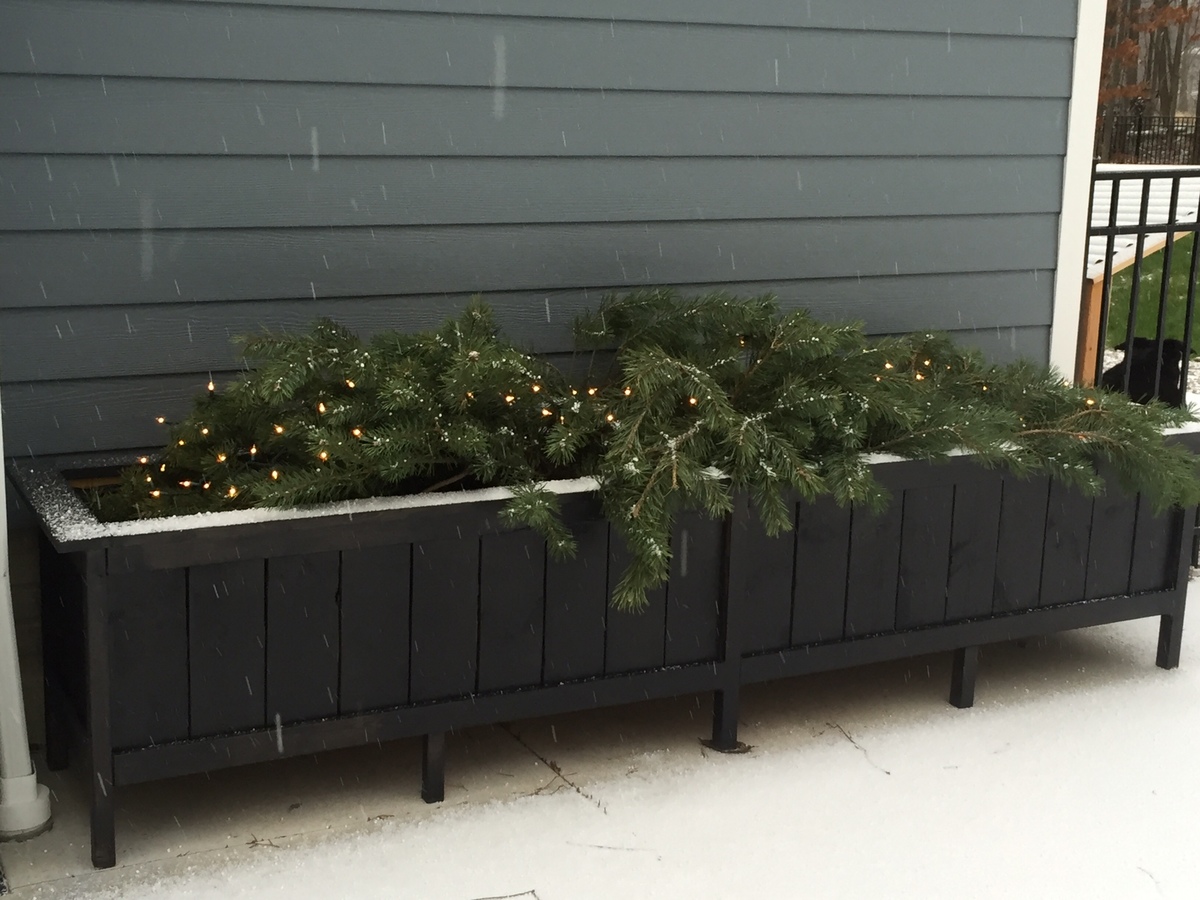
Tripled the dimensions, filled with mums for the fall. Now pine boughs and fairy lights! Love!
Built from Plan(s)
Estimated Time Investment
Weekend Project (10-20 Hours)
Finish Used
Outdoor stain, poly
Recommended Skill Level
Beginner
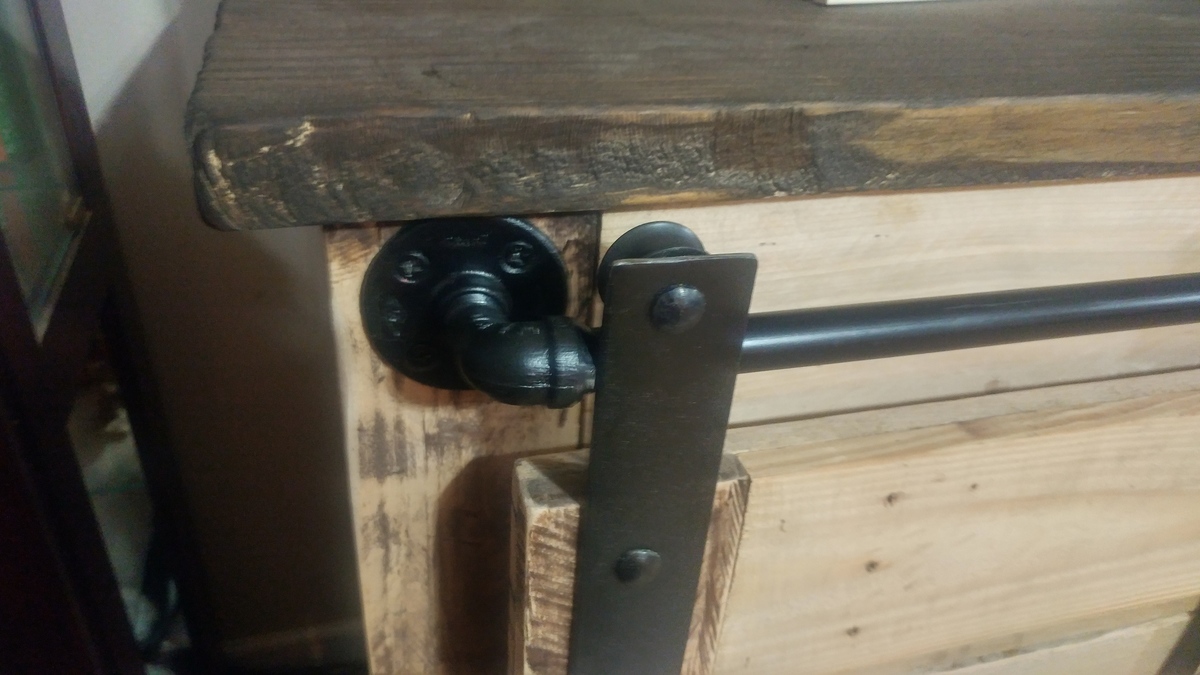
Grandy barn door console
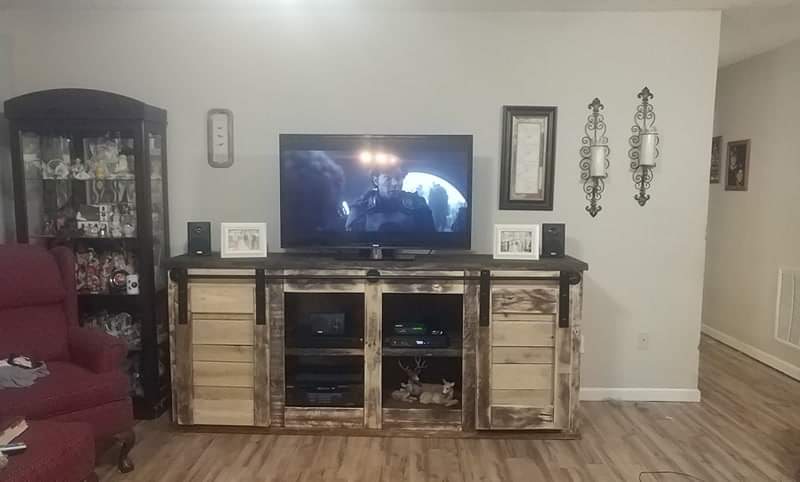
I had a different idea for the barn door hardware. I used 1/2" black pipe and fittings for the rail . I found rollers on eBay that were perfect for this application. It went together great and I love the industrial look .
Built from Plan(s)
Estimated Cost
300.00
Estimated Time Investment
Week Long Project (20 Hours or More)
Finish Used
Minwax dark walnut
Recommended Skill Level
Intermediate
Shiplap Fireplace
Beautiful Shiplap Fireplace By Adam Morrison
Built from Plan(s)
Comments
Ana White Admin
Sat, 01/21/2023 - 15:39
Great dining set!
Thank you for sharing, looks beautiful!