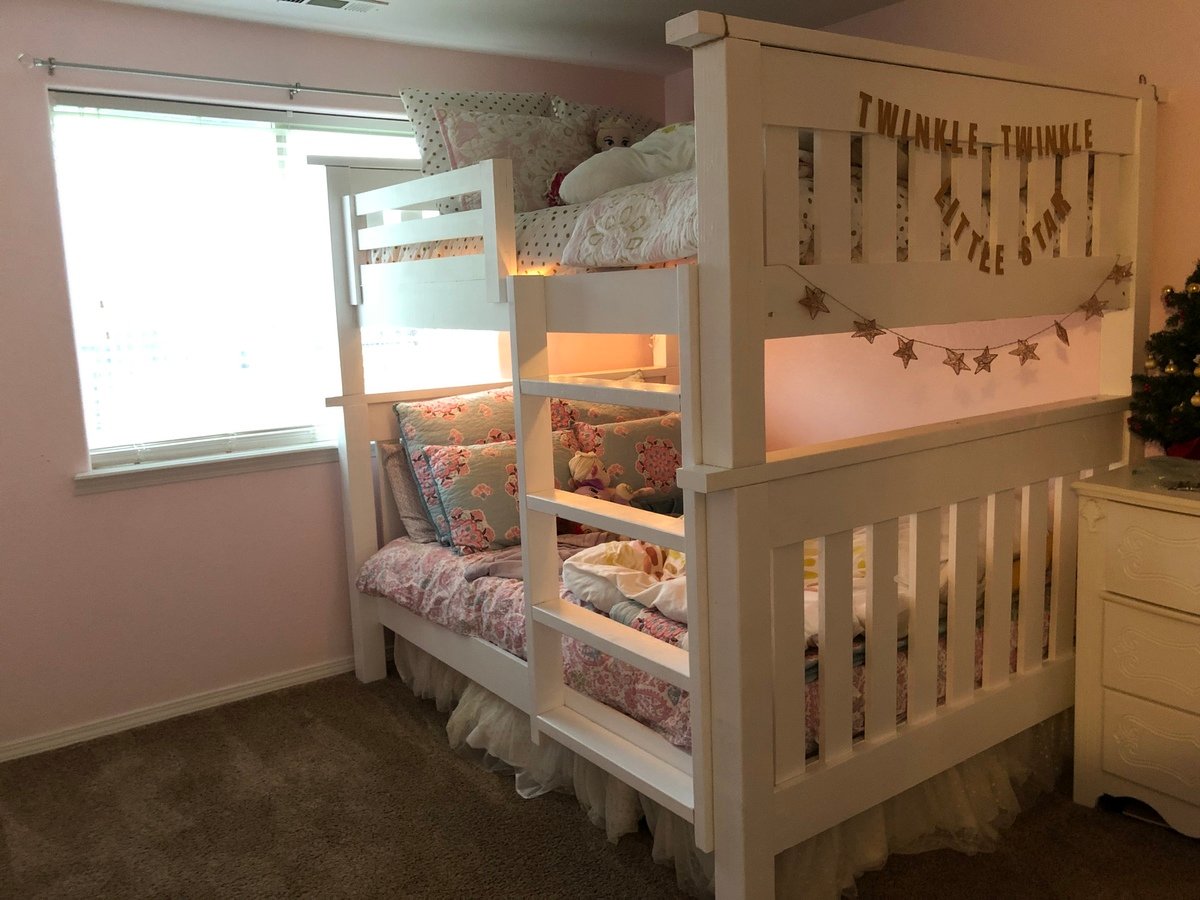
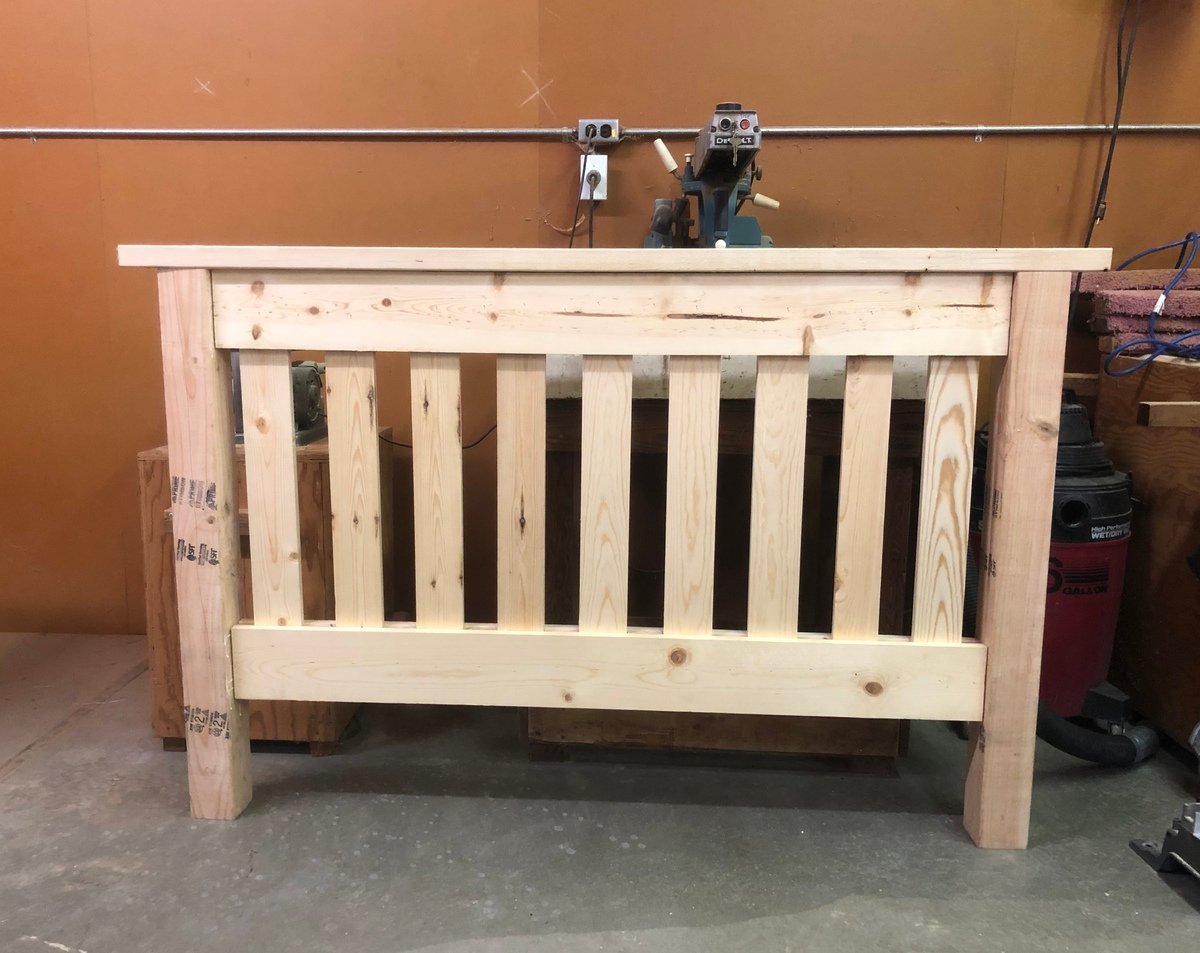
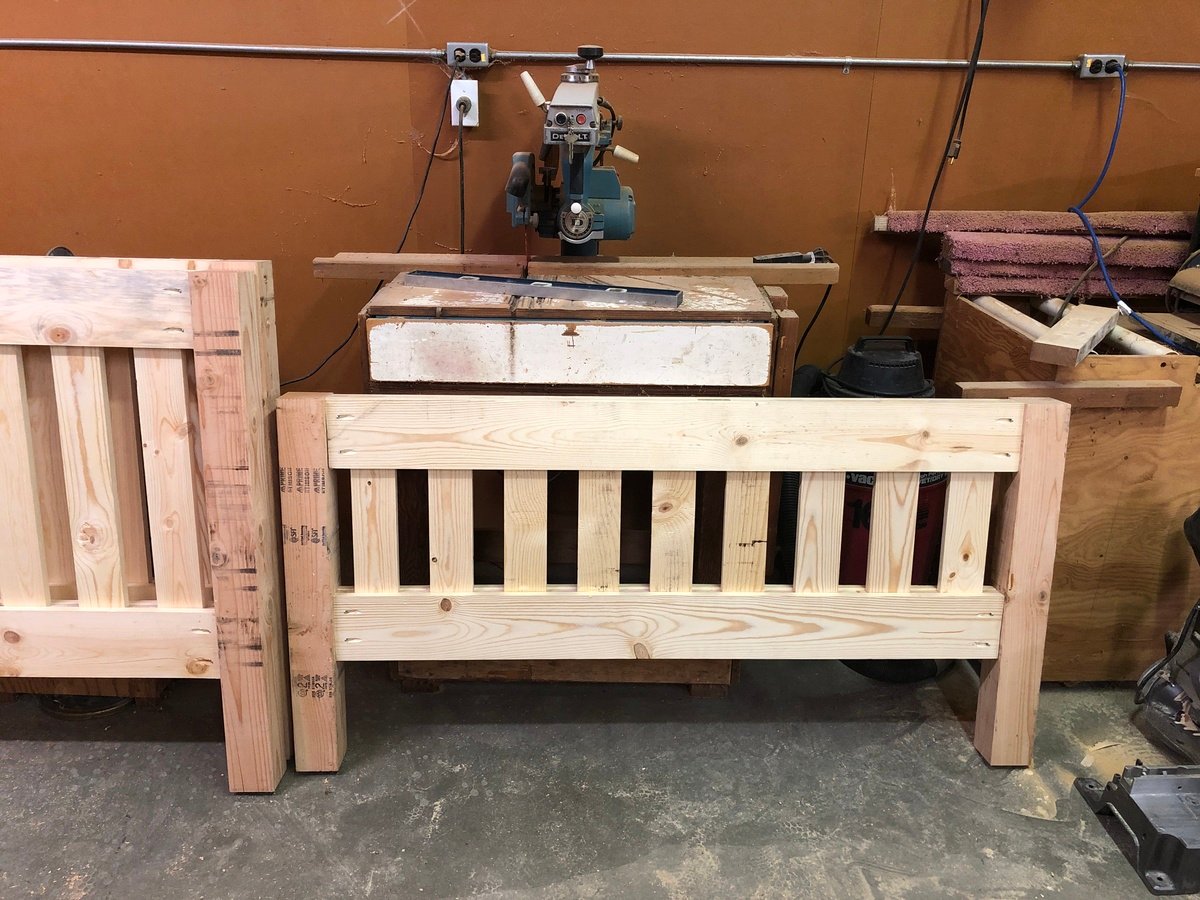
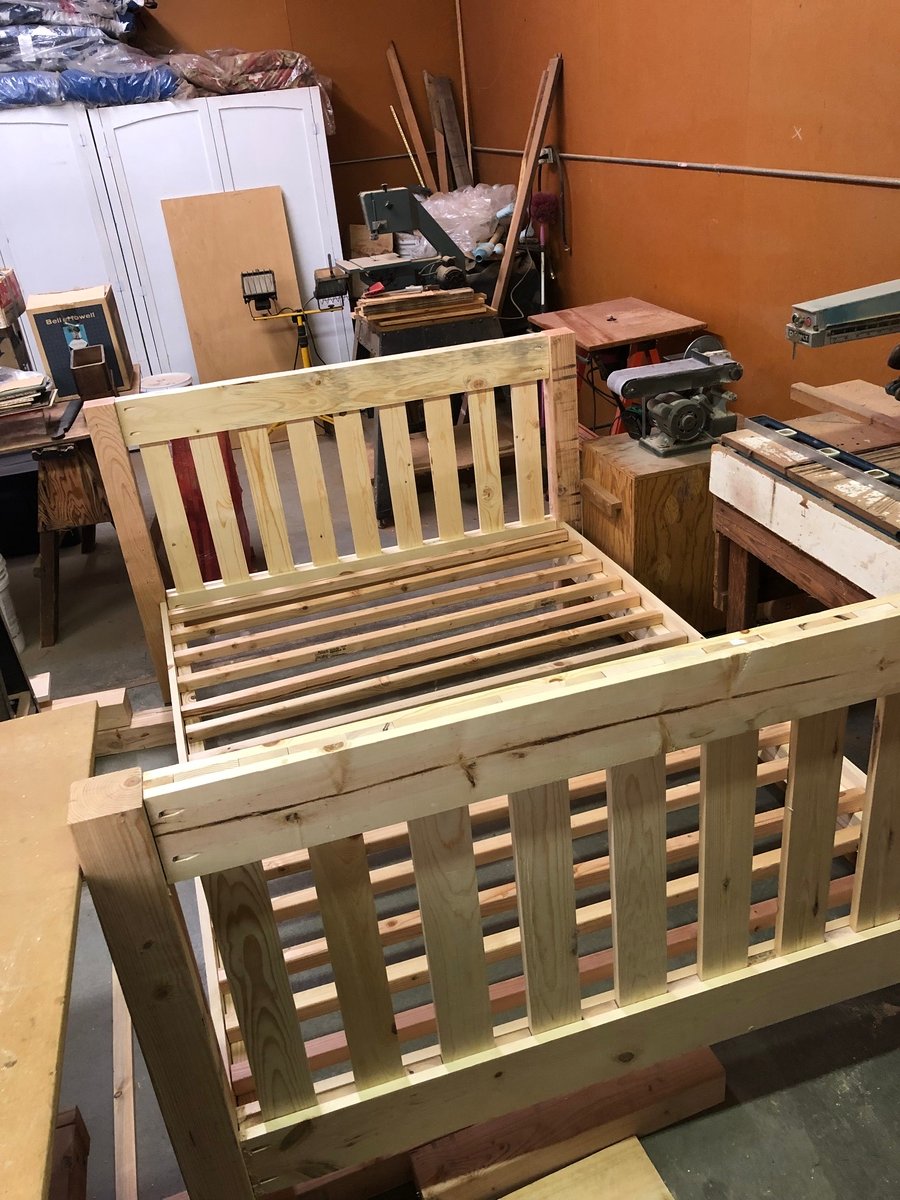
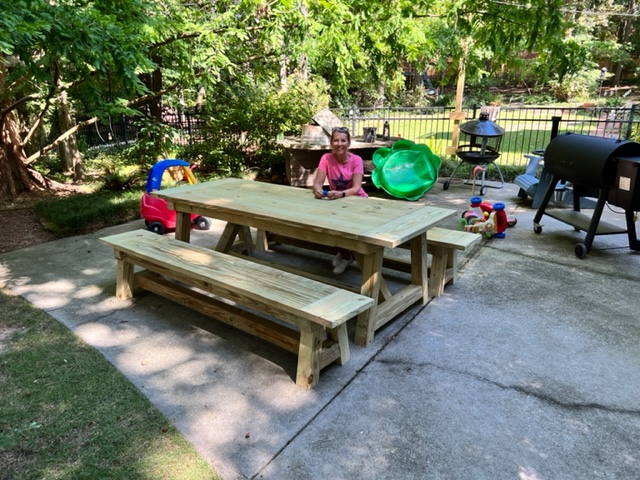
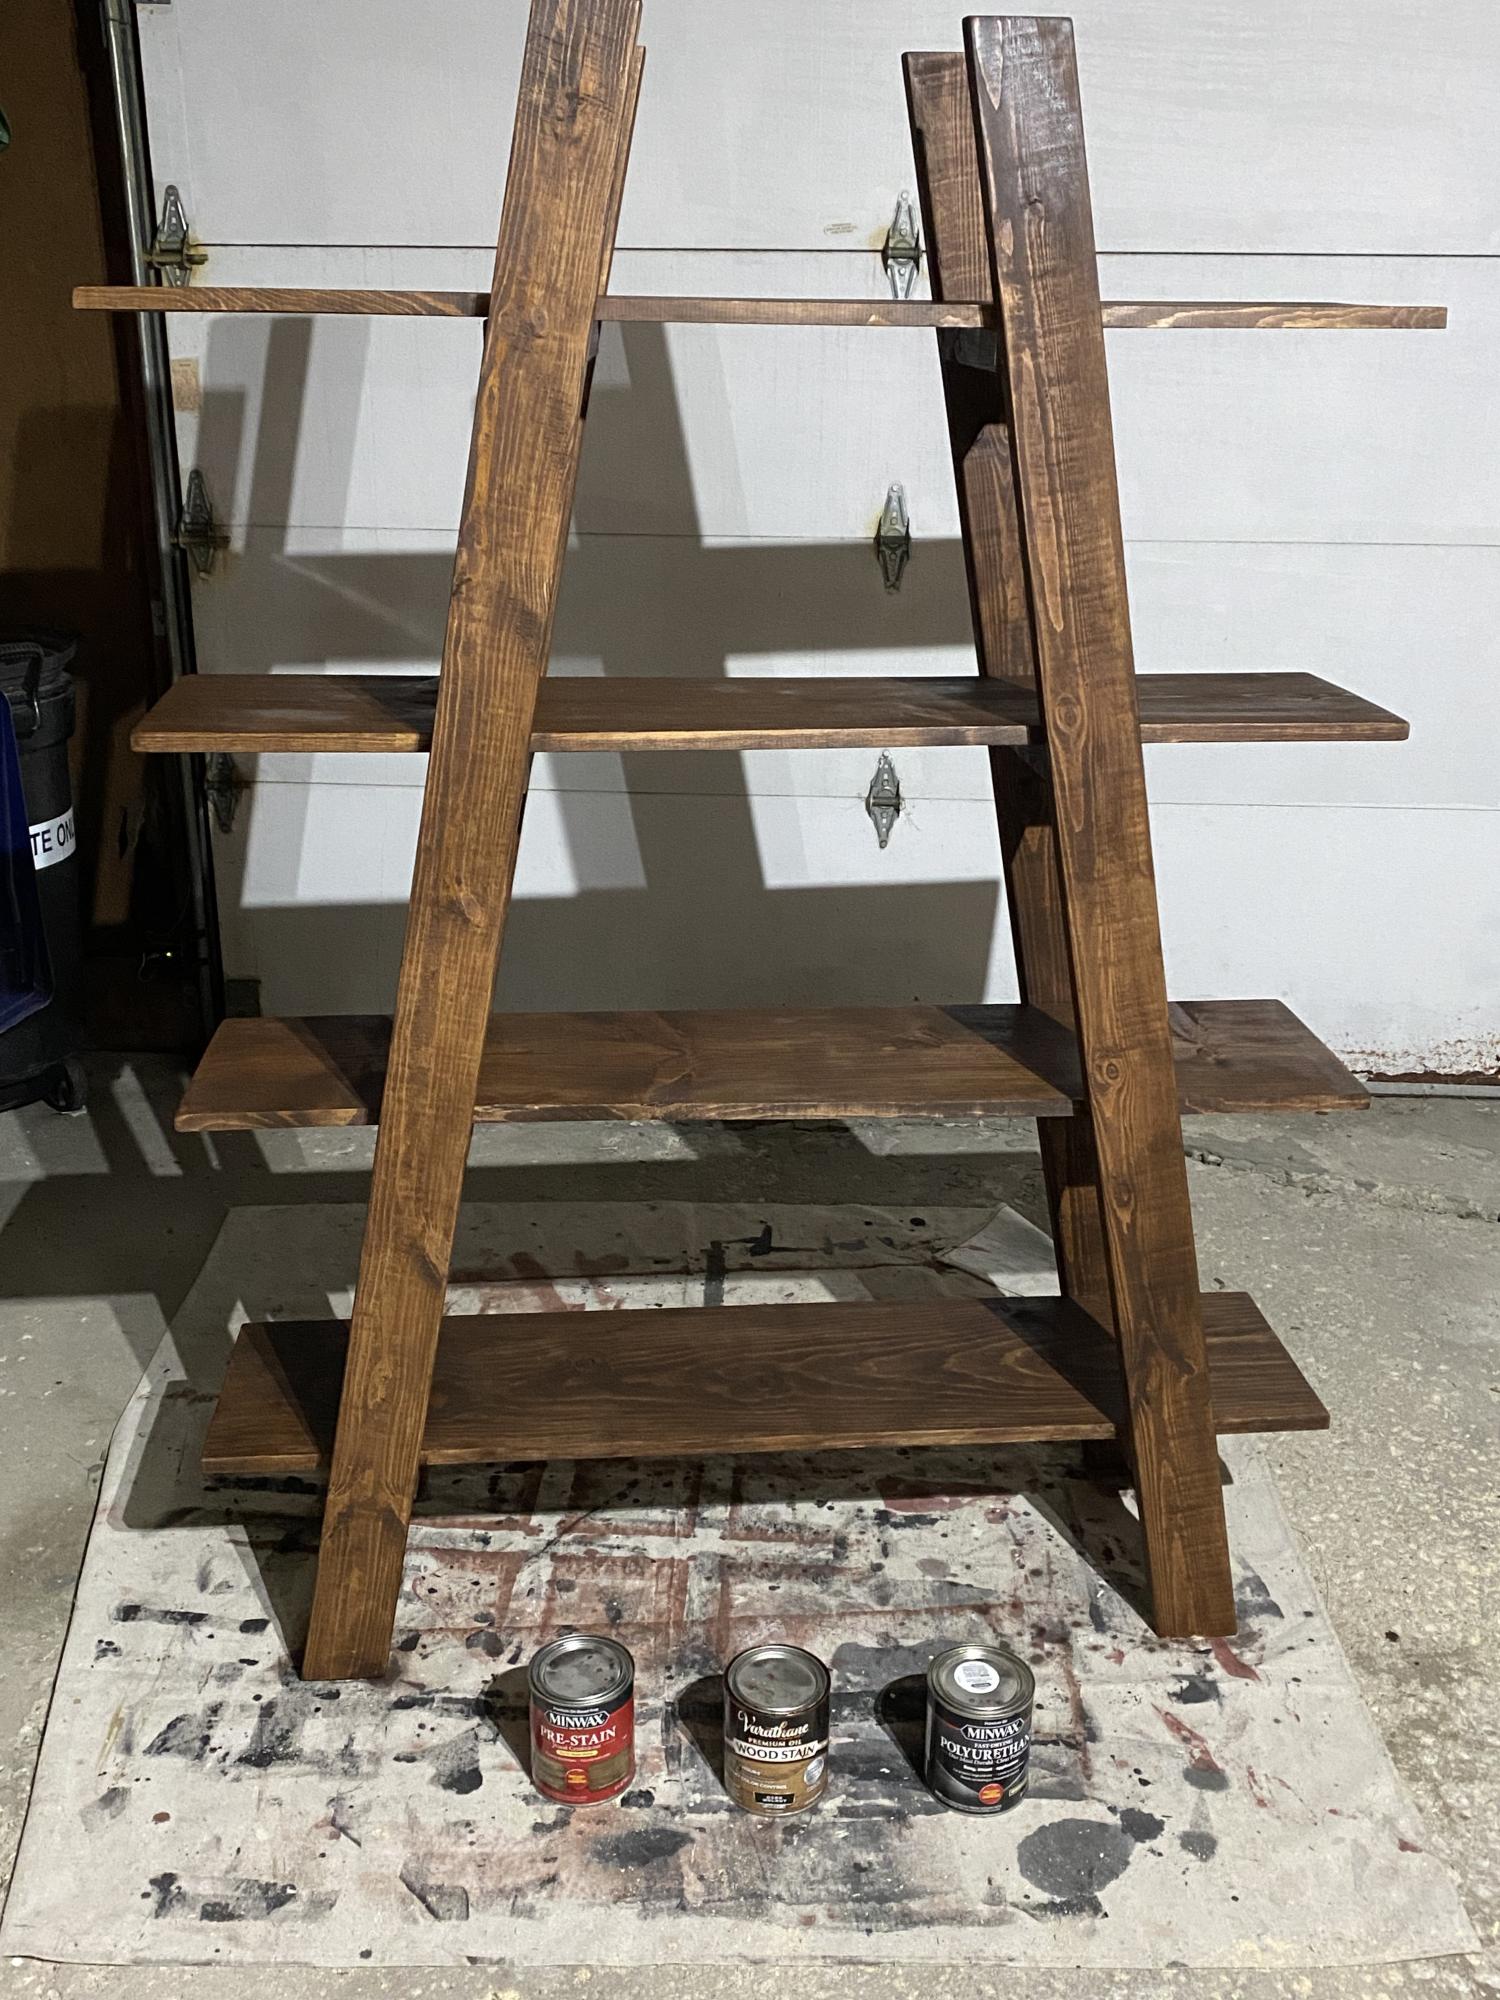
X Farmhouse Table
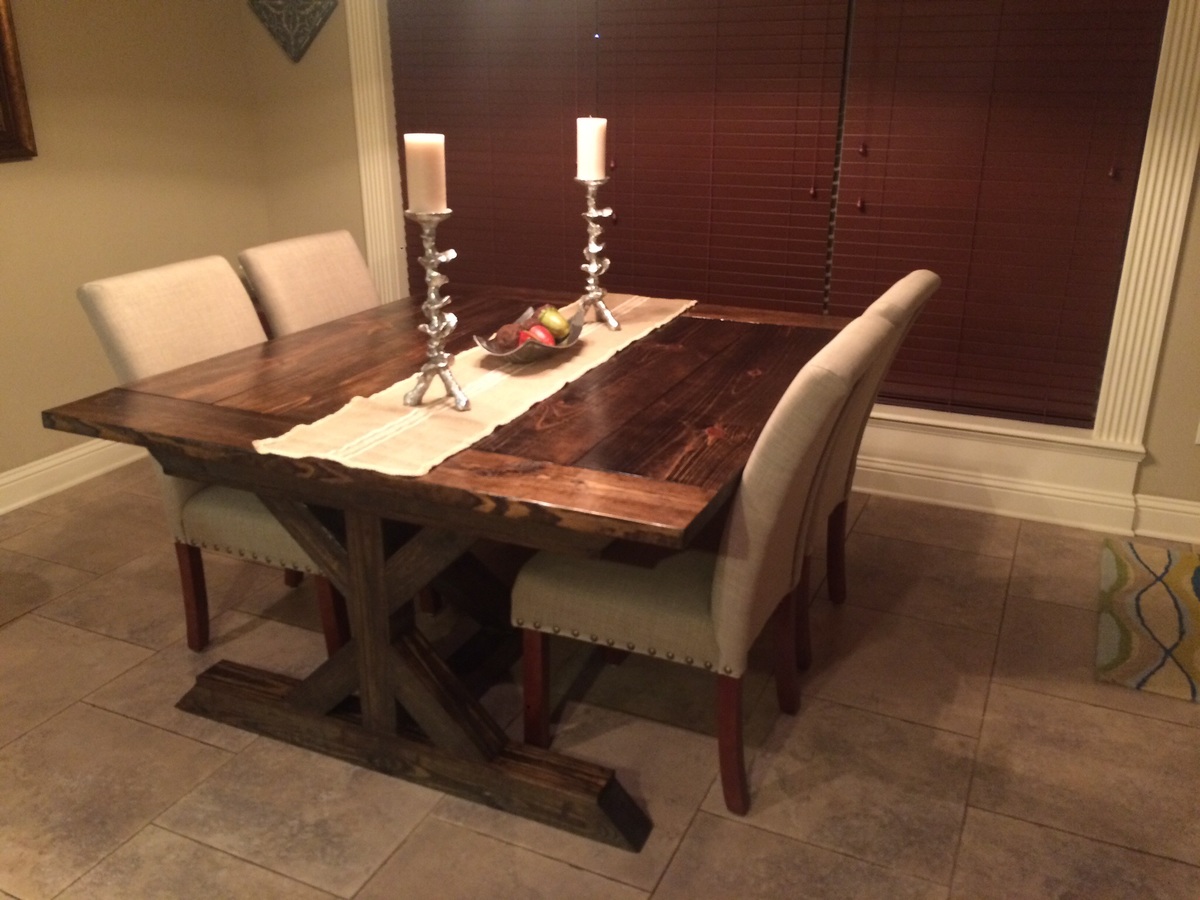
Used 4x4s instead of 2x4s
Built from Plan(s)
Estimated Cost
$100
Estimated Time Investment
Weekend Project (10-20 Hours)
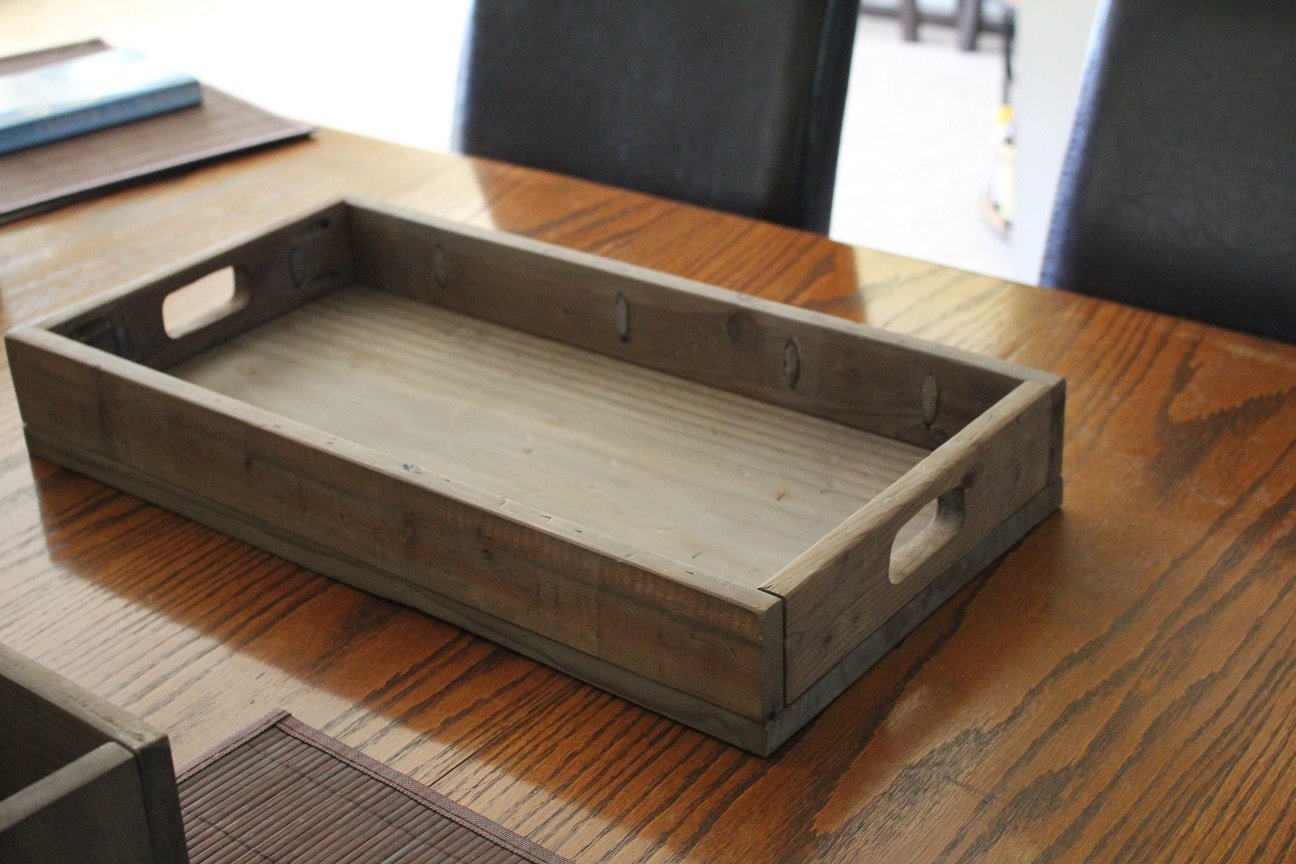
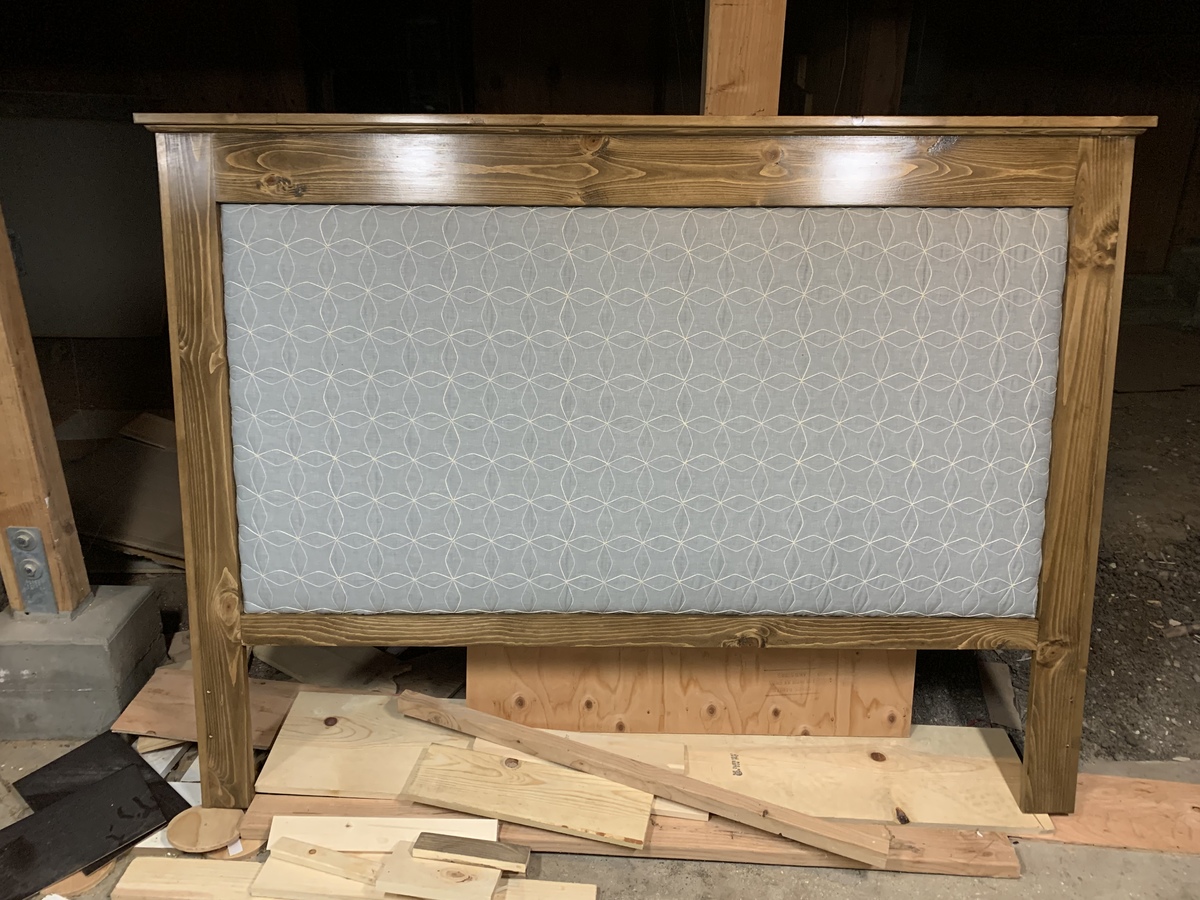
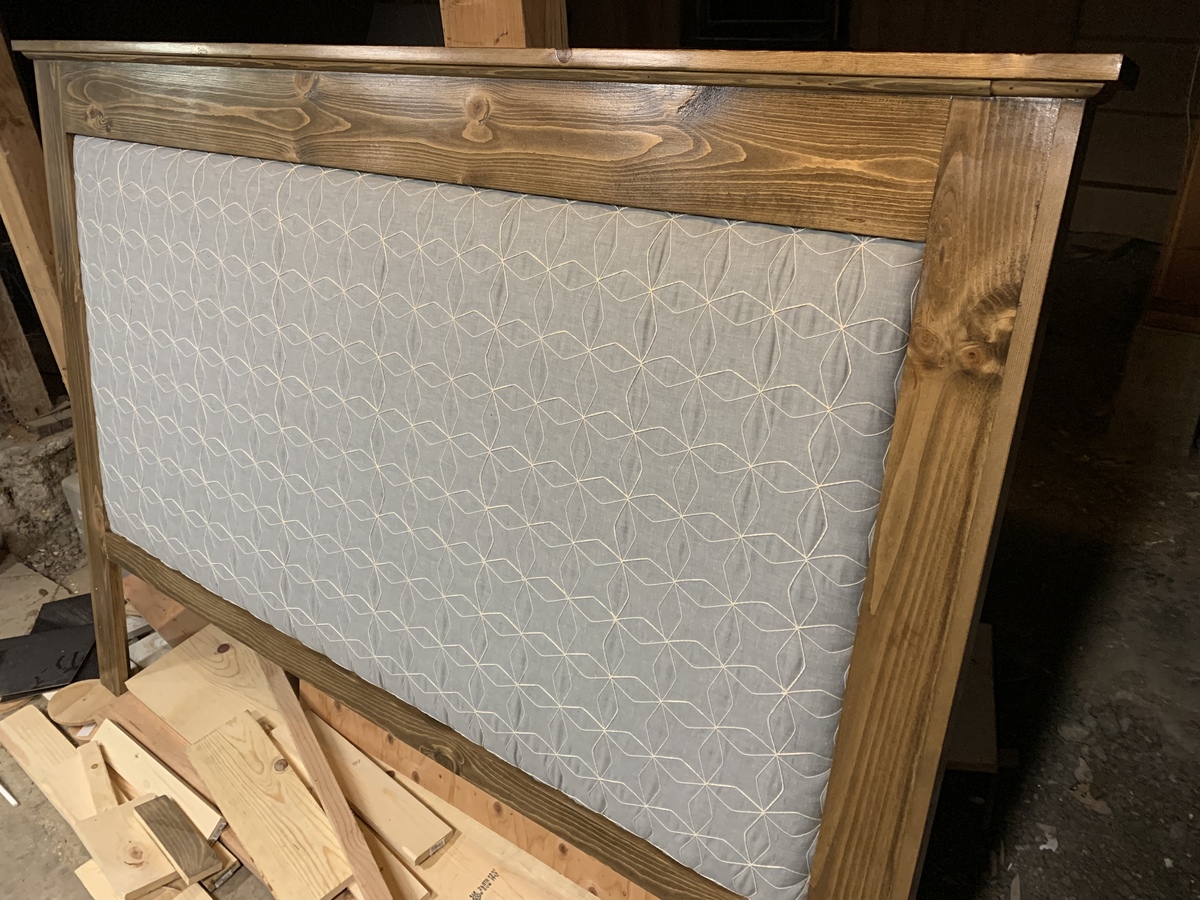
Finish Used
Dark walnut stain
Recommended Skill Level
Intermediate