Garage shelves
This is my first project ever built. I can't thank you enough for this site. I already have several other projects I want to build around the house because of this site. Thank you so much!
I made a few changes to the queen size farmhouse bed plans. Going to add drawers underneath so we can maximize space in our room.
This is my secend ever furniture build. I build it inspired by this storage bench from bed bath and beyond. http://www.bedbathandbeyond.com/product.asp?SKU=132657
I am pretty happy with it!
I loved the idea of the shoe dresser and decided to fancy it up a bit. I changed the dimensions a little to suit the space in my home where I wanted it to go. I decided to use the dowel pins for the doors because I didn't want to be able to see the hinges - which I found to be the hardest part - you need to make sure you get them as low in the corner as you can otherwise your doors won't open. I also found that I didn't cut enough off the top of the dividers which prevented the doors from opening - they needed to be more slanted than round at the top - I ended up having to use a planer to take the excess off. Very happy with the way it turned out - just have to train the kids to put their shoes away now instead of all over the floor :)
Tue, 01/14/2014 - 00:22
Thank you! I have added the plan link and some more photos - not the best quality photos sorry :)
I wanted a smaller table than the plans called for, so I built this one at 51 inches. The side design is slatted rather than built with an X. I love the more modern look with this mission-style modification. This was my first build and I'm pretty happy with it and how easy these plans were to follow.
Built two bookcases, and connected with three extra shelves (minus side pieces on extra shelves). Whitewashed pine. Based on parson plans but adjusted dimensions to height and width of railing in my living room area.
Thanks for the plan; I’m proud of how it turned out and my family loves it!
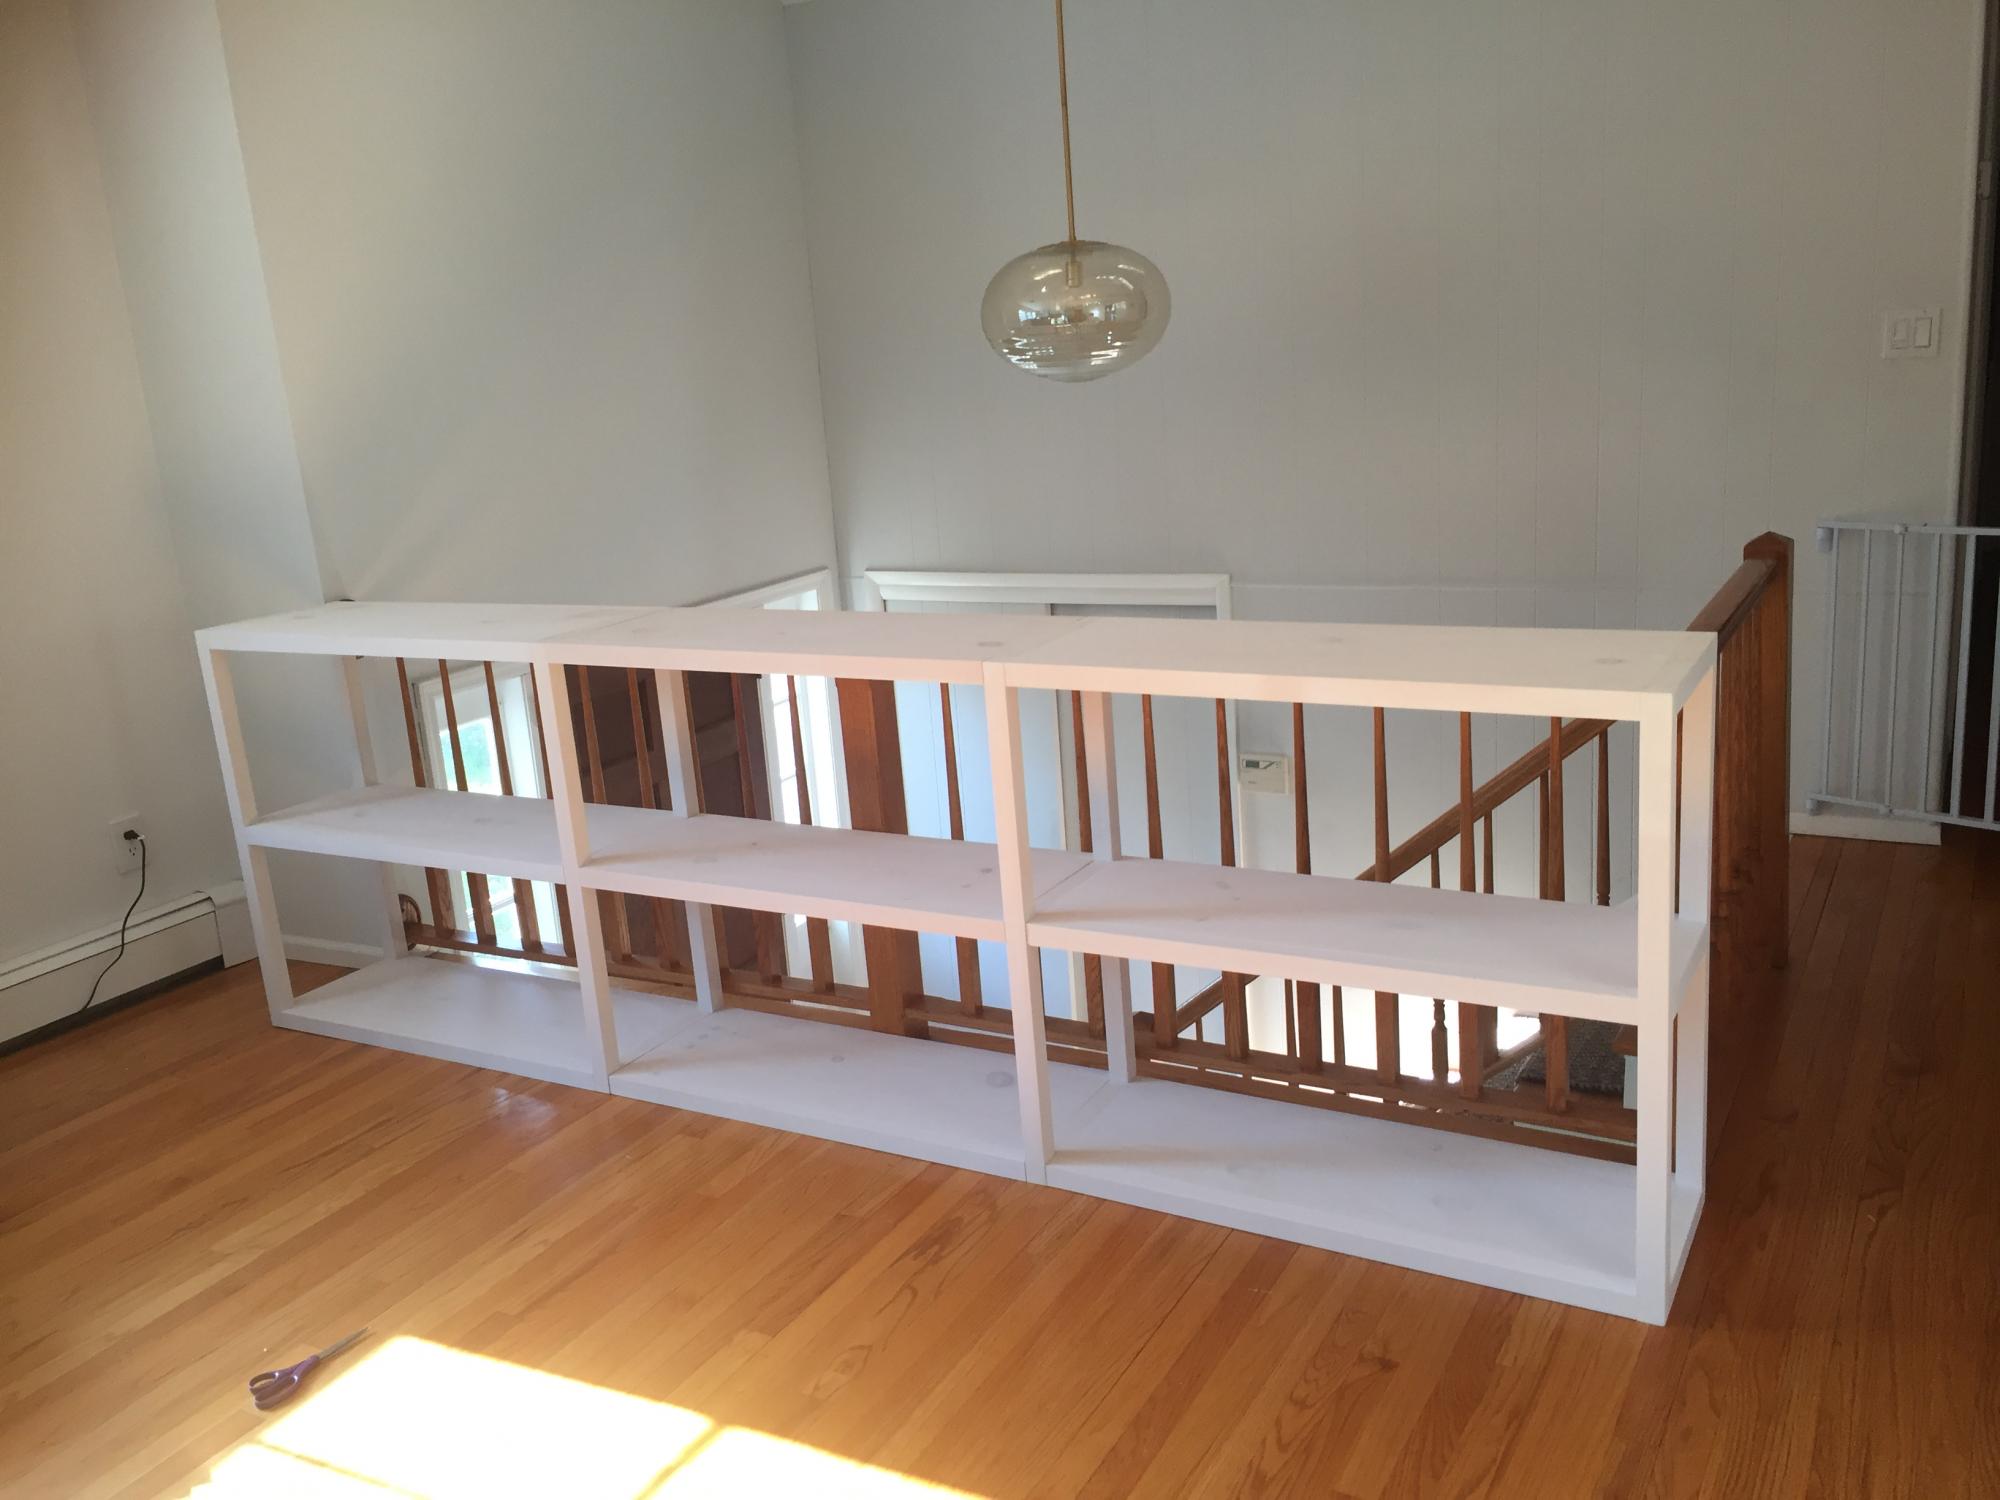
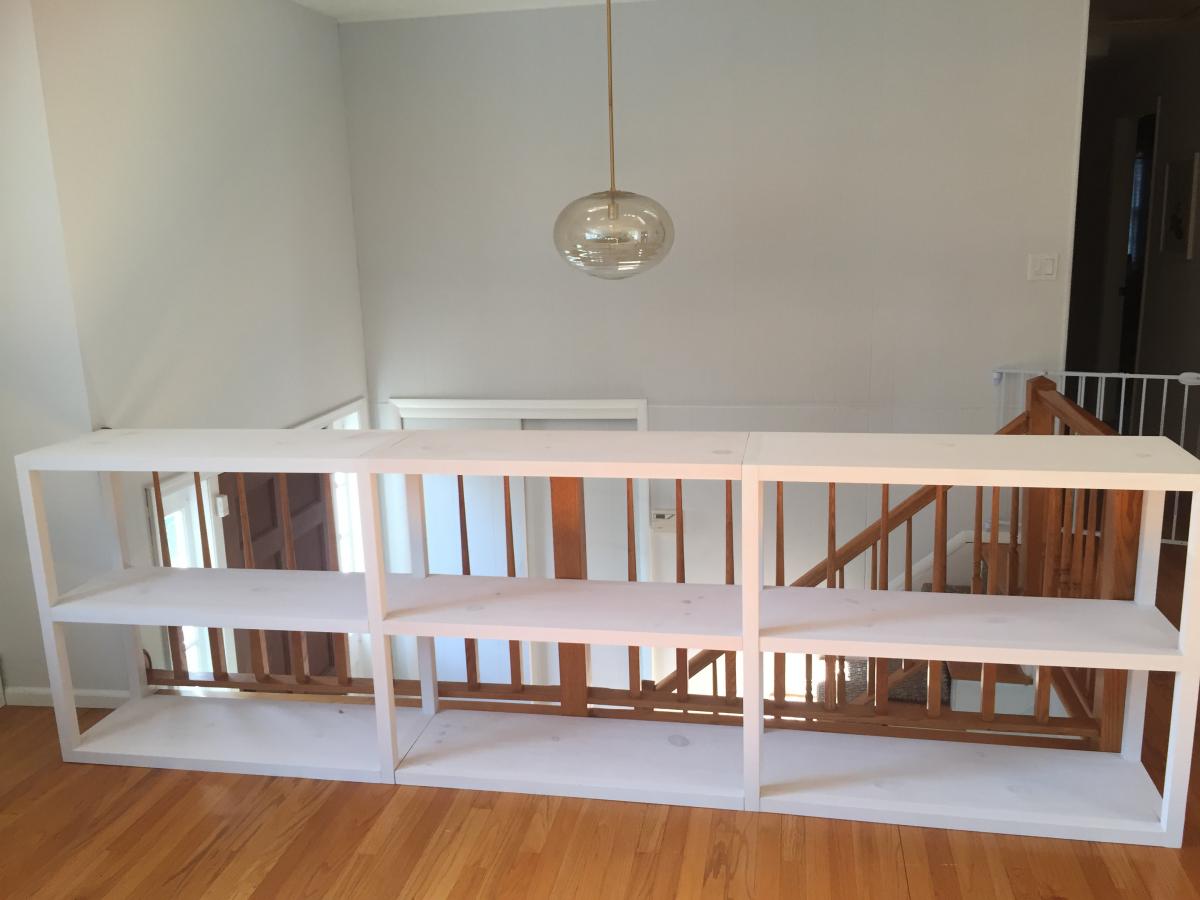
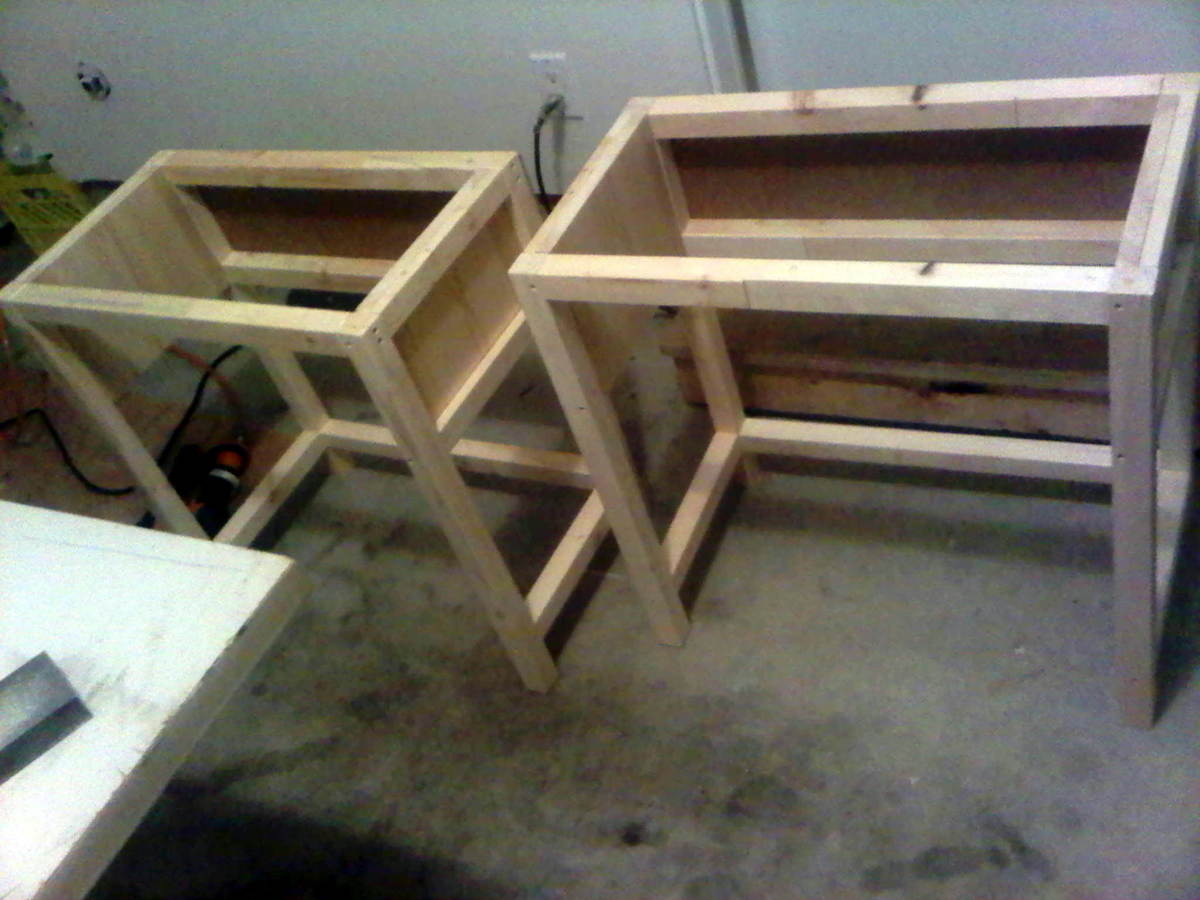
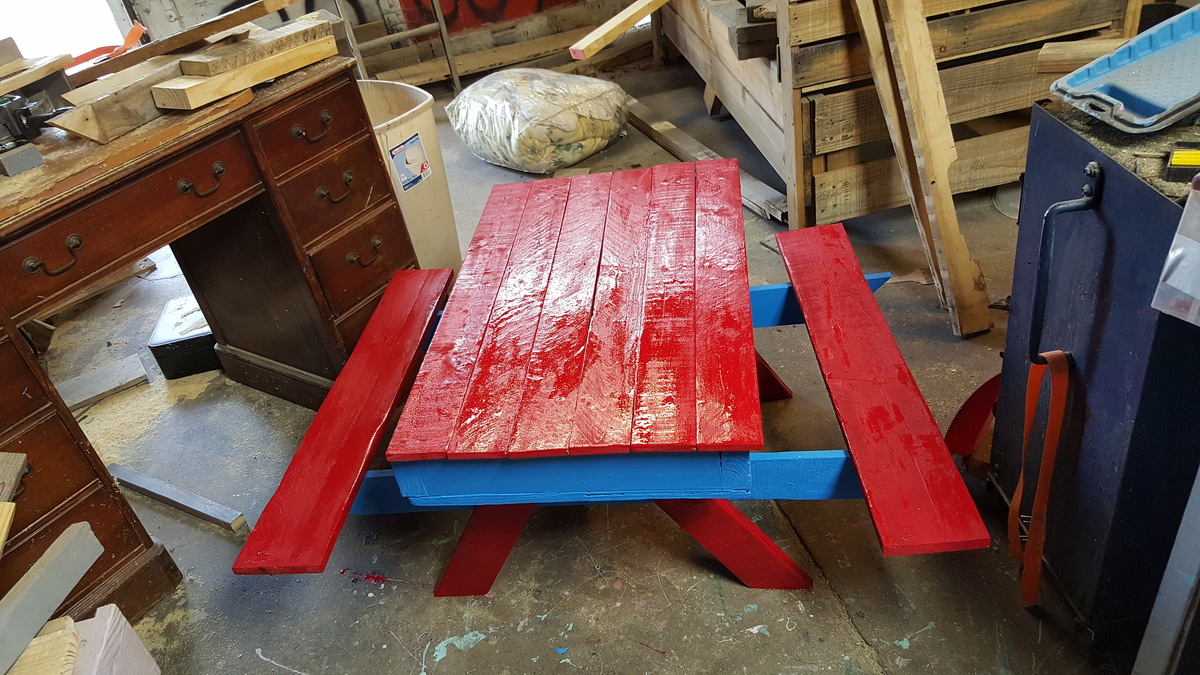
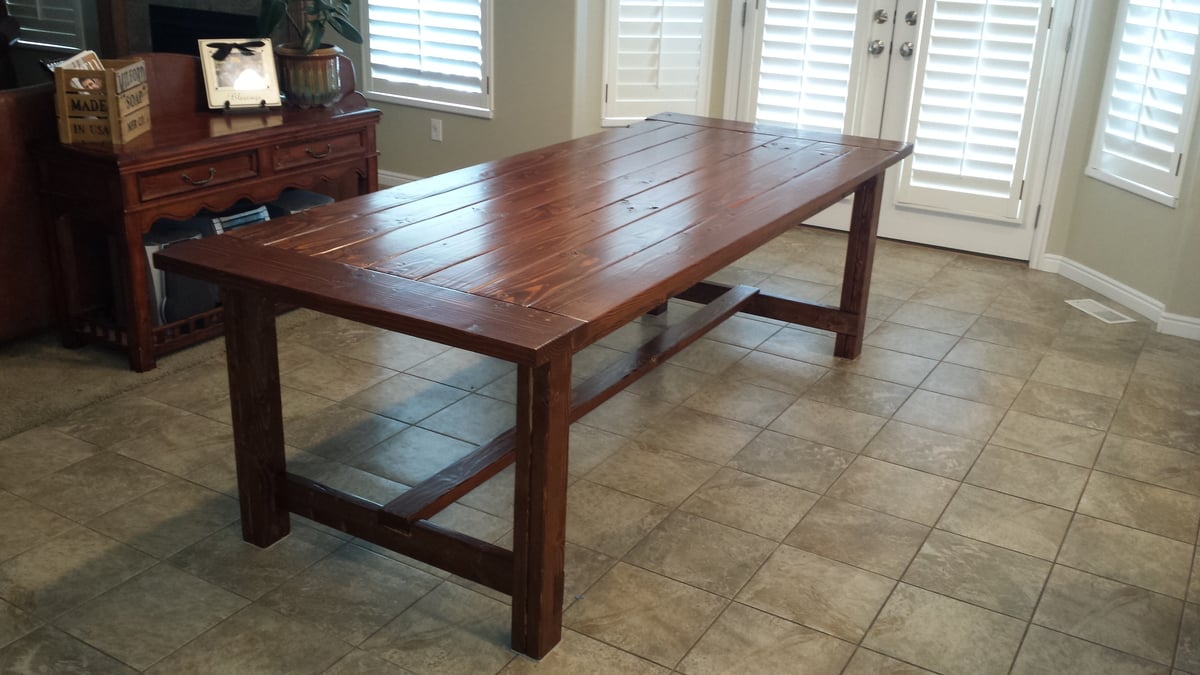
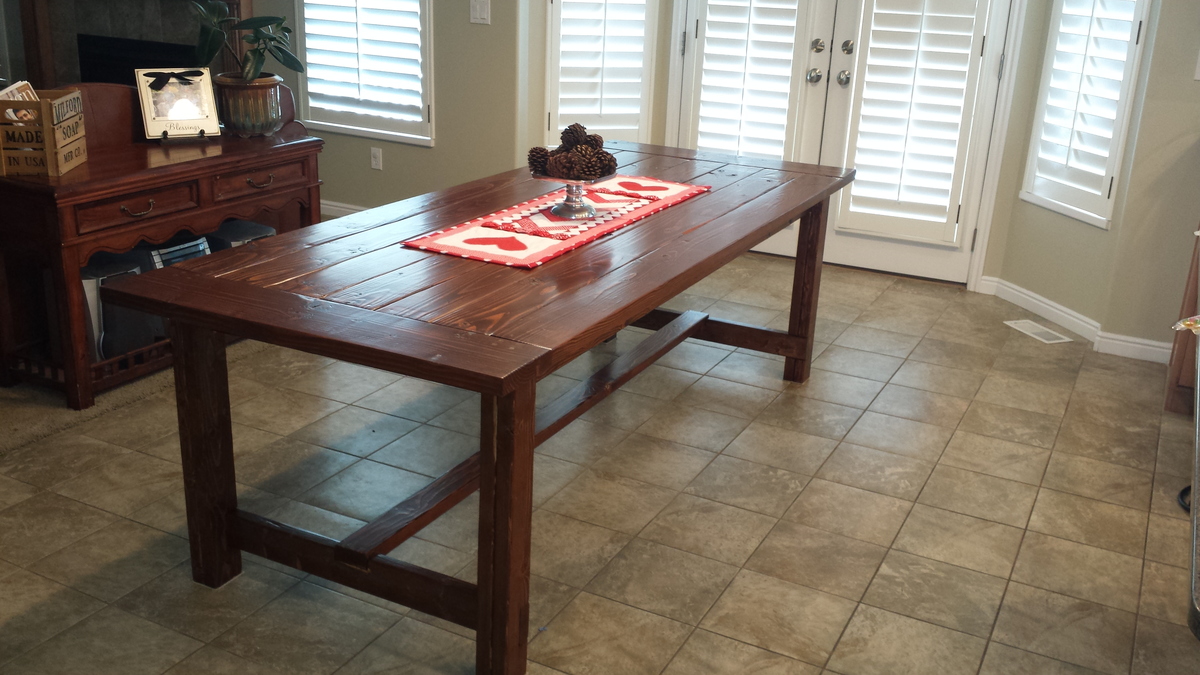
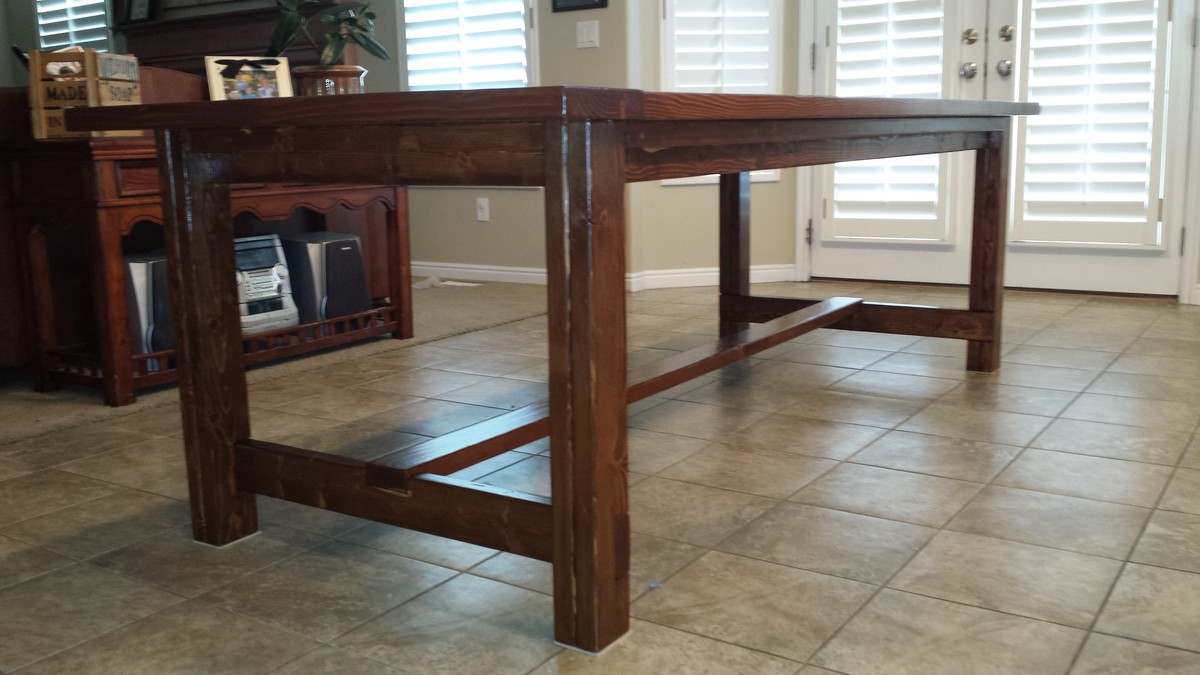
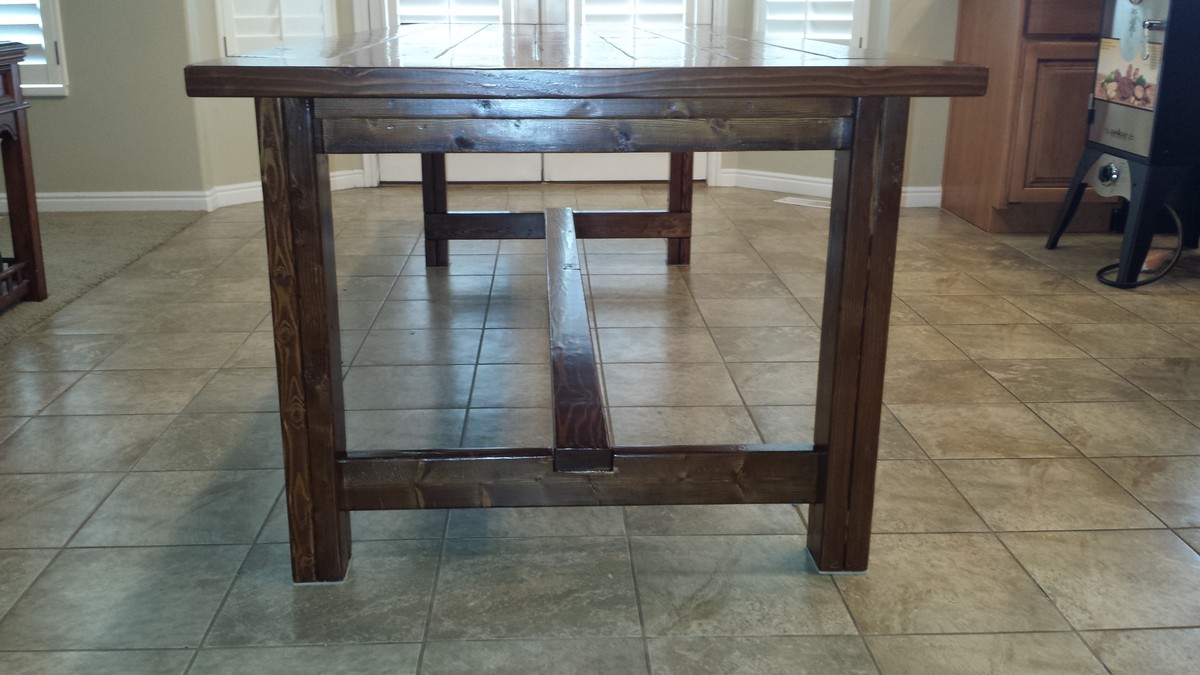
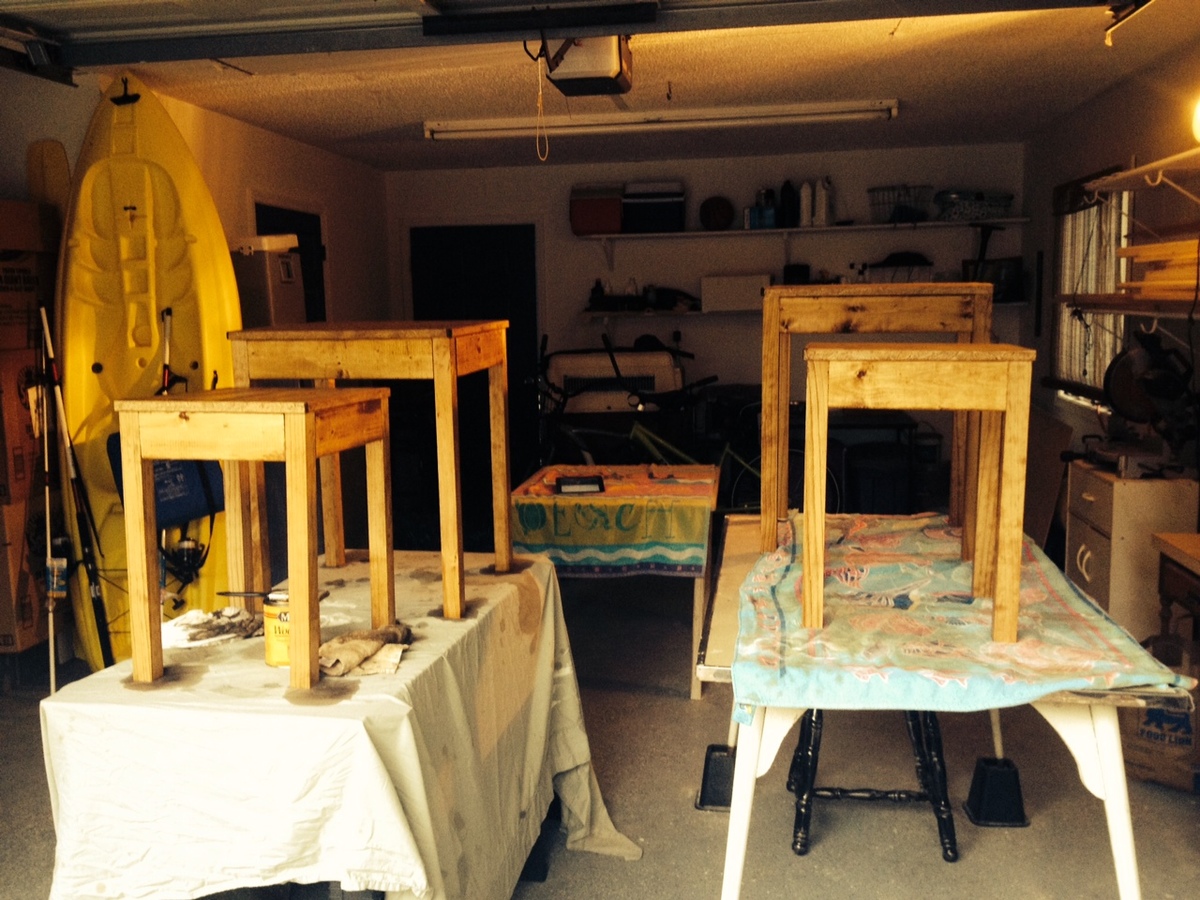
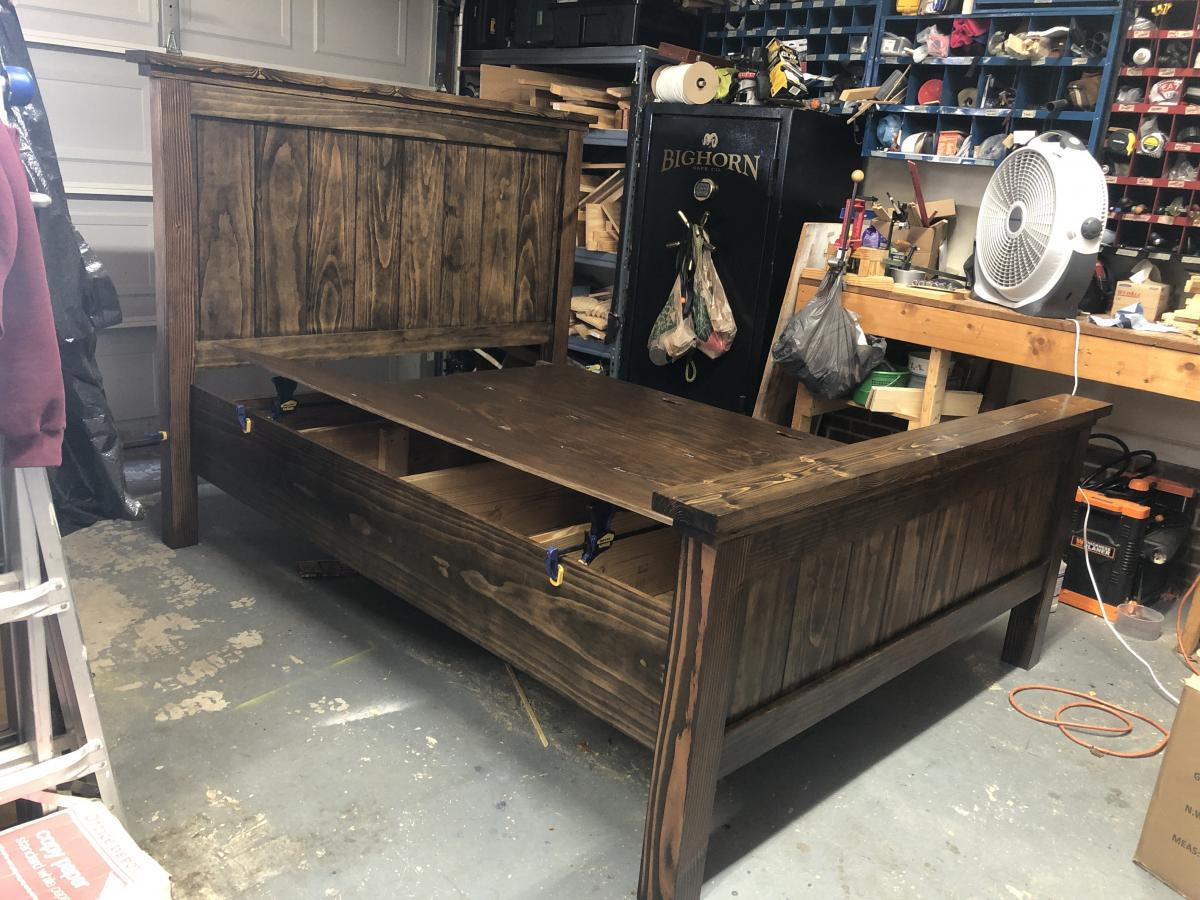
We followed the plans, but did run into a couple snags. Because we were making two tables, we thought it might be easier to do all the cuts first, and then assemble both together. We agreed it was easiest in the end (so we weren't going back and forth to the saw), but the cut list called for one extra trim piece that the plans never used... lucky for us, we realized this before doing the cuts so just skipped it. The cut list left out one piece that the plans asked for at the end (for the life of me, I can't remember what it was), but we had quite a bit of extra lumber thanks to carefully thought out cuts so it wasn't a big deal.
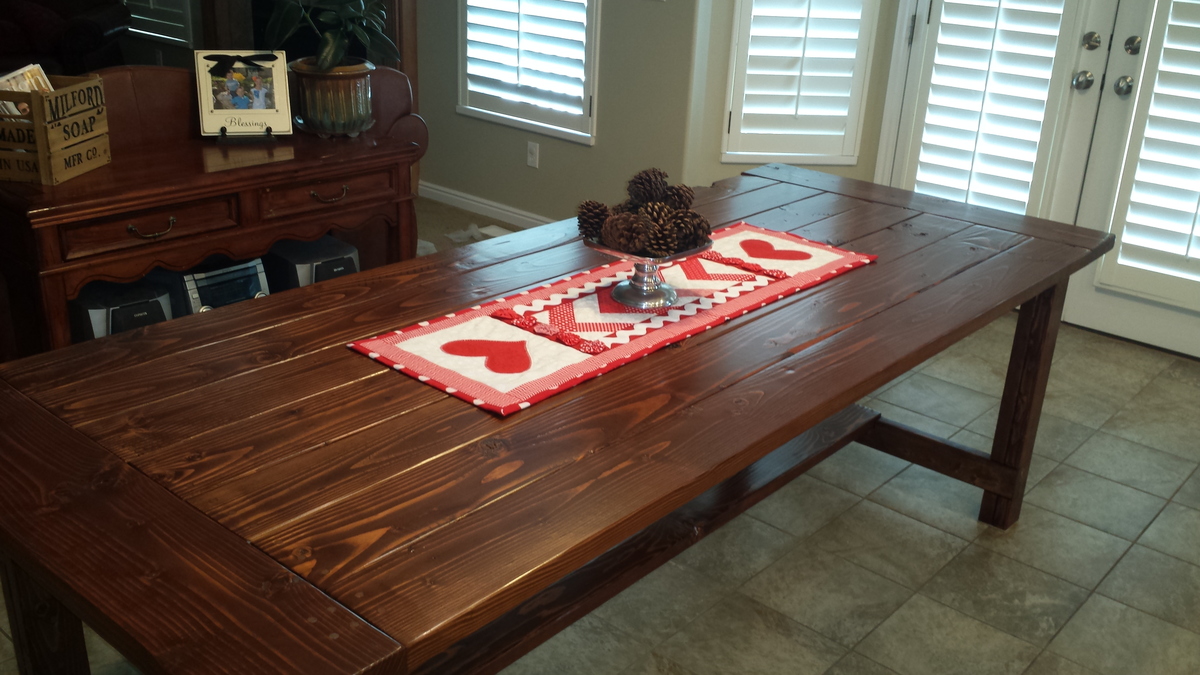
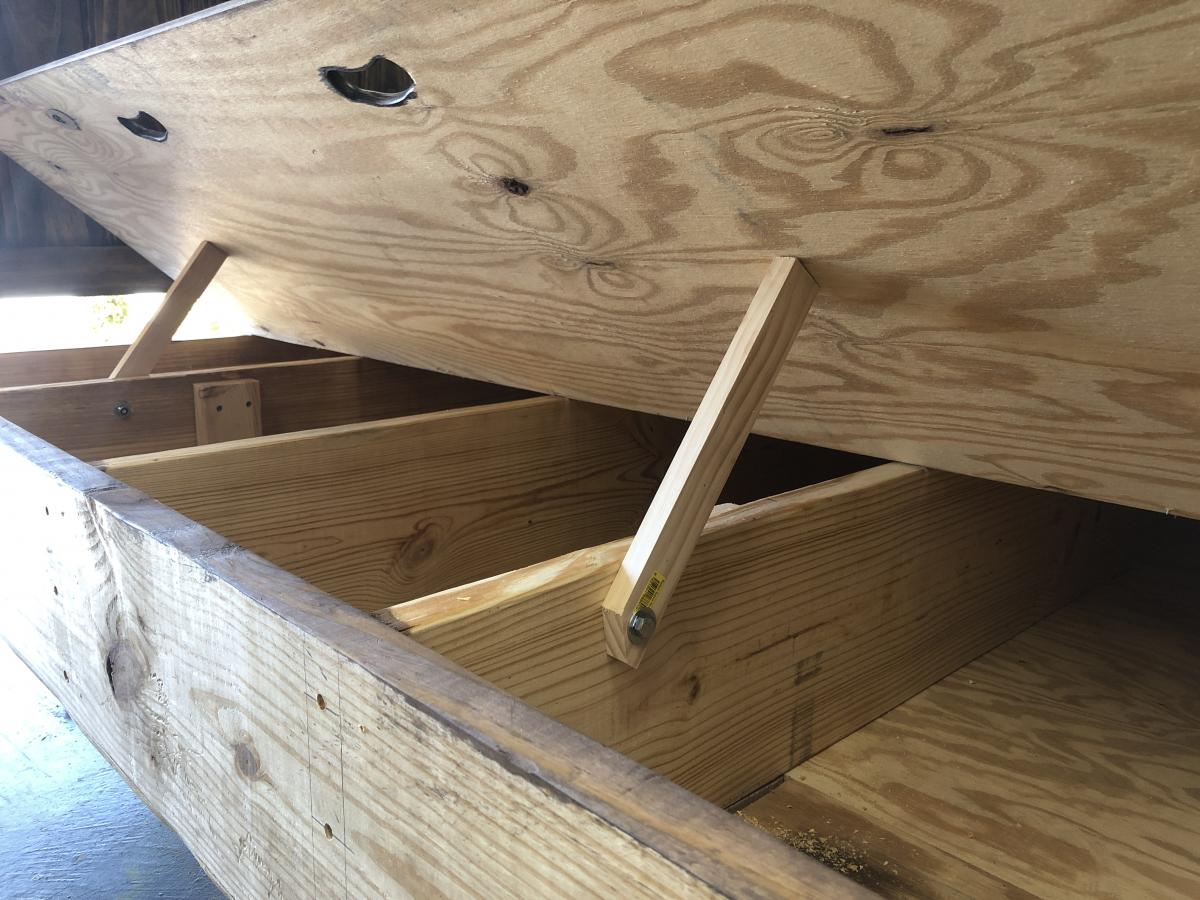
We found that the plans really forced us to think out our approach along the way. We are true beginners, and we even ended up having to think about where we were sinking the screws and making sure to sand the pieces prior to assembling.
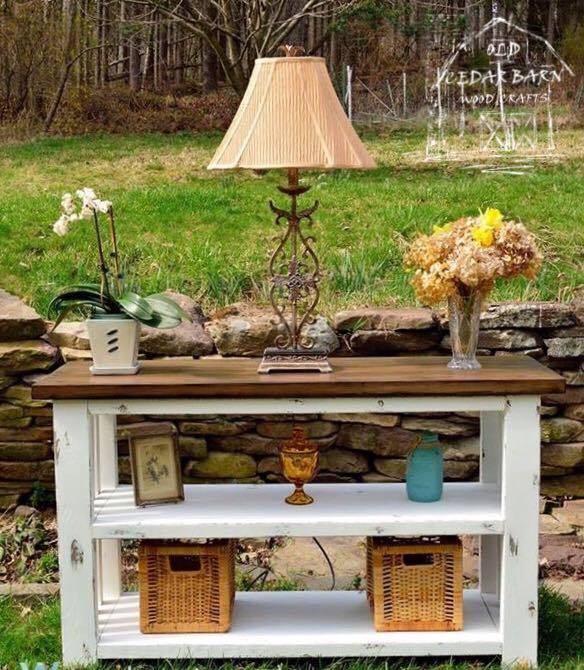
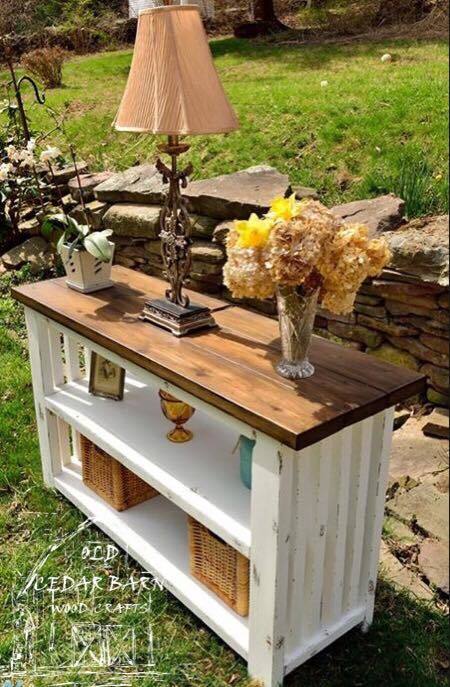
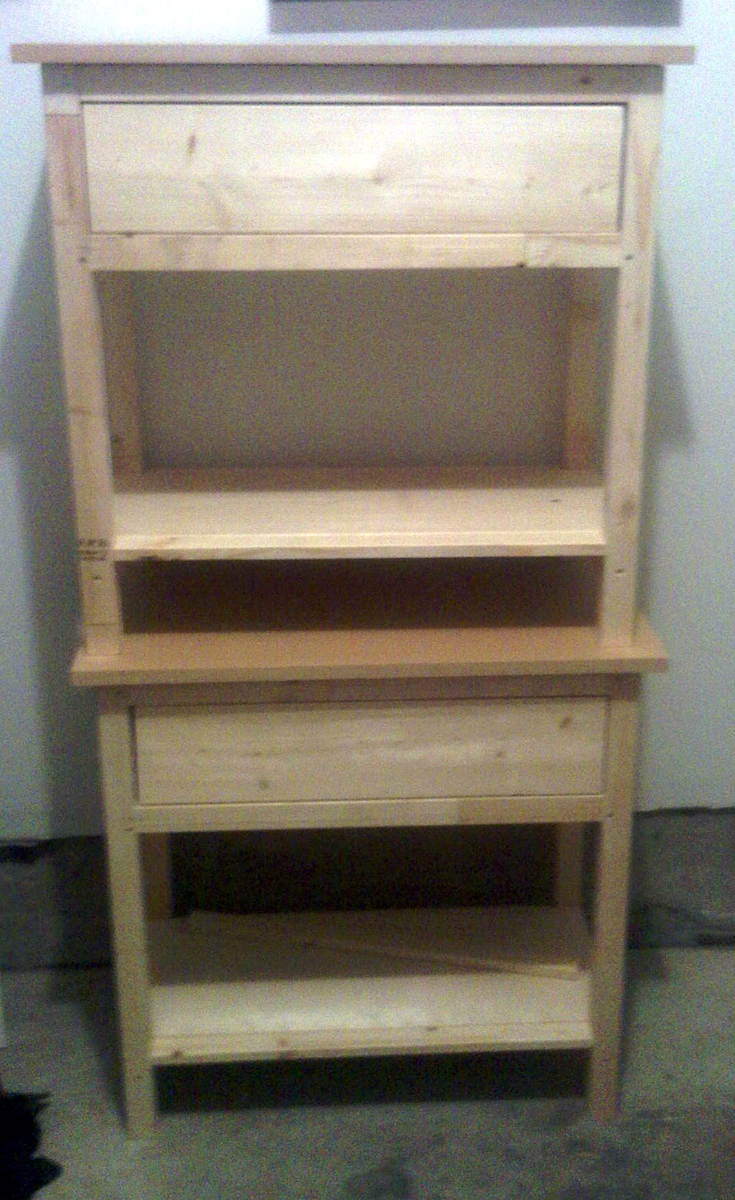
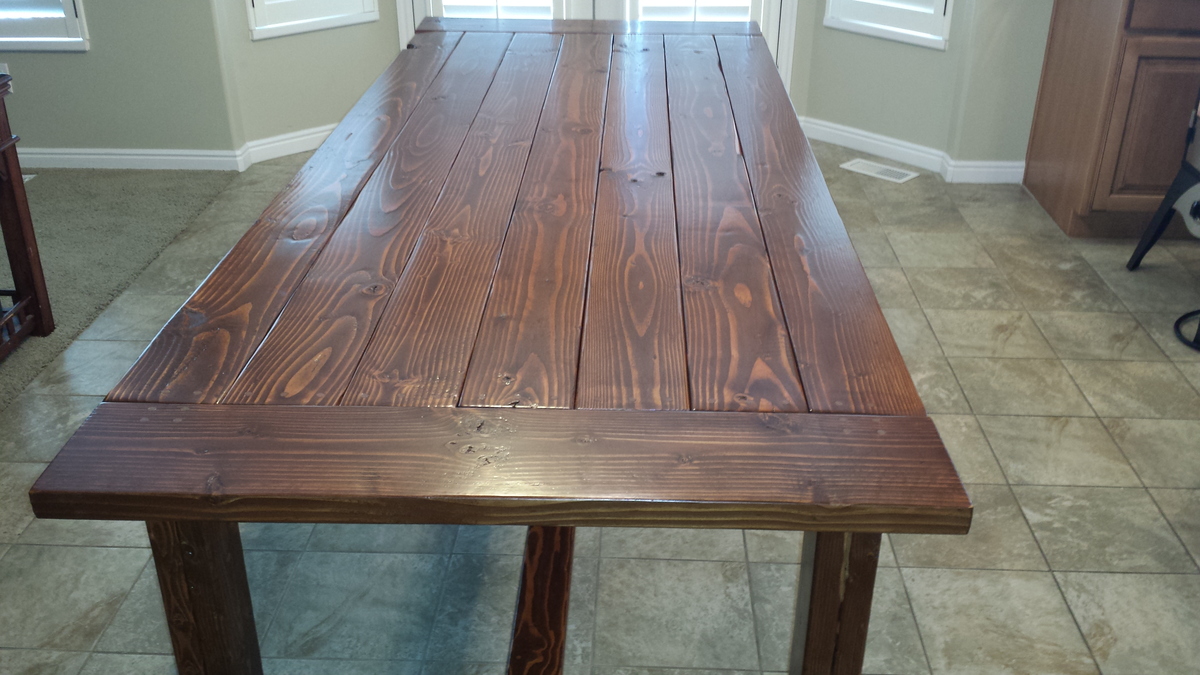
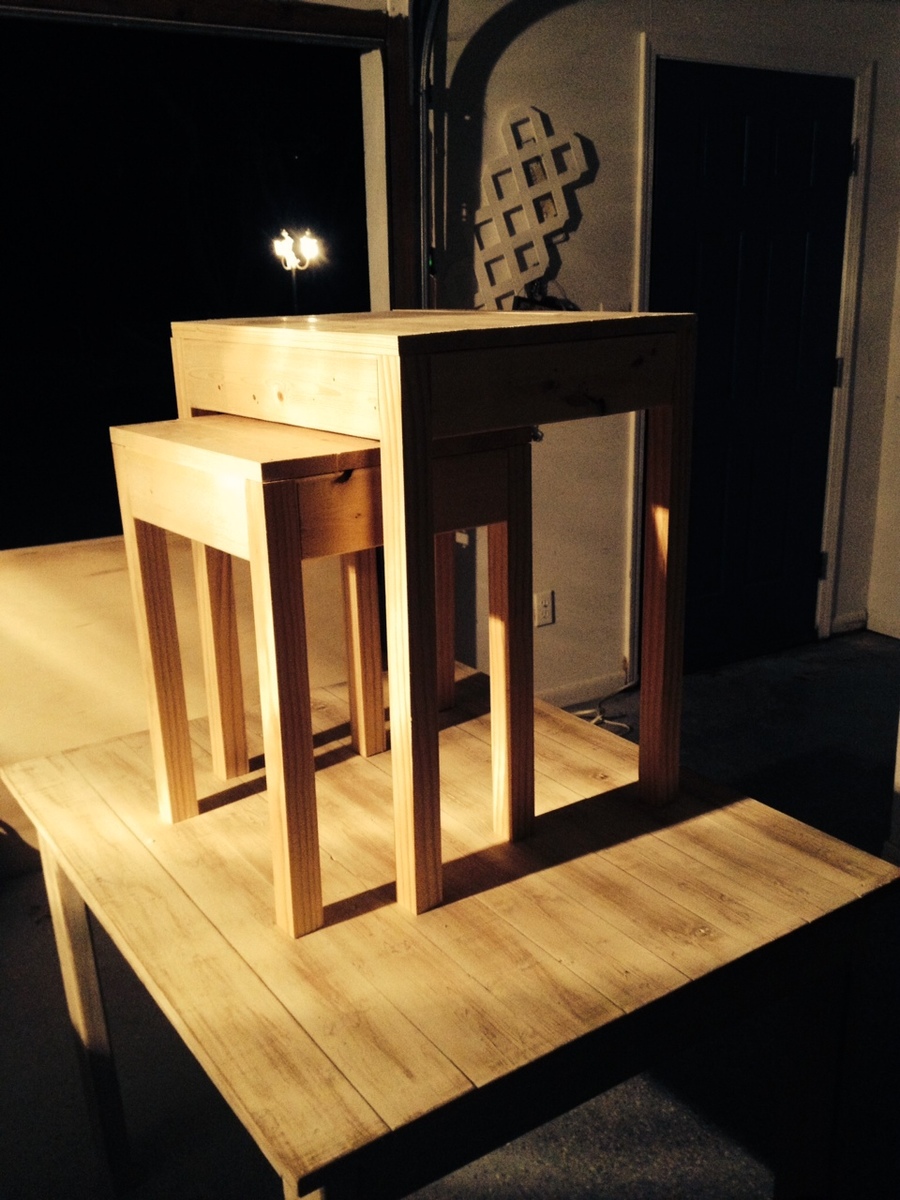
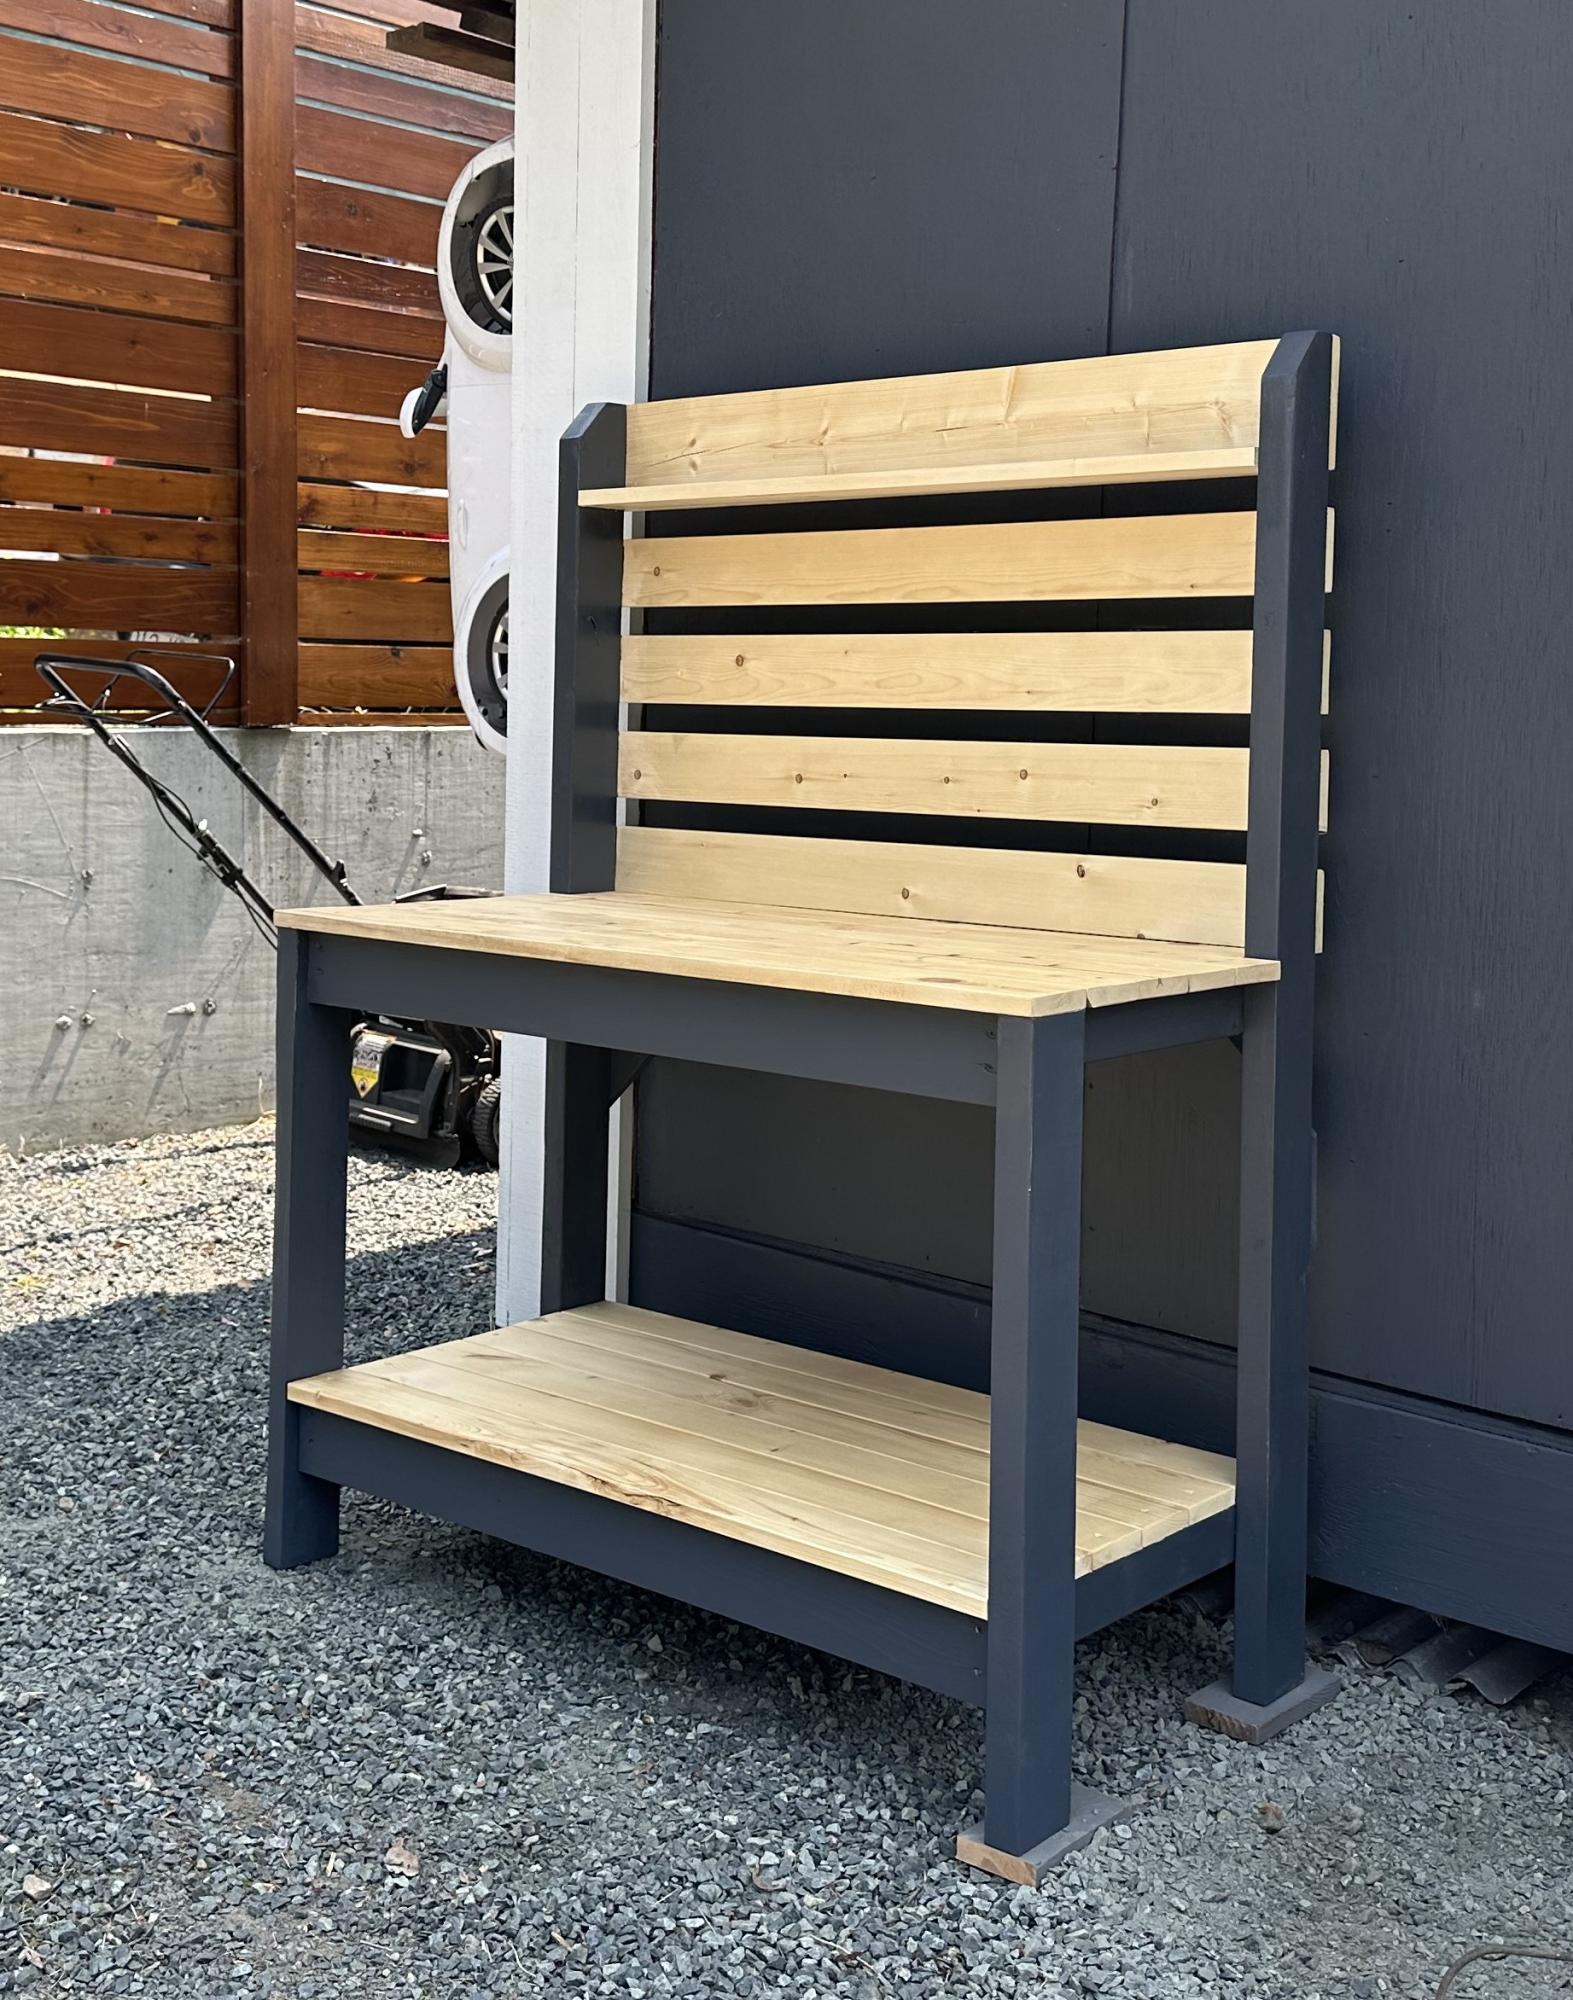
As far as our materials went, we purchased most of it at Home Depot. For the tops, we decided to use some scrap MDF that we had leftover from another project. Otherwise, we just used the cheapest lumber we could find, and pine for the 1x6 and 1x12's. Our Home Depot bill was $104, but we have a few pieces of lumber and pine that we didn't use, so plan to take them back. We already had the paint, and we bought the hardware at Lee Valley in Vancouver (BC), which was $24. We figure that the end price for each table is about $60.
For more details, check out my blog post on the project: http://www.andreakrisourchaos.blogspot.ca/2012/03/pinterest-challenge-b…
Well, this is my first post and my first real project. Bunk beds out of knotty Pine that can be used as single beds when the kids no longer want to share a room. I wasn't willing to spend $1500-$2000 on bunk beds when I knew I could make some myself. So here it is, I would do it a little different if I was too do it again. I know it's not perfect, but I'm proud of it.......always room for improvement.
I saw this on pintrest and took the big Kids picnic table and modified it to include a removable top and sandbox.
Made this for my MIL as part of her Christmas gift! It was a quick, easy and fun build. I’ll update photos once she hangs it and add her decor
Built these bedframes and headboards for a local motel
My husband surprised me with a big pile of wood in the garage on Christmas morning. 3 weeks later, this beautiful table is in my kitchen. The pictures do not do it justice - it turned out amazing. We have plans to make the matching bench when it warms a bit - our garage is freezing!
It took at least 20 hours to cut the wood, sand and assemble. It took another 10+ plus hours to stain and put 3 coats of the polyurethane.
The great people at Orange cut our wood for us, and we took it home and notched it out using a jigsaw. Once we got the hang of it, it was really easy.
We had a hard time finding 2 3/4 screws, so we used 2 1/2. It worked great. We used Elmer's Carpenter's Wood Filler in natural to fill the screw holes. It turned out so nice and looks great with the stain on top.
Neither my husband or I have very much experience building anything, so we took our time - measuring about 60 times and cutting once. However, it paid off. The table looks so great and I cannot wait to make the matching bench!
I took the original plan design for a Murphy bed - it was inspired by a Dr. Who themed bed that used a Murphy Bed Kit - I've used Ana White's plans before and thought why spend $$$ on a kit when you don't have to. I few trips to the store and a weekend later I have my very own Tardis Murphy Bed. It cost about $140 to build not including the mattress and accessories cost (light kit/upholstery panel/police box sign etc) I raised it up about 4" to attach legs and added some puck lights for a lighting effect. I think it came together rather nicely. I just have to add handles and the magnetic closures and it will be all done.
It took me all weekend to build by myself - had my brother help me with mounting the mattress box in the cabinet. I would suggest having wood cut at the lumbar yard as it is difficult to cut the 8 and 12" boards unless you have a bigger table saw that I do.
I added a 1x12 as a base so that it could be free-standing, in case we ever want to move it to a different spot. I also added an insert by gluing slices of tree branches to a piece of plywood . This was a fun, quick and easy project, even for a relative beginner. I love the character it adds to this room!
Dog Console from Modern Farmhouse Console.
Marivic Ferguson
It was after getting to know your website and seeing all your nice craftsgirlship we decided to make our own garden furniture.
We are wery satisfied with the results, thanks a lot for the inspiration!
PS) Time investment = per item.
Nesting tables with golden oak stain and poly on top. The last pic of the small table made with 1x2's for 2 legs and 2x2's for the other 2. Distressed by my daughter Kimberly.
Fun project that my son and our next soon to be baby will enjoy for a long time. Plans were very easy to fallow and easy to build.
I built this queen size Farm House bed using the basic instructions from Ana's Plans. I wanted hidden storage underneath, so I altered the bed support. The bed opens on both sides for easy access. The bed box is pretty heavy so i want to make sure the weight was self supported. i went back in a stained the feet so you cannot see them. I also made a matching Farmhouse Doll Bed using Ana's plans!!
I was tired of having potting plants and soil stacked up at the end of my driveway taking away from the aesthetic of the gardens so I built myself a potting stand. I love the two tone although I wish I decided on the colours prior to assembling. It would have saved me a lot of masking.
Mary Wikene
Comments
Queequeg
Thu, 03/31/2016 - 14:36
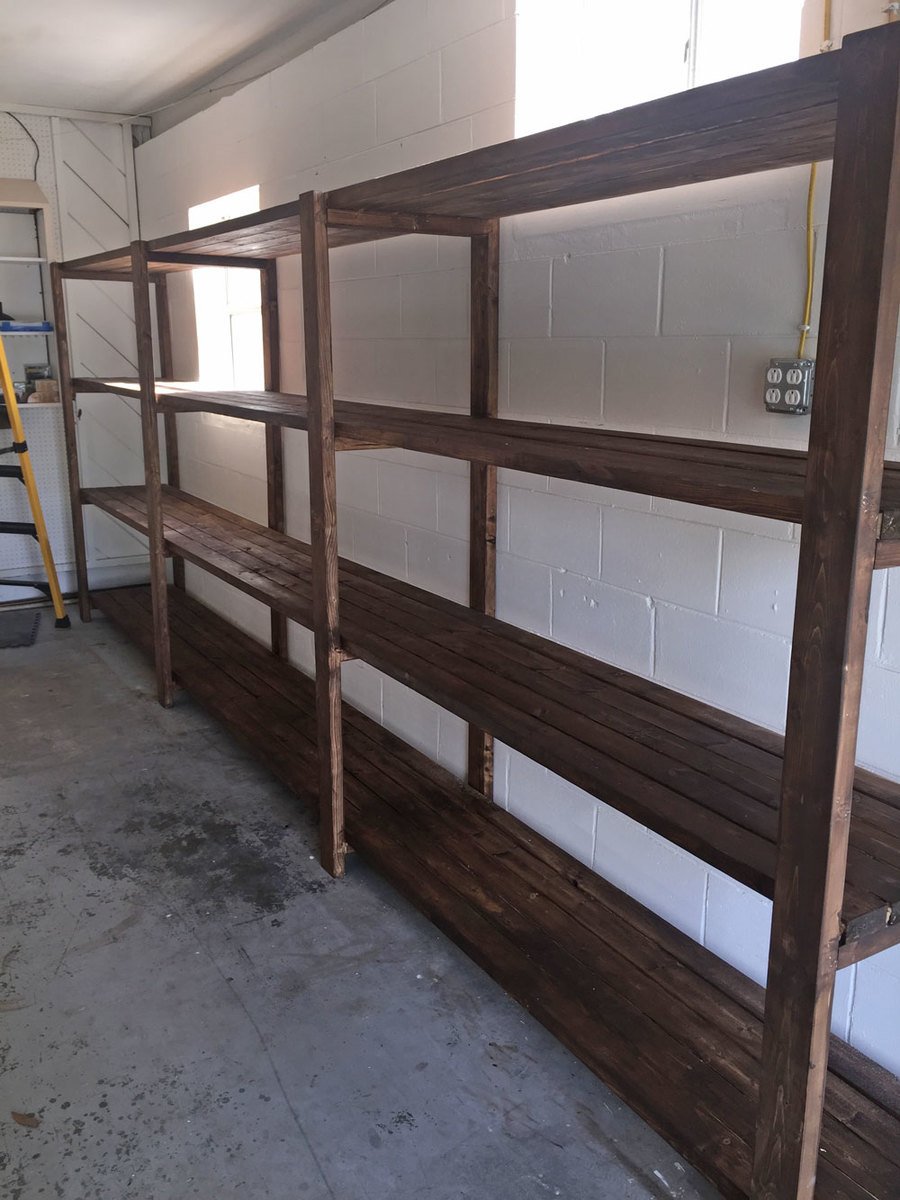
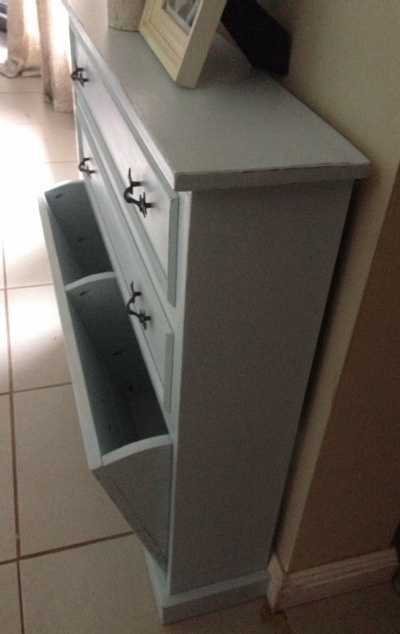
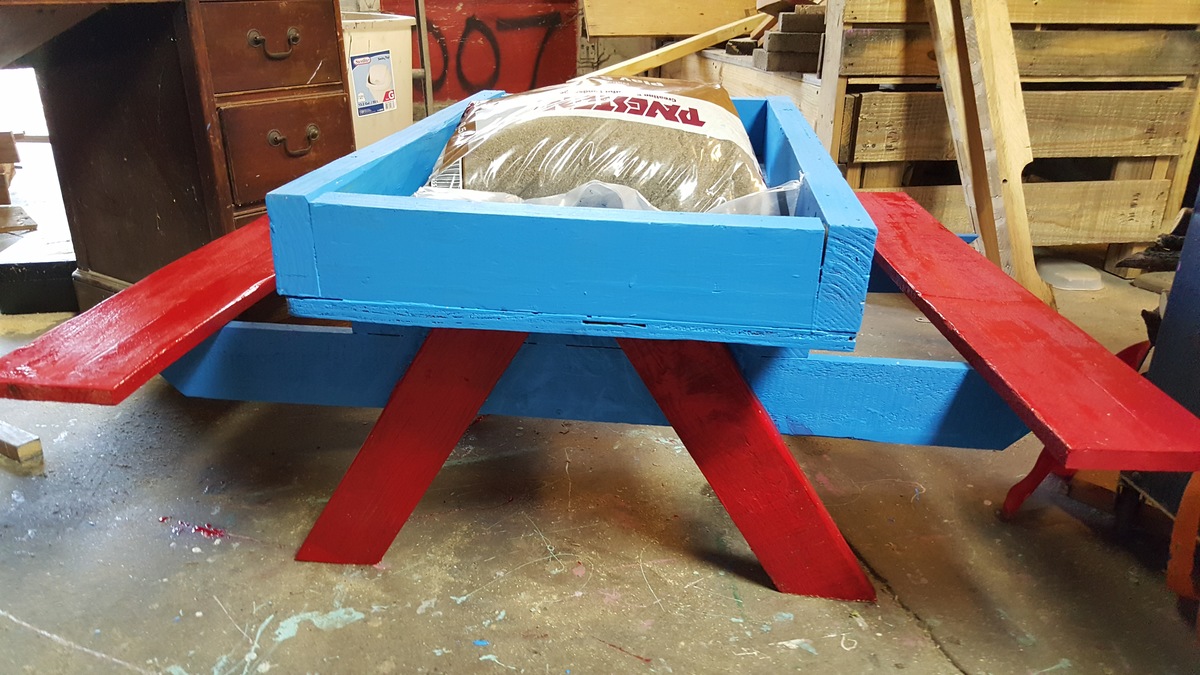
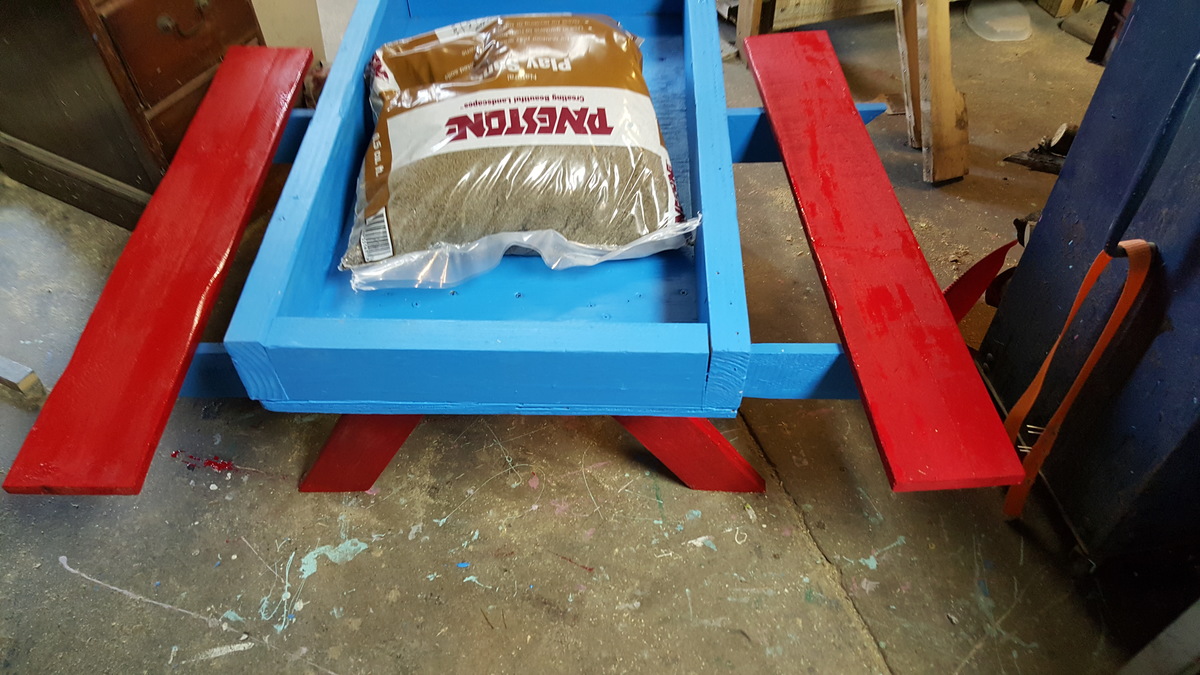
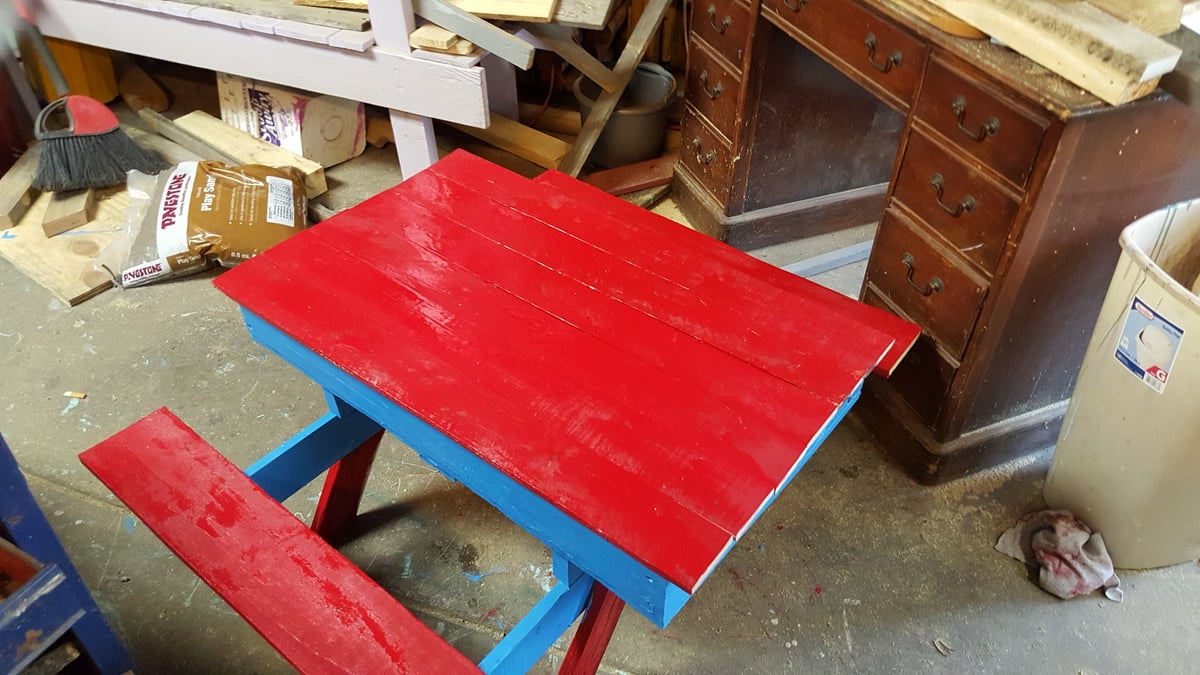
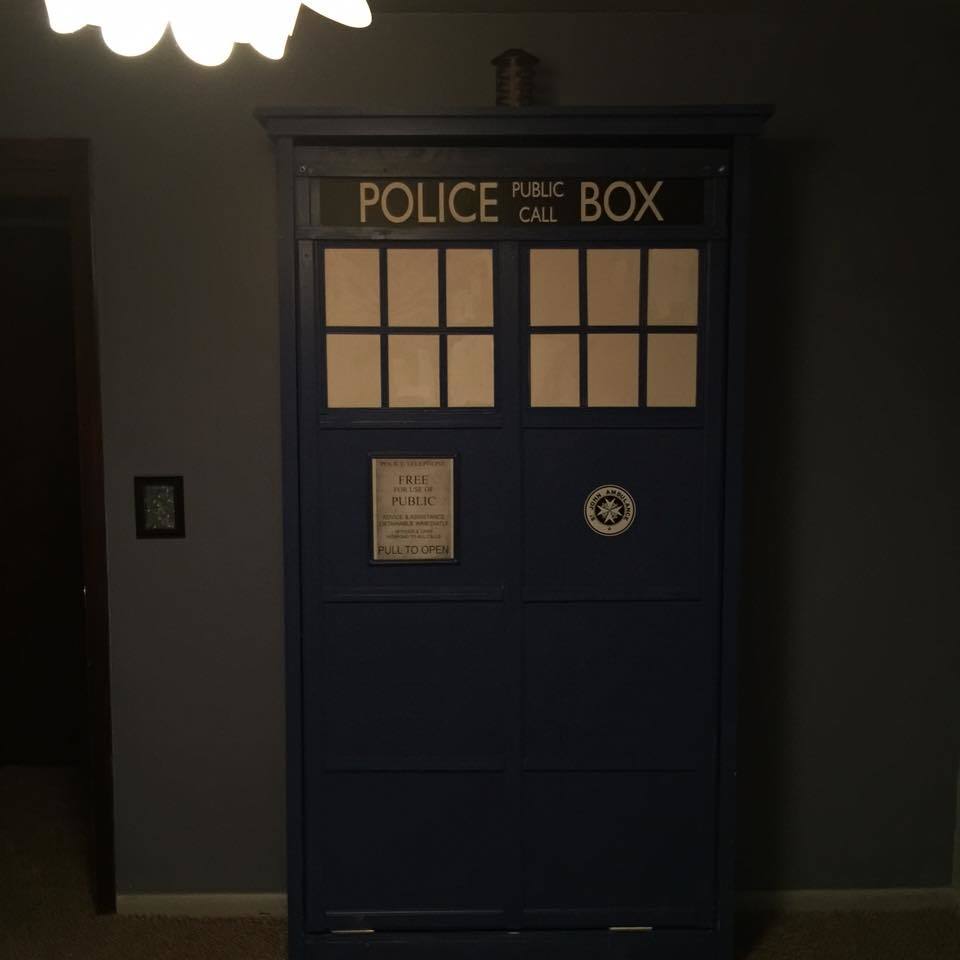
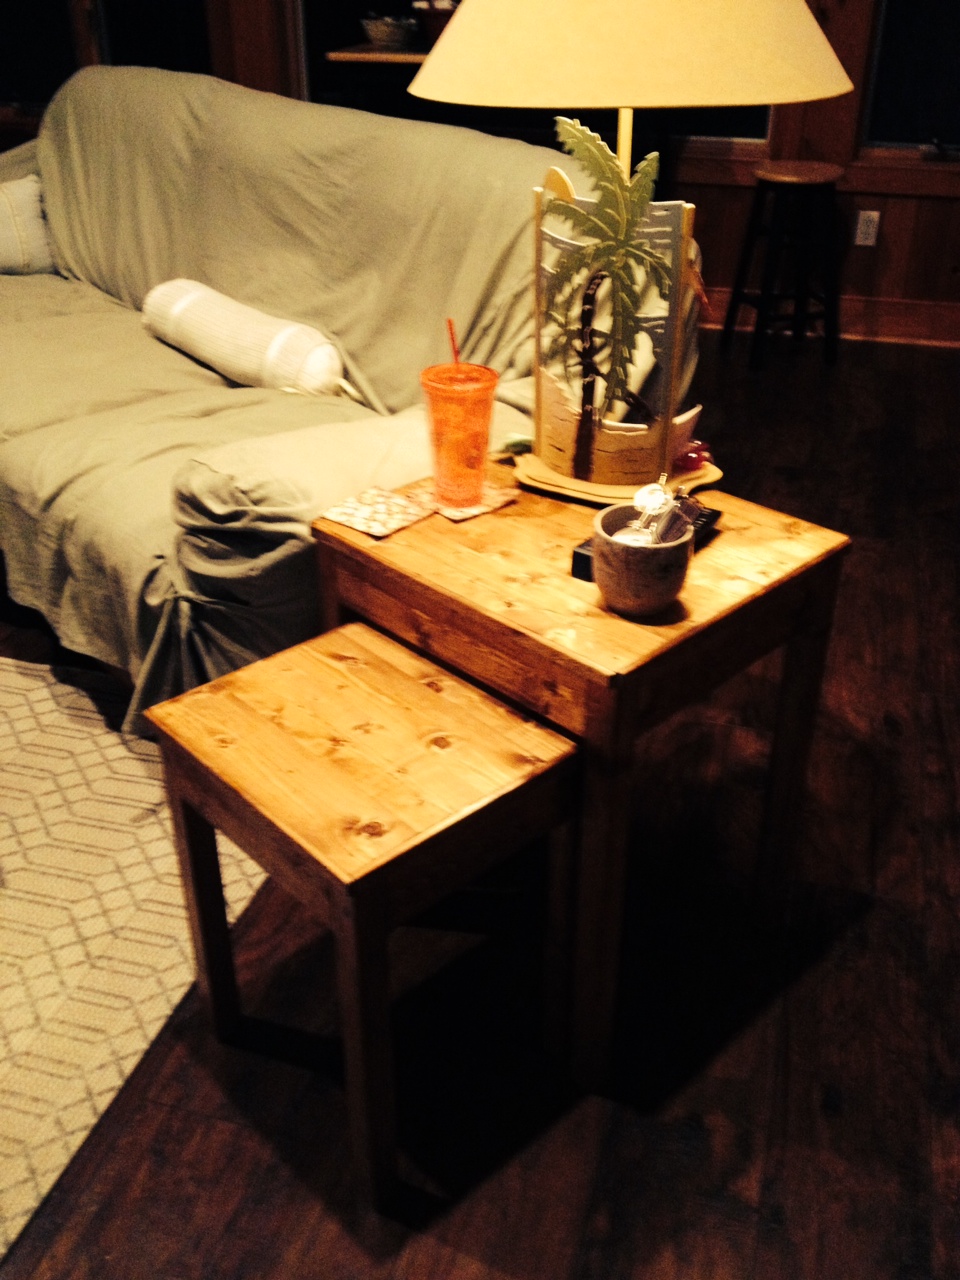
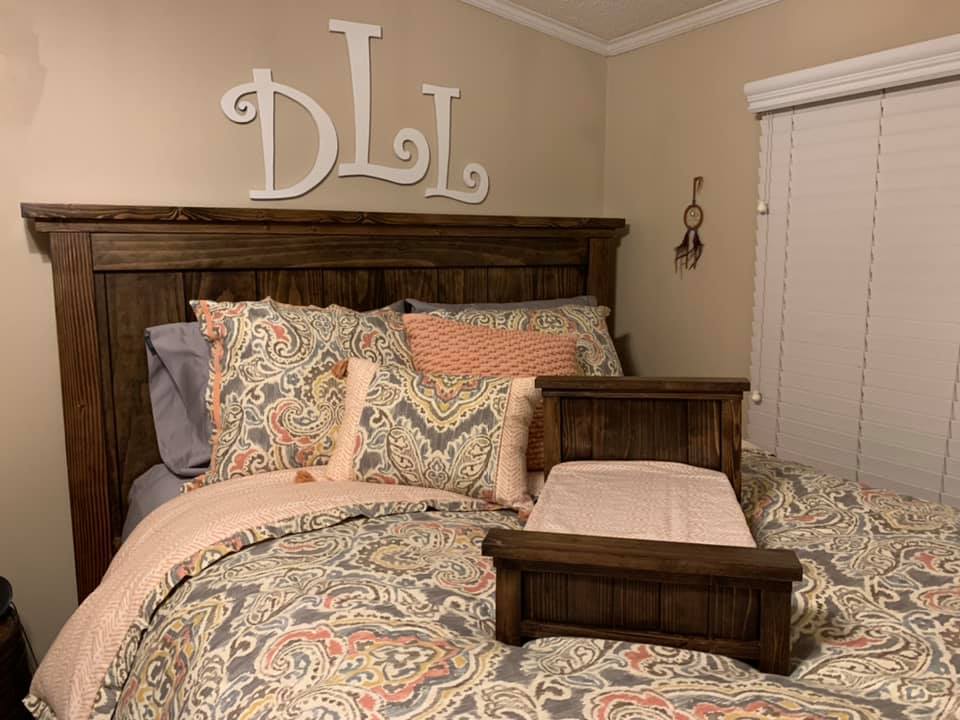
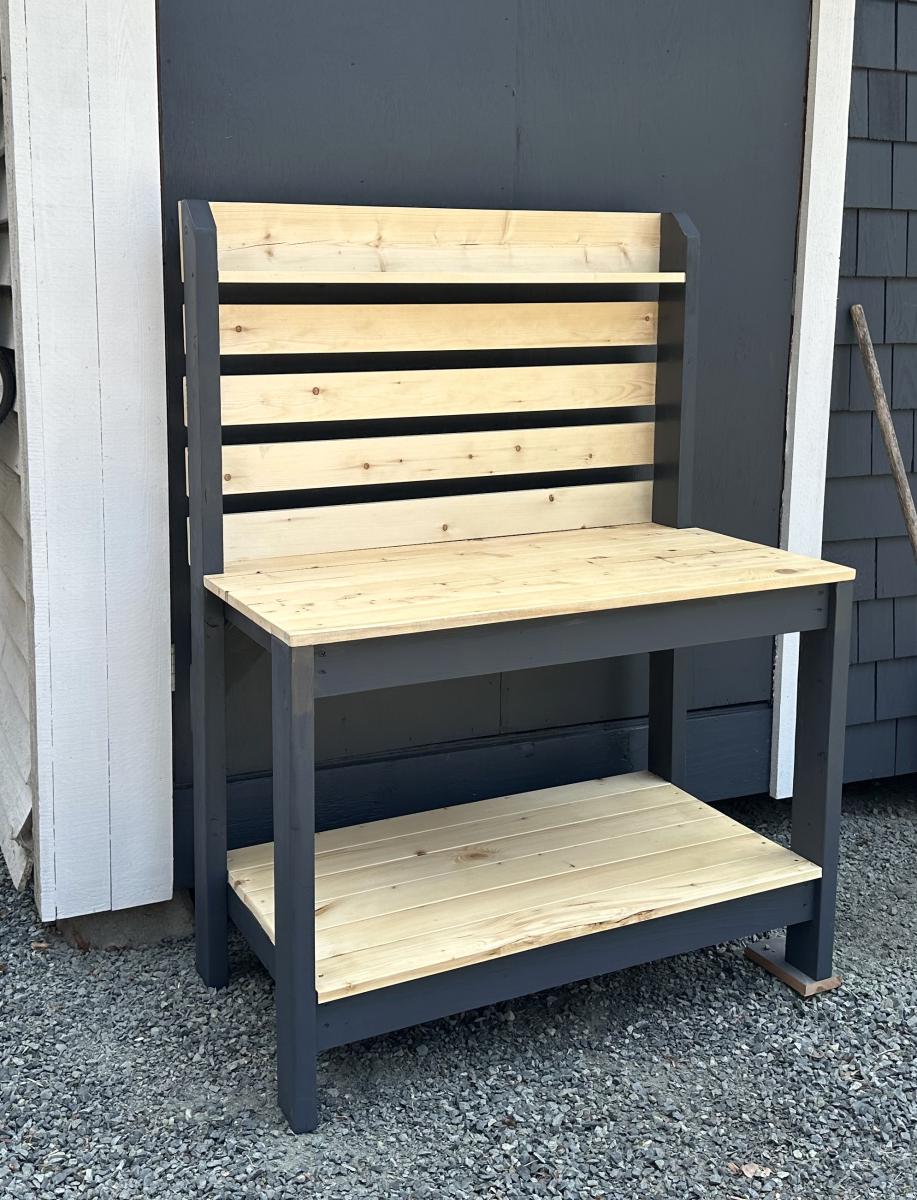
Pictures
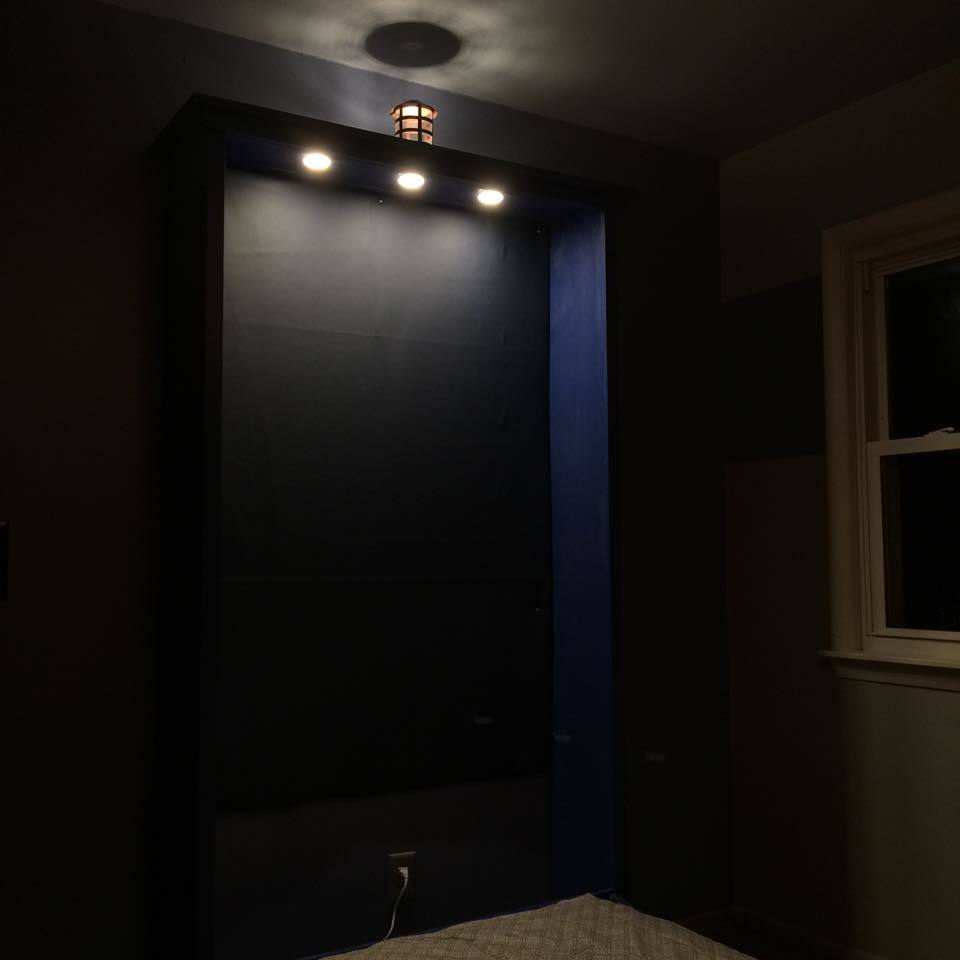
Didn't realize the photos were rotated. Can't figure out how to fix that! Oh well. :)