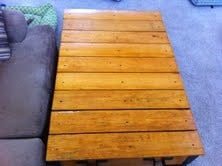
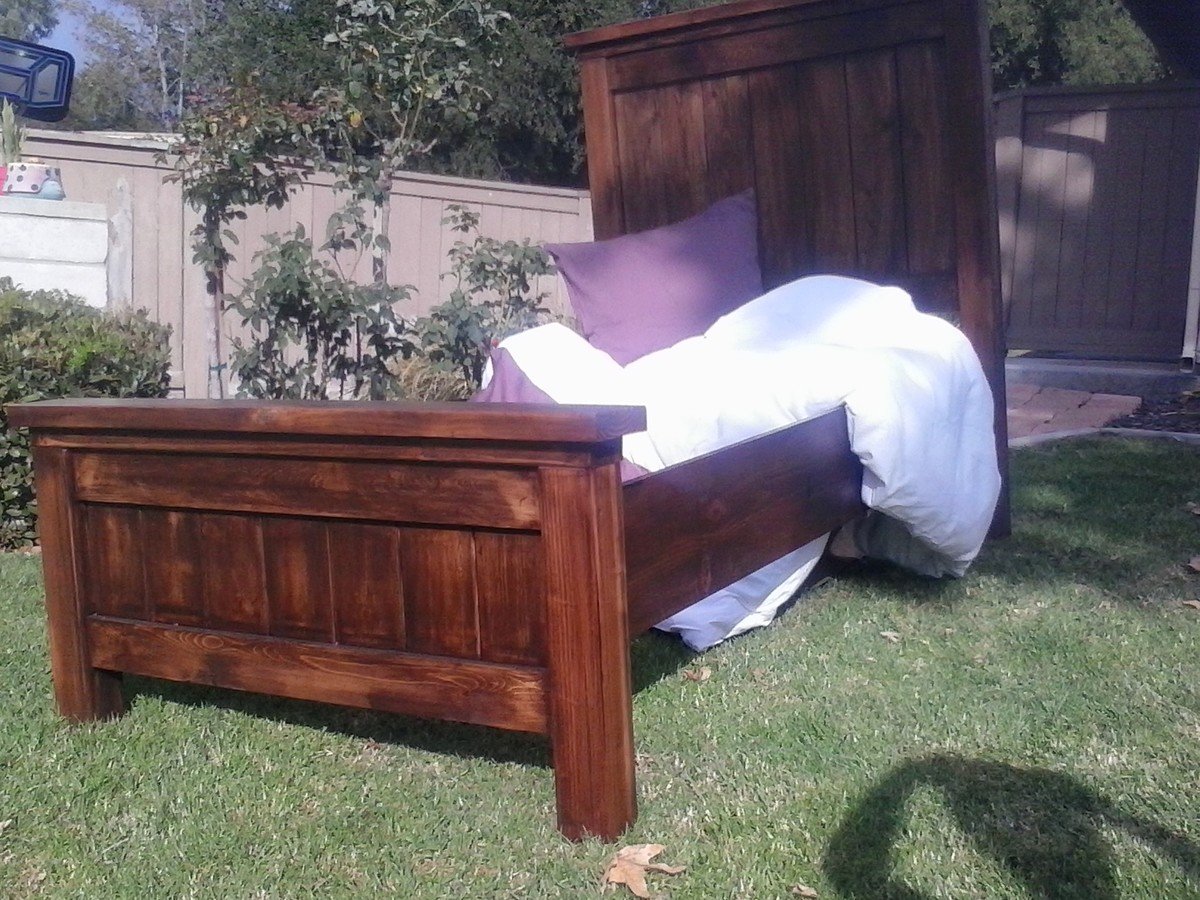
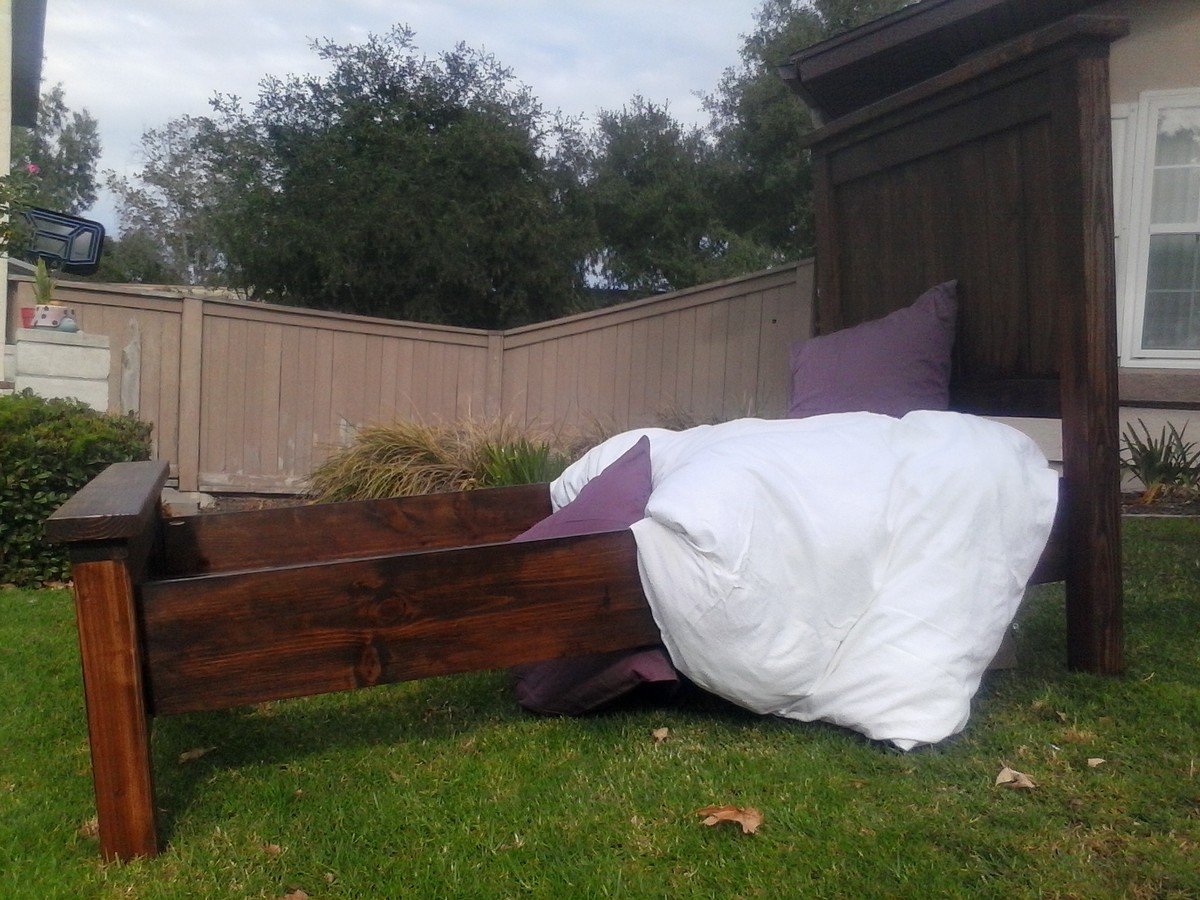
Farmhouse bed
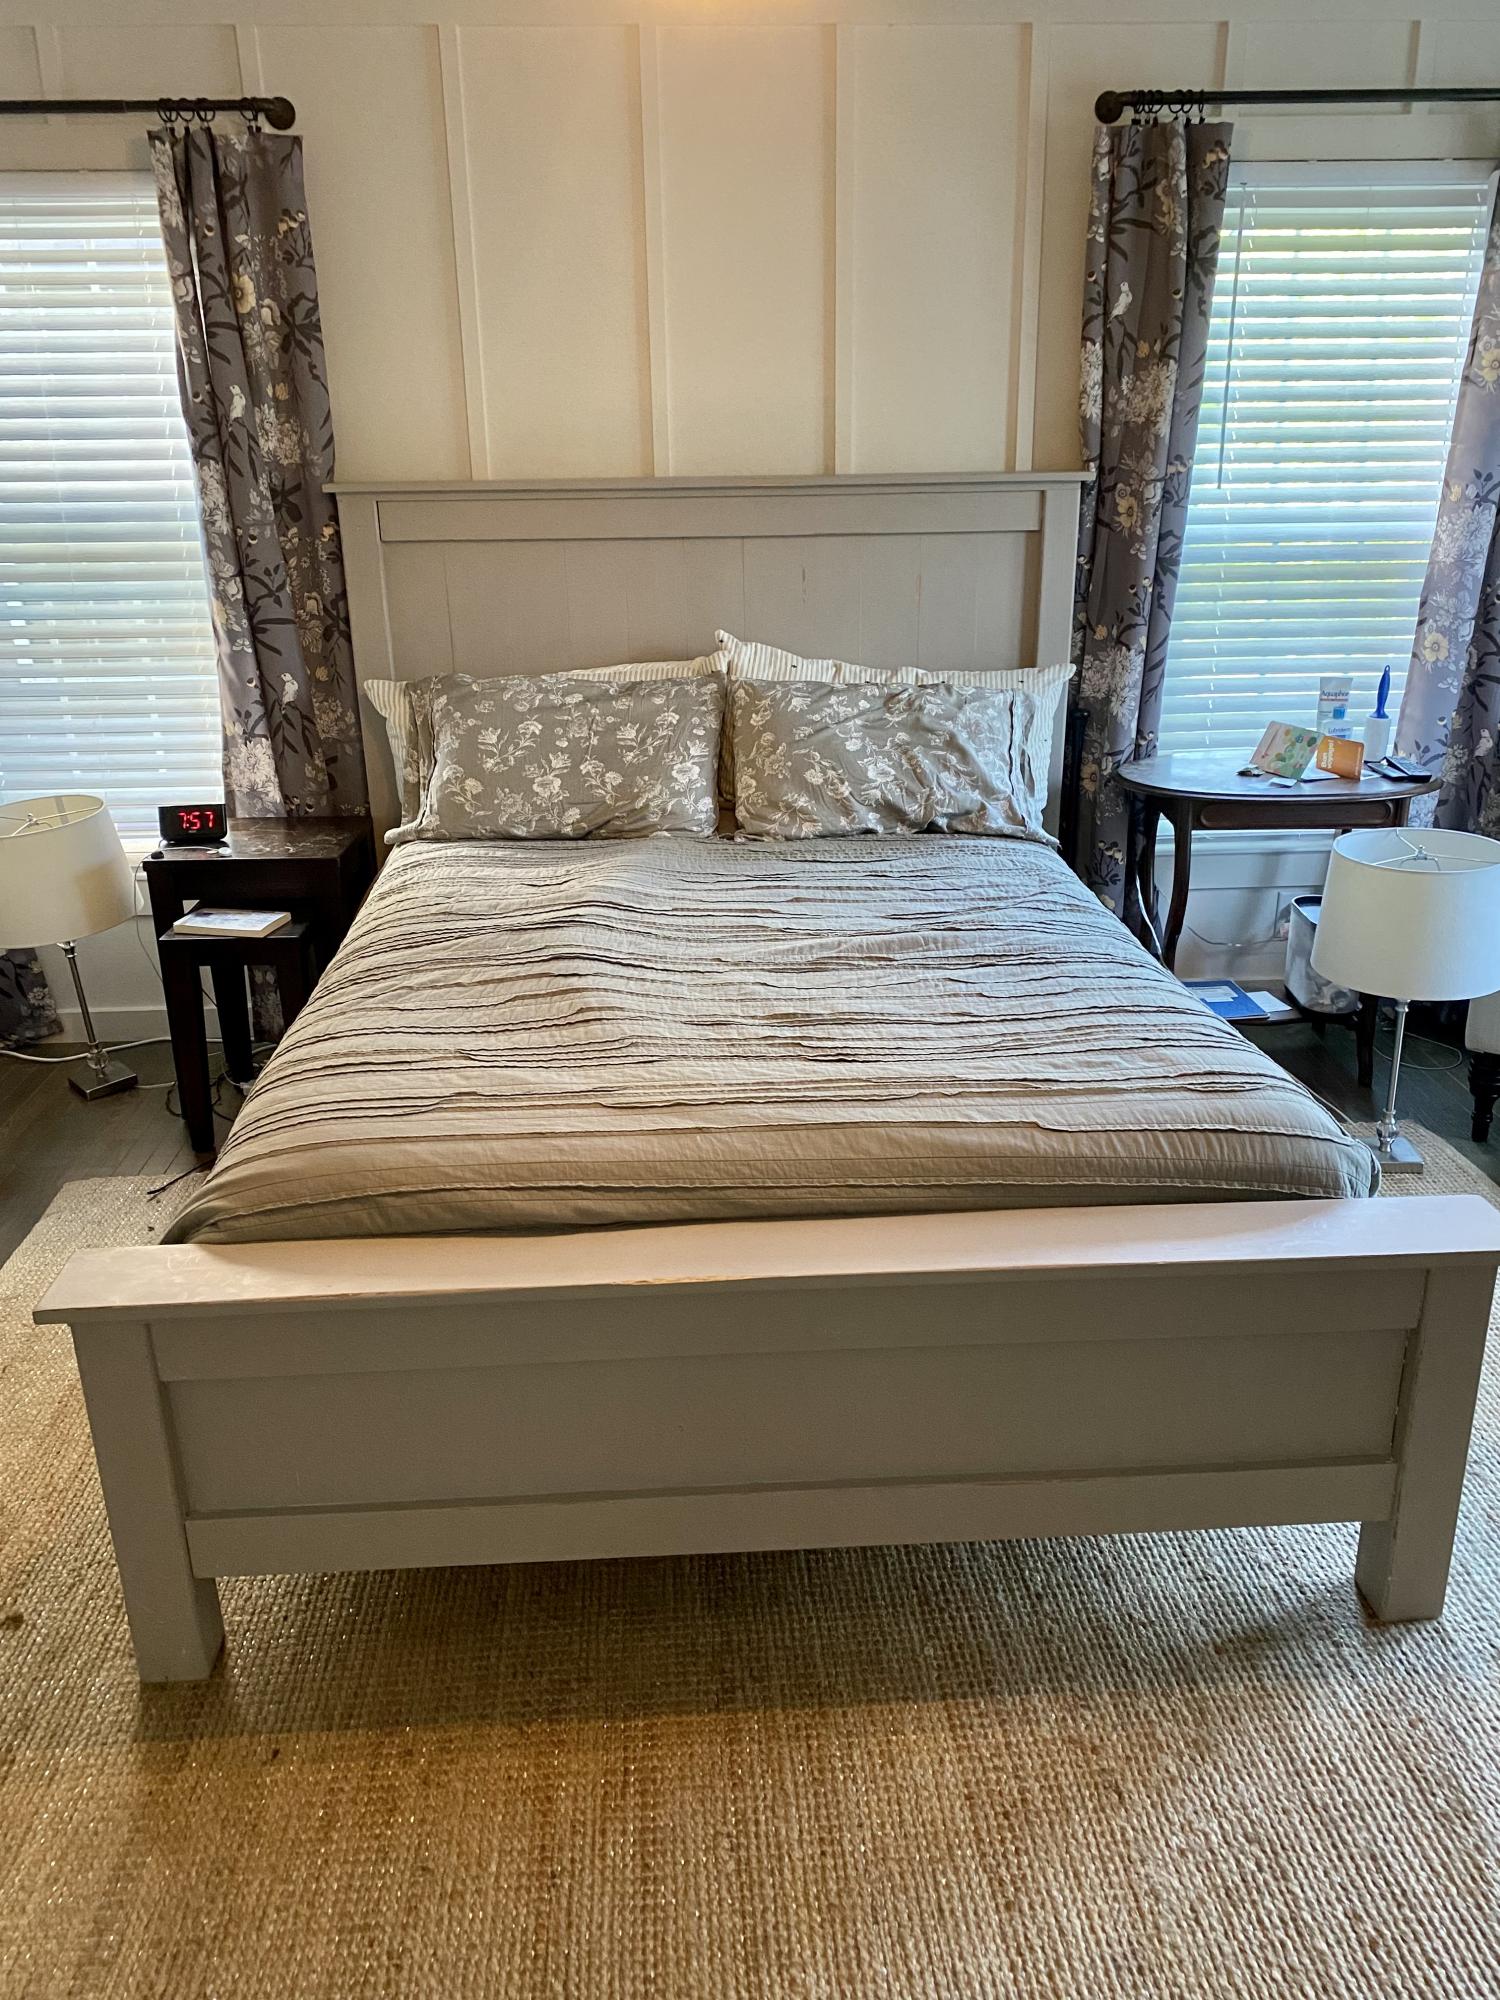
We wanted a new bed - but couldn’t find exactly what we wanted. Then I came across your plans & my husband just ran with it. I’ve gotten tons of compliments too.
Built from Plan(s)
We wanted a new bed - but couldn’t find exactly what we wanted. Then I came across your plans & my husband just ran with it. I’ve gotten tons of compliments too.
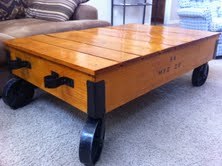
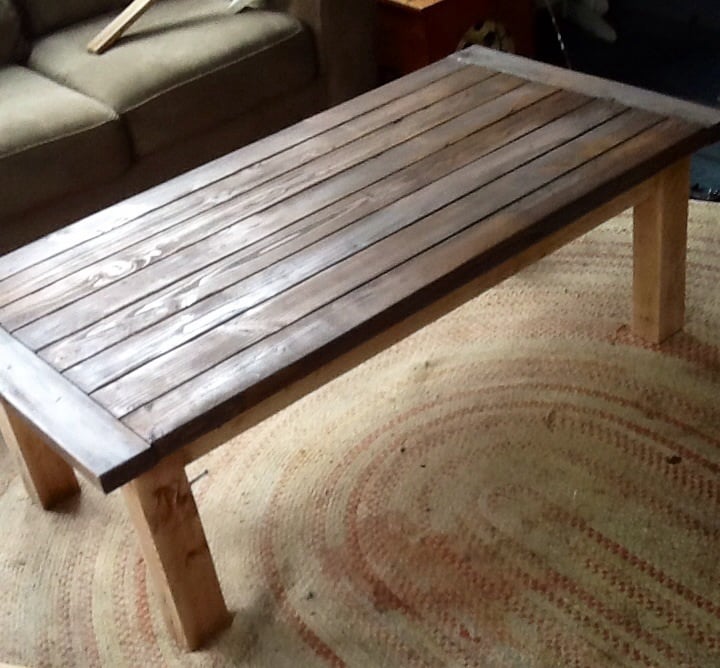
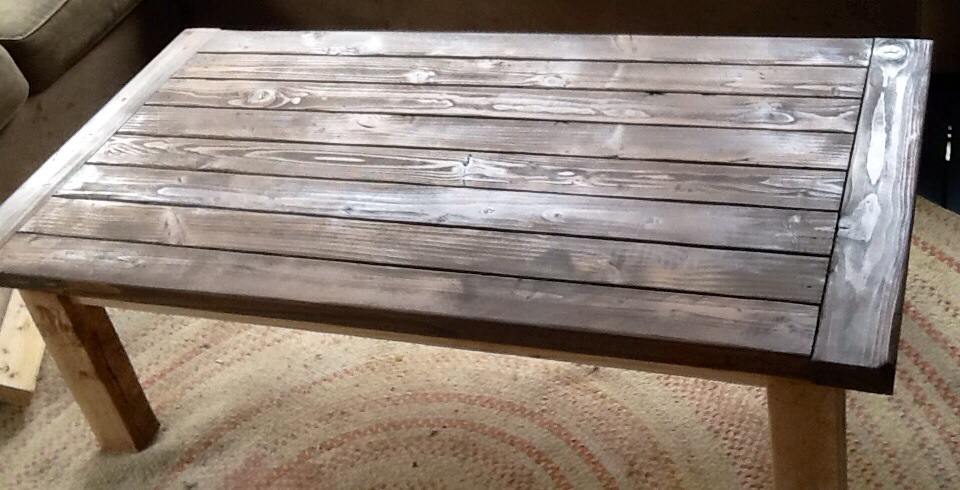
This Factory Cart Coffee Table is my third project. I used pretty much the same design as the Factory Cart Coffee Table plans on the site, with some minor modification. We attached a few pieces of hardware to the sides, and corners of the table to add a little bit more of the industrial look.
Great plans, keep up the good work. I am beginning to build a lot of stuff now. The furniture all looks great, it has the look of homemade, and saves a lot of money over buying in a store.

Sat, 07/16/2011 - 08:20
Been looking at these plans for a while trying to figure out where I could fit a table like this in my teensy-tiny house. Love your interpretation of it. The black hardware is a nice touch!
Thu, 07/28/2011 - 07:20
Hello,
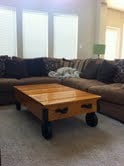
Thanks...we really like the look of this piece in the house, and by building it ourselves it saved a ton of money.
I got the casters at Tractor Supply. They are 5 inch casters. The front two are able to swing 360 degree, and the back two are just straight casters. These were by far the most expensive portion of the project. I bought and tried 3 inch casters first, but these made for a really, really low table.
Wed, 08/03/2011 - 19:23
I love the work you did on the table. Did you also stencil something? Did you get the hardware at the tractor supply store? Just beautiful.
Mon, 08/29/2011 - 08:54
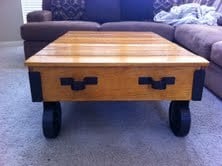
Thank you so much. We did stencil something on the side (S & K MFG Co.). A mix of mine and my girlfriends name.
We got the hardware at Lowes, and the casters at Tractor Supply. The casters were the hardest part since I was looking for the old type casters used on the turn of the century carts, but those were way too hard to source.
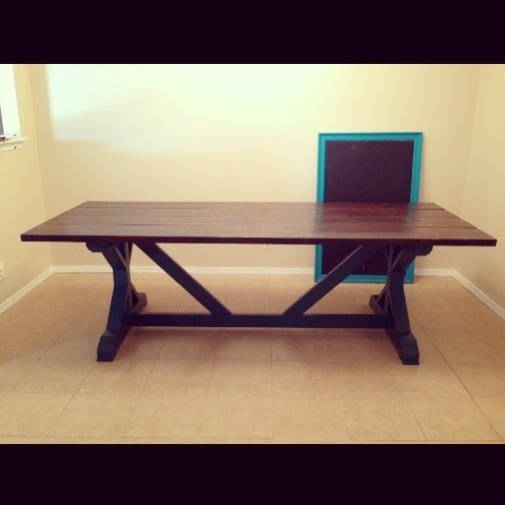
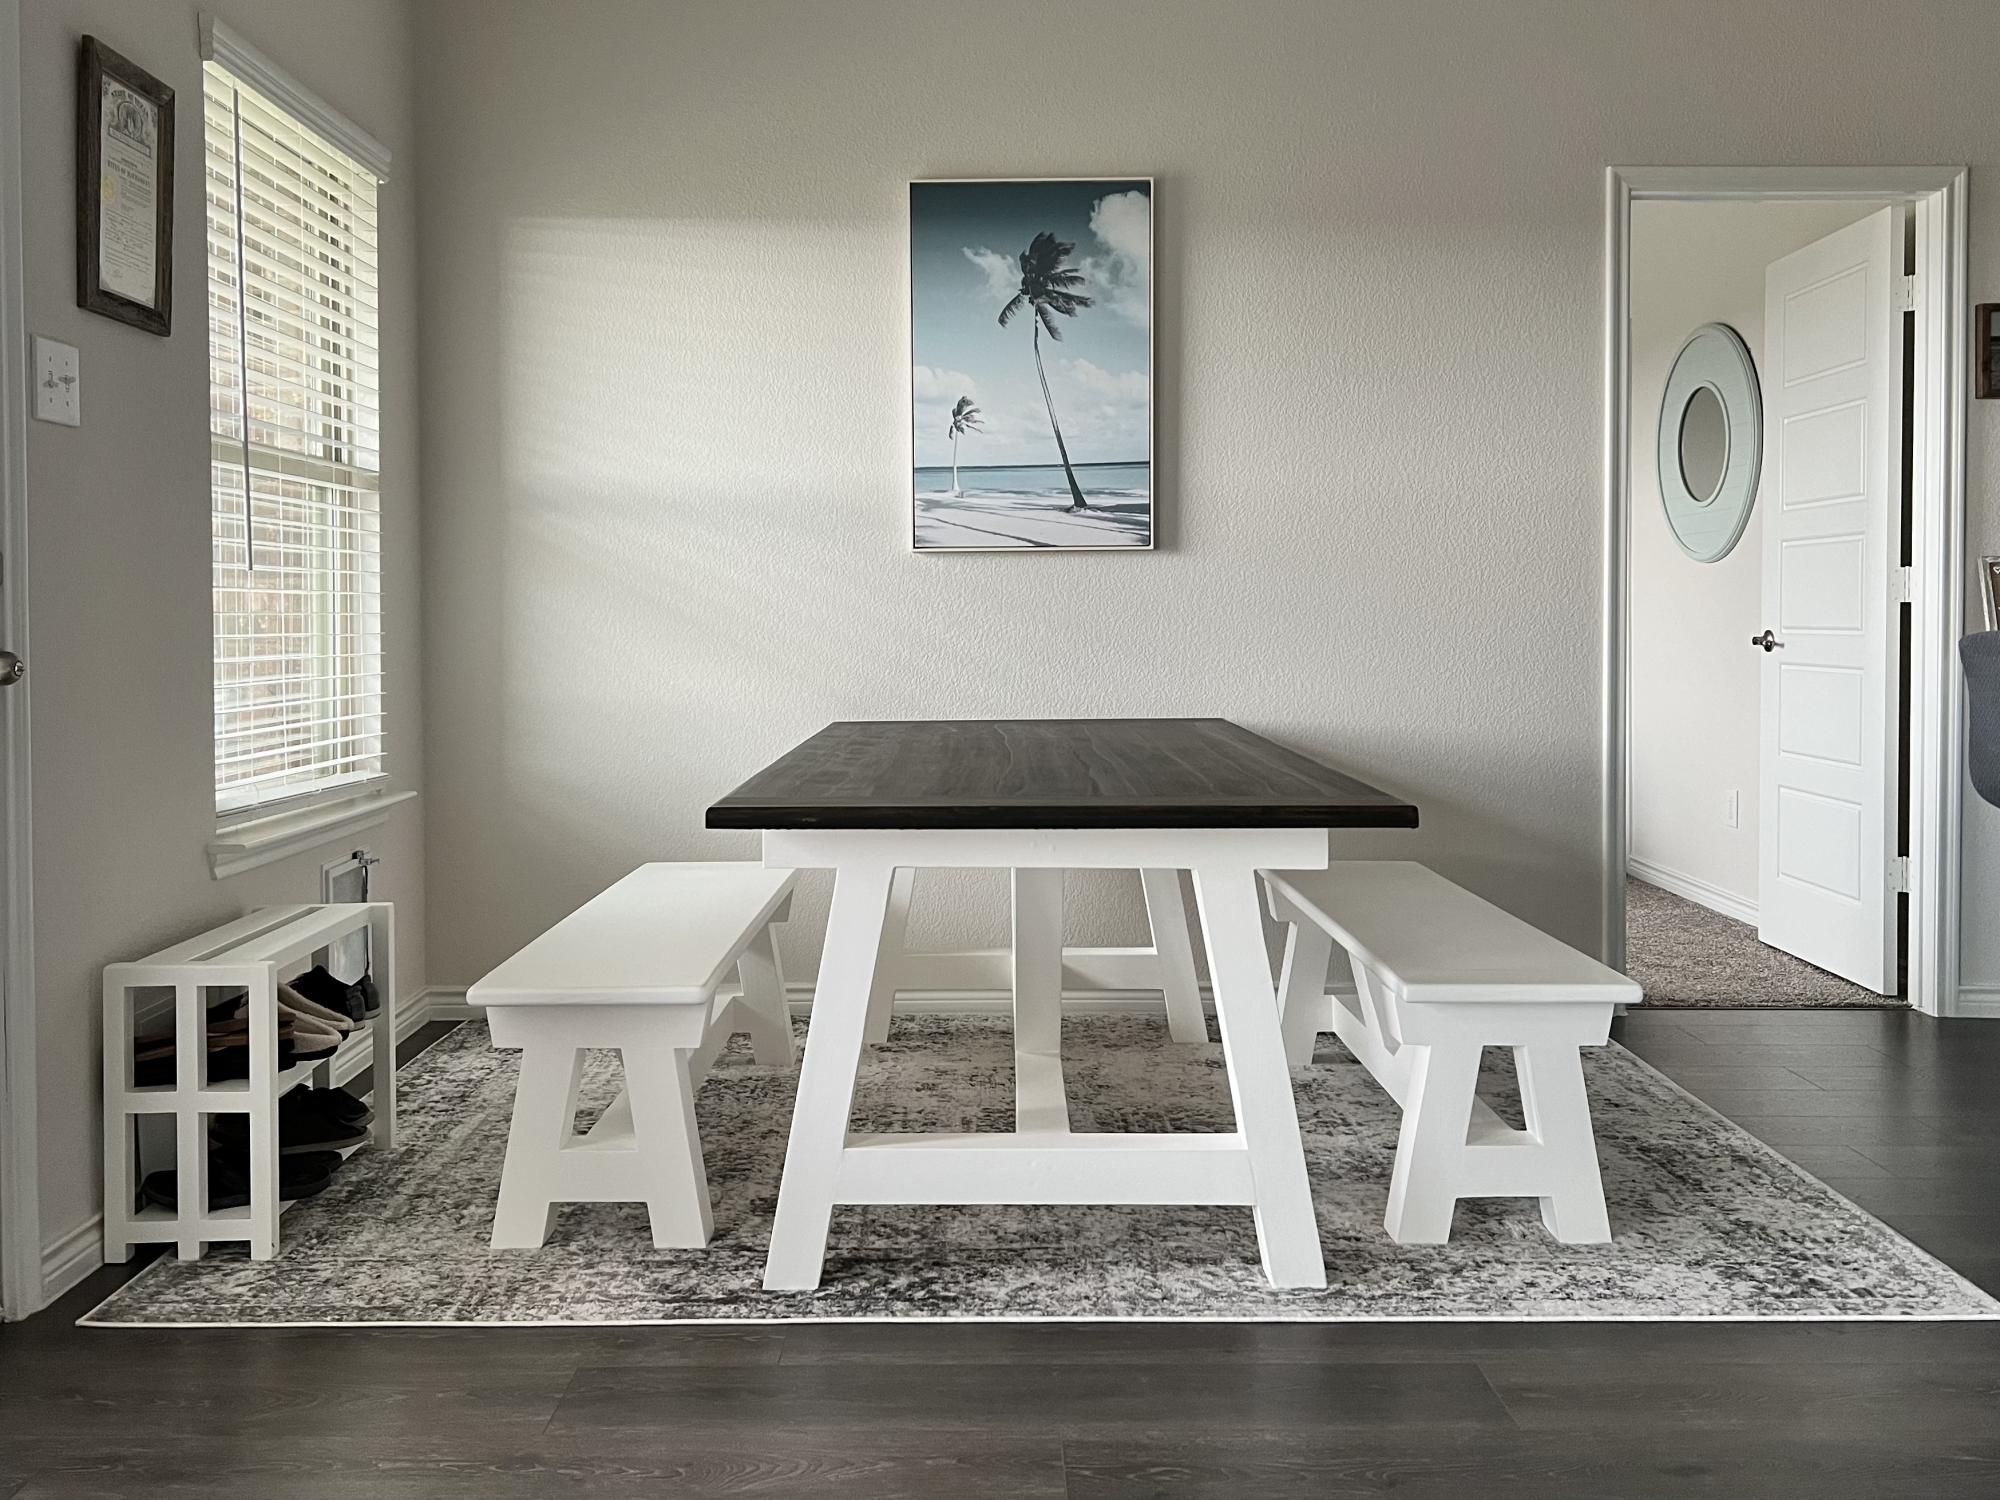
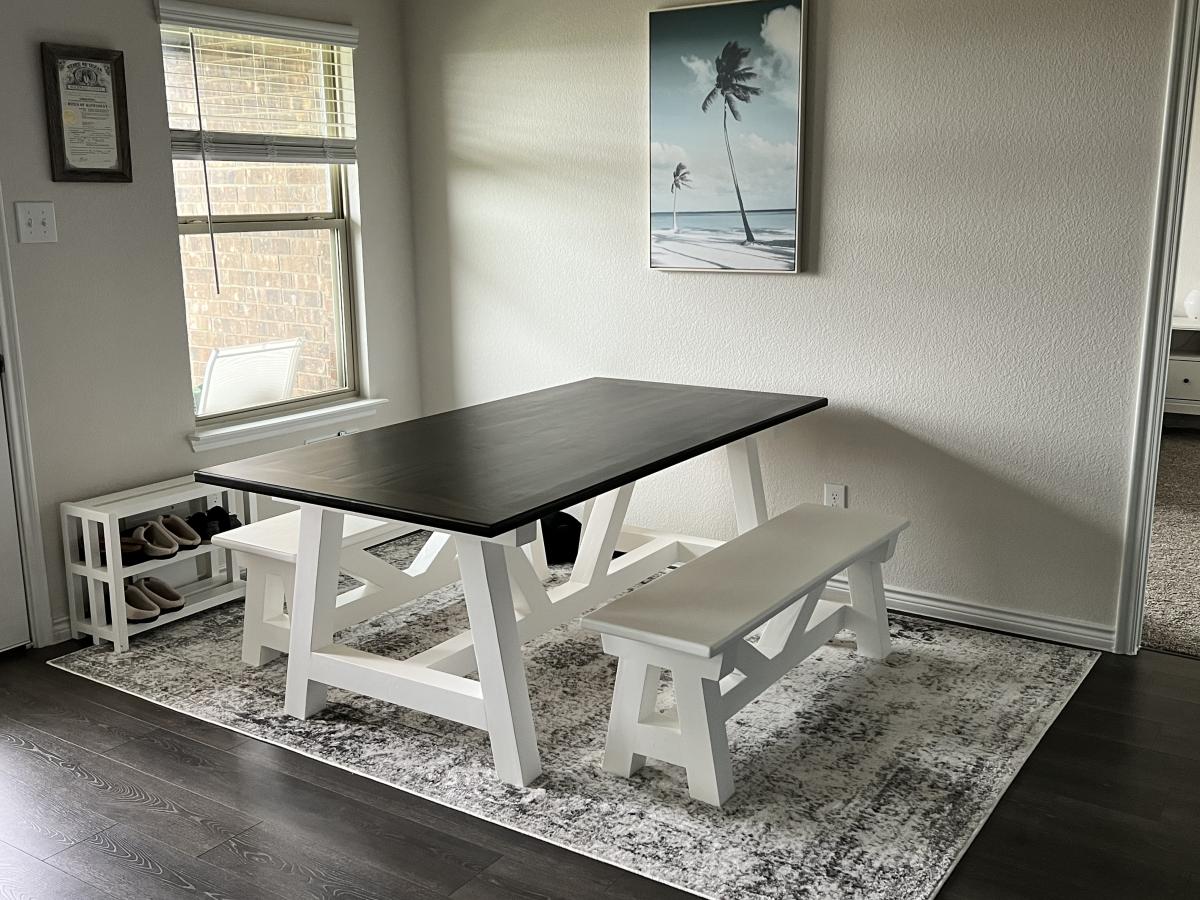
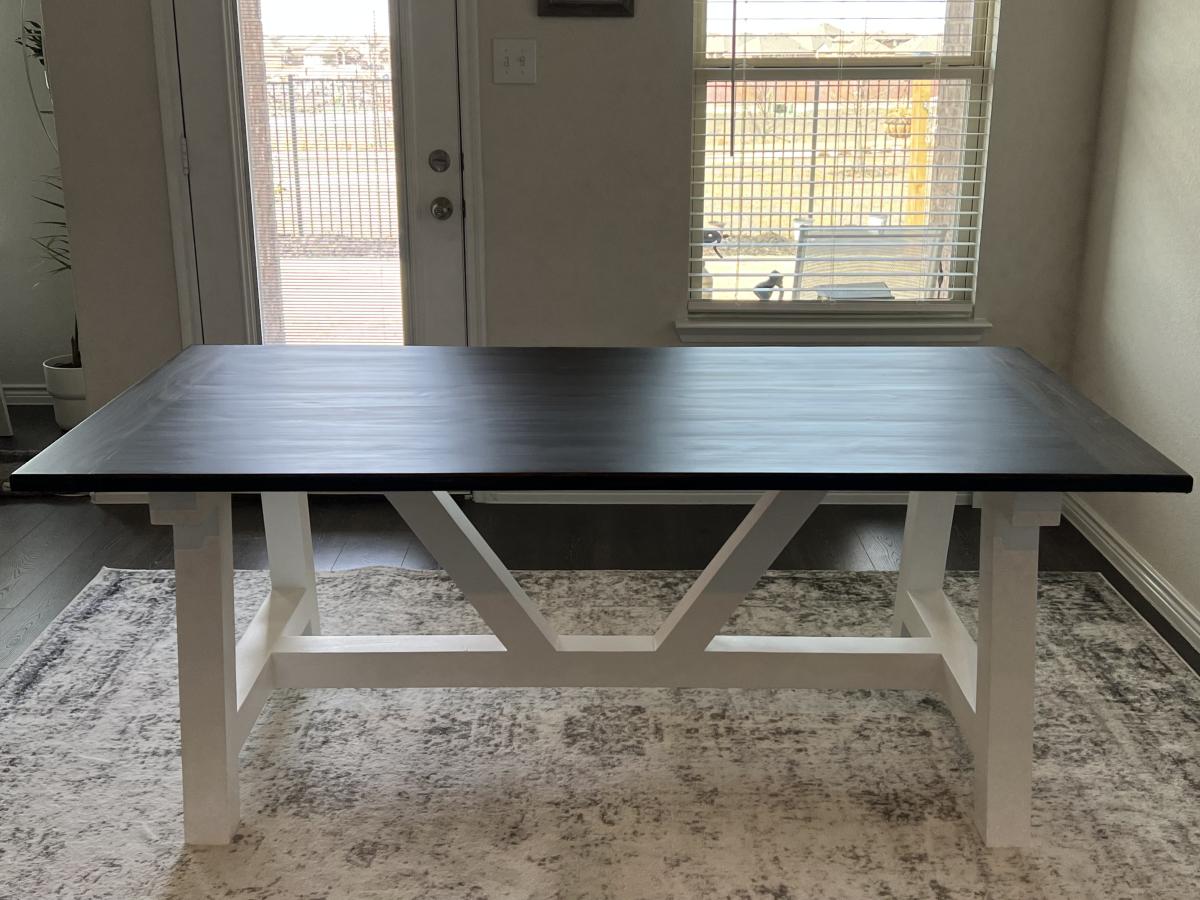
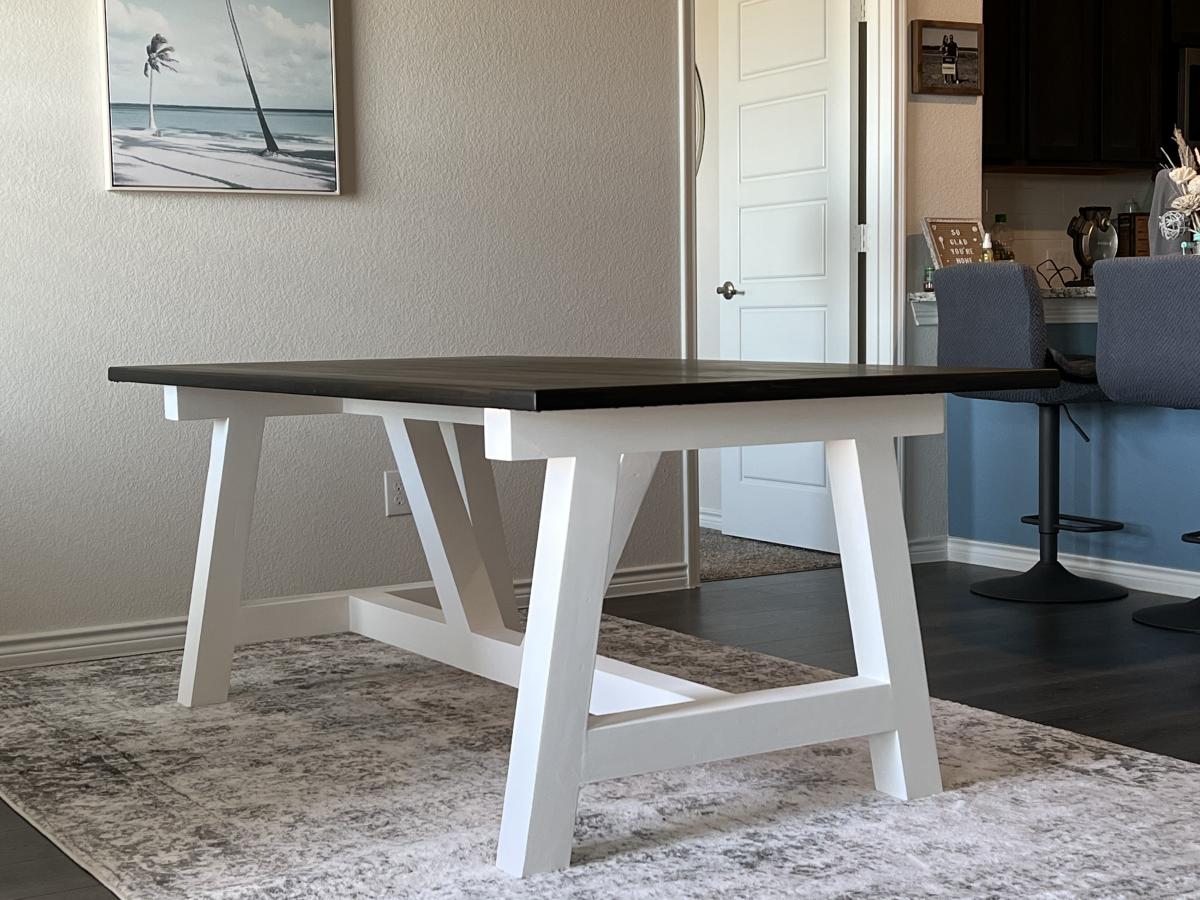
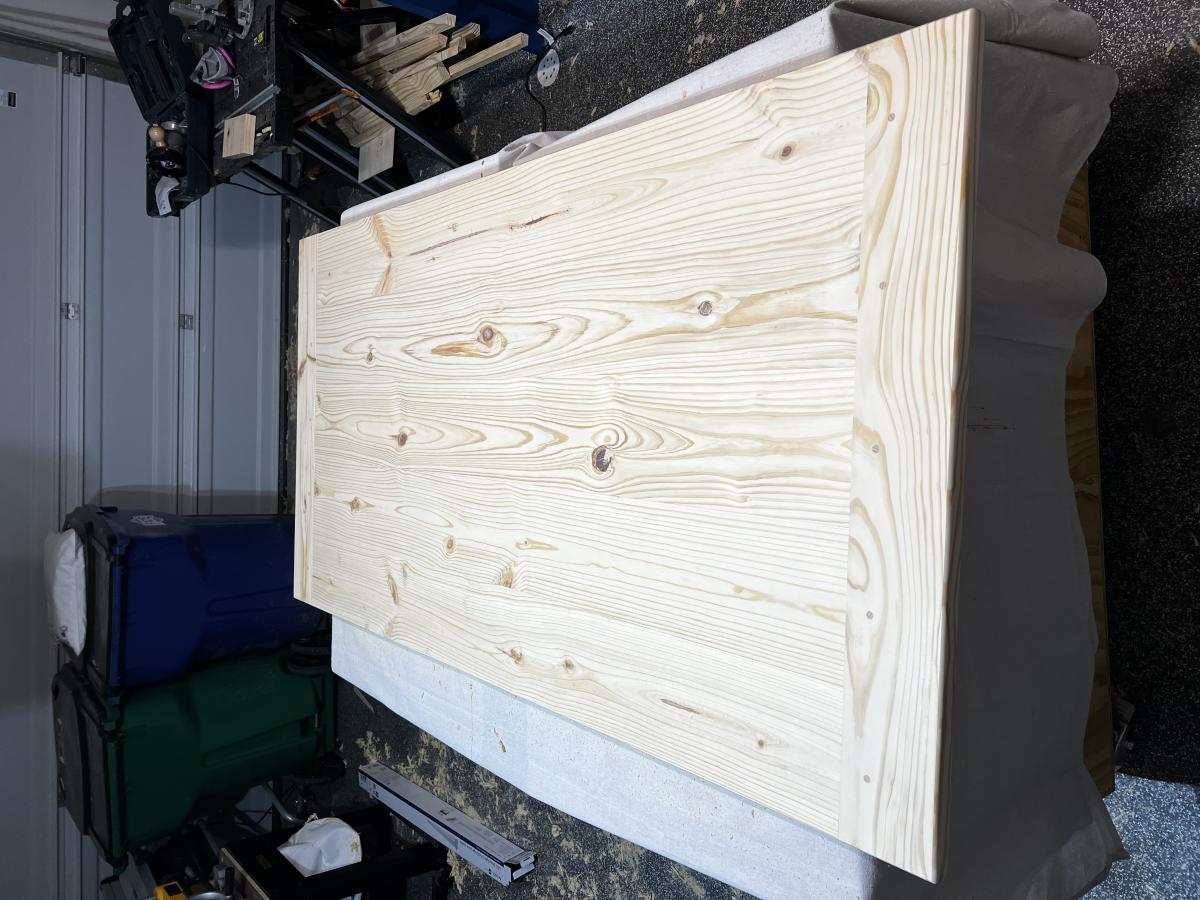
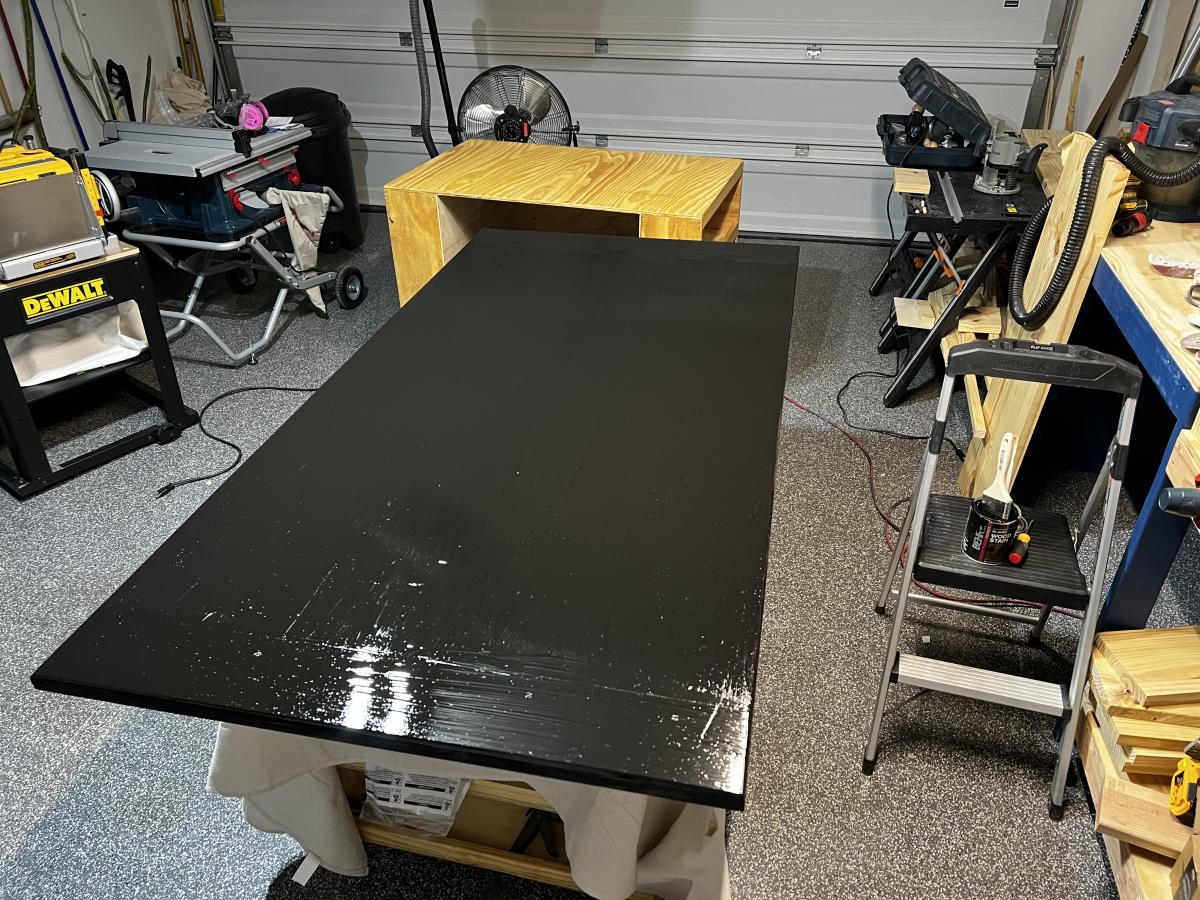
My husband tackled the Fancy Farmhouse Table and finished it in 1 weekend and it looks amazing! I could not be more thrilled with the outcome.
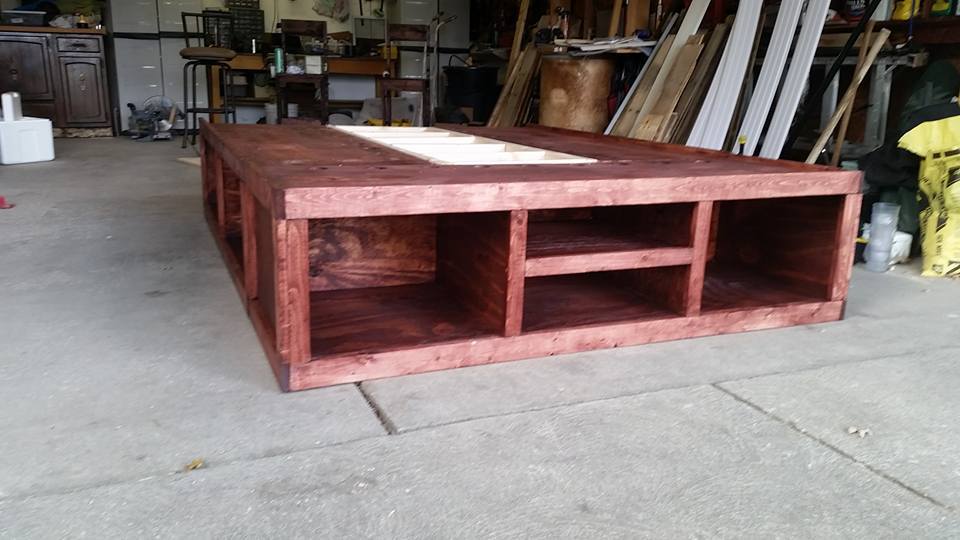
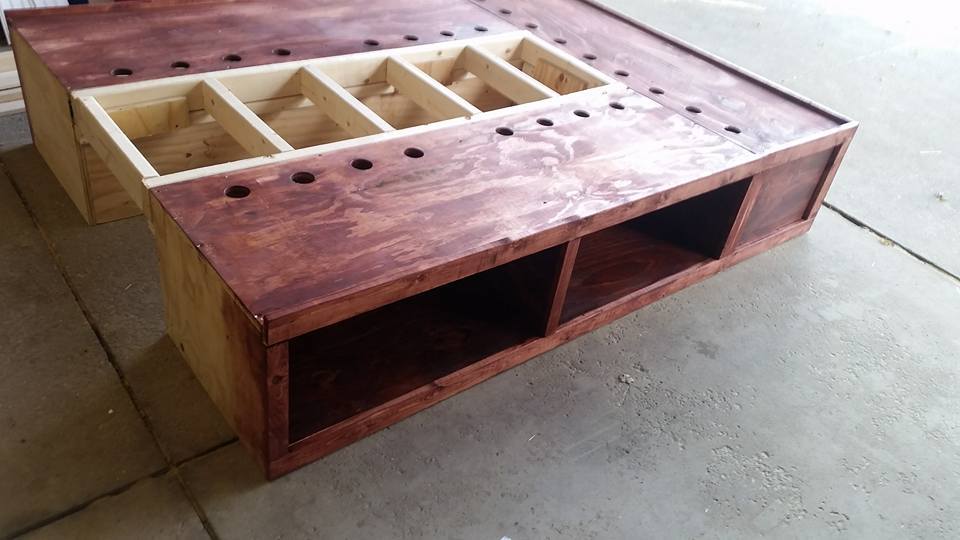
This was a pretty easy build! I changed the plans a little bit by adding ventalation holes and the way the cubbies conntect. I wanted to be able to easily take apart the bed if I need to so I built a track system that the middle support sits on and locks in place.
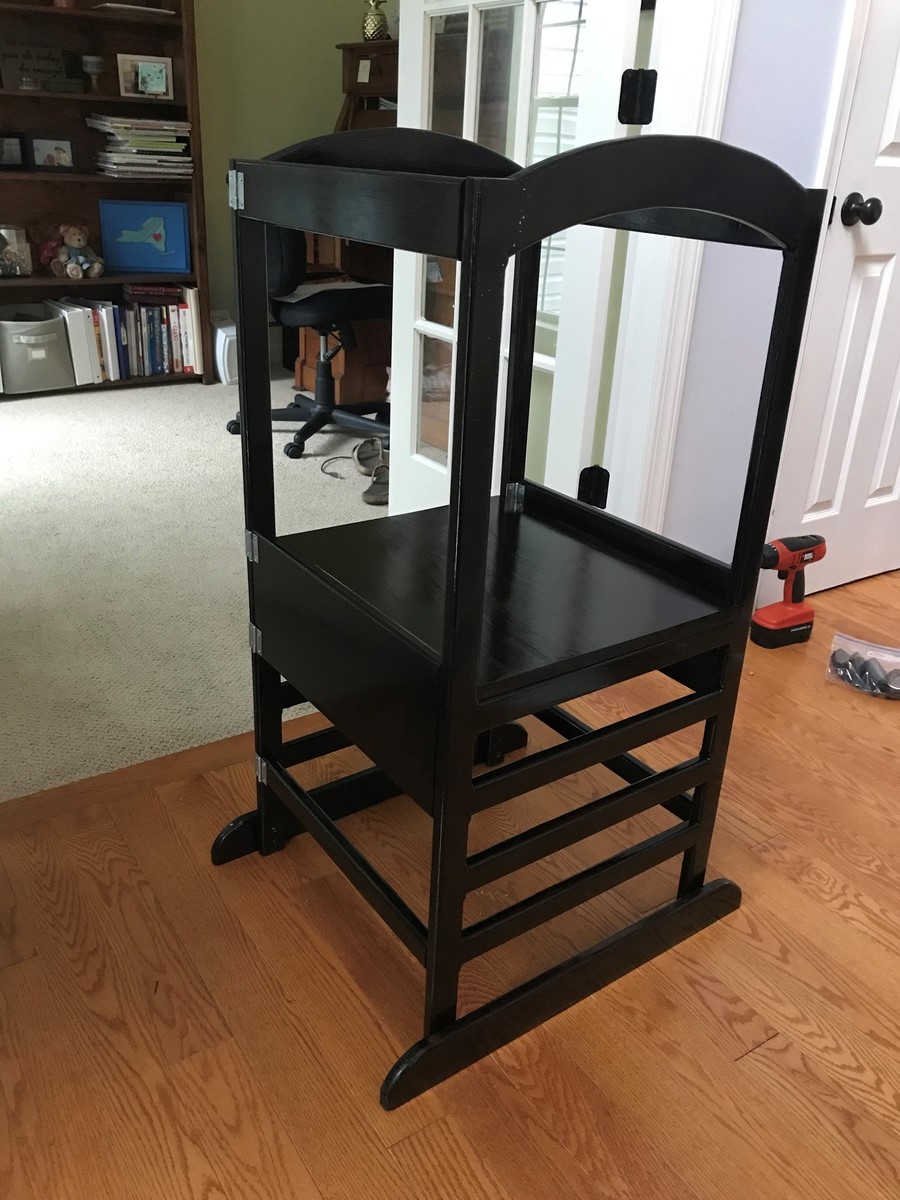
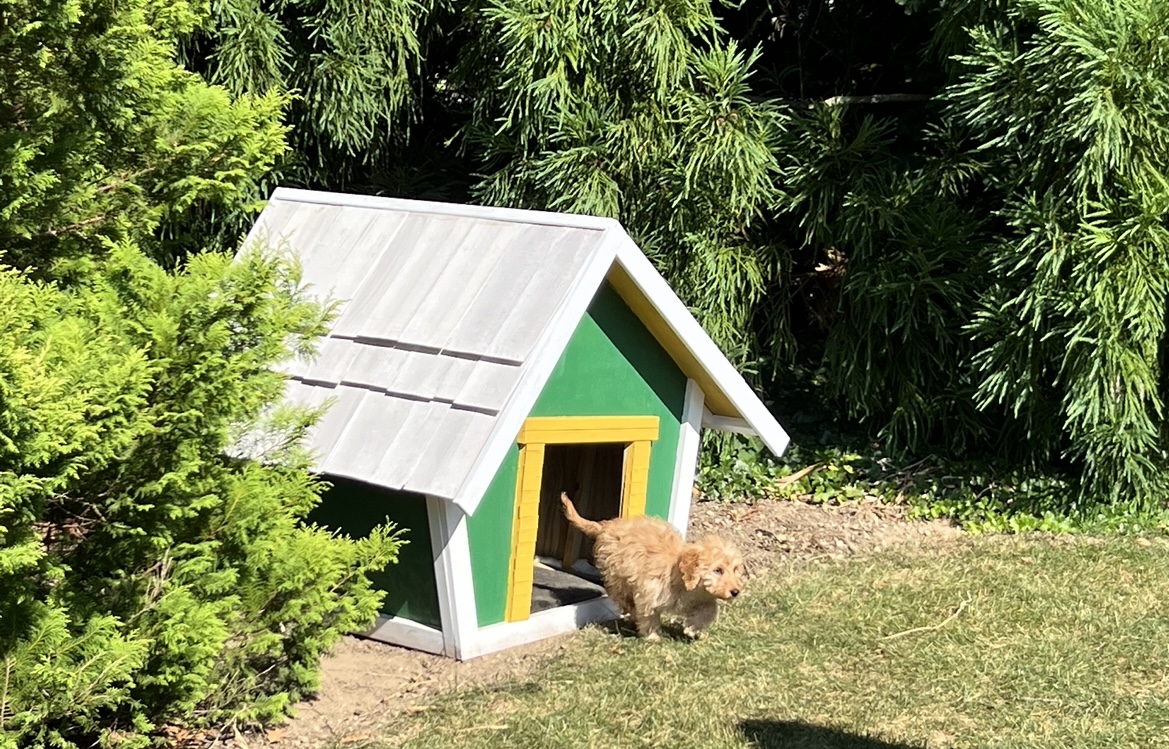
I made this for a friend who has two little ones that are less than two years old. Although I enjoy the ease and convenience of the Kreg jig, I wanted to try something more difficult for this. So for the sides I used mortise and tenon joinery for the ladder rungs and top arches. The only screw I used we to place the hinges and attach the feet. I also didn’t like the gap in the platform that would have been caused by my 1x8 actually only being 7.5 in wide, so I made my own platform by joining the edges of two pieces of wood (one was 11 inches and the other was 6 inches wide). After clamping and lettting the glue dry, I trimmed up the platform to size. Due to the modifications the project took well over 20 hours, but was a fun challenge.
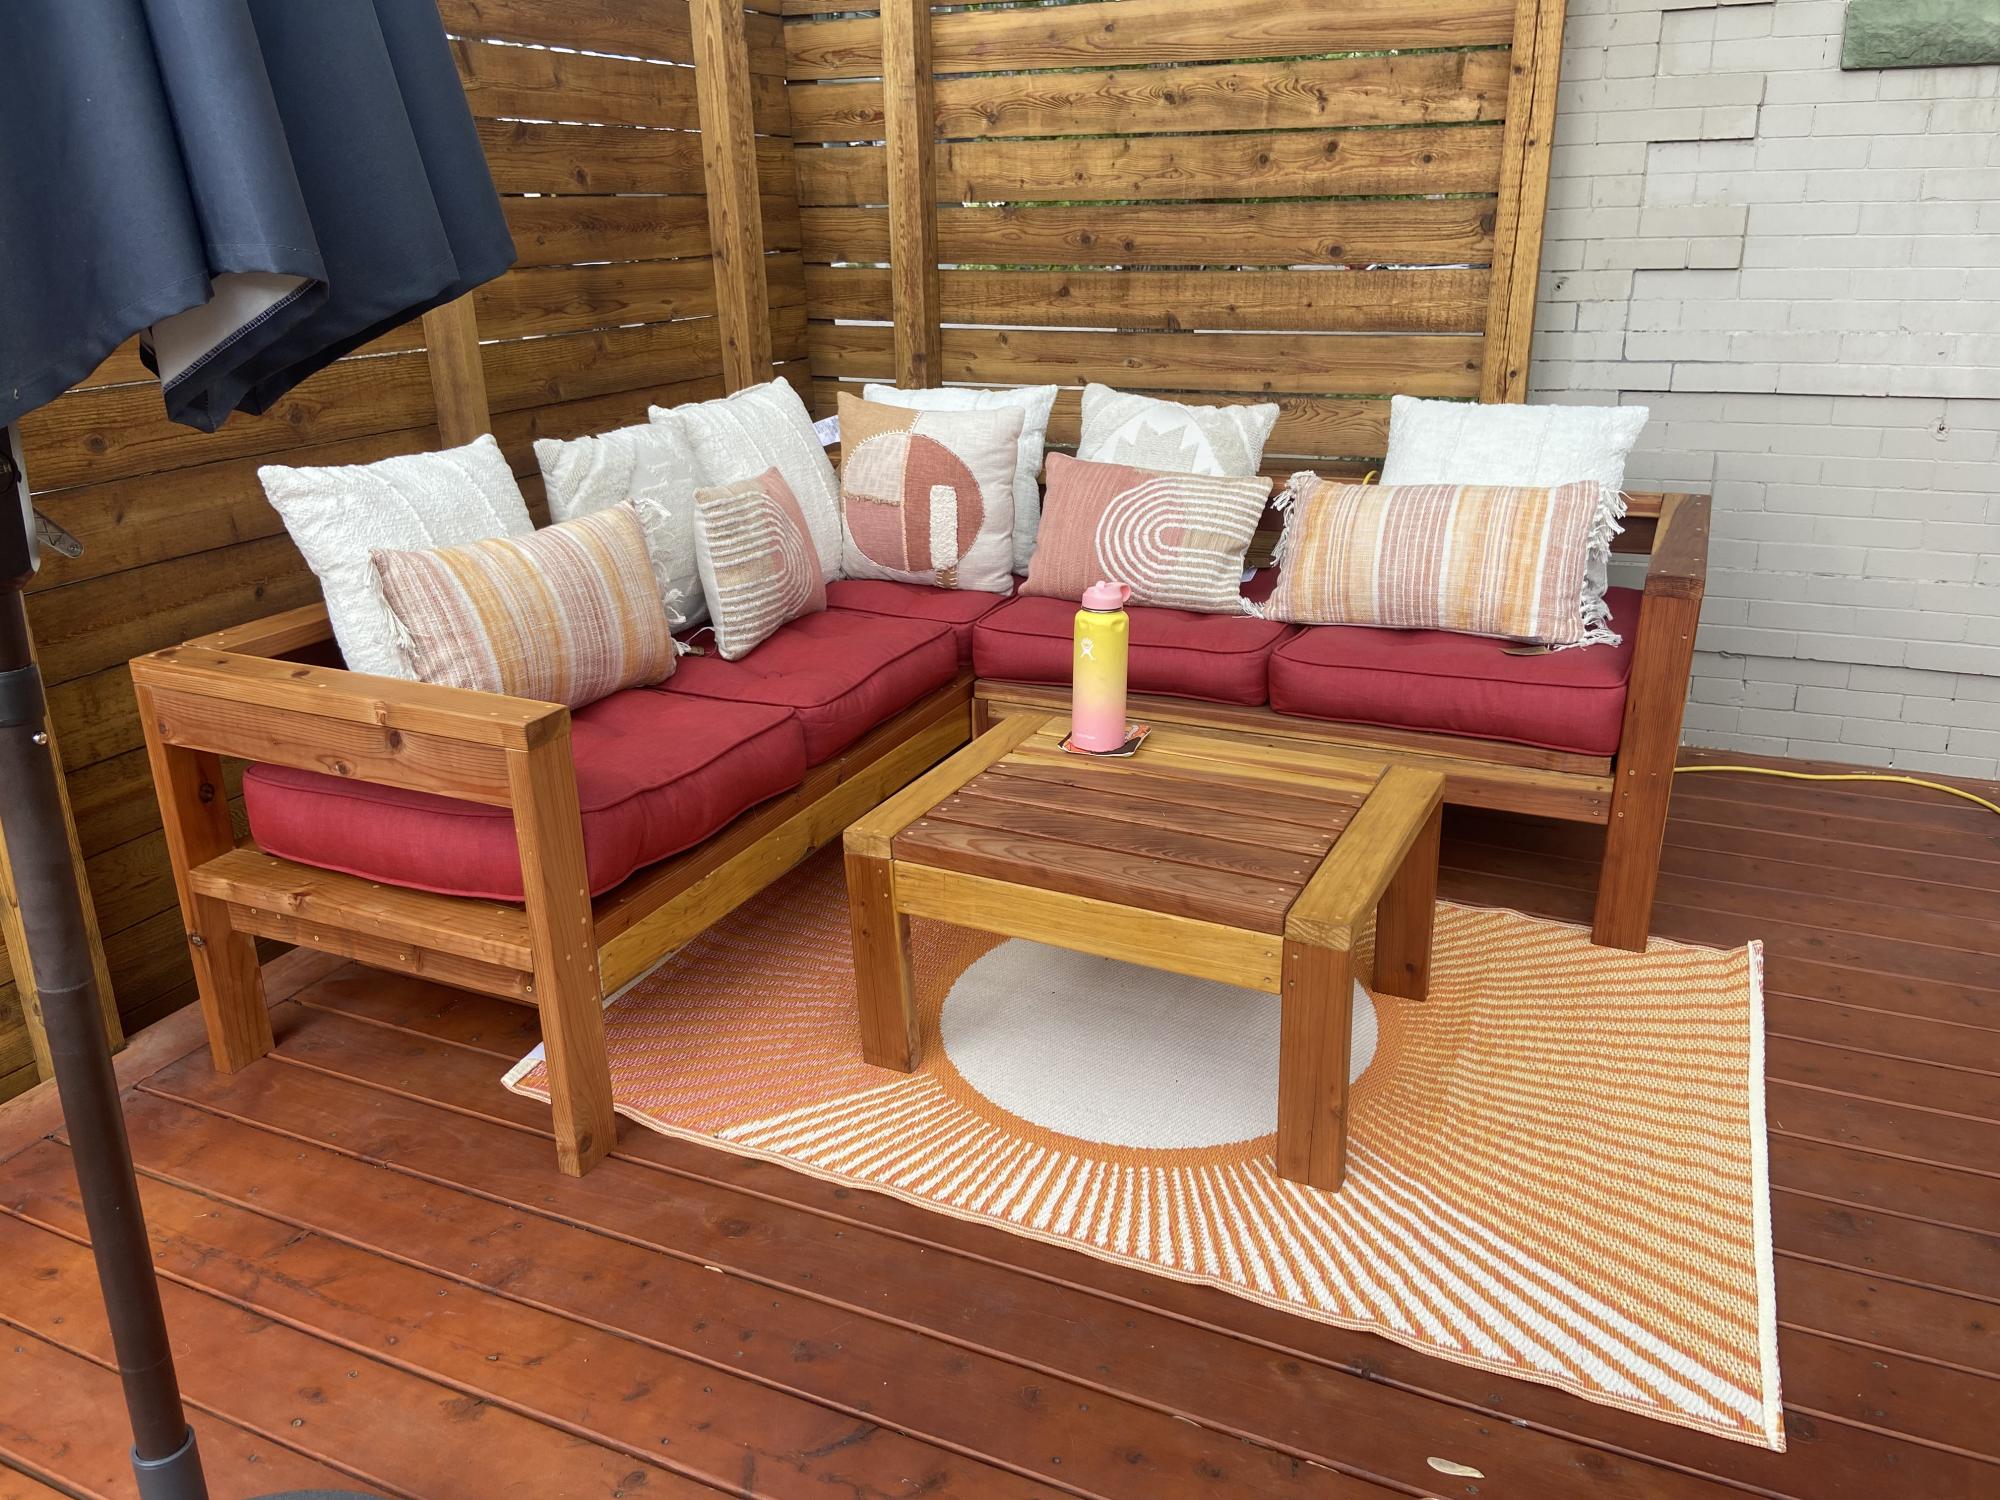
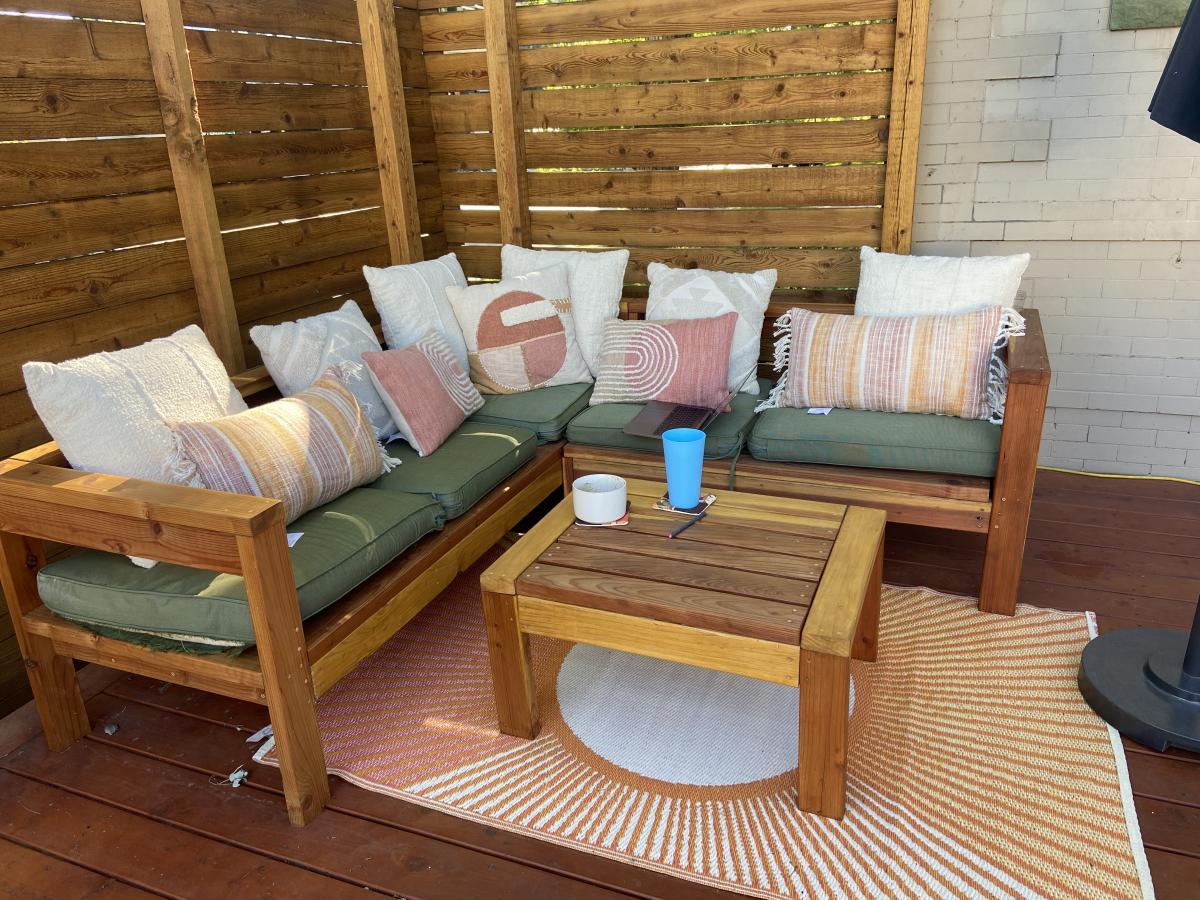
I built the two piece sectional + table and adjusted the sizing so the lengths of the sectionals pieces are the same.
Turned out amazing. So much fun building this and I can’t wait for my next project!
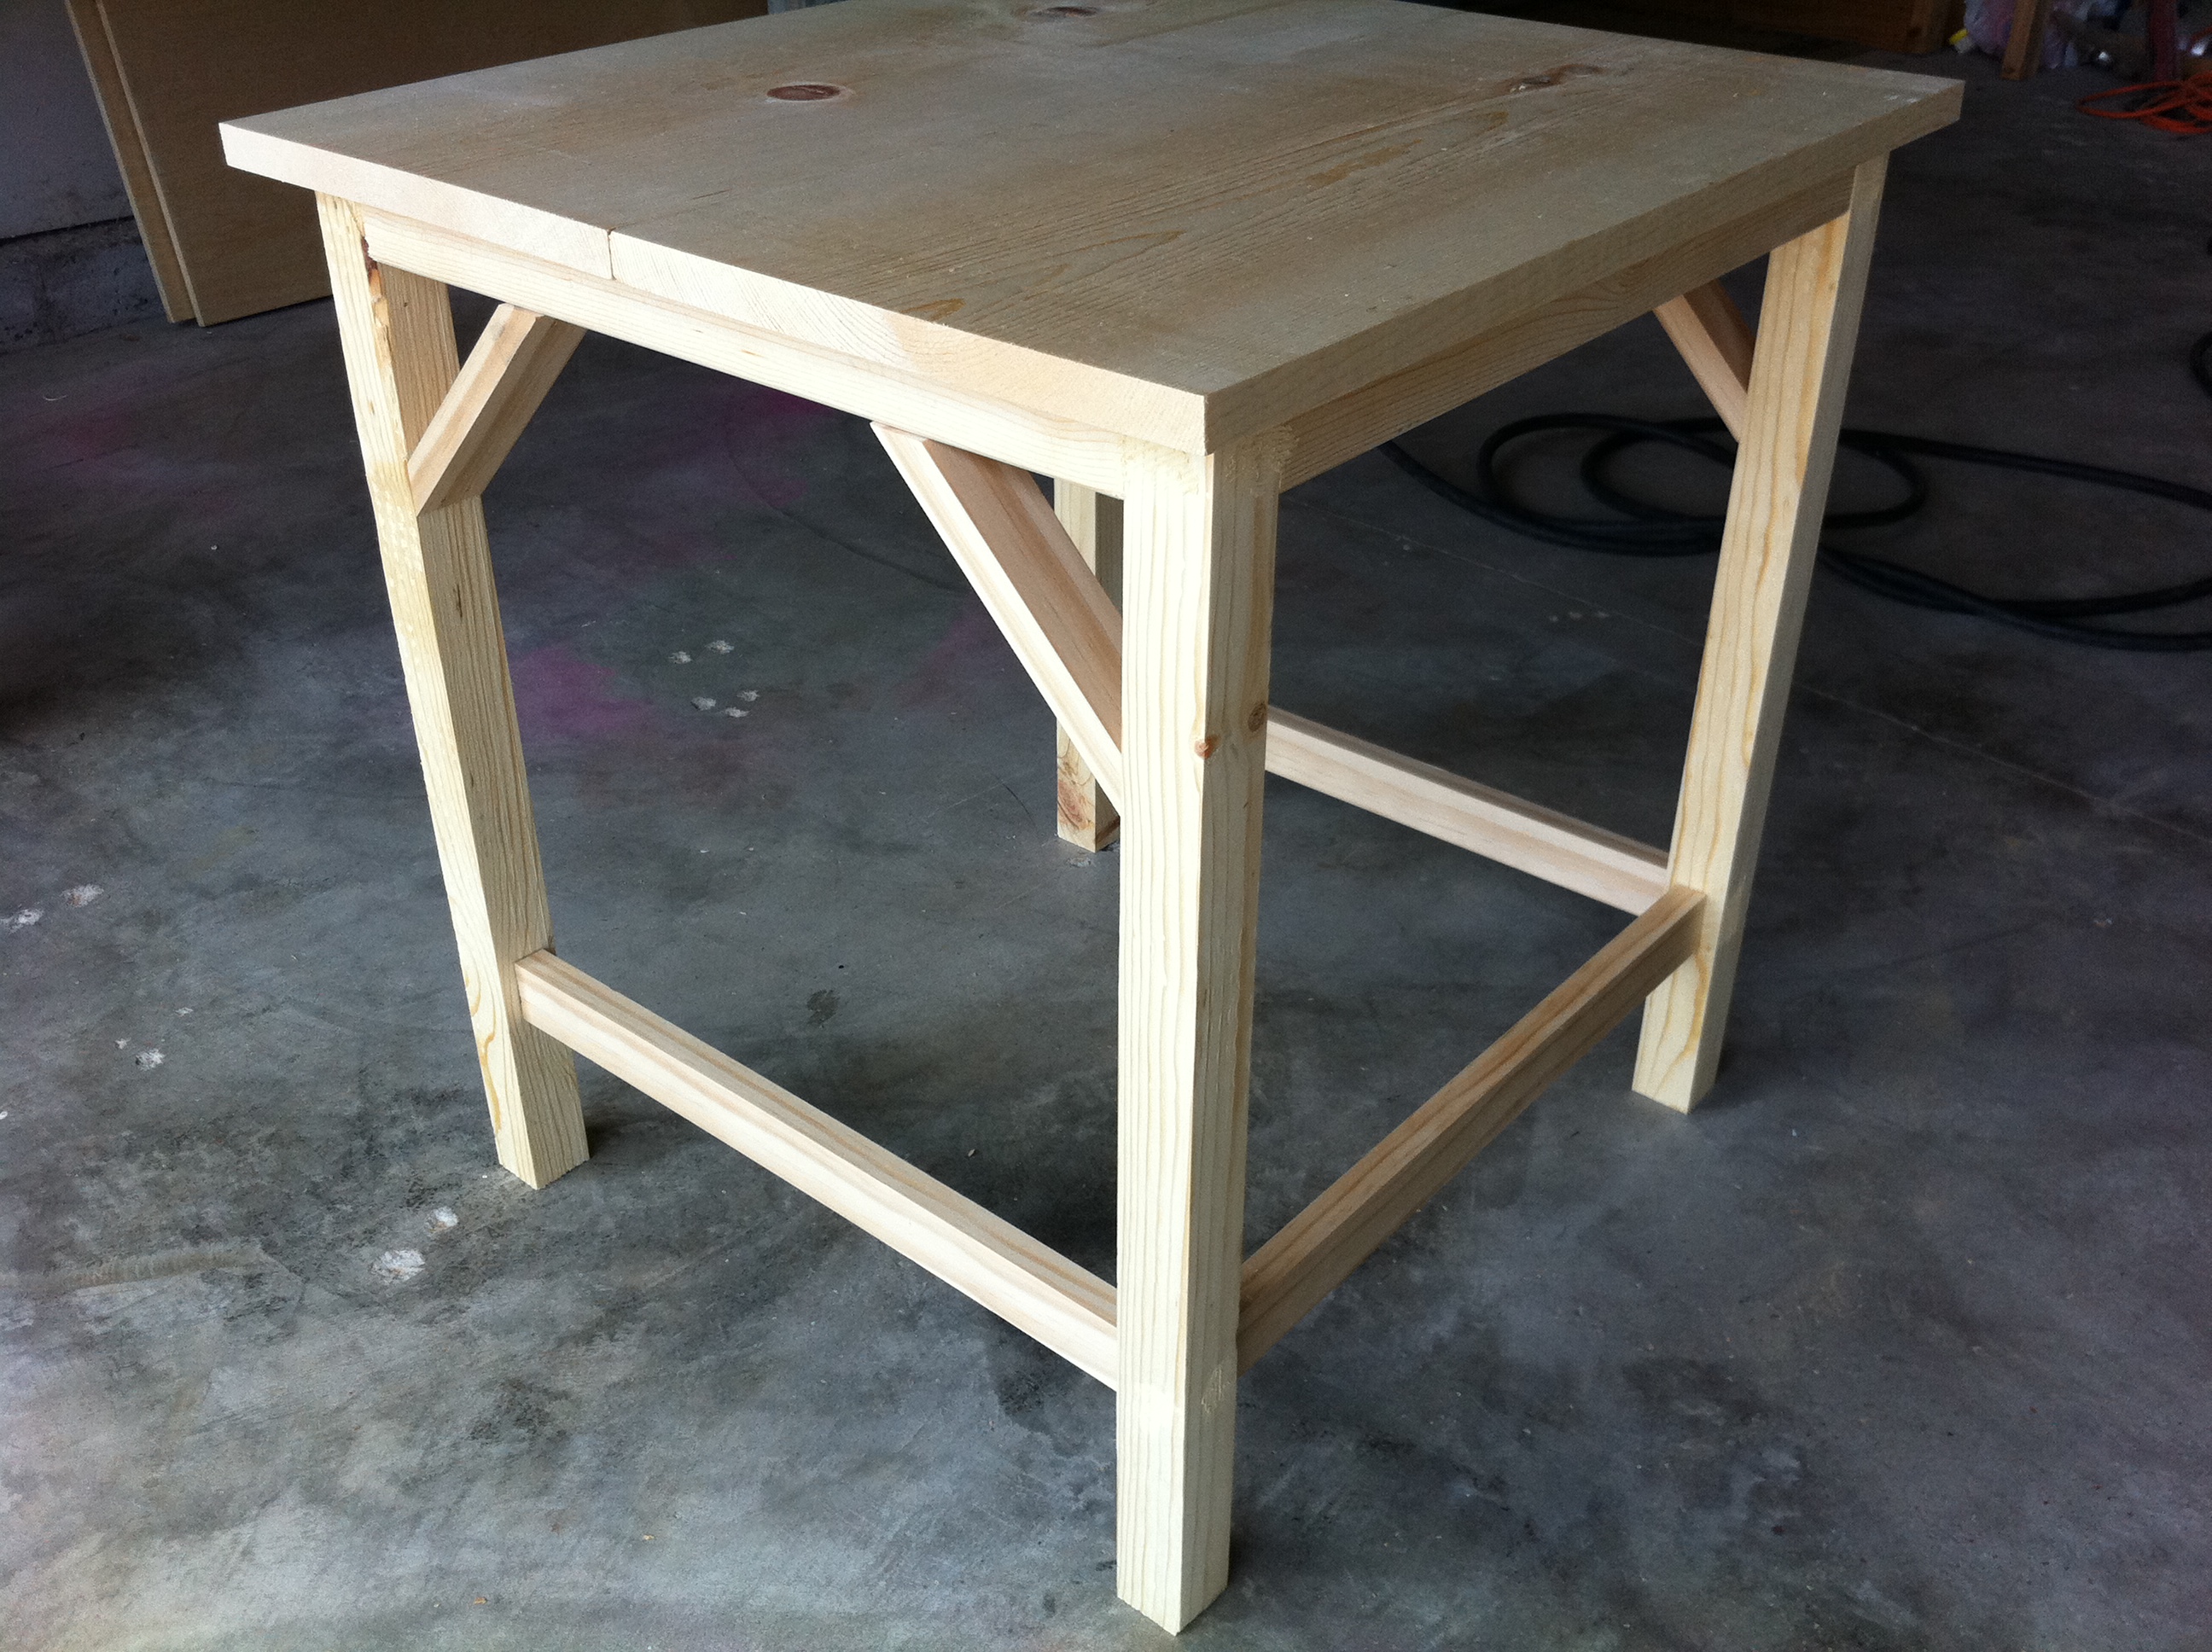
After seeing the $400 PB Tables on their website, I decided I wanted the look without paying such a high price.
I recreated a table using their table as an inspiration piece. I plan on building the little table next week.

Mon, 07/18/2011 - 06:59
I requested plans for nesting tables because I don't have the confidence to try and do it myself. Beautiful job and yours look much better than PB's and their ridiculous price! Once you get the smaller table done, will you please post your plans? I would really appreciate it. We have an ottoman so there isn't room for a coffee table and we badly need tables for when our weekly guests arrive. I don't like the snack tables as they are too wobbly. Again, beautiful work!
Wed, 07/20/2011 - 12:50
And yes, I'll be posting the finished plans and table pictures this weekend. I even tried my first attempt at the plans on the sketch up program. The big table is already up on my little blog site.
http://www.thequaintcottage.net/2011/07/copy-cat-nesting-end-table-part…
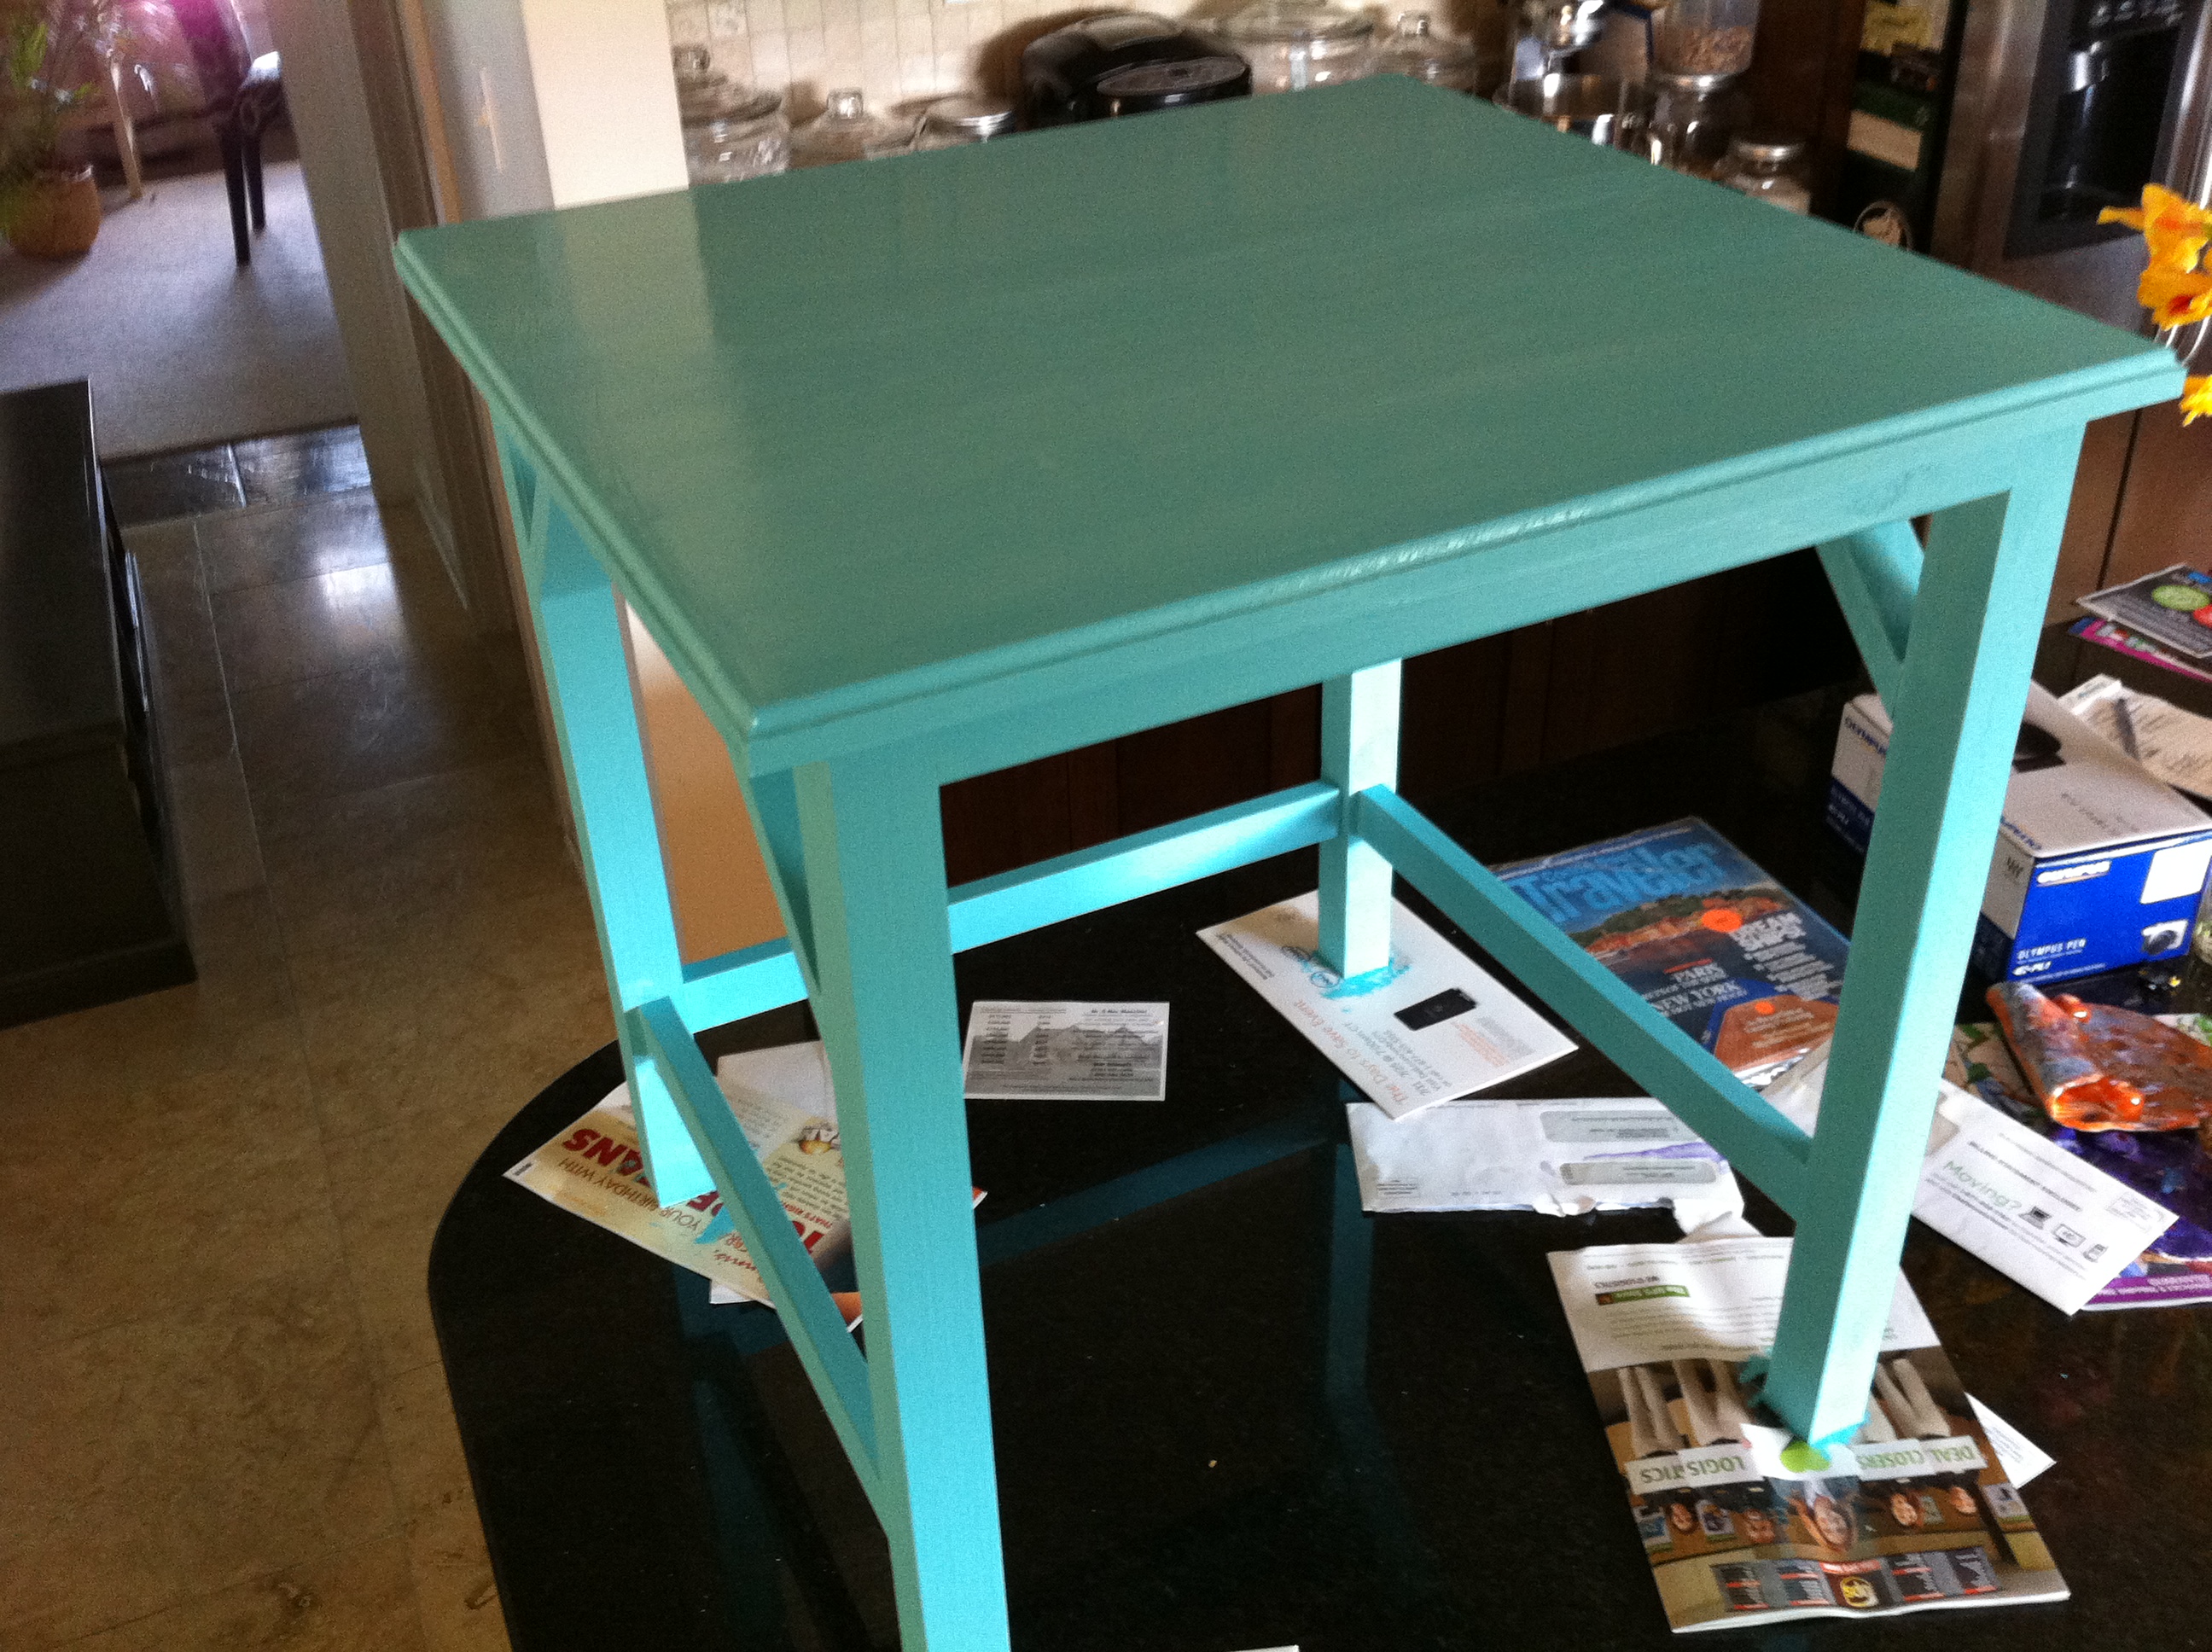
My table is a bit larger than the PB table, but I wanted the little table to be able to be used as a secondary table when guests come visit (move to side tables).
Once I get them perfect, I'll post here.
THANKS for your positive feedback. :)
Karen
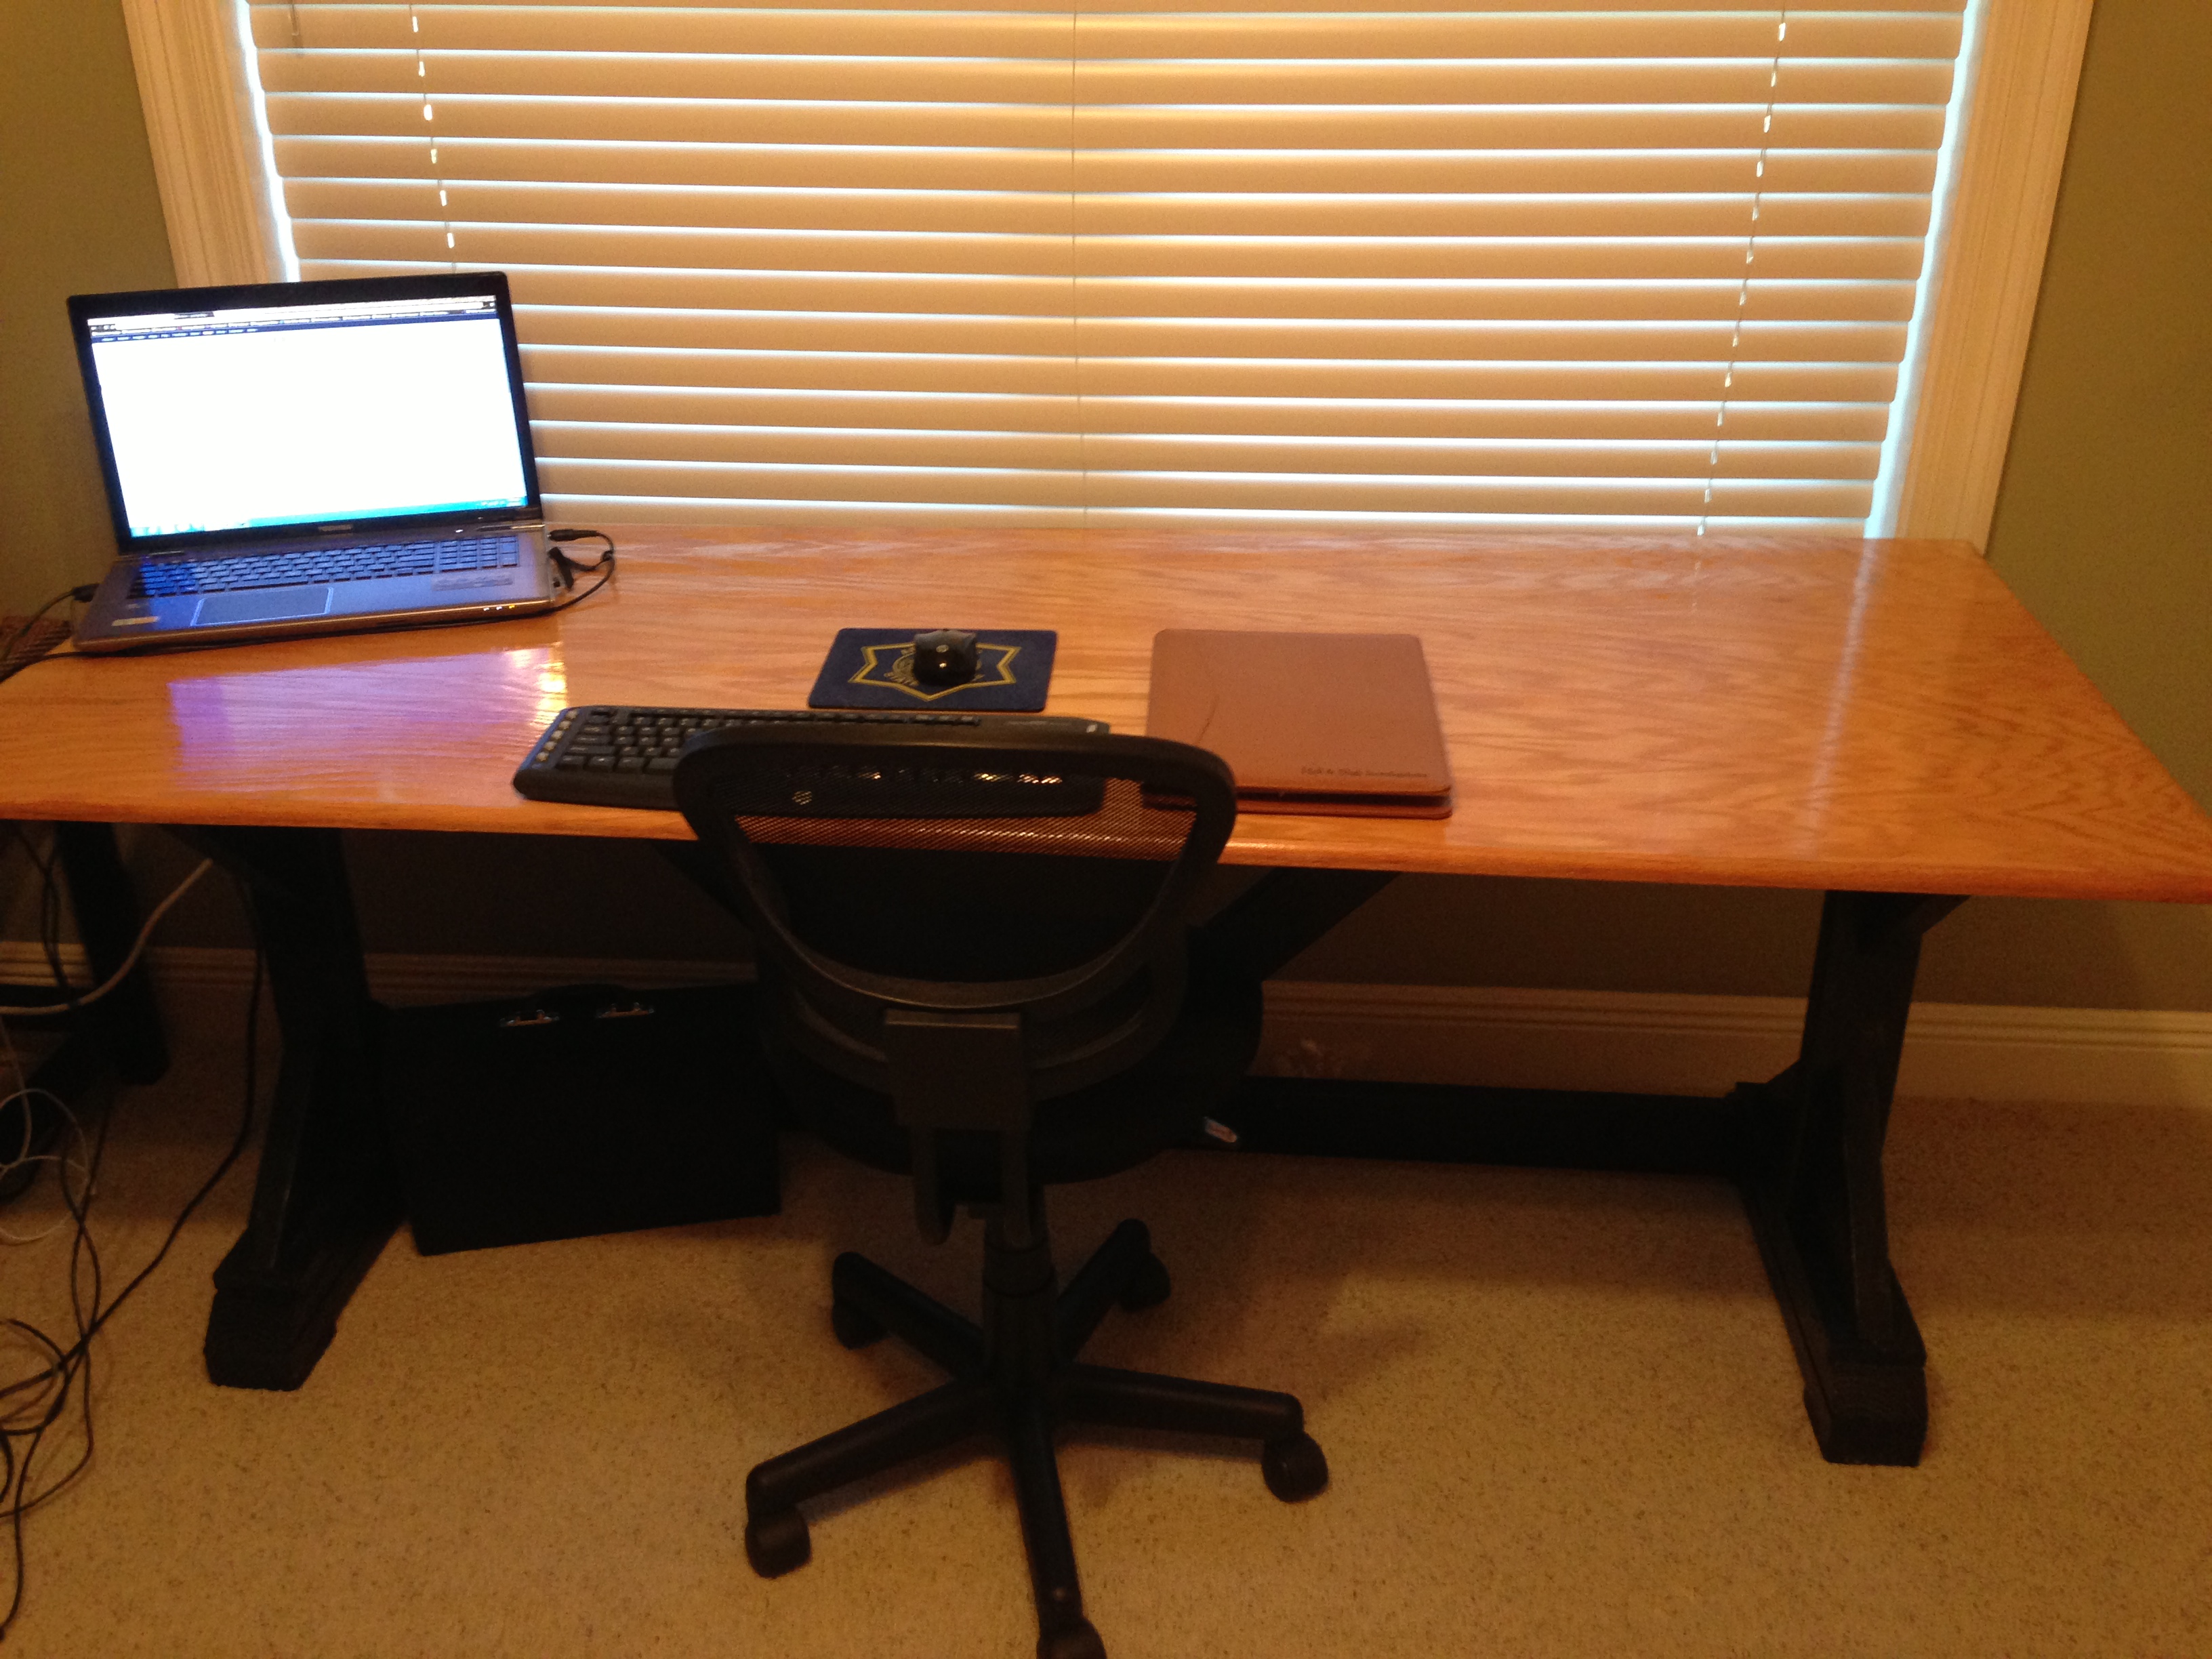
I modified the plan by using a hardwood plywood 4X8 sheet cut down to a 72" by 28" size. I put hardwood trim around the edges for a smooth appearance. I stained the top with a Minwax poly shield oak finish and painted the base using a glossy enamel paint "Inkwell" from Sherwin Williams. The seamless top makes for a better writing surface.
This was my first build and I haven't stopped since!! Thank you Ana White for your inspiration, building plans and encouragement!!!
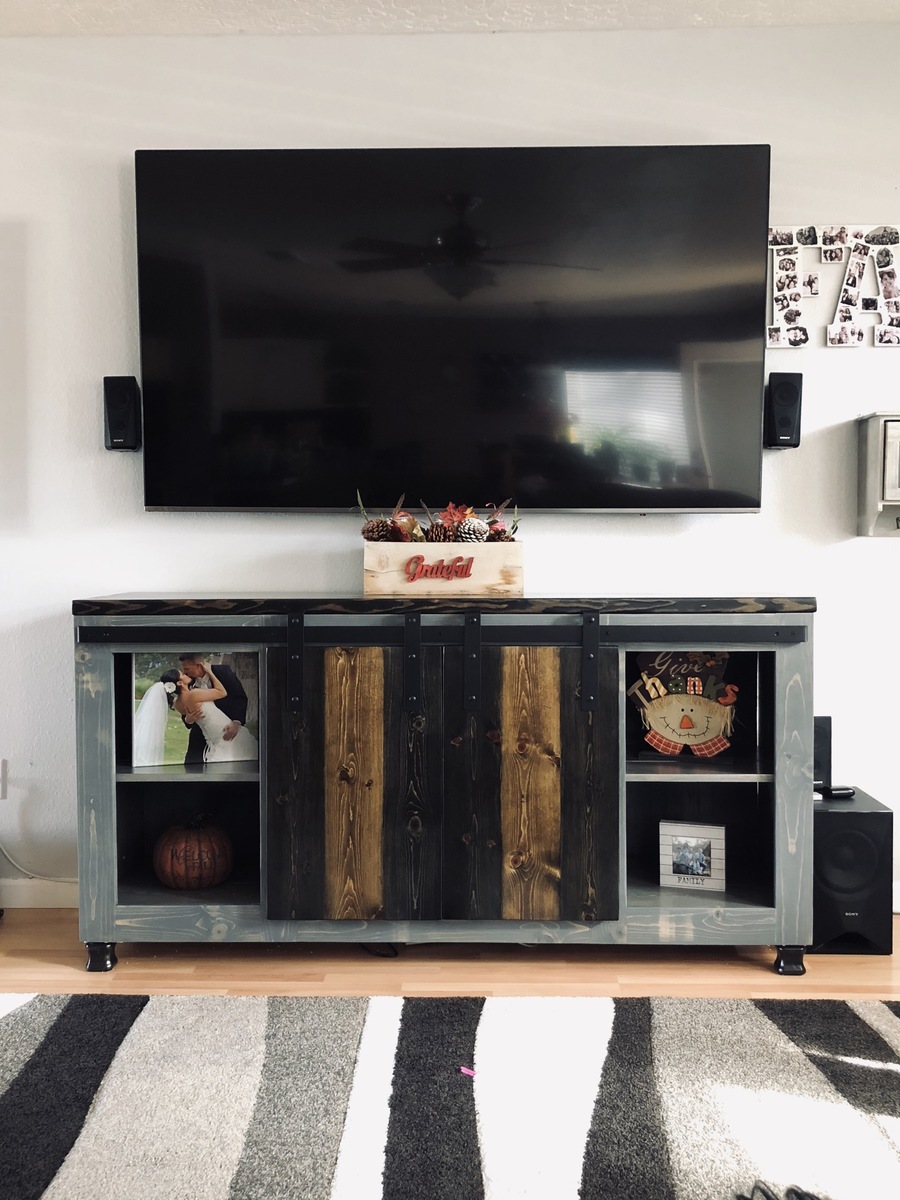
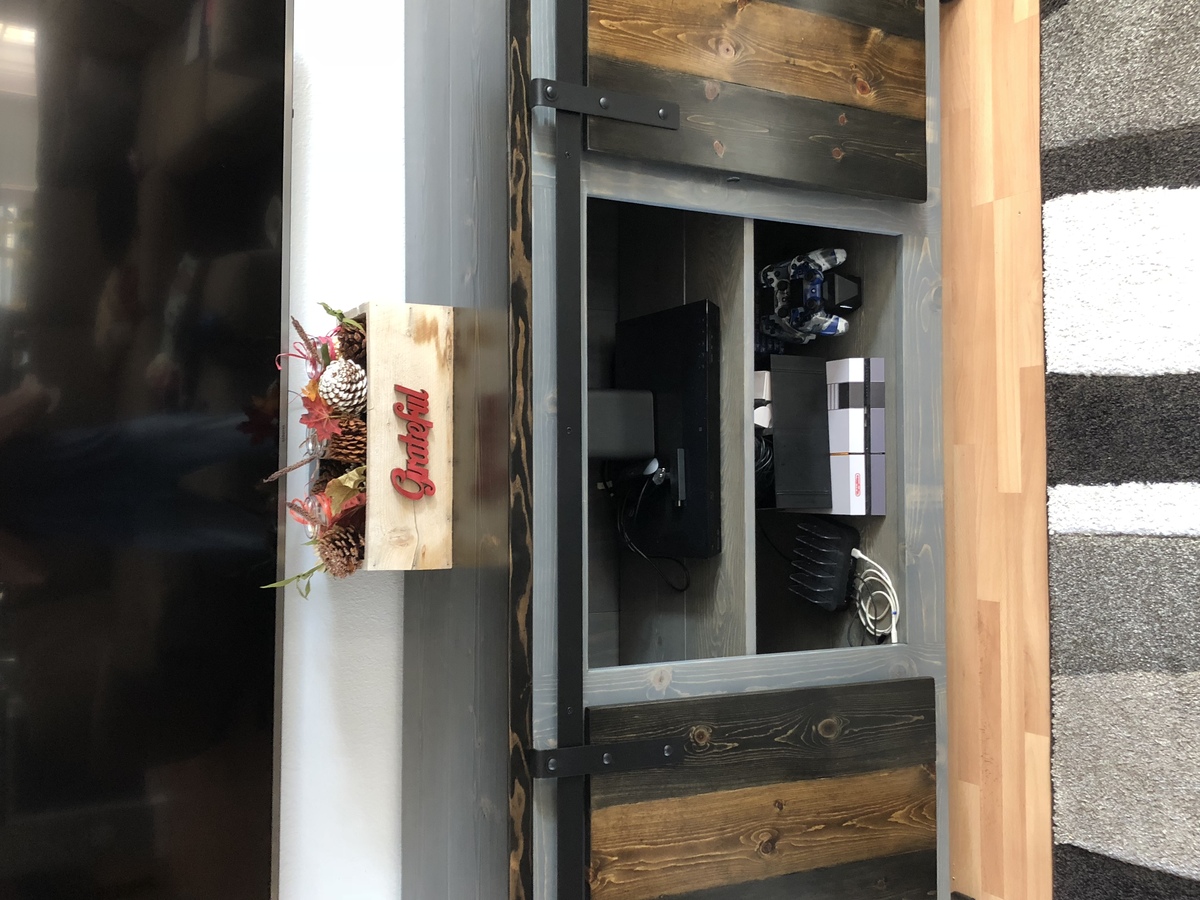
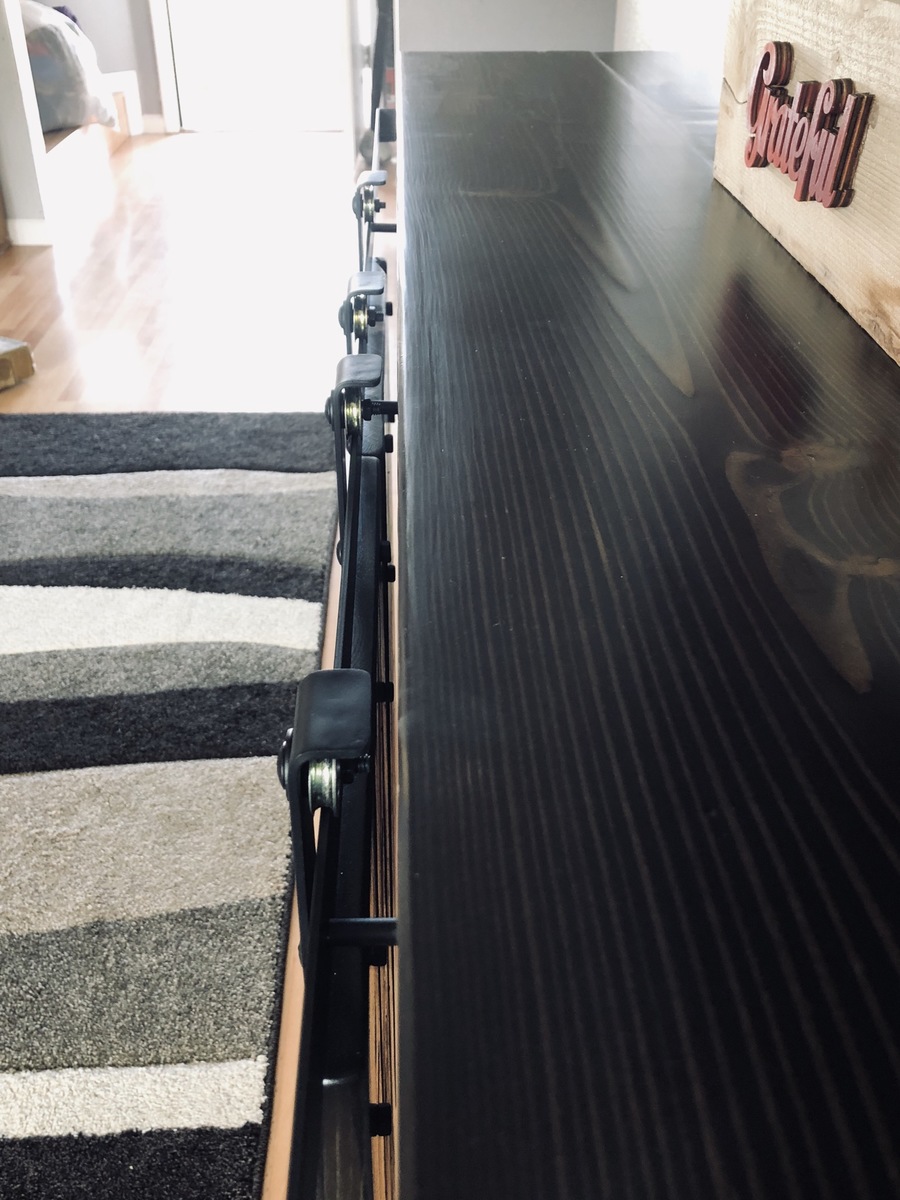
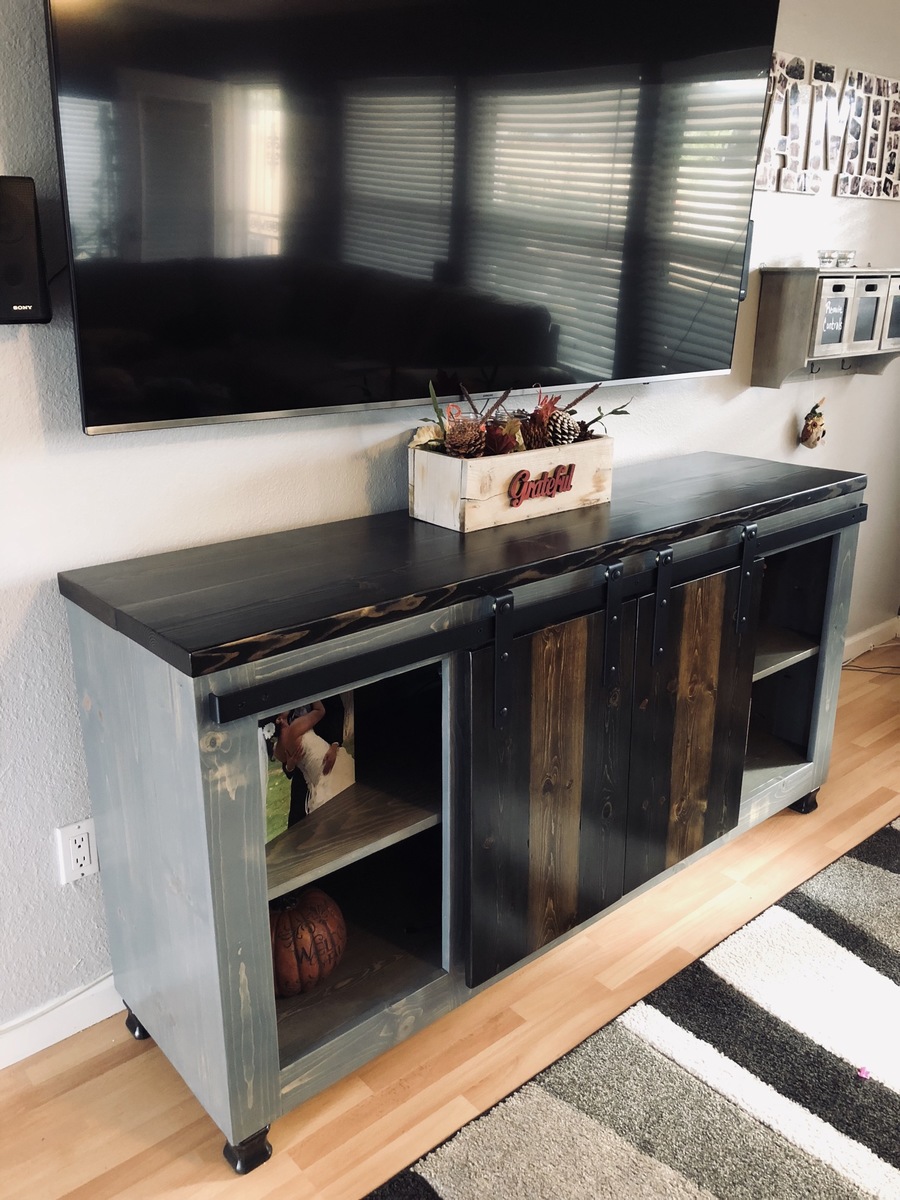
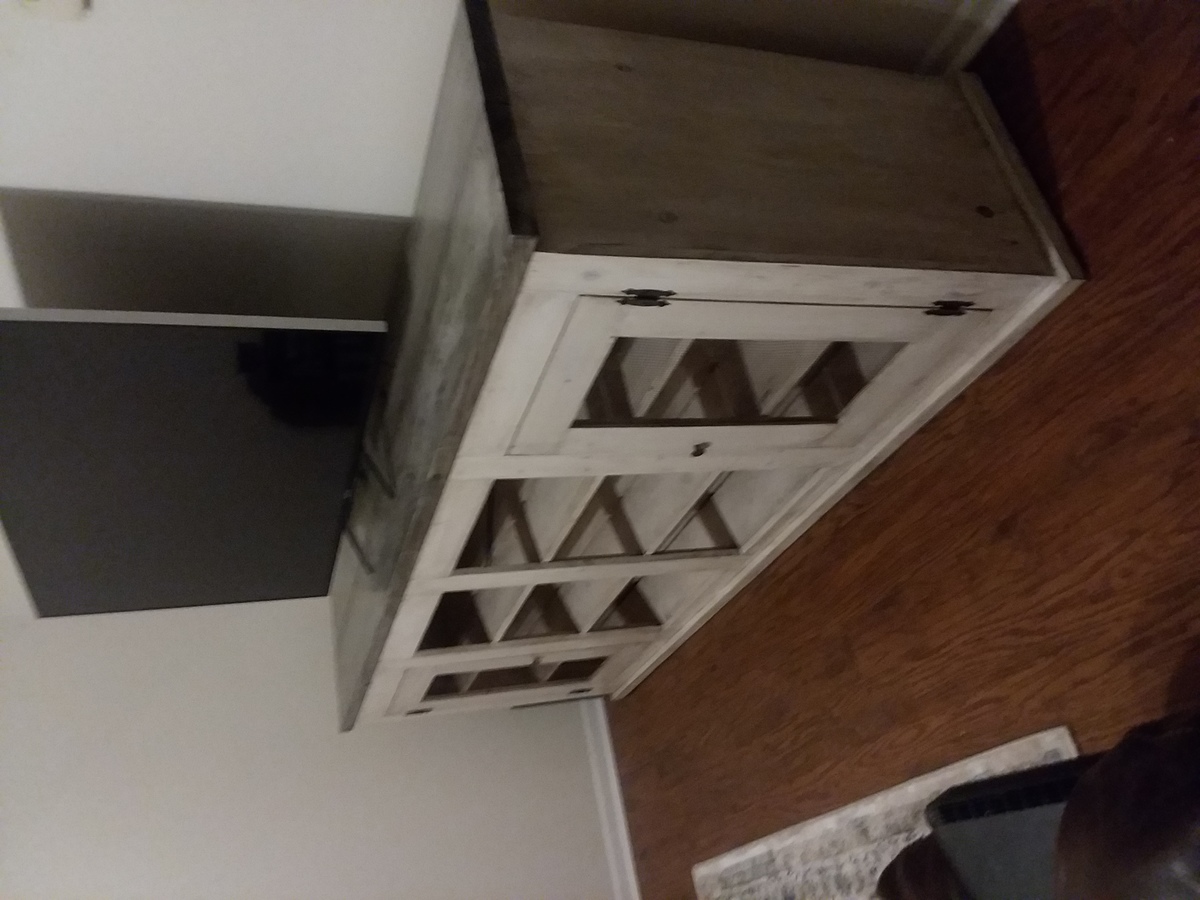
This was a super fun build for me! I have been wanting to do it for a long time, but was a little intimidated with the hardware. I bypassed the expensive kits you see online and built my own from aluminum flat bar, carriage bolts, and sliding door pulleys. I am very pleased with the overall project and wish I would have done it sooner! Shortened down to 6', and I opted to make 3 "openings, with the middle being the same as the outers, doubled, to insure the doors matched up.


Wed, 10/10/2018 - 11:11
This looks awesome! Your DIY barn door hardware turned out really well! Thanks for sharing a photo!

In reply to This looks awesome! Your DIY by Ana White
Thu, 10/11/2018 - 10:41
Thanks Ana! I appreciate that! Thank you for all you do on your site, I absolutley love it.
Built this from the plans and customized so it was a finer finish. No pocket holes, went with dowels and glue. Some screws in base for added strength.
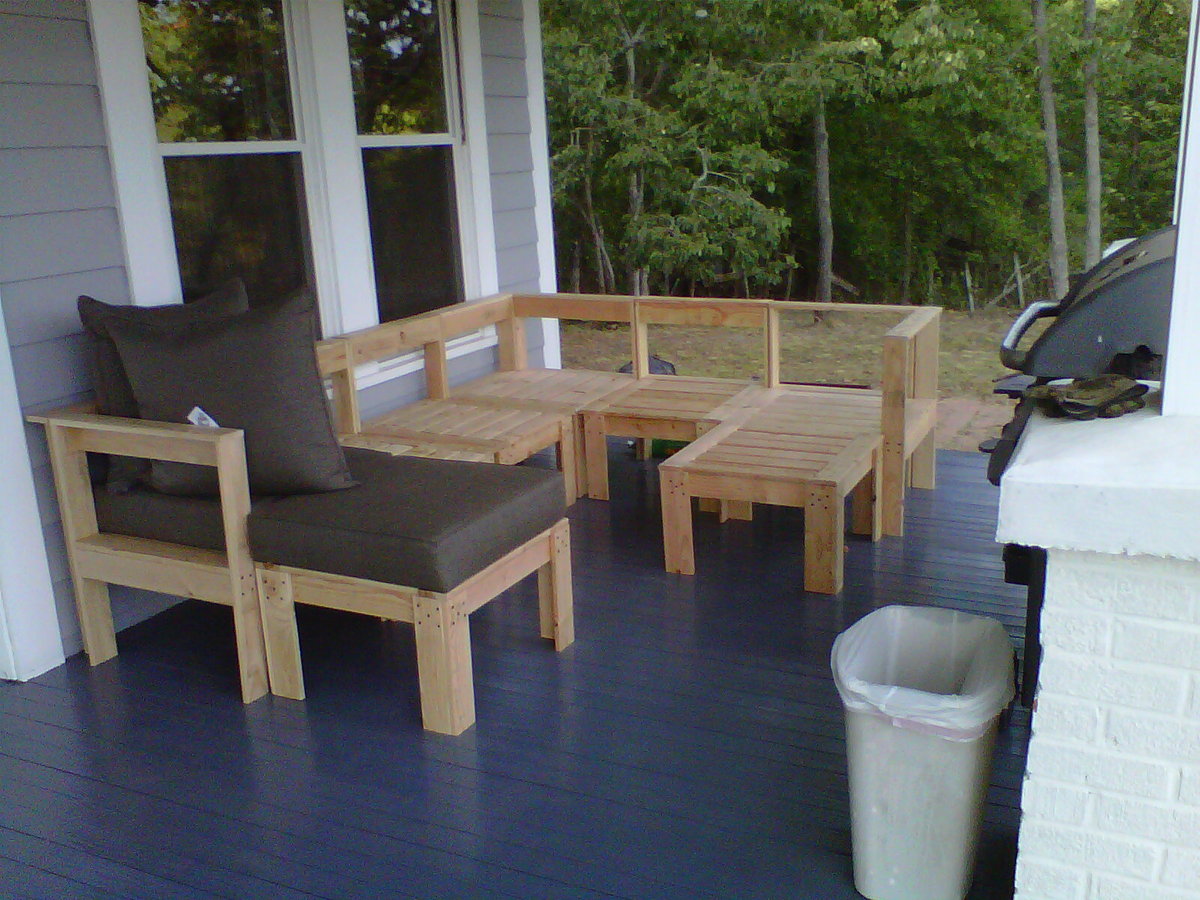
I am very suprised, but I made my very first ANYTHING with the help of this website and my very dear step-dad! We used two plans from this website and did some modifications by adding some back supports at the tops. We also made two foot stools to act as chaises on the two ends. I thought that I would go ahead and post the results now before I painted the sectional so more of the detail. What cost so much was the cushions. The cushions were from Target and they were $650.00. I was concerned that when people sat on the sectional they would be able to feel the wood underneath, so I purchased the 5" deep seat cushions and over sized pillows, which I am soooo glad that I did, it makes this sectional look so much more professional looking and gives it even more of a crisp look! I also didn't skimp on the paint which was $65.00 on the paint! The rest was wood, materials and tools that were needed. But if you priced purchasing something like this from PB or WestElm, it would easily be 3-4K at the least! Unto the next project!!!
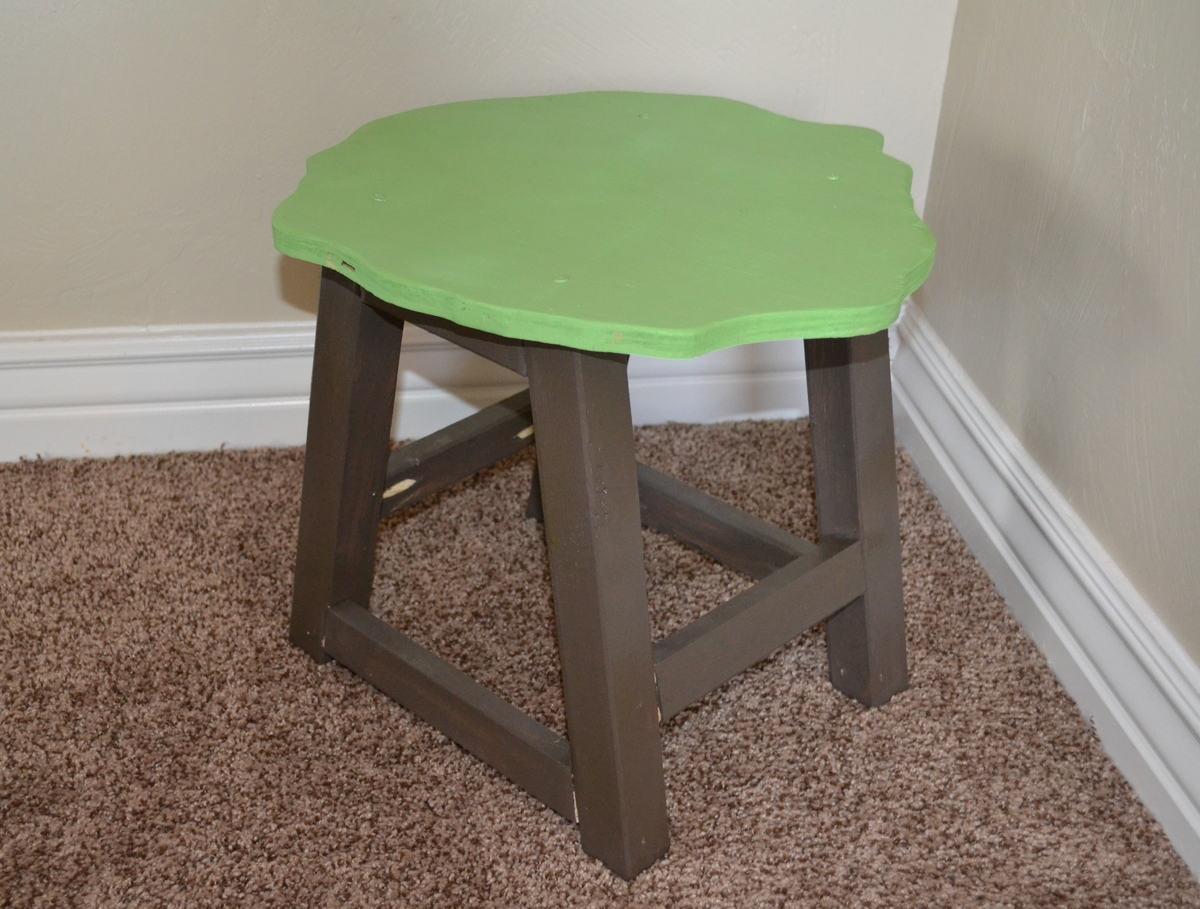
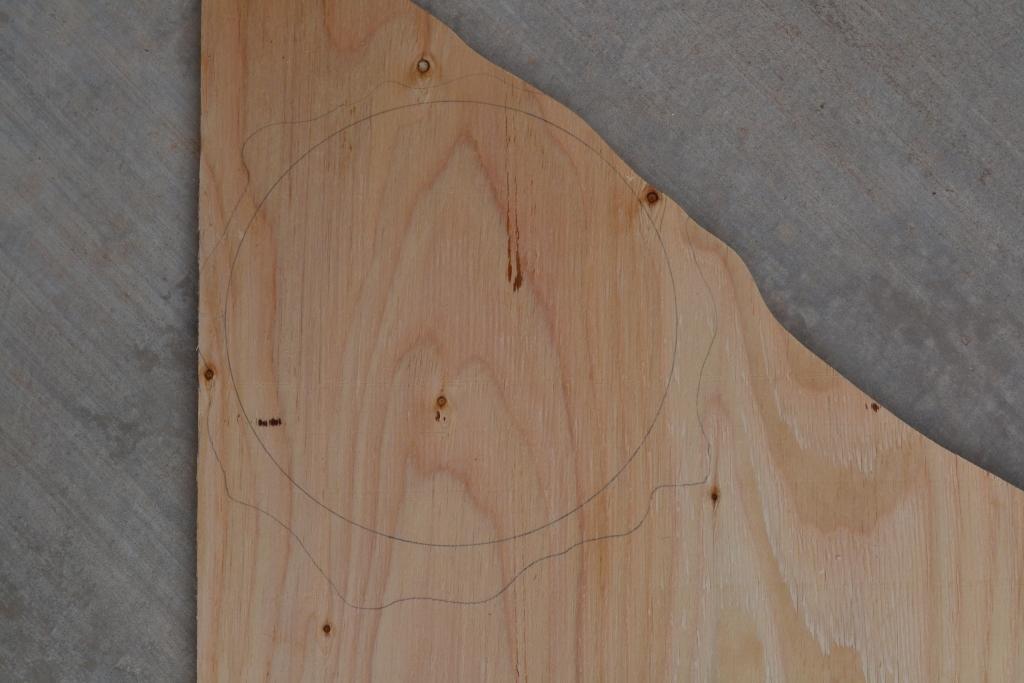
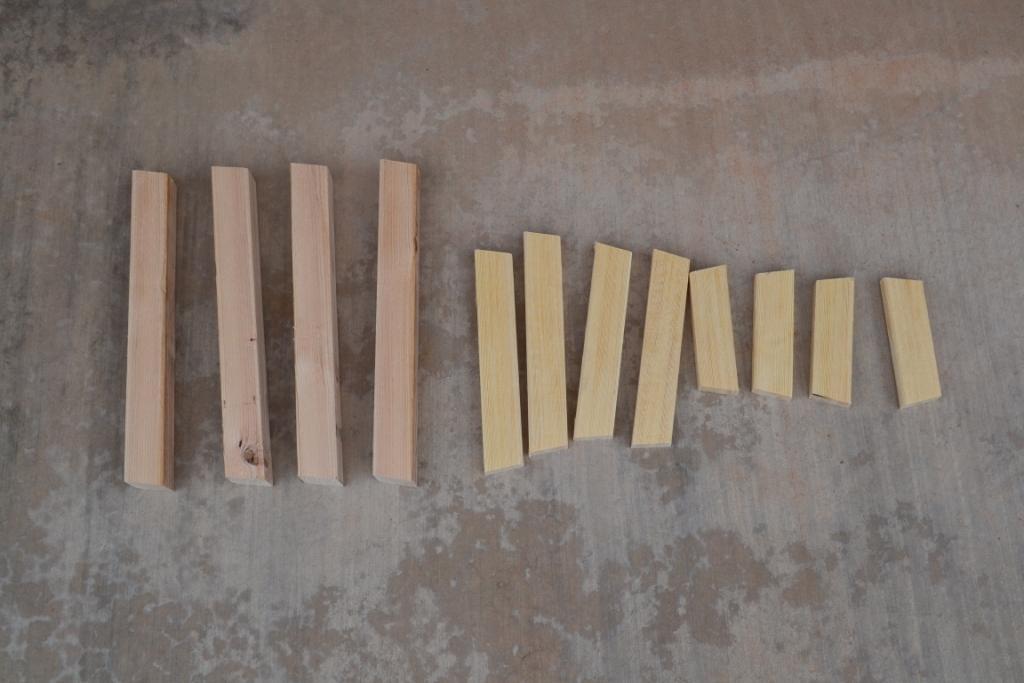
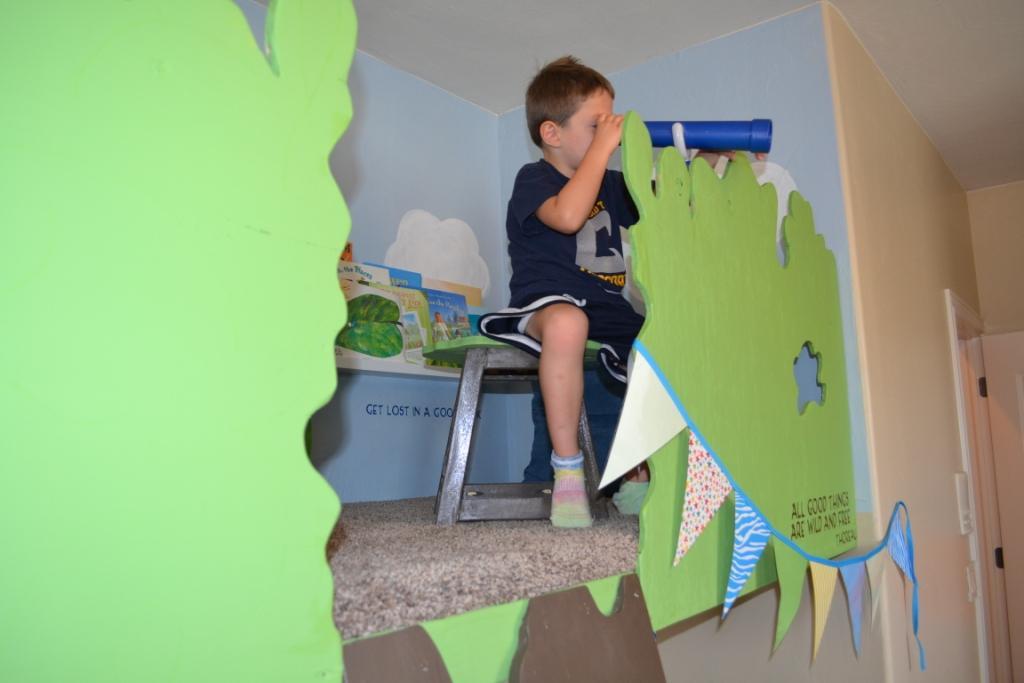
This project was so fun! I made it to blend in with a tree house I built (adapted from Ana White plans). The top of the stool was the best part. Full details on my blog.

Thu, 08/22/2013 - 13:34
This is super cute and so creative! I looked at the tree house on your blog, just made me say Wow!!!!
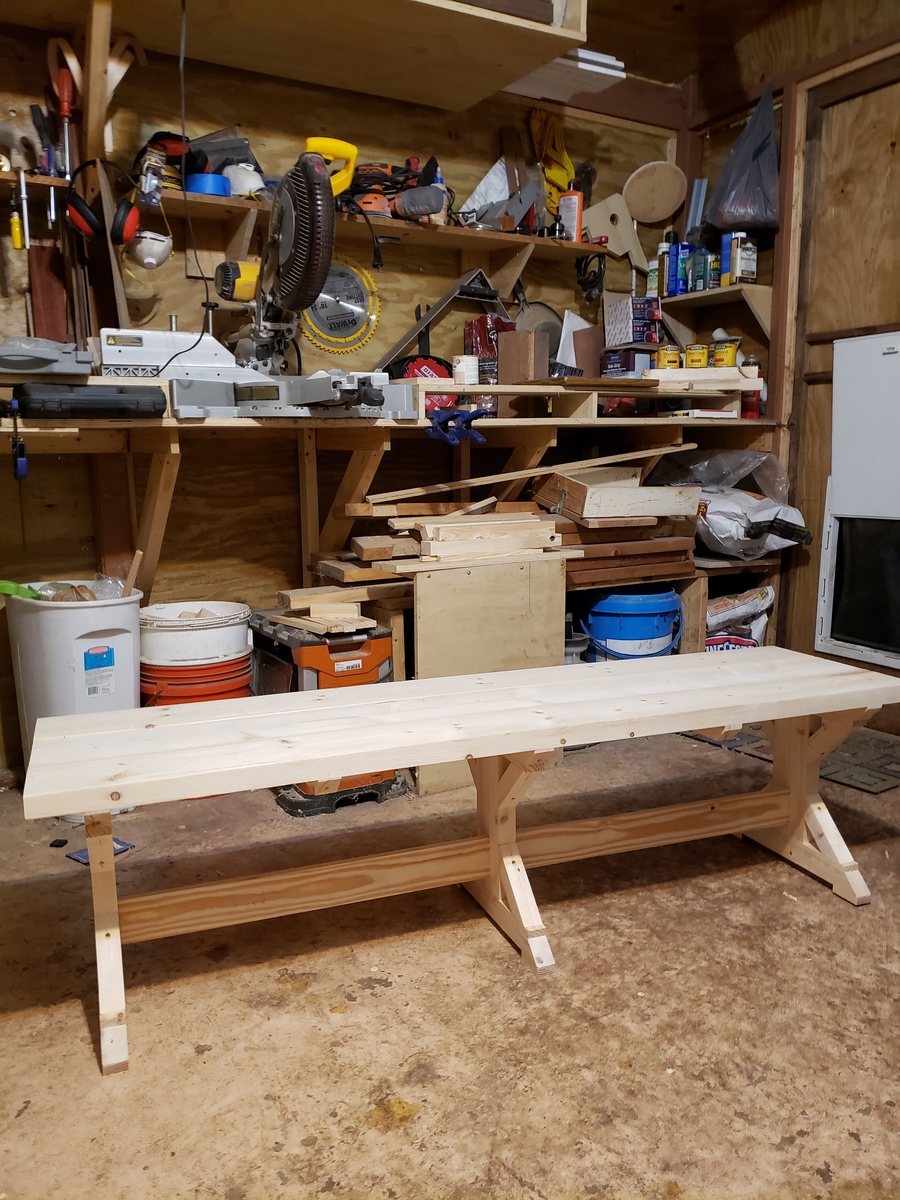
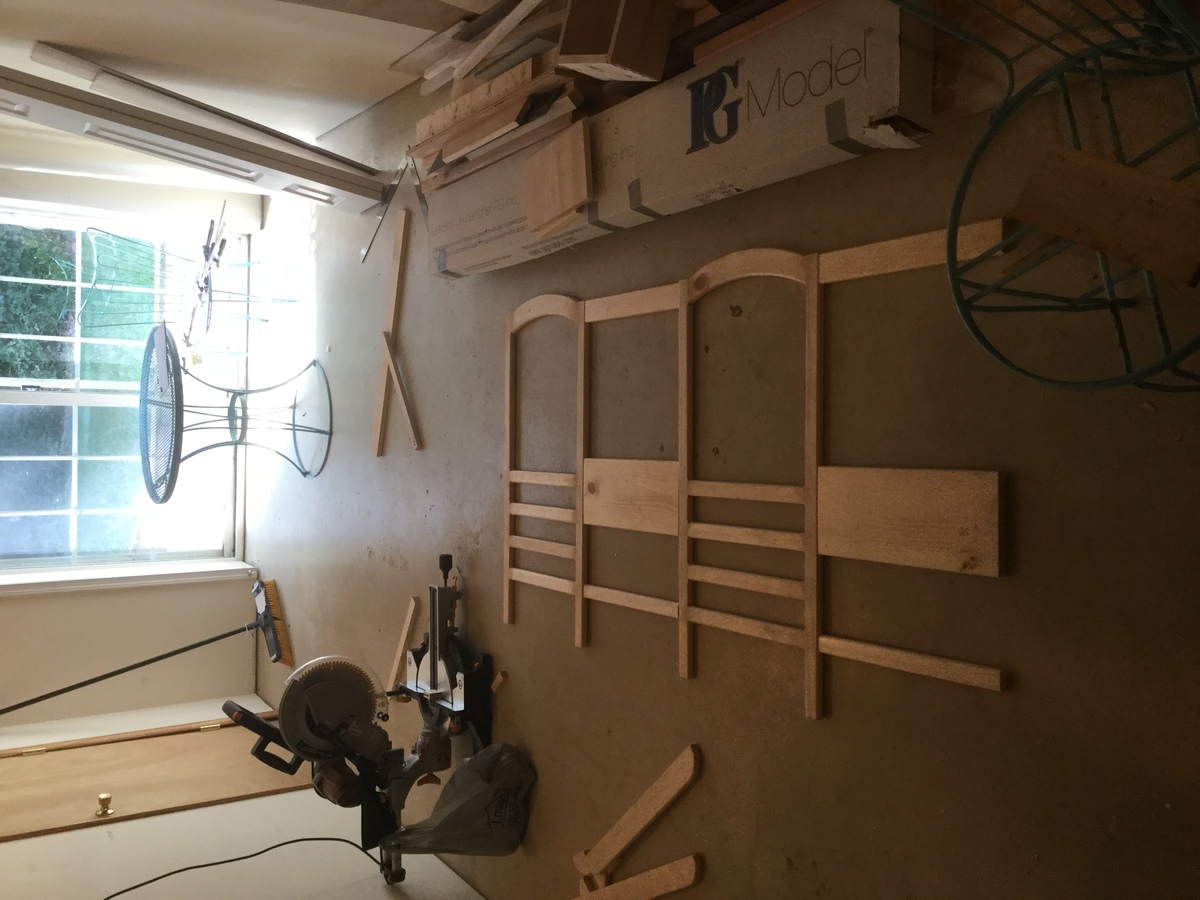
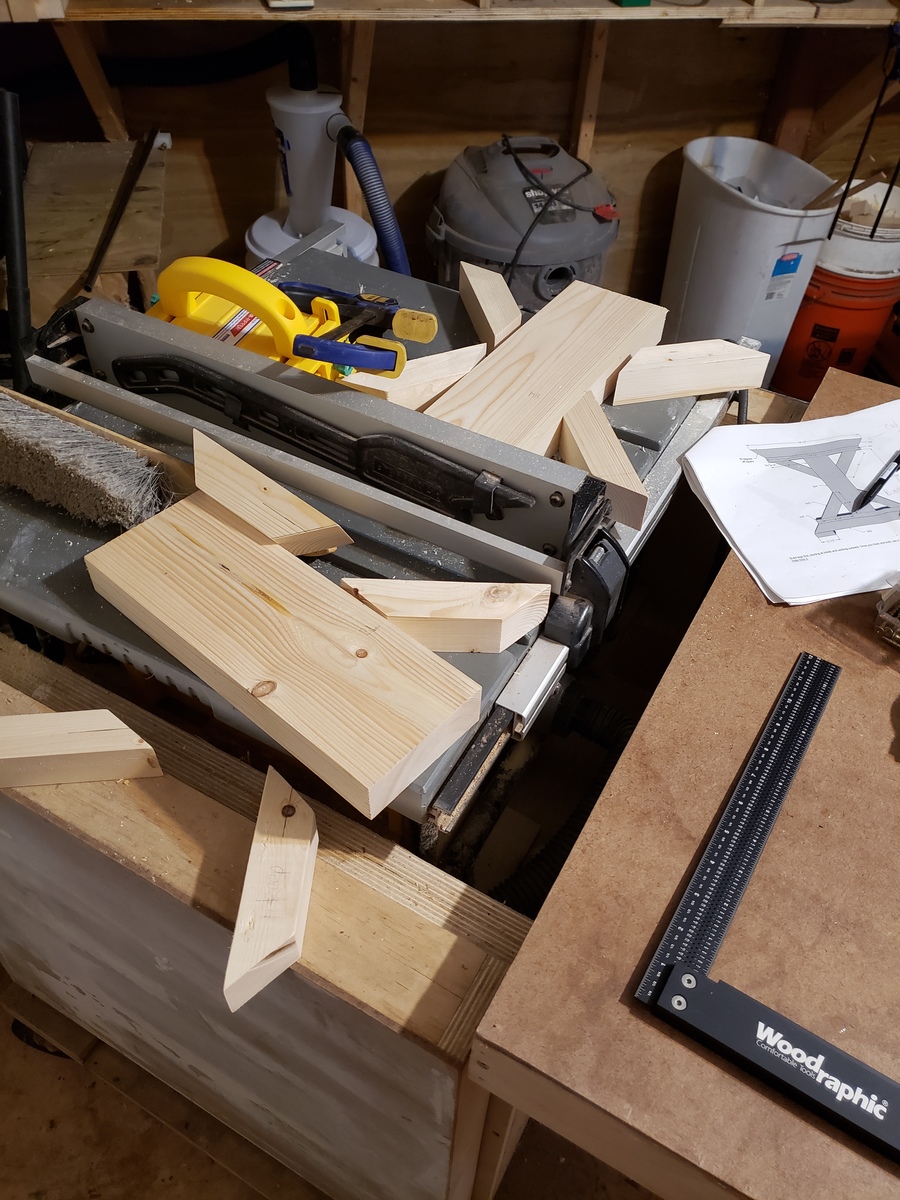
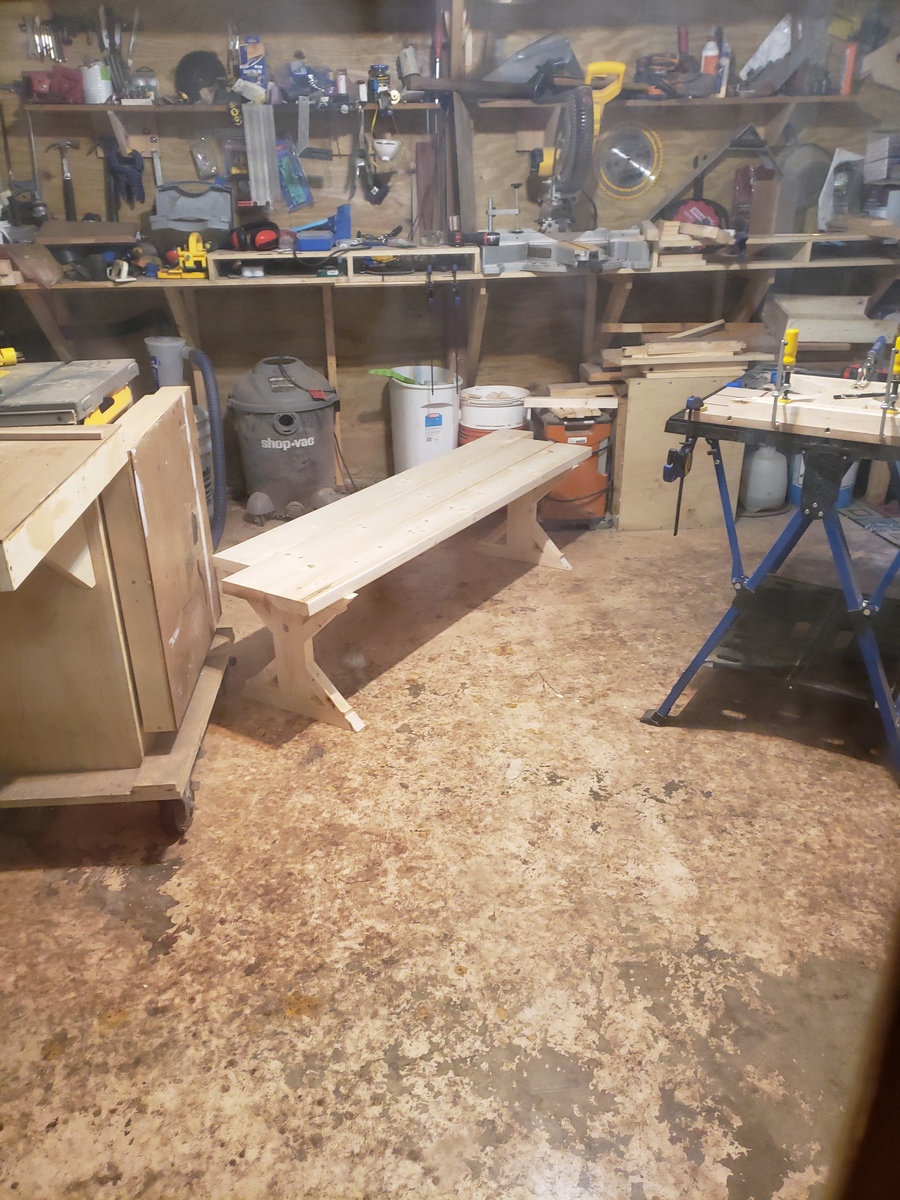
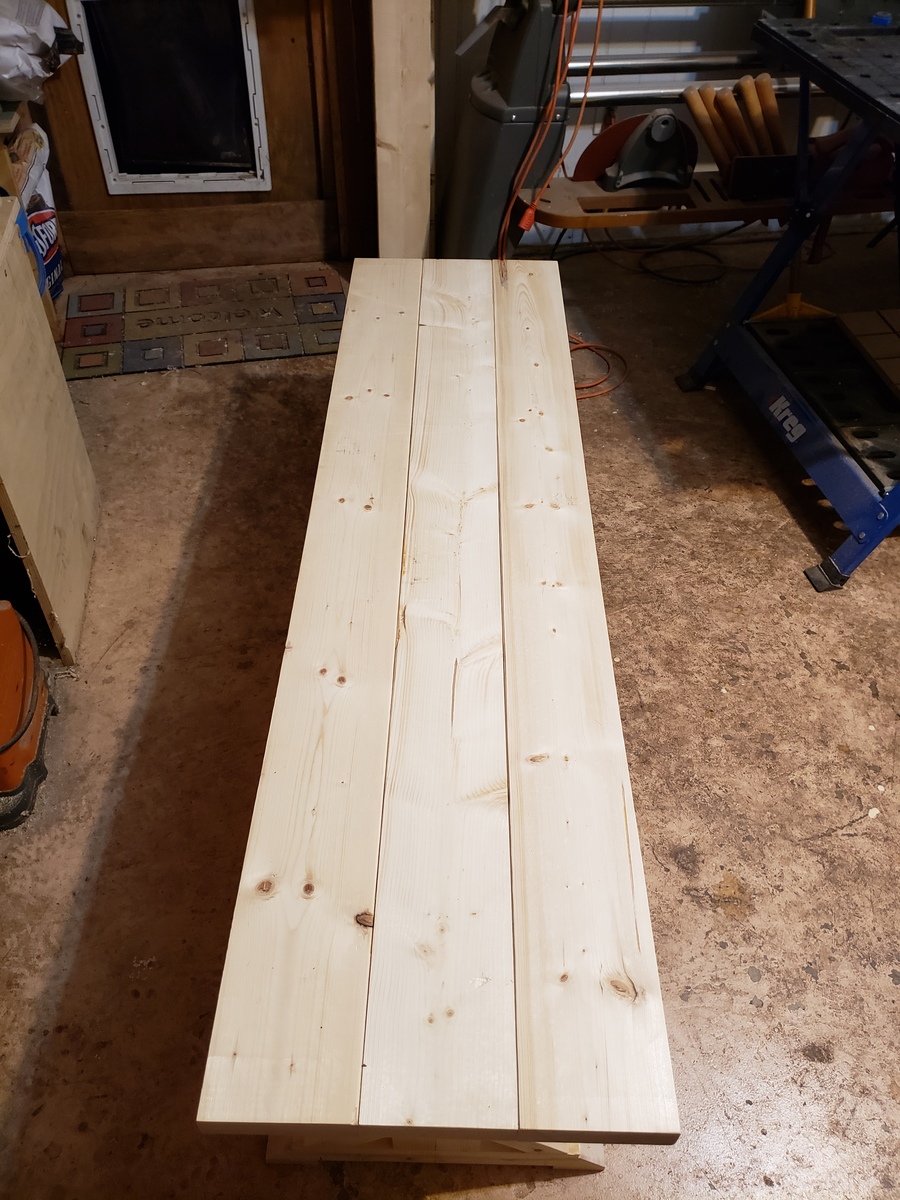
This was my first real project from start to finish. We bought rough lumber from The Home Depot. Between having a toddler, tweenager and a life it took about a month of sporadic work but it was a great bonding project for my husband and I. Guess the overachiever in me should have seen that one coming, I wanted have the full experience of jointing our own wood. I learned a lot and had a lot of fun working with the table saw, miter saw, jointer, and kreg jig, all of which my husband already owned. I did not use any glue on this project simply because I wanted to avoid the mess. The best part about this project was the easy measurements..I'm not too good with the confusion. It made it so much easier when cutting, specifically the 45degree angles.

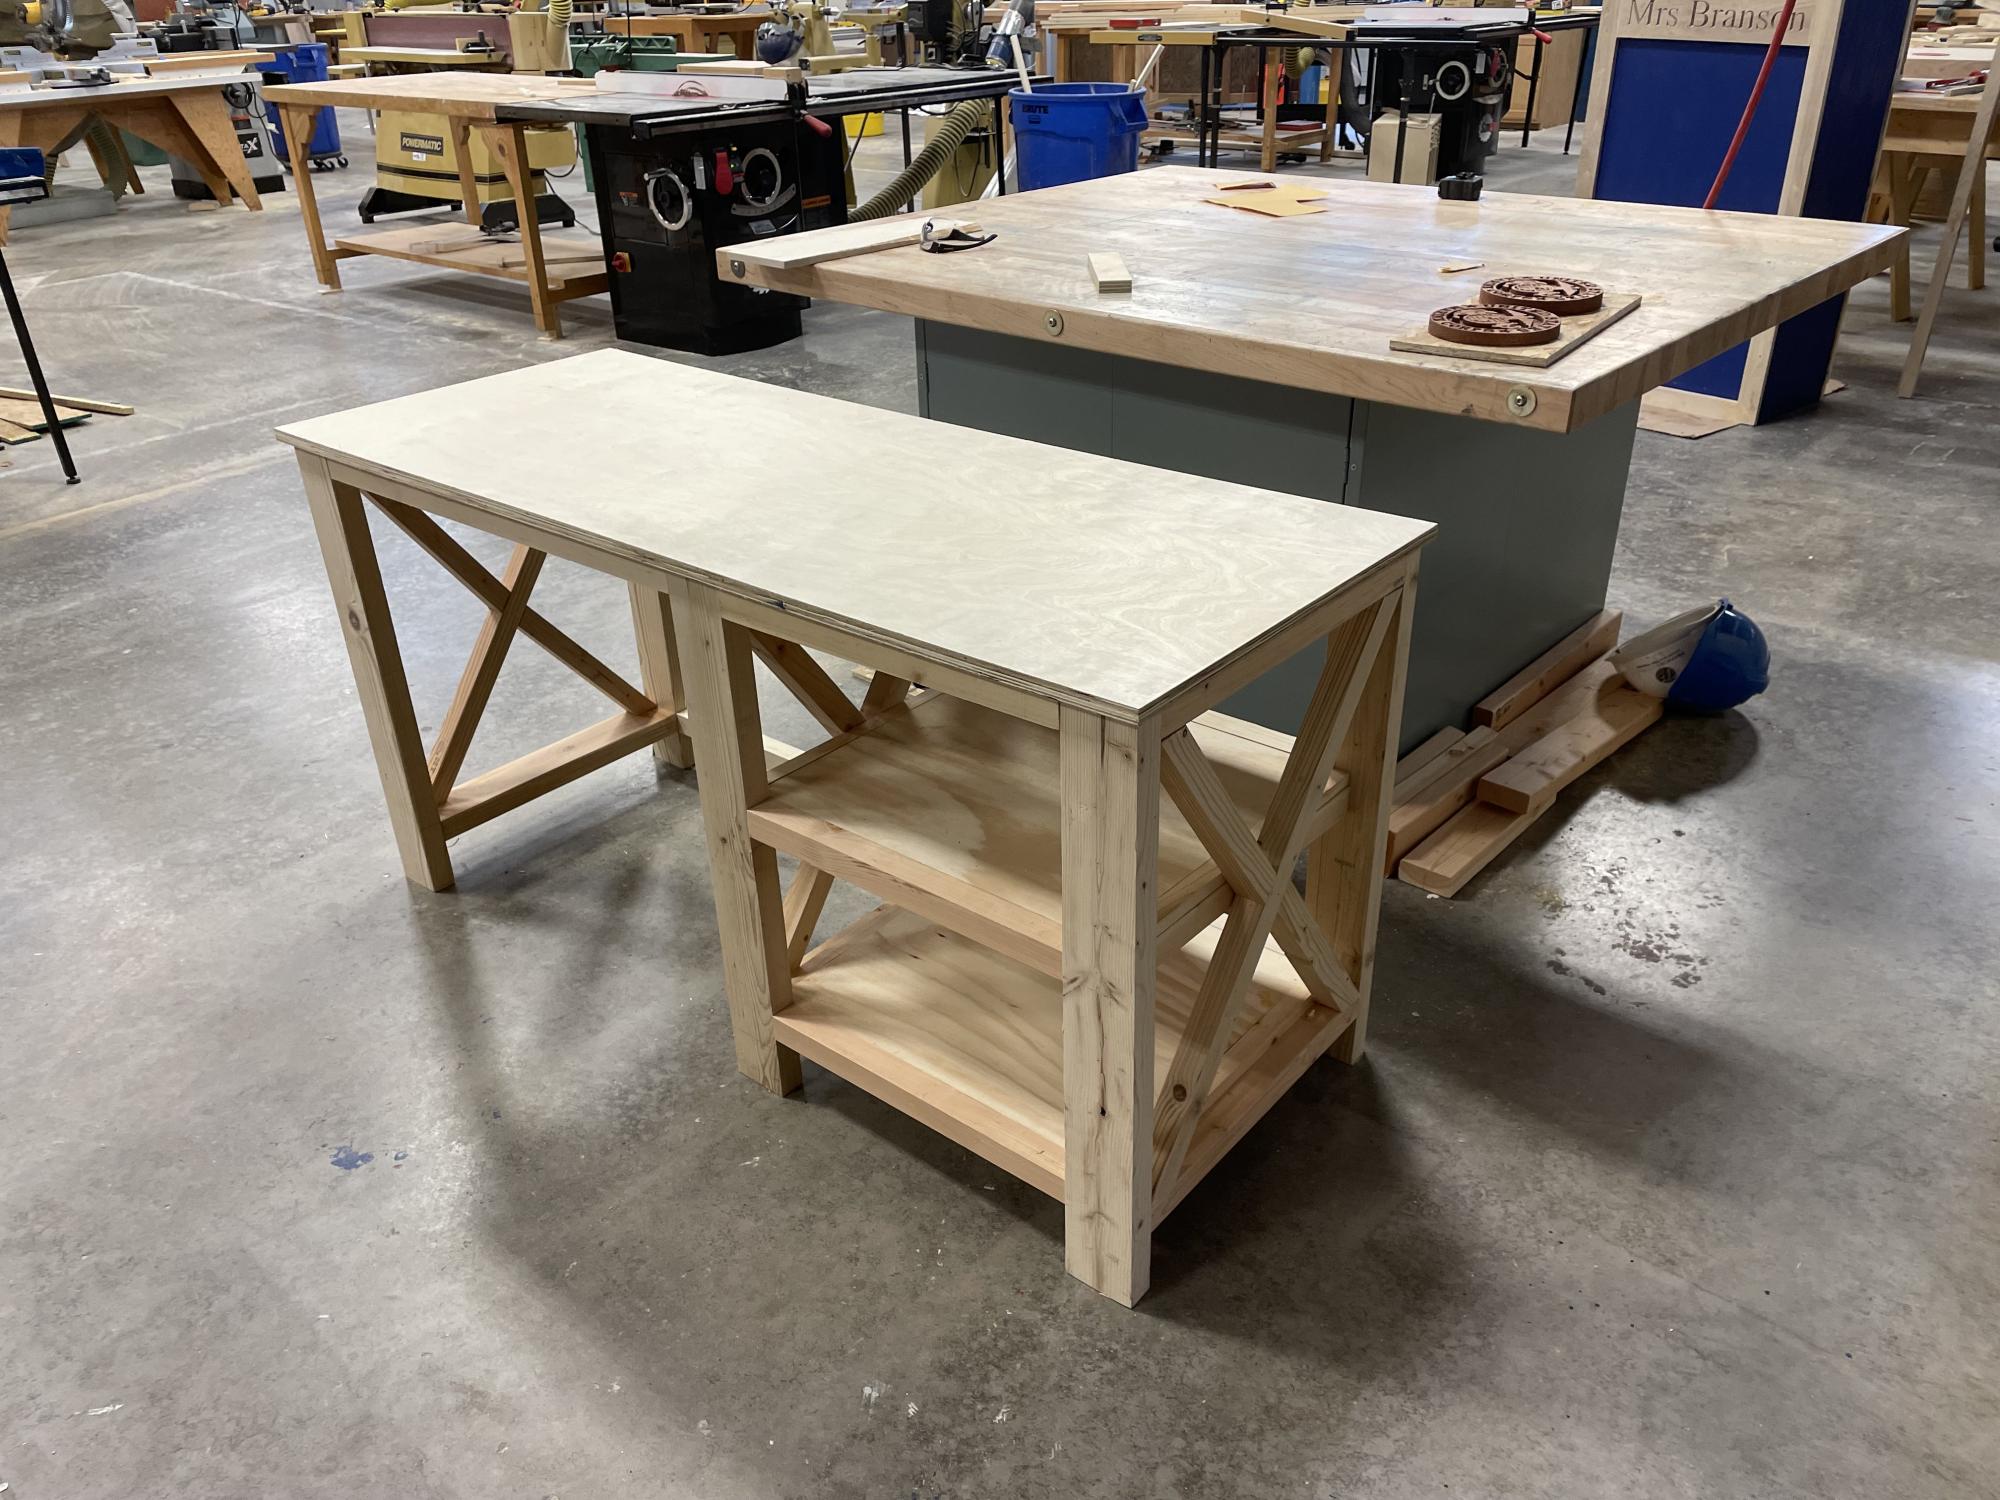
I'm a student at a local votech. Built this for a neighbor.

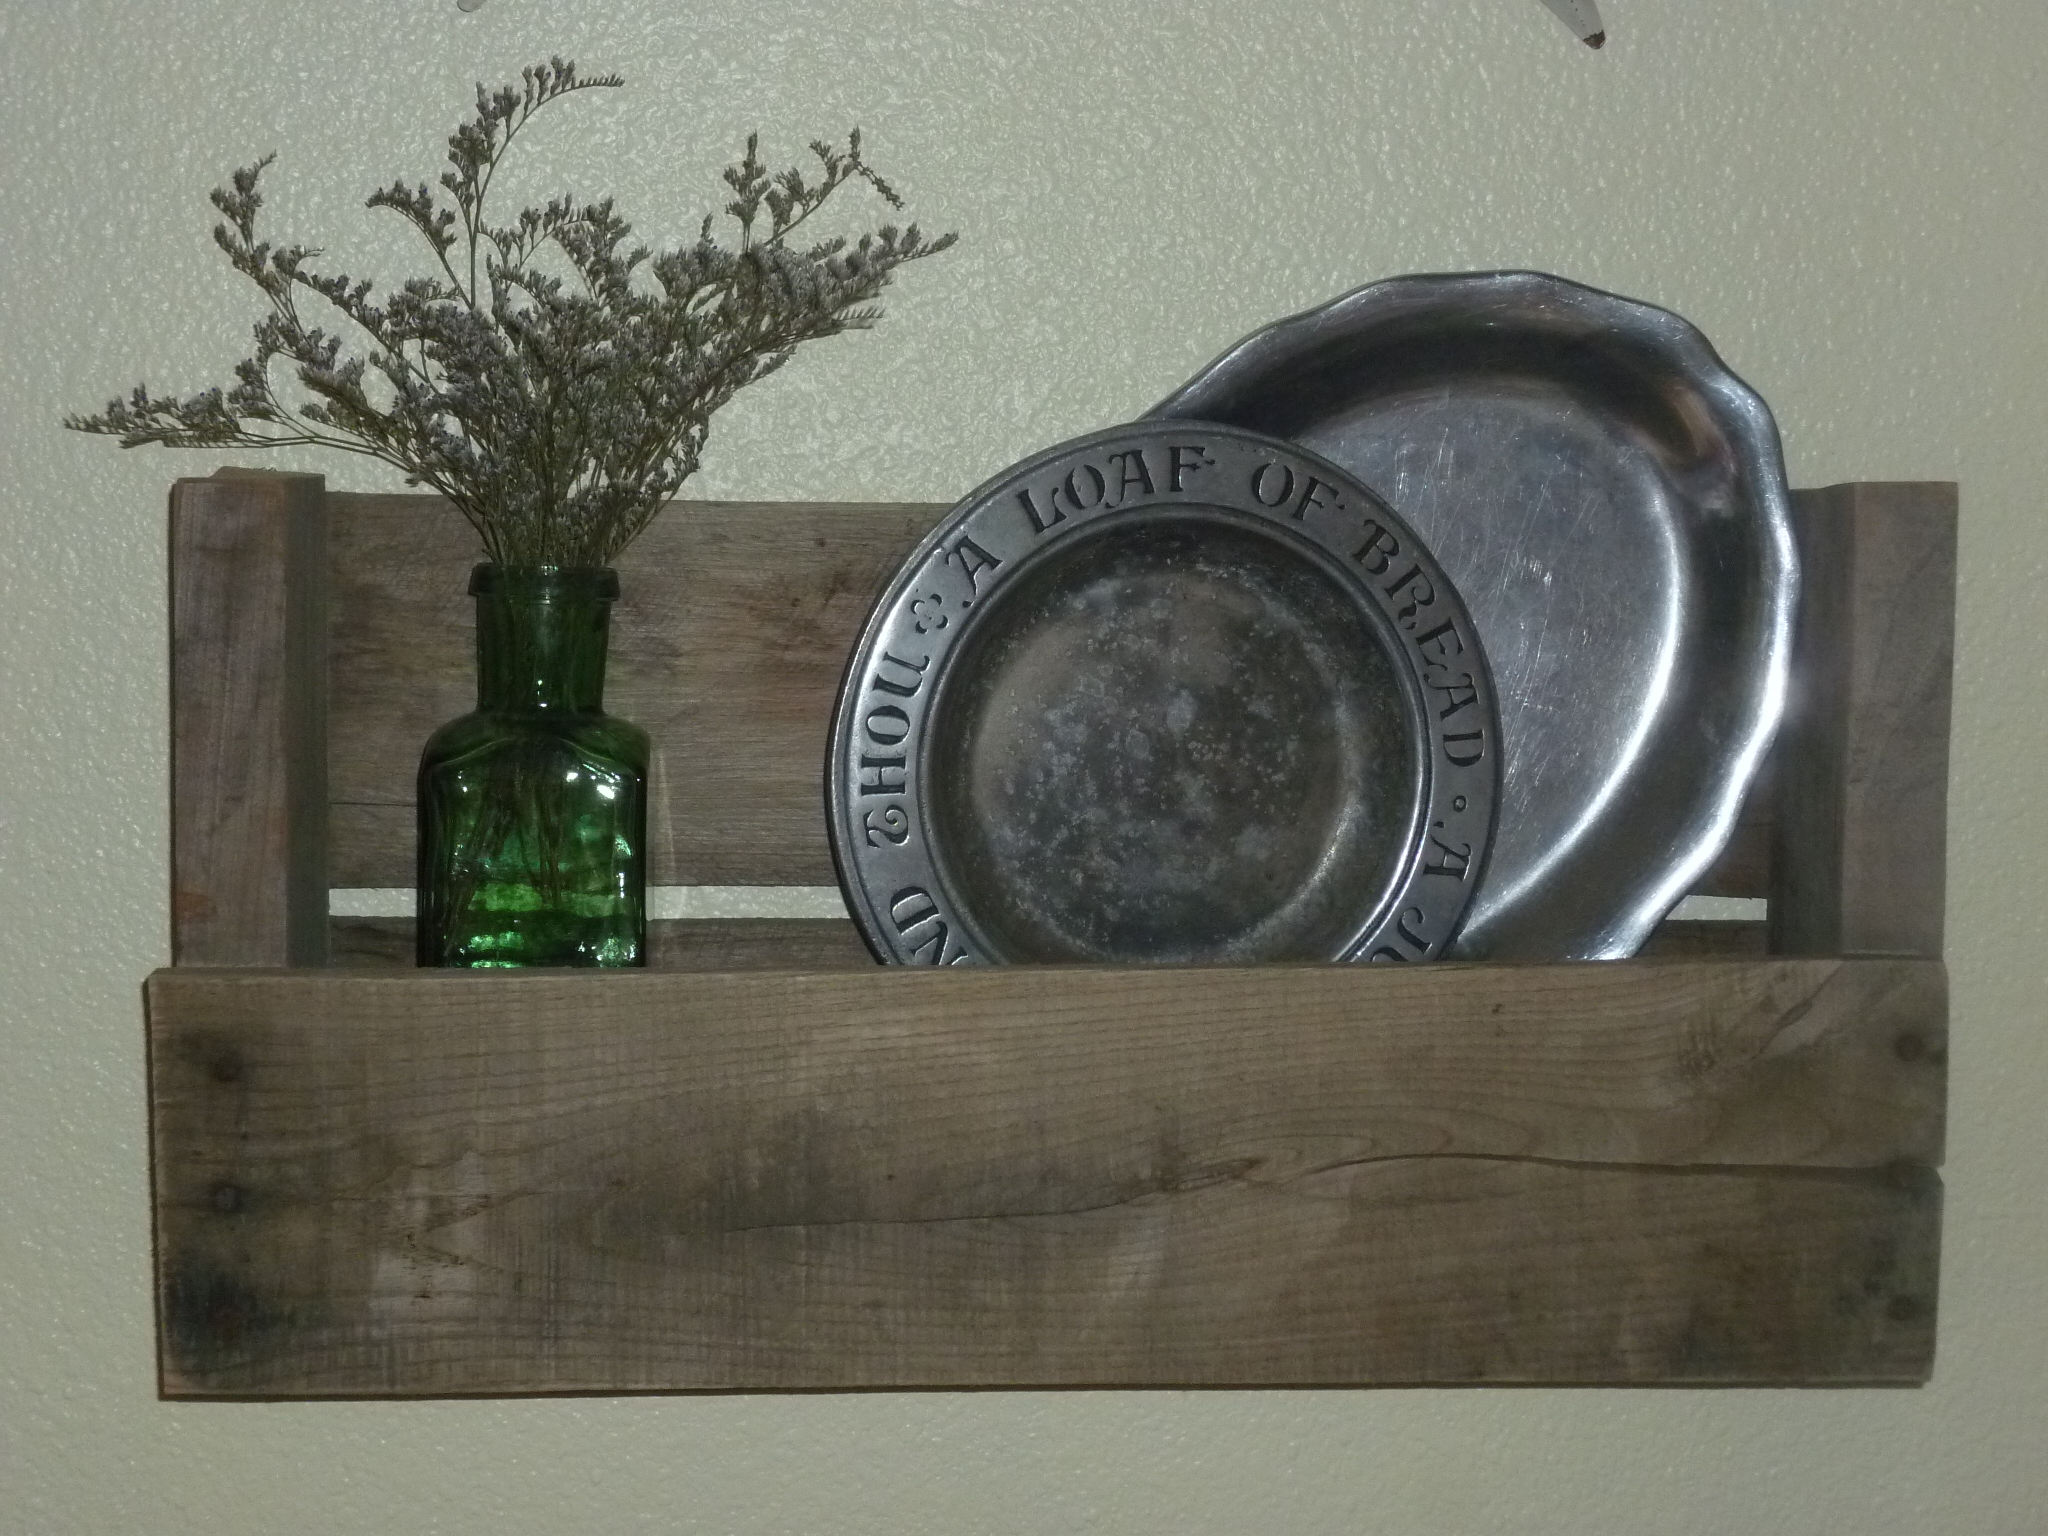
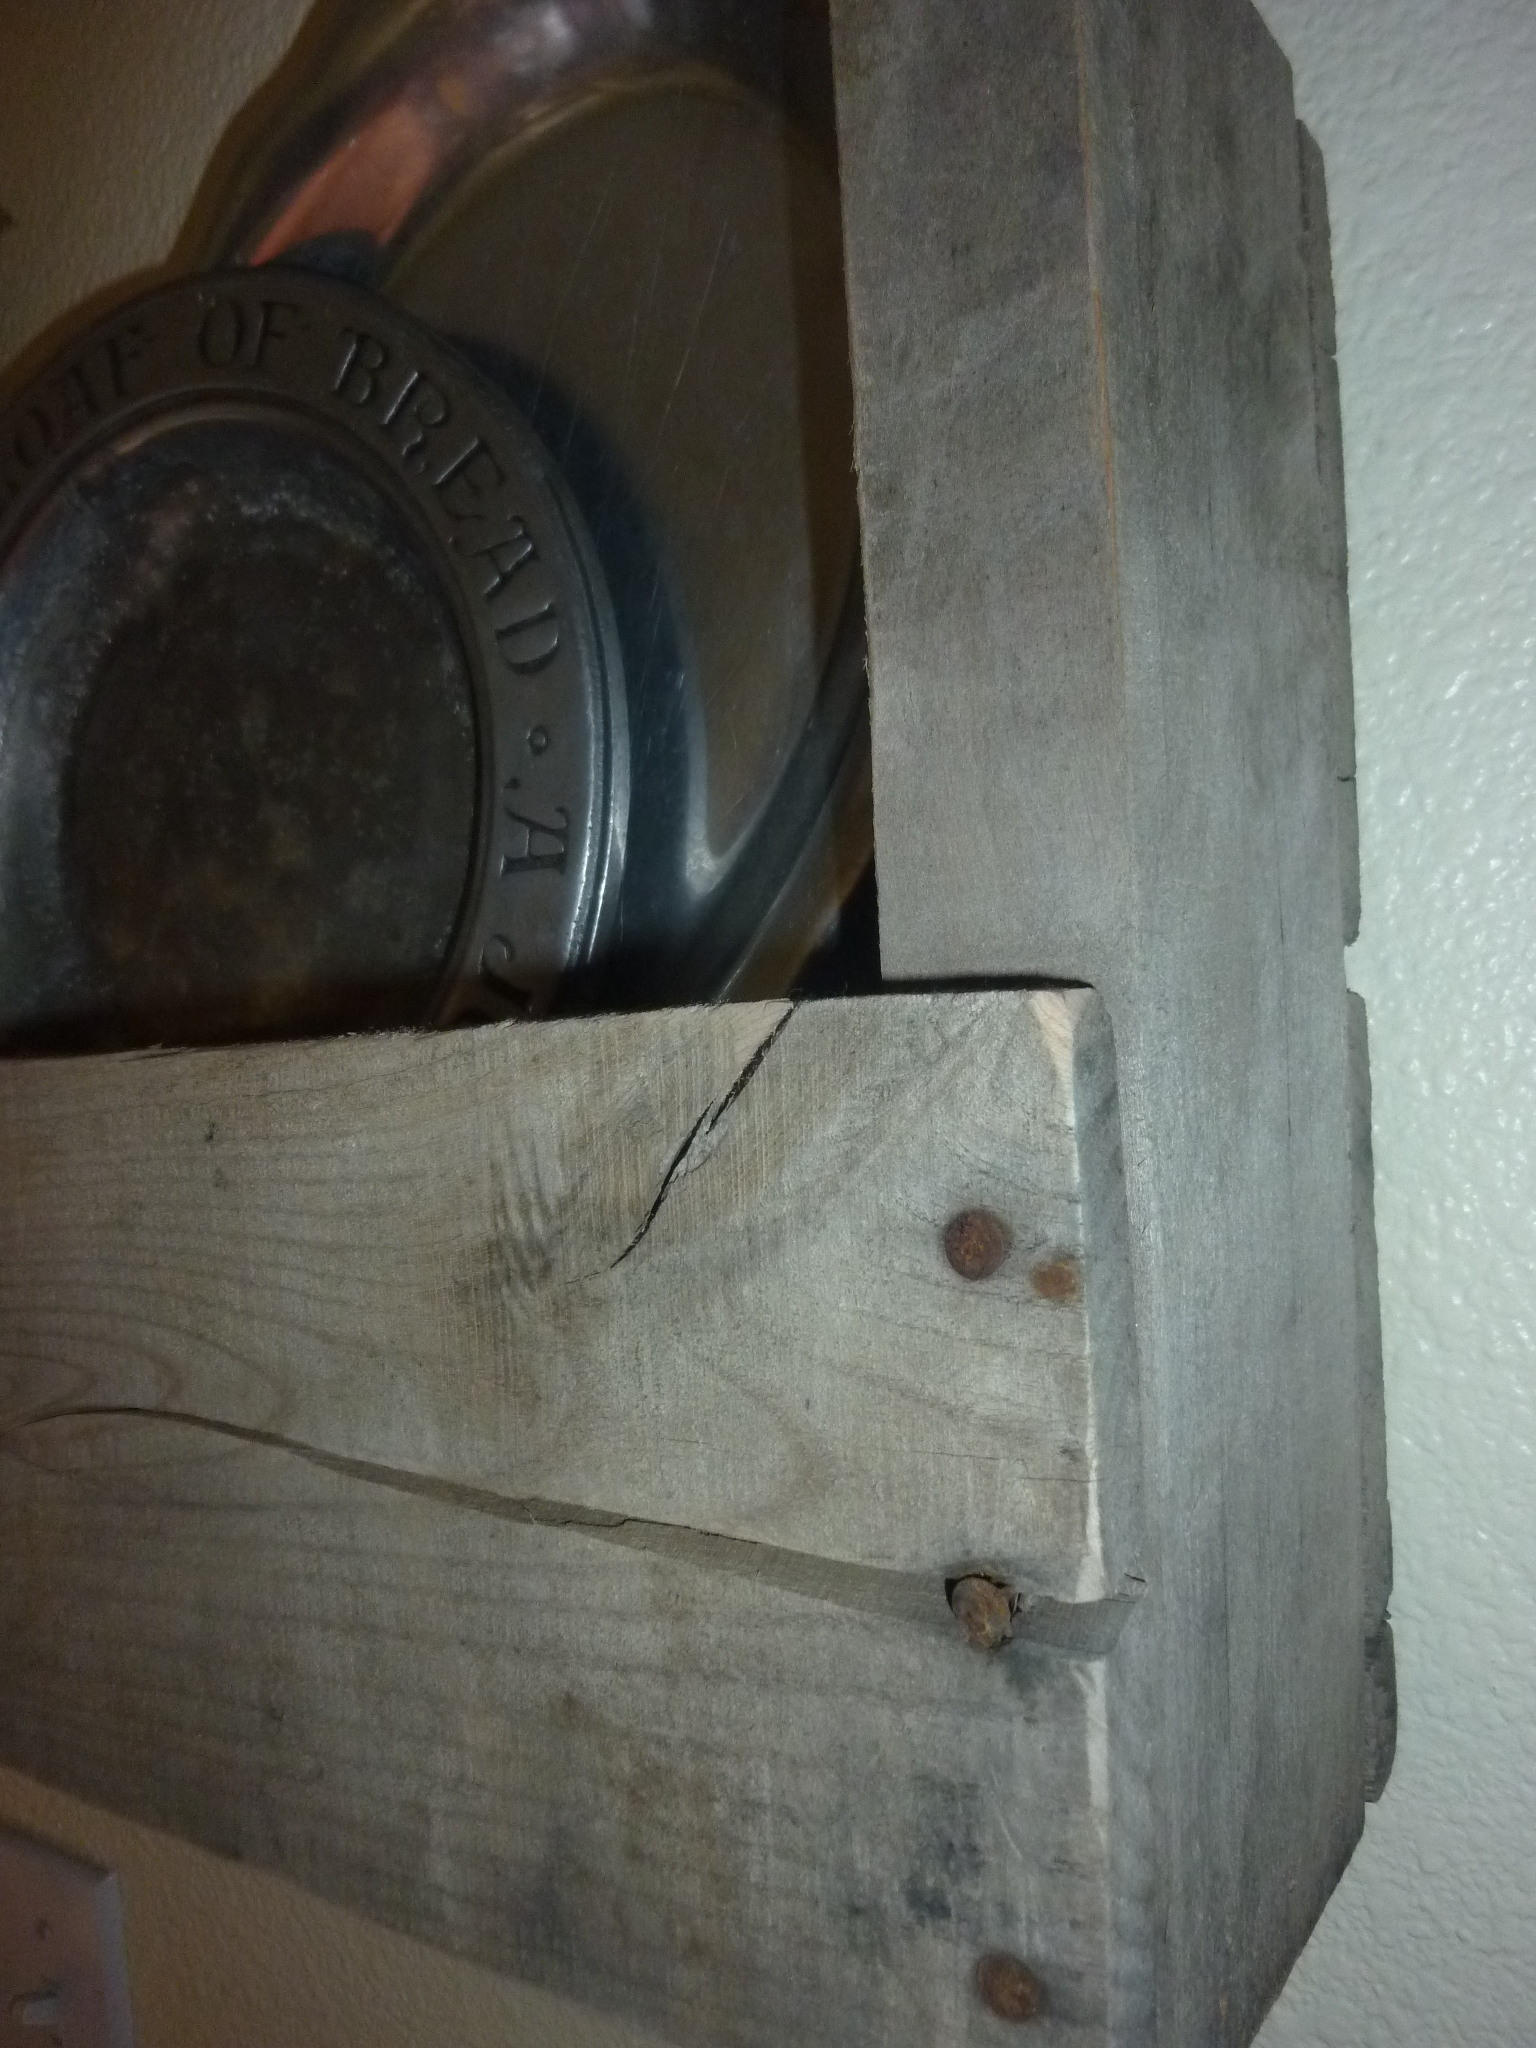
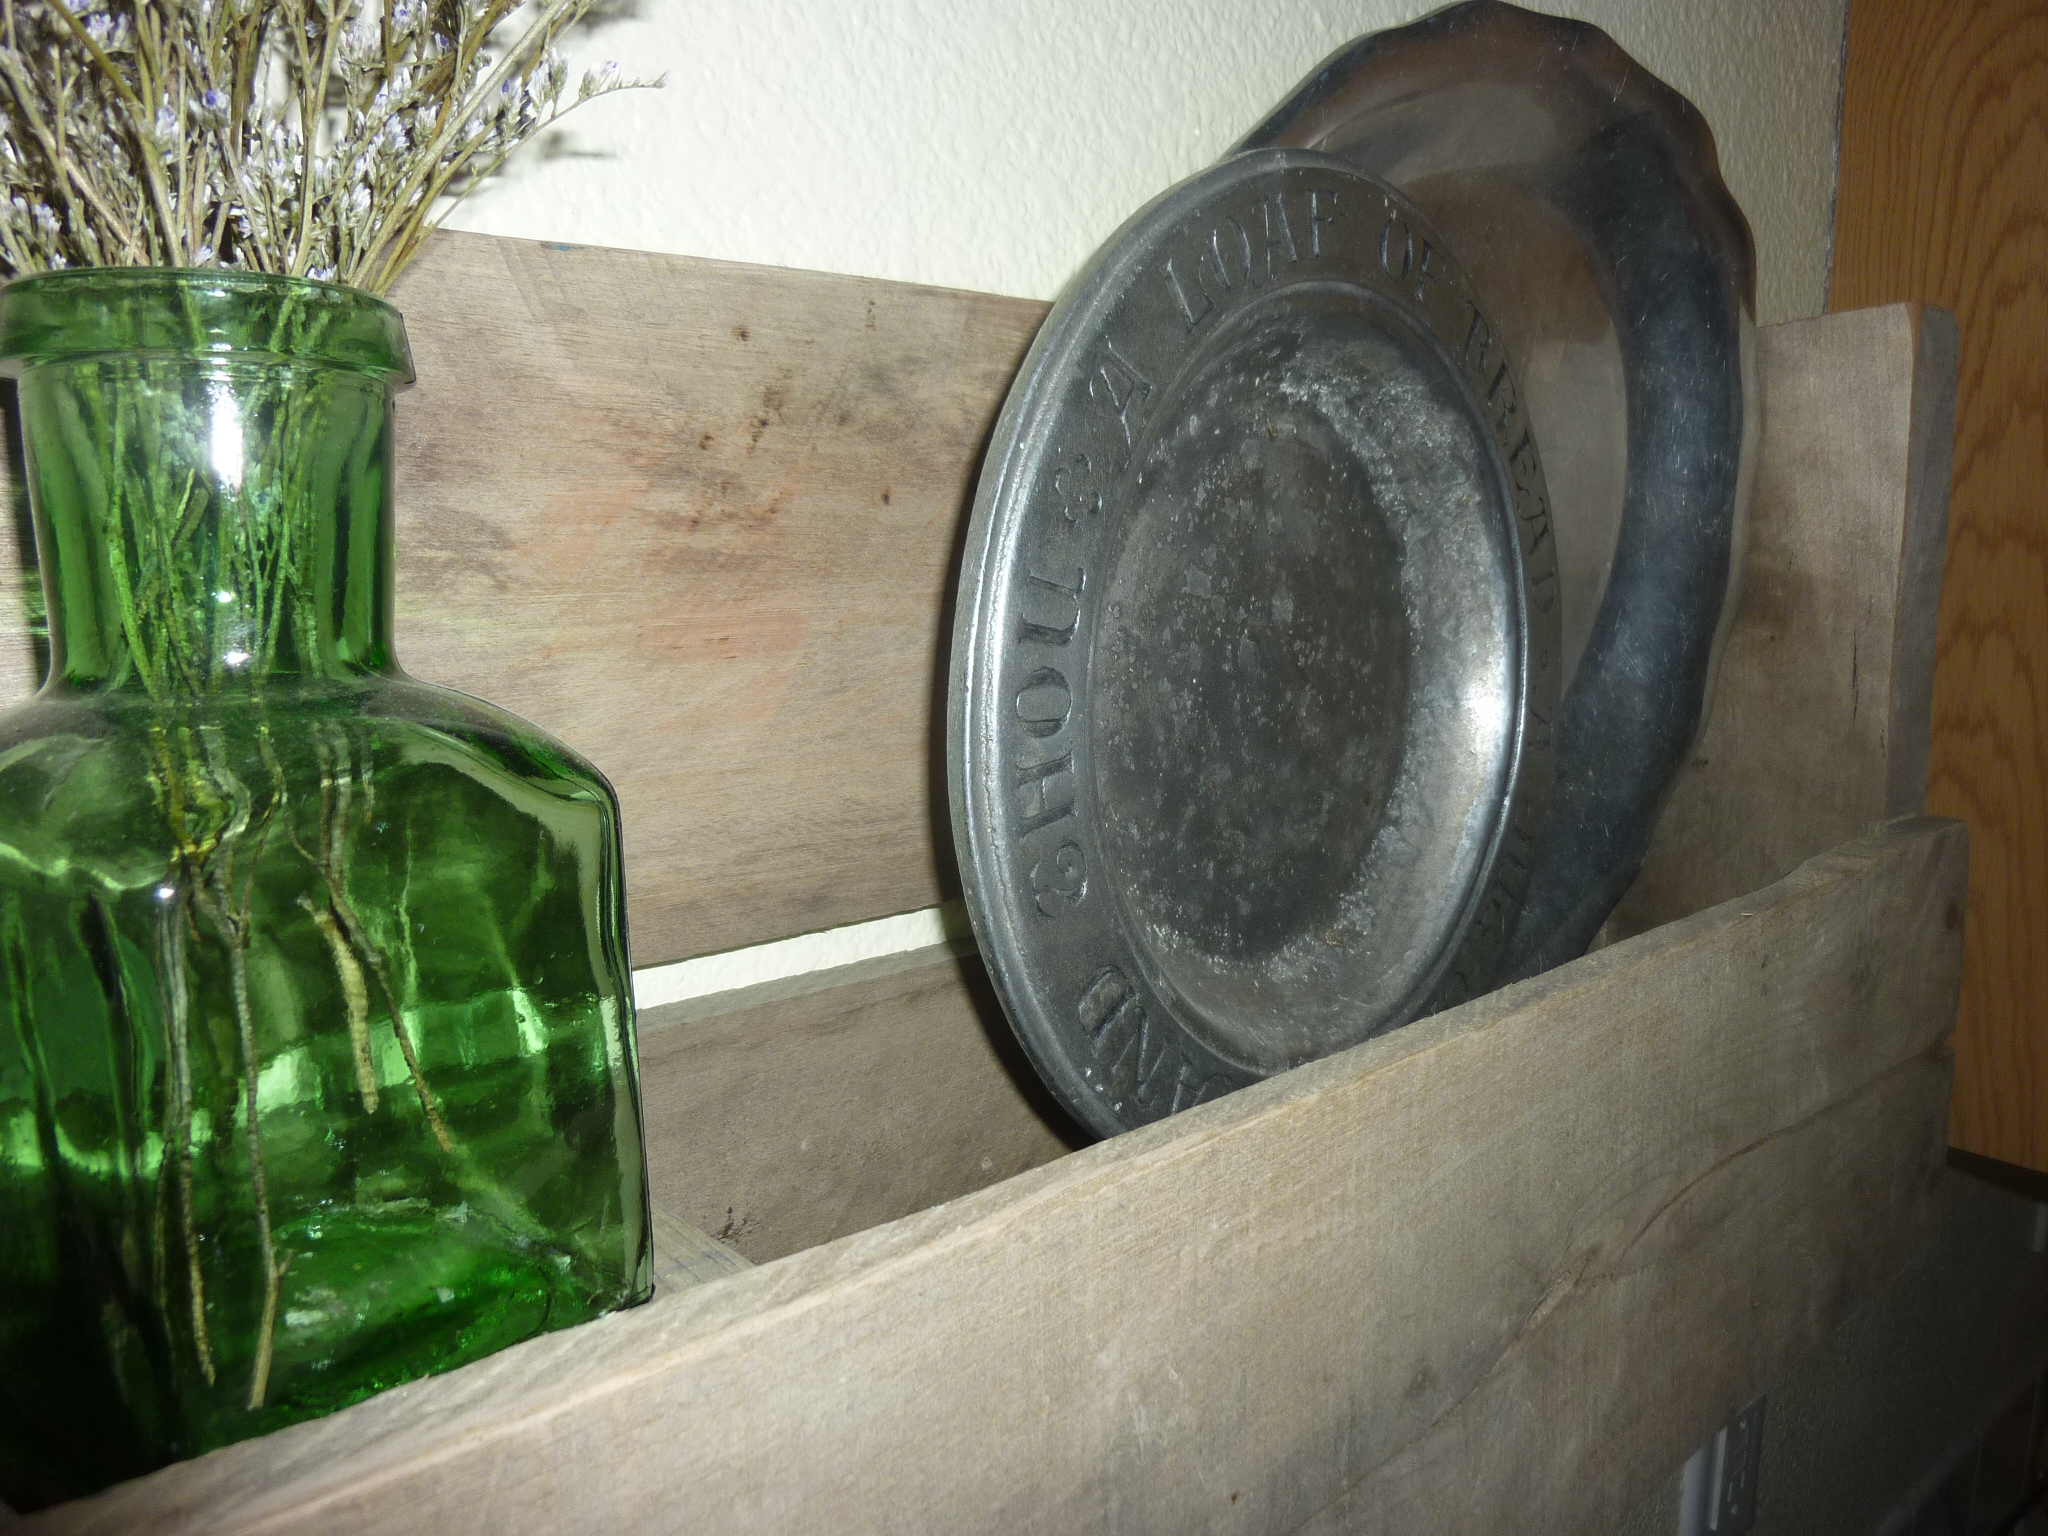
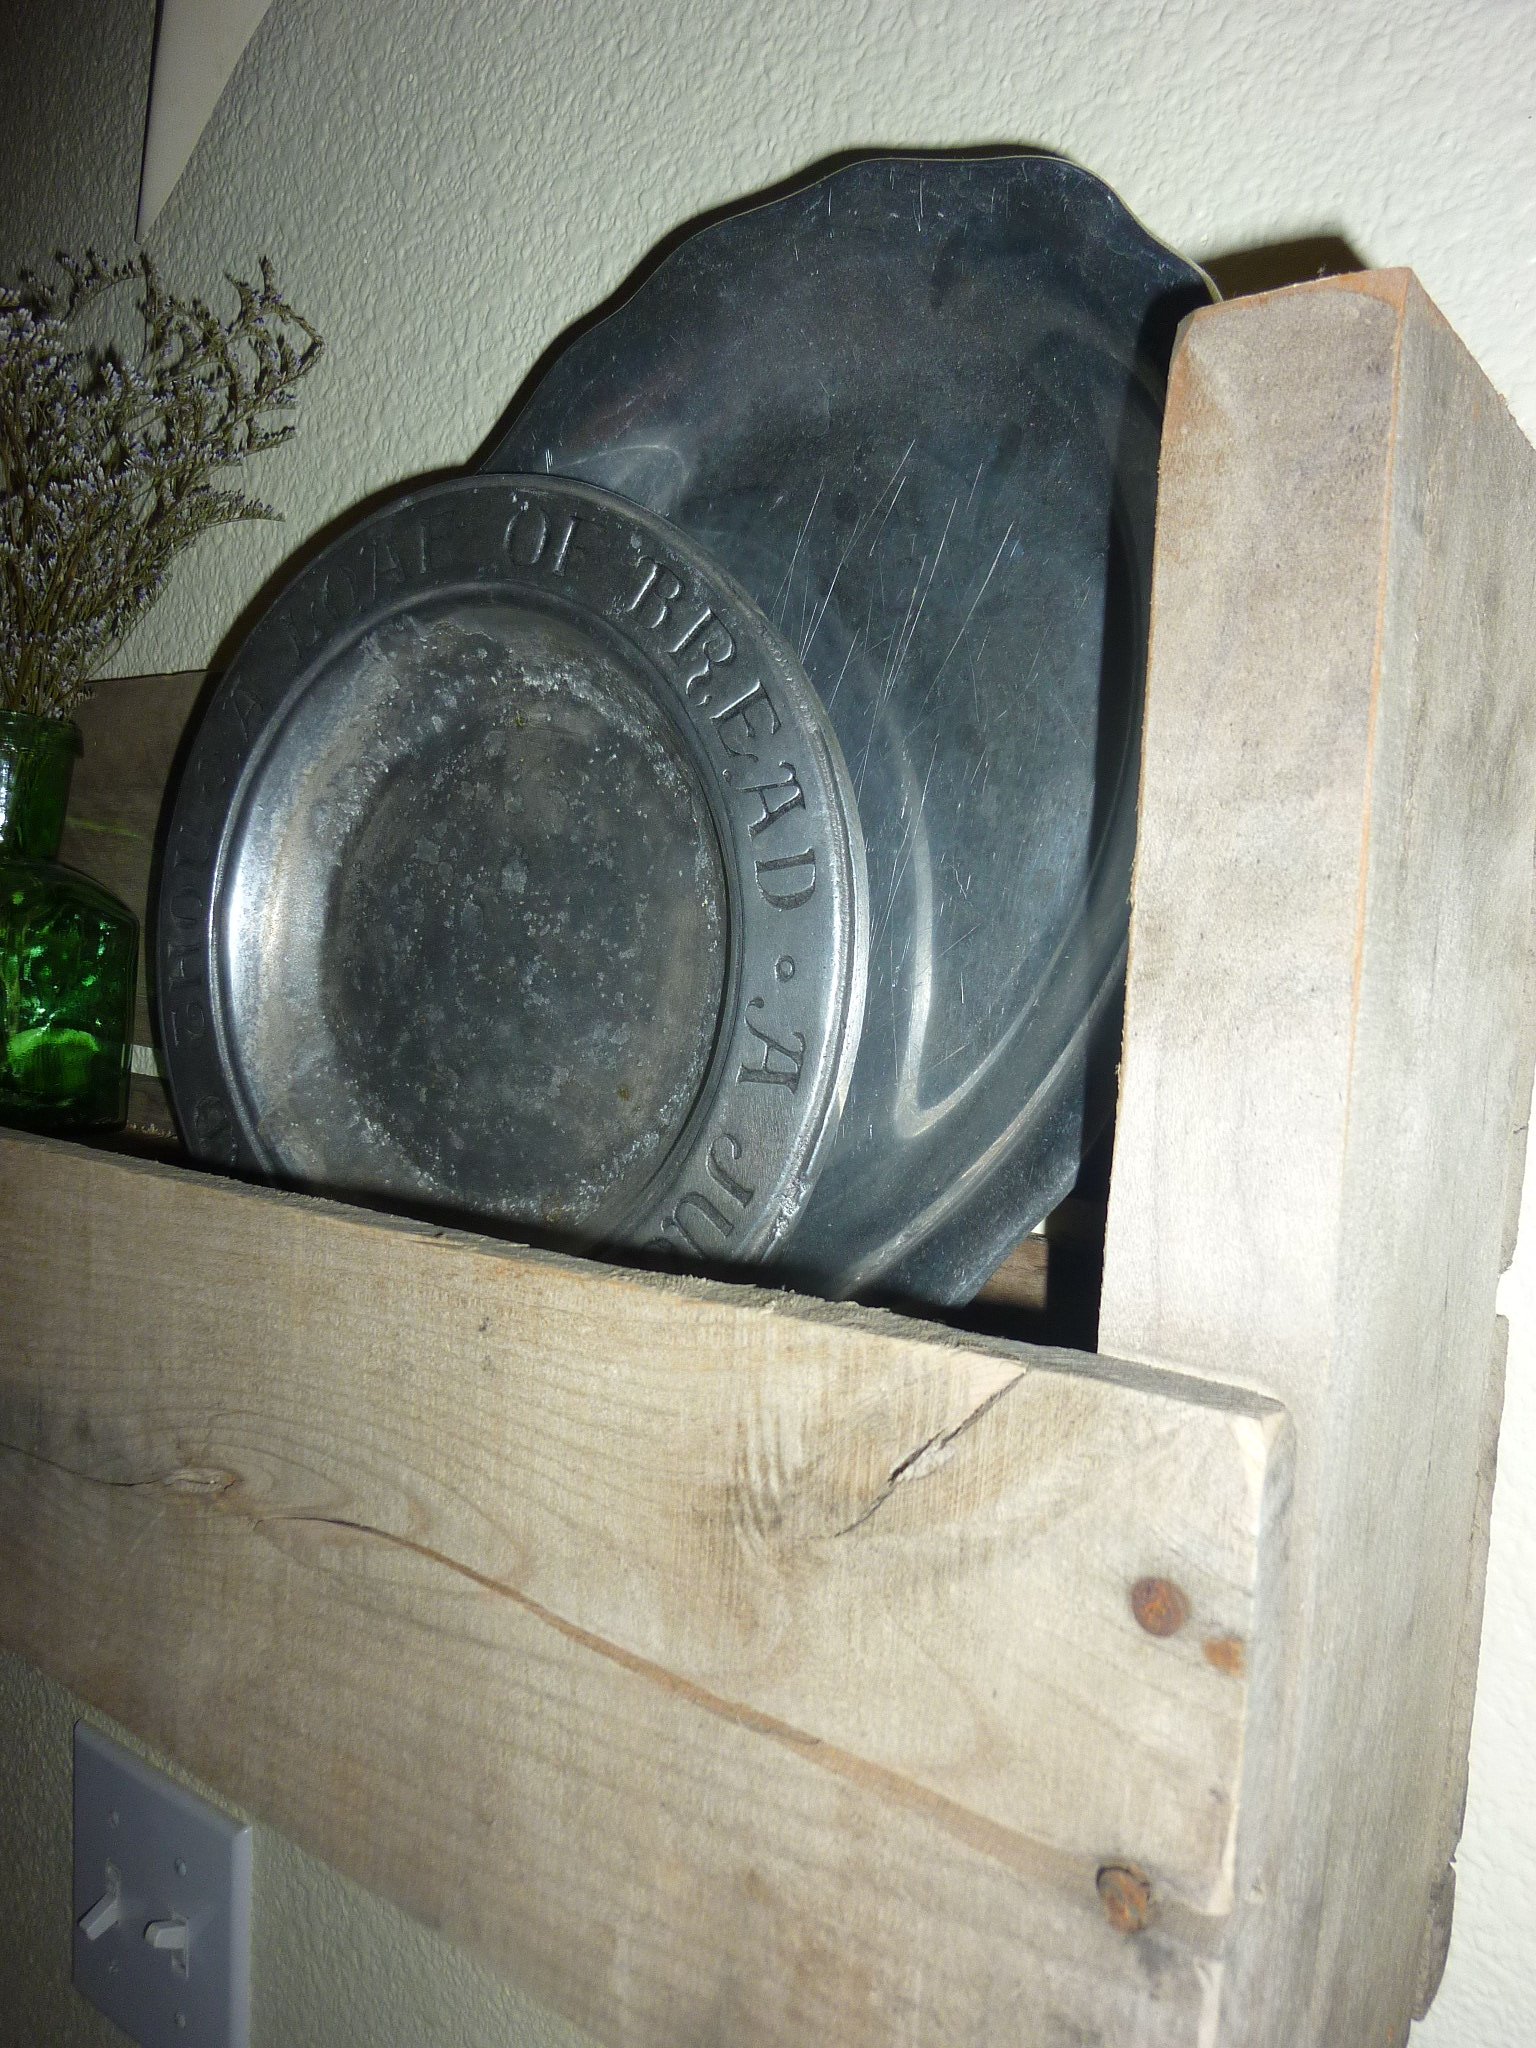
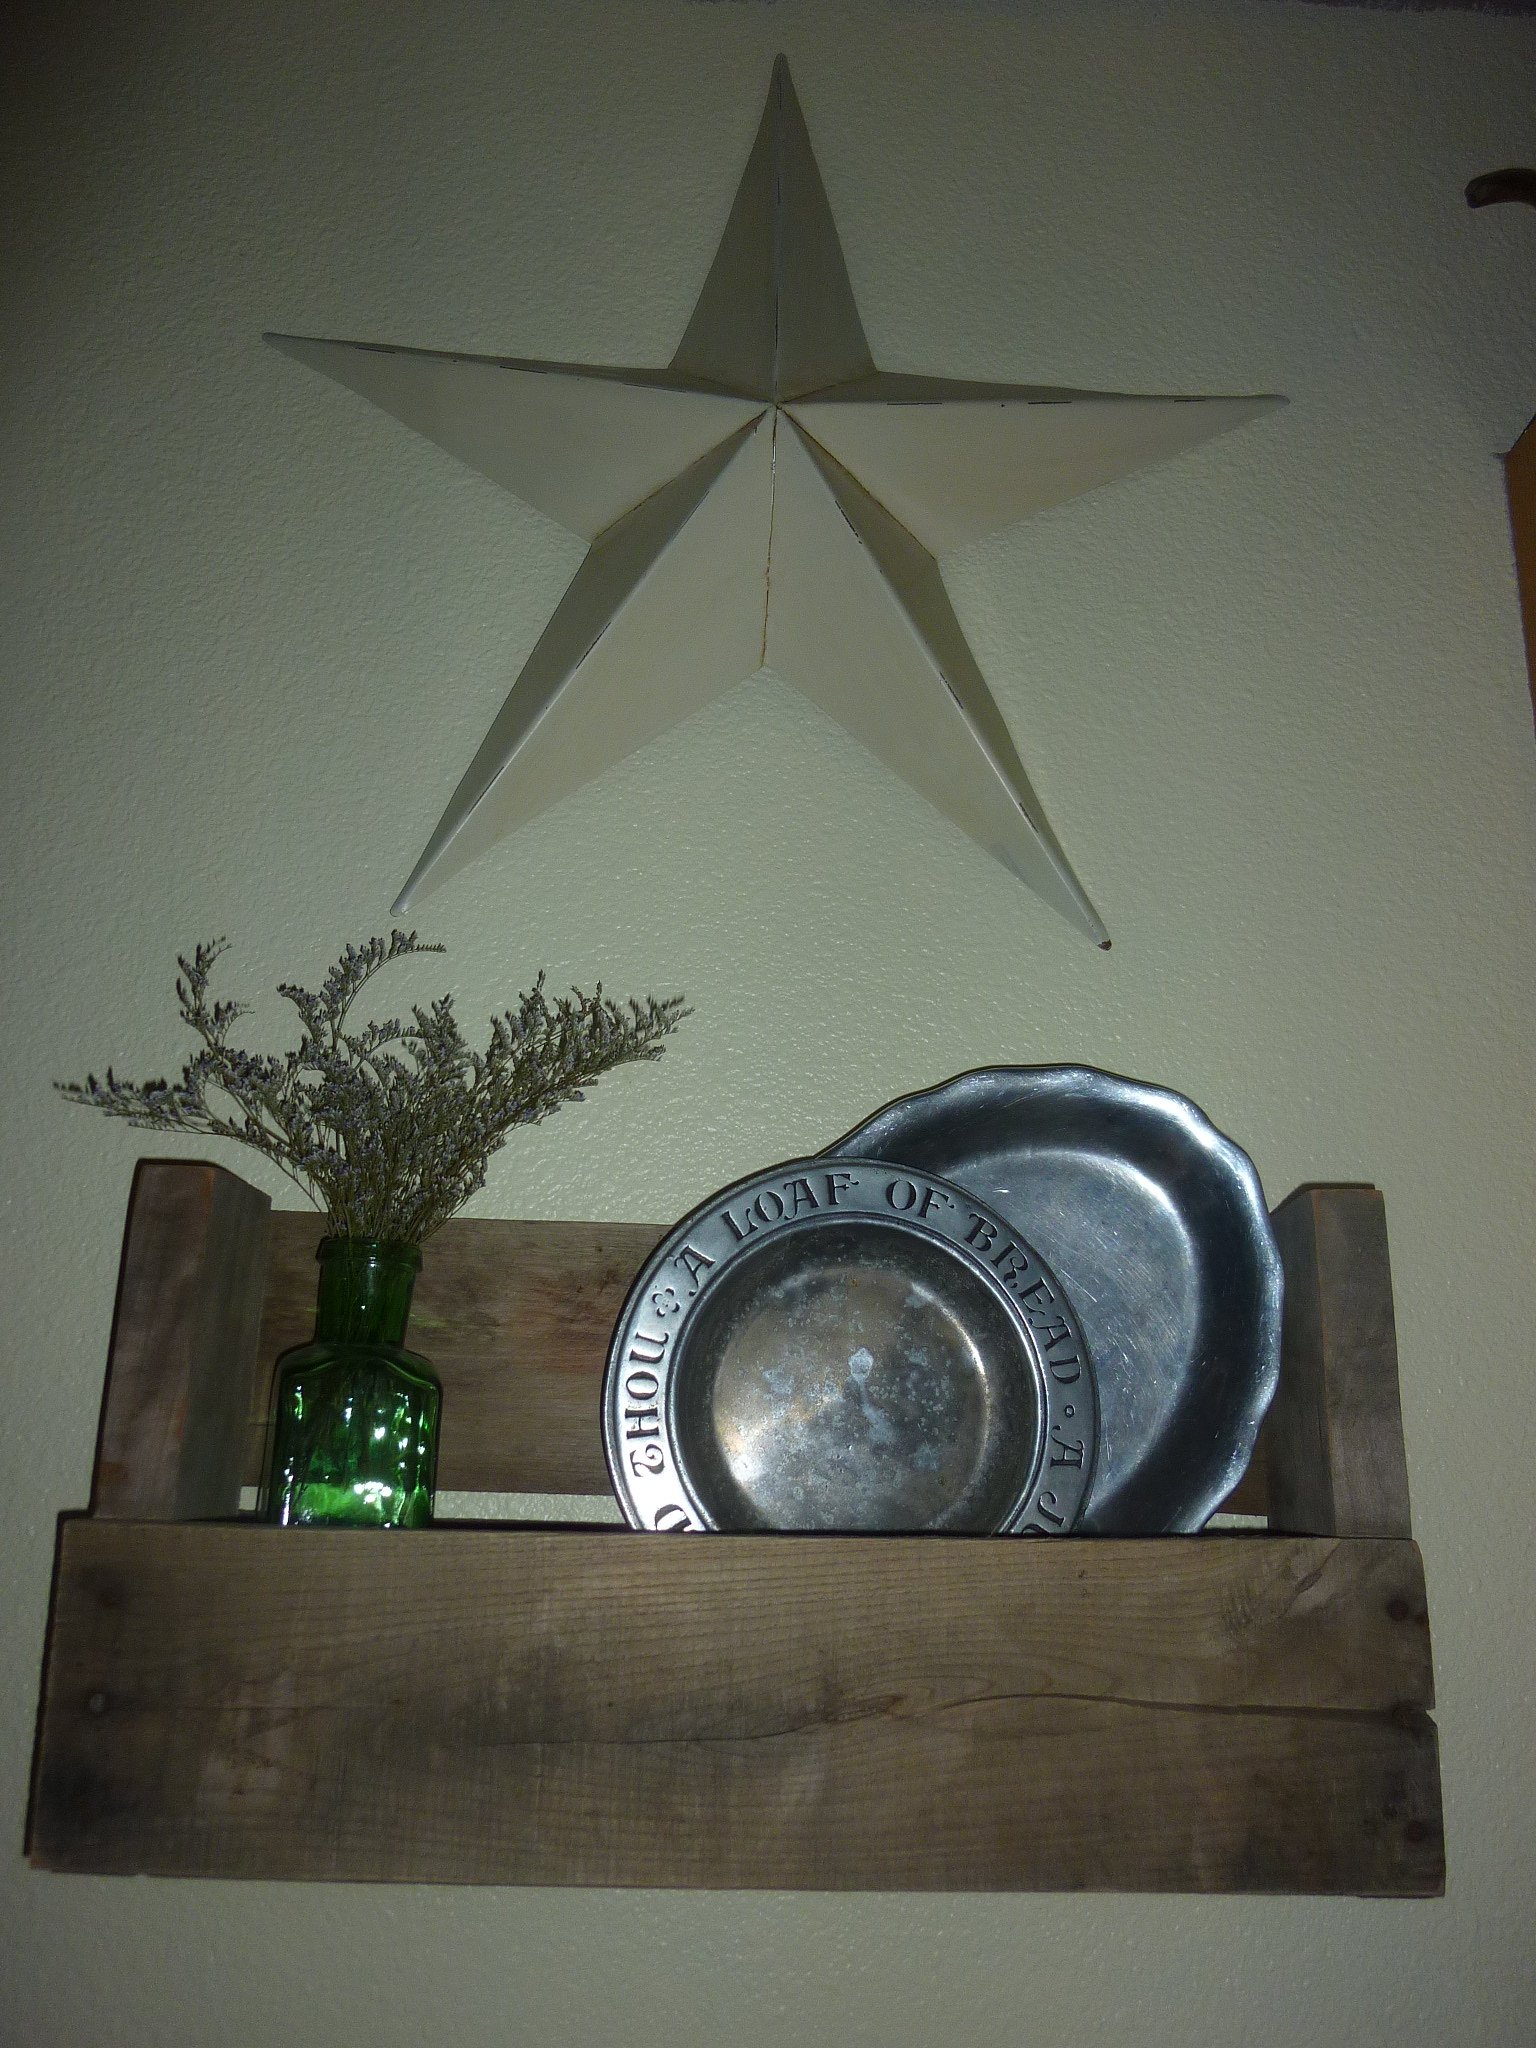
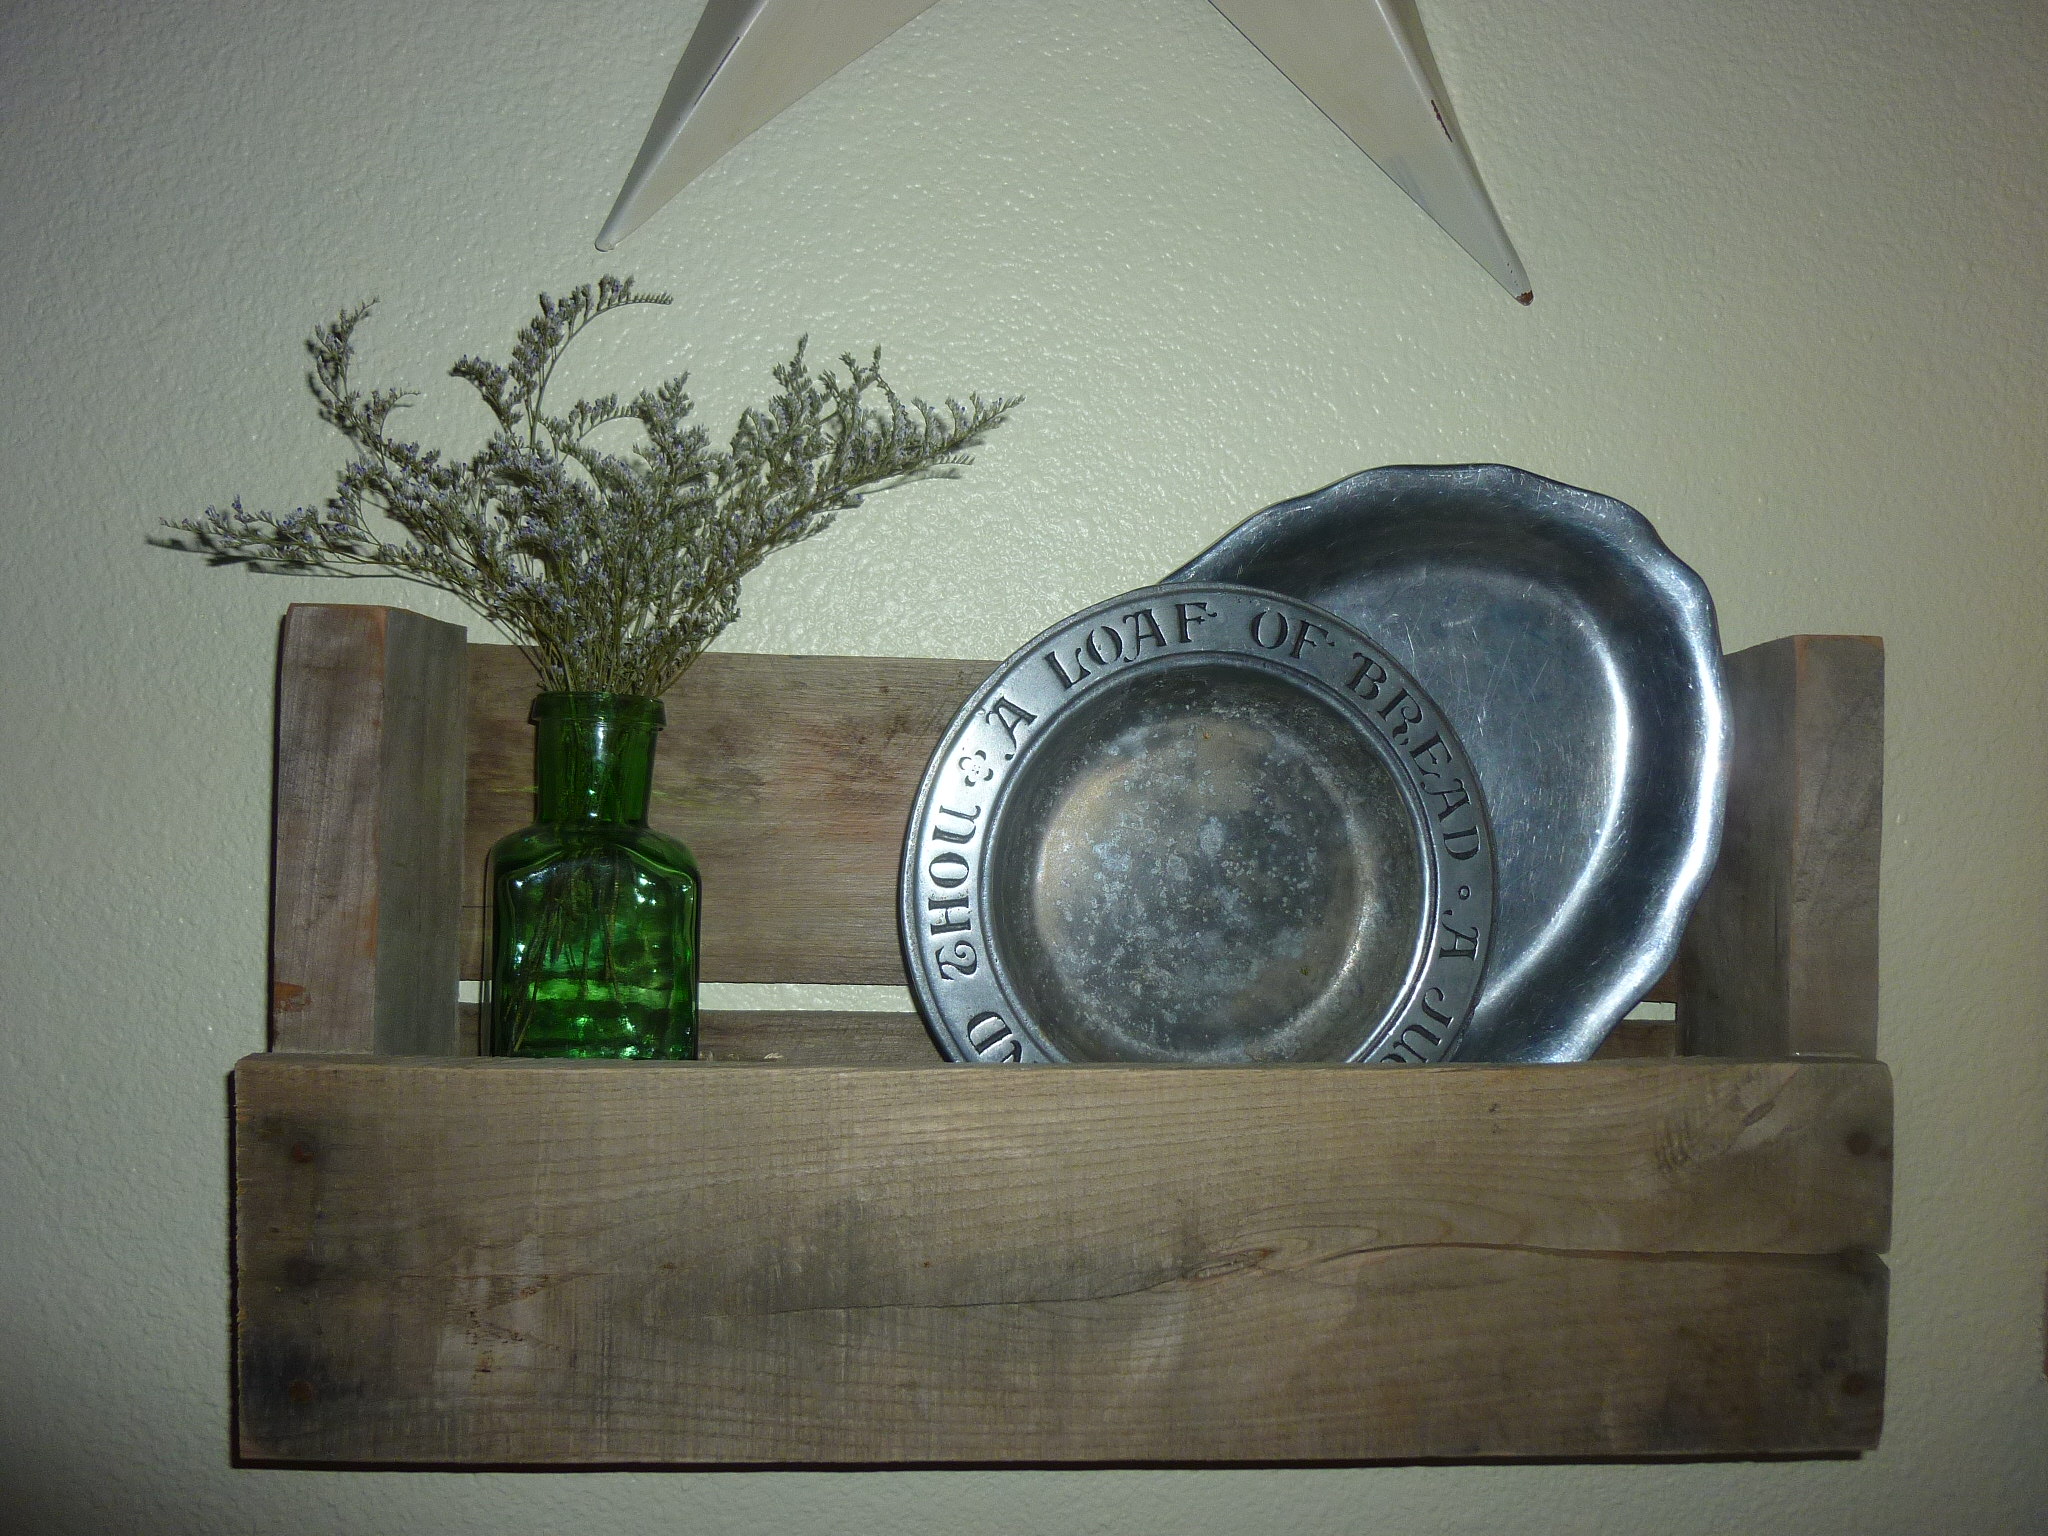
This really is a easy beginner project and adds instant decor for your wall.
This project is also pretty versatile because it lends itself to ANY decor. You could go totally country like I did or pick a nicer, newer pallet and paint or stain it for a more modern or traditional take. Whatever you choose, it's something you can do in no time at all!
Another great thing about this is you don't need any fancy tools, although it does make it easier! You can choose from a circular saw, a sawsall, a jig saw or even a hand saw to cut your section out.

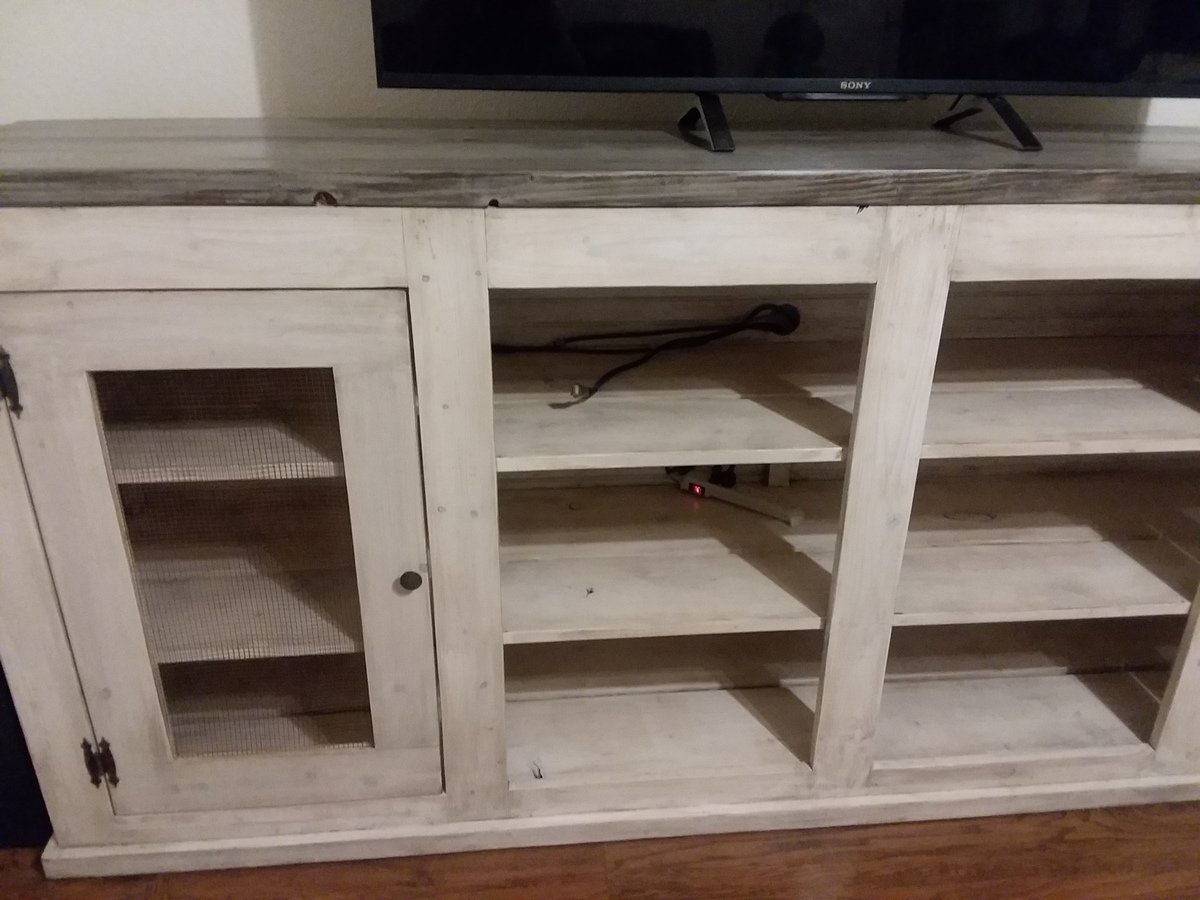
I went with inset doors with chicken wire instead of the sliding barn doors, and I added an additional shelf.
Thanks for these plans! Worked perfectly. One day build.
I started this project thinking that I would put in a rental home we were working on. But after I completed it I couldn't part with it.
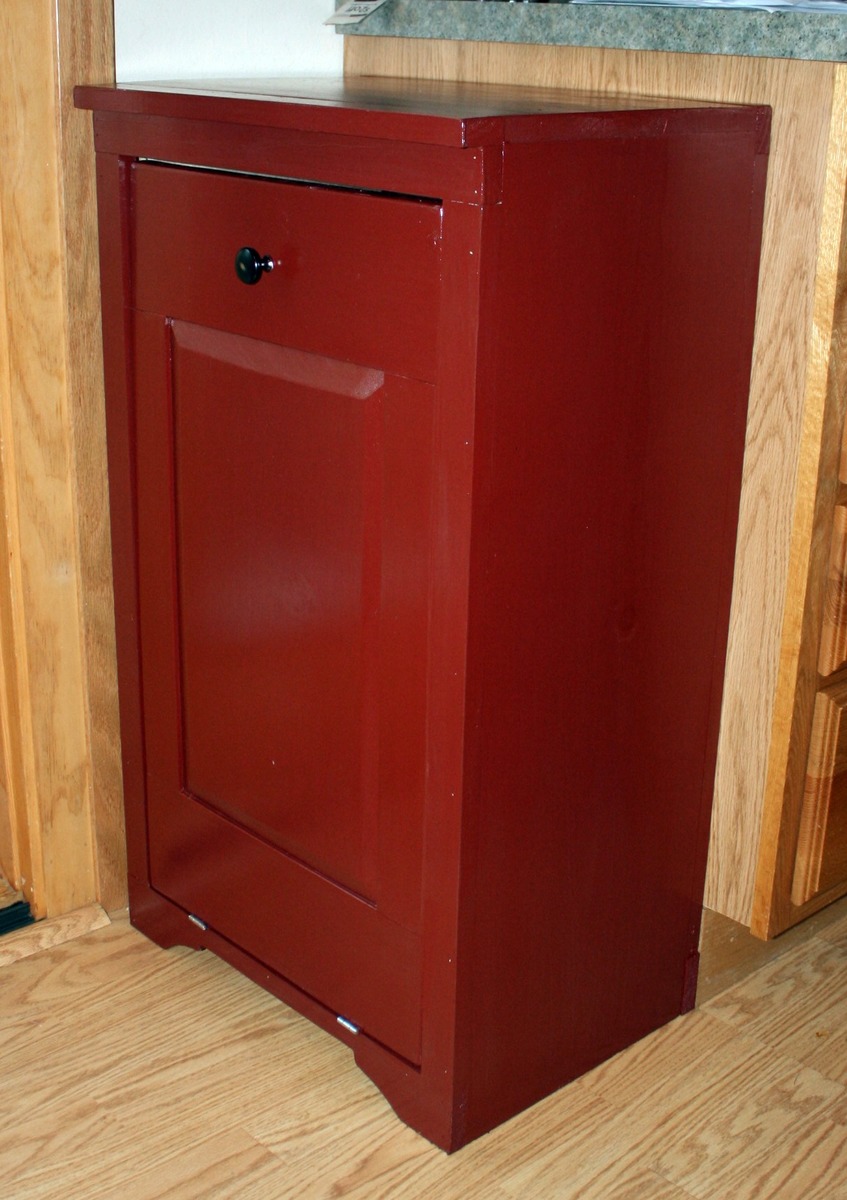
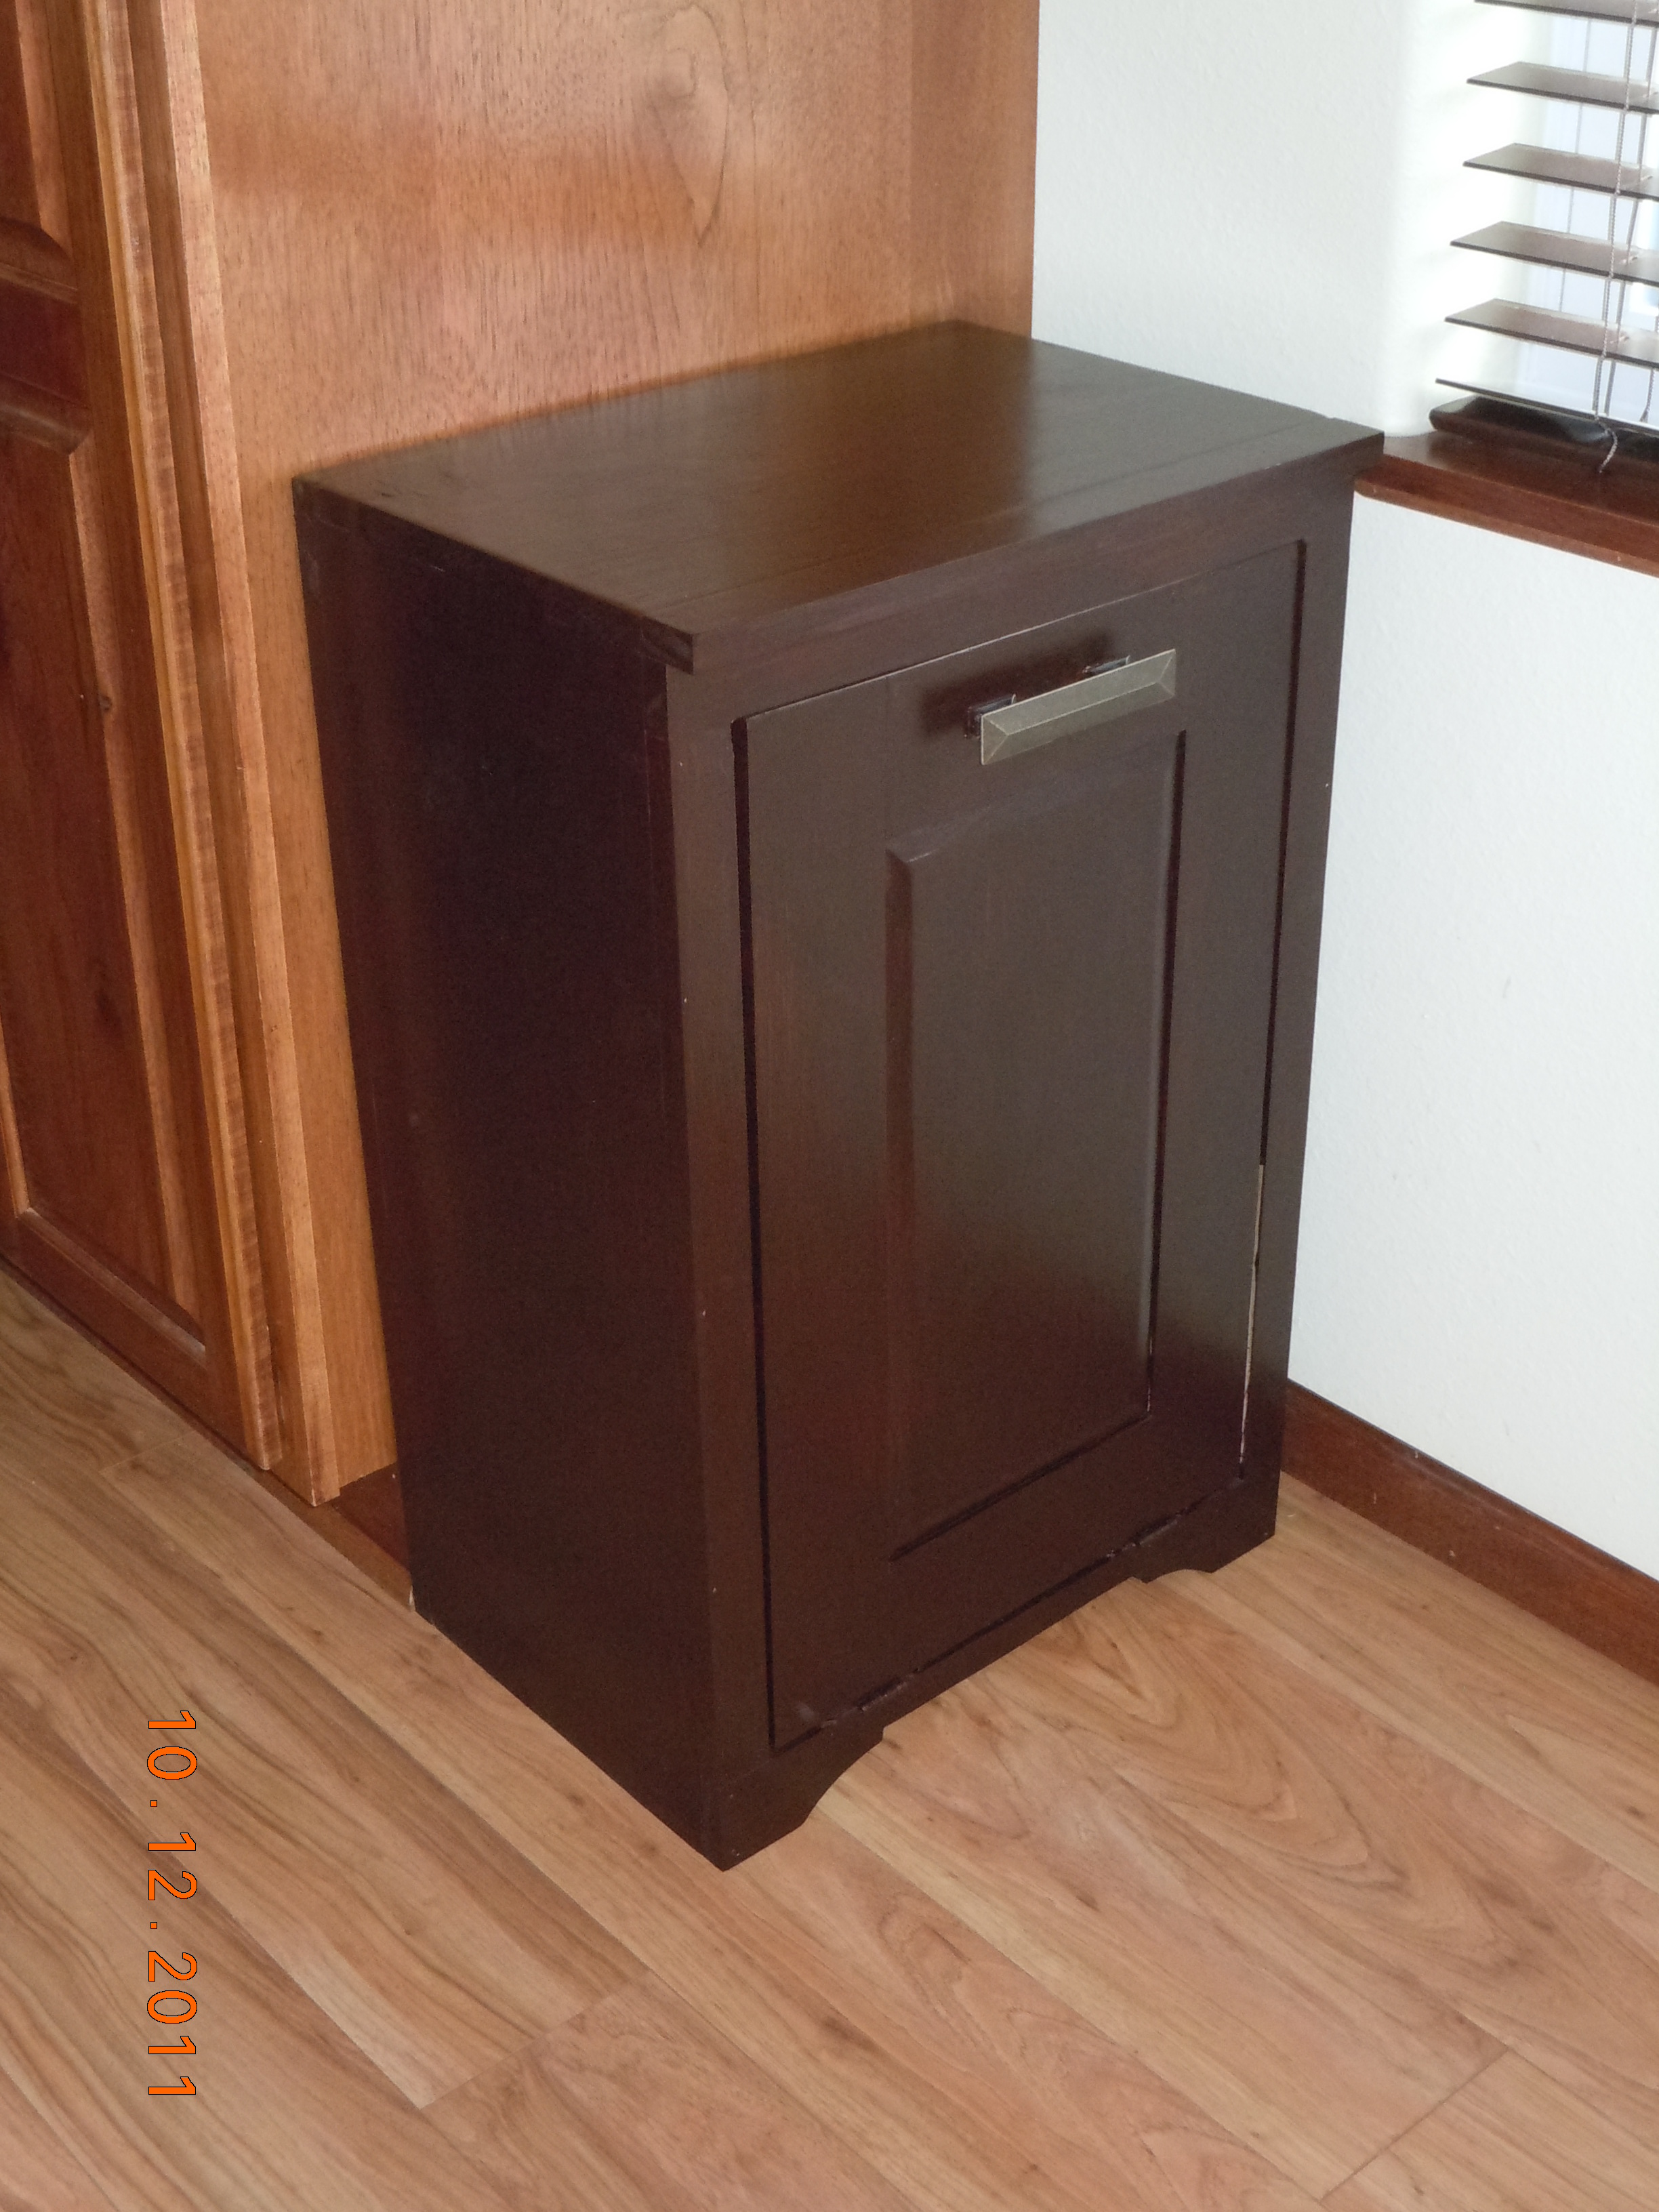
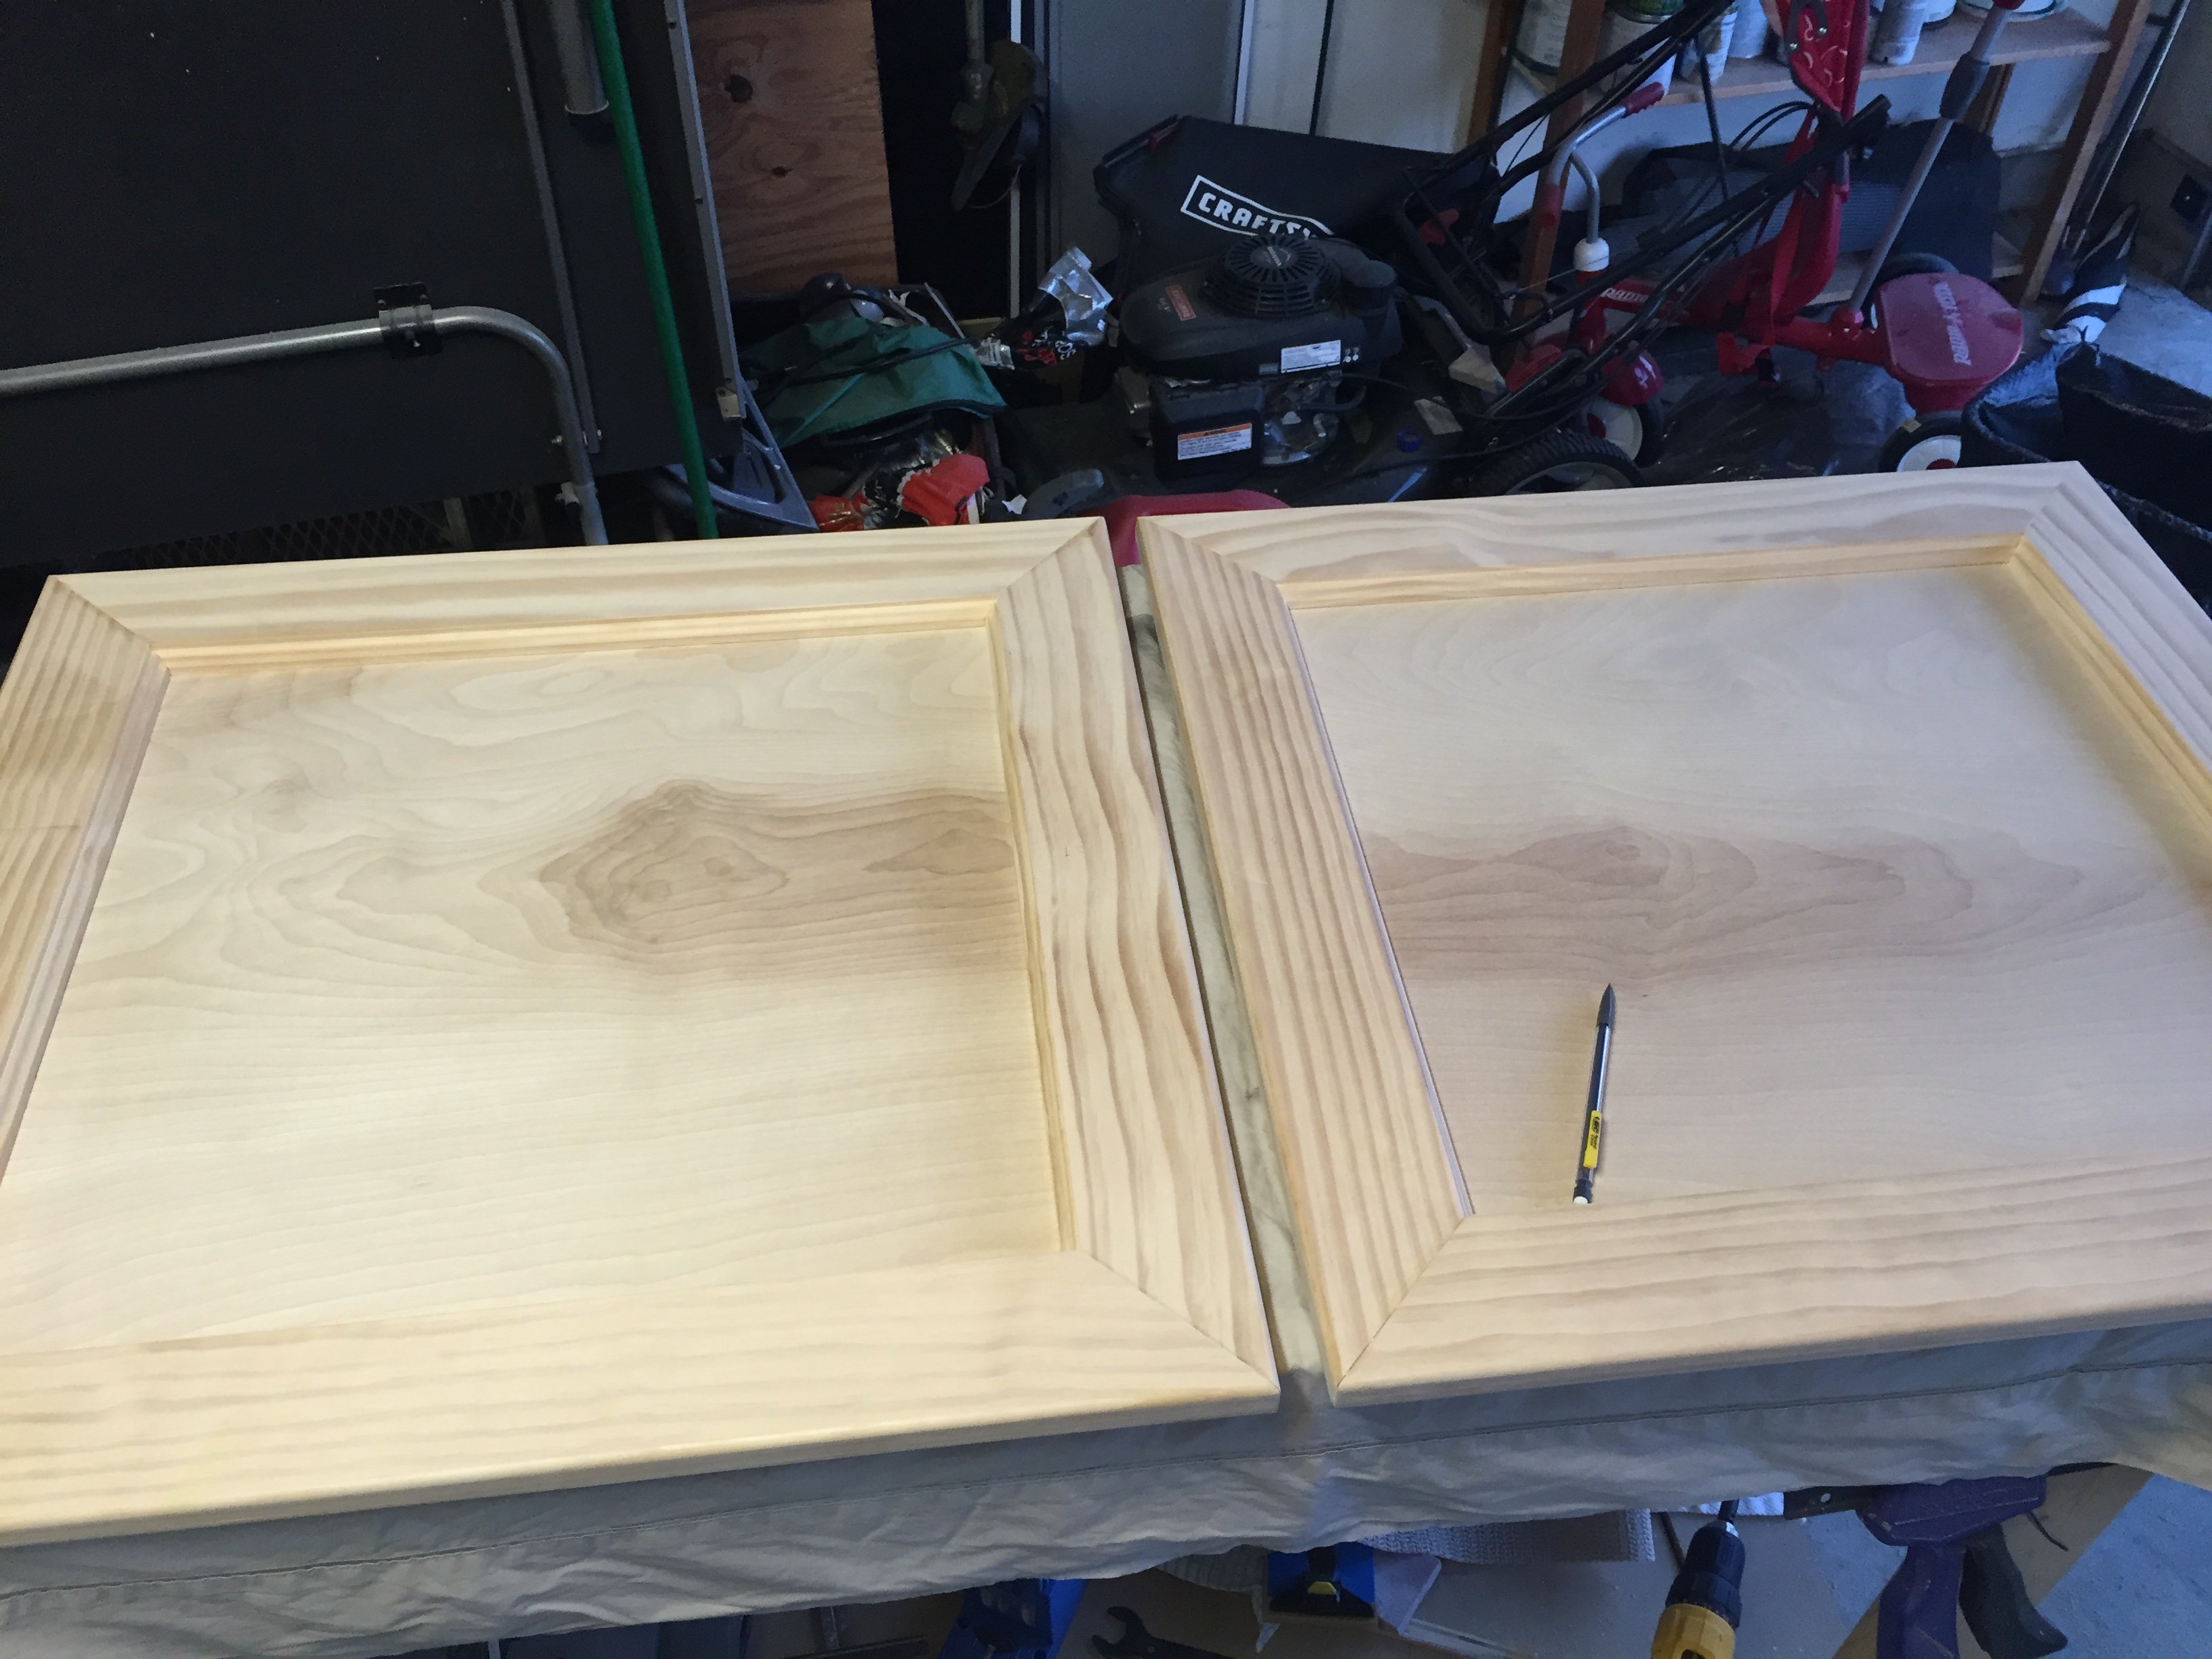
I found the plans to be easy to follow! I watched the videos and tackled the raised panel doors. I wanted to add some height so added a few inches just in-case. I couldn’t bear the thought of completing this project and my garbage can not fitting. So I did use 1x6 for the rails and found it didn't look too bad.
I put a lot of thought about what color and finish I wanted. I thought about distressing it but couldn’t decide on the color or technique. So I decided on Color Place paint that I had left over from another project. I am going to find a spray paint that matches and do the inside.
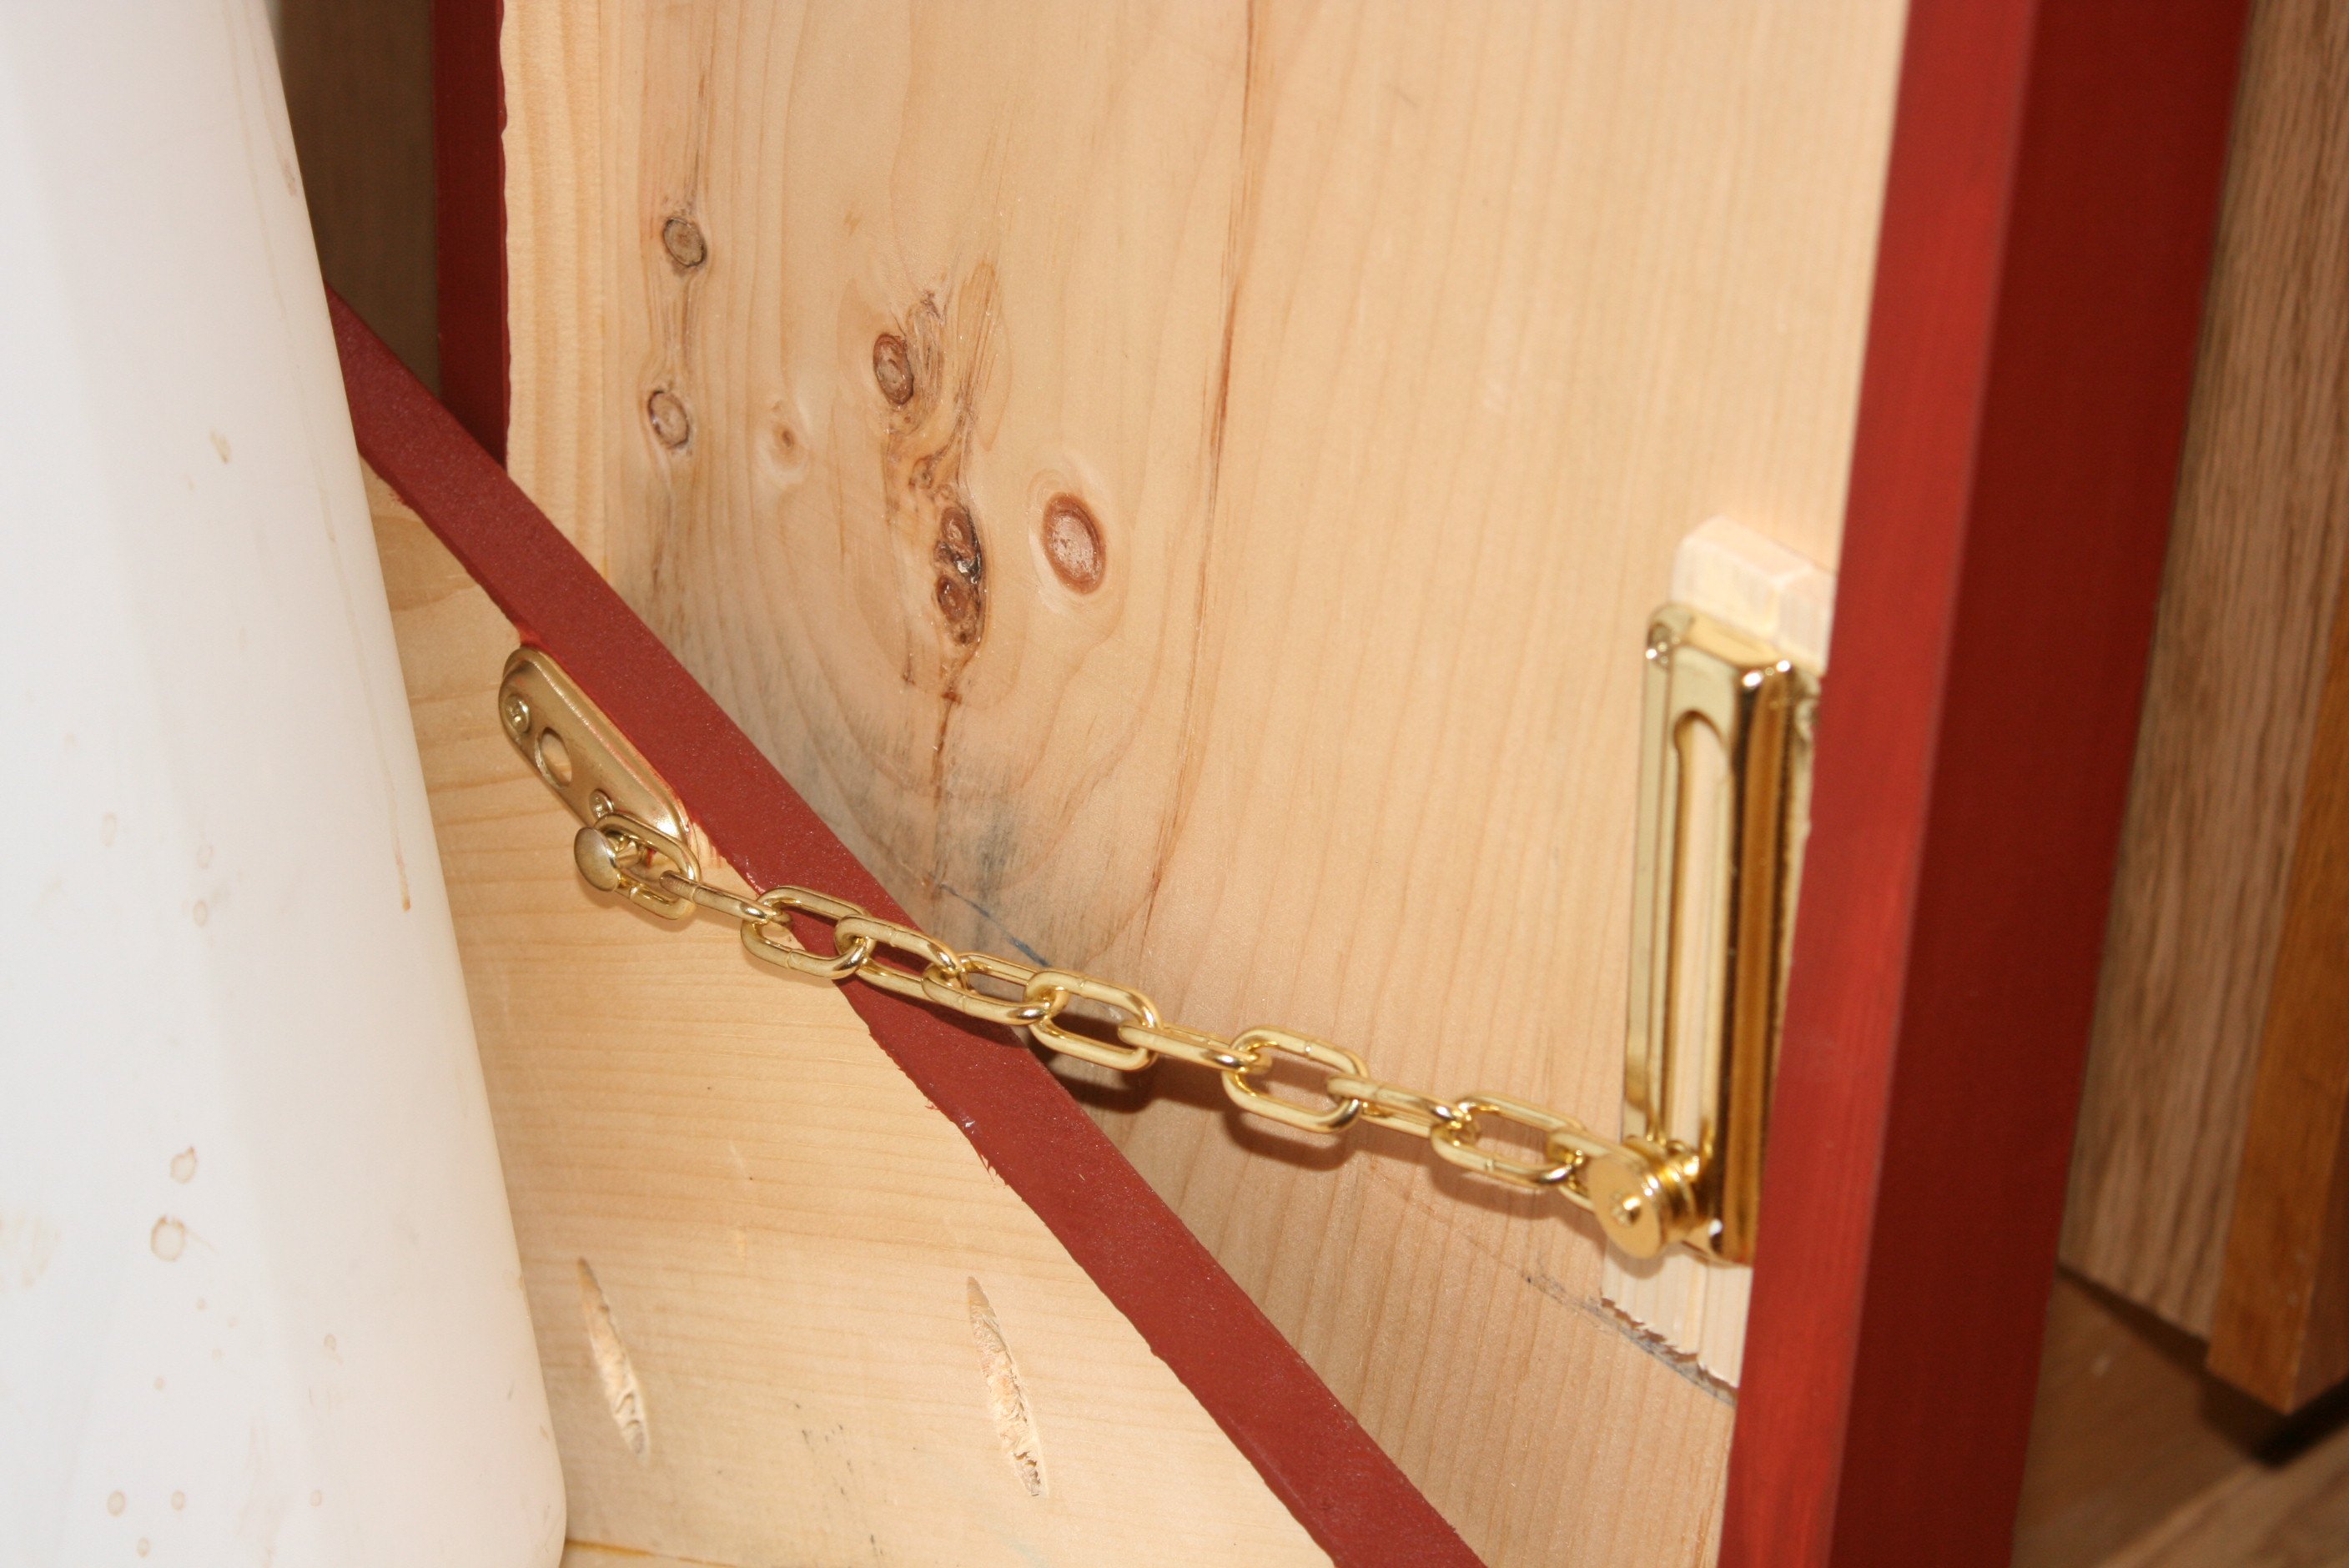
I choose an oil rubbed bronze knob that I had left over from a kitchen remodel, added a magnetic closure as well as a door safety chain. I have lots of little hands and toes that I don’t want getting smashed. I like the idea that if I want to open it all the way for cleaning all I have to do is unhook the safety chain.
Over all I am so pleased with how it turned out. It keeps the garbage and smell in and curious fingers out! My kids love to put stuff in the garbage now!
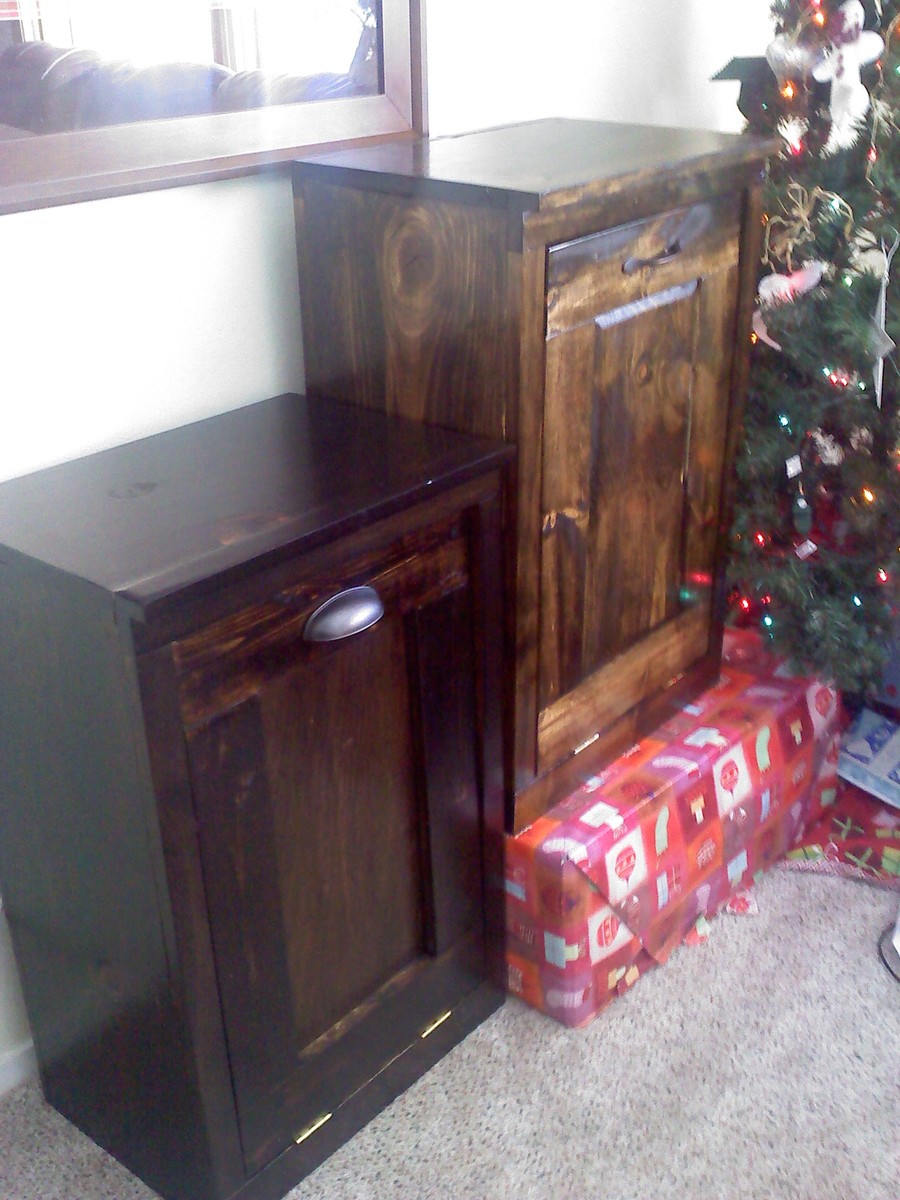
I spent a weekend with a visiting friend and made one as well as completed two more for Christmas gifts.
Thanks Ana
Built 2 of these for a customer. Stained with Rust-Oleum Dark Walnut and finished with Rust-Oleum Satin Ployuerethane.
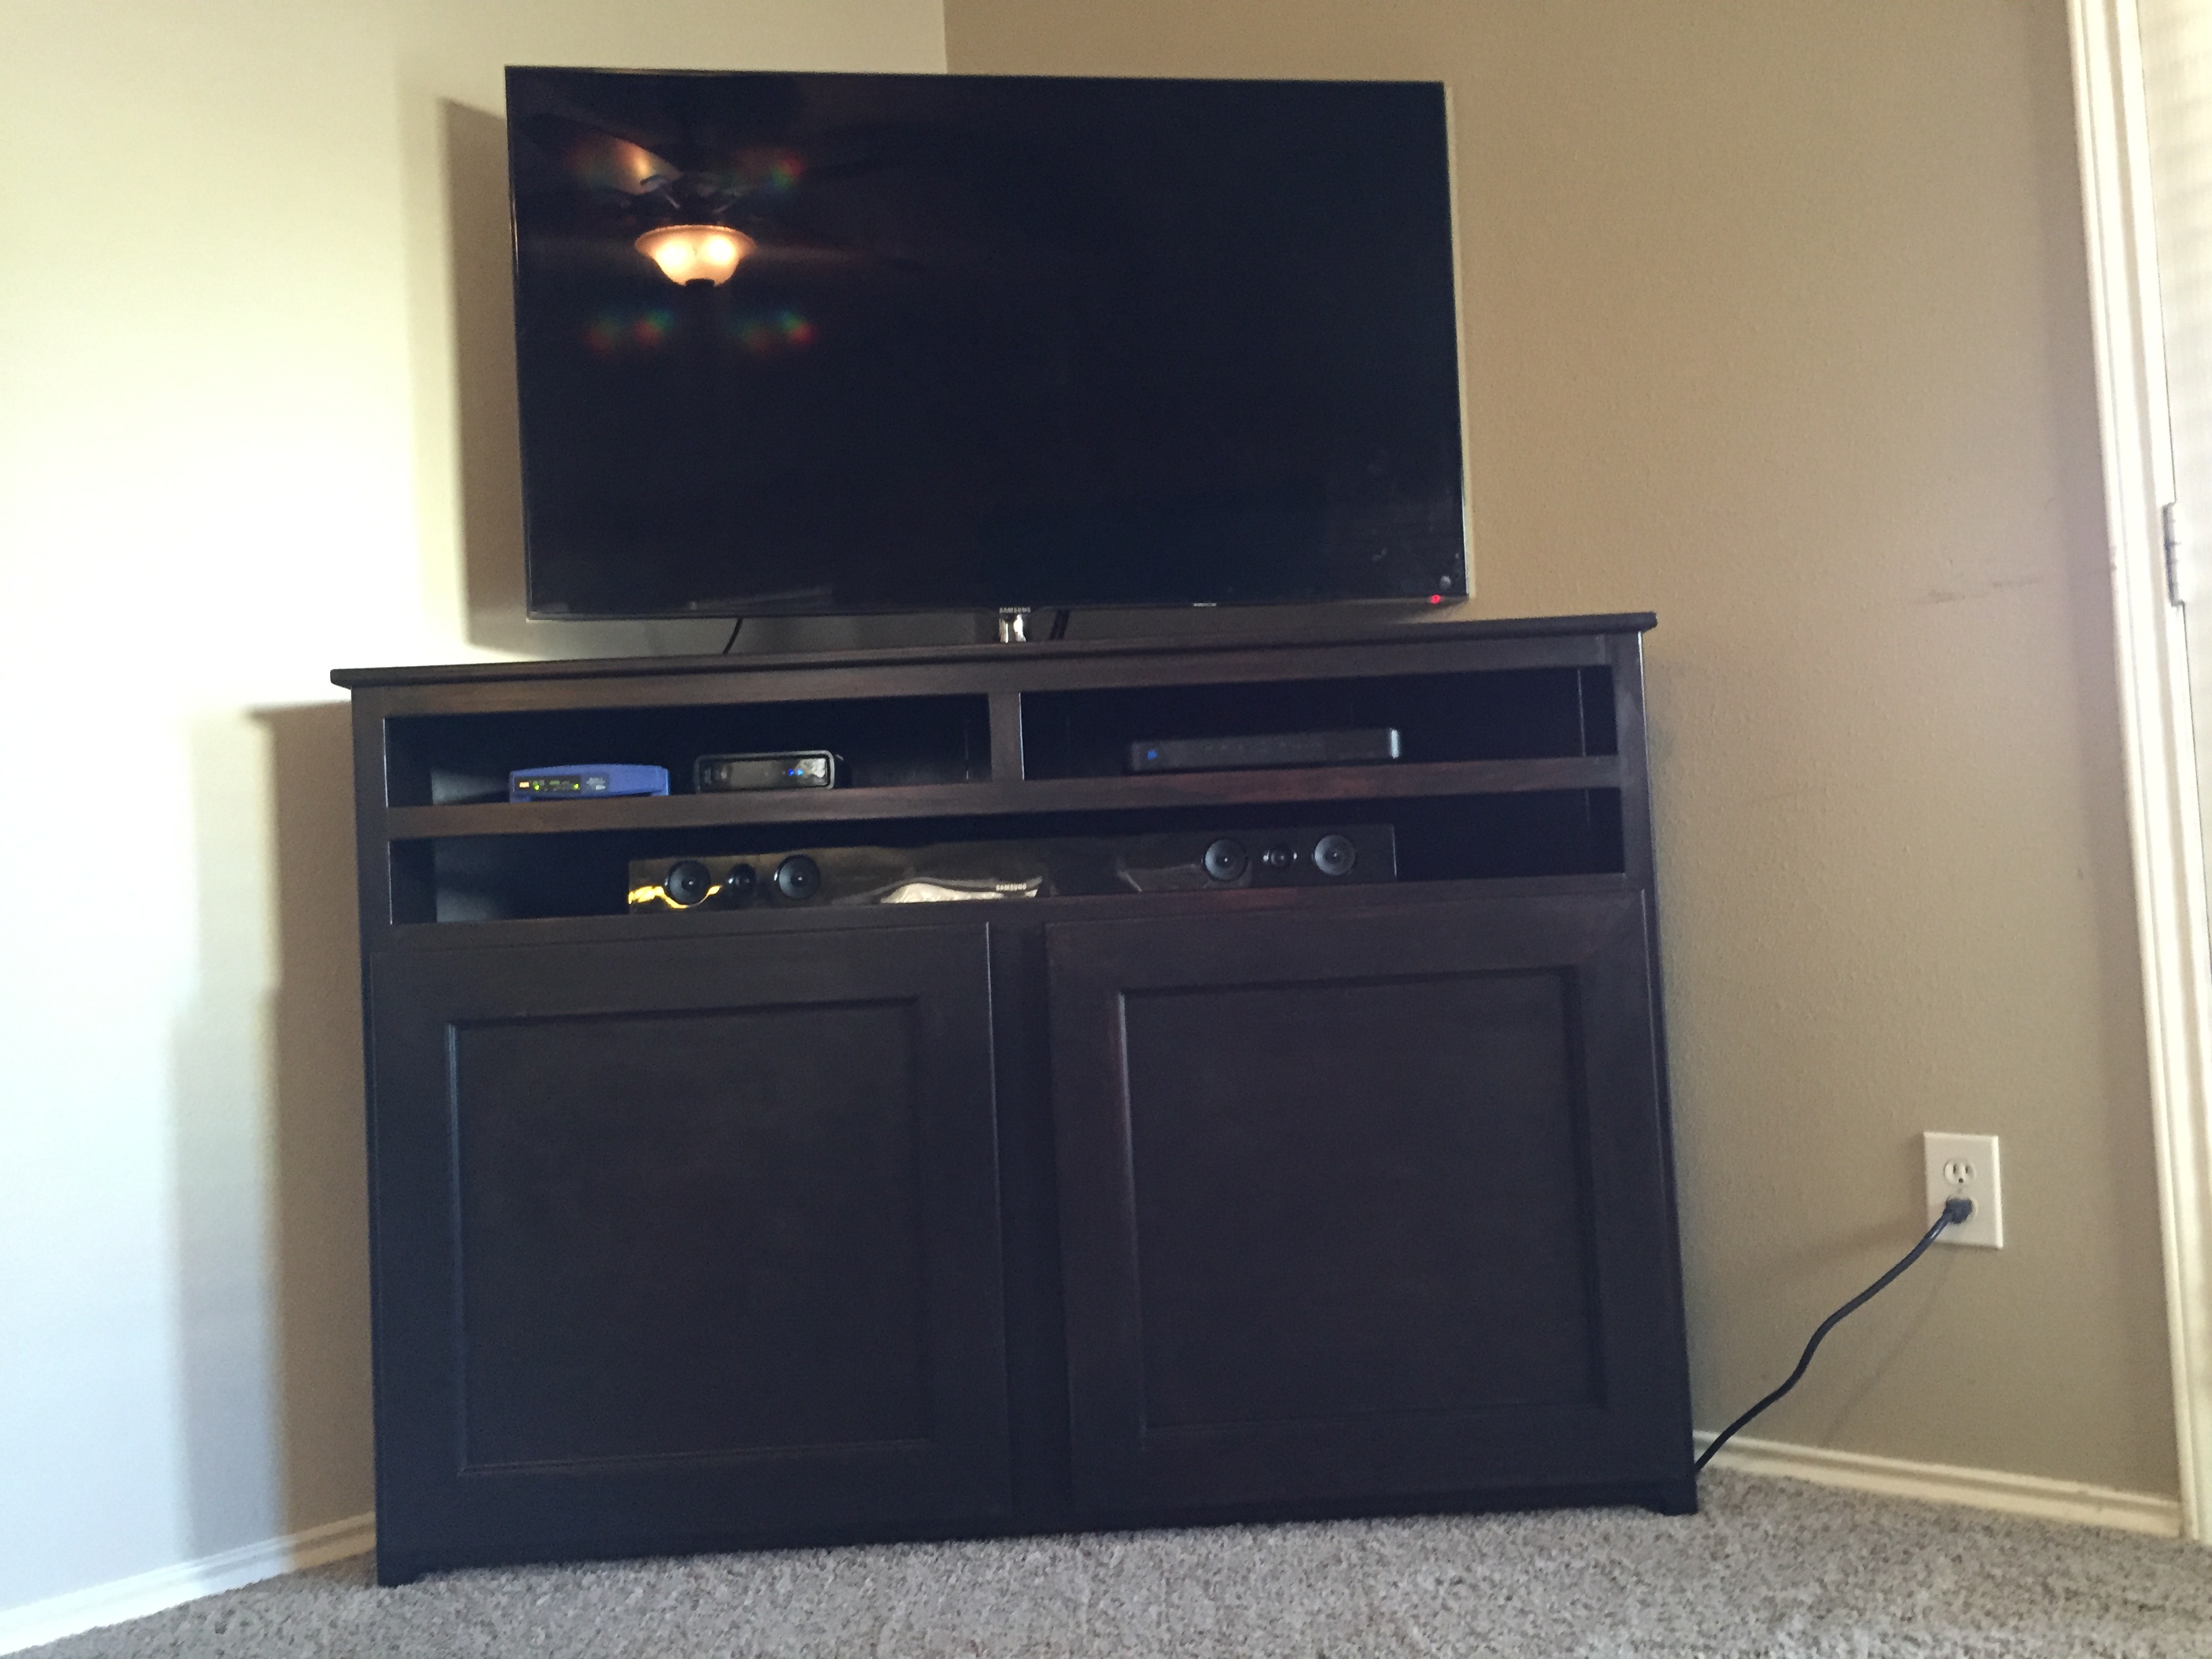
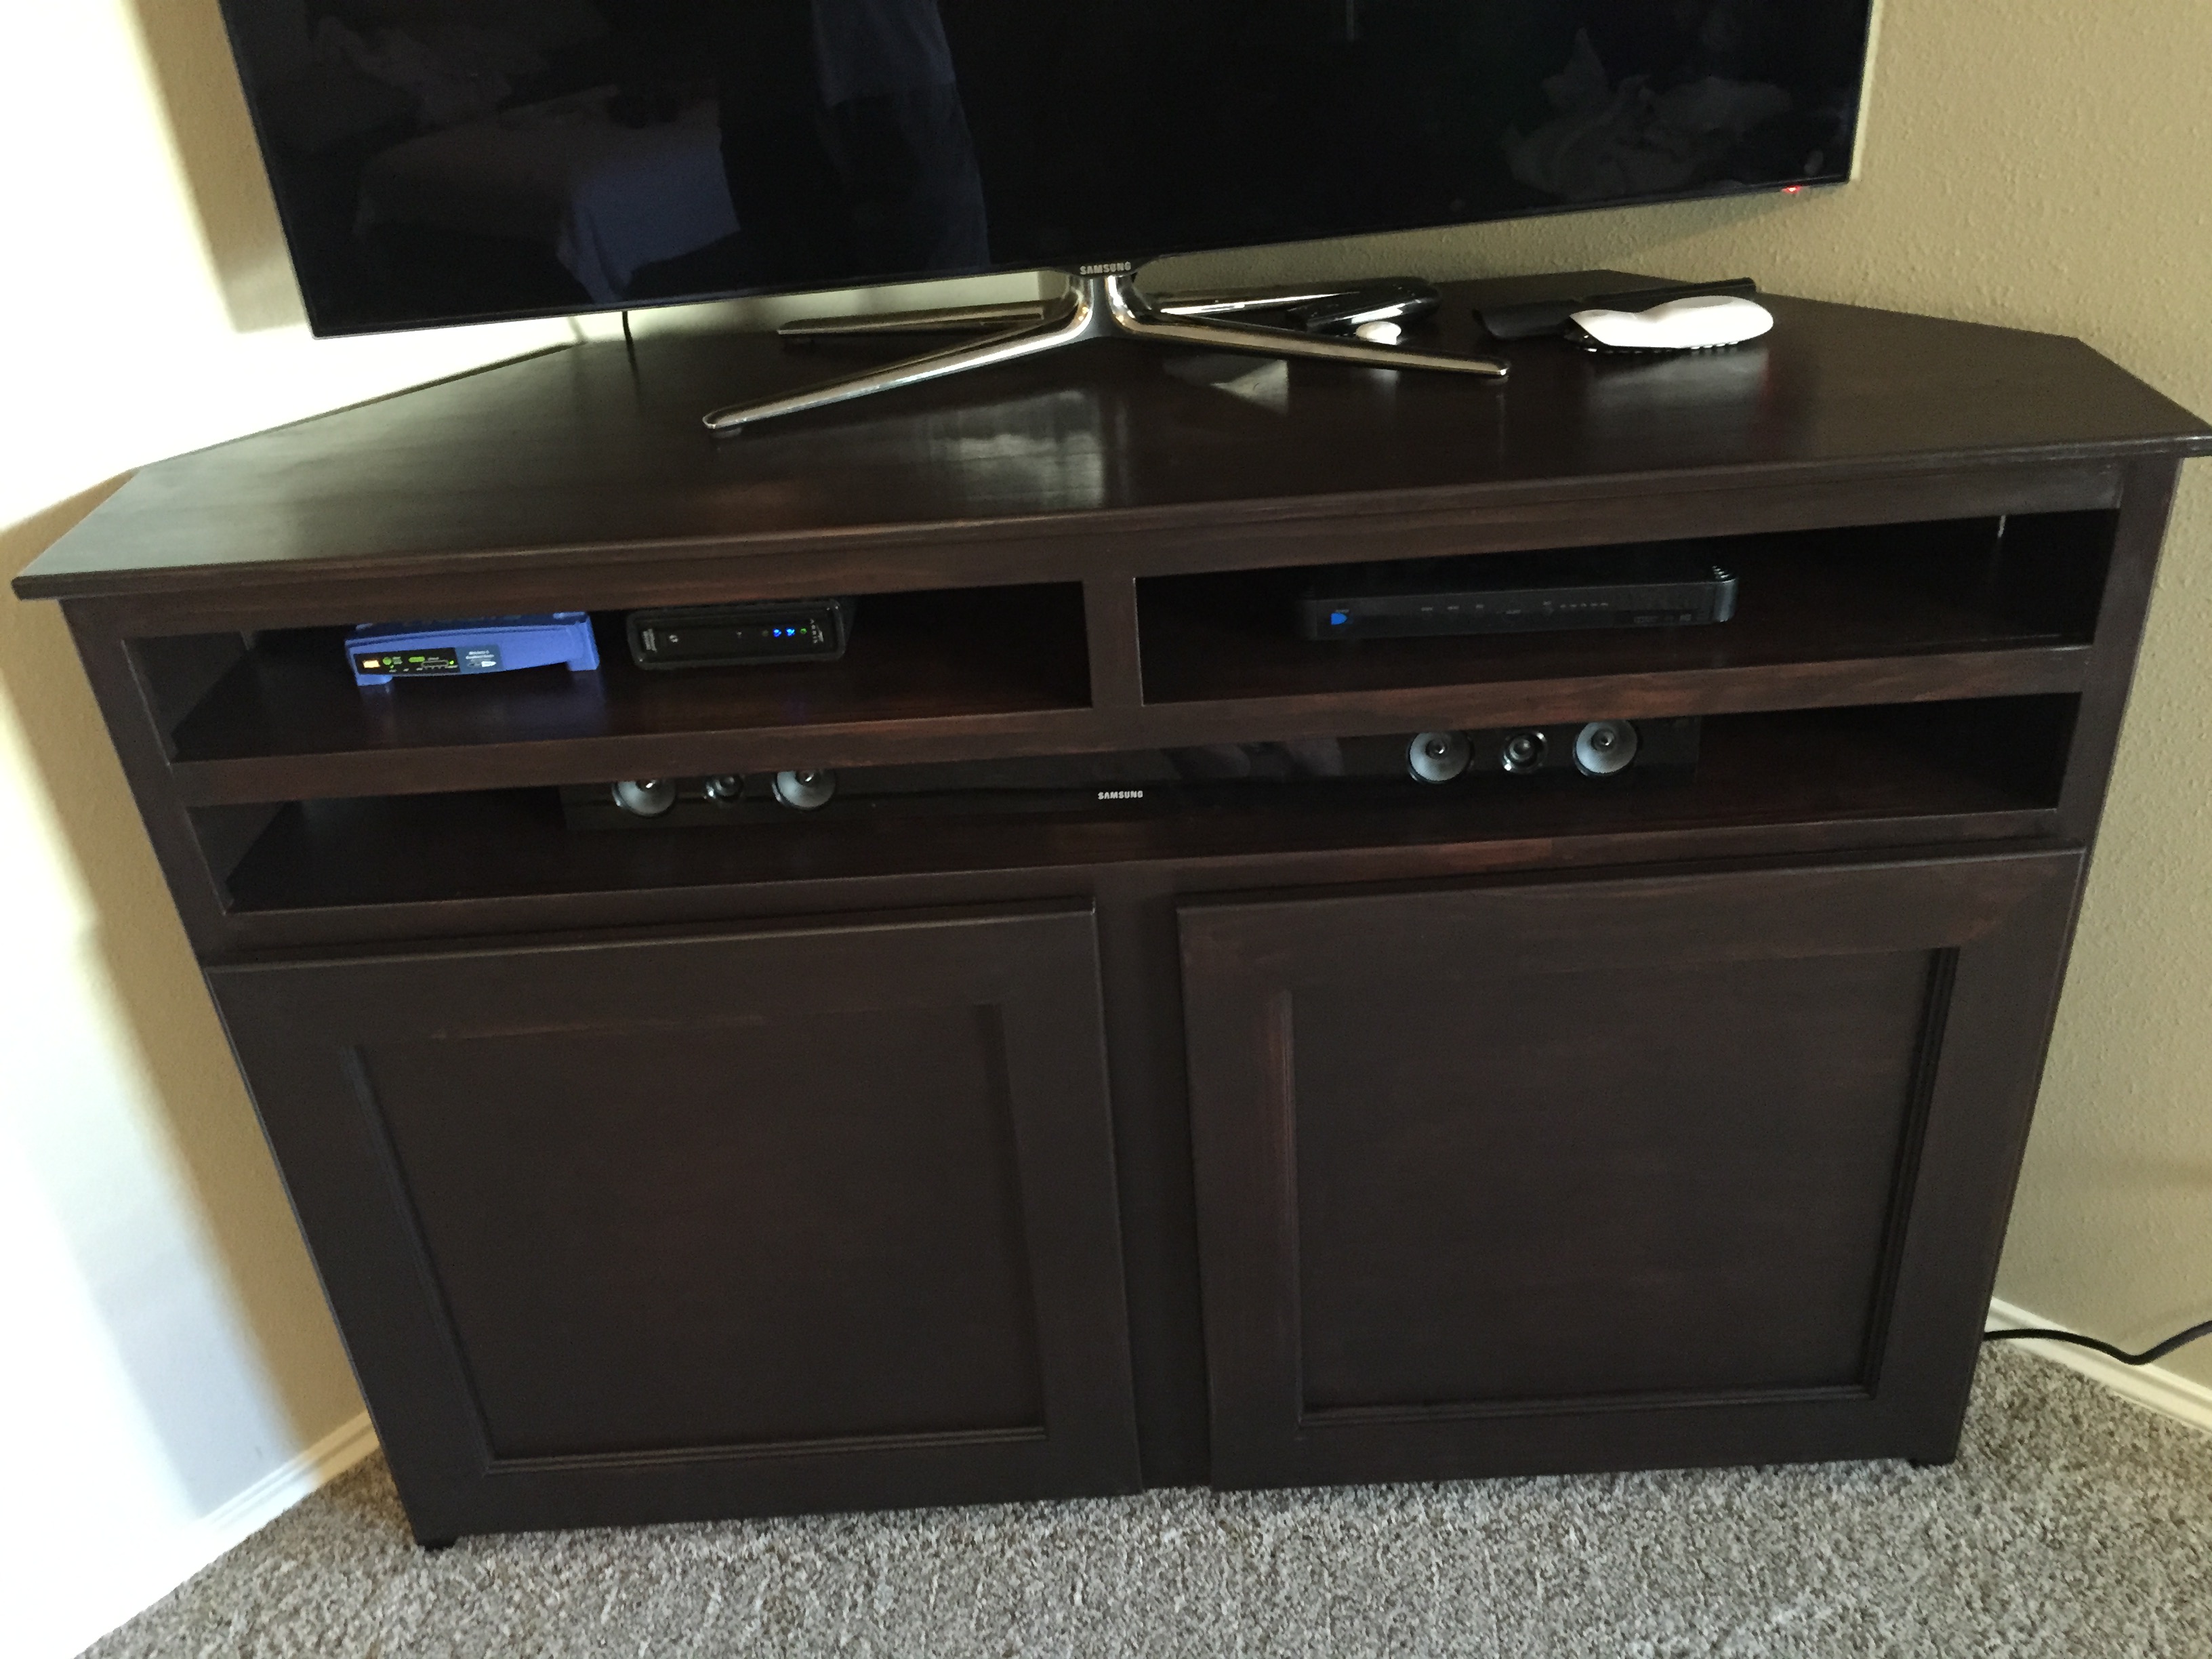
We've searched for a corner TV stand but couldnt find anything we liked. I finally decided to build one.


Comments
Ana White Admin
Tue, 05/31/2022 - 14:34
Very pretty!
Love the color choice, great build!