Community Brag Posts

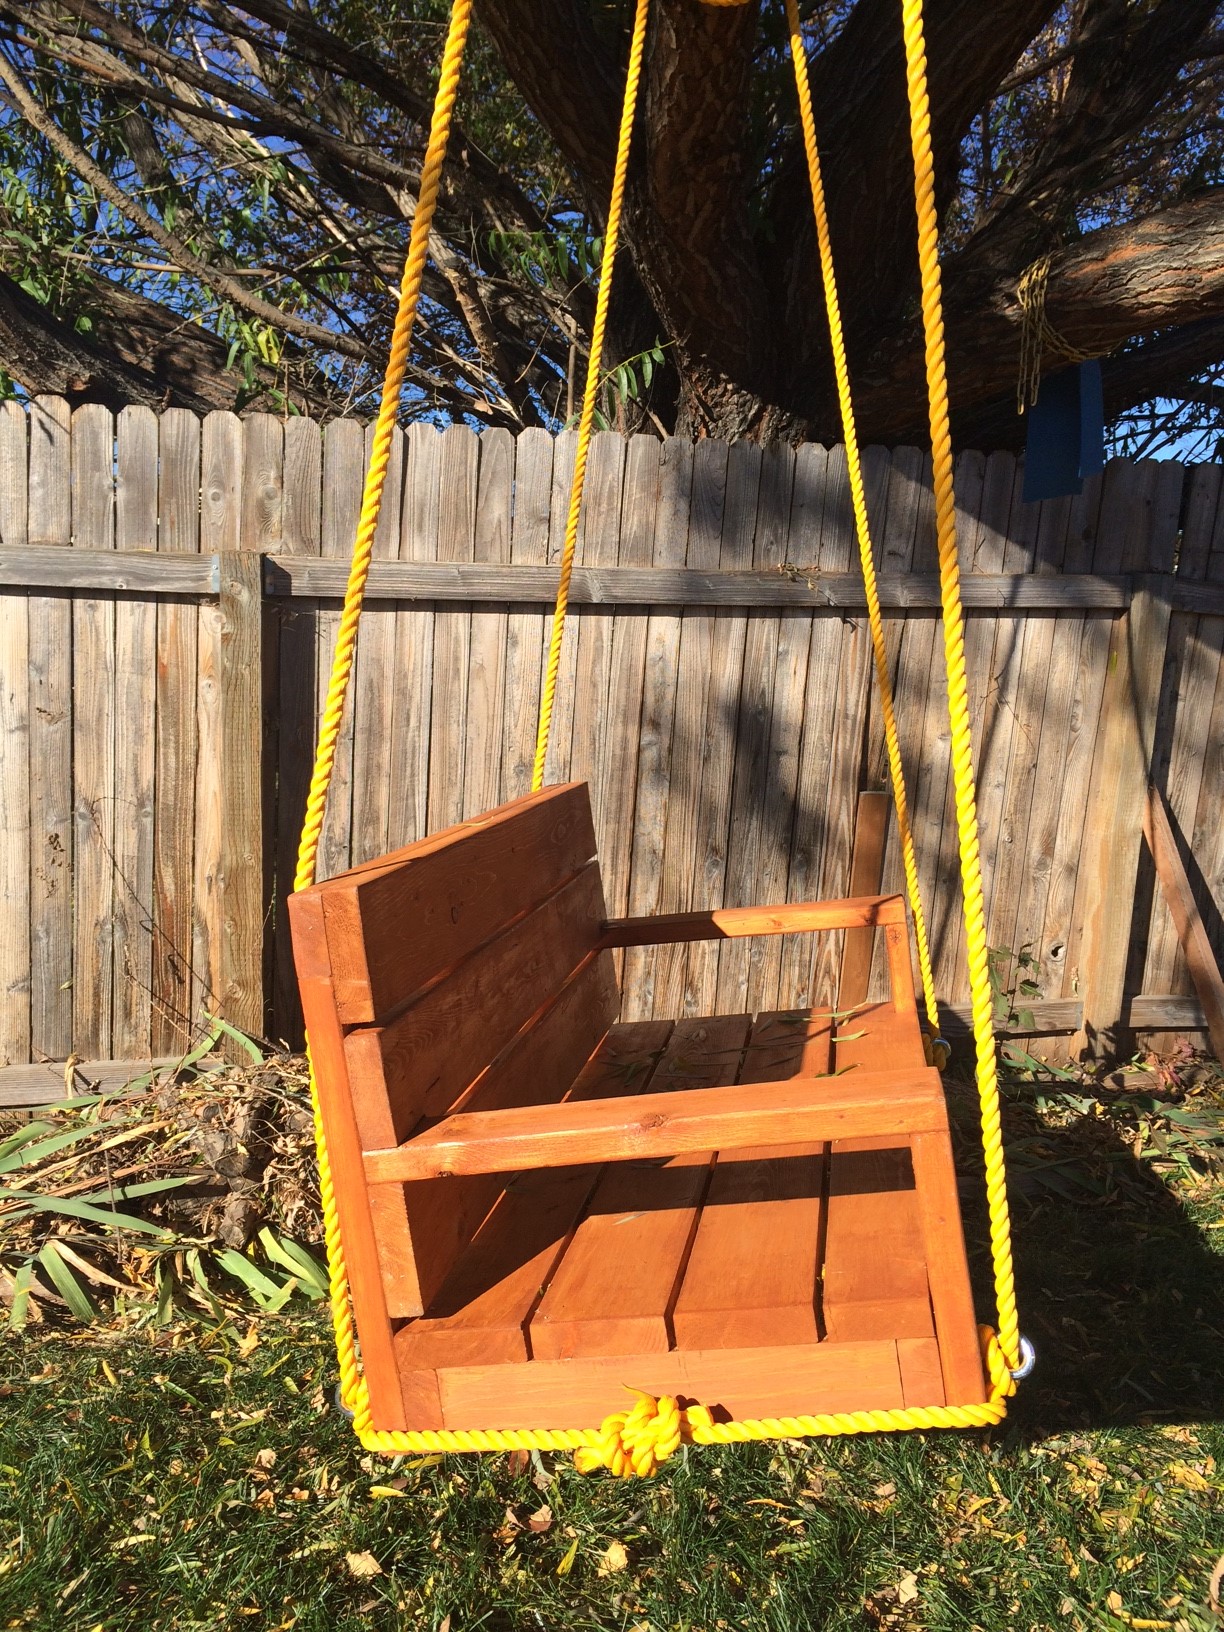
Pallet Reclaim Swing

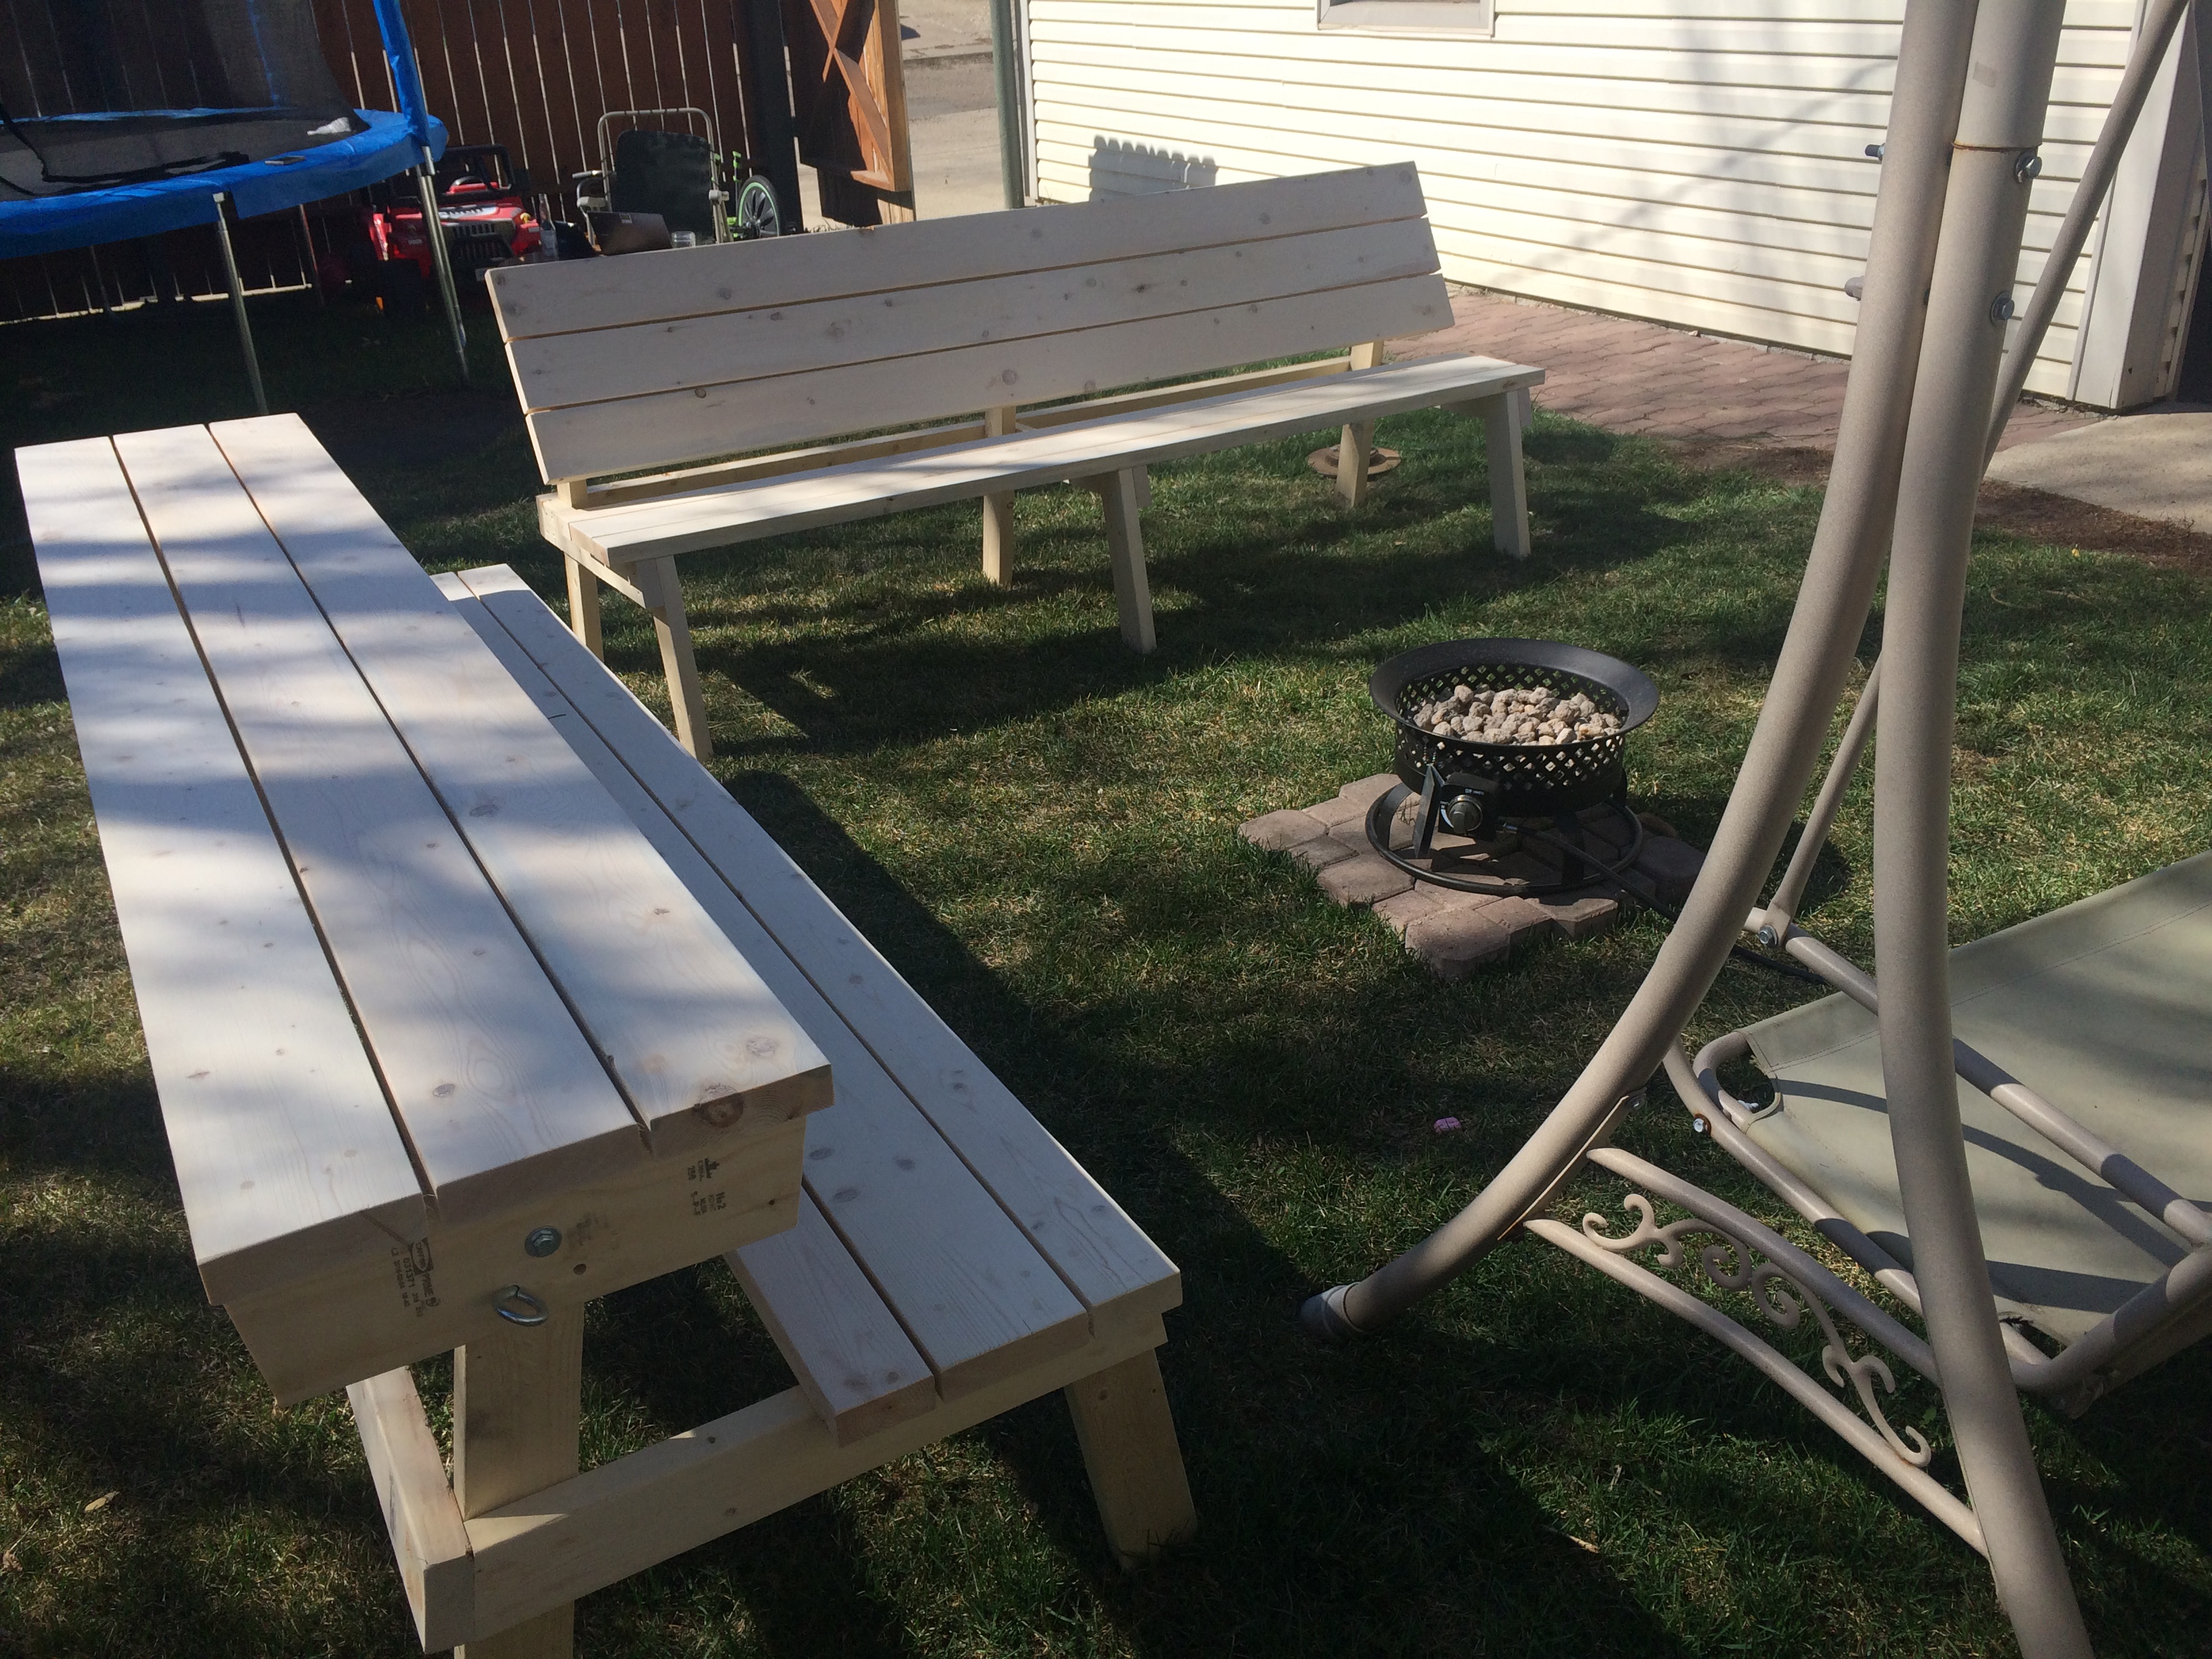
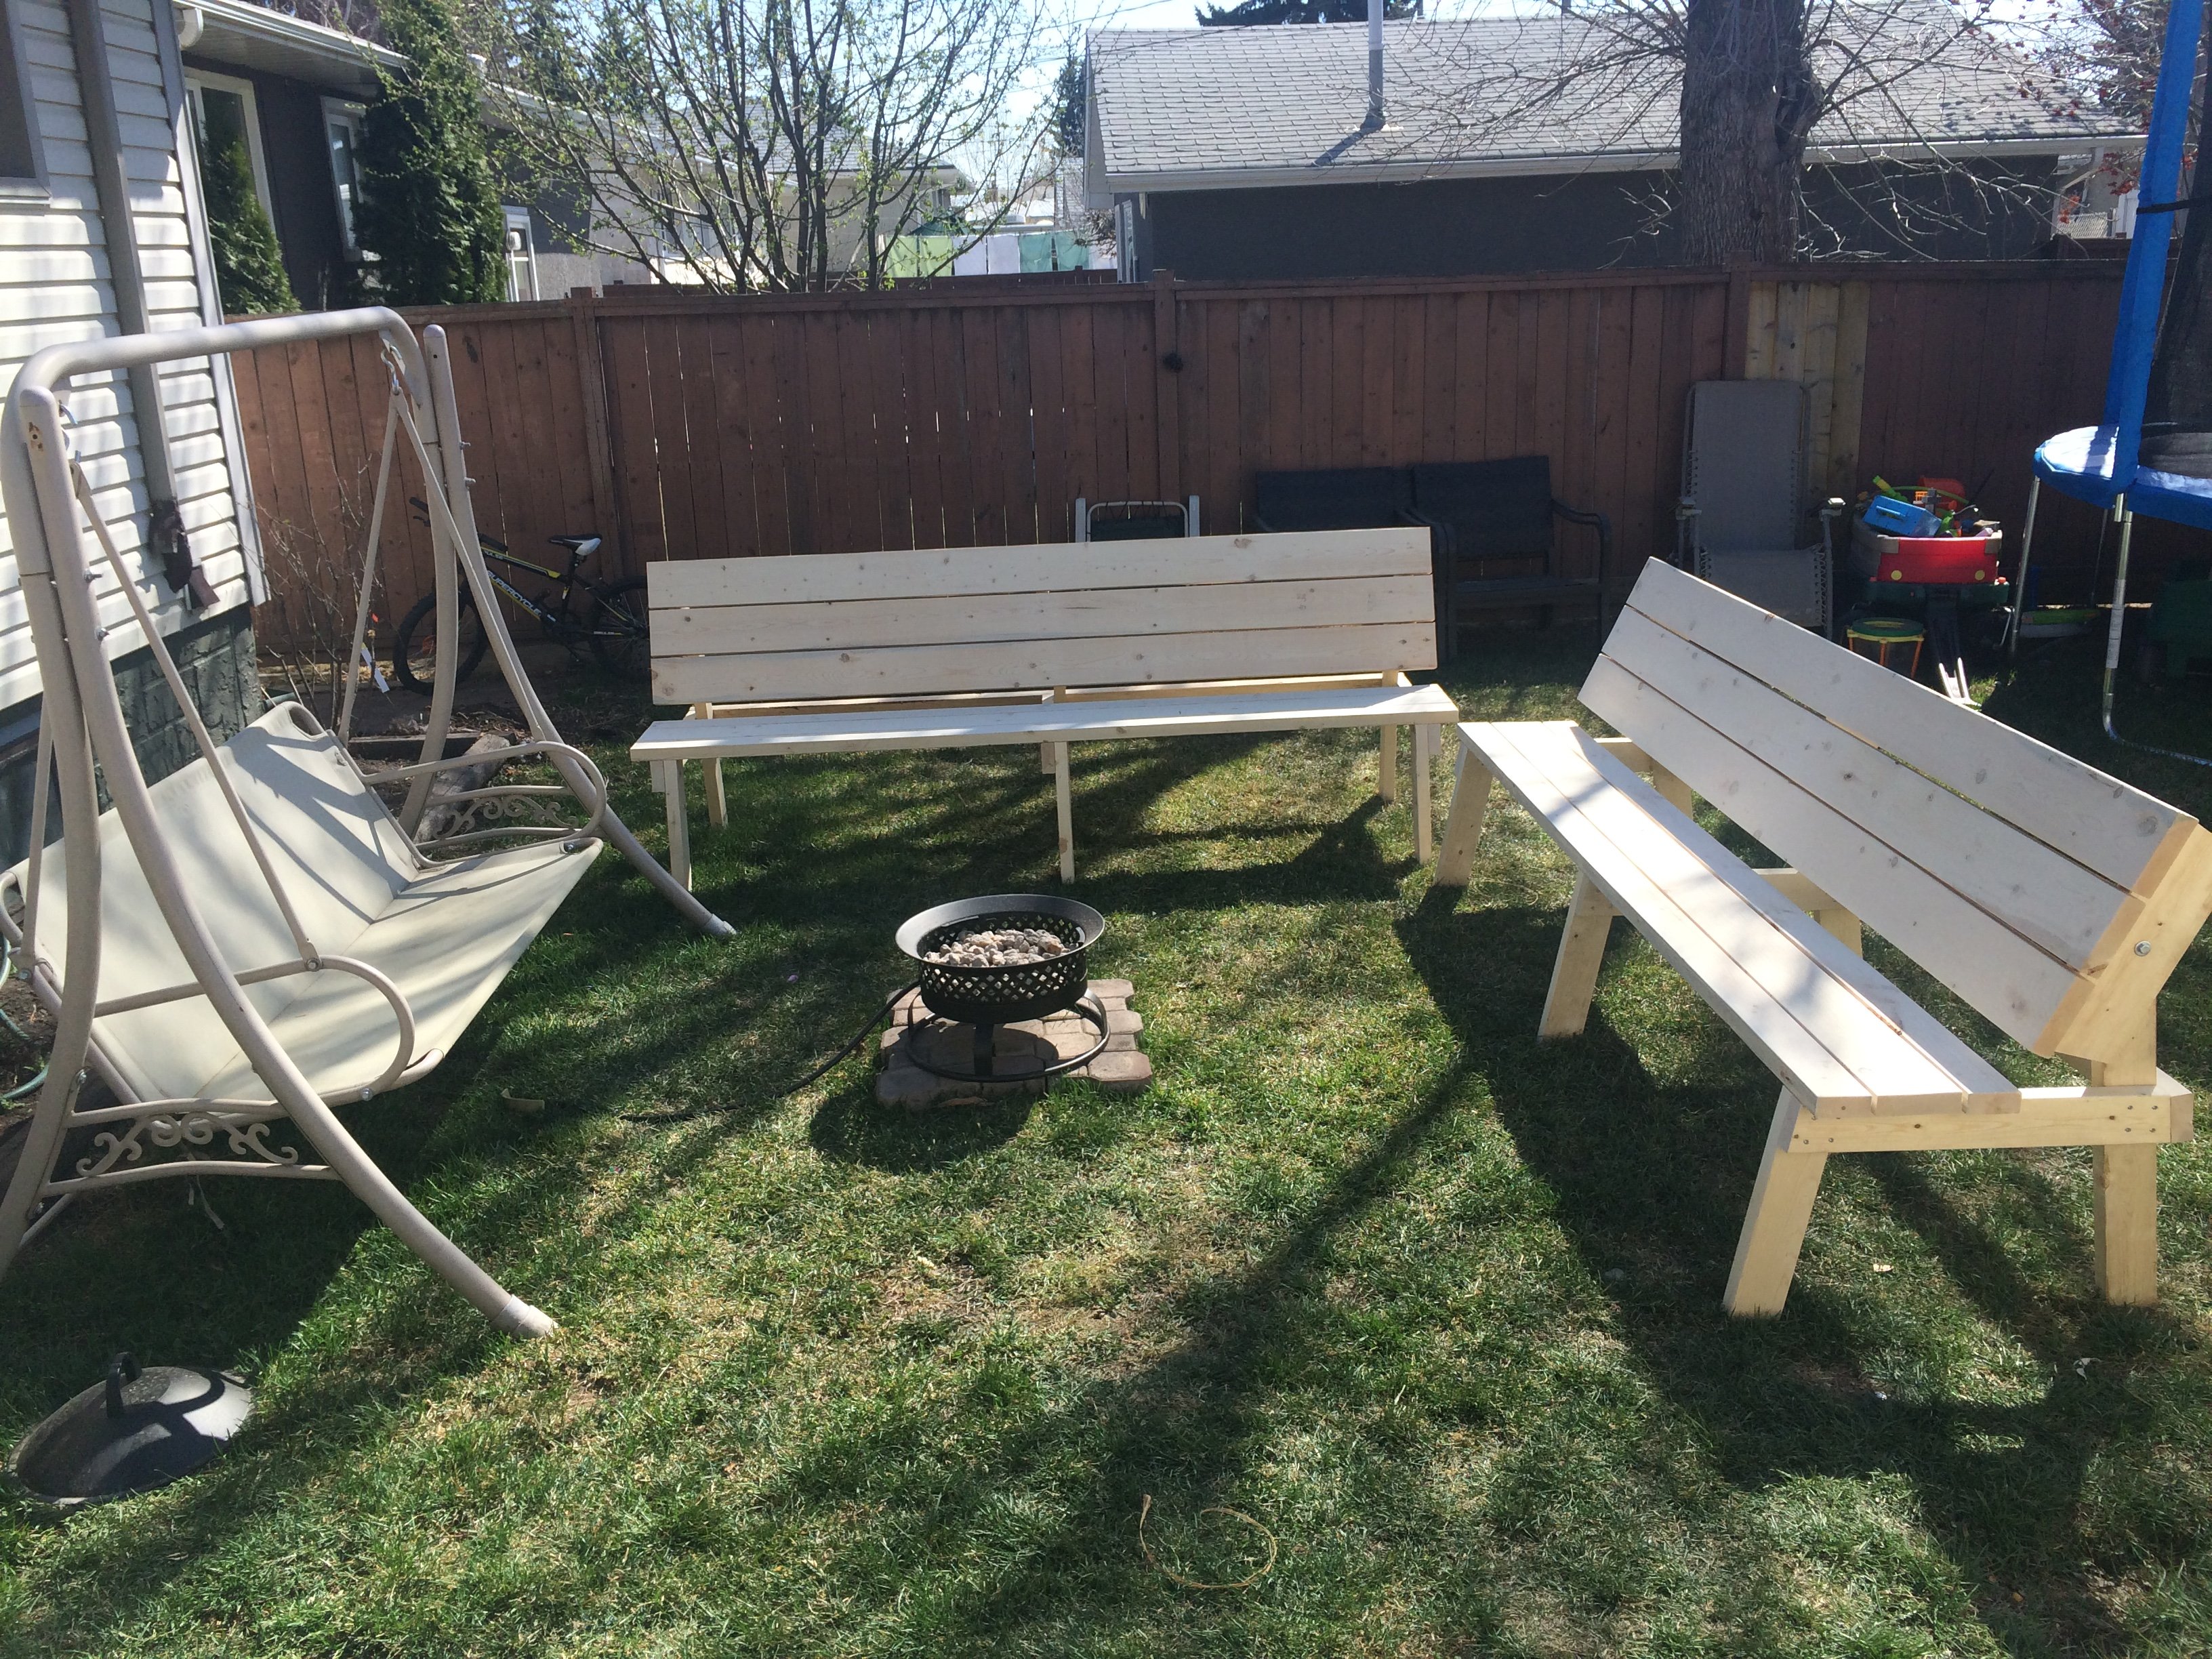
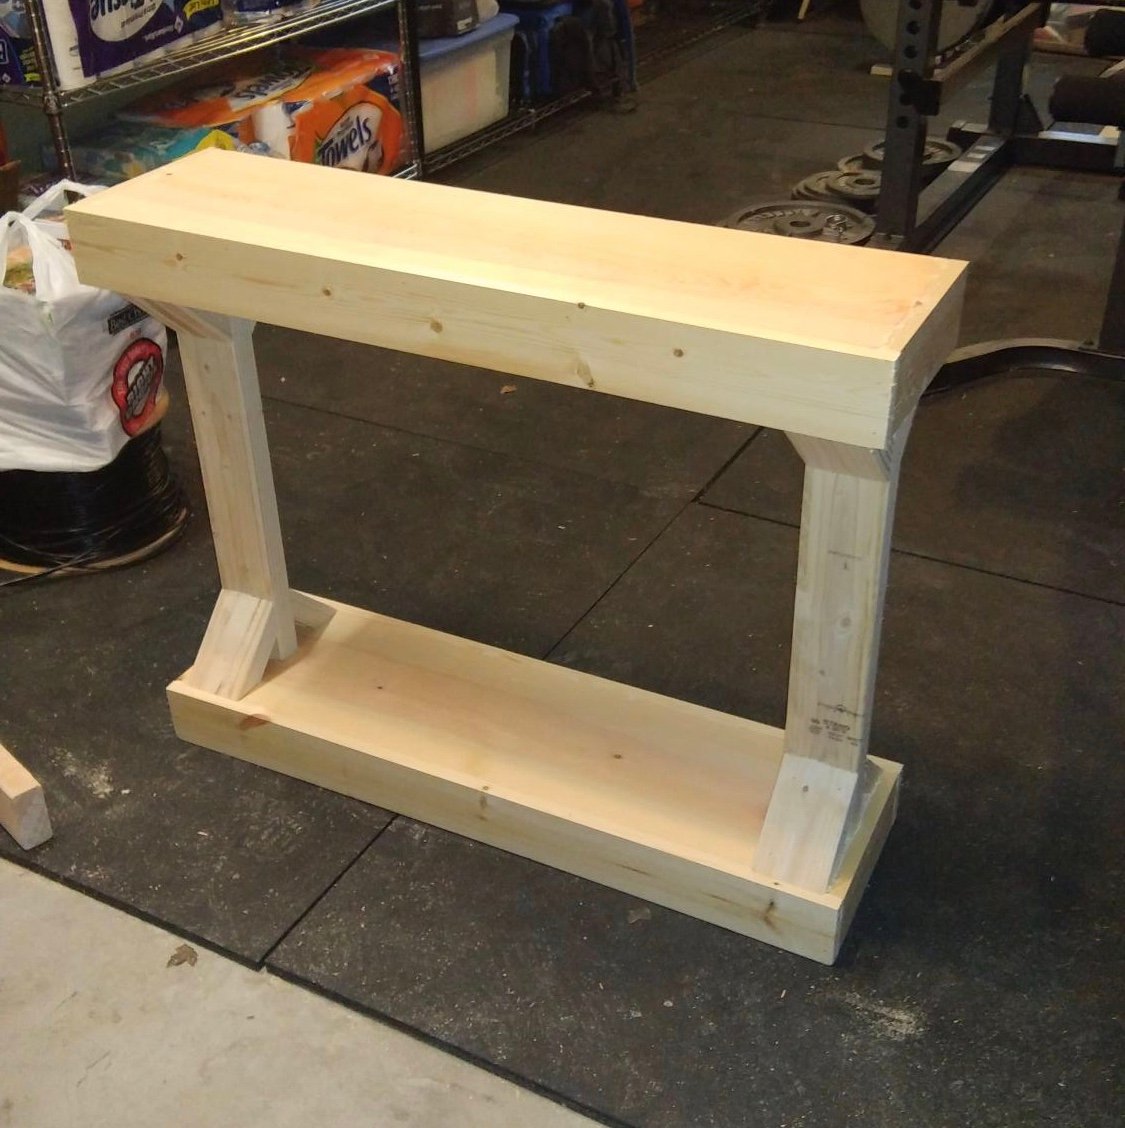
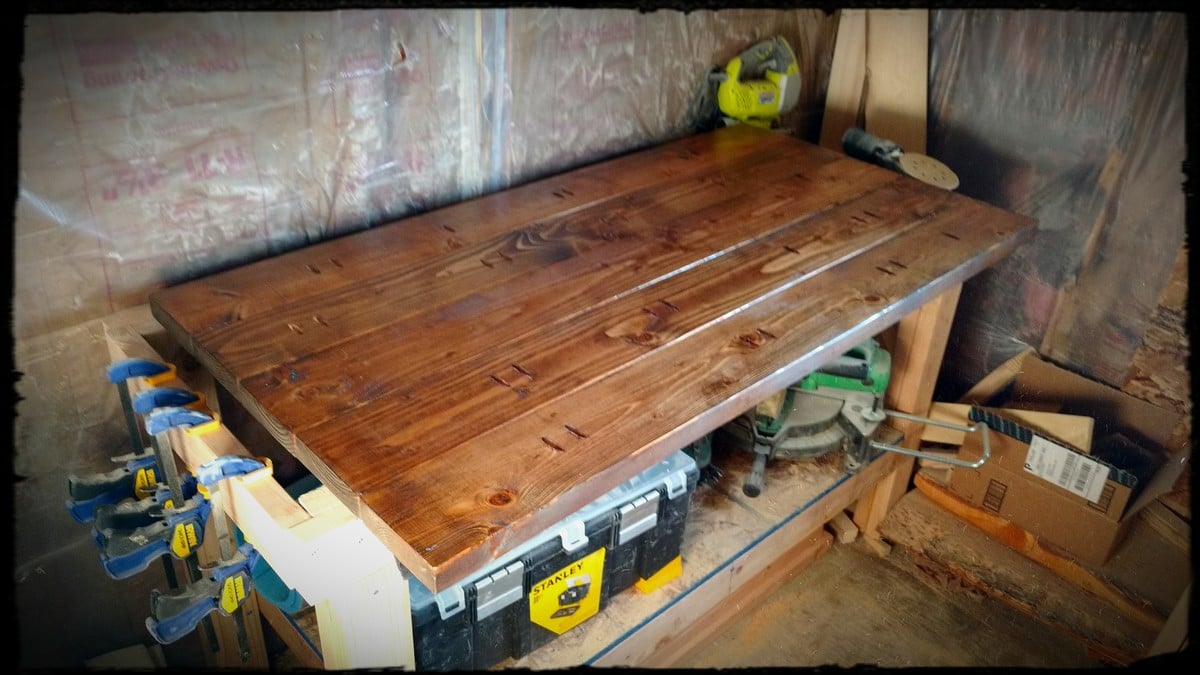
I work for a large manufacturing company that frequently has 'desirable trash'. Found 3 beautiful, heavy-duty pallets with beautiful wood on them. Took them home, took them apart, and got to work. The wife had been wanting a swing out near our children's playset so she could sit and watch them. Used Kreg pocket holes for everything that I could so as to hide as much hardware as possible.

*Side note regarding why I did the rope the way I did - the original post had mentions of it being a bit tipsy (particularly with little ones!). With this design, there's no flip front or back and the rope only gets tighter the more weight that is applied.

Built from Plan(s)
Estimated Cost
Almost free, only had to pay ~$30 for the rope.
Estimated Time Investment
Afternoon Project (3-6 Hours)
Finish Used
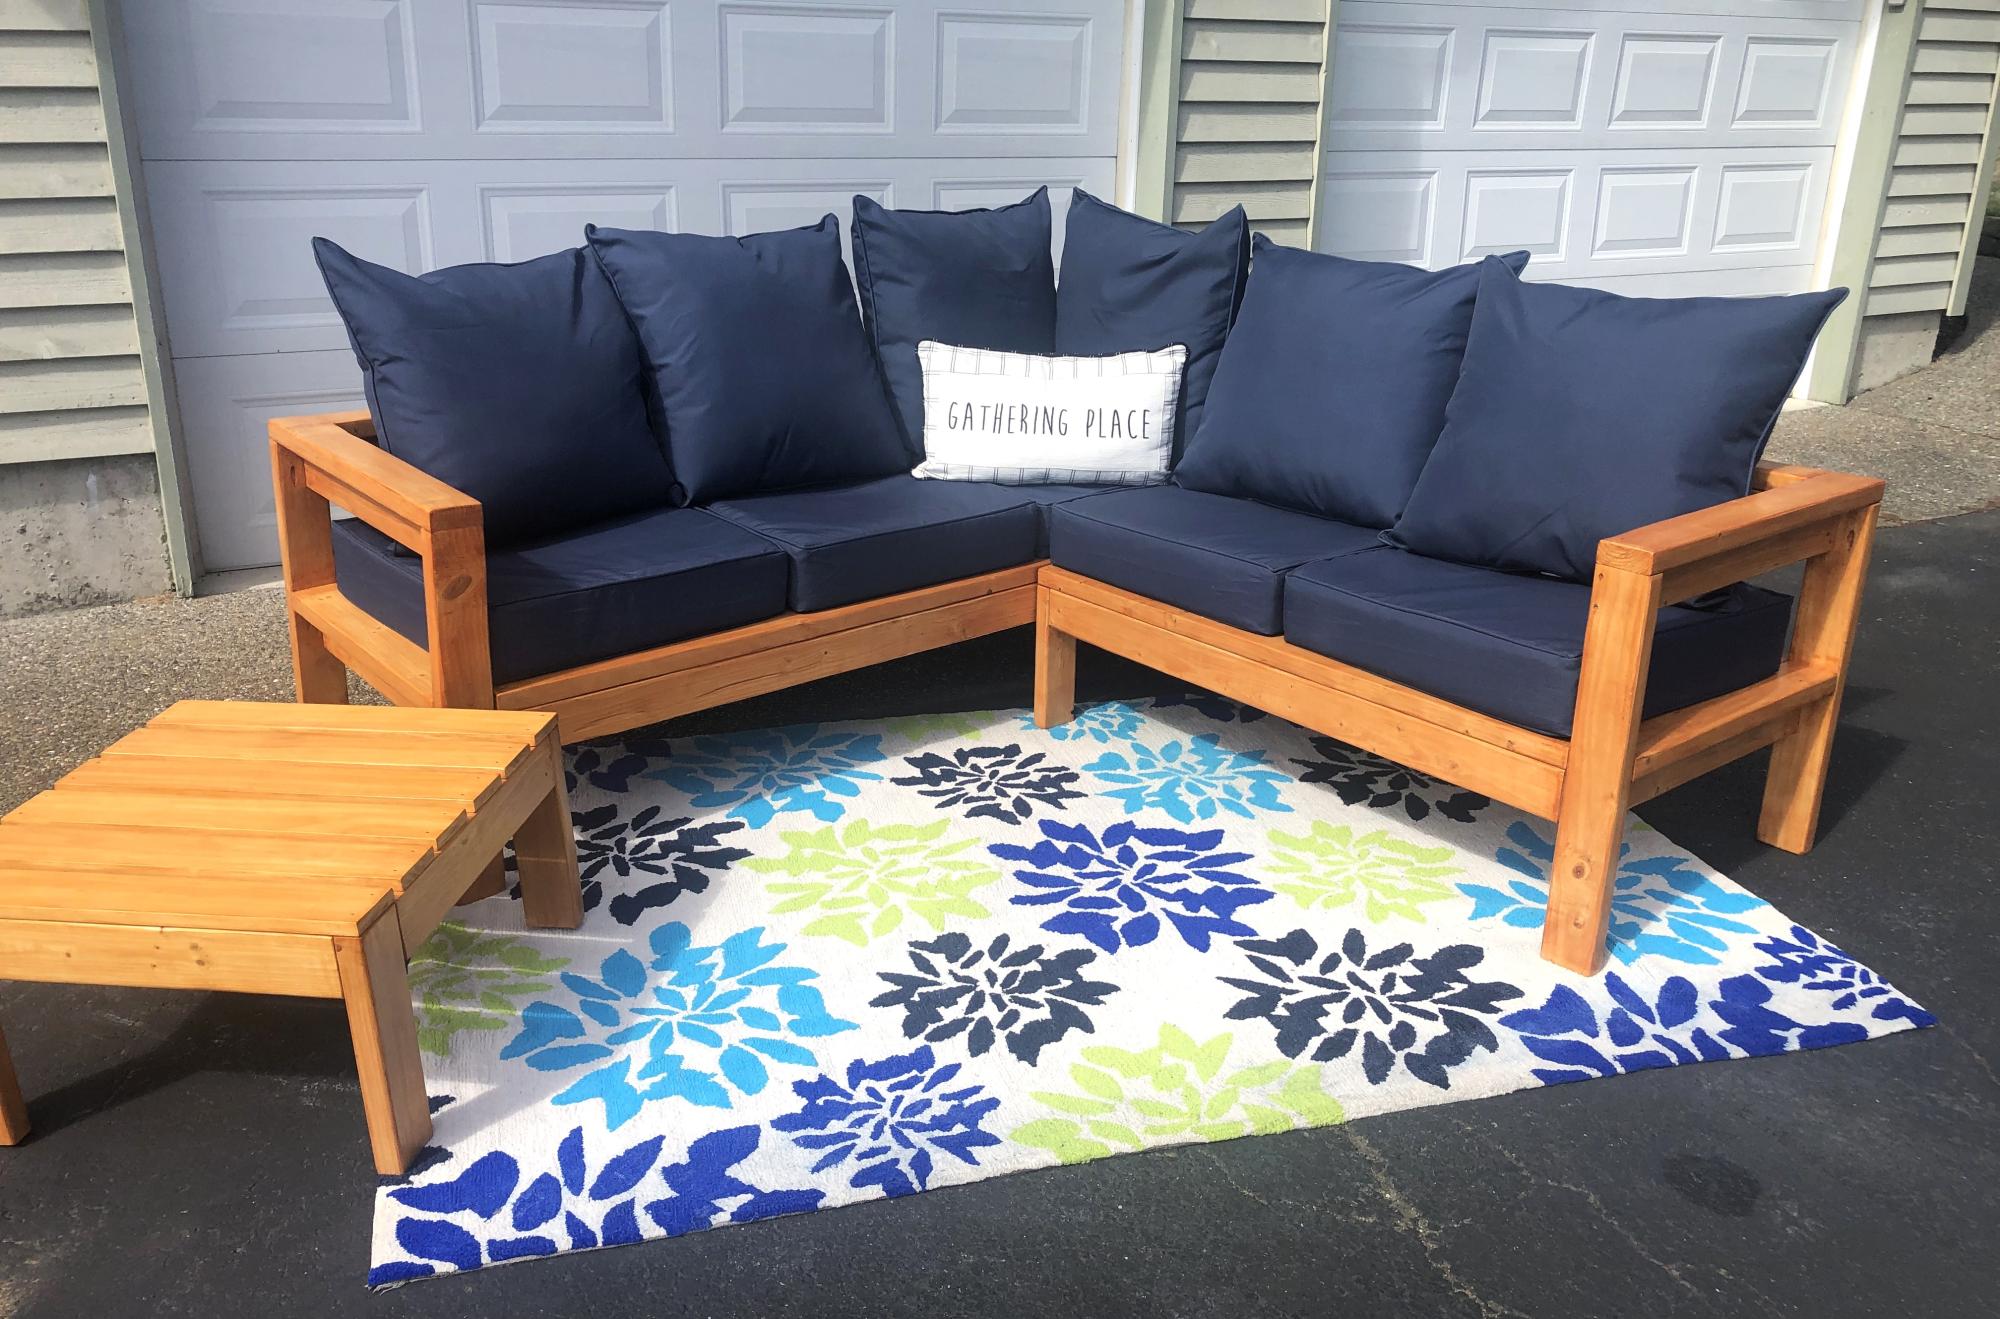
Olympic Cedar Naturaltone Stain, foam brushed on and wiped off with rags.
Recommended Skill Level
Starter Project

Pet feeder

Submitted by Milhouse on Sat, 04/07/2012 - 23:07

I love my cat, and felt she needed a pretty feeding dish. I stole some old spindles from my sister's garage, cut them down and threw this plan together. It was actually harder than I expected because getting into tight little spaces with my drill to drill in the pocket holes was almost imposible. The wood split, nothing is square and the holes for the dishes are messy...but it doesn't really matter, it looks good from a distance and my cat doesn't judge. Not that I know of, anyway.

Estimated Cost
Free - made from scraps
Estimated Time Investment
An Hour or Two (0-2 Hours)
Finish Used
Flat white paint
Recommended Skill Level
Intermediate

Comments

Rustic X Coffee Table

Submitted by dsteinberg on Wed, 01/22/2014 - 09:11

- made directly from the plans
- decorative hardware was spray painted "flat black"
- there are decorative bolts in the legs, they were installed after these pictures were taken.

Built from Plan(s)
Estimated Time Investment
Day Project (6-9 Hours)
Finish Used
- Brushed on black tea
- Brushed on solution of vinegar and steel wool that sat for 72 hours
- Vermont Natural Coatings Wipe on PolyWhey
Recommended Skill Level
Beginner

Large dog table crate

Submitted by Kimly831 on Fri, 04/15/2016 - 14:23

I am so ridiculously proud of myself... This was my first wood building project and now I think I'm addicted !!!! Next project a bookshelf!!

Built from Plan(s)
Estimated Cost
$165
Estimated Time Investment
Weekend Project (10-20 Hours)
Finish Used
Cherry mahogany
Recommended Skill Level
Starter Project

Full-size Farmhouse Bed

Submitted by Anonymous (not verified) on Sat, 12/28/2019 - 17:08

Such a great sturdy bed! Daughter loves it.

Built from Plan(s)
Estimated Cost
208.00 for wood
Finish Used
We primed and painted with BM Alabaster. I then sanded edges and grooves and applied Matte Poly.

FarmHouse Numbered Cubby

Submitted by PA PA B on Mon, 04/09/2012 - 19:19

My first brag post ...Fun to make

Estimated Cost
10.00
Estimated Time Investment
Afternoon Project (3-6 Hours)
Finish Used
barn paint
Recommended Skill Level
Beginner

Custom Bird Cage Stand

Submitted by Mamabear2 on Thu, 01/23/2014 - 10:33

I wanted our bird's cage up higher and on something that the kids wouldn't be able to tip over. So my Husband came up with this. Its car siding. and stained. it has 2 hinged doors and a shelf.

Estimated Time Investment
Weekend Project (10-20 Hours)
Finish Used
I purchased a stain in color of choice and clear coat
Recommended Skill Level
Starter Project

Modified folding table/benches

Loved doing this build, I have been thinking of making these for a while.

Based off of a few of the comments I read, I modified the plans a little bit. Instead of using three 2 x 6s for the benches, I used two 2x4s with one 2 x 6 in the centre. Shortened up the bench support length by 3" to make up for the difference. This allowed for a smaller seat, which is easier to get in and out of when in table mode, but still plenty to sit on when used as a bench.

I am trying to come up with an alternate system for pinning the table in each position. I have found that after only a few uses, the table has some wiggle in the top, most likely from the bolts going in and out repeatedly. I would love some ideas on how to get these to hold nice and snug when in each position!

I posted a few pictures of these on my Facebook page, where I now have been asked how much I am selling them for and have about 3 orders already placed! Looks like the spring will be busier than expected!

Estimated Cost
For the two, 8 foot benches, about $80 for the lumber, and $10 bucks for the hardware. So totaled at about $90.00 Canadian for the 2, prior to any staining.
Estimated Time Investment
Afternoon Project (3-6 Hours)
Recommended Skill Level
Beginner

My version kids play grillKids wood play grill

As in a lot of plans I made them to fit my needs. This one was no different. I love Anna and her site. Sometimes things are not always clear. With simple knowledge you can solve most of the problems. I made this version for my 5 year old niece for Christmas. I decided to use 1x12 in place of the plywood . It was easier  to work with and made it much stronger With the solid wood I think I lost 1/4 inch in height. I also had extra 1x3 boards I used them for bottom shelf. For the dials I used what I had. I used my hole saw and filled in center with filler. It was cheaper than buying a dowel. I think it is easier to mount the shelf before you put the sides on. Top grill I stayed with 1x2 I thought it looked much vetter that 1x4 board. I finished it off with castors I think that put the icing on the cate and made it even better. She loved it.

Built from Plan(s)
Estimated Cost
$70
Estimated Time Investment
Weekend Project (10-20 Hours)
Finish Used
Satin Spray paint
Recommended Skill Level
Intermediate

Wide Cabin Dresser

Submitted by Amynikkel on Sun, 01/26/2014 - 20:03

Wide cabin dresser from pine, charcoal grey wood stain, soft-close drawer slides, and turquoise hardware.

Recommended Skill Level
Beginner

Comments

Ladybug chair

Submitted by Anonymous (not verified) on Thu, 04/21/2016 - 03:18

This was a true joy to build. I plan on making at least three to four more of these. Couple tips I learned though: I used pocket hole screw where I could to prevent drilling so many holes that would need to be filled: Ft board, Rear boards, and a couple others. Also I routed the edge of the very front board where the child's legs will be dangling from, as well as the inside/outside edges of the arm rests. Smoother the better I thought with little kids. Lastly, I painted all the boards and then put it together as recommended. However, I would go through the plans and only paint the surfaces that you know will either touch and will be difficult to get to or sides that won't be drilled out; unless you don't plan on filling the holes and painting over them. It will save you paint and time if you plan out what sides of what boards you'll paint first than doing them all at once.

Built from Plan(s)
Estimated Cost
~$35
Estimated Time Investment
Weekend Project (10-20 Hours)
Finish Used
Exterior latex paint
Recommended Skill Level
Intermediate

Stove Top Cover to Increase Counter Space

Submitted by Anonymous (not verified) on Mon, 09/11/2023 - 12:35

A honey do project to increase our countertop space in our kitchen, for family gatherings. The cherry wood stove cover was created with wood I had milled from our property.

Mark Gilles

Shoe Dresser - First Project!

Submitted by mashhawkes on Sun, 04/15/2012 - 13:33

I know that Ana says not to do this as your first project but I couldn't help myself! We needed shoe storage BAD!! This project was not bad but did take my husband and I about 3 weeks to build. It had nothing to do with the difficulty just scheduling conflicts. We needed somewhere to house all of my husbands shoes and something that would not take up much space because the only spot we had to put it in our bedroom was between the bathroom door and my husbands closet door. We used Ana's plan for the shoe dresser but did had to modify it to fit the 44" spot we had to work with. The 1x8's that we used were only 7 1/4 instead of 7 1/2 but my husbands size 12 shoes fit without a problem! I can't wait to start our next project! Thanks Ana!

Built from Plan(s)
Estimated Time Investment
Week Long Project (20 Hours or More)
Finish Used
English Chestnut stain with 3 coats of antique white. Distressed by hand using 220 grit sandpaper and then covered with 3 coats of satin polyurethane.
Recommended Skill Level
Intermediate

Spice Rack (Built-In)

Submitted by bhammond on Tue, 01/28/2014 - 21:00

I followed the spice rack plans but put this right inside my wall and added a face frame. I love the detail in the carved wood!

Built from Plan(s)
Estimated Cost
$10
Finish Used
White paint and white caulk in cracks. The detailed carved wood was bought from Home Depot.
Recommended Skill Level
Starter Project

Rustic X coffee table

Submitted by Malka on Tue, 04/26/2016 - 01:39

This was my 4th build, and only took a few weekends to do, working on it a few hours at a time each day. Pretty easy, though I didn't include the X braces on the sides due to miscutting them (just got the angles backwards). I used Minwax Provincial and Minwax polyurethane. Excuse the mess in the photos.

Built from Plan(s)
Estimated Cost
$80
Estimated Time Investment
Weekend Project (10-20 Hours)
Finish Used
Minwax Provincial and Minwax Polyurethane
Recommended Skill Level
Beginner

Window Bench for Our New Study

Submitted by Anonymous (not verified) on Fri, 01/17/2020 - 13:20

Ana White, you inspired me! My husband bought me a miter saw for Christmas but I was too afraid to use it for all of my woodworking dreams...and then I found your blog!

I am a mother of six young kids but I watched your videos over and over and I reworked your plans to fit our little build-out and voila! We are beyond thrilled with the results! We have a new bed for overnight guests and a great reading nook for 2-3 people at a time!

Thank you for empowering women in the BEST way. My husband was there to help me with the heavy lifting and to cheer me on when I needed it. But if I hadn’t found you, I’m not sure I would have tackled it in the first place. Thank you and God bless your family!!

Built from Plan(s)
Estimated Cost
$300
Estimated Time Investment
Week Long Project (20 Hours or More)
Finish Used
I ordered drawer slides and the unique drawer pulls from Amazon. The finish is Behr Swiss Coffee to match the window trim. I followed Ana’s instructions to the “T” when installing the drawer slides.
Recommended Skill Level
Beginner

Comments

marti2629

Sat, 03/14/2020 - 14:11

We are building a bed for my son with drawers. Would you mind giving the dimensions of the drawers you mad? Thank you

Extra Large Chalkboard Sign

Submitted by Anonymous (not verified) on Fri, 09/15/2023 - 08:30

Extra large chalk board for church coffee shop. Made from plywood 90 x 40 (cut by Home Depot), chalk board paint, pine boards for frame. Used stencils for most lettering. The board on right is attached with Velcro strips so it’s removable so that I can change out every season. Super easy to build.

Sheri Robertson

Back