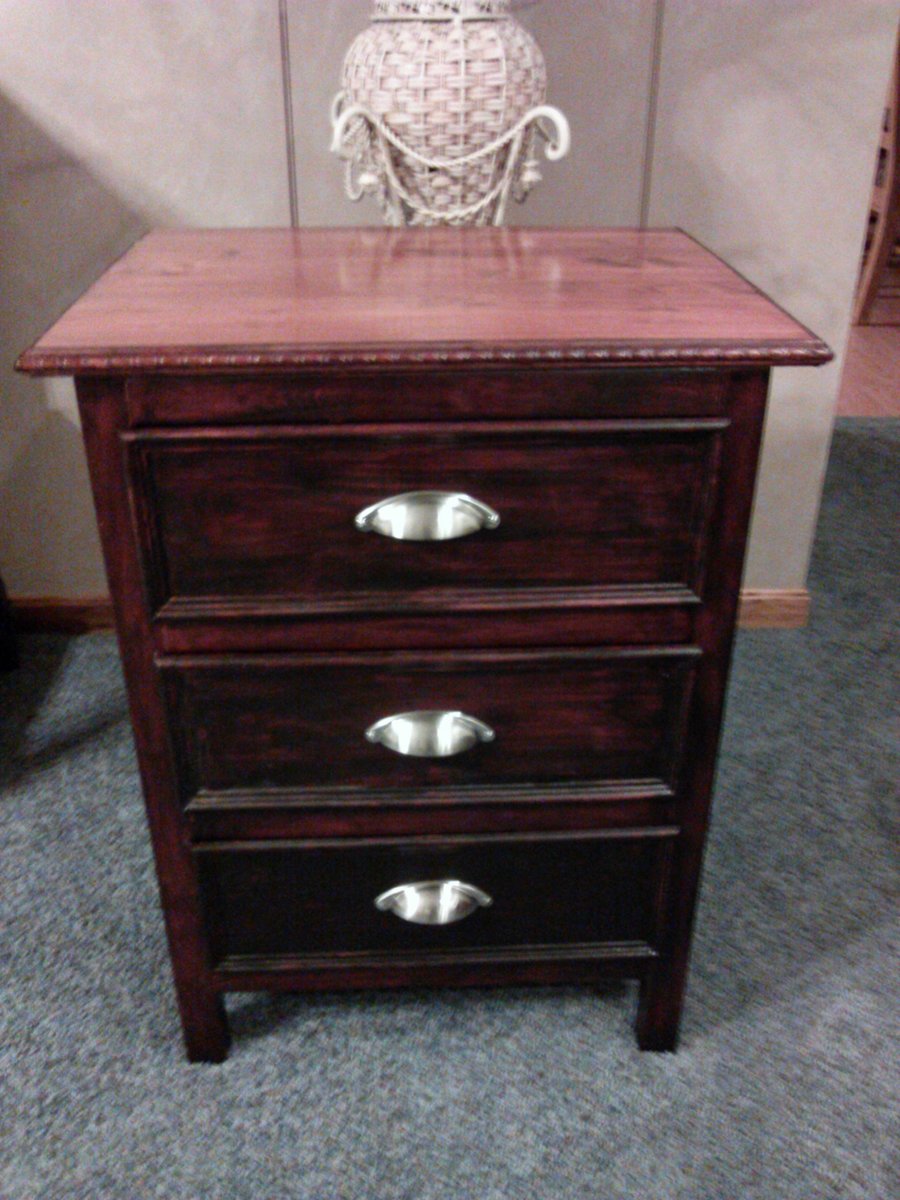
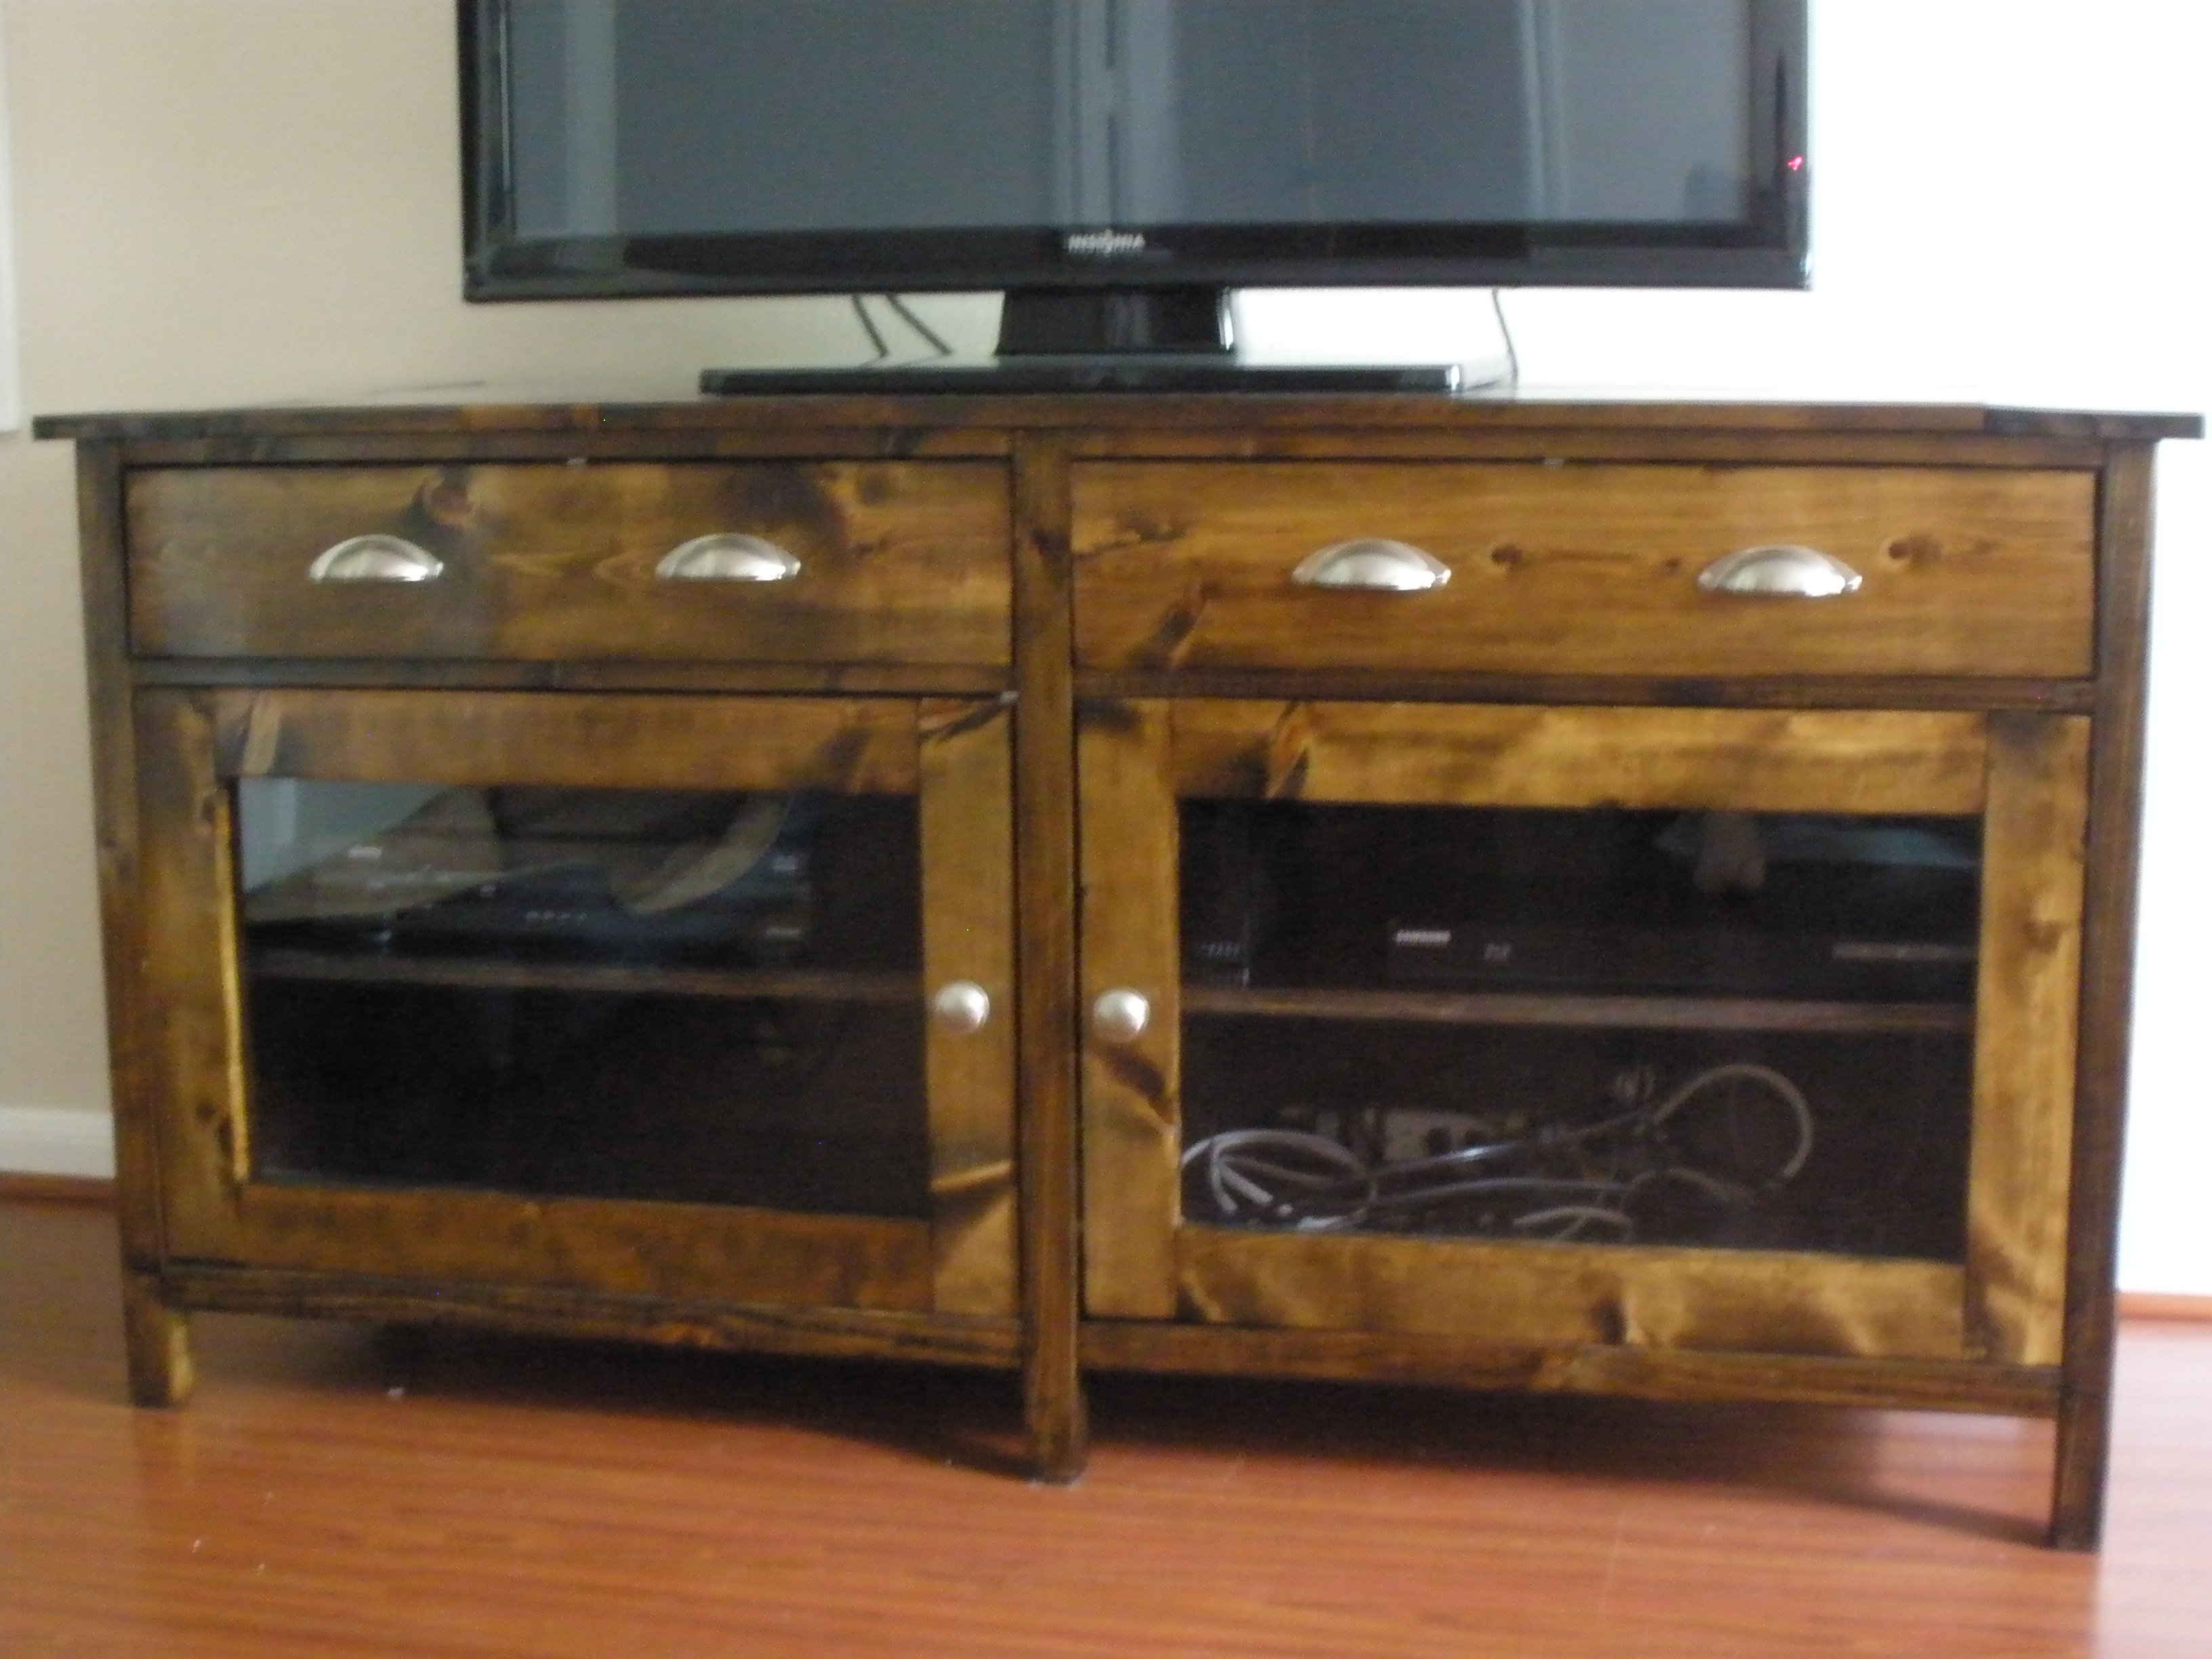
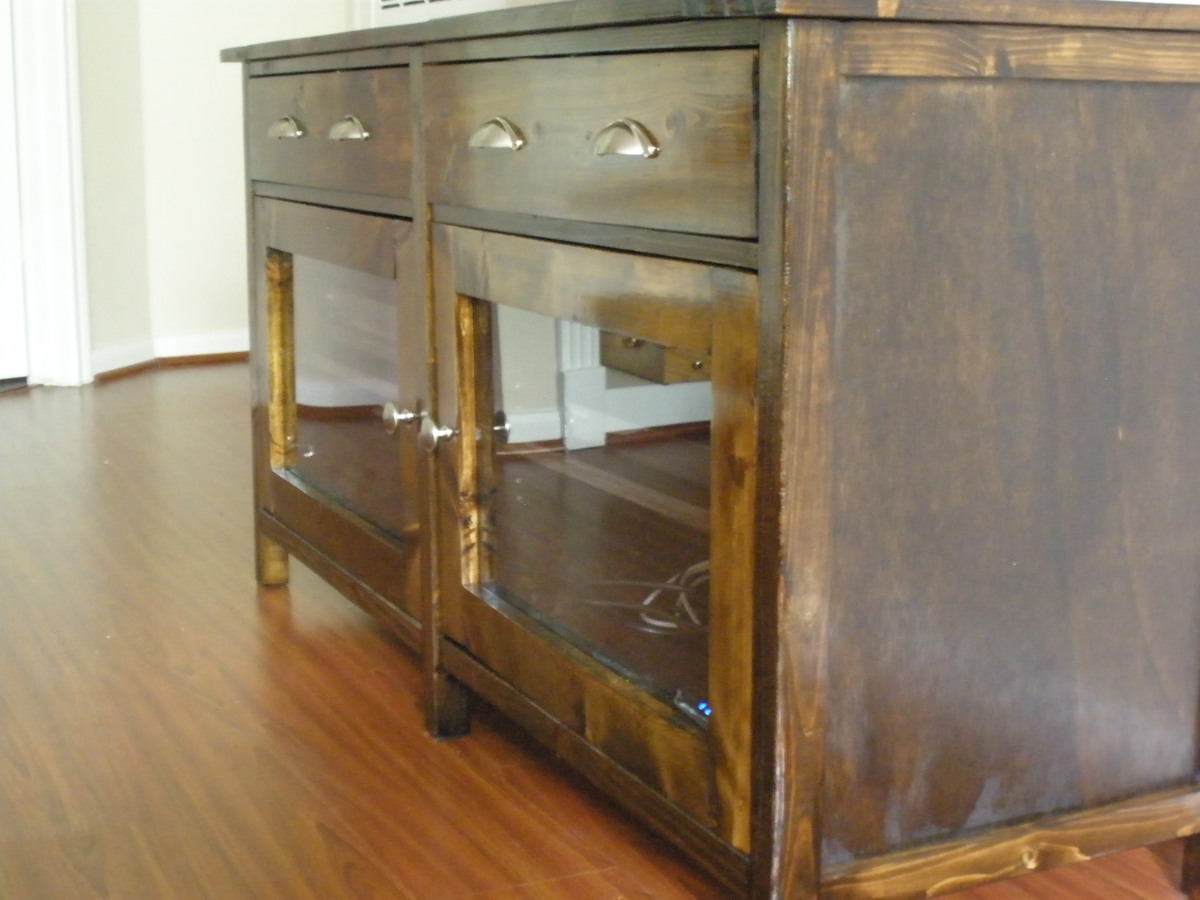
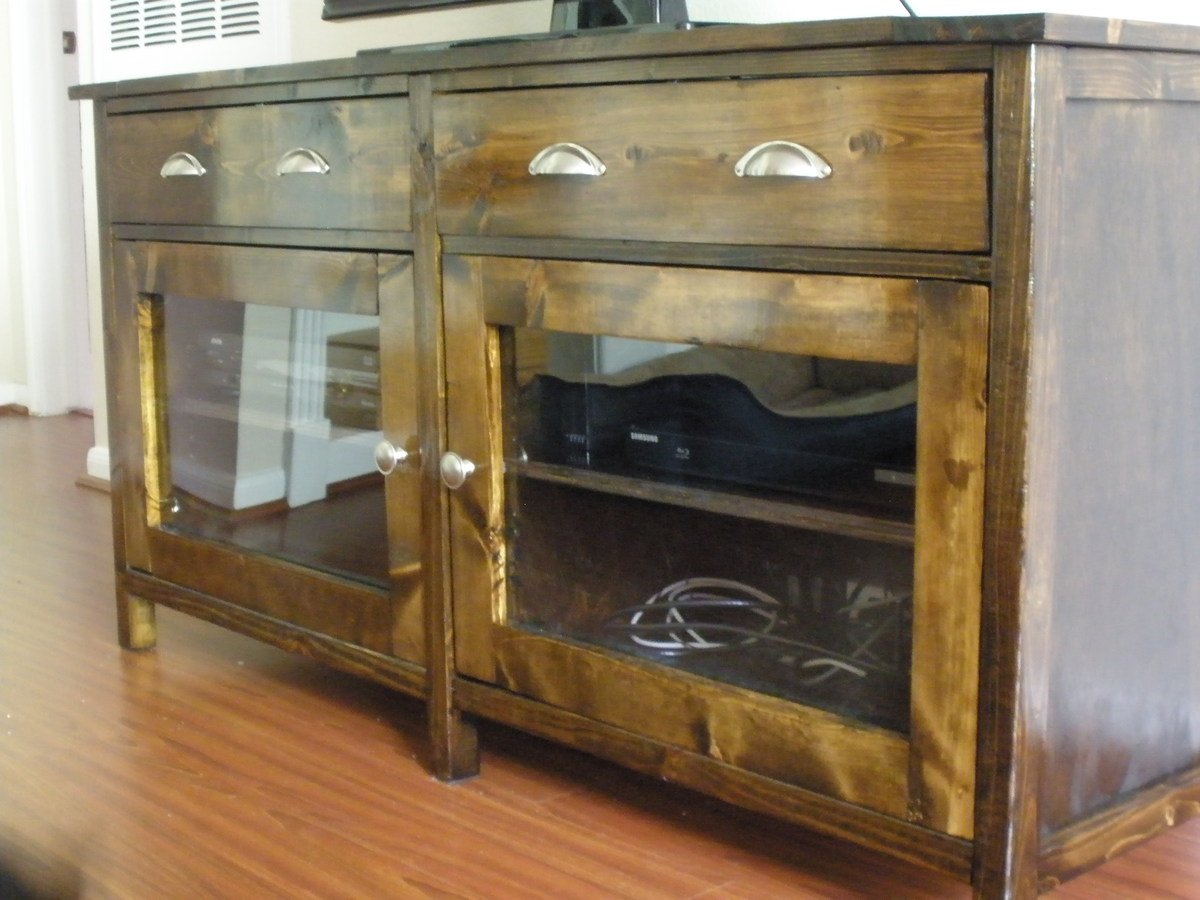
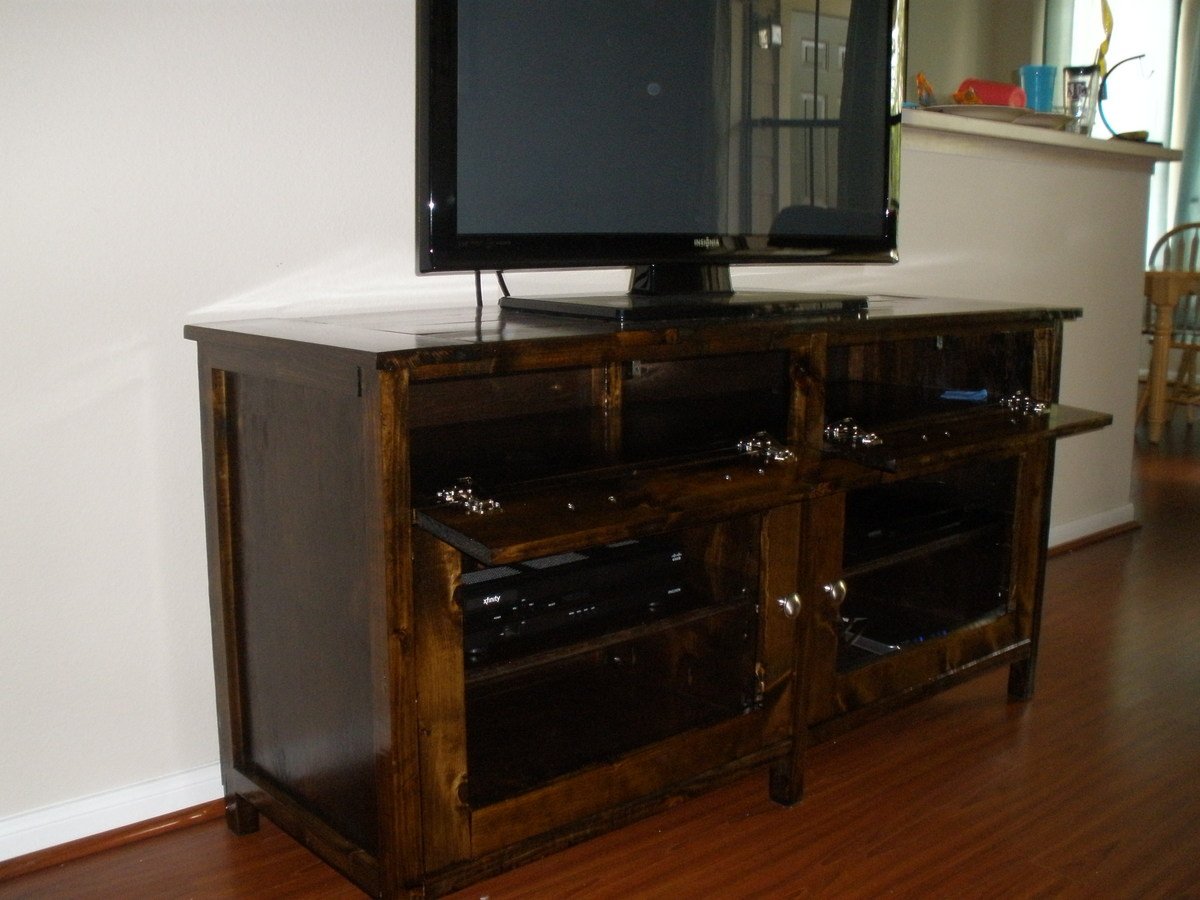
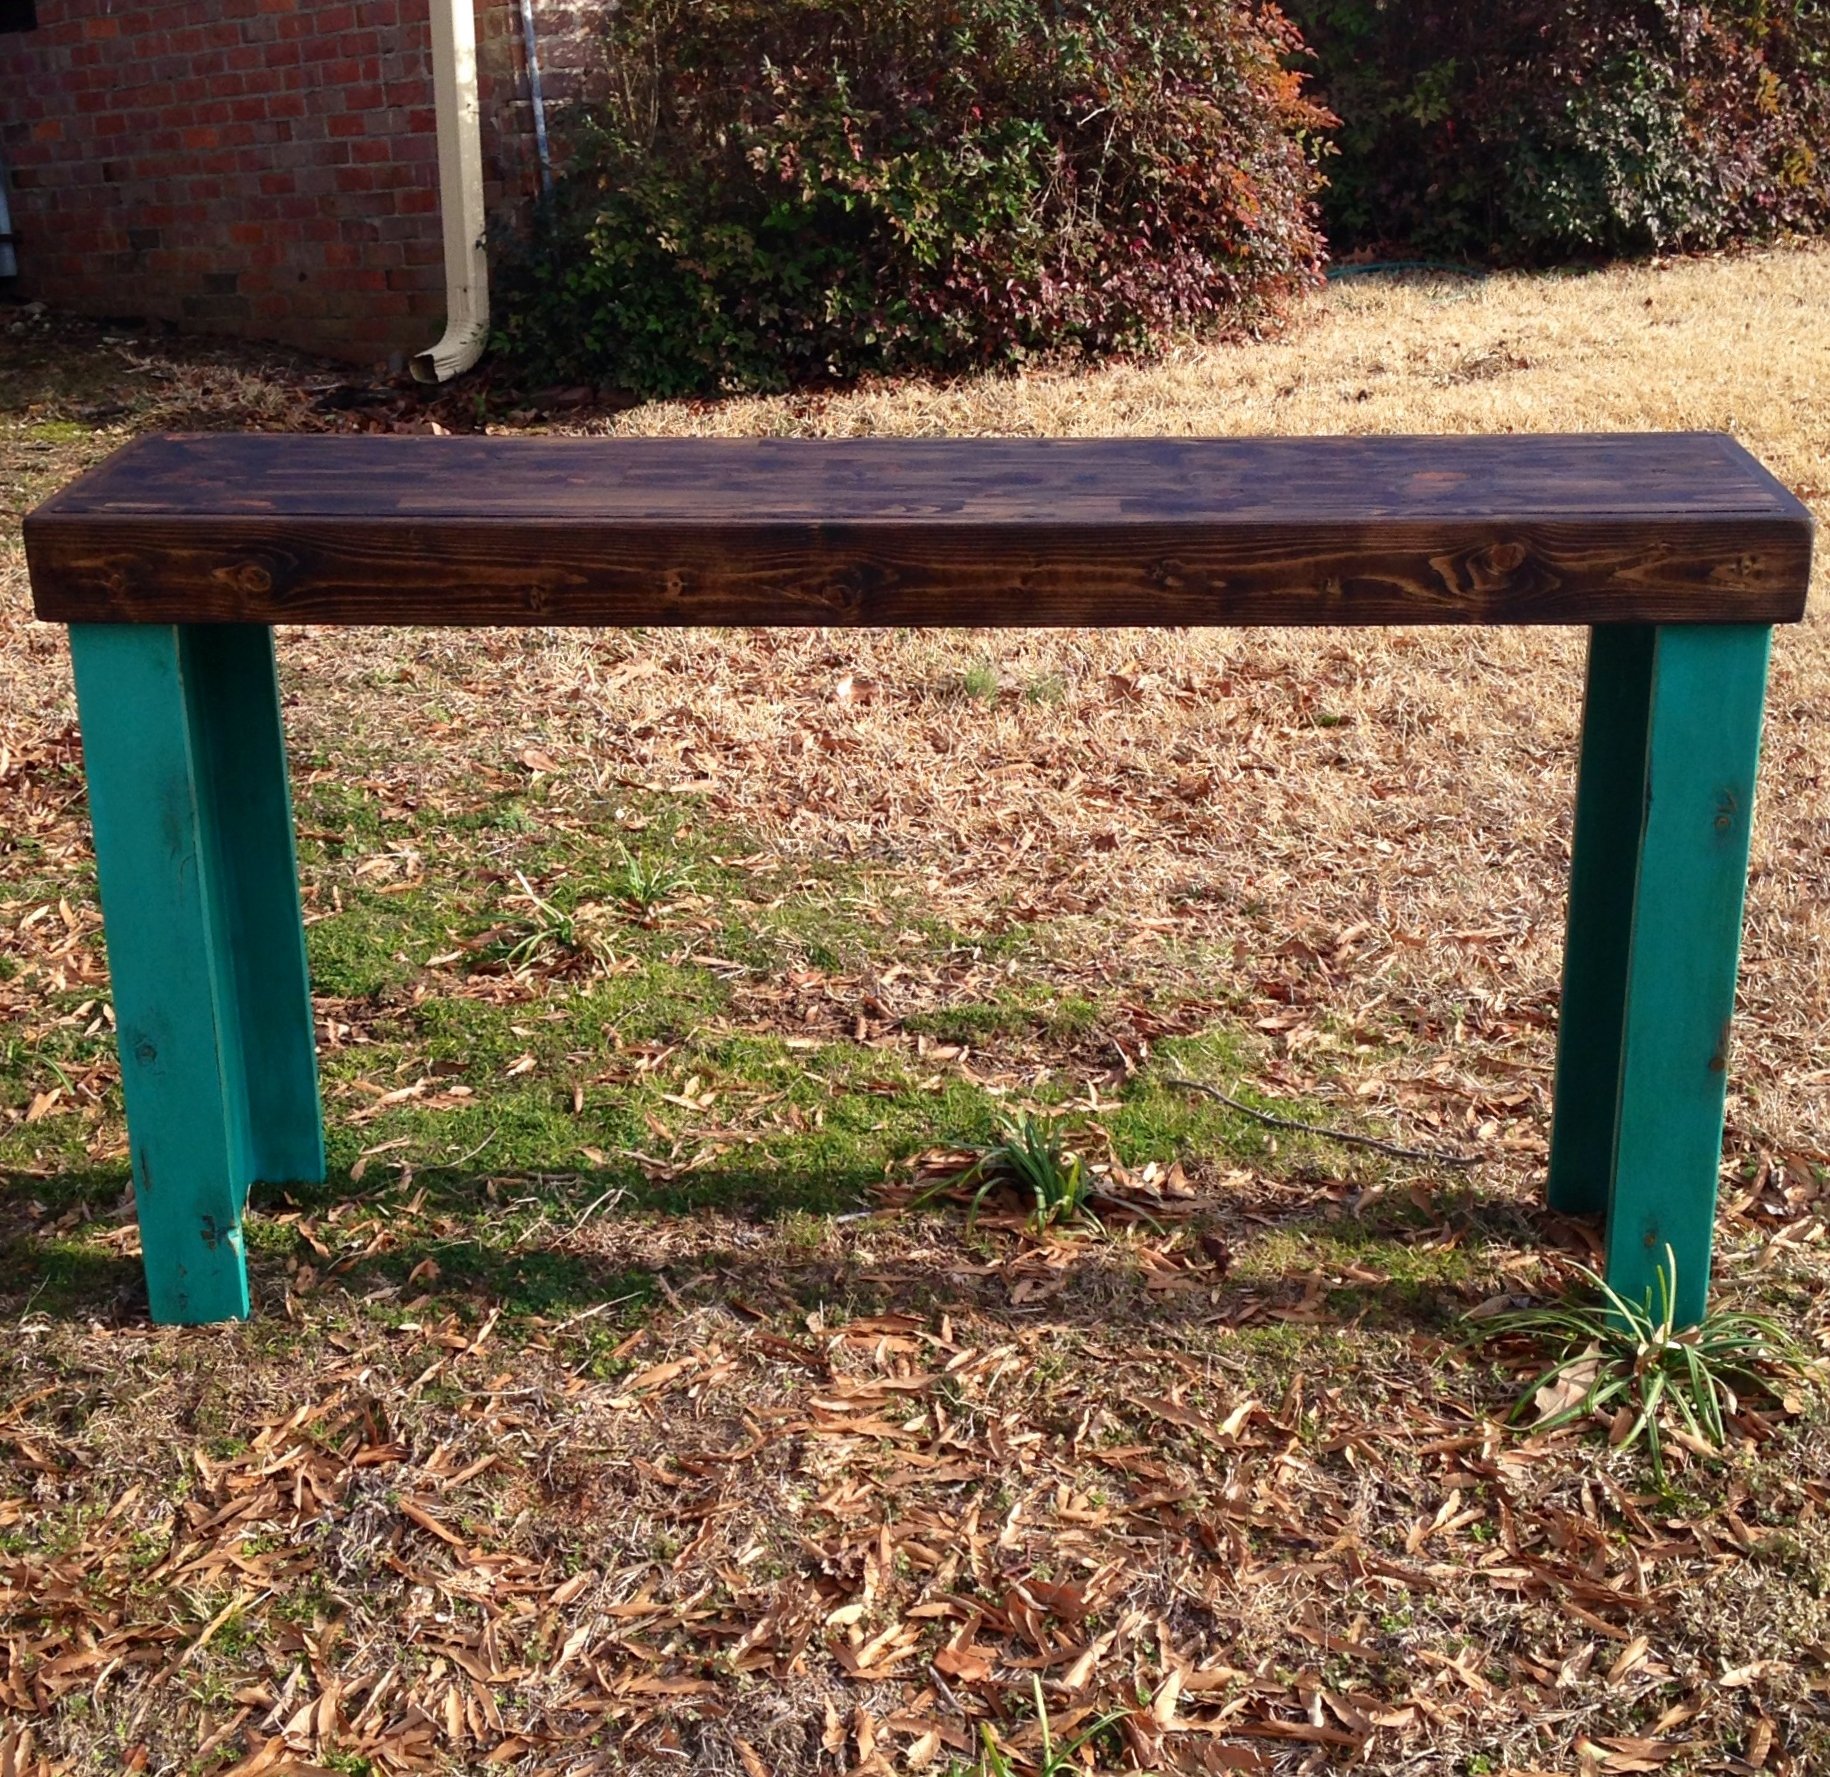
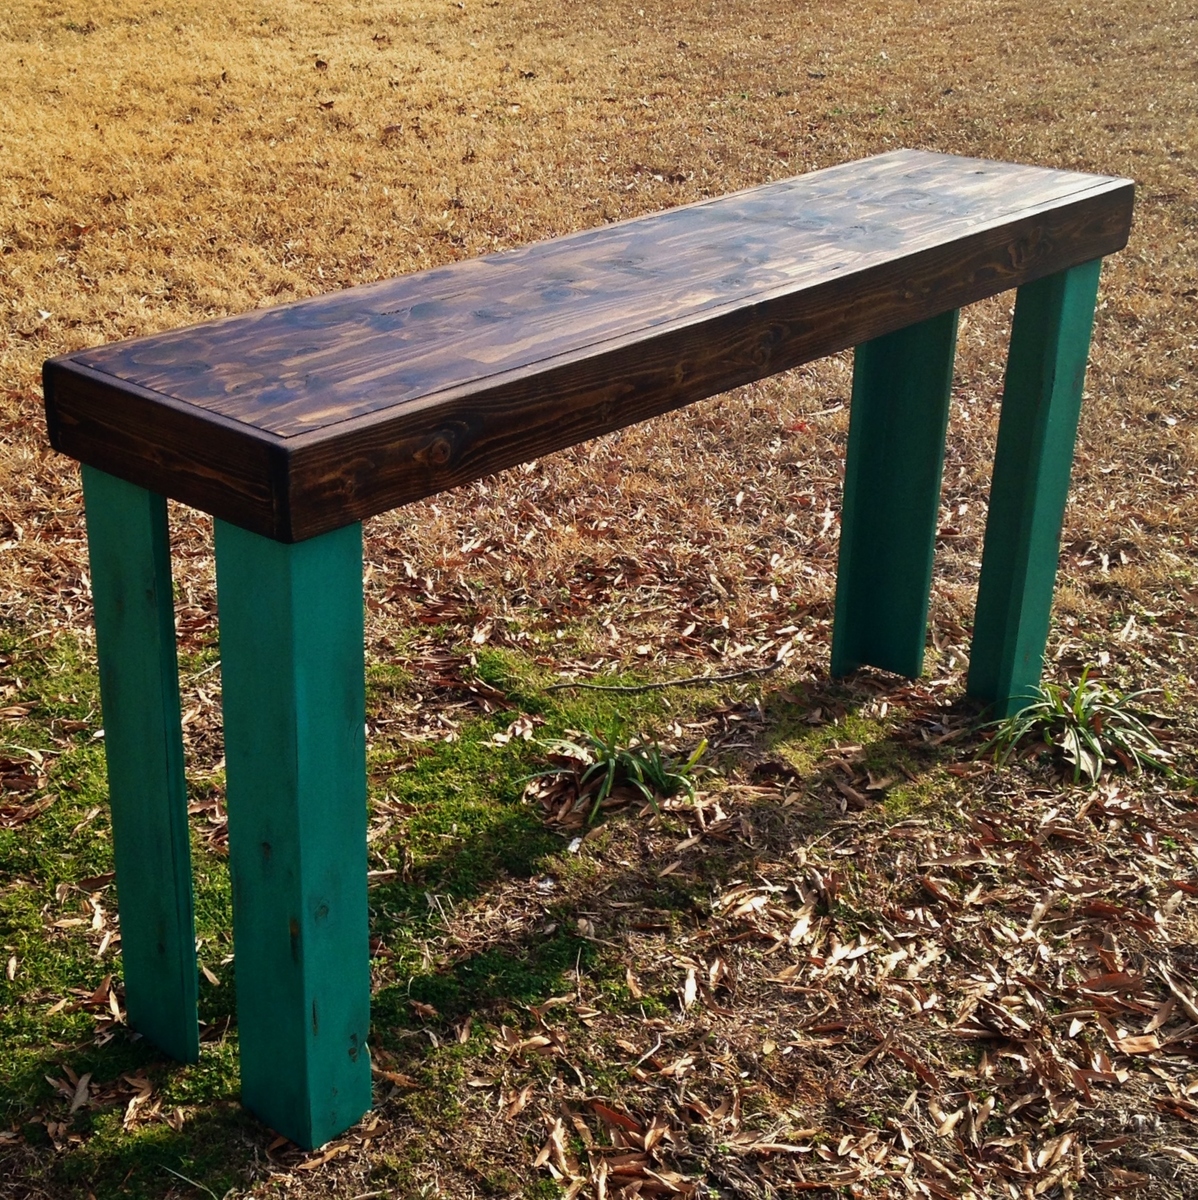
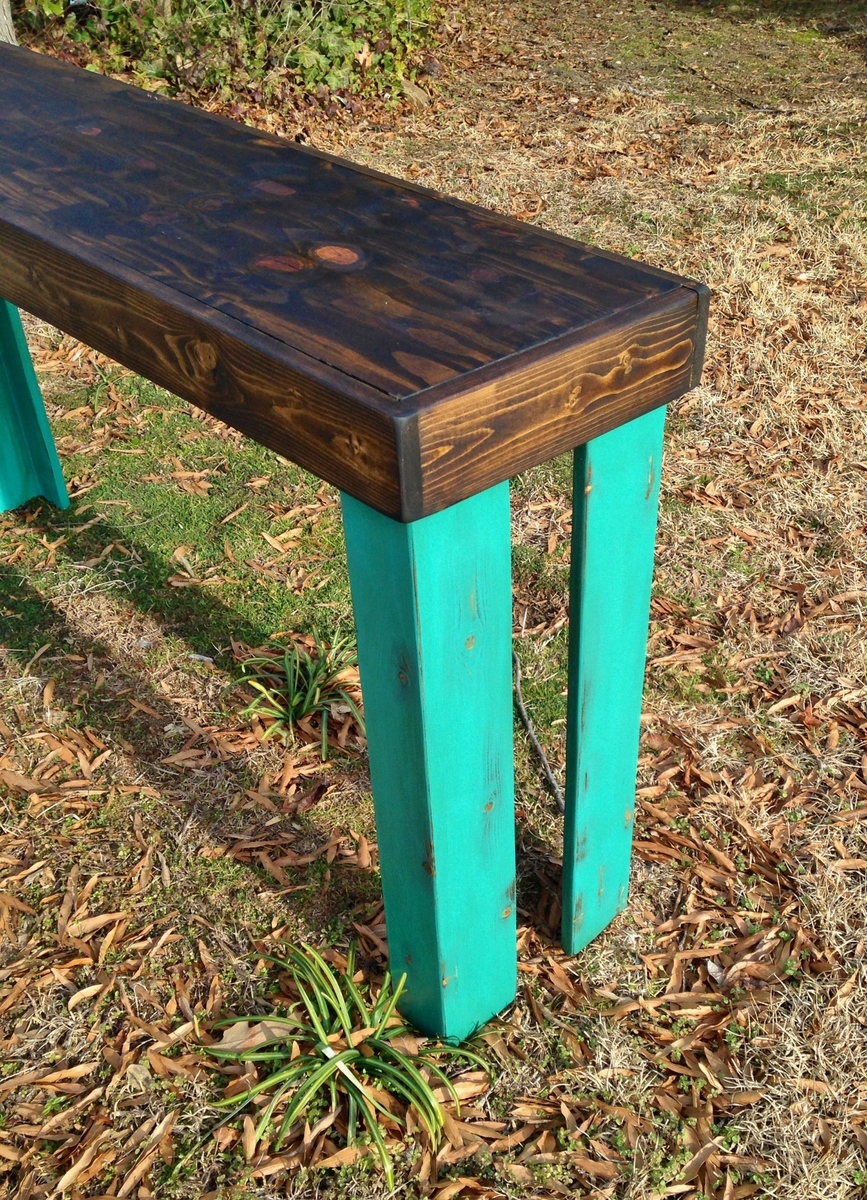
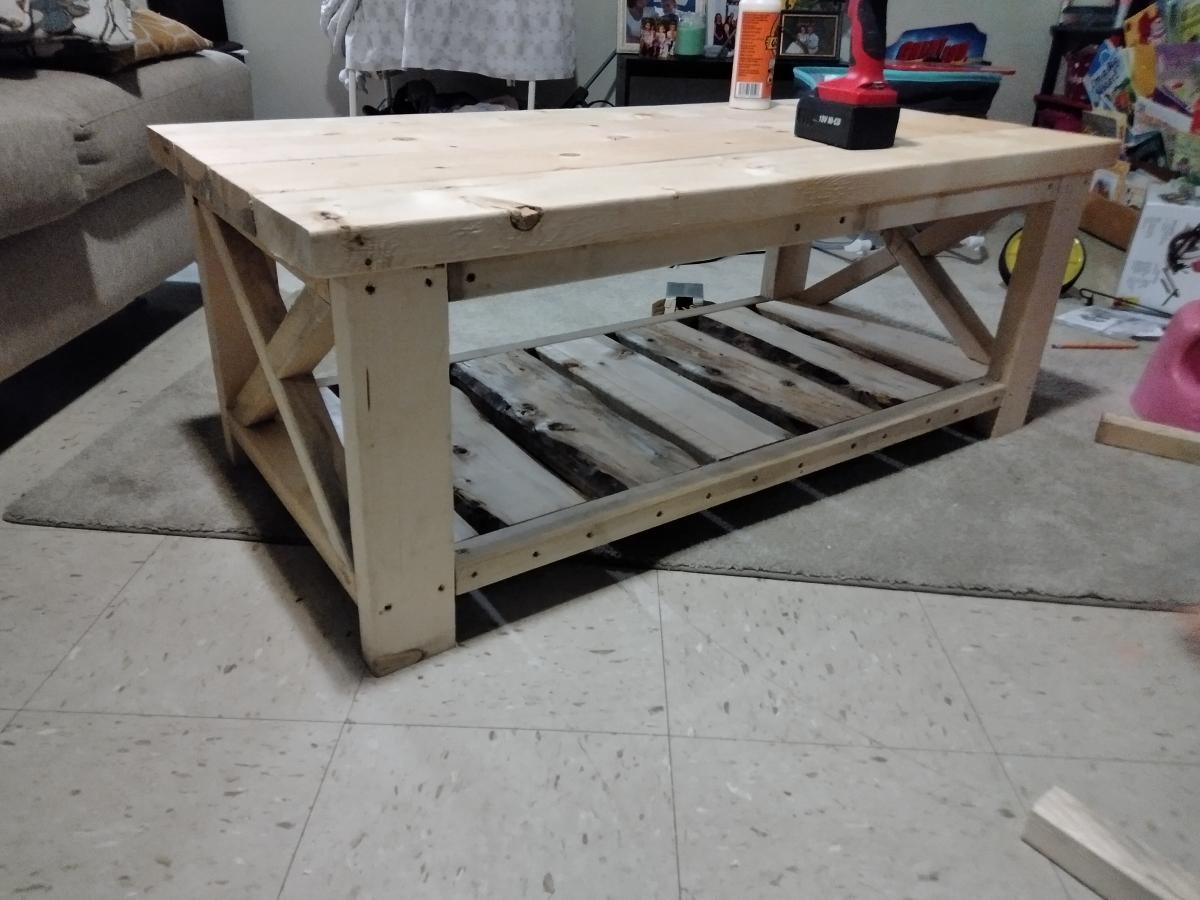
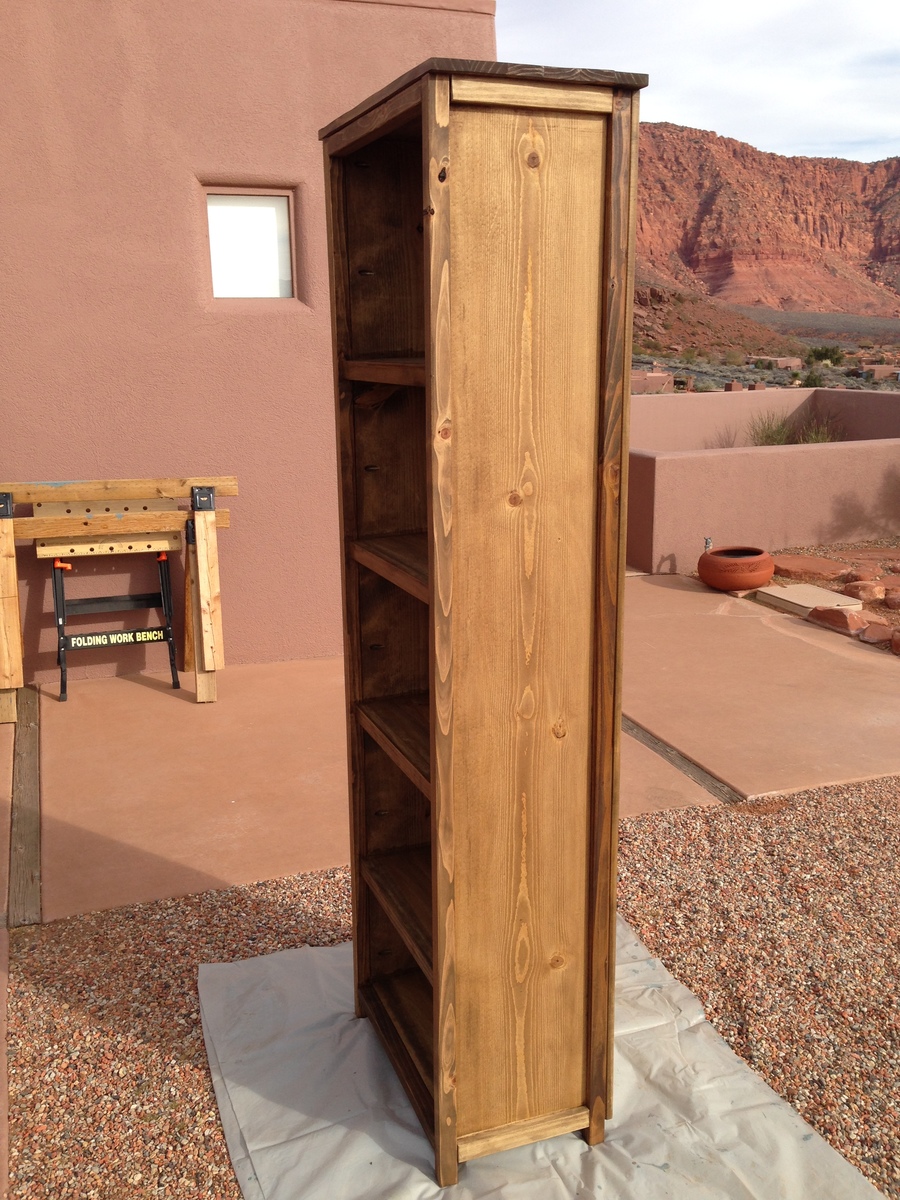
Sturdy workbench with sturdy top
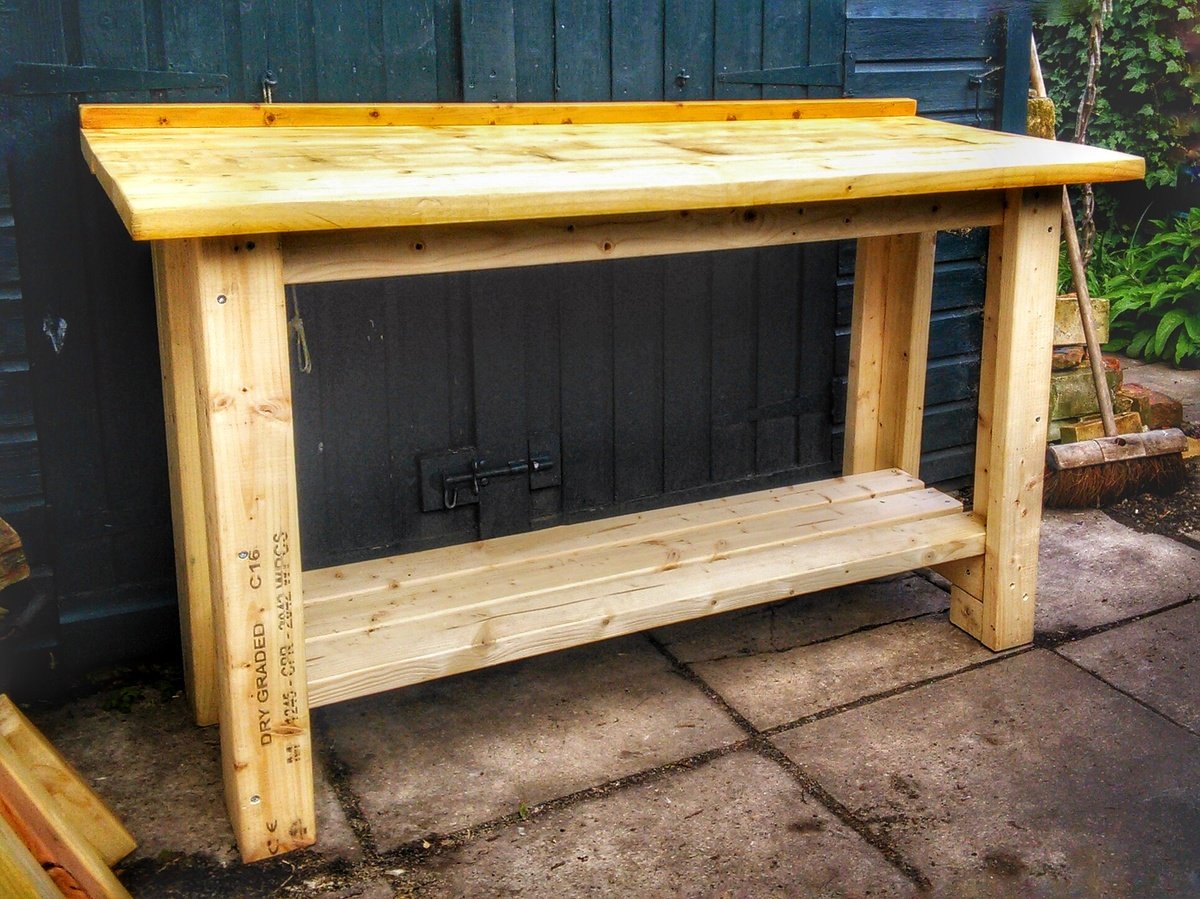
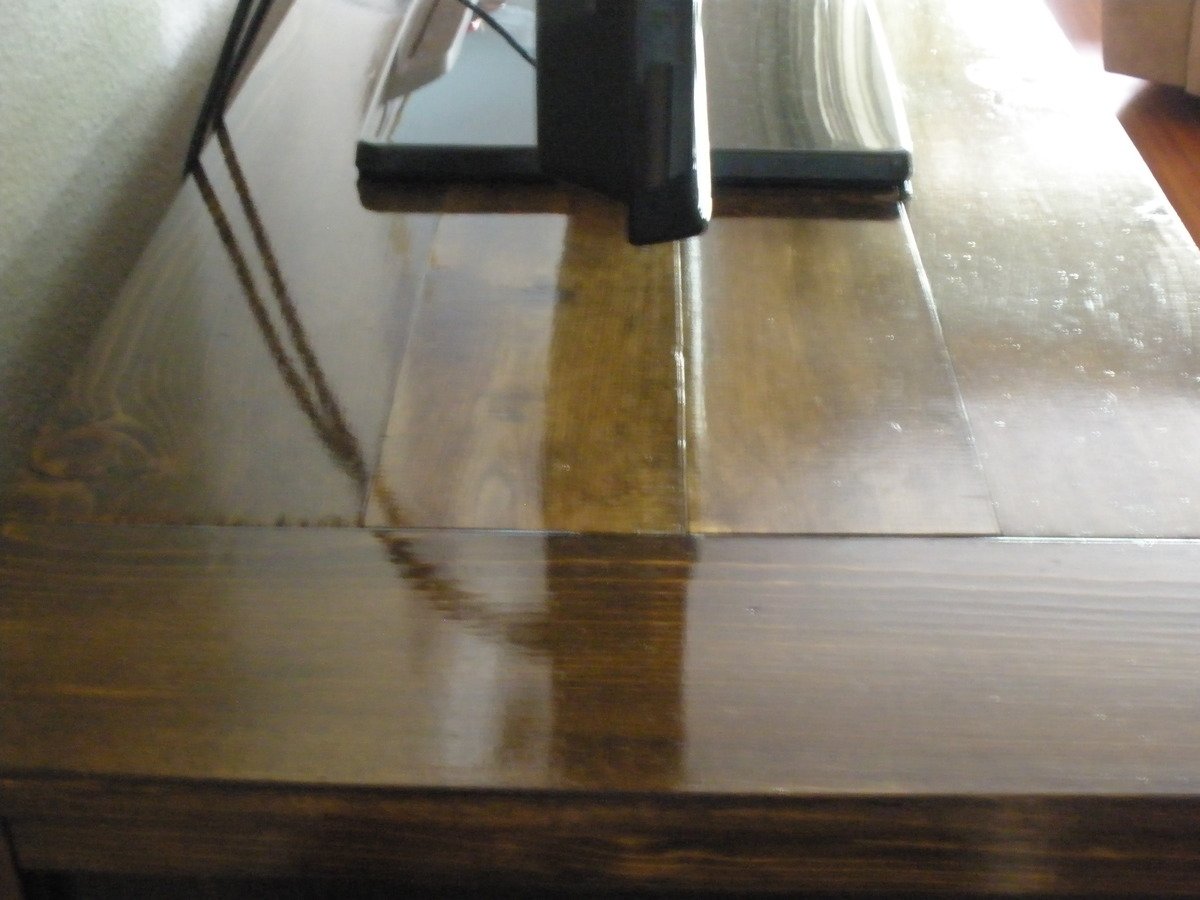
This version is five feet long. The sturdy top was made from scaffold boards. I nailed four stout 3" oval nails into the joining edges of two planks, then cut the projecting heads off at angle. Putting plenty of glue along the nail-free face I sash cramped the whole lot together overnight. Once screwed down I filled holes and cracks with epoxy woodfiller, gave it a though sanding and splashed on a generous amount of Danish Oil just to seal it from spilled coffee etc. Now all I have to do is line the shed...
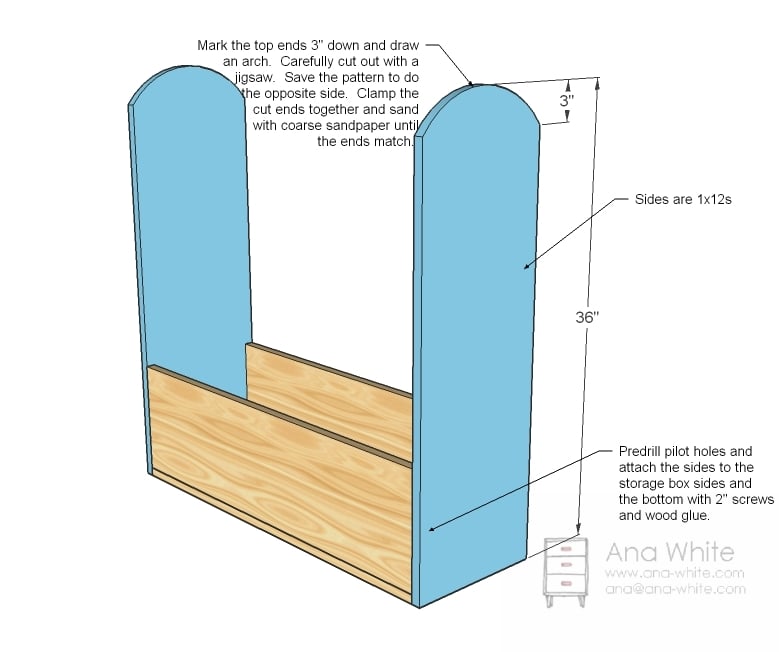
Built from Plan(s)
Estimated Time Investment
Weekend Project (10-20 Hours)
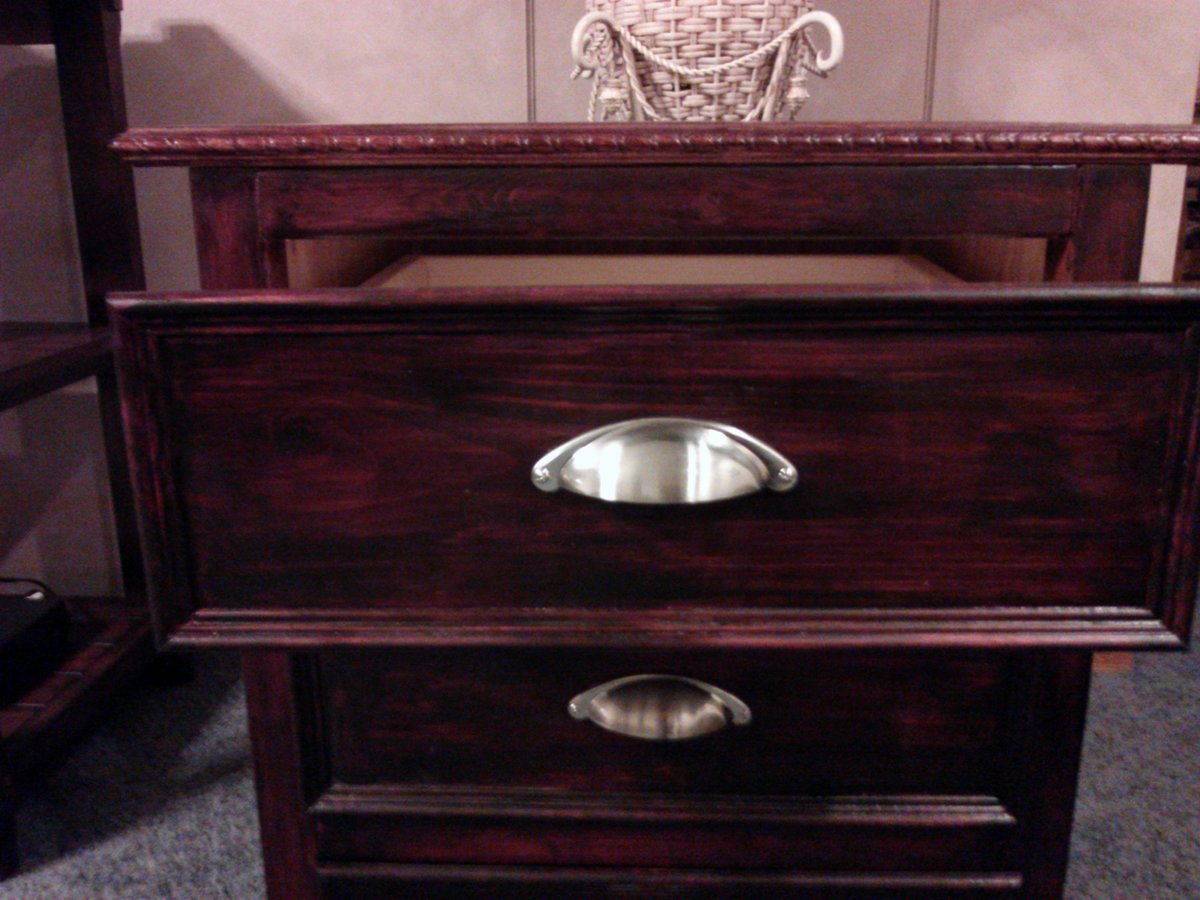
Finish Used
Danish oil
Recommended Skill Level
Beginner