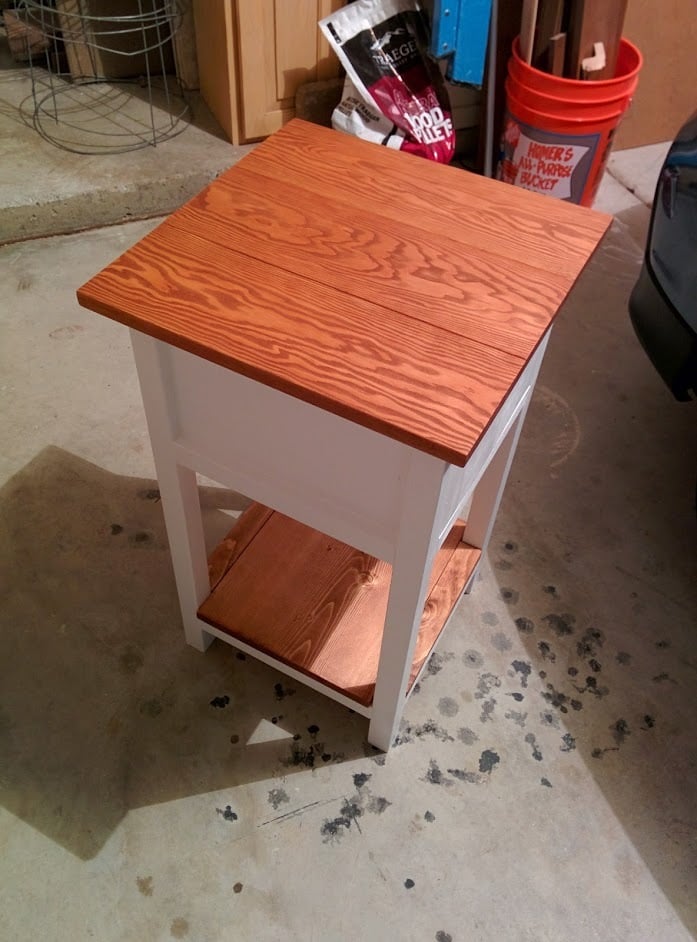
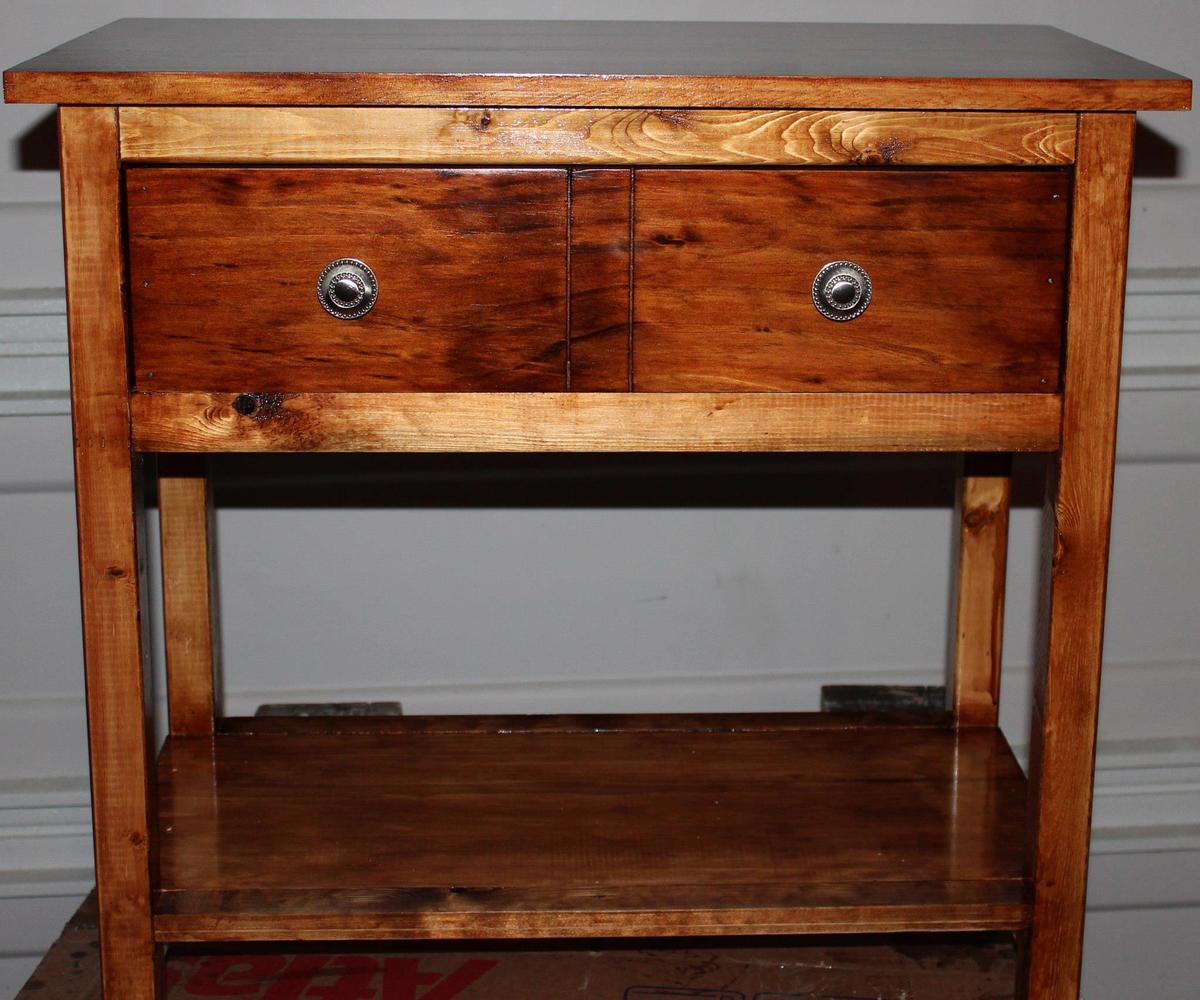
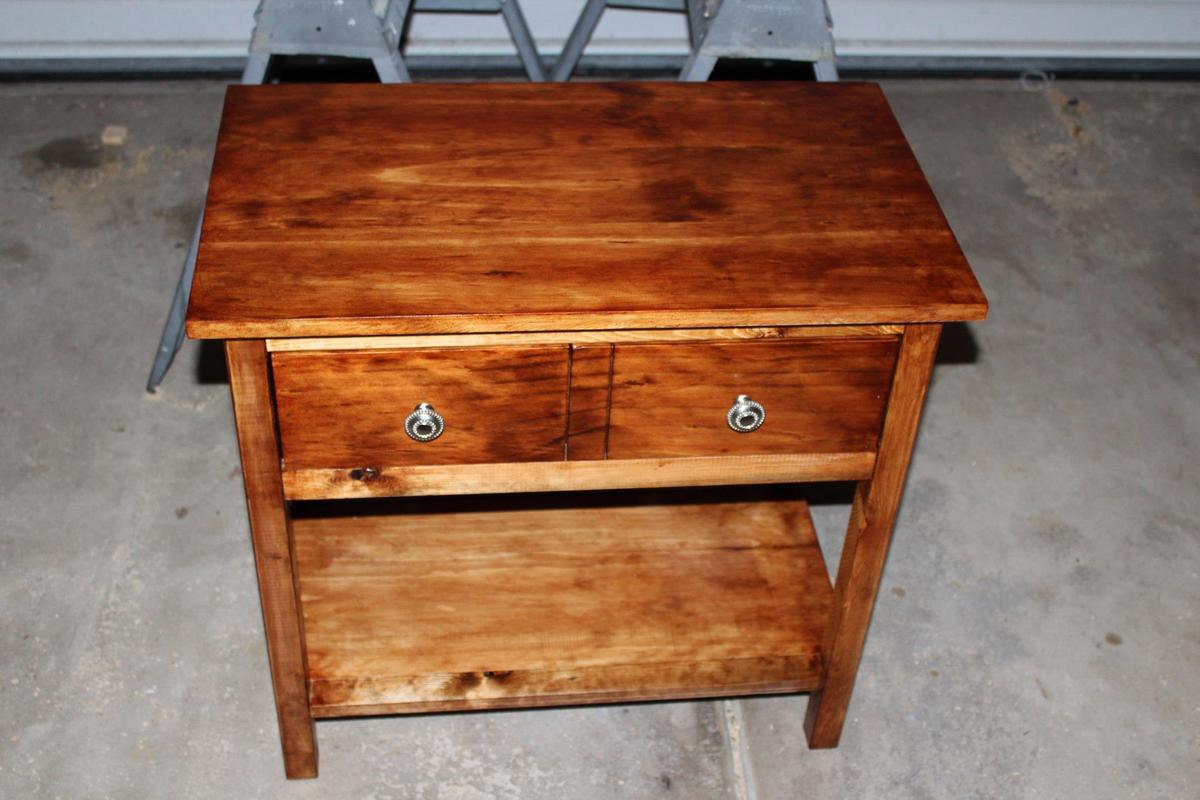
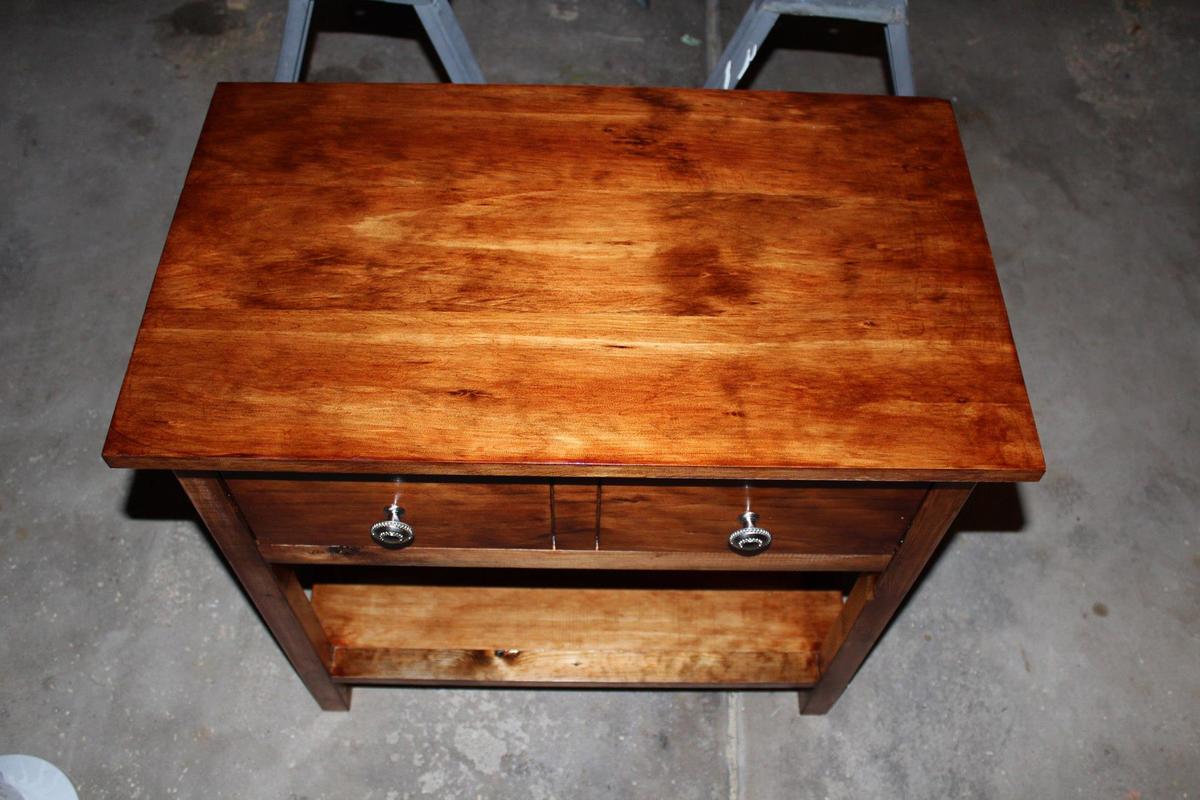
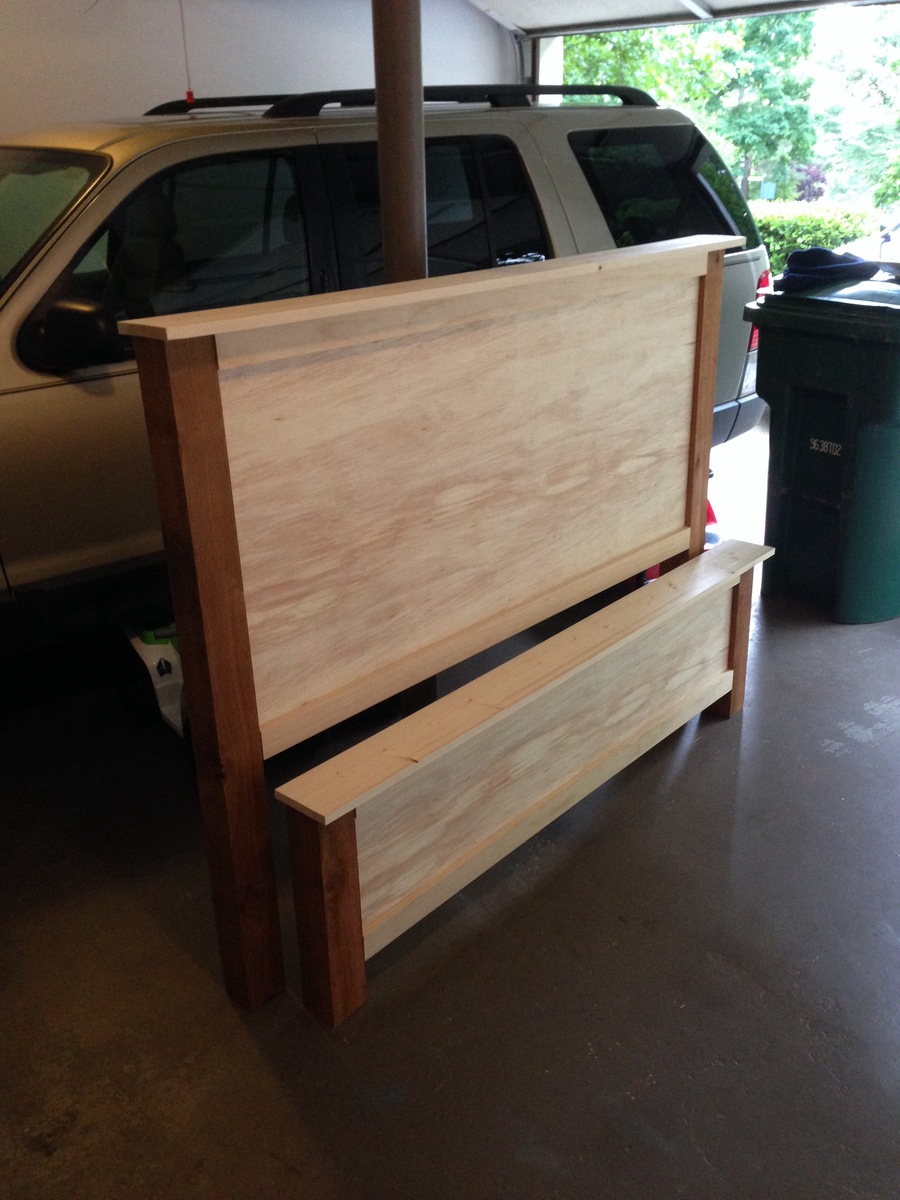
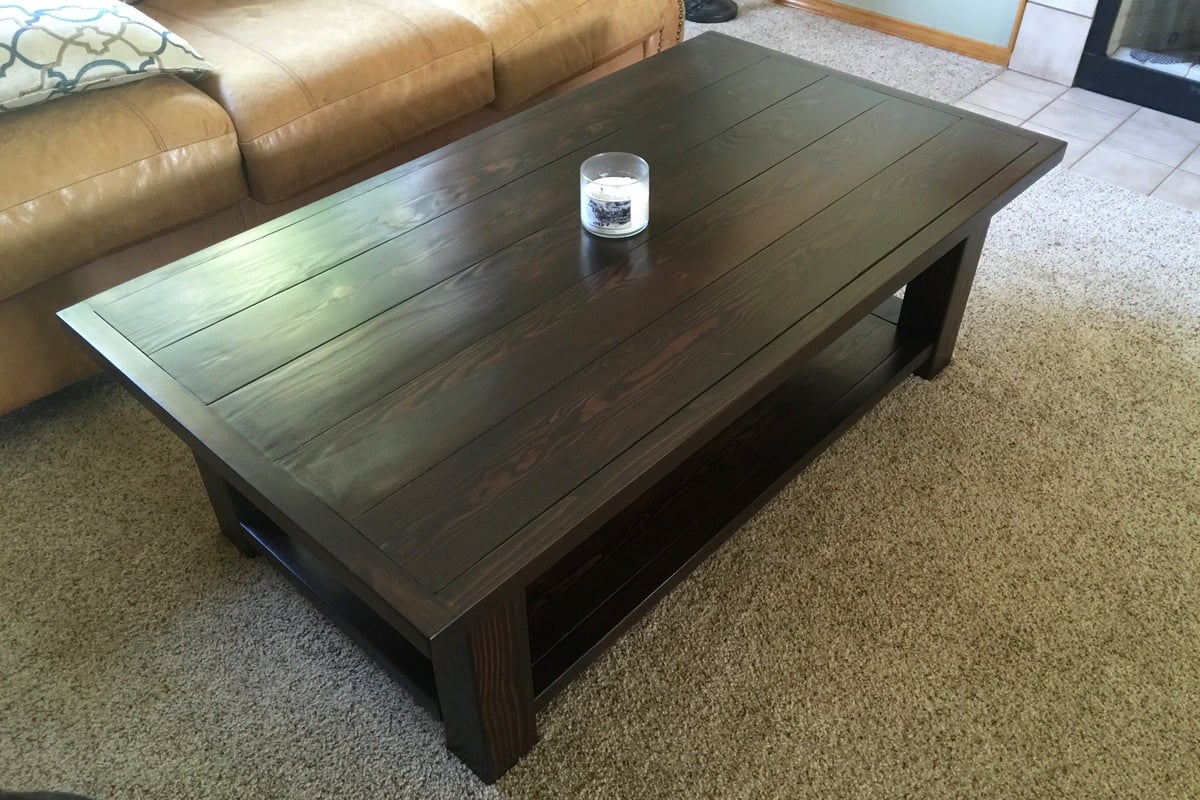
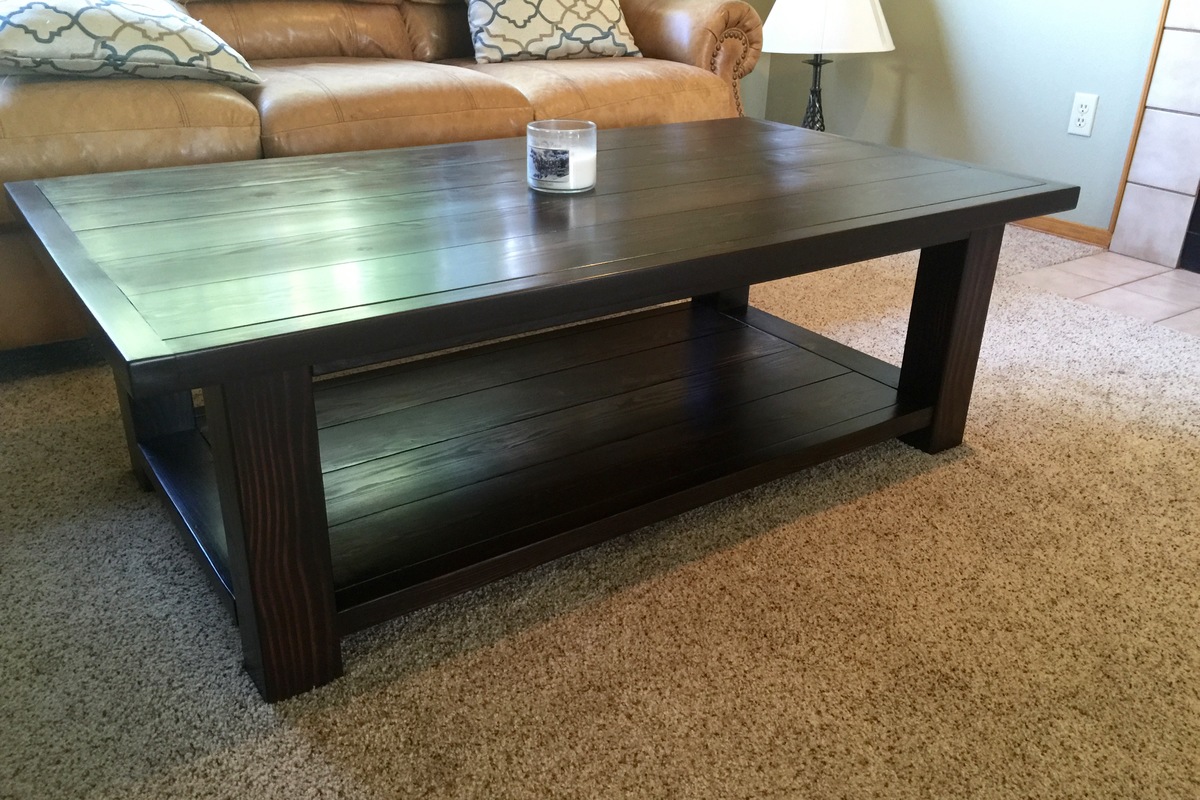
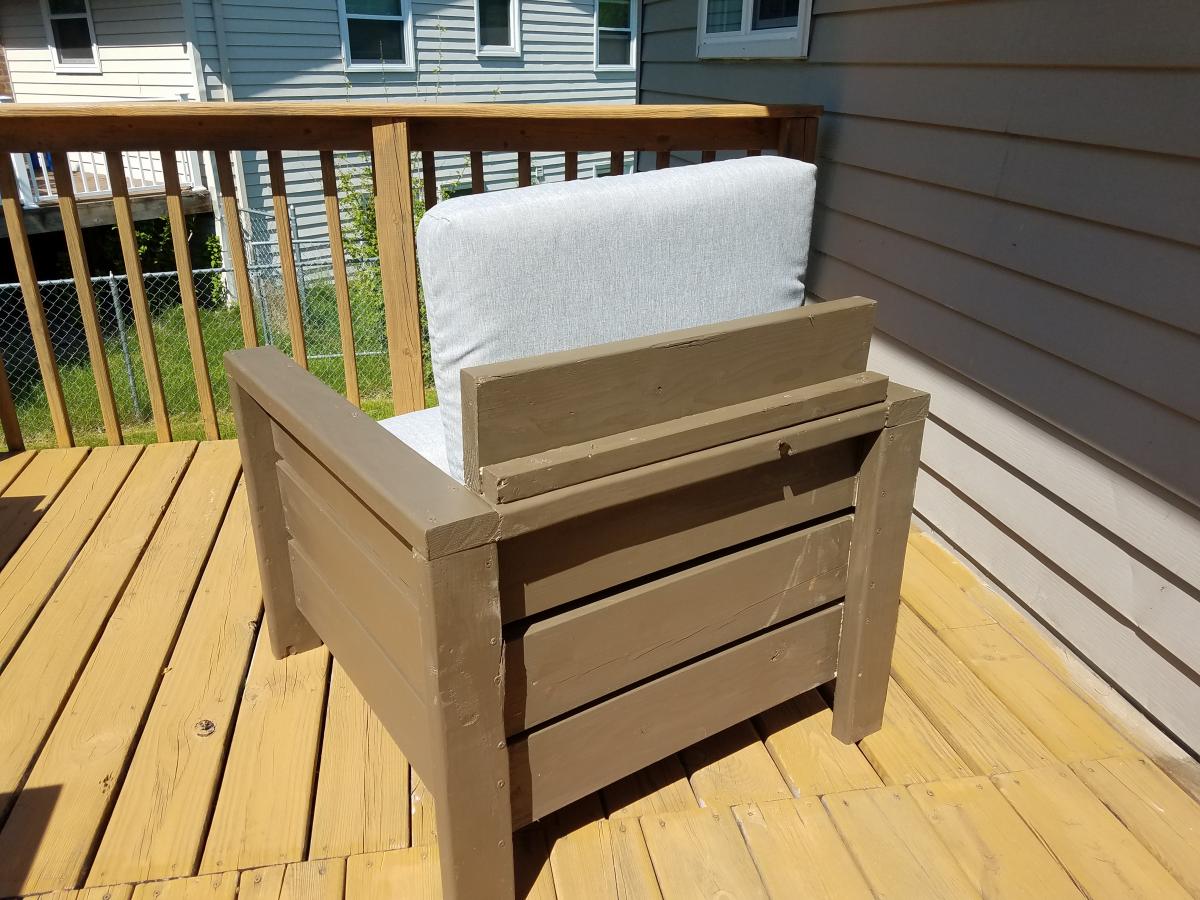
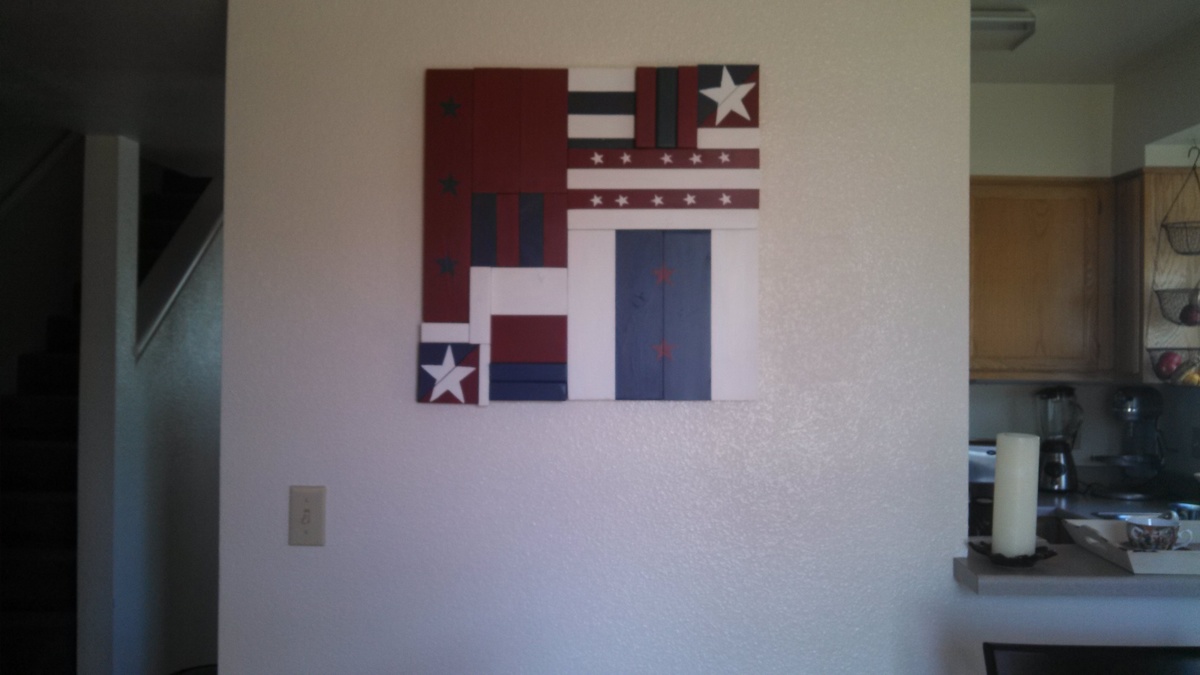
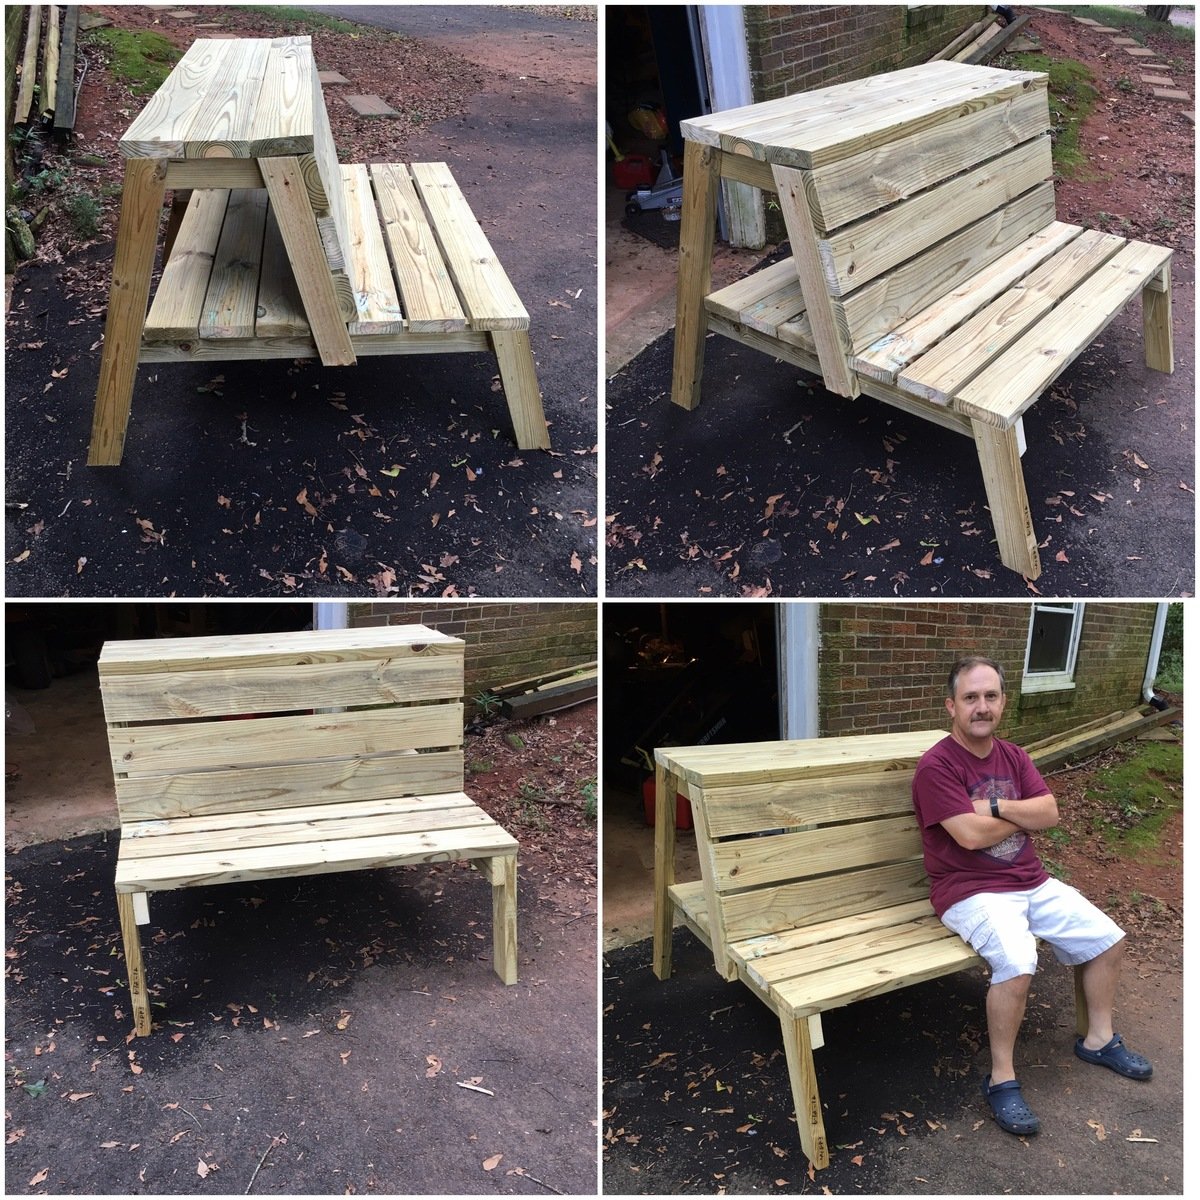
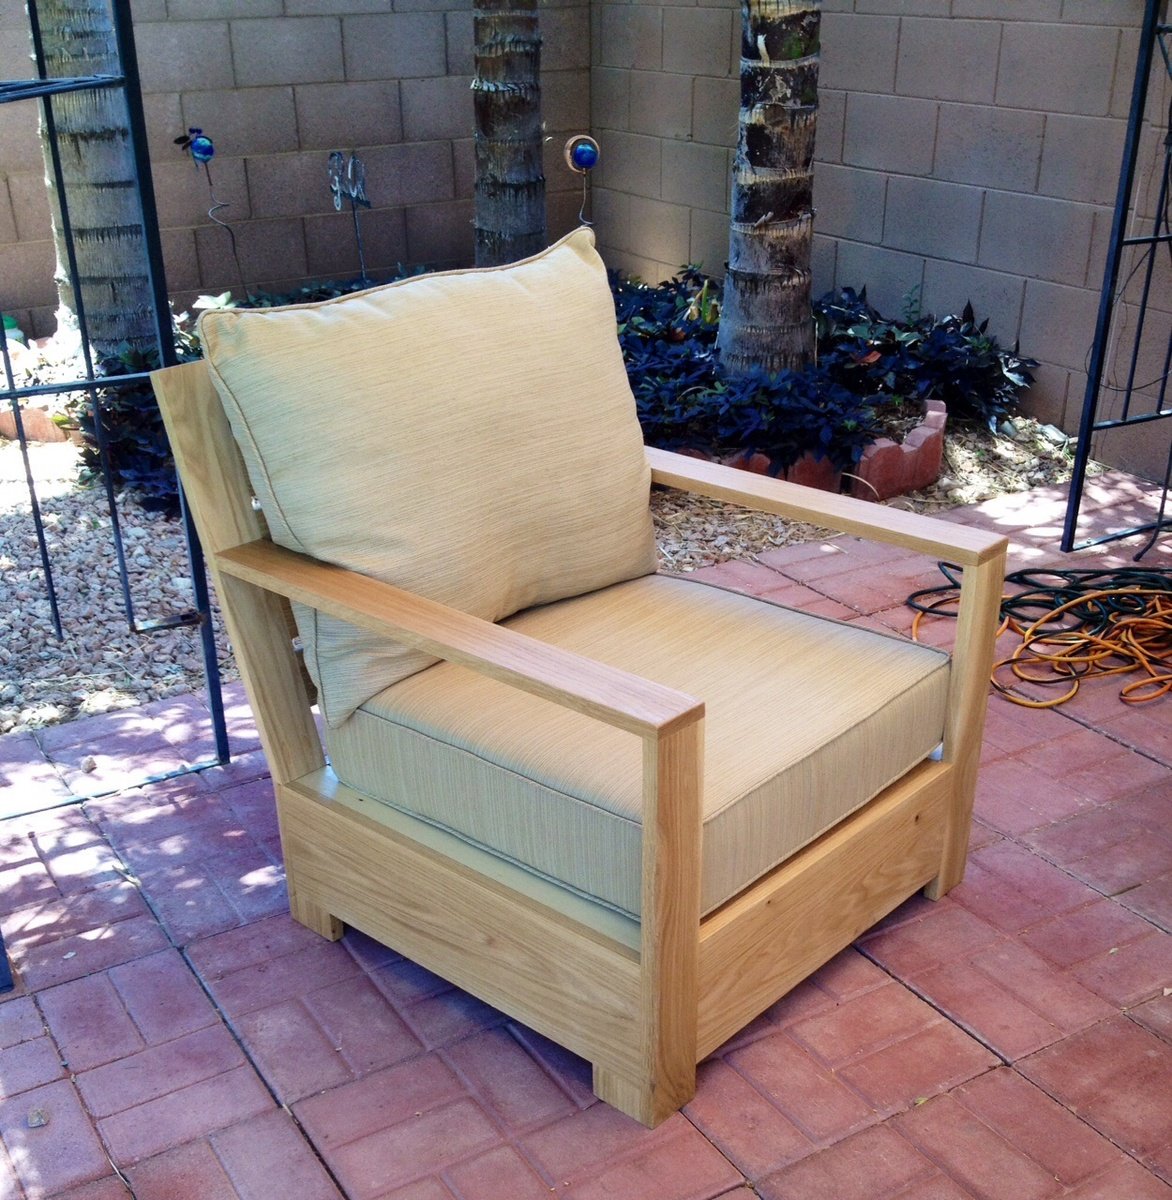
Rustic coffee table (simple version)
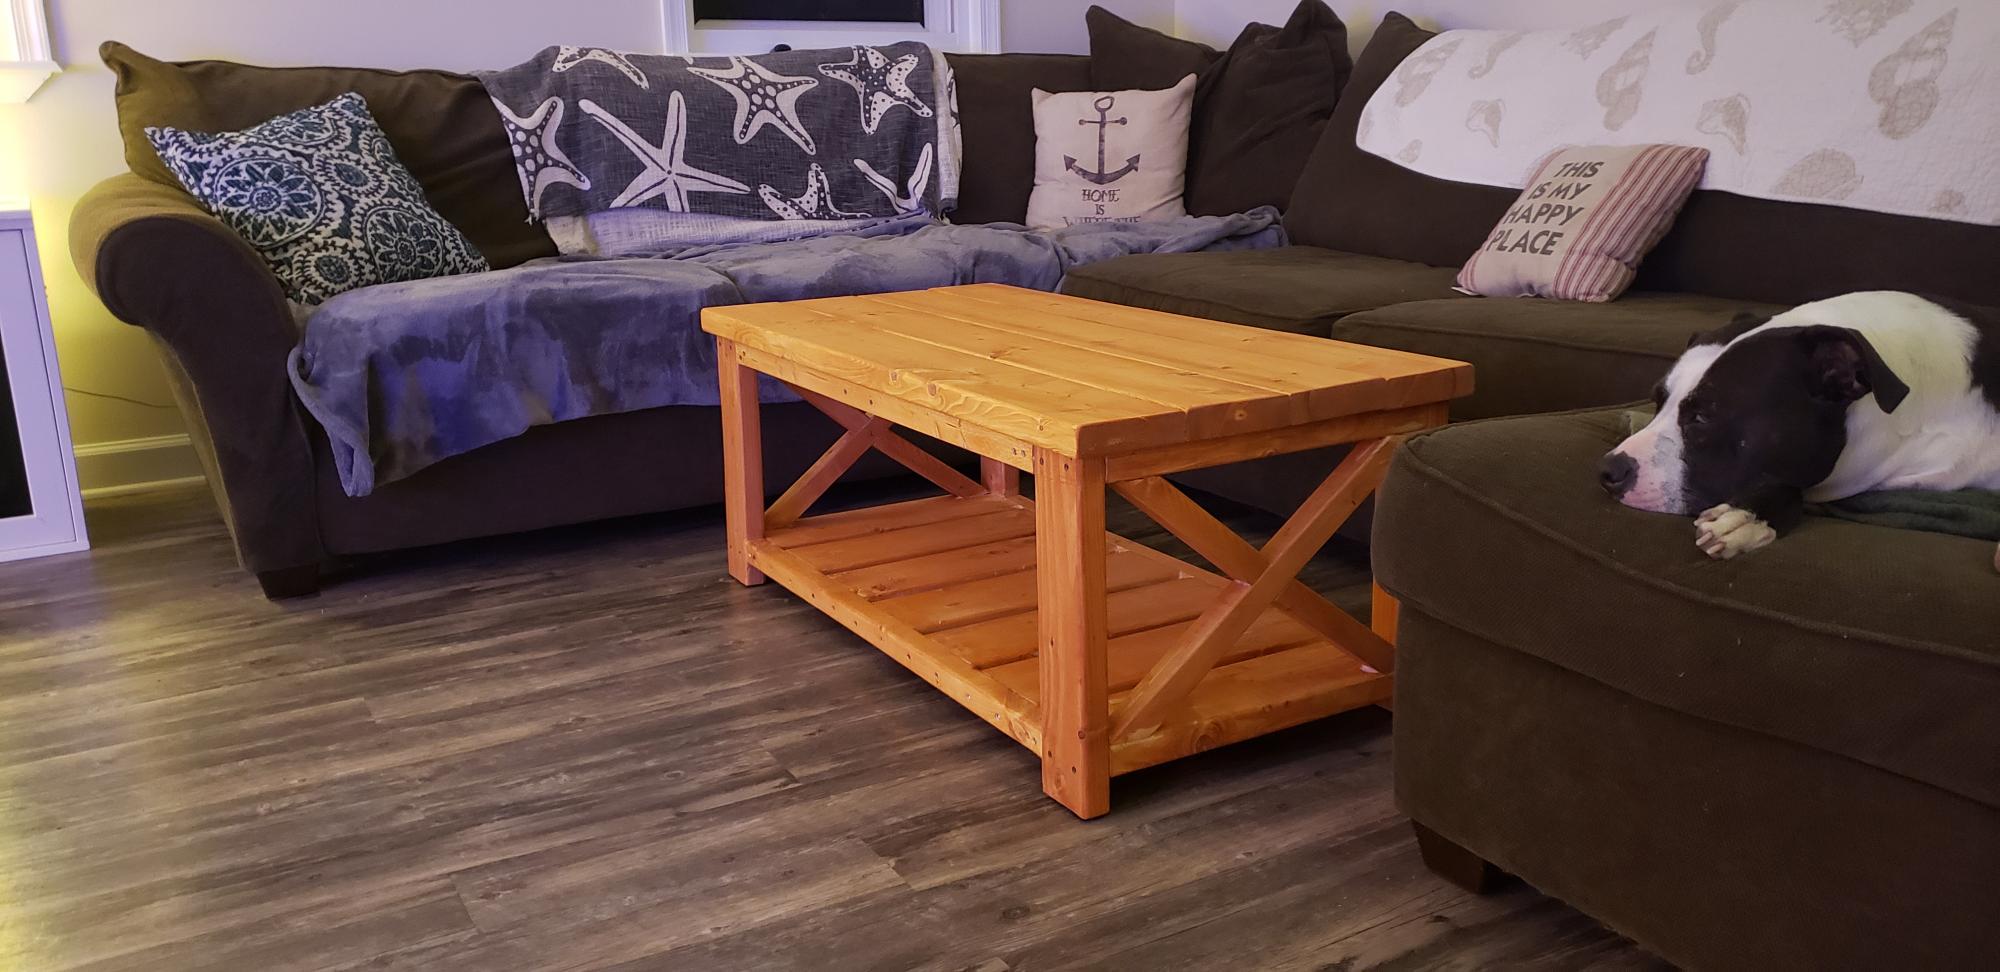
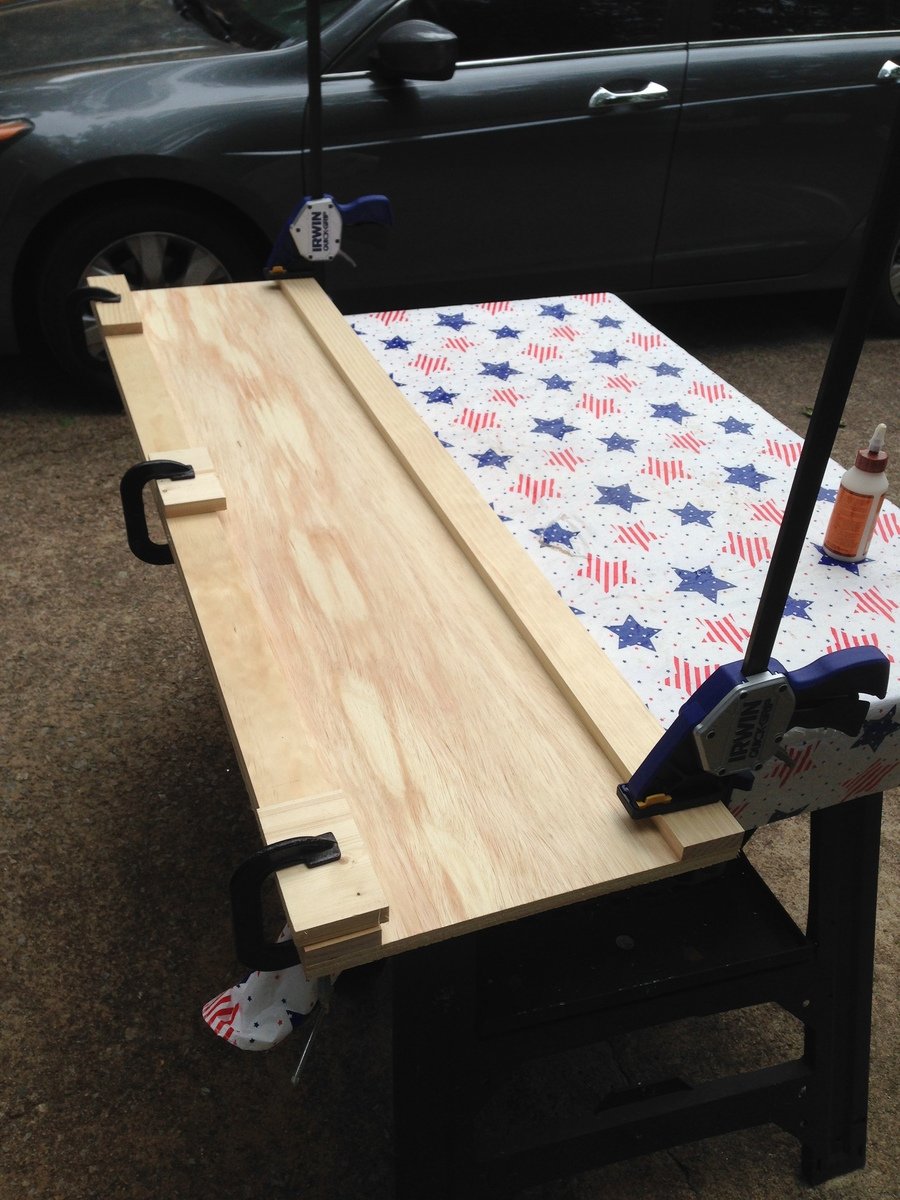
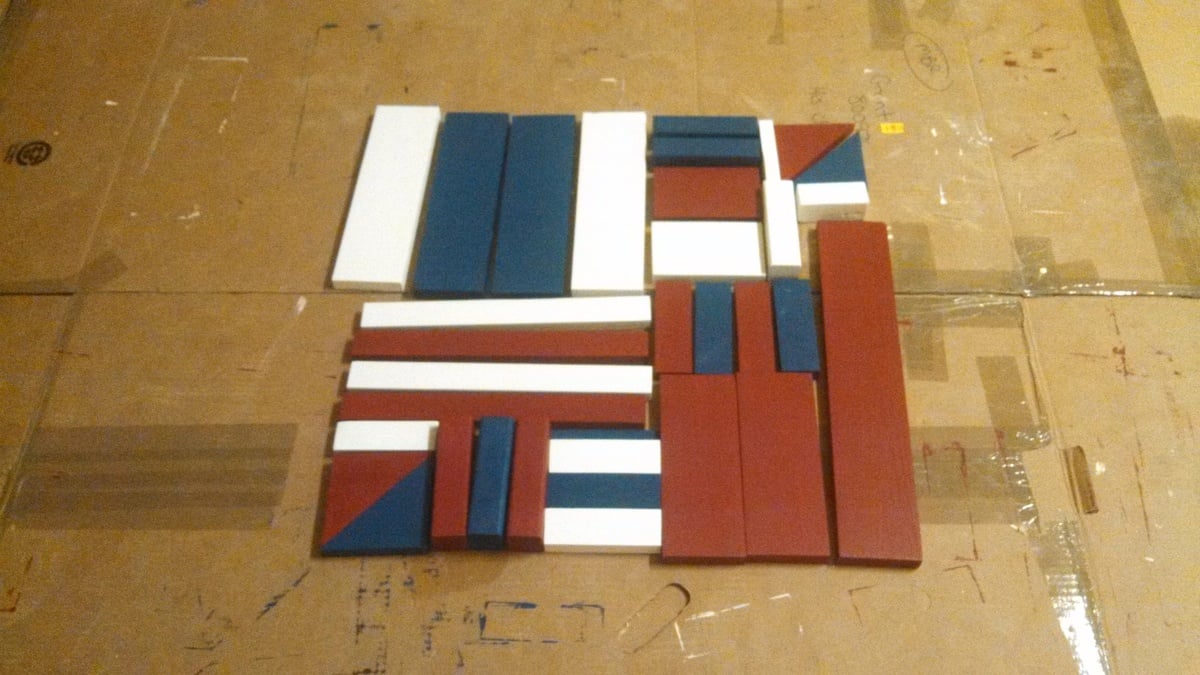
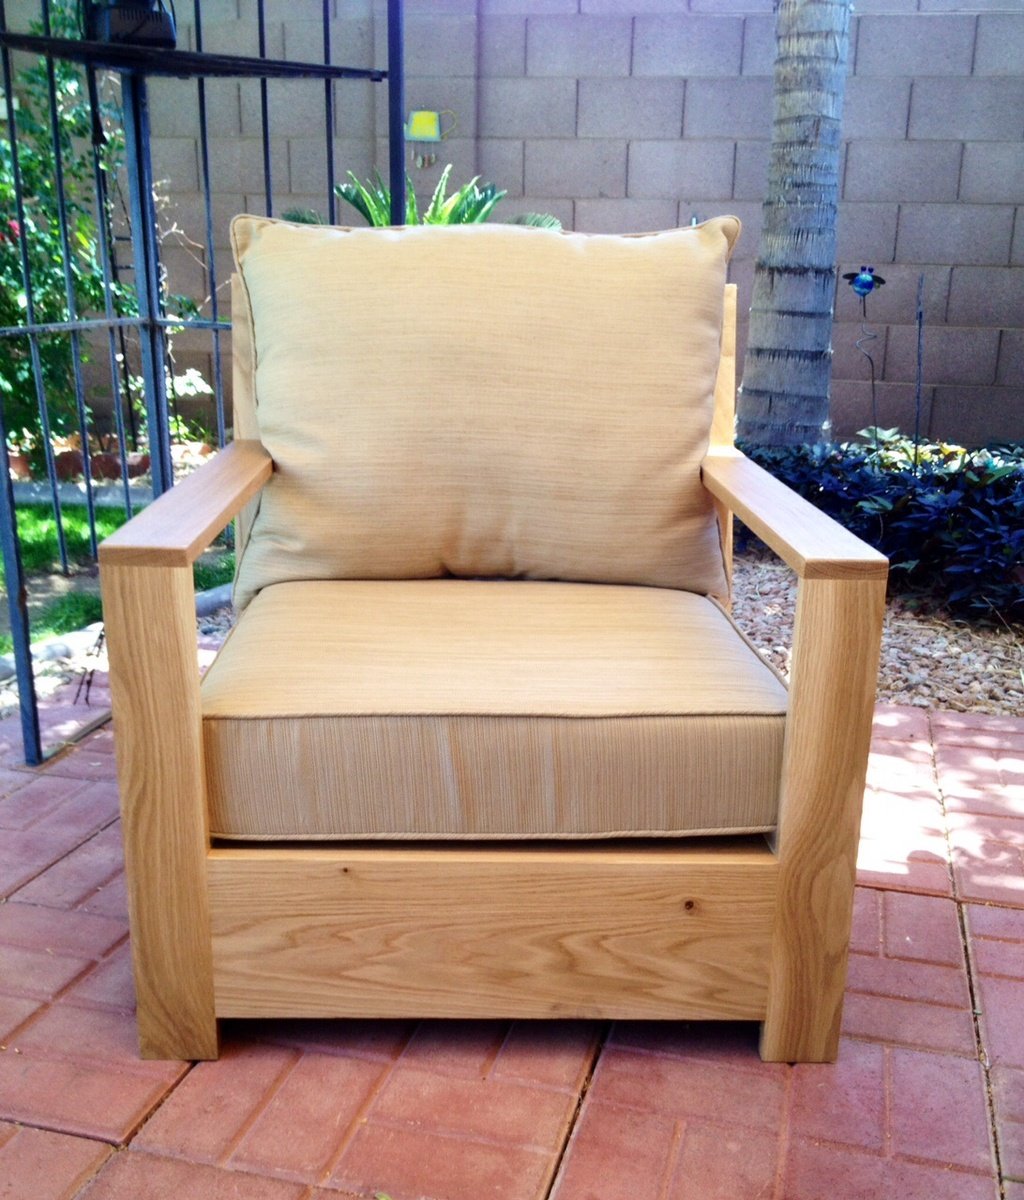
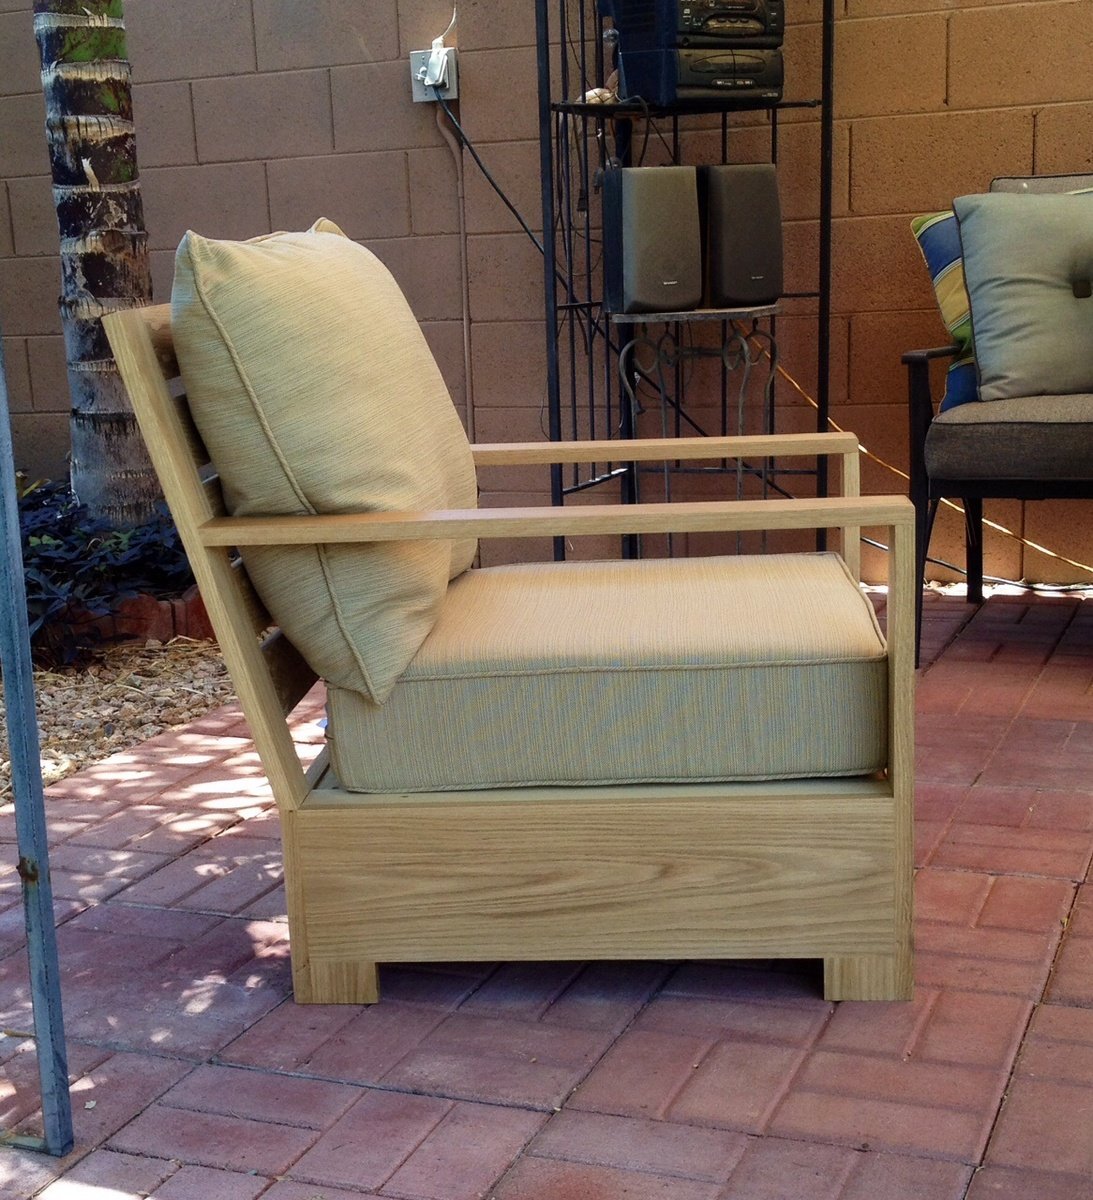
Corner accents are on order, but I'm happy with the thing as is. Went with colonial maple instead of golden oak and wow the thing pops. Put together was pretty easy for a beginner. I do recommend predrilling some of the edge/angle holes - the pressure treated wood can be unforgiving.
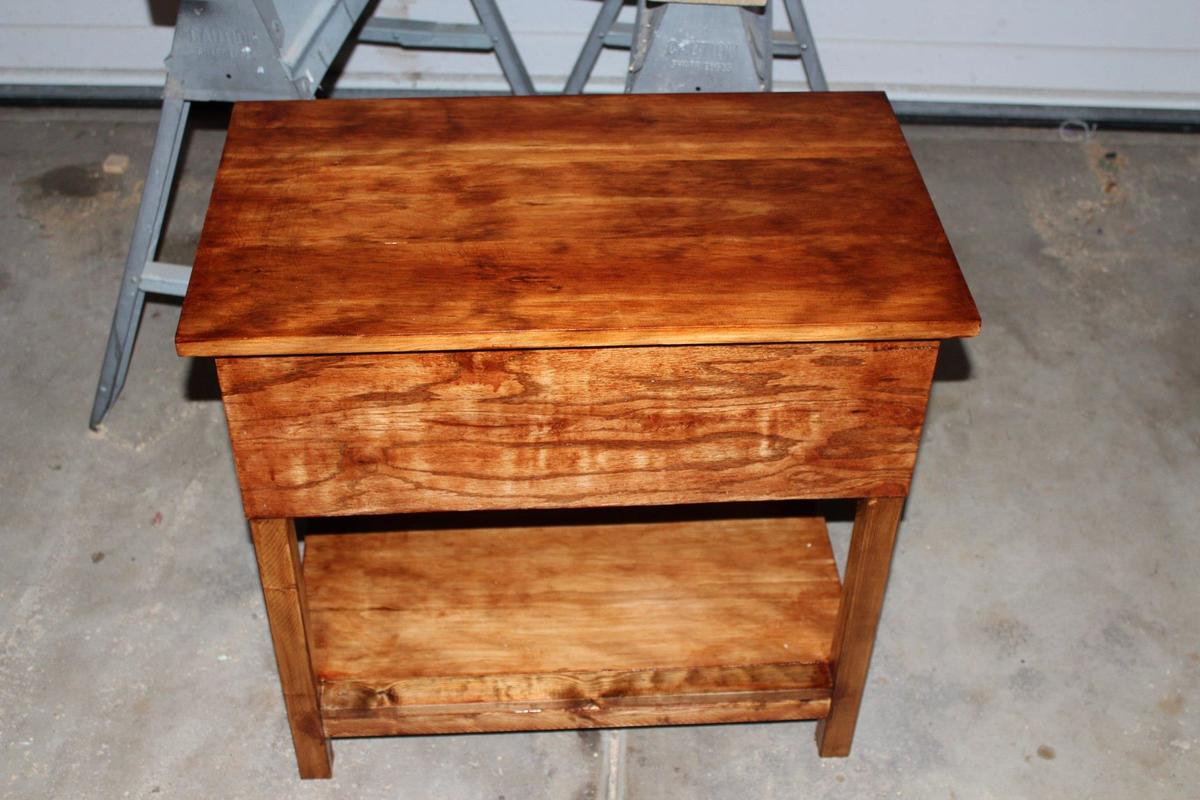
Great plan! Great table! Thanks!!
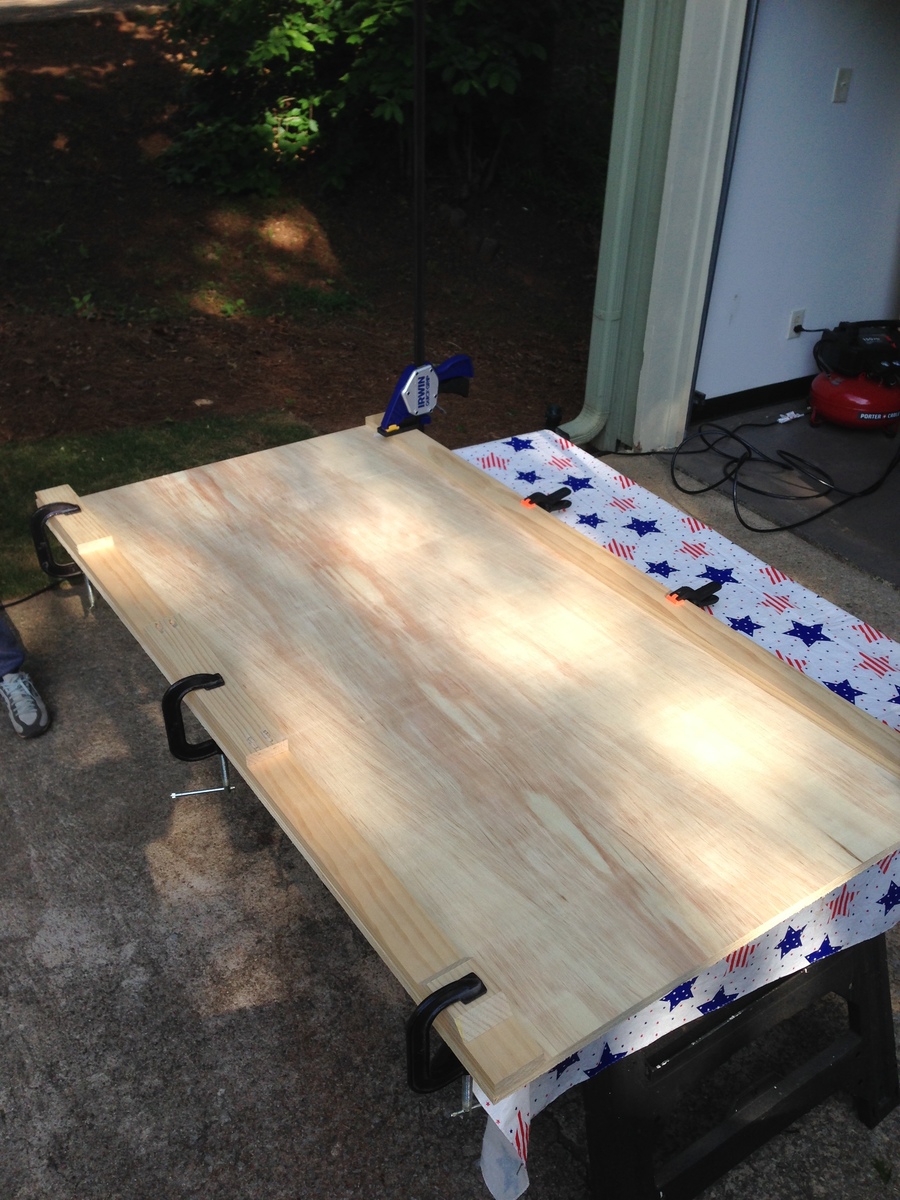
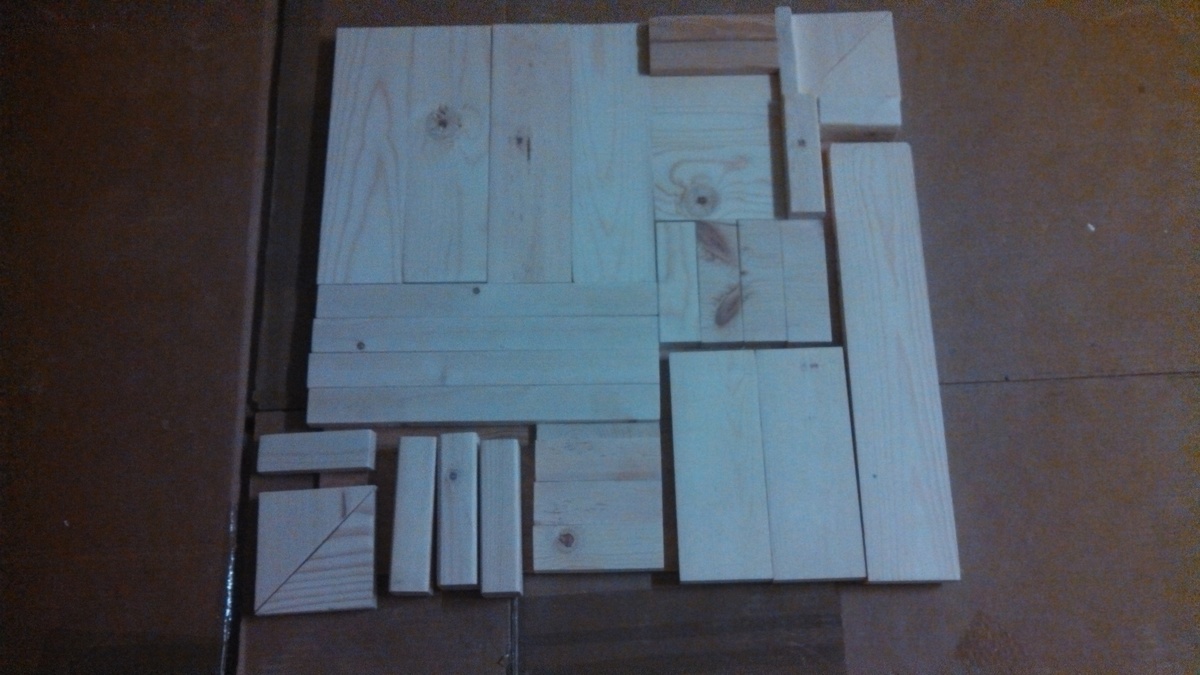
Lumber was $37. Screwes, glue, stain, etc cost extra, but those add up in your garage overtime - so, sunk costs. All in all, I spent about $60 and finished the project in less than 4 hours.
Built from Plan(s)
Estimated Cost
37
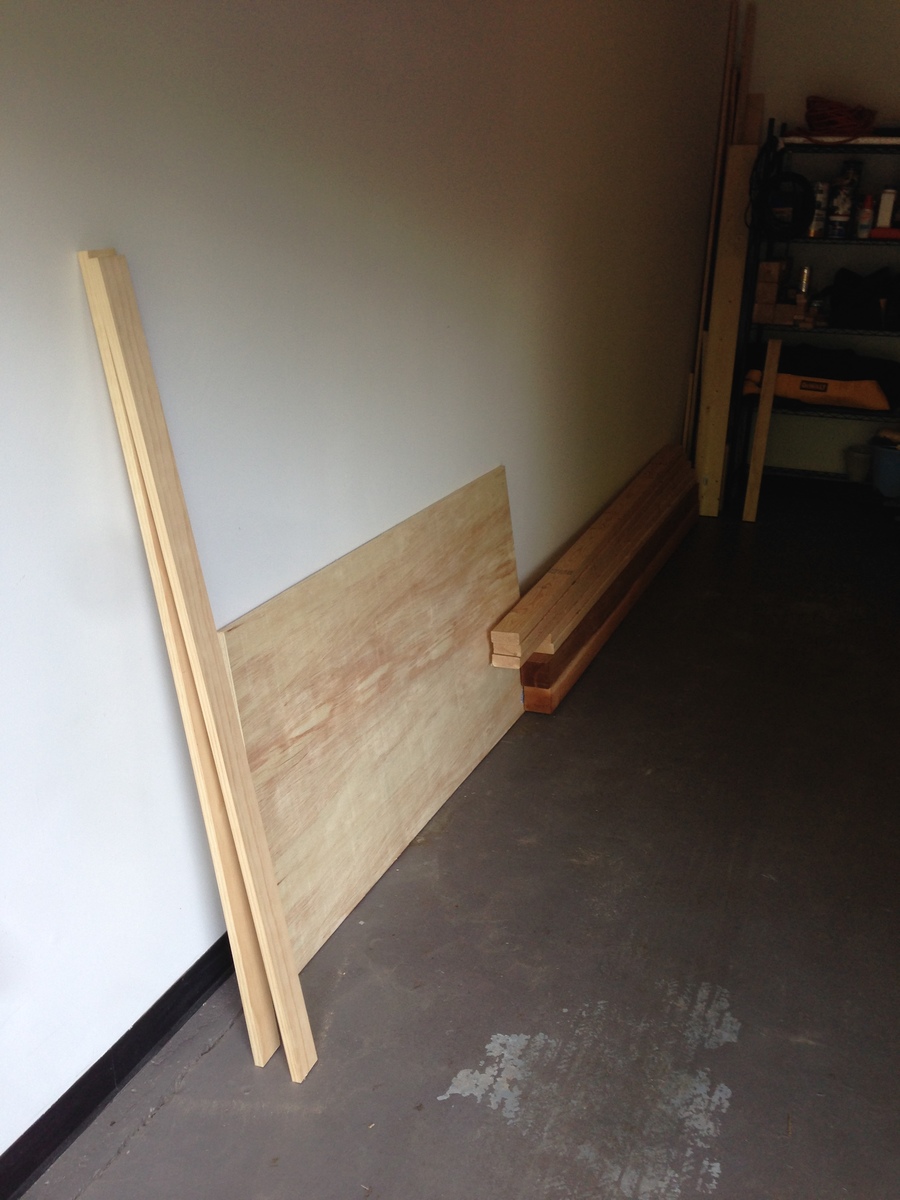
Estimated Time Investment
Afternoon Project (3-6 Hours)
Finish Used
https://www.homedepot.com/p/Varathane-1-qt-Colonial-Maple-Premium-Fast-Dry-Interior-Wood-Stain-266261/203332270
Recommended Skill Level
Beginner